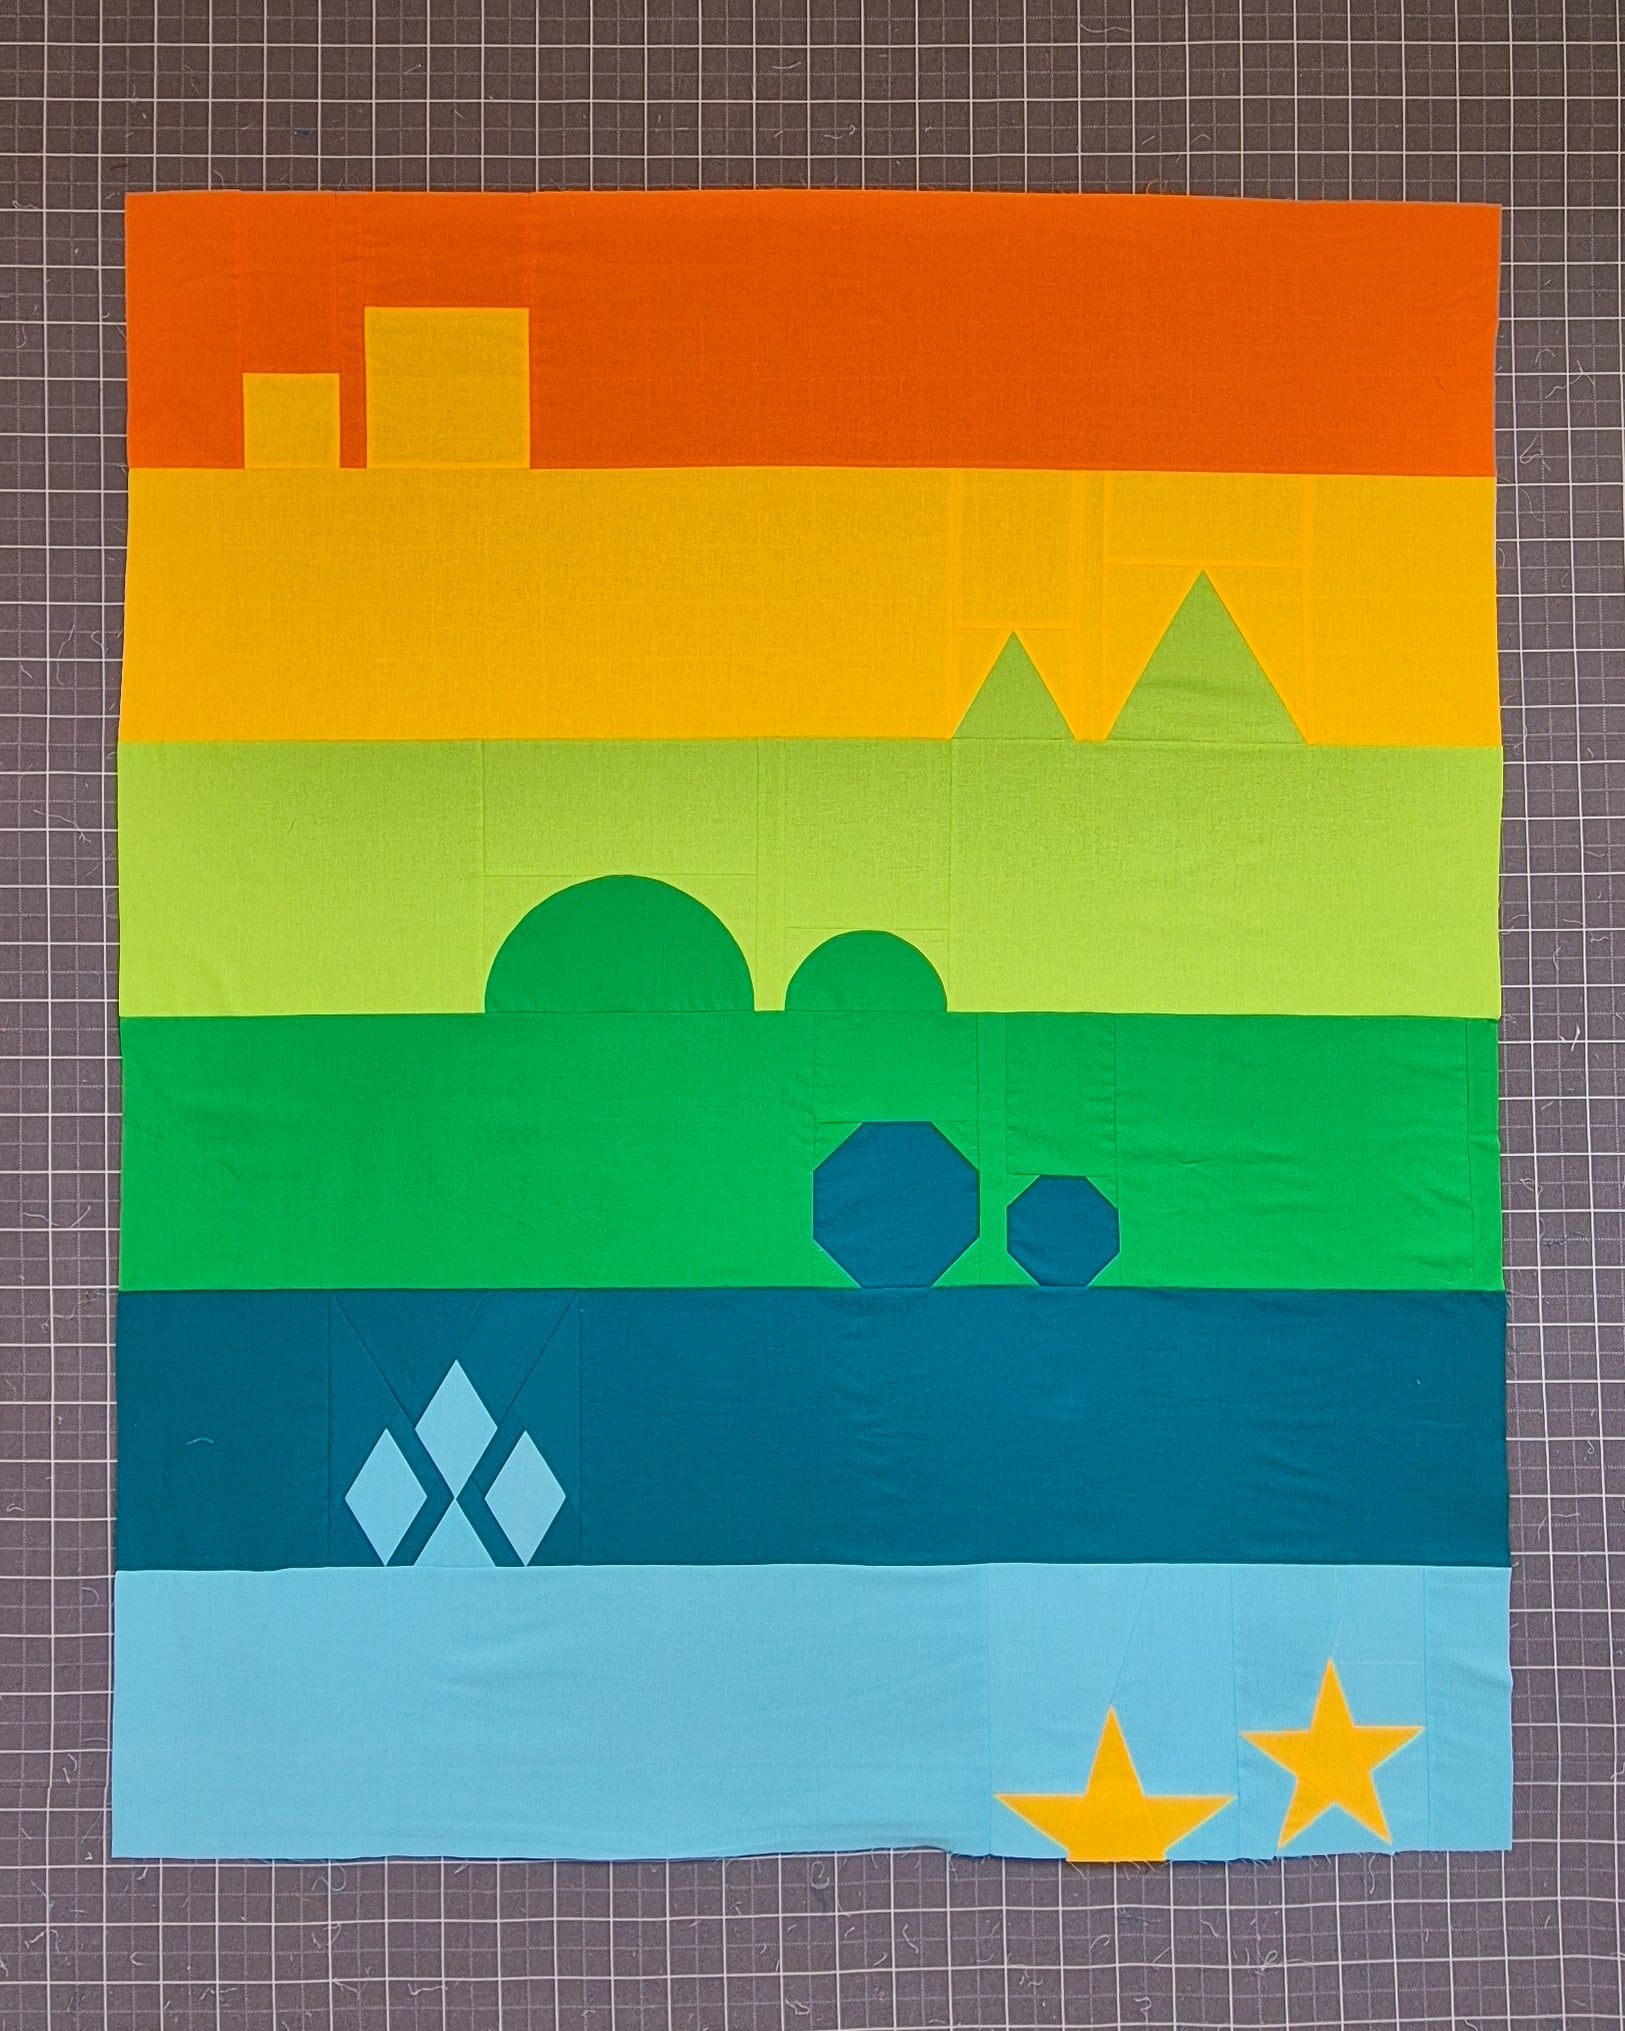
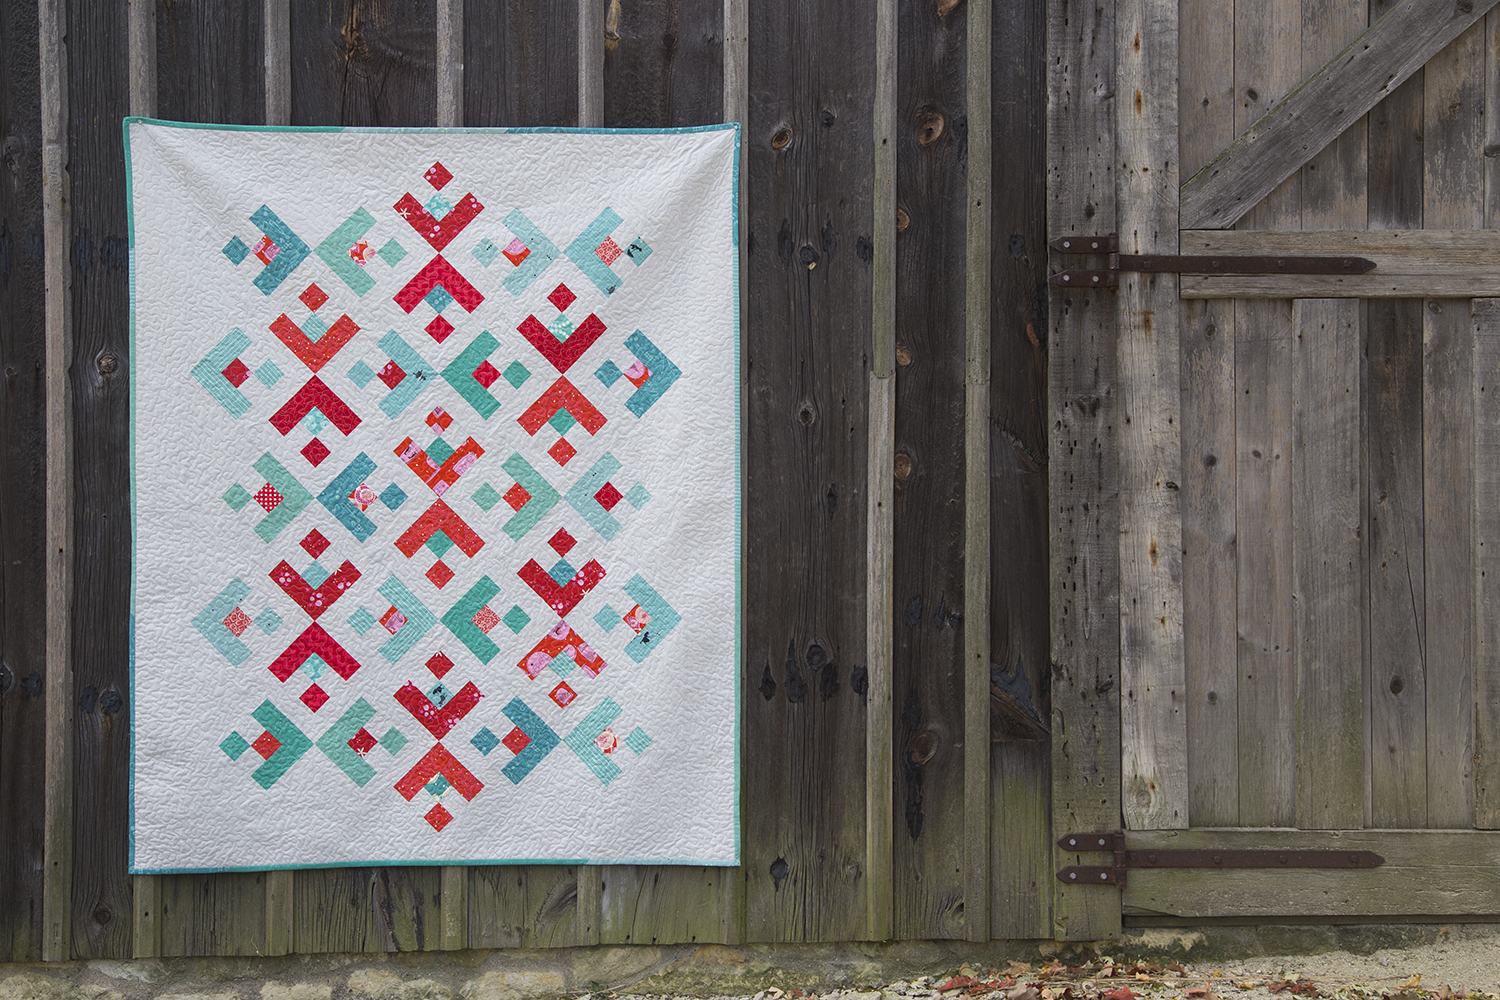
Q-matic Quilt Along, Part Two: Continuing to Sew the Quilt Top
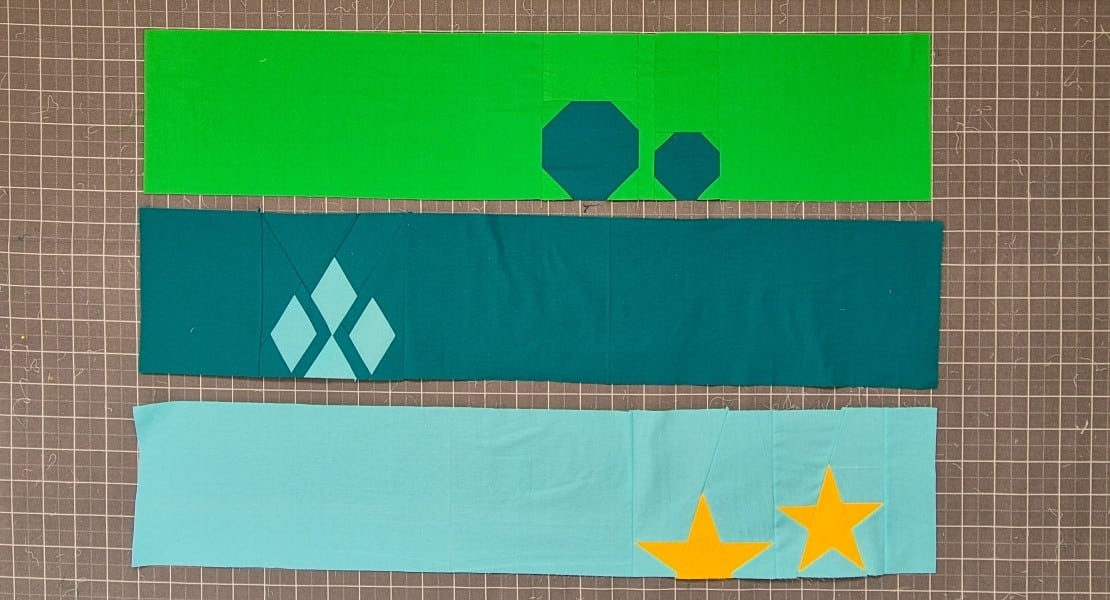
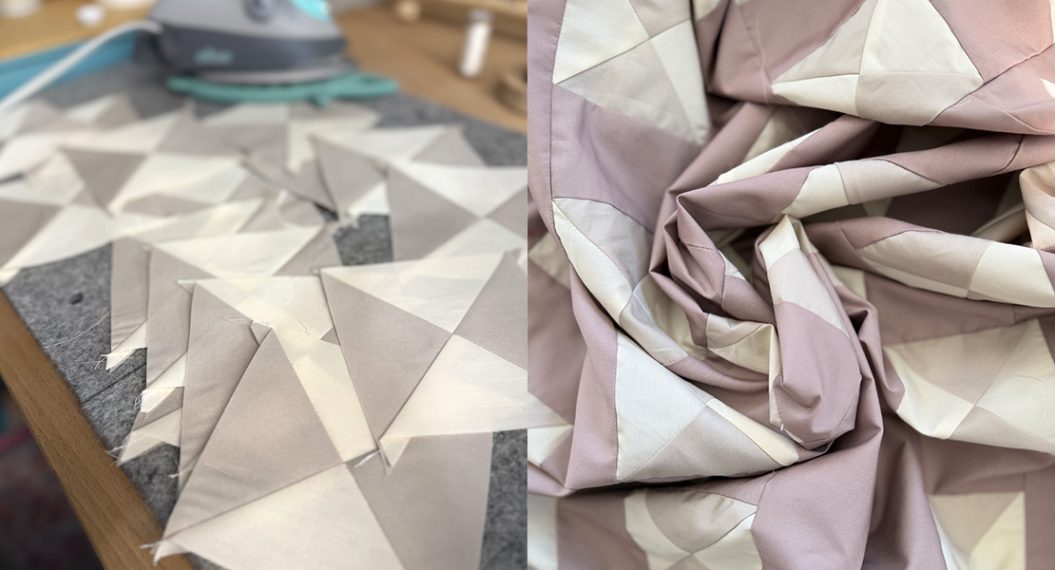
We are halfway through the quilt top for the Q-Matic Quilt Along! Today we will start making rows 4, 5 and 6.
If you missed part one of the Q-matic Quilt Along, you can read all about it here:
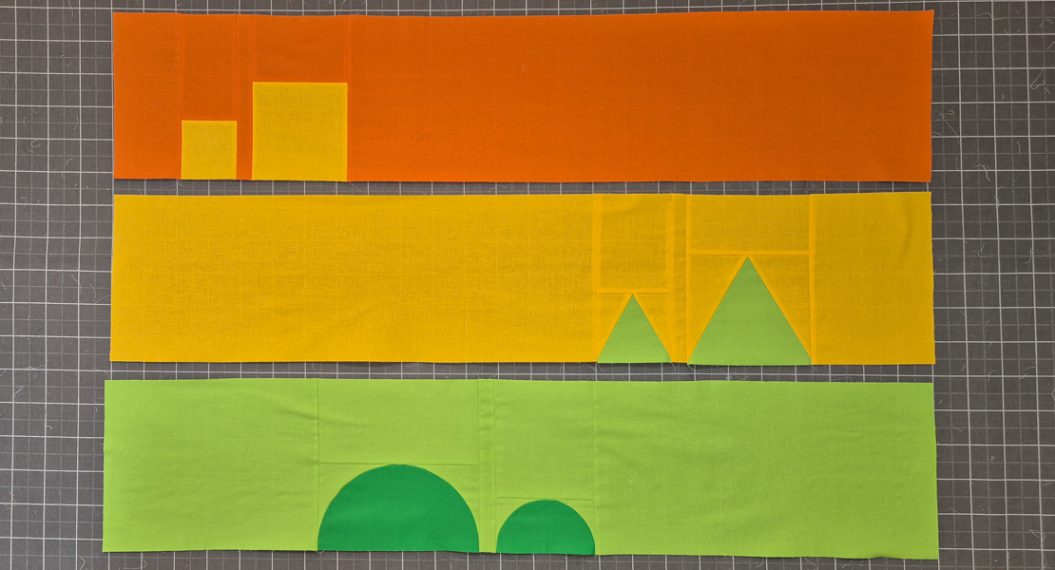
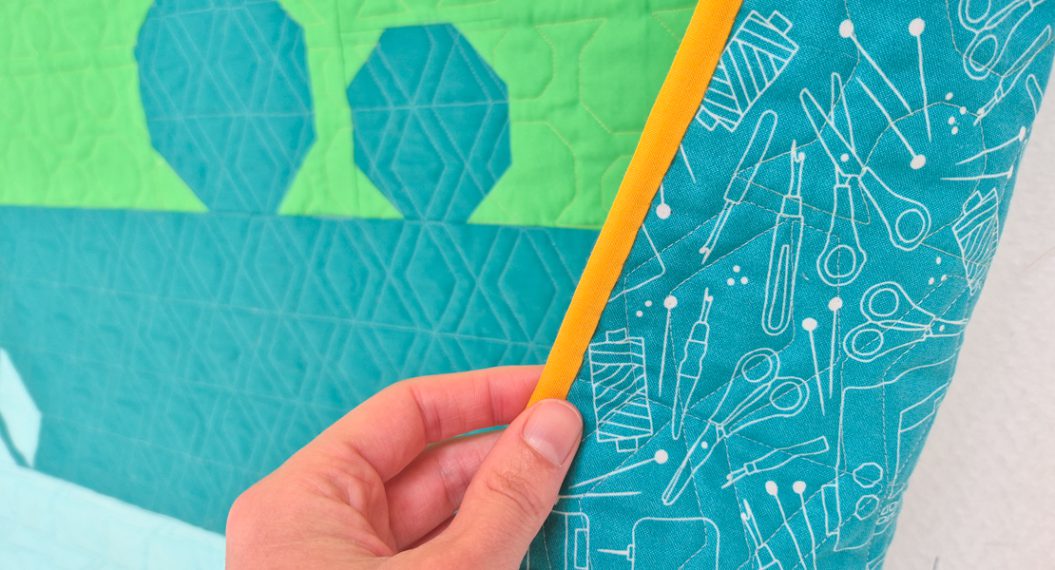
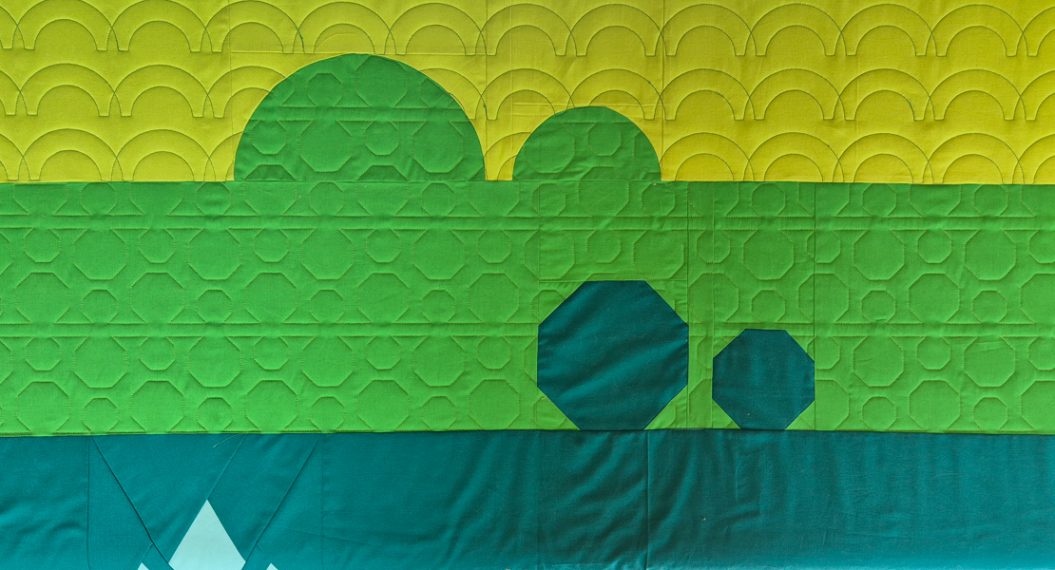
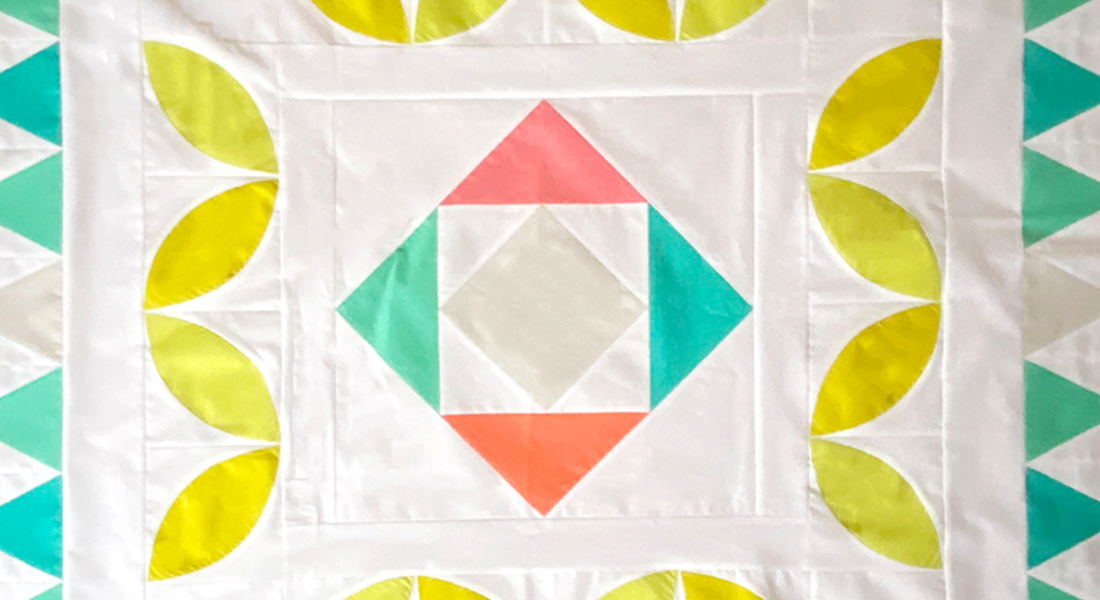
Row 4: Octagons
Row 4 can be made with regular piecing (snowballing) or with Foundation Paper Piecing (FPP). This row is made with Kelly green and Emerald. You can find a kit for the Quilt Along on my website.
You can download the FPP pattern here or read on for instructions on how to make the row using regular piecing.

Cutting
The following measurements, as well as all the measurements of other patterns in this quilt along, already include a 1/4-inch seam allowance.
Cut the following from Kelly Green:
- A: 26 1/2 x 10 1/2″
- B: 13 1/2 x 10 1/2″
- C: 1 1/2 x 10 1/2″
- D: 6 1/2 x 4 1/2″
- E: 4 1/2 x 6 1/2″
- small squares: 4 pieces, 1 3/4 x 1 3/4″
- big squares: 4 pieces, 2 1/4 x 2 1/4″
Cut the following from Kona Emerald:
- Small square: 4 1/2 x 4 1/2″
- Big square: 6 1/2 x 6 1/2″
Piecing
Sew the octagon blocks with the FPP pattern or with the following instructions.
We sew everything together with 1/4 inch seam allowance.
Starting with the small octagon: take the 4 1/2″ square (emerald) and the four 1 3/4″ squares (Kelly Green).
- Place a little square in the corner
- Sew from point to point
- Cut the corner on the outside of the seam
- Fold and press
- Repeat this for all four corners
Use the same method to make the big octagon.

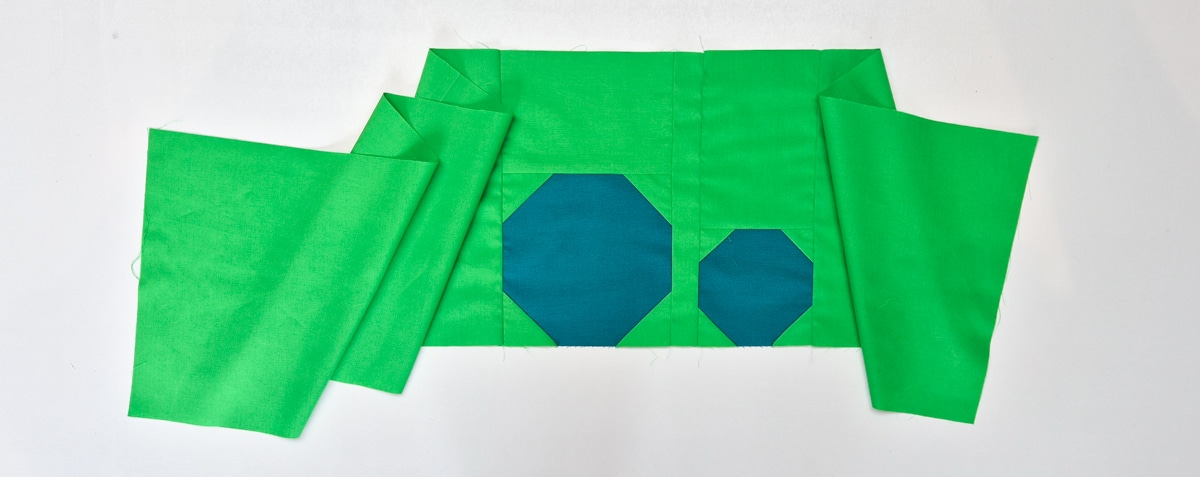
Now we can sew the row together.
First sew pieces D and E to the big and small octagon.
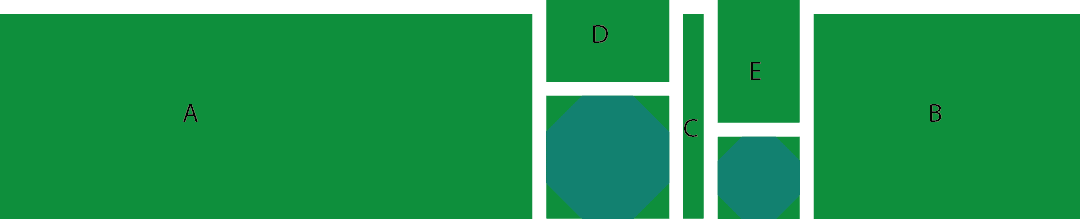
Now you can sew all the elements of the row together from left to right.

The size of the row should be 50 1/2 x 10 1/2 inch.

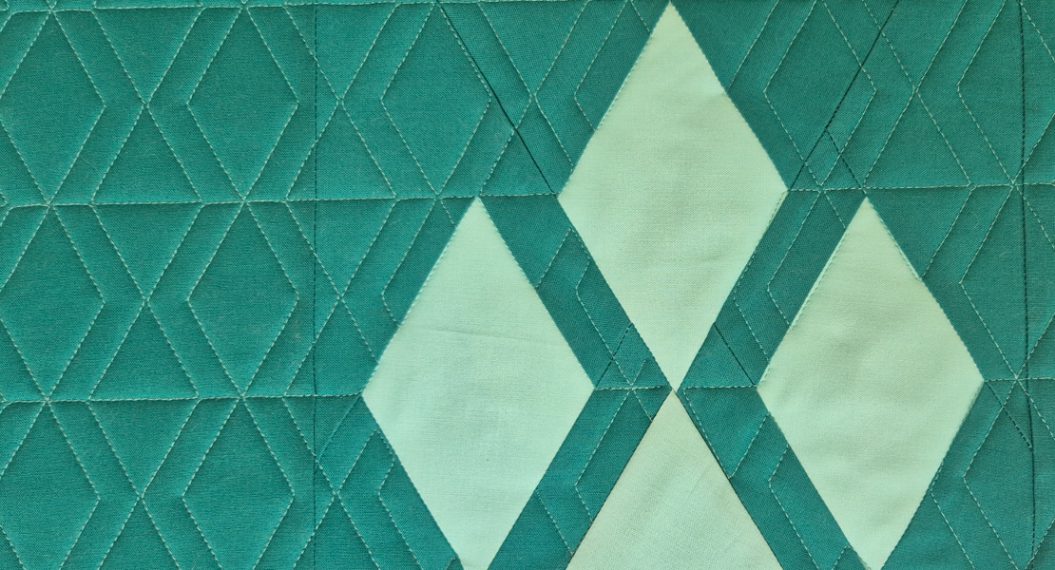
Row 5: Diamonds
Time for some more FPP! This row, and the next, will be made with foundation paper piecing. Print your pattern to get started.
Cutting
The following measurements, as well as all the measurements of other patterns in this quilt along, already include a 1/4-inch seam allowance.
The smaller pieces for the paper piecing part are not mentioned in the list below. Personally, I like to print the pattern an extra time and use that as template pieces to cut my fabric.
Cut the following from Emerald:
- A: 8 x 10 1/2″
- B: 34 x 10 1/2″
Piecing
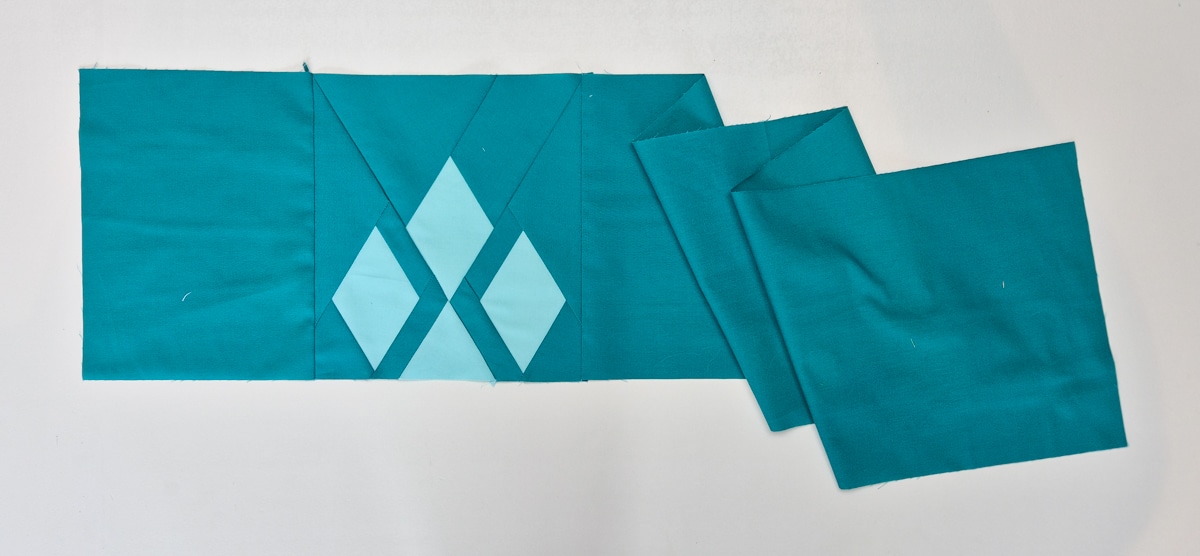
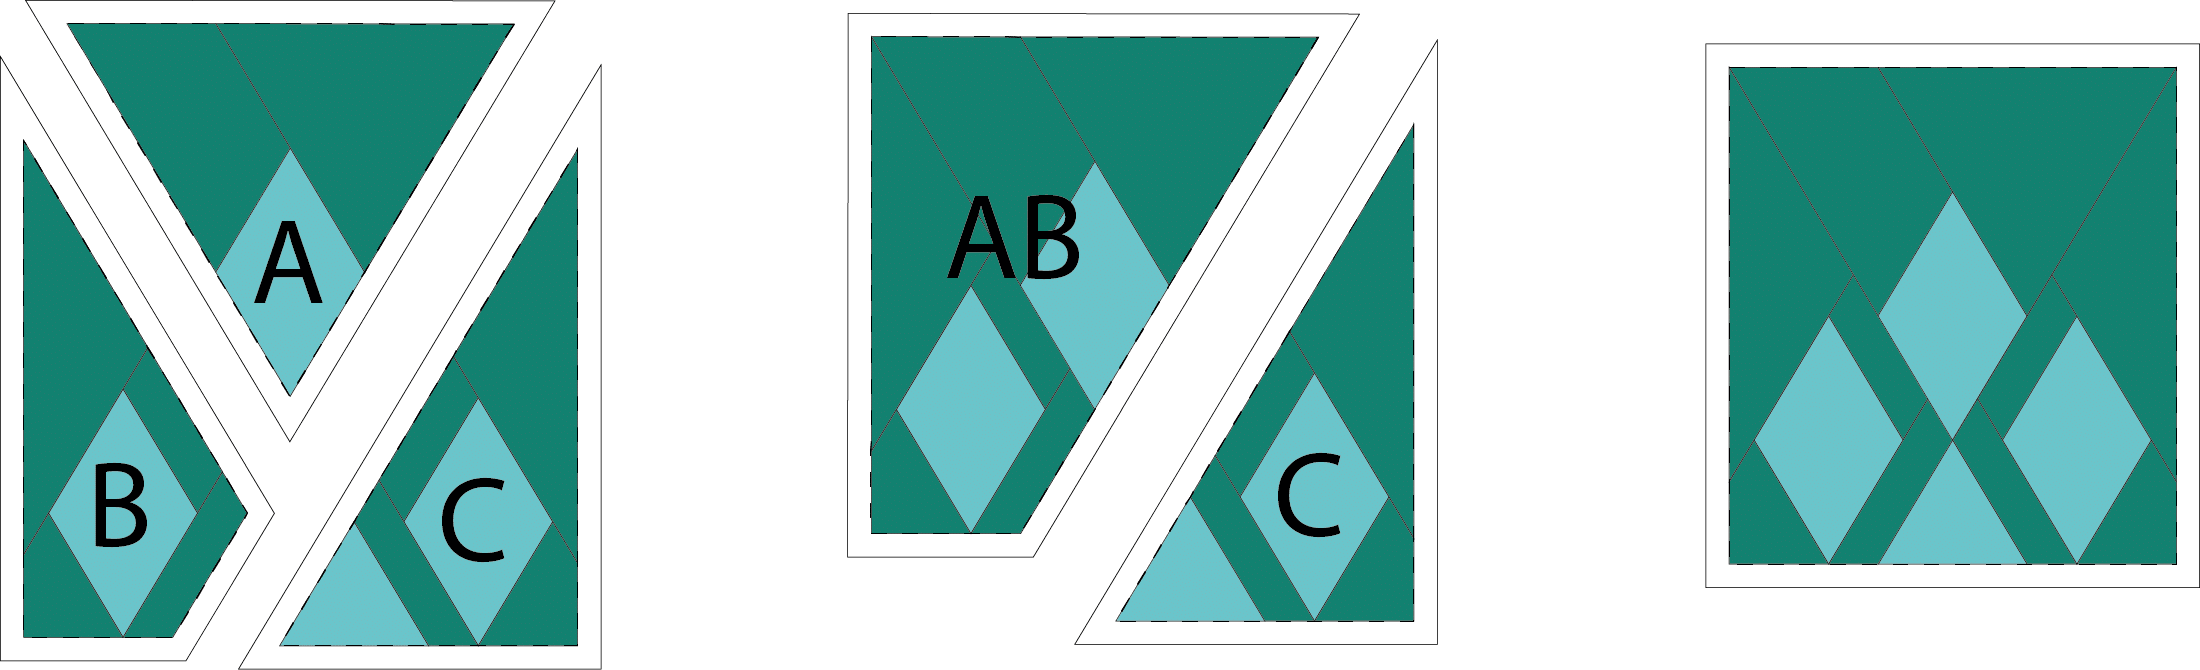
Sew all the sections for the diamond block. Sew section A to section B. Then sew section AB to section C.
Now you have the diamond block finished, measuring 6 1/2 x 10 1/2″ (this includes seam allowance).
Now we can sew the row together, joining all the pieces from left to right.

The size of the row should be 50 1/2 x 10 1/2 inch.

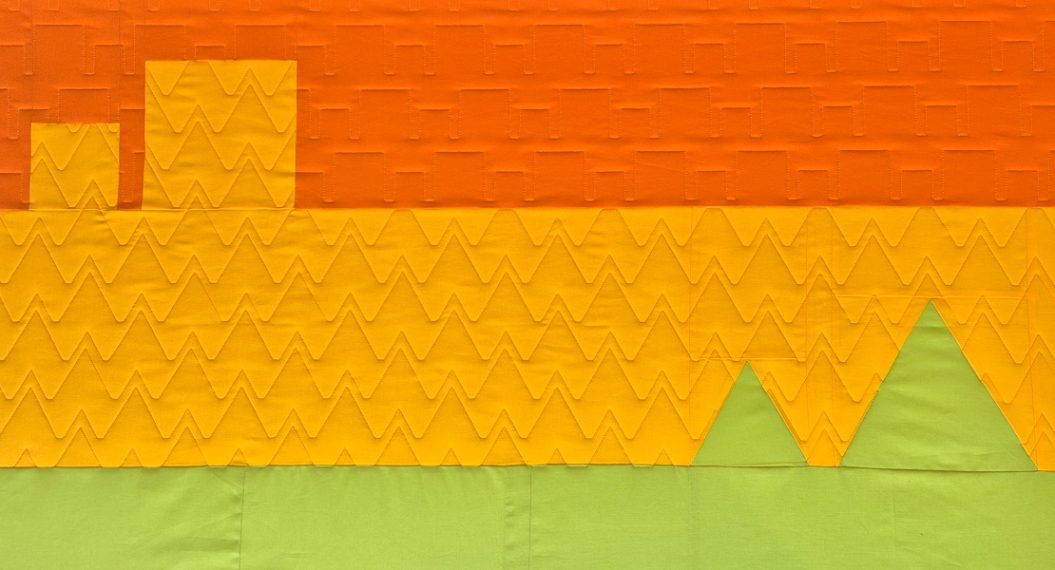
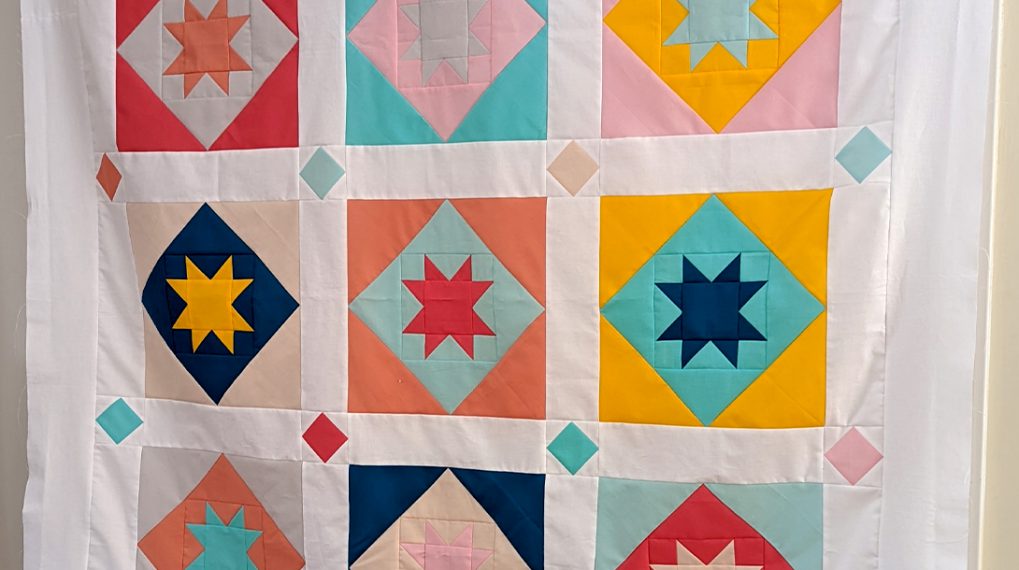
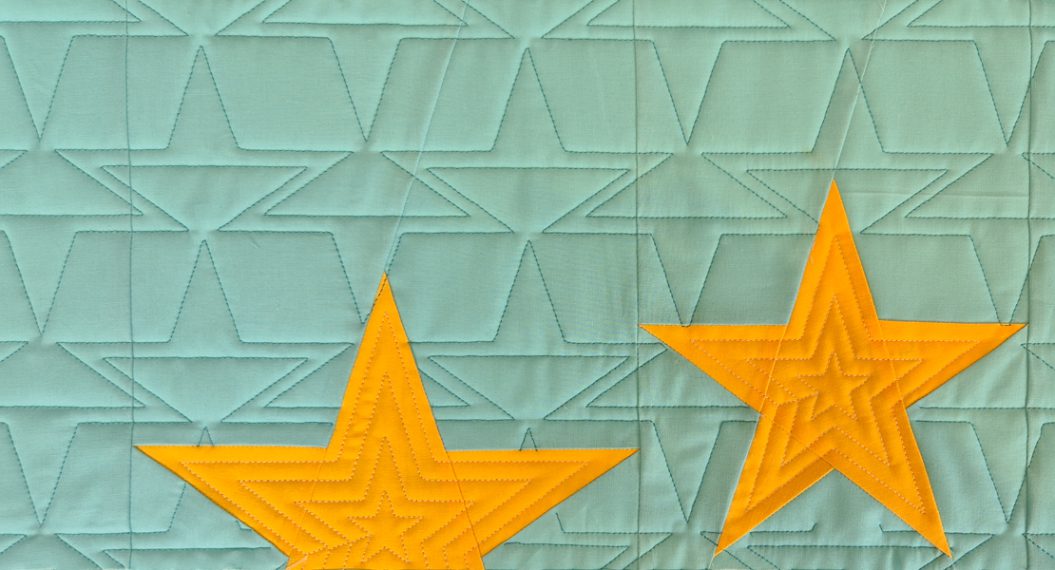
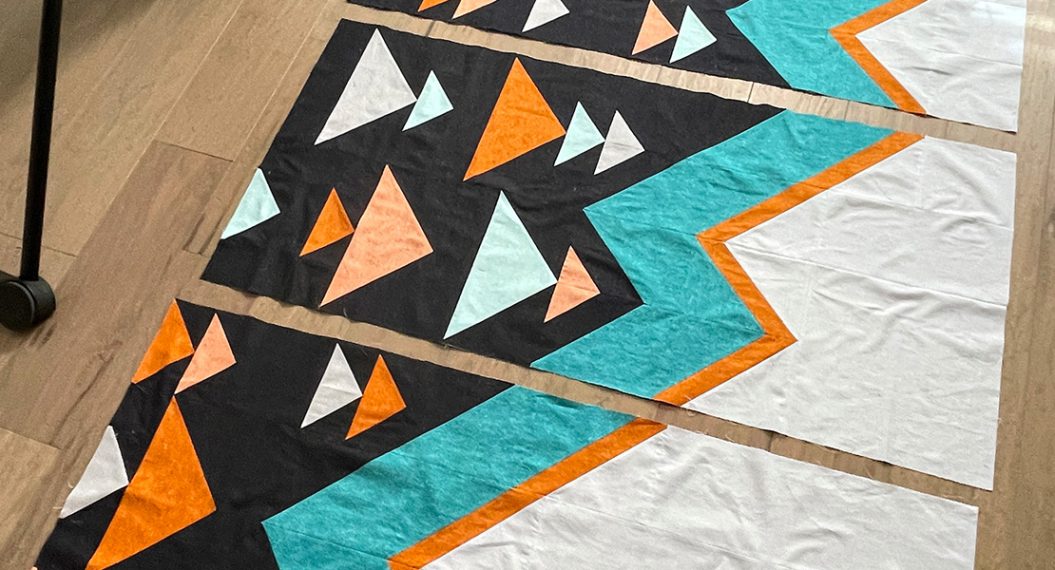
Row 6: Stars
Our final row is also made with foundation paper piecing. We are using Azure and the yellow fabric from row 1.
Cutting
The following measurements, and all the measurements of other patterns in this quilt along, already include a 1/4 inch seam allowance.
The smaller pieces for the paper piecing part are not mentioned in the list below. Personally, I like to print the pattern an extra time and use that as template pieces to cut my fabric.
Cut the following from Azure:
- A: 31 1/2 x 10 1/2″
- B: 3 1/2 x 10 1/2″
Piecing
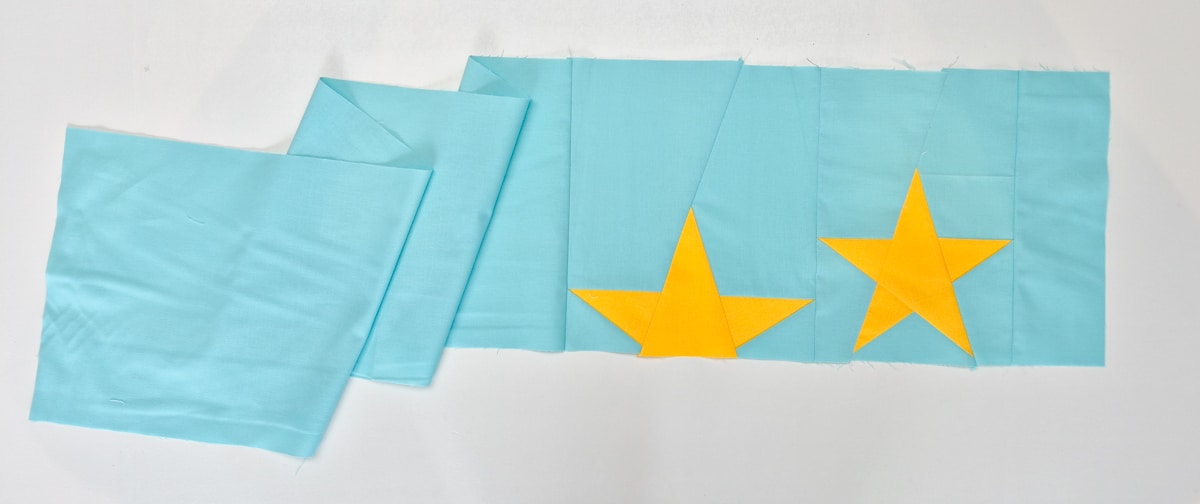
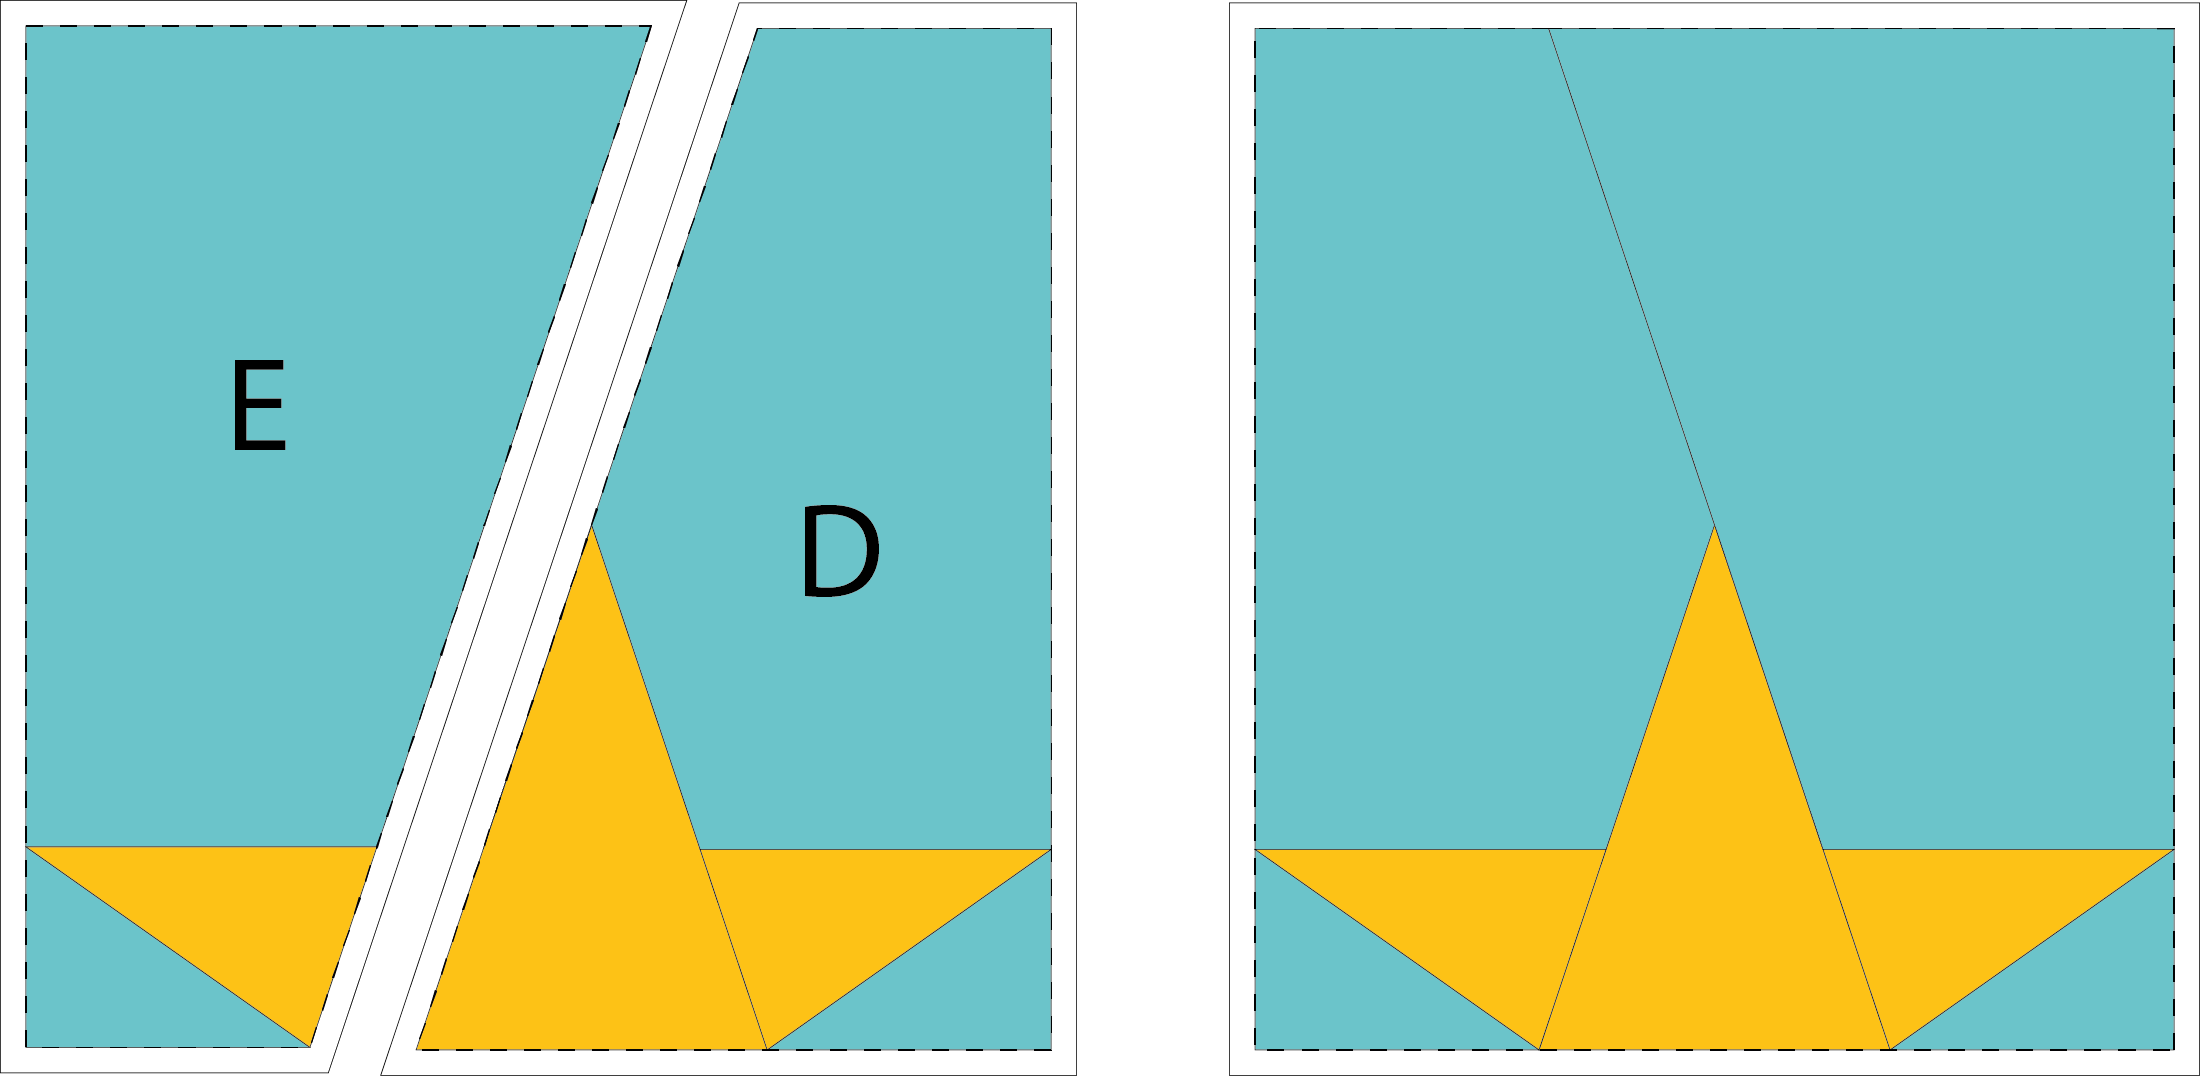
Sew all the sections for the two star blocks. Sew them together in the following order.
Complete star, this block will measure 7 1/2 x 10 1/2″
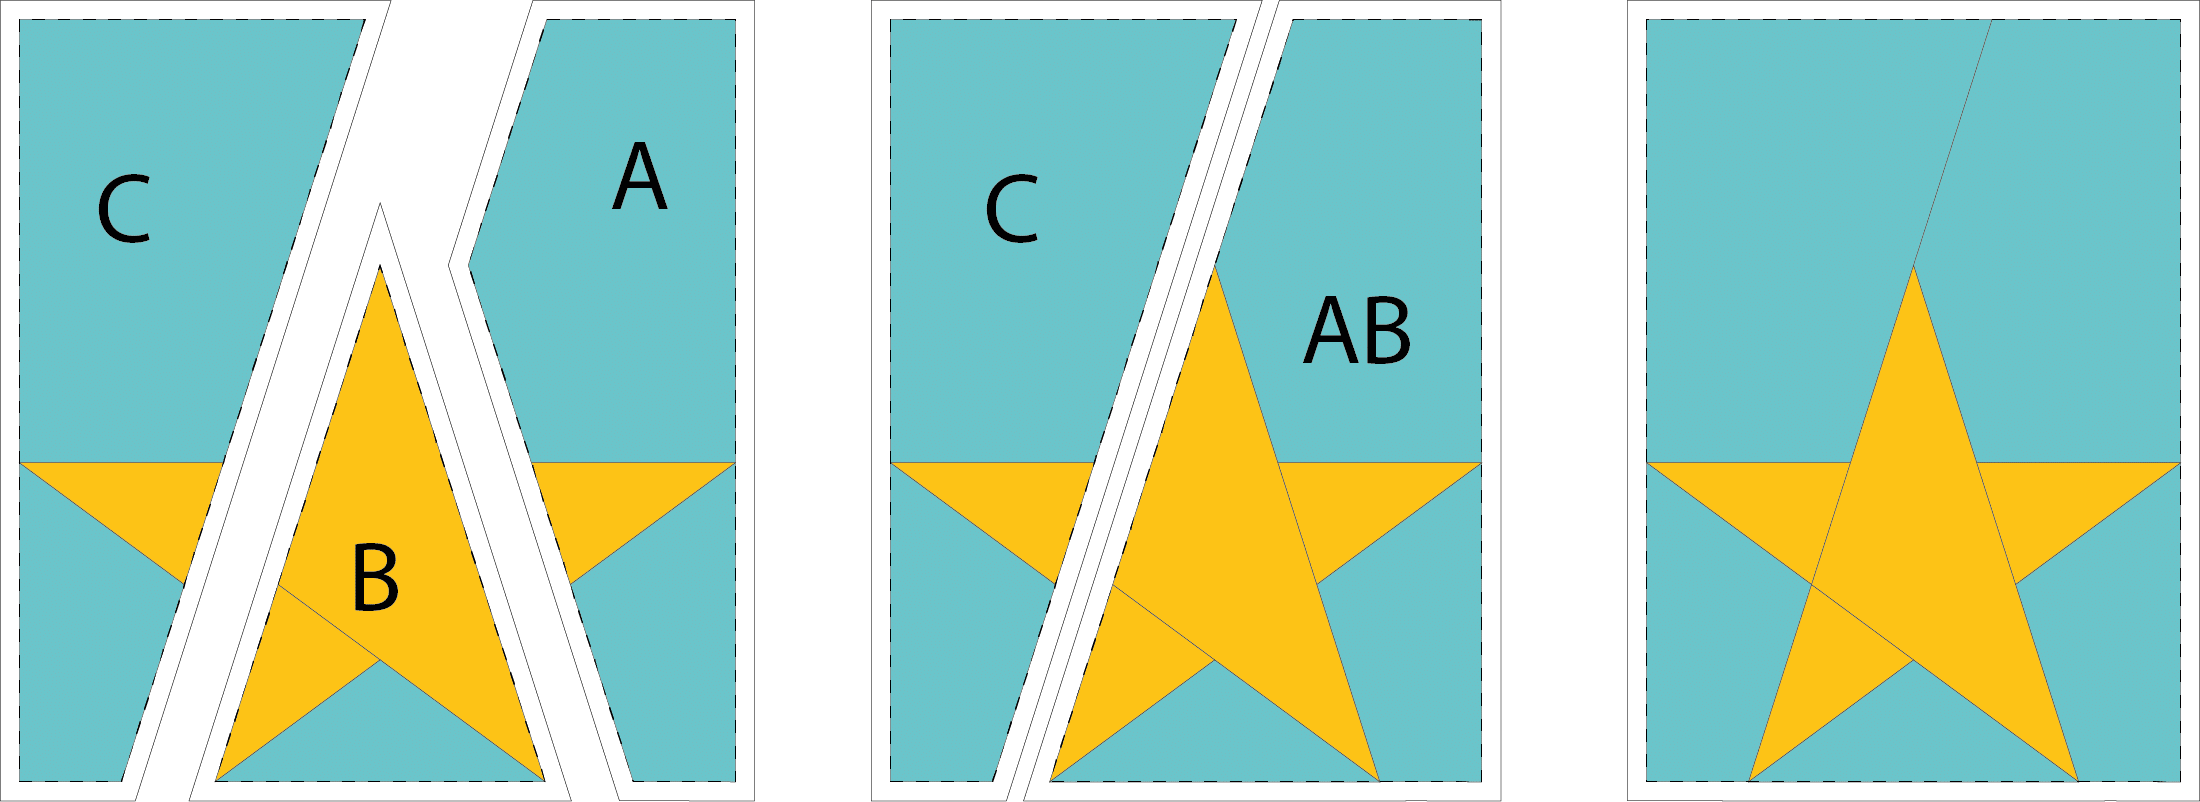
Half star, this block will measure 9 1/2 x 10 1/2″
Now we can sew the row together, joining all the pieces from left to right.

The size of the row should be 50 1/2 x 10 1/2 inch.

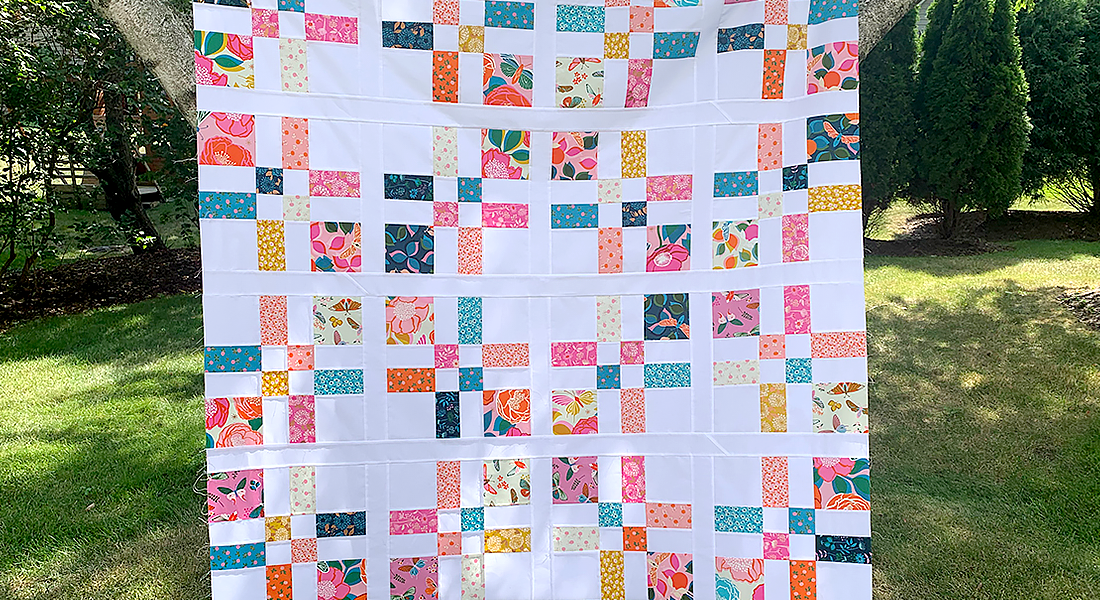
Quilt Top Assembly
Once you’ve finished all the rows, it’s time to sew our Q-Matic Quilt Along quilt together. If all your cutting and sewing were perfectly accurate, each row should measure 50½ inches long. But let’s be honest, nothing in quilting is ever perfect. So don’t worry if your rows don’t match up exactly.
If a row is noticeably too short, you can add a small strip of fabric to the end. If a row is slightly too long, simply trim it down to 50 ½ inches.
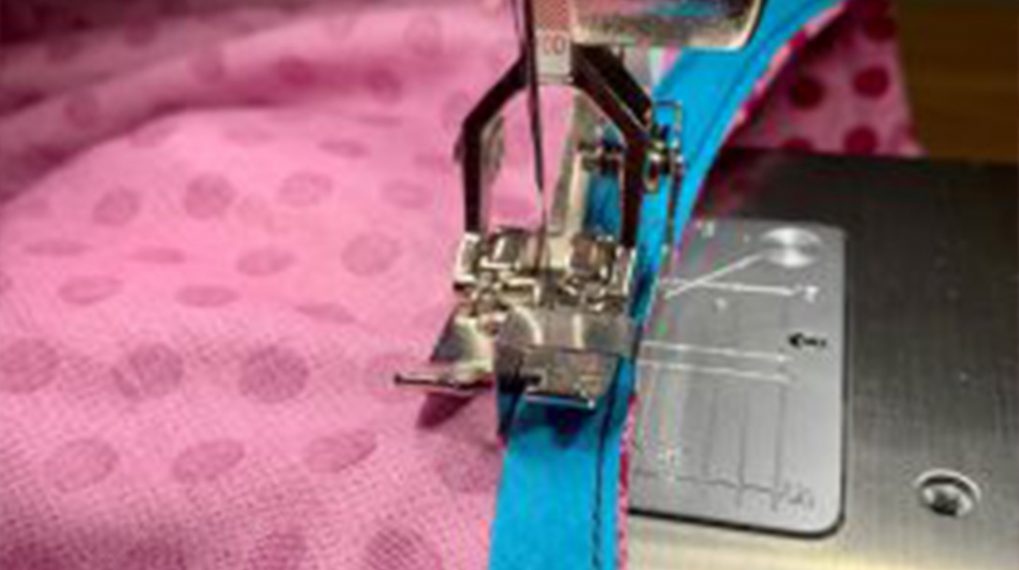
To join two rows, I like to pin both ends first, then place a pin in the center, and finally fill in pins evenly along the space in between.
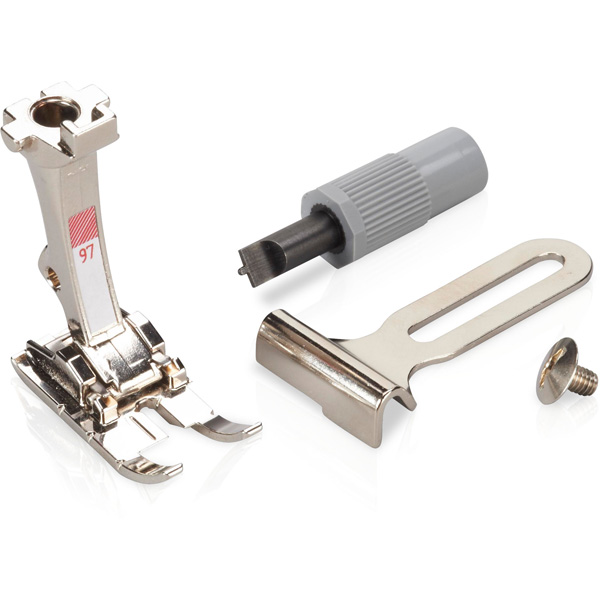
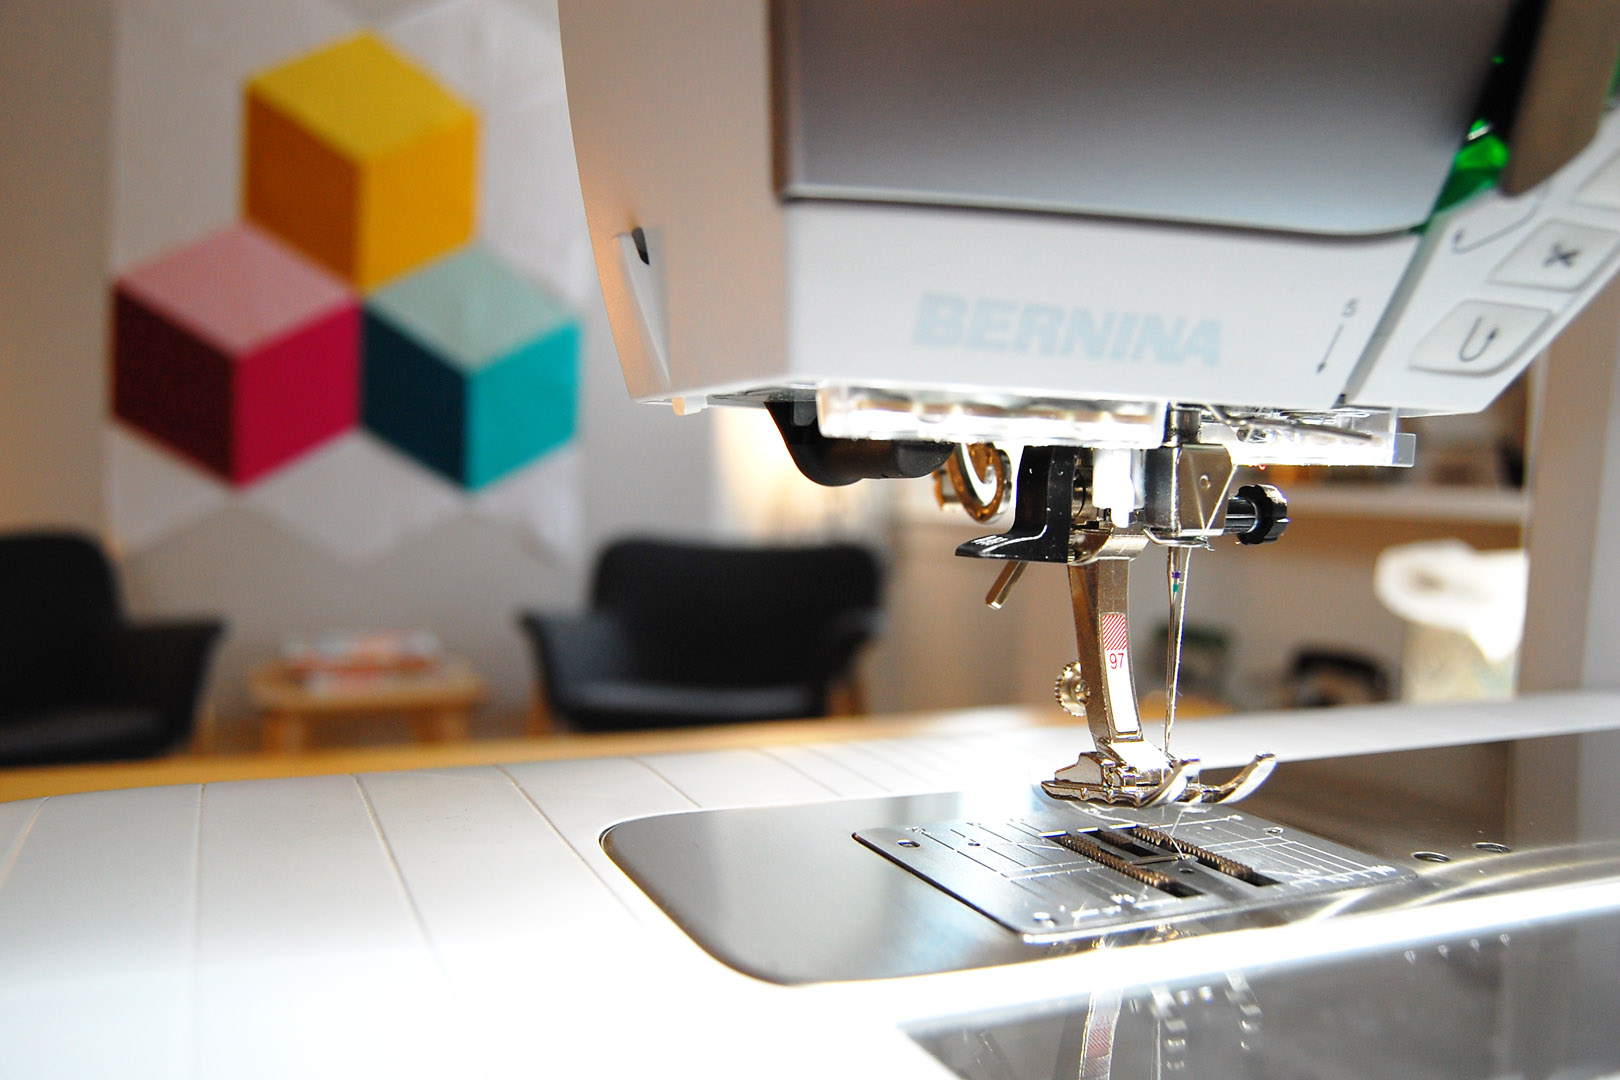
Sew the rows together with a ¼ inch seam allowance. I personally love using my Patchwork foot #97 for this.
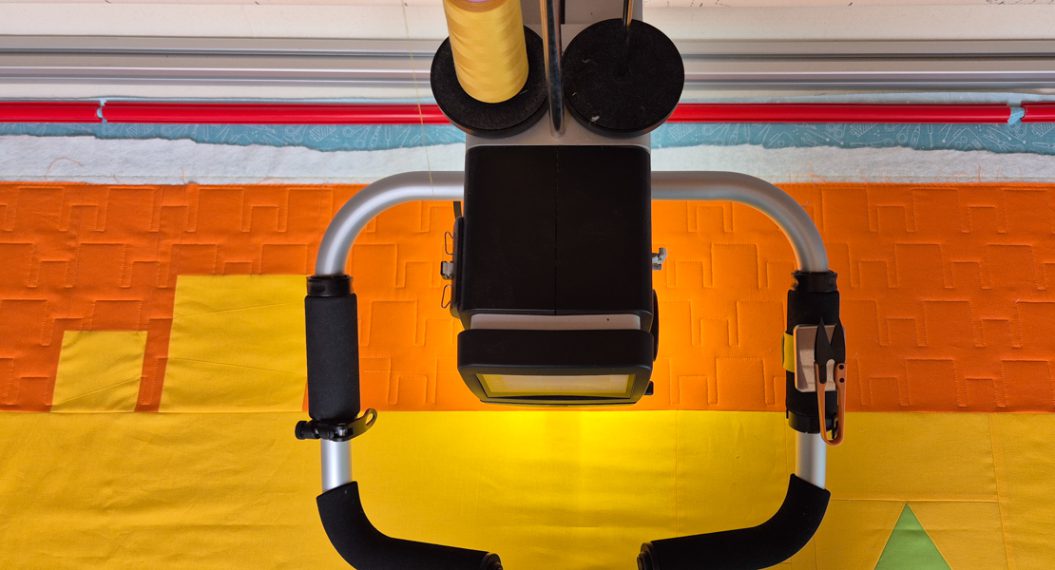
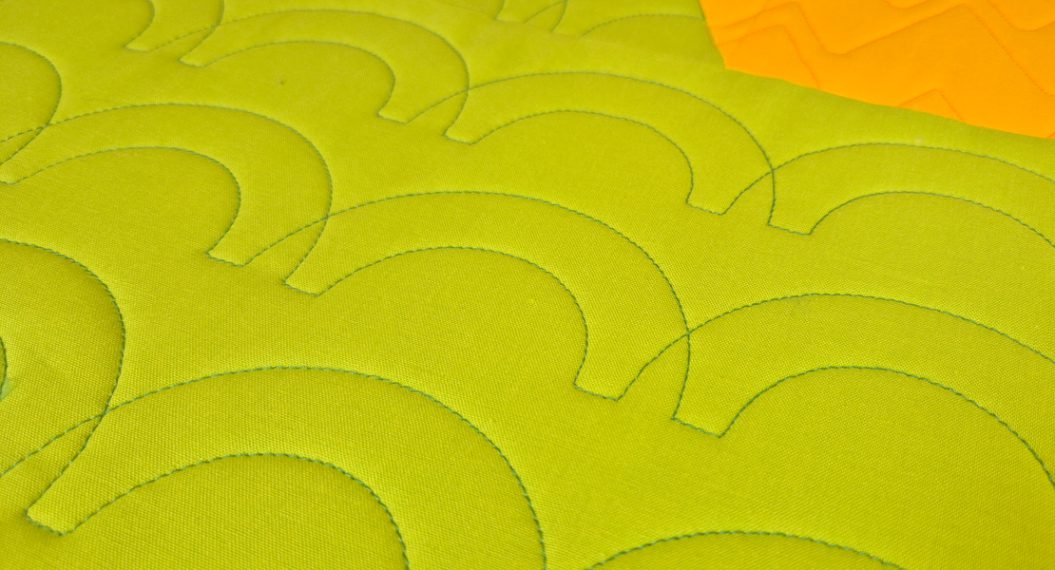
Next Time
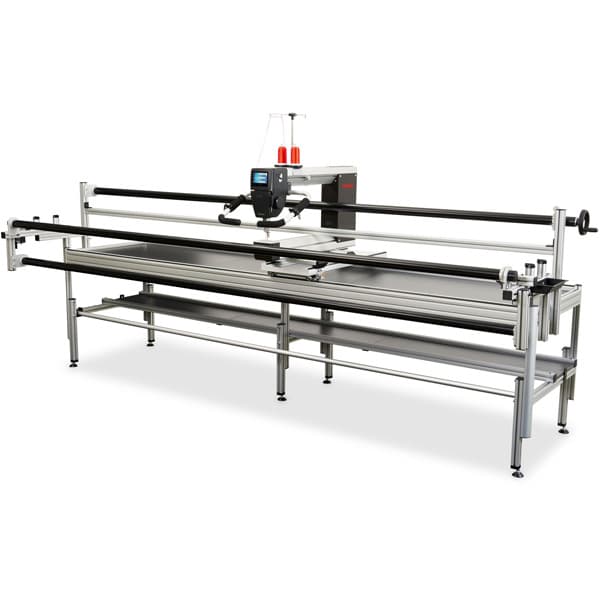
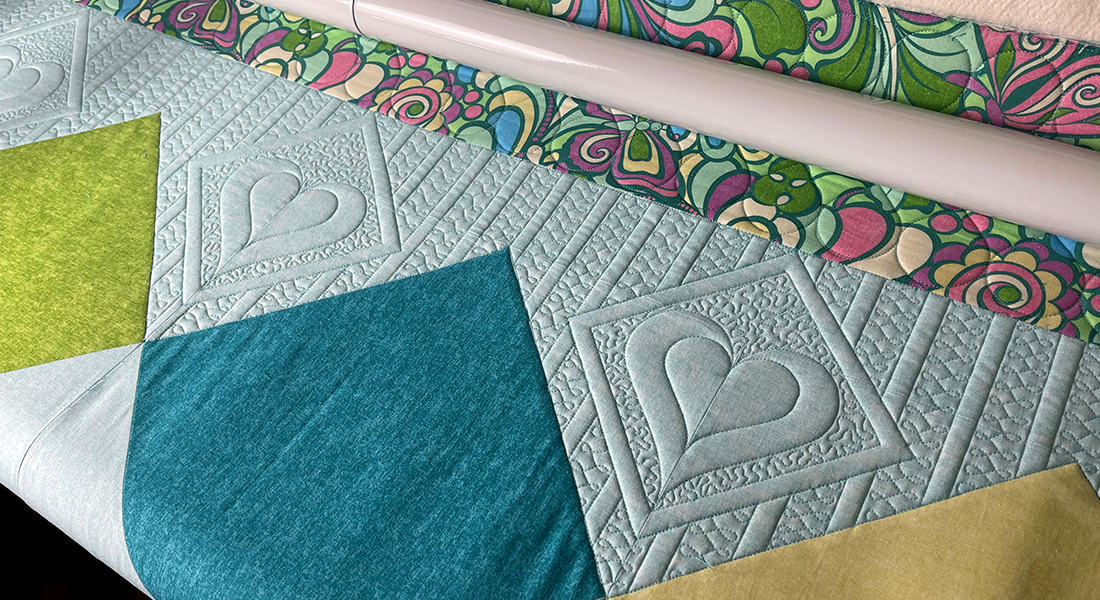
In two weeks, I’ll be back with our next blog post for the Q-Matic Quilt Along, where we’ll start quilting. Make sure to have your batting and backing ready!
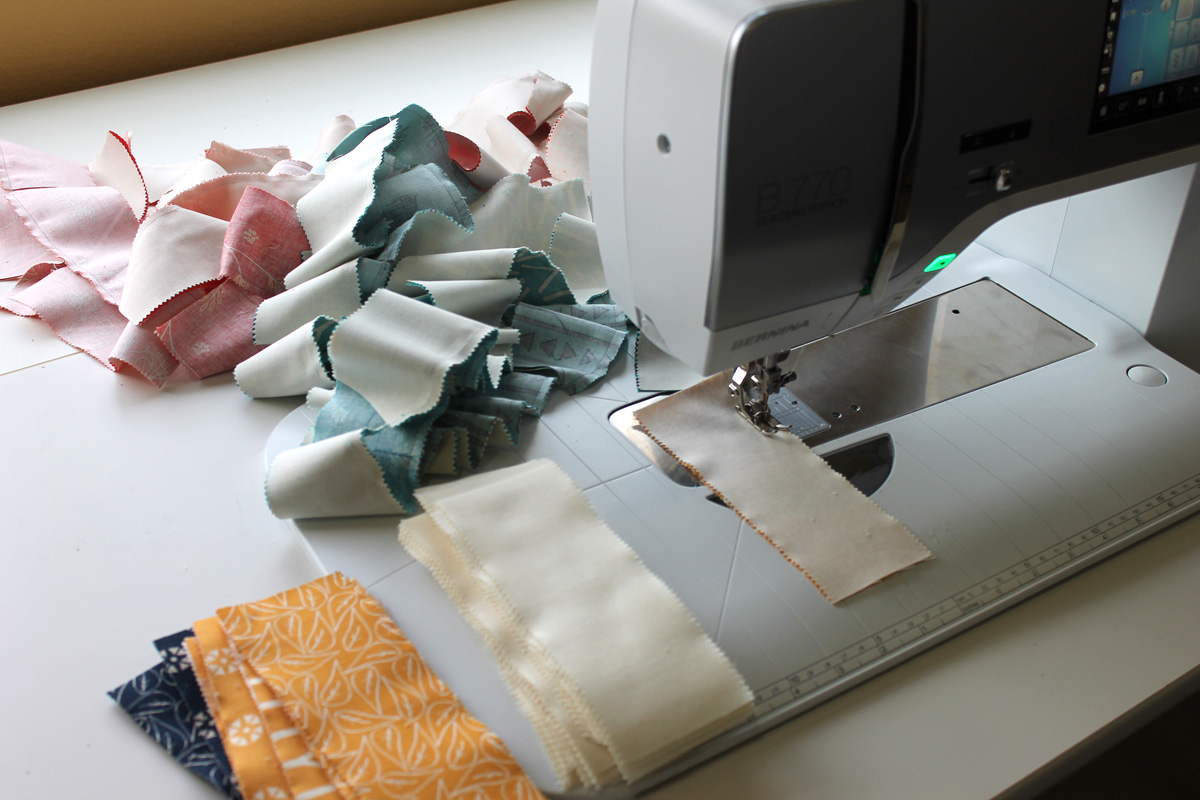
When choosing thread colors, I try to coordinate with the row above or below. For example, on the yellow row I used orange thread, and on the dark blue row I used light blue thread.
Used Products
What you might also like
One comment on “Q-matic Quilt Along, Part Two: Continuing to Sew the Quilt Top”
Leave a Reply
You must be logged in to post a comment.
I just got my Q-matic on Studio frame so I’m excited to start my new journey. Your QAL came just in time. Thank you