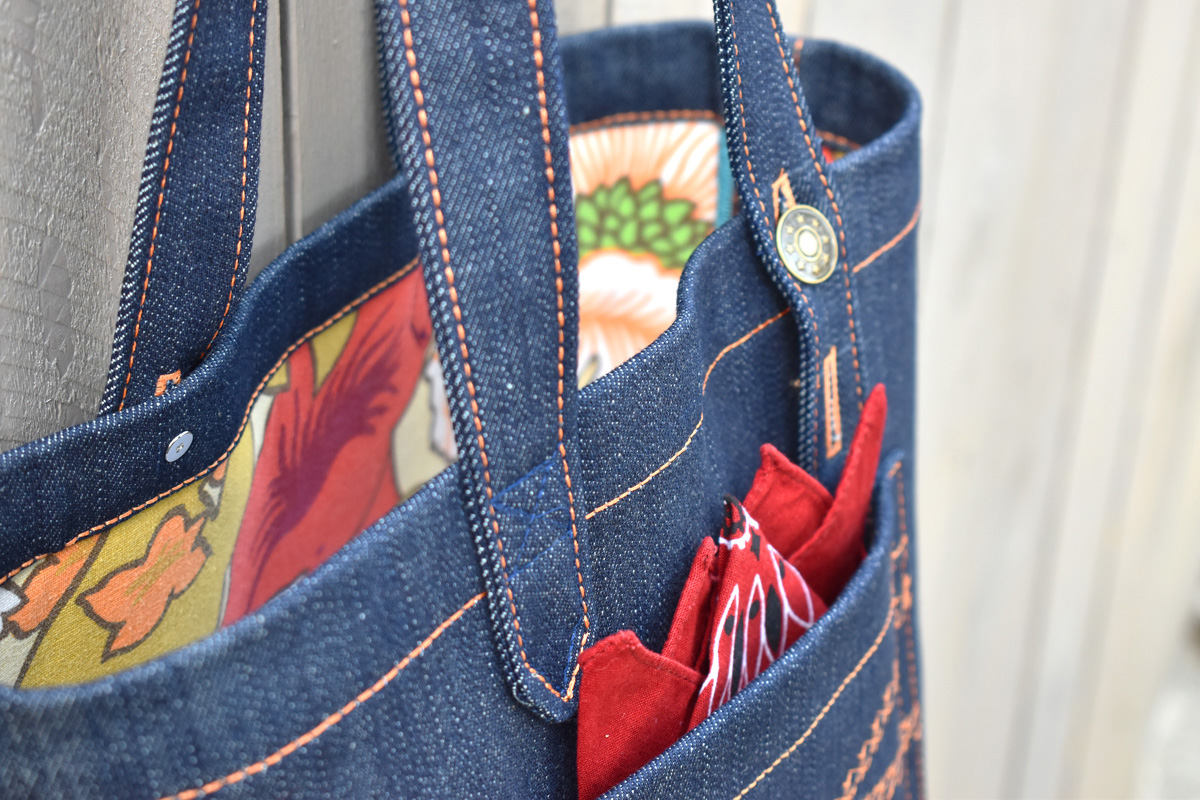
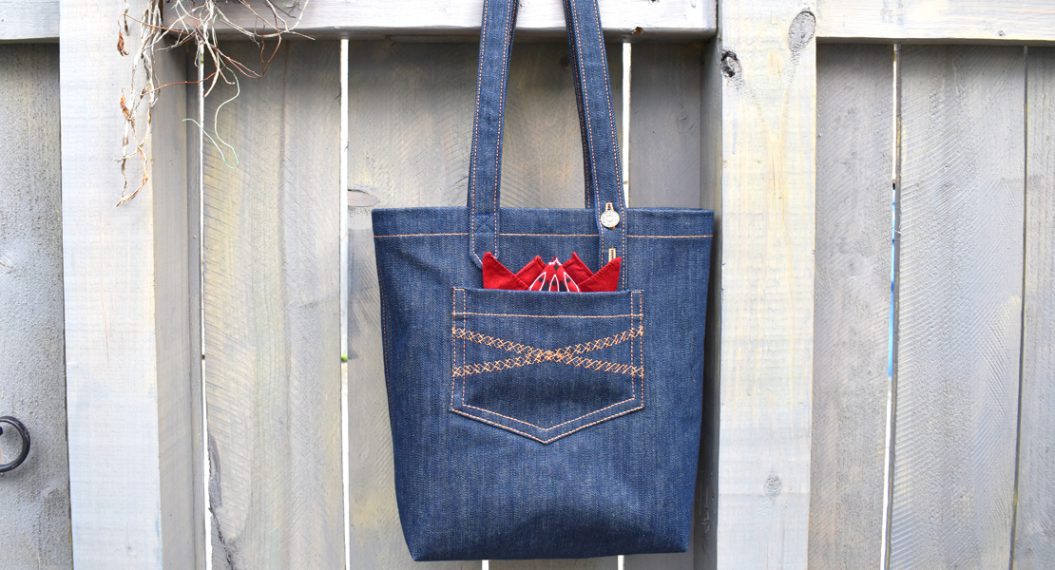
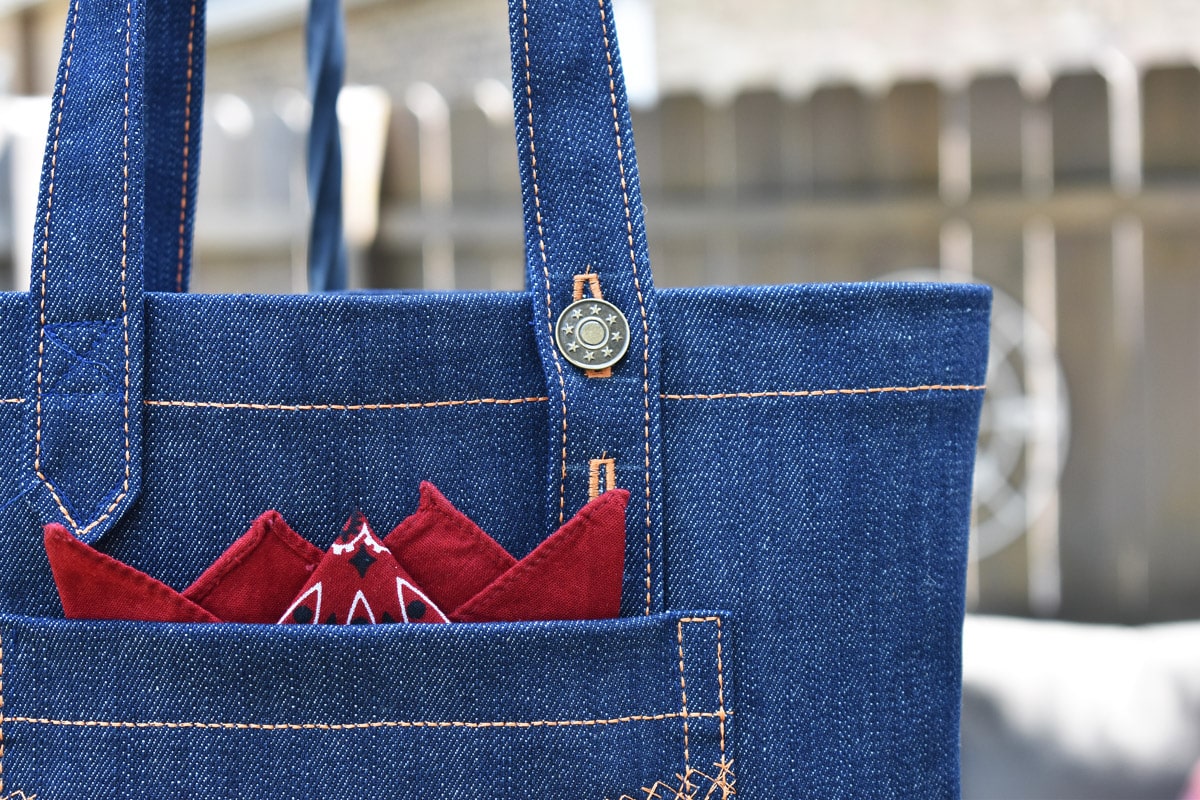
Denim Sewing Skill Builder Tote, Part Two

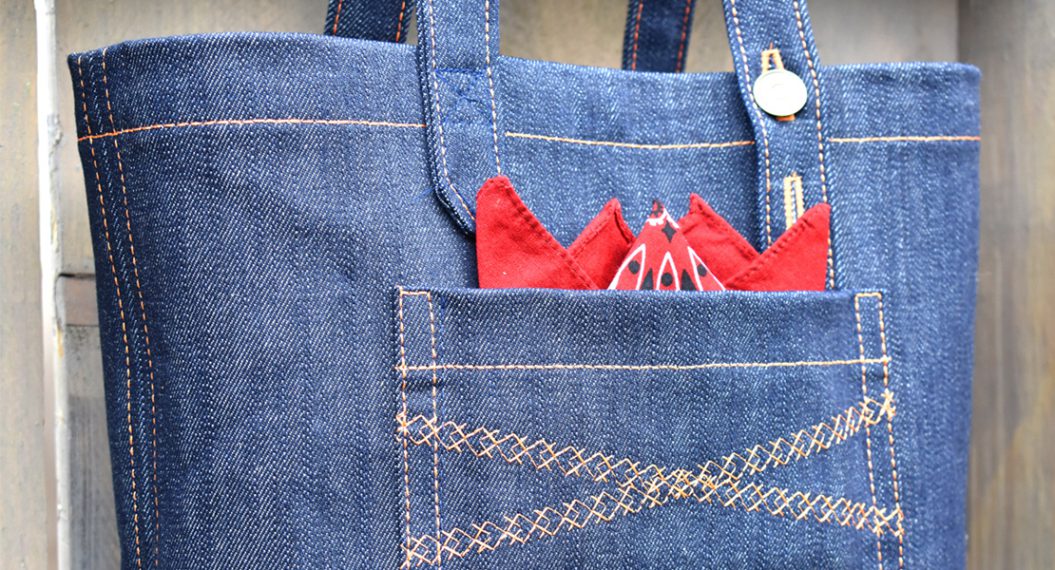
Build your denim sewing skills by making a blue jeans tote bag. All of the techniques used to sew this blue jeans tote, such as sewing a buttonhole on thick fabrics, decorative stitching a patch pocket, and topstitching straight lines can be applied to making a pair of denim jeans. In this three-part series, you’ll learn how to use special presser feet, accessories, and tools to make the job of sewing thick denim easier! In this post, learn tips and techniques for making buttonholes on thick denim (just like a blue jeans waistband).
Find a full list of materials and tools in post one, along with instructions to cut the tote pieces and prepare the pocket.
In part three, we’ll wrap it all up and finish the tote.
You’ll need the following tools and materials listed in the Denim Sewing Skill Builder Tote, Part One post to sew the straps and make the buttonholes.
- The four cut strap pieces for the tote
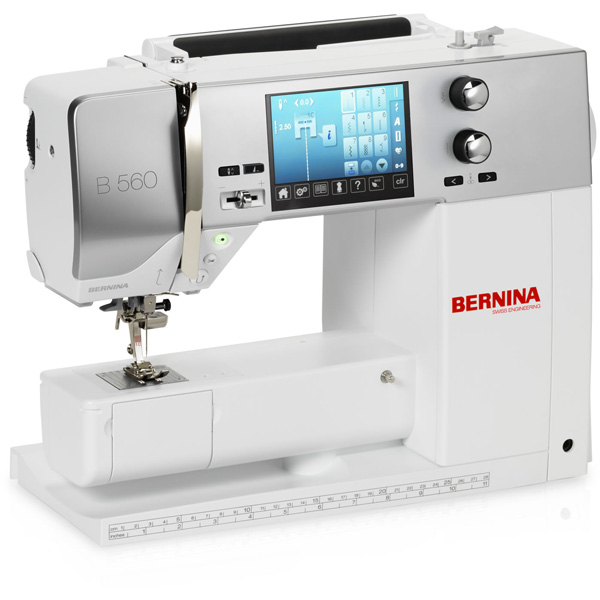
- Sewing machine (I use a BERNINA 570 QE)
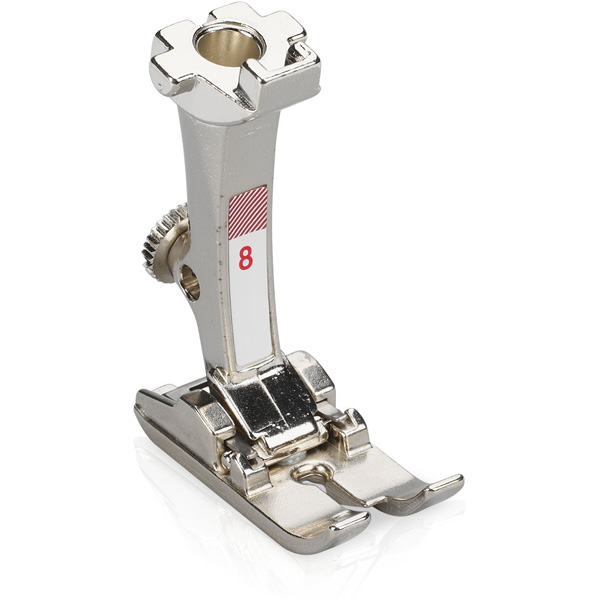
- Jeans Foot #8D
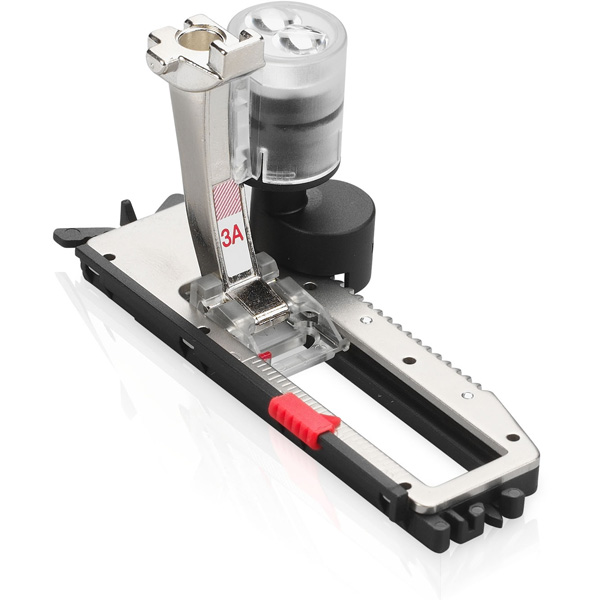
- Buttonhole Foot with Slide #3A
- Fabric-feeding Aid for Sewing Buttonholes
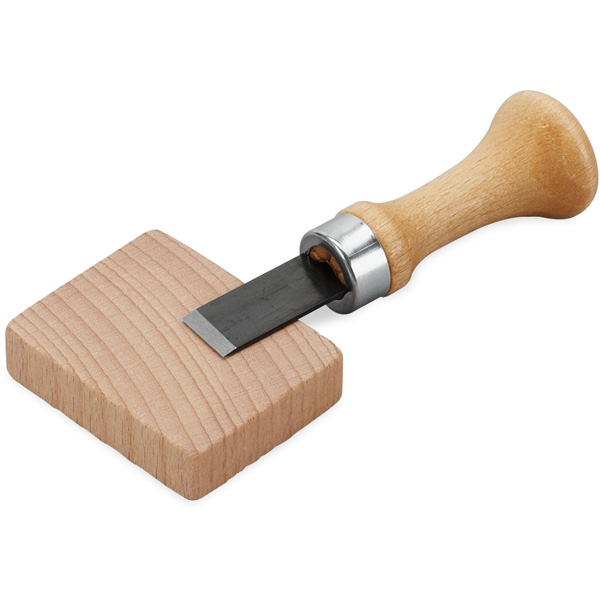
- Buttonhole Cutter with Wooden Block
- Fabric marking pen or pencil
- Small clear ruler or sewing gauge
- Thread to match denim
- Contrasting thread for topstitching and buttonholes
- Basic sewing supplies
Sewing the Straps
The first step is to stay-stitch one long edge of each of the four strap pieces. The stay-stitching will help the one long edge from distorting during later steps in constructing the strap. Use Jeans Foot #8D with thread that closely matches the denim and a straight stitch.
Stay-stitch one long edge on each of the four strap pieces. Start stitching from the top of one long edge, stitching 1/2″ away from the raw edges, all the way to the other end.
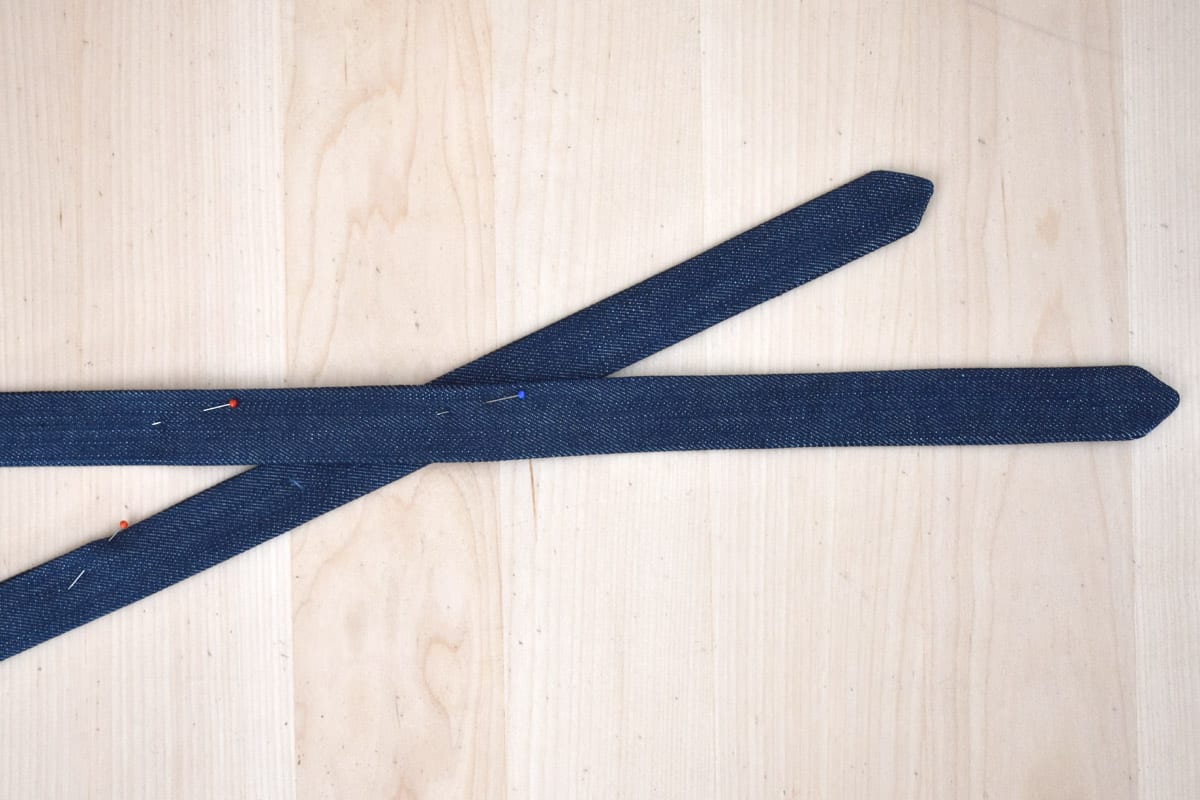
Pin two strap pieces right sides together, matching the stay-stitched edges together. Grab a ruler and fabric marking pen or pencil for the next steps.

First, mark the center of the top, short edge of the strap with a small dot. Since the strap is cut 2″ wide, this should be approximately 1″ from each edge. Next, make a small dot on each side of the strap measuring 1″ down from the top, short edge, and mark with a small dot.
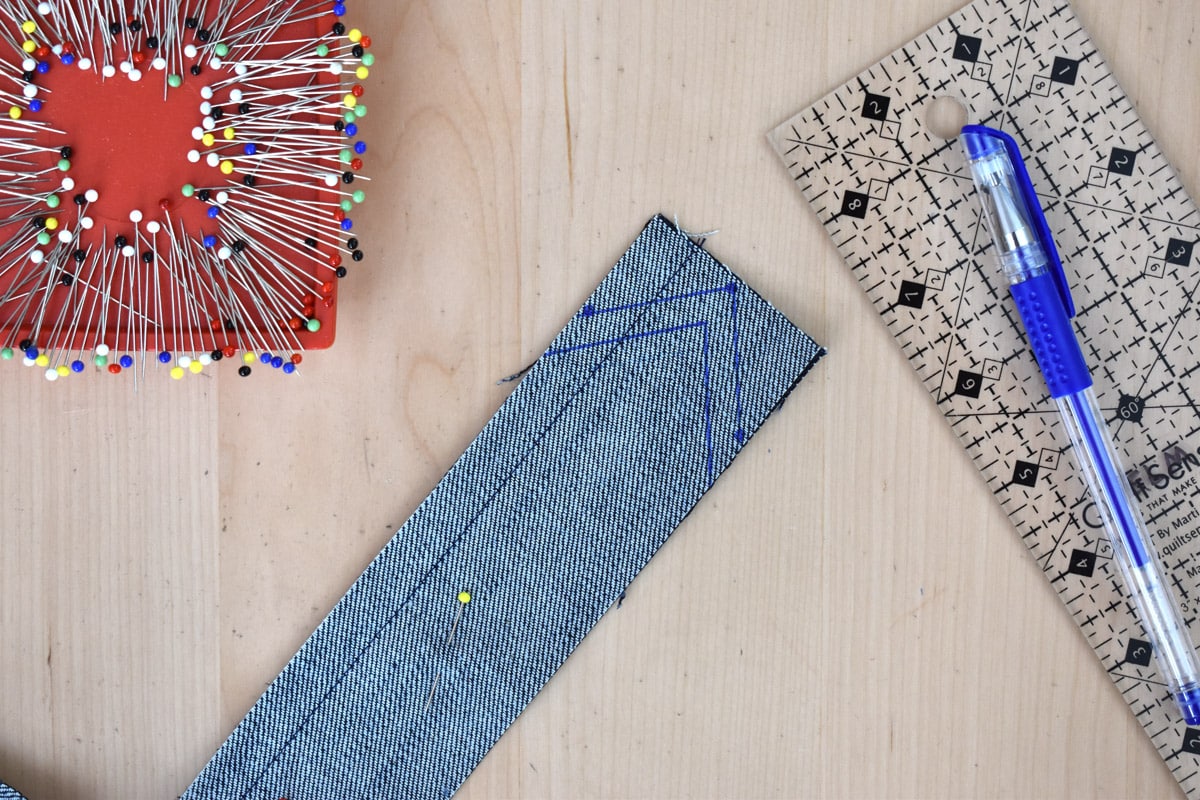
Connect the small dots to create a point on the end of the strap. Next, use the ruler to make another set of marks exactly 1/4″ from the lines that connect the dots. I use the clear ruler for this step.
These two marks represent the seam allowance and the stitching line to form the point at the end of the strap; the first line drawn between the small dots is the seam allowance, and the second line drawn 1/4″ down is your stitching line.
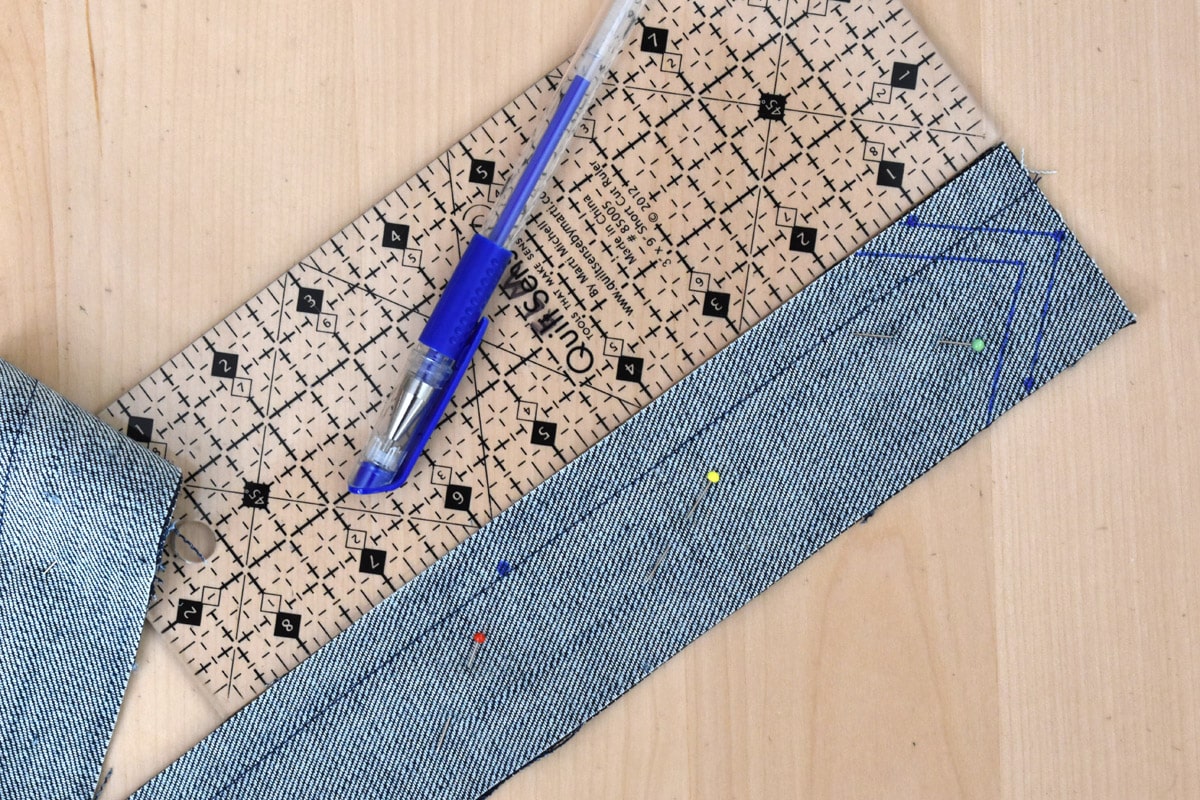
Make one last reference mark on the side of the strap with the stay-stitching; measure 6″ down from the top edge and mark next to the stay-stitching with a small dot. This will be your start/stop mark when stitching both strap pieces together.
Repeat this process on each end of the two pinned-together straps. Get ready to sew the strap pieces together with Jeans Foot #8D and the thread color matching the denim.
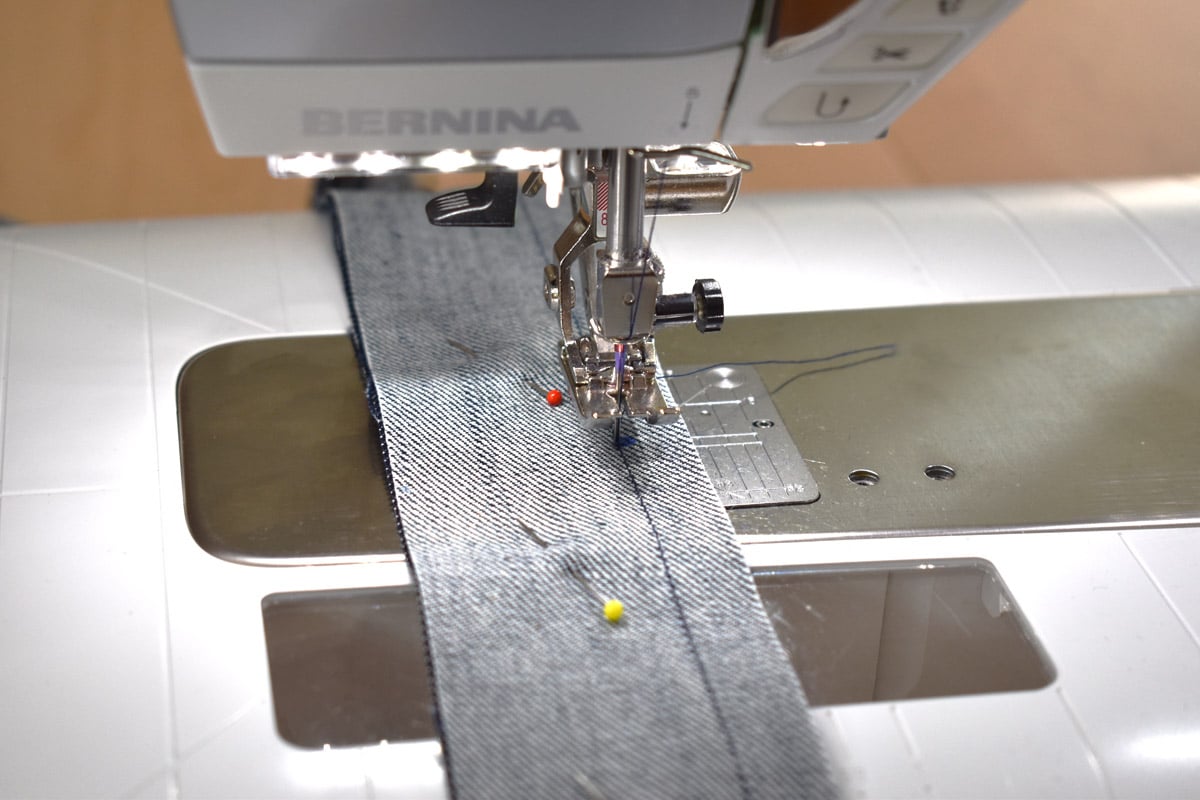
The space between the two small dots made near the stay-stitched side of the straps will be left open. Stitch the straps with a 1/2″ seam allowance on the sides and follow the stitching line on the pointed ends of the strap. To begin, lower the needle on the small reference dot marked 6″ below the strap end so that the first pointed end of the strap is in front of the needle. Backstitch on the dot to create a strong seam end.

When the needle reaches the first stitching line marked, stop with the needle down on the line, raise the presser foot, and pivot the fabric to stitch directly on top of the stitching line. Pivot again when reaching the end point on the stitch line.
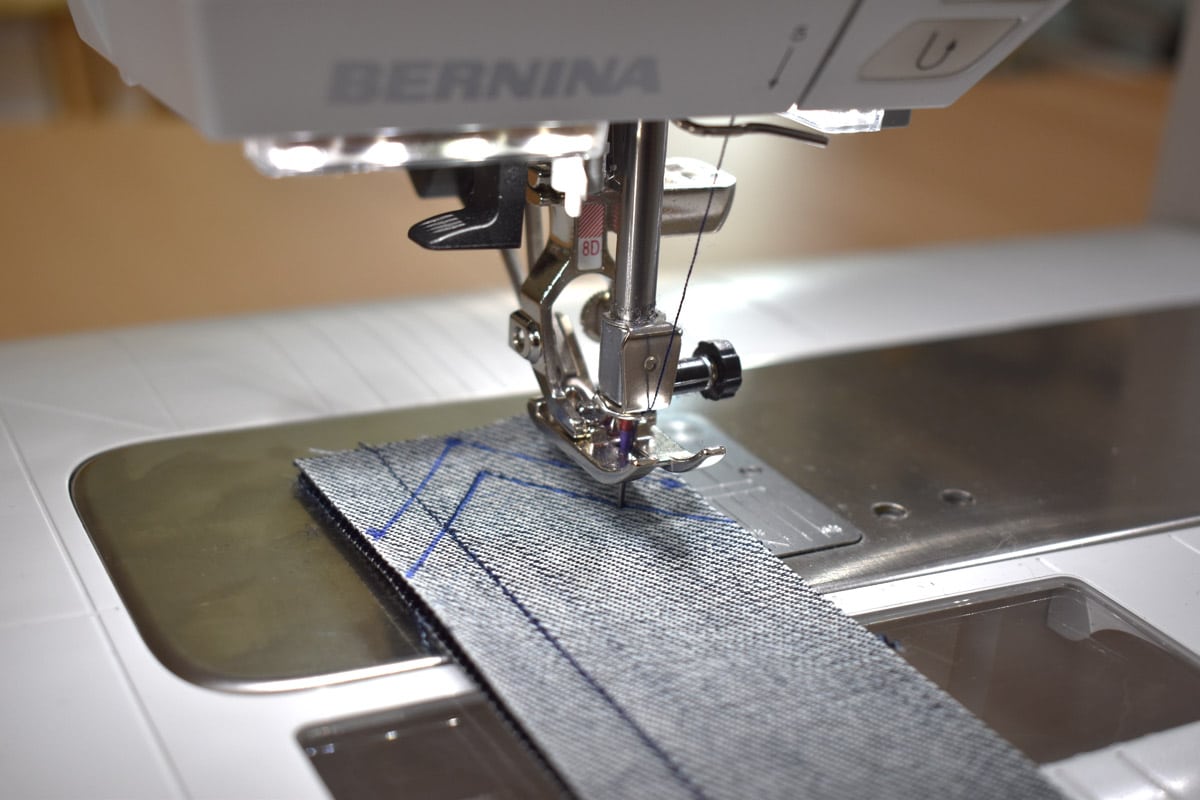
Pivot to continue sewing down the long edge 1/2″ away from the raw edge. When I get close to this point, I pivot the fabric to check the raw edge with the 1/2″ seam mark on the stitch plate: if I am not yet at the 1/2″ seam allowance, I pivot back and take another stitch or two until I reach the right point. If I overshoot the 1/2″ seam allowance and sew too far, I can back-stitch to the correct spot and then pivot to continue.
Stitch down the long edge until you reach the stitching line marked on the other end, and pivot to follow the stitch line through the point as above. Stop sewing when you reach the other small dot on the stay-stitched side of the strap, and backstitch a few times on the dot.
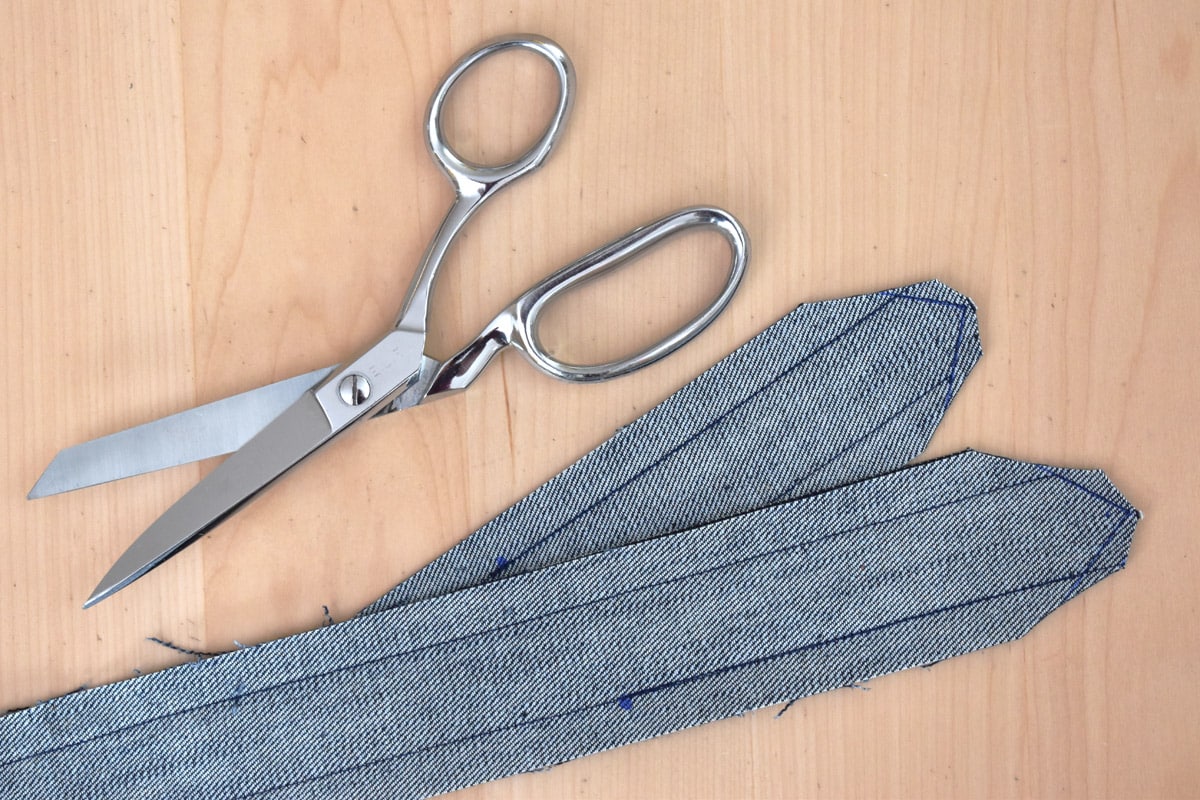
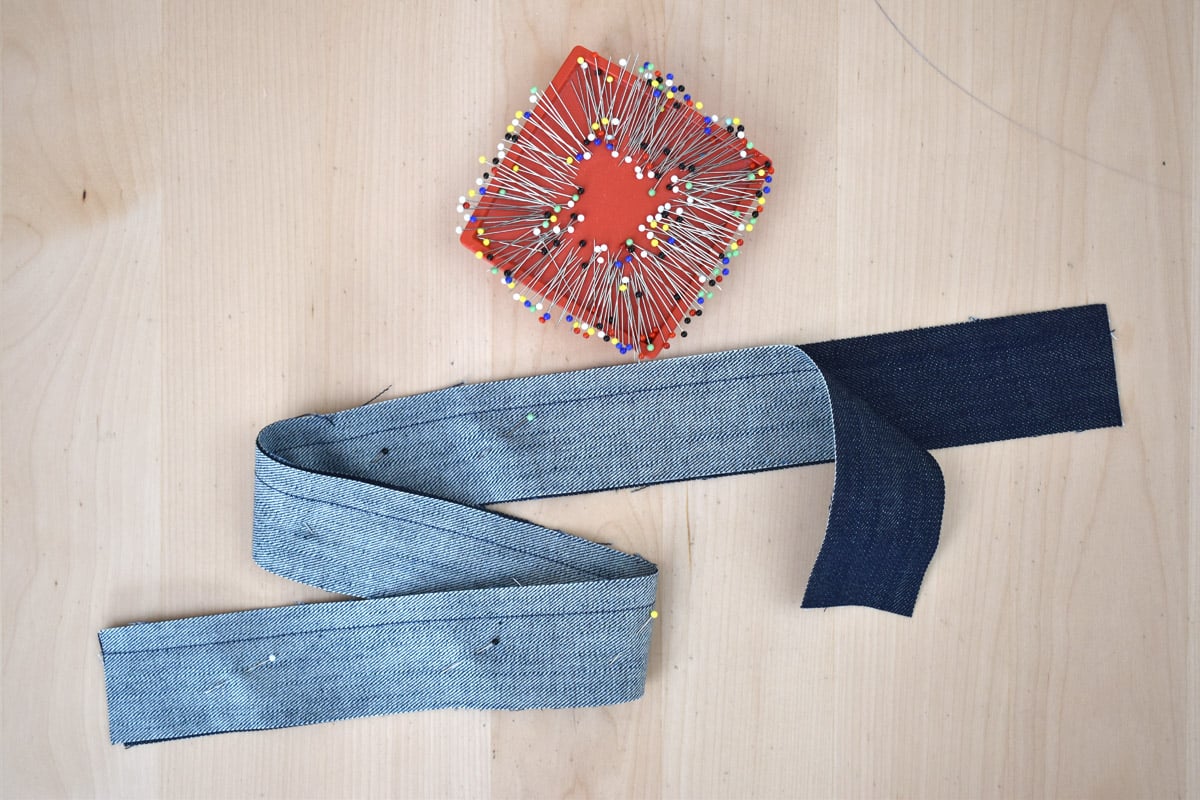
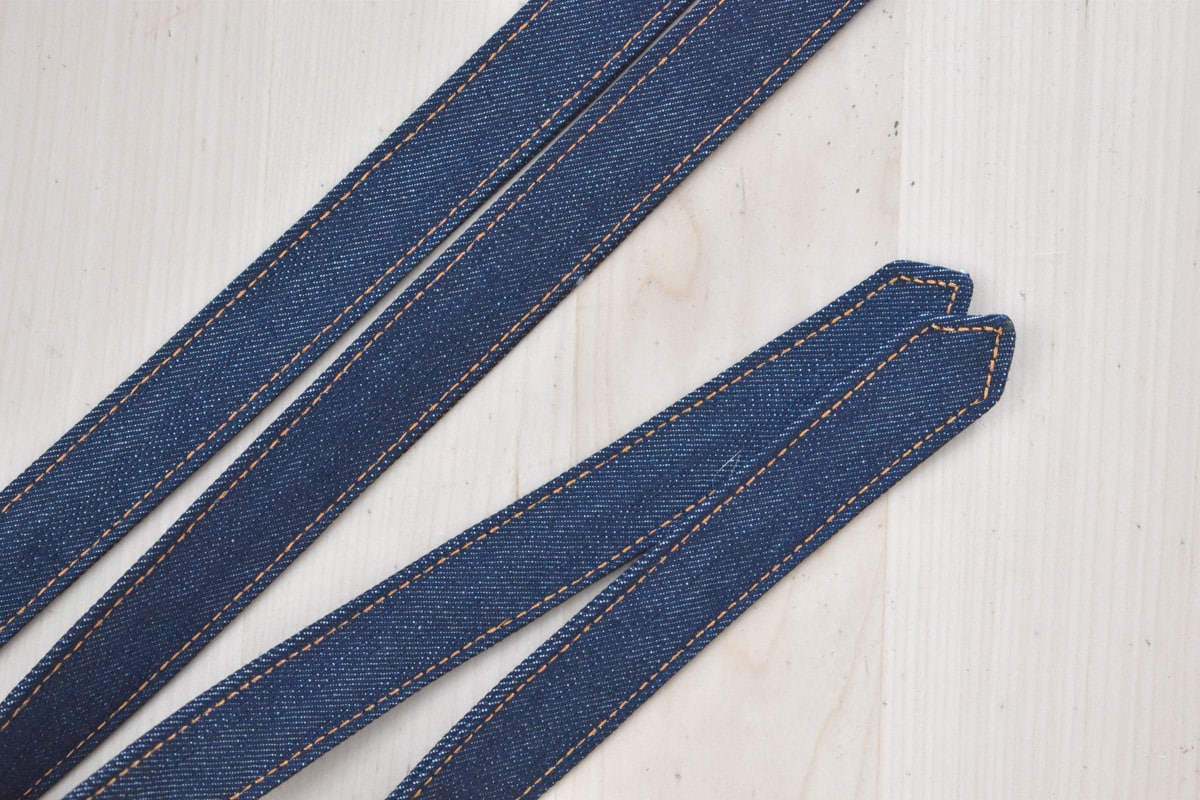
Use a pair of sharp shears to trim the excess fabric close to the stitching along the pointed ends. Next, carefully turn the strap ends inside out, using a chopstick or eraser-end of a pencil to gently push out the pointed ends. Be careful not to push the points out too hard to prevent from pushing through the stitched seam.
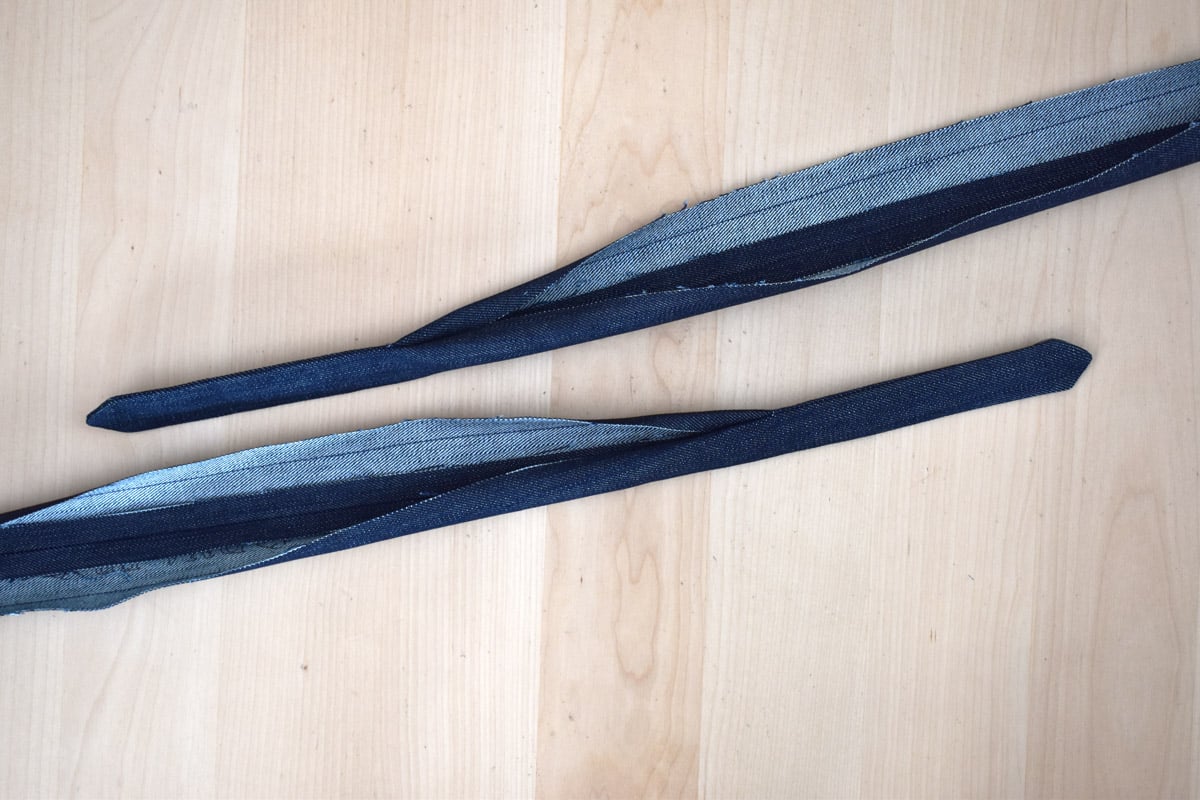
Press the pointed ends of the straps flat with a hot steam iron. Press the inside side strap seam in the opening flat where the iron fits easily through the opening.
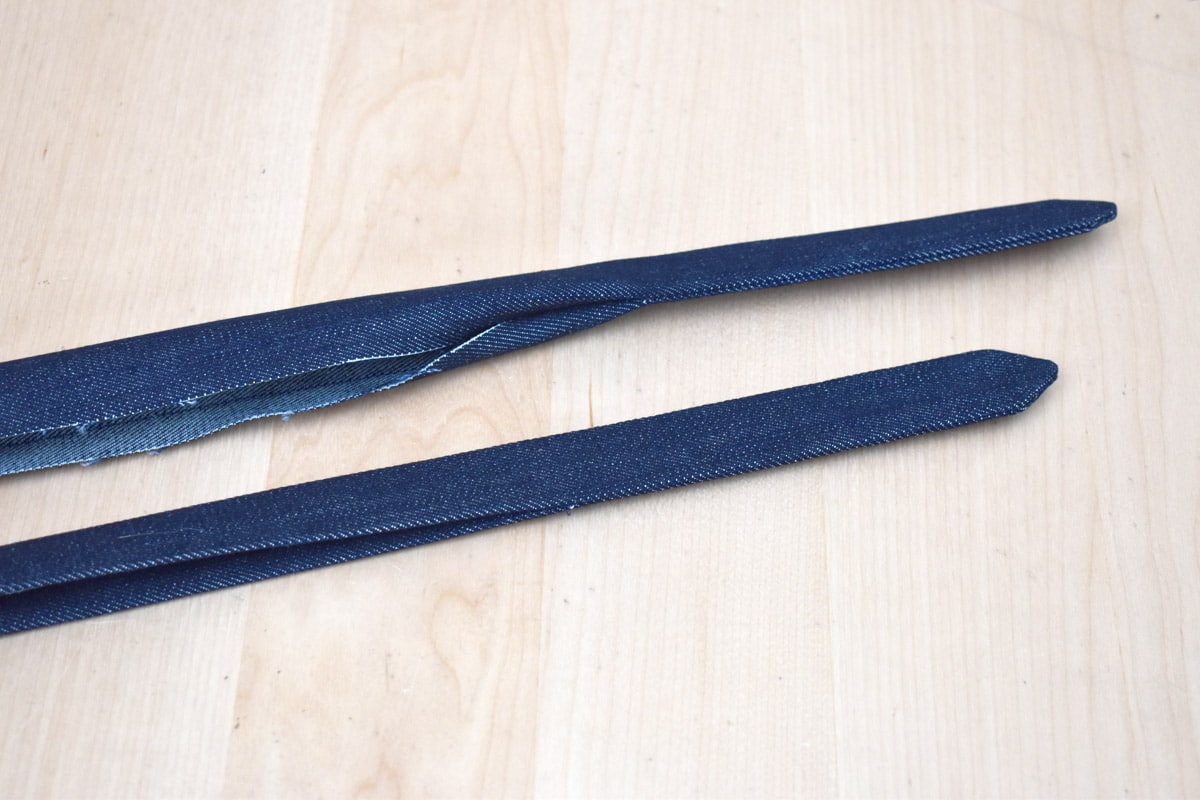
Next, press the raw edges at the opening towards the inside of the strap on the stay-stitching line, and steam press flat.
Now for the final pressing step, press the straps as flat as possible with a hot steam iron, making sure the folded in edges at the opening meet evenly. Place a few pins across the opening to hold it closed.
Get ready to edgestitch the straps with the contrasting thread color loaded in the machine. Use either a straight stitch or the Triple Stitch (stitch #6 on the B 570 QE) with the stitch length set at 3.5mm.
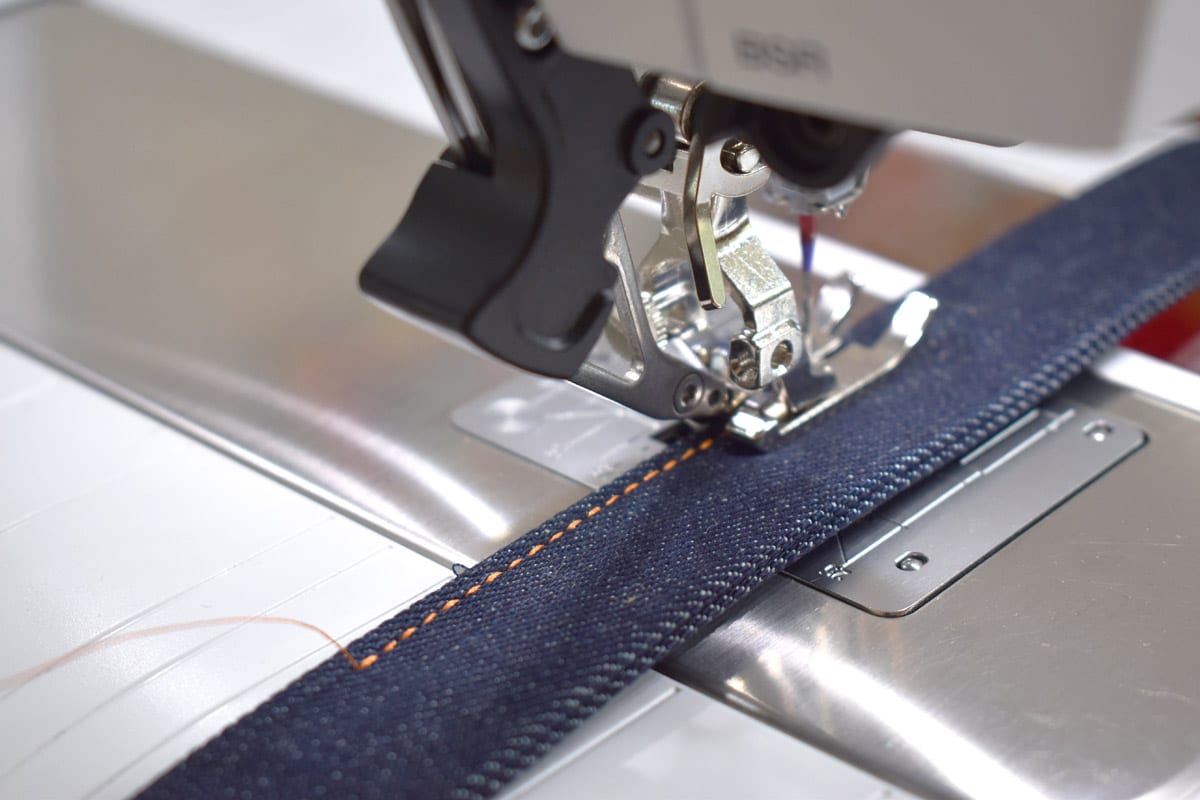
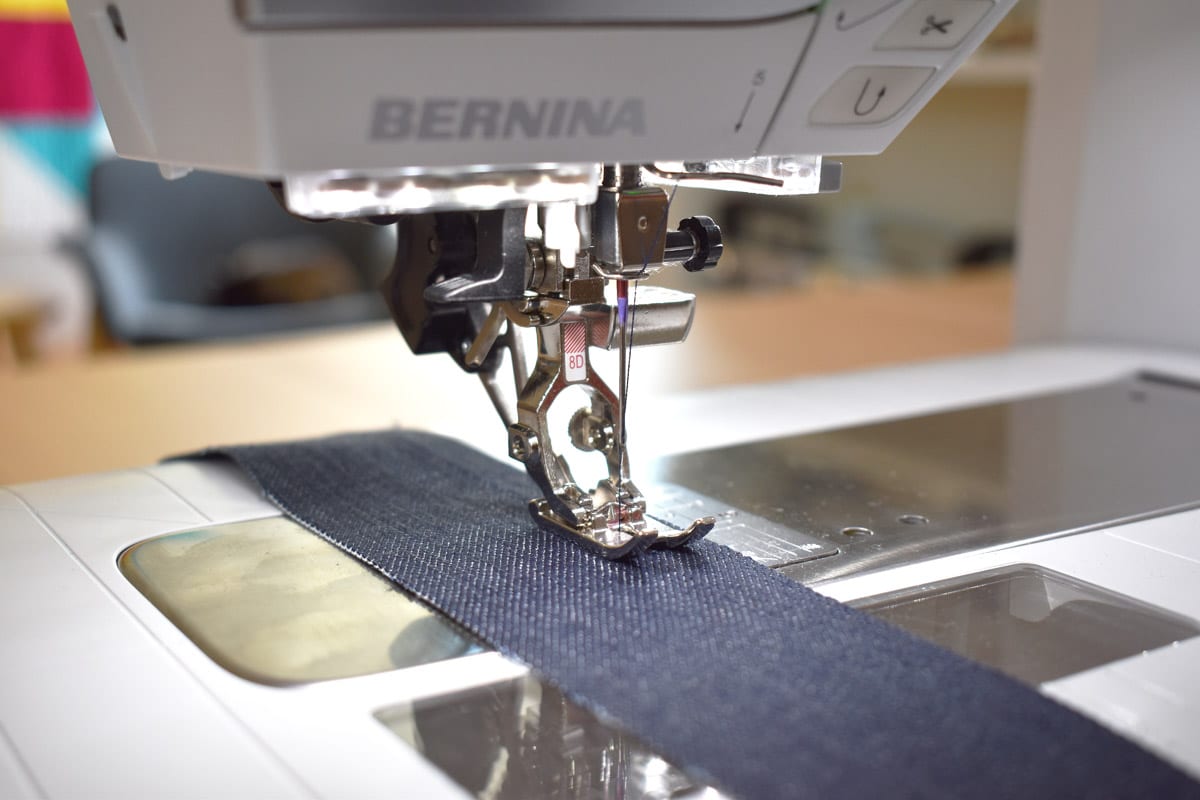
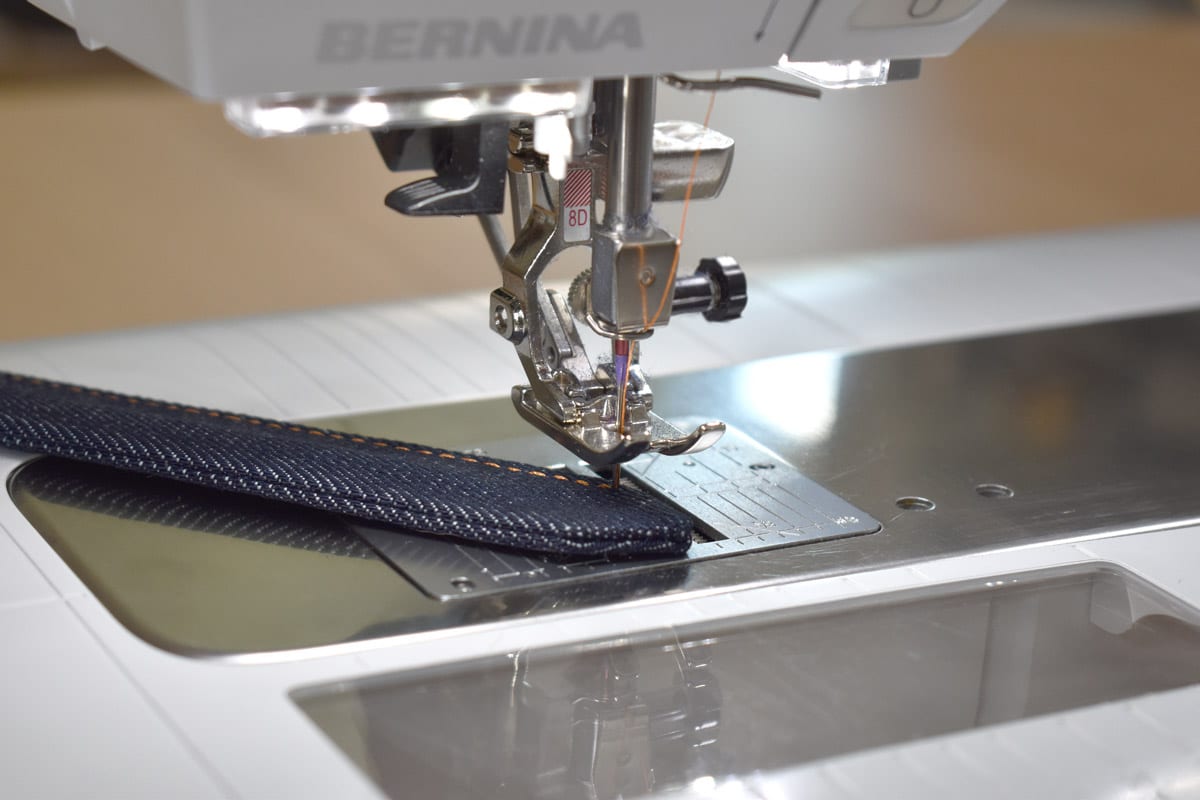
The goal of perfect edgestitching is a nice, even, straight line of stitching next to an edge. There are tools to help with edgestitching such as the Edgestitch Foot #10, but I chose to use the Jeans Foot #8D with the Dual Feed for this step to help guide all the thick layers evenly through the machine. Even feeding = perfect stitches!
Here’s a tip for straighter sewing on edges. Find a spot on the presser foot to follow with the edge of your fabric as it feeds through the machine. I use the inside edge of the right toe on the Jeans Foot #8D to follow as I sew. This creates a perfect line of stitching about 1/8″ from the fabric edge.
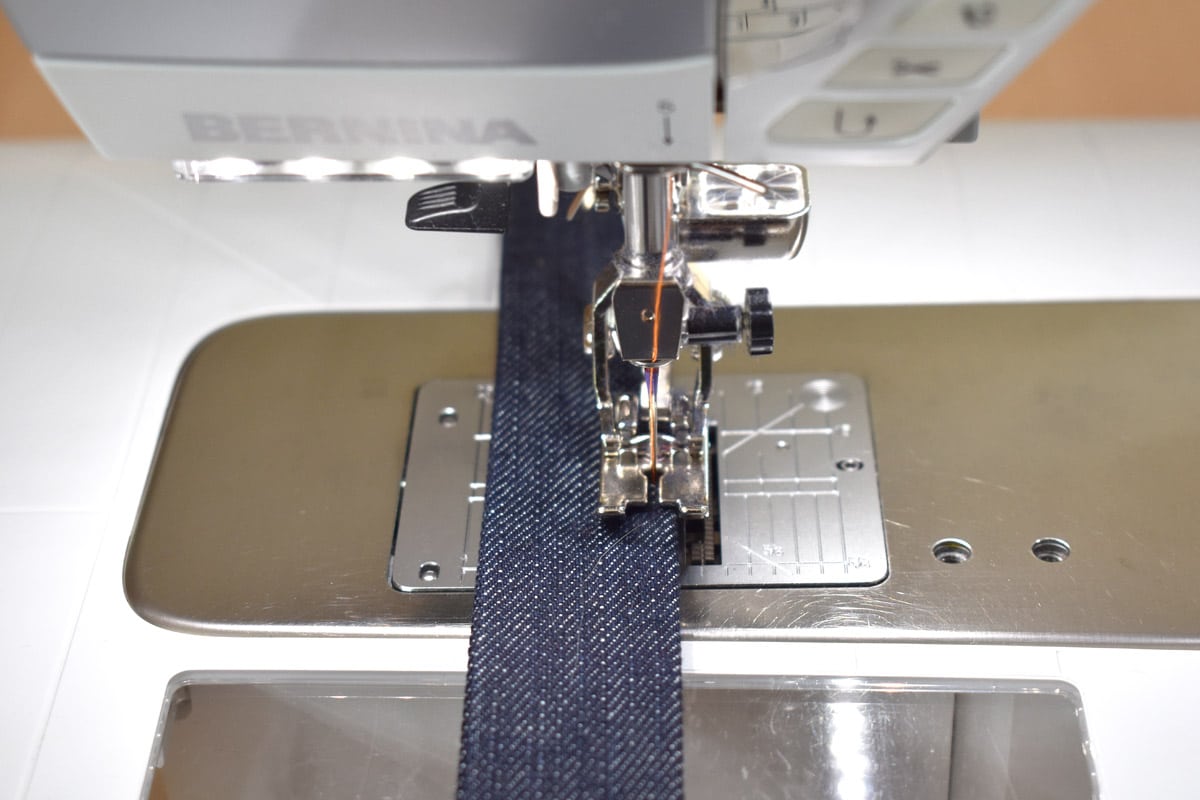
When reaching the pointed end of the strap, pivot with the needle down in the corners. If you are using the Triple Stitch, watch to make sure the corner stitch finishes stitching before you pivot to prevent the machine making an extra stitch backwards in the wrong place. The Triple Stitch overlaps three stitches; one stitch forward, one stitch backward, and a final stitch forward before moving to the next stitch.
Notice that the presser foot is only coming into contact with a small portion of the strap at this point in the process, and this may affect how the machine stitches. Use this tip to even out the presser foot and give the machine more fabric to grab on to.
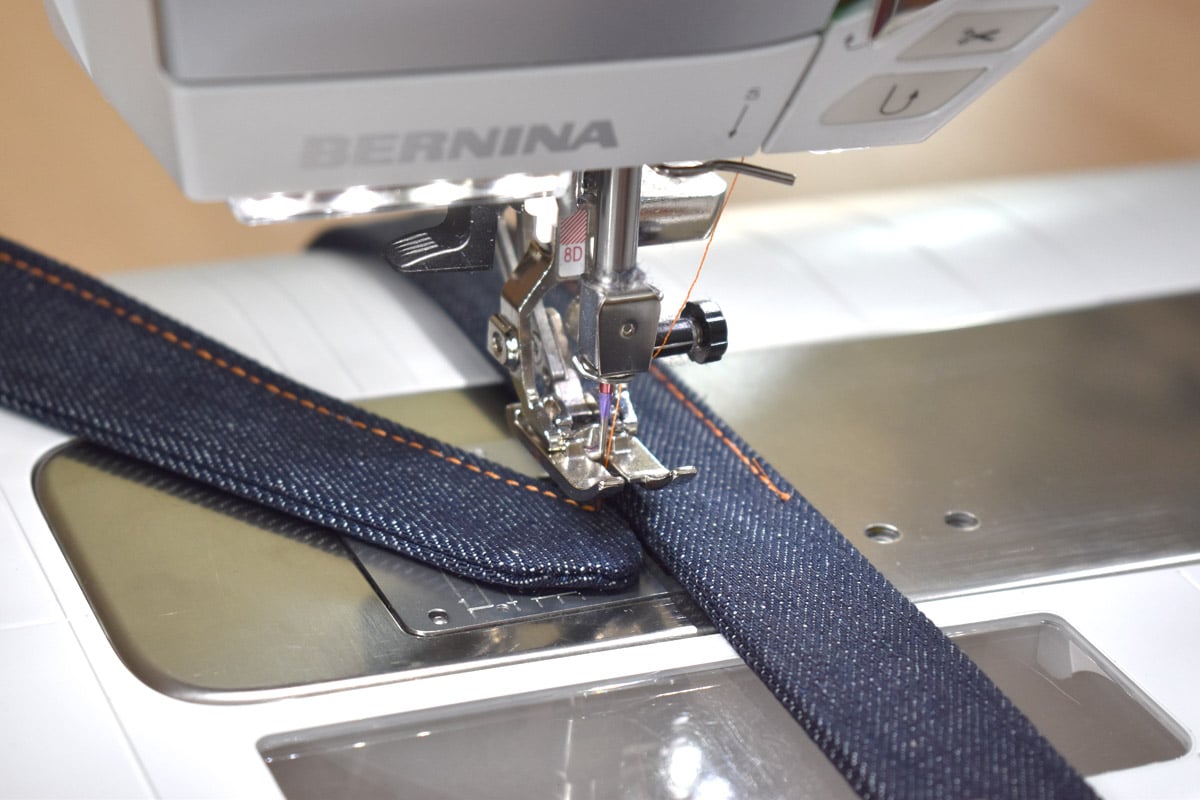
Use the other end of the long strap to place under the foot right next to the pointed strap end. You can also use folded layers of fabric to place under the foot next to small bits you are trying to edgestitch with the same results. Lower the presser foot and continue stitching to the next point.
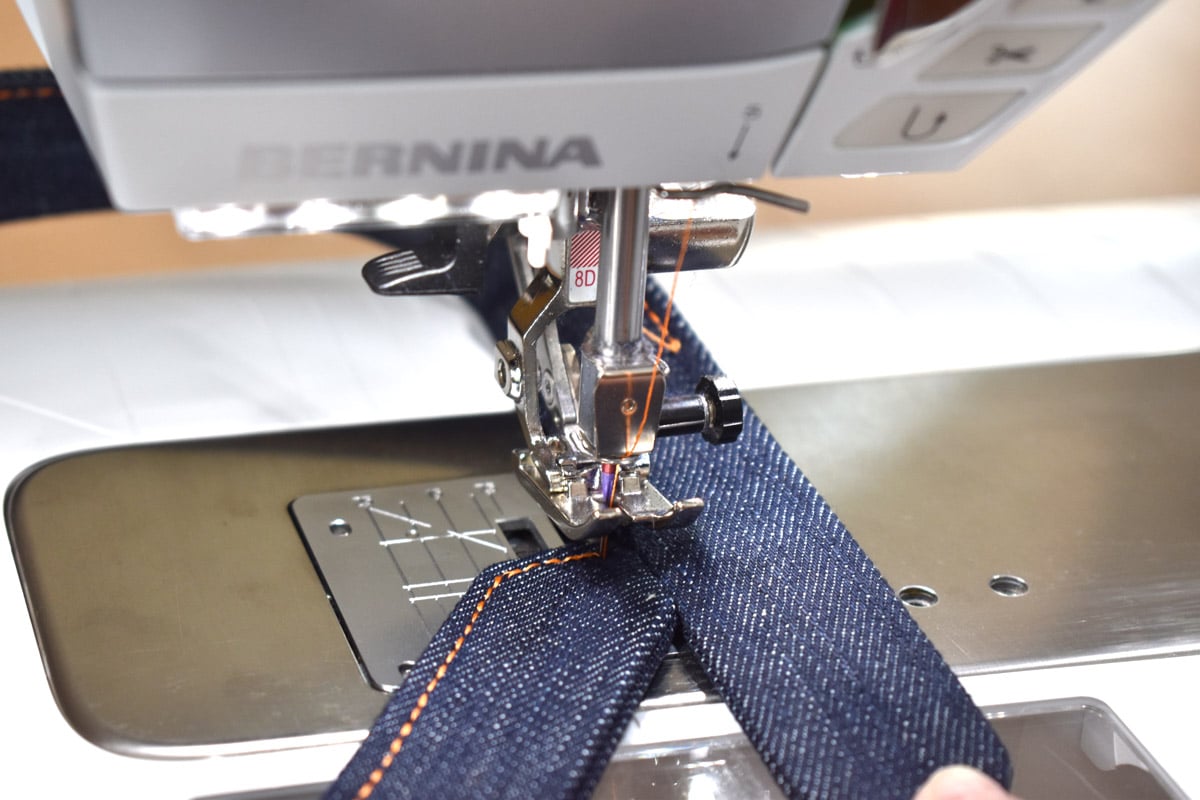
Pivot at the end point, reposition the long strap end next to the point under the foot, and continue sewing.
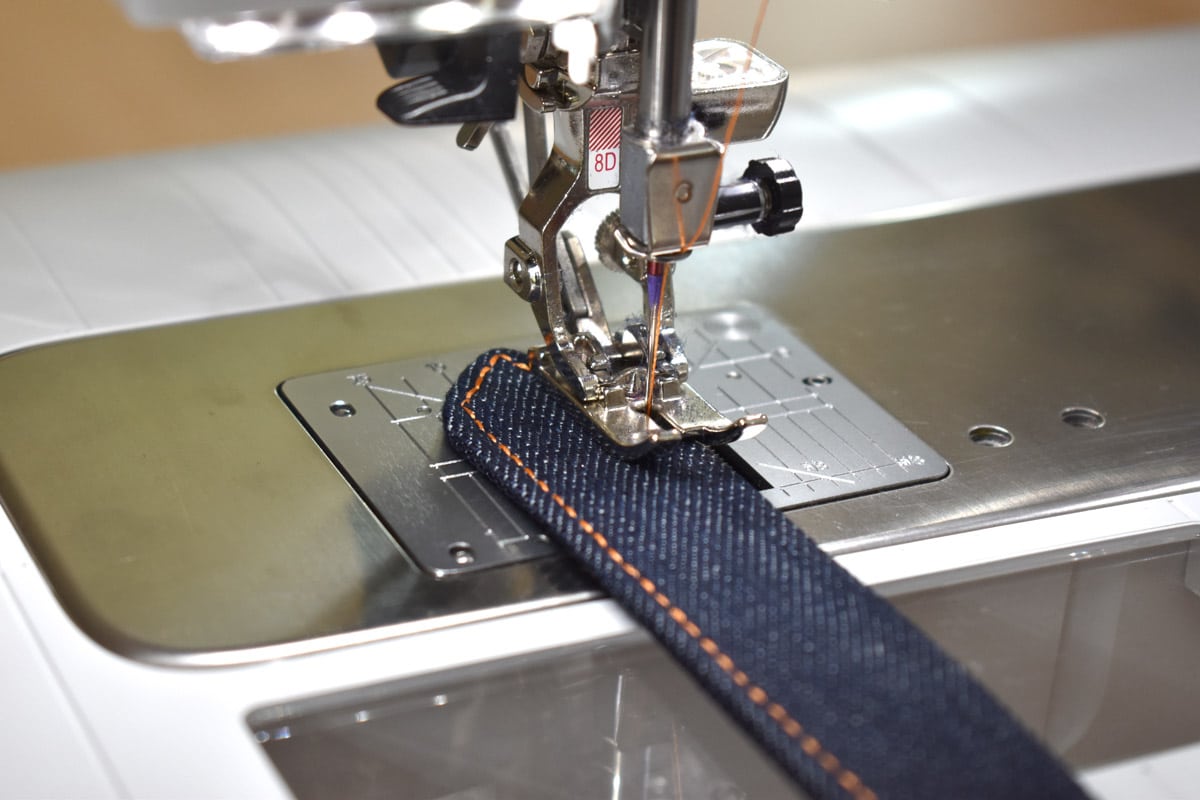
Pivot around the last corner in the point, and continue on edgestitching all the way around the strap. Overlap a few stitches when reaching back to the starting point. Repeat with the other strap.
Give both straps a quick steam press to set the edgestitching into the fabric. Grab the presser feet and tools needed to add buttonholes to each strap; Buttonhole Foot with Slide #3A, Fabric-feeding Aid for Sewing Buttonholes, Buttonhole Cutter with Wooden Block, a small clear ruler or sewing gauge, and a fabric marking pen or pencil.
Sew the buttonholes in the Straps
The rule of thumb is to measure your button and add 1/8″ to create the correct-sized buttonhole. You may need to add more than the normal 1/8″ when using really thick fabrics. Always test stitch a buttonhole on the same fabric and number of layers as your project to determine if the buttonhole size and type will work with your button. Check your sewing machine manual for instructions to create a buttonhole; the step-by-step here shows the buttonhole program in the BERNINA 570 QE.
I selected a 7/16″ size shank rivet button for the bag, and in testing buttonholes with 4 layers of denim, determined that the buttonhole needs to be about 7/8″ long to fit properly. I use the default buttonhole in the B 570 QE for this project. When testing the buttonhole, make note of the exact buttonhole, machine settings, and measurements so you can remember later.
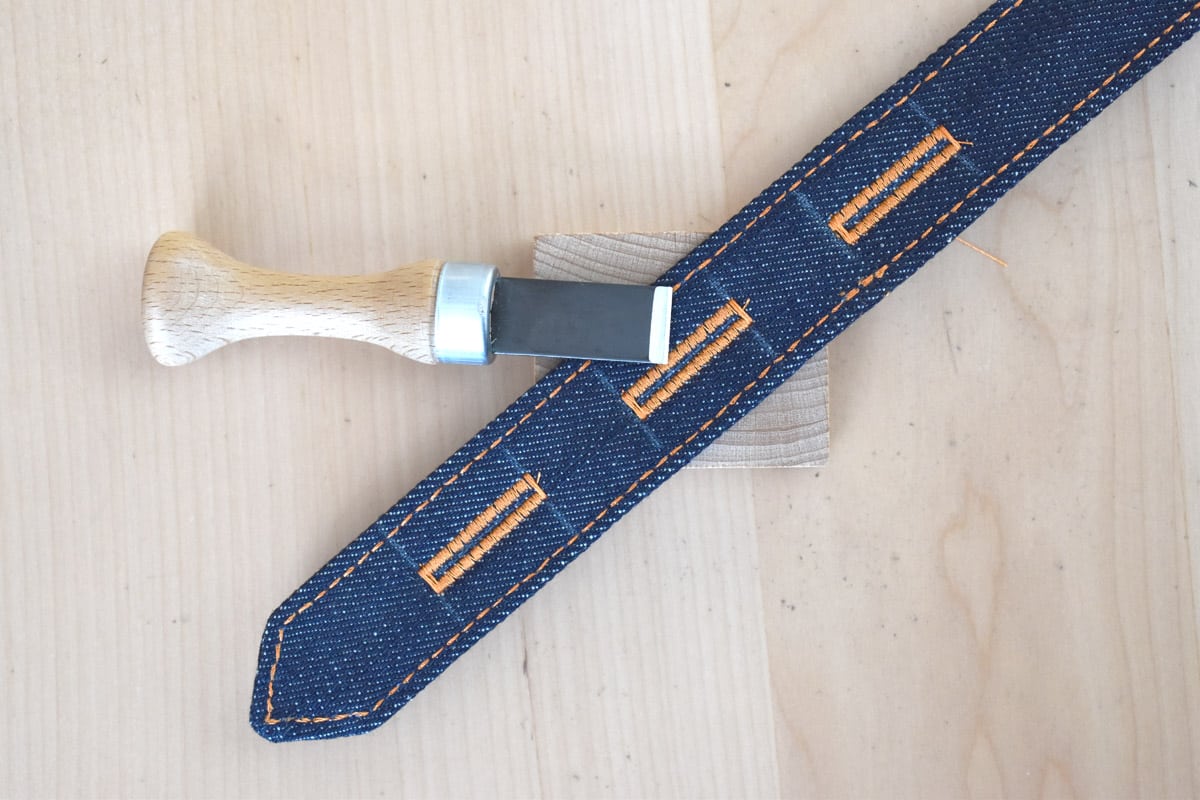
Mark the buttonholes on the strap end with a ruler or seam gauge and fabric safe pen or pencil as in the illustration below.
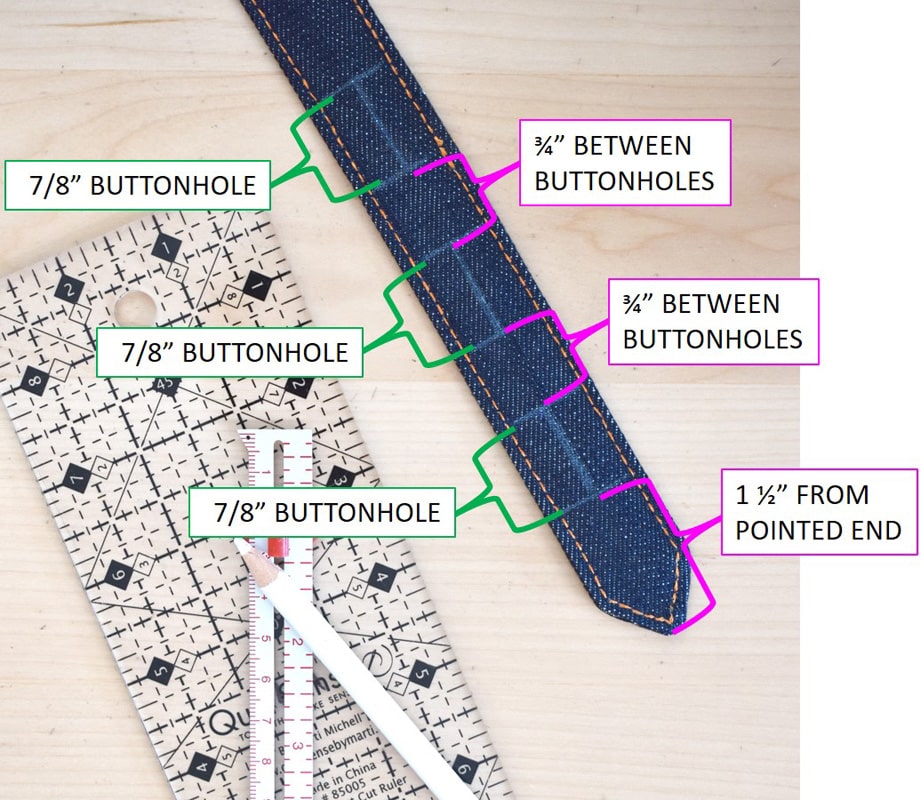
Reference the above photo when marking the buttonholes on the strap ends. Mark the first buttonhole at the bottom of the strap; the bottom of the first buttonhole begins 1 1/2″ from the tip of the pointed strap end. Make a horizontal mark to note the bottom of the first buttonhole. My buttonholes measure 7/8″ long, and that is reflected with green in the illustration above; if your buttonholes are a different measurement, take note and use that number when marking. From the bottom of the first buttonhole, measure up the length of the buttonhole and make a horizontal mark to note the top of the buttonhole. Use a ruler to find the exact center of the strap, and make a vertical mark between the top and bottom buttonhole marks to note the center of the buttonhole.
Leave 3/4″ space between the top of the first buttonhole and the bottom of the next buttonhole, then continue to mark the buttonholes as above. Set up the sewing machine for stitching the buttonholes.
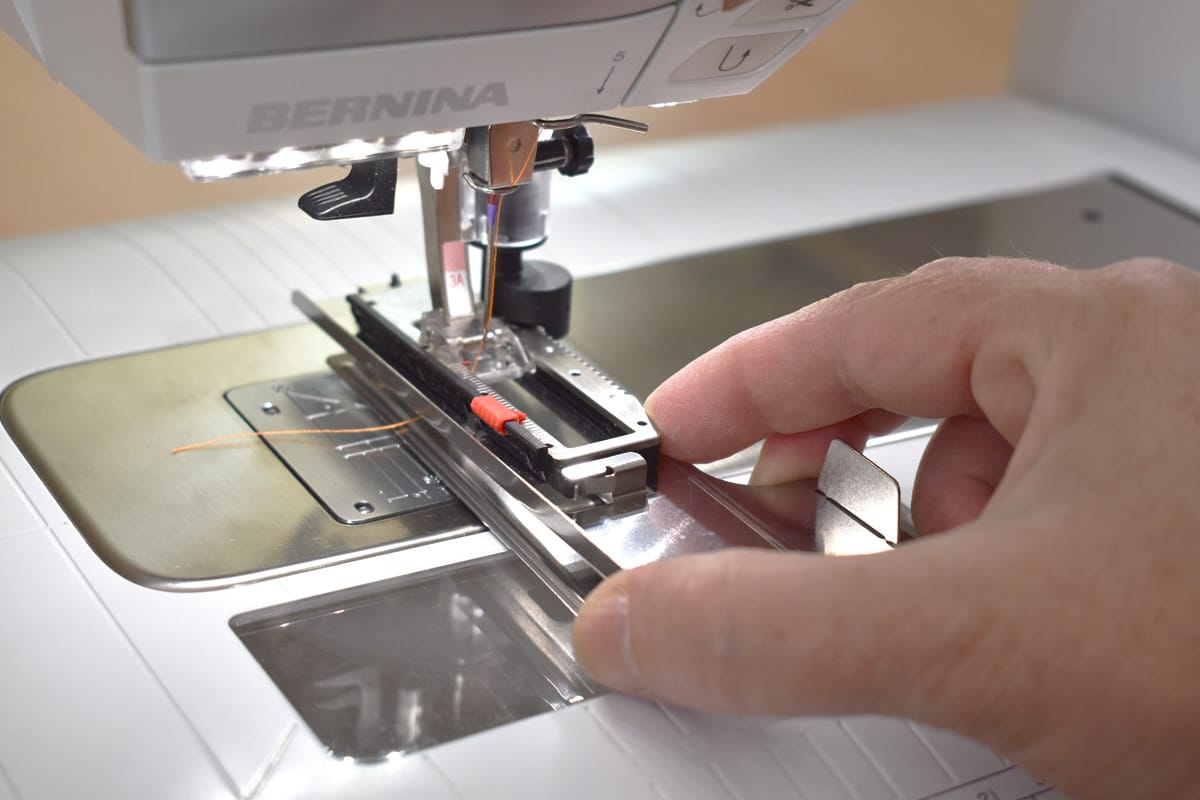
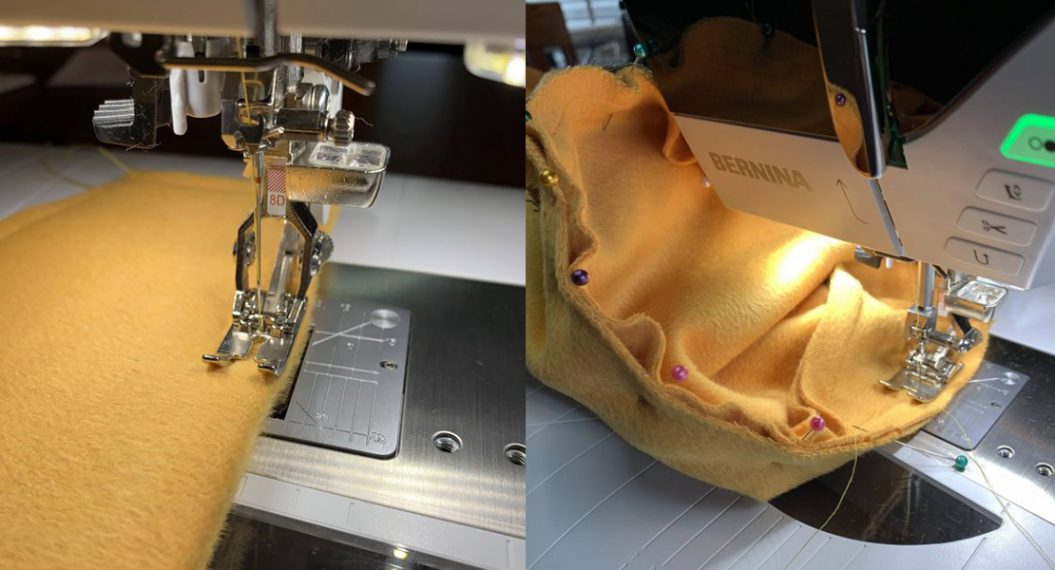
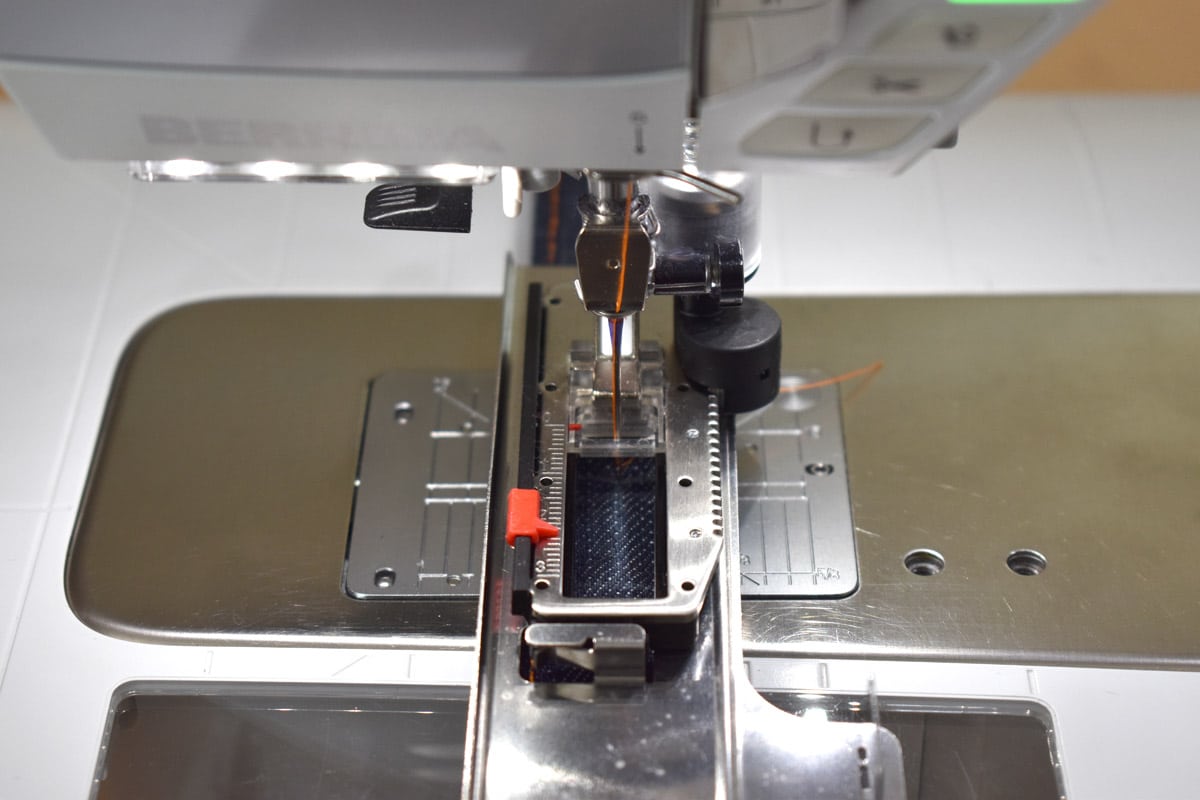
First, attach Buttonhole Foot #3A to the machine. Hold the Fabric-feeding Aid with the front end slightly to the left of the Buttonhole Foot, and attach the back of the accessory to the small tab on the back of the Buttonhole Foot. Next, slide the accessory to the right until the front tab clicks on to the Buttonhole Foot. When attached correctly, the bottom blade of the Fabric-feeding aid falls loosely down to touch the bed of the machine, still attached to the top blade with the tall silver tab at the front right side.
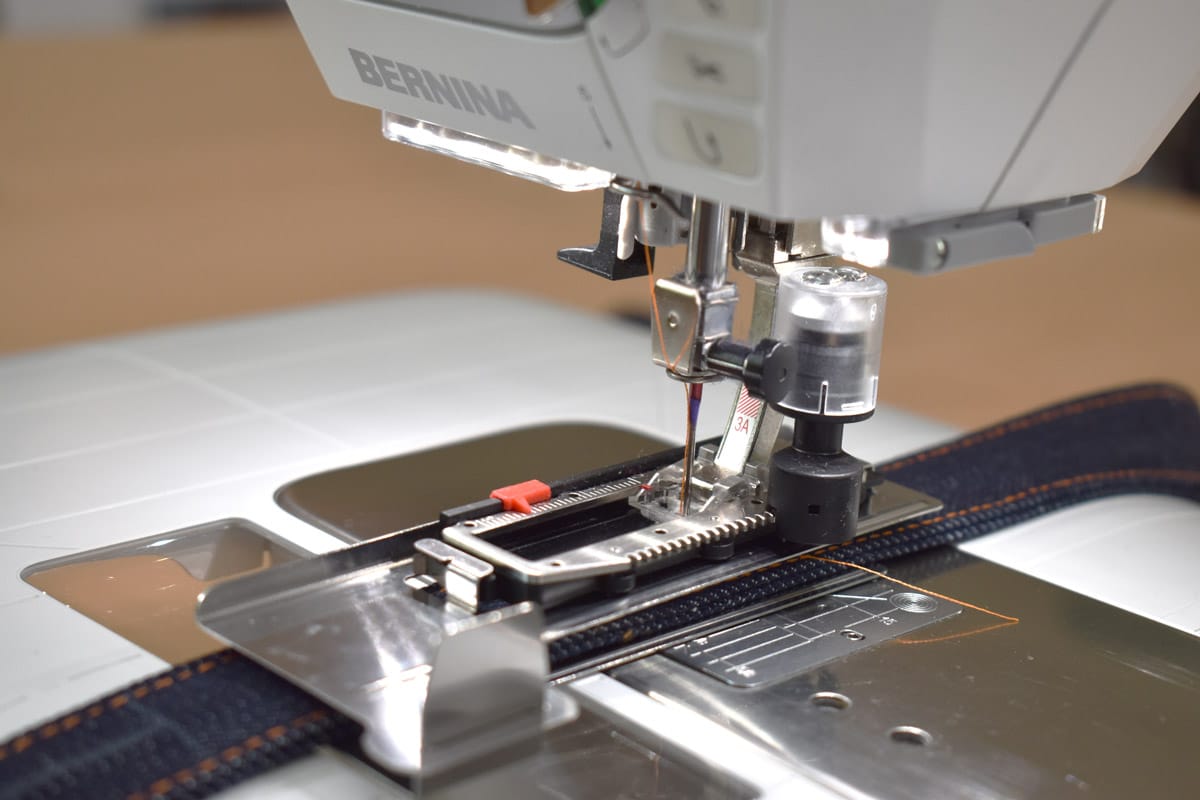
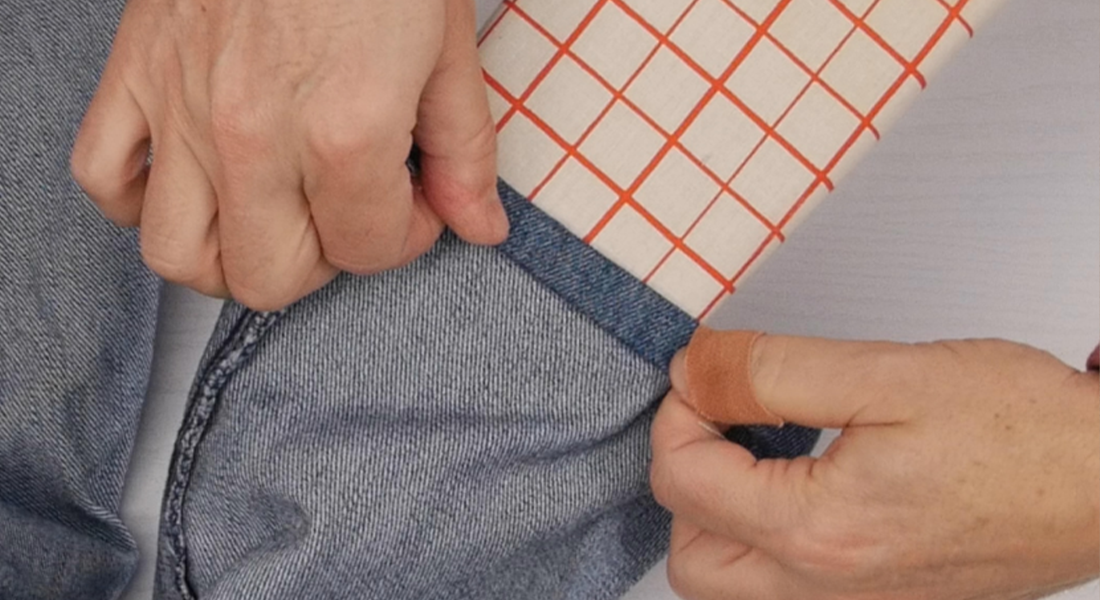
Slide the strap between the two blades of the Fabric-feeding Aid for Sewing Buttonholes attached to the Buttonhole Foot. Line up the top buttonhole markings so you can see them inside the window of the Buttonhole Foot.
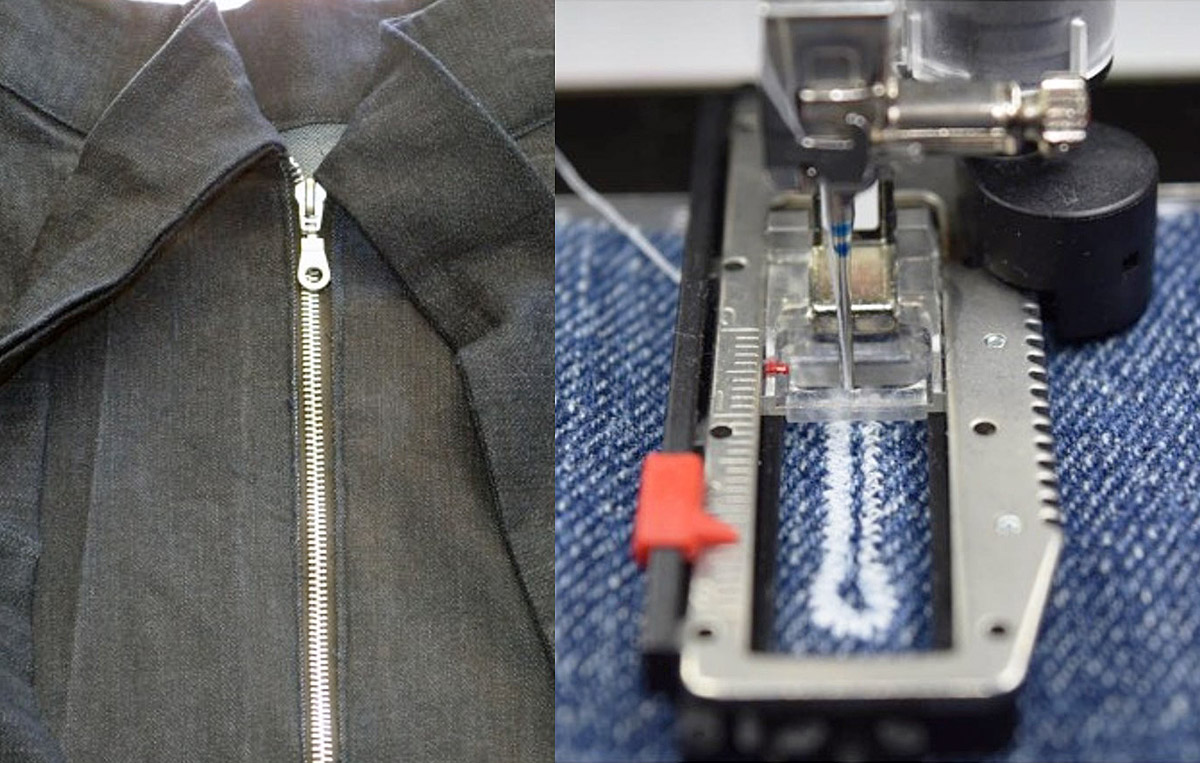
To begin the first buttonhole, lower the needle at the point where the vertical buttonhole mark meets the top horizontal mark. Begin to stitch the first buttonhole, and watch closely for the needle to reach the bottom horizontal mark of the buttonhole.
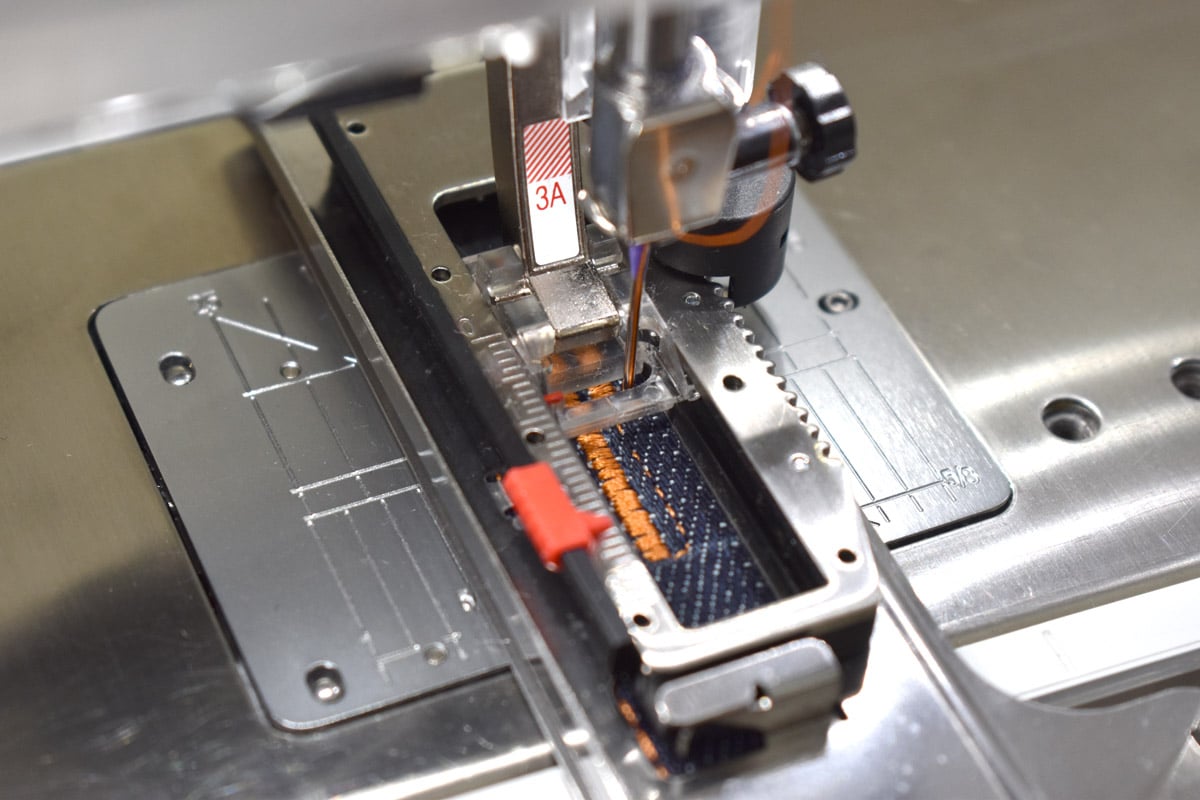
When the needle reaches the bottom horizontal mark for the buttonhole, press the Stop/Start button to tell the machine to move on to the next steps and finish sewing the buttonhole. Once you have entered the size of the first buttonhole on the B 570 QE, the machine will continue to stitch buttonholes exactly the same size until you either reset the buttonhole program or turn off the machine.
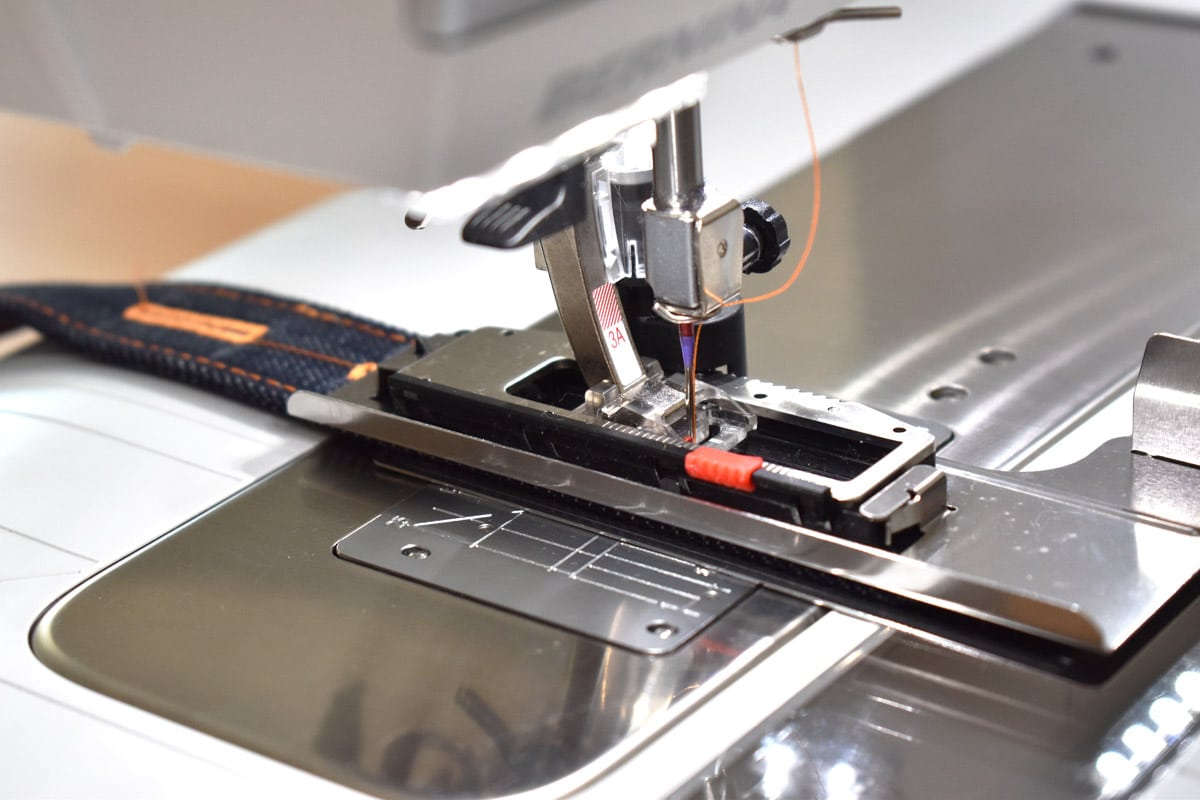
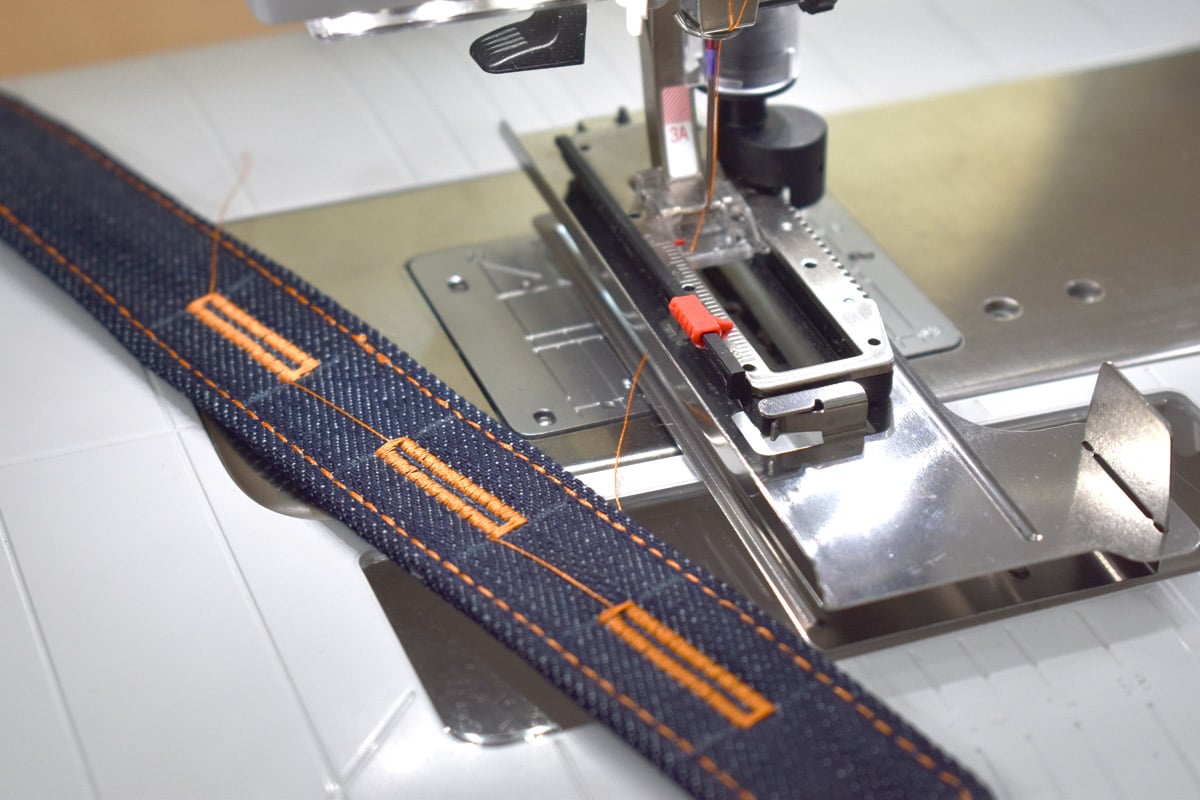
After sewing the first buttonhole, raise the presser foot and align the strap under the foot to begin sewing the next buttonhole. Continue until all buttonholes are stitched.
Opening Buttonholes with BERNINA Buttonhole Cutter with Wooden Block
Use a hard, firm table or countertop for opening the buttonholes with the cutter. Place the wooden block underneath the buttonhole to be opened.
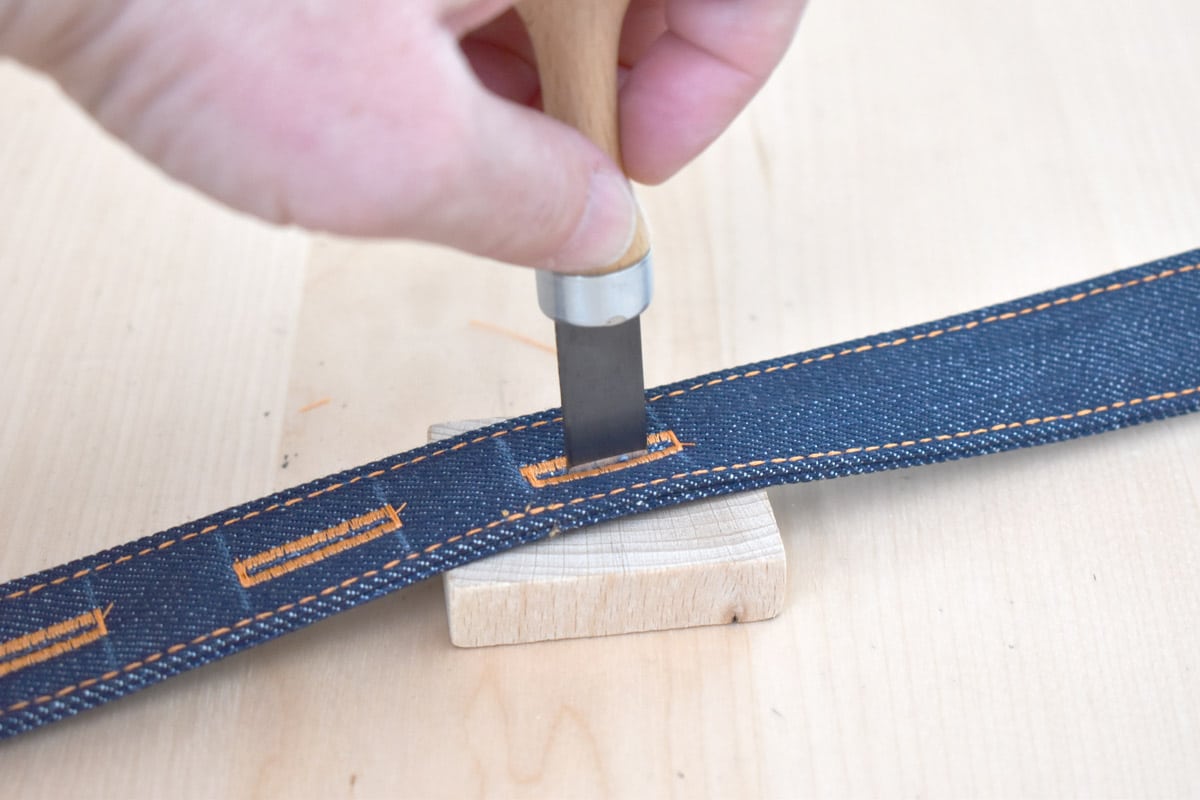
Place the blade of the buttonhole opener inside the buttonhole, resting the palm of your hand over the end of the tool and hold the handle gently with your fingertips. Rock the tool back and forth with gentle pressure until you feel the tool pop through the fabric. If the buttonhole is longer than the tool, start at one end of the buttonhole, then move to the other side. Trim away any stray threads and your straps are complete!
In the next and last post of the series, you’ll learn how to put all the pieces together and complete the tote, including the completed straps!