BERNINA Skillbuilder Sew Along: Blocks 5 & 6
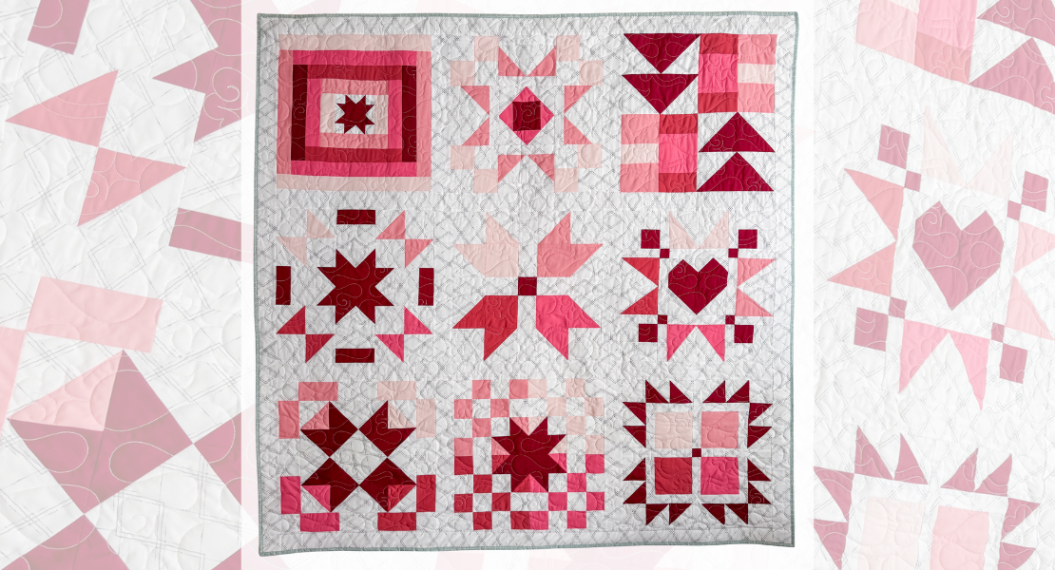
Welcome back to the BERNINA Skillbuilder Sew Along with Sweet Potato Quilts! I’m Christina, quilt pattern designer and your guide through this nine-block sampler series designed to build your quilting skills step by step. If you’re just joining, you can catch up HERE with links to all previous blog posts and free PDF patterns in one place.
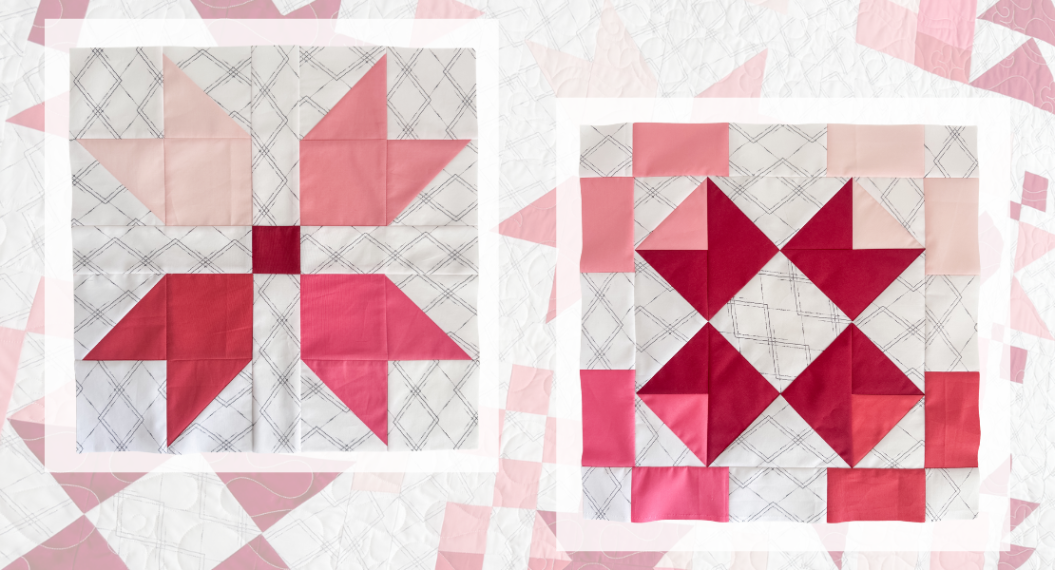
In this session, we’re making Block 5 and Block 6. These blocks focus on strip piecing and square-in-a-square units. You’ll also get another chance to practice making and trimming half-square triangles and flying geese so your points stay sharp and your blocks finish true to size.
Download the PDF Pattern for Block 5 here:

Download the PDF Pattern for Block 6 here:
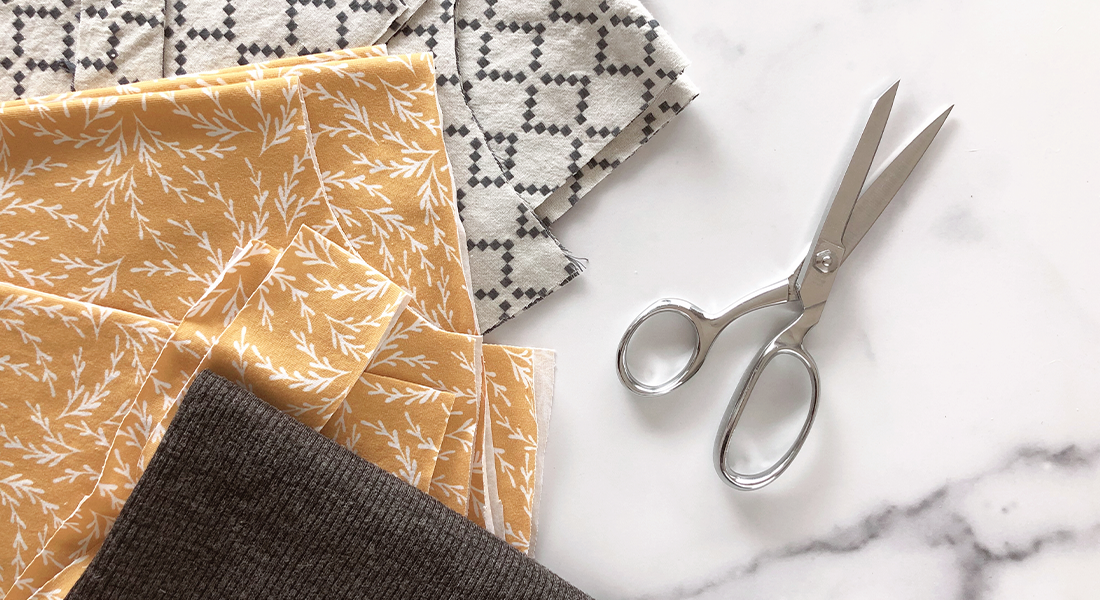
Materials
- Fabric 1–5 and background fabric pieces (yardage requirements and instructions provided in the Pattern Introduction PDF from Week 1)
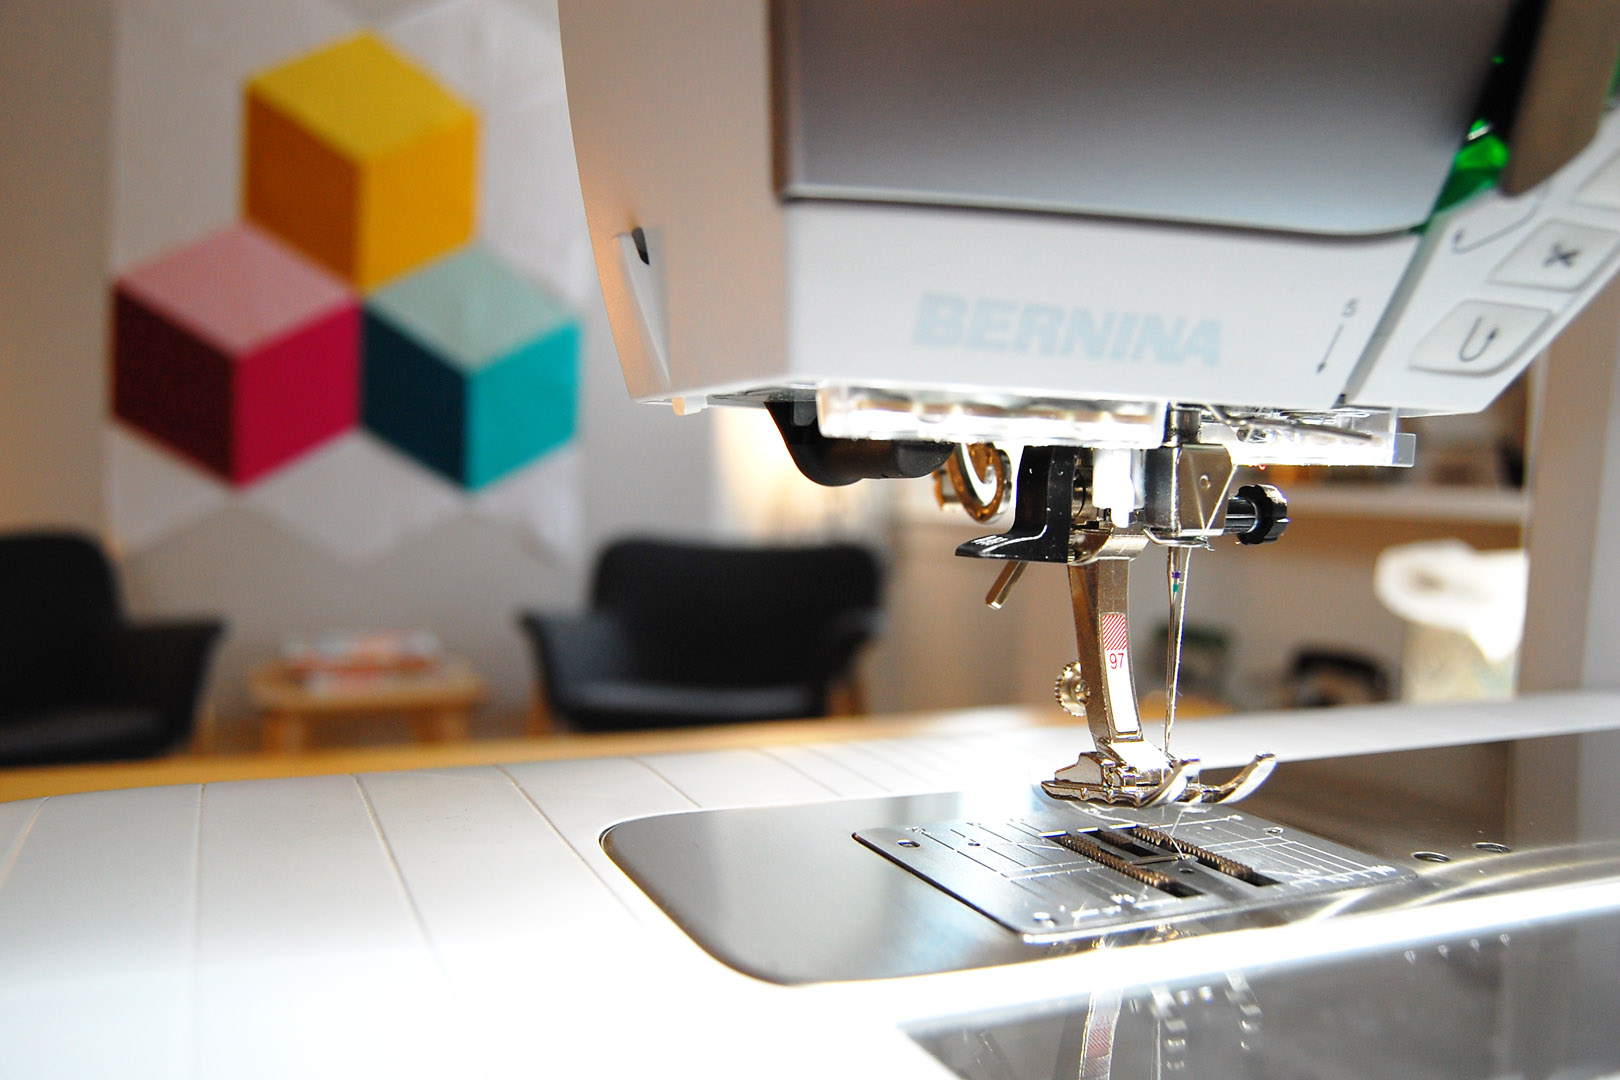
- Sewing machine: BERNINA 770 QE Plus
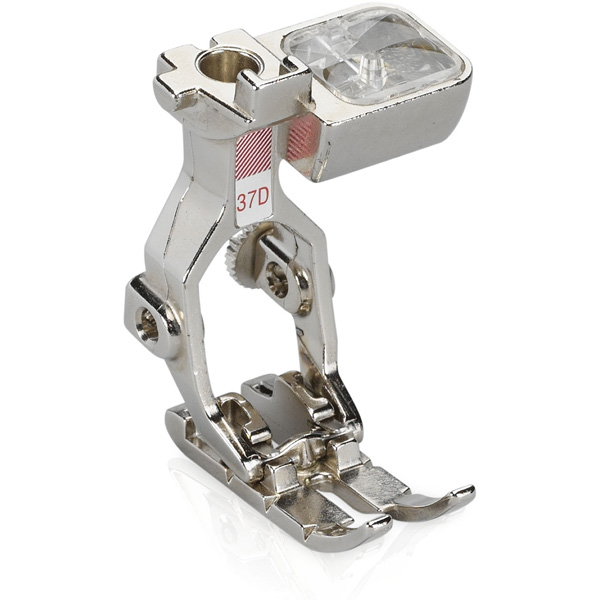
- BERNINA Patchwork Foot #37D or Quarter Inch Foot #97D
- Rotary cutter and mat
- Acrylic rulers (especially a 6½″ x 12½″ ruler for cutting strips and trimming blocks)
- Aurifil 50 wt cotton thread
- Wool pressing mat, iron, and optional spray starch
- Seam roller (for bias edges in Block 6)
Skill Highlights
In Block 5, you’ll work with strip piecing, a method that looks like it takes a lot of patchwork piecing, but really saves time by sewing long strips together before sub-cutting them into smaller units. It’s an efficient way to create checkerboard units, and learning to press your seams gently (open vs. to the side) will help you achieve flatter blocks and crisper points. You’ll also revisit two-at-a-time half-square triangles.
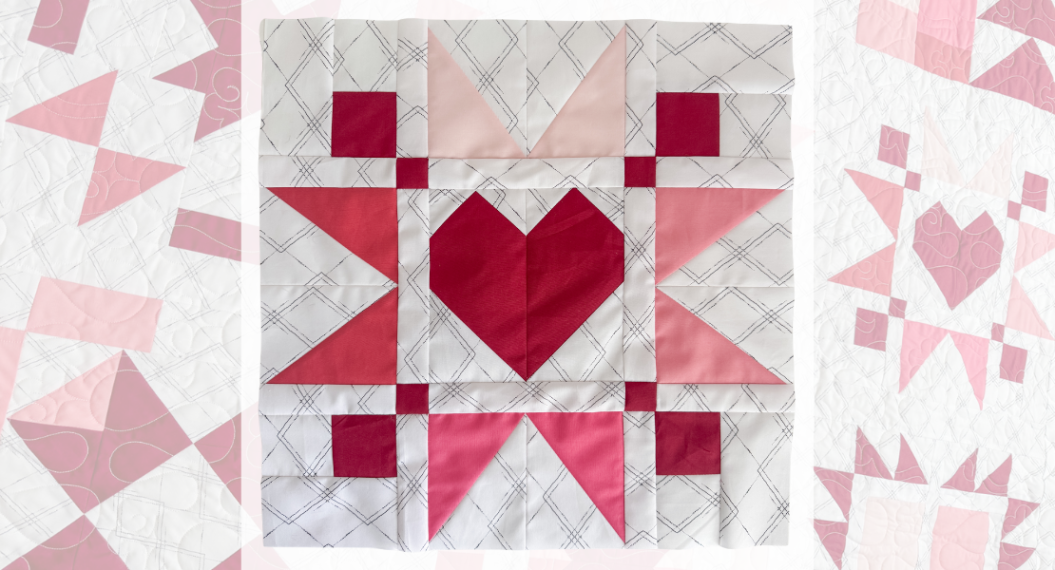
Block 6 introduces the square-in-a-square, a beautiful but more delicate unit because it uses bias edges. This block will teach you how to handle bias seams by advising you to use starch, seam rollers, and careful trimming. Along the way, you’ll also review four-at-a-time flying geese and practice centering triangles for accurate points. These skills will serve you well beyond this sew along, giving you confidence to tackle more advanced blocks in future projects.
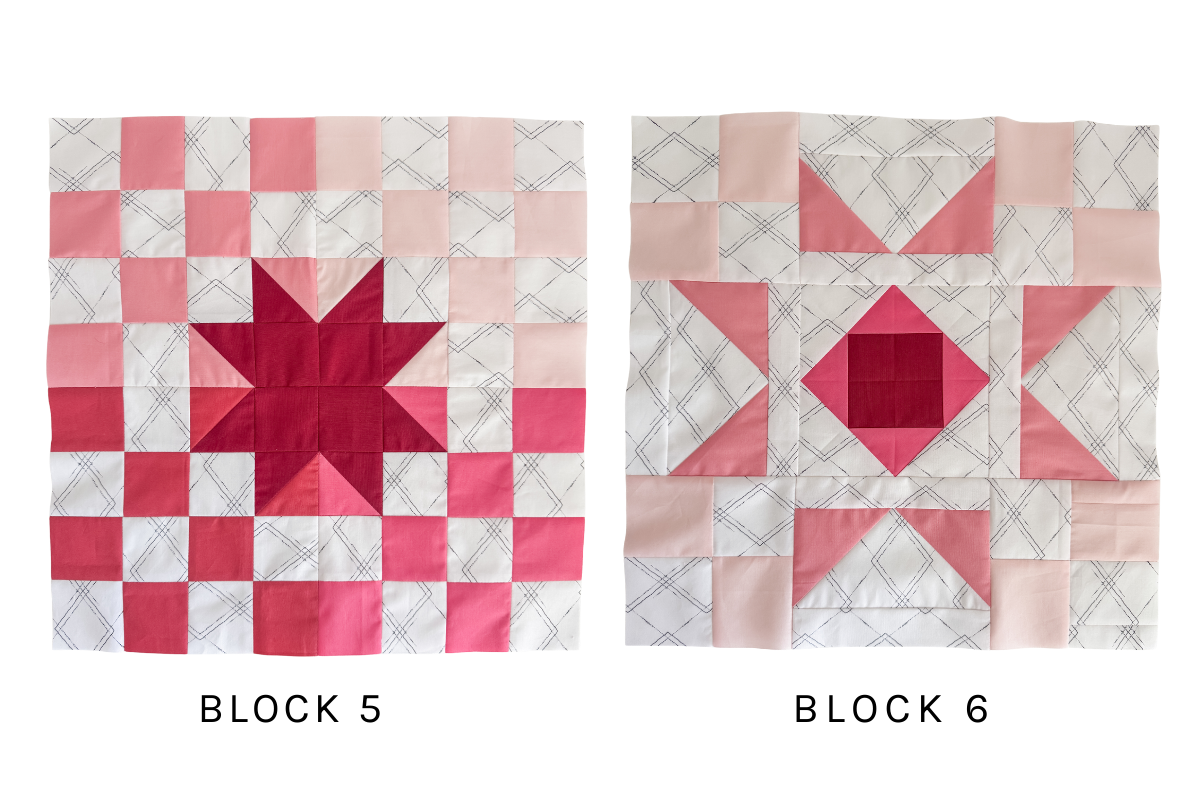
Instructions for Block 5: Strip Piecing + HSTs
Step 1. Prepare Your Fabrics
Lay out your strips from Fabrics 1–4, each paired with a background strip. Prepare Fabric 1–4 squares paired with Fabric 5 squares for half-square triangles.
Step 2. Make Half-Square Triangles
Using the two-at-a-time method, sew and cut each Fabric 1–4 square with a Fabric 5 square. Press according to your preference and set aside.
Step 3. Sew Strip Sets
Chain piece each fabric strip to a background strip with a ¼″ seam. Press seams closed to set stitches. Then choose to press open (for flatness) or to the dark side (for nesting). Finger press first before ironing to prevent distortion.
Step 4. Cut Strip Sets into Units
Square up one end of each strip set. Sub-cut into 2½″ sections, using the ruler’s horizontal line as a guide. Each set yields six units with a little extra built in for trimming.
Step 5. Piece Checker Units
Sew two matching strip units right sides together to form checkerboards. Press seams open for a flat block, or to the dark side for easy nesting. Both methods yield crisp, aligned centers.
Step 6. Assemble Quarter Blocks
Combine checker units with the half-square triangles of each fabric color to form quadrants. Repeat for Fabrics 1–4.
Step 7. Assemble the Full Block
Join all four quadrants. Follow pressing arrows in the pattern to nest your seams or press seams open for a flatter finish. Your block should measure 16½″ x 16½″ unfinished.
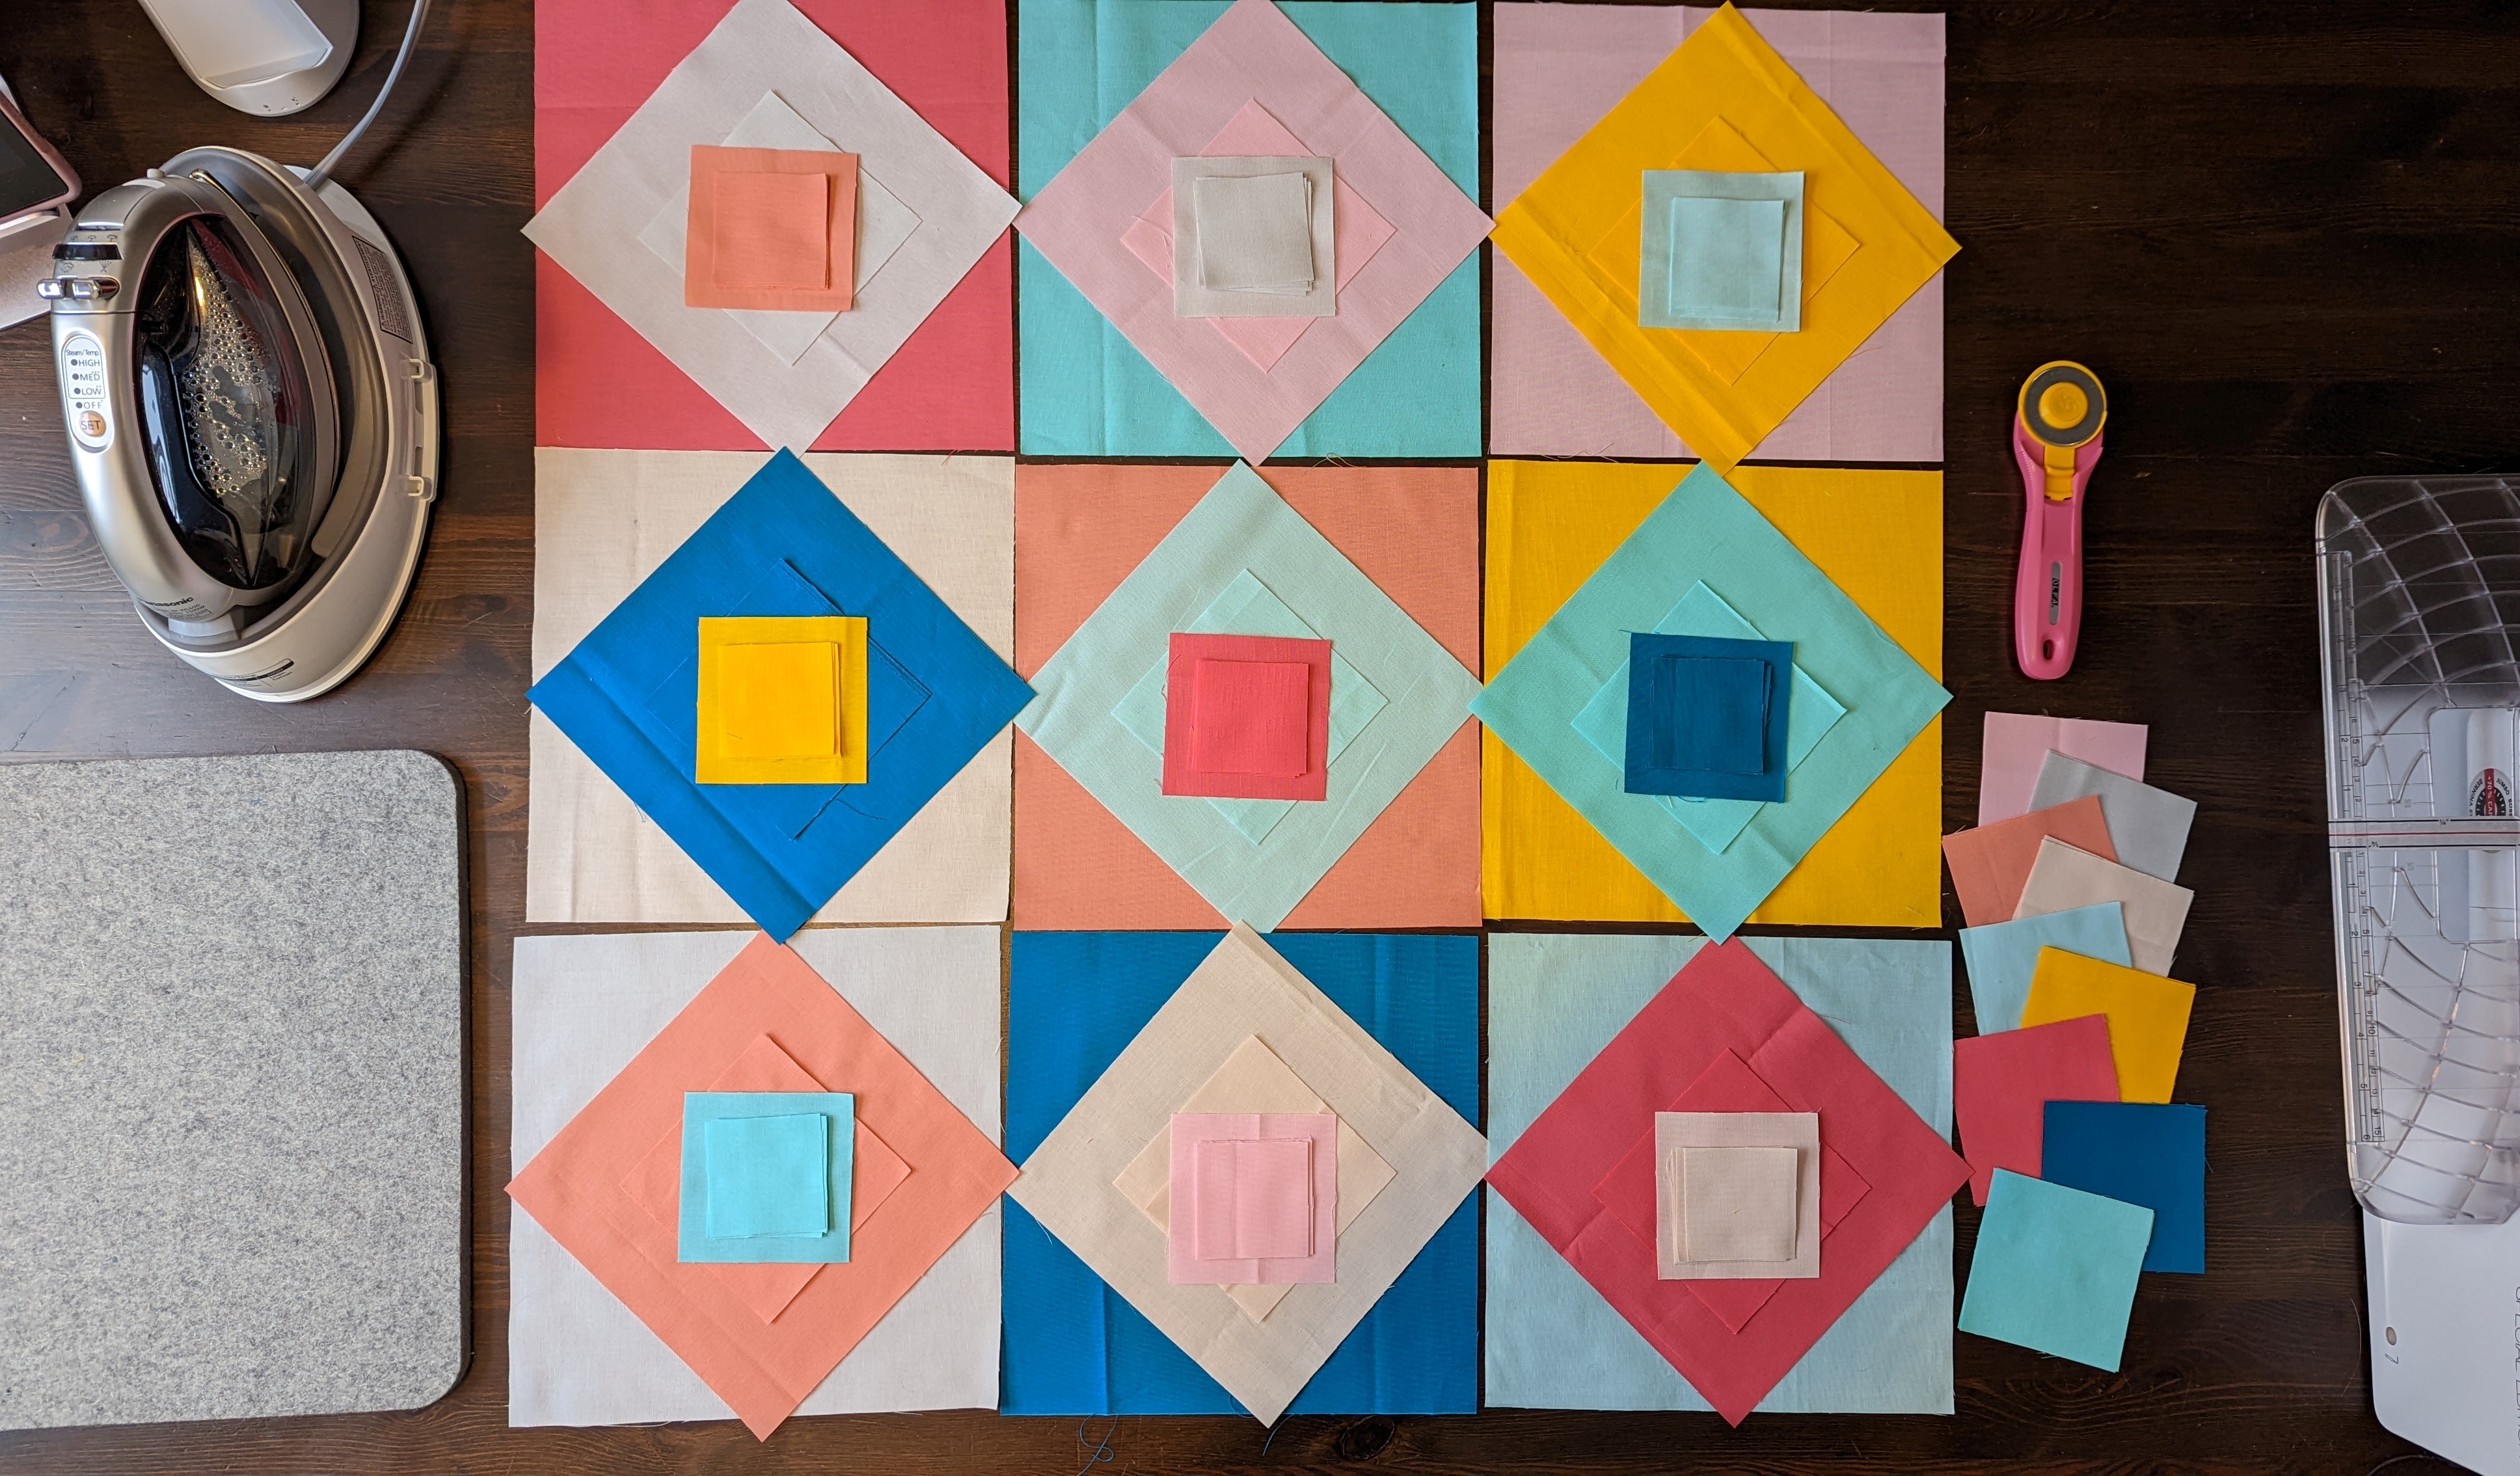
Instructions for Block 6: Square-in-a-Square
Step 1. Review Familiar Skills
Before starting the square-in-a-square, sew strip sets and flying geese using the four-at-a-time method (both skills from earlier blocks). Set aside your finished checker units and flying geese for later assembly.
Step 2. Cut and Prepare Bias Edges
For the square-in-a-square, cut Fabric 3 “A” squares and background “B” squares in half diagonally. These bias edges are delicate, so spray starch your fabric before cutting to add stability. Press until dry for firmness.
Step 3. Piece the First Round
Center two triangles on opposite sides of the Fabric 5 center square. Crease both the square and the triangles to align them accurately. Sew with a ¼″ seam, then press open with a seam roller to avoid stretching.
Step 4. Piece the Second Round
Add the remaining two triangles to the other sides of the square. Sew with a ¼″ seam, pressing through the intersections for clean points. Trim dog ears and square the unit to 4½″.
Step 5. Add the Outer Round
Repeat the process with the background fabric triangles to build the second round. Use the creases in the triangles to center them, and stitch with the square facing up so you can sew through the seam intersections. This ensures crisp points. Press open and trim to 6½″.
Step 6. Complete the Block
Assemble the remaining units—checker sets, flying geese, and square-in-a-square—according to the pattern. Press gently to maintain accuracy. The finished block should measure 16½″ x 16½″ unfinished.
Want More?
If you think my video tutorials are helpful, there are plenty more for other projects on my YouTube Channel.
Subscribe for more tutorials and projects where we can all learn together.
Before You Go…
✅ Download the Pattern Introduction PDF
✅ Share your progress with #BERNINASkillbuilderSAL to remain eligible for our fat quarter bundle prize
✅ Follow me @sweetpotatoquilts on Instagram and Facebook for more inspiration
We are now more than halfway done, I can’t wait to see the beautiful quilt you create.
Until next time,
Happy sewing! 🧵❤️
Used Products


What you might also like


One comment on “BERNINA Skillbuilder Sew Along: Blocks 5 & 6”
Leave a Reply
You must be logged in to post a comment.
Loving this Skillbuilder