BERNINA Skillbuilder Sew Along: Block 9 & Finishing Instructions
Welcome back to the BERNINA Skillbuilder Sew Along with Sweet Potato Quilts! Can you believe we’ve made it all the way to Block 9? This final block focuses on half-rectangle triangles (HRTs), and then we’ll move right into finishing instructions for your quilt top.
If you’re just joining, you can catch up HERE with all the past blog posts and PDF patterns in one place.
Download the PDF Pattern for Block 9 here:

Download the PDF with Finishing Instructions here:

Materials
For Block 9 and finishing:
- Fabric 1–5 and background fabric pieces (yardage requirements and instructions provided in the Pattern Introduction PDF from Week 1)
- BERNINA 770 QE Plus
- Patchwork Foot #37D or Quarter-Inch Foot #97D
- Acrylic rulers (6½″ x 6½″ and 12½″ x 12½″ recommended)
- Rotary cutter and cutting mat
- Marking tool (fabric-safe pen or pencil)
- Iron and pressing mat
- Optional: Creative Grids Stripology XL Slotted Ruler
Skill Highlights
This week, we’re wrapping up with skills that bring everything you’ve practiced together while pushing you a little further. We’ll start with half-rectangle triangles (HRTs), which look similar to half-square triangles but feature a steeper seam angle. The challenge lies in trimming them correctly, since the seam doesn’t run at a perfect 45°. The key is lining the seam up with the quarter-inch marks in the corners of your ruler so your points stay sharp once the unit is pieced into the block.
From there, we’ll move into sashing and quilt assembly, learning how to square, cut, and join strips to transform your individual blocks into a cohesive quilt top. Finally, you’ll practice pressing and finishing techniques that keep everything lying flat and neat. Once your top is complete, you’ll get to choose how to quilt it.
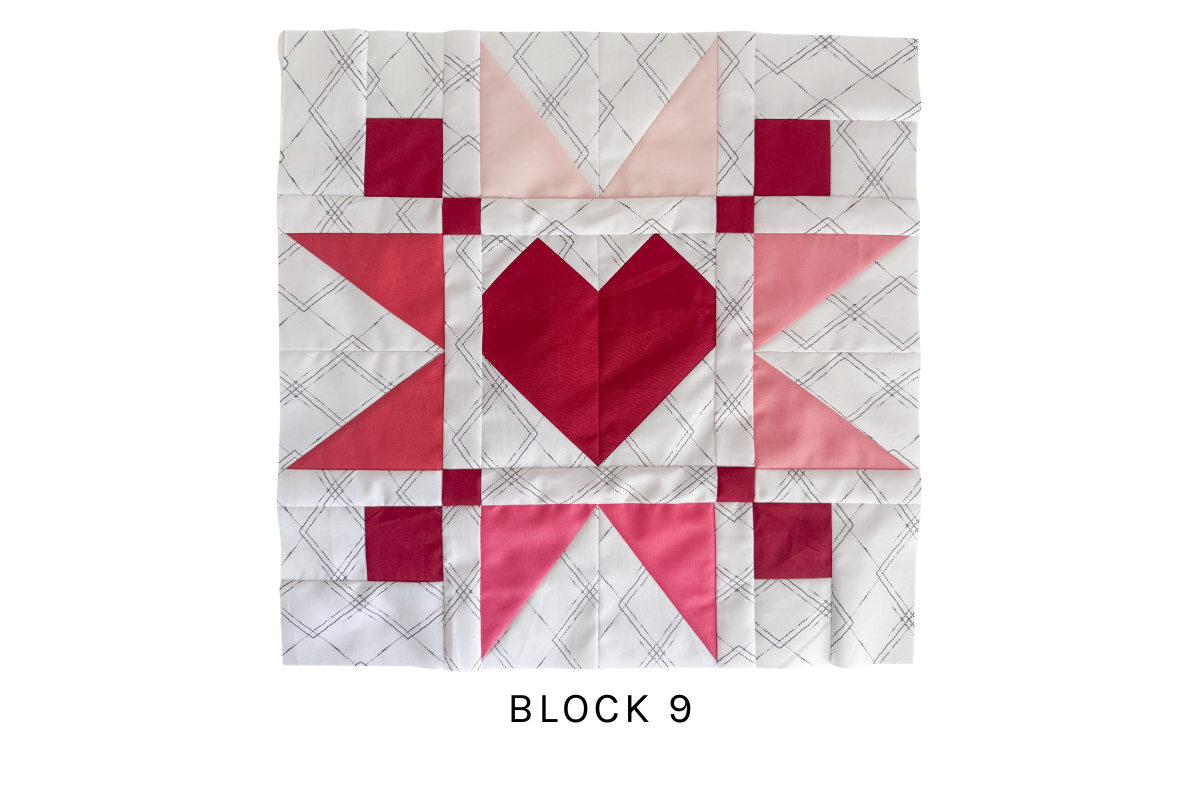
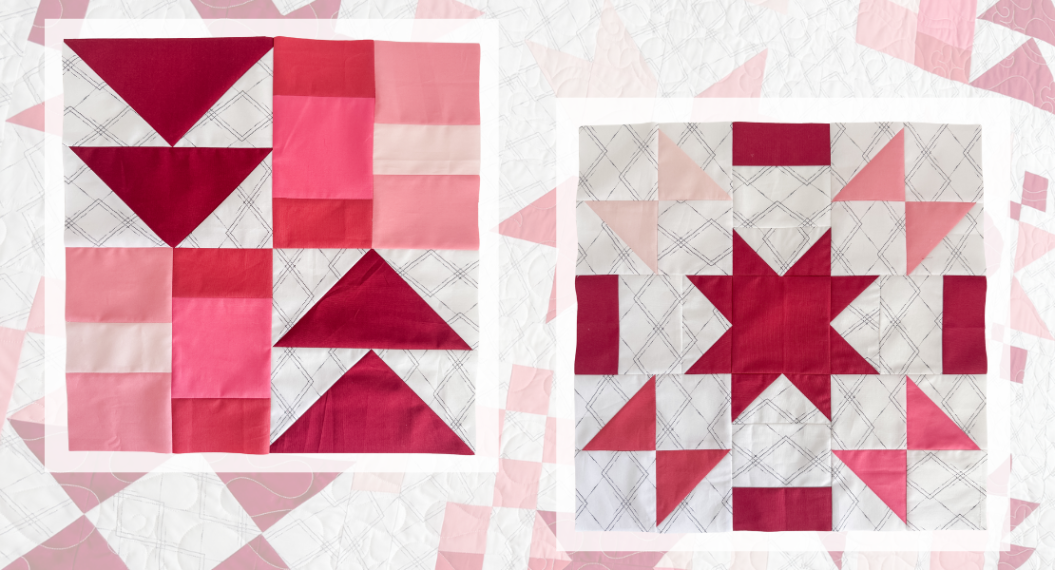
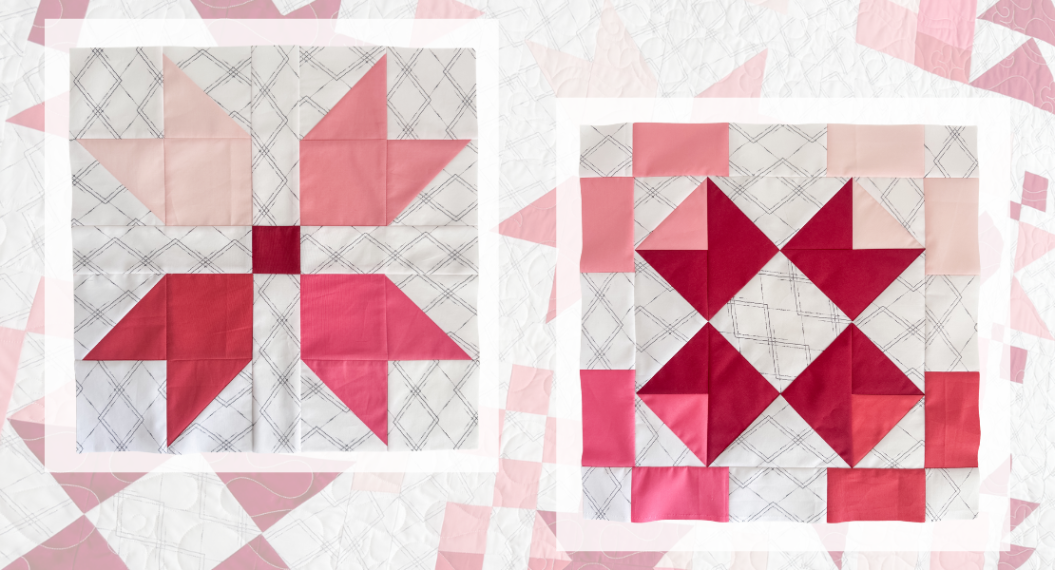
Block 9: Half-Rectangle Triangles
- We saved half-rectangle triangles for last because they’re a little trickier, but also incredibly rewarding! Start by dividing your background rectangles into two piles: one with diagonal lines drawn from top right to bottom left, and the other from top left to bottom right. The direction of the diagonal is what sets the layout.
- Pair the fabrics right sides together, rotate so opposite corners align, and sew ¼″ seams on both sides of the drawn line. Cut along the line, press the seams toward the darker fabric, and you’ll have your HRTs. Remember that each pile gives you two orientations, and you’ll only need one of each for the block.
- When trimming to 3 ½″ x 4 ½″, focus less on the angle of the seam and more on the seam passing directly through the quarter-inch marks at the corners of your ruler. If those points line up, you’re trimming correctly. Don’t worry if your corners look blunt, because that’s actually how they’re supposed to be!
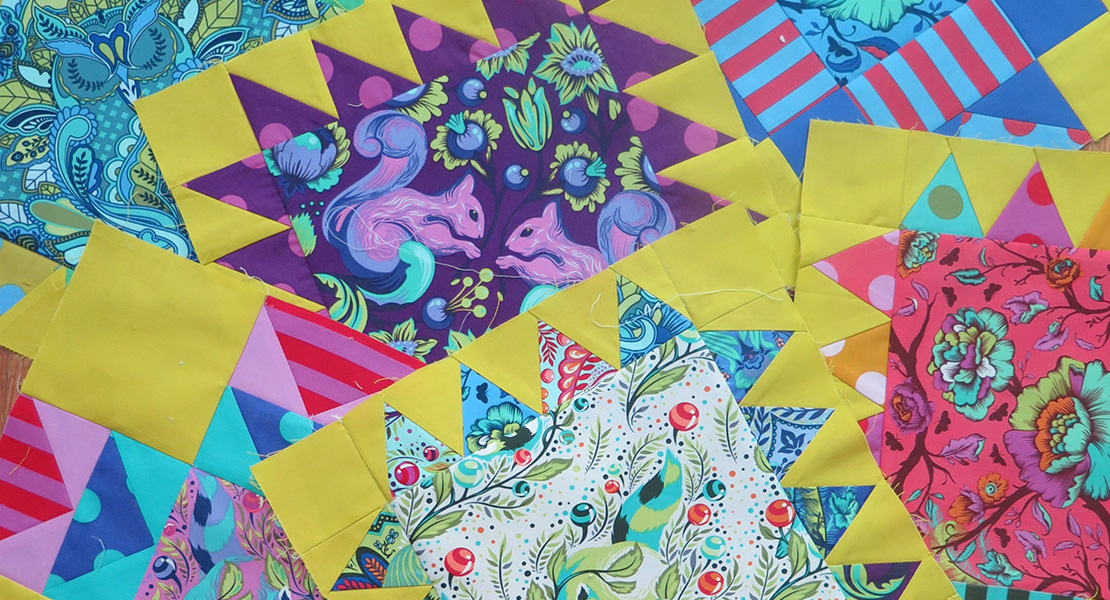
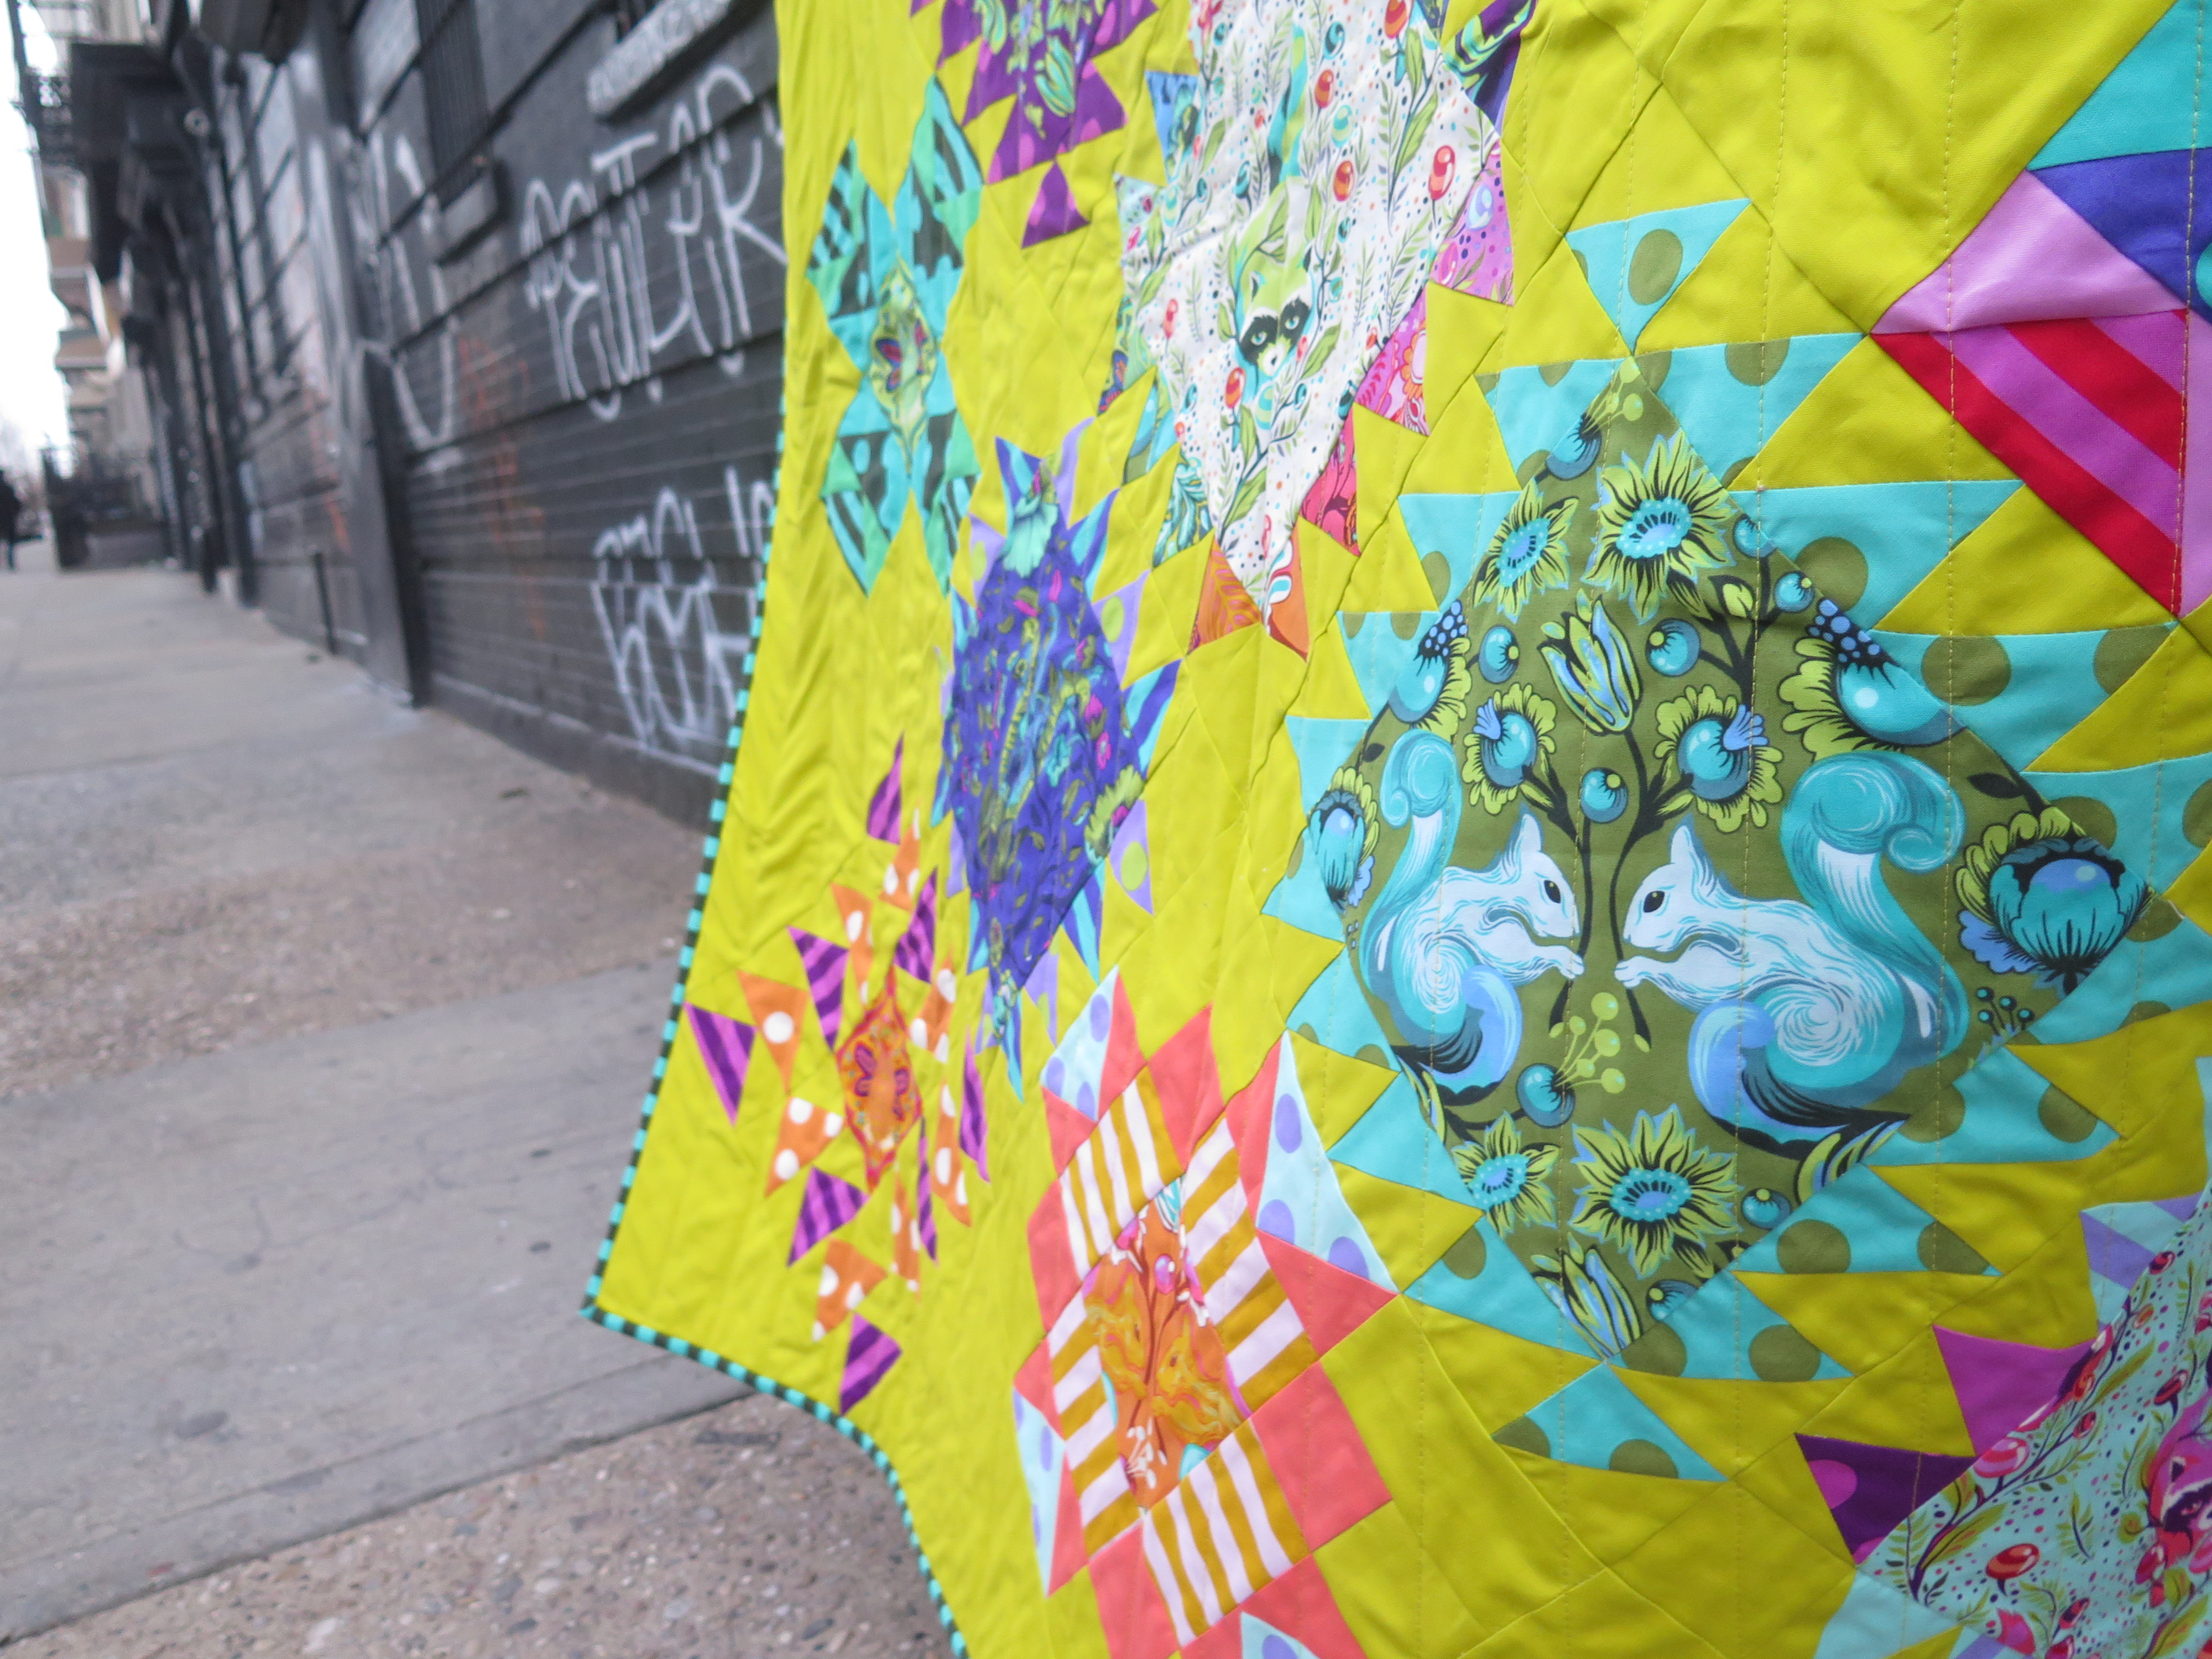
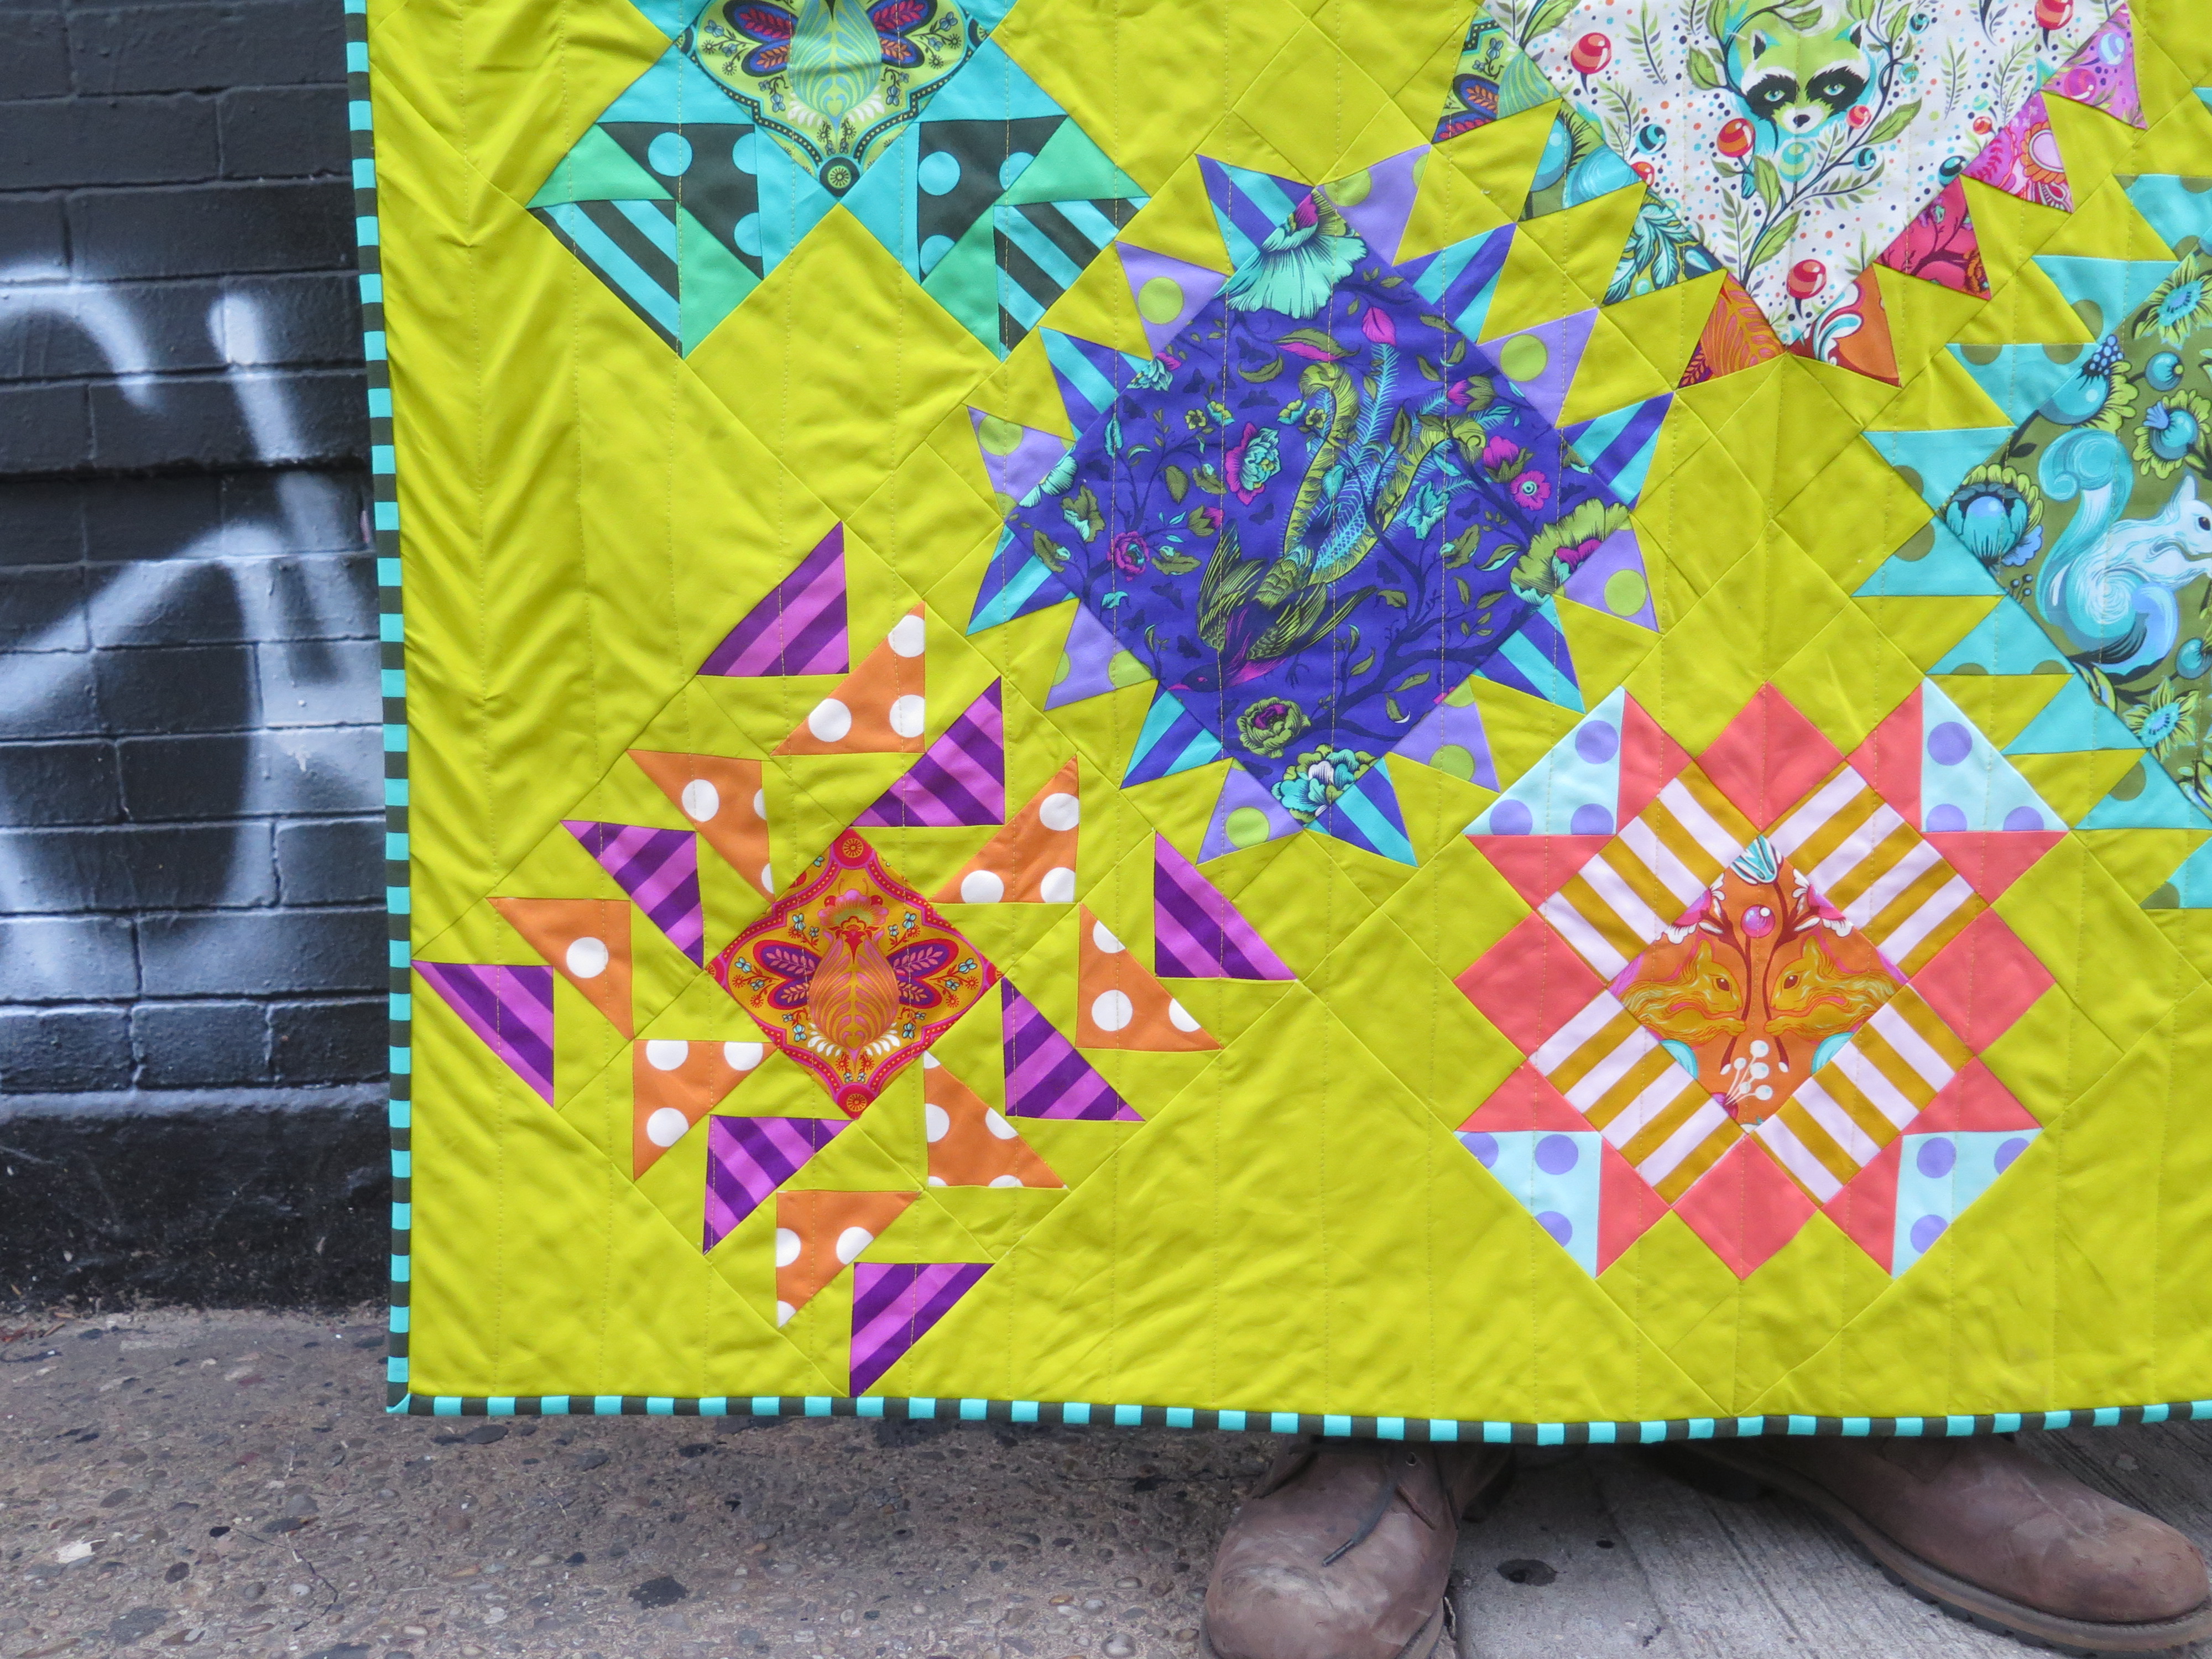
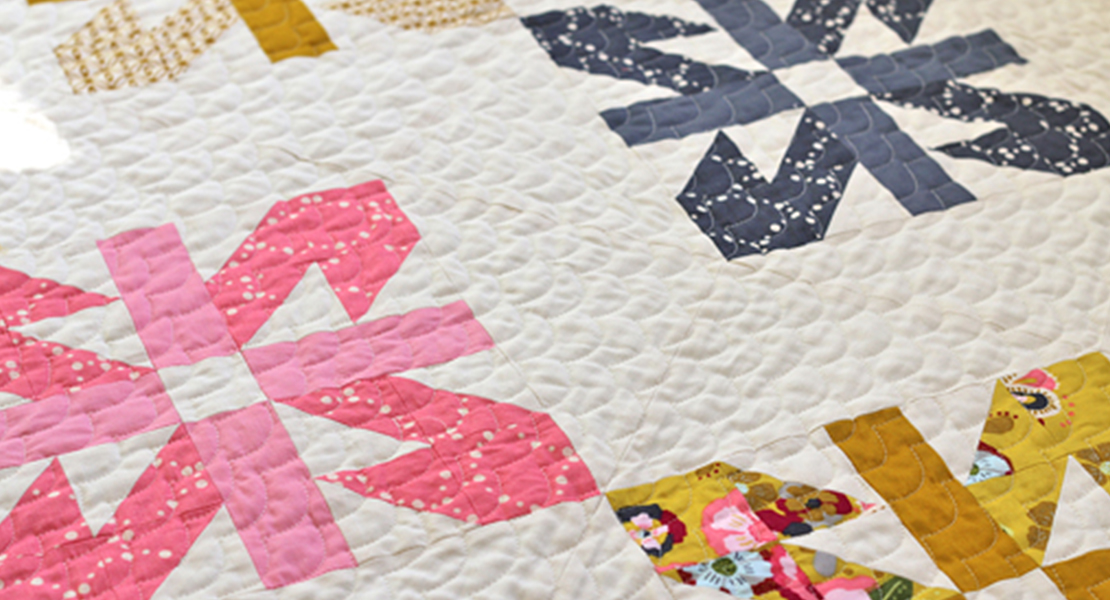
- Once trimmed, follow the pattern instructions to sew your HRTs and other pieces into Block 9. The final design comes together in a lovely heart-shaped motif, the perfect way to wrap up this quilt-along.
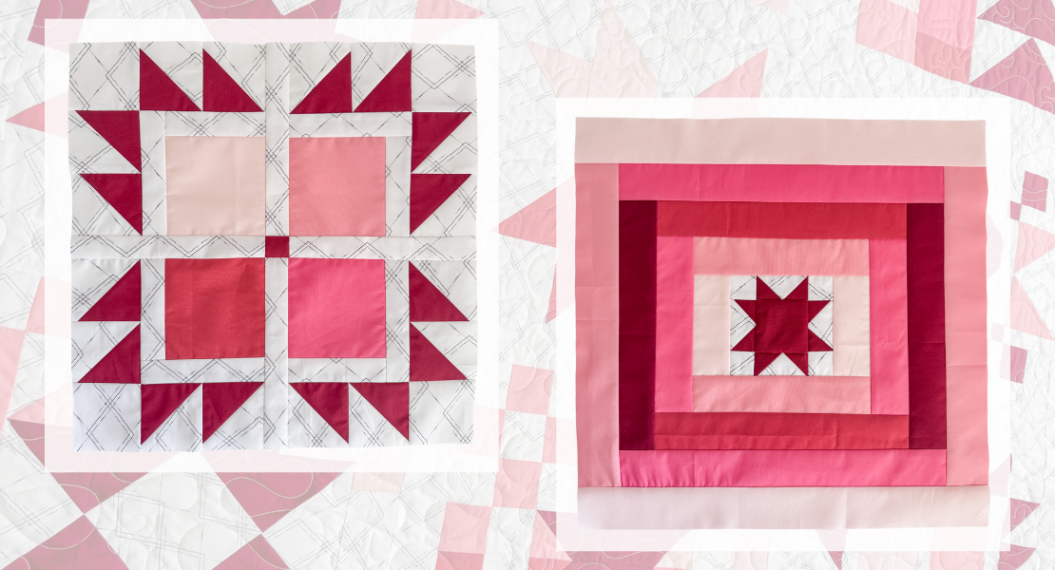
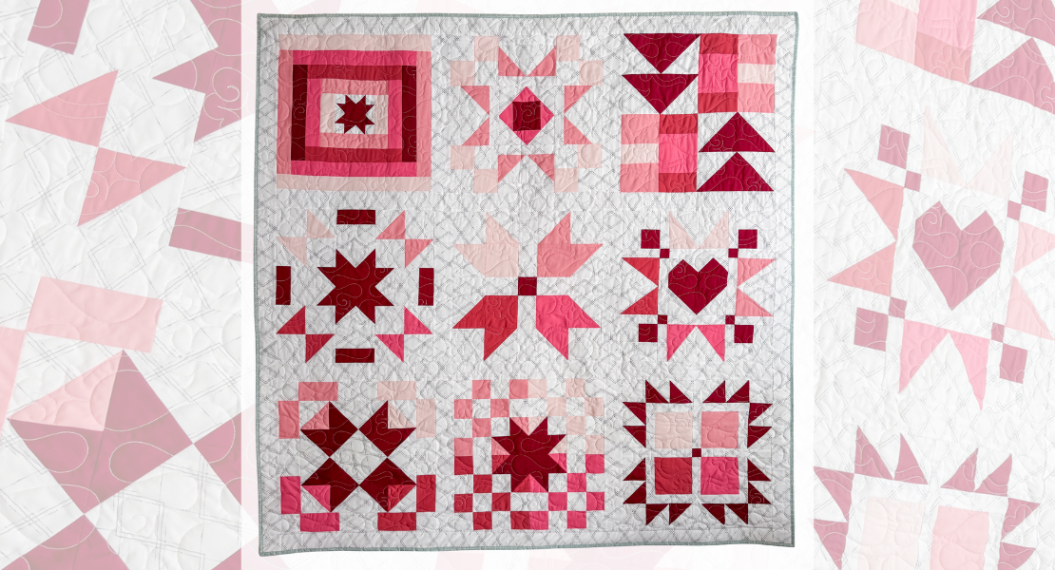
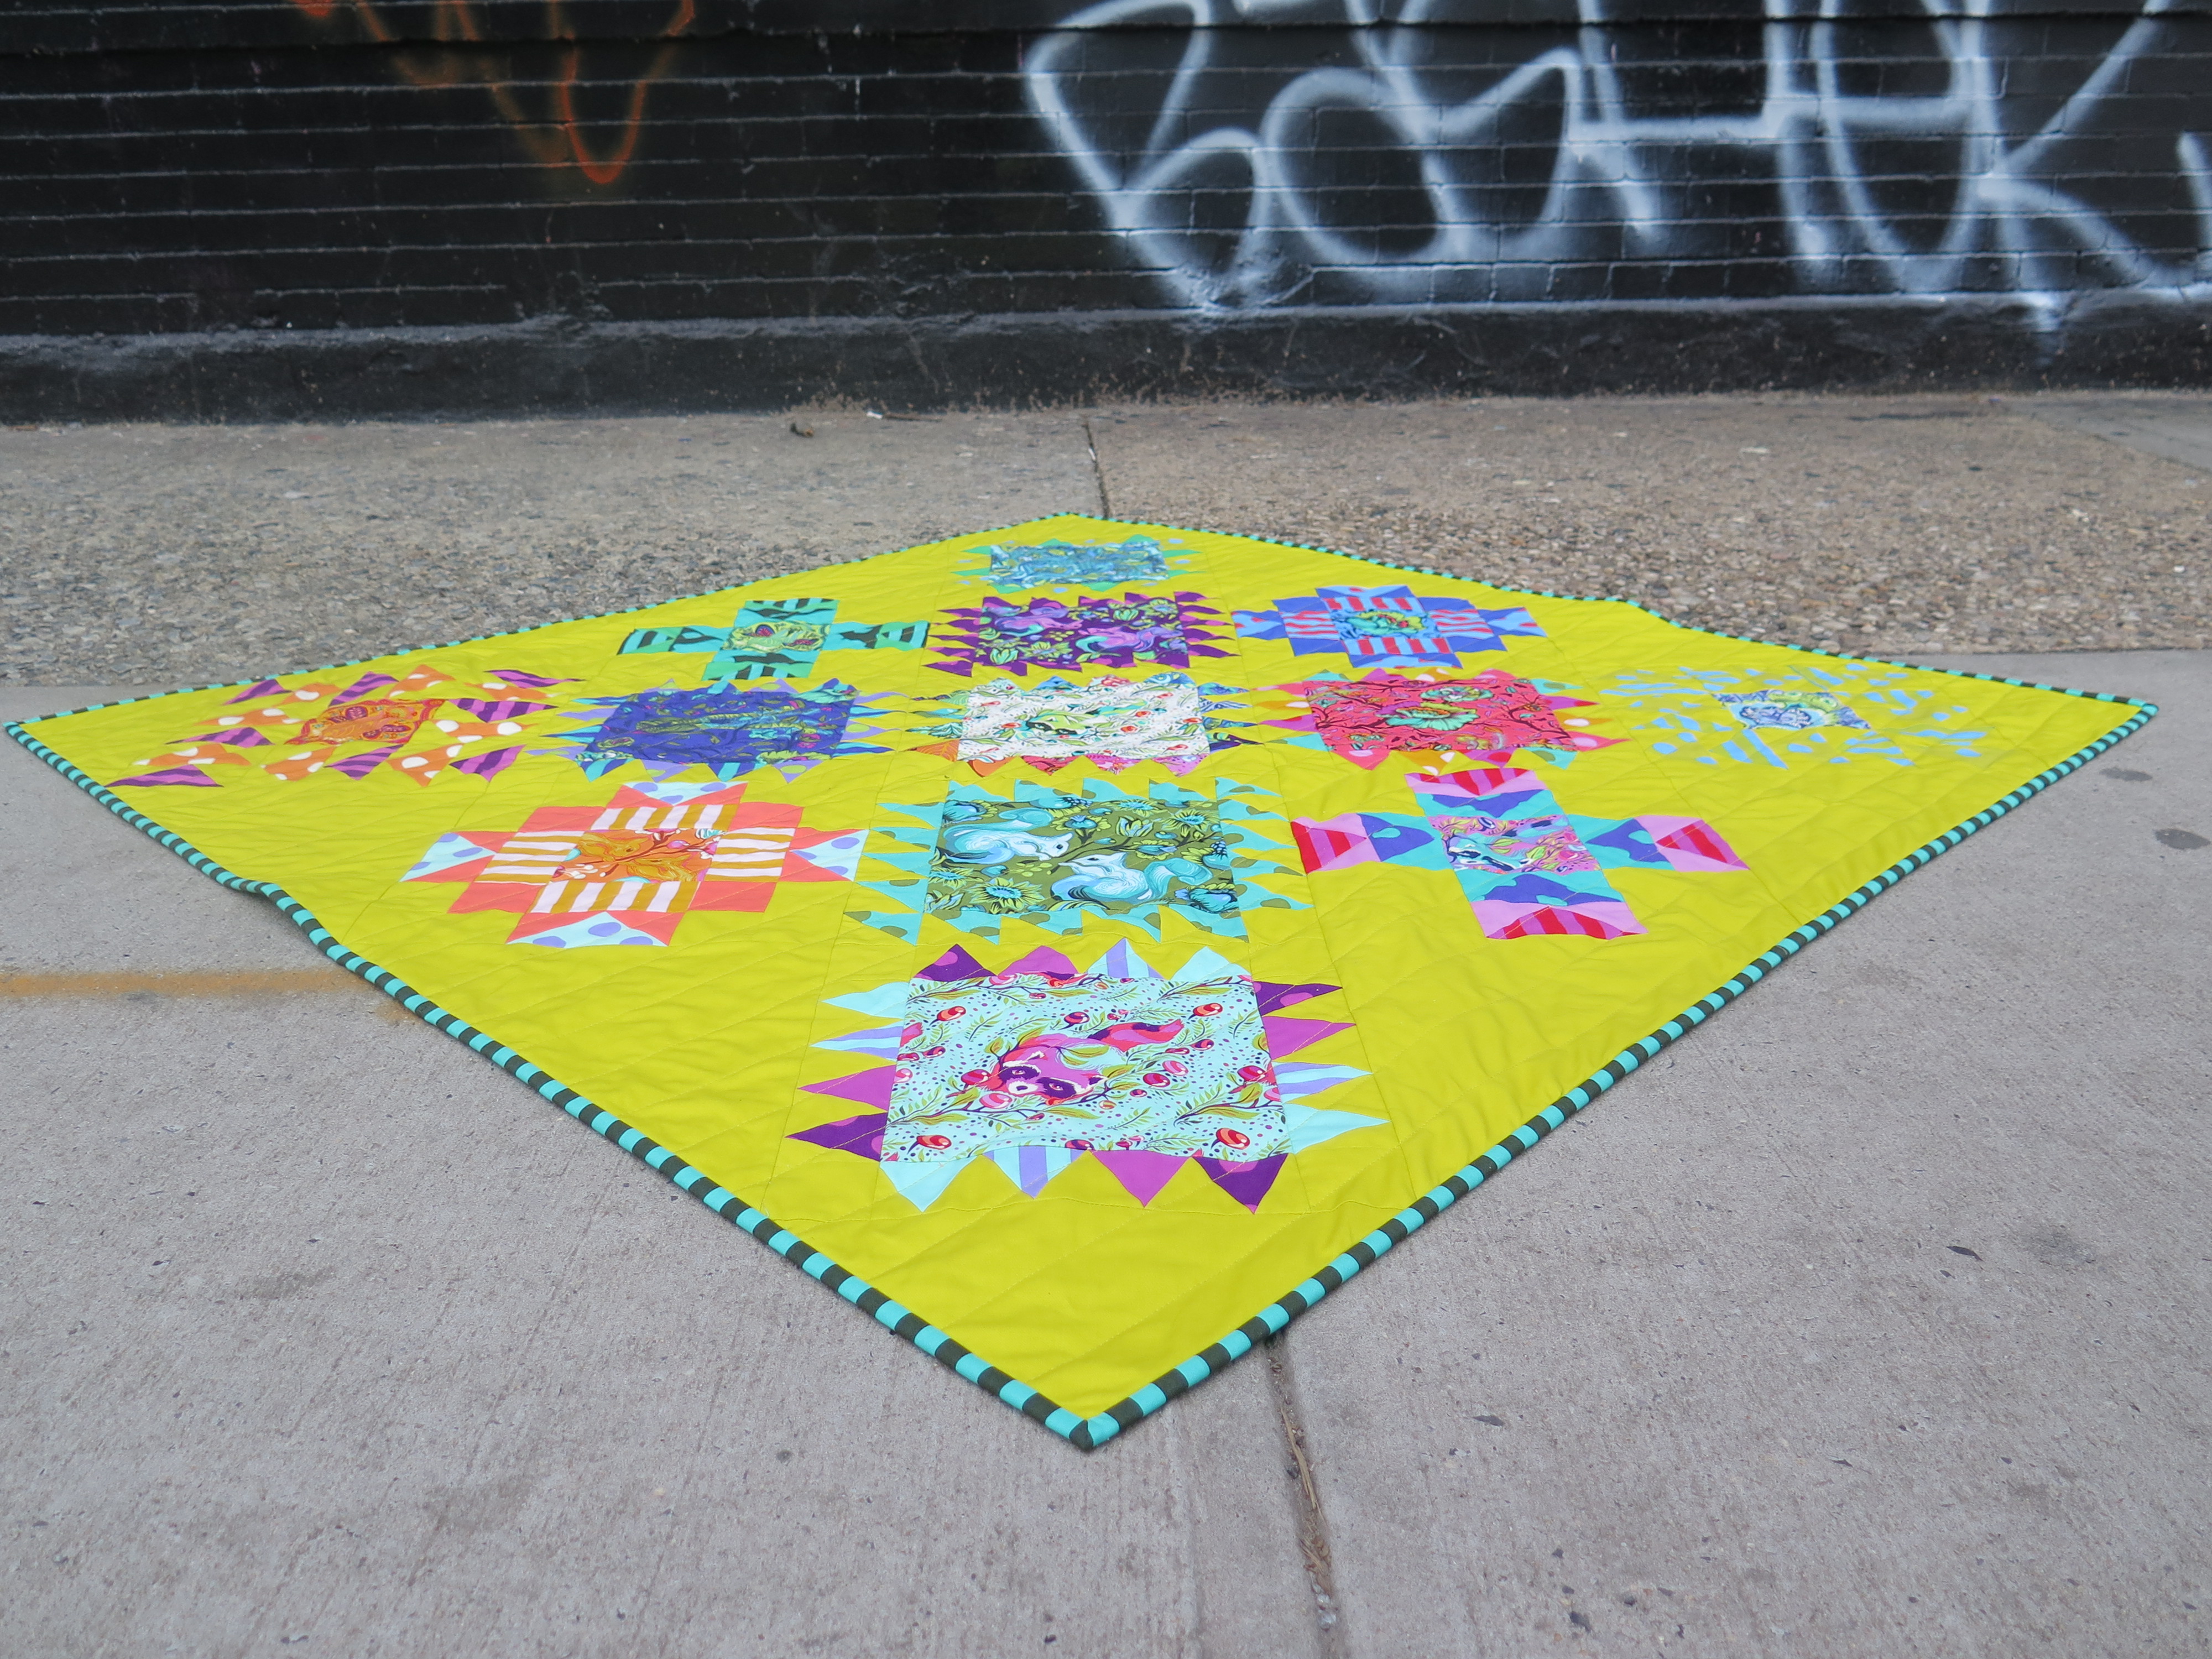
Finishing Your Quilt Top
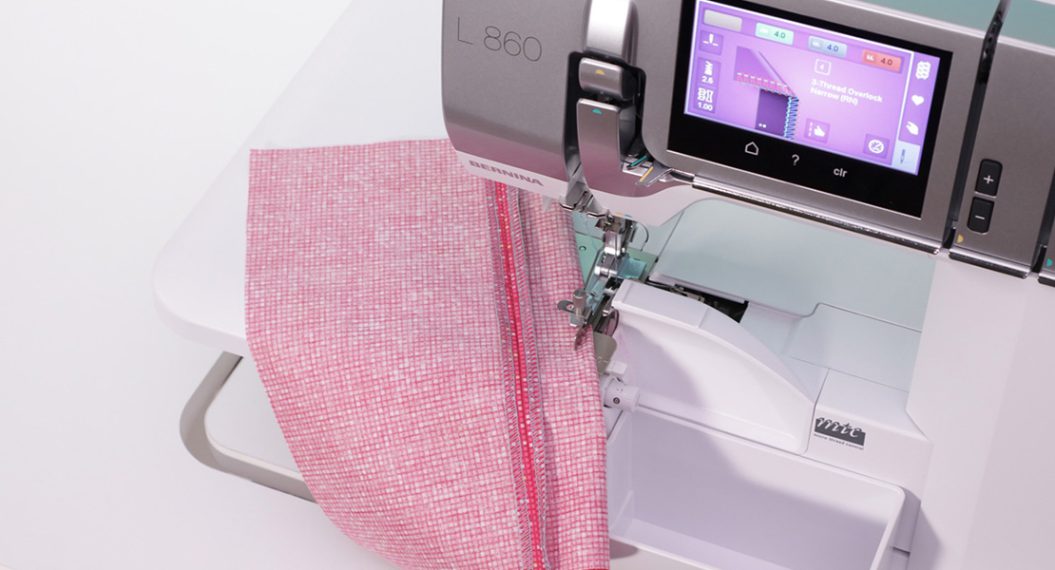
With all nine blocks complete, it’s time to assemble your quilt top with sashing. For this, I used the Creative Grids Stripology XL Ruler. The built-in cutting slots make strip cutting fast, accurate, and safe, with non-slip grips on the underside to keep everything steady.
-
Cutting the Sashing: Fold your yardage neatly, square the edge, and cut 2 ½″ strips using the Stripology ruler’s square markers. The slots make it easy to cut multiple strips at once.
-
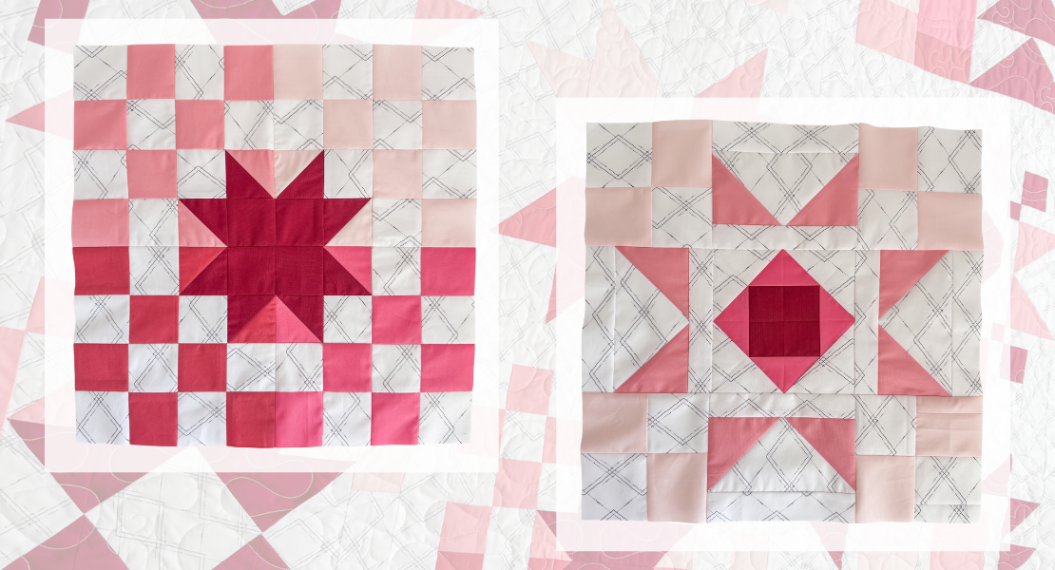
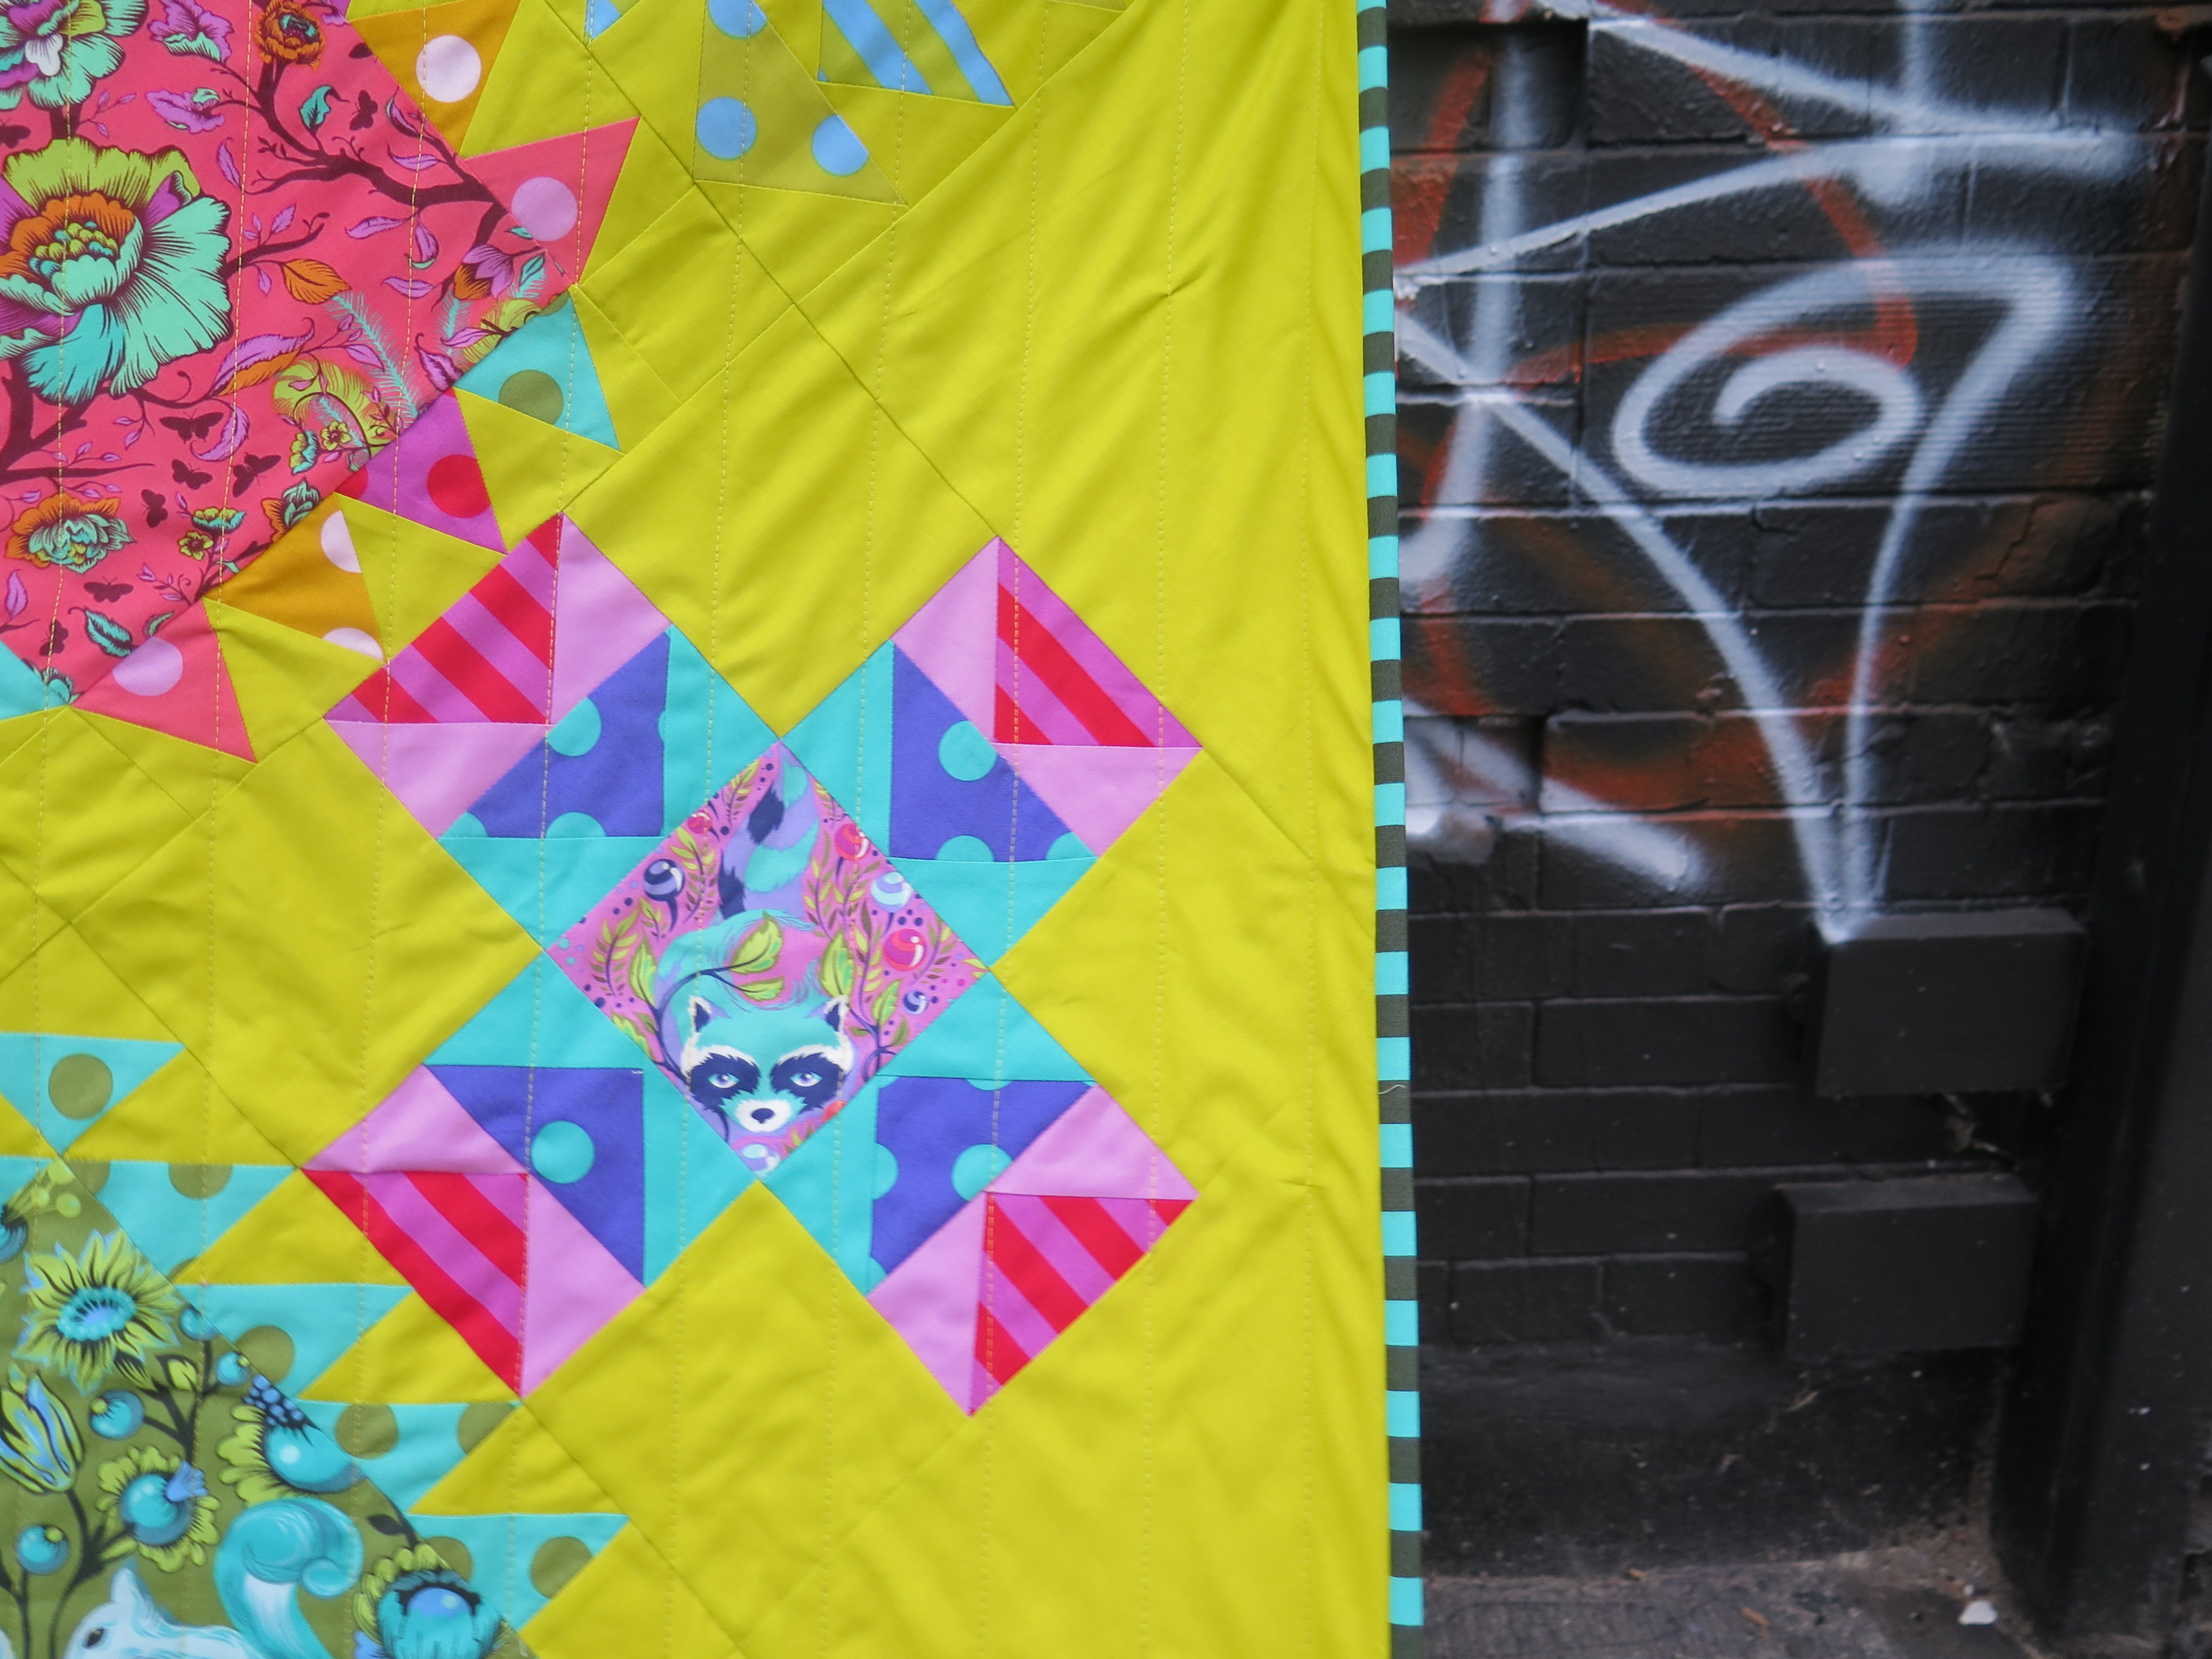
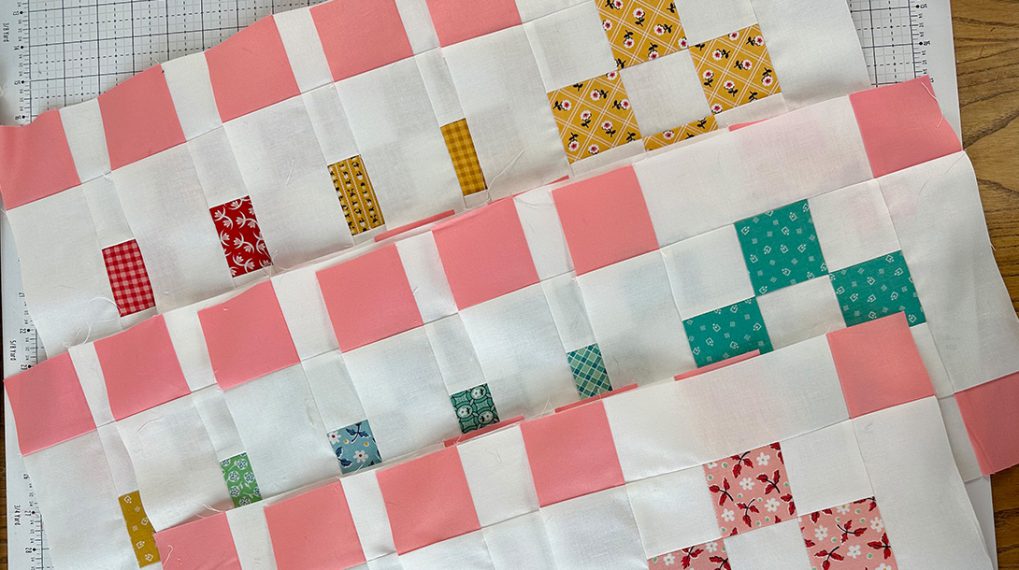
Piecing the Rows: Lay out all nine blocks before adding sashing. Each row will have three blocks, separated by vertical sashing strips. Sew with ¼″ seams, pressing consistently toward the sashing.
-
Adding Horizontal Sashing: Once the rows are pieced, connect them with longer horizontal sashing strips. Continue pressing toward the sashing to reduce bulk.
-
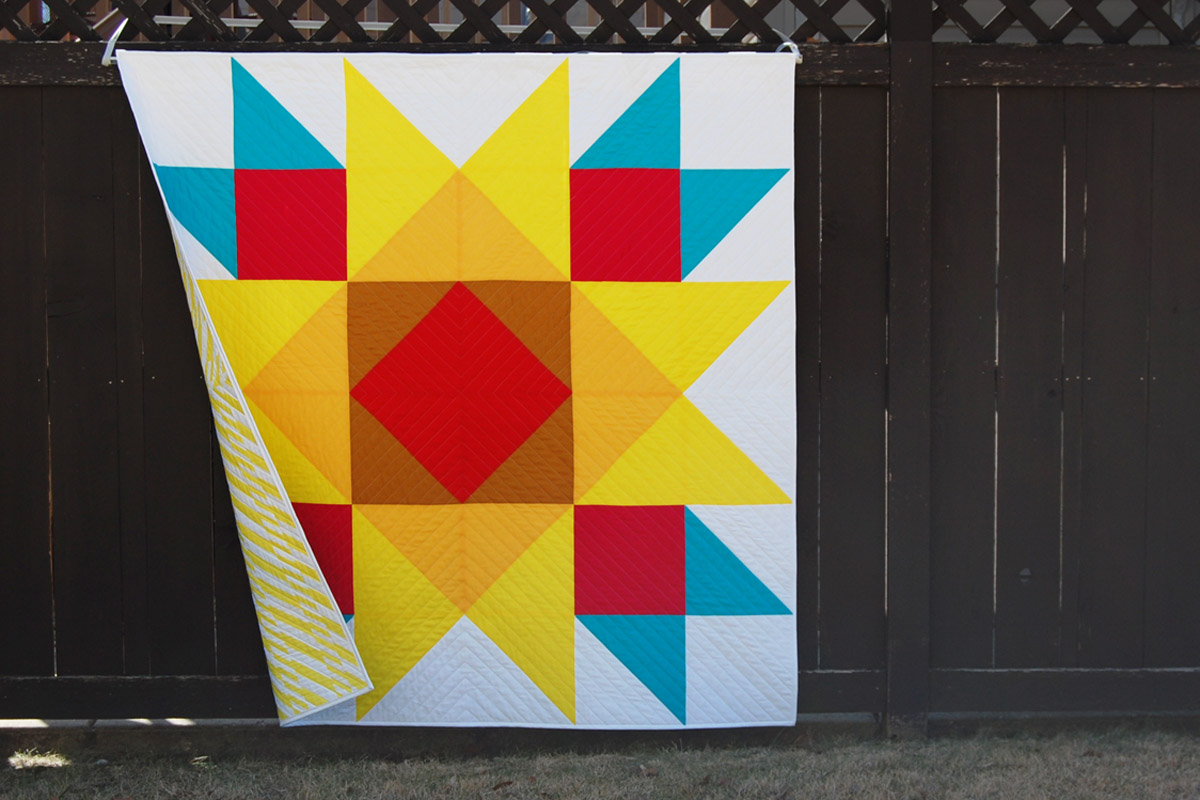
Framing the Quilt: Add the final long sashing strips around the quilt top to frame everything together.
-
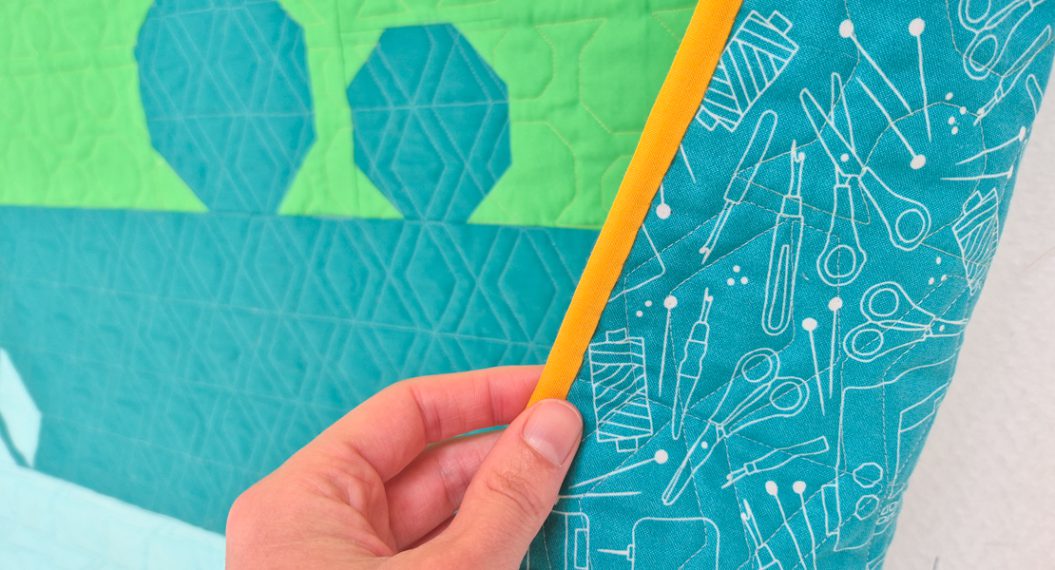
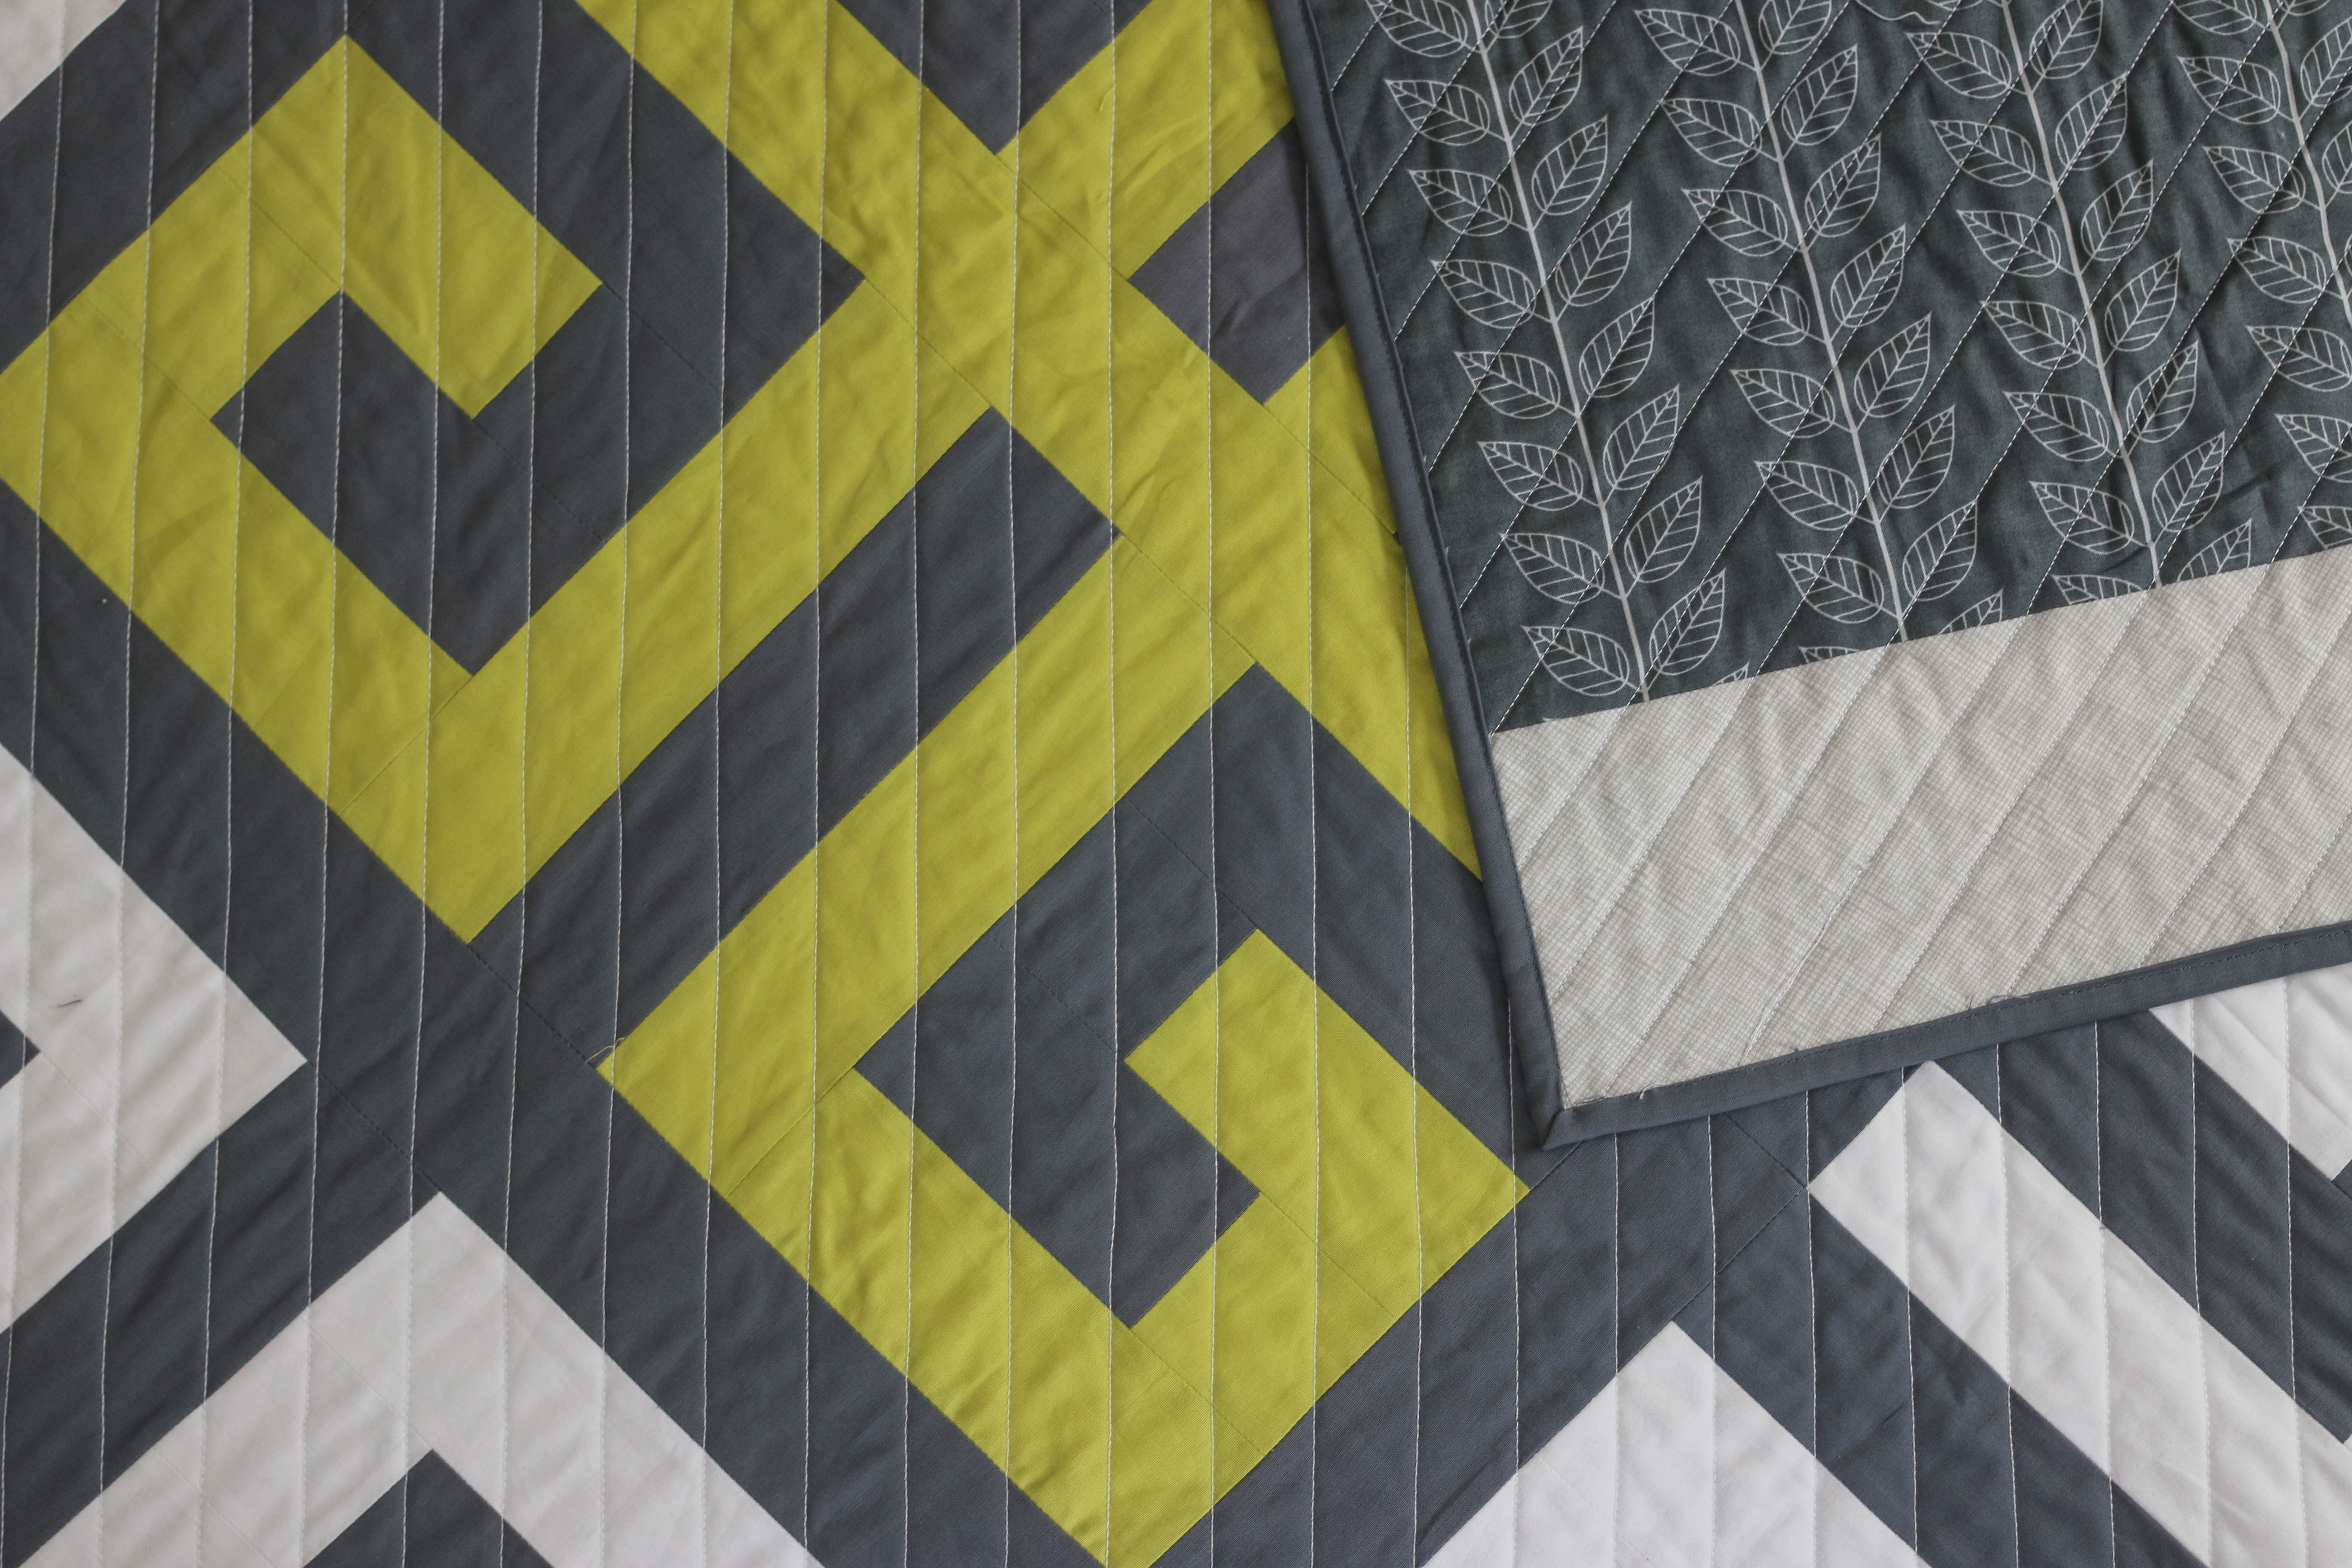
Finishing: Once the top is assembled, you can quilt however you like: straight-line quilting with a walking foot, free-motion designs, or sending it out to a longarm quilter. Bind the edges, and your quilt will be ready to enjoy!
Want More?
If you’ve enjoyed this Skillbuilder Sew Along, you’ll love the BOM Party. Each month, you get a 12″ quilt block pattern with a video tutorial. And at the end of the year, we finish our blocks into a quilt! To learn more about this program and to join this supportive community, check out the site here.
Final Reminders
✅ Download the PDF Patterns for full instructions and diagrams
✅ Share your finished quilt top with #BERNINASkillbuilderSAL in the community section by the deadline to stay eligible for the Art Gallery Fabrics Fat Quarter Bundle giveaway
✅ Follow me @sweetpotatoquilts on Instagram and Facebook for inspiration, tips, and future quilt-alongs
We’ve learned so much together in this sew along, and I can’t wait to see your finished quilt tops.
Thank you for sewing with me! 🧵❤️
What you might also like


3 comments on “BERNINA Skillbuilder Sew Along: Block 9 & Finishing Instructions”
-
-
I just tried to go to the Skillbuilder Blocks 3 & 4. There is an application error trying to load that page.
-
Hi, please try visiting this link: https://dhoubxhx.top/bernina-skillbuilder-sew-along-blocks-3-4/
If en error appears again, please try to refresh your page. Happy stitching!
-
Leave a Reply
You must be logged in to post a comment.
Christina: When doing your video’s, please be sure the camera has your whole project in view for the instructions!