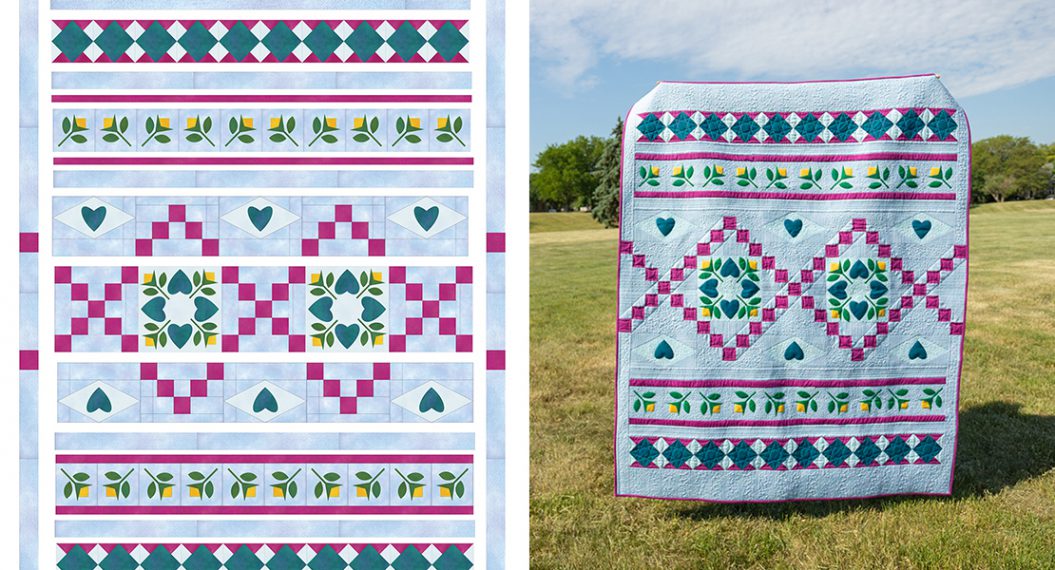
Q-matic Quilt Along, Part Seven: Quilting Row Five
We are already at row five in the Q-matic Quilt Along. How is the quilting coming along? Did you finish the previous rows? Today we will explore the Boundary tool to quilt some diamonds.
If you missed the first parts of the Q-matic Quilt Along, you can read all about it here:
- Q-matic Quilt Along: Introduction
- Q-matic Quilt Along, Part One: Sewing the Quilt Top
- Q-matic Quilt Along, Part Two: Continuing to Sew the Quilt Top
- Q-matic Quilt Along, Part Three: Quilting Row One
- Q-matic Quilt Along, Part Four: Quilting Row Two
- Q-matic Quilt Along, Part Five: Quilting Row Three
- Q-matic Quilt Along, Part Six: Quilting Row Four
Make sure to tag @BERNINAUSA and me, @Sugaridoo, when you’re working on this project. I would love to see what you’re making!
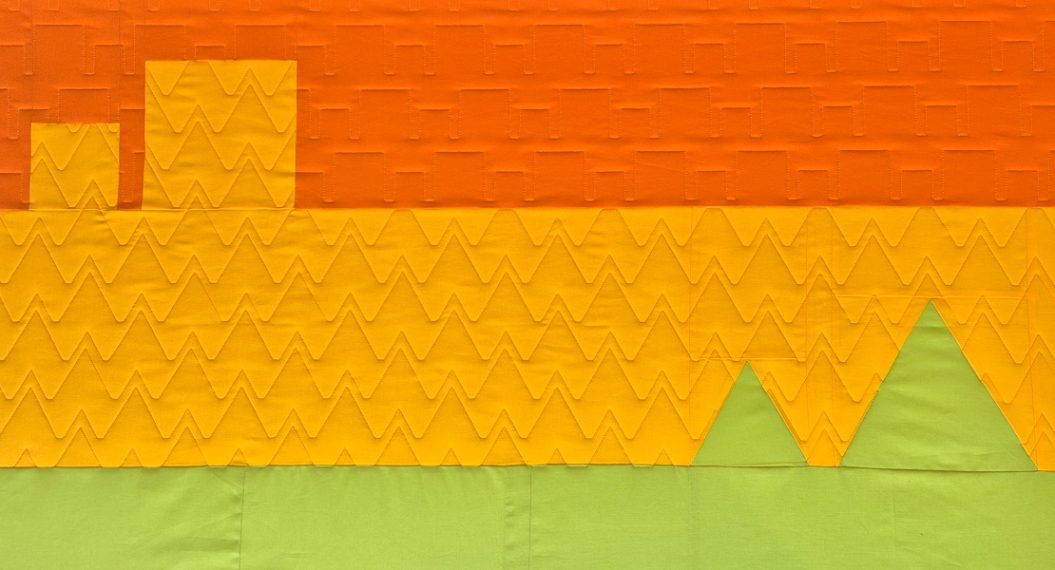
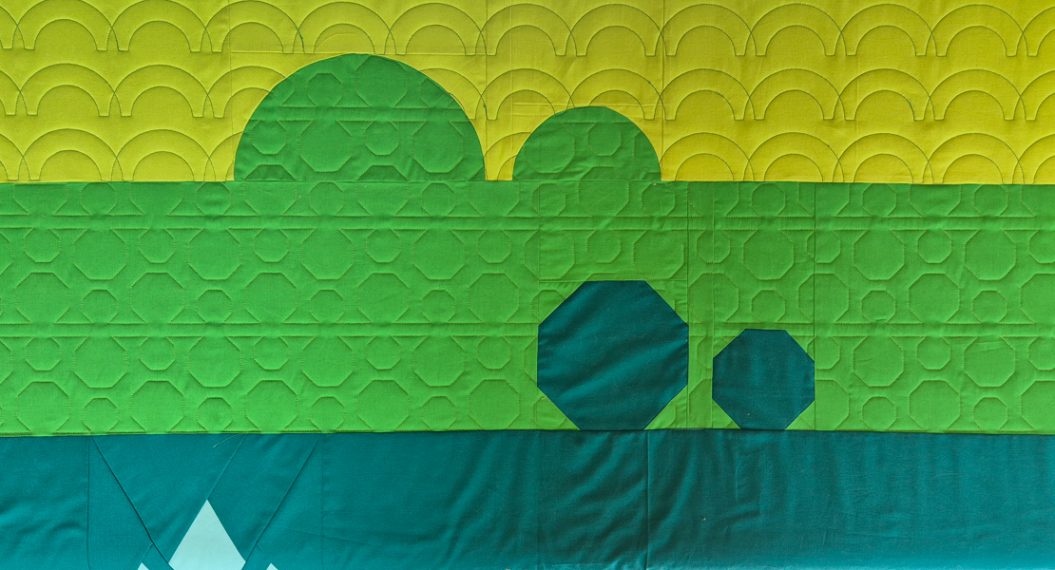
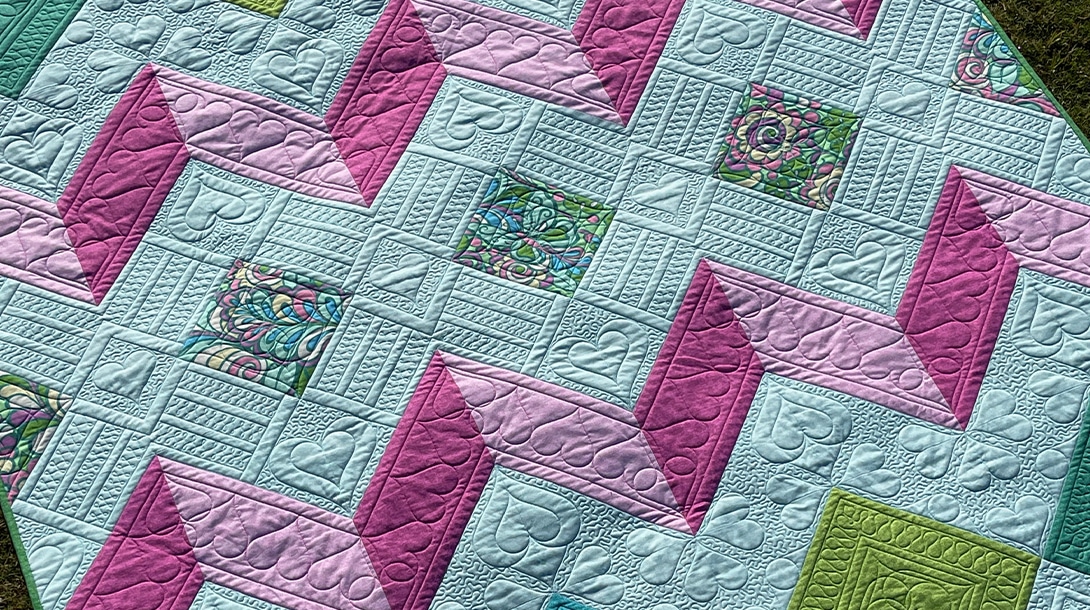
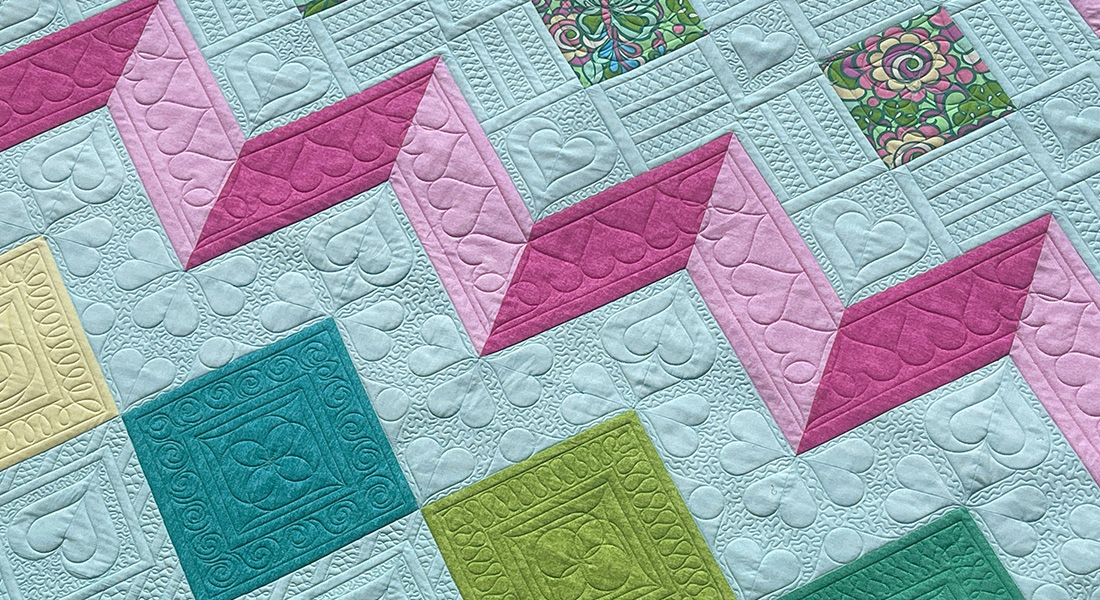
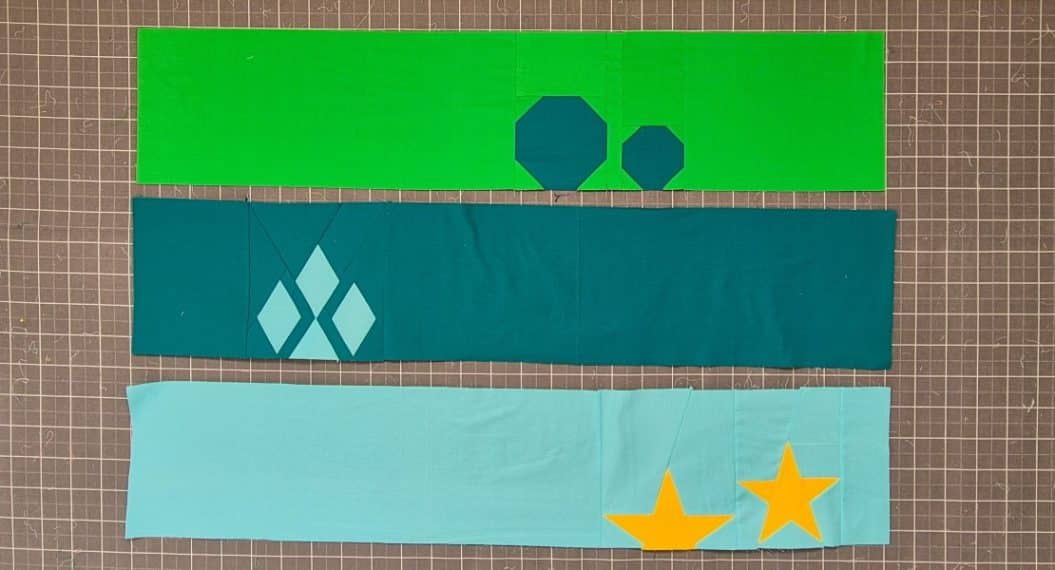
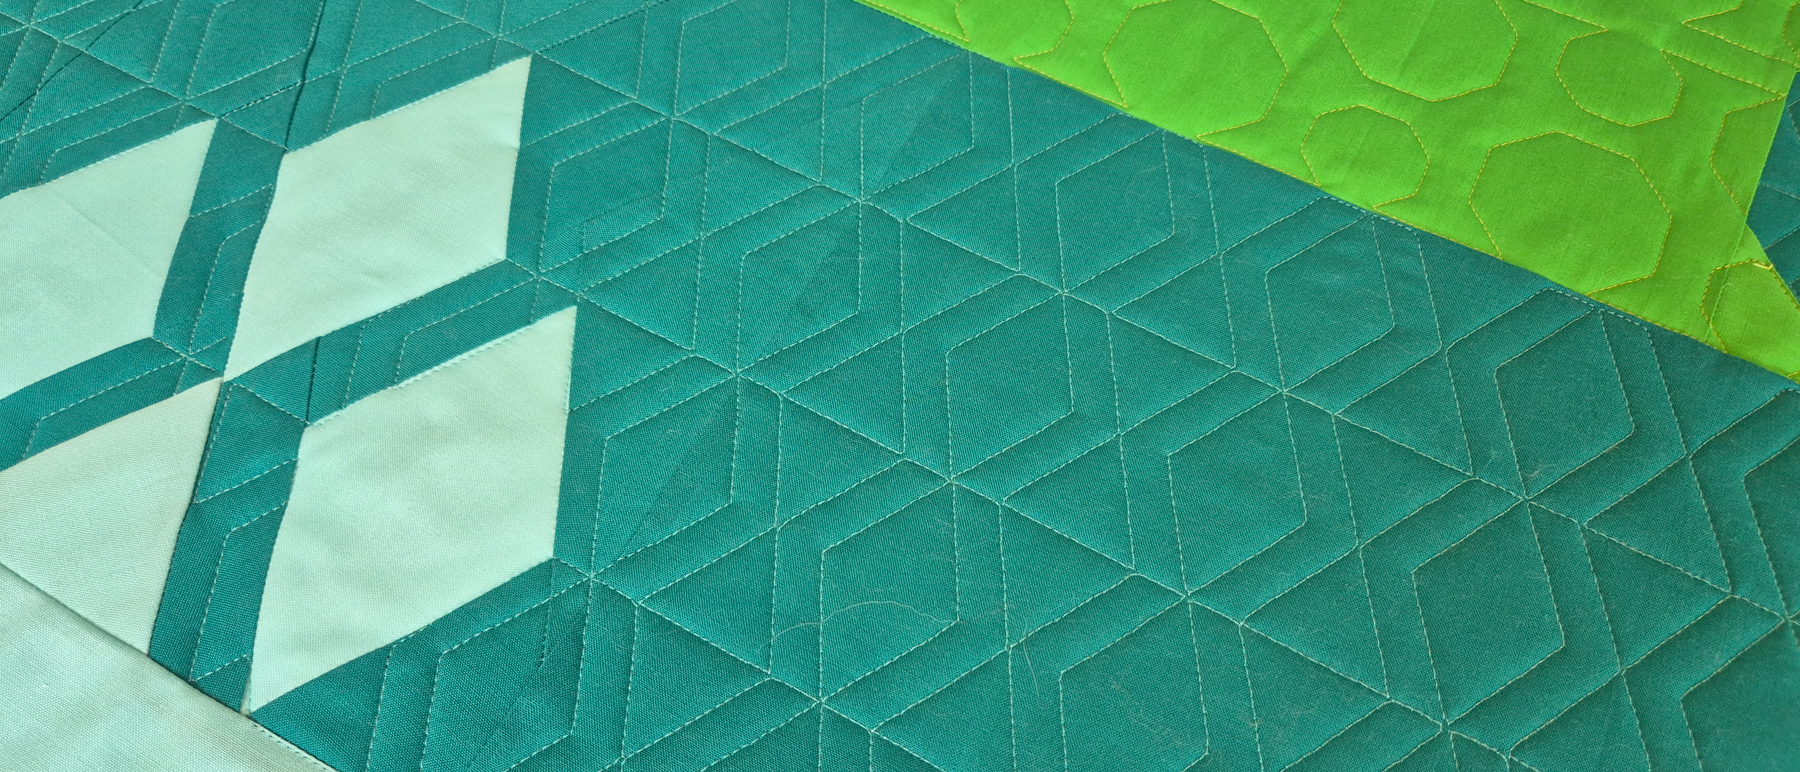
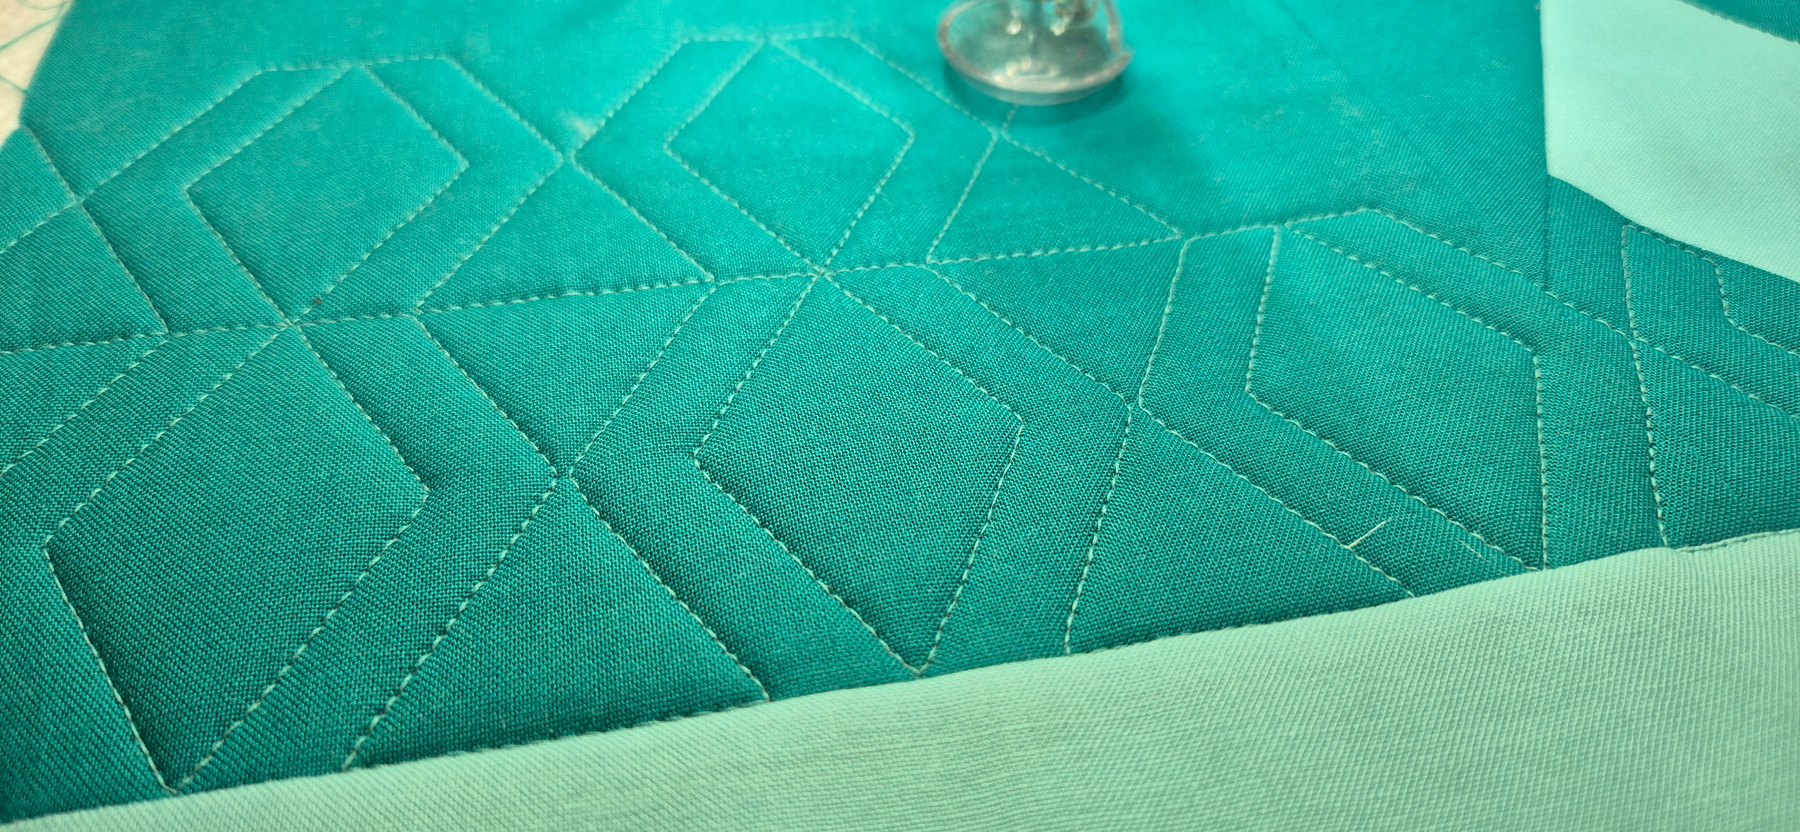
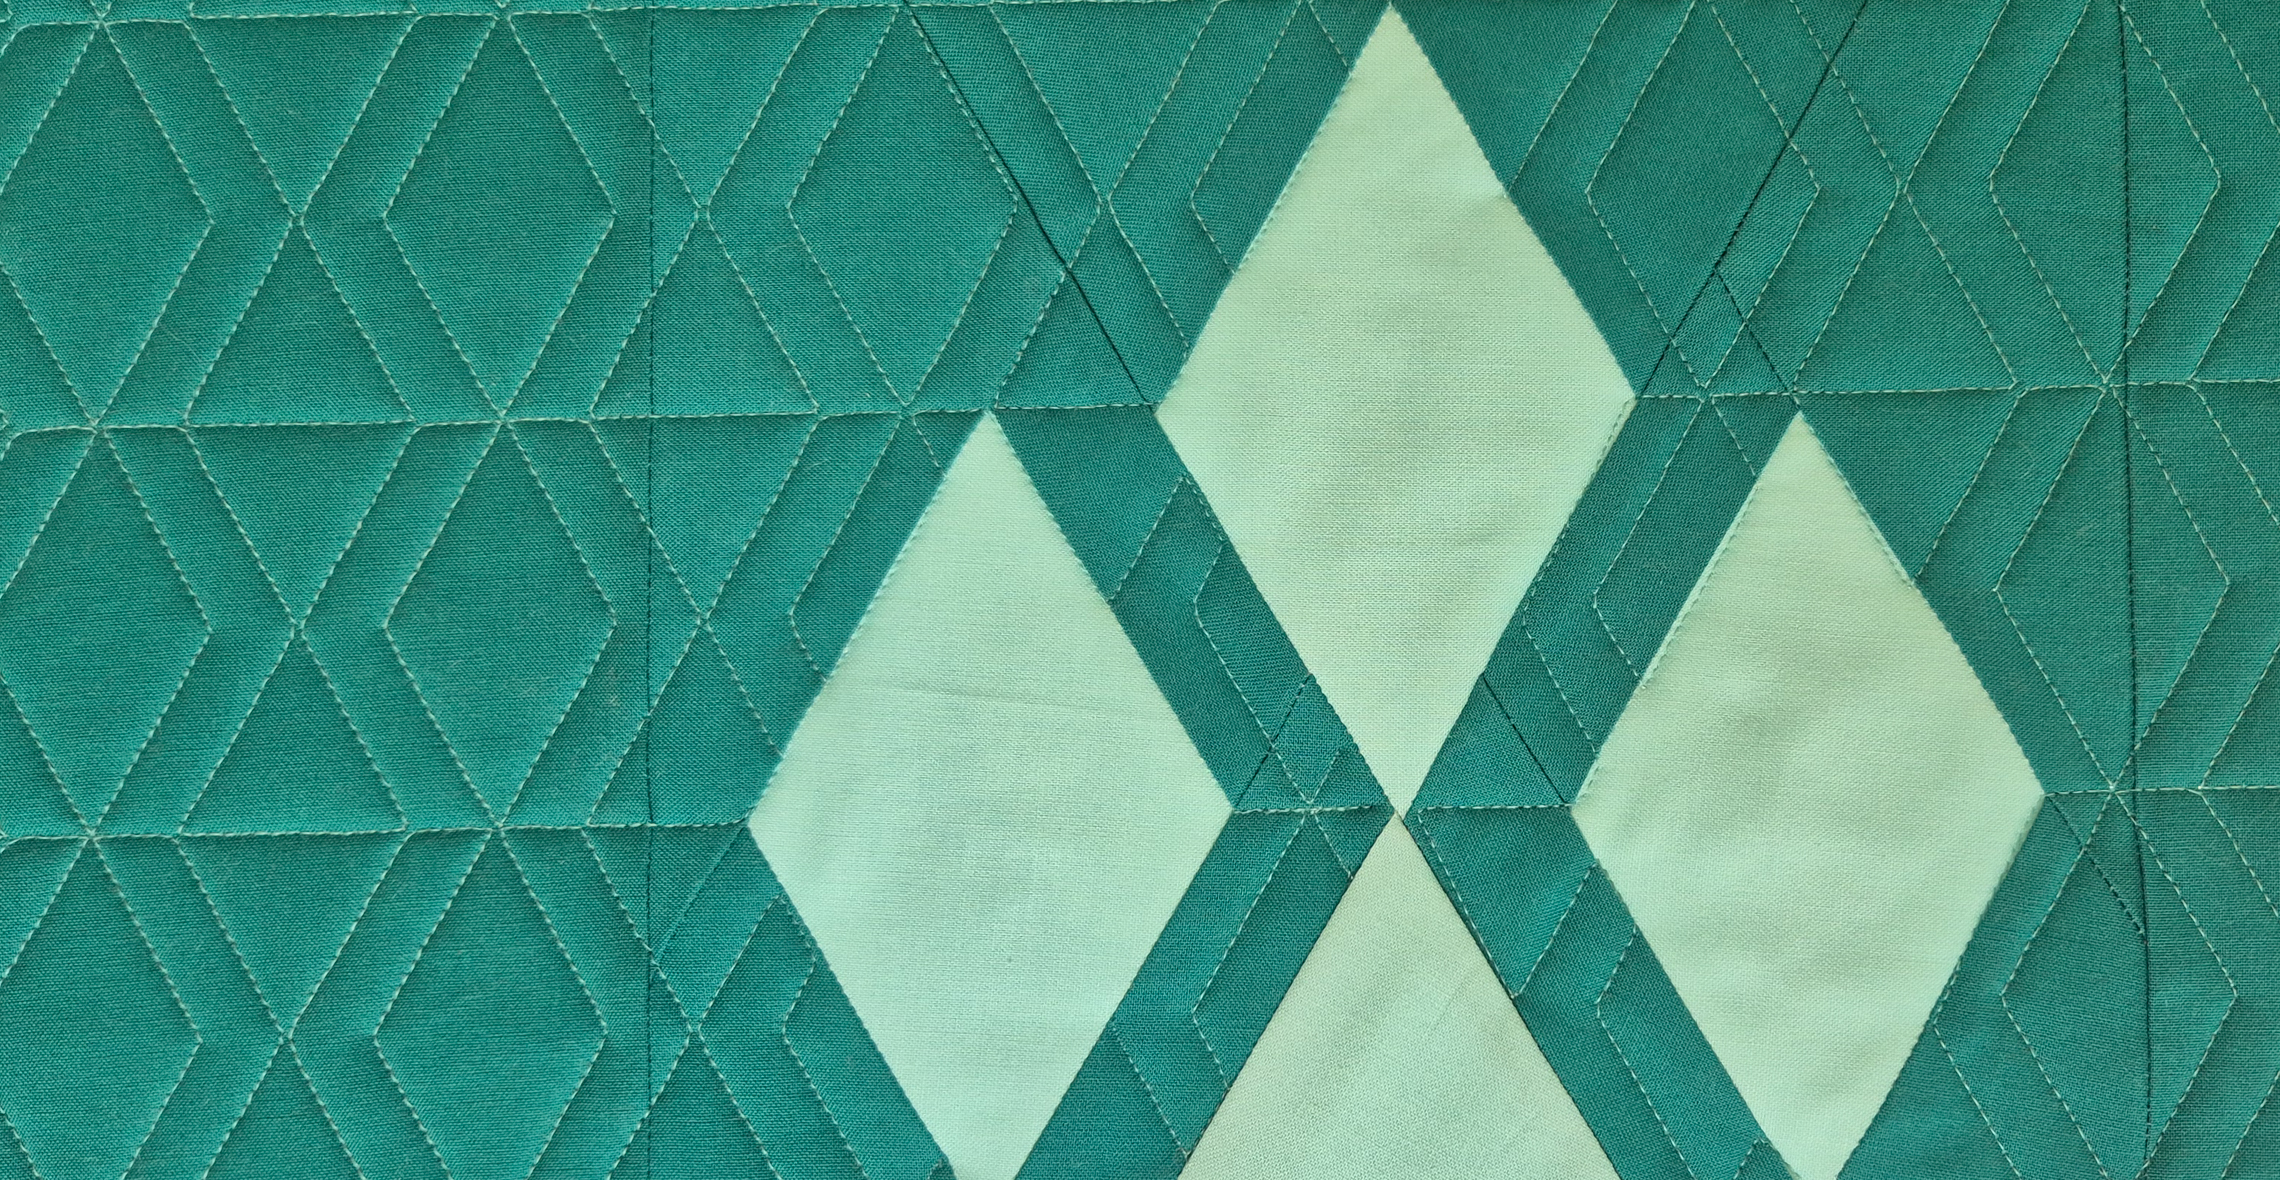
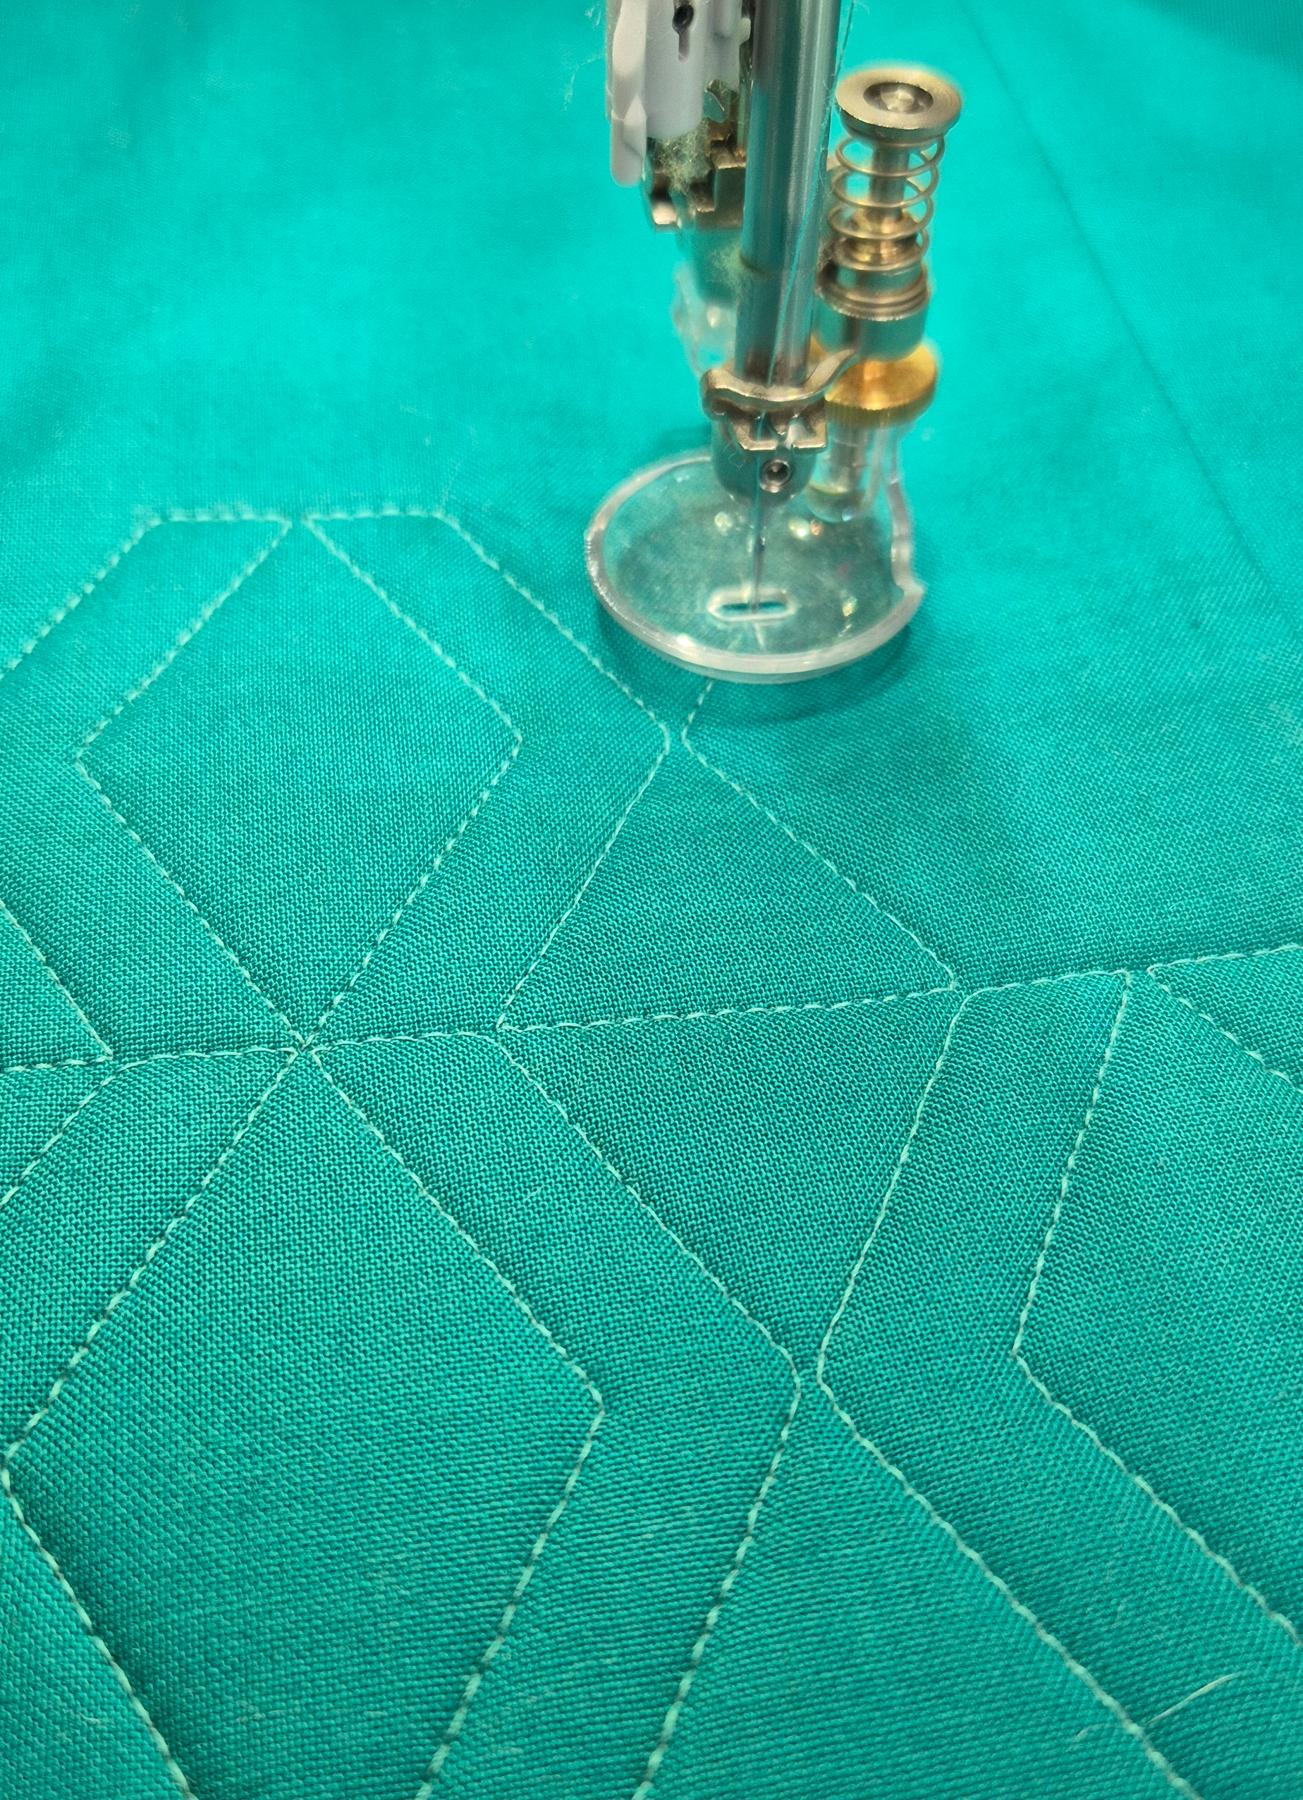
Row 5: Morphed Diamonds
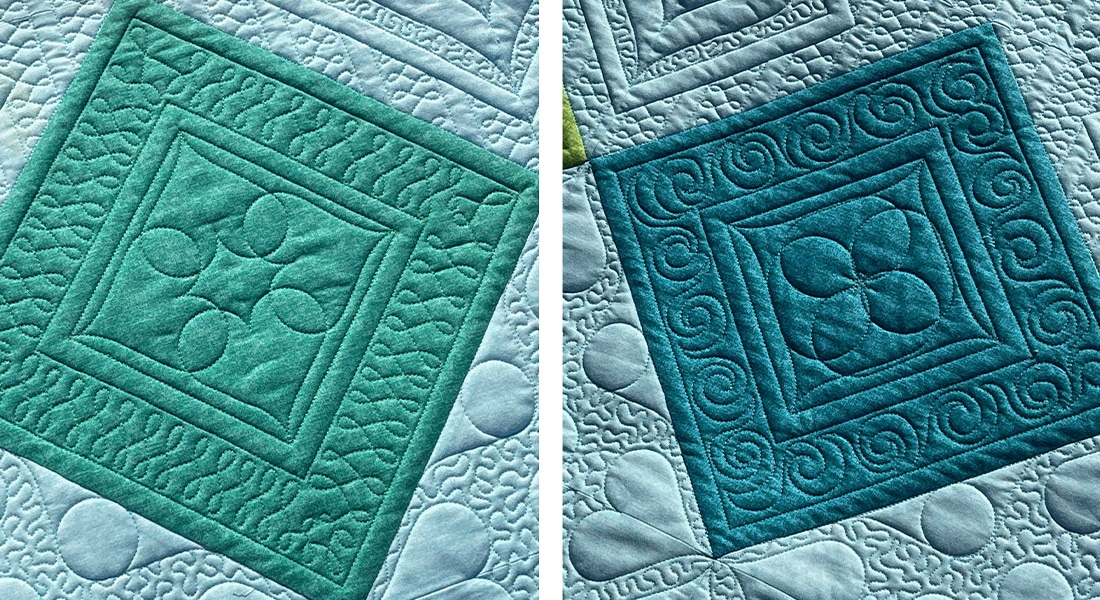
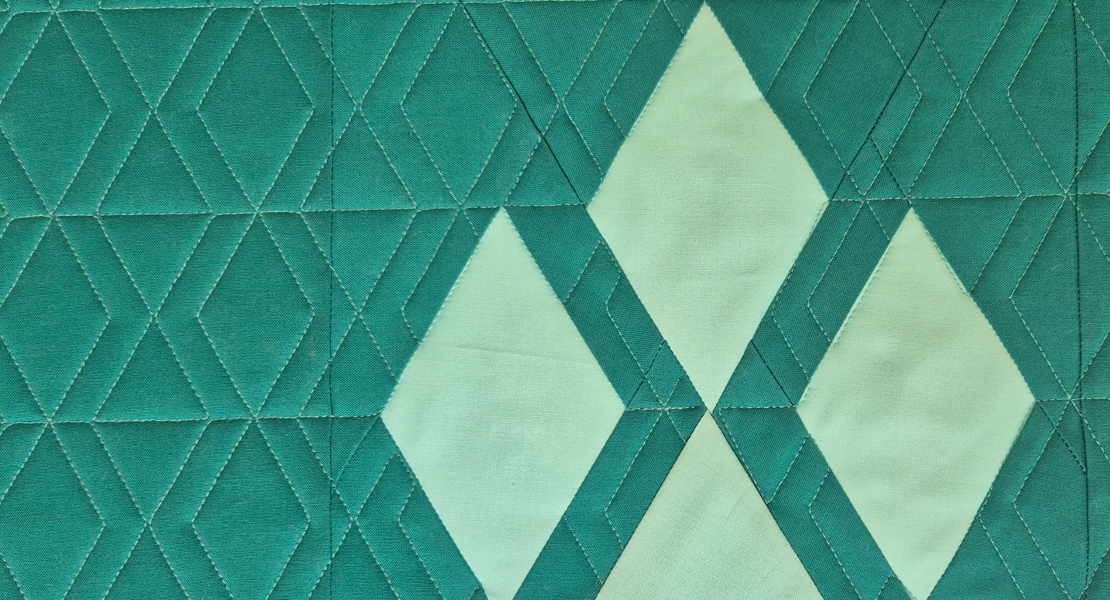
Let’s have some fun with diamonds! To make the design of this row more interesting, I chose to not just quilt diamonds. That is something you can create with straight line quilting. For this row I took the center part of the patchwork we did in this row, the ‘X’ between the diamonds. When you repeat that pattern it creates a wonderful texture on your quilt.
What we’ll focus on today:
- Trimming the sides of our design
- Using the Boundary tool to morph our design
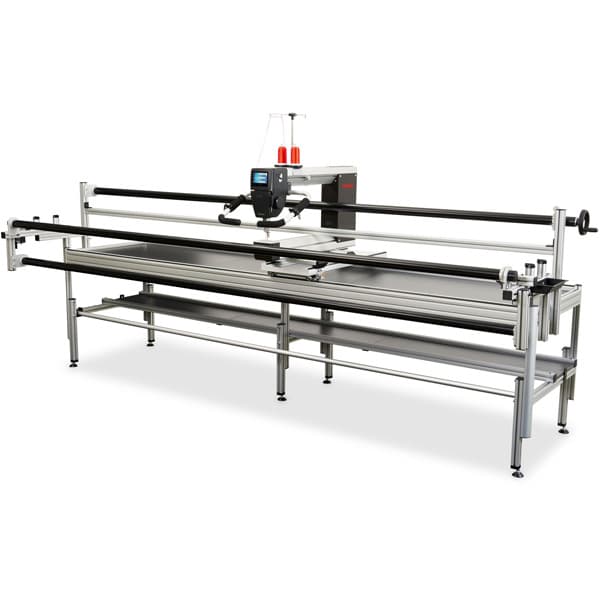
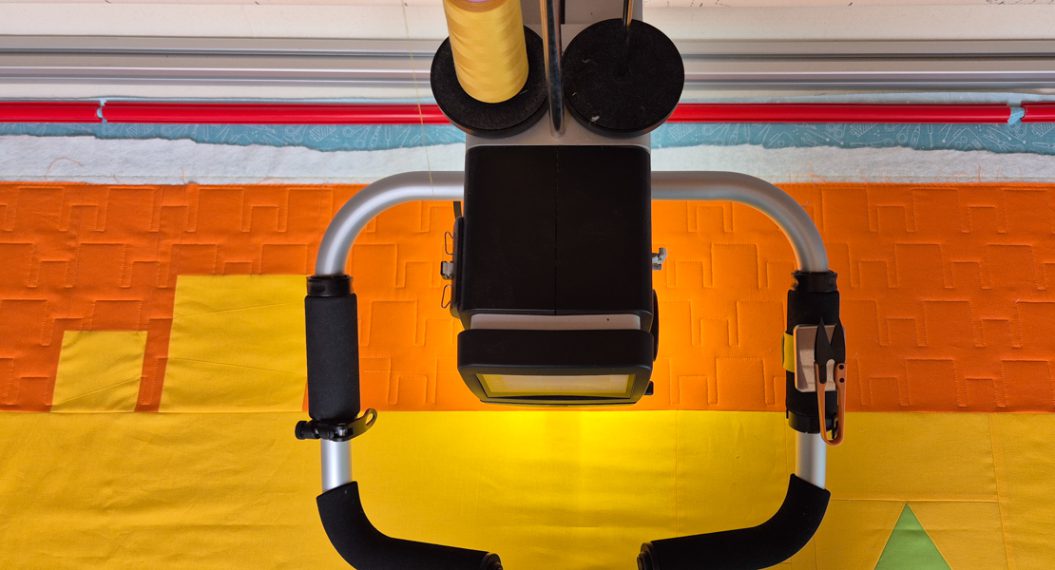
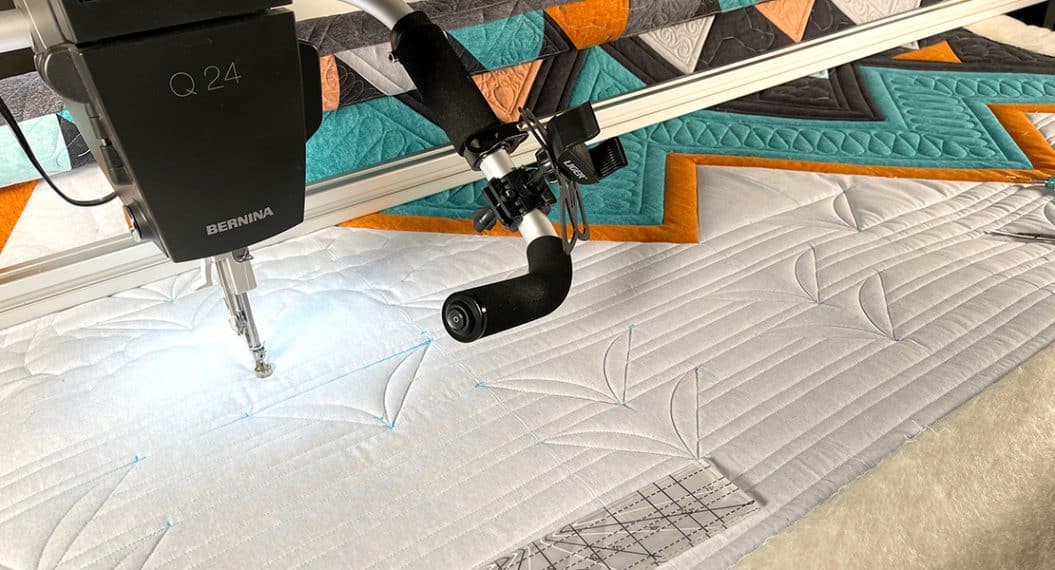
Set Up the Q-matic
Start up your machine and the Q-matic software. Open the project you saved after finishing the last row.
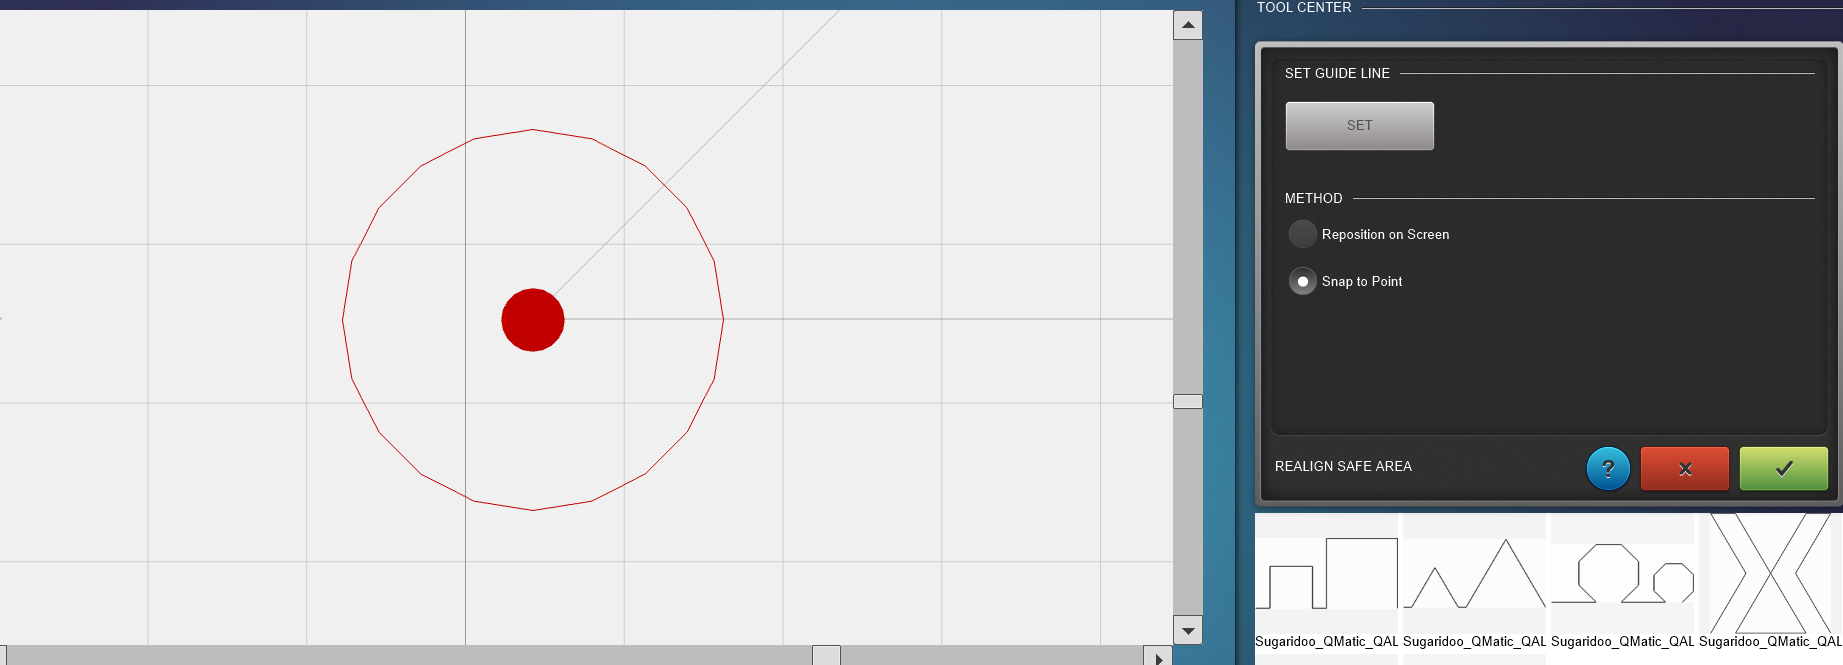
Set your safe area and use the Realign Safe Area tool to reposition your safe area.
Take a look at the instructions for the second row of the Q-matic Quilt Along to find the complete instructions to get your project ready to go.
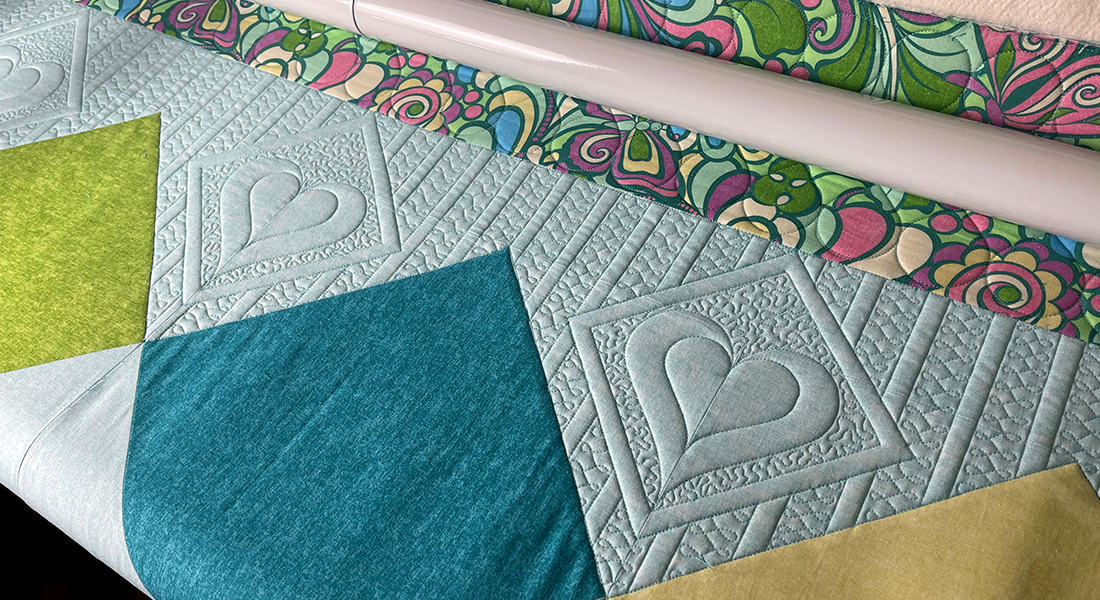
The Pattern
For every row in the Q-matic Quilt Along, you will find an edge-to-edge design to quilt on your row. You can go ahead and download it for free.

Creating Our Design
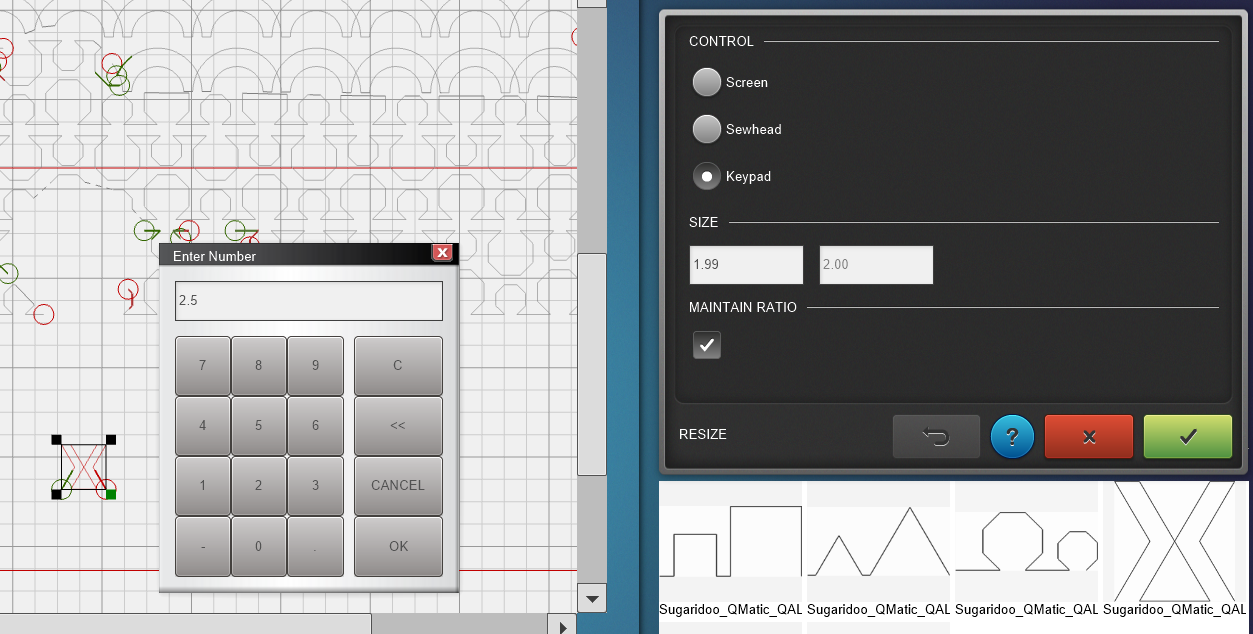
Place the design on your quilt and scale it to 2.5 x 2.5 inches. Our row is 10 inches high, so we are going to fit four rows of the design.
 Repeat the design with the E2E+ tool, make it a little wider then the row.
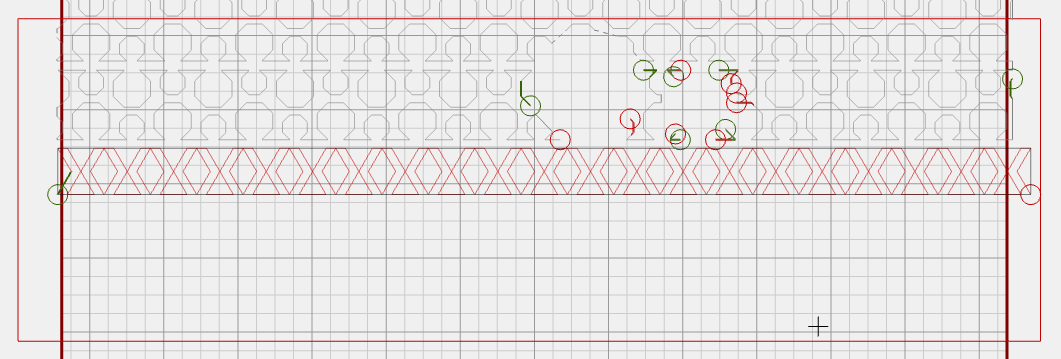
Use the Multiply tool to create four rows. We are first only going to create the design for a rectangle. We will add the pattern inside the octagons later.
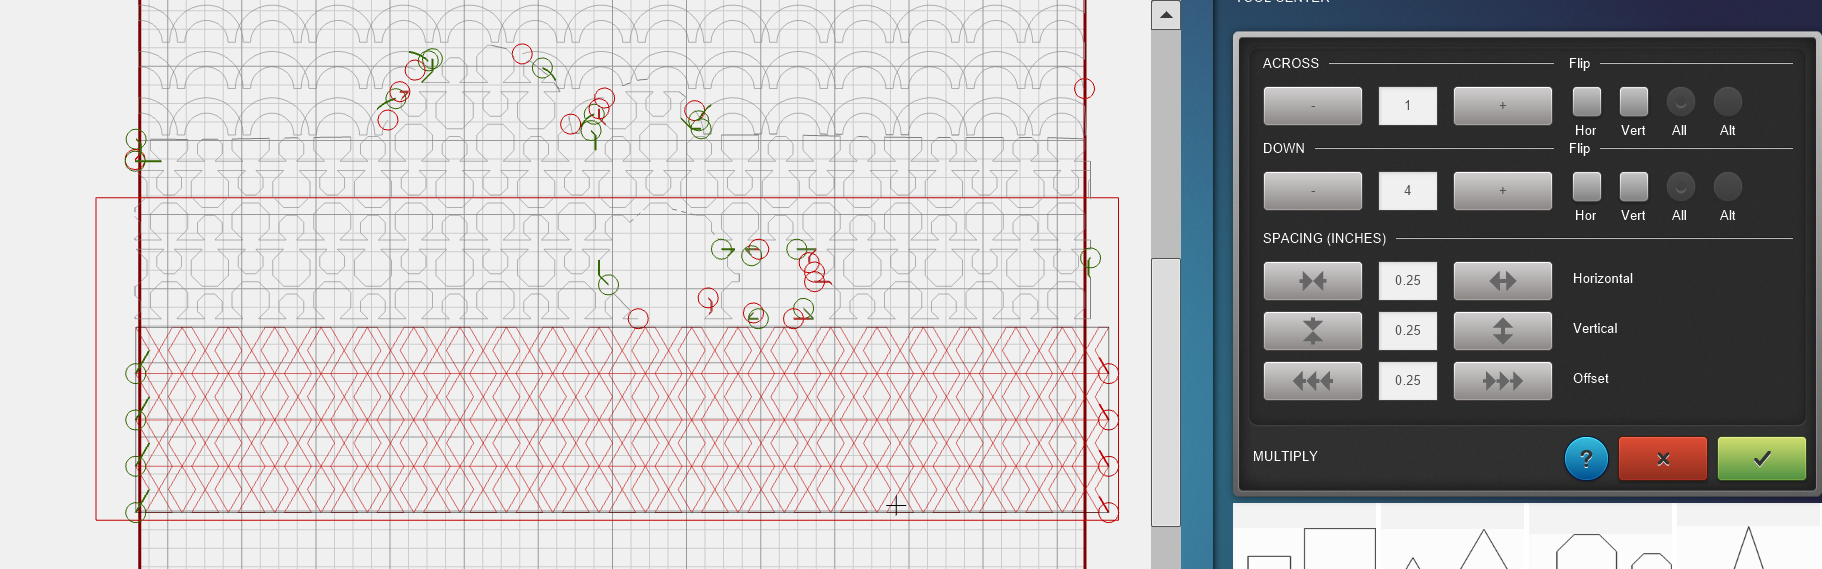
You can use the Align tool to center the design. Or just move the design to the center by just dragging it yourself.
No need to line up the pattern with the row at the top or bottom. We just want to get the design centered horizontally to trim the side edges.
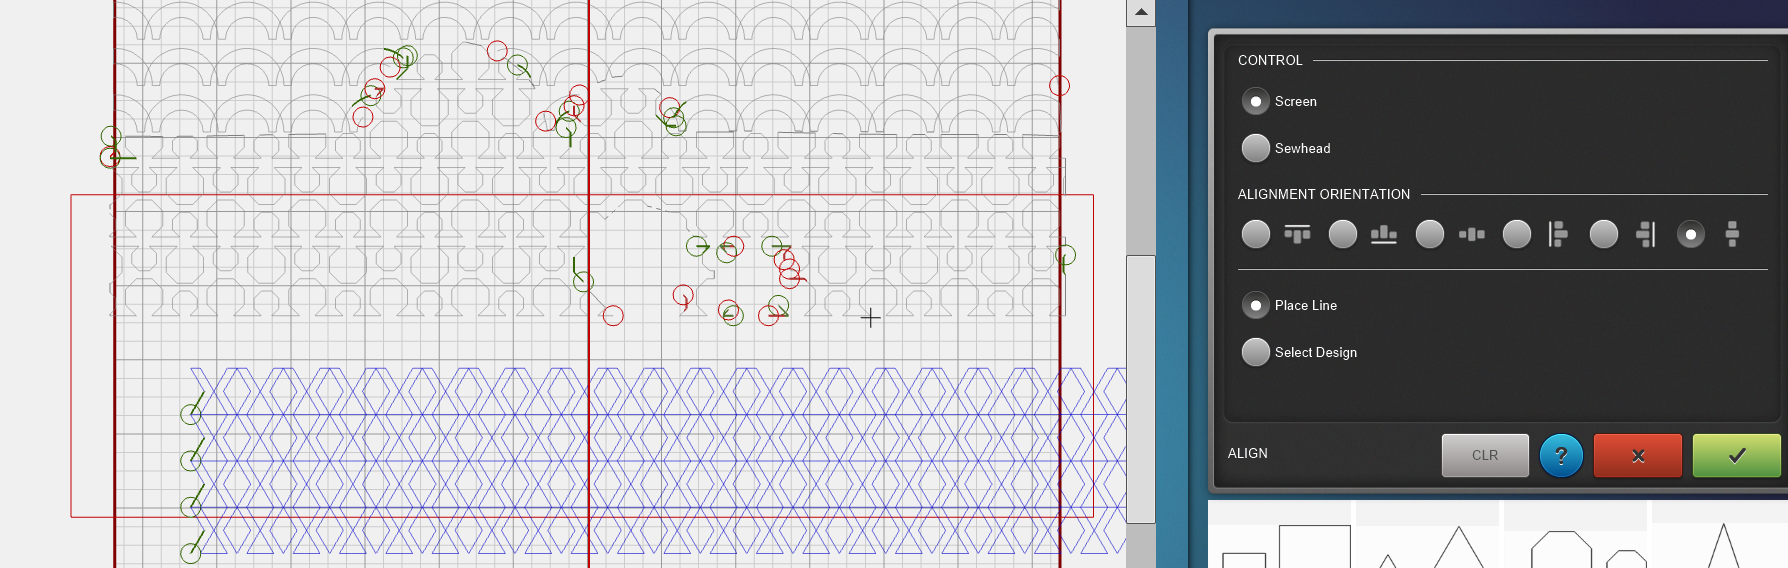
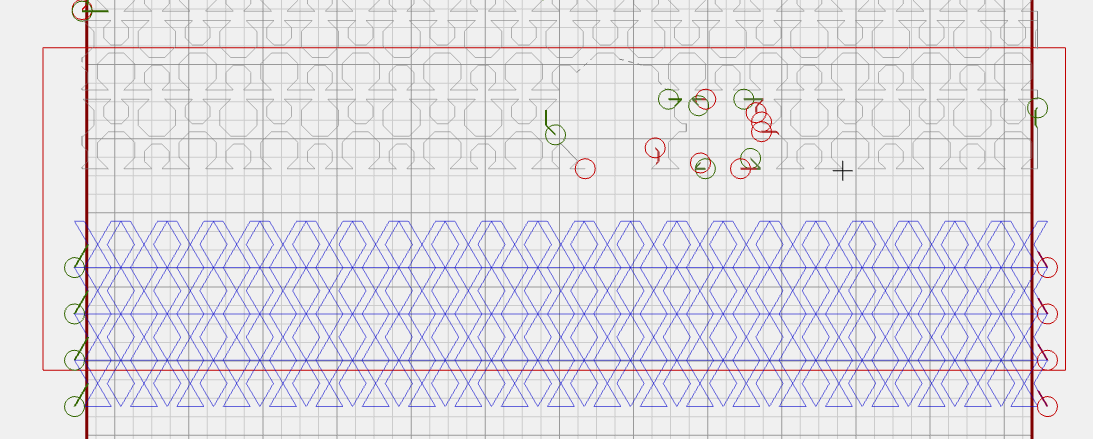
Use the Trim tool to trim the design on the outside of the border of the quilt. The border of the quilt is the red box that appeared after you entered the measurements of the quilt for row 1.
Use the settings Screen, Selected design and Vertical. Now you can click on the border of the quilt on your screen to create a cut line. The part of the design that turns black will be cut off. Use the Invert function to trim the part on the other side of your cut line.
Here’s the BERNINA instruction video on the Trim tool.
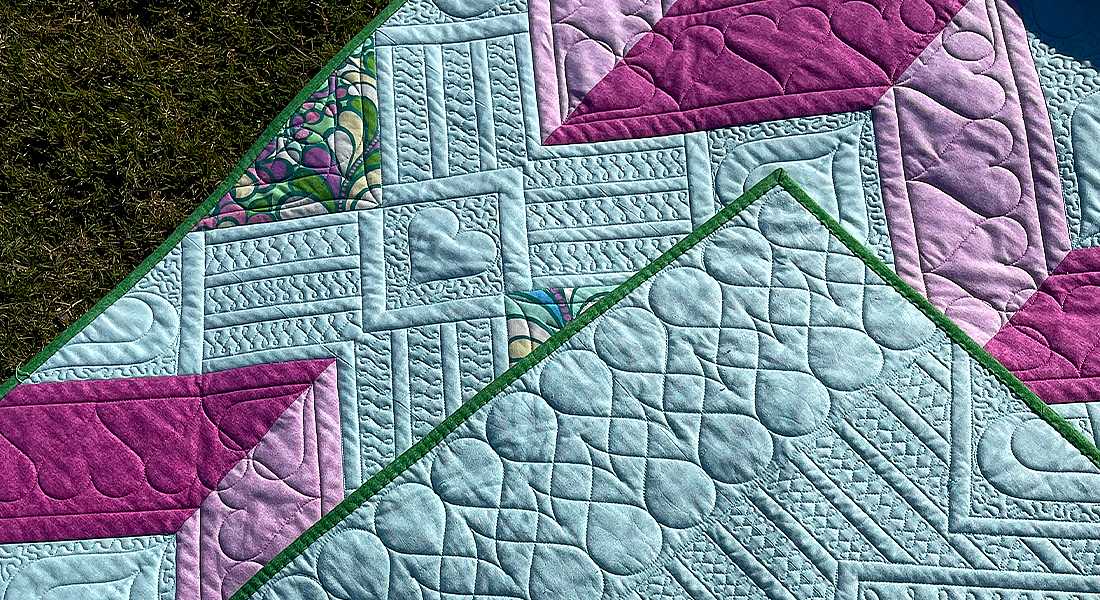
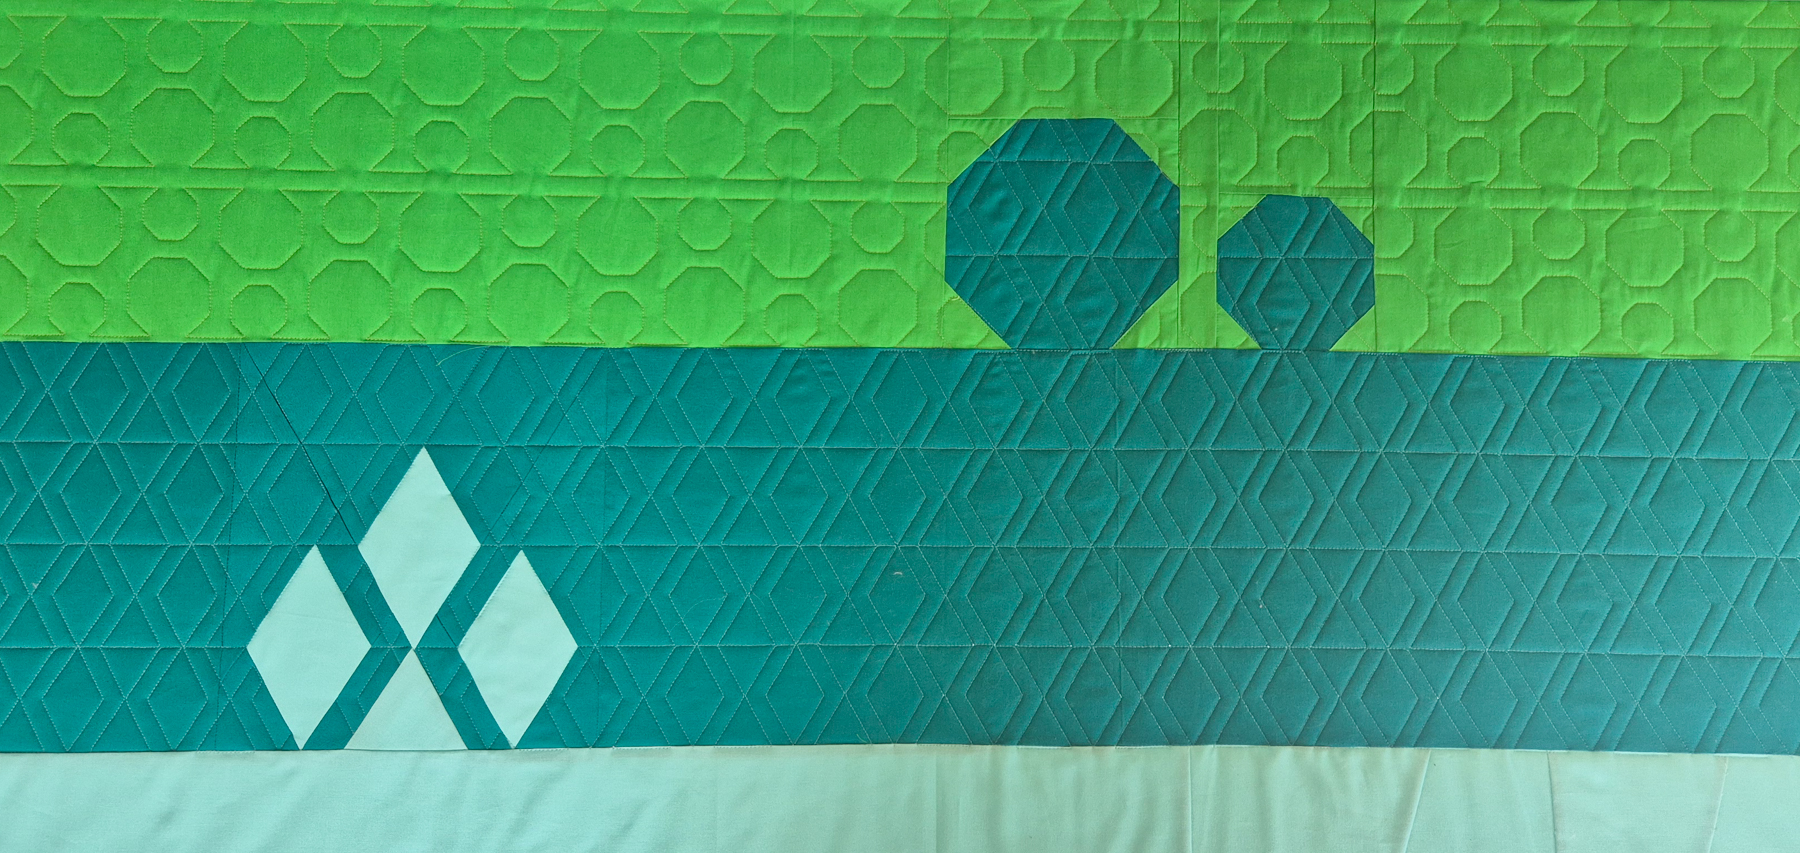
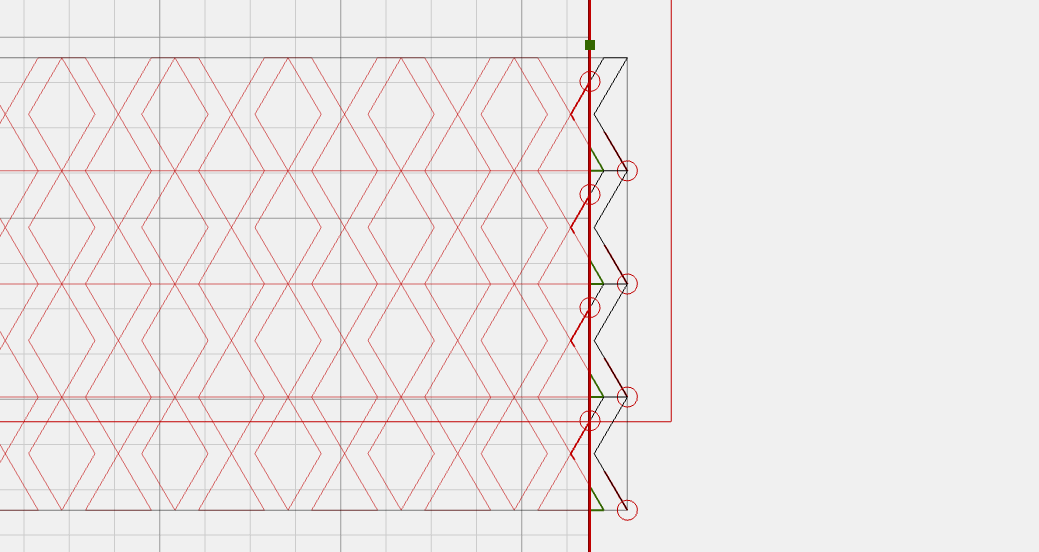
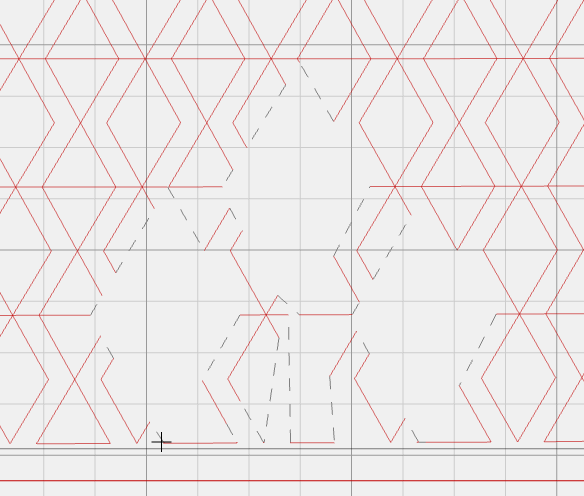
As you can see in the image below, our design is now a rectangle. It is ready to be morphed.
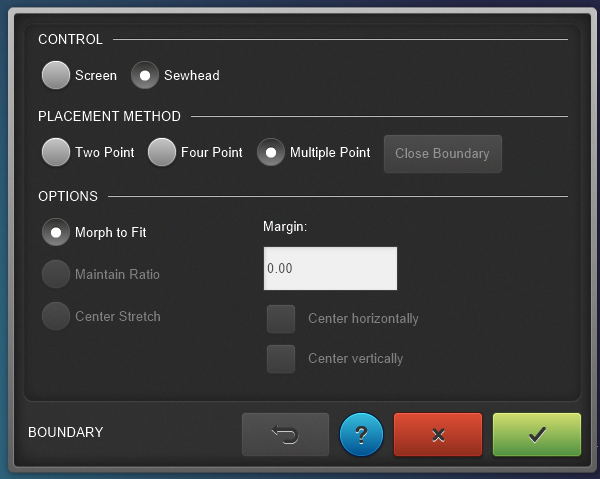
Setting Boundaries
Let’s start with the question, why would we want to use the Boundary tool. Well, in a perfect world, our sewing would be perfectly straight and our quilt would be loaded to the frame perfectly straight. But unfortunately, for me, that is really not the case.
When we quilt our design as it is on our row, it would show all our imperfections. But when we morph the design to our imperfections, it will look almost perfect 🙂
Select the design and open the Boundary tool.
We are going to use the Multi Point Boundary and use the Sewhead option.
In this video you can see an instruction on both boundary tools available on the Q-Matic.
Use the sewhead to move all around the row. Follow the edge of the row and place a marker every now and then. 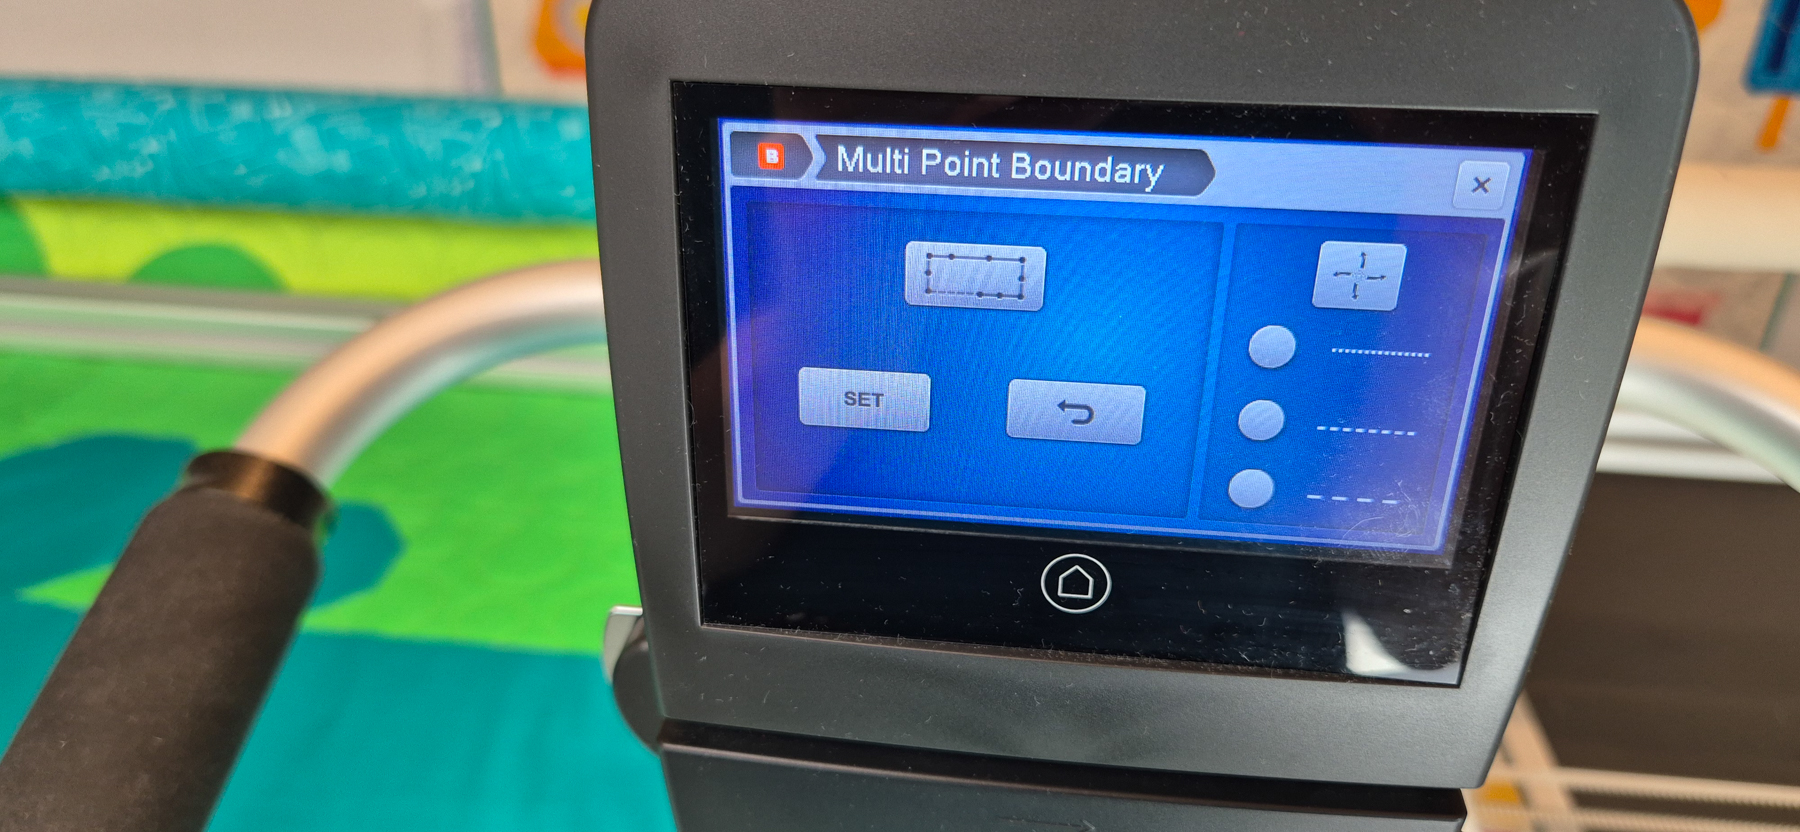
This will create a bounding box with an edge that follows the imperfectly straight edges of our row.
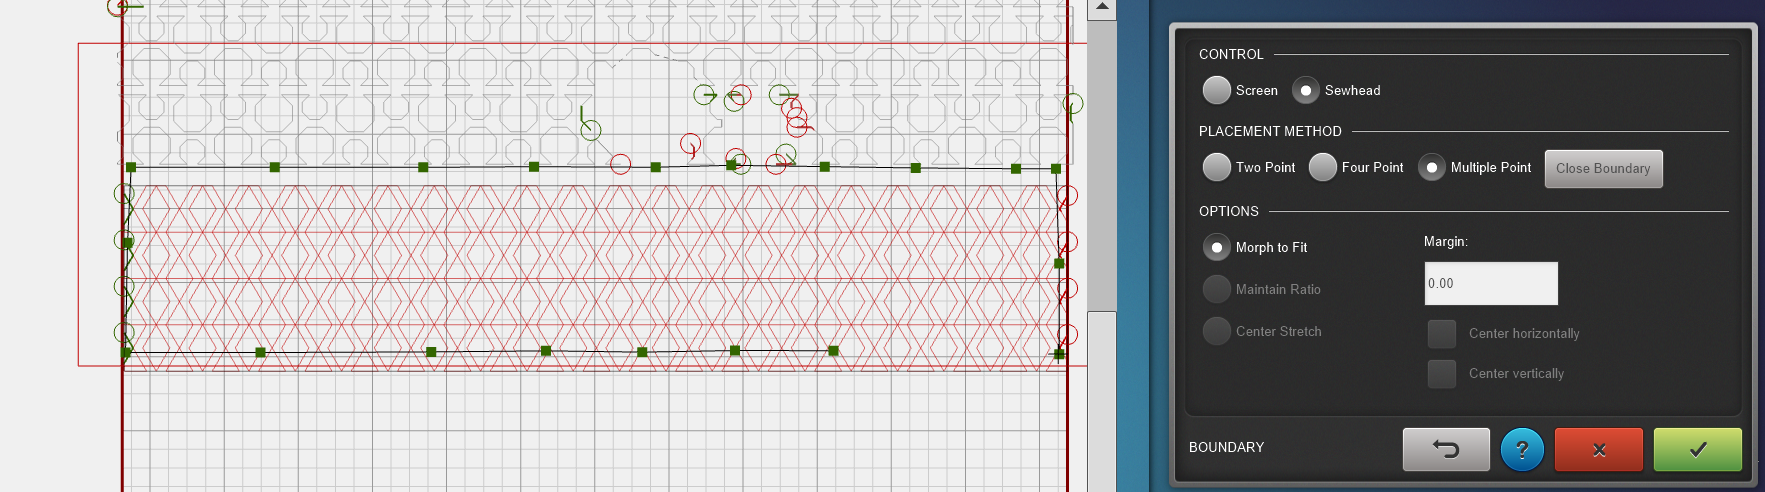
When you are done your design will morph to fit the box you created. If you look at the bottom line of my design below you can see how it is not straight at all. Even though my row looks pretty straight on the frame.

When you quilt this, the design will follow the edge of the row.
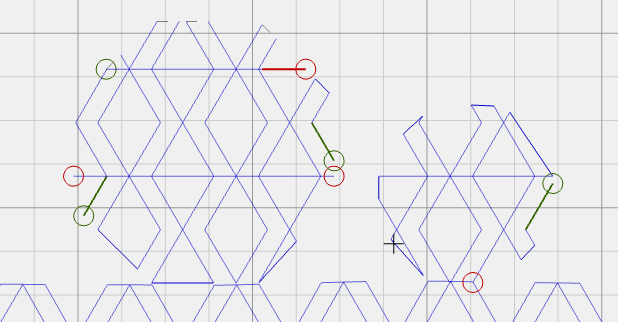
Creating Our Design part Two
We still need to place the design on the octagons as well.
Place the pattern on the project again and scale it to 2.5 x 2.5 inches.
I used the E2E+ tool and the Multiply tool to create a design that covers both octagons.
To align the two parts of the design, I zoomed in on the edge between the two designs and lined them up by hand.
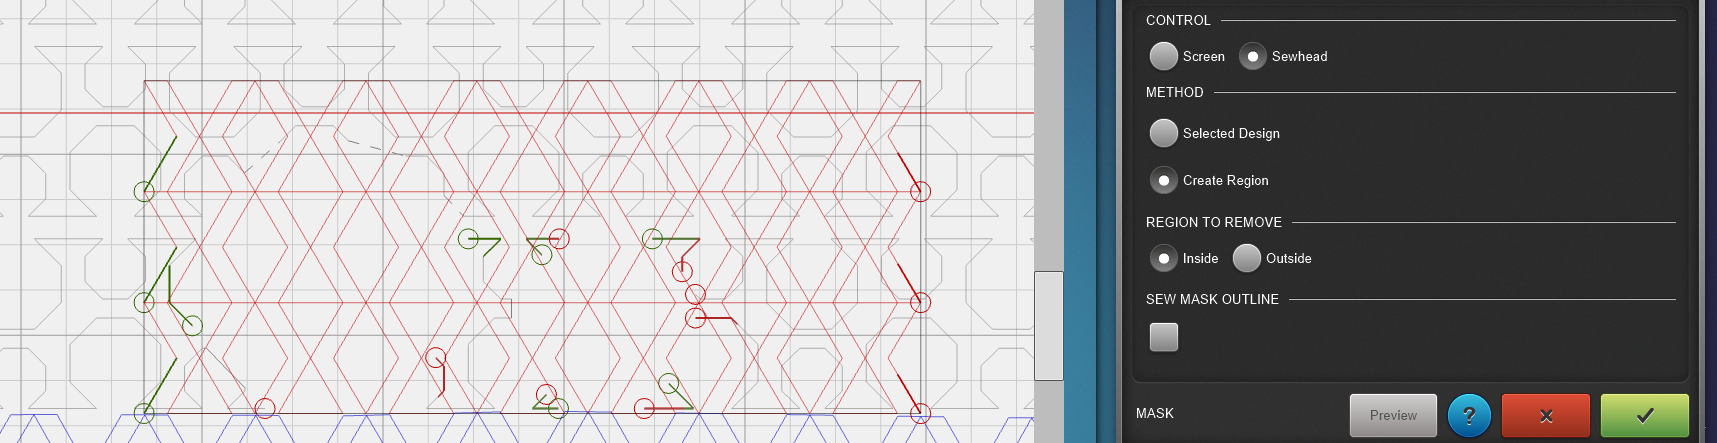
Creating a Mask
Now we will use the Mask tool on the octagons and the diamonds. For the octagons you will use the Remove Outside function.


And for the diamonds, you will use the Remove Inside function.
Let’s Go!
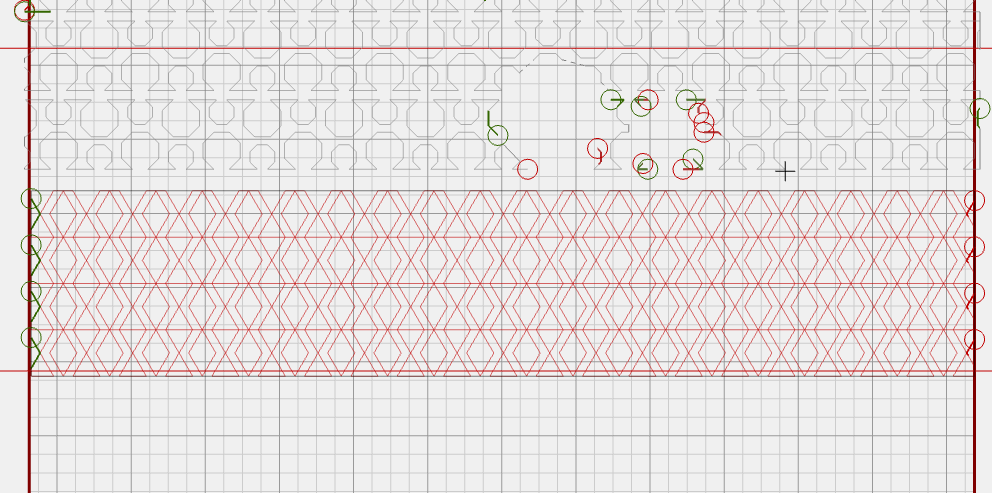
Now everything is set, you can press start. When all is well the Q-matic will stitch nicely along the bottom edge of the design, leaving out the diamond shapes while also filling the octagons.
Till Next Time!
I’ll be back in two weeks with our final row! We will be finishing off the Q-matic Quilt Along with a playful star design. If you have any questions in the meantime, please put them in the comments below.
Happy quilting, see you soon!
Irene