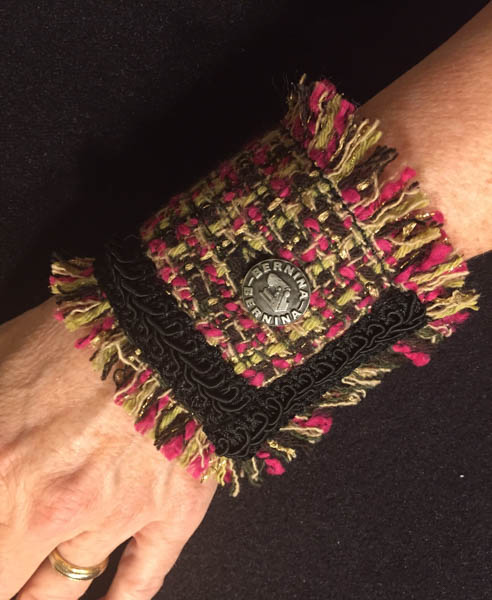
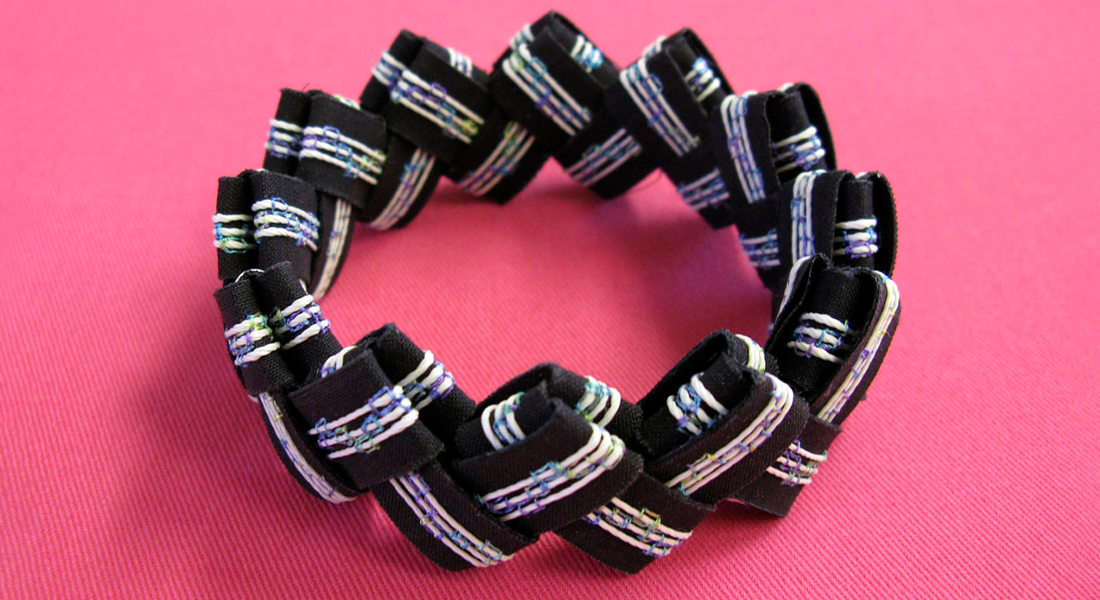
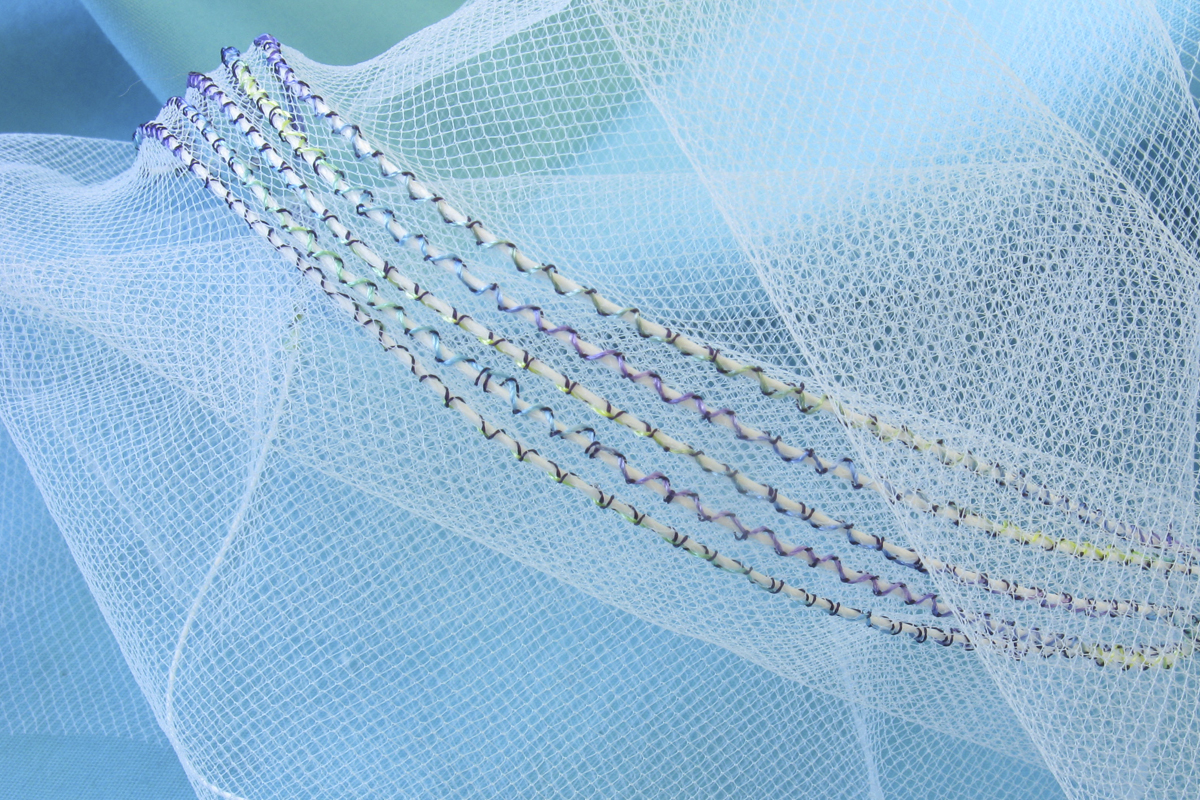
Serger Cuff Bracelet
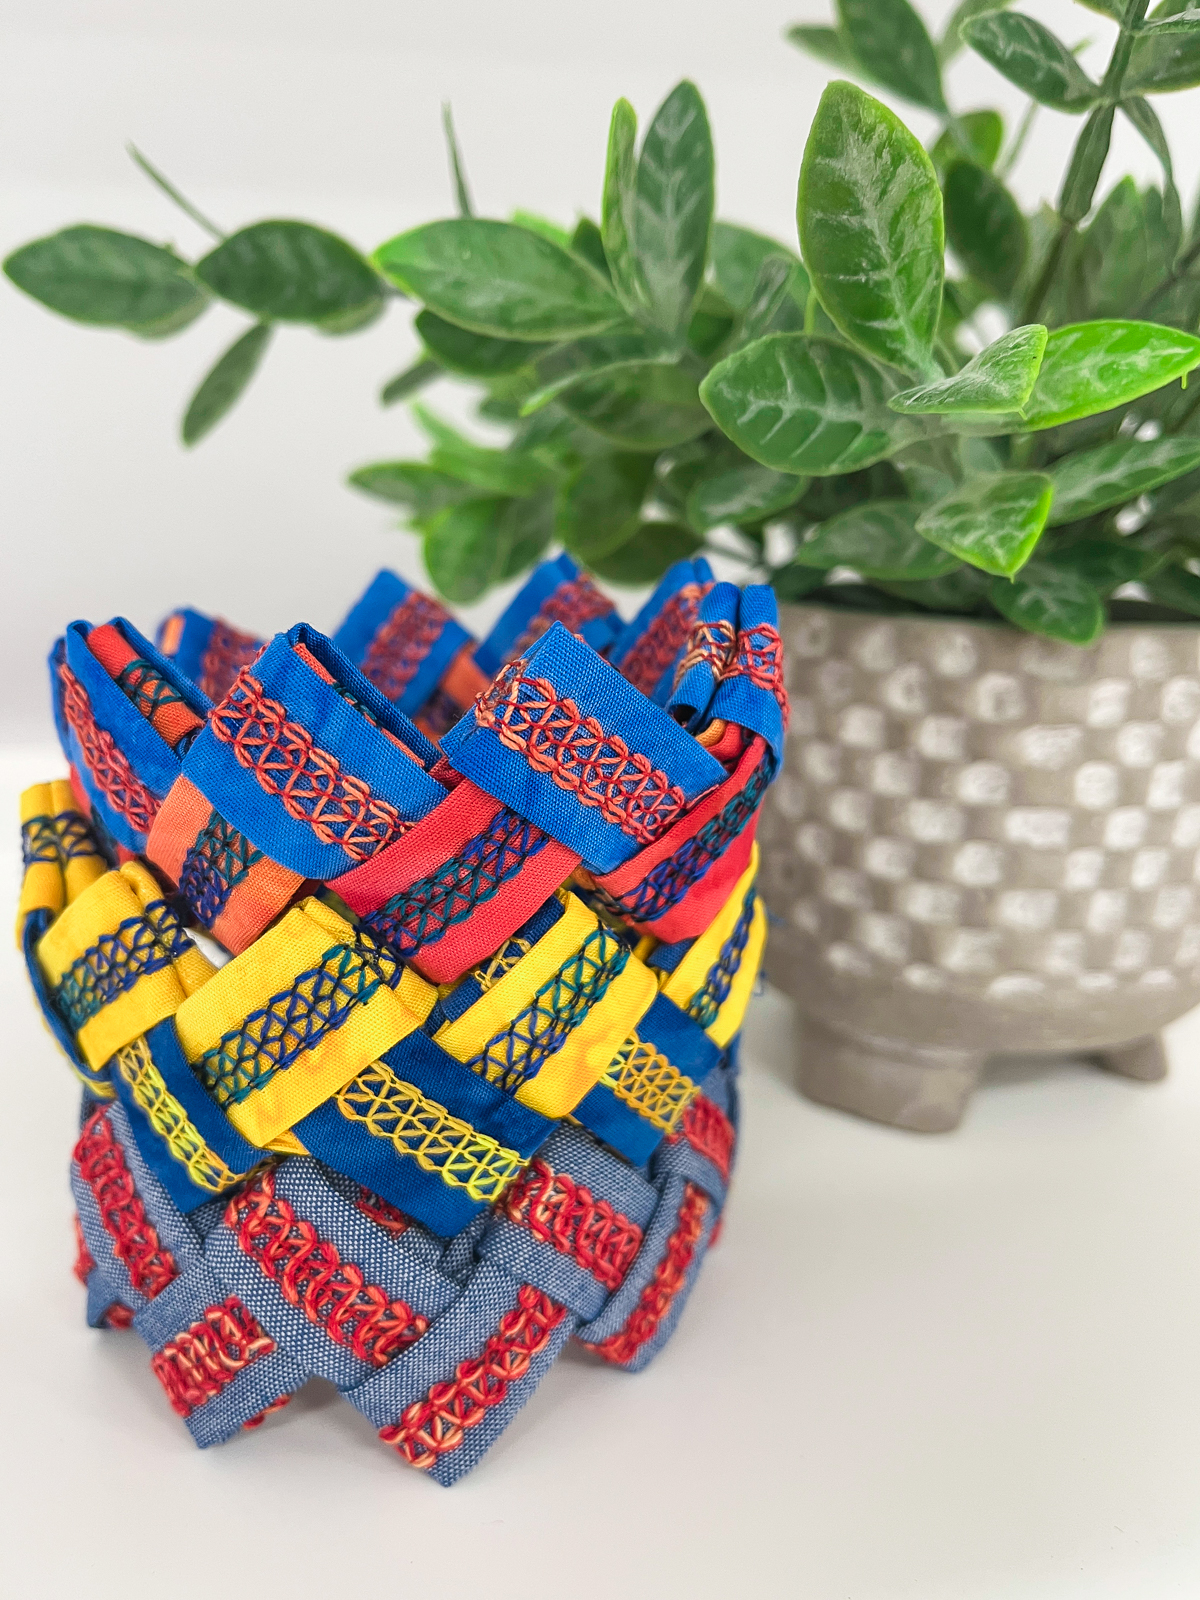
I love finding creative ways to use my serger. I was recently cruising through some “vintage” WeAllSew posts and found the Summer Glow Cuff Bracelets by Paula Scaffidi. These reminded me of the bracelets we used to make with gum wrappers back in the day. The belt loop folders and some decorative threads will make this a fun afternoon project.
Let’s make one together!
Materials for Making the Serger Cuff Bracelet
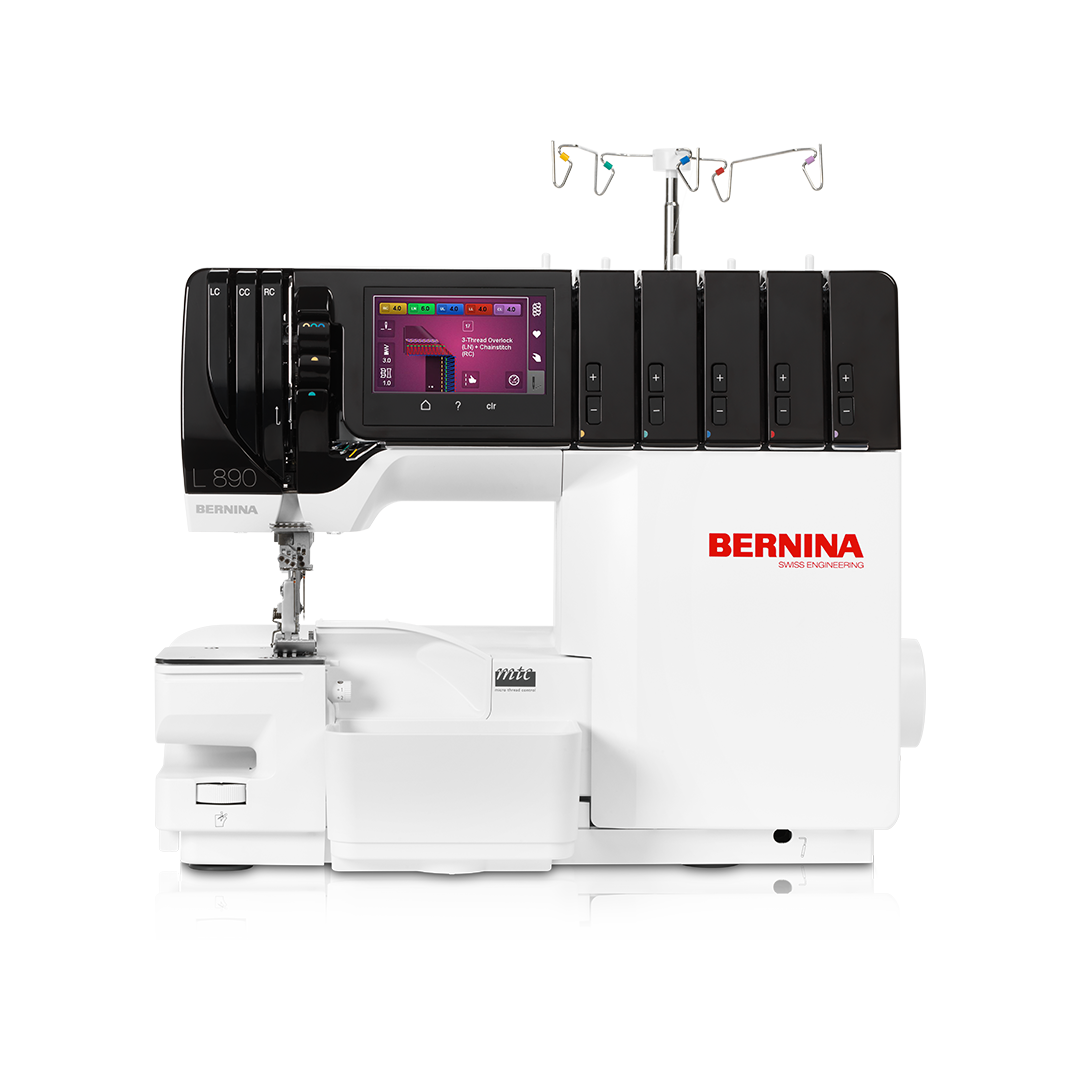
- BERNINA L 890*
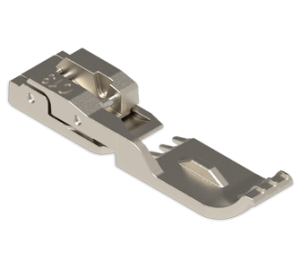
- Cover-/Chainstitch Foot #C13
- Accessories Holder
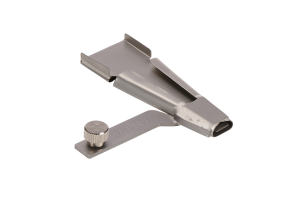
- Belt Loop Folder #C30 (15/30)
- Fabric: (2) colors of Batik fabric
- (3) 1 1/4″ x WOF strips of Stone Quarry Stone Wash Batik by Benartex (blue)
- (3) 1 1/4” x WOF strips of Agate Fruit Punch Batik by Benartex (orange)
- (3) cones of Seracor thread for needles to coordinate with each of the decorative threads (blue and red)
- Decorative threads for Chain Looper
- WonderFil Fruitti-Tomato
- WonderFil SoftLoc-Variegated Blue
- Wonder Clips
- Fabric Fusion glue
*This project can also be made with the b42 FUNLOCK, b48 FUNLOCK, b62 AIRLOCK, or b68 AIRLOCK.
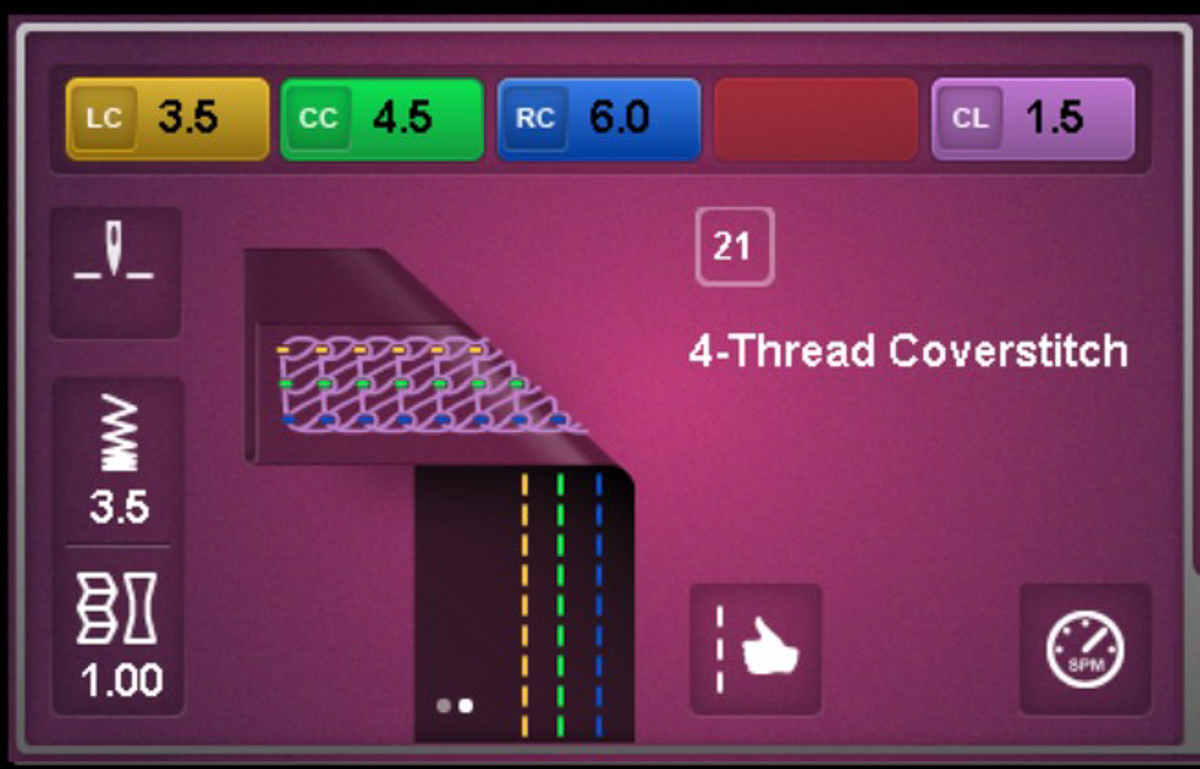
Step 1: Set Up the Machine
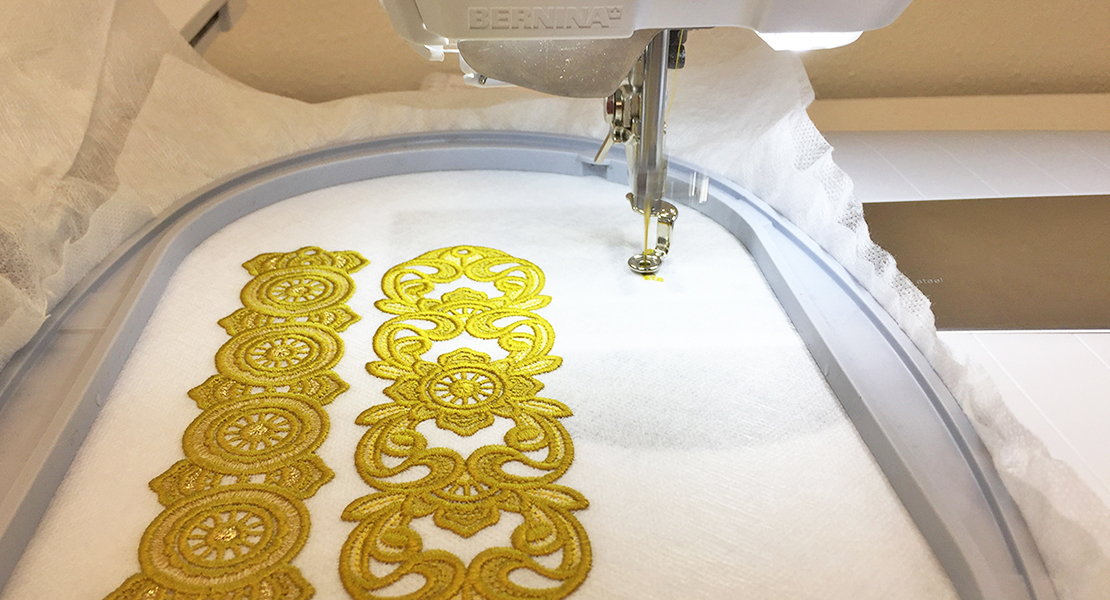
Set the machine for a 4-thread Coverstitch #21. Thread the needles with red serger thread. Thread the chain looper with 12 weight Fruitti-Tomato.
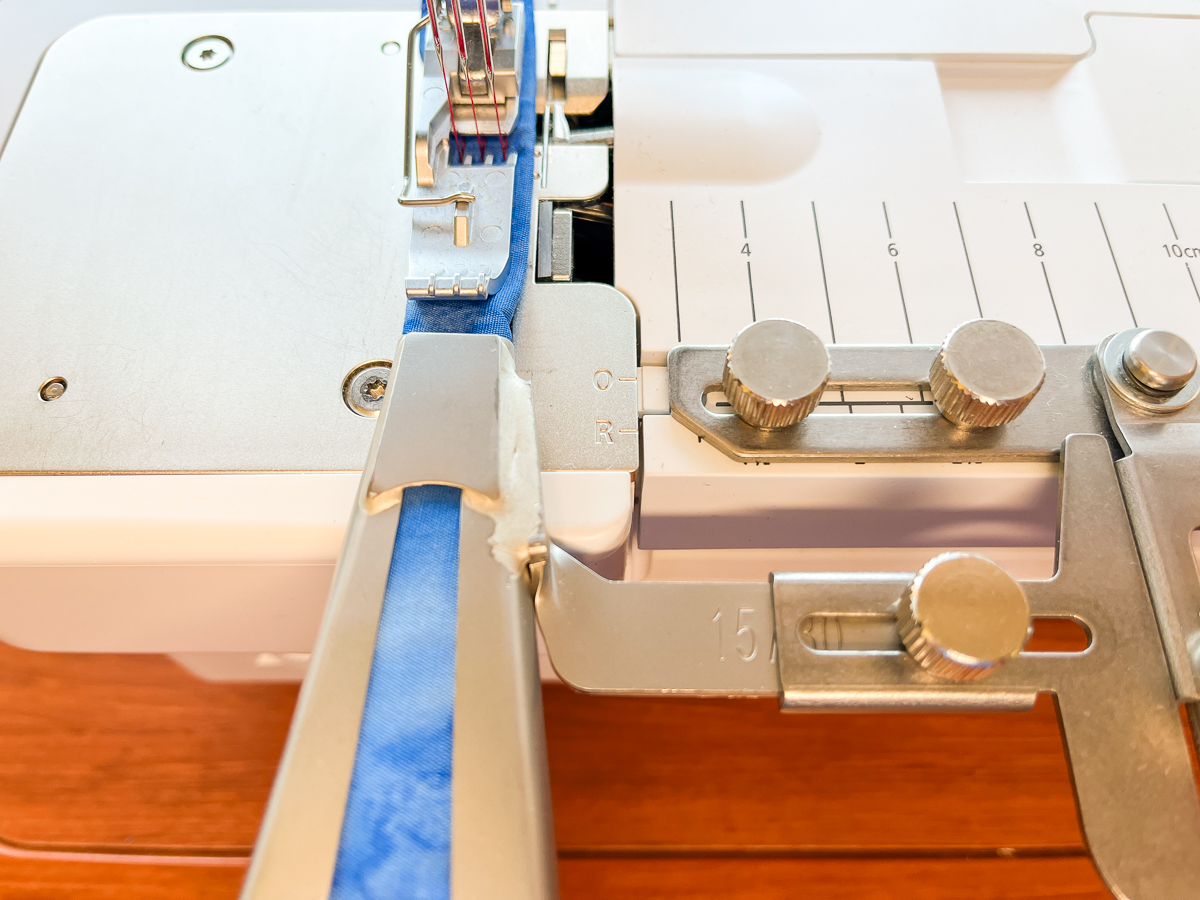
Attach the Accessories Holder to the Coverstitch Insert. Insert the Belt Loop Folder #C30 (15/30) and adjust so that it is centered on the needles. Click here to read more about the Belt Loop Folders #C30.

Step 2: Make the Belt Loops
Cut a point at one end of a blue fabric strip. Swing the folder out and insert the strip right-side up. Swing the folder into position and position the fabric under the needles.
Sew a few inches and check that the looper stitches are covering the raw edges on the bottom side. Adjust as needed.
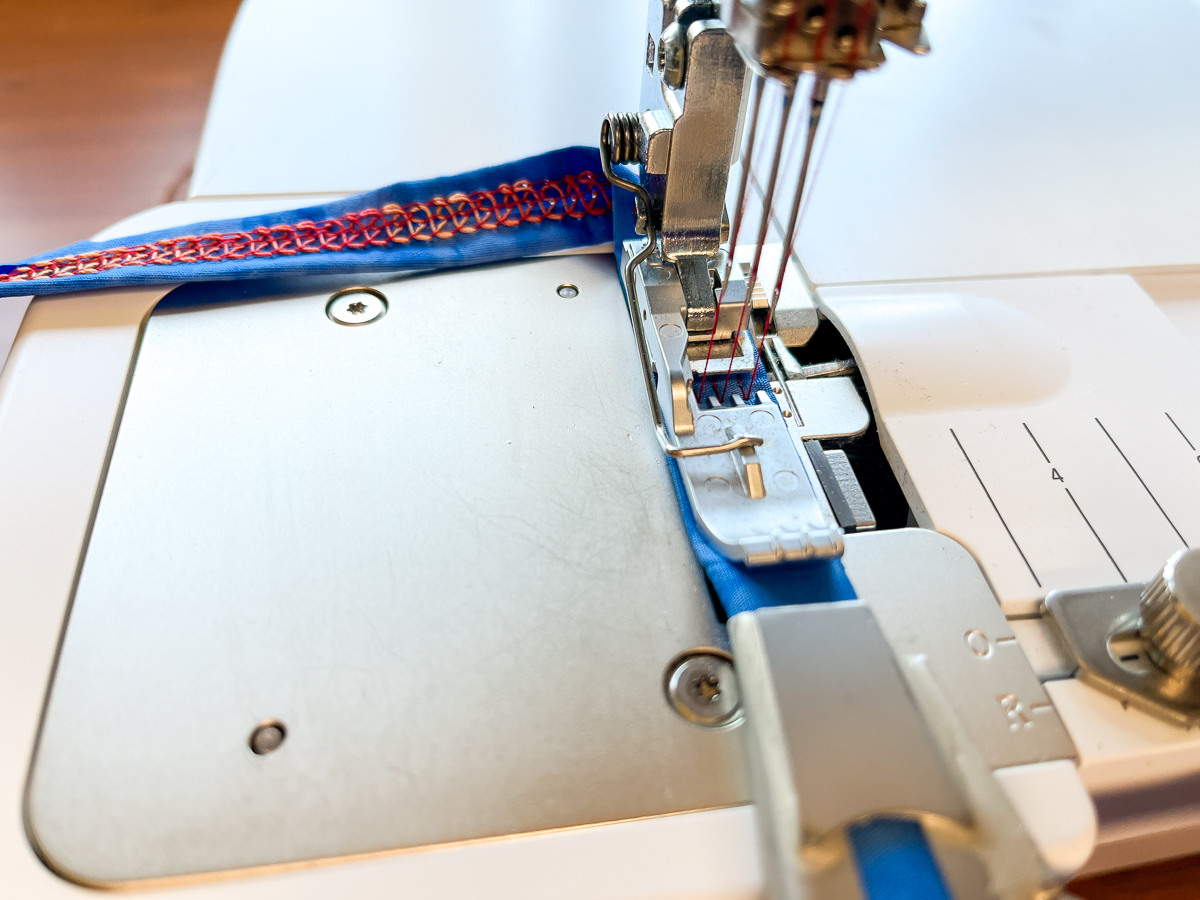
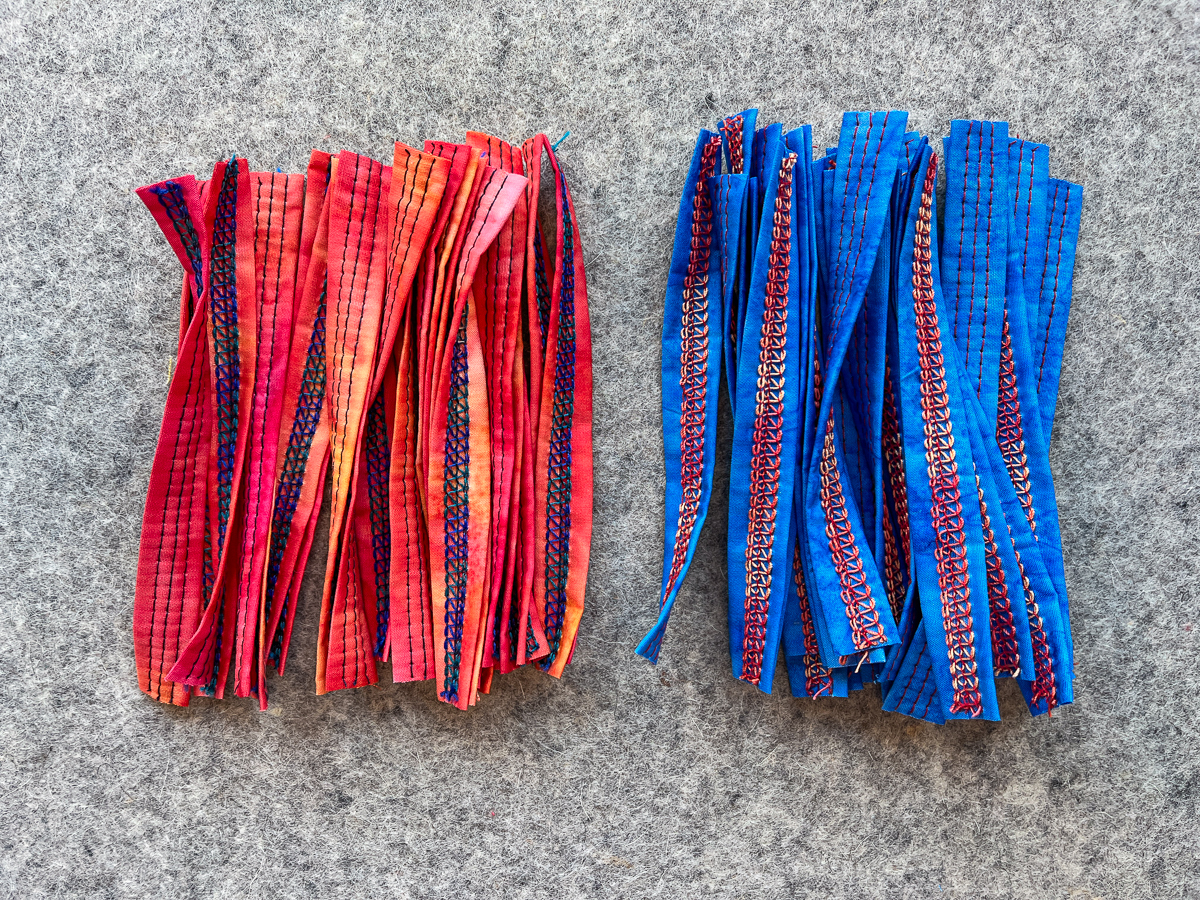
After sewing all three strips, cut them into 5” pieces. You should have 24. Repeat with second color of fabric and threads for a total of 48 pieces. Note: You have more pieces than you will need. This allows for any that don’t come out “quite right.” You might even have enough for two bracelets!
Step 3: Make the Bracelet
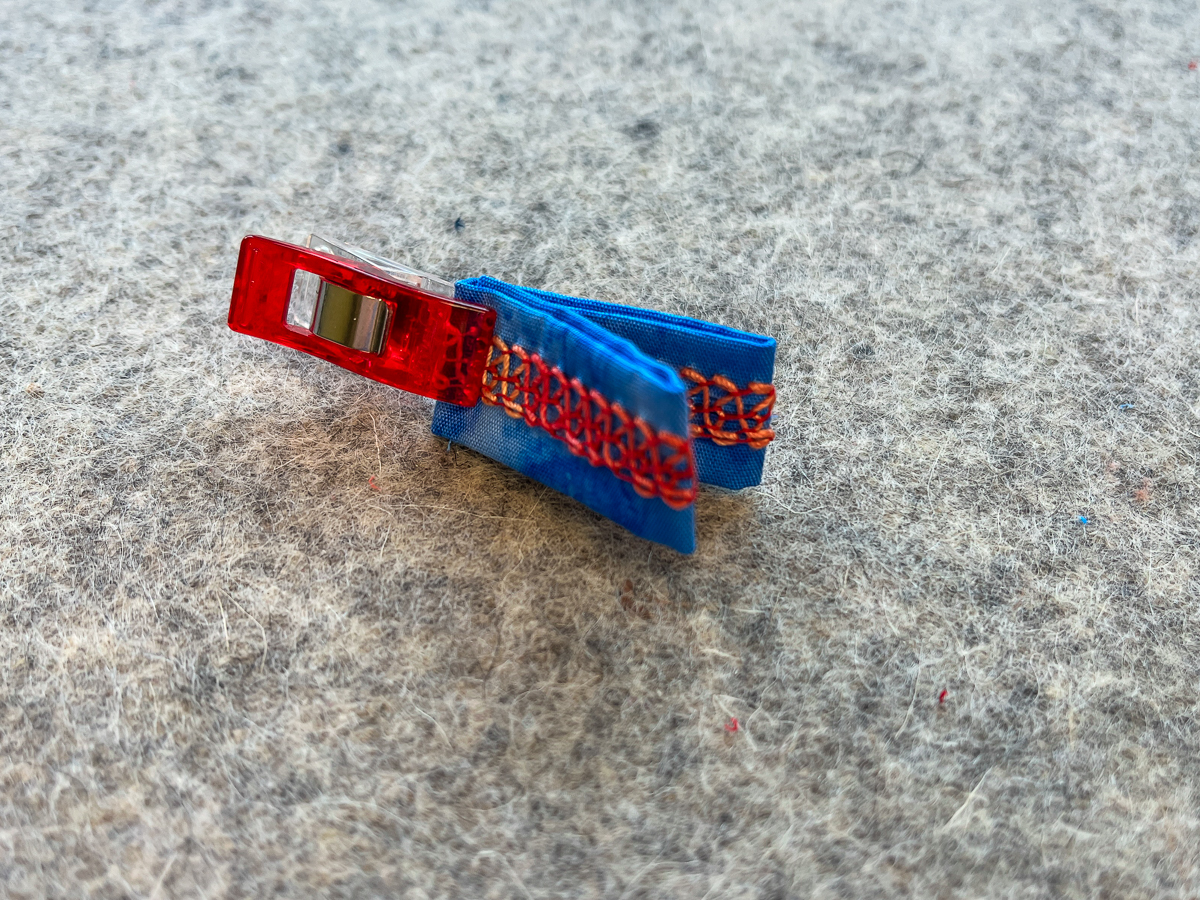
Starting with a blue piece and the looper thread facing out, fold in half, open, and fold raw edges to the center. Finger-press and place a clip at the half-fold. Leave this clip in place.
Fold an orange piece the same way. Slide the folded orange pieces into the openings of the blue piece, as shown.
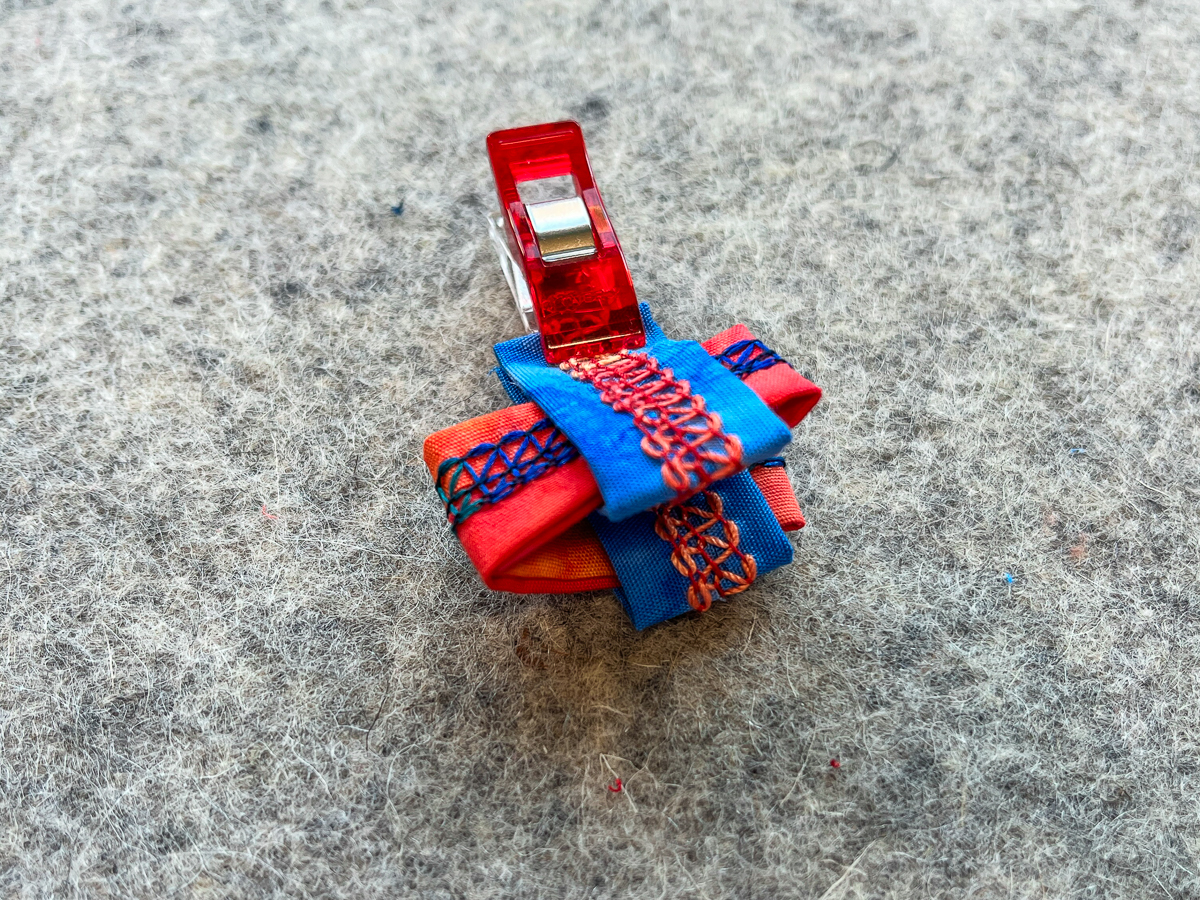
Pull through and snug up.

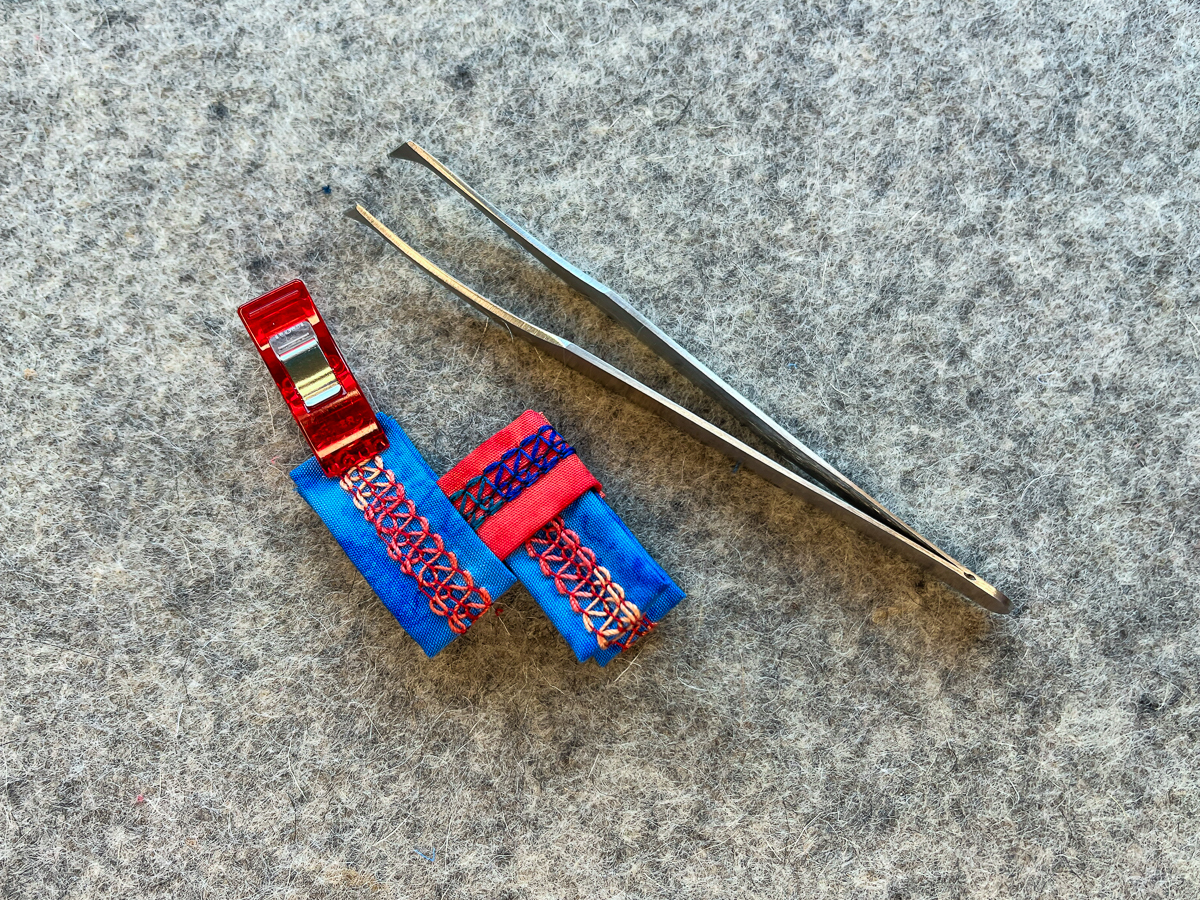
Now take a second blue piece and insert it into the orange in the same way. I found tweezers to be helpful for pulling the pieces through.
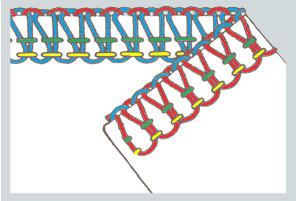
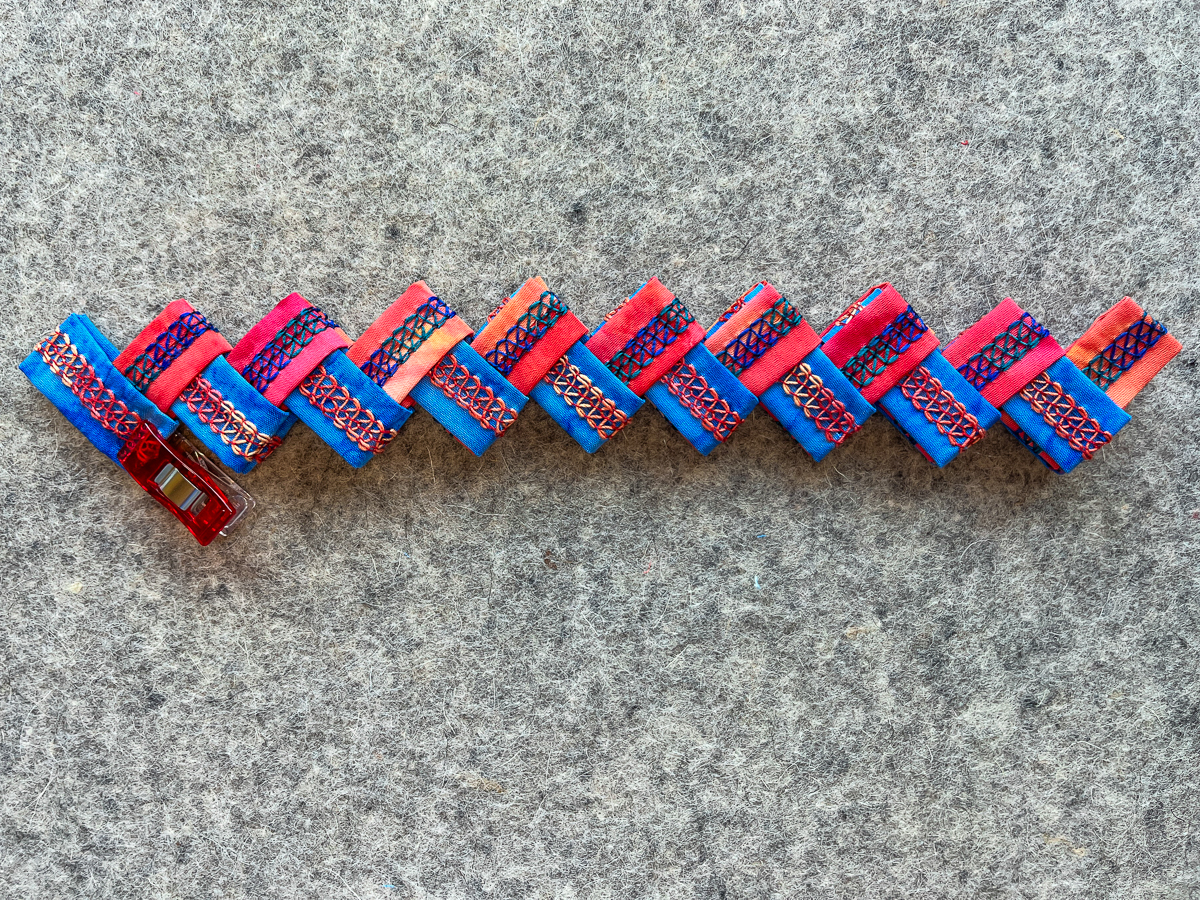
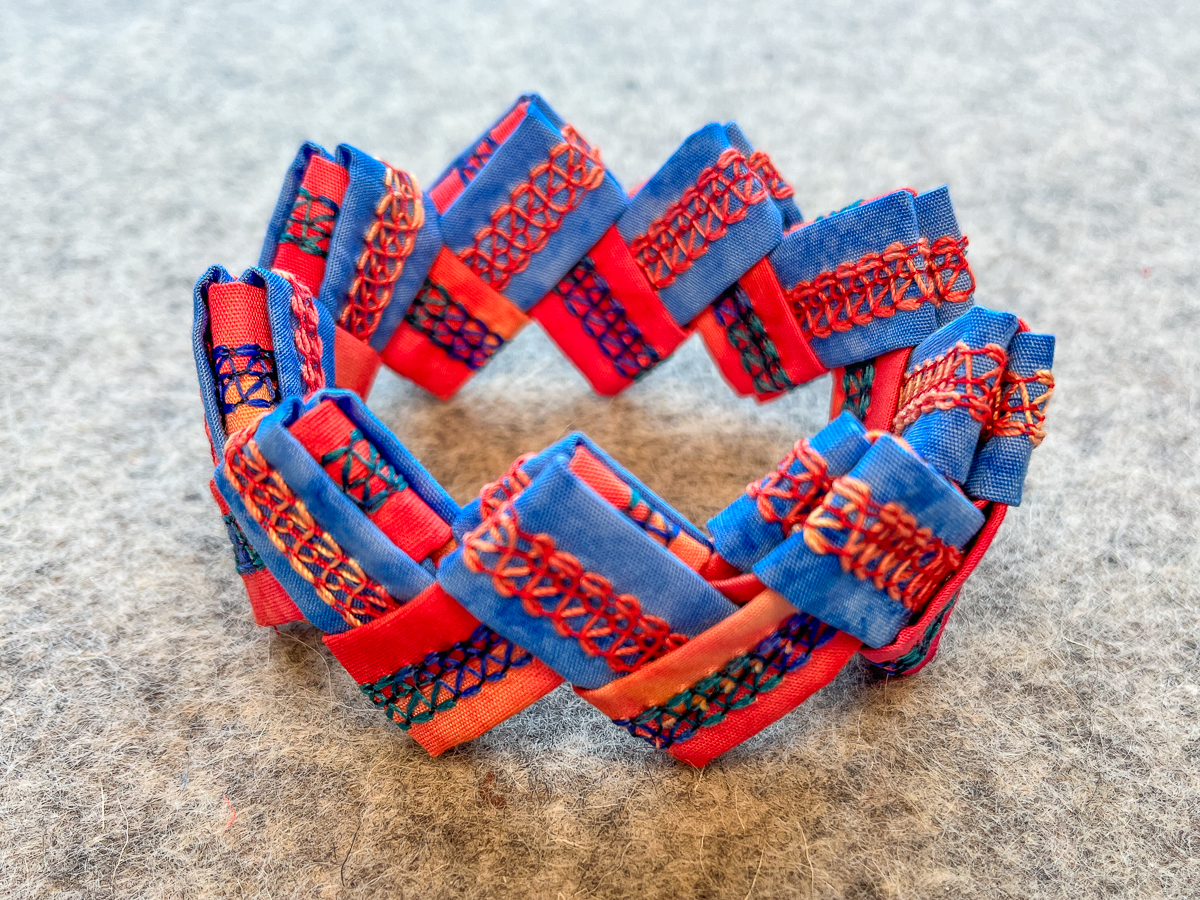
Do you see the zigzag showing? Continue in this manner, alternating colors, until you have your desired length. I used nine blues and nine oranges for a total of 18 links for my 7” wrist. It is important that you have an EVEN number of pieces in the finished bracelet.
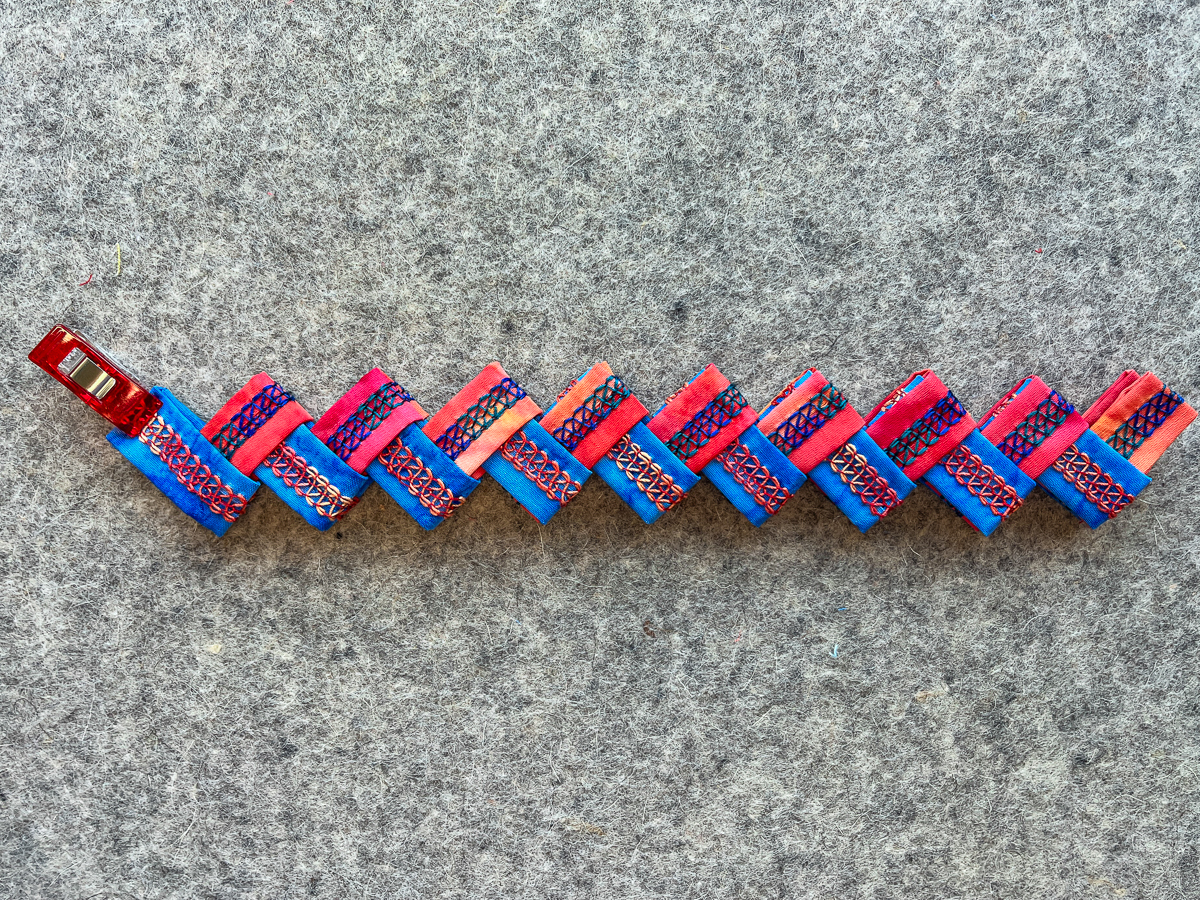
Tip: If the fabric loops pull out as you are inserting the next piece, use tweezers to push back in.
Step 4: Finish the Bracelet
This next part is just a little bit fiddly. But once you understand how it works, it will be easy!
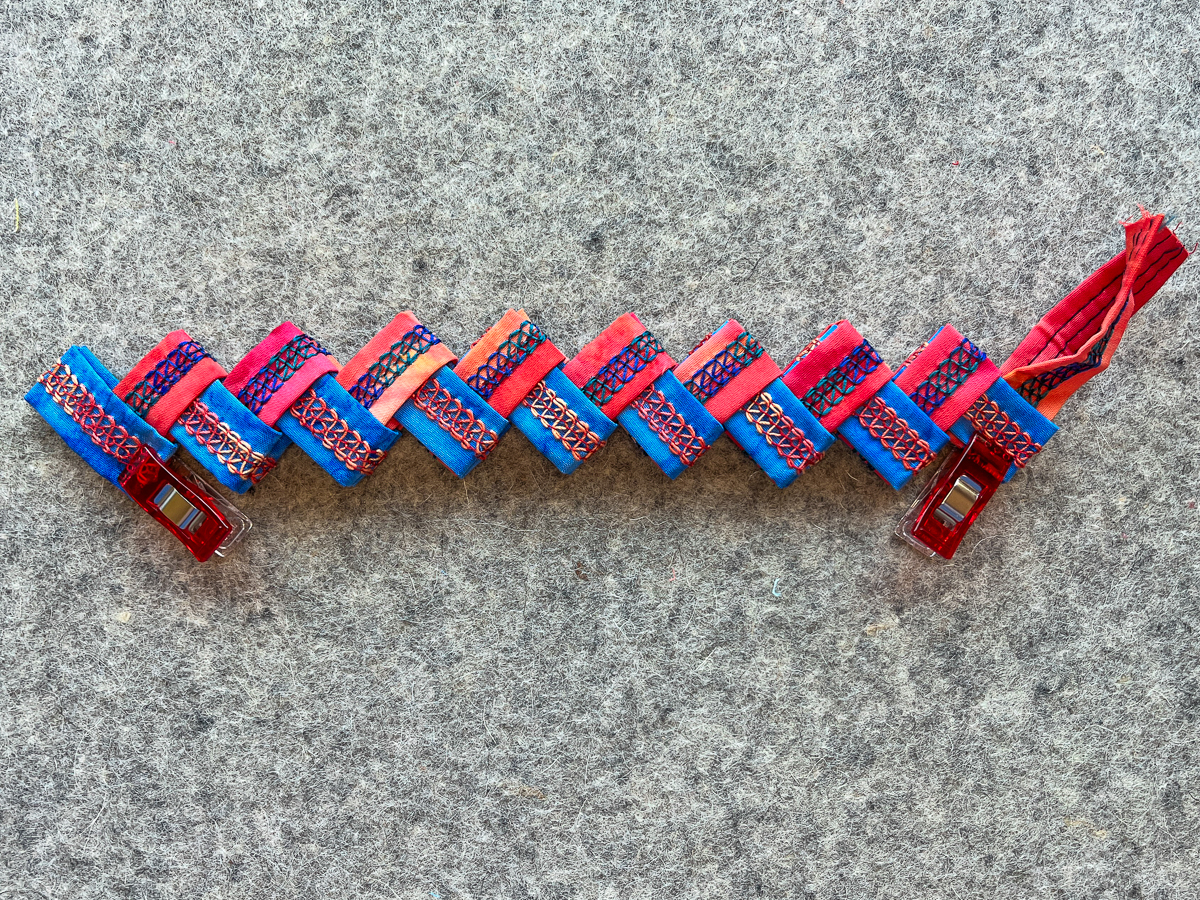
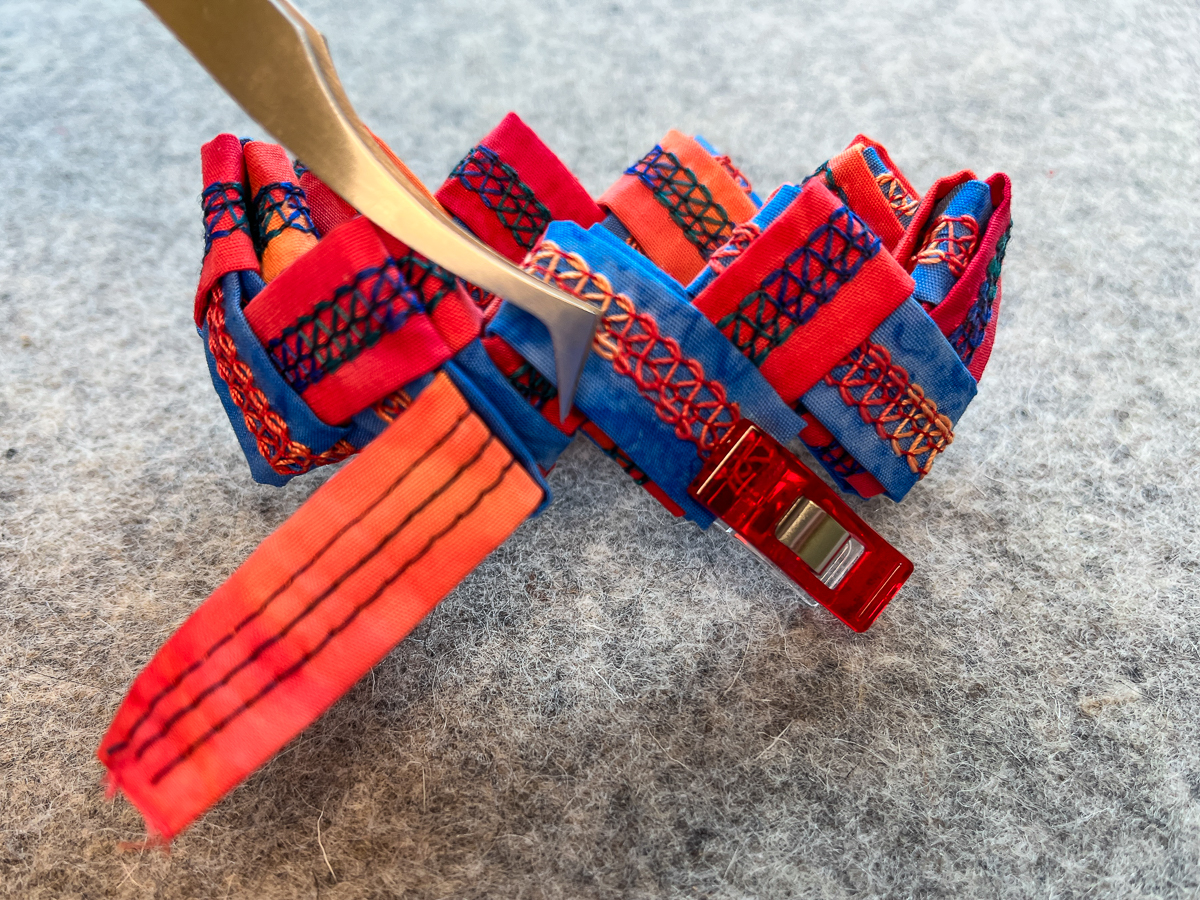
Move the clip to the opposite end of the starting blue piece.
Untuck the last quarter folds (the orange piece). Place another clip as shown.
Form a circle with the bracelet.
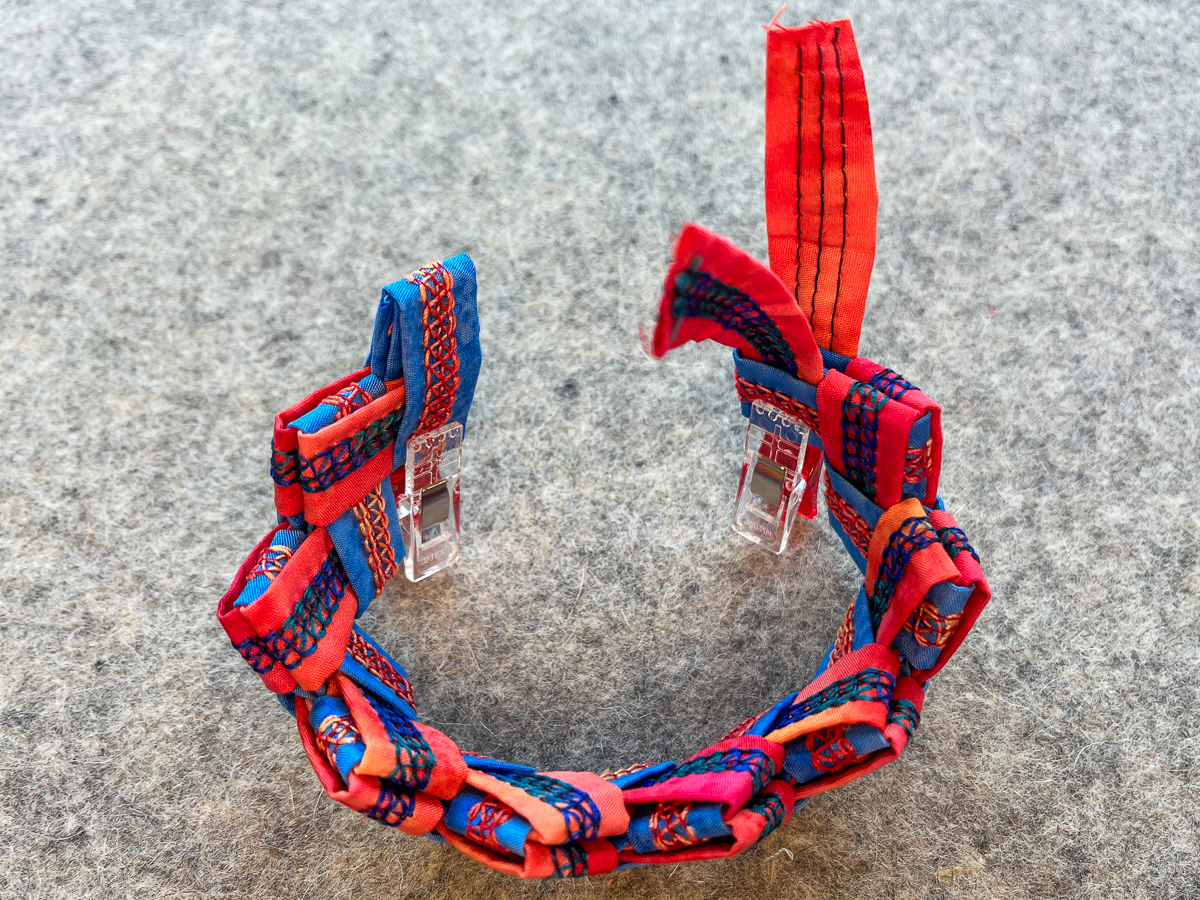
Insert tweezers through the center of the blue strip as shown.
Pull the inner orange piece through.
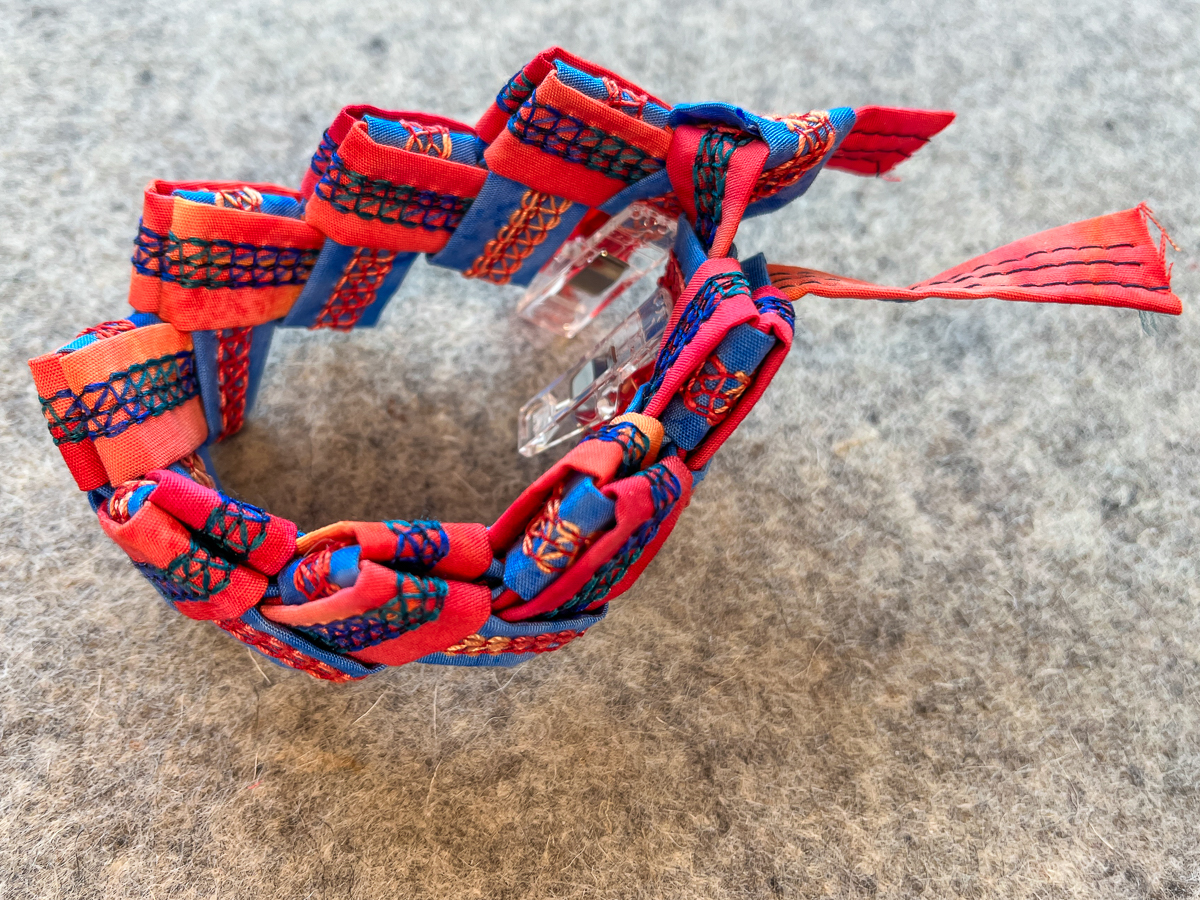
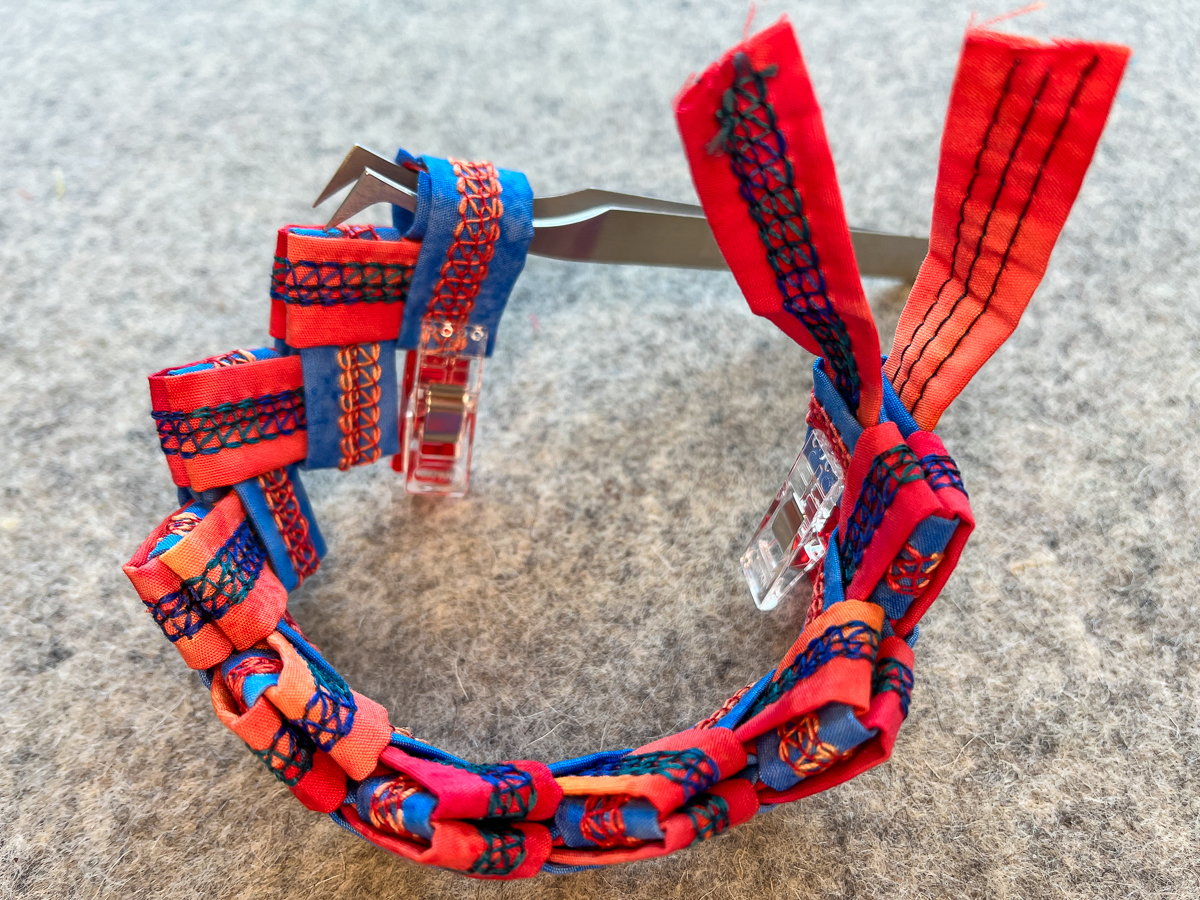
Push back into the fold it had been pulled out of (tweezer tip pointing at it in the image below).
For the remaining piece, I found it easier to wrap around the outside of the other blue fold and use the tweezers to push it through.
Removing the clip on the blue piece will make this a little easier. If the first orange piece comes out a little, just push it back in. Just a little patience and it will all come together!
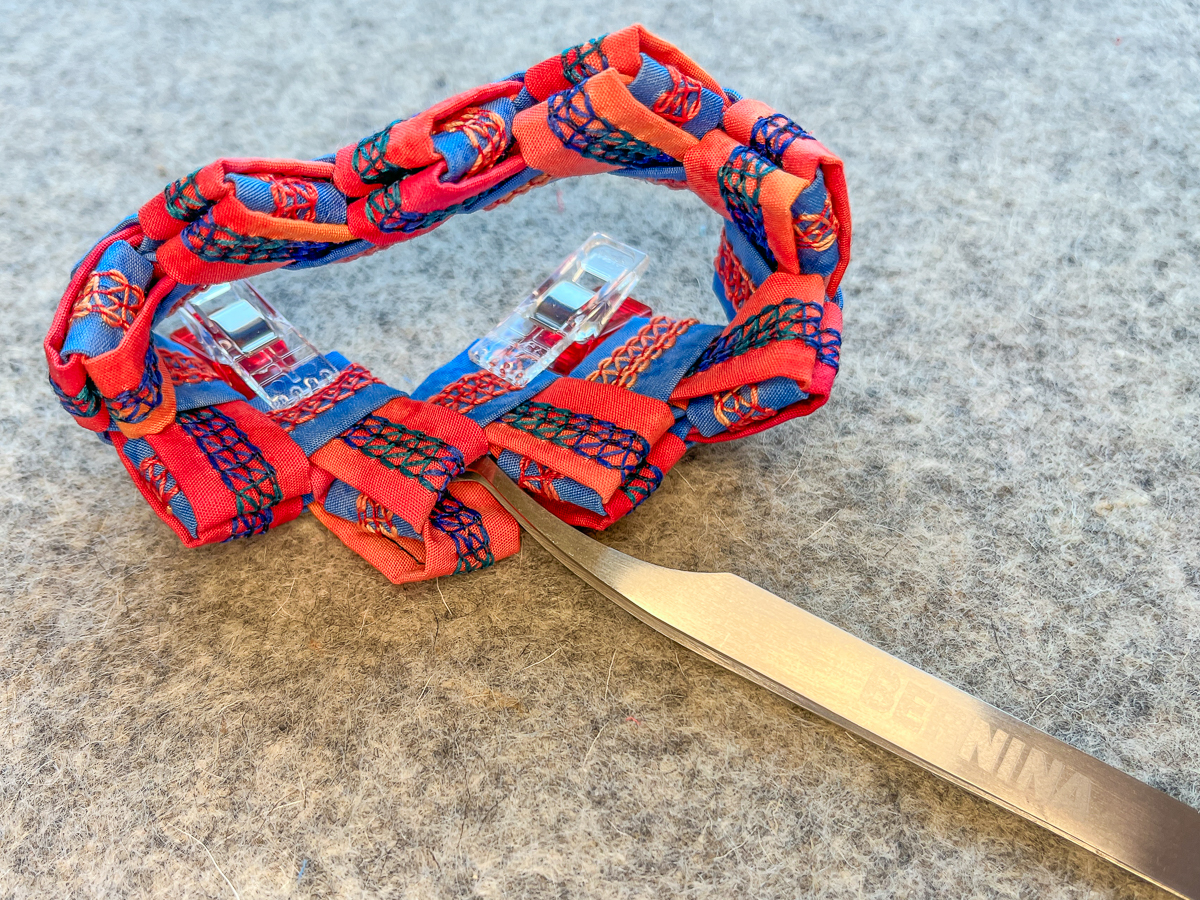
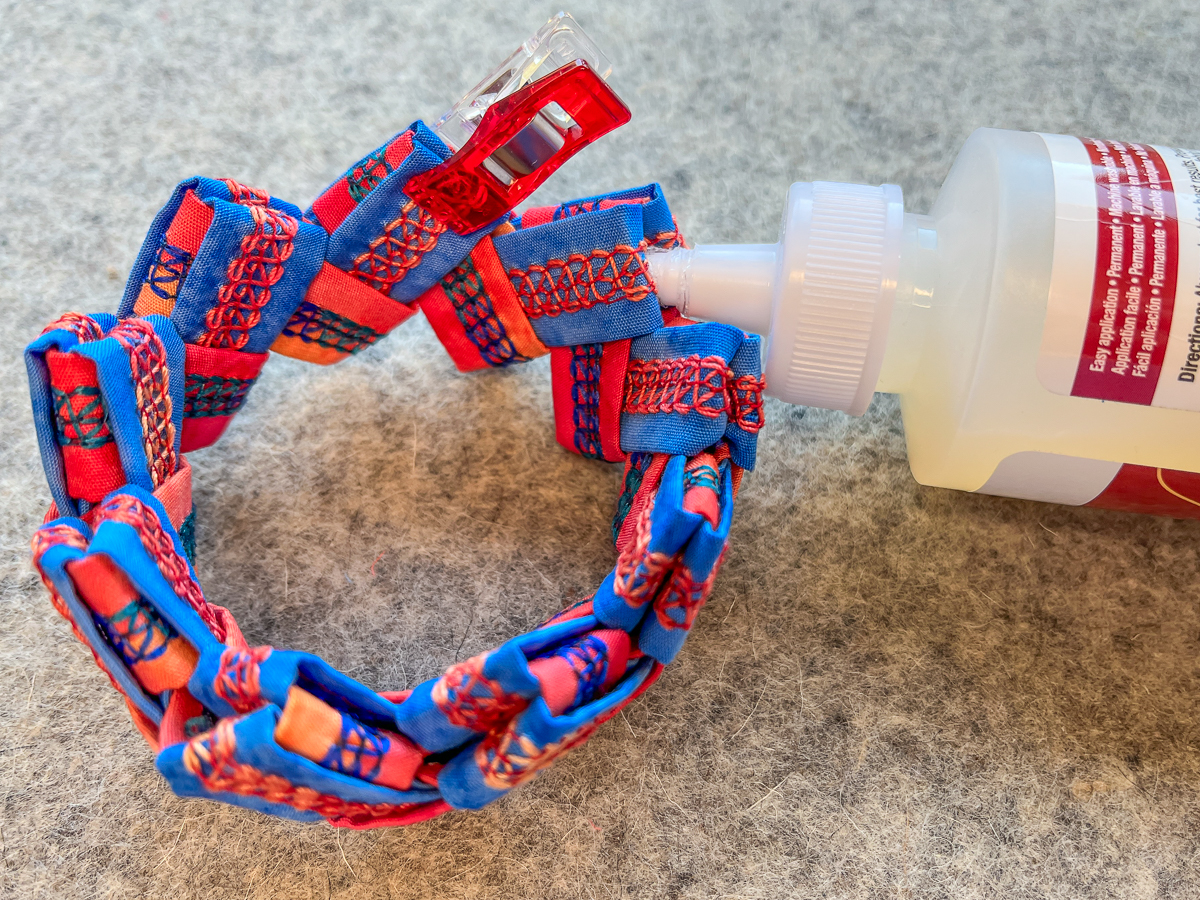
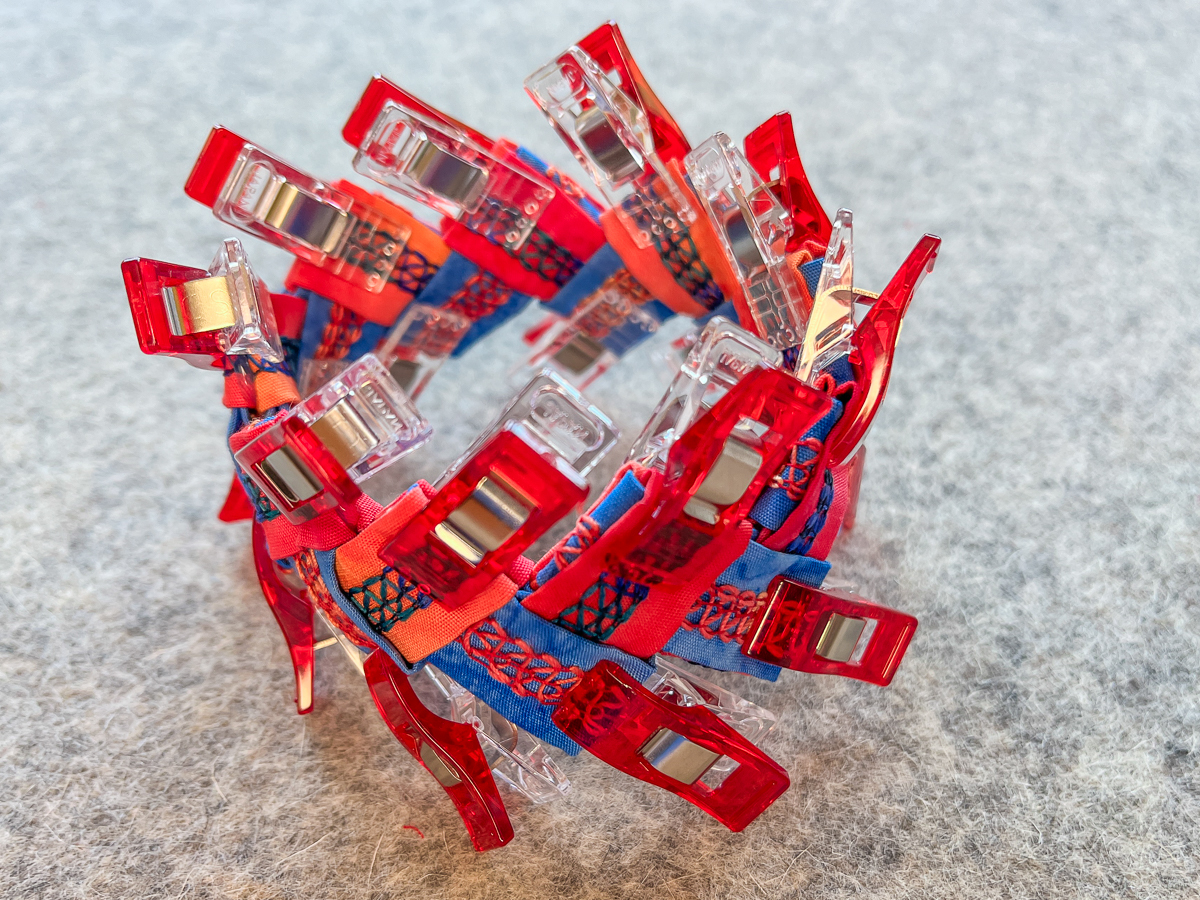
For a little added security, use Fabric Fusion glue in all the folds. Make sure all the links are snug. Then push the glue nozzle slightly between the folds and squeeze a drop in. Hold with clips until it is dry, about an hour or so. Keep in mind that the bracelet is NOT meant to be stretchy.
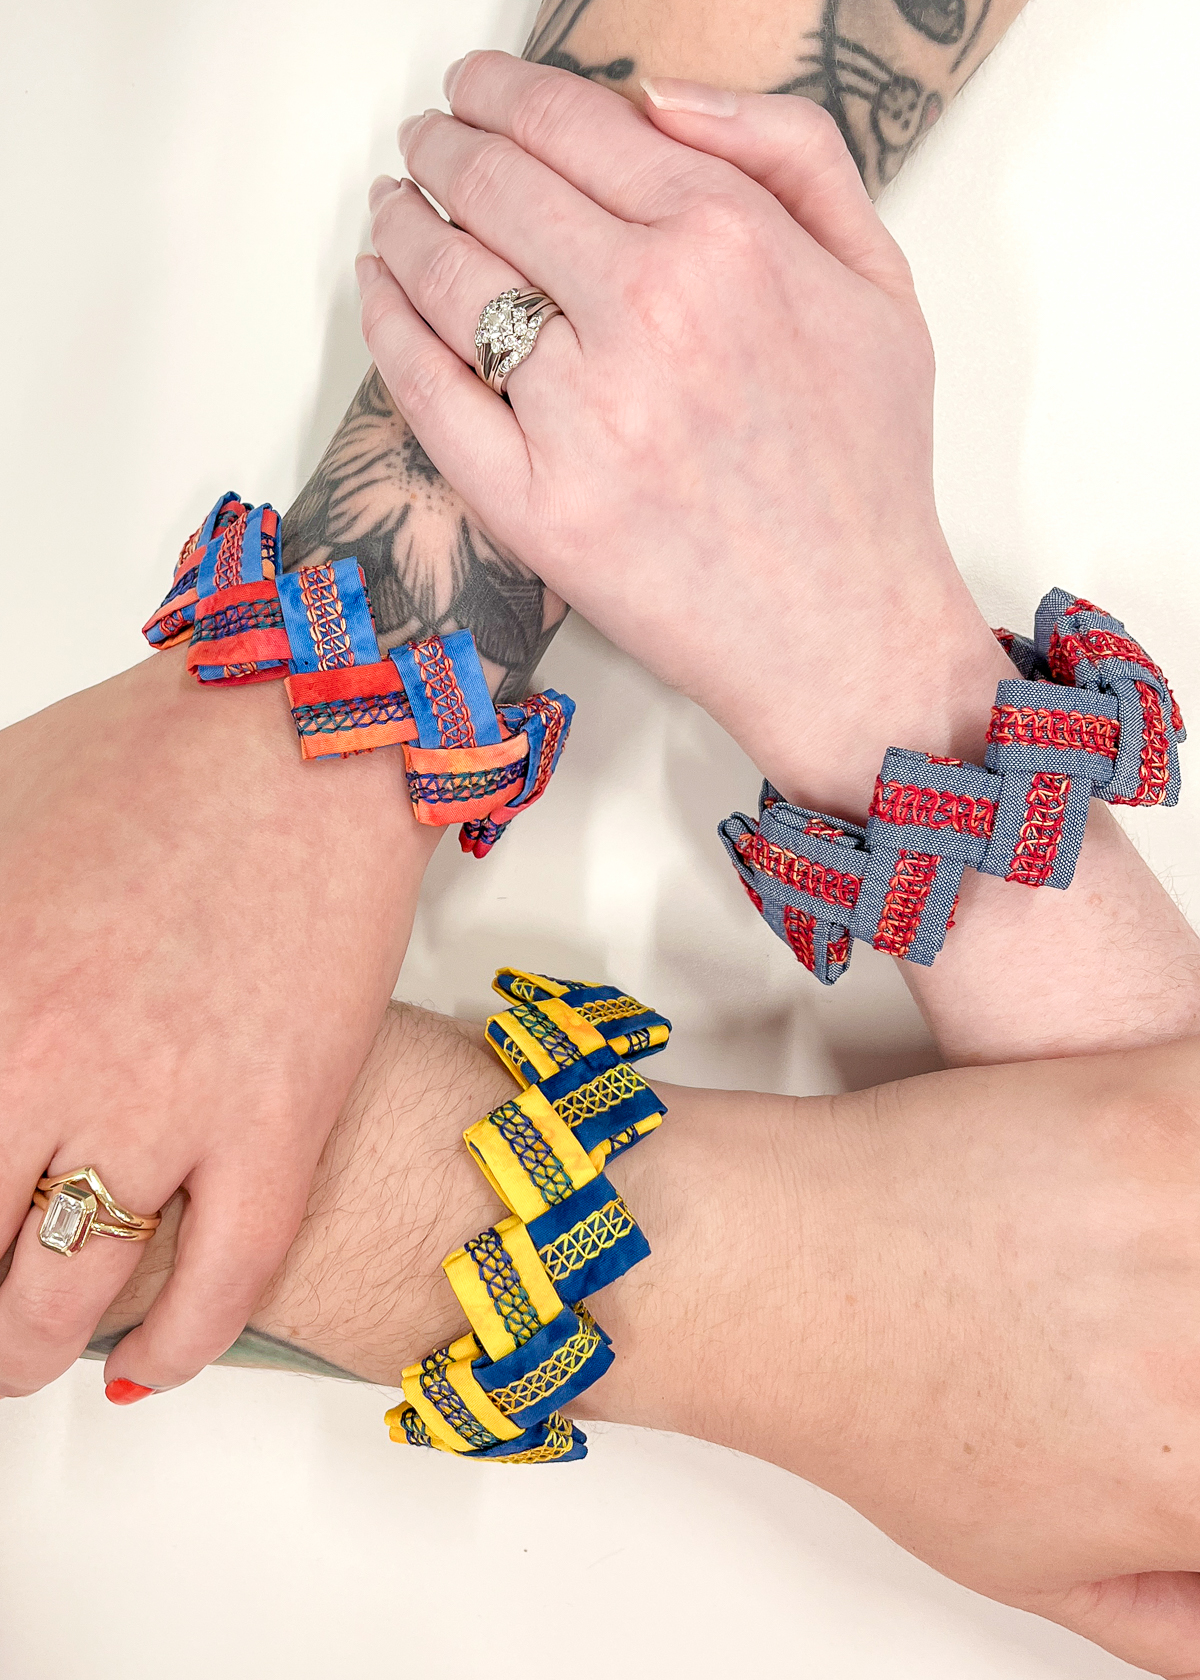
Remove the clips and your bracelet is complete!
If you have enough loop pieces left over, make a second one. Try different threads and colors to share with friends!
I hope you enjoyed this serger project! Be sure to tag us on social media so that we can see your creations. Until next time, happy serging!