Quilter’s Tie Off Techniques
One of the essential skills to learn as a longarm quilter is how to tie on your threads as you begin quilting and how to tie them off as you end. It’s very important to bring the bottom thread up to the top of the quilt so it can be secured before and after quilting. This keeps the back of the quilt looking neat, keeps the quilting secure, and prevents thread tails from becoming tangled in the wheels of the Sewhead. With just a little practice, you’ll have this mastered in no time.
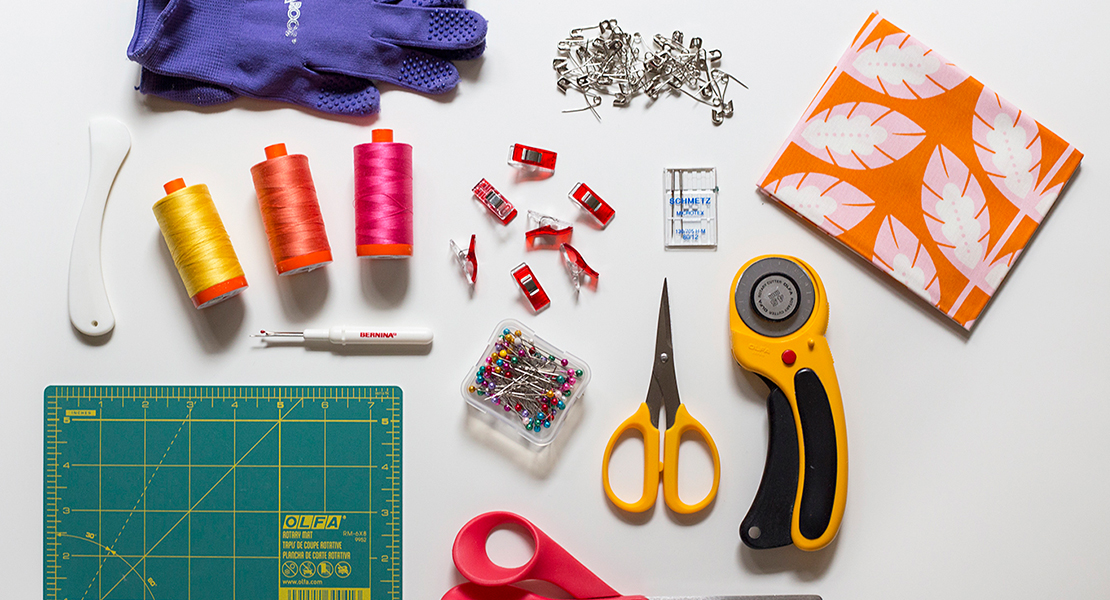
Materials for Practicing Tie Off Techniques
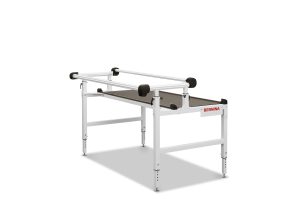
- Q Series Sewhead on a Table or Frame
- Needle Point Laser installed on Sewhead
- Quilt sandwich or backing, batting, and top loaded on a frame
- 50 weight quilting threads to contrast with fabric, different colors for top and bobbin
- Self-threading needle, side-threading needle, or embroidery / crewel needle with larger eye
- Thread snips or scissors
- Stiletto (optional)
Step 1: Single Stitch / Securing Function on the Q Series
All Q Series Sewheads have a Single Stitch/Securing function, the “knot” icon, that can be programmed for either the back-kick or the handle toggles.

Single Stitch/Securing combines the following functions:
- Pull the bobbin thread upward with a single stitch
- Sew a programmed number of securing stitches
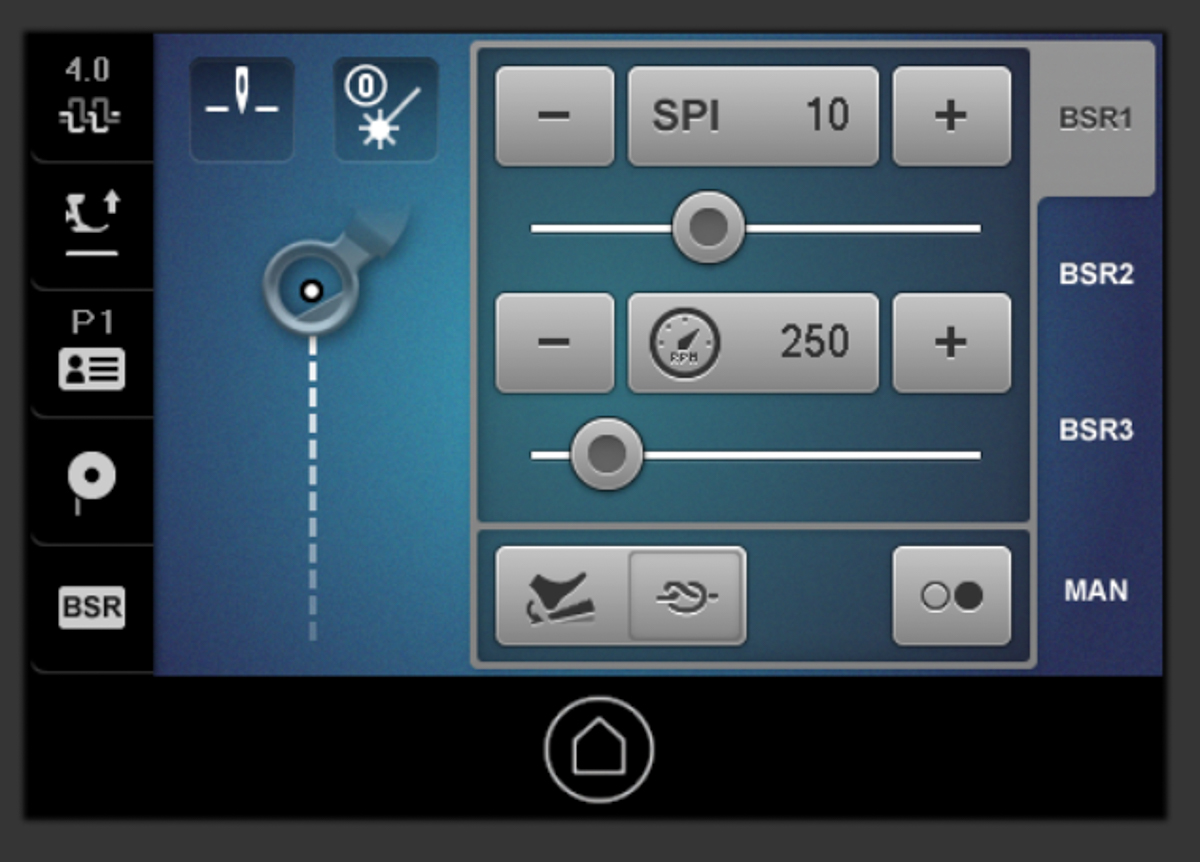
For the sitdown, the programmed screen will look like this.
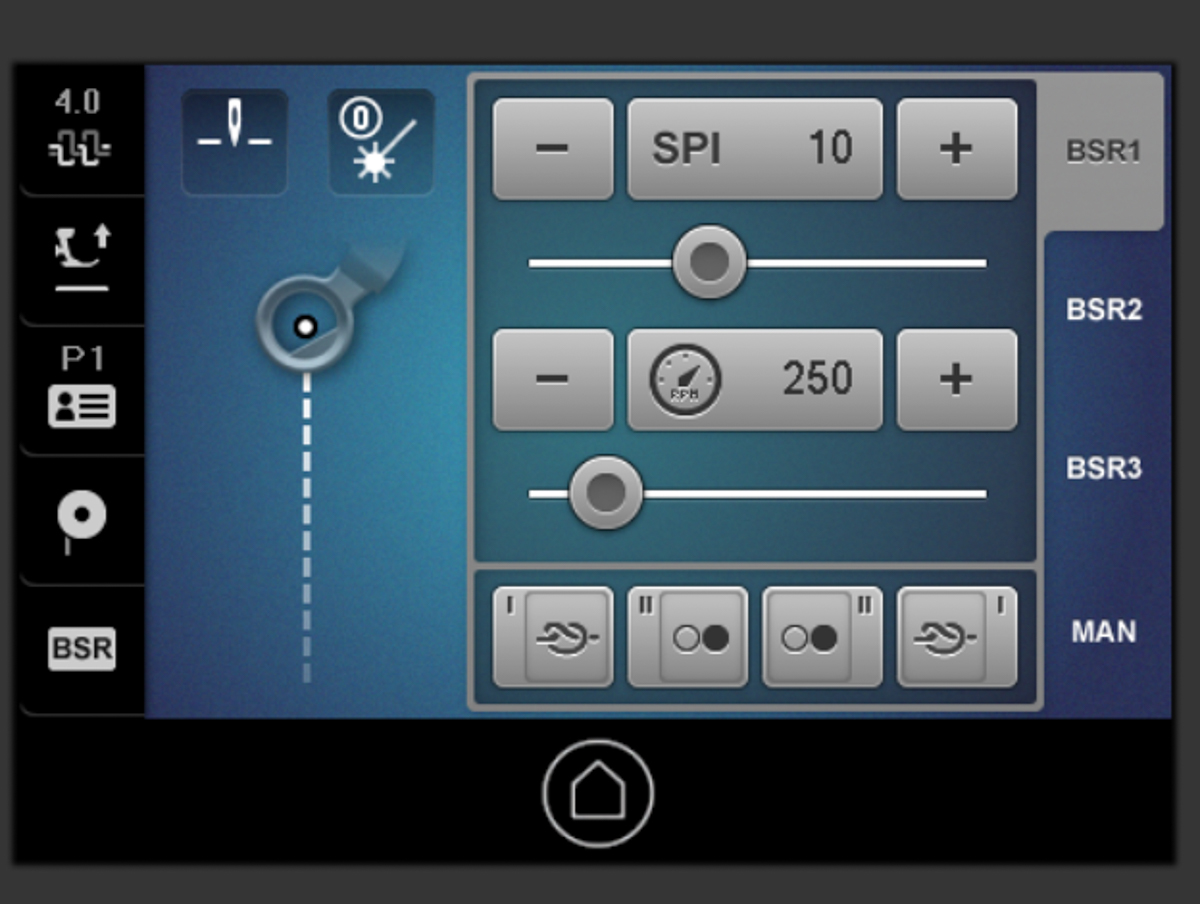
For the frame models, the programmed screen may look like this, depending on which toggle is programmed to the Securing function. I like to have the Securing function programmed on both my left and right toggles so I can use either hand.
While it is tempting to use the Needle Up/Down function, the Securing function brings the bobbin up in one action and also raises the presser foot for a more efficient process.
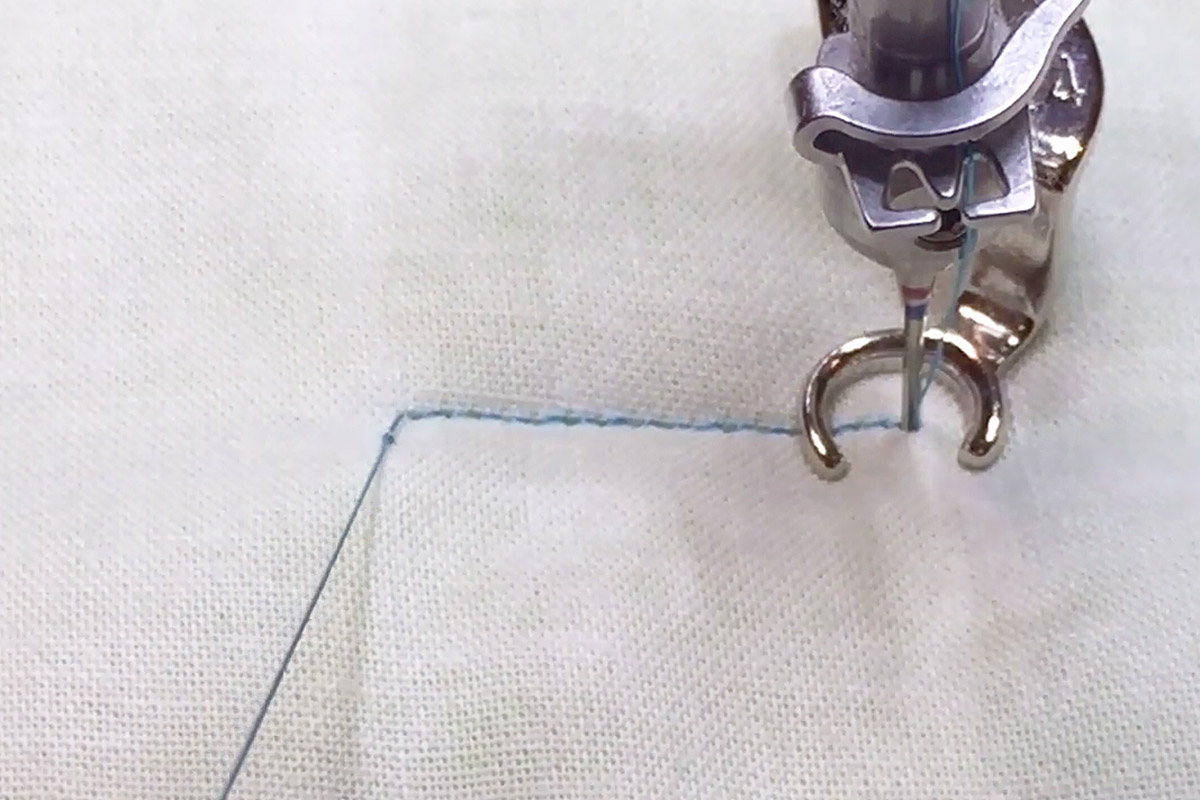
Step 2: Bring Bobbin Thread to Top
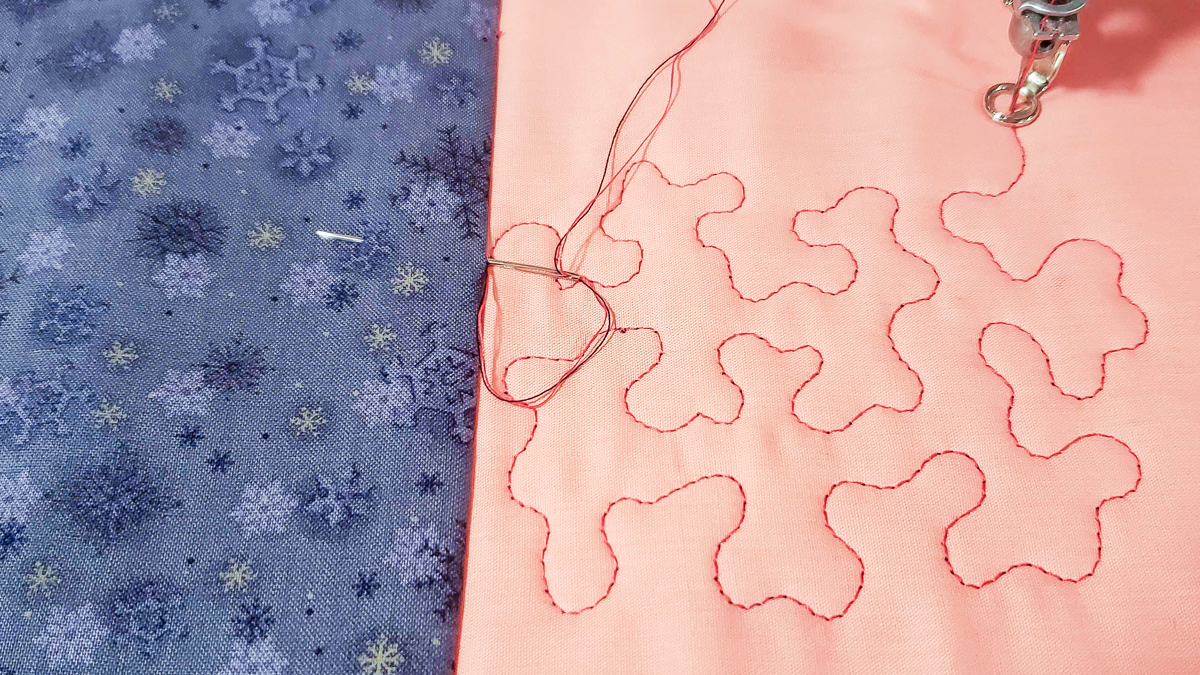
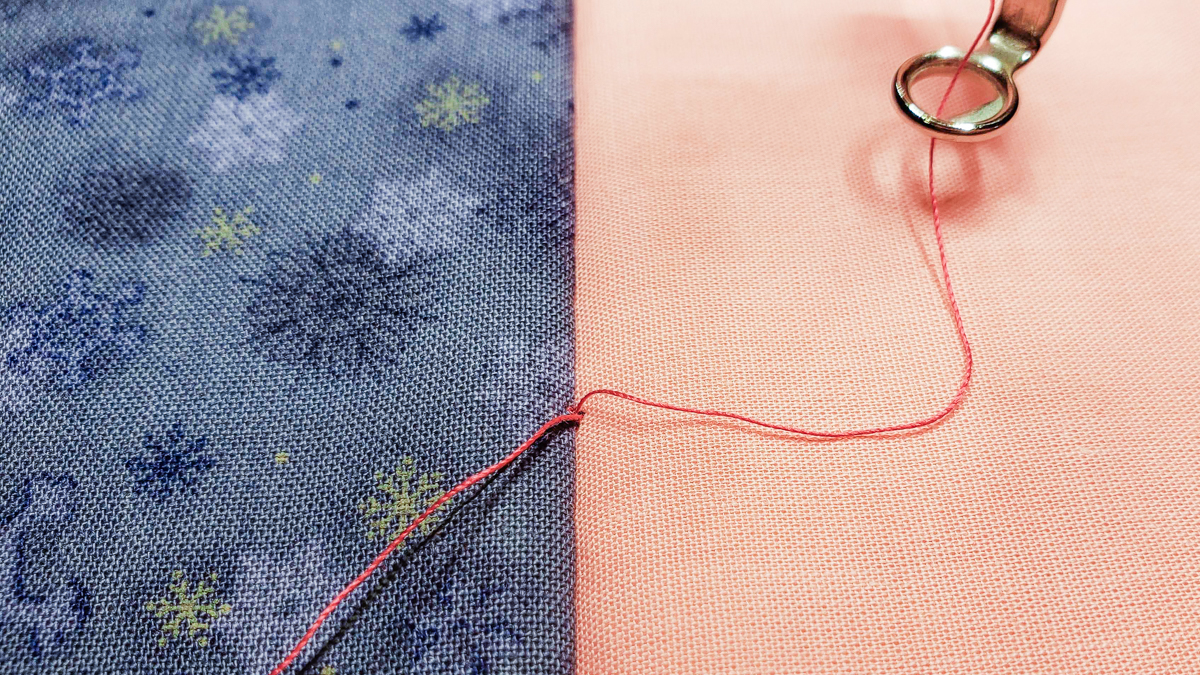
The first and most important step is to bring the bobbin thread to the top of the quilt sandwich. When practicing this technique, I suggest using a different color thread for the top and bobbin, so it is easy to see which thread is which. In the photo, I used black thread as the bobbin and red thread for the top.
As mentioned previously, the Single Stitch/Securing function is two separate actions, dependent on whether you tap the back-kick or the toggle or press and hold it.
I like to position the tie on in an inconspicuous location, such as a seam line, to help hide the securing stitches. Using the laser light will help confirm the machine’s position at the starting point. Tap the Securing function once with either the back-kick or the toggle while holding the top thread tail. The Sewhead will execute a needle down, needle up, and presser foot up sequence. When the presser foot is up, the tension discs are not engaged, which allows the top thread to be pulled easily. Gently move the quilt sandwich or the Sewhead just a little bit, and then reach in and grab the bobbin. If preferred, a stiletto can be used to reach under the presser foot and the needle. Now both the bobbin thread and the top thread are on top of the quilt. Hold both threads and line back up exactly with that same point using the laser light to help confirm that same position.
Step 3: Securing Stitches
After the bobbin thread is brought to the top, you’ll next need to secure the stitches. Press and hold the back-kick or depress and hold the toggle programmed with the Securing Stitch. The Sewhead will take a series of stitches that secure the threads. The number of stitches taken can be programmed in settings. In the photo, I pulled the Sewhead off to the side to allow a more direct view of the securing stitches.
Now you are ready to start stitching. While still holding onto the thread tails, begin quilting on the project. Once you have quilted a few inches, let go of the thread tails. At this time, you can either stop quilting and trim the tails or you may leave them long to bury them.
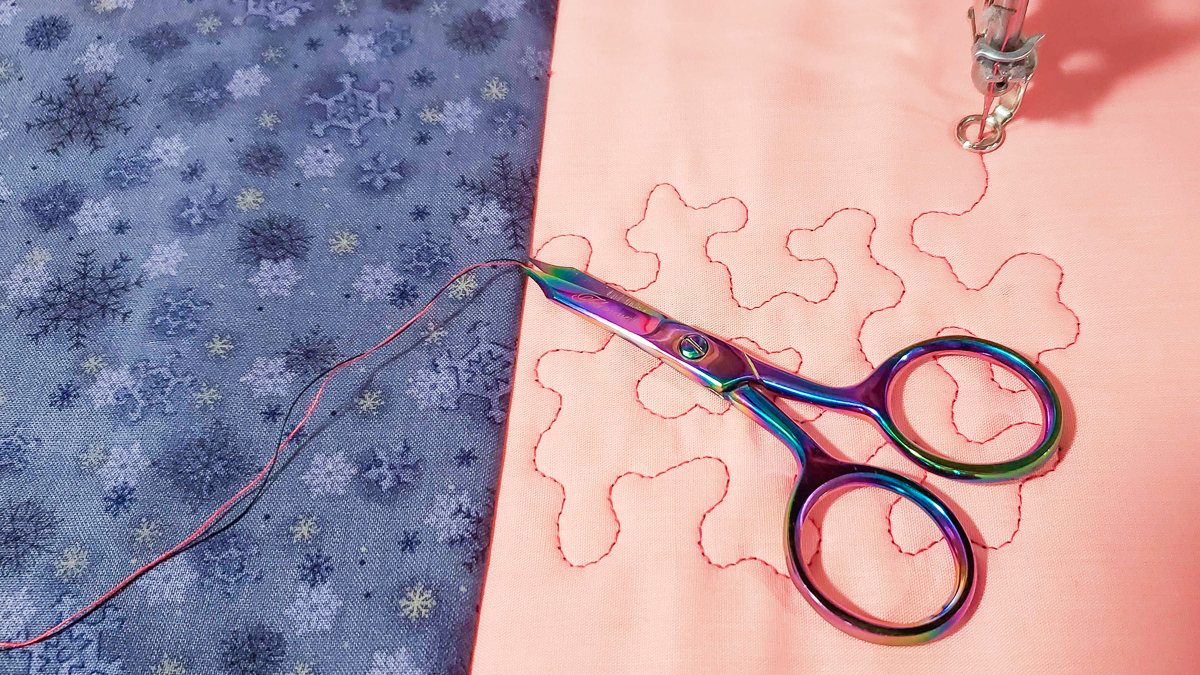
Step 4: Trimming Threads Close to Fabric
For daily use quilts, I frequently trim the threads close to the fabric, being careful not to cut into the securing stitches. A small pair of snips or fine pointed thread scissors works great. I like to trim the thread tails as I quilt, so I don’t have to worry about stitching over them during the quilting process.
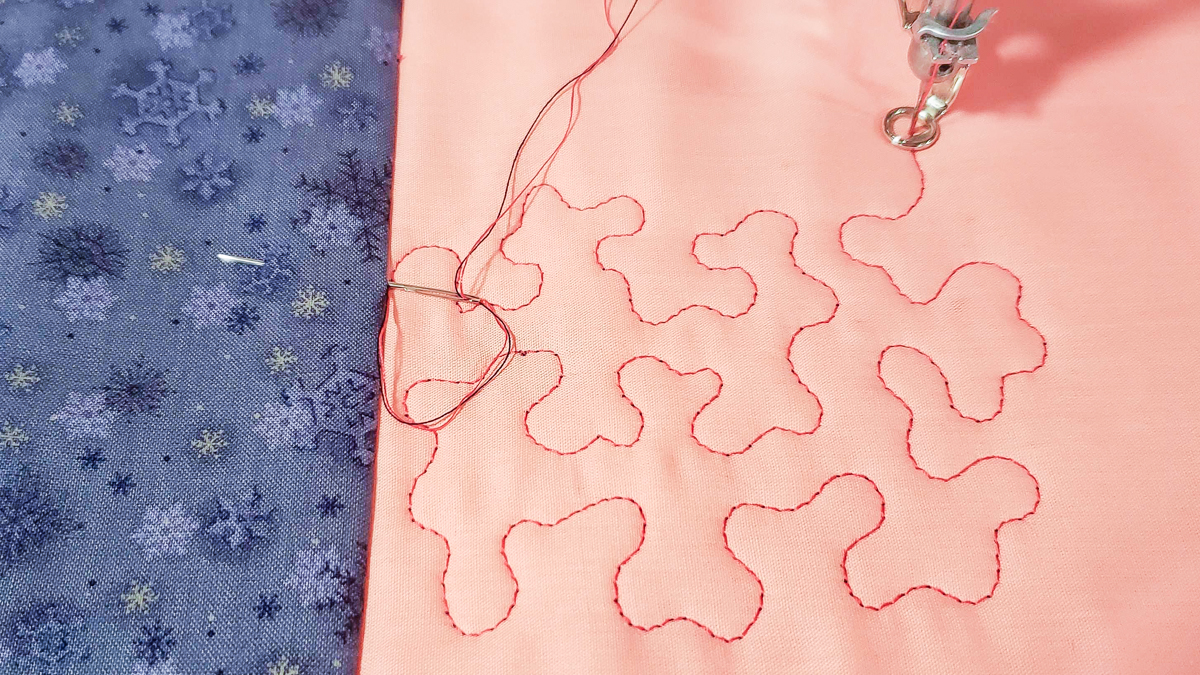
Step 5: Burying Thread Tails
For a more professional appearance, burying the thread tails is a process where the tails are threaded into a needle, which is inserted next to the securing stitches. This hand stitch catches the batting, but doesn’t go through the quilt backing, so it isn’t visible on the reverse side. The needle is brought up about an inch away, the tails are trimmed close, and then they slip back into the quilting sandwich. When done with a tie on or tie off in a seam line, it becomes nearly impossible to distinguish the start or stop points.
The needle used can be a self- or side- threading needle or any needle with a larger eye, such as one designed for embroidery or crewel.

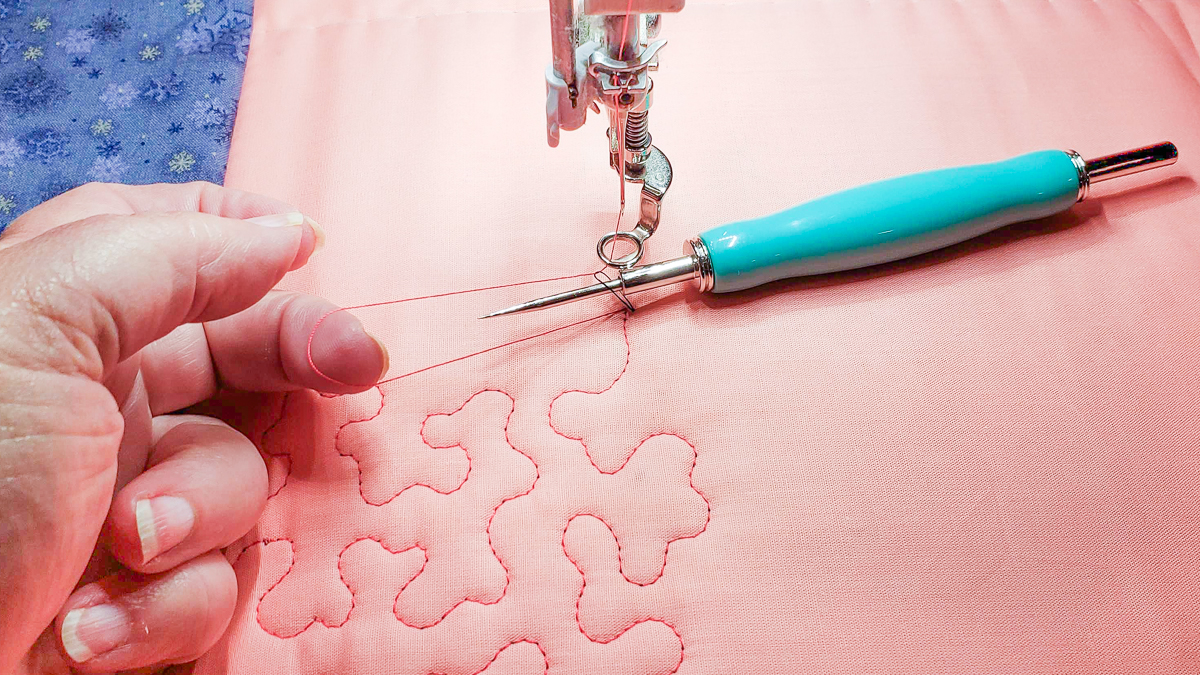
Step 6: Tie Off When Finished Quilting
When finished quilting, it’s time to tie off the top and bobbin thread. Essentially, it’s a reverse of the tie-on process. When tying on, the bobbin thread is brought to the top and secured. We’re going to reverse that: secure first, then bring the bobbin to the top before trimming or burying the tails.
First, depress either the back-kick or the toggle so the Sewhead executes the Securing Stitch action. Next, tap the back-kick or the toggle to take one stitch, bringing the needle and the presser foot up.
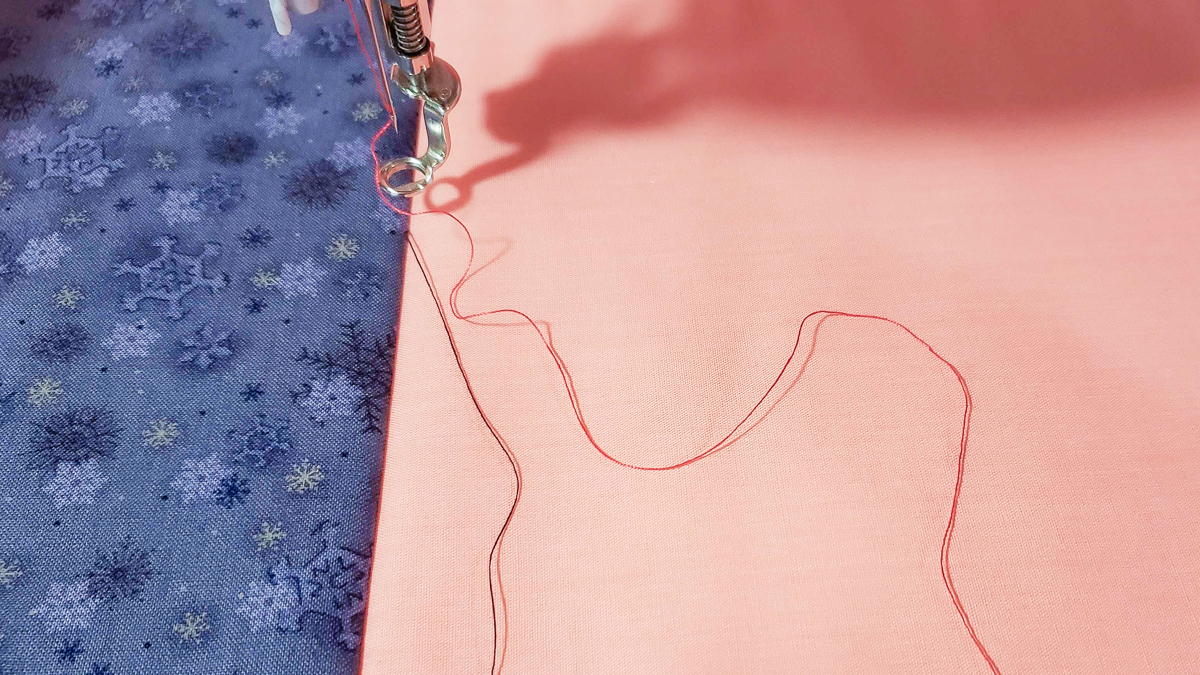
Move the quilt sandwich or the Sewhead away from the securing stitches, hold on to the top thread, and return the quilt sandwich or the Sewhead back to the same location. The laser light can help find that location. Tap the back-kick or toggle one more time, resulting in a needle down, needle up, presser foot up sequence. Gently move the quilt sandwich or Sewhead away while maintaining tension on the top thread in your fingers. The bobbin thread will be seen surfacing to the top. Using your fingers or a stiletto, reach in, grab the bobbin thread, and pull away. Cut the thread tails close to the quilt top or bury them, as desired.
Like with so many things in life, practice makes perfect, so spend some time practicing these tie on and tie off techniques. No, it won’t be perfect the first time, but soon you will learn how to bring that bobbin thread to the top in just a single motion and secure your stitches for long-lasting, durable quilting.


What you might also like


One comment on “Quilter’s Tie Off Techniques”
Leave a Reply
You must be logged in to post a comment.
Easy to understand! Love my Q-Series!