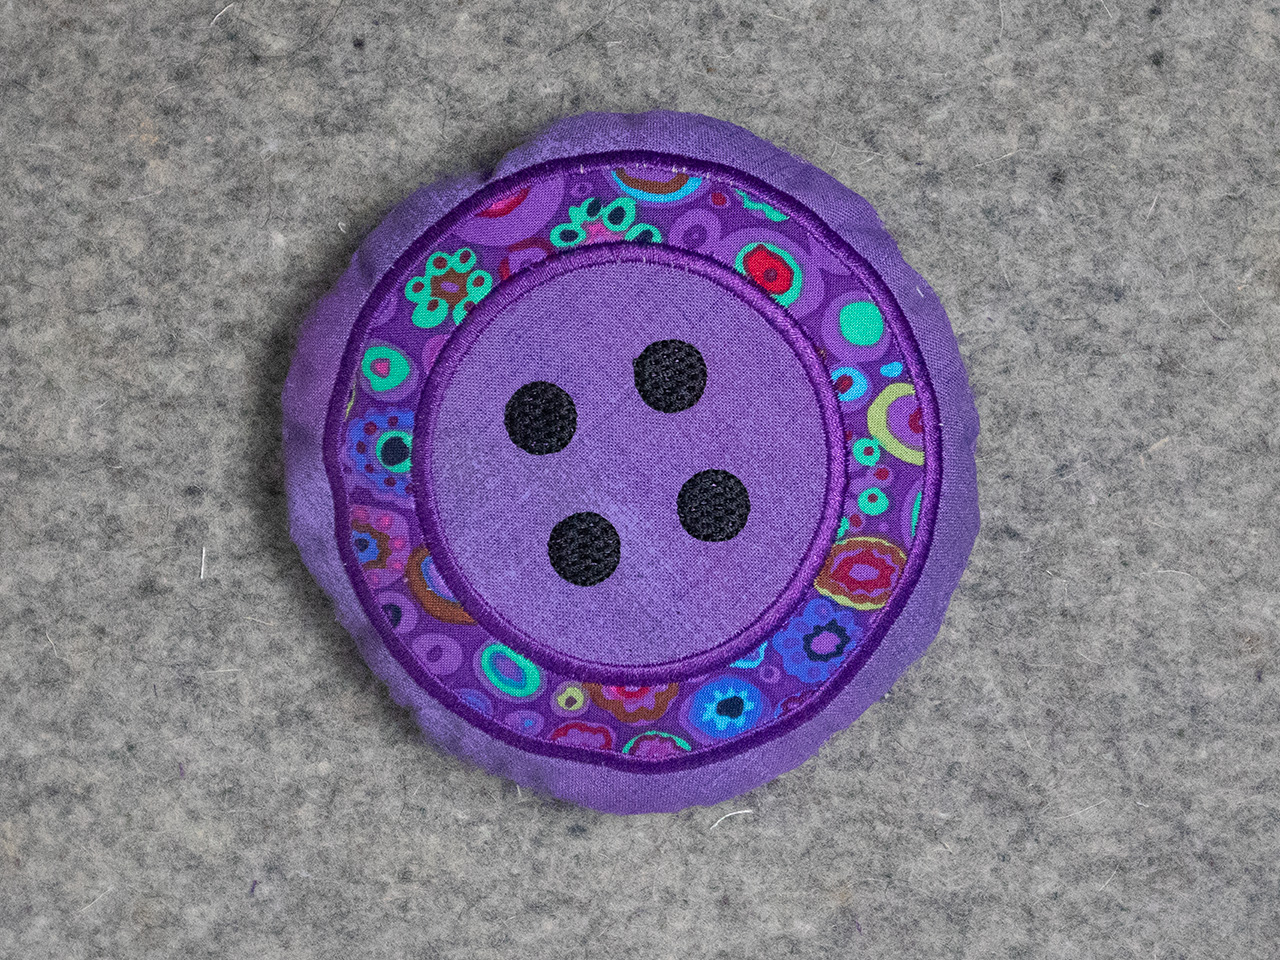
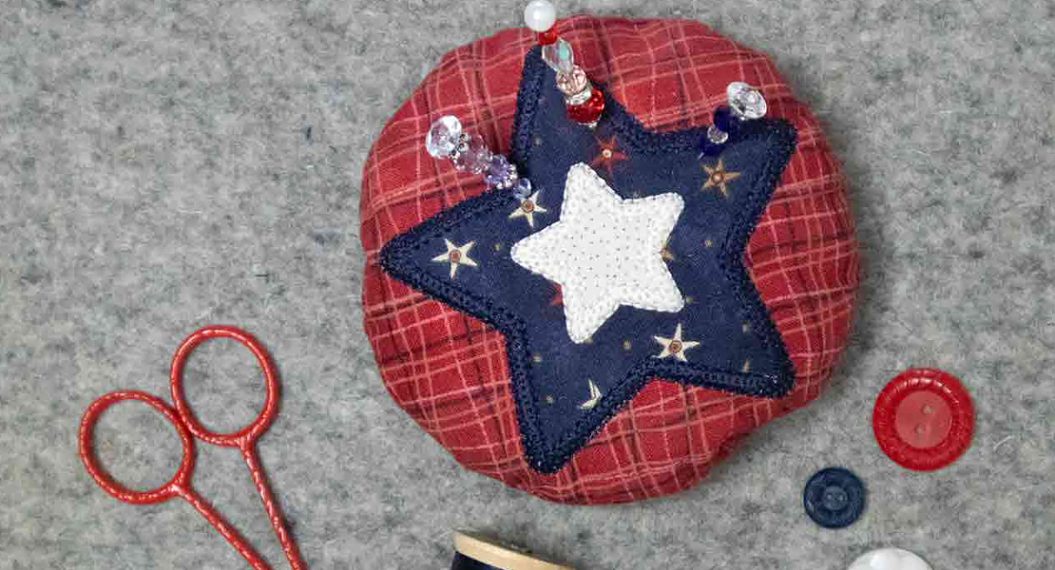
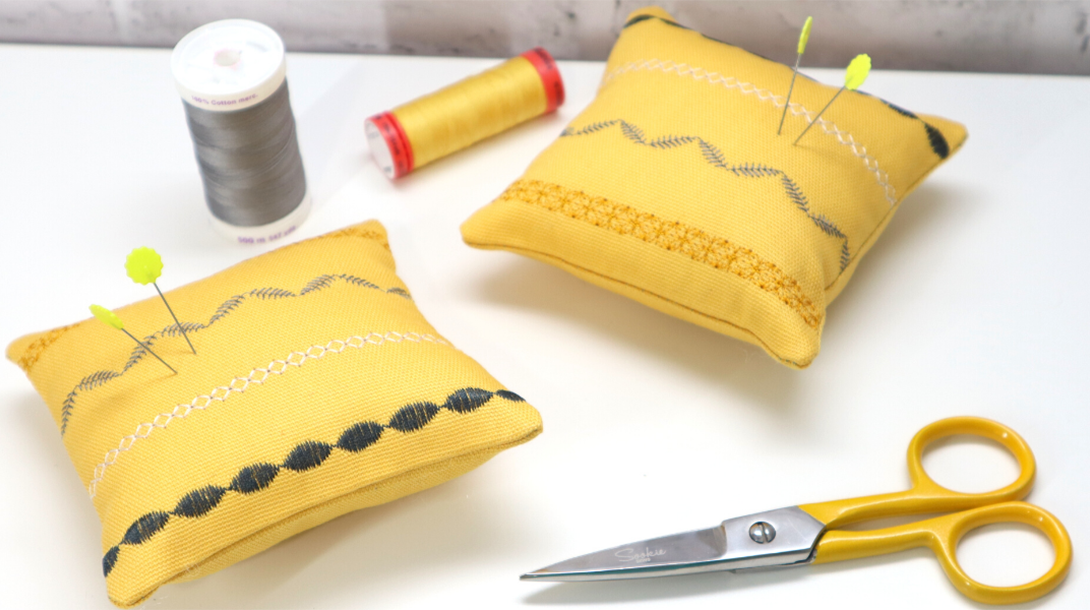
How to Make a Button Pincushion
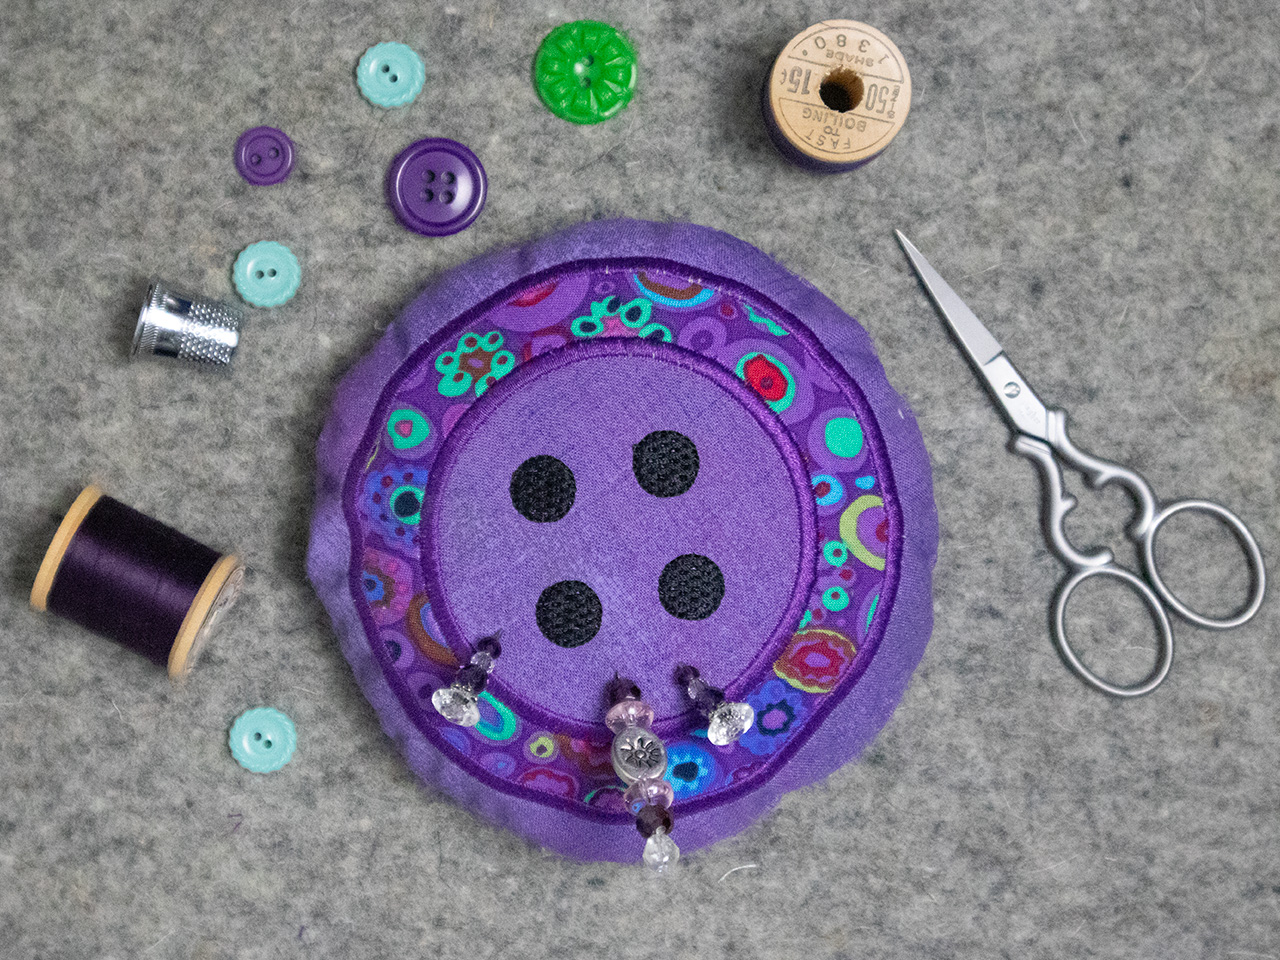
The Button Pincushion is the third in a series of in-the-hoop pincushions I have designed for We All Sew. Every sewing area needs cute and functional pincushions. The best part is it will be stitched and assembled in the embroidery hoop except for a few inches of hand sewing once the pincushion is stuffed. Let’s get started.
Machine Set Up
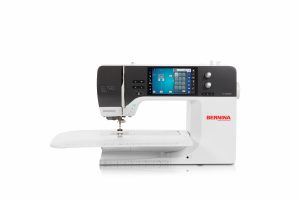
- BERNINA 790 PRO
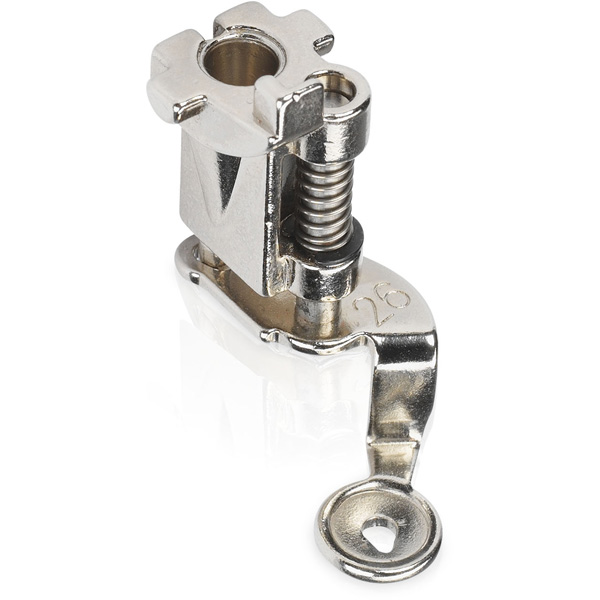
- Drop-Shaped Embroidery Foot #26
- Straight Stitch Plate
- Large Oval Hoop
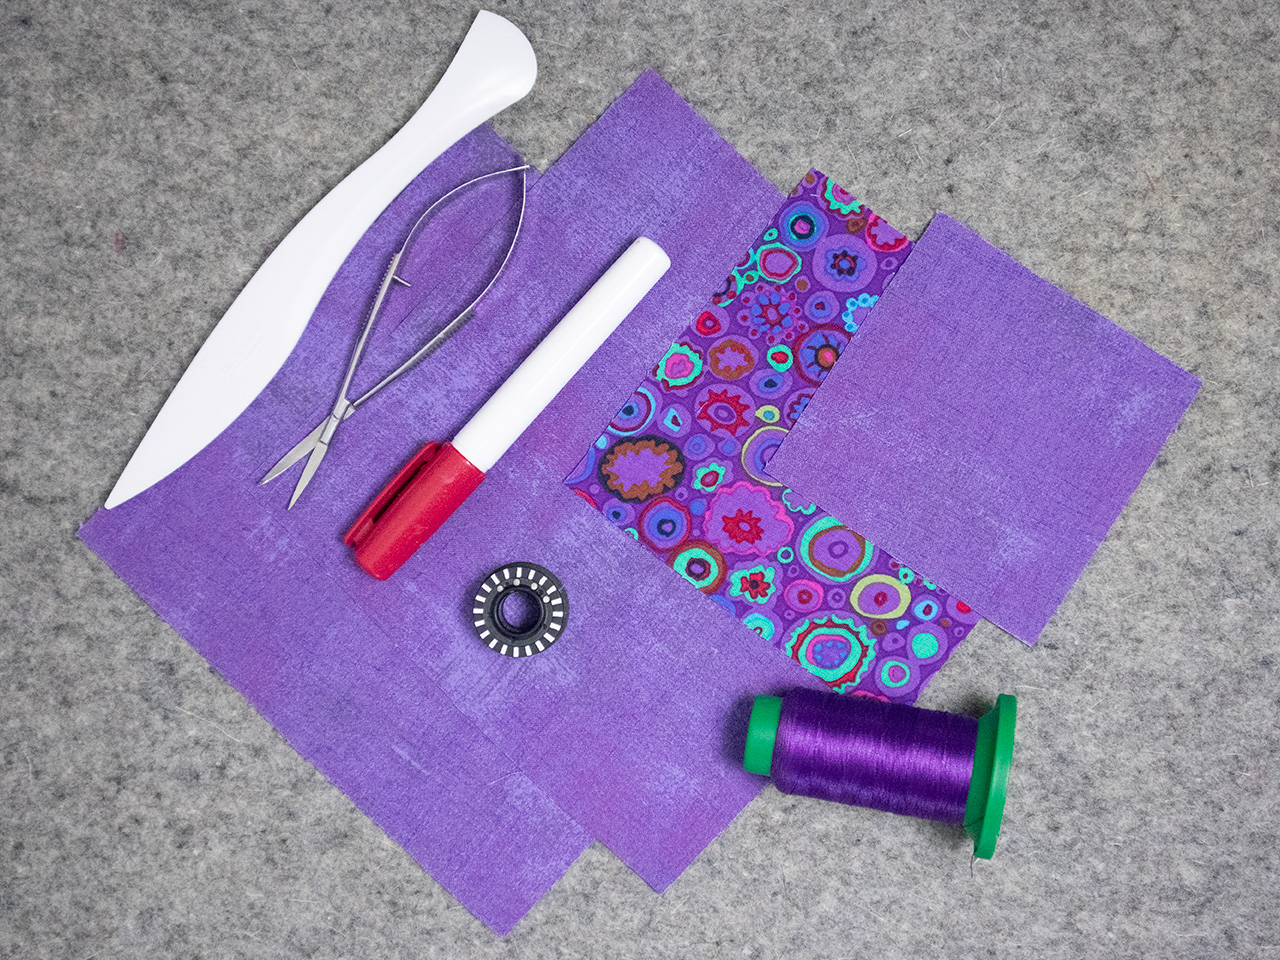
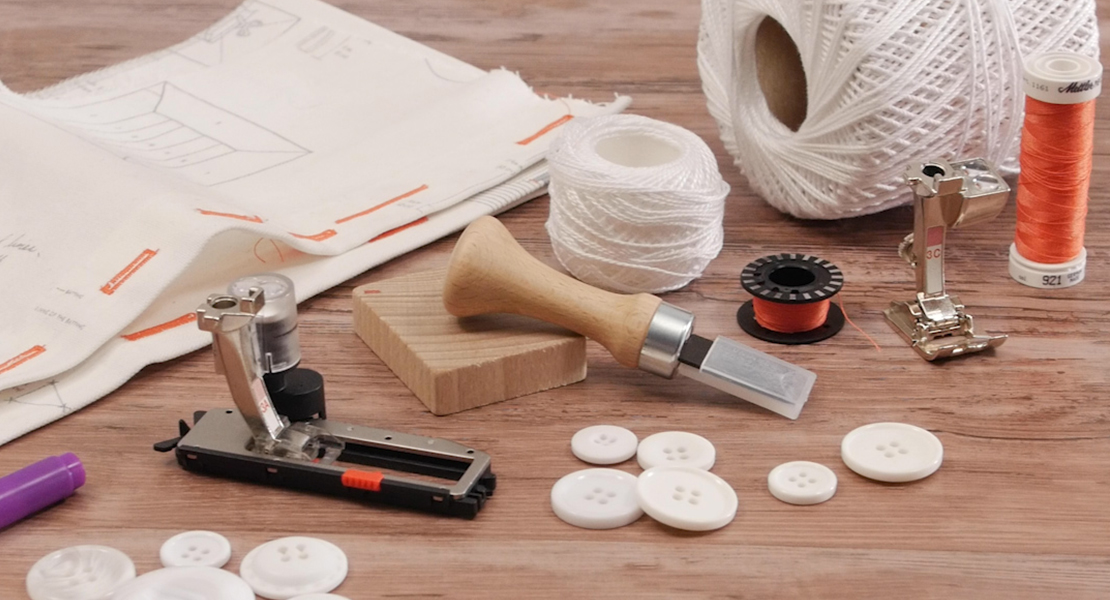
Materials Needed to Make a Button Pincushion
- 80/12 Embroidery needle
- 40wt Embroidery Thread
- 60wt Bobbin Thread
- 40wt Cotton Thread
- Fabric Glue Stick
- Small Curved Embroidery Scissors
- Fabric Scissors or Pinking Shears
- Point Turner
- Cut-Away Stabilizer such as OESD Polymesh
- Pellon SF101 Shape-Flex or similar
- Choose your favorite filler for the Pincushion: Poly-fil, Poly- pellets, Walnut Shells
- Iron and Pressing Surface
Fabric
- Front 6½” square
- Large circle 4½” square
- Small circle 3½” square
- Back 6½” square

Instructions
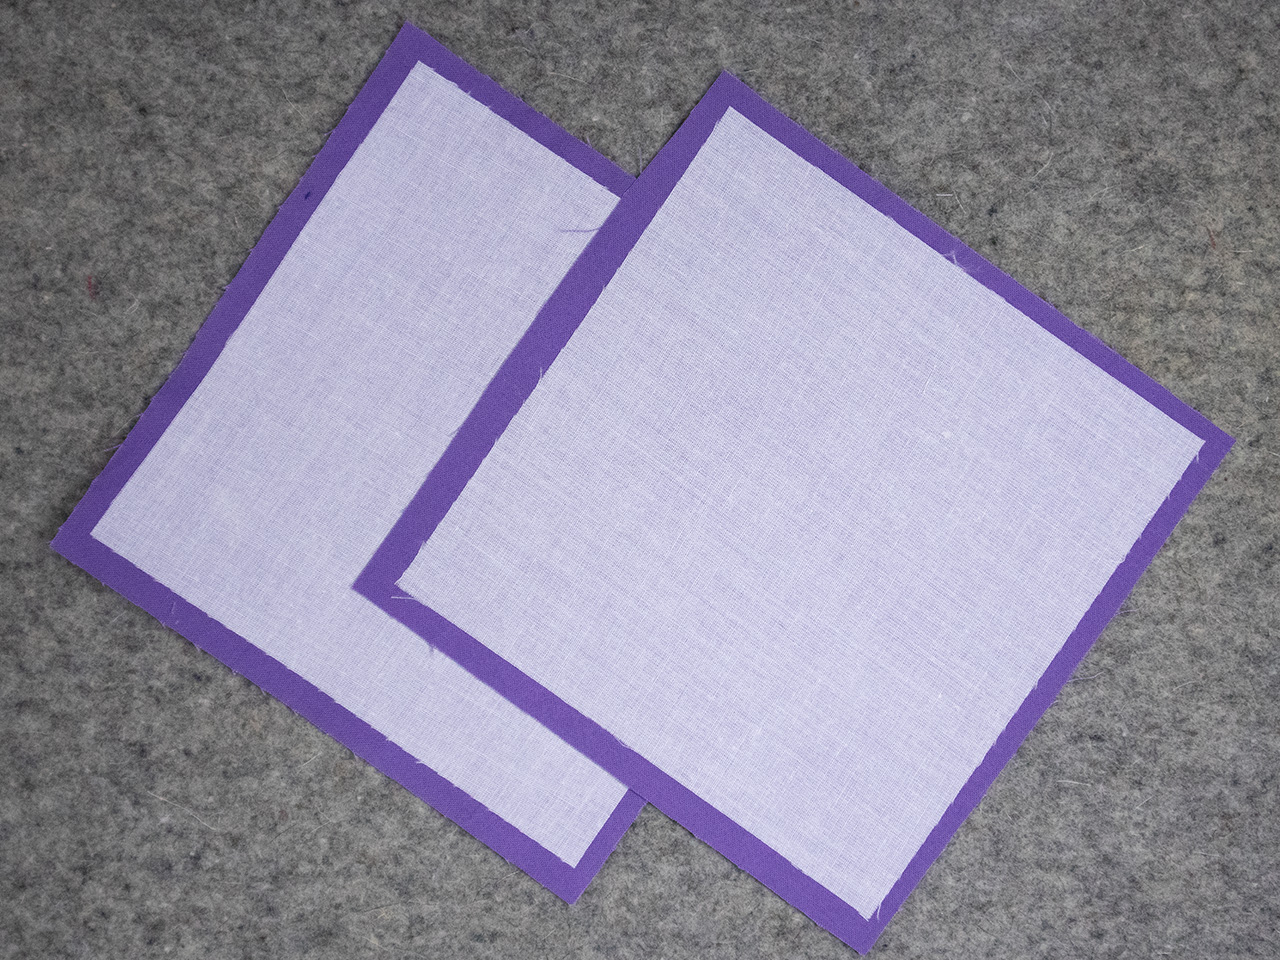
For extra support stabilize the front and back 6½” x 6½” fabrics with SF101 (or similar) per manufacturer instructions.
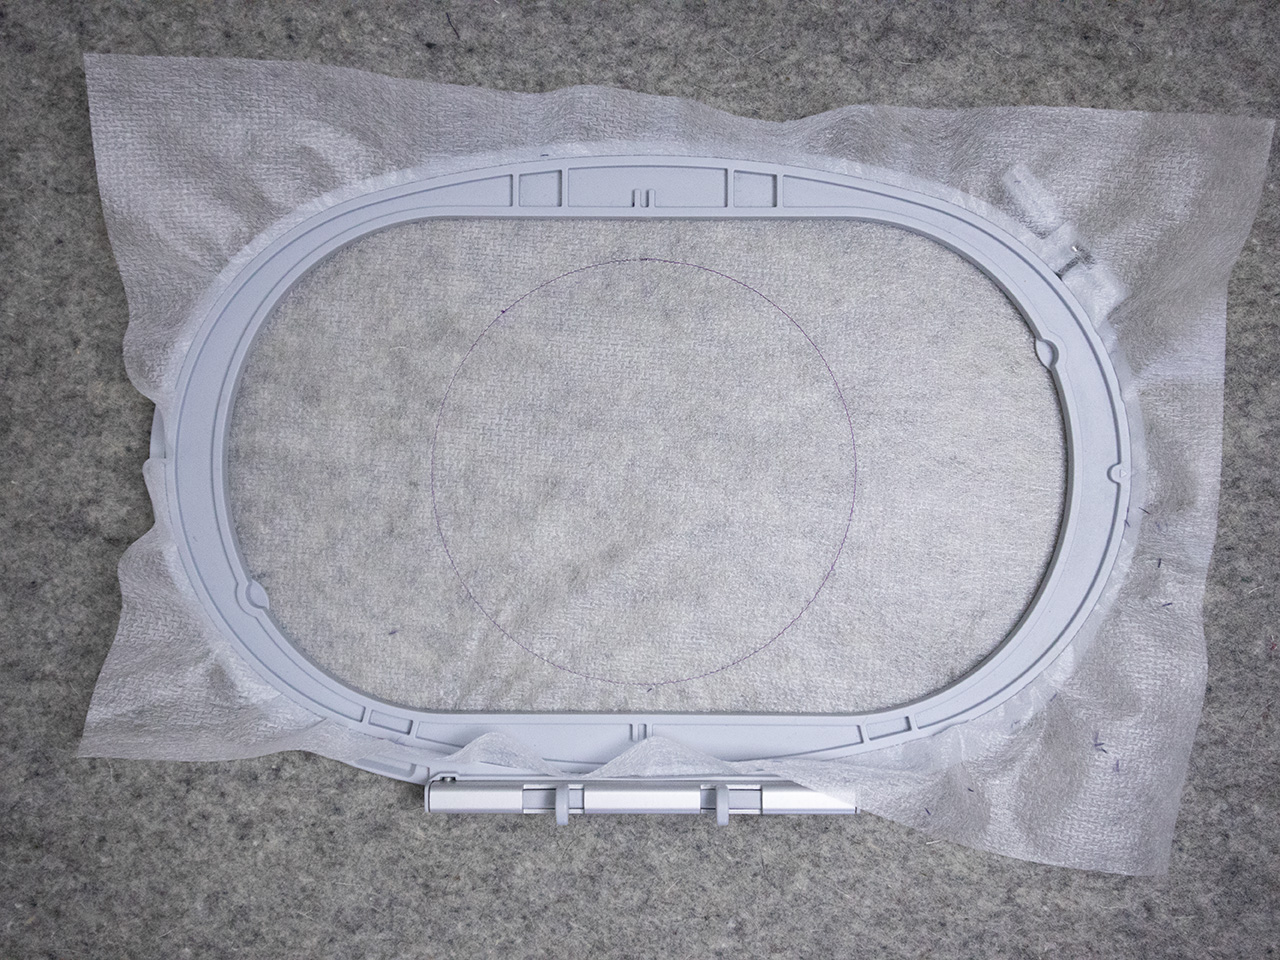
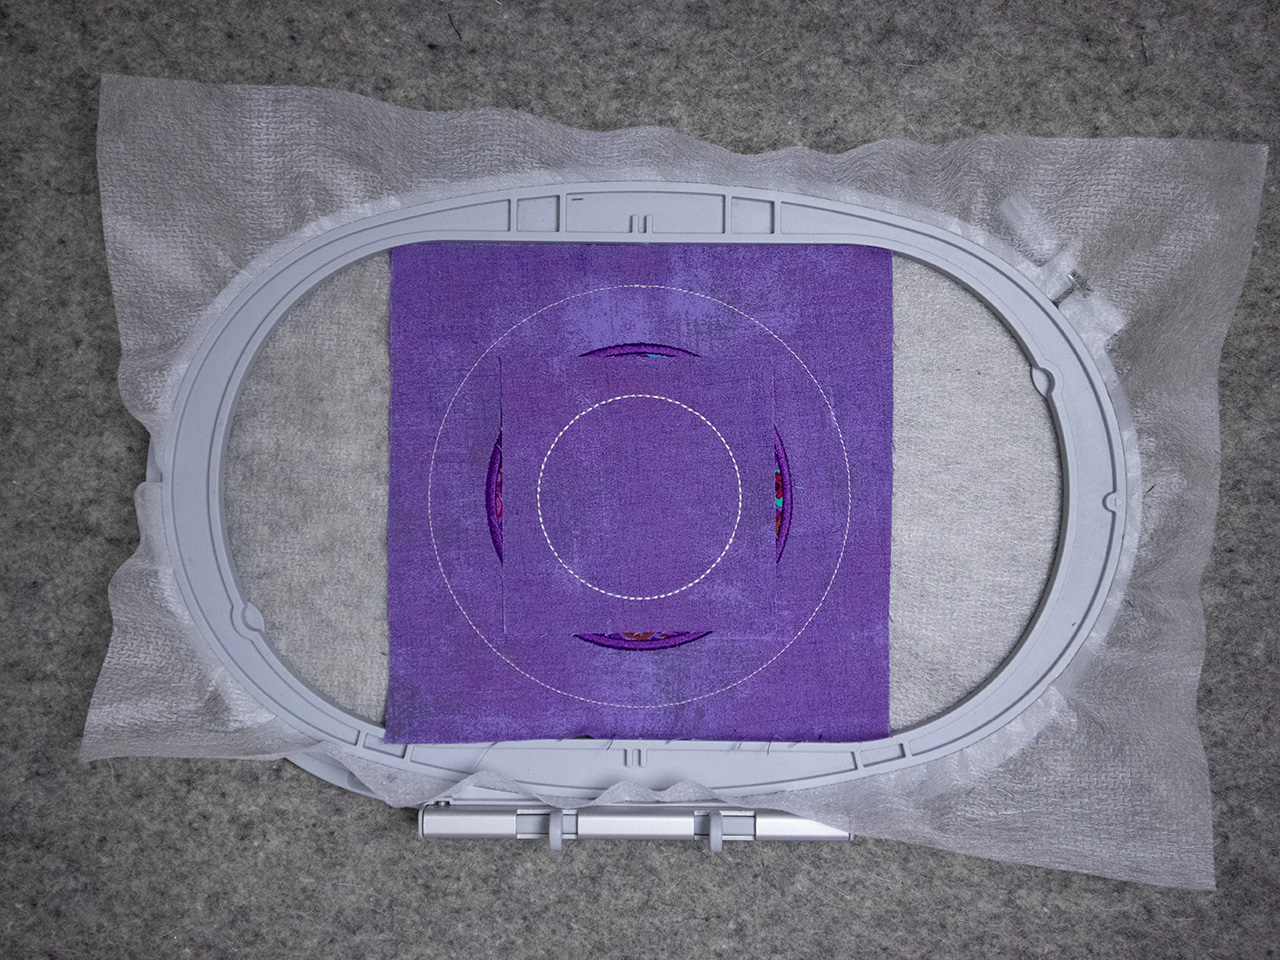
Hoop the Cutway stabilizer making sure the stabilizer is secured all around the hoop.
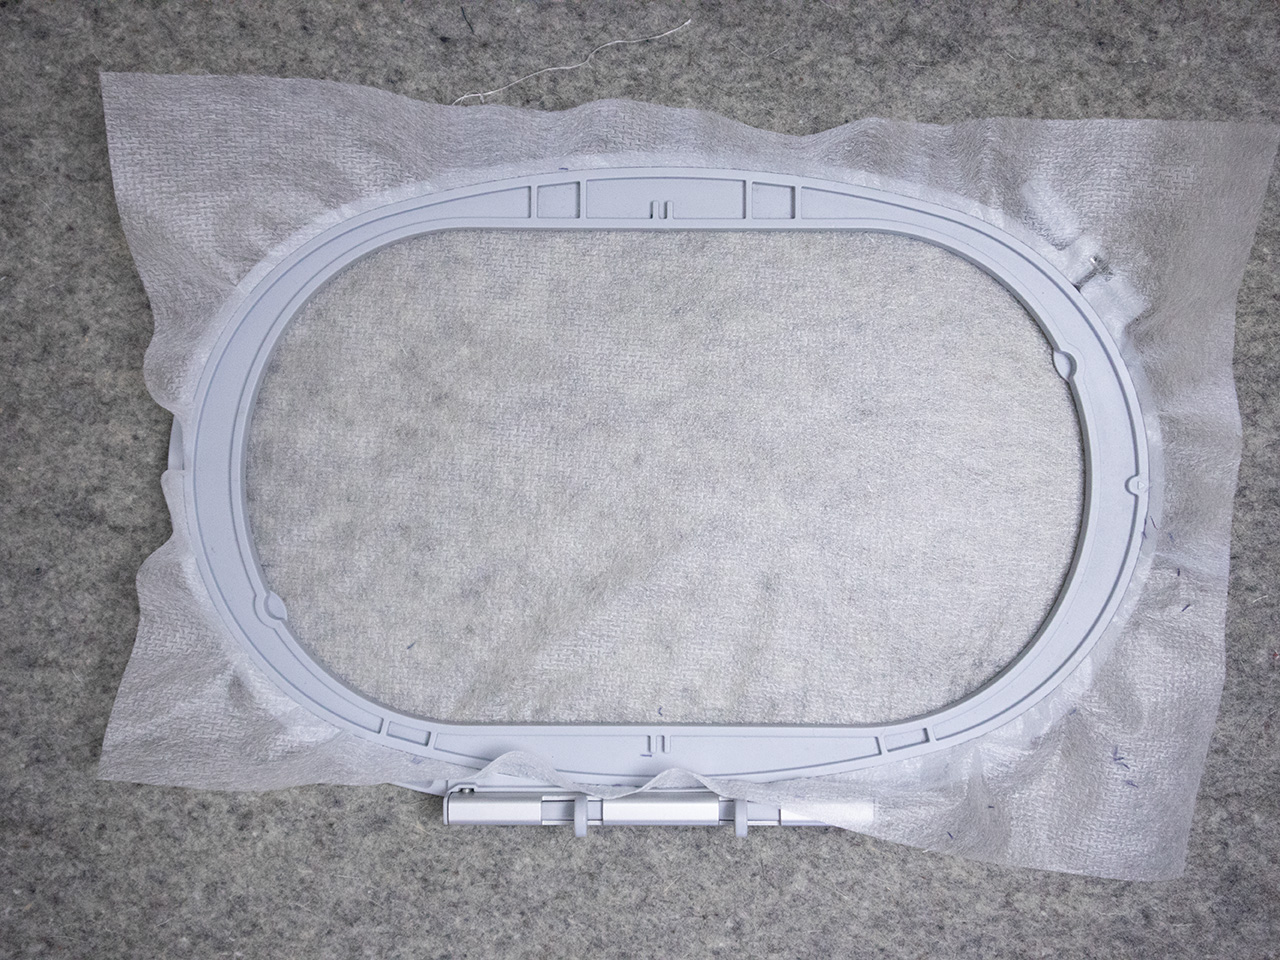
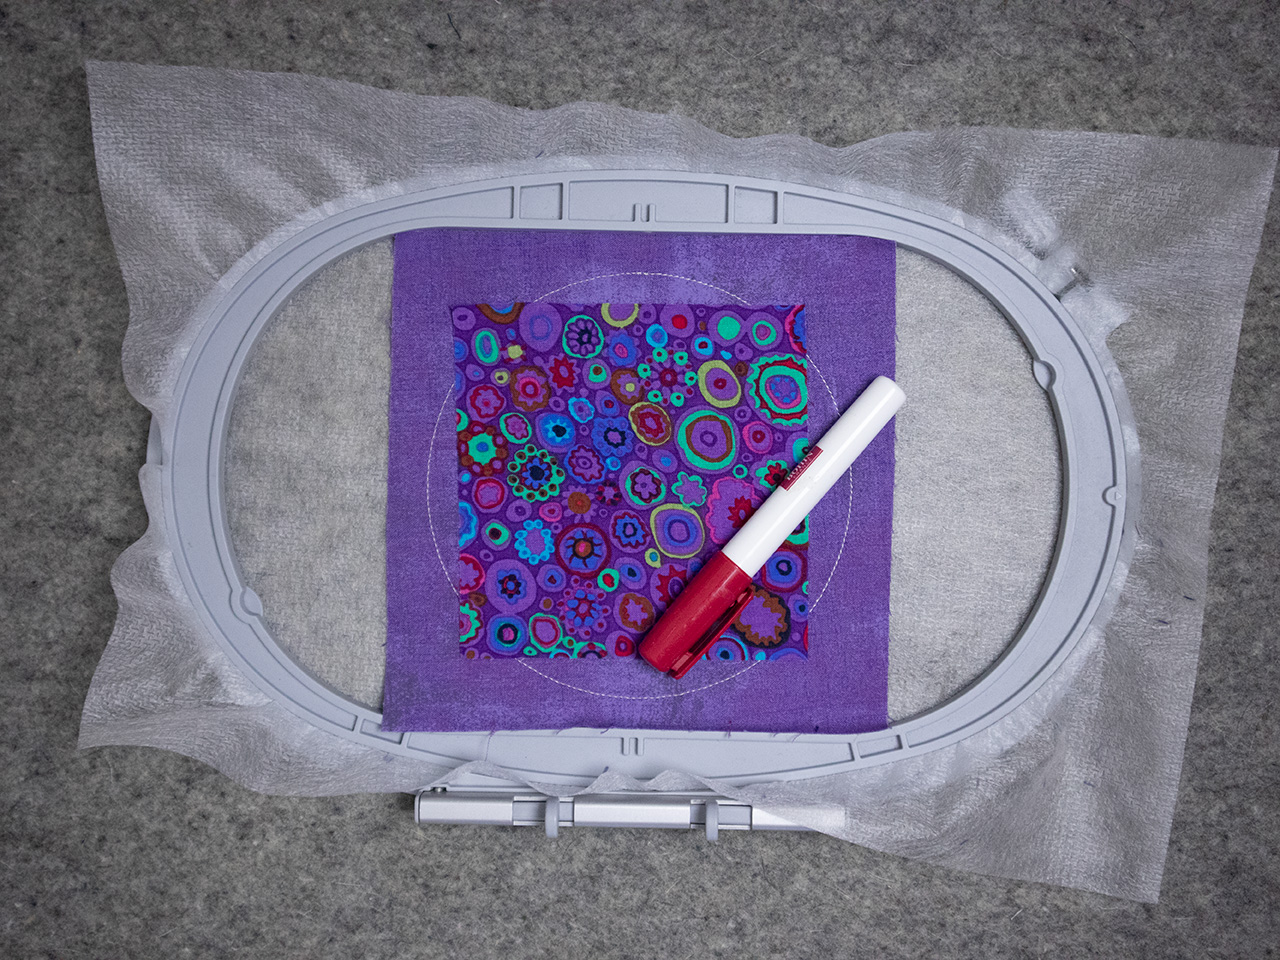
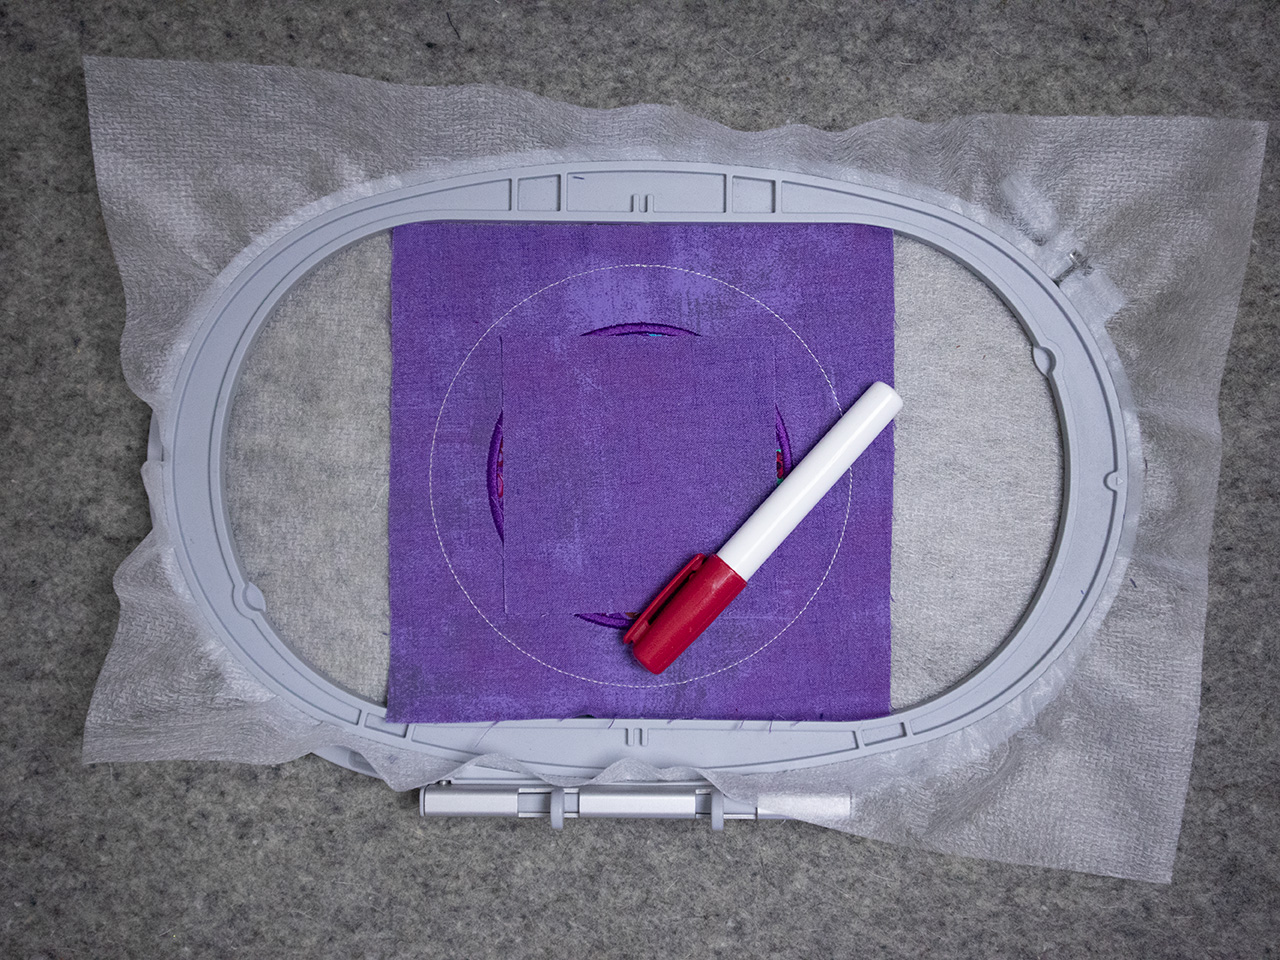
Place hoop on the embroidery machine and stitch a placement line.
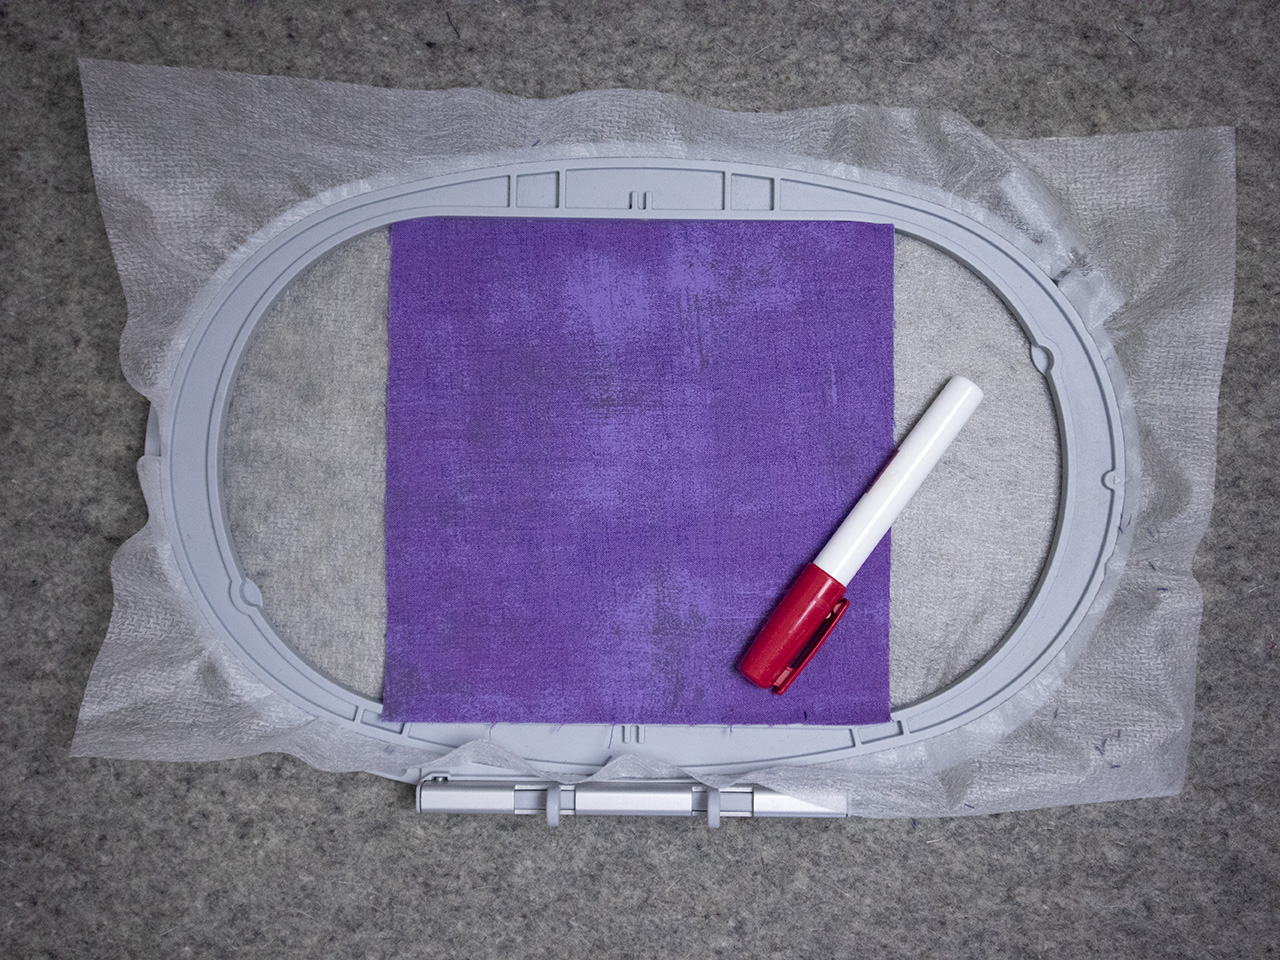
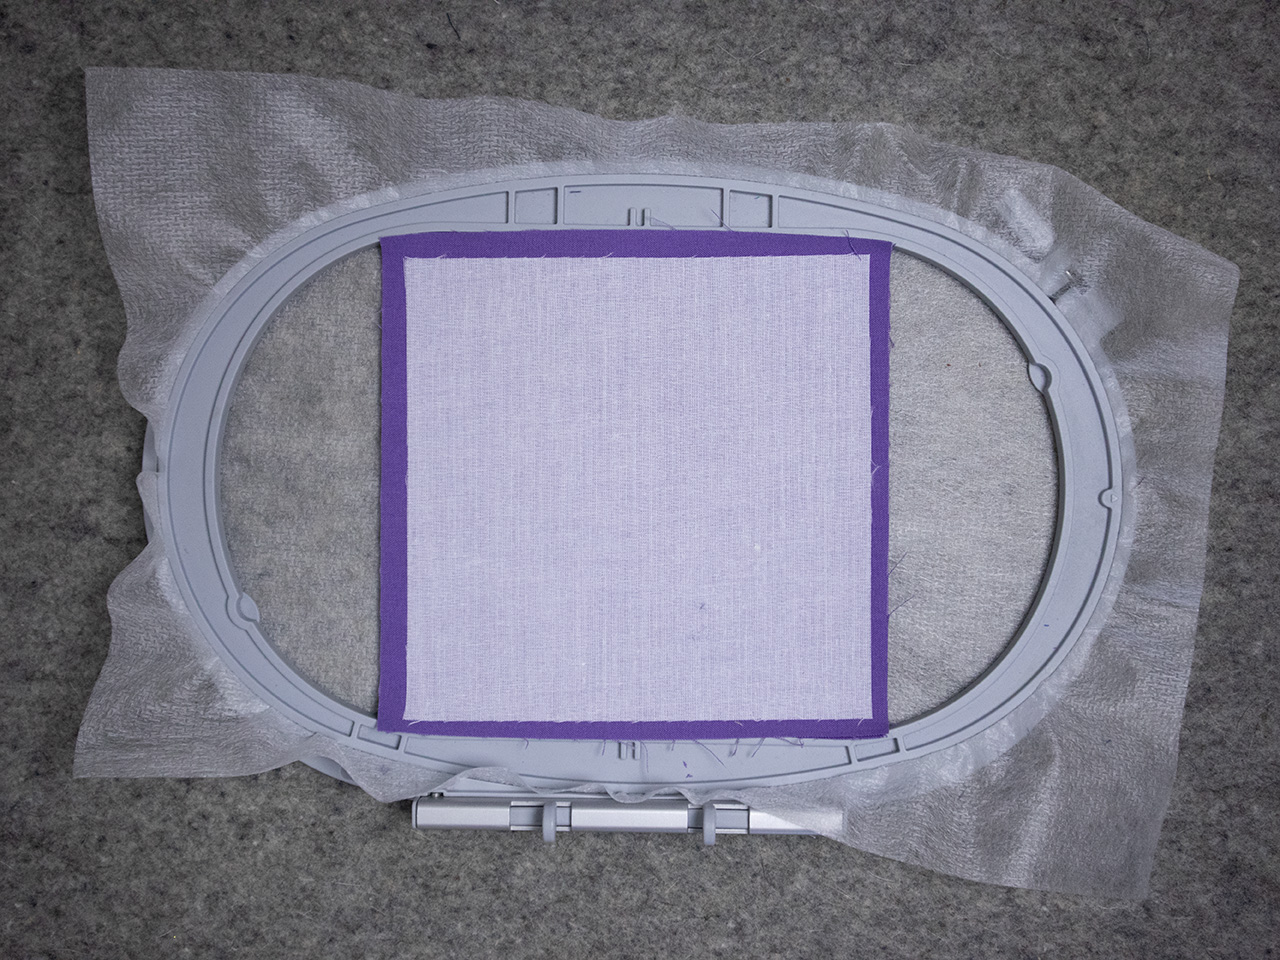
Remove hoop from the embroidery machine. Using a fabric glue stick, tack the 6½” x 6½” top piece of fabric over the placement stitch.
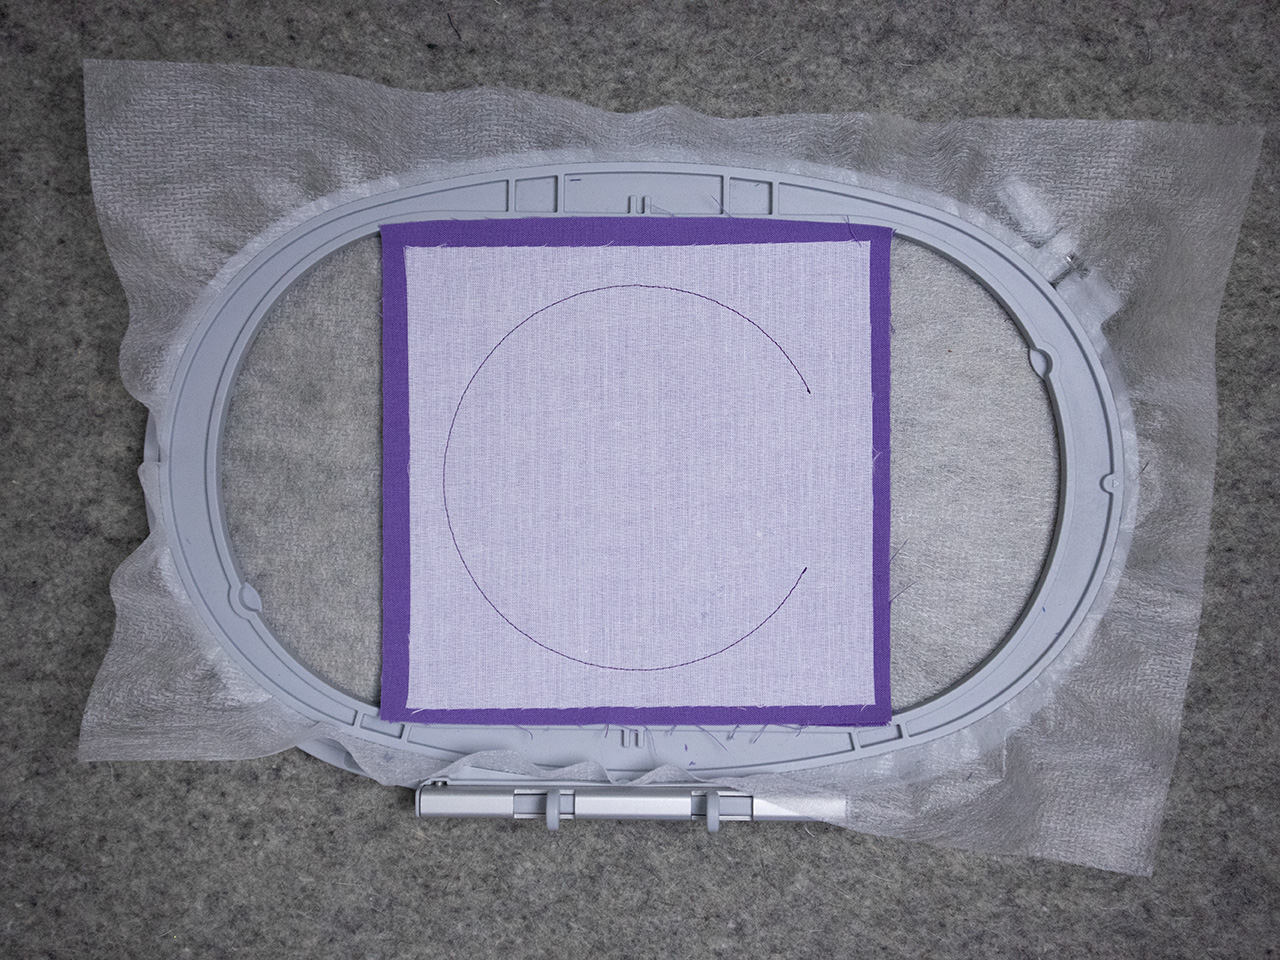
Return hoop to the embroidery machine and the machine will stitch a circle to secure the fabric to the stabilizer.
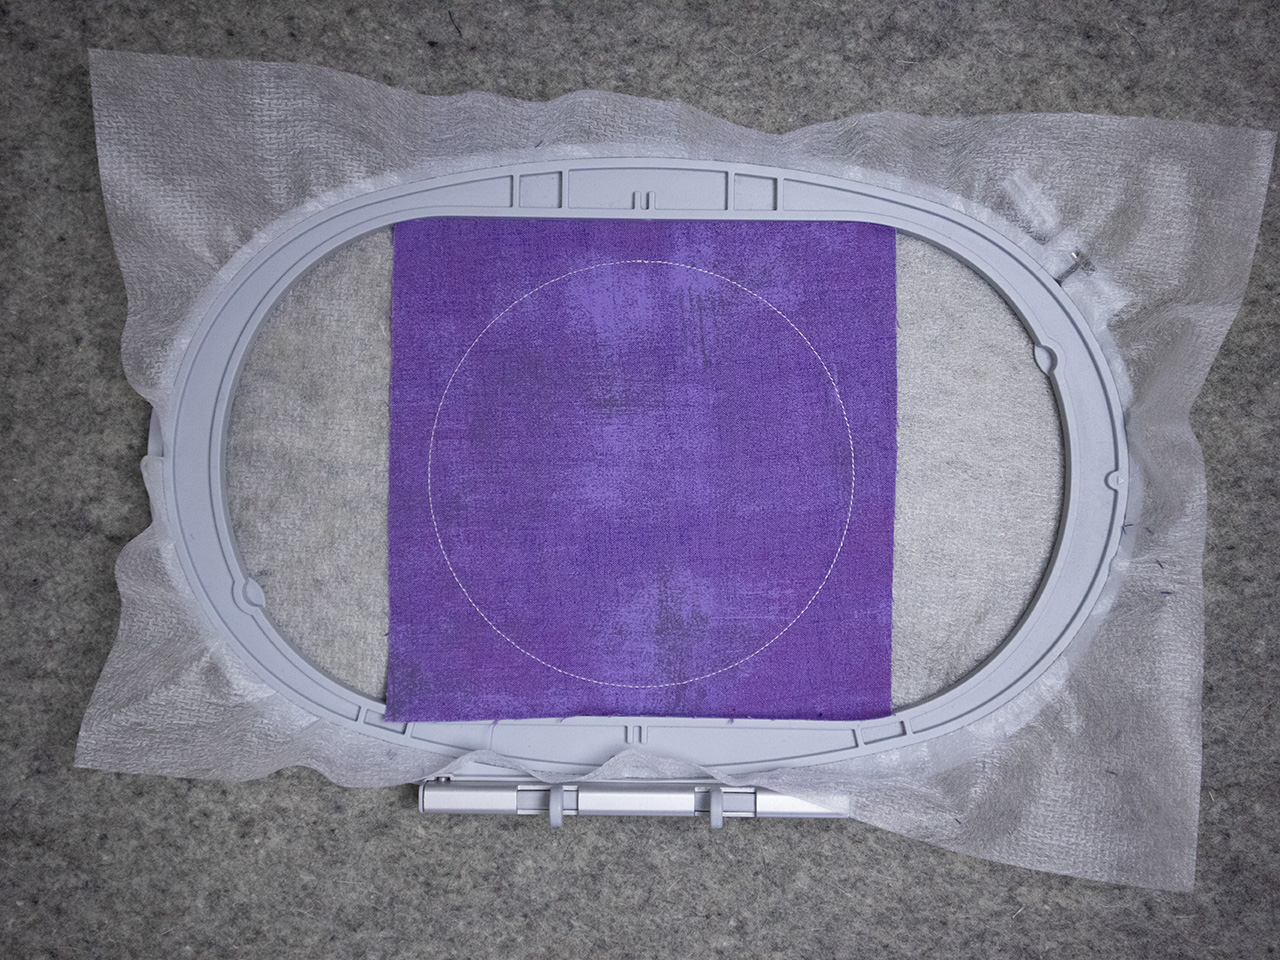
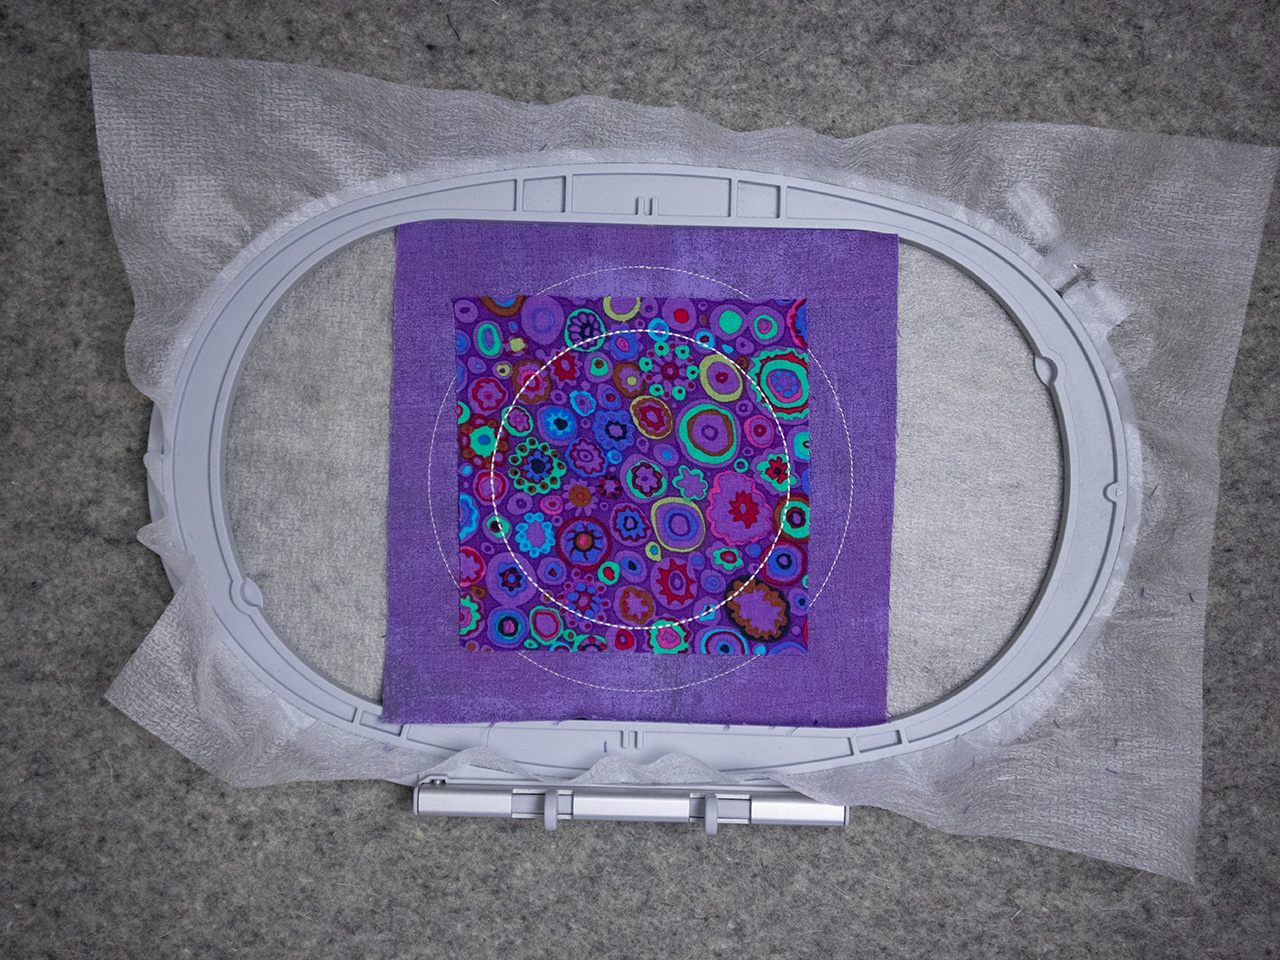
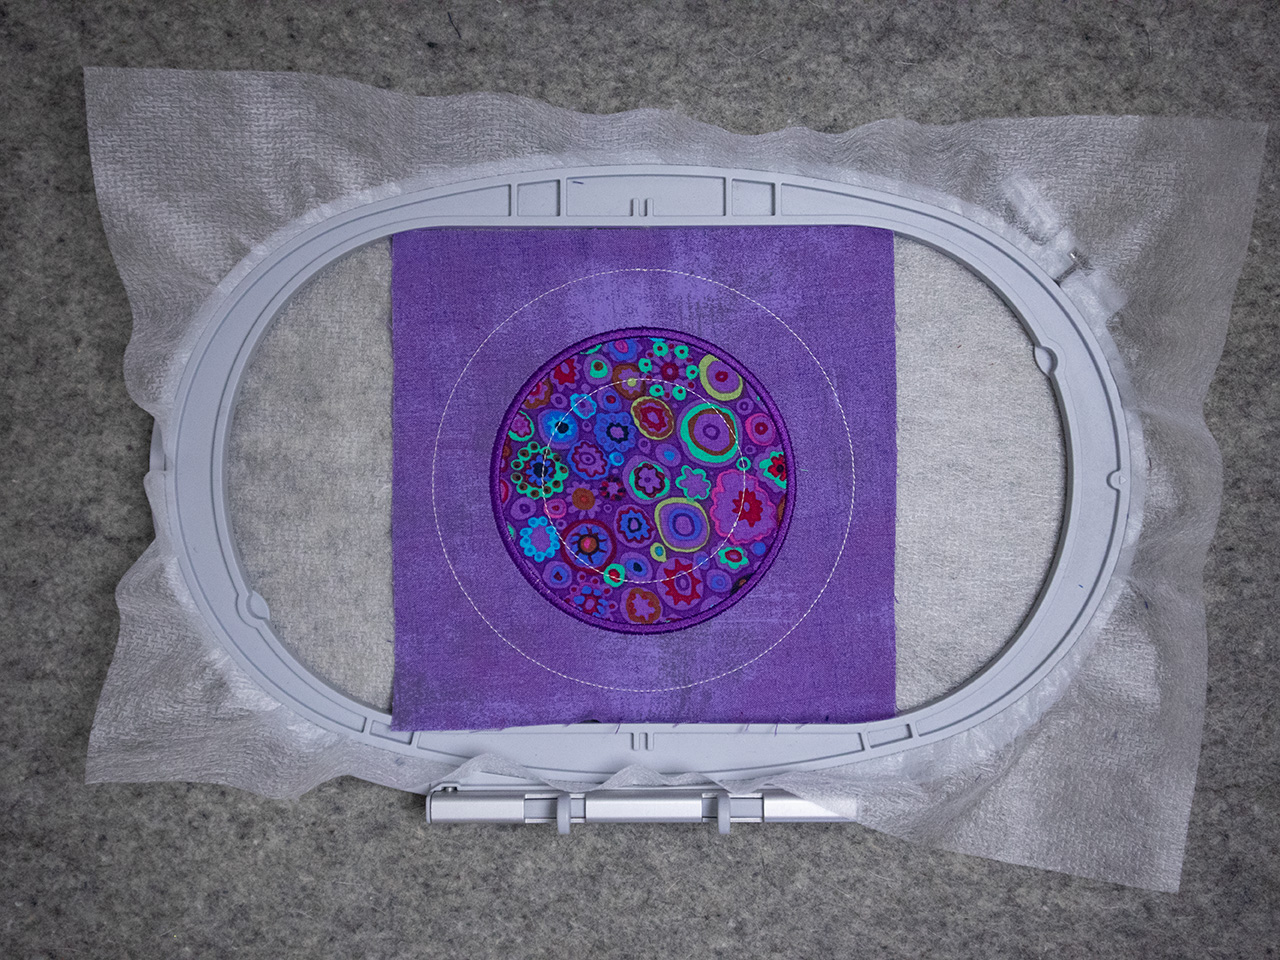
Return hoop to embroidery machine. Stitch the placement stitch for the large circle appliqué.
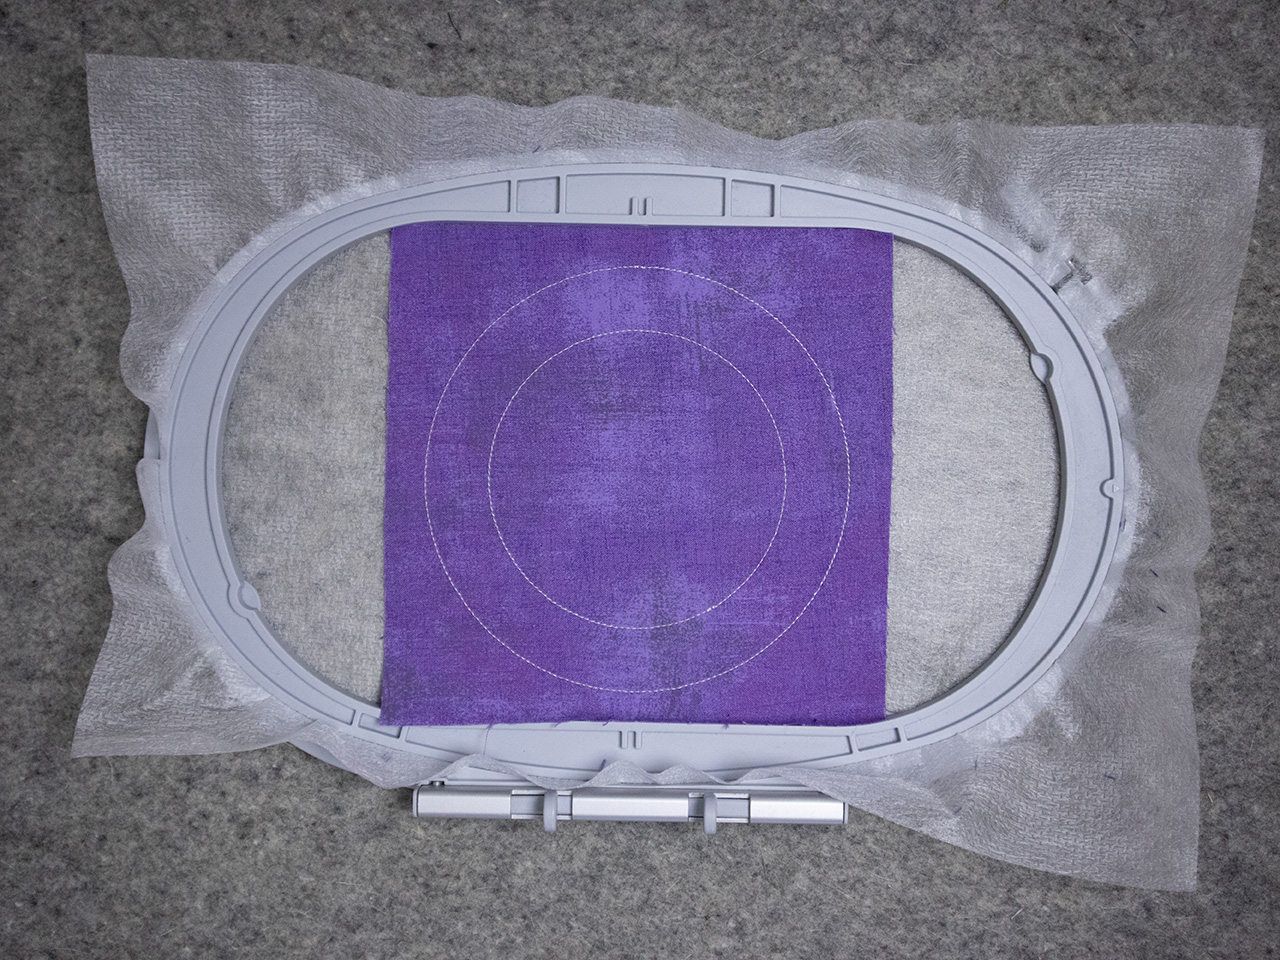
Remove hoop from the embroidery machine. With a fabric glue stick adhere the 4½” square over the large circle placement stitch.
Return hoop to embroidery machine. Stitch the cutting stitch.
Remove hoop from the embroidery machine. With small, curved scissors, trim the large circle fabric right up to the cutting stitch.
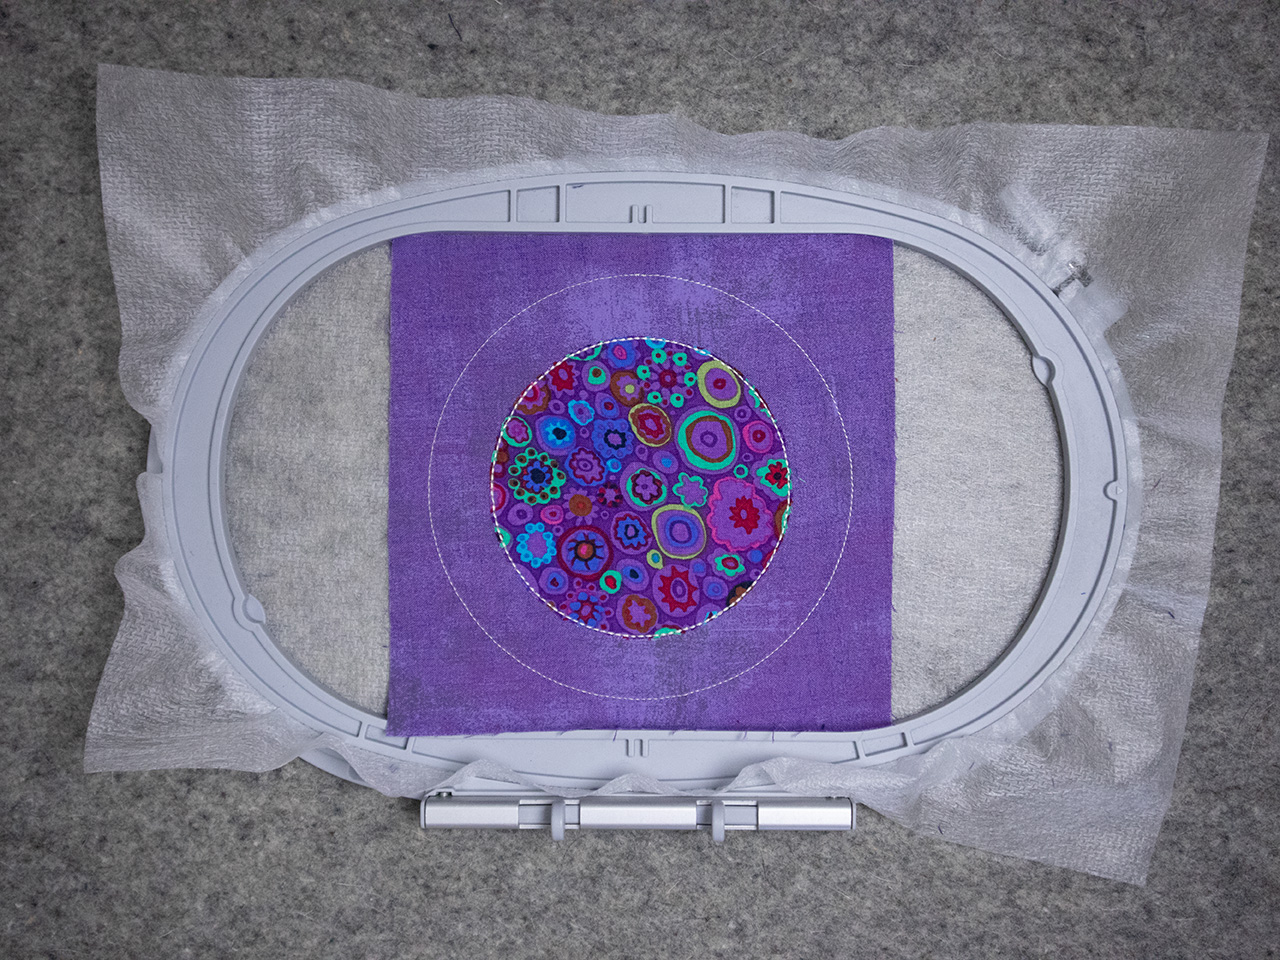
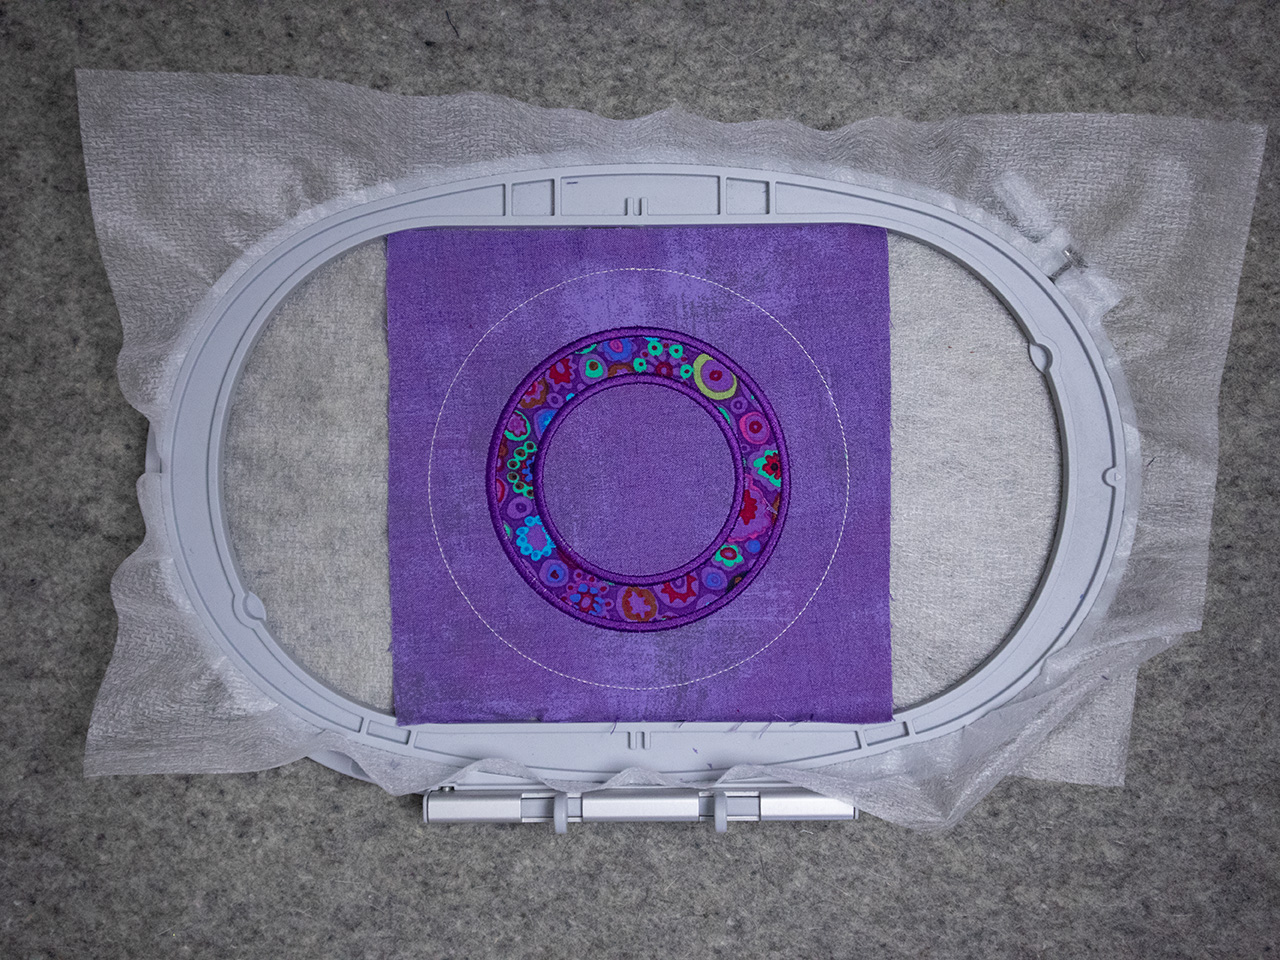
Return hoop to embroidery machine. The machine will now stitch the satin stitch around the large circle.
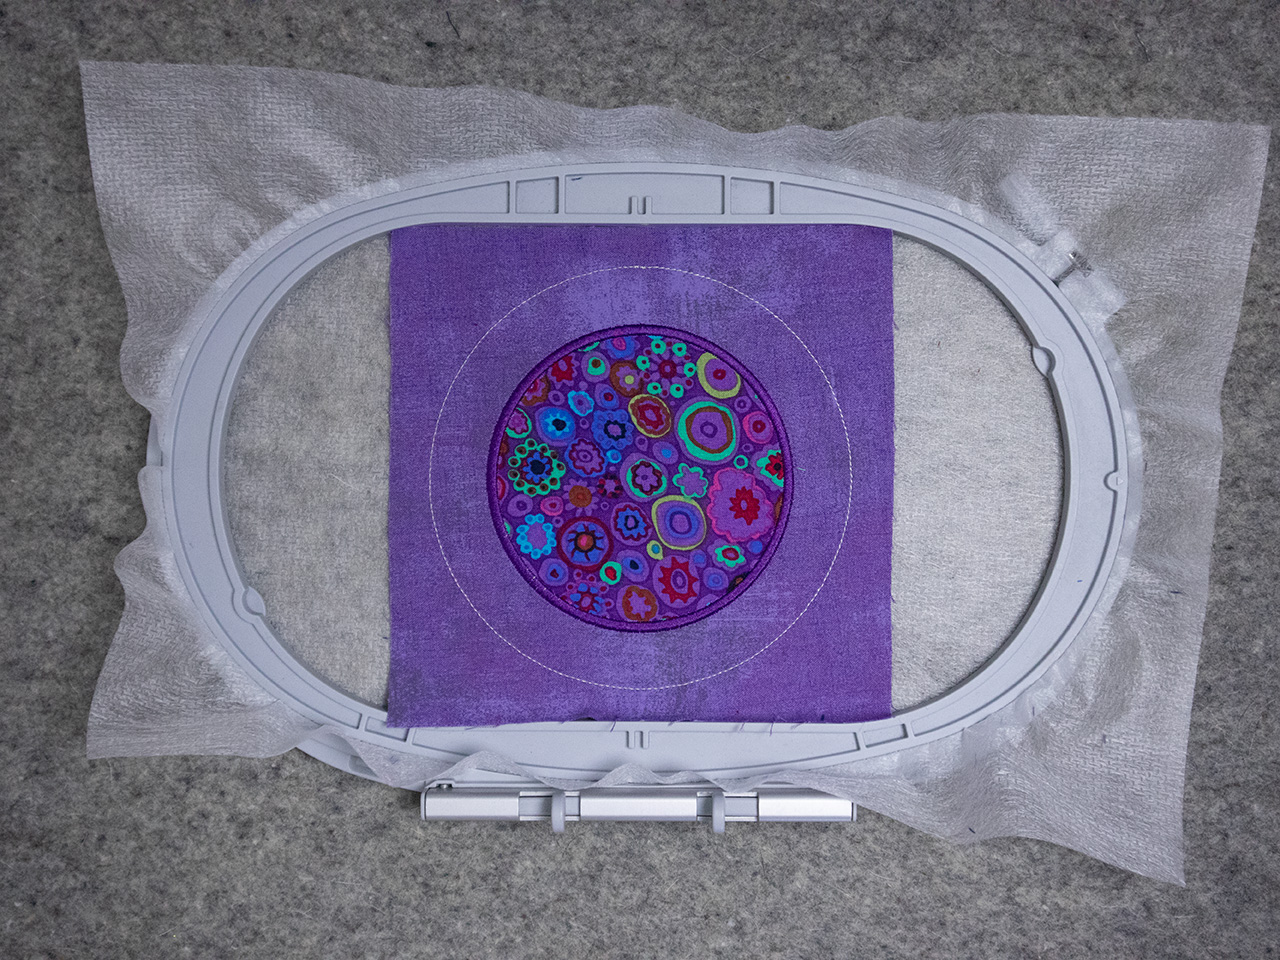
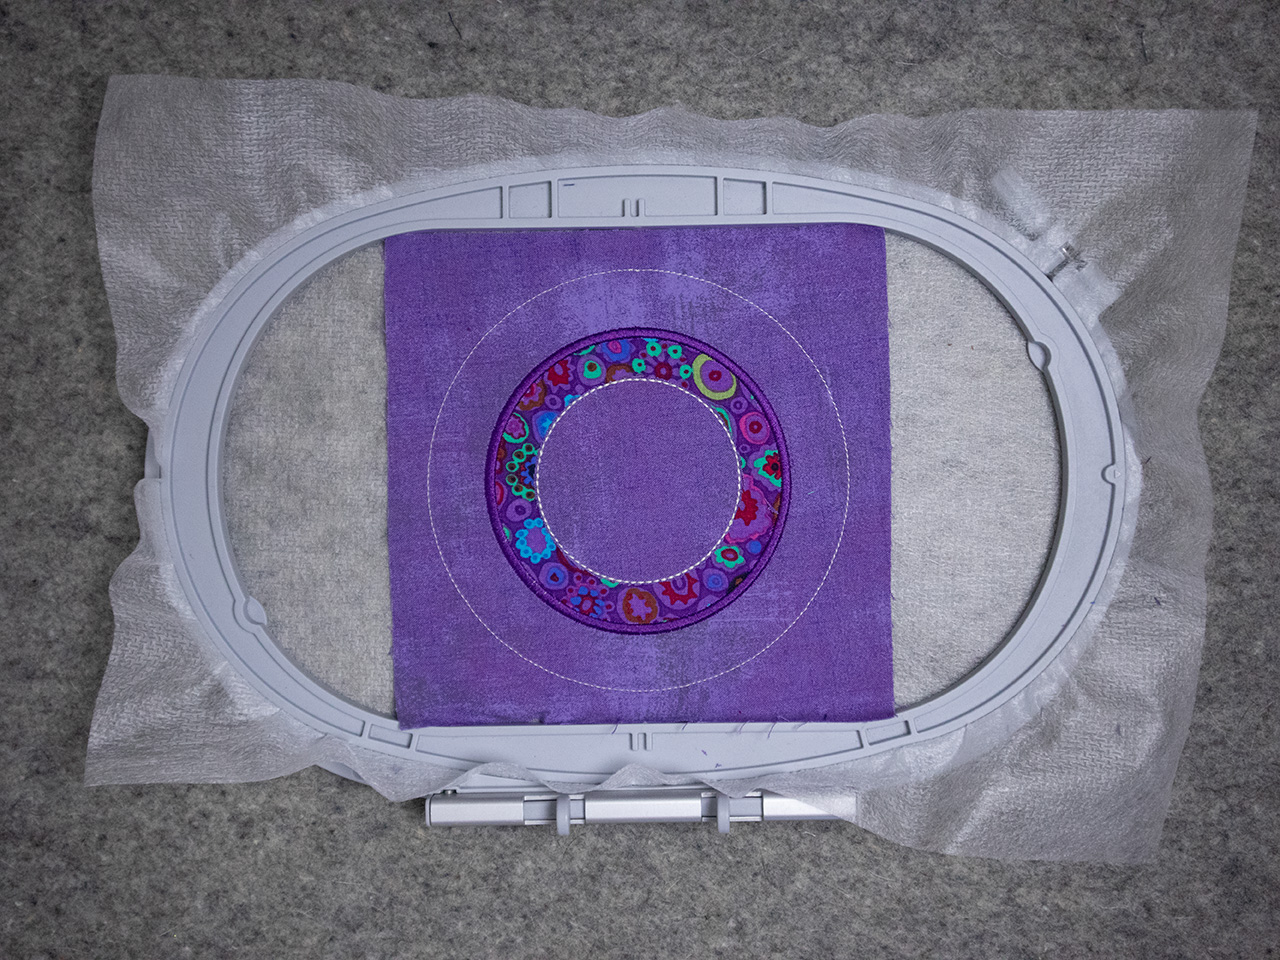
Return hoop to embroidery machine. Stitch the placement stitch for the small circle appliqué.
Remove hoop from the embroidery machine. With a fabric glue stick adhere the 3½” square over the small circle placement stitch.
Return hoop to embroidery machine. Stitch the cutting stitch.
Remove hoop from the embroidery machine. With small, curved scissors, trim the small circle fabric right up to the cutting stitch.
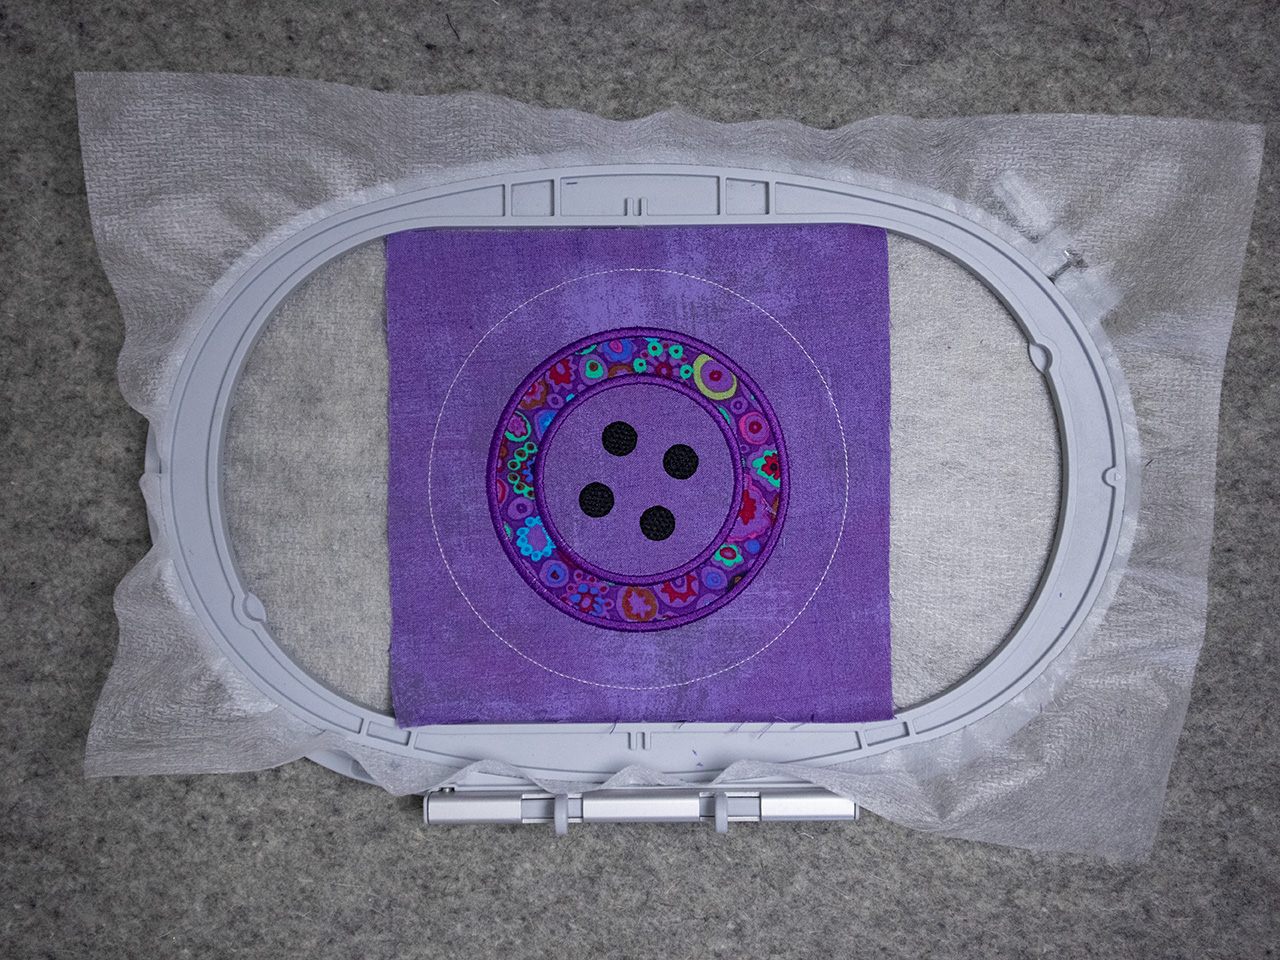
Return hoop to embroidery machine. The machine will now stitch the satin stitch around the small trimmed fabric circle.
Change thread color to black if desired and stitch the four holes on the button.
Remove hoop from the embroidery machine. With a fabric glue stick adhere the backing fabric in the corners to the design. The right sides of fabrics together.
Return the hoop to the embroidery machine and stitch the two pieces of fabric together. There will be an opening at the bottom of the pincushion to turn right sides out.
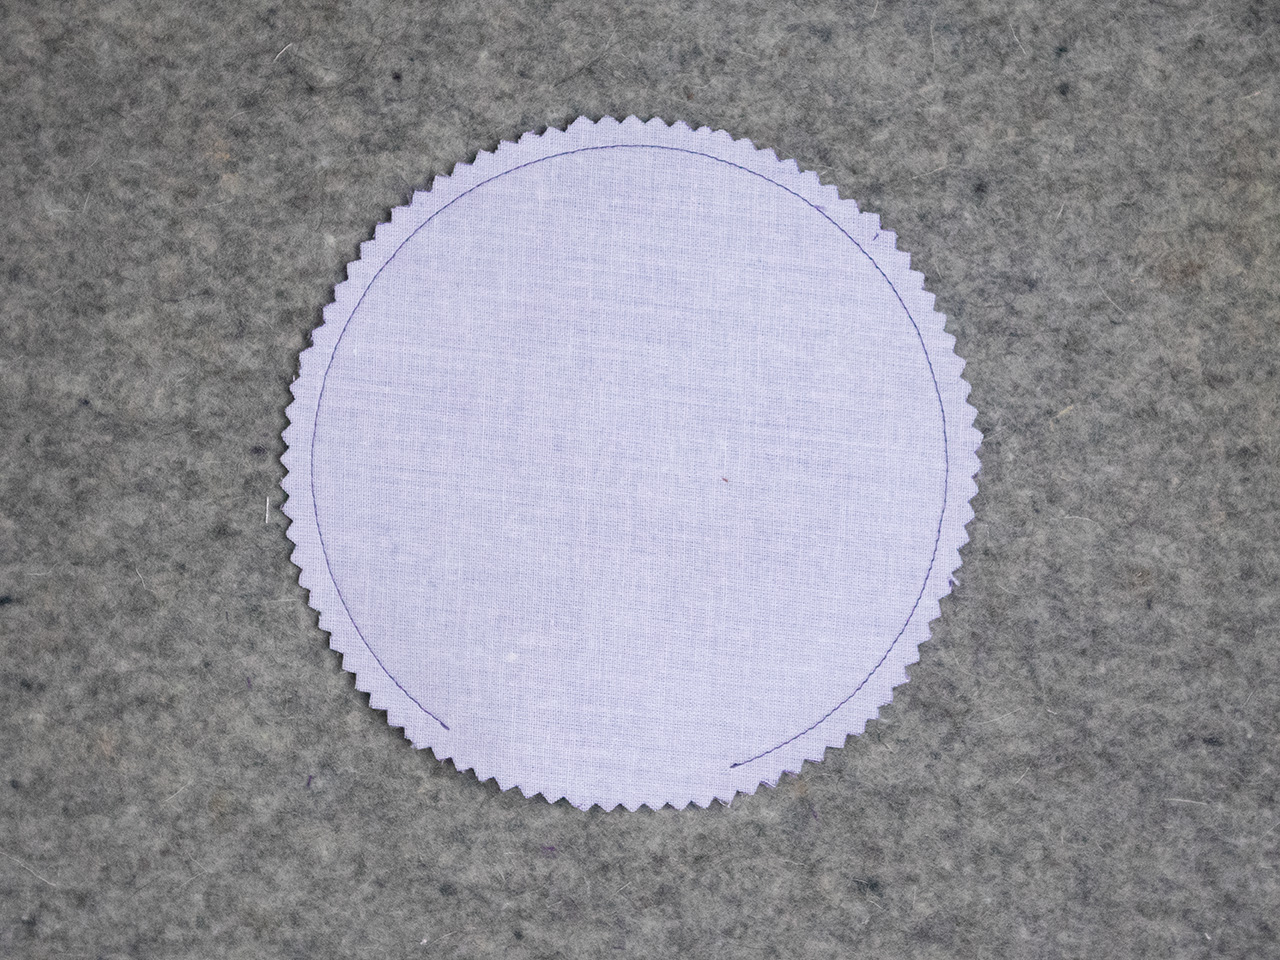
Remove hoop from the embroidery machine and remove pincushion from the hoop. With fabric scissors or pinking shears trim ¼” from seam line all the way around. I used pinking shears.
Gently turn the pincushion inside out. Use a point turner to ease the curve. Fill the pincushion with your favorite filling. I used walnut shells. Any filling would be perfect. After filling the pincushion, slip stitch the small opening together with 50wt cotton thread and a sewing needle.
Enjoy and display your pincushion beside your BERNINA machine. Maybe make some pincushions for your favorite friends. If you like this fun button pincushion, check out my website lunchboxquilts.com. There you will find many projects using machine embroidery appliqué quilts and projects. Keep watching for more WeAllSew projects as I am creating the next pincushion in the series for you.
Happy Stitching!
Angie
Used Products
What you might also like

3 comments on “How to Make a Button Pincushion”
-
-
The pincushion is adorable. I tried to download the pattern but it did not work. Any
suggestions? Thank you.-
Hello! When you click the download button, it should automatically download to your device. Please check your Download folder for the .zip file. We hope this helps!
-
Leave a Reply
You must be logged in to post a comment.
Thanks for this Angie! I’m a sucker for a pincushion and ready for a new addition. It was great fun having you in class at the StitchWise event in Phoenix last month!