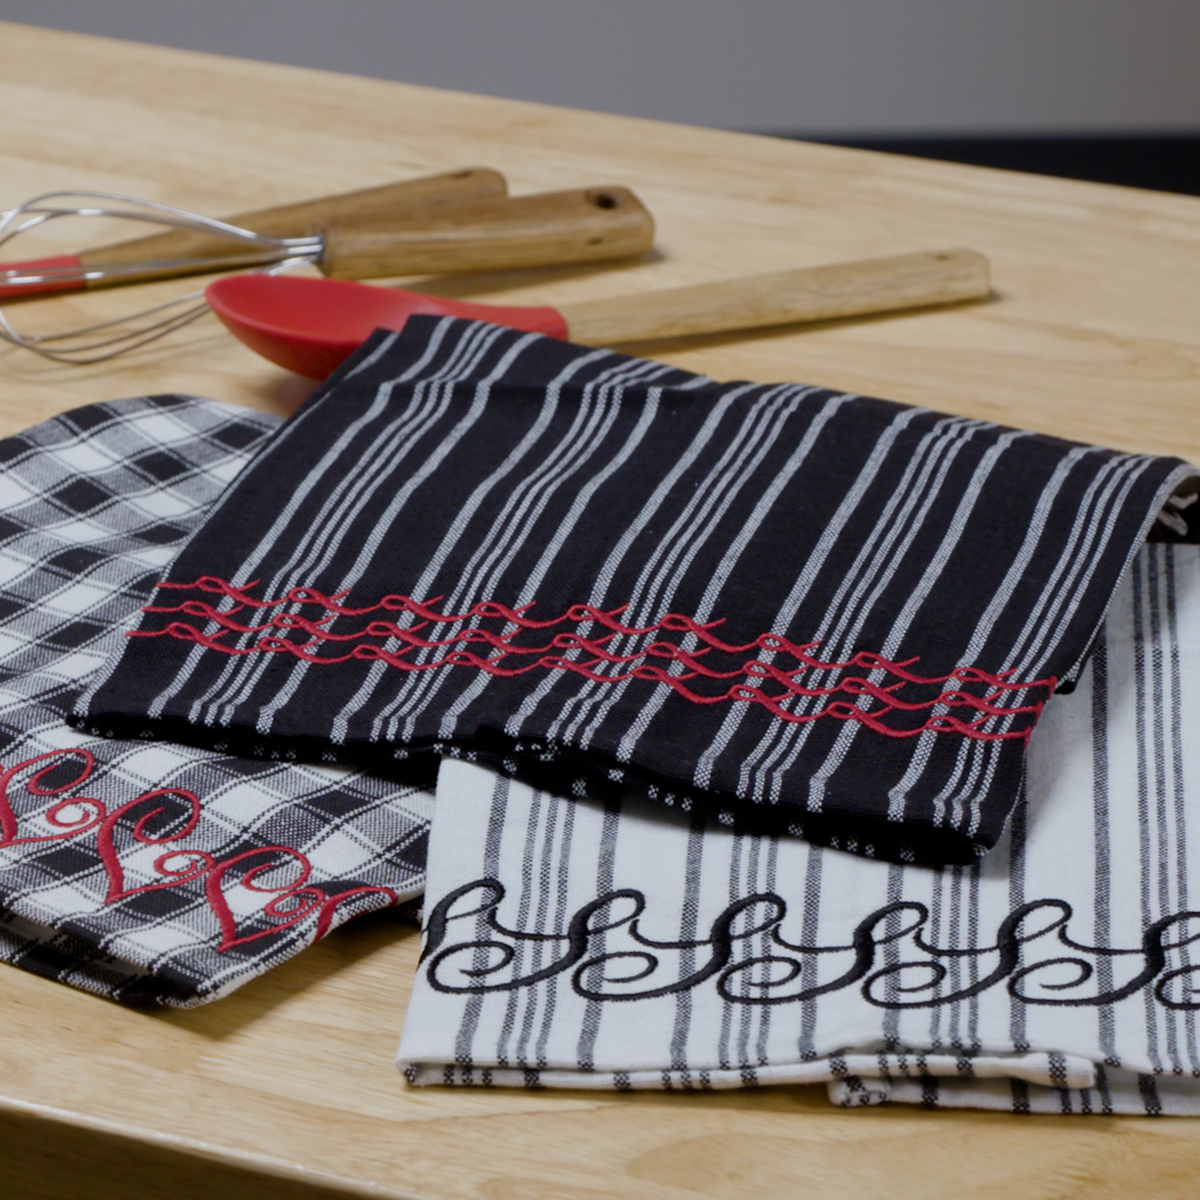
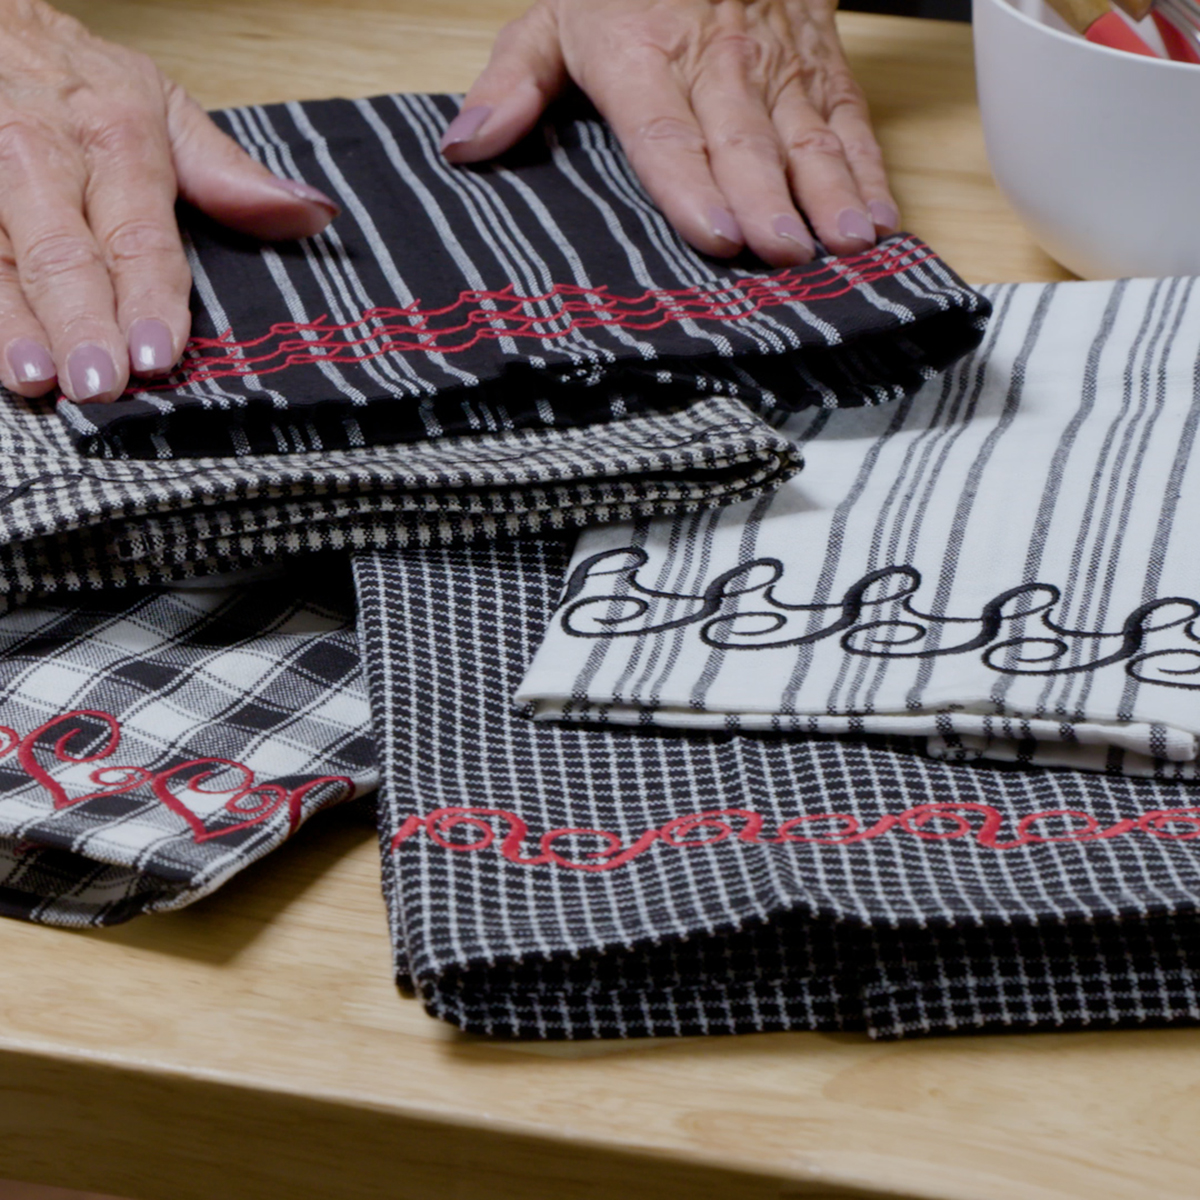
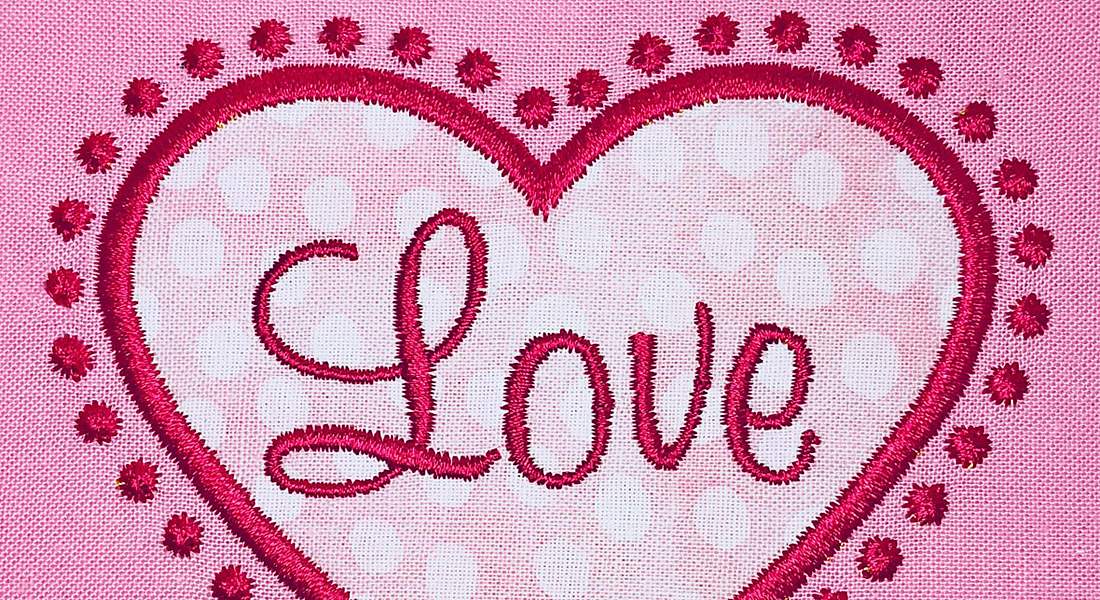
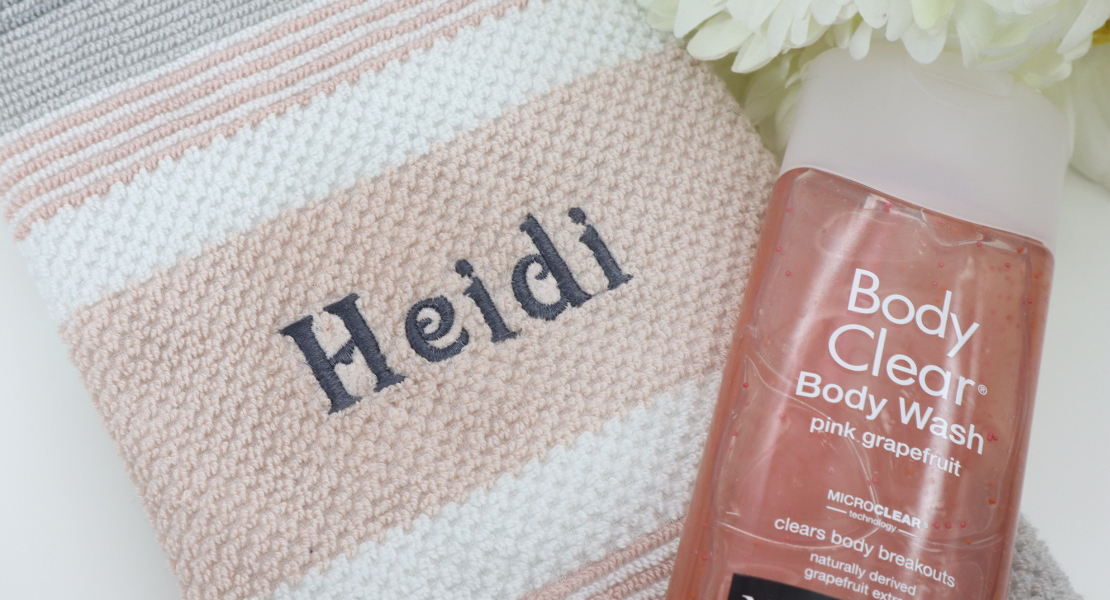
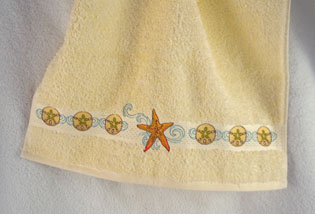
Software-Designed Tea Towel
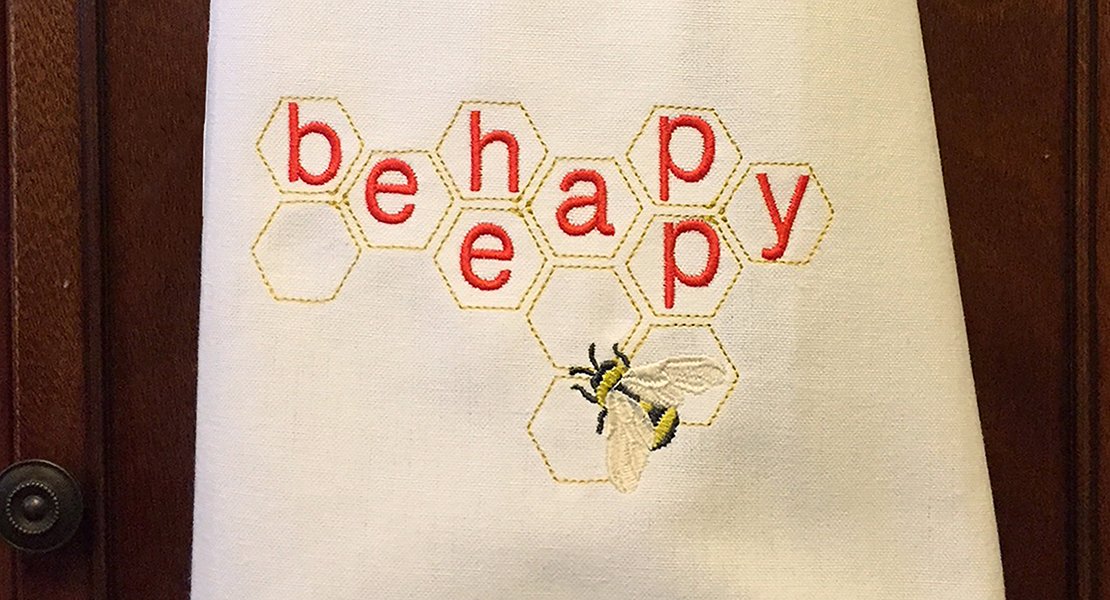
Dress up a kitchen towel with just a few ingredients! The design begins with a single letter in BERNINA Embroidery Software that you will break apart to create a unique repeating border in just a few clicks. Perfect placement is achieved by drawing a placement line in the software, then placing the border design relative to the drawn line. Simple and easy!
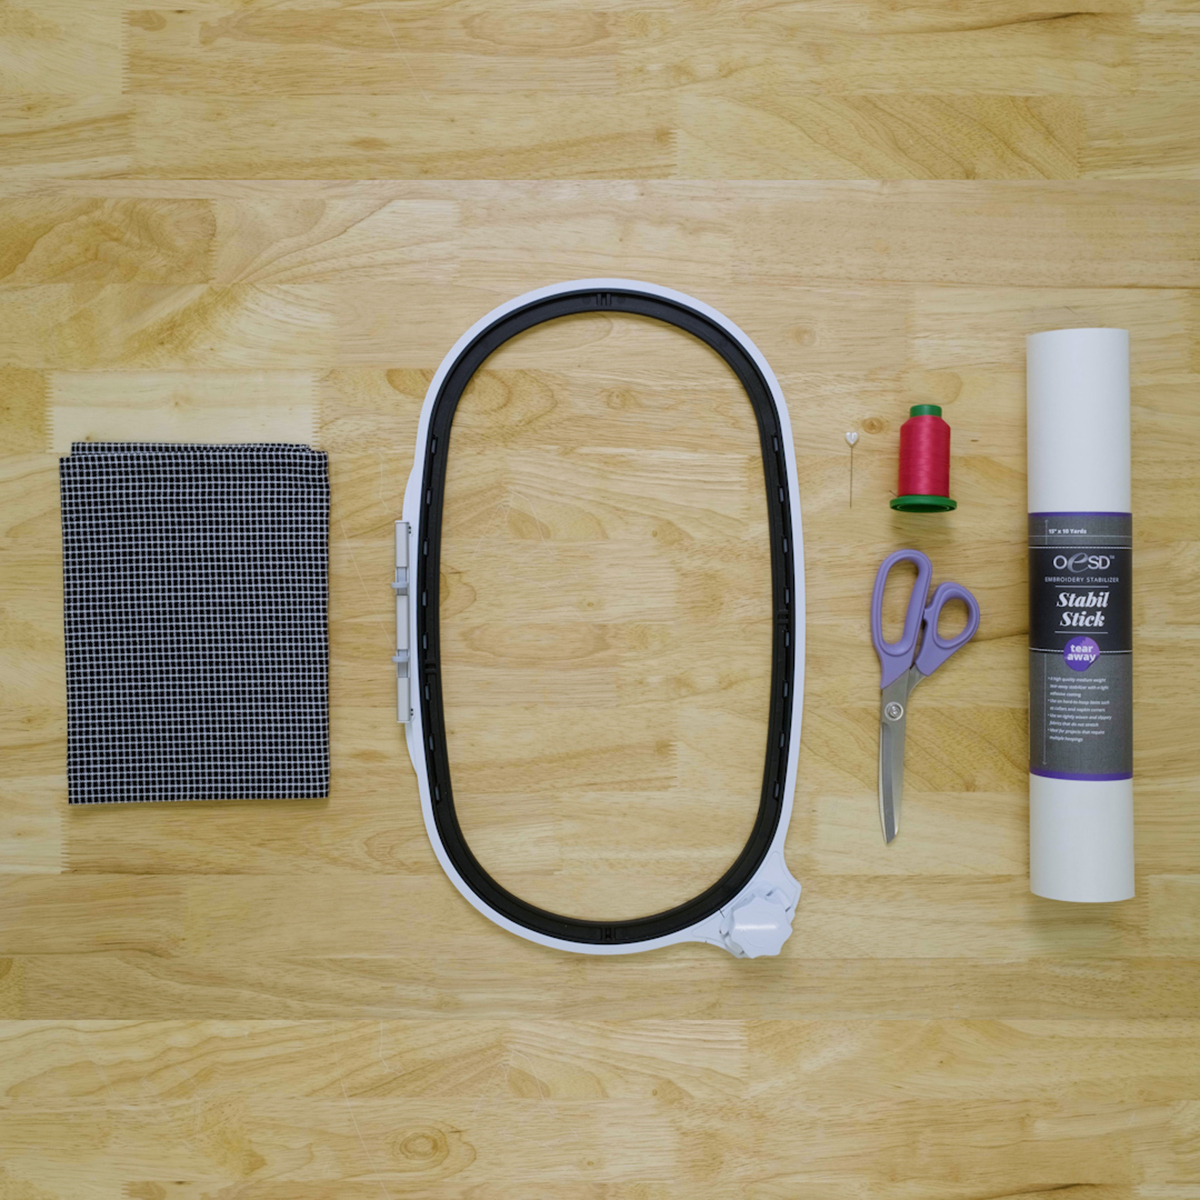
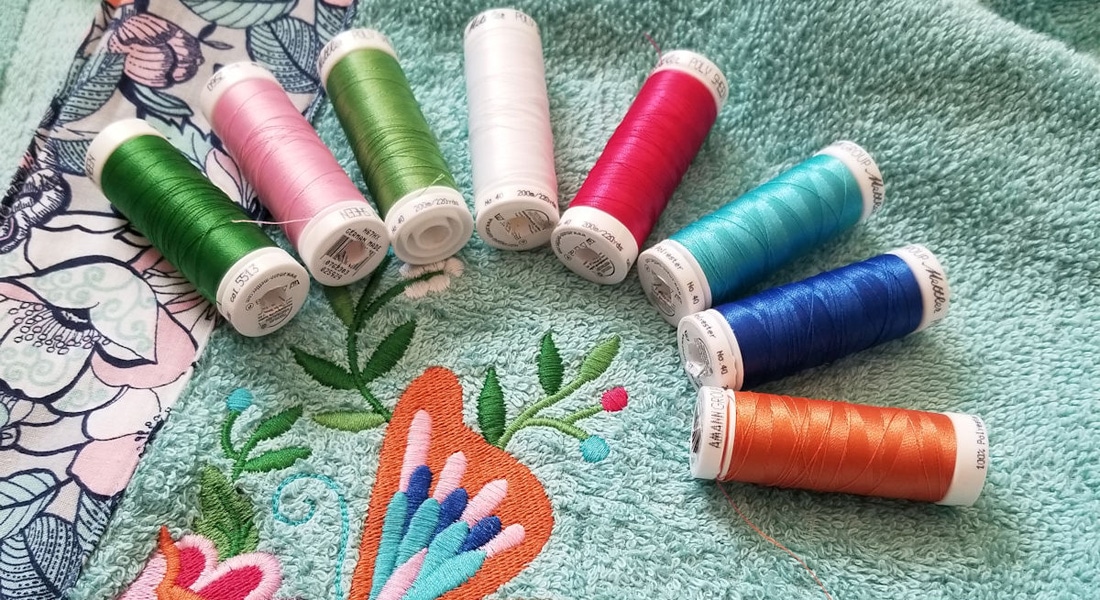
Materials for Embroidering a Tea Towel
- BERNINA Embroidery Software, Creator or DesignerPlus level
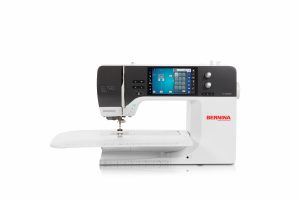
- Embroidery machine (I used the BERNINA 790 PRO)
- Straight Stitch/Cut Needle Plate
- Embroidery needle 75/11
- Mega Hoop, Maxi Hoop, or Jumbo Hoop
- StabilStick TearAway or AquaMesh Plus stabilizer
- Kitchen towel
- Isacord thread
- Embroidery bobbin thread
Create the Design in Software
Download the PDF of the software instructions for creating the border with the placement line.

Then, follow along with the video tutorial to create the design in your software.
Prepare for Embroidery
Thread your machine for embroidery.
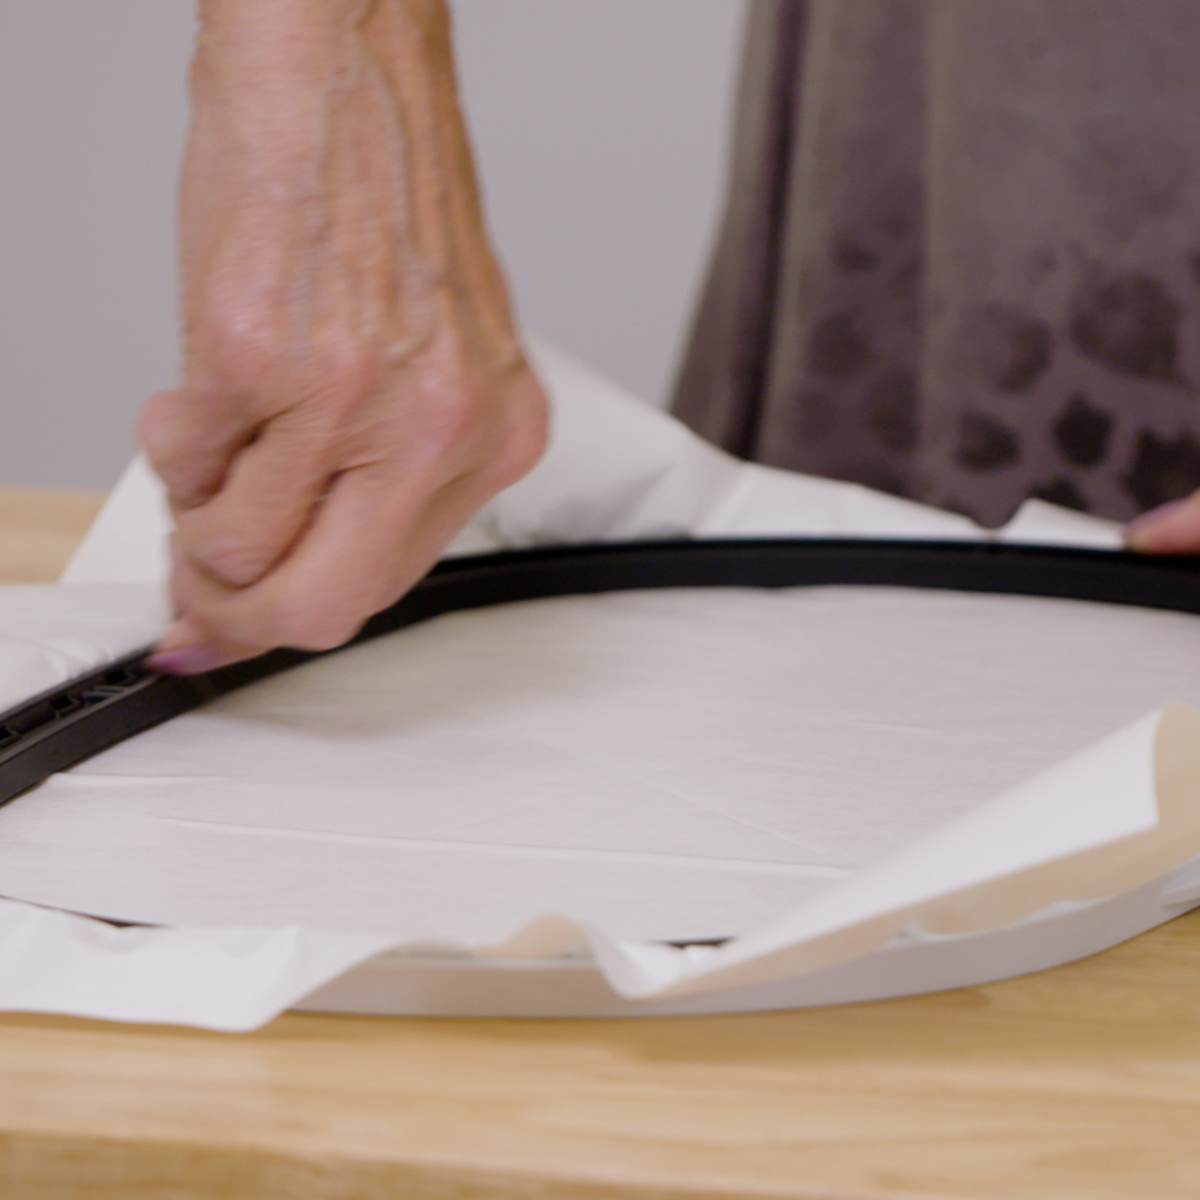
Hoop a piece of stabilizer to fit your chosen hoop. Score the stabilizer around the edges of the hoop using a T-pin or OESD’s Perfect Scoring Tool and remove the paper topper.
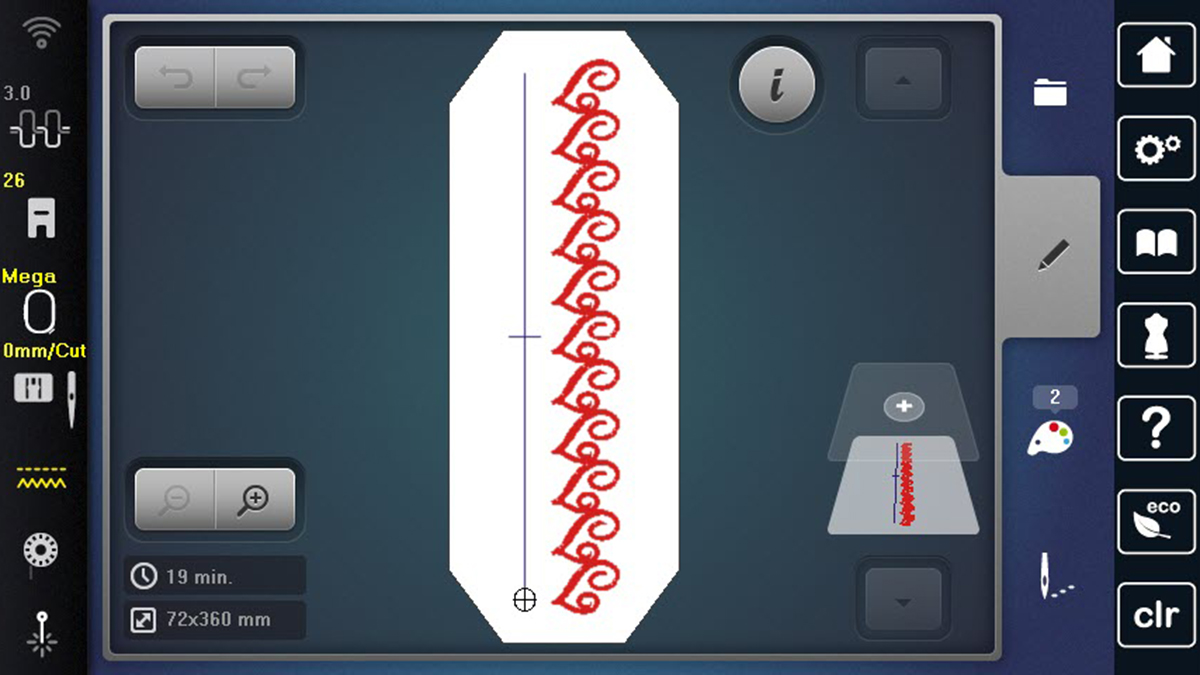
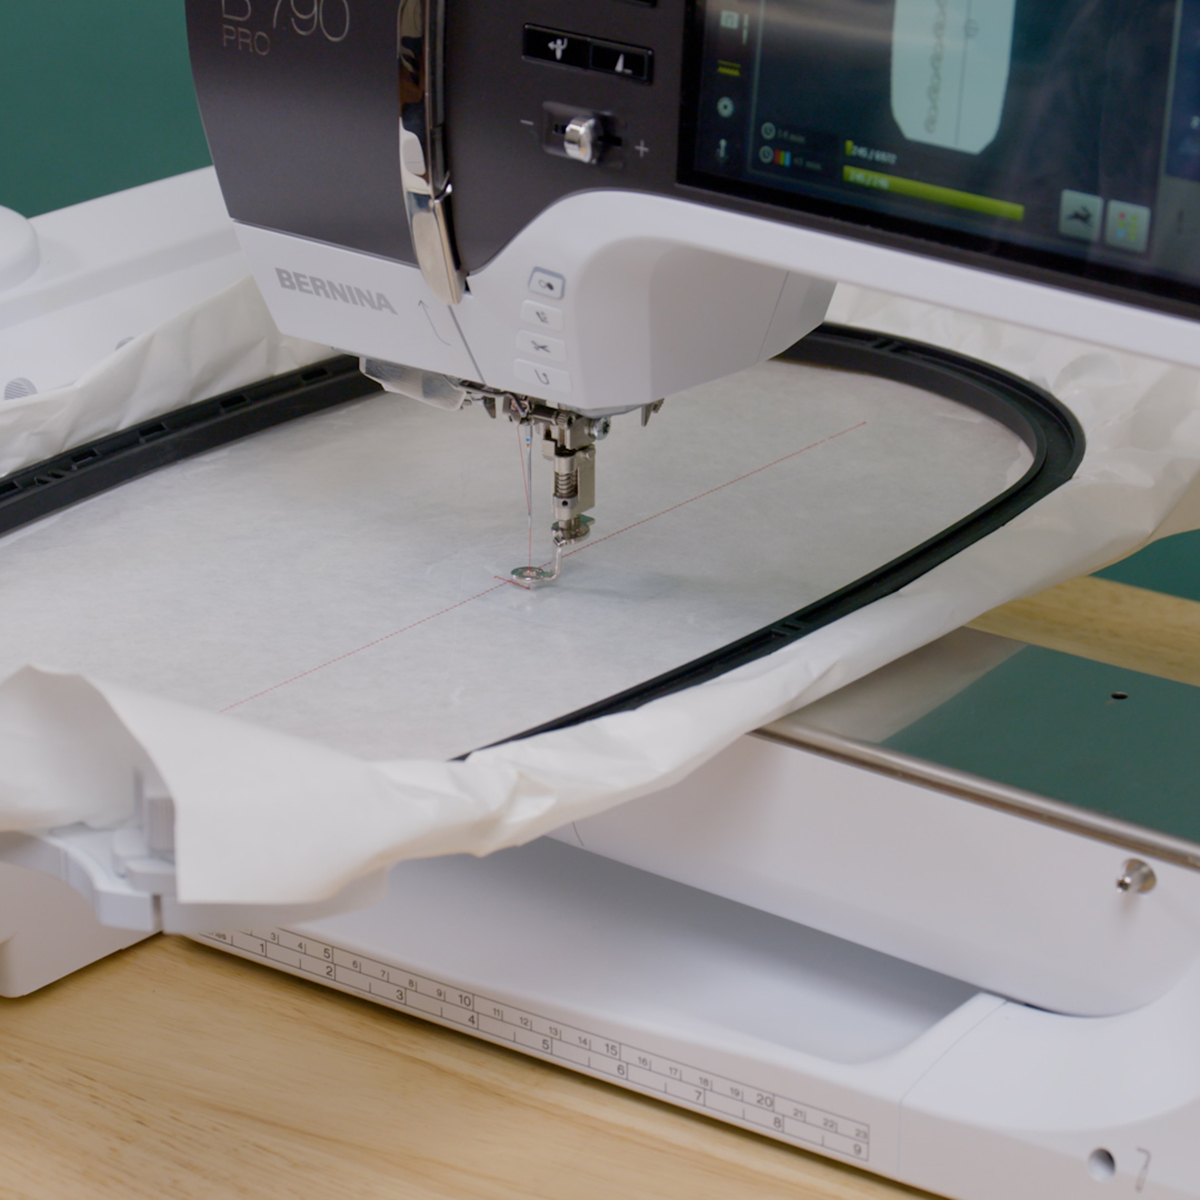
Transfer the design to your machine using a USB stick, the WiFi Device, or the built-in WiFi connection if you are using a B 790 PRO. Select the design, and click OK to stitch. Place the hoop on the machine when instructed.
Embroidering the Towel
Stitch the placement line on the stabilizer.
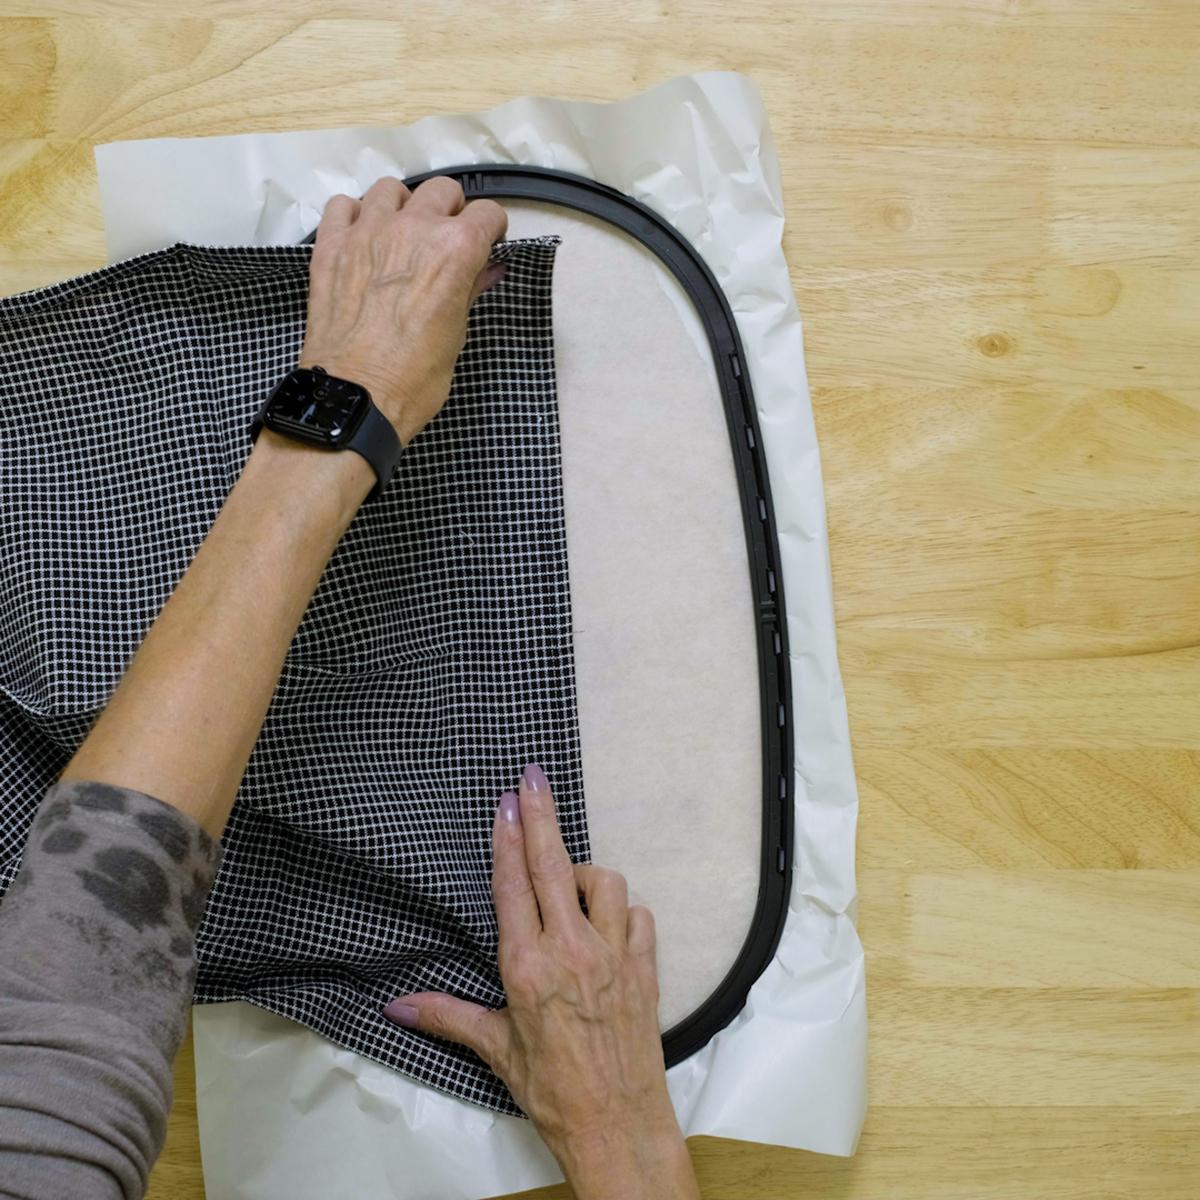
Remove the hoop from the machine. Fold the towel in half lengthwise to mark the center. Place the edge of the towel along the stitched placement line, making sure to align the center of the towel with the center mark on the placement line.

Smooth the towel over the stabilizer.
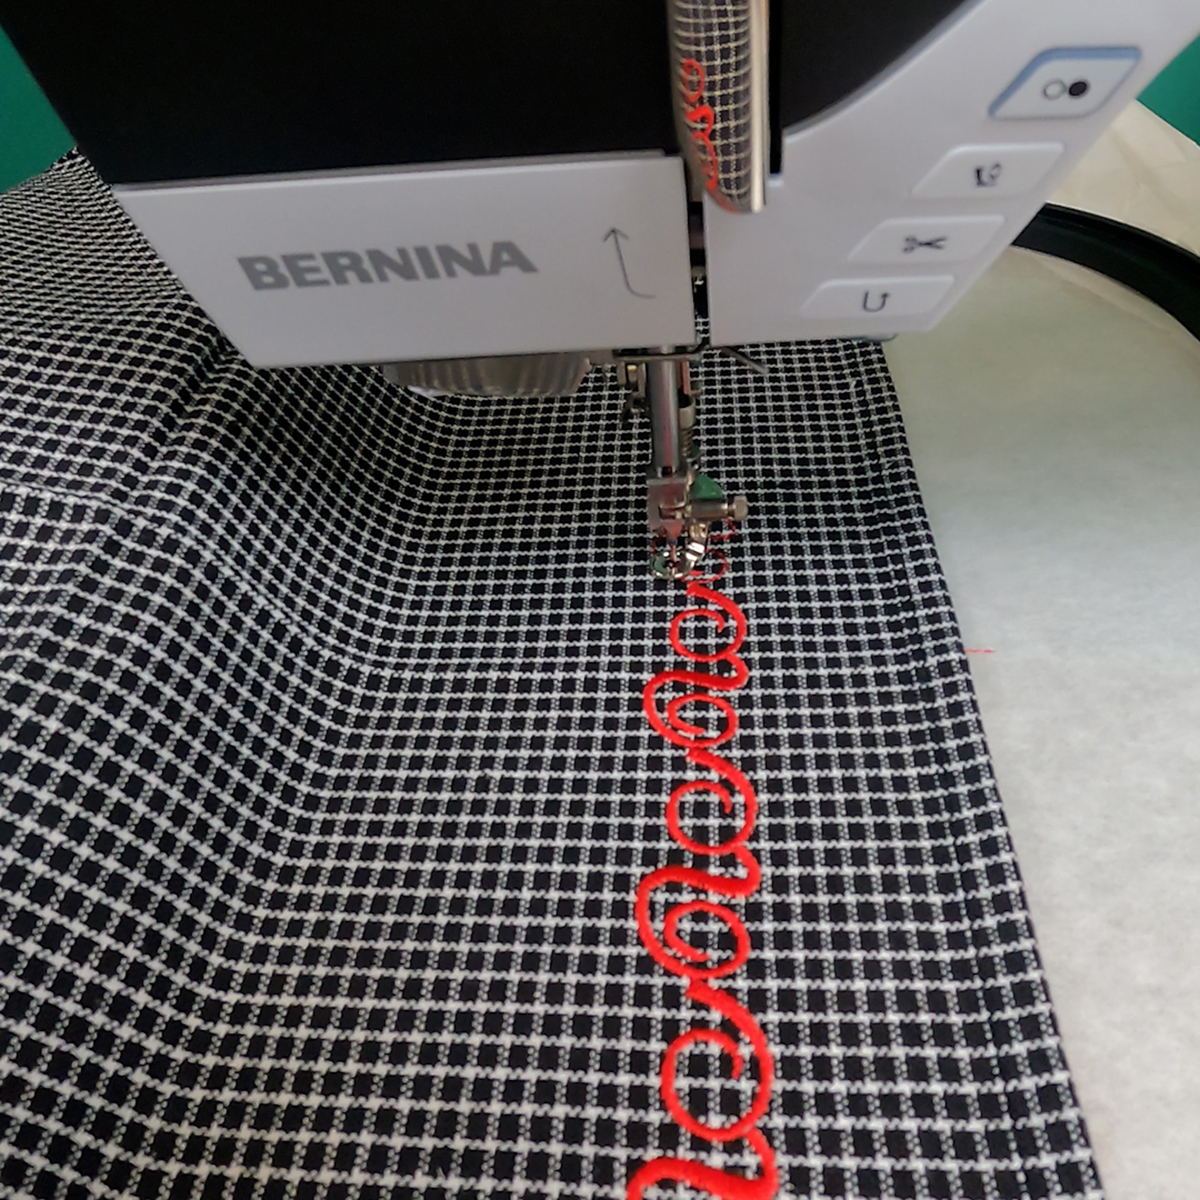
Return the hoop to the machine and embroider the border.
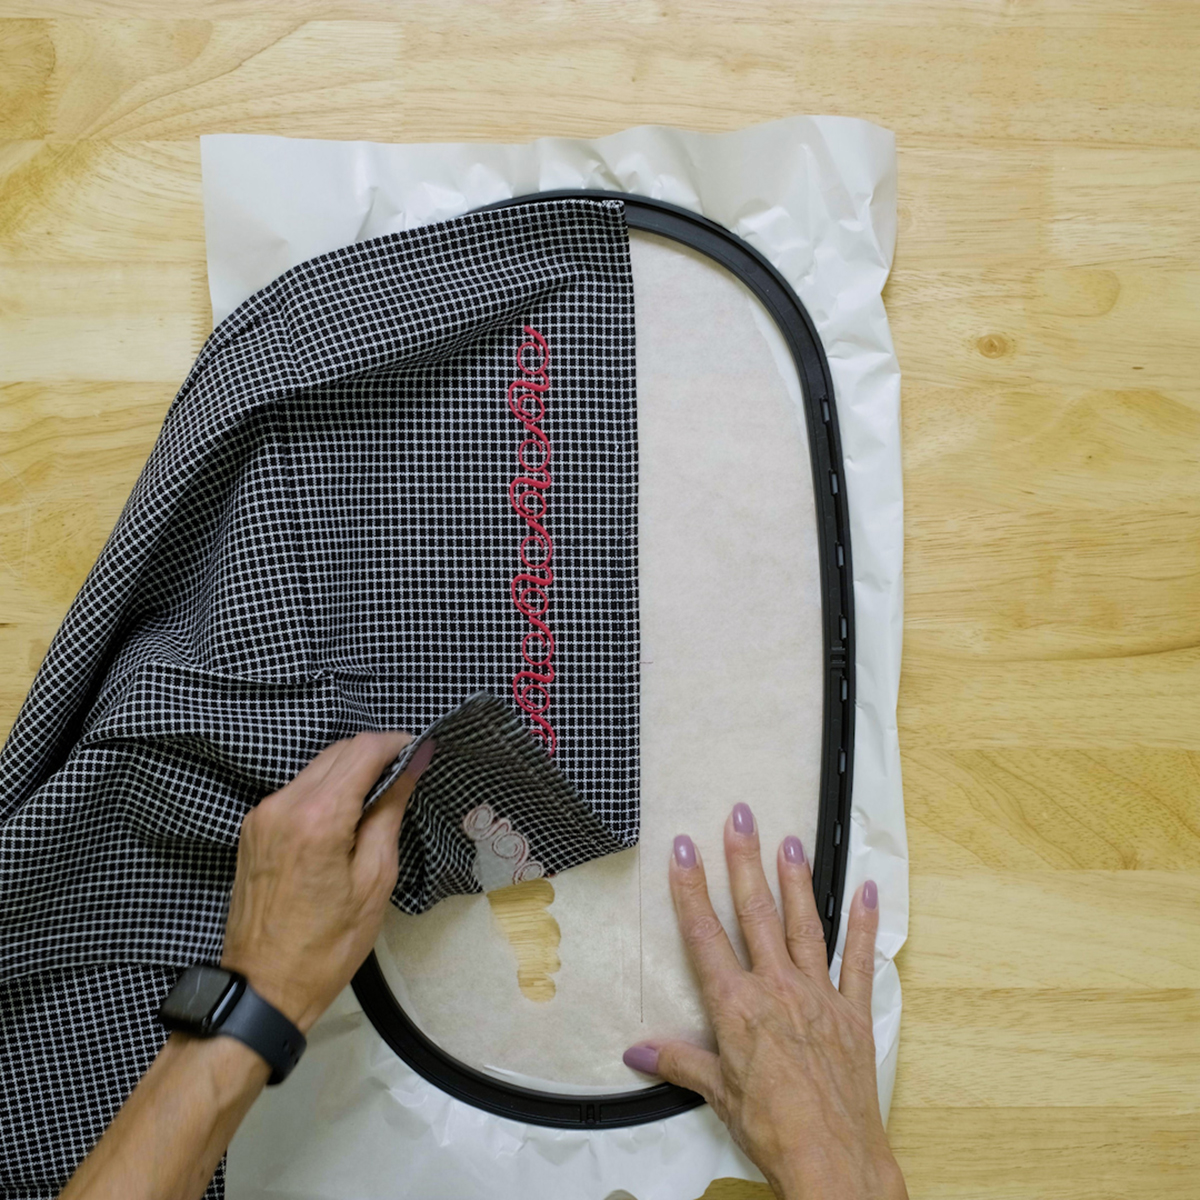
Remove the towel from the stabilizer, then remove the bits and pieces of stabilizer from the back of the towel.
Have fun creating decorative borders using other fonts and letters from BERNINA Embroidery Software!


Hi Debbie- thanks for the digitizing design lesson. I was able to complete it, however my 770 Pro does not seem to read the design from my USB. I am using V9 Bernina software and it automatically saved in the V9 all in one format. Should I save it in a different format? Thanks for any advice. Cher