Picture Perfect Quilt: a Q-matic Practice Project, Part Two
Let’s quilt the Picture Perfect Quilt! In my previous blog post, I shared the foundation paper piecing pattern for the Picture Perfect Quilt, and today we will quilt it.
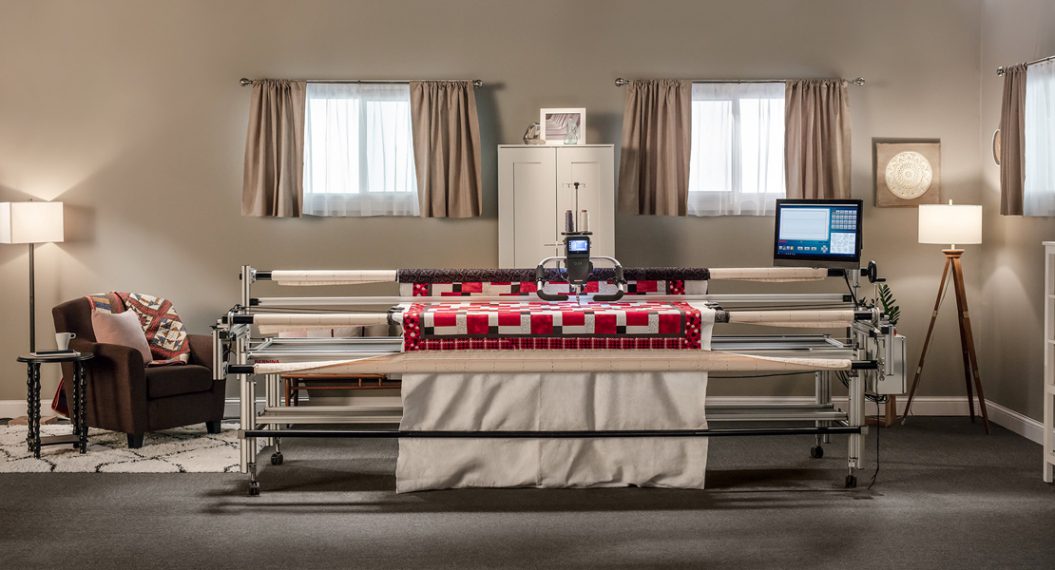
Quilting the Picture Perfect Quilt
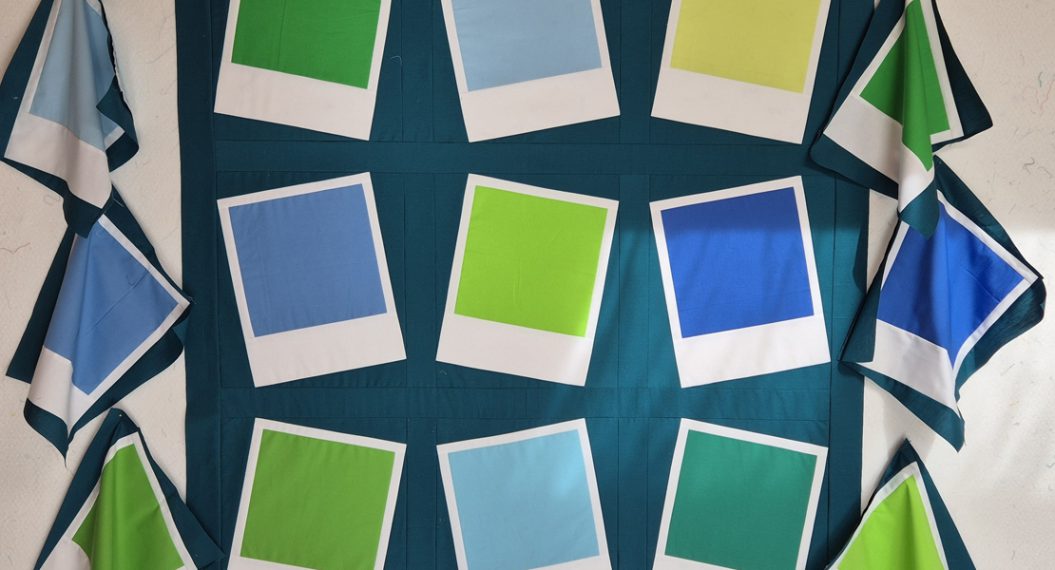
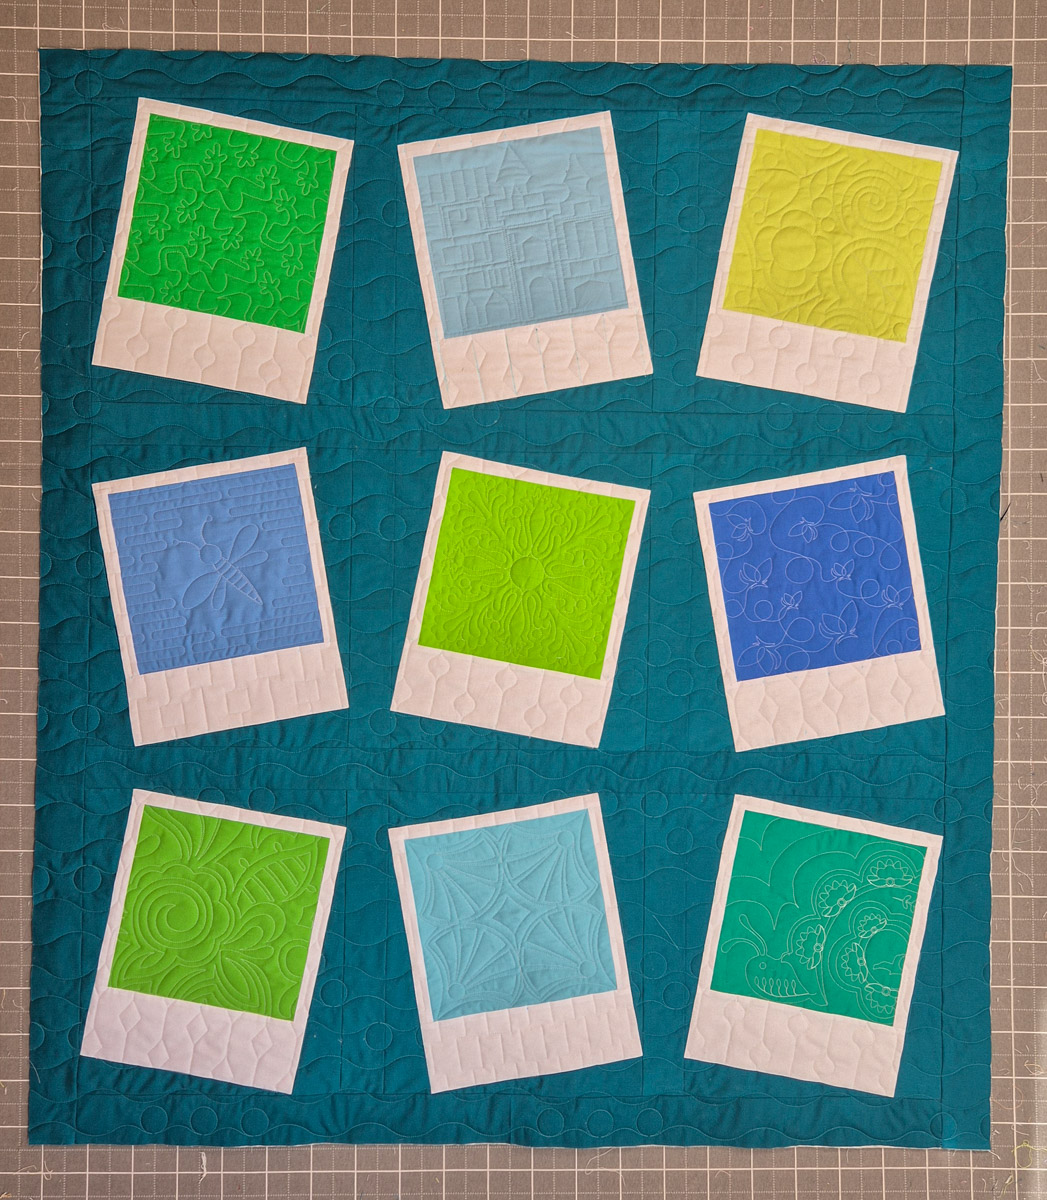
This quilt consists of nine blocks. Nine Polaroid images that we can quilt. For each block, I’m going to try a different edge-to-edge pattern. You can use the free patterns that are included in the Q-matic software, or use patterns that you bought or created.
The white borders around the images will be quilted with ruler work. And the background fabric will again be quilted with an edge-to-edge pattern.
Preparation
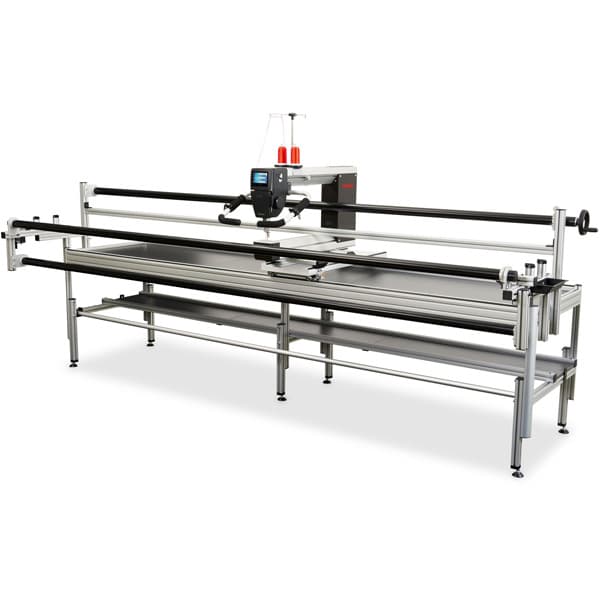
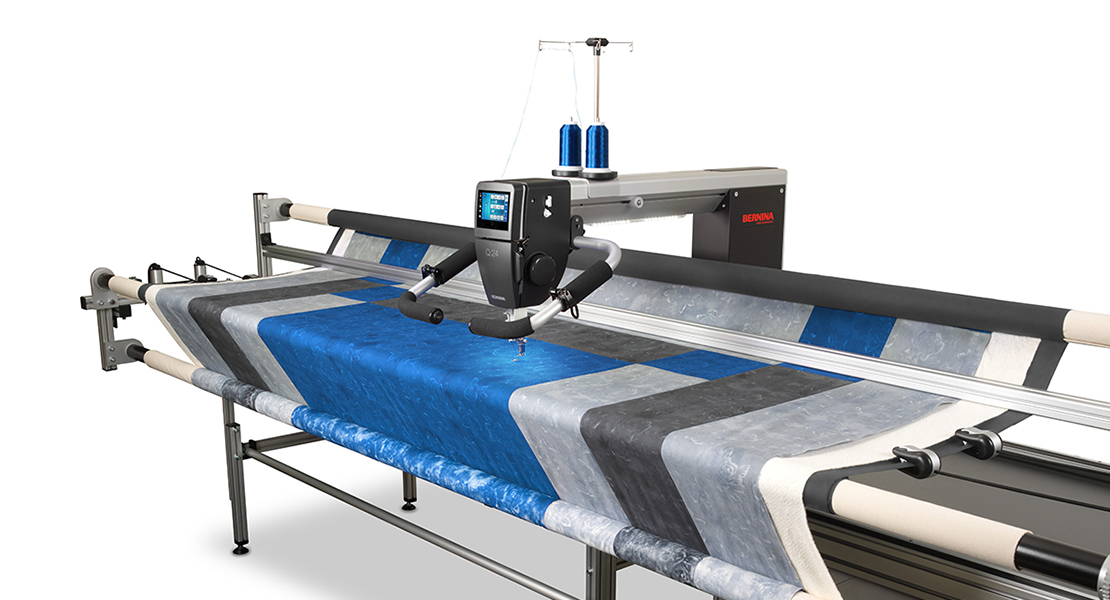
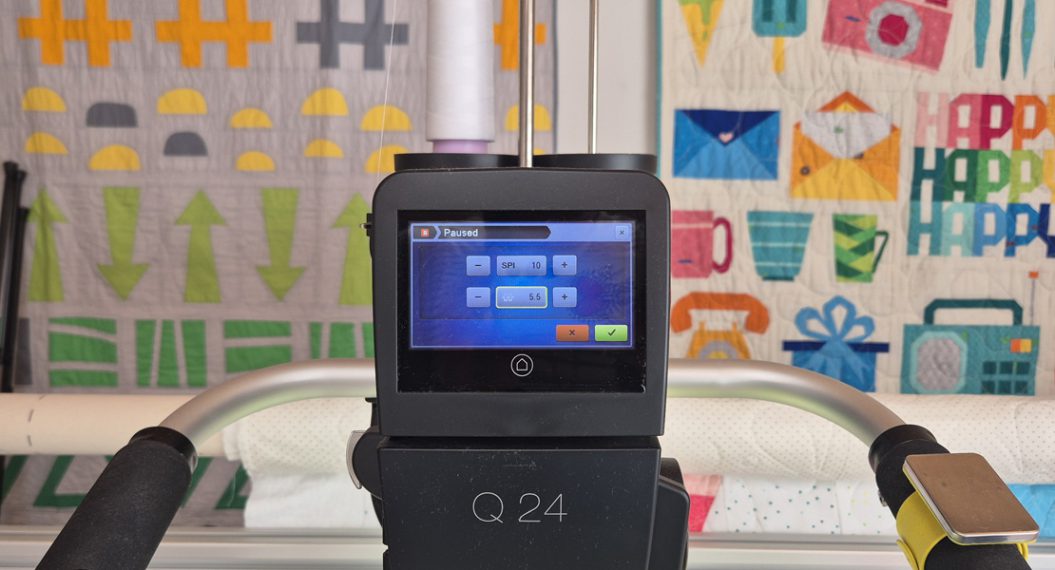
First, set up your quilt on the long arm like you normally do. Load the backing fabric, your batting, and the quilt top.
There are two things you need to do before you can start stitching. We need to set the safe area and enter the measurements of the quilt: 44 x 55 inches.
Edge to Edge and Mask
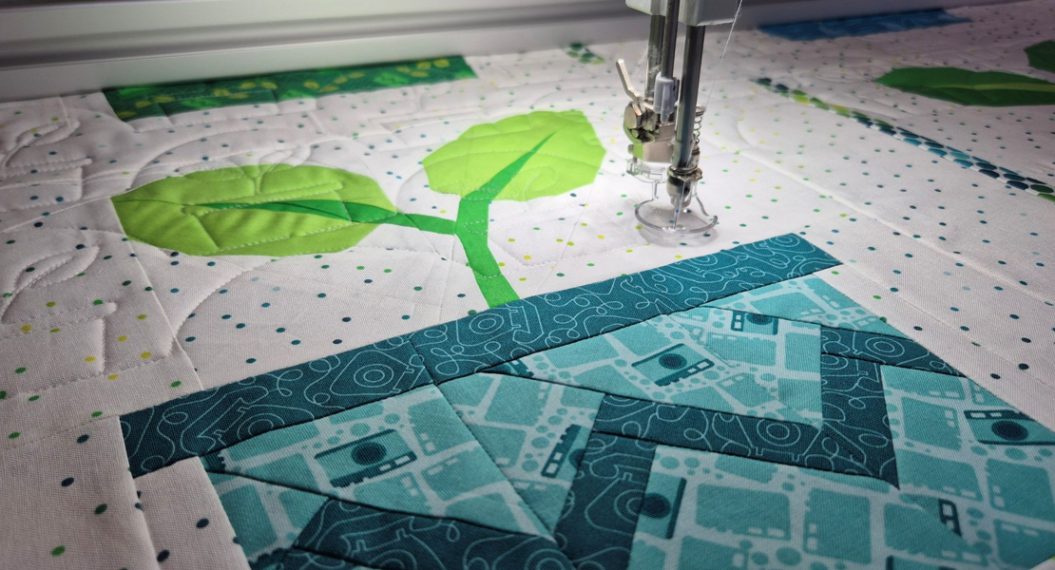
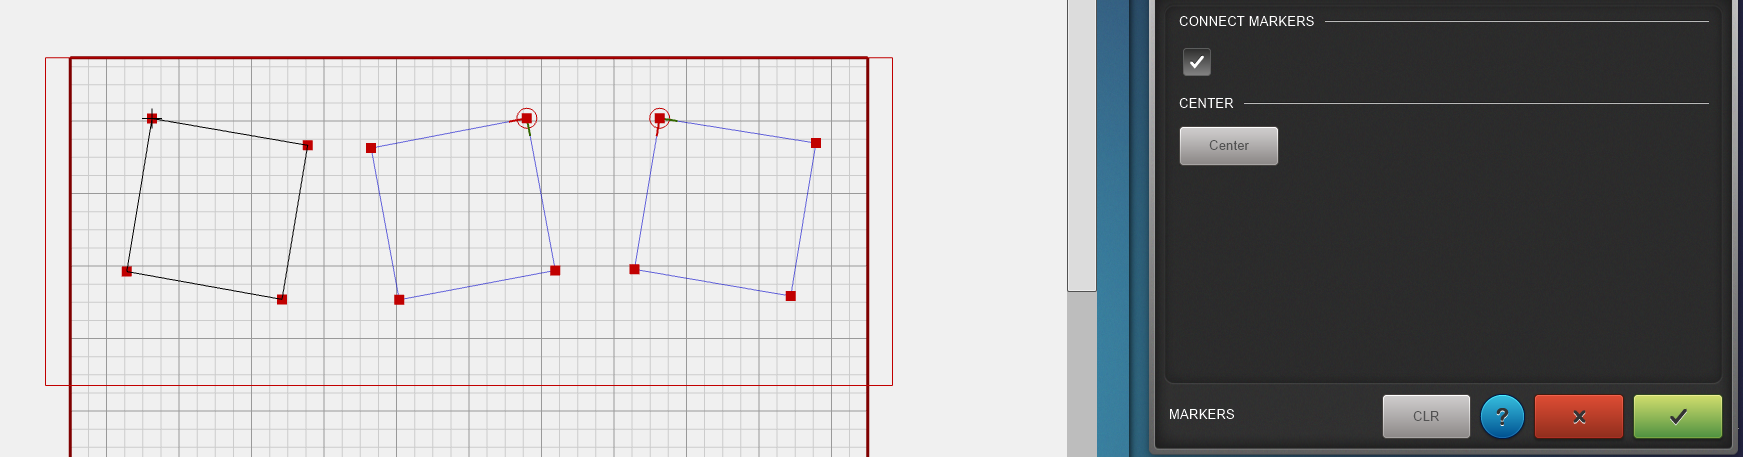
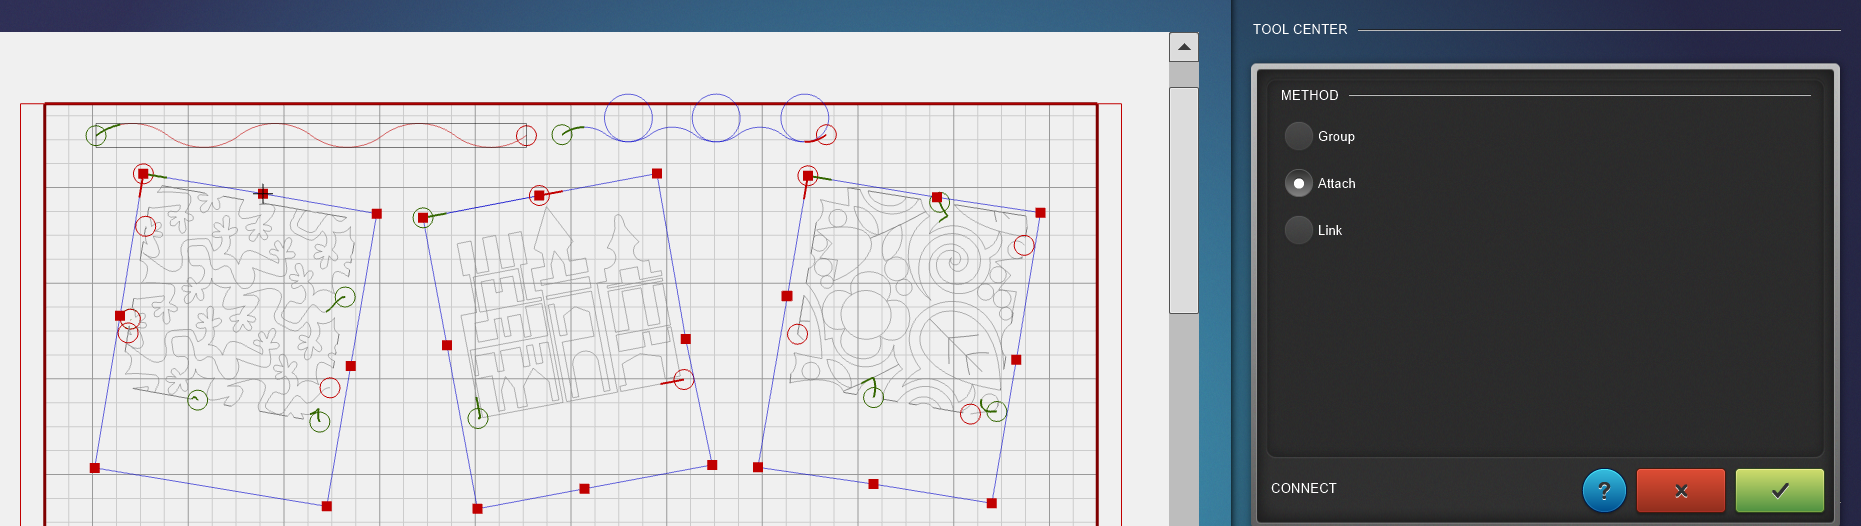
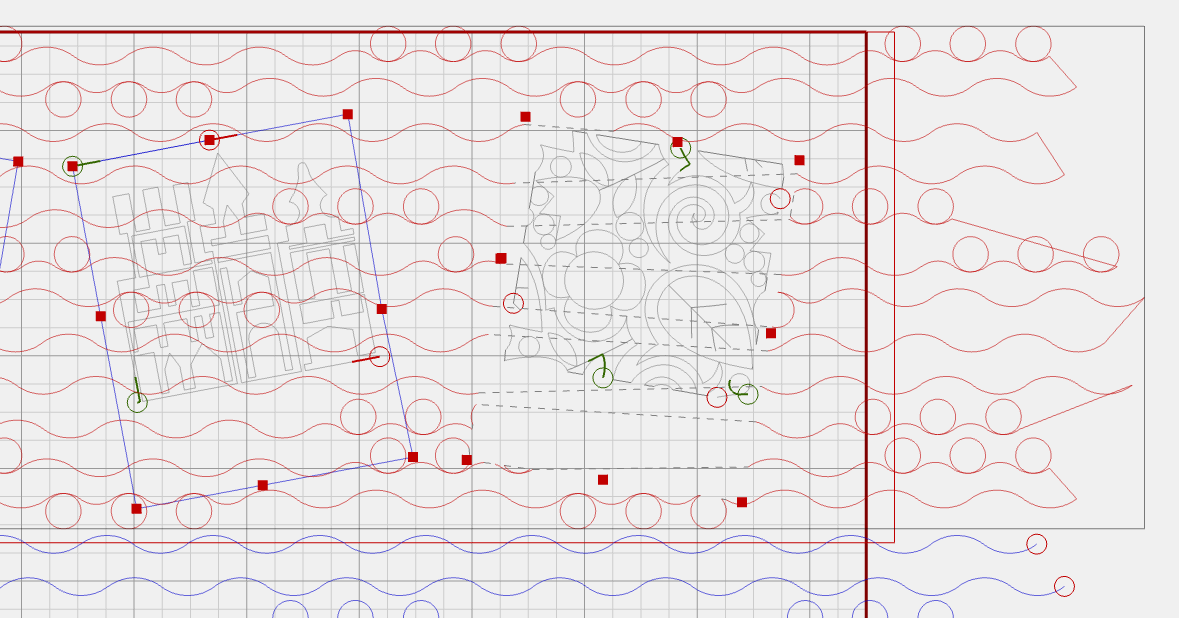
Now we are going to quilt the first 3 Polaroids. Start by setting the markers. Place a marker on all four corners of the inside of a Polaroid and connect the points. Do this for all three Polaroids, only the inside images.
- Click Markers in the menu
- Move the sew head to just a hair outside a corner
- Click Set on the sew head
- Repeat for all 4 corners
- Select ‘Connect Markers’ on the computer
- Click on all four corners on the computer and notice the lines appear
- Click the green button
The Needle Point Laser is a very helpful tool for this!
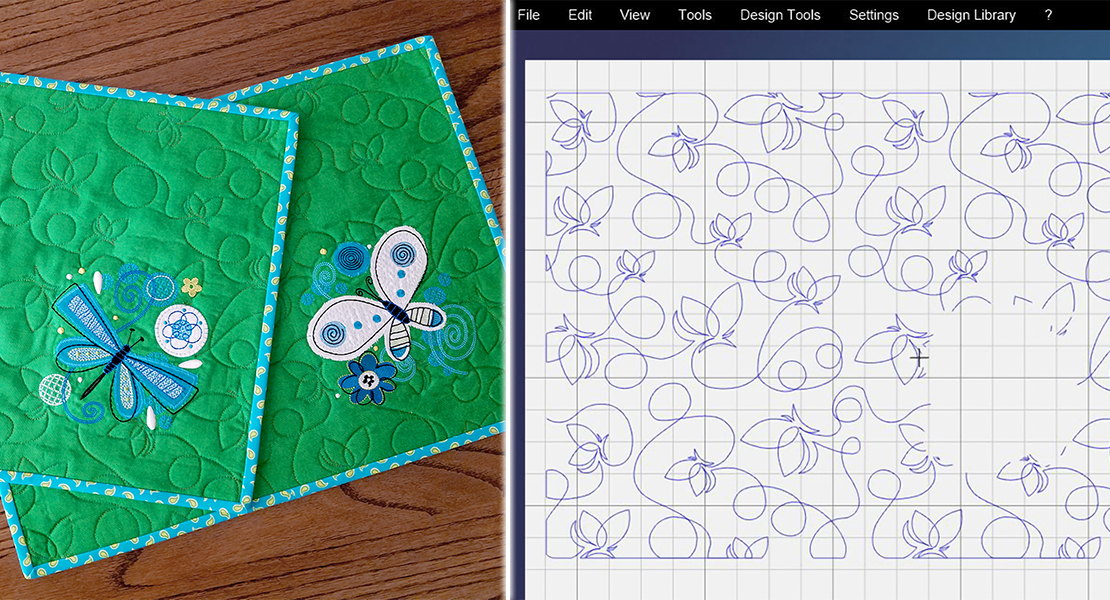
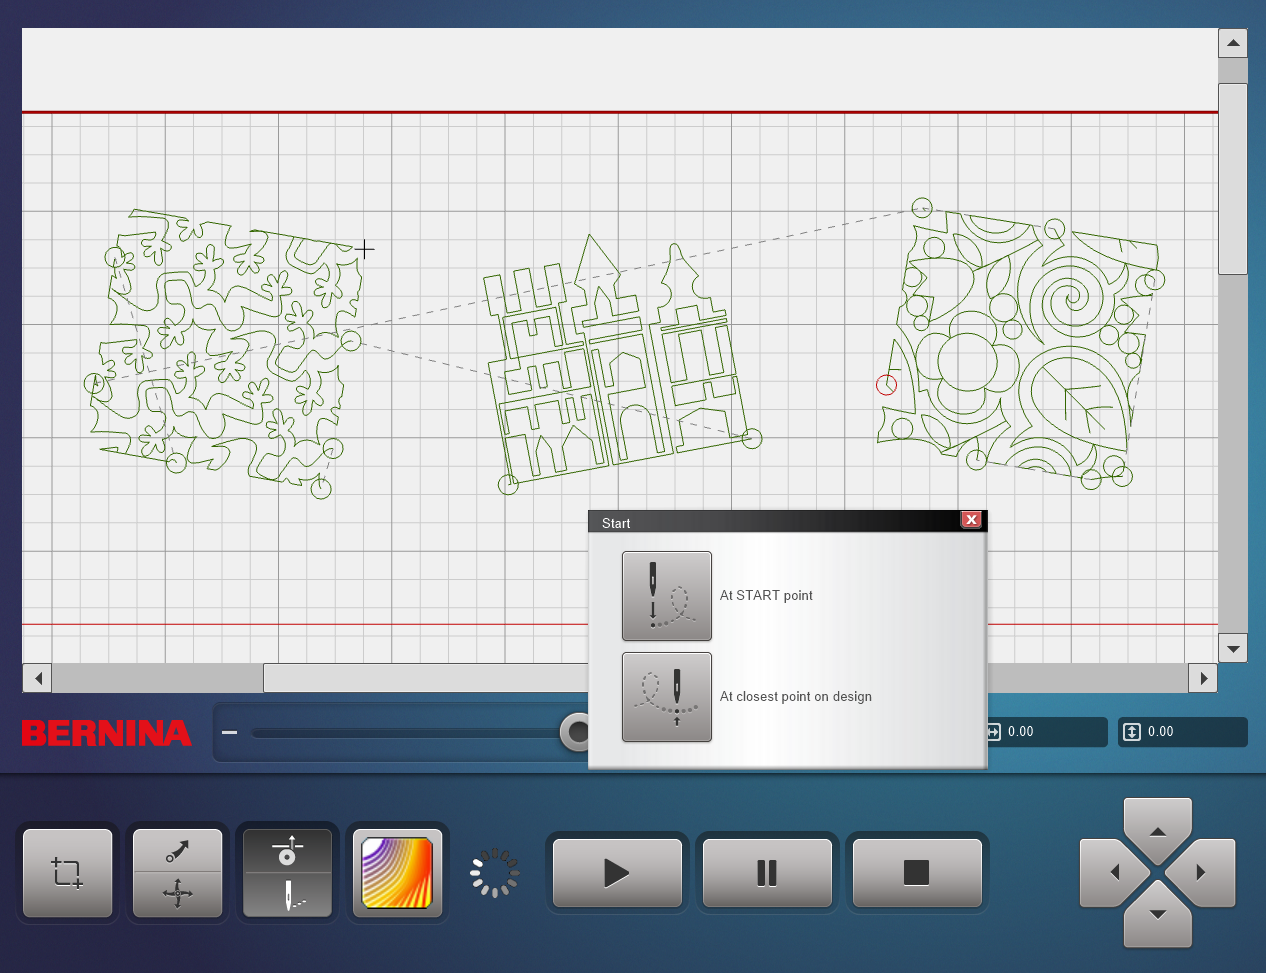
Create the Design
Set up an edge-to-edge design by using the E2E+ and the Multiply functions. The design you’re creating should be larger than the Polaroid.
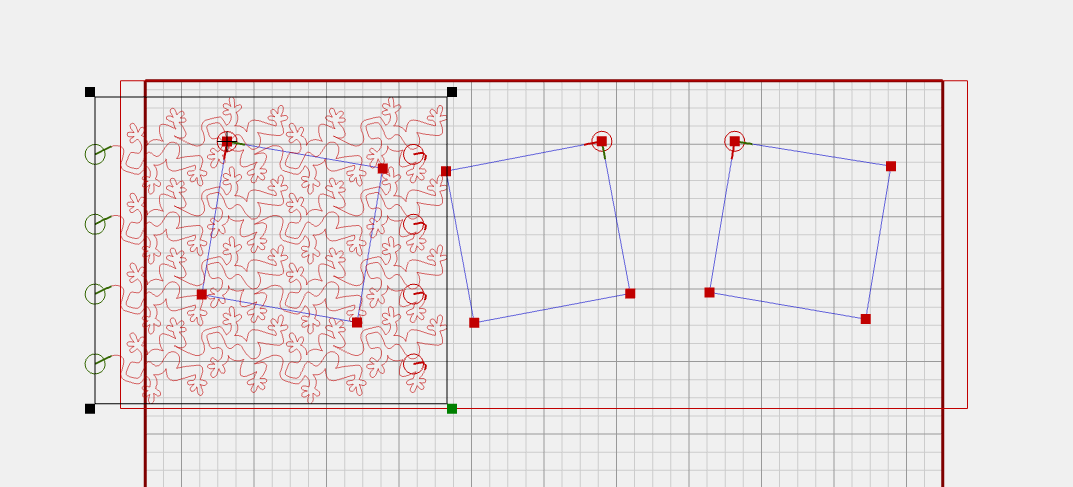
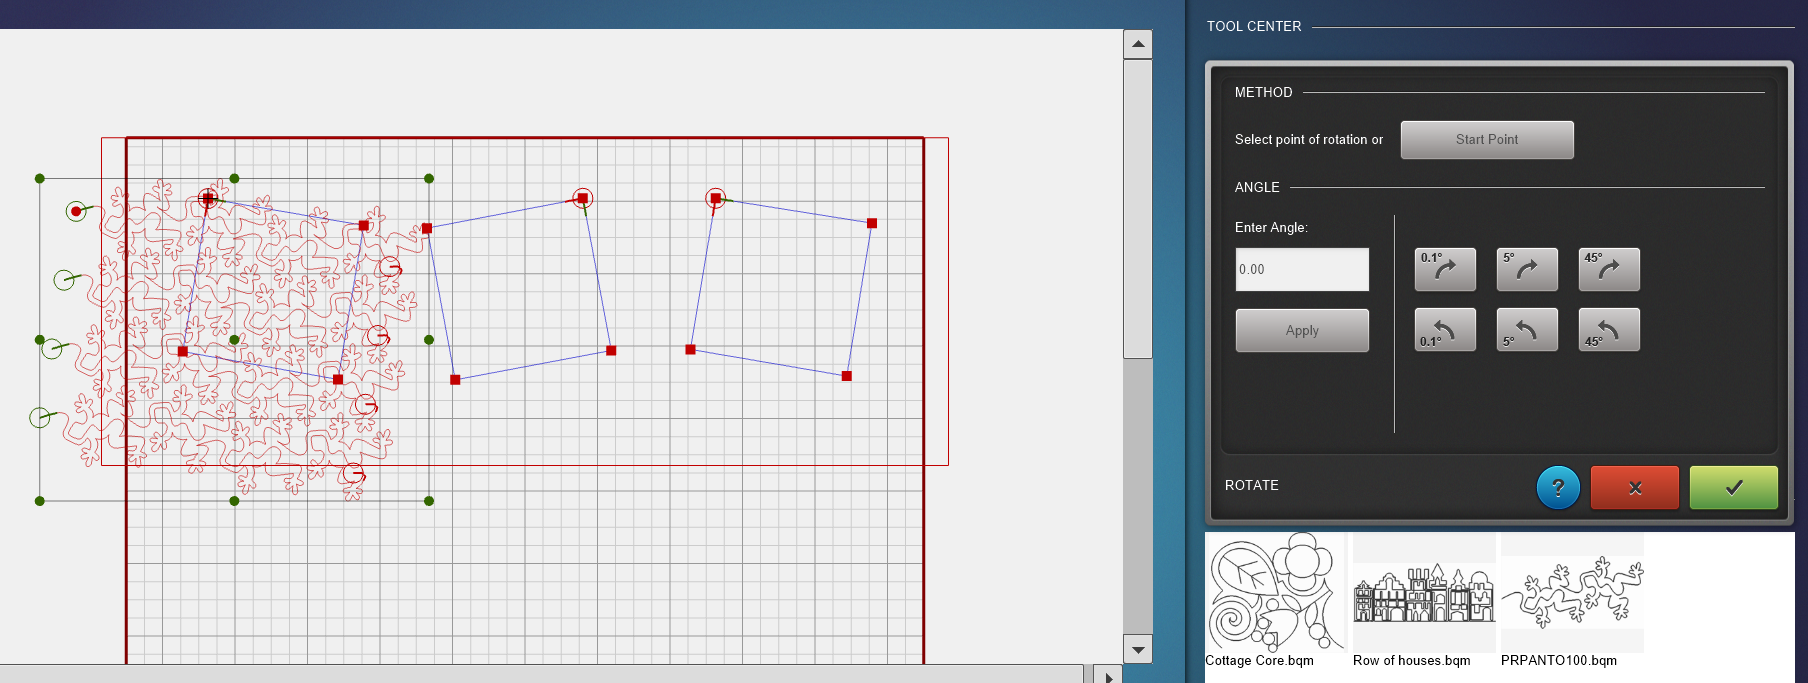
Optional: You could use the Rotate function to tilt the edge-to-edge design with the same angle as the Polaroid images. You will need to rotate the designs about 11 degrees.
Trim the Design
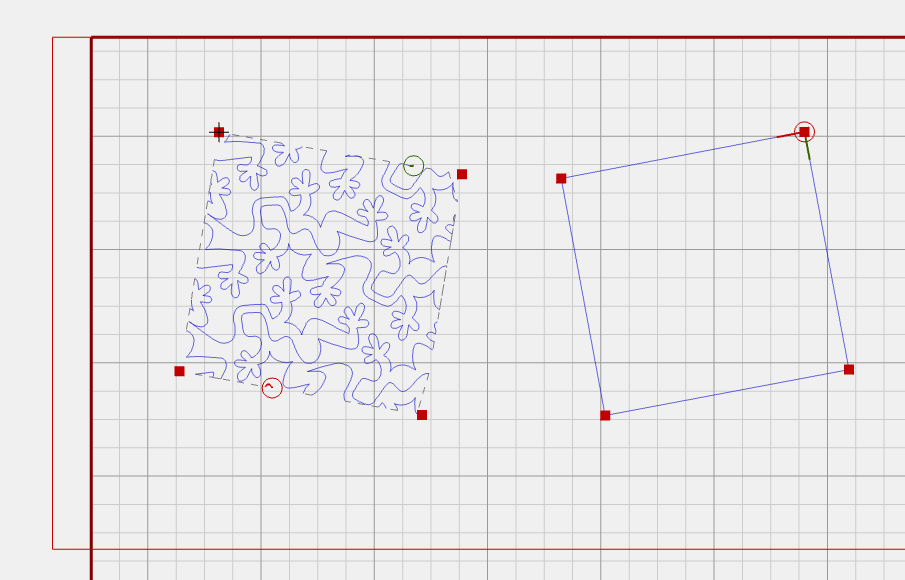
Now we can use the Mask function to trim the edges of the edge-to-edge design and make it fit in the Polaroid image.
- Click Mask in the menu
- Method: Selected Design
- Click on the square you made with the markers
- Region to remove: Outside
- Click the green button
If you don’t want to quilt the outlines of the mask, leave the ‘Sew mask outline’ option unchecked.
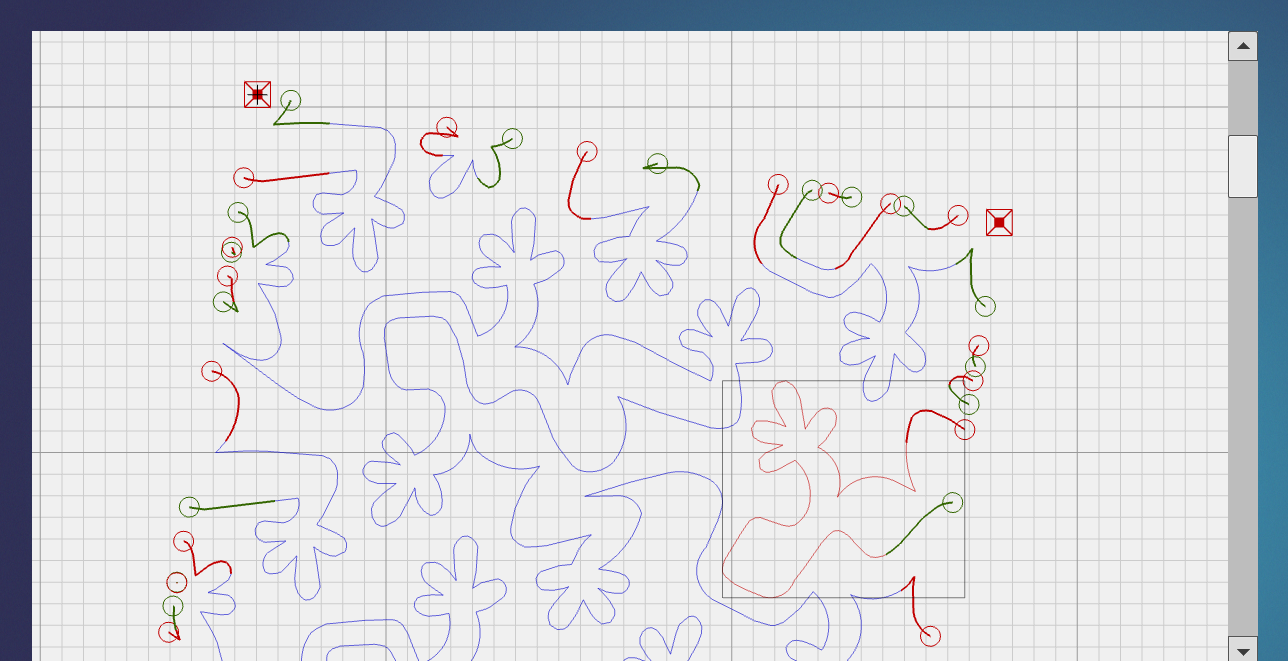
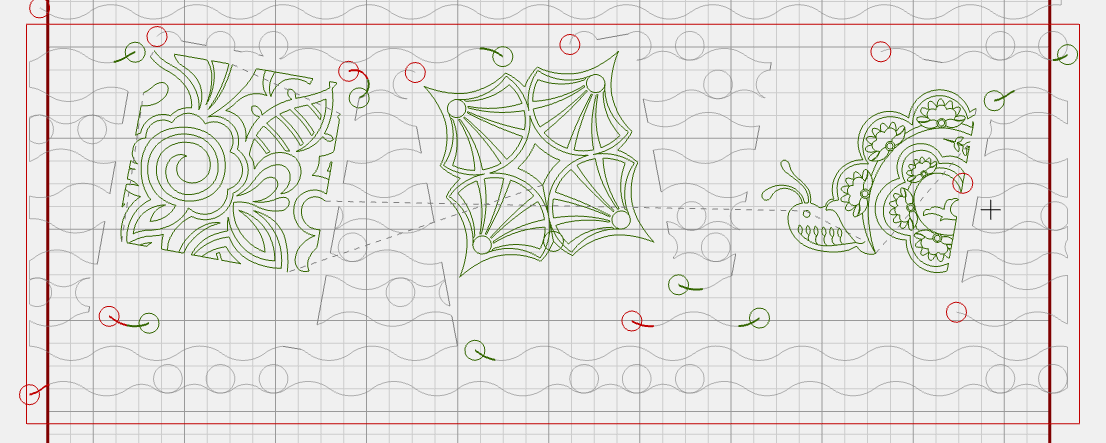
If you quilt this design like this, the machine will stop at every cut-off point in the design. I like to clean this up and make it as much of a continuous design as possible. For this, you first select the design (it will turn red) and then click ‘Unconnect’ in the menu.
That will give you this. Do you see all those start and stop points? We can make that better!
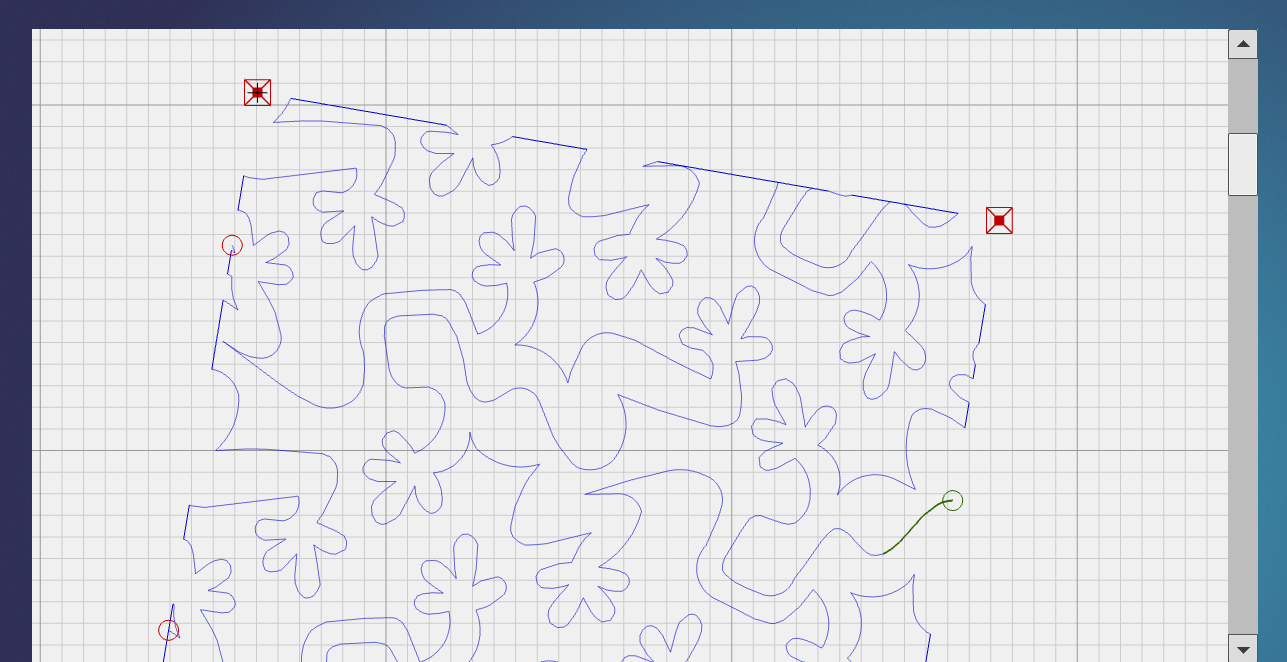
Now I just select one piece of the design and click ‘Connect’ and ‘Link’ in the menu. Now you can connect the design pieces by looking at where the endpoint is of your selected design. Select a part of the design with the green start point closest to that end point, and the designs will be linked.
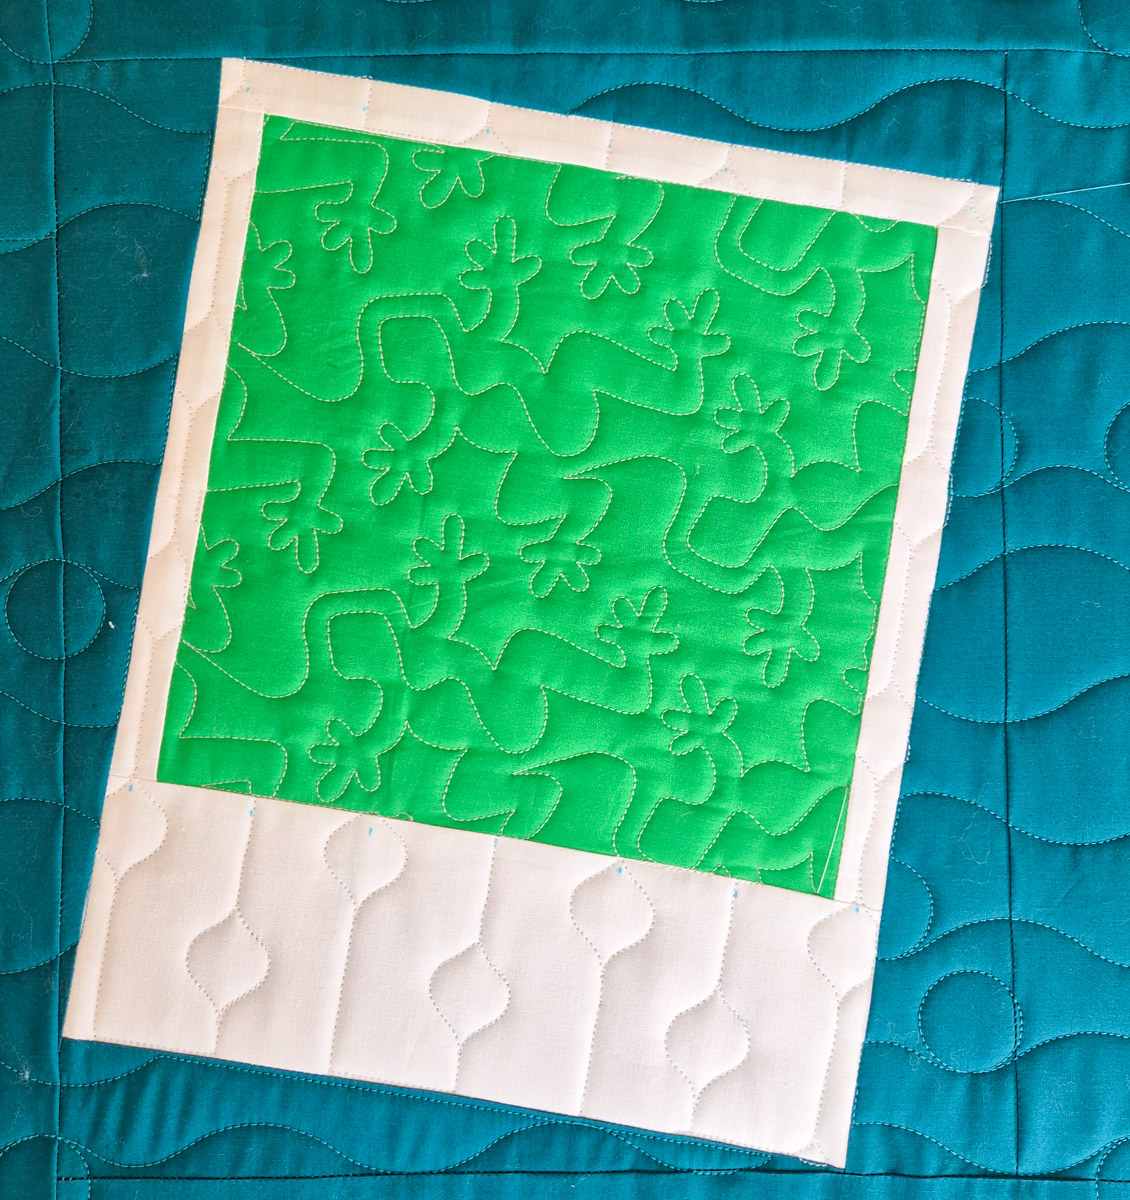
After some puzzling, this was my result. Now it can be quilted almost in one go.
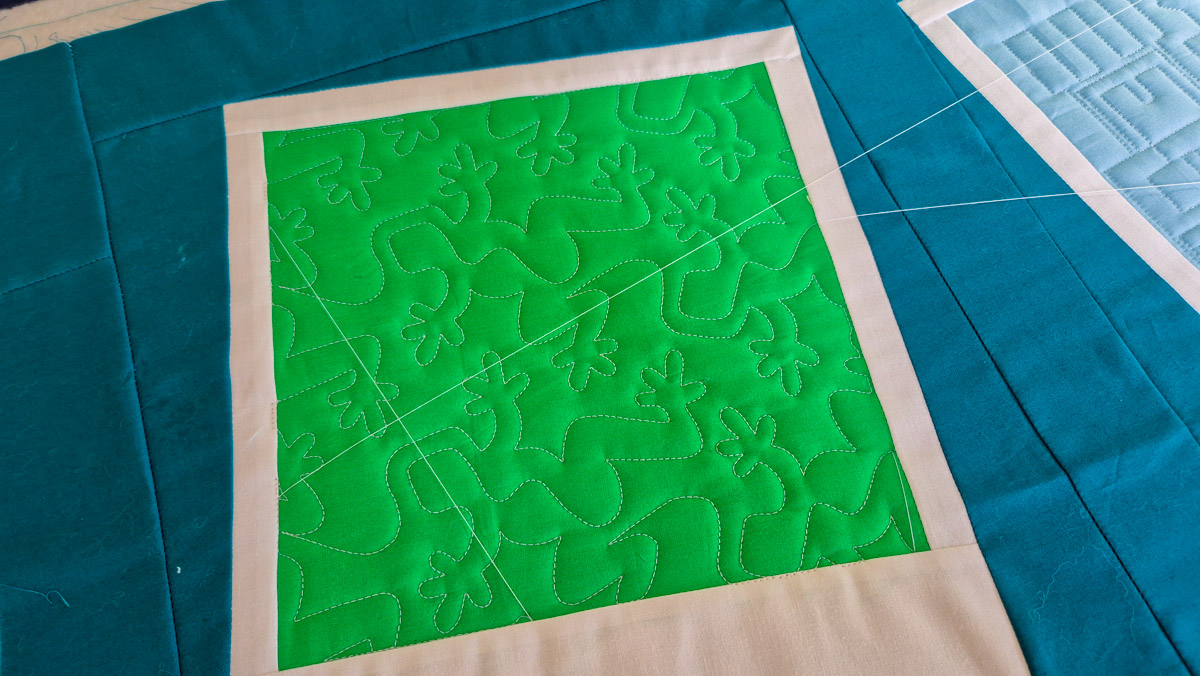
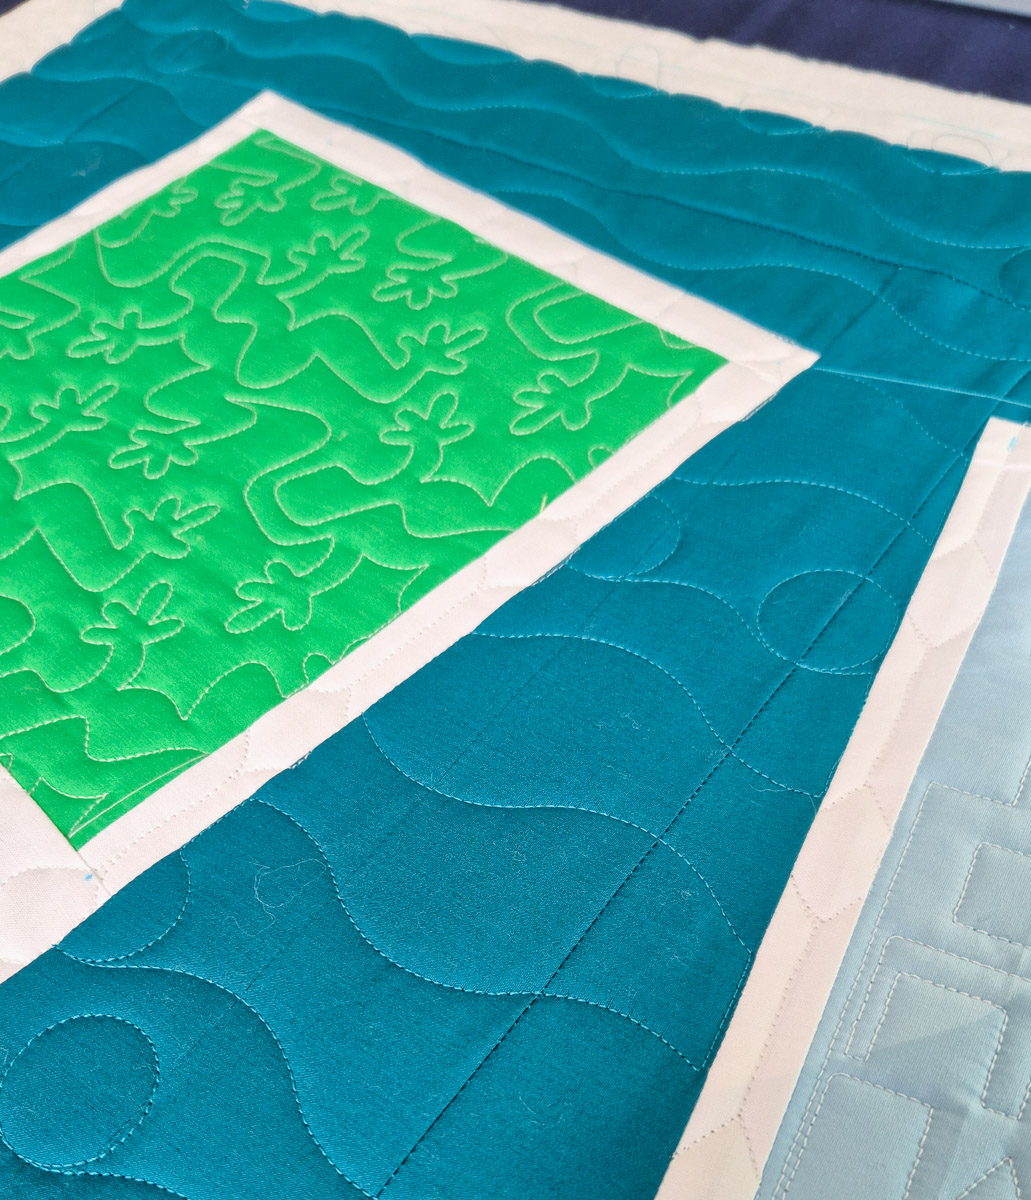
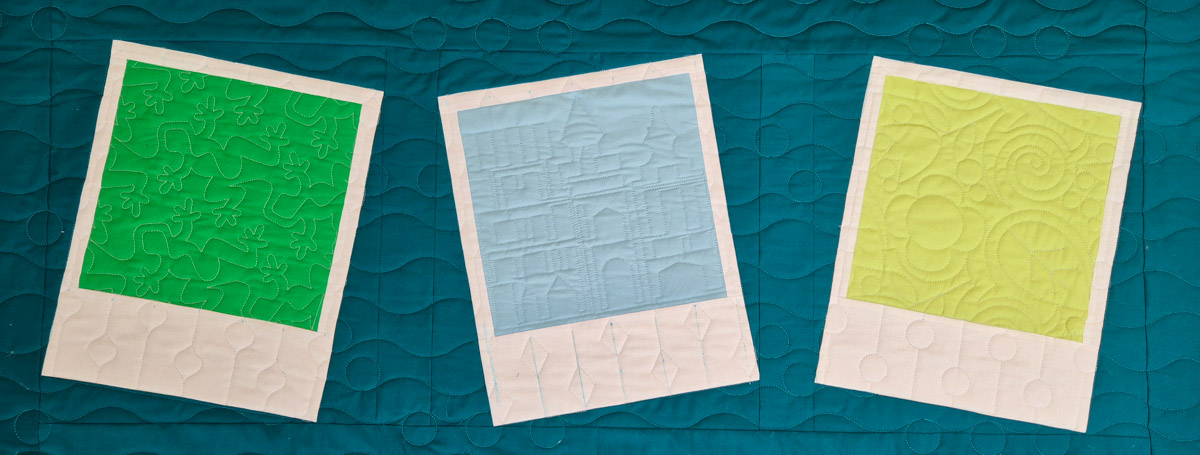
I love how this turned out, quilted inside the green square!
Repeat this process for all three images in the first row, and you’re ready for quilting.
This project is great for trying some new edge-to-edge patterns. I kept the scale pretty small to get enough of each design in the pictures.

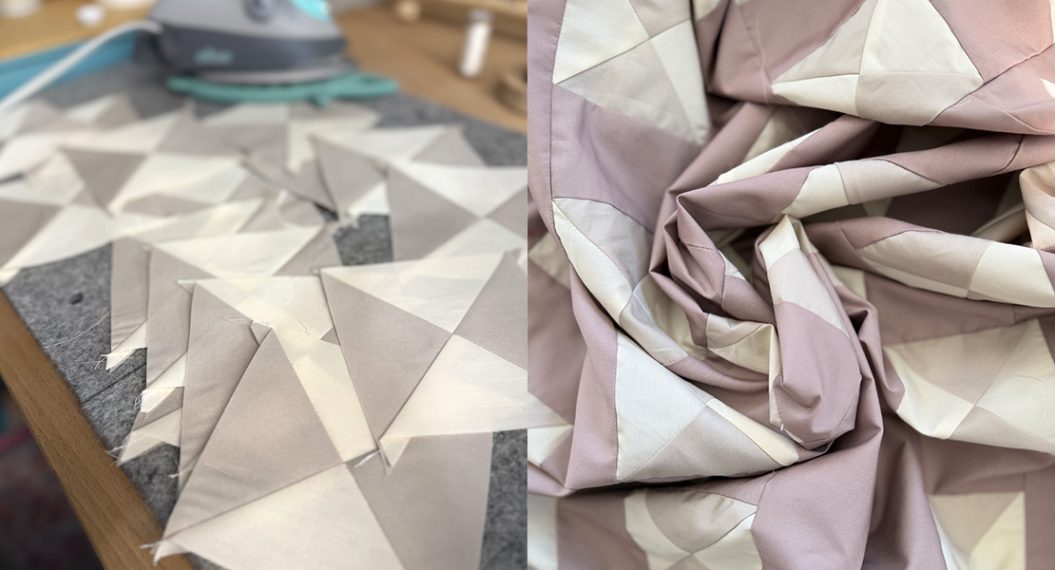
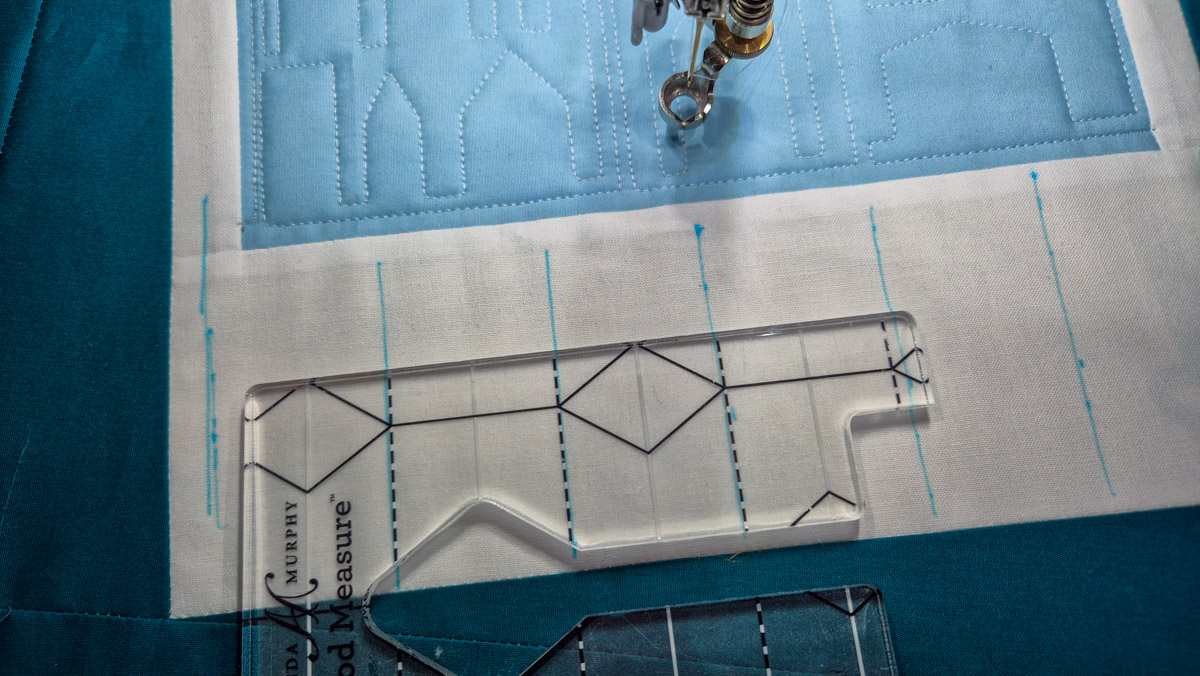
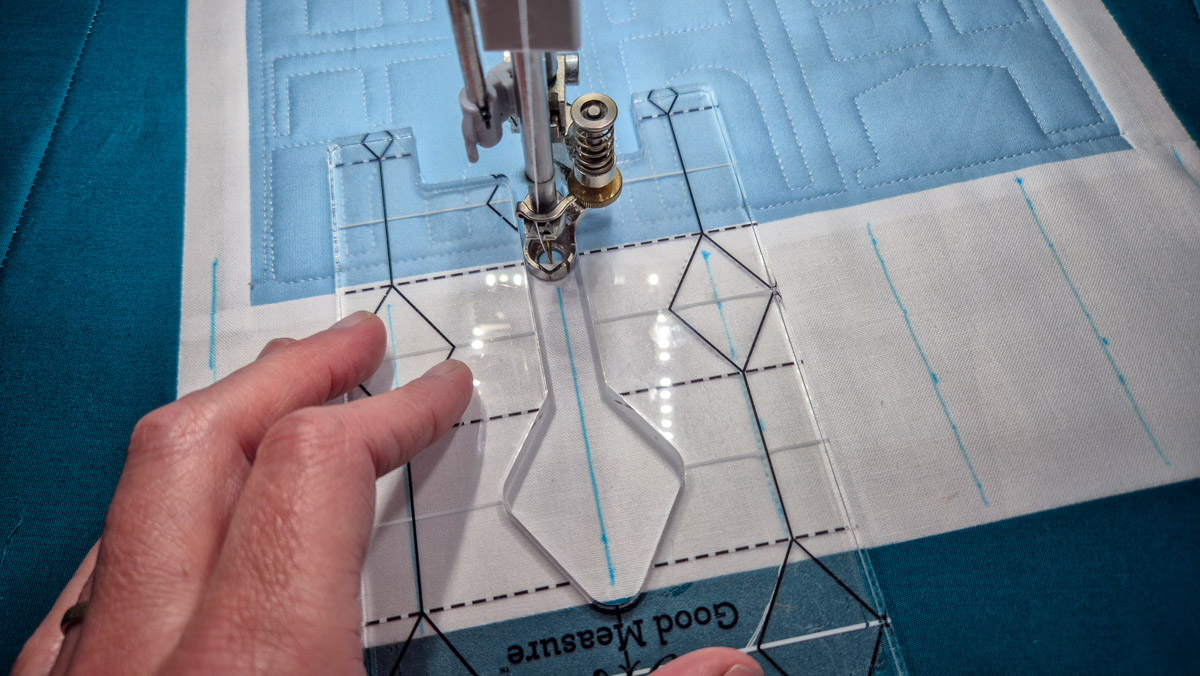
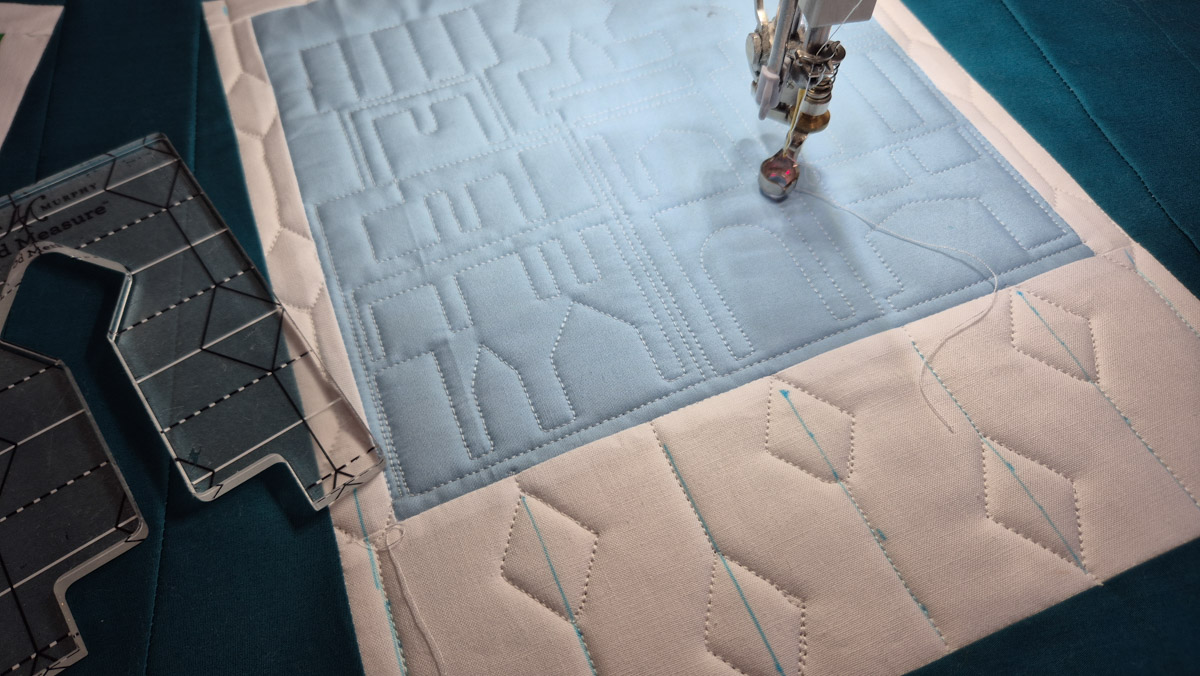
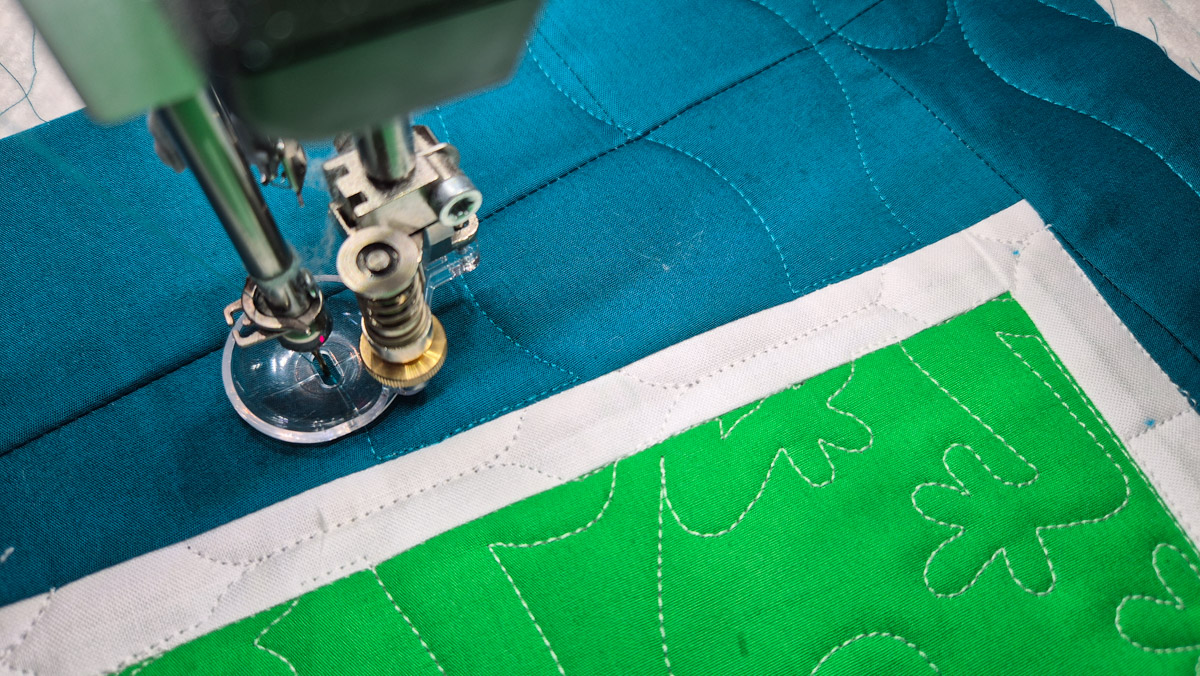
Rulerwork on the White Borders
I chose to quilt the borders around the images with a ruler. I love to do ruler work, and I think this is a nice combination of computerized work and some custom quilting. The ruler set that I’m using for this is the Mini Lollipop ruler set by Amanda Murphy. There are five different rulers in this set.
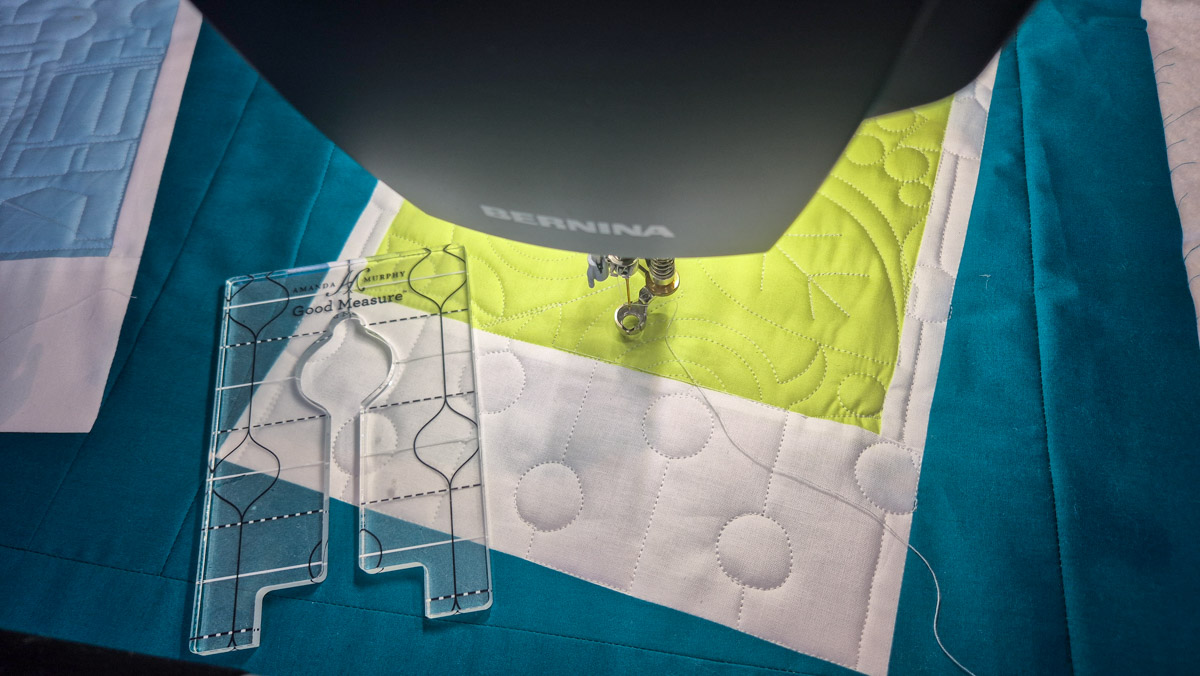
Use the edges of the Polaroid image and white borders as guidelines. Or make some markings with an erasable pen if needed.
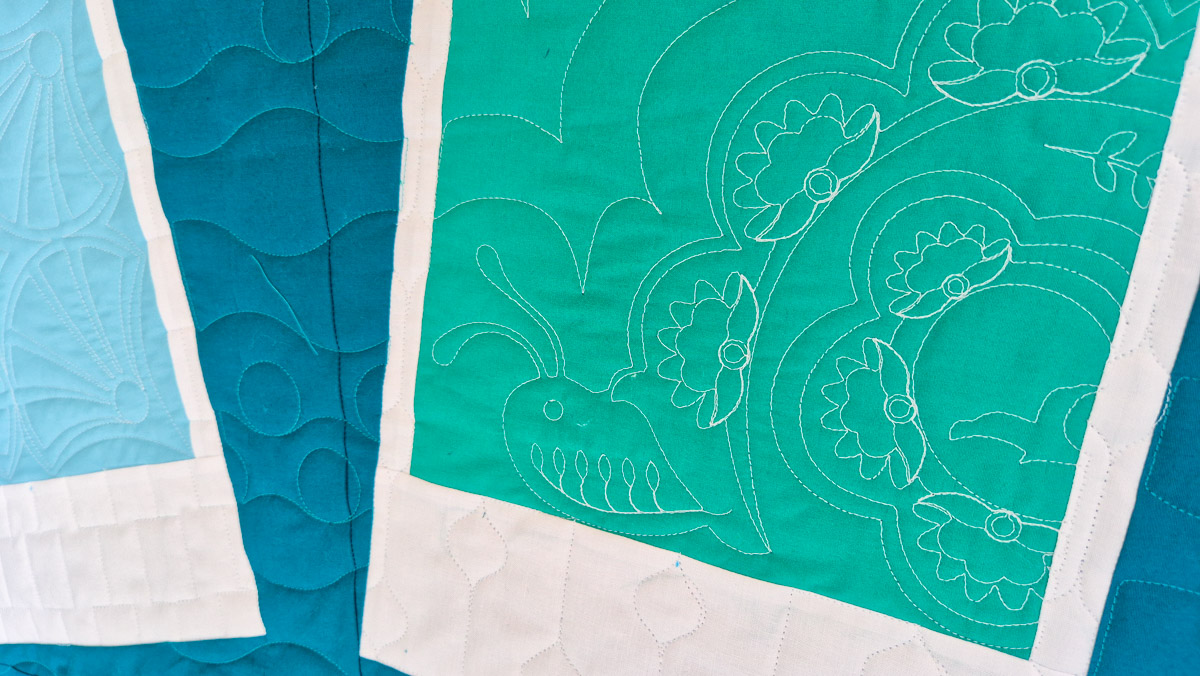
I like how the white thread blends in with the white fabrics and creates a subtle texture in there.
Quilting the Background
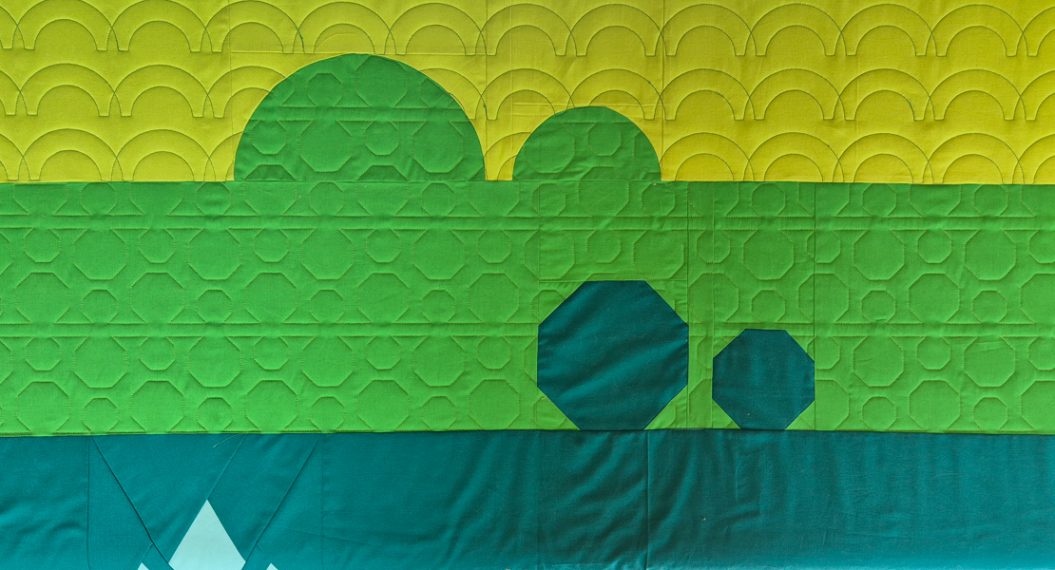
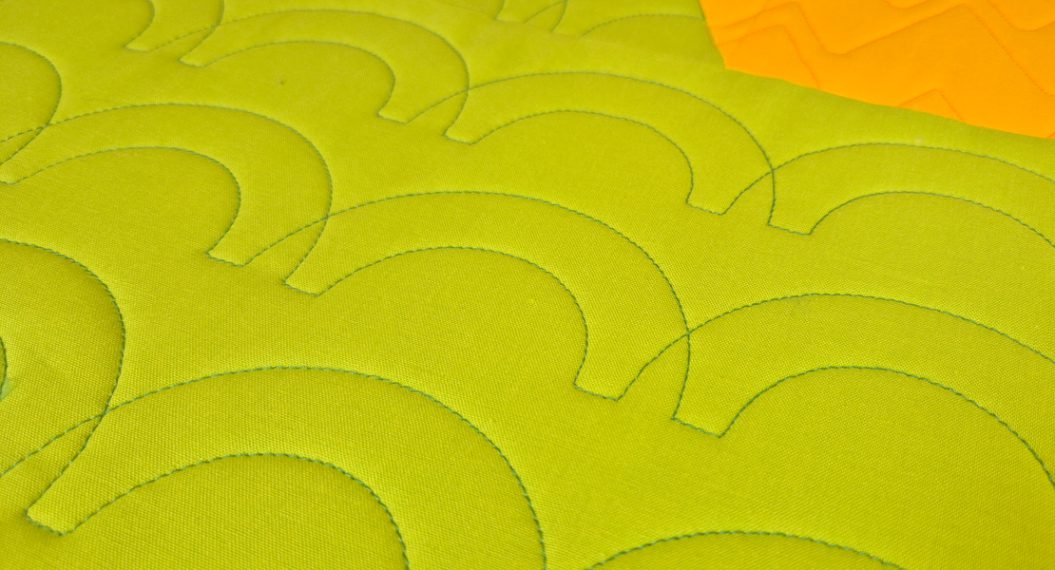
Then we need to quilt the background of the quilt. For this, I’m choosing a simple edge-to-edge pattern. I’m using the ‘Waves_basic’ and ‘Waves_Circles_Single’. To not focus a lot of attention on the background, I’m also using a thread that blends in with the background.
First, go ahead and place markers on the outsides of the white borders of the Polaroids. Just like we did for the inside of the Polaroids.
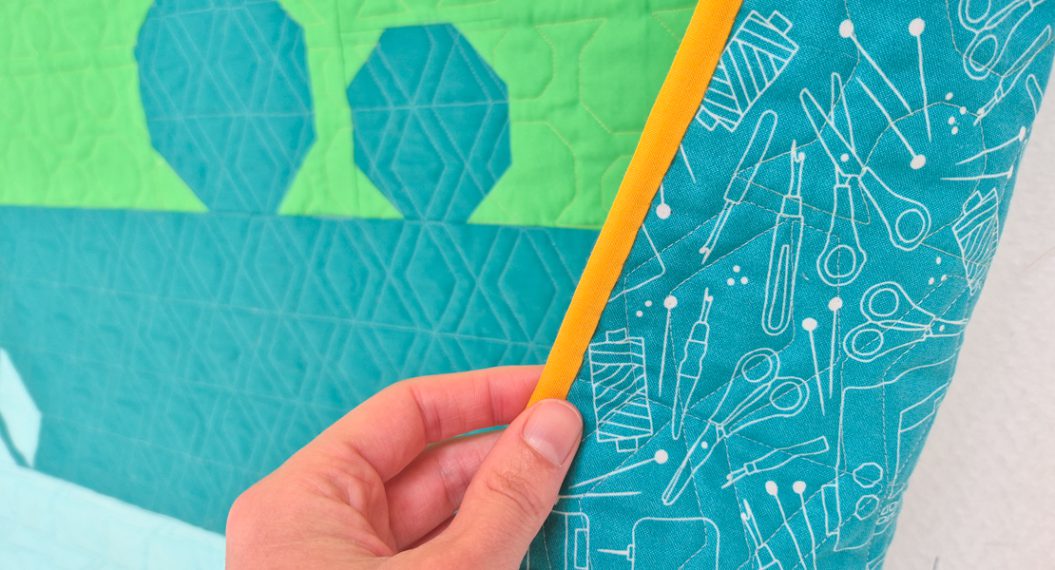
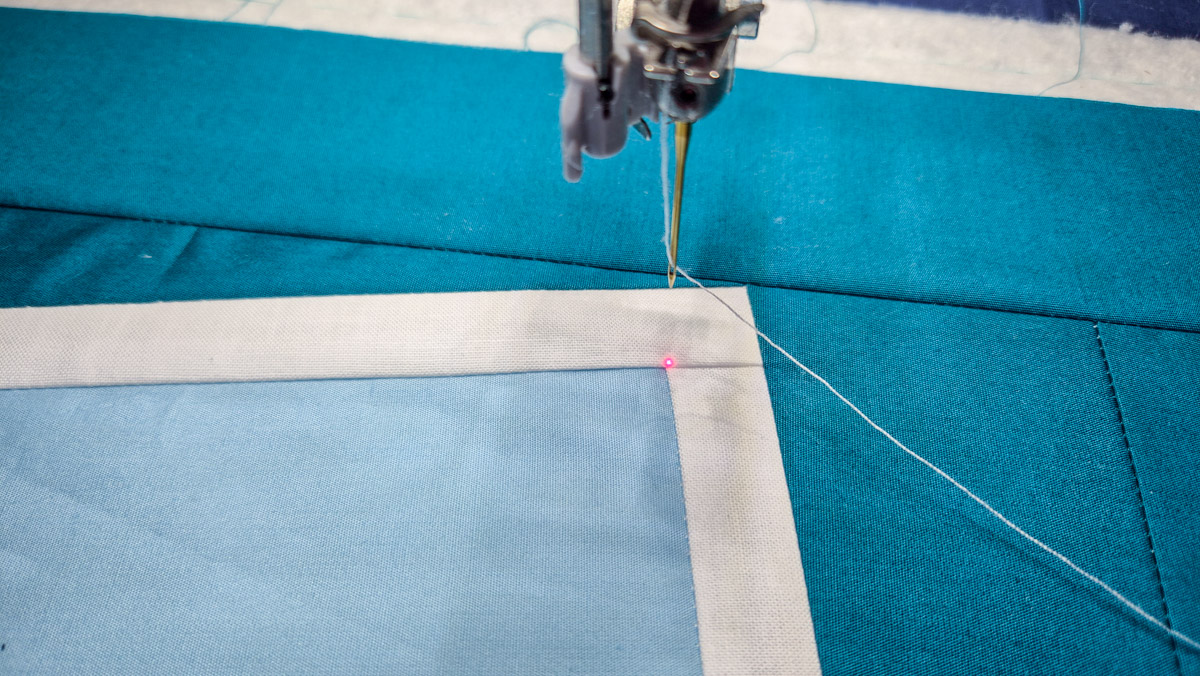
In this close-up, you can see my lines in the background run just outside the white frame. I prefer a little gap compared to having that teal thread quilt over the white borders. So set your markers just a notch outside the corners of the Polaroid frame.
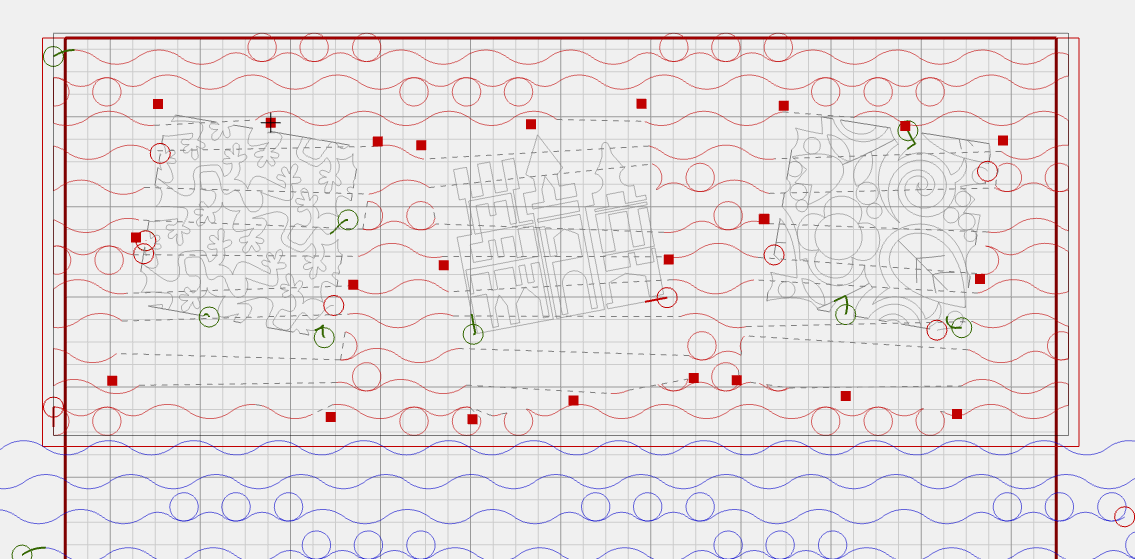
Create the Background Pattern
Create an edge-to-edge pattern with the E2E+ and the Multiply function. In my case, I used two designs for the background, so I first had to use ‘Connect’ and ‘Attach’ to combine the two waves.
With the ‘Copy’ tool, I made about five rows of the pattern and moved them in random positions.
After that, I used the ‘Multiply’ tool to fill the whole area of the quilt. Make sure to cover the whole quilt, not just the first row.
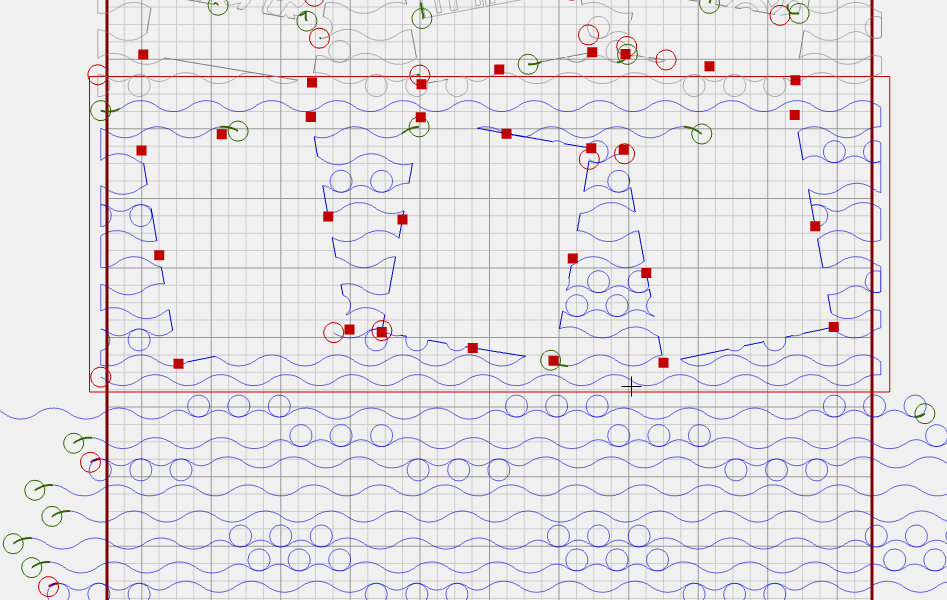
Use the ‘Connect’ and ‘Unconnect’ and, when needed, the ‘Reverse sew’ tools to link all the rows together. In the image below, all rows are separate, with sewing directions alternating left-to-right and right-to-left.
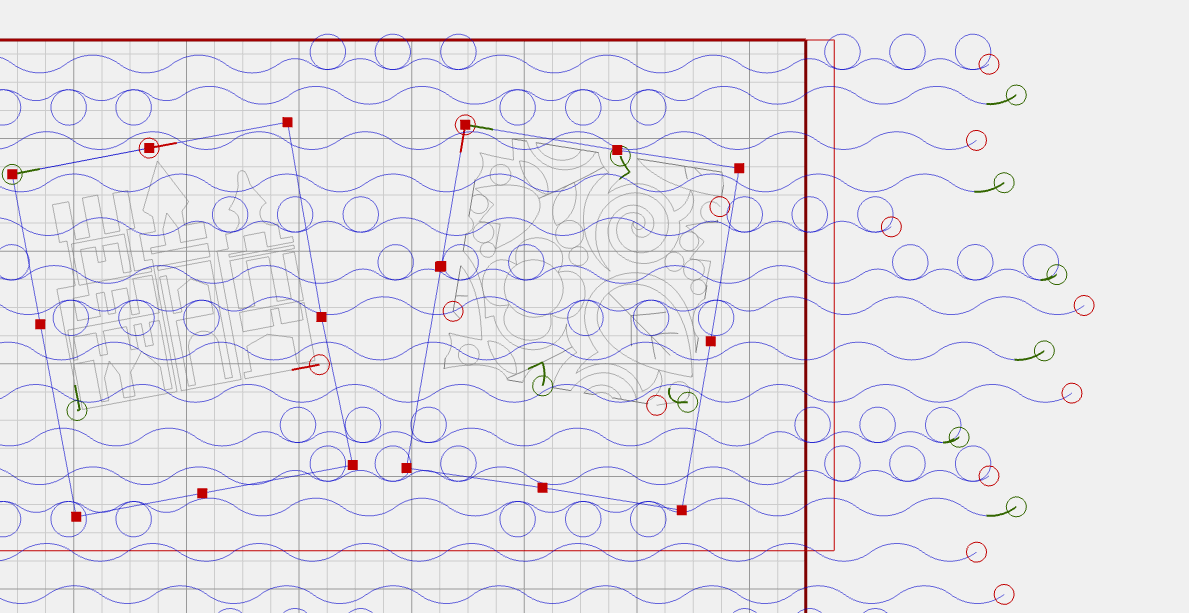
After linking the rows, the design now looks like this.
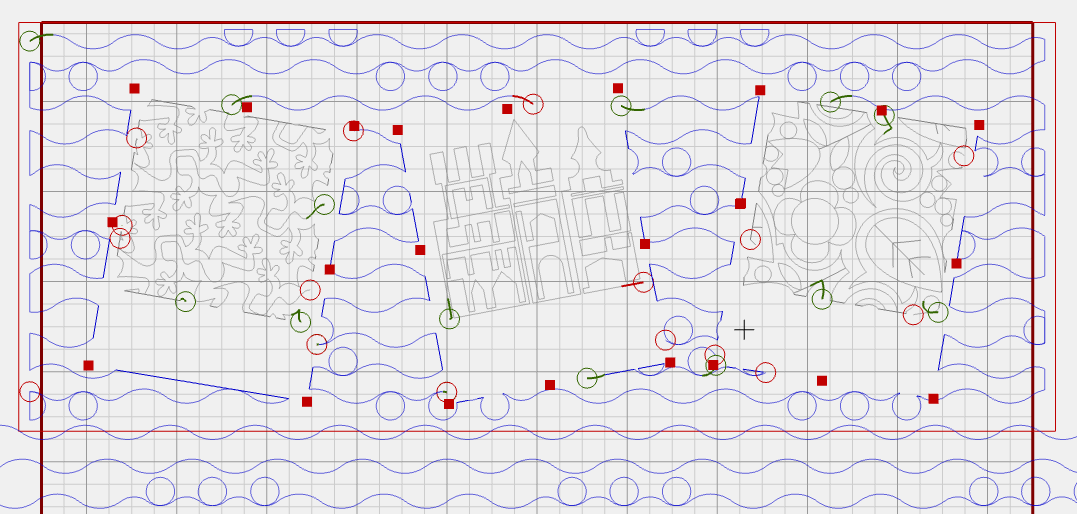
Trim the Background Pattern
Use the Mask function and the Markers you have set on the outside of the white borders to trim away the inside of the Polaroid pictures. We only want to quilt on the background fabric now.
- Click Mask in the menu
- Method: Selected Design
- Click on the square you made with the markers
- Region to remove: Inside
- Click the green button
Repeat this for all three Polaroids.
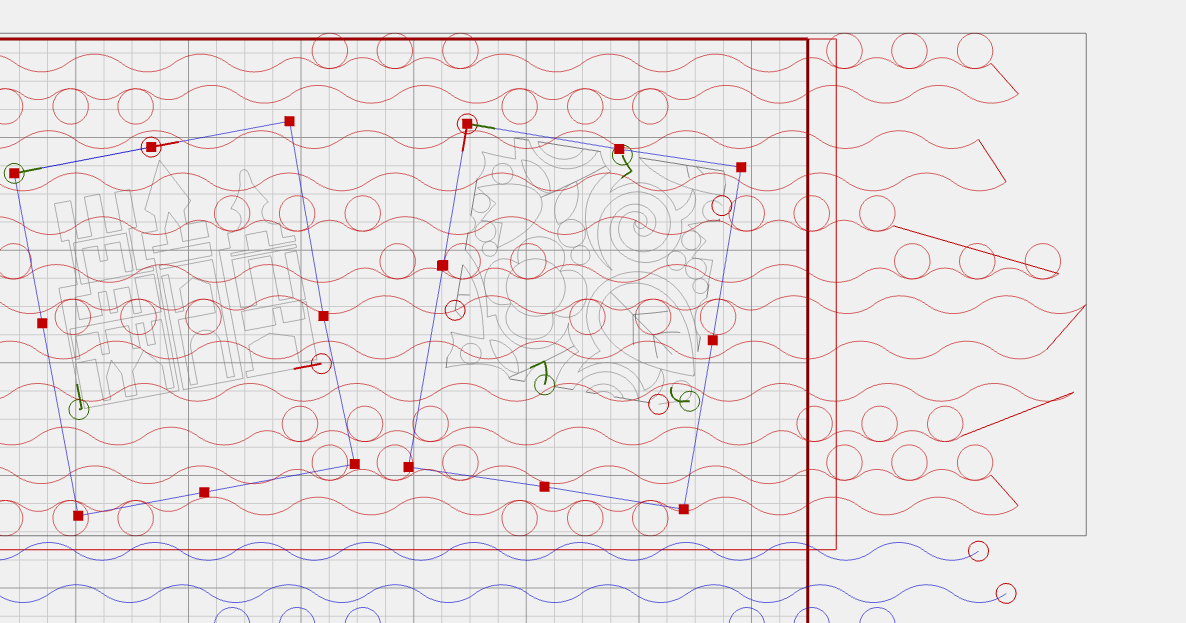
Next step is to use the ‘Trim’ tool to cut the sides and the top so everything fits in the safe area.
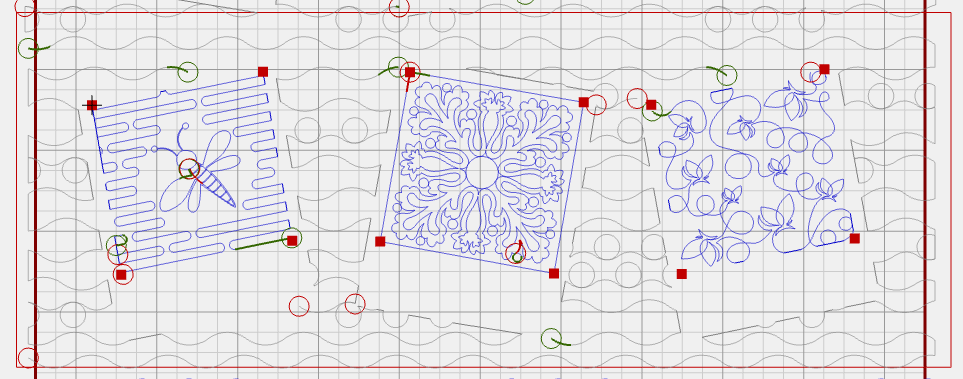
Do you notice all the grey dotted lines in the image above? Those will not be stitched, but are connections of all the spots where the machine will stop and start. If you want, you can go in and fix that, just like we did with the first design.
Then the background will look something like this.
Now we’re all set to quilt the background in this area of the first row.
And there we have it, the first part of the quilt is quilted.
Finish the Quilt
After quilting the first row, you move the quilt up and repeat the process for the second and third rows. Use the Realign Safe Area after moving the quilt up on the frame.
For the second and third rows, I quilted the background first. Mainly to first trim the inside of the Polaroids, so I had a better view when creating the images in there.
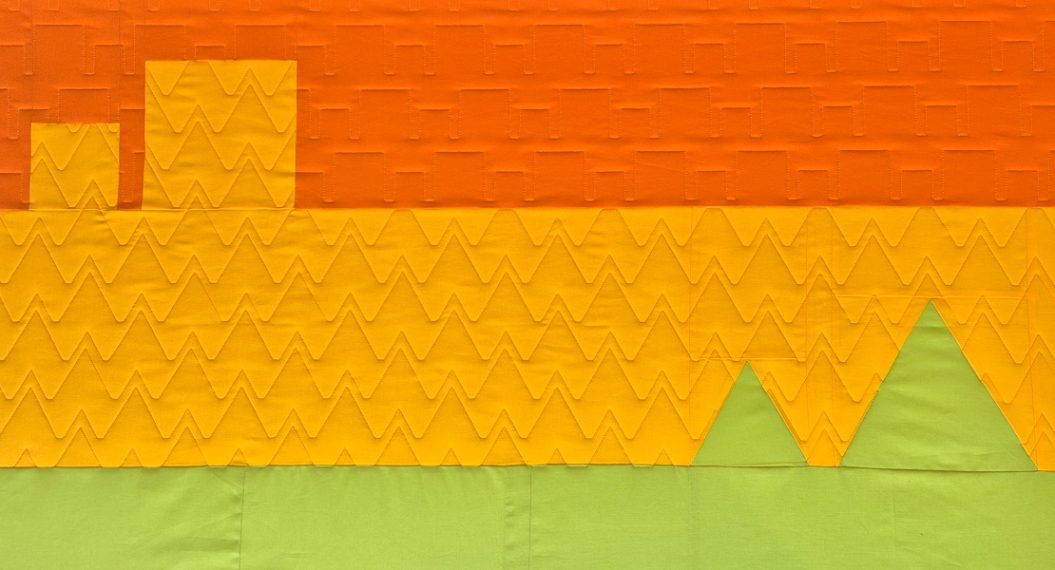
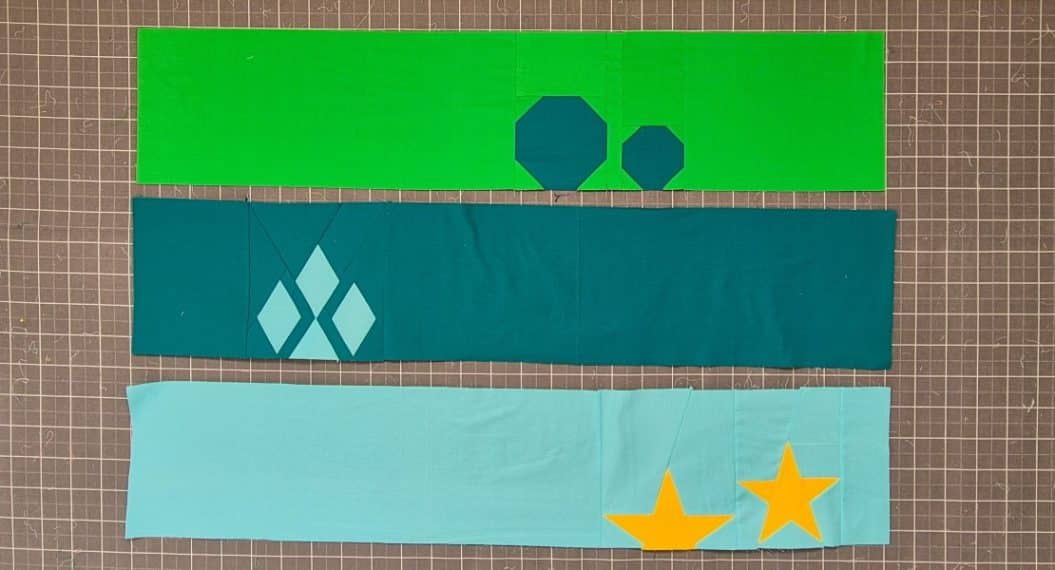
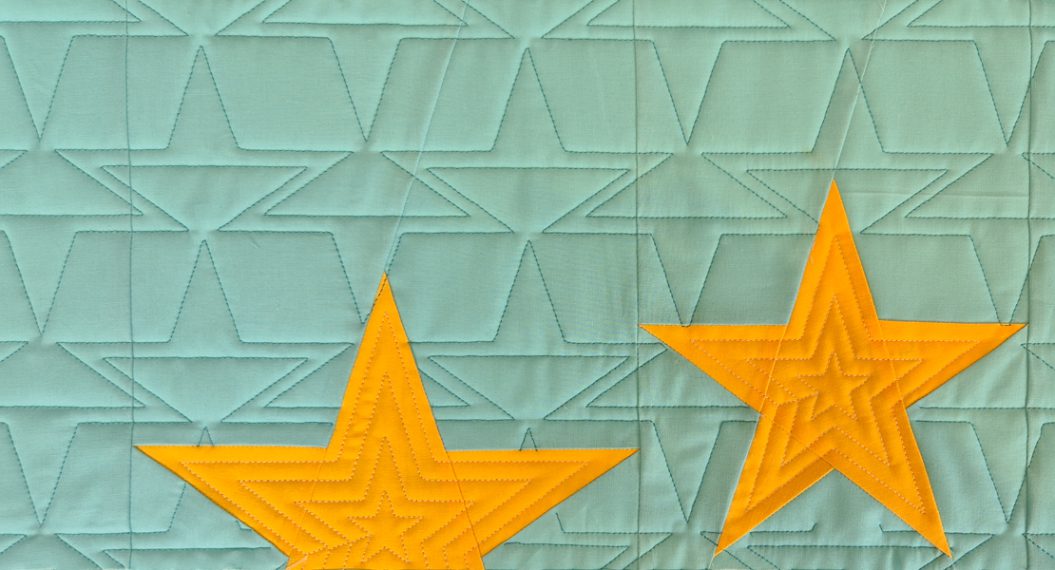
This is what I picked for the second row.
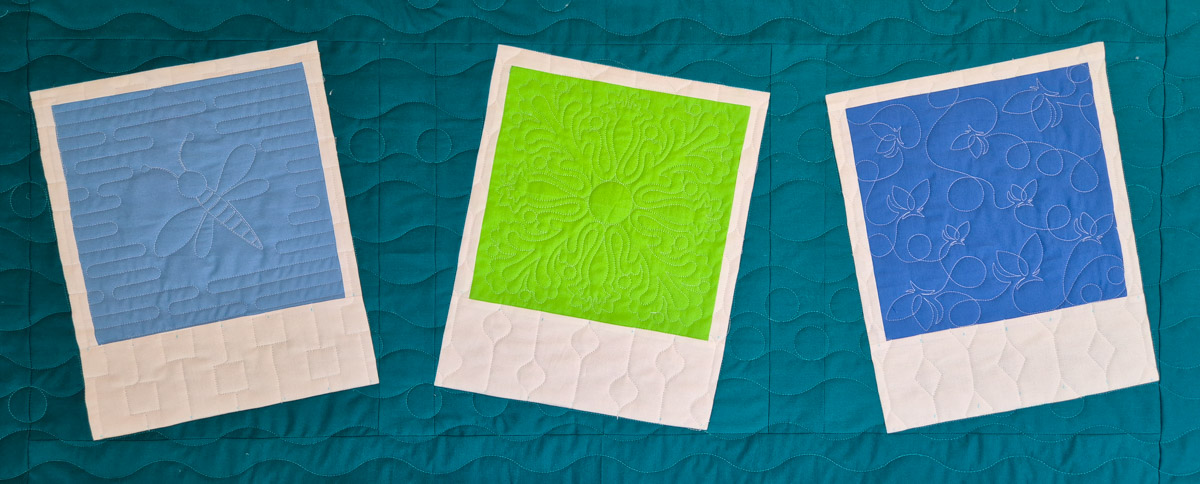
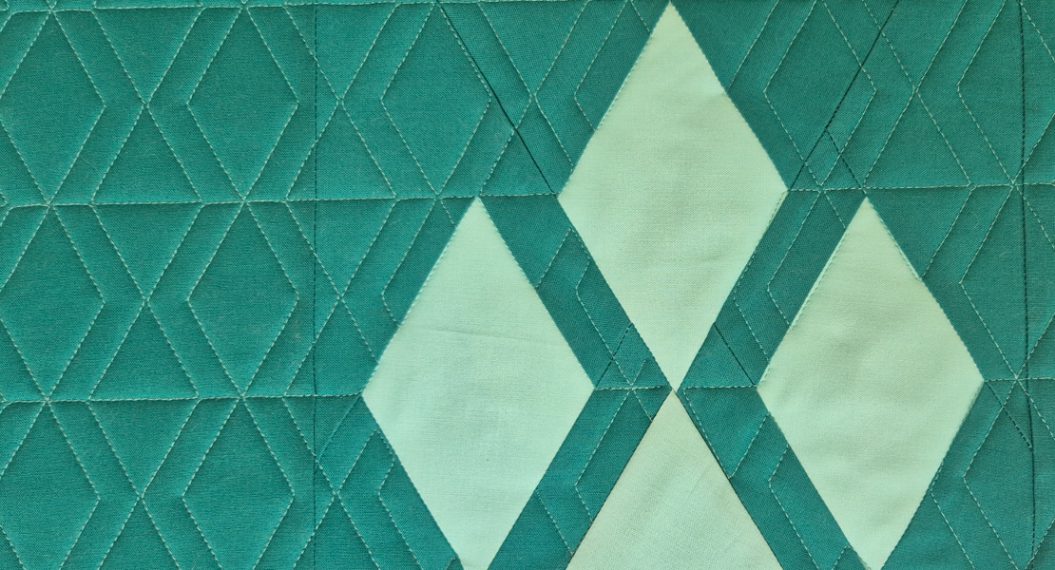
And for the third row, I picked these designs.
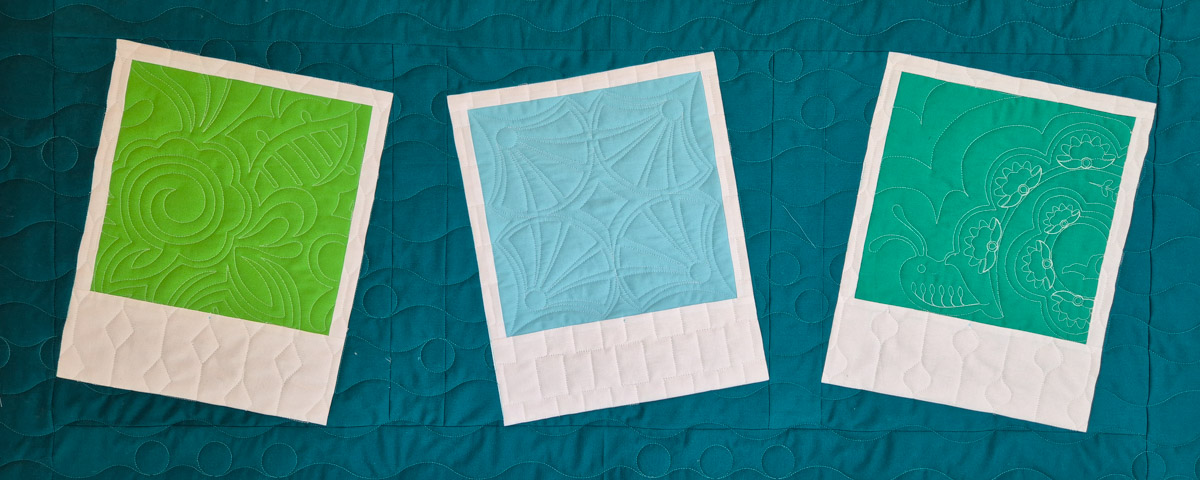
It’s so fun to see all those different edge-to-edge patterns framed in the Polaroid images!
Now the only thing left to do is square up the quilt and use your favorite method to sew on a binding.
Thank you so much for reading and quilting along with the Picture Perfect Quilt!
Happy quilting,
Irene