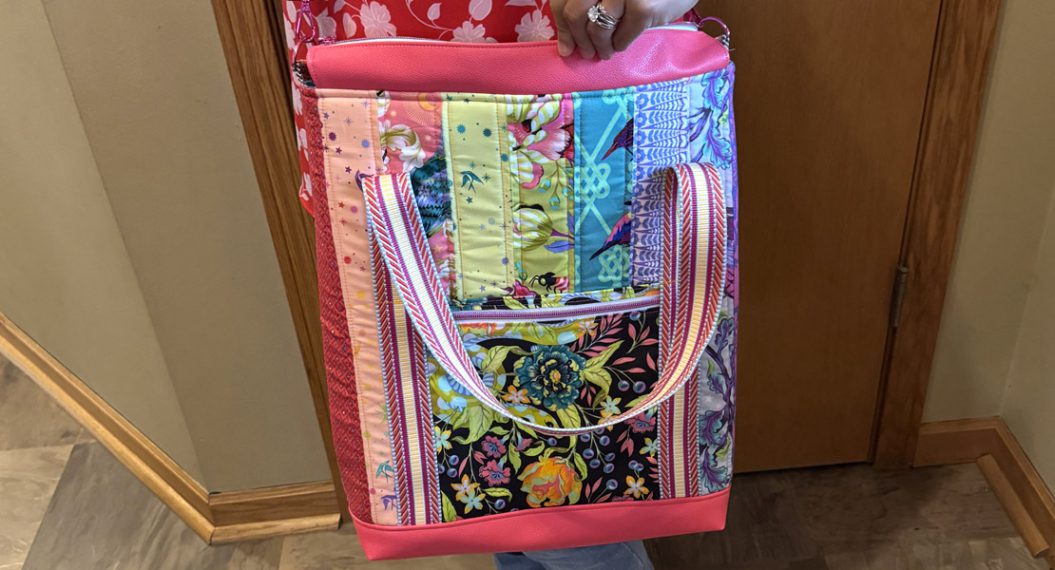
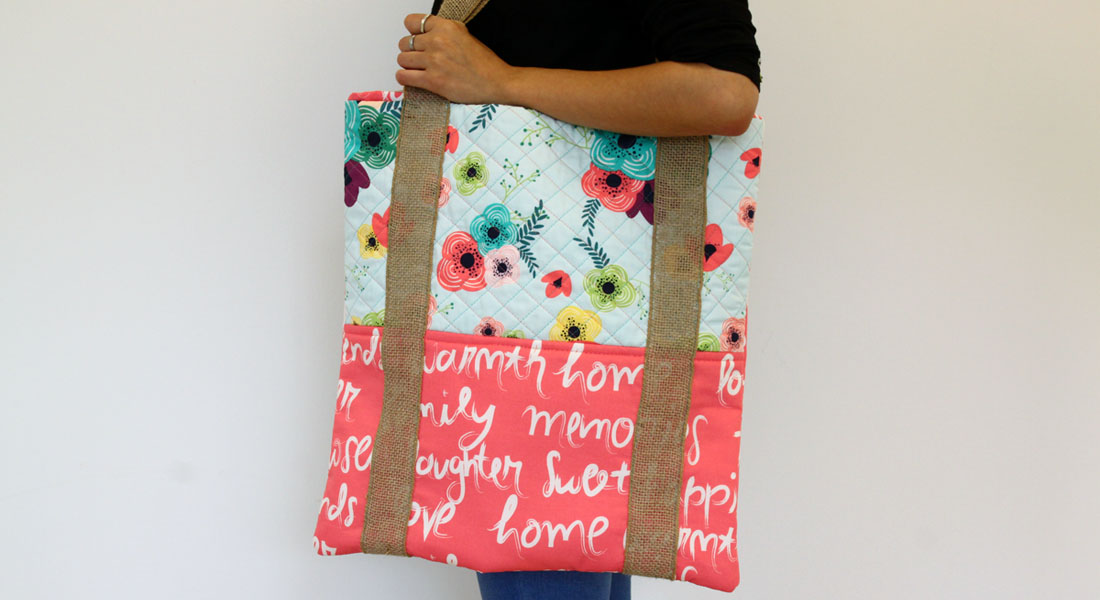
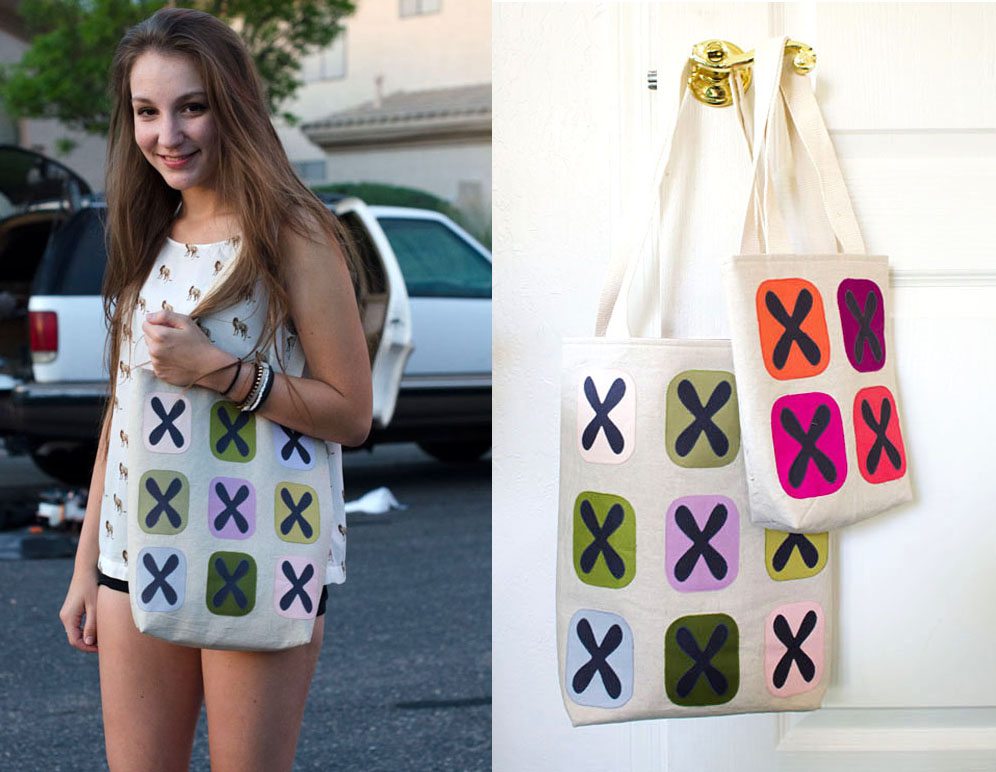
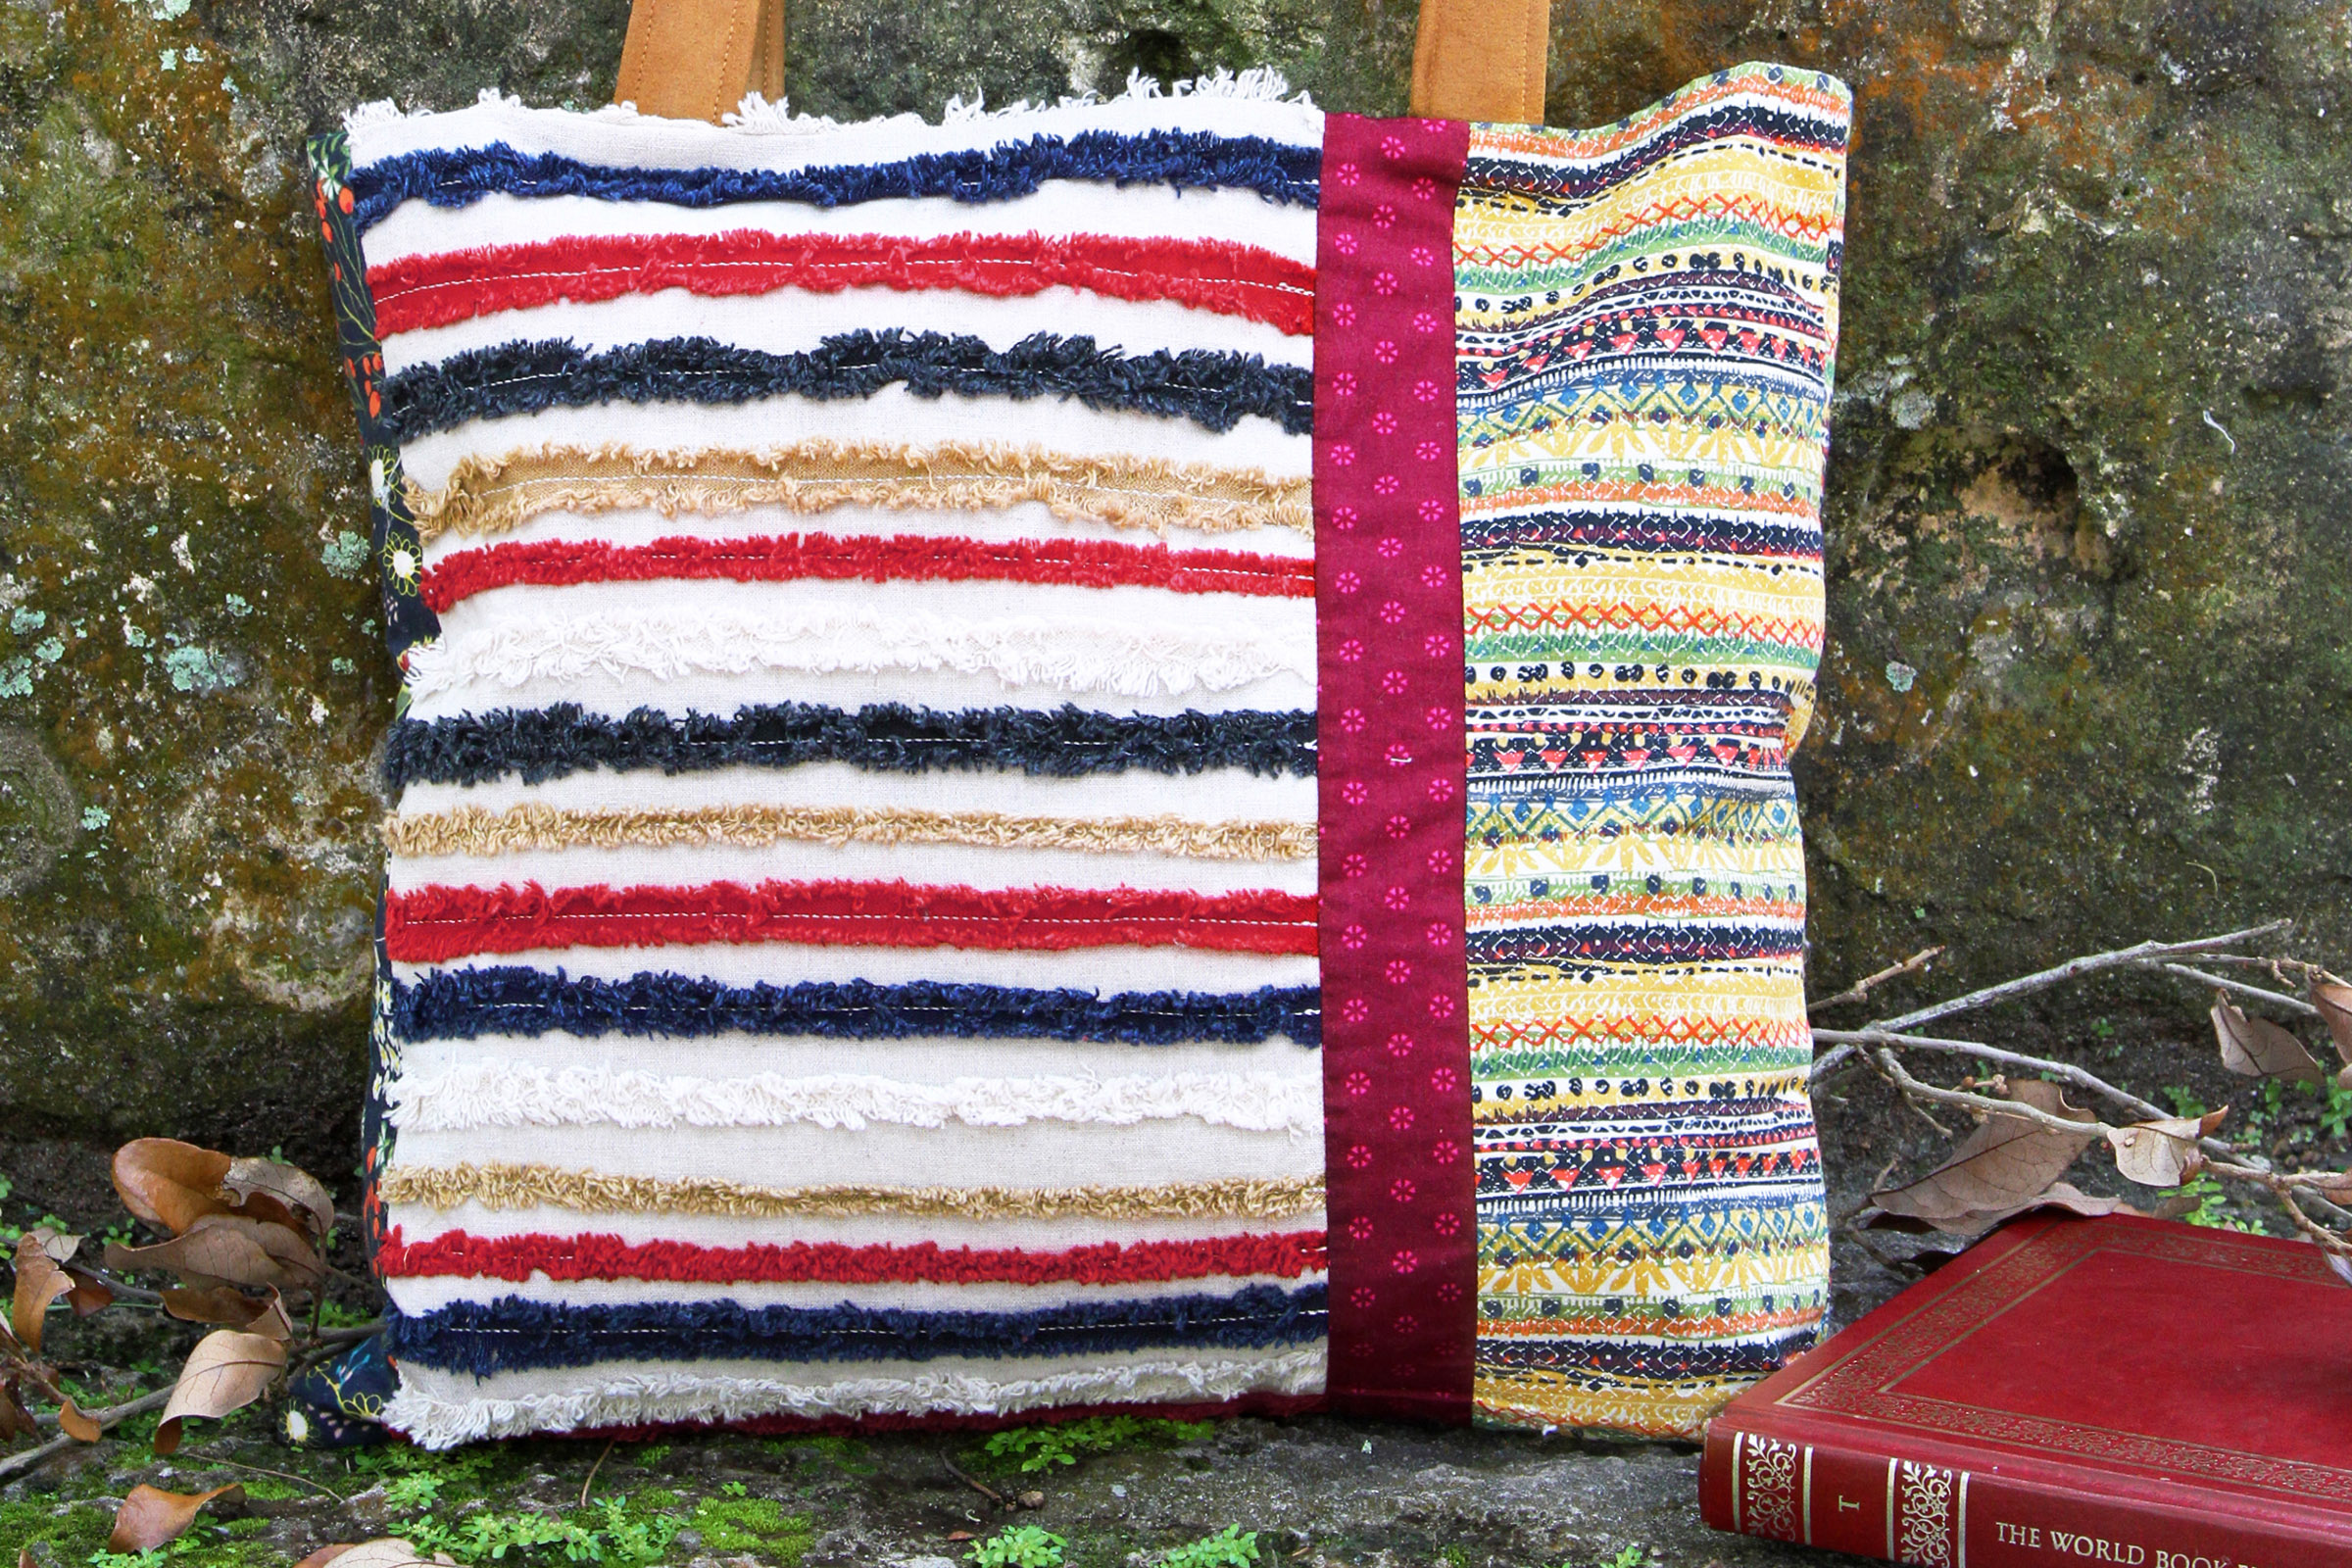
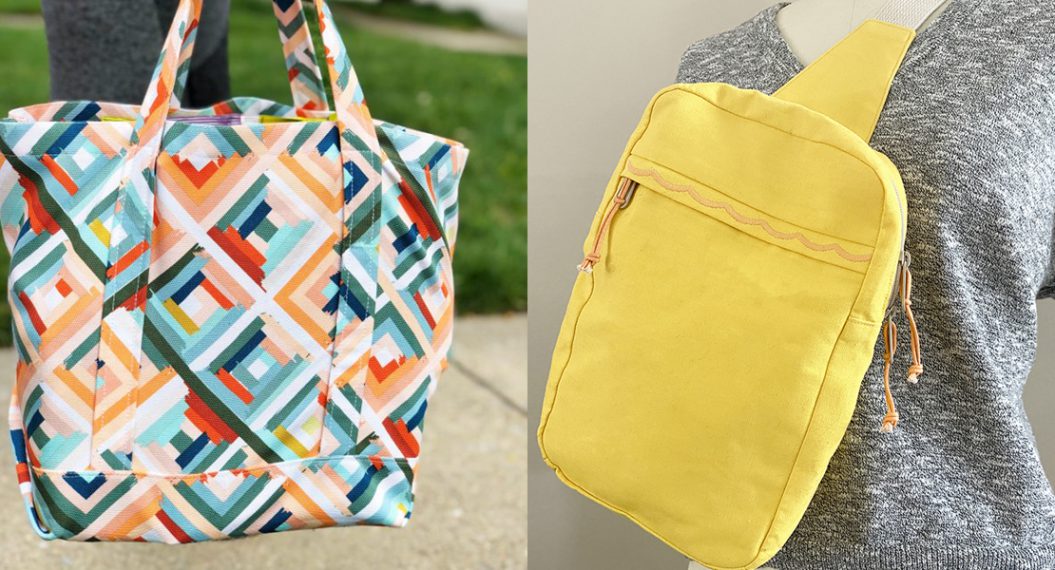
Arcoíris Tote Bag Pattern
This blog is also available in Spanish here. For English, continue reading below.
Este blog también está disponible en español aquí. Para la versión en inglés, sigue leyendo a continuación.

Fabric & Hardware Requirements
- 9 – Fat quarters or 18 strips of fabric that measure 2 ½” x 18” for exterior panels (If using fabric strips, add 2 fat quarters of exterior fabric for the front and back exterior pockets.)
- 1 ⅛ yard – lining – cotton fabric
- ⅜ yard of vinyl or cork fabric – Exterior bottom panels and zipper panels
- ⅝ yard of soft and stable – stabilizer
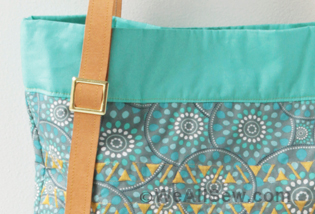
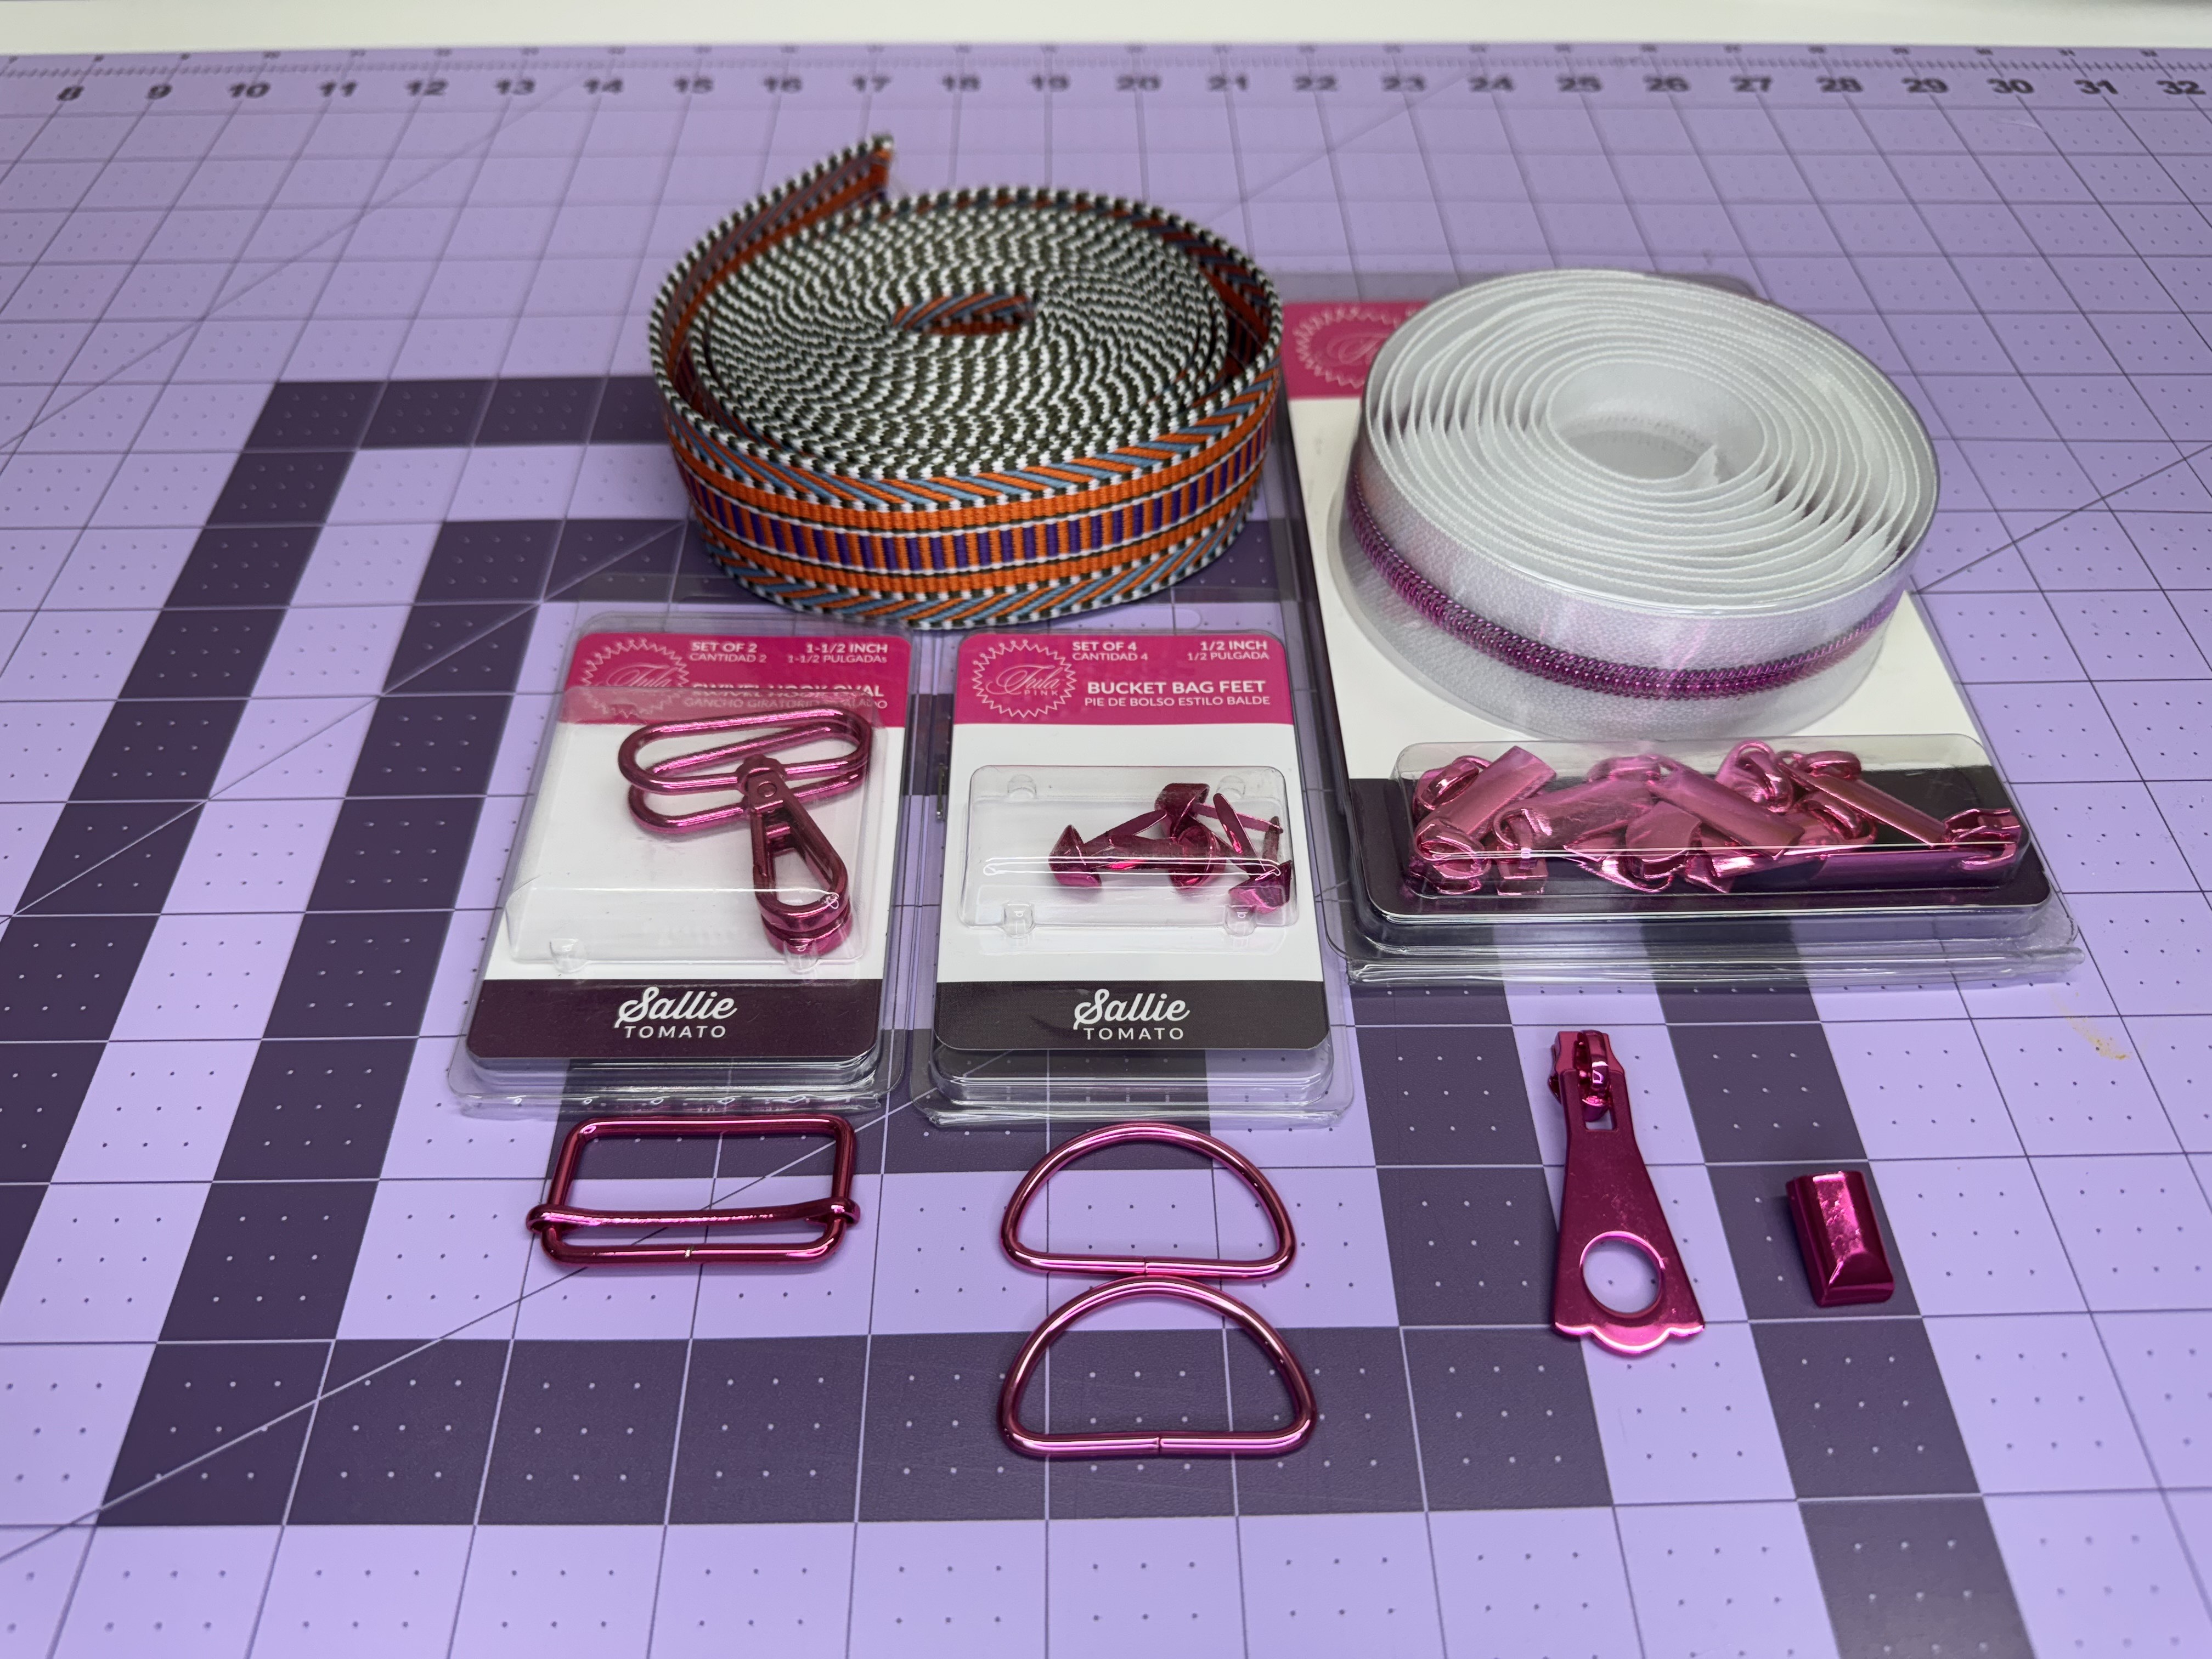
- 4 ⅝ yard of 1 ½” webbing – handles and crossbody strap
- 1 ⅛ of #5 zipper tape
- 3 – #5 zipper pulls
- 2 – 1 ½” D rings
- 1 – 1 ½” sliding buckle
- 2 – 1 ½” swivel hooks
- 4 – bag feet (optional)
- 1 – metal zipper end
Note: We are using Tula Pink Hardware by Sallie Tomato.
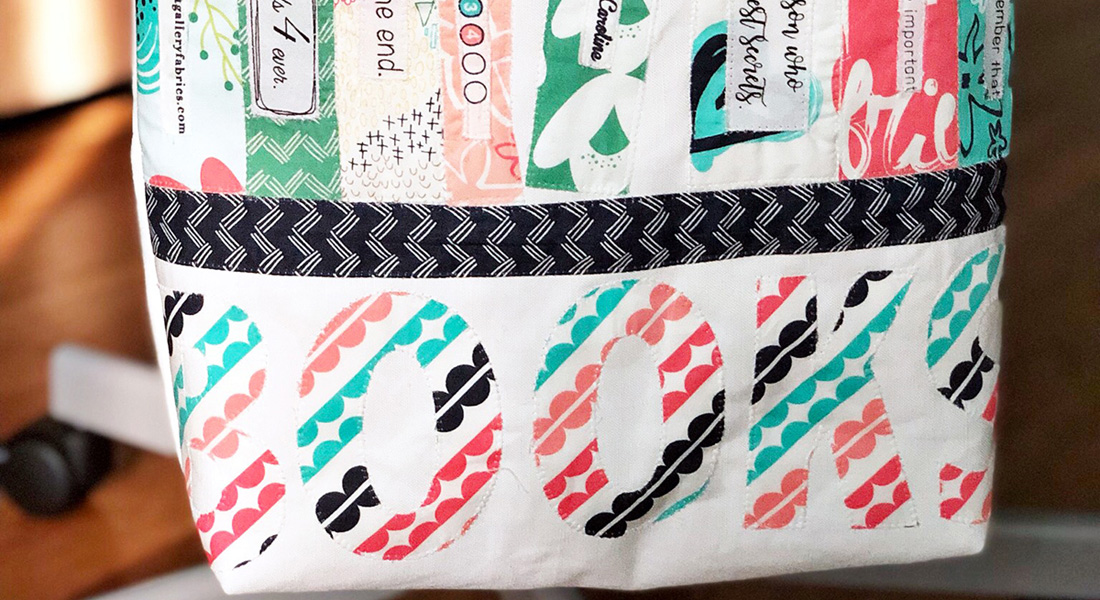
Step 1: Preparing the Top Front and Back Panels
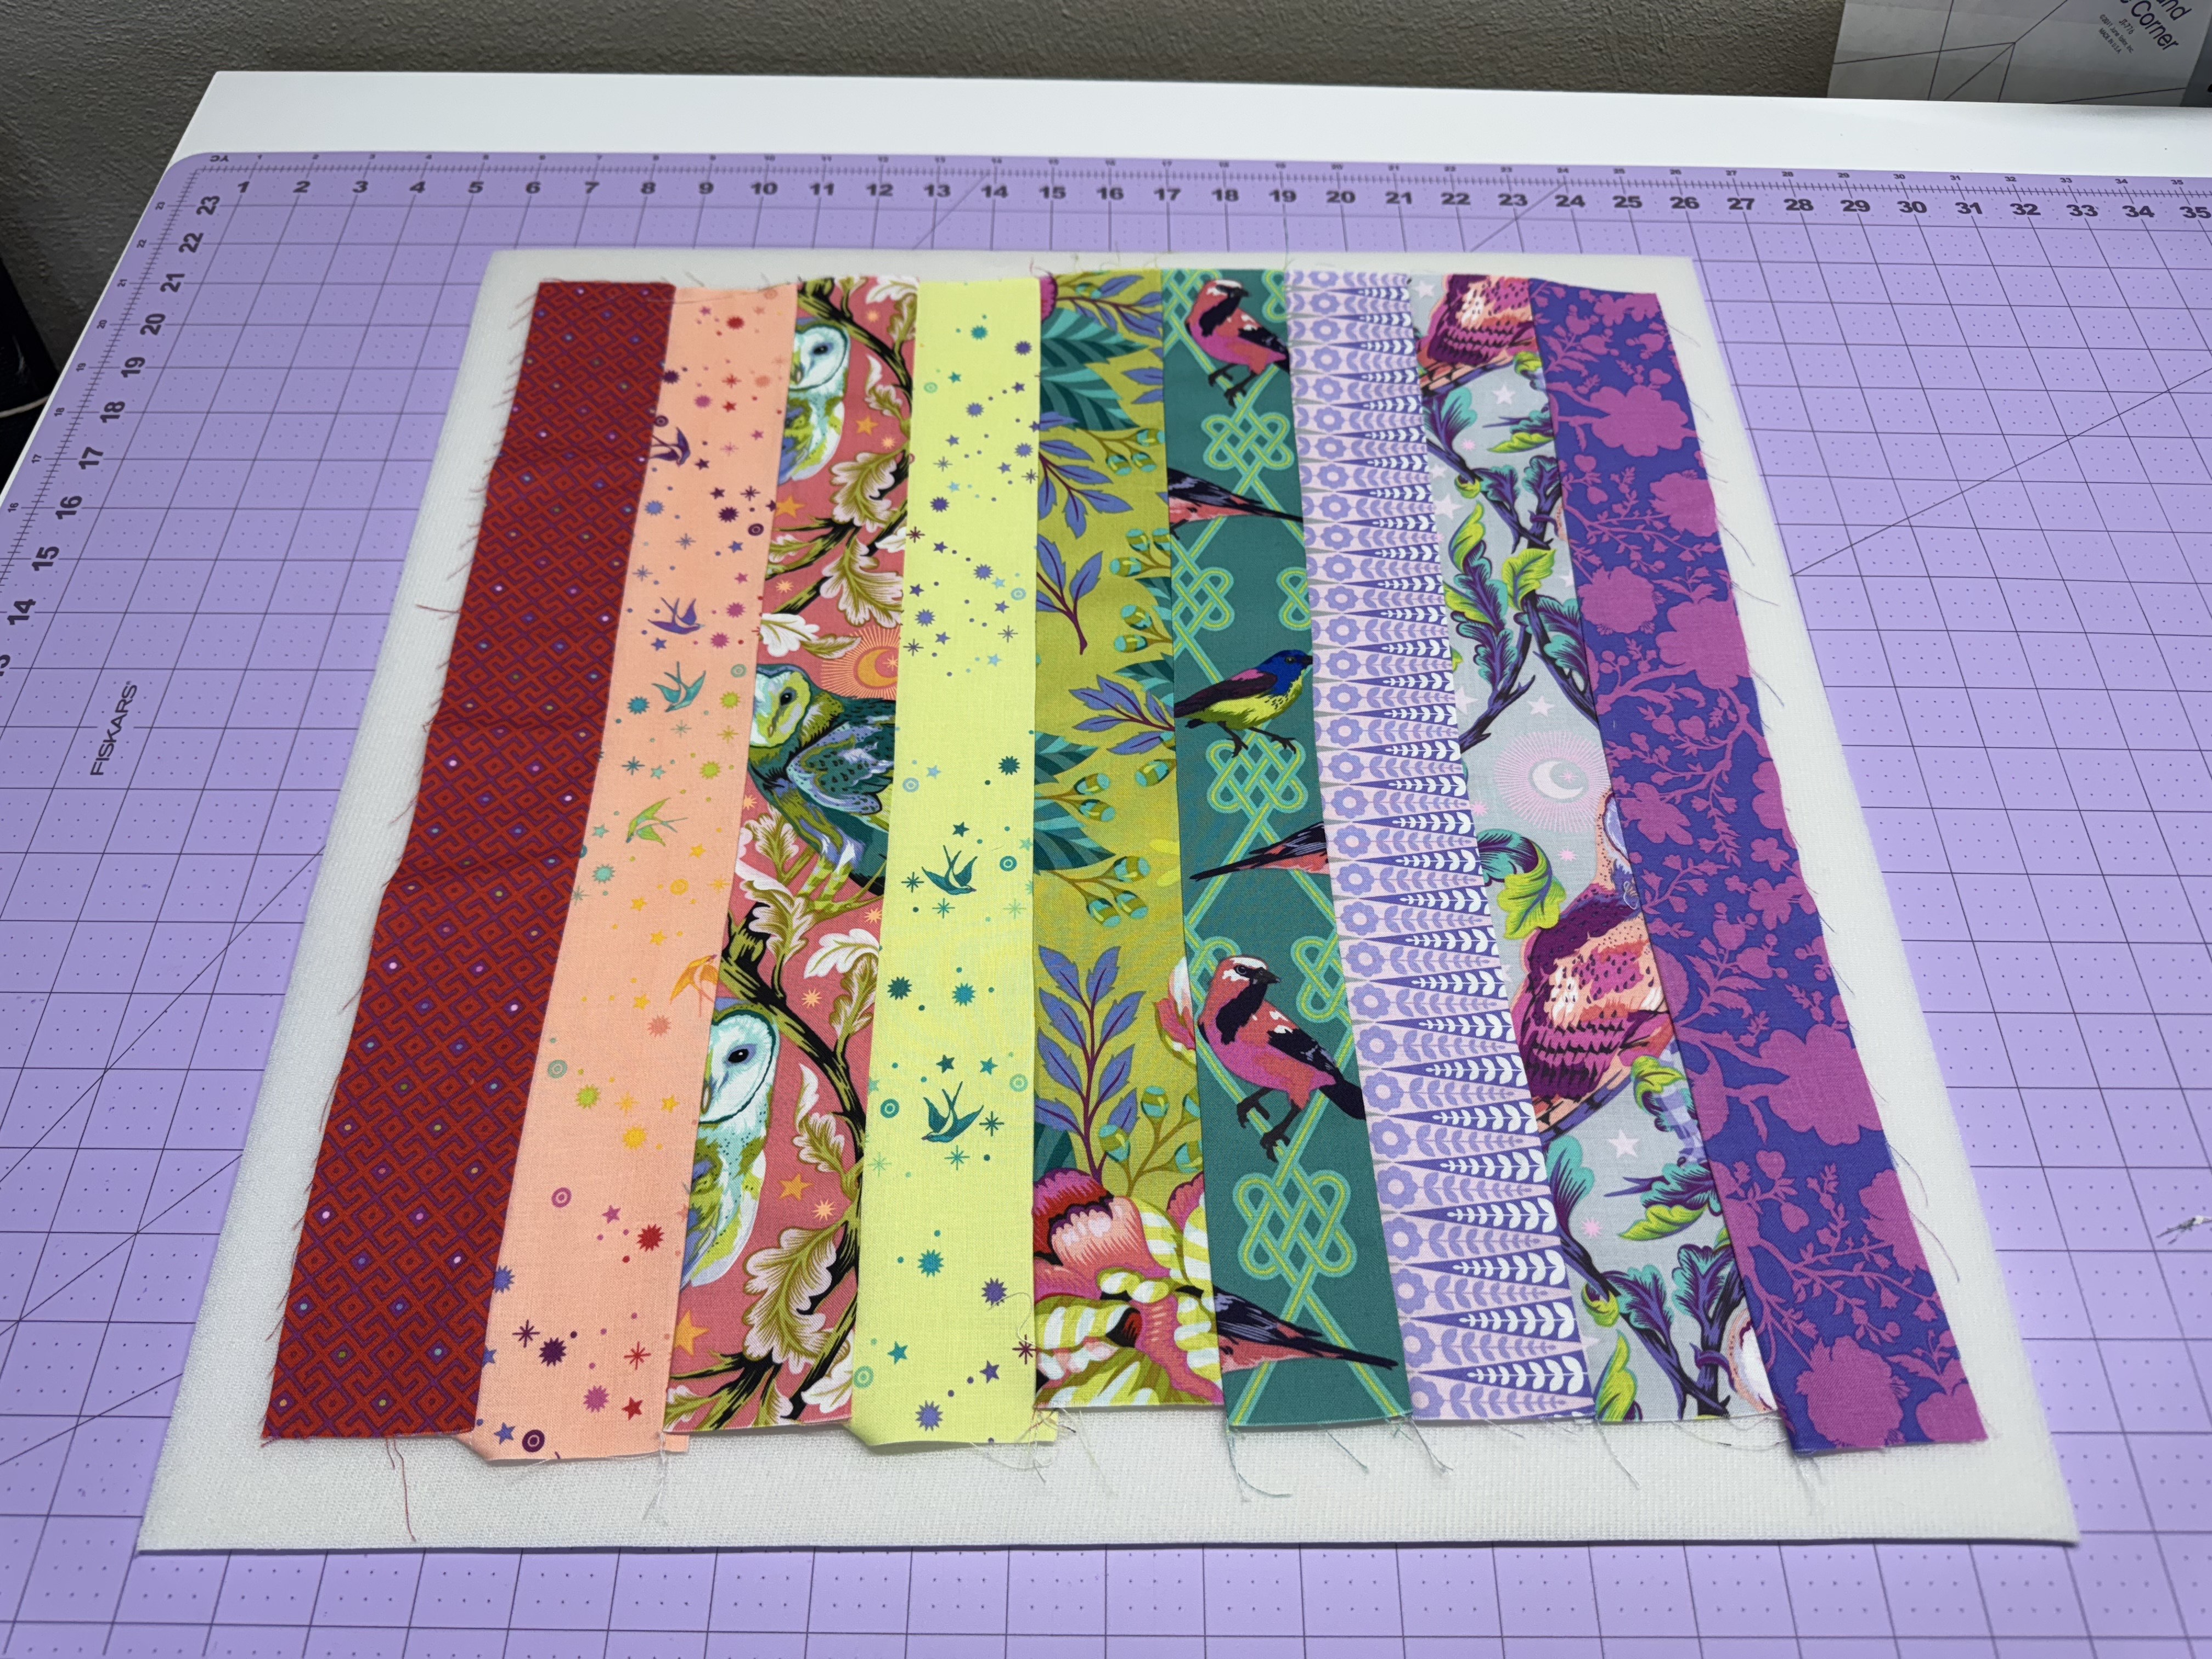
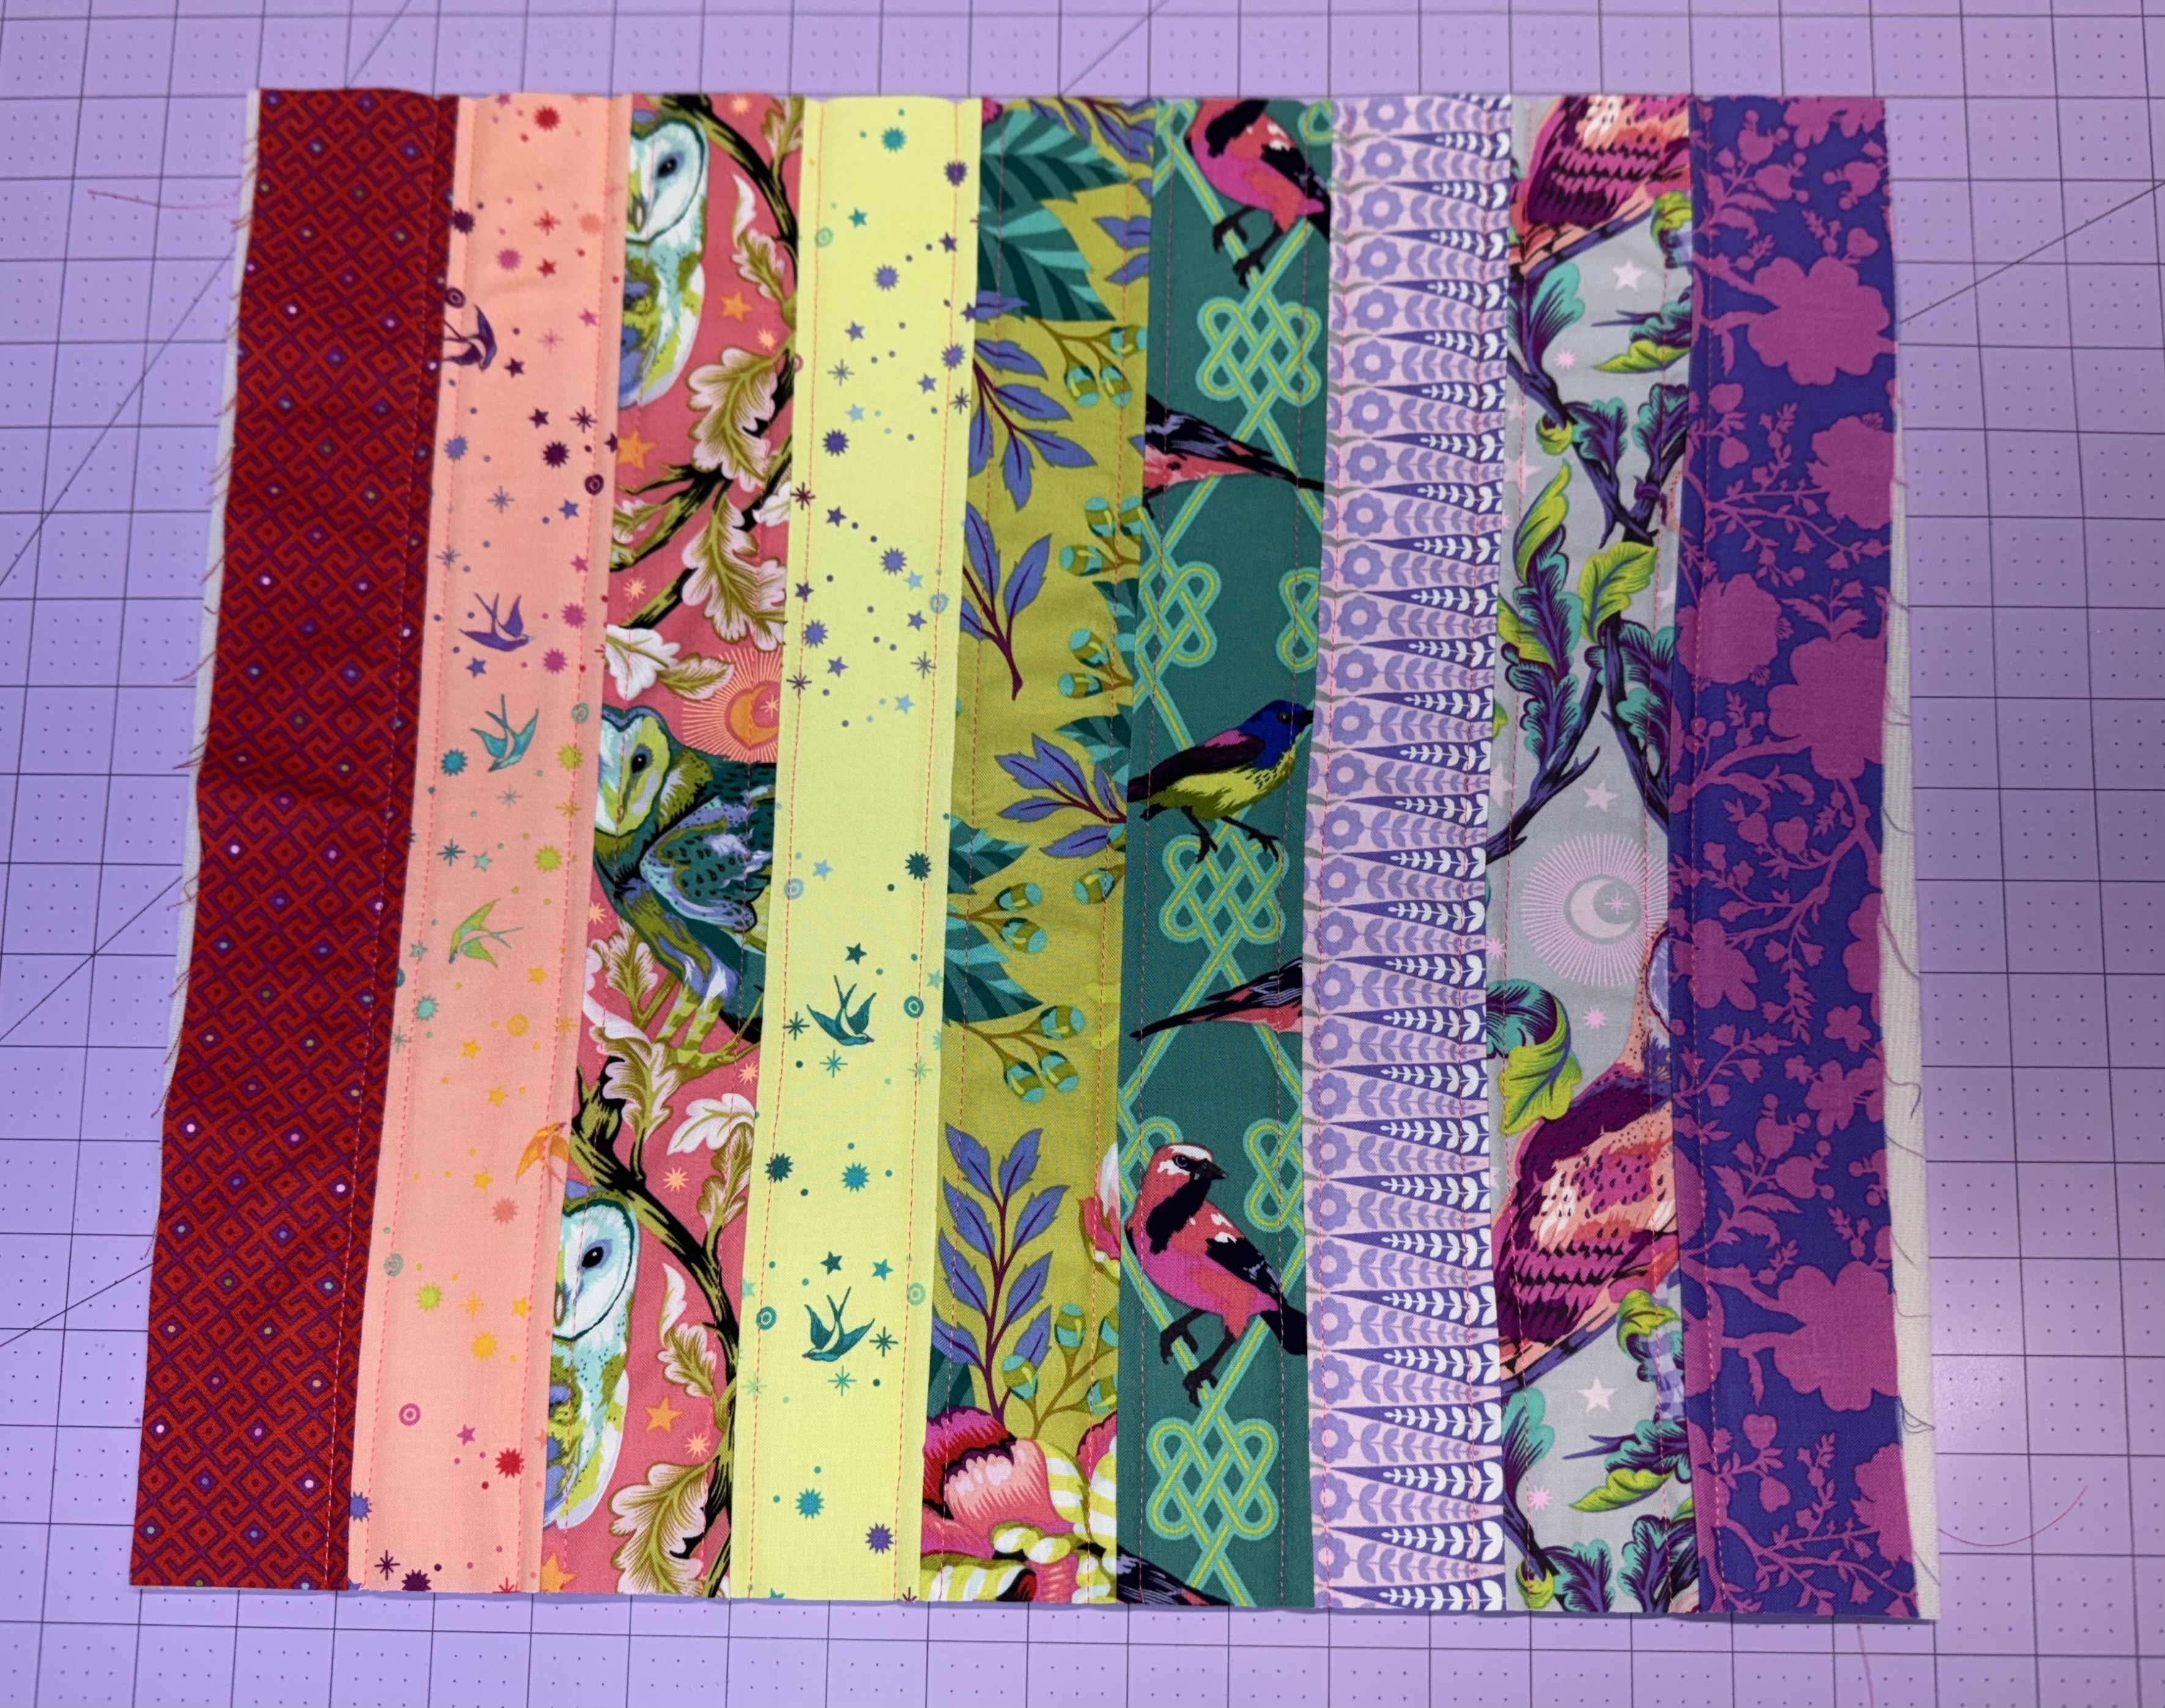
If not using pre-cut strips, cut (2) strips measuring 2½” W x 18” L from each fabric. Alternatively, you can use 18 different fat quarters, cutting (1) strip from each, or use 18 unique Jelly Roll strips.
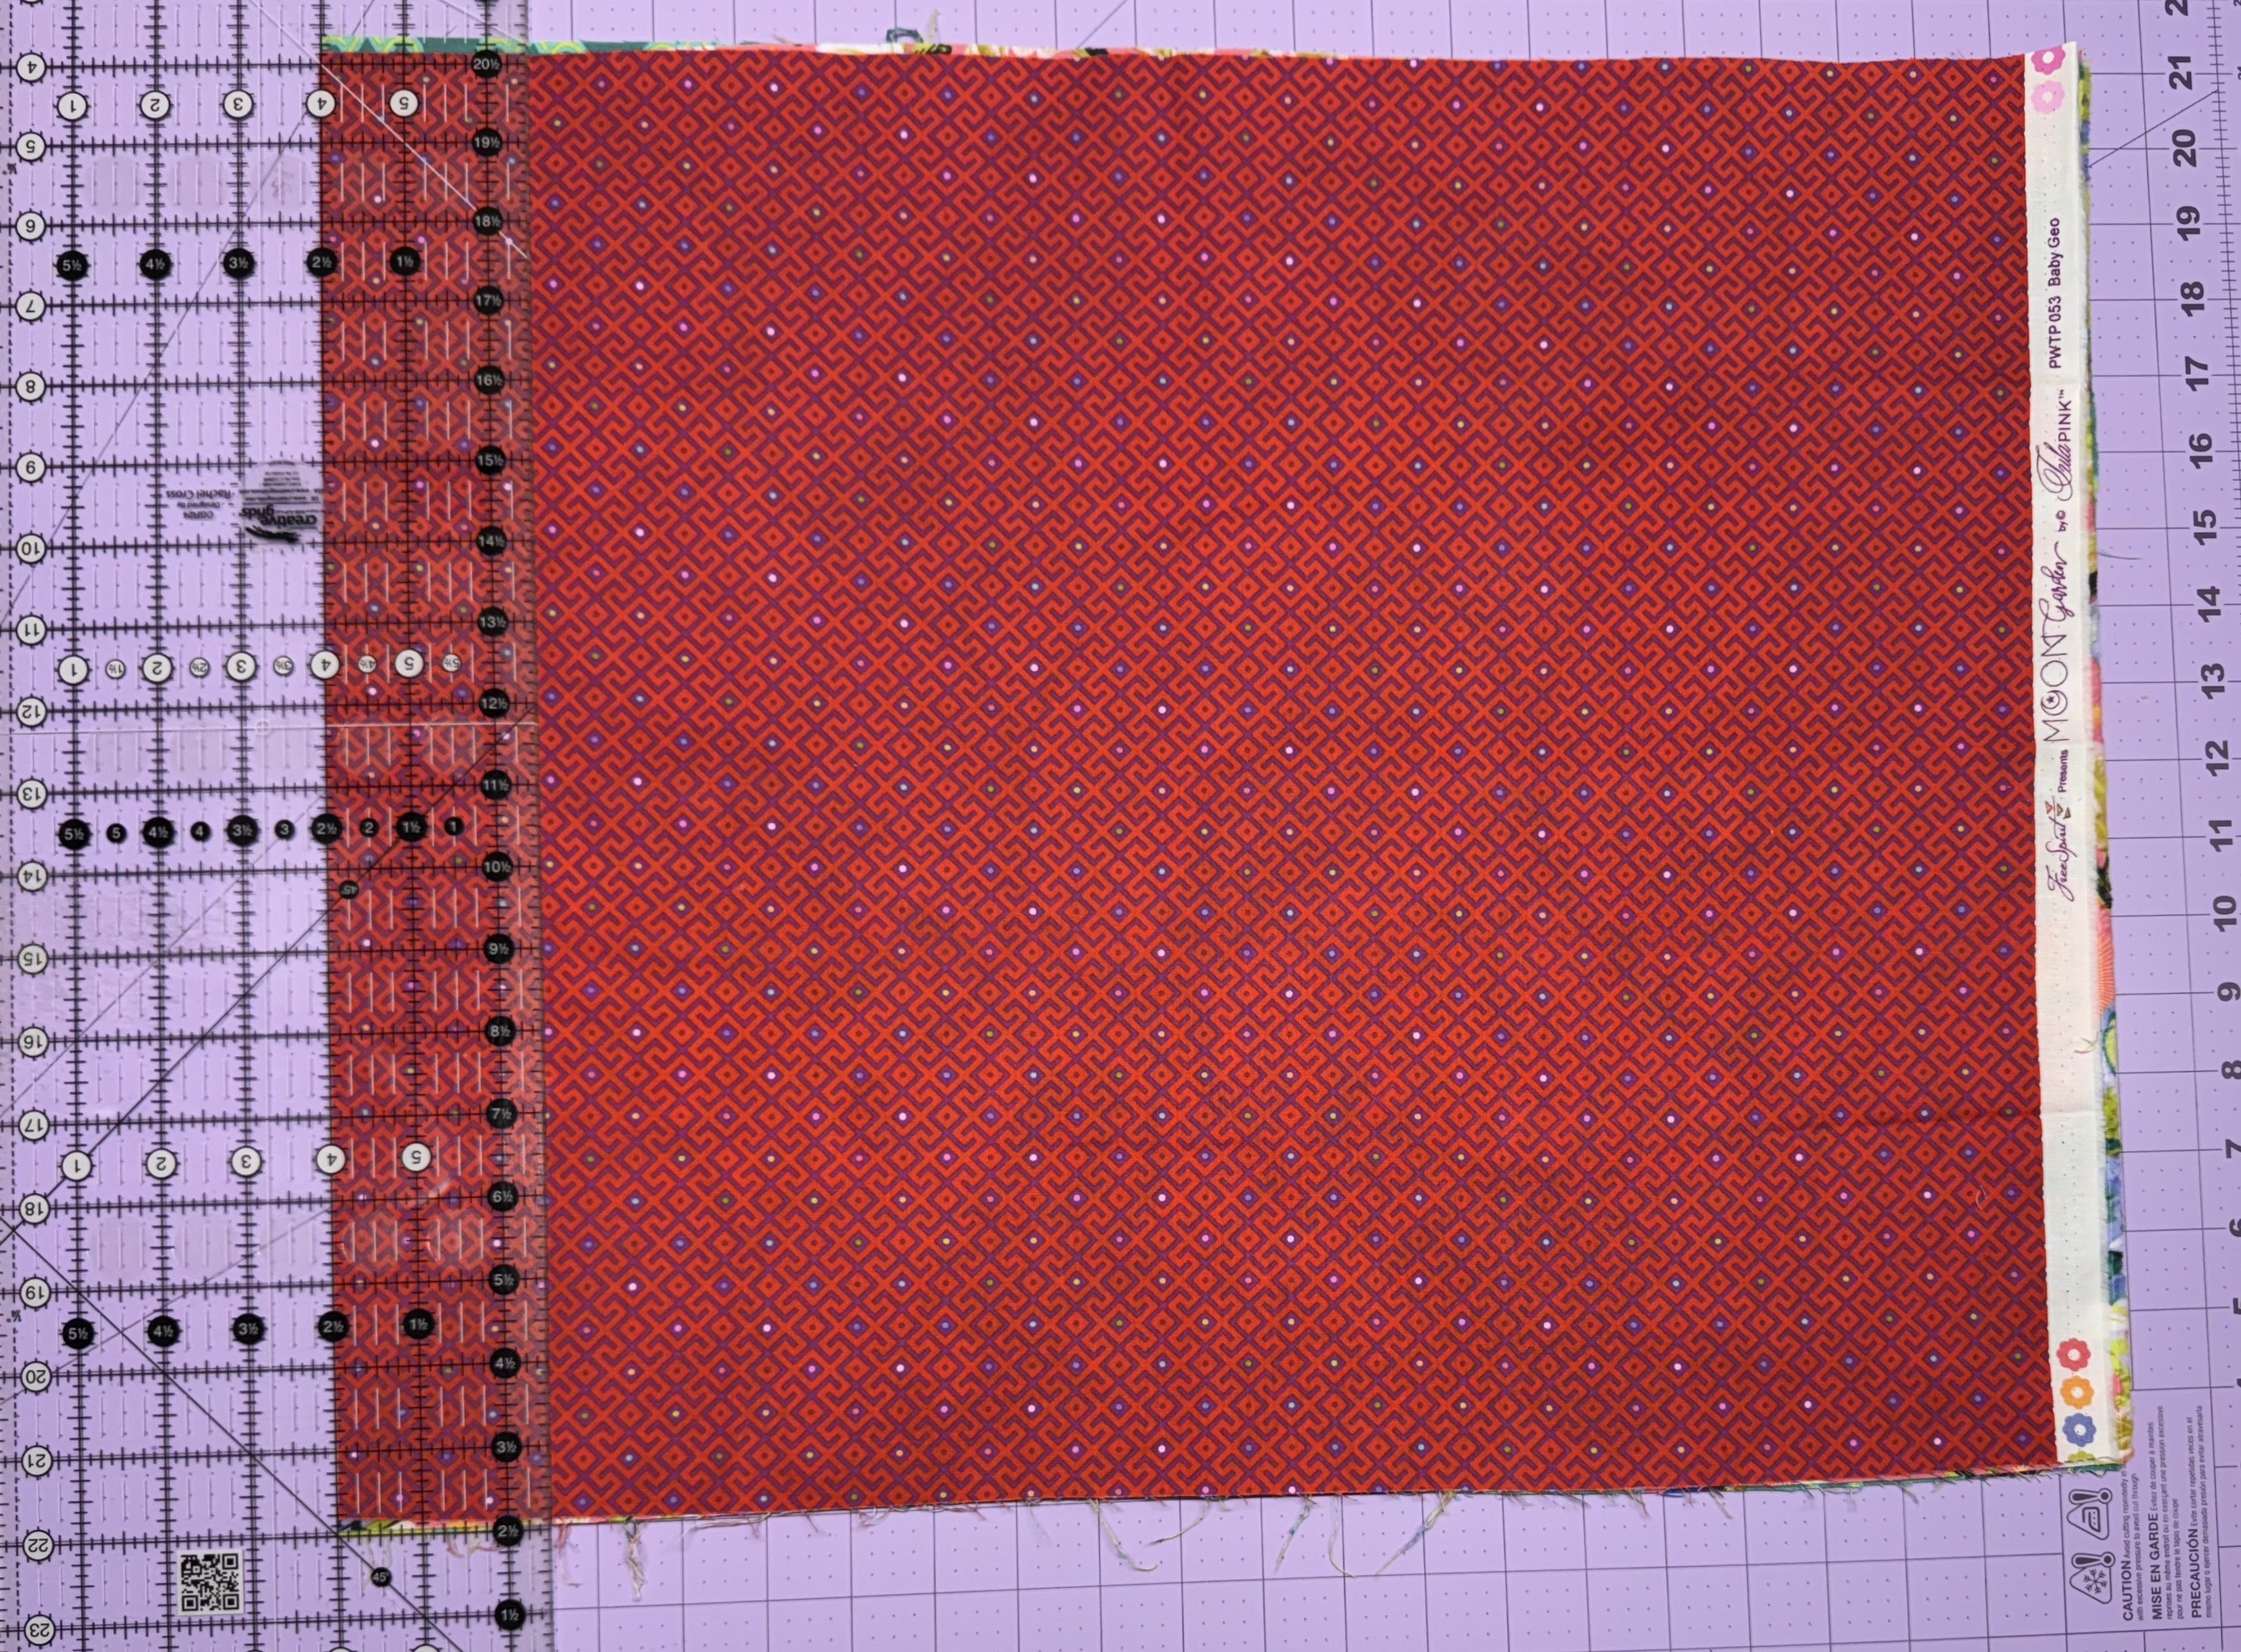
Lay out the strips in your preferred order. If using directional prints, make sure all graphics are oriented correctly.
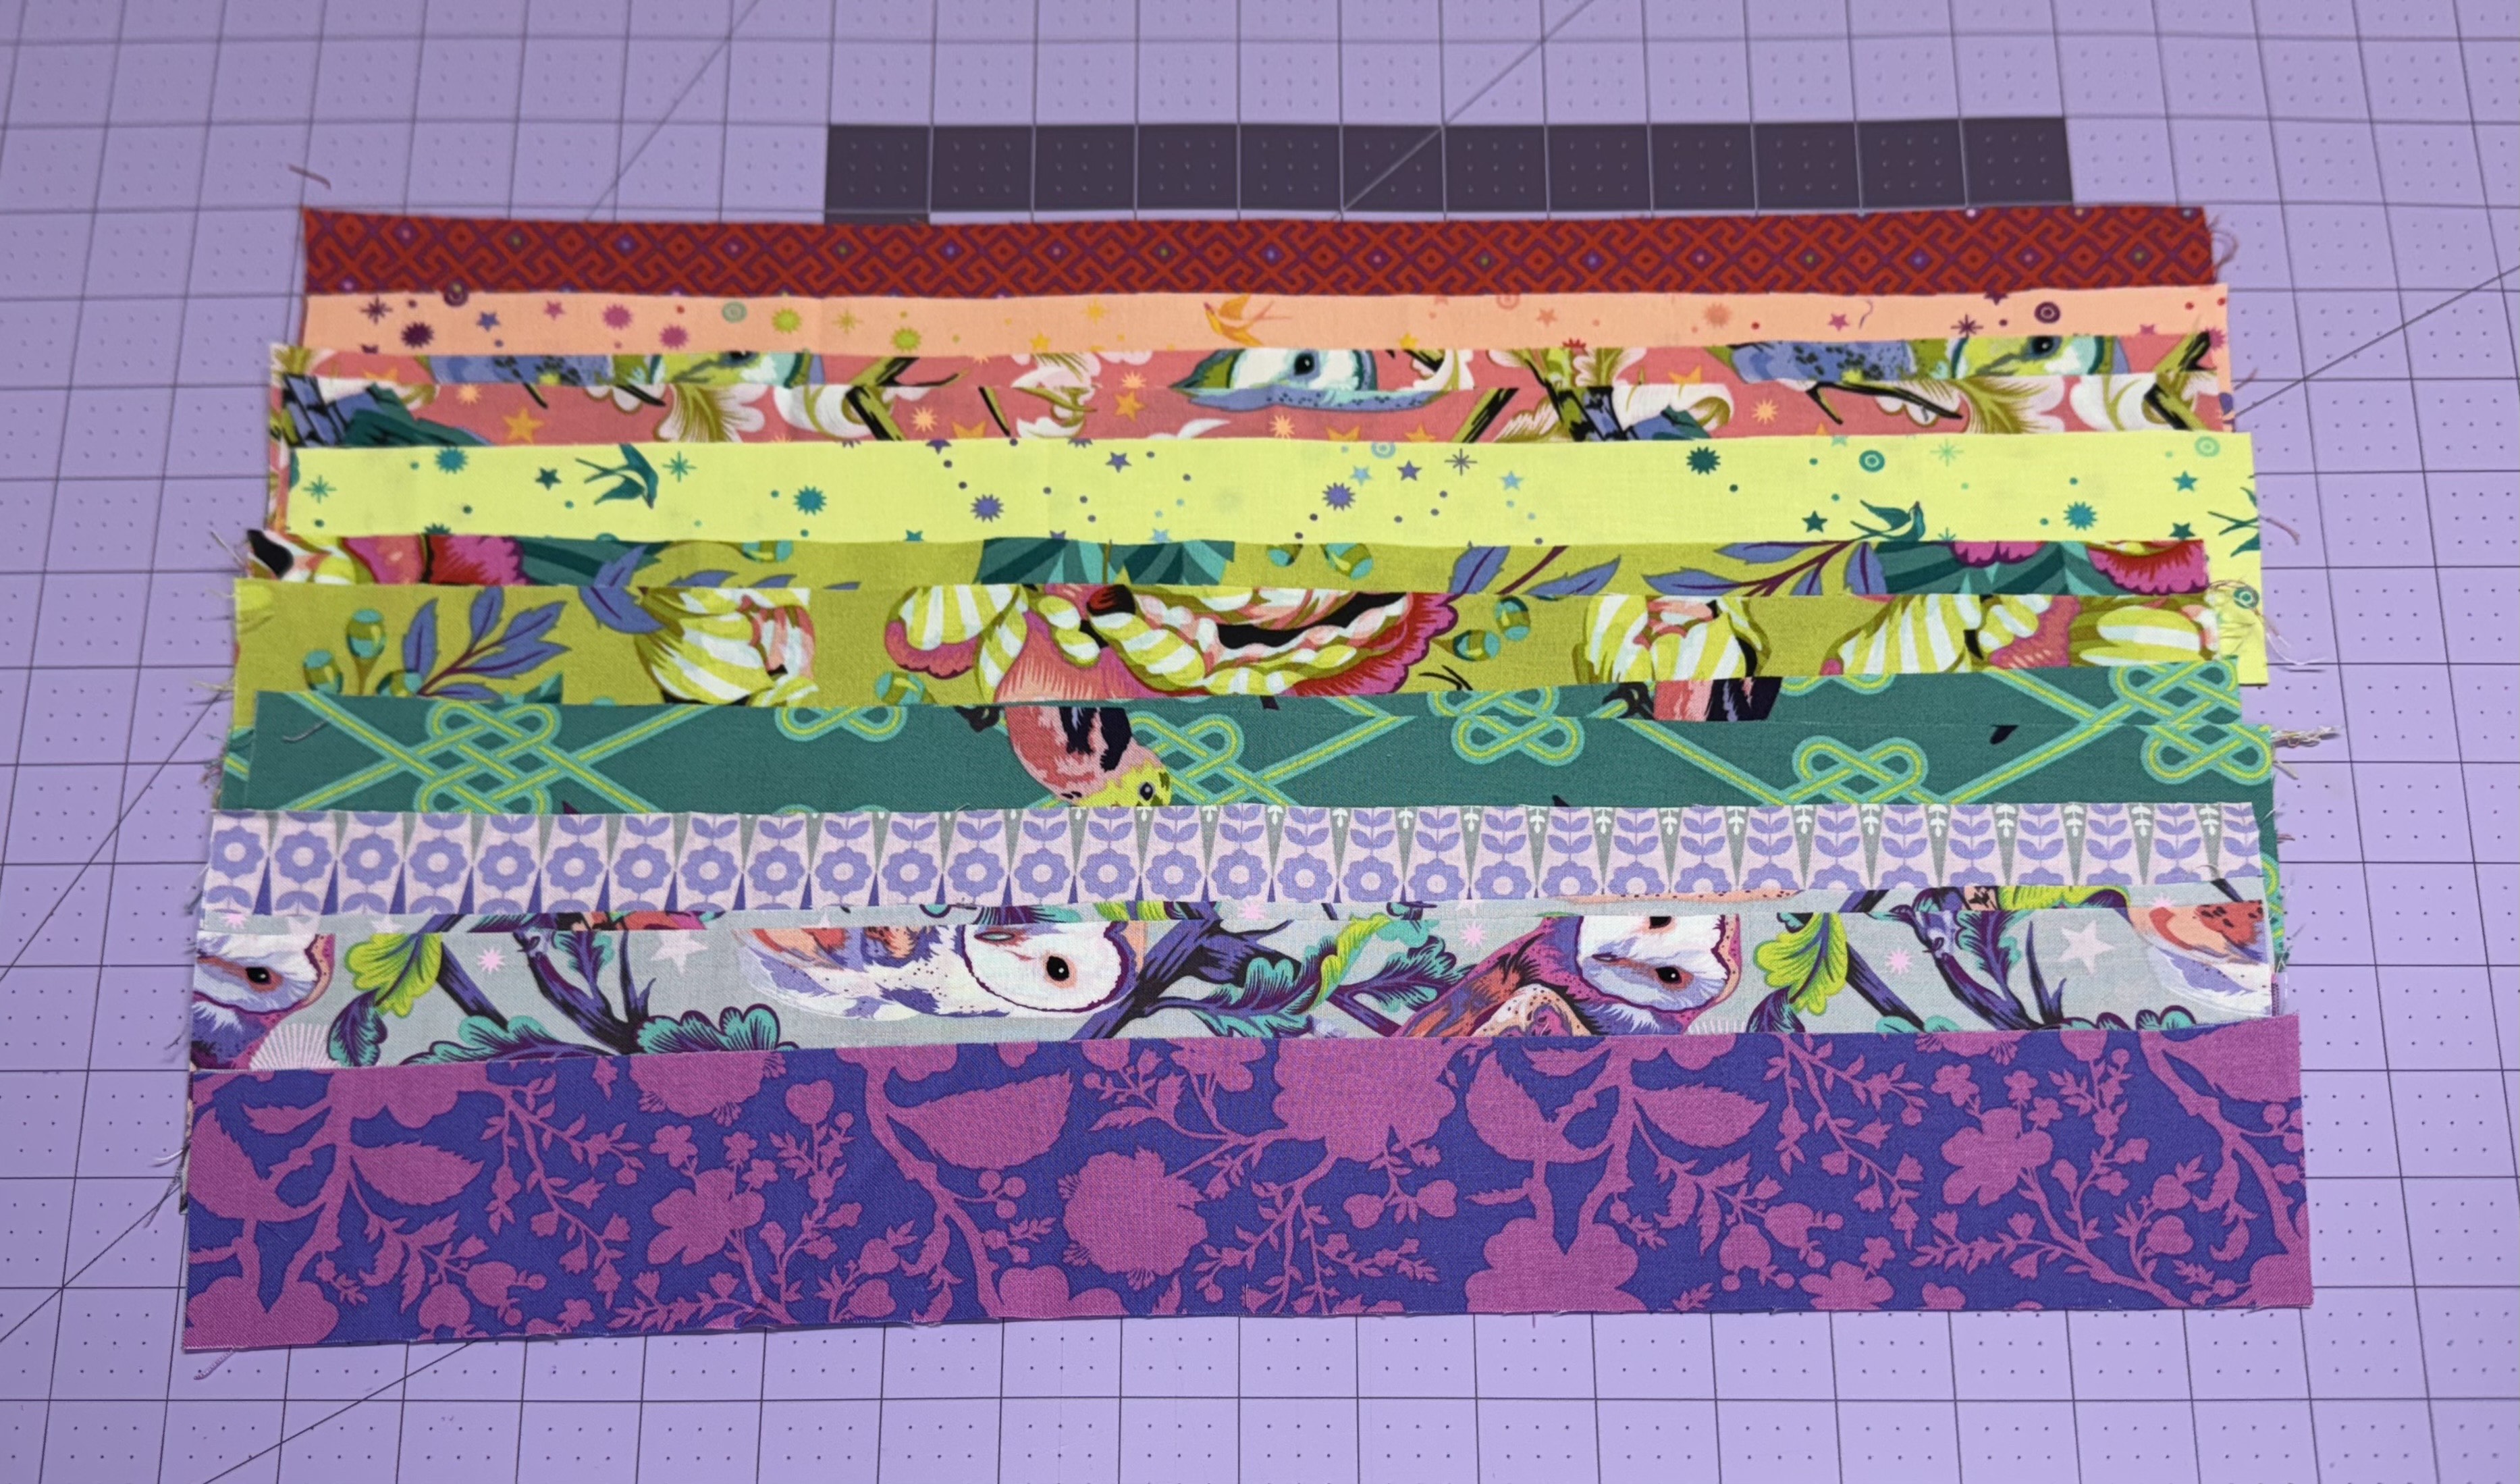
Sew 9 strips together, right sides facing, using a ¼” seam allowance. Press the seams to one side or open, as preferred. Repeat this step with the remaining 9 strips to create a second panel. You should now have (2) exterior panels, each measuring 18½” W x 18” L.
Prepare the Stabilizer: Cut (2) squares of foam stabilizer (e.g., Soft and Stable) measuring 20” x 20”.
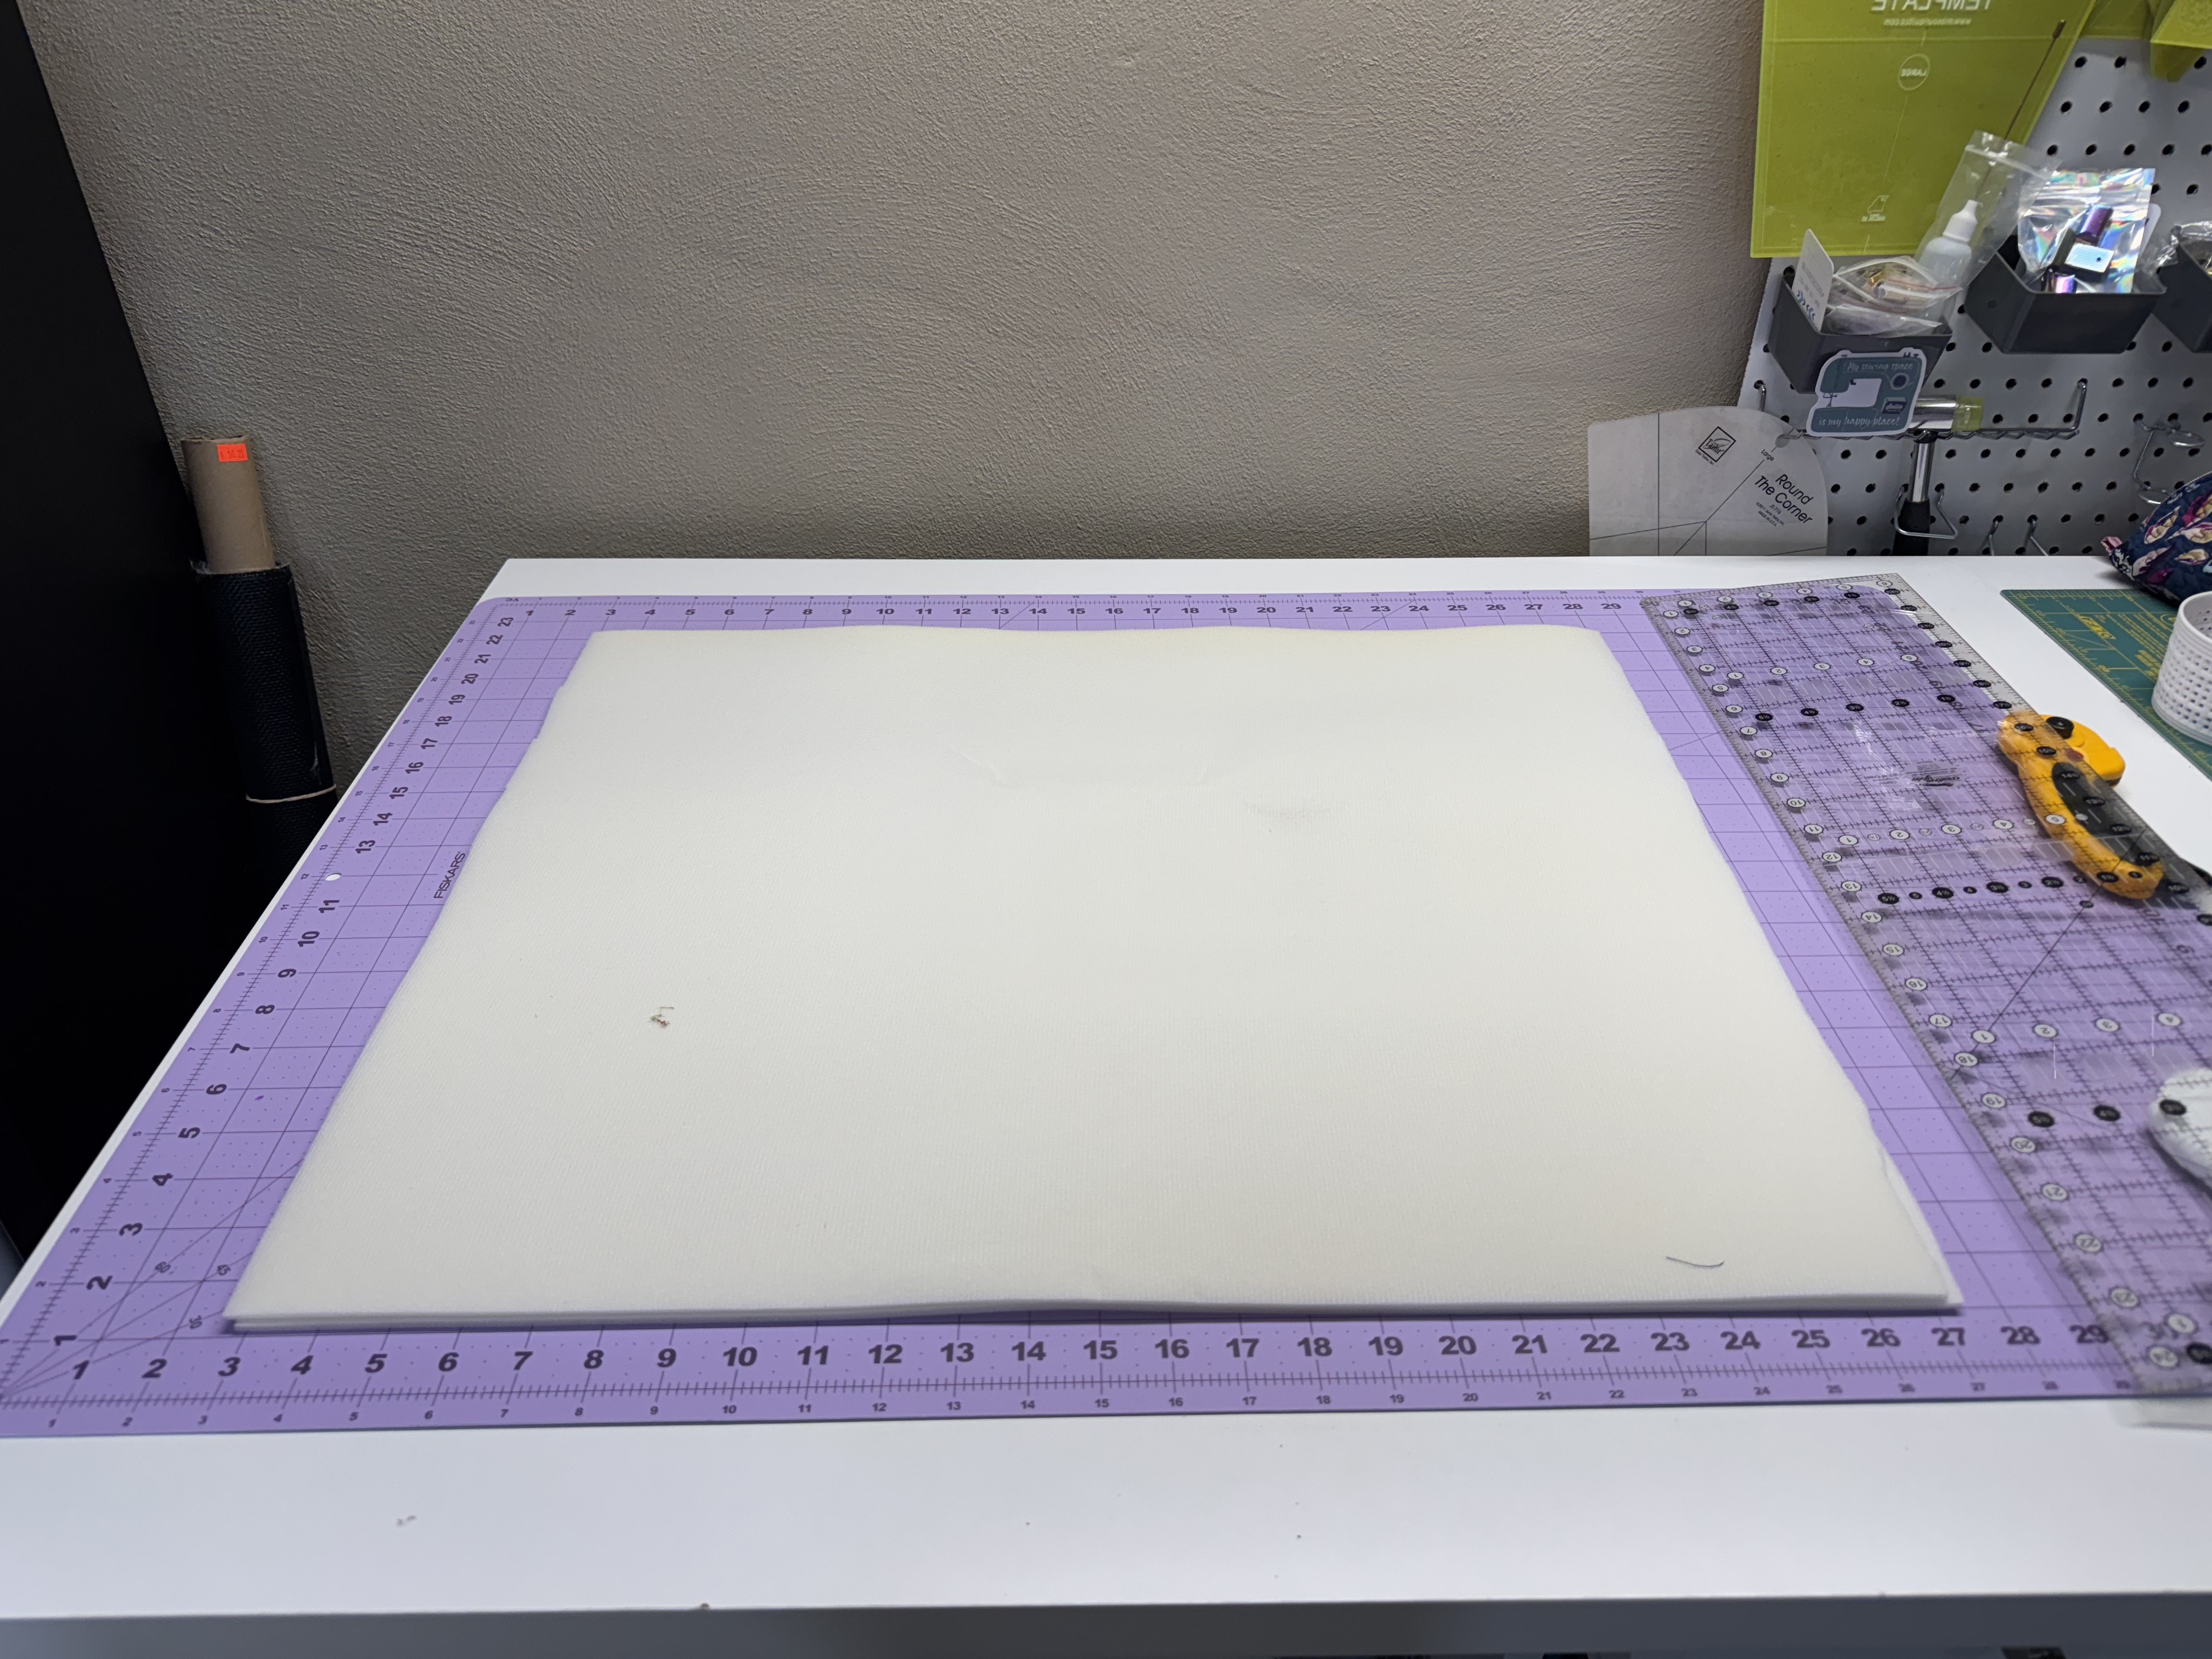
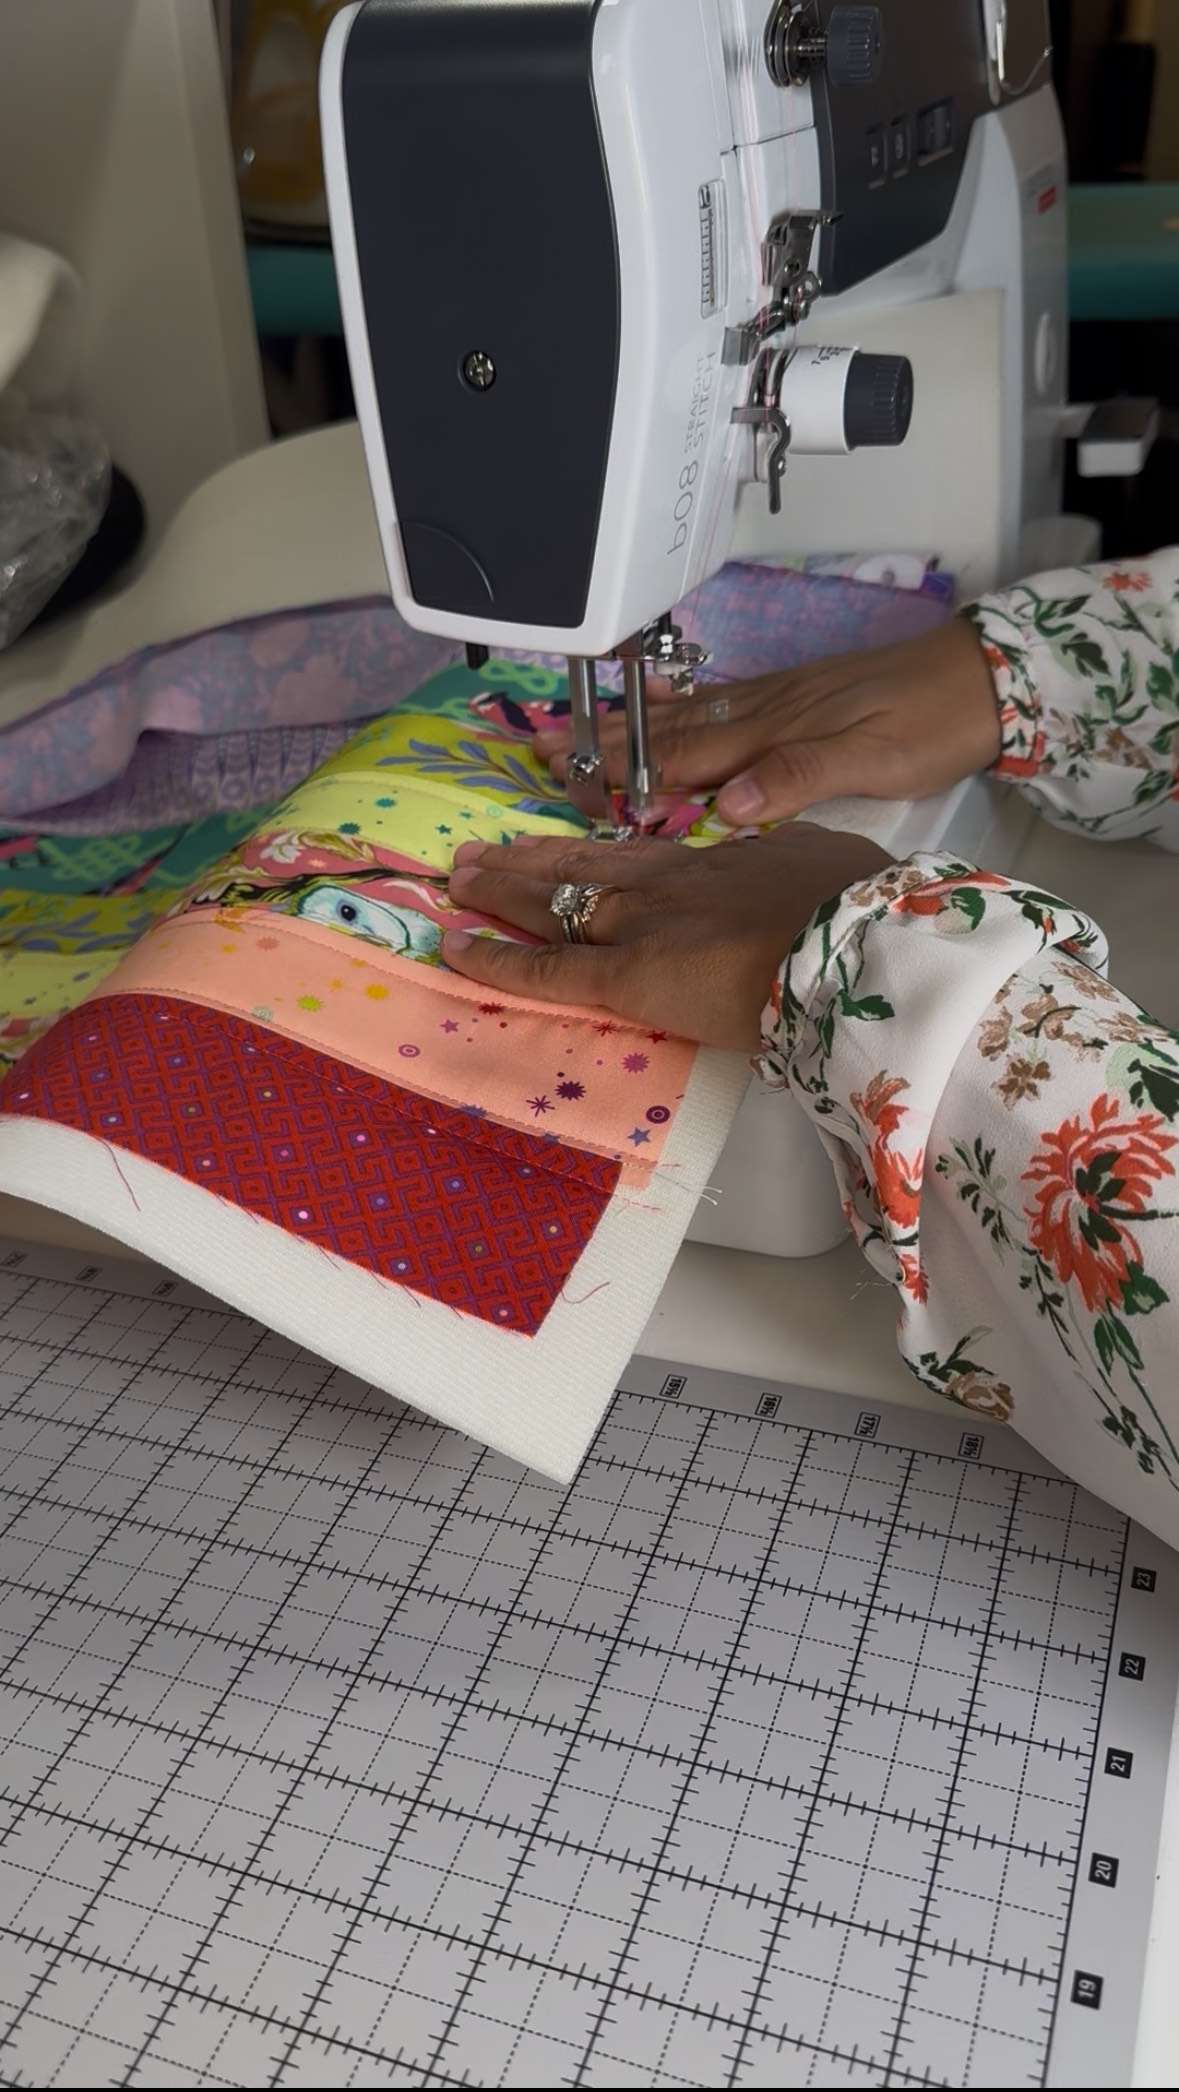
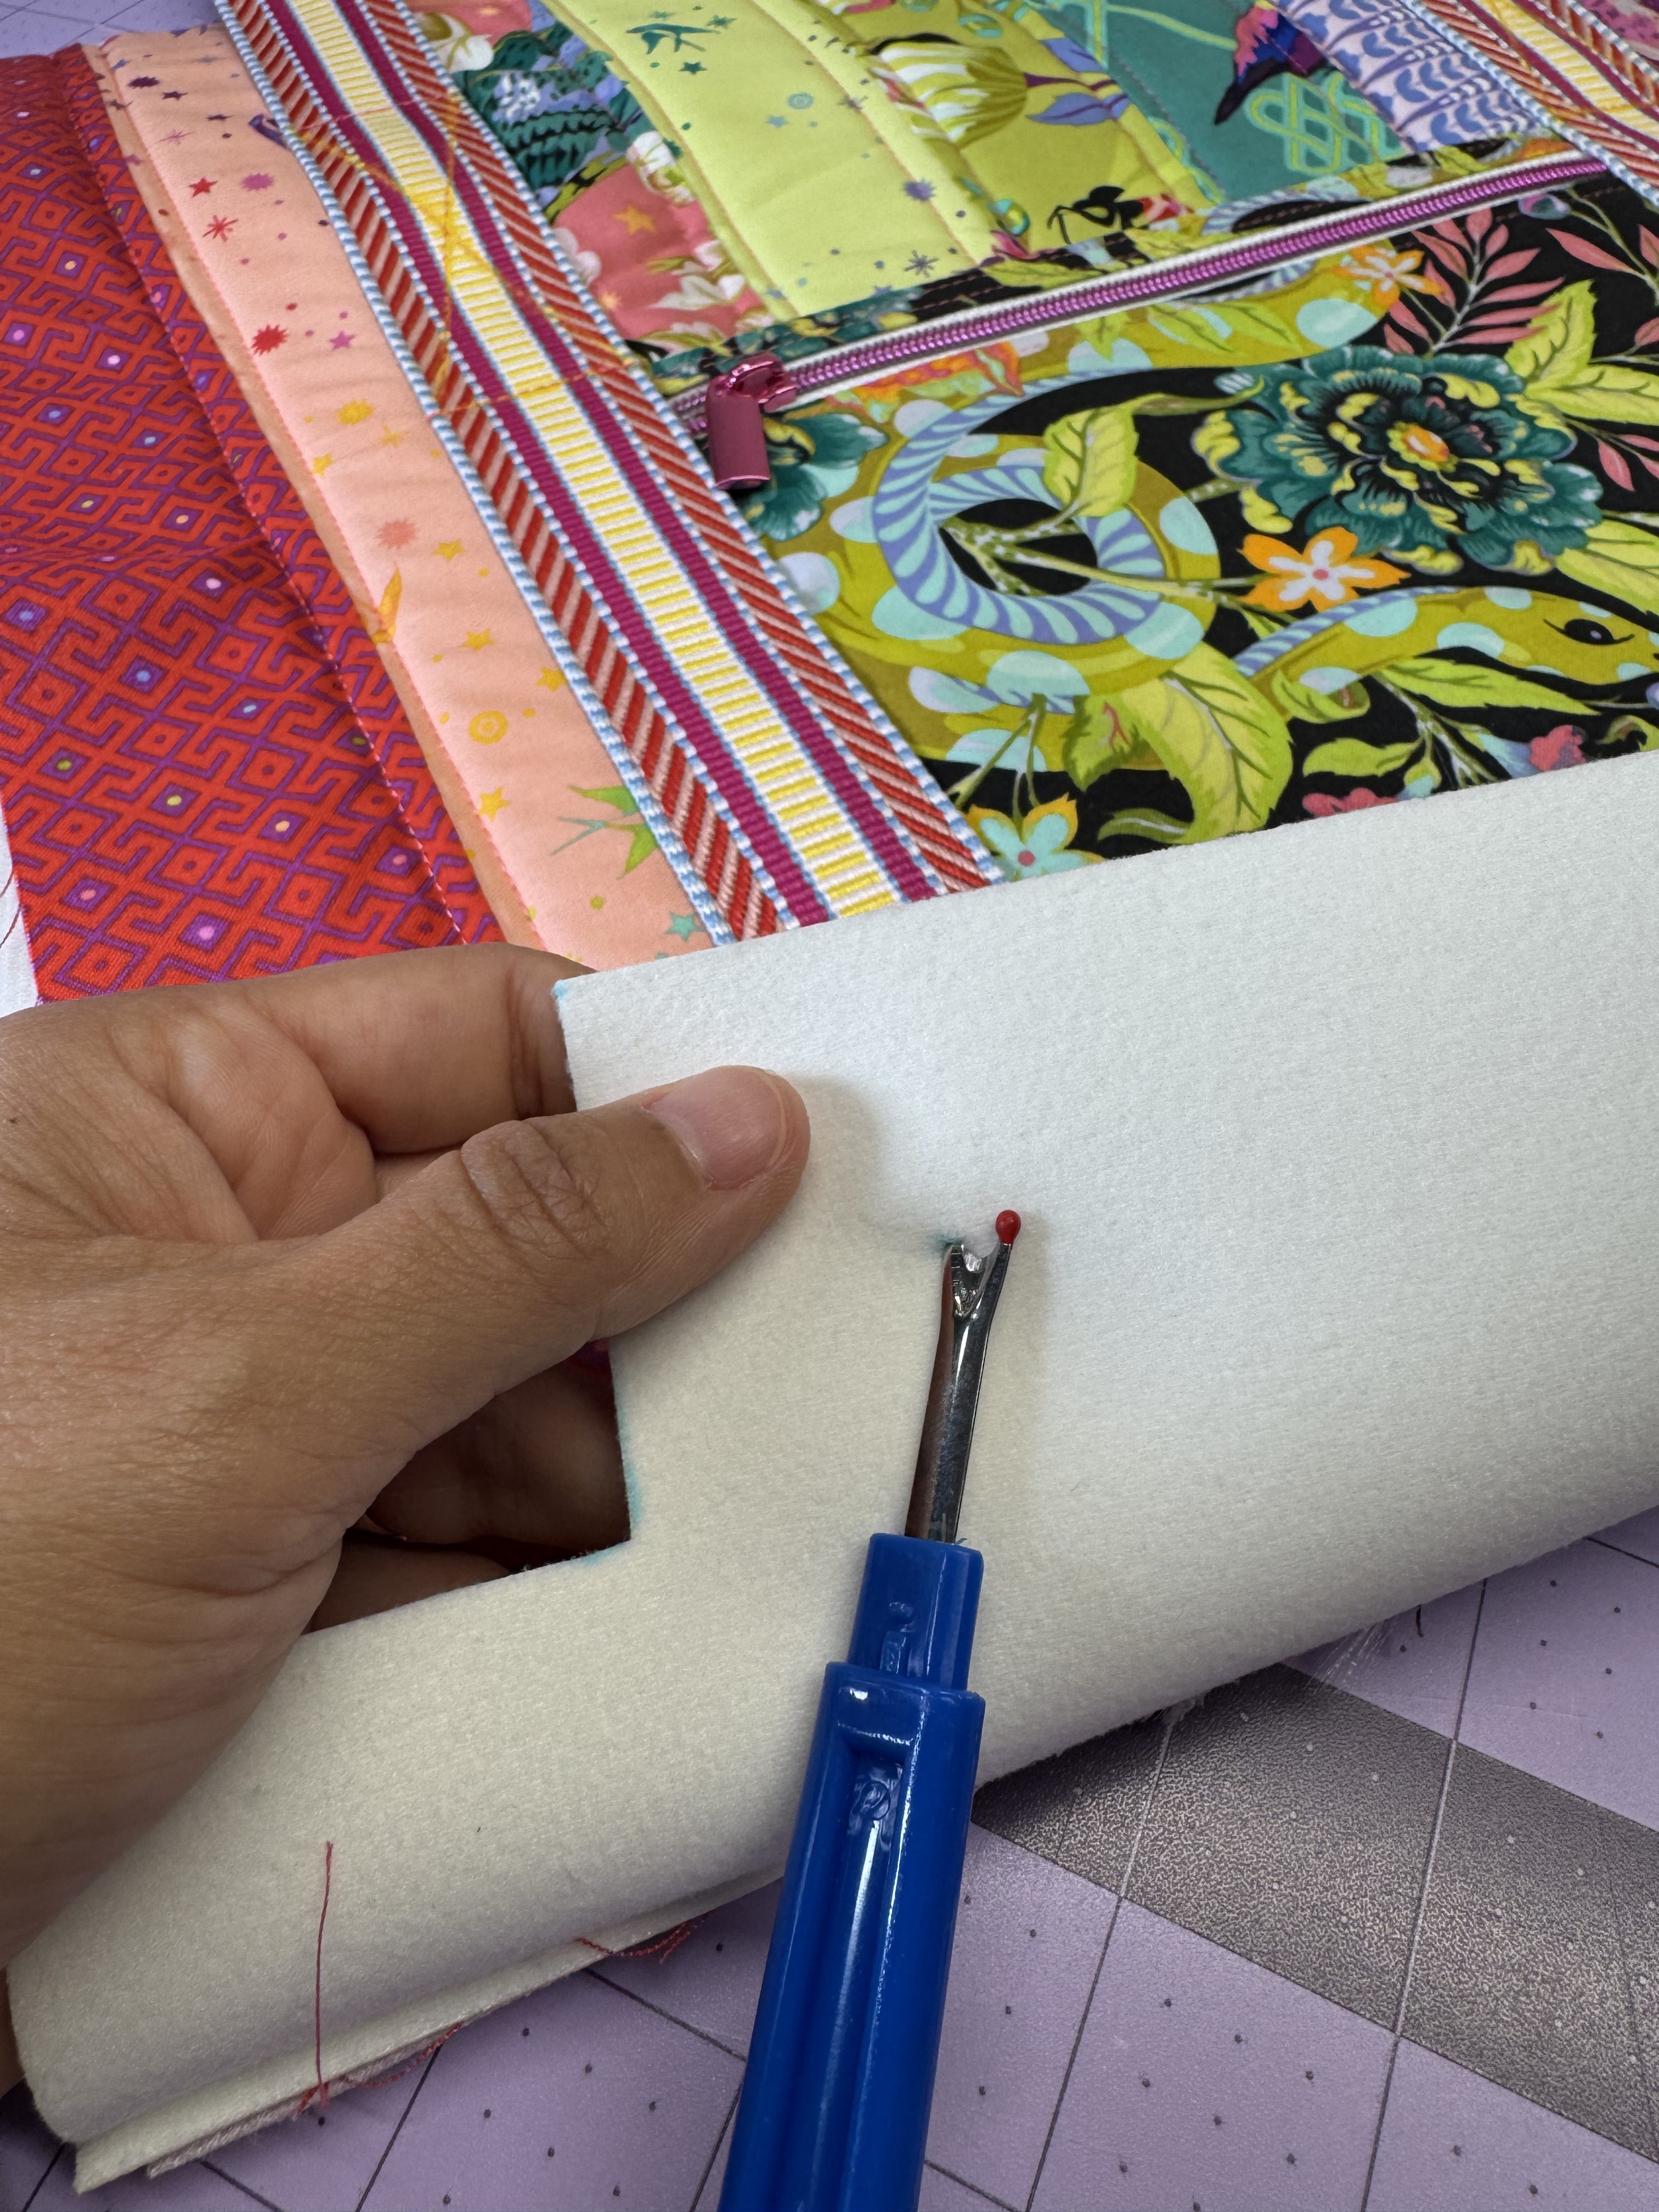
Baste each fabric panel to a foam stabilizer square.
Quilt each panel as desired.
Trim each quilted panel to measure 18” W by 16 ½” L.
Step 2: Prepare Vinyl Bottom Exterior Accent
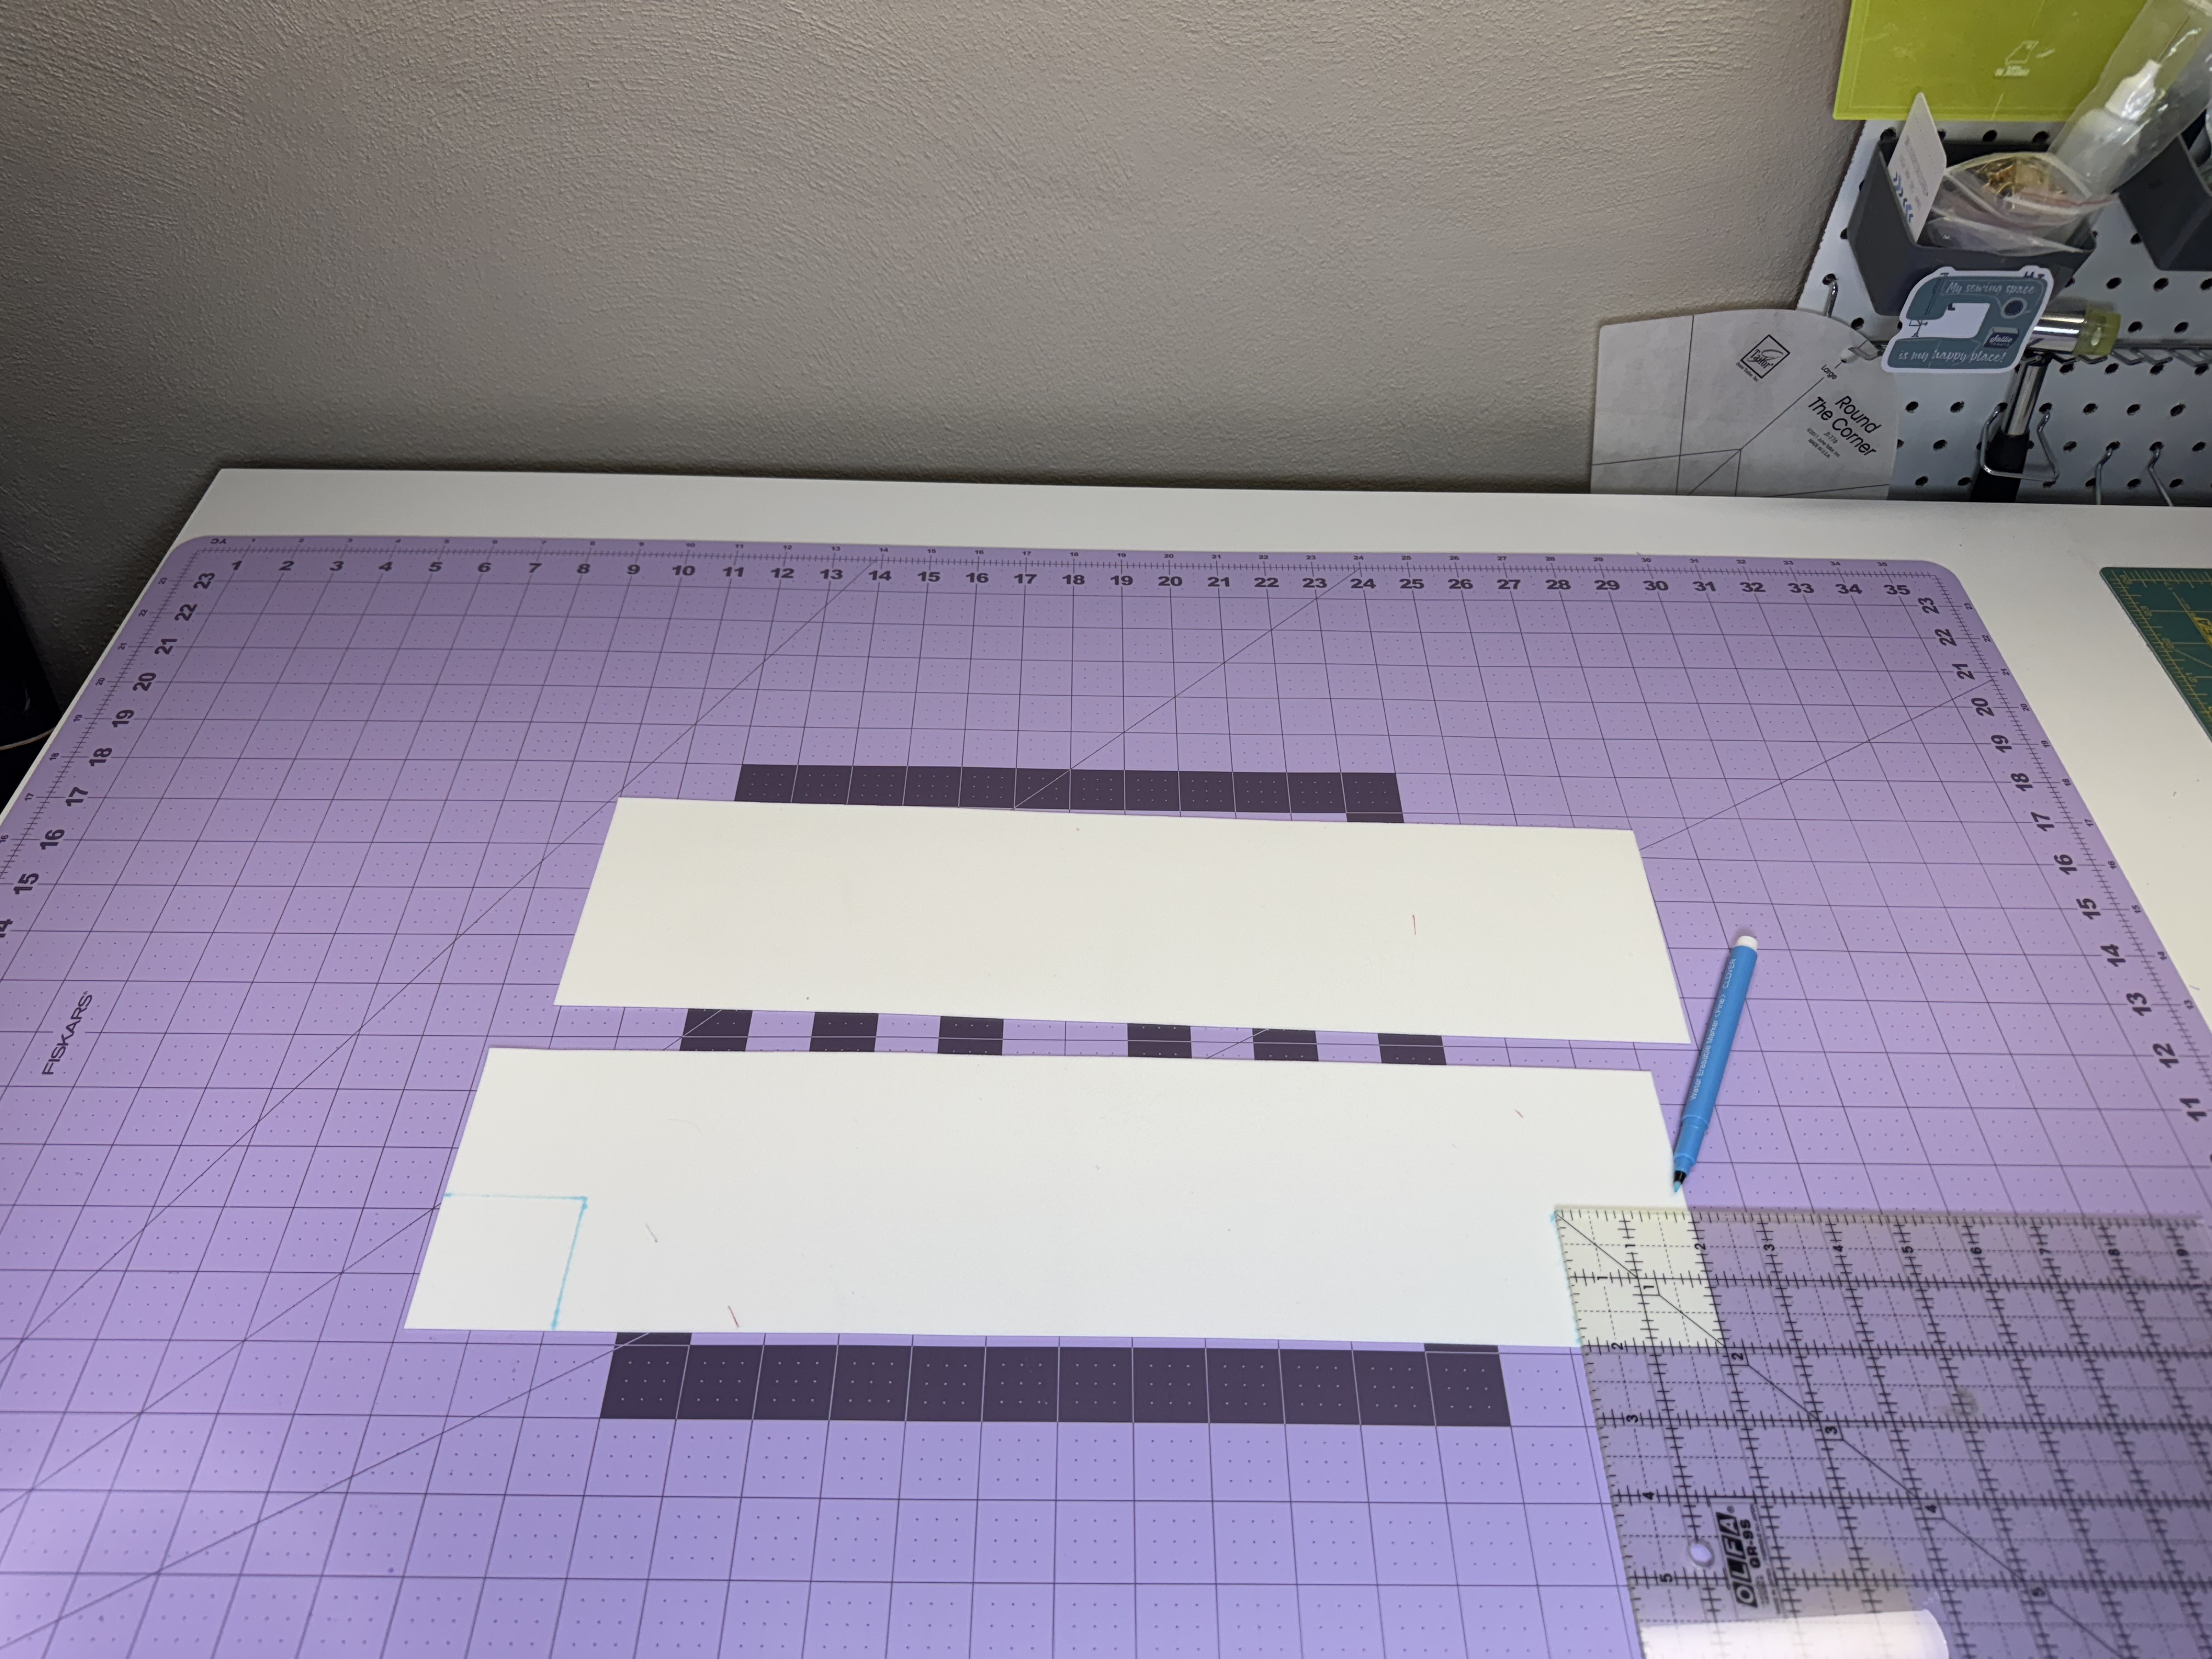
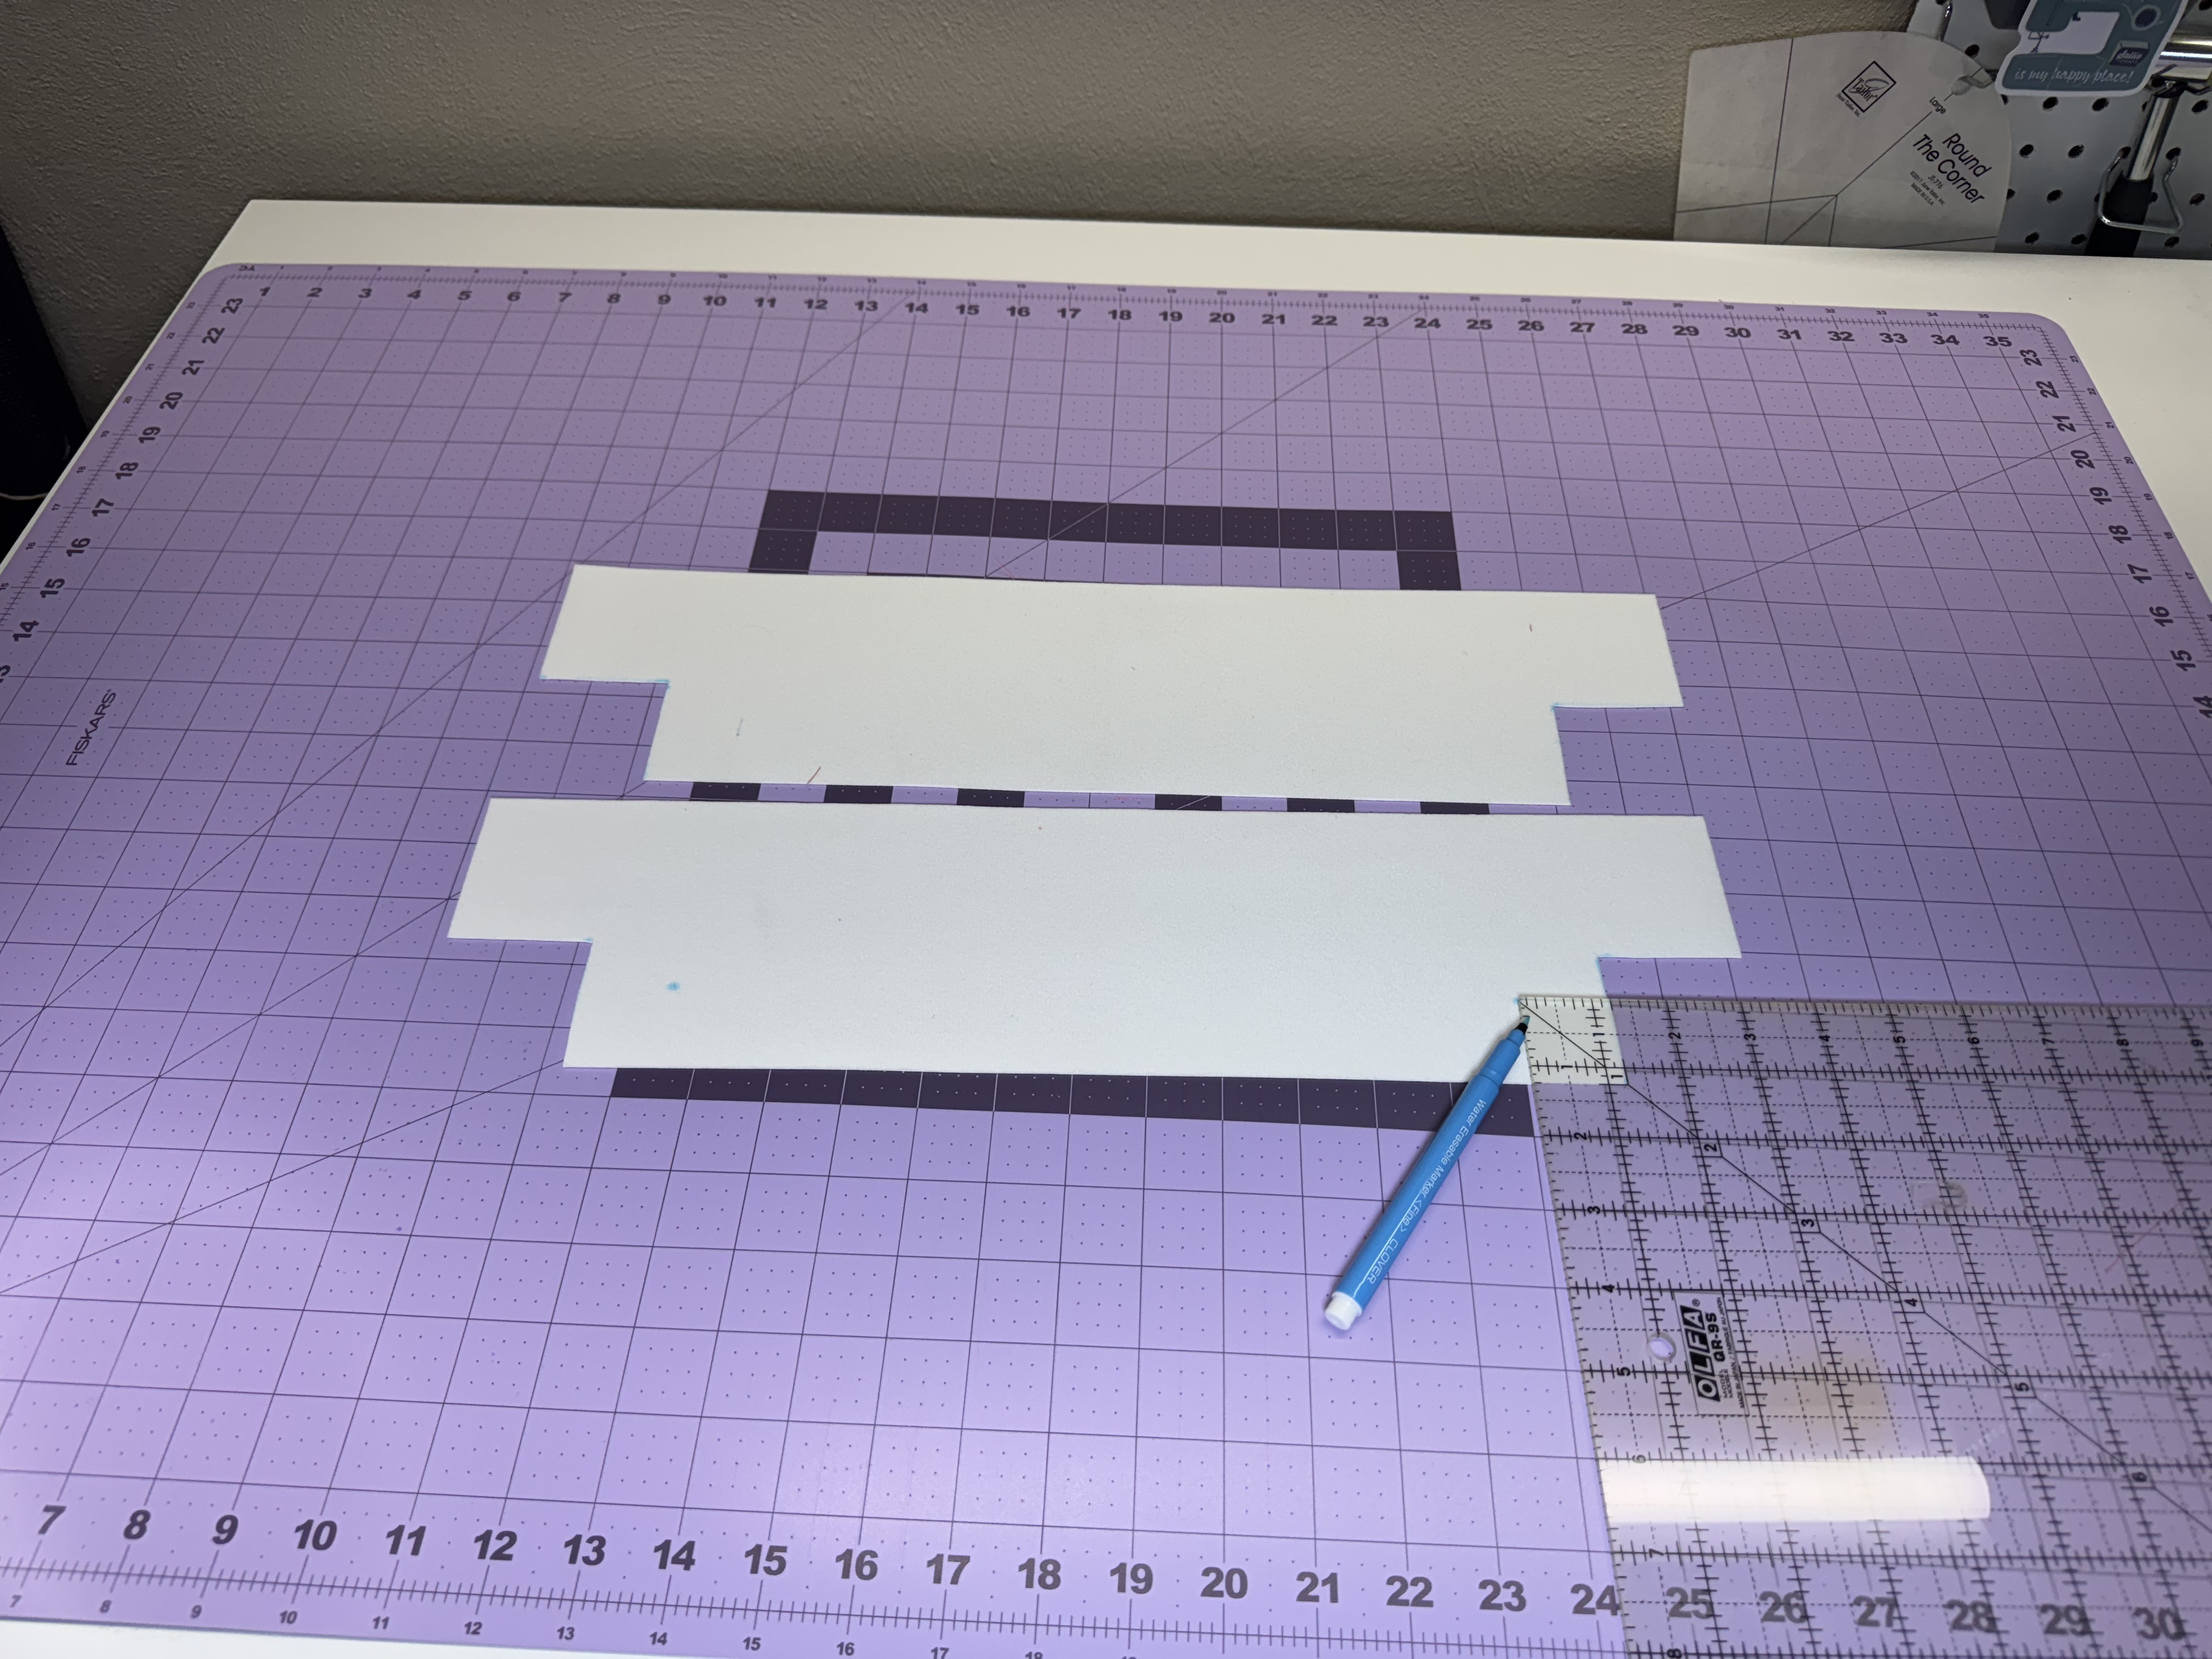
Cut (2) vinyl rectangles, each measuring 18” W x 4½” L.

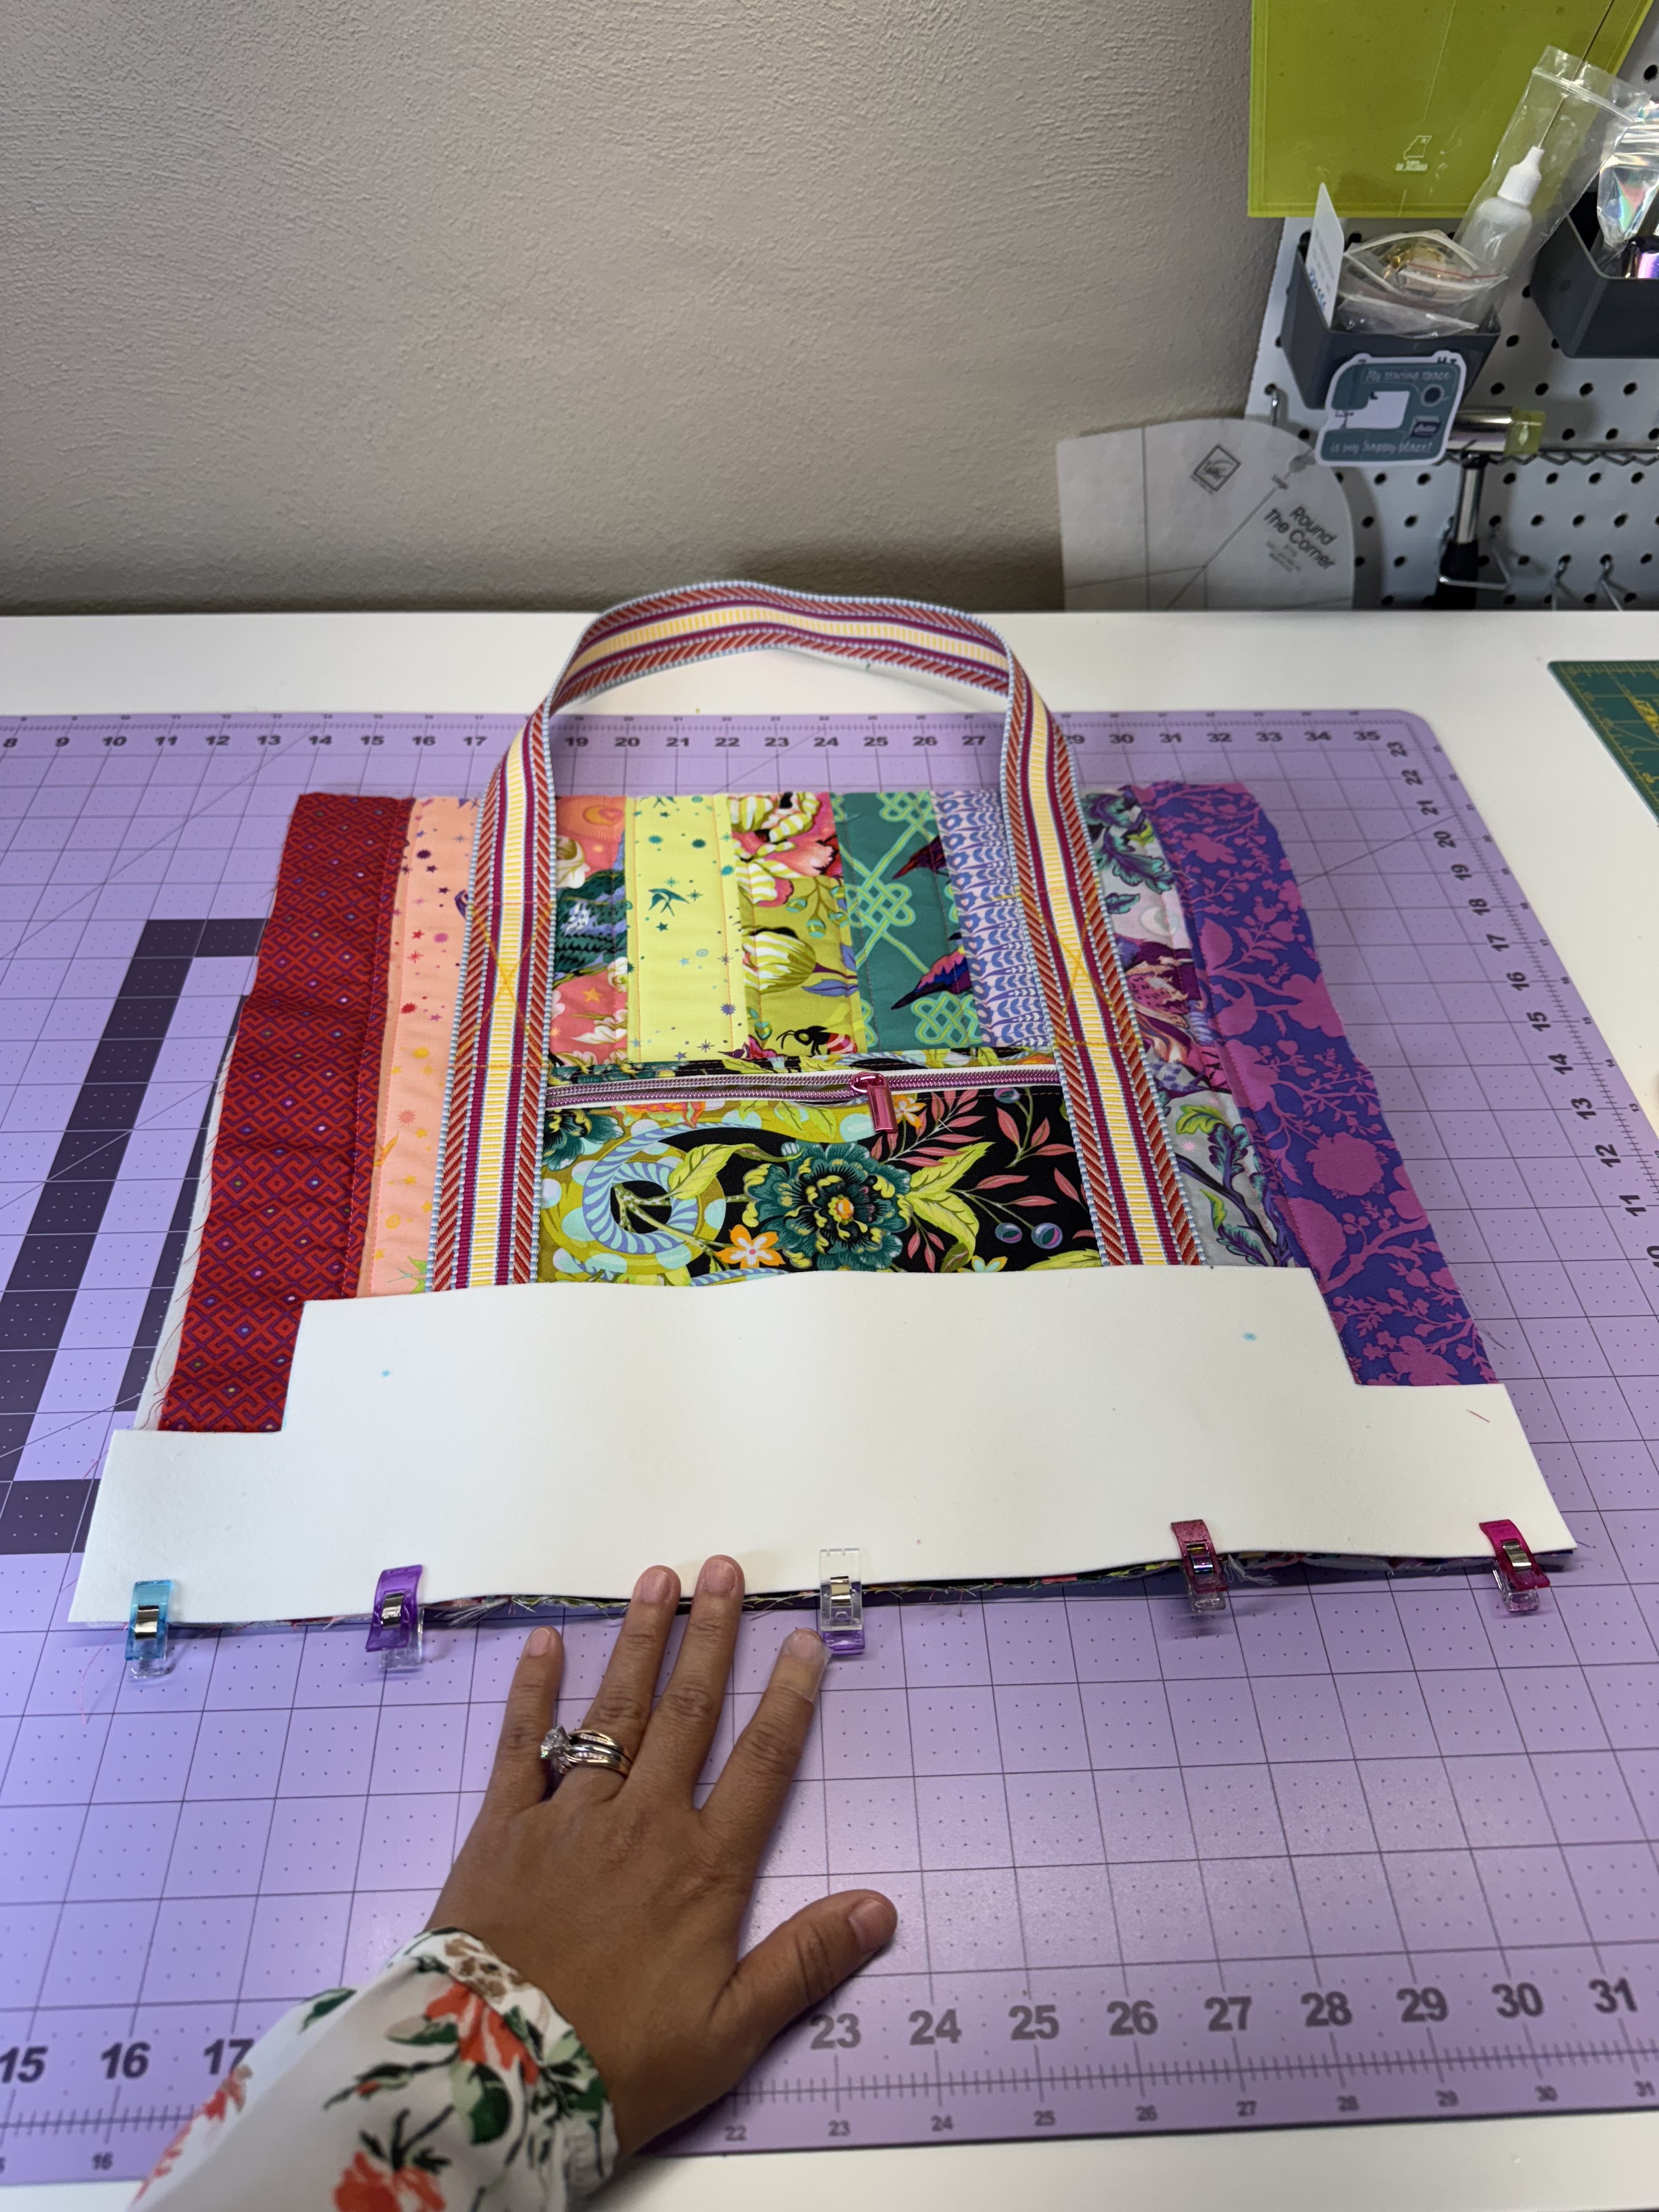
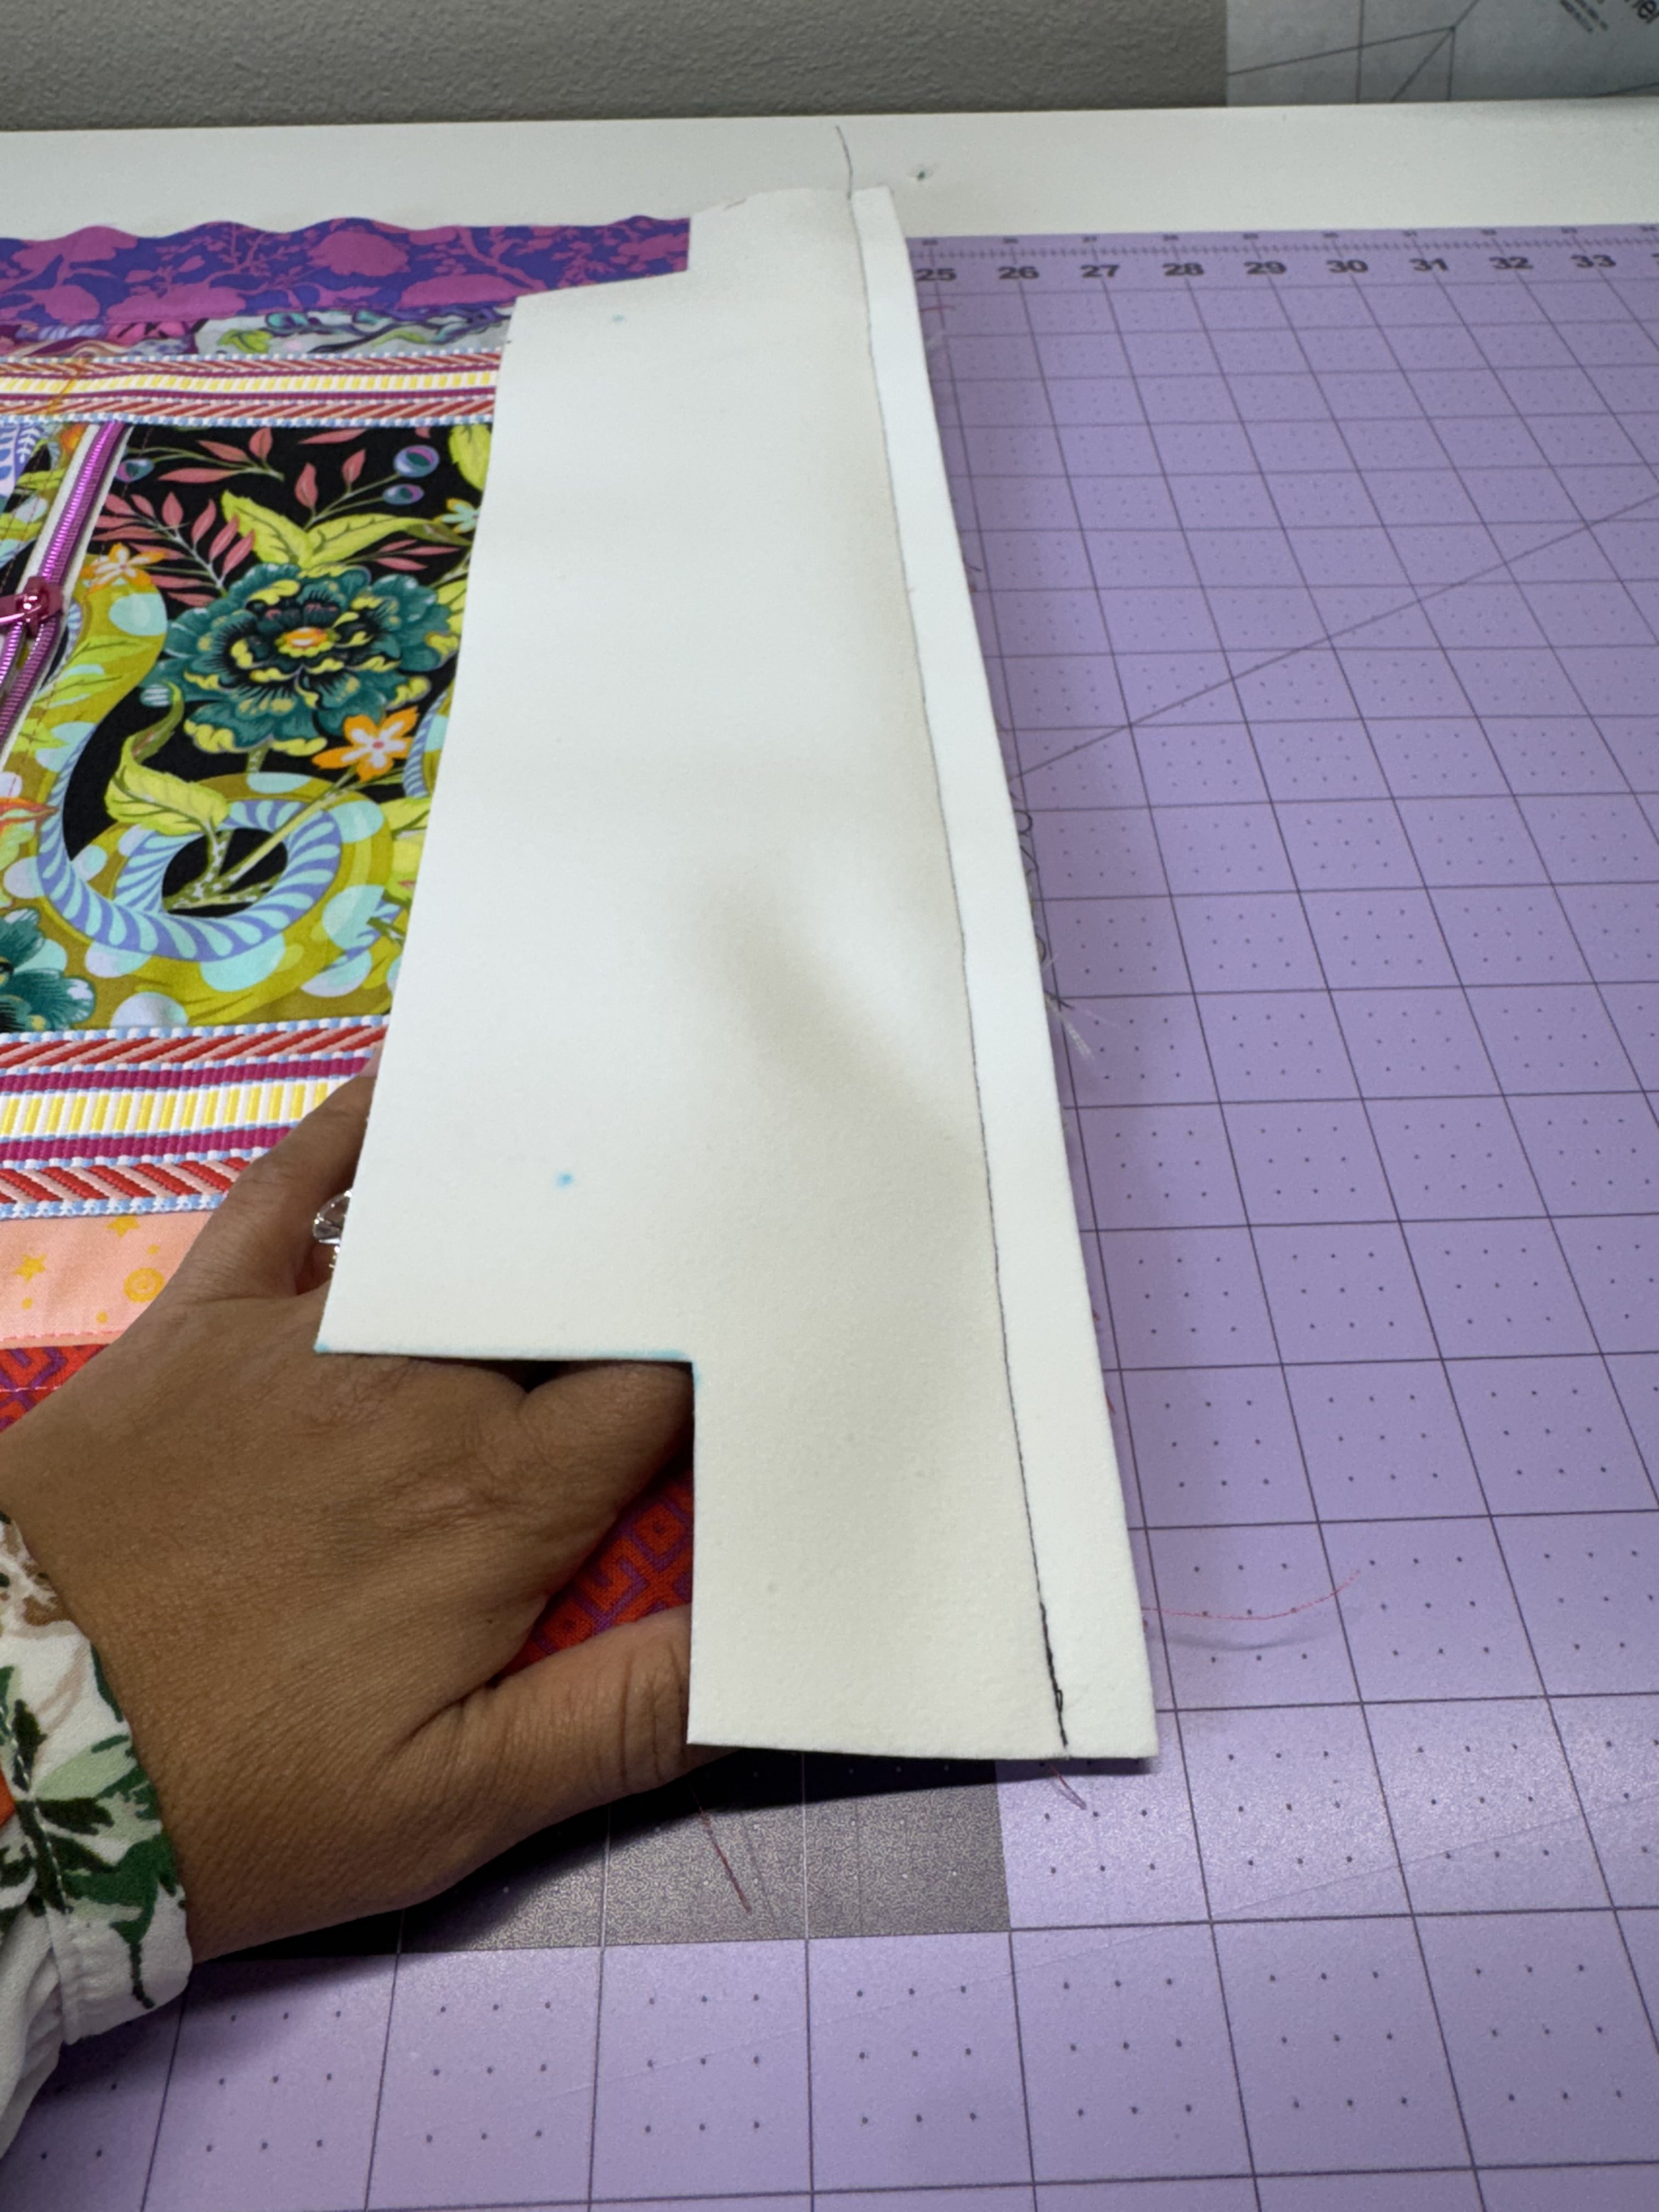
Mark and cut a 2” square from each bottom corner of one vinyl accent piece. This will form the boxed base of the tote. Repeat this step with the other vinyl accent piece.
Create 2 markings on the wrong side of each vinyl accent where the bag feet will be placed as follows:
- 1 ¼” from left, 1 ¼” from bottom
- 1 ¼” from right, 1 ¼” from bottom
Step 3: Preparing for Front and Back Exterior Pockets
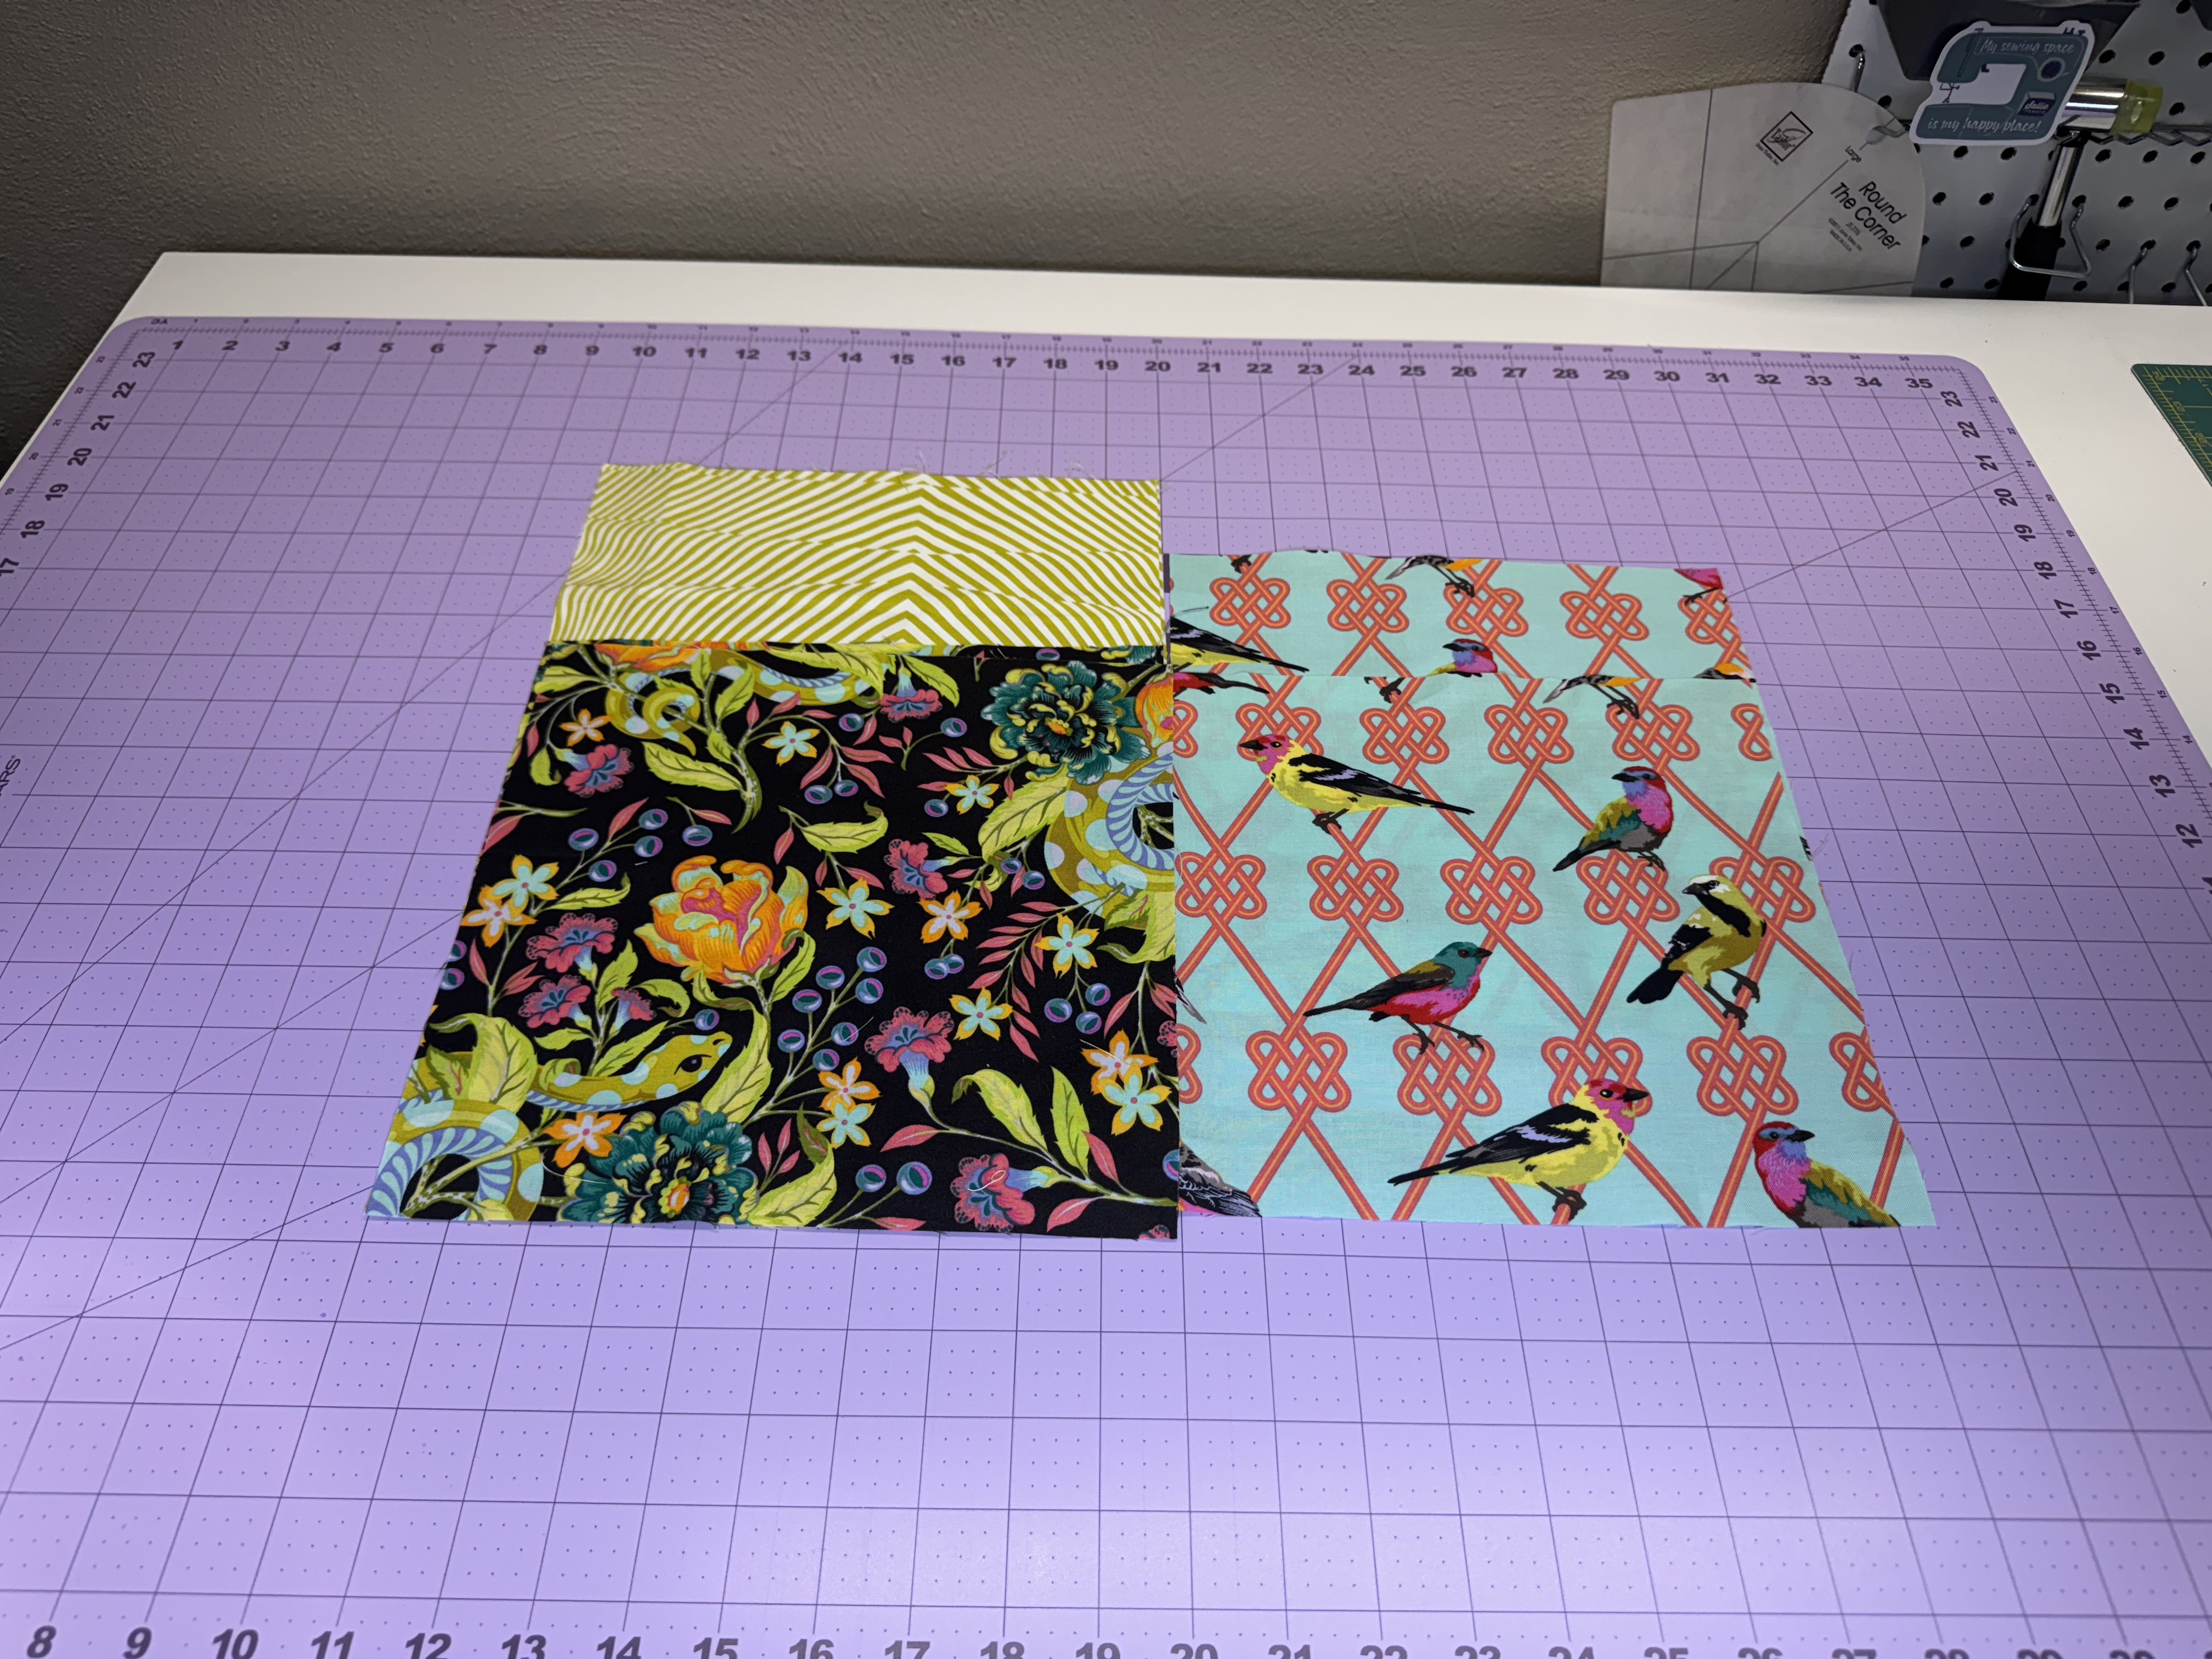
Cut (2) 9½” squares from the FQs of exterior fabric (for back pocket)
Cut (4) 10” squares from the FQs of exterior fabric (for front zipper pocket)
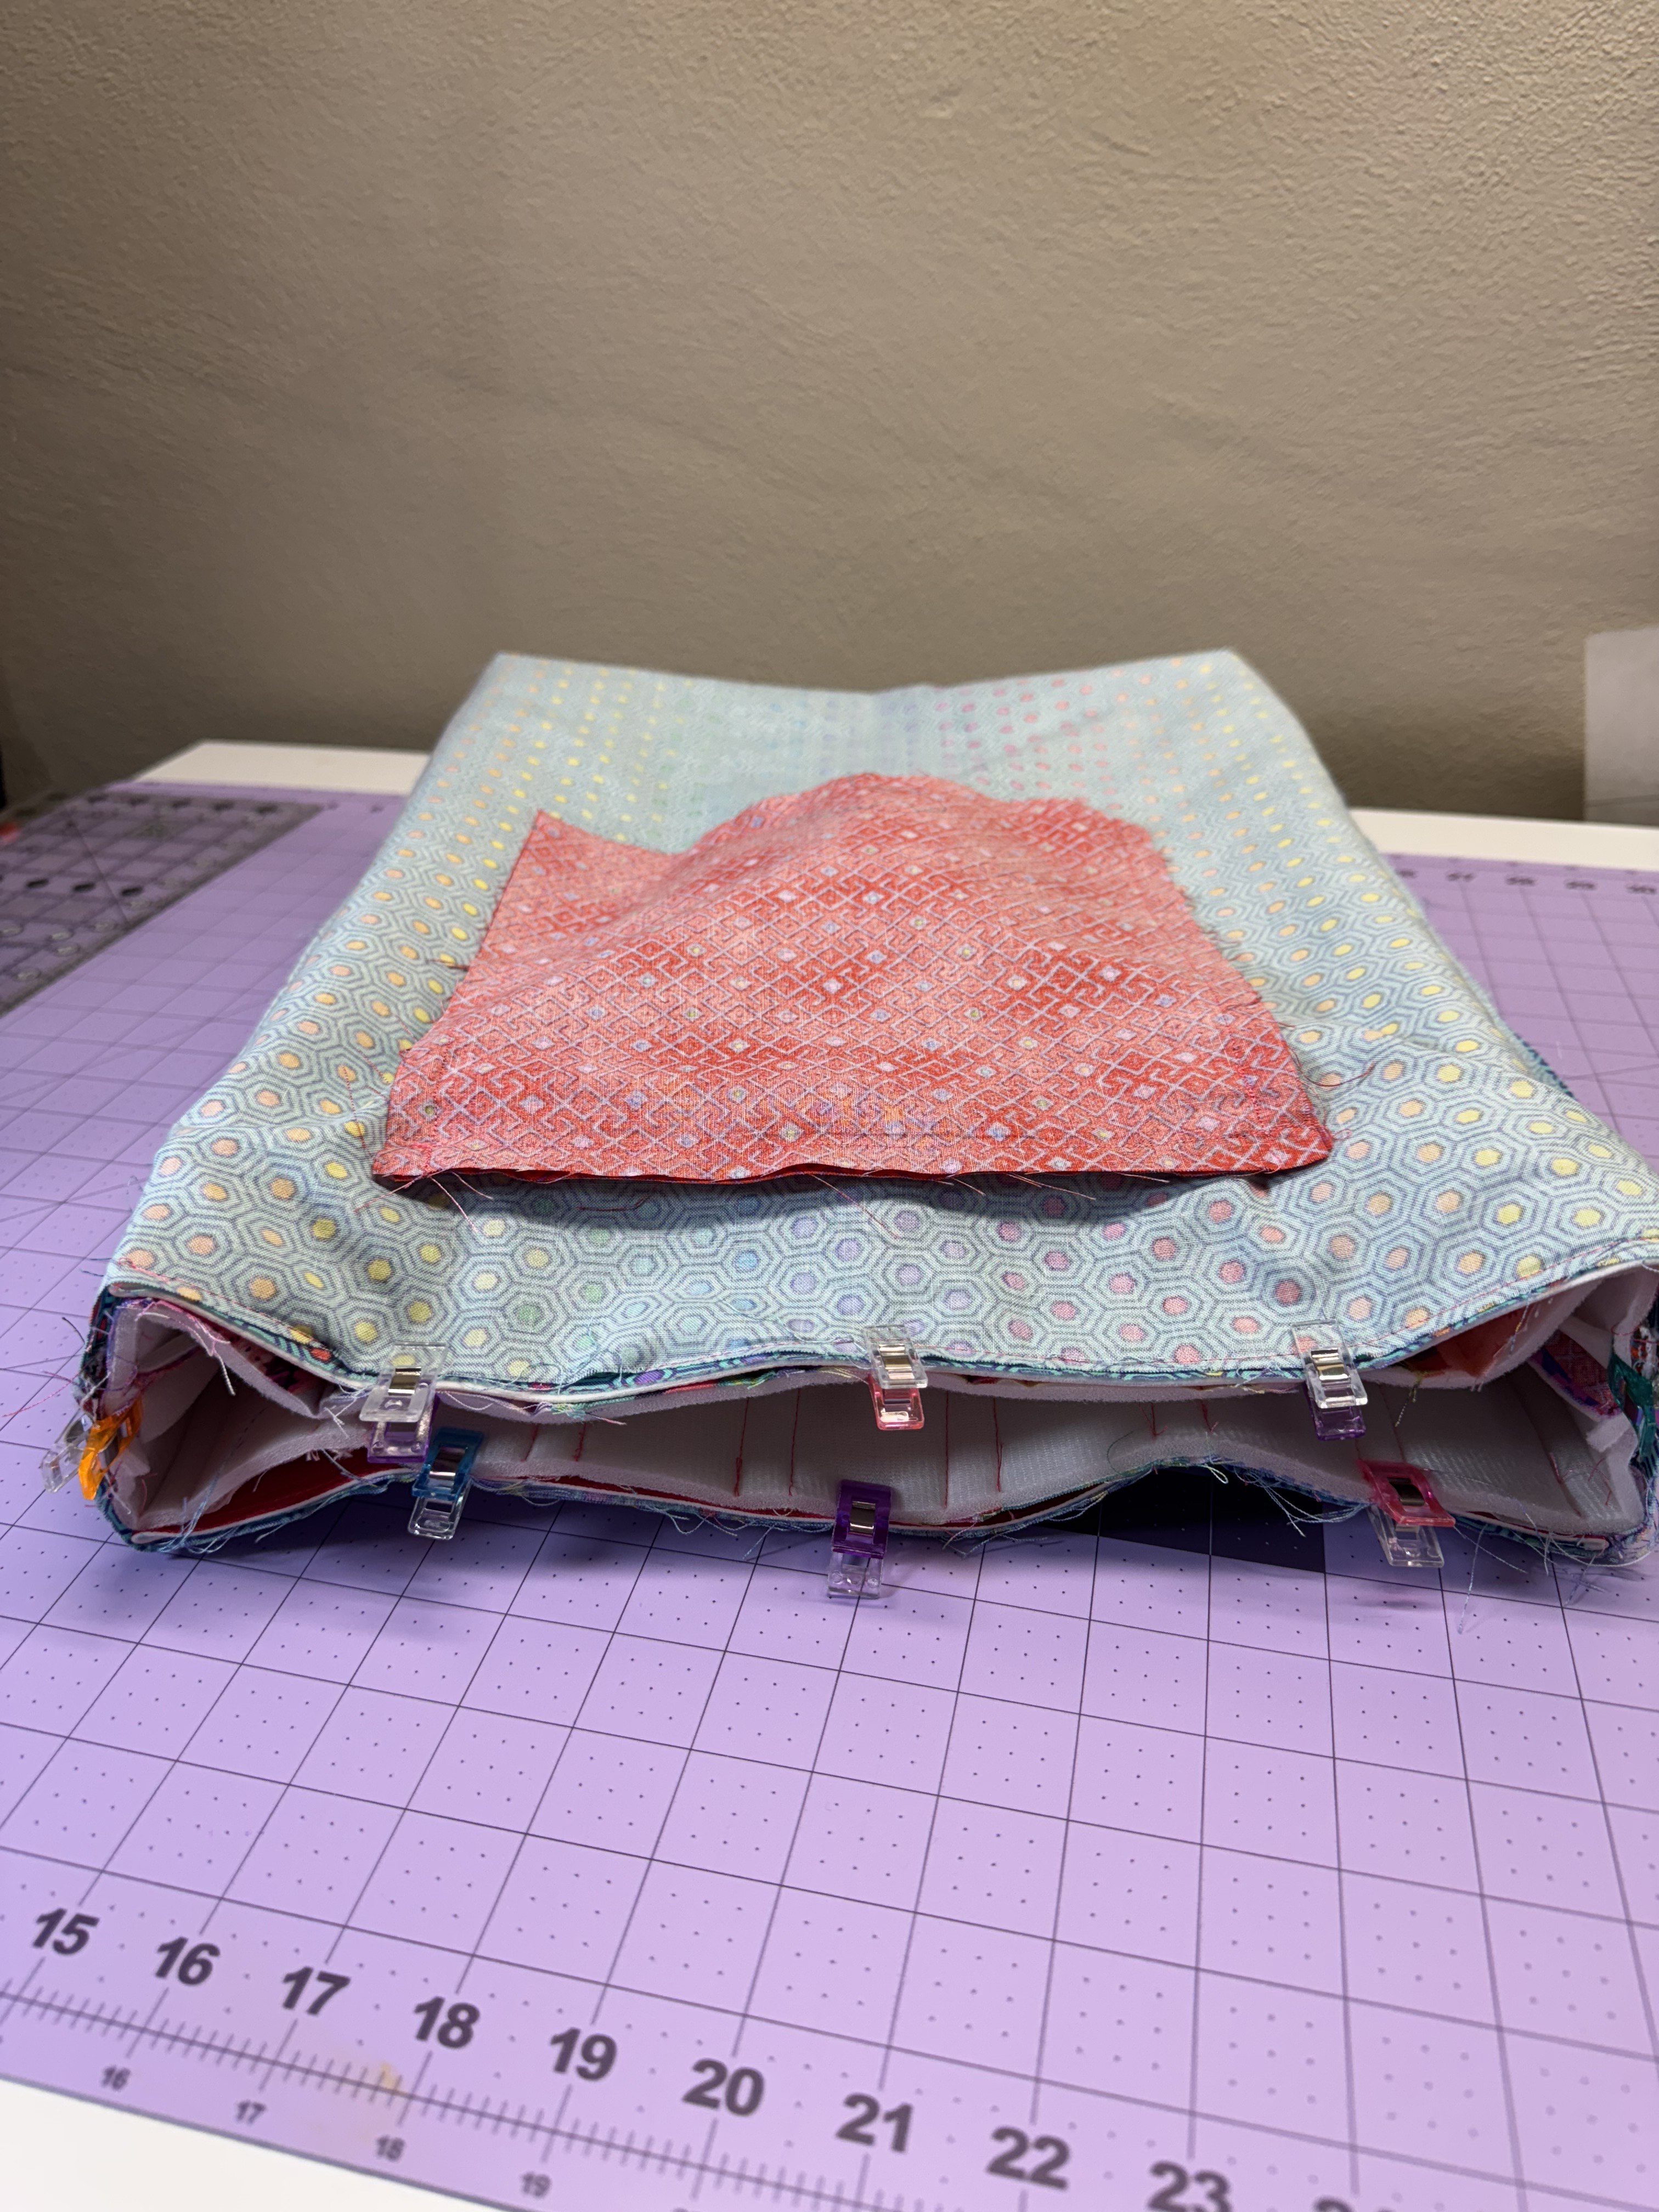
Step 4: Creating Back Exterior Pocket
Place the 2 9½” squares right sides together.
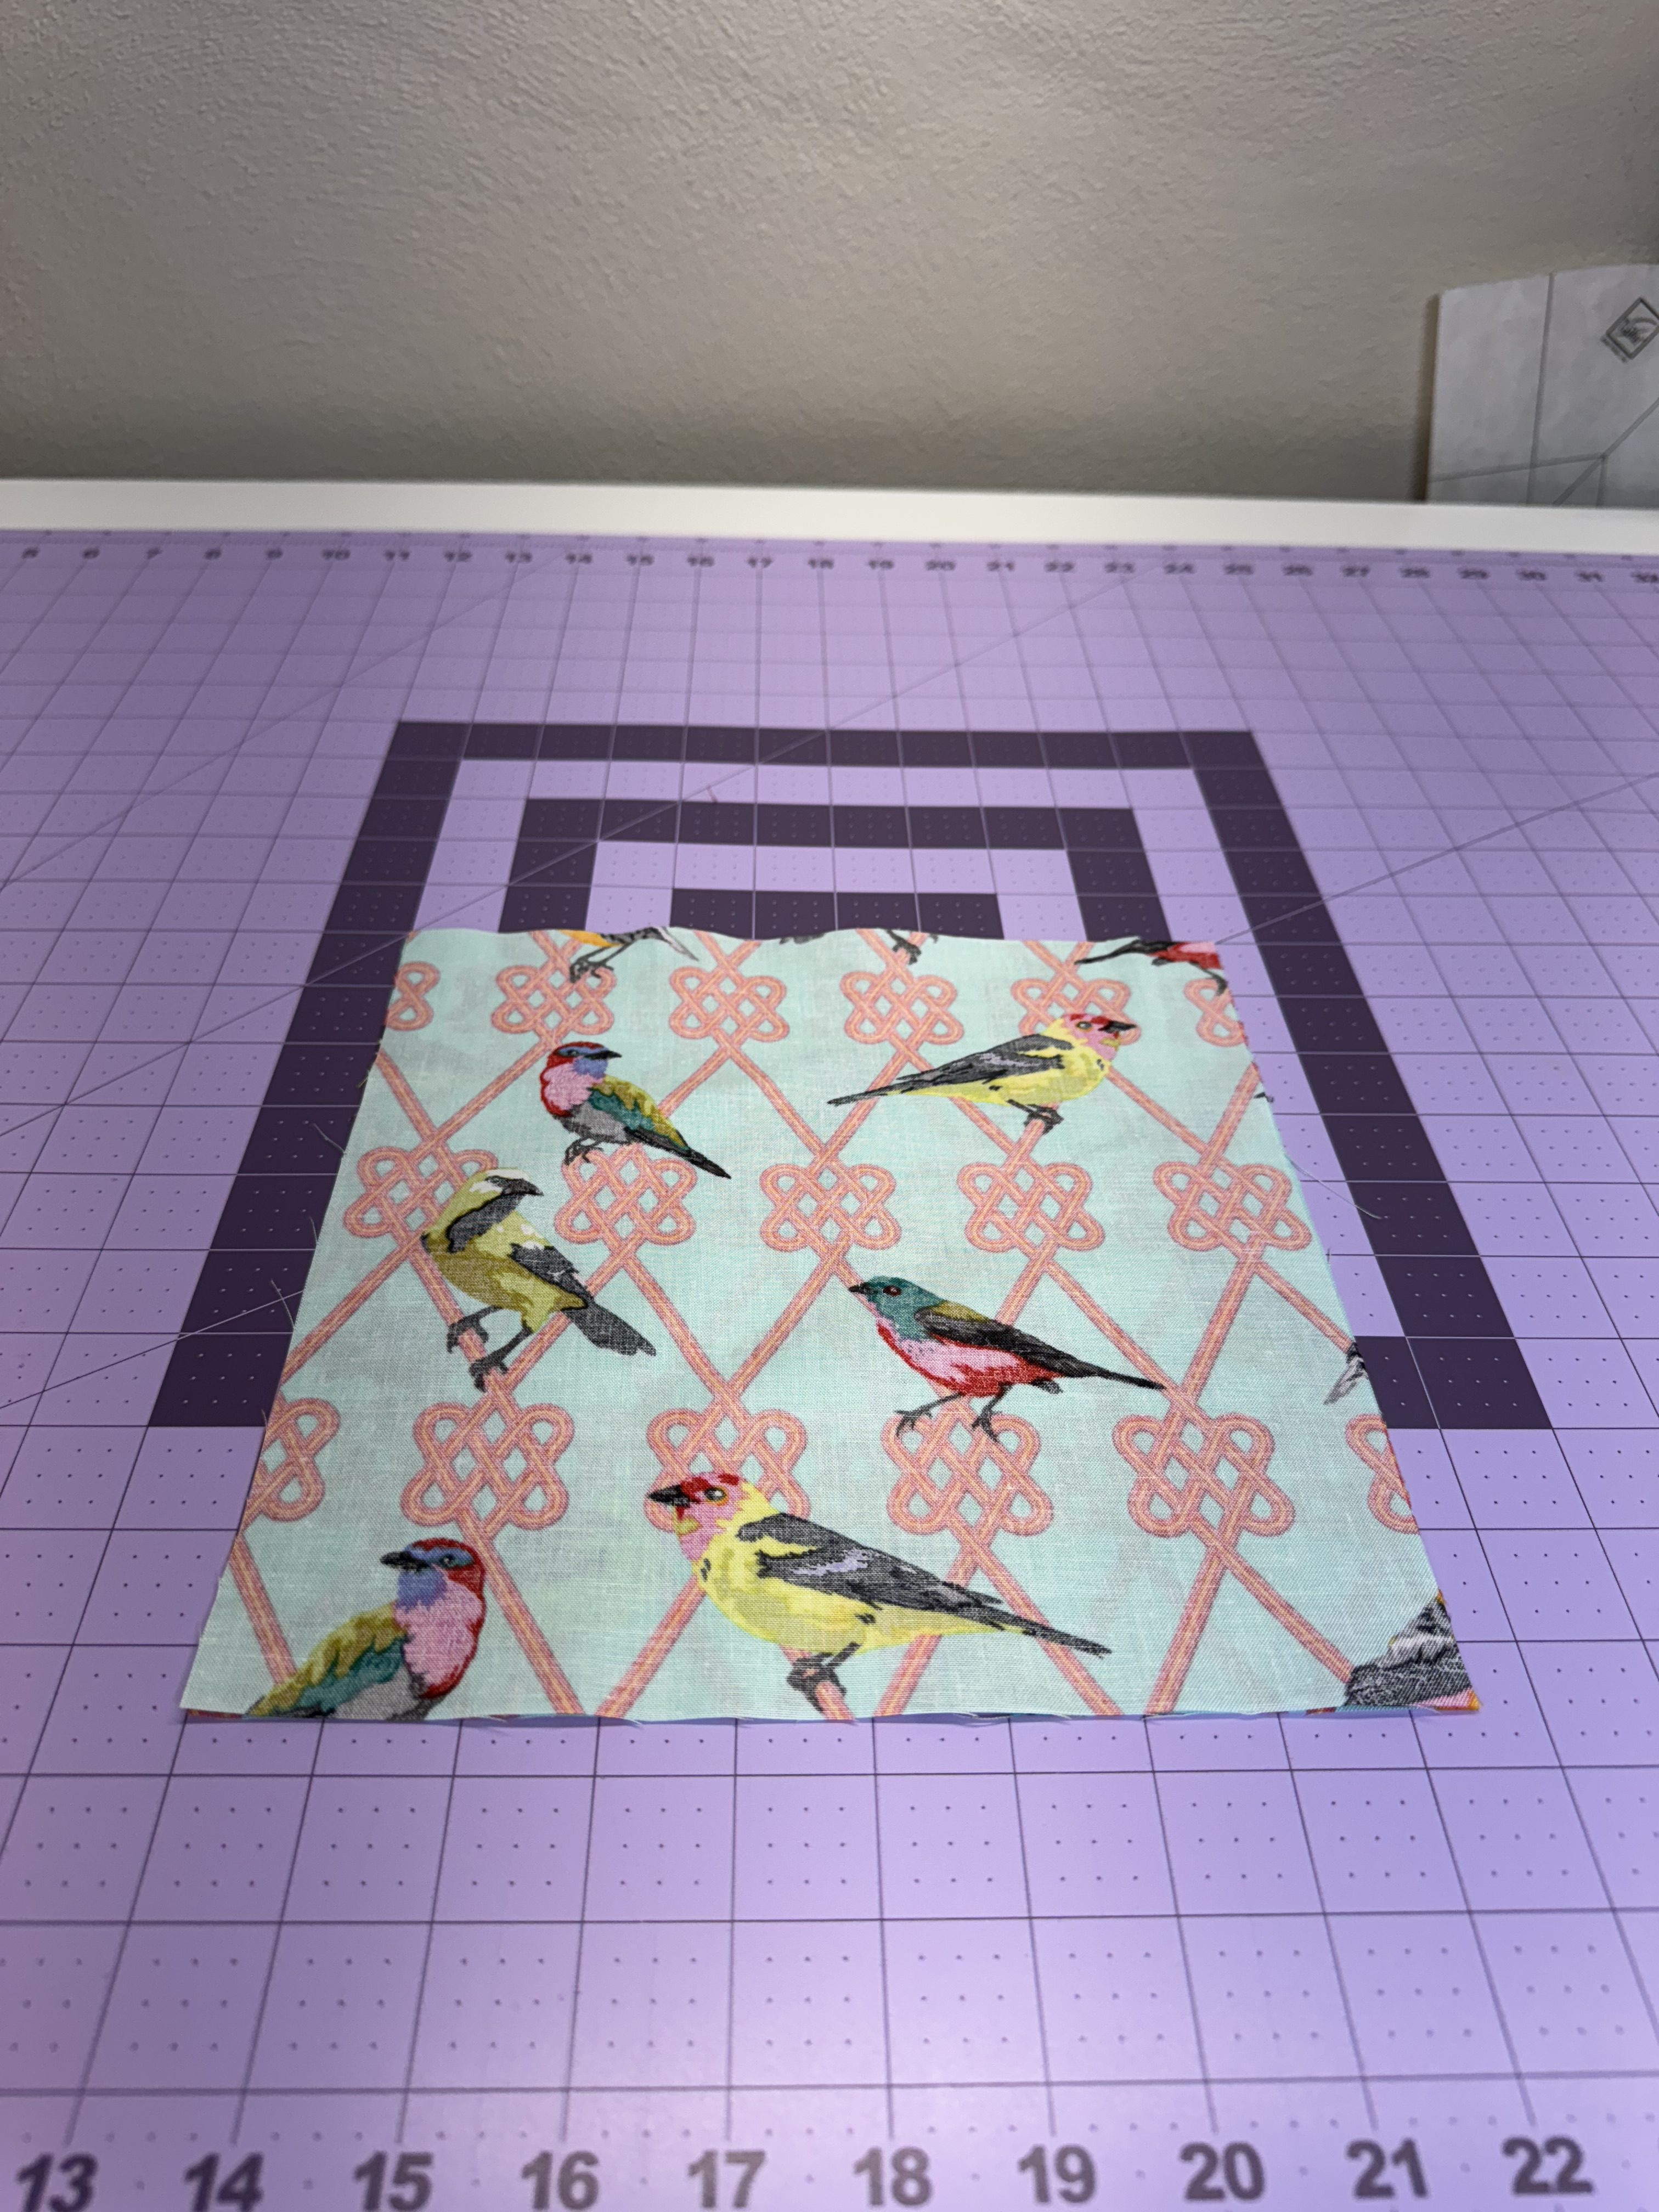
Mark a 3–4” opening along the bottom edge to leave unsewn (for turning).
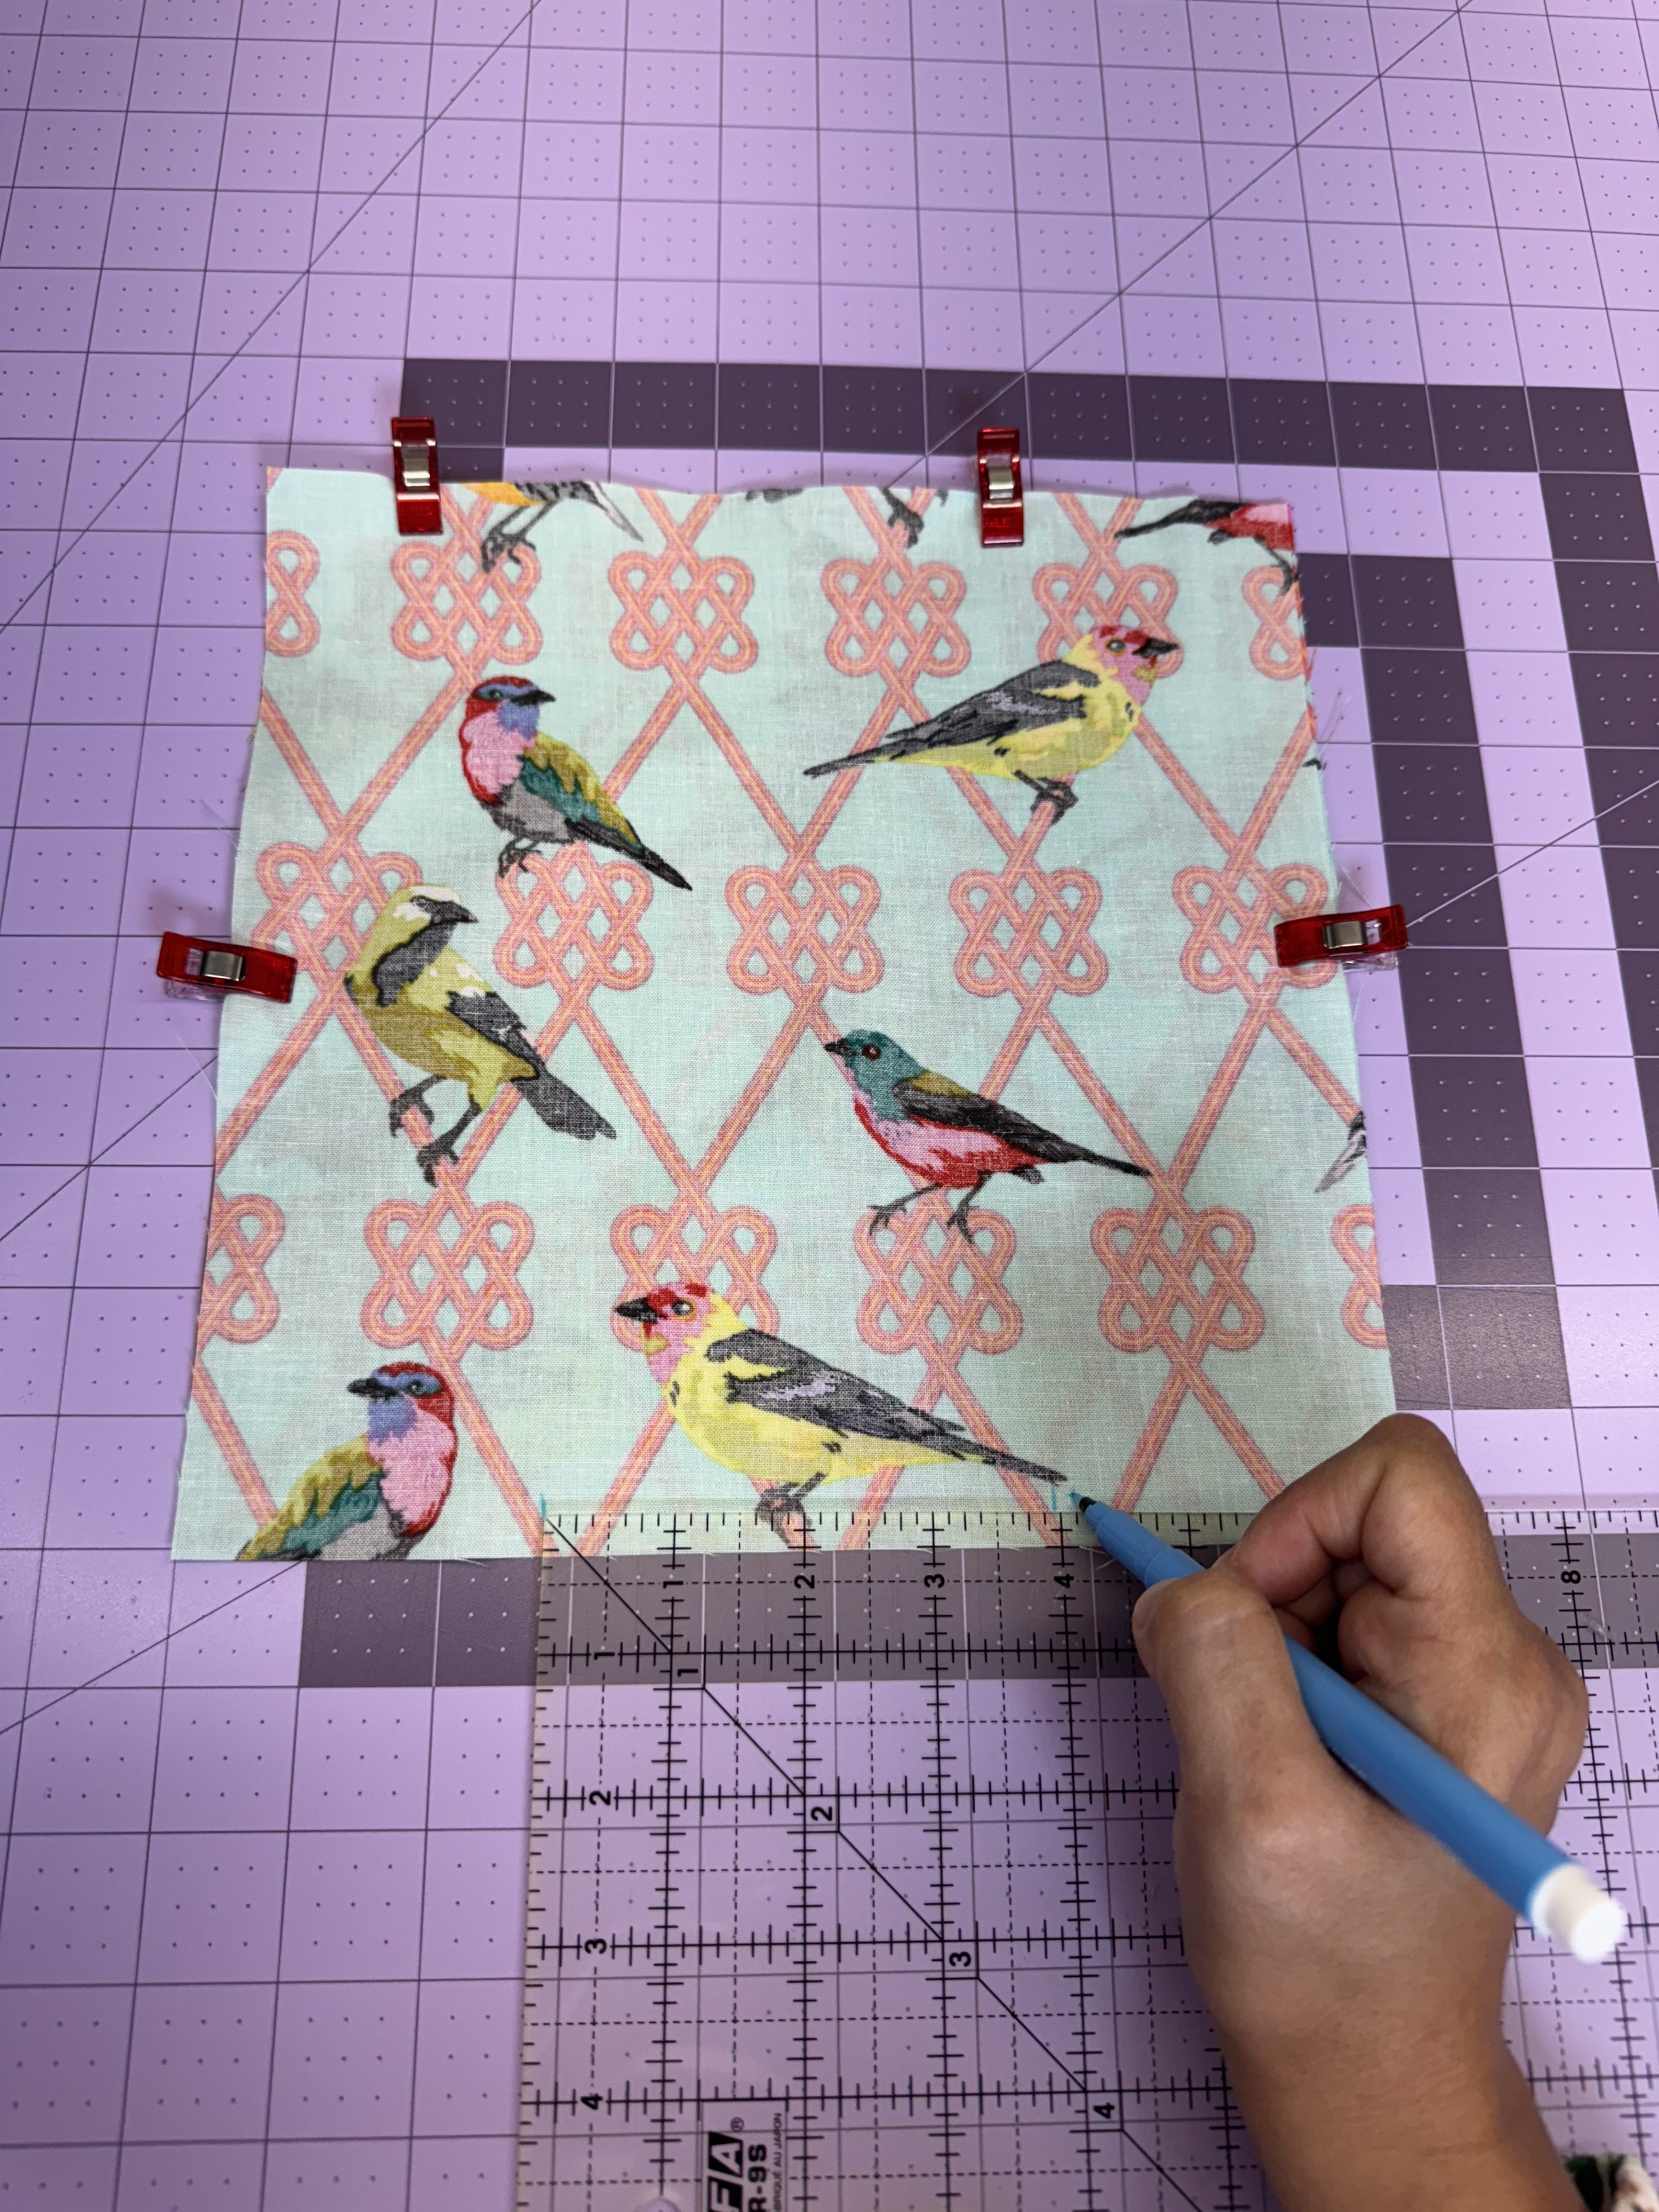
Sew around all four sides using a ¼” seam allowance, leaving the marked opening unstitched.
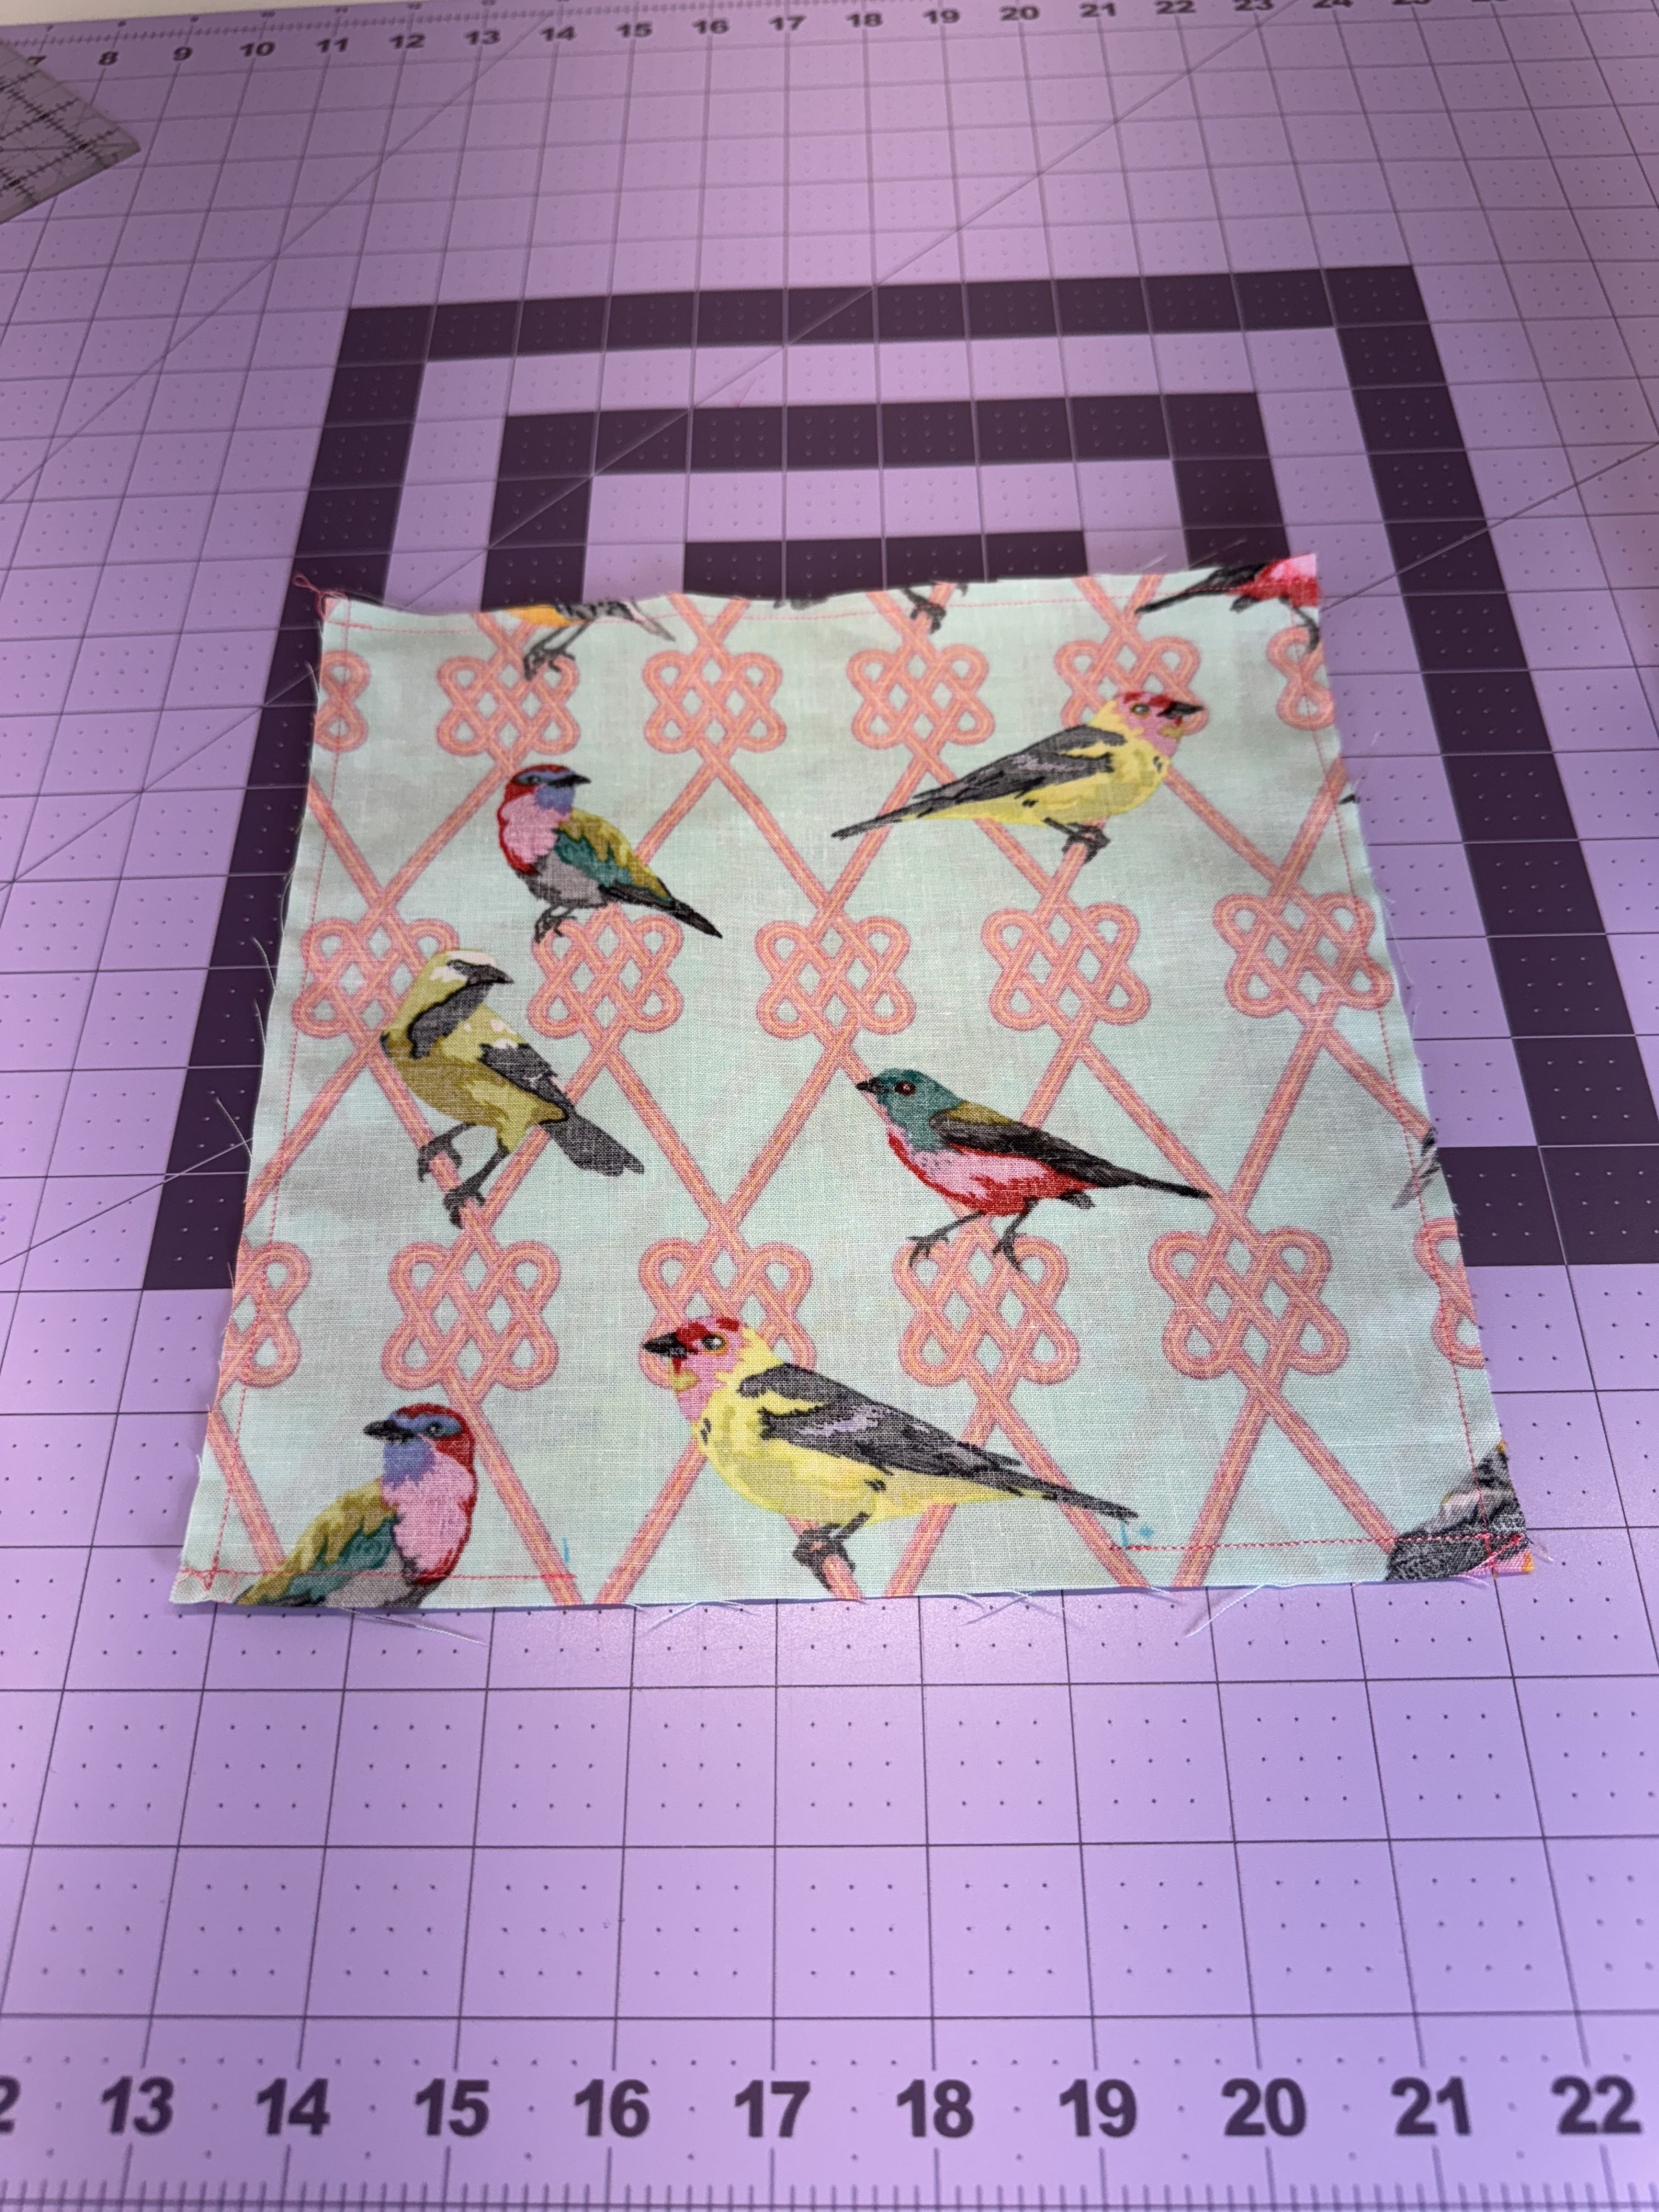
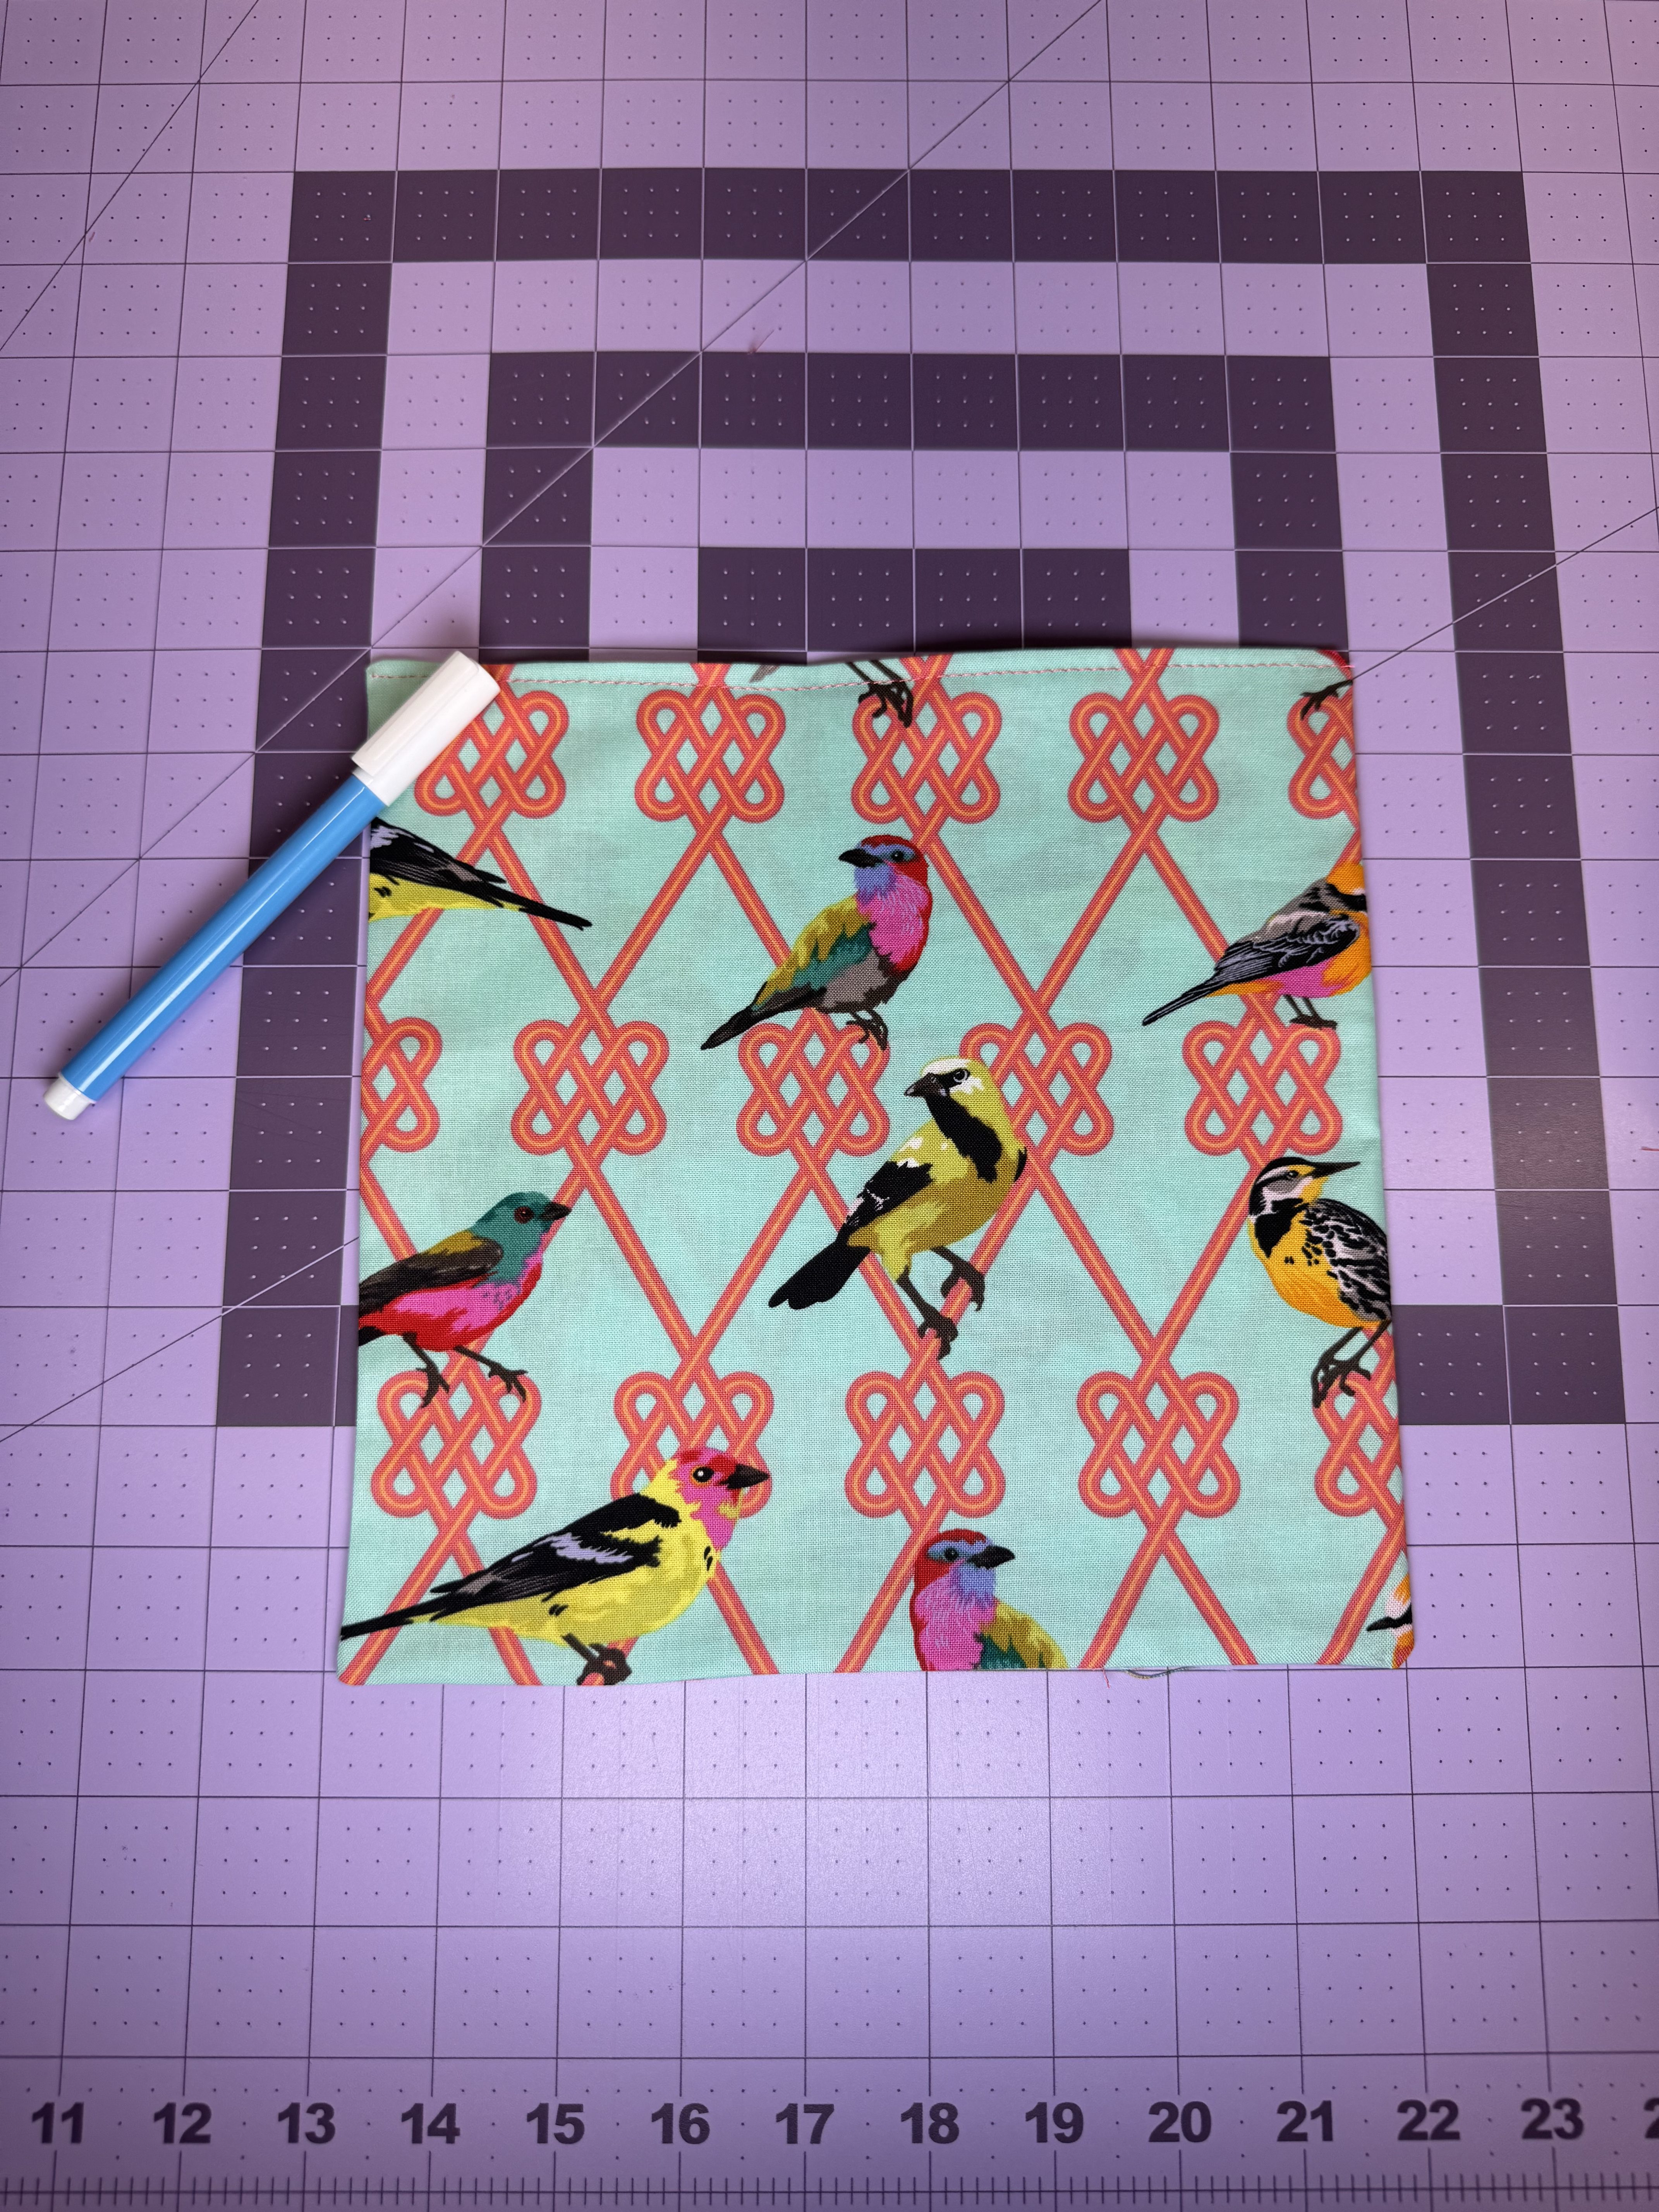
Clip corners, turn the pocket right side out through the opening, and press flat.
Topstitch along the top edge of the pocket—the side without the turning opening. Set the pocket aside for later use
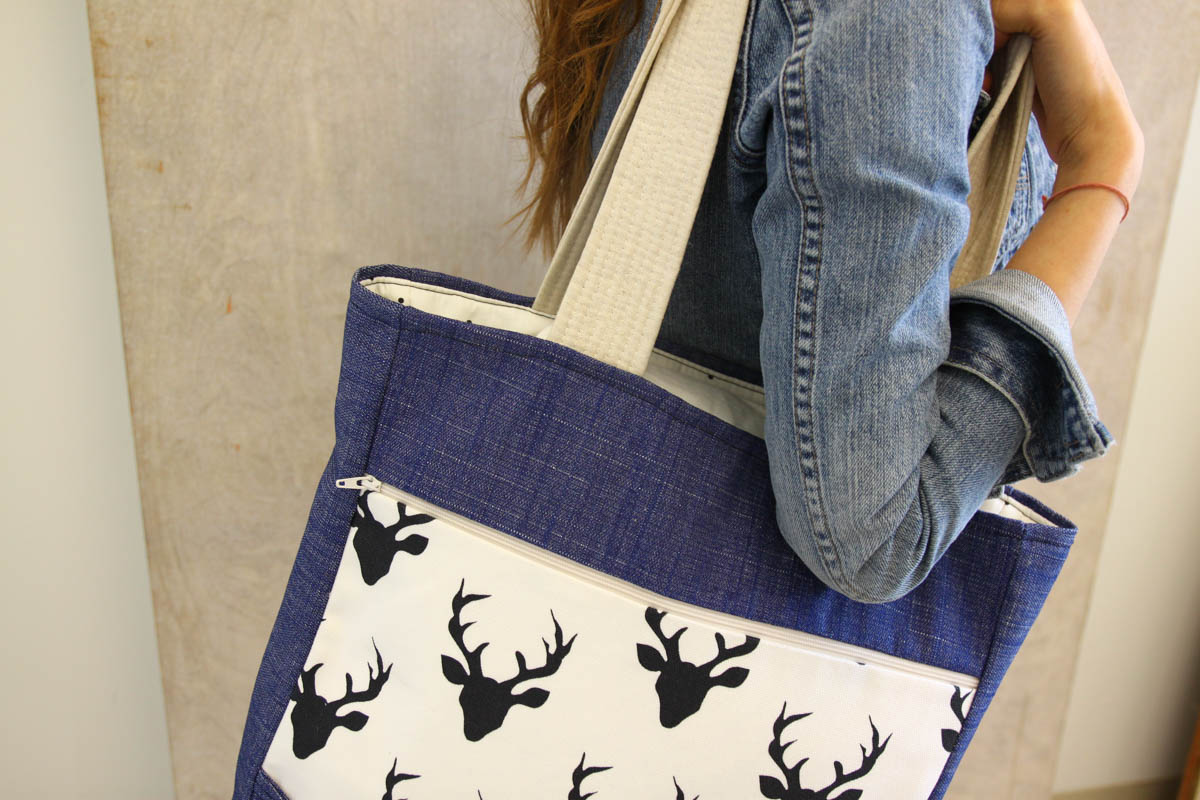
Step 5: Creating Front Exterior Zipper Pocket
Cut an 11” length of zipper tape and insert a zipper pull.

If using a premade zipper, ensure it measures at least 11”.
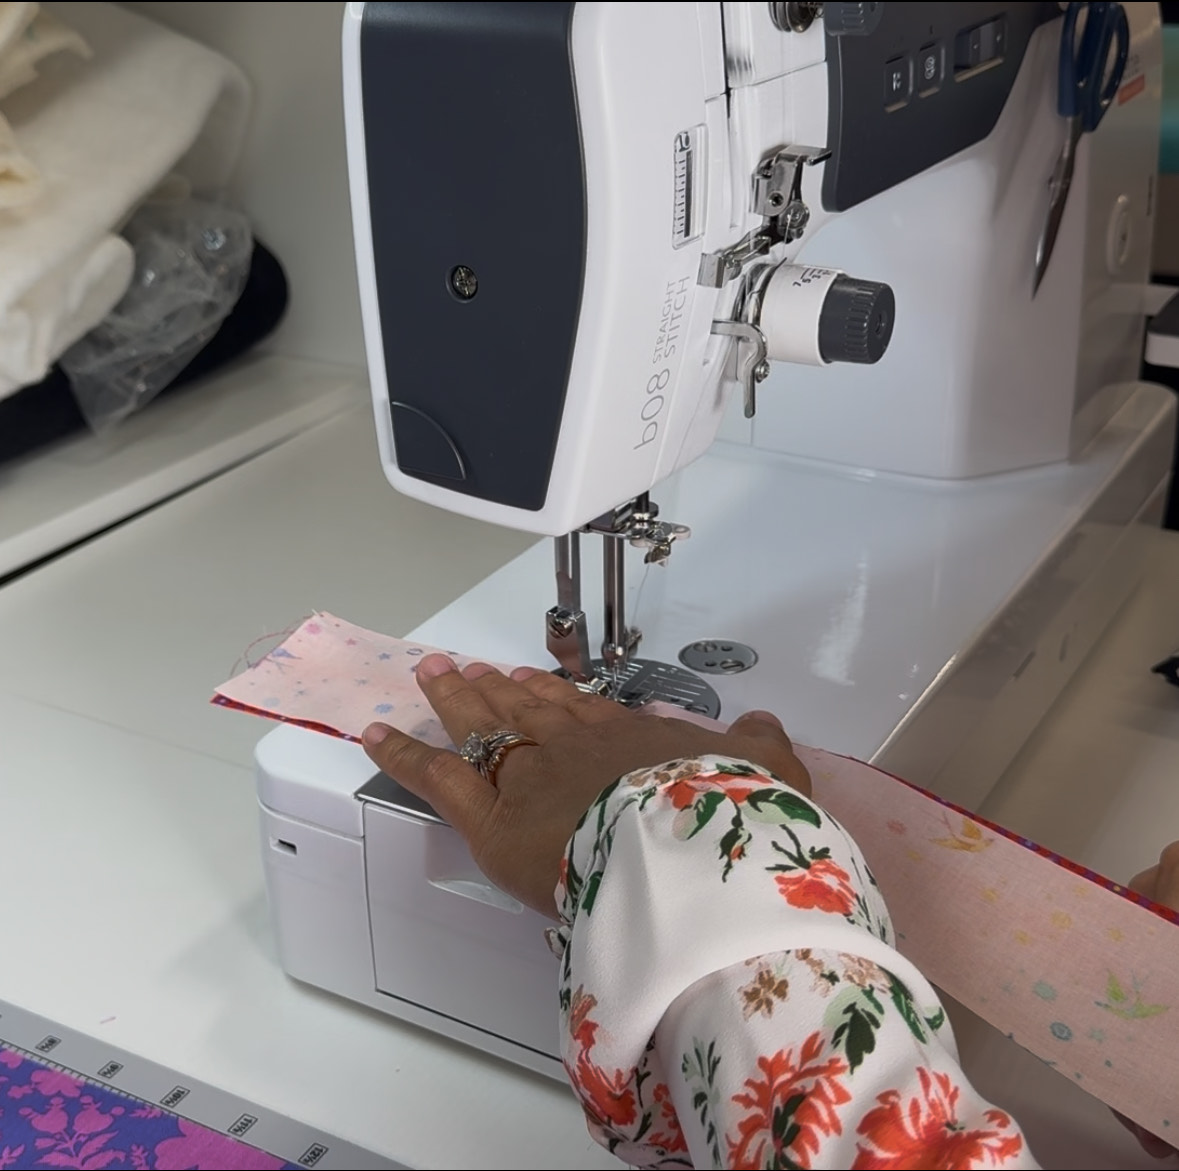
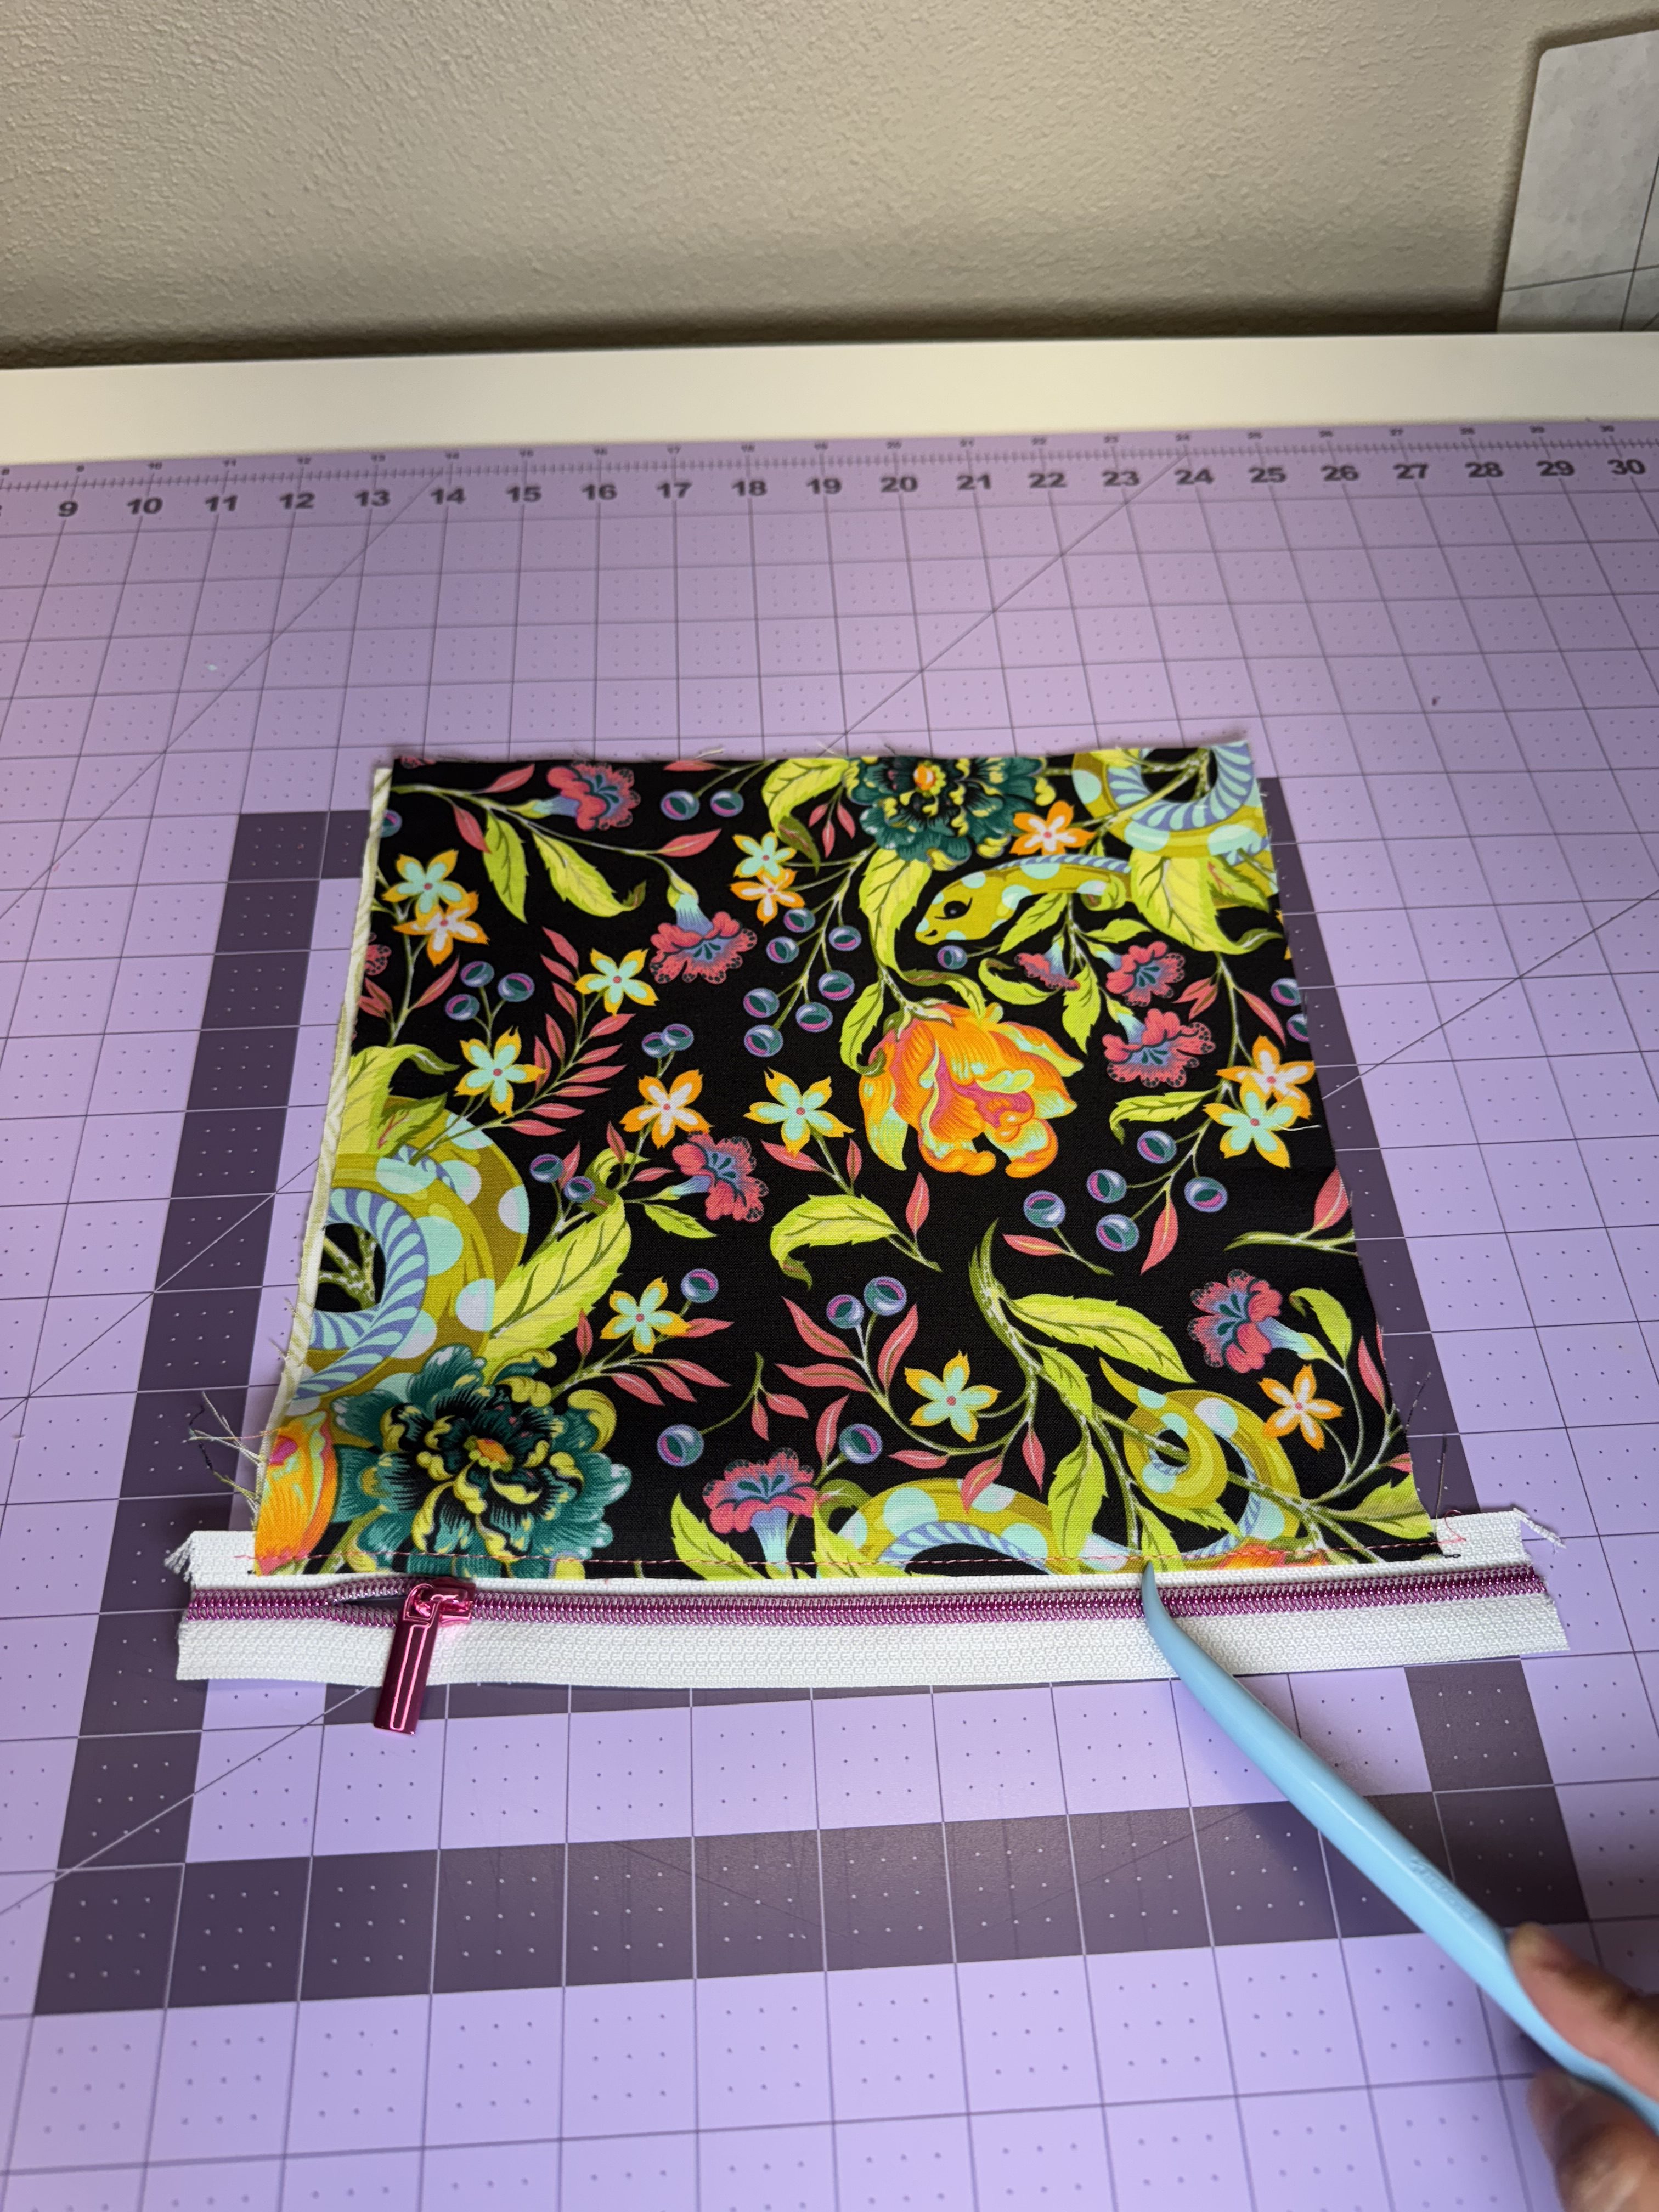
Take two of the 10” squares. Sandwich 2 fabric squares right sides together with the top edge of the zipper tape. Pin or baste in place. Sew using a ⅜” seam allowance.
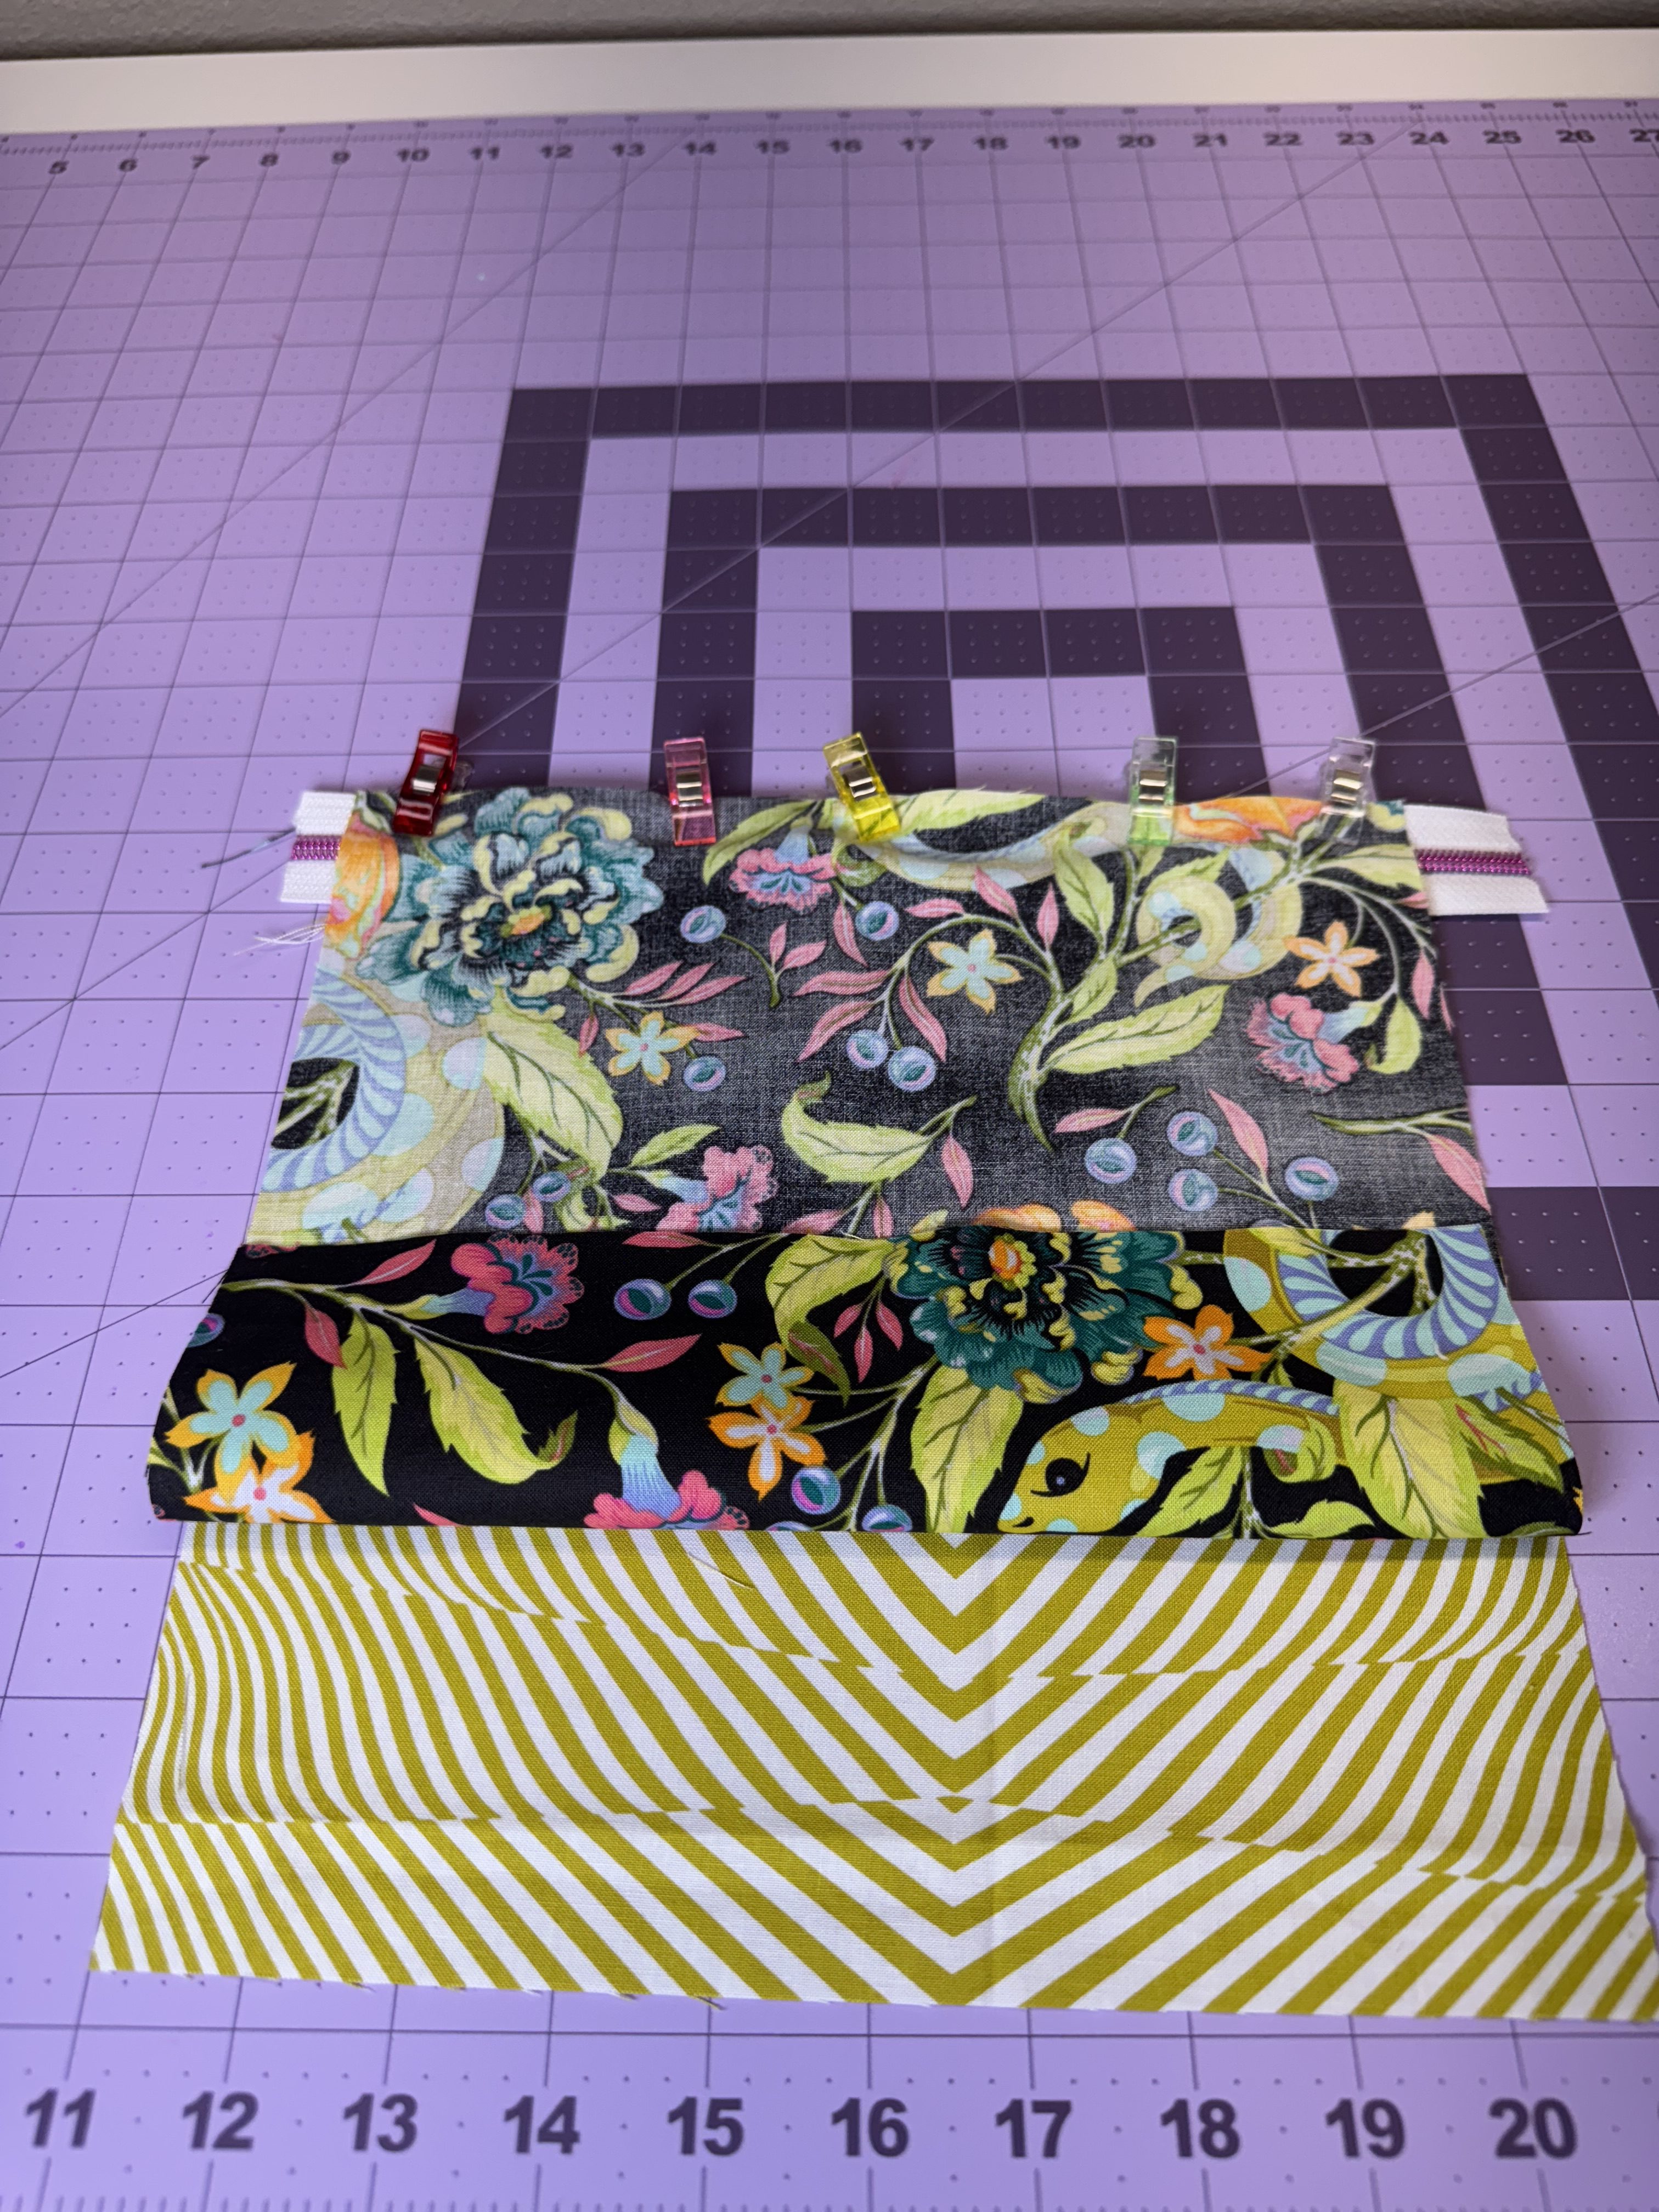
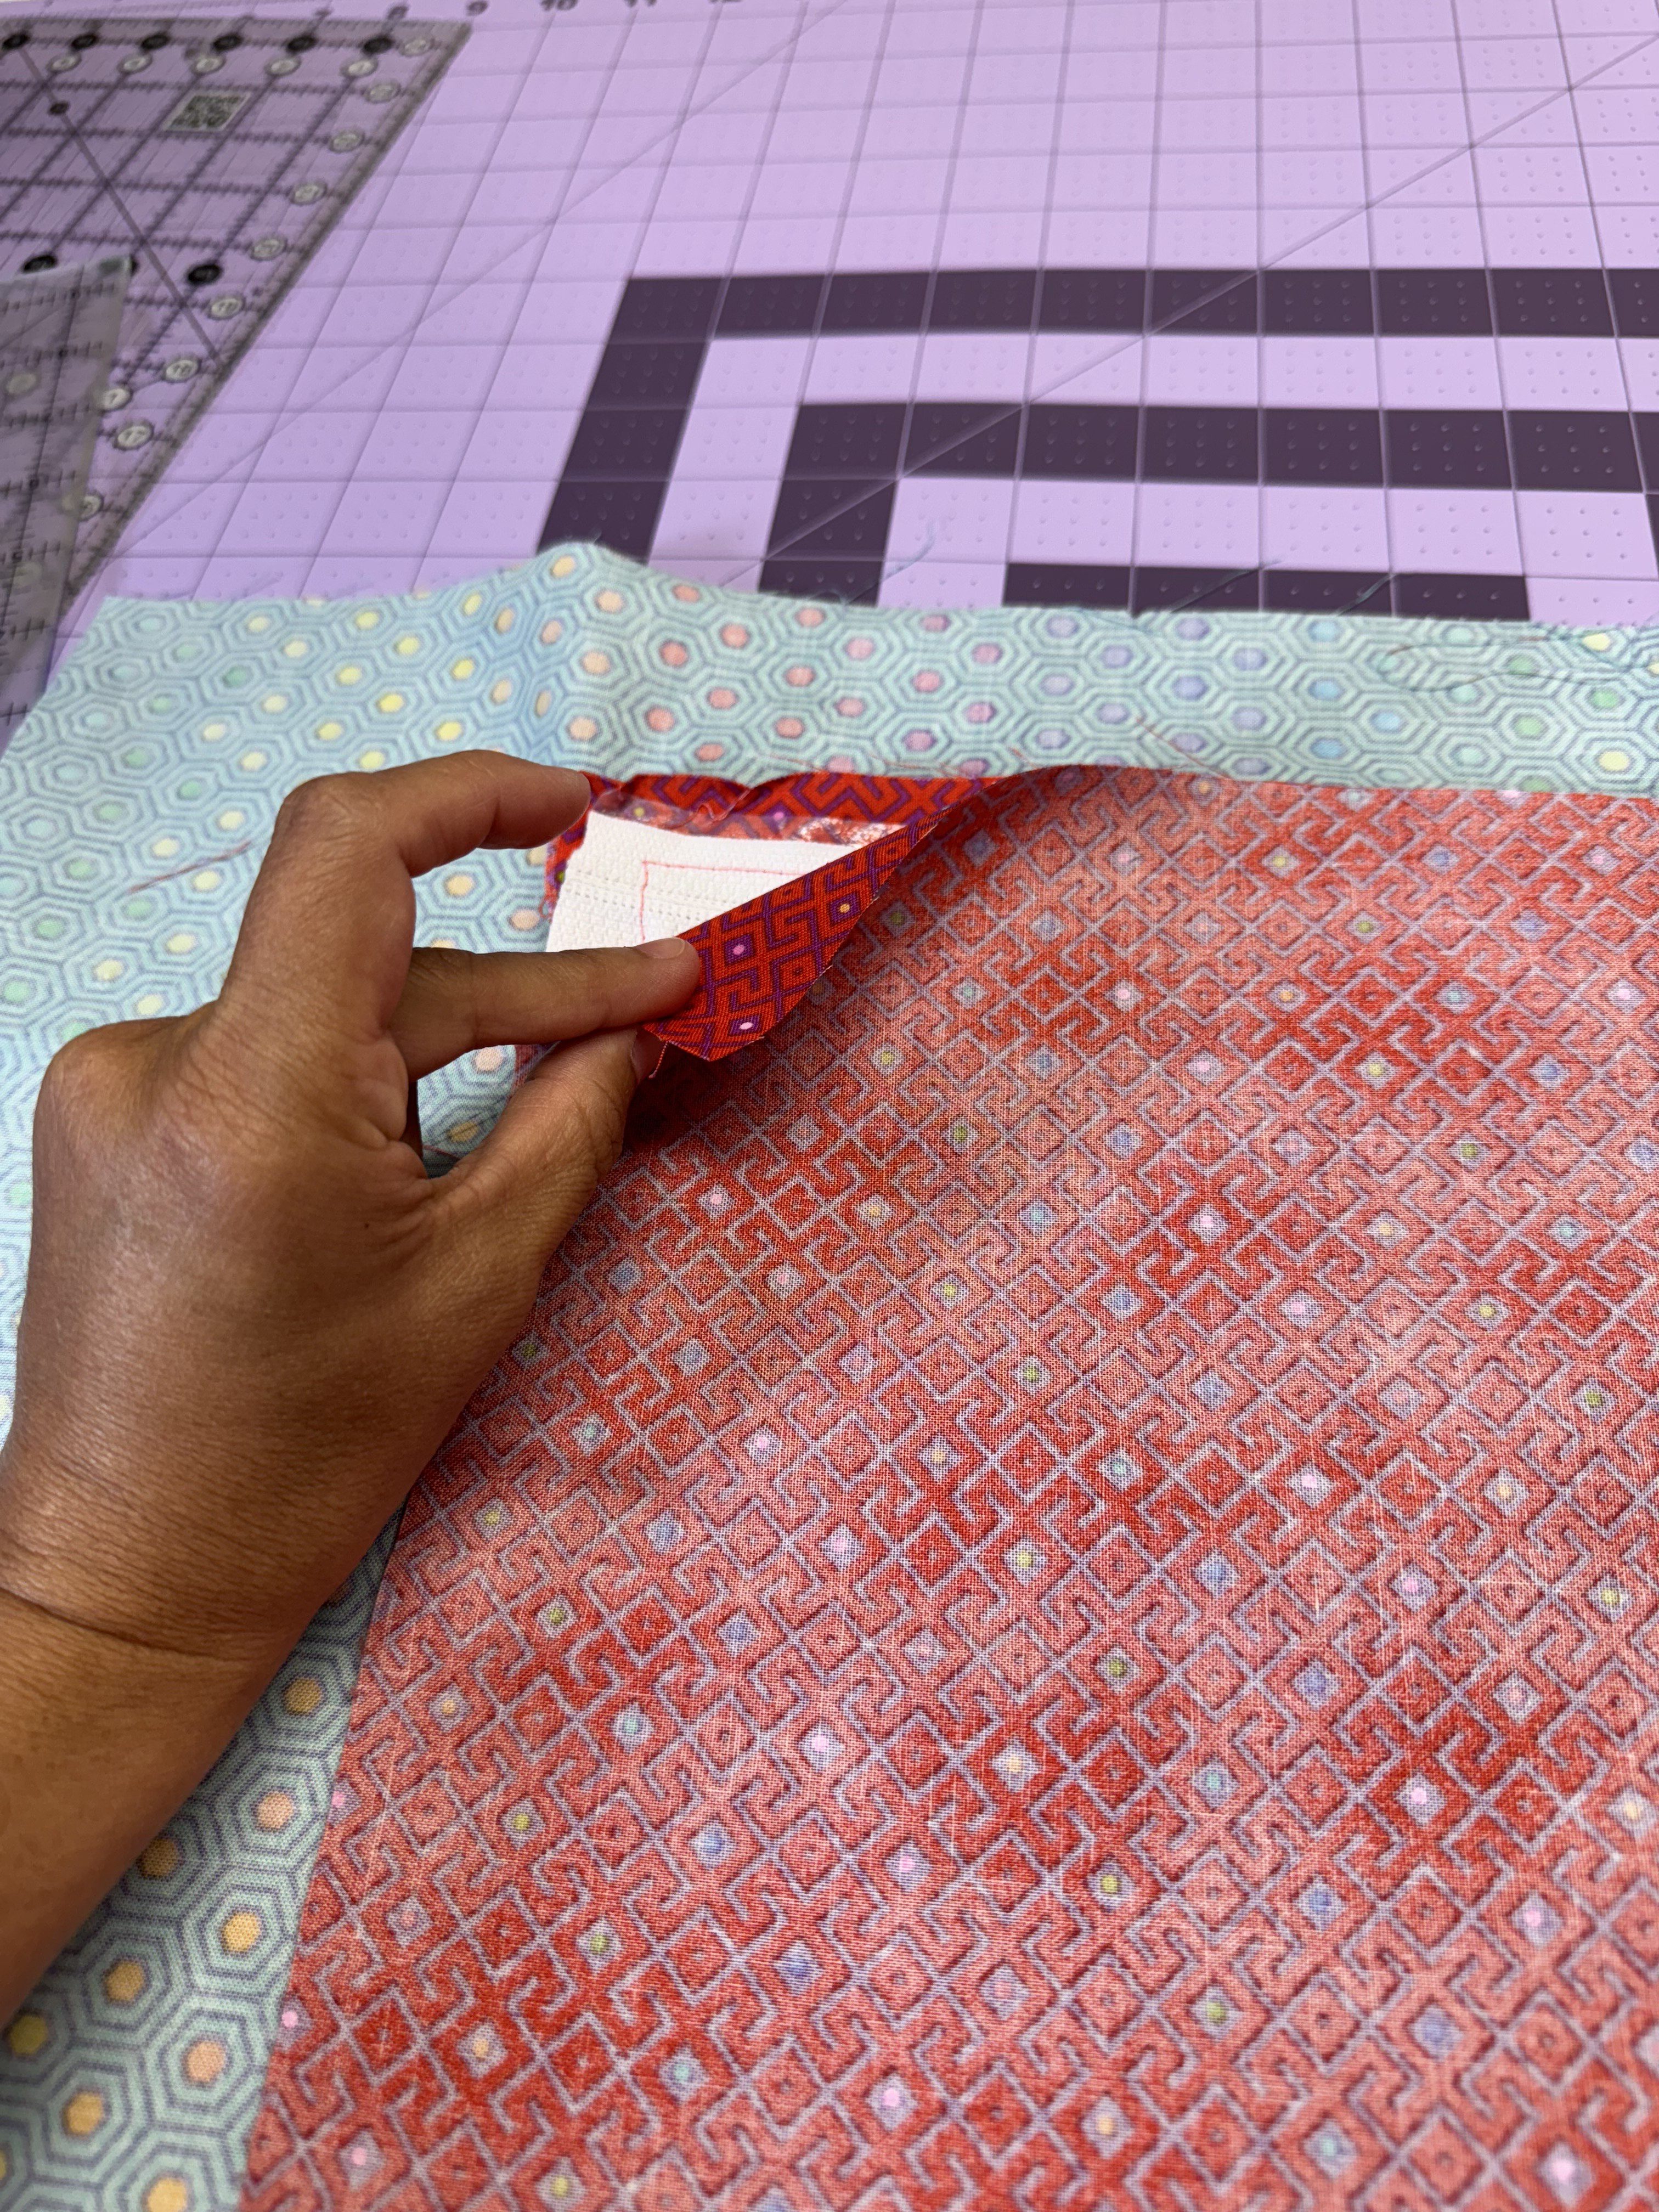
Fold the fabric away from the zipper (wrong sides together) and press. Topstitch along the seam using a ⅛” or ¼” seam allowance.
Repeat the process with the remaining square and the opposite (bottom) edge of the zipper tape.
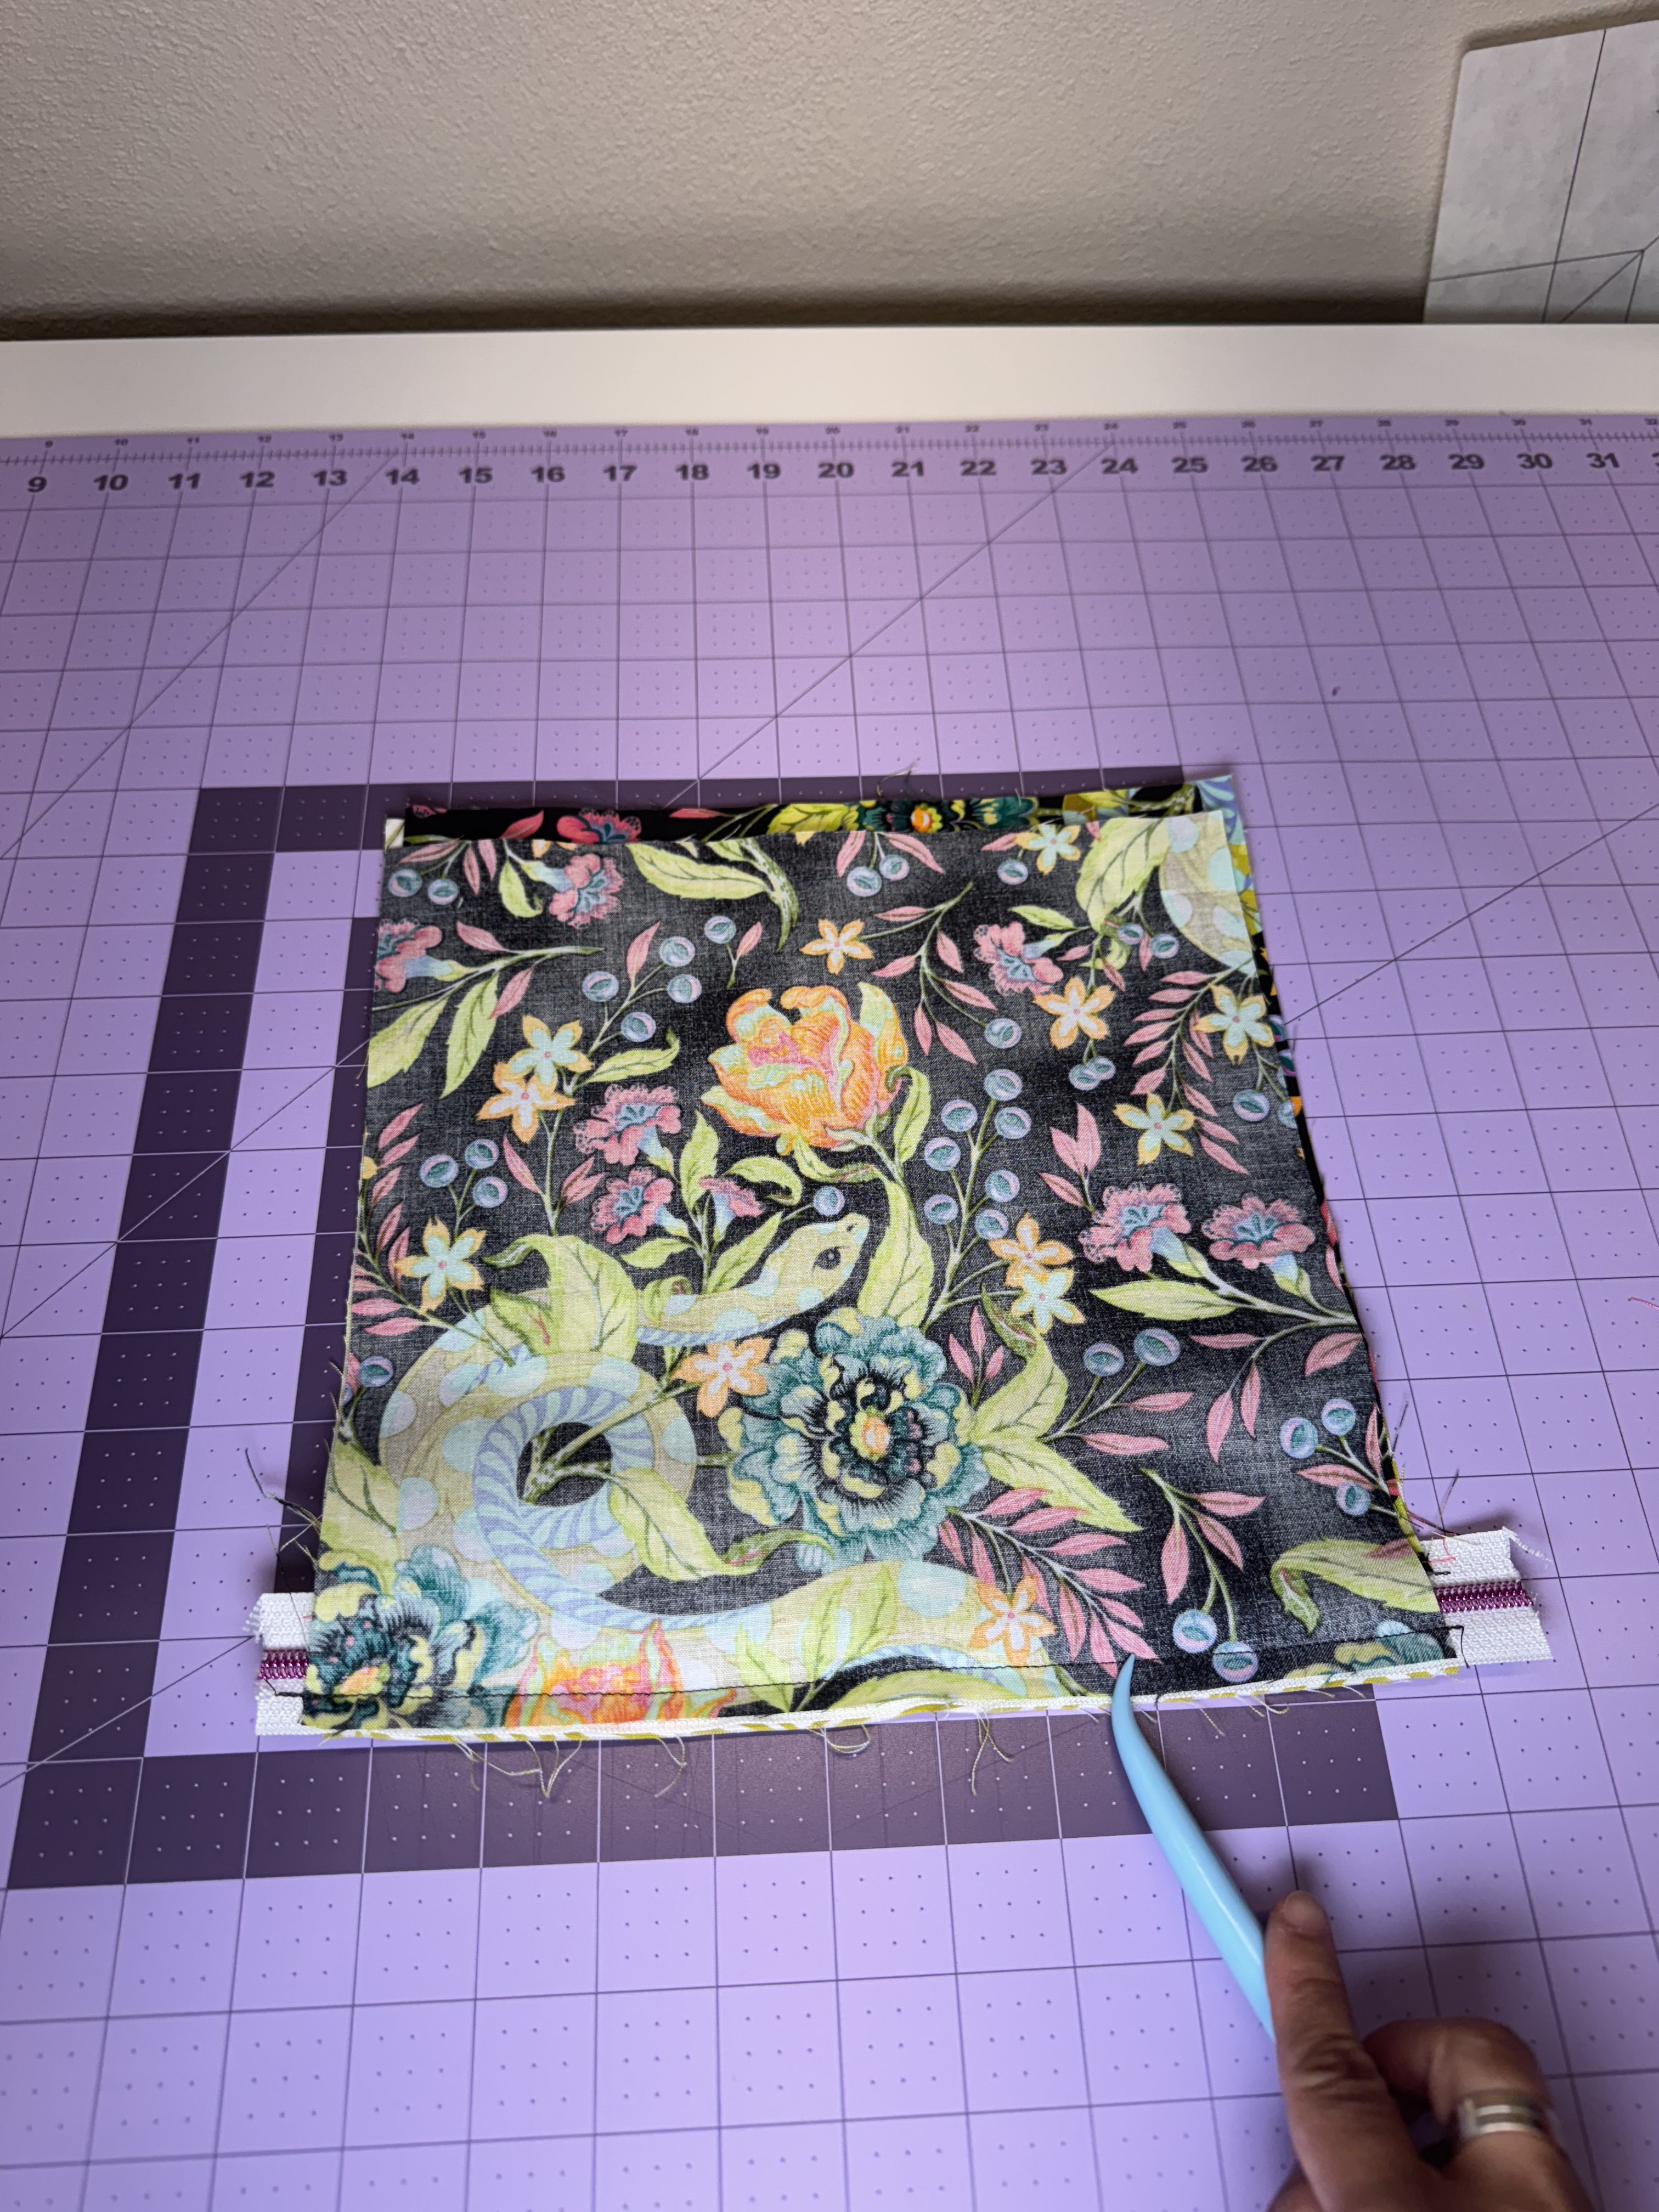
Fold the upper fabric down over the top zipper tape so that it covers about ½” of the zipper (forming a flap). Press and topstitch ⅛” from the folded edge.

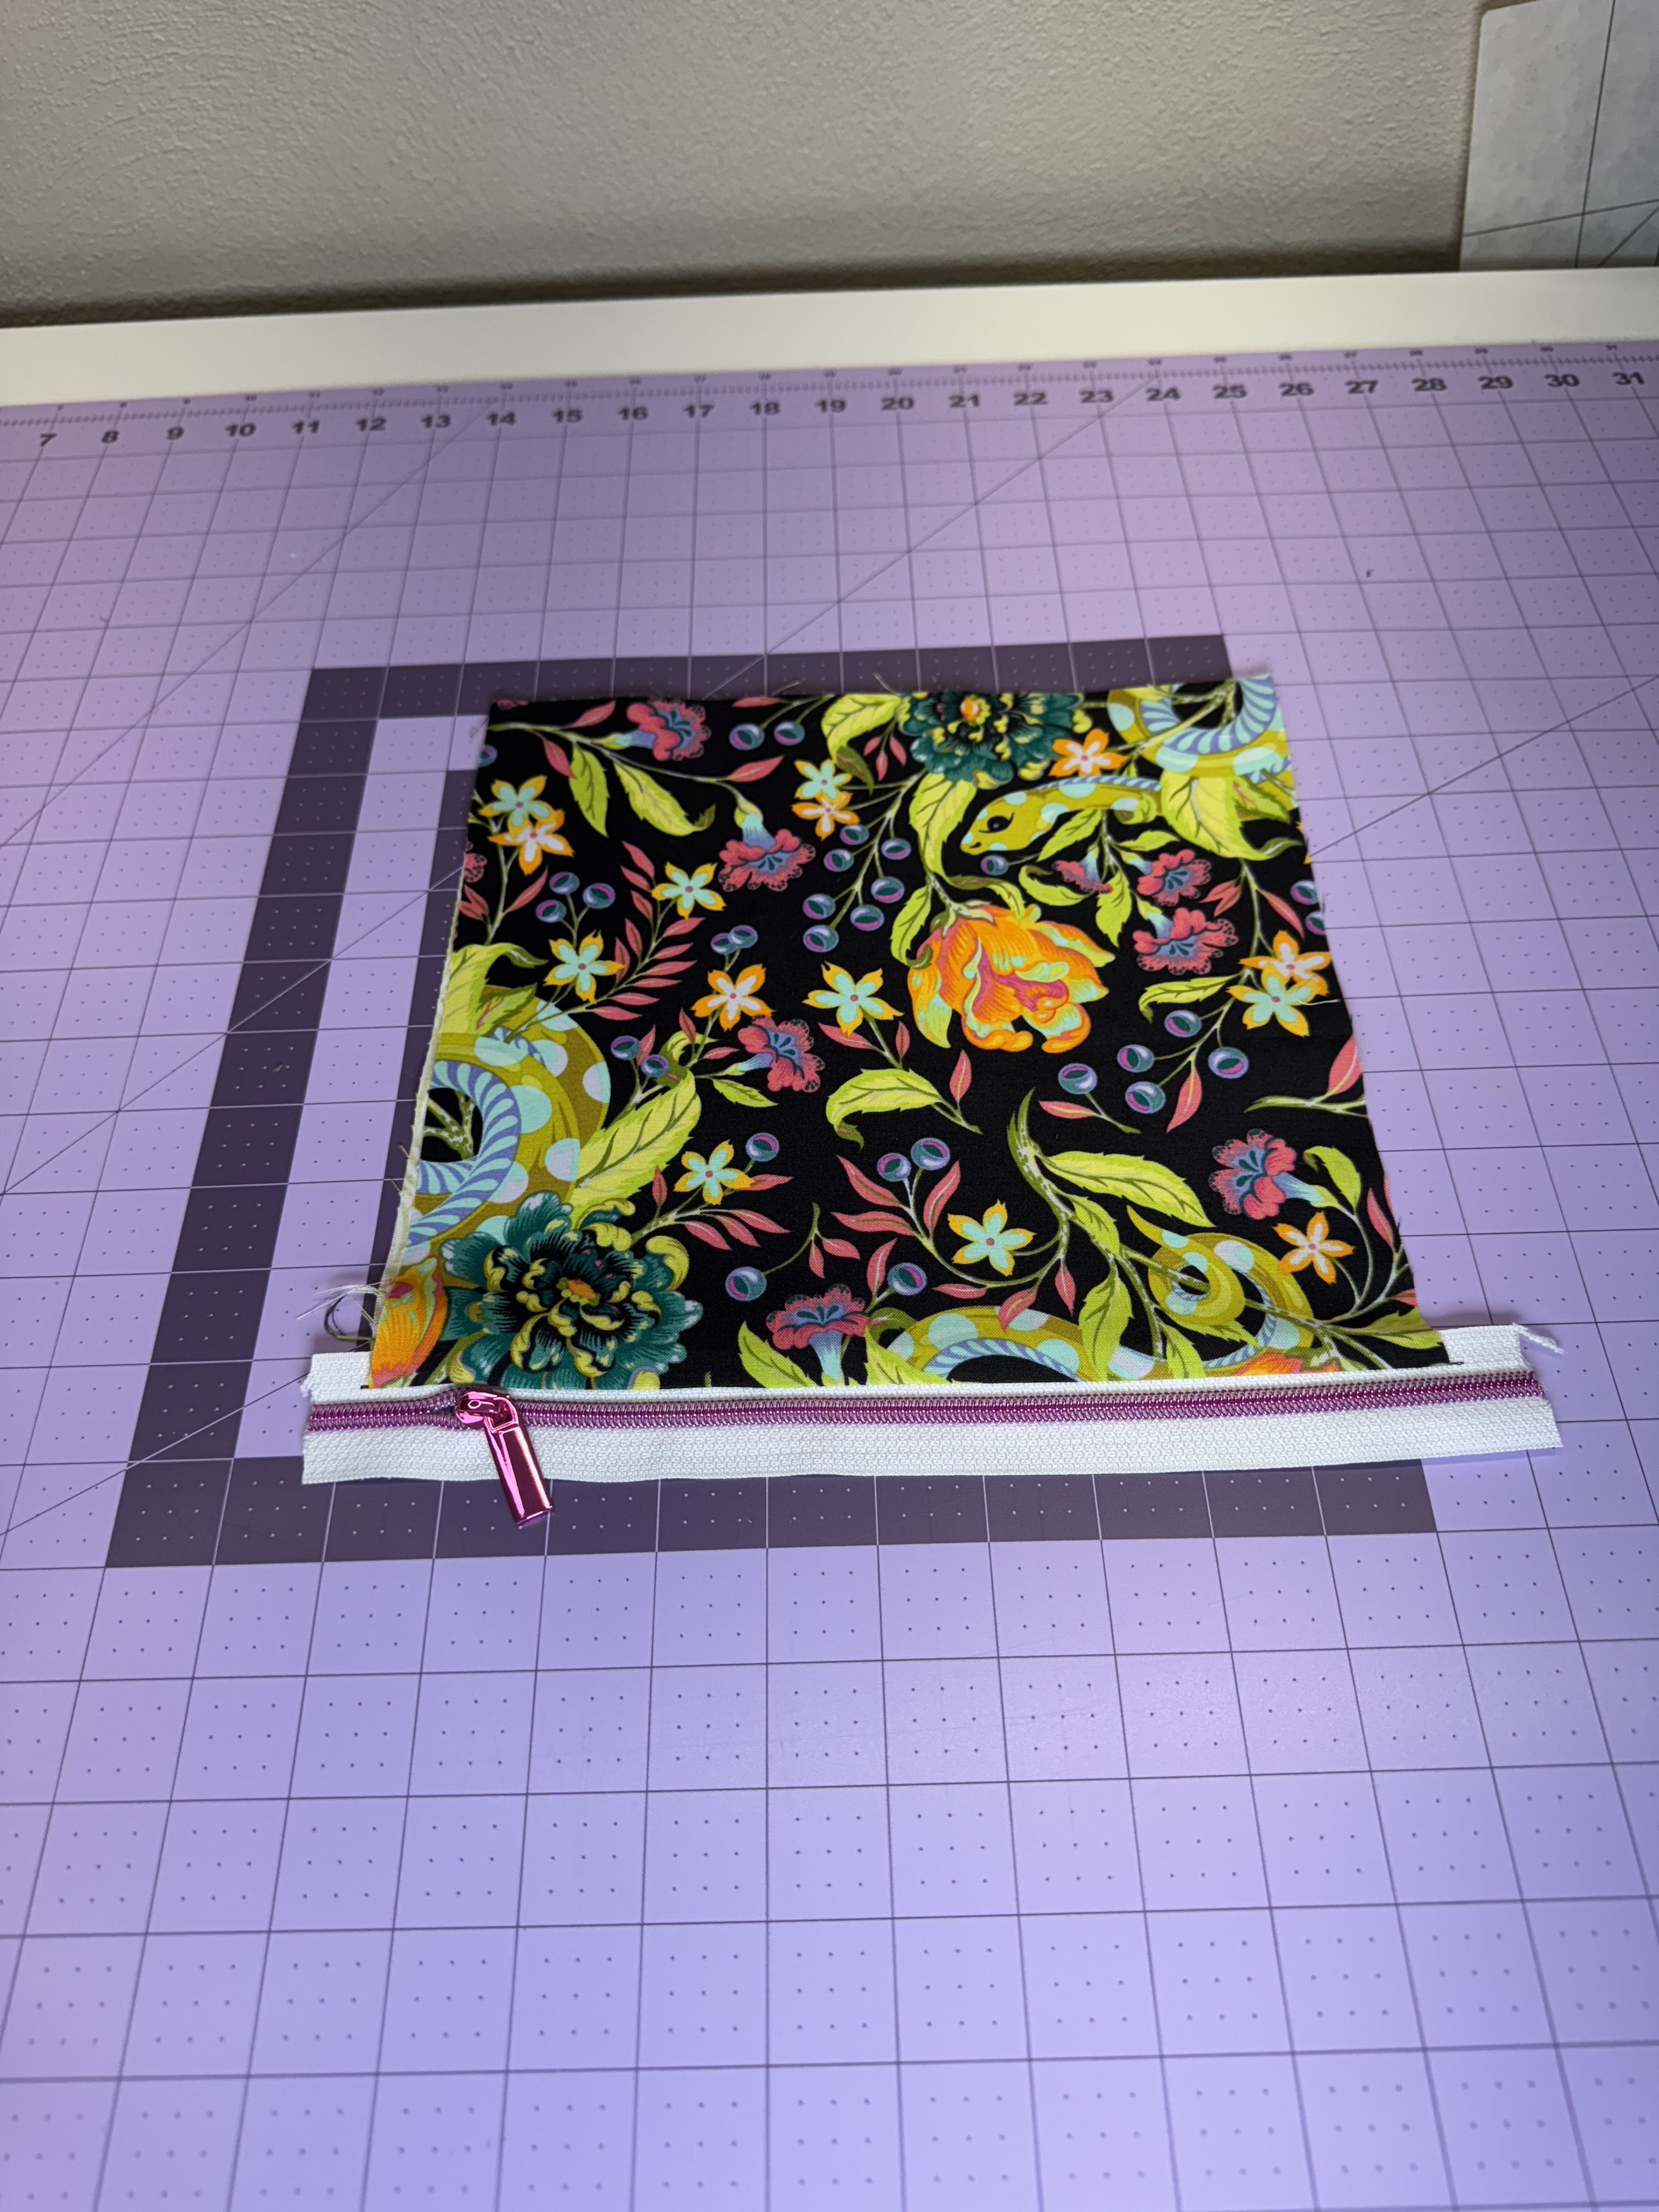
Trim the bottom and side edges of the completed zipper pocket to measure 9” wide by 9” tall, keeping the top edge with the zipper untrimmed. Topstitch along the two sides and bottom edges to secure the pocket layers together. Set aside for later use.
Step 6: Creating Zipper Panel
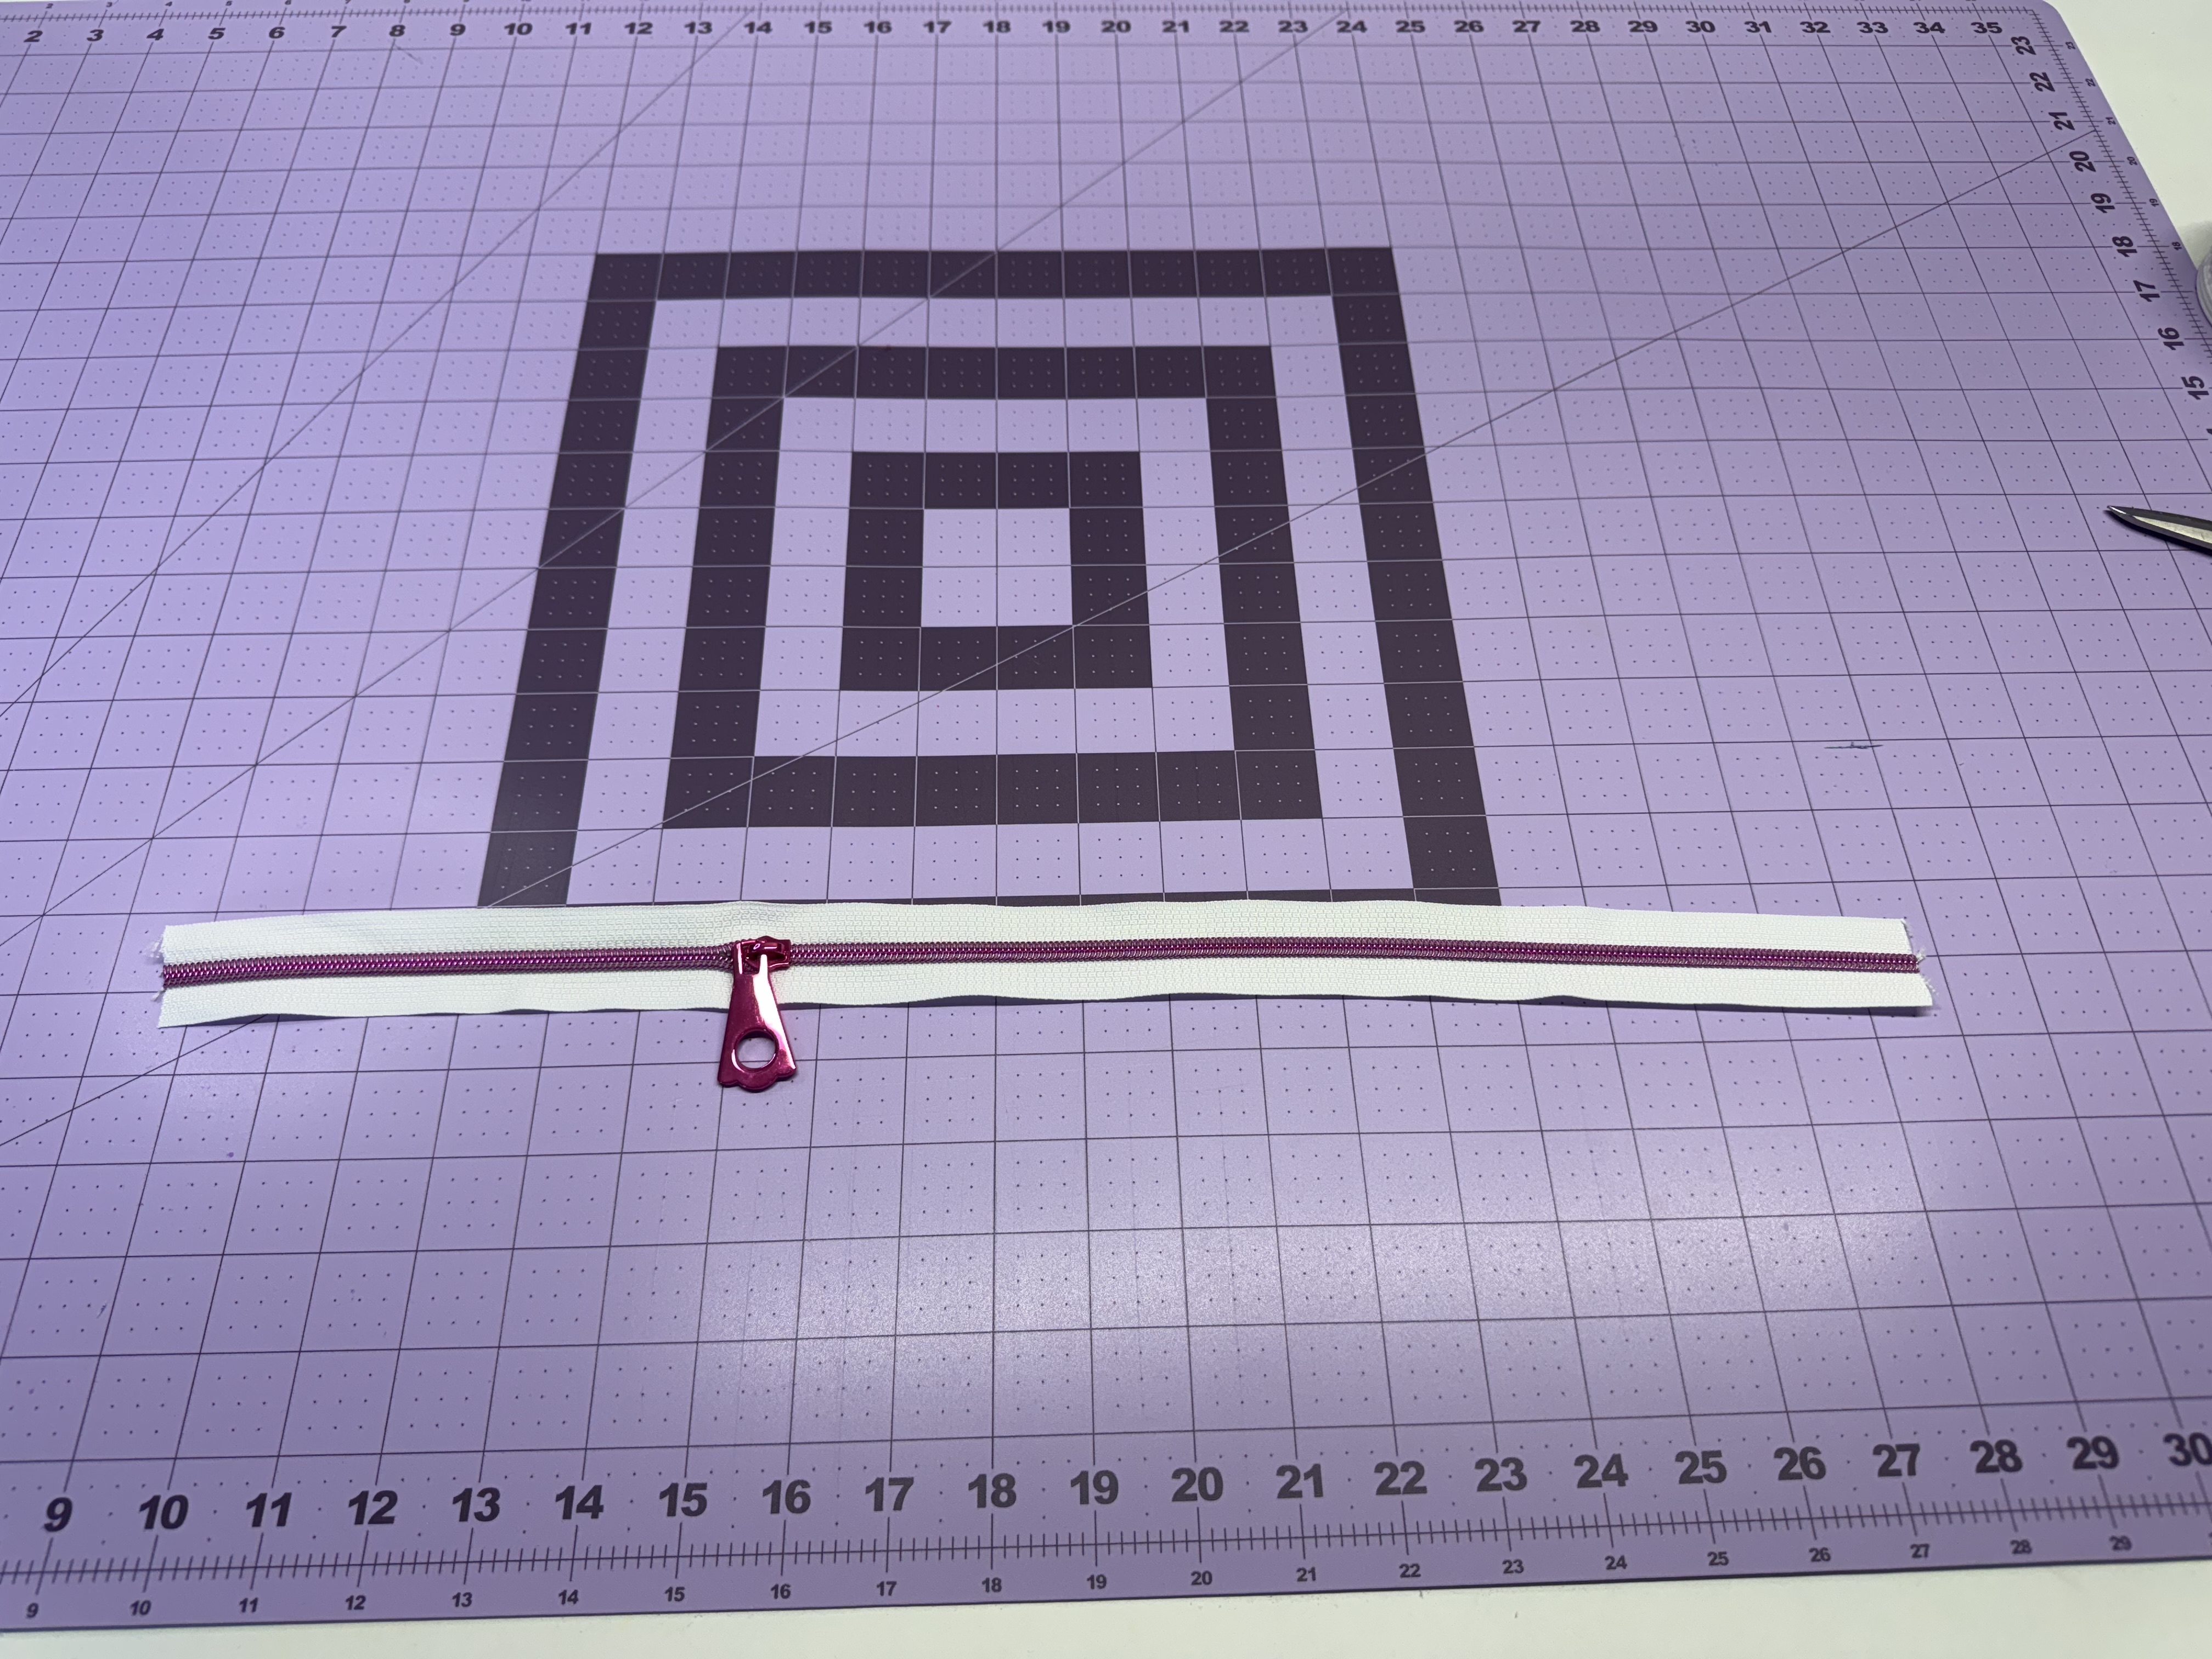
Cut a 20” length of zipper tape and insert a zipper pull. If using a premade zipper, ensure it is 20”.
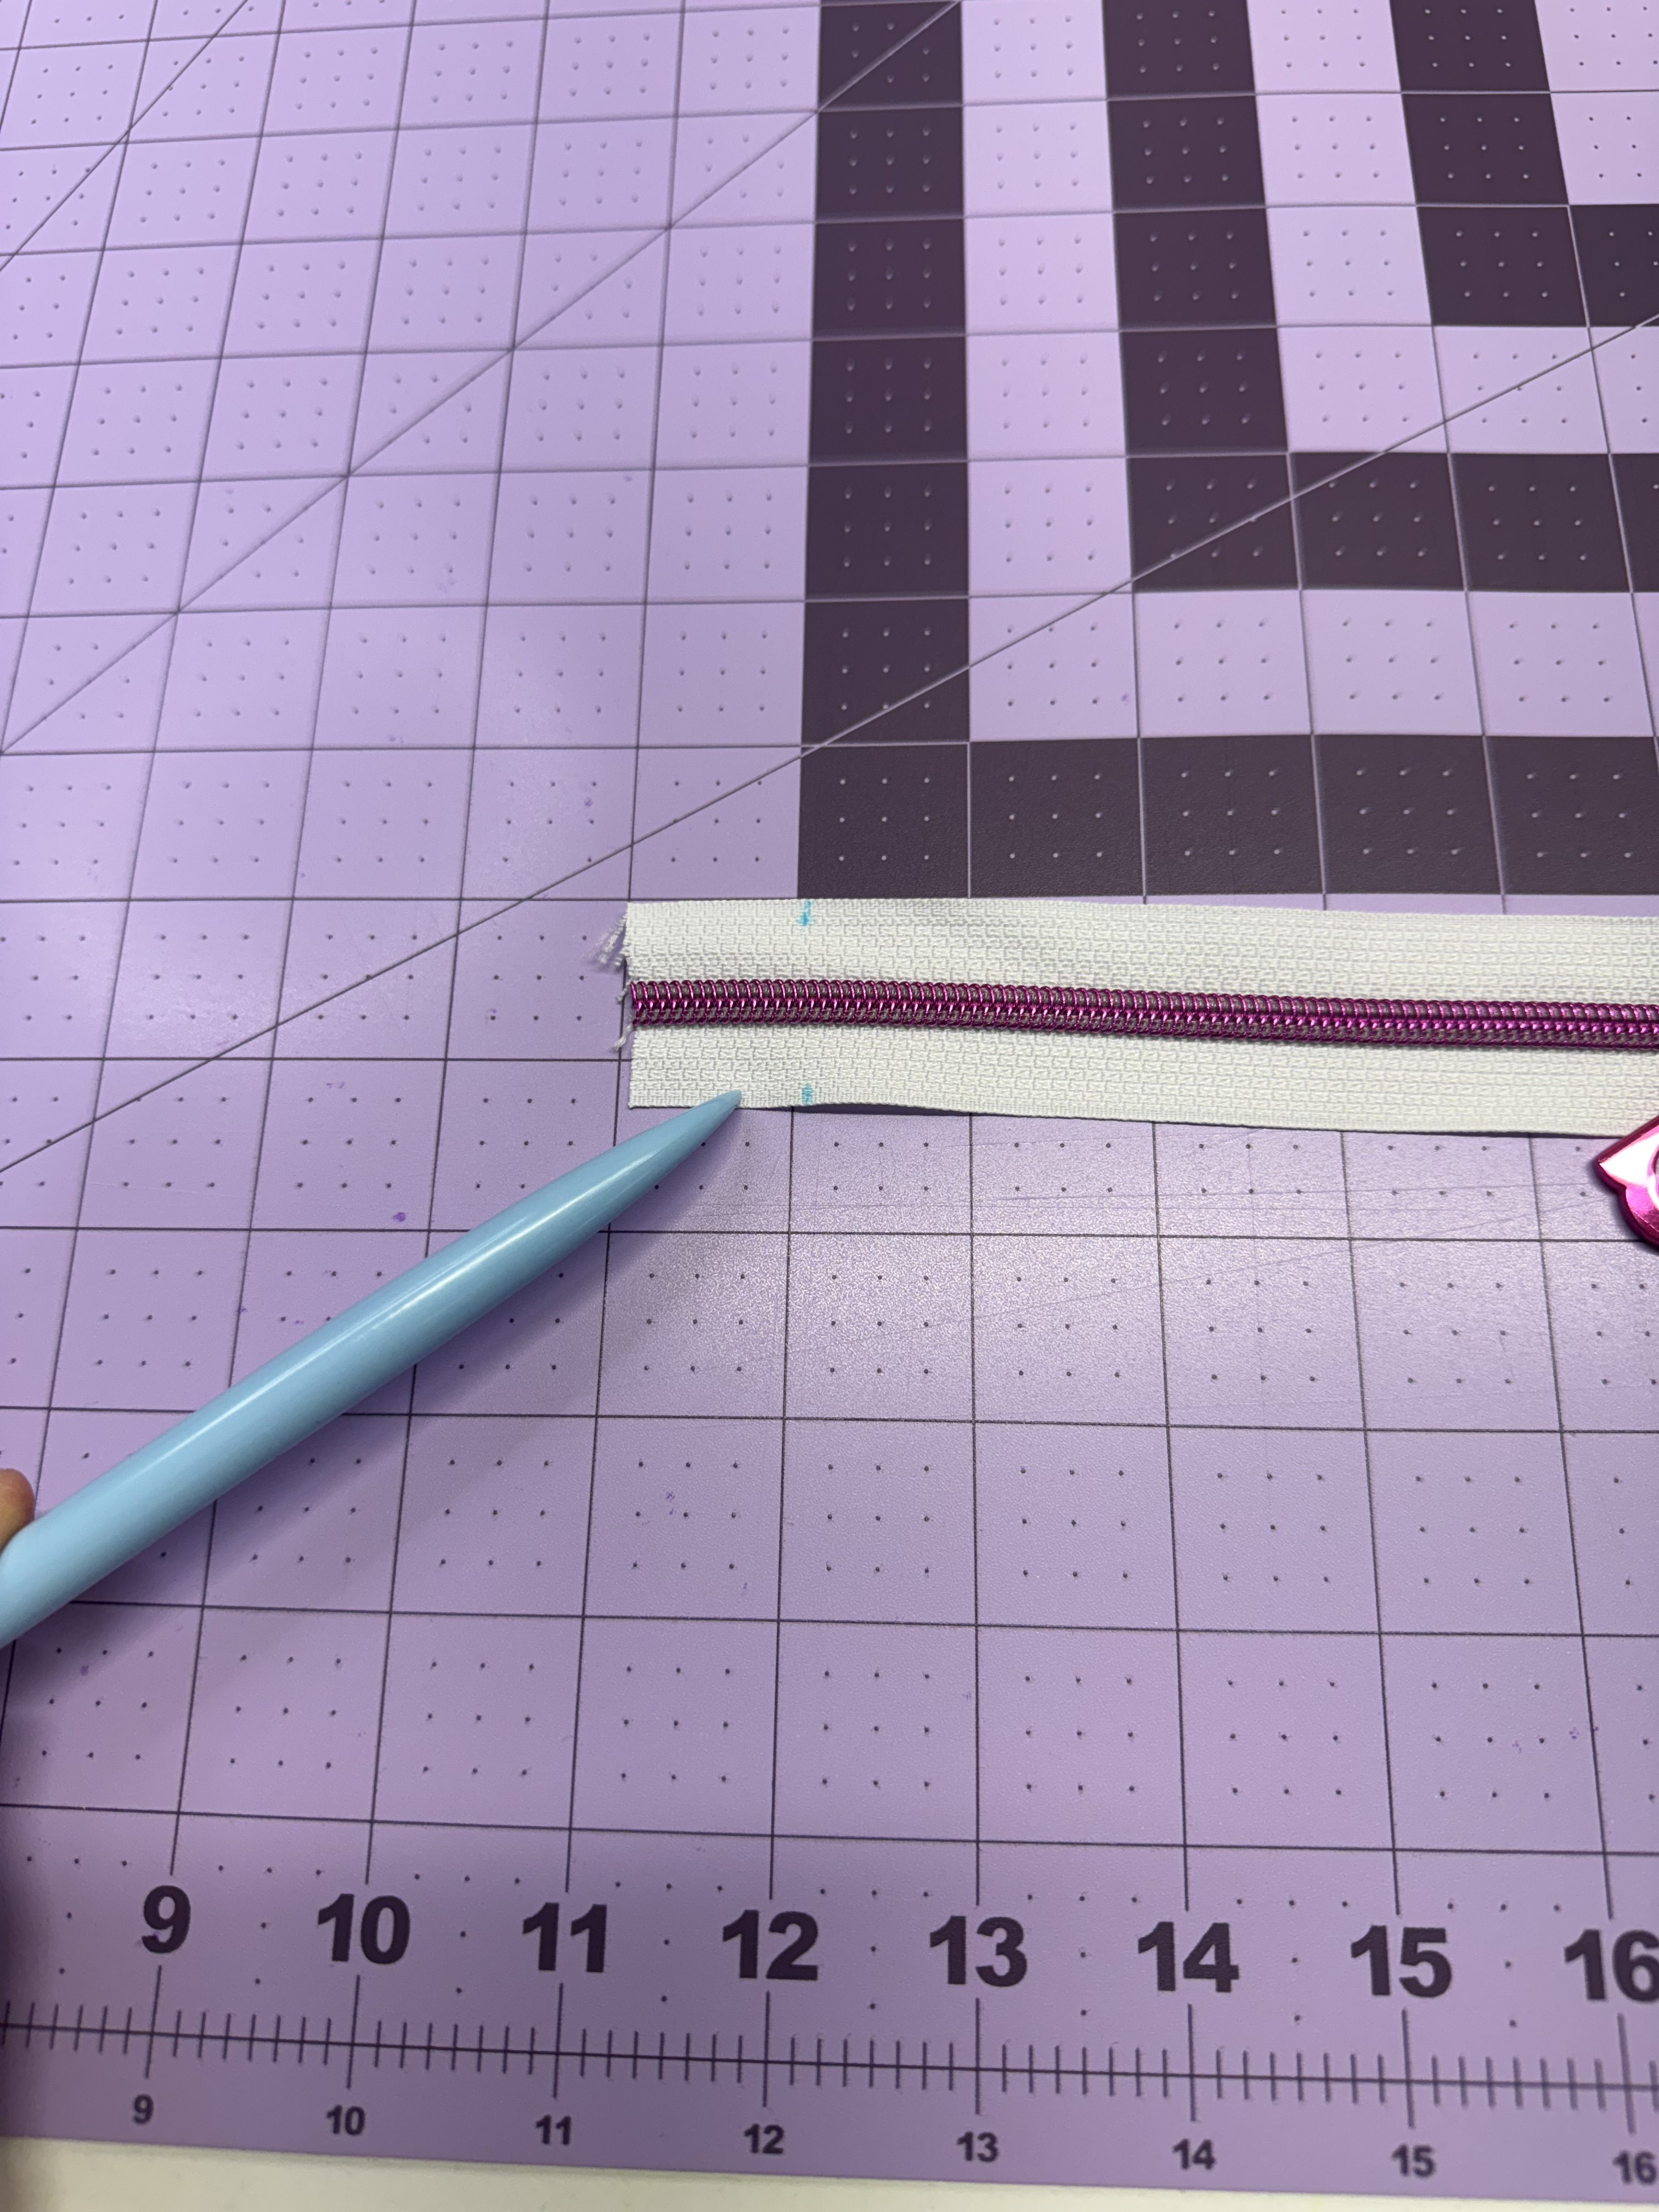
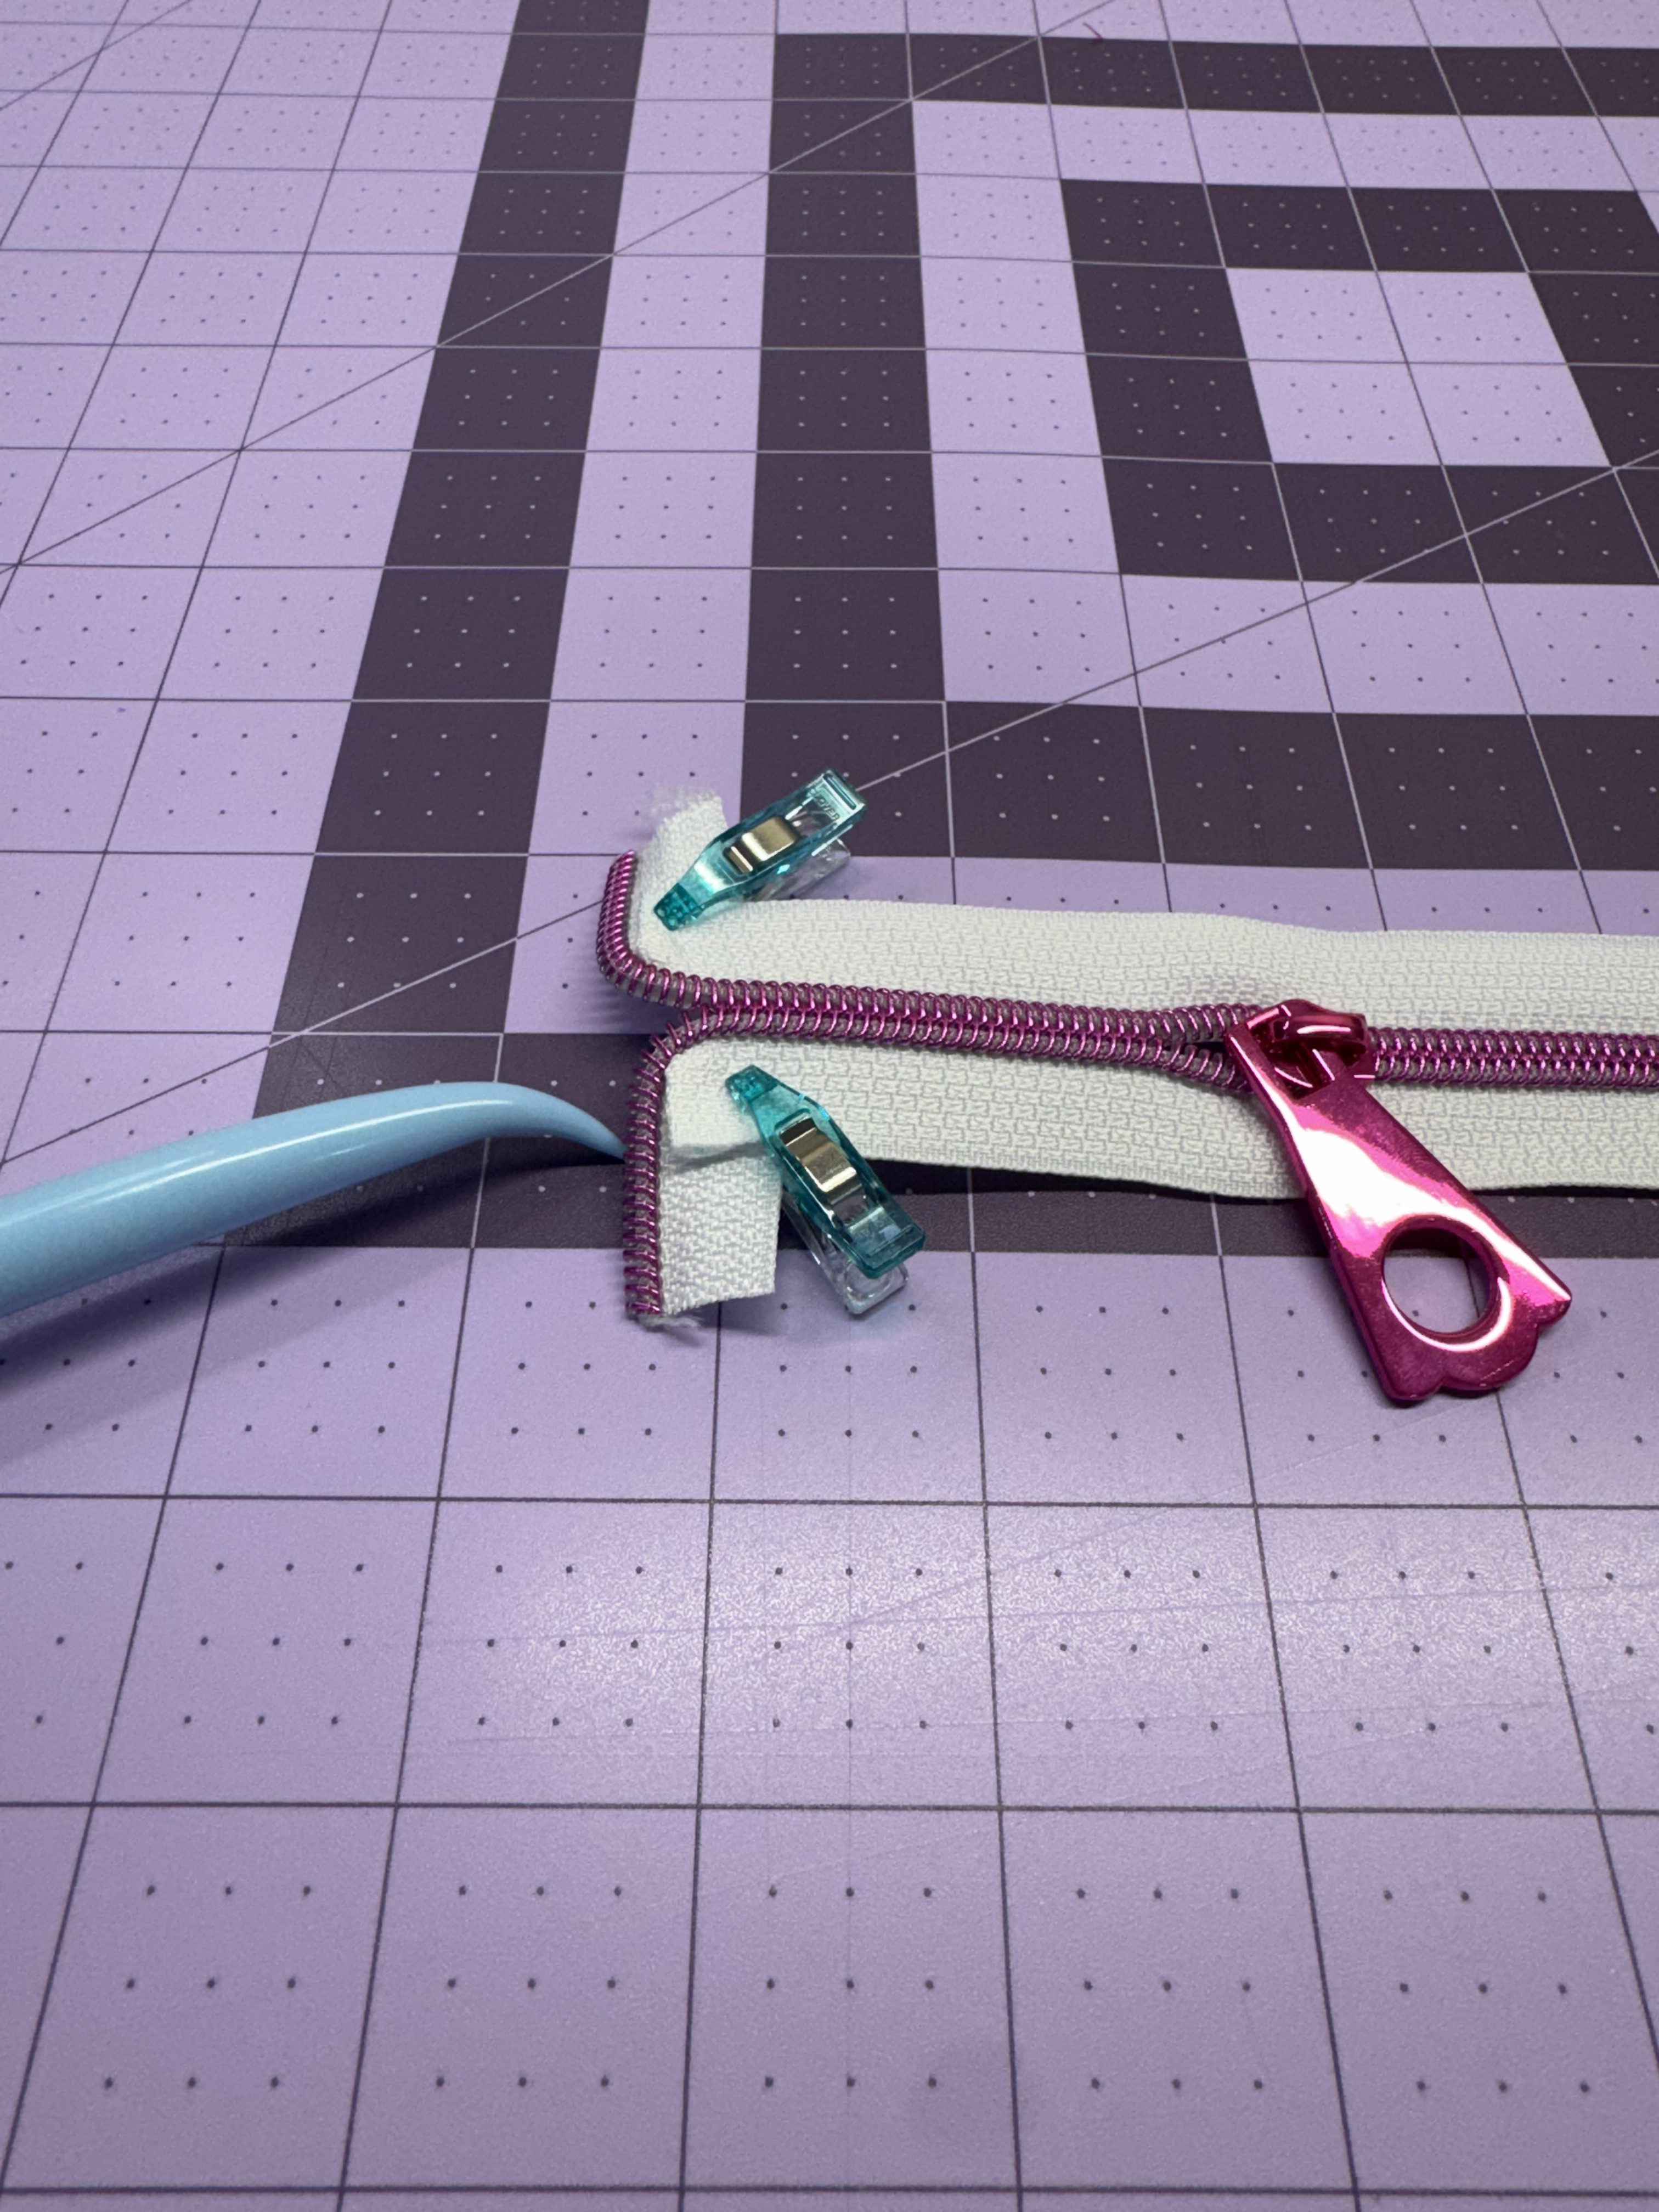
Measure 1″ in from the left edge of the zipper tape. Fold the tape back on itself at a 90° angle, aligning the raw edge with the fold. Press or clip in place to secure.
Cut (2) vinyl strips – each measuring 14 ½” W x 2 ½” L from the vinyl fabric.
Cut (2) fabric strips from the lining – each measuring 14 ½” W x 2 ½” L
Draw a ½” line along the short edges of both the vinyl and fabric strips. Fold the raw edge in toward the line and press or clip in place.
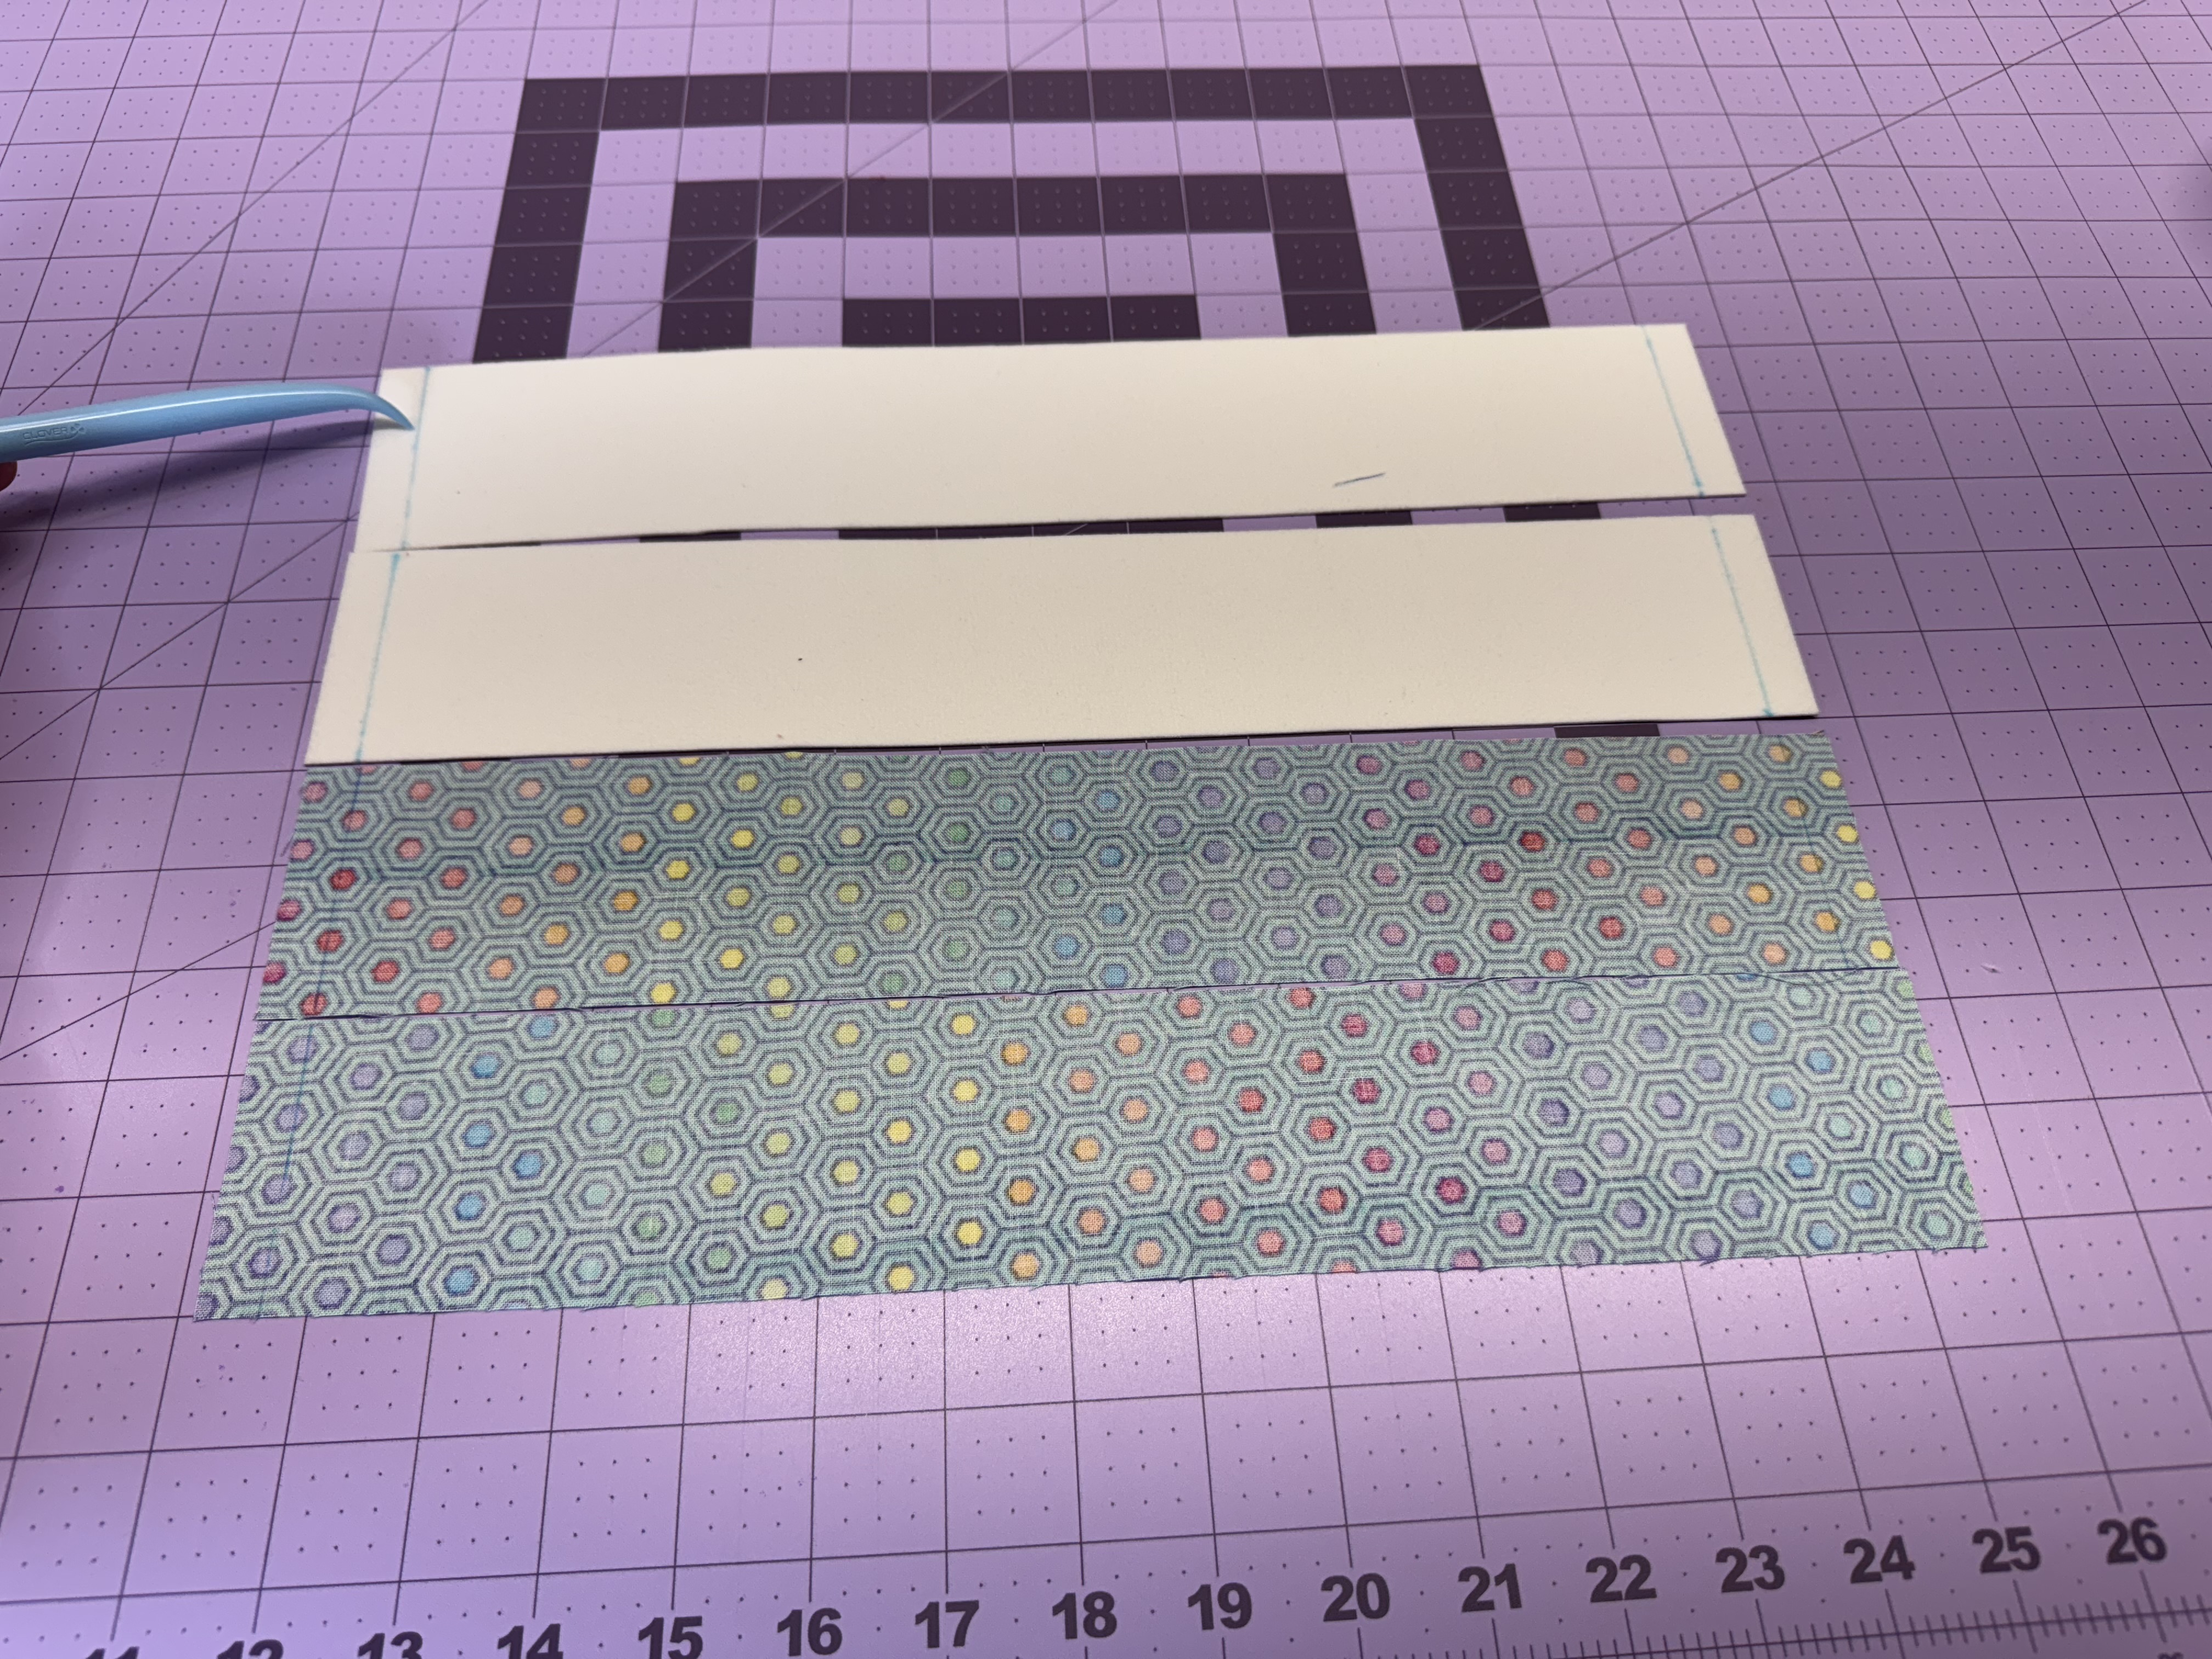
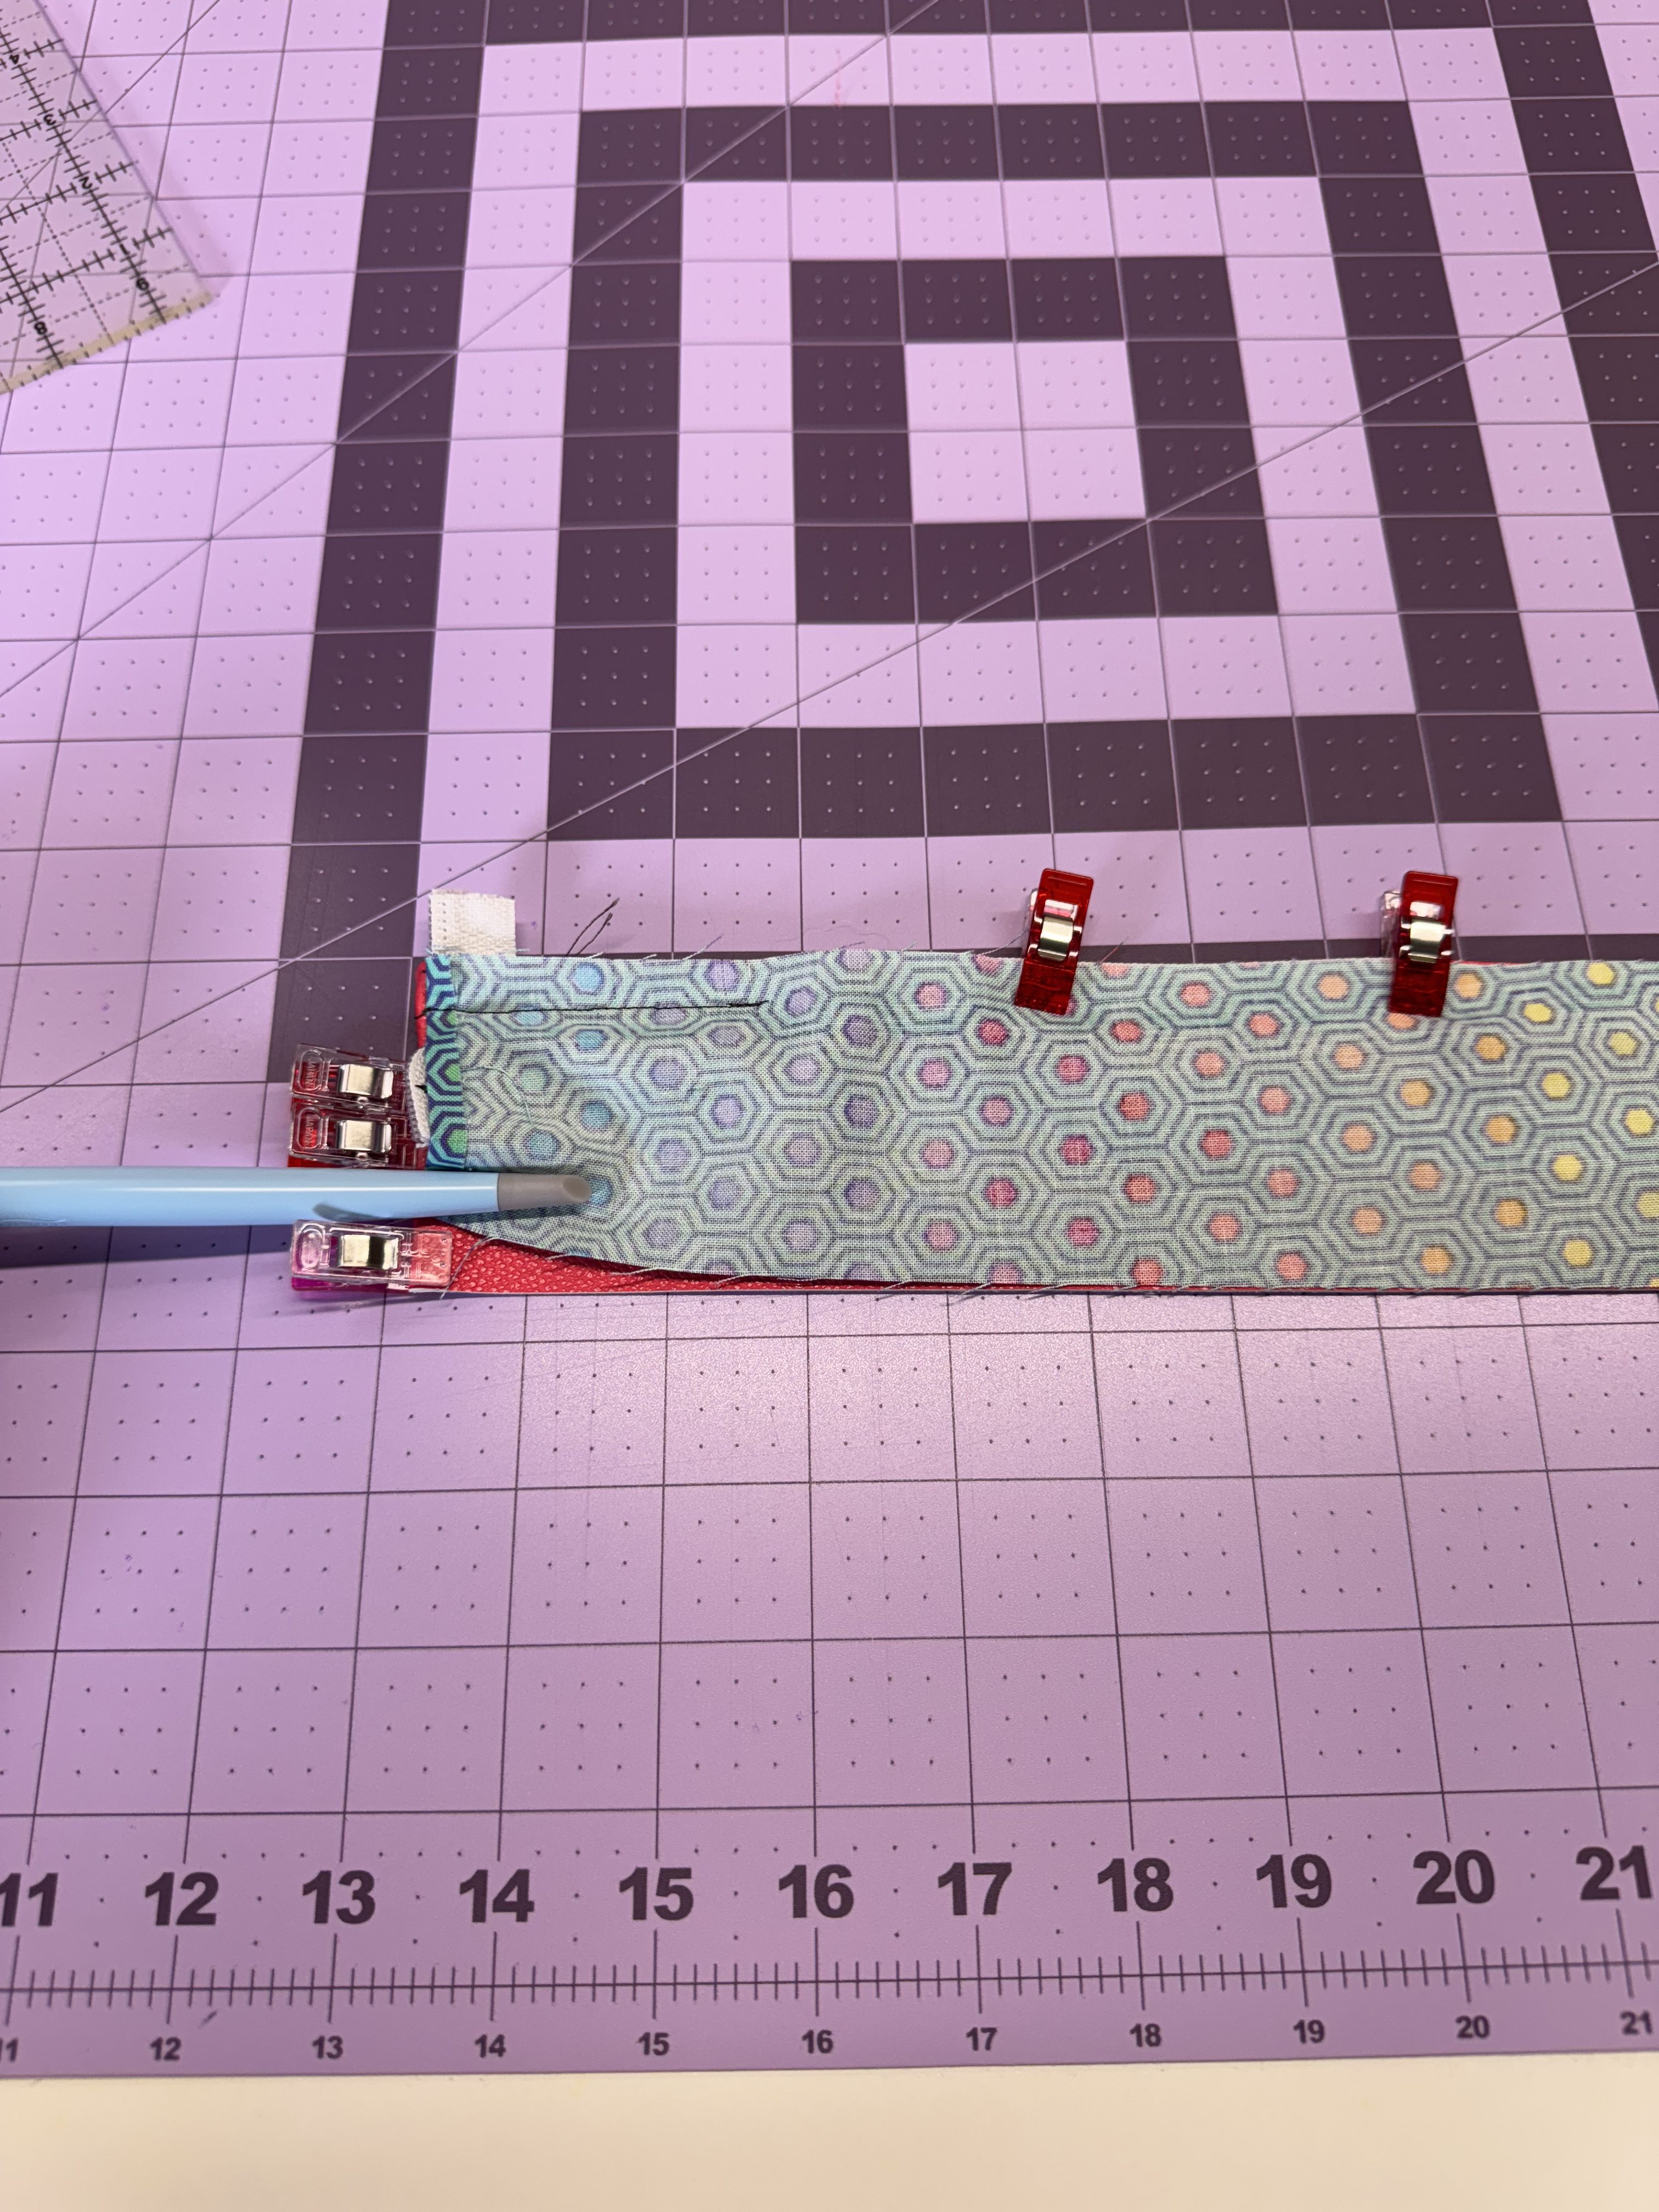
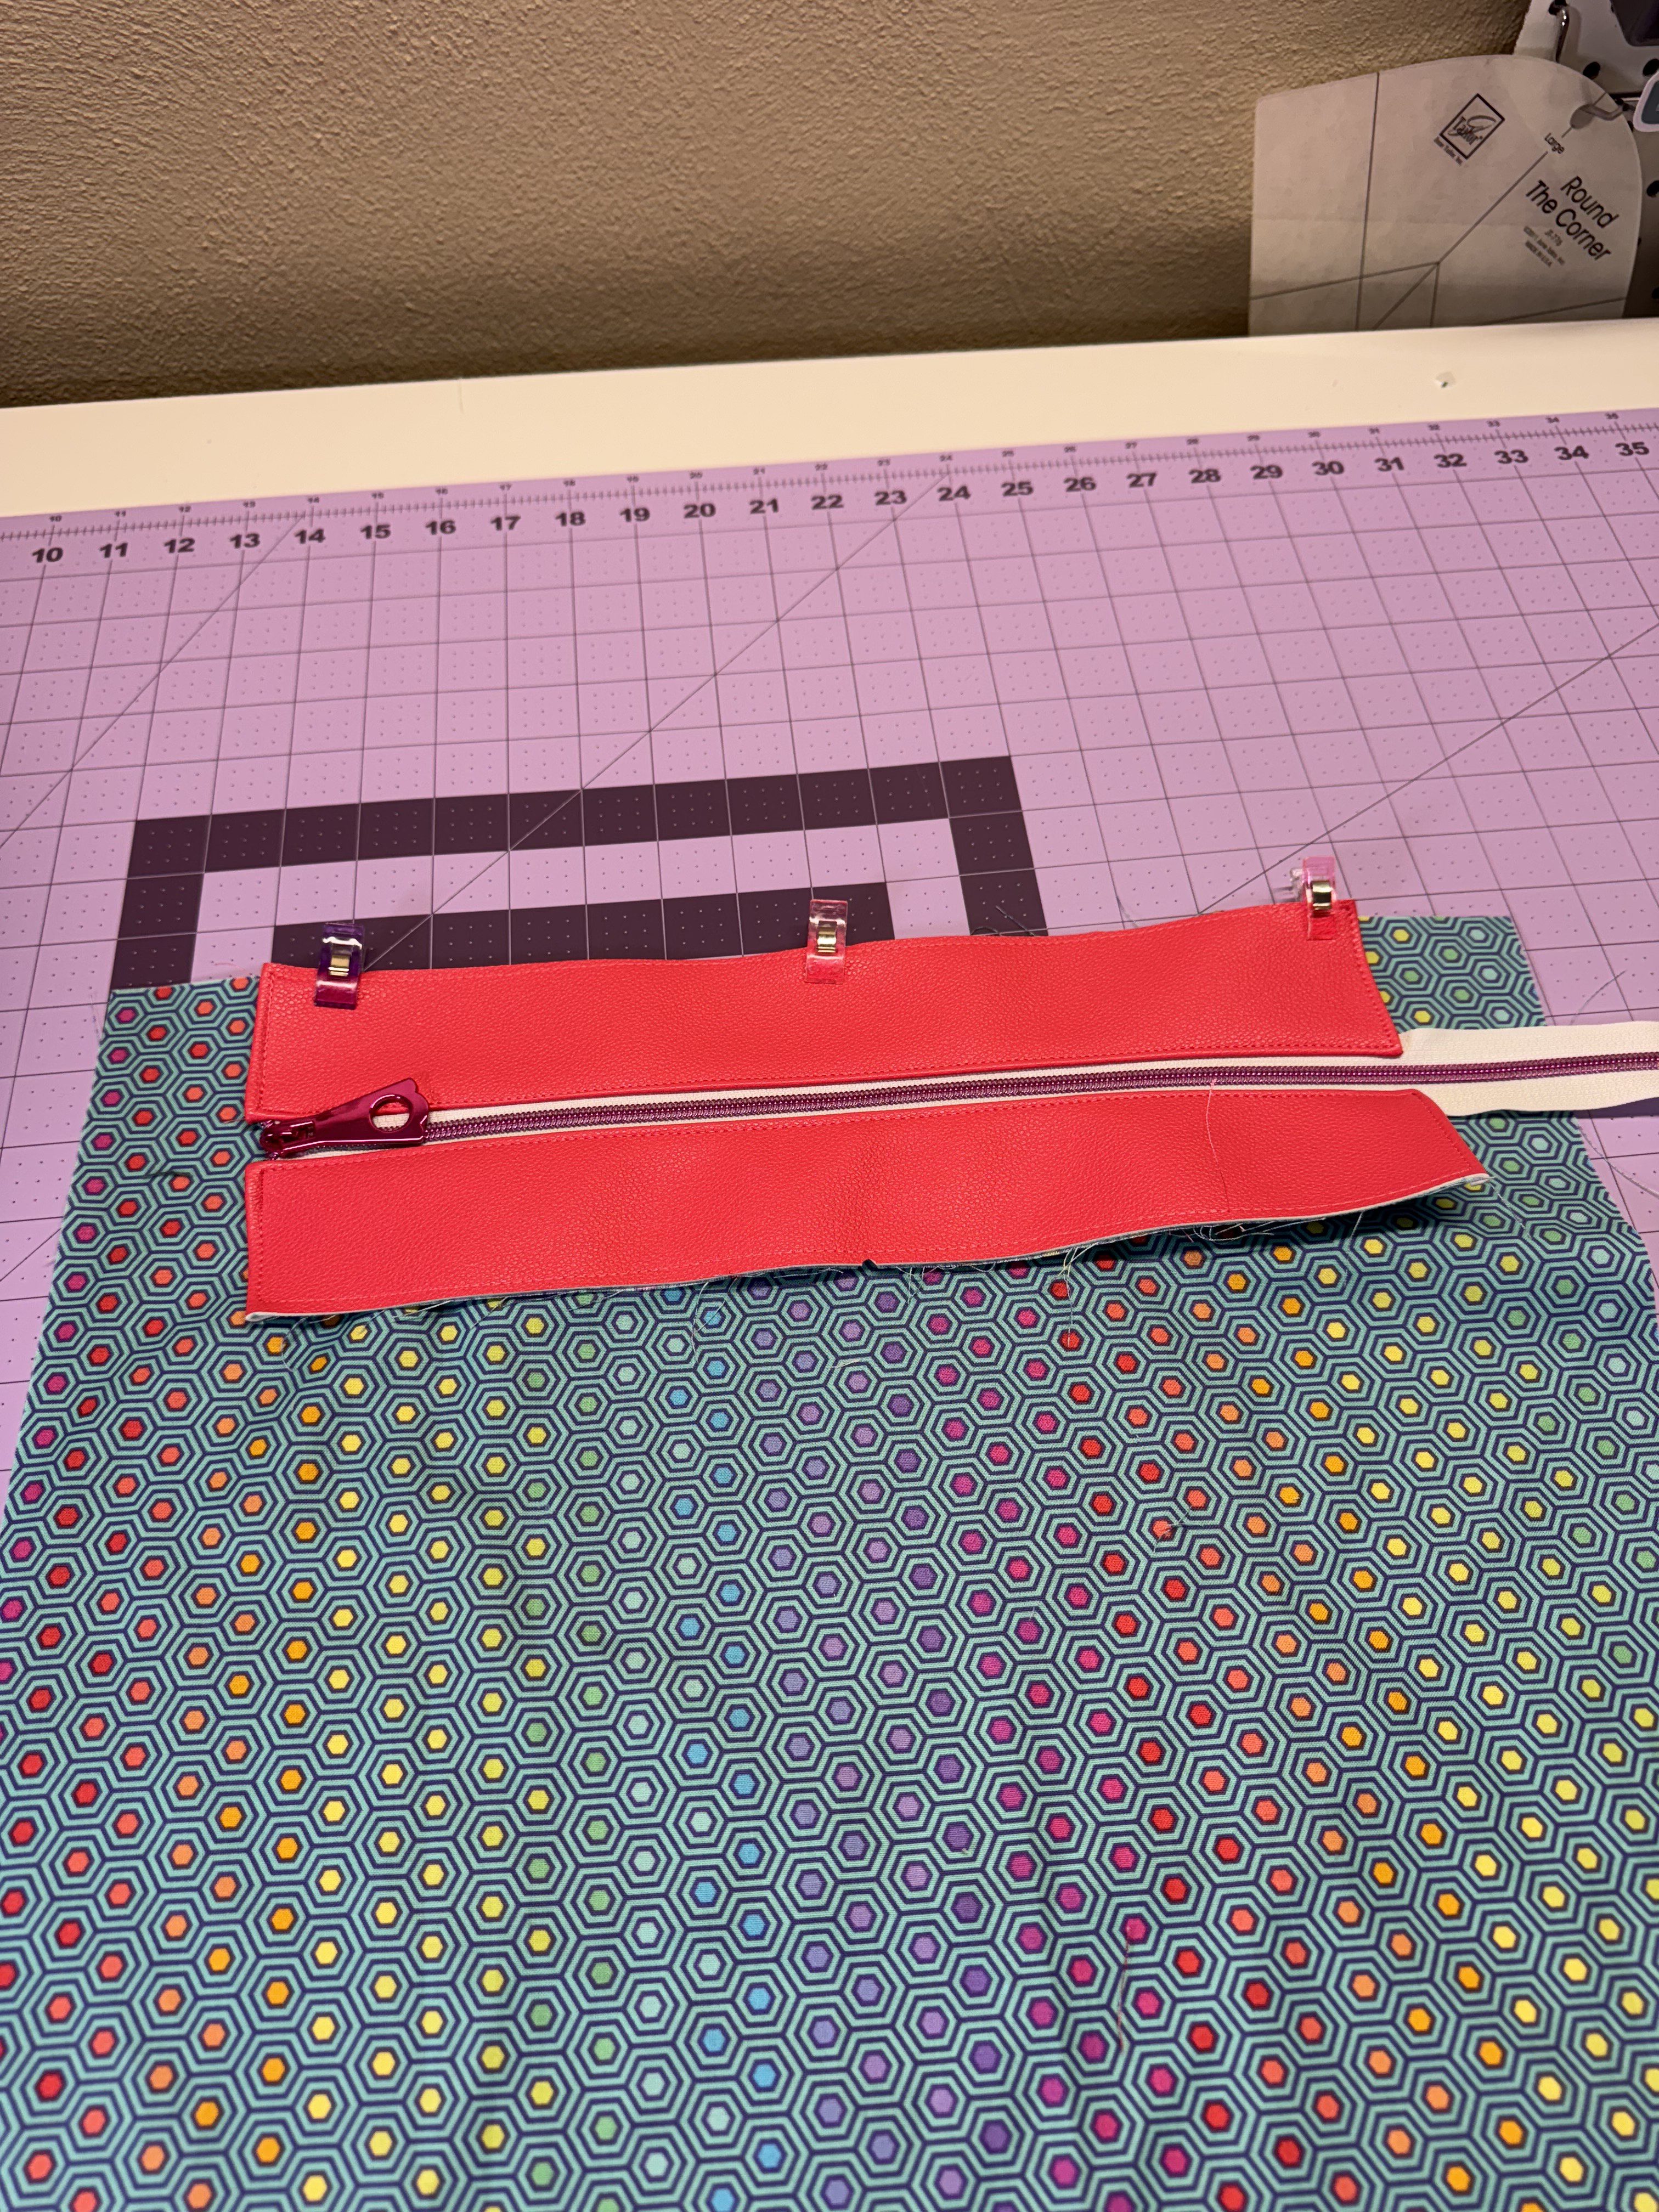
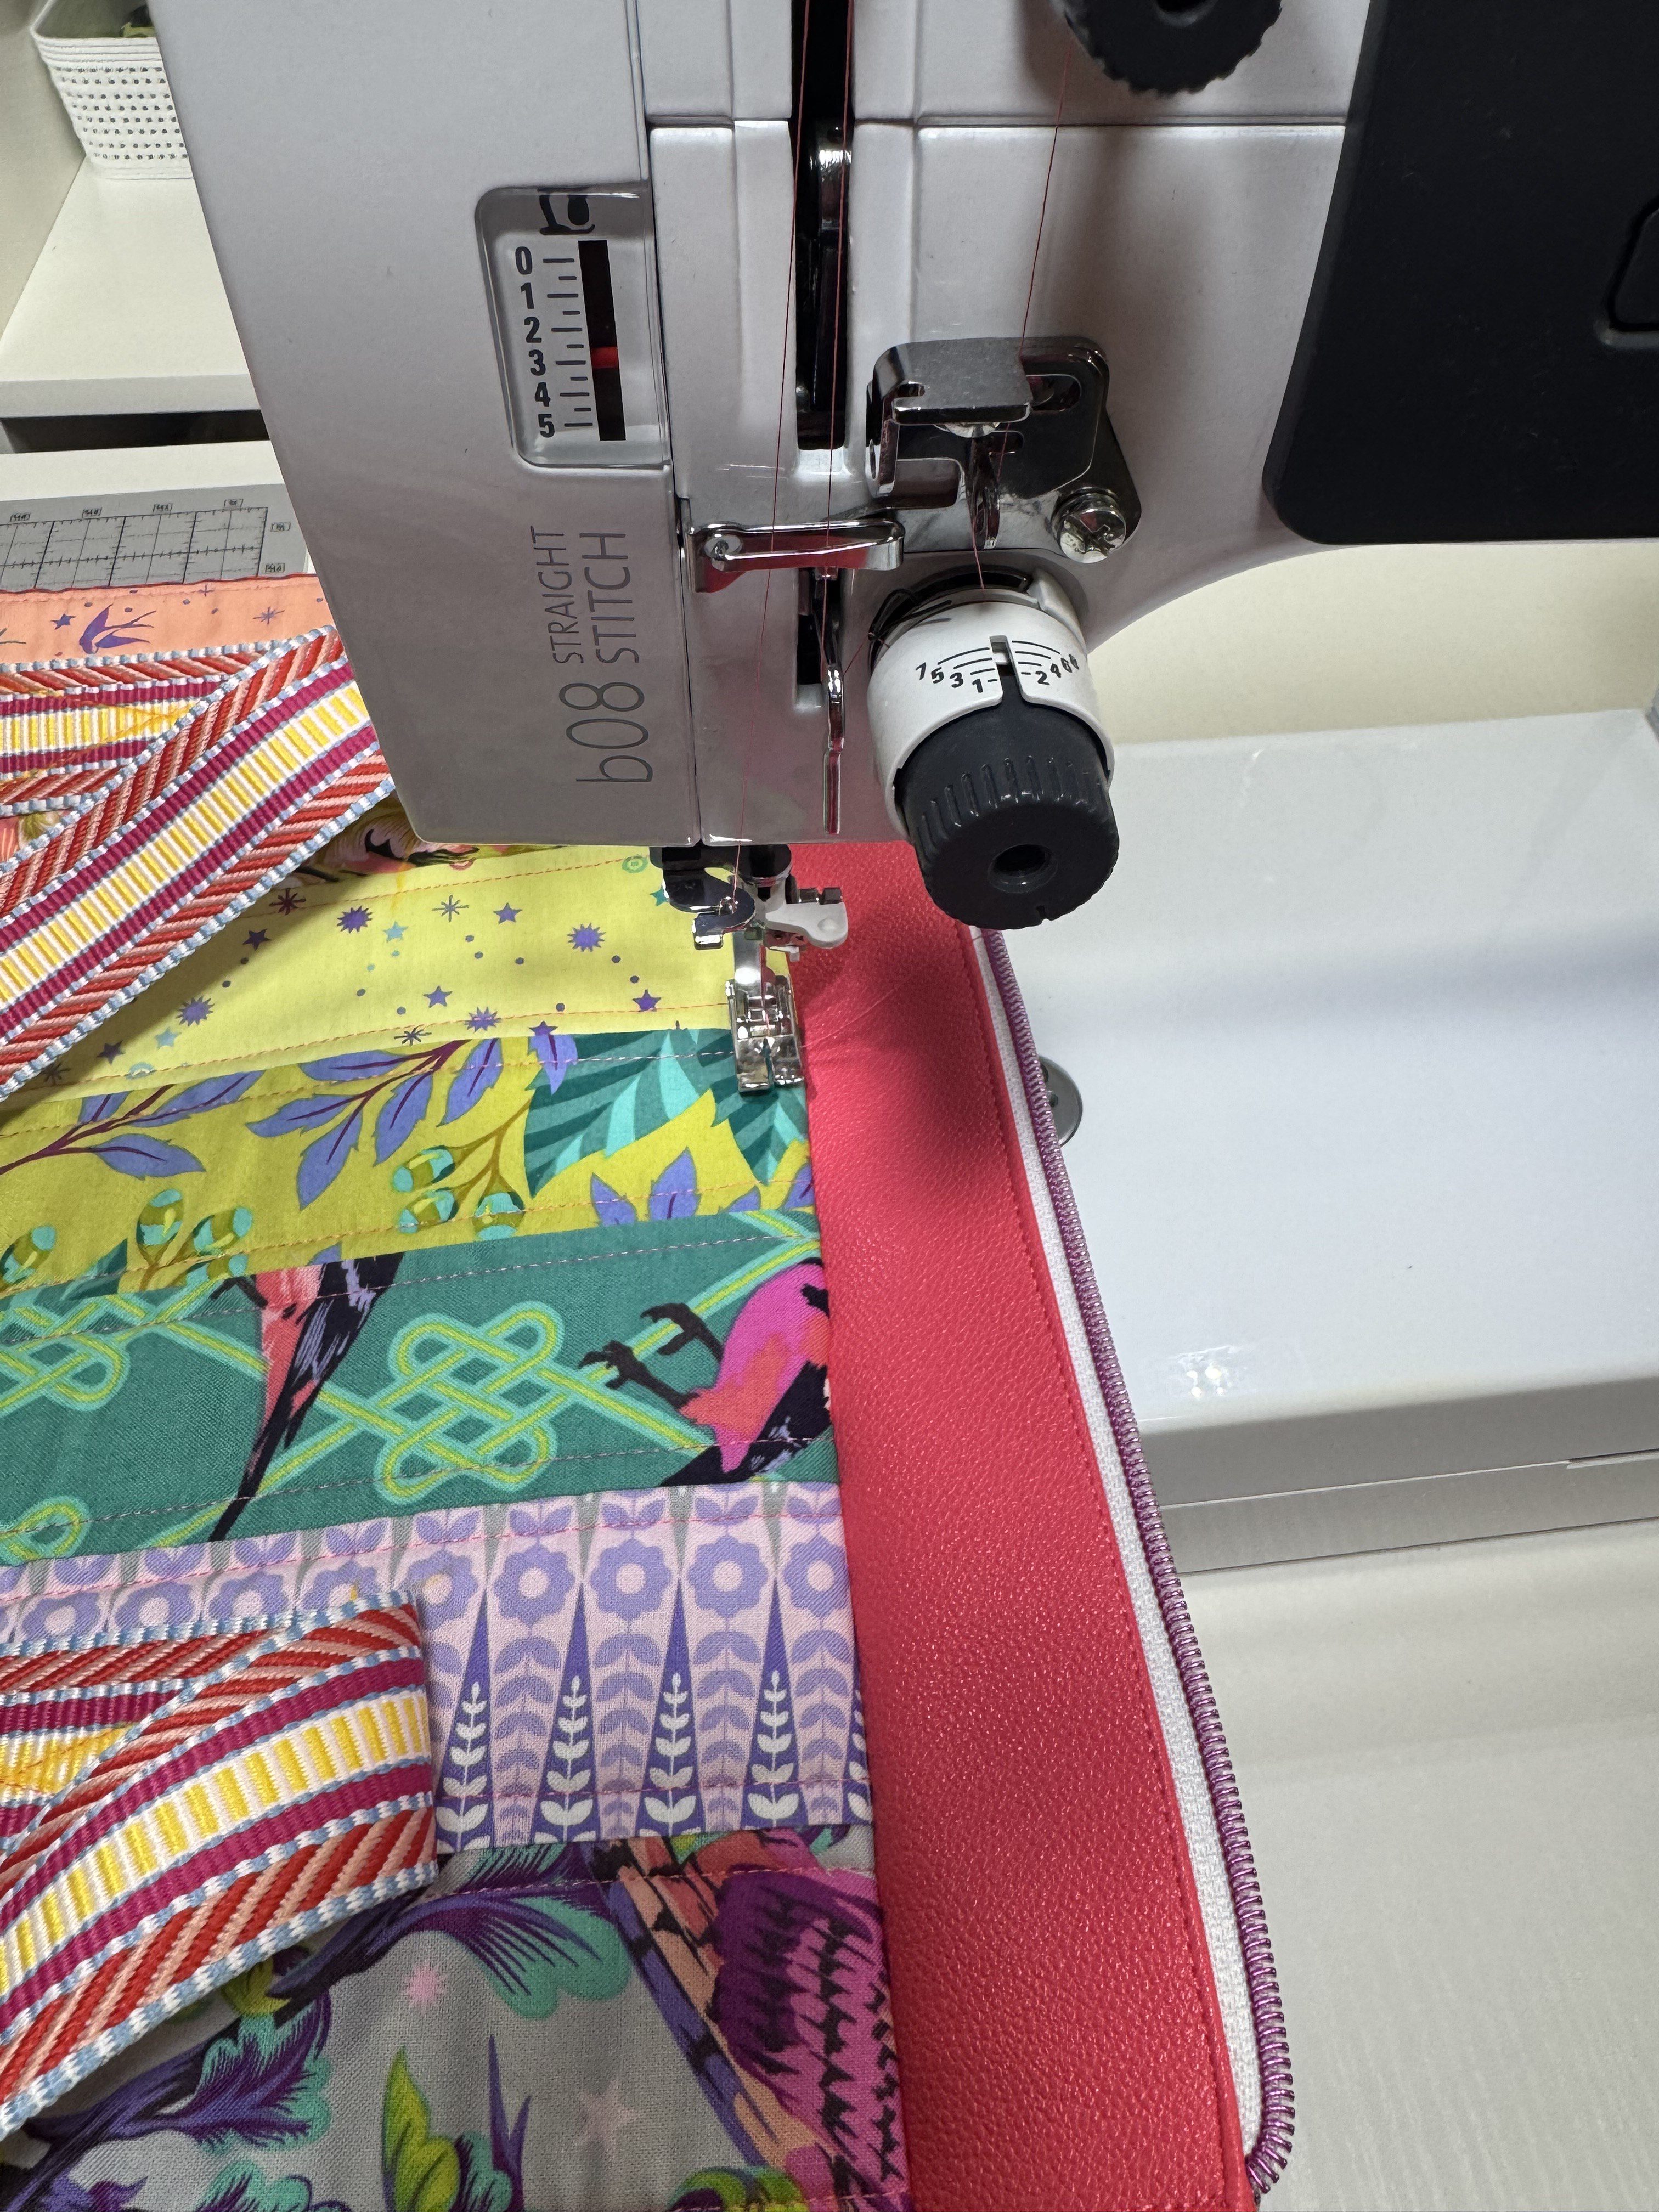
Place one main vinyl strip right side up. Lay the zipper right side down along the top edge of the strip (zipper teeth facing the fabric). Place a lining strip right side down on top of the zipper, aligning all top edges.
Using a zipper foot, sew along the top edge with a ⅜” seam allowance.
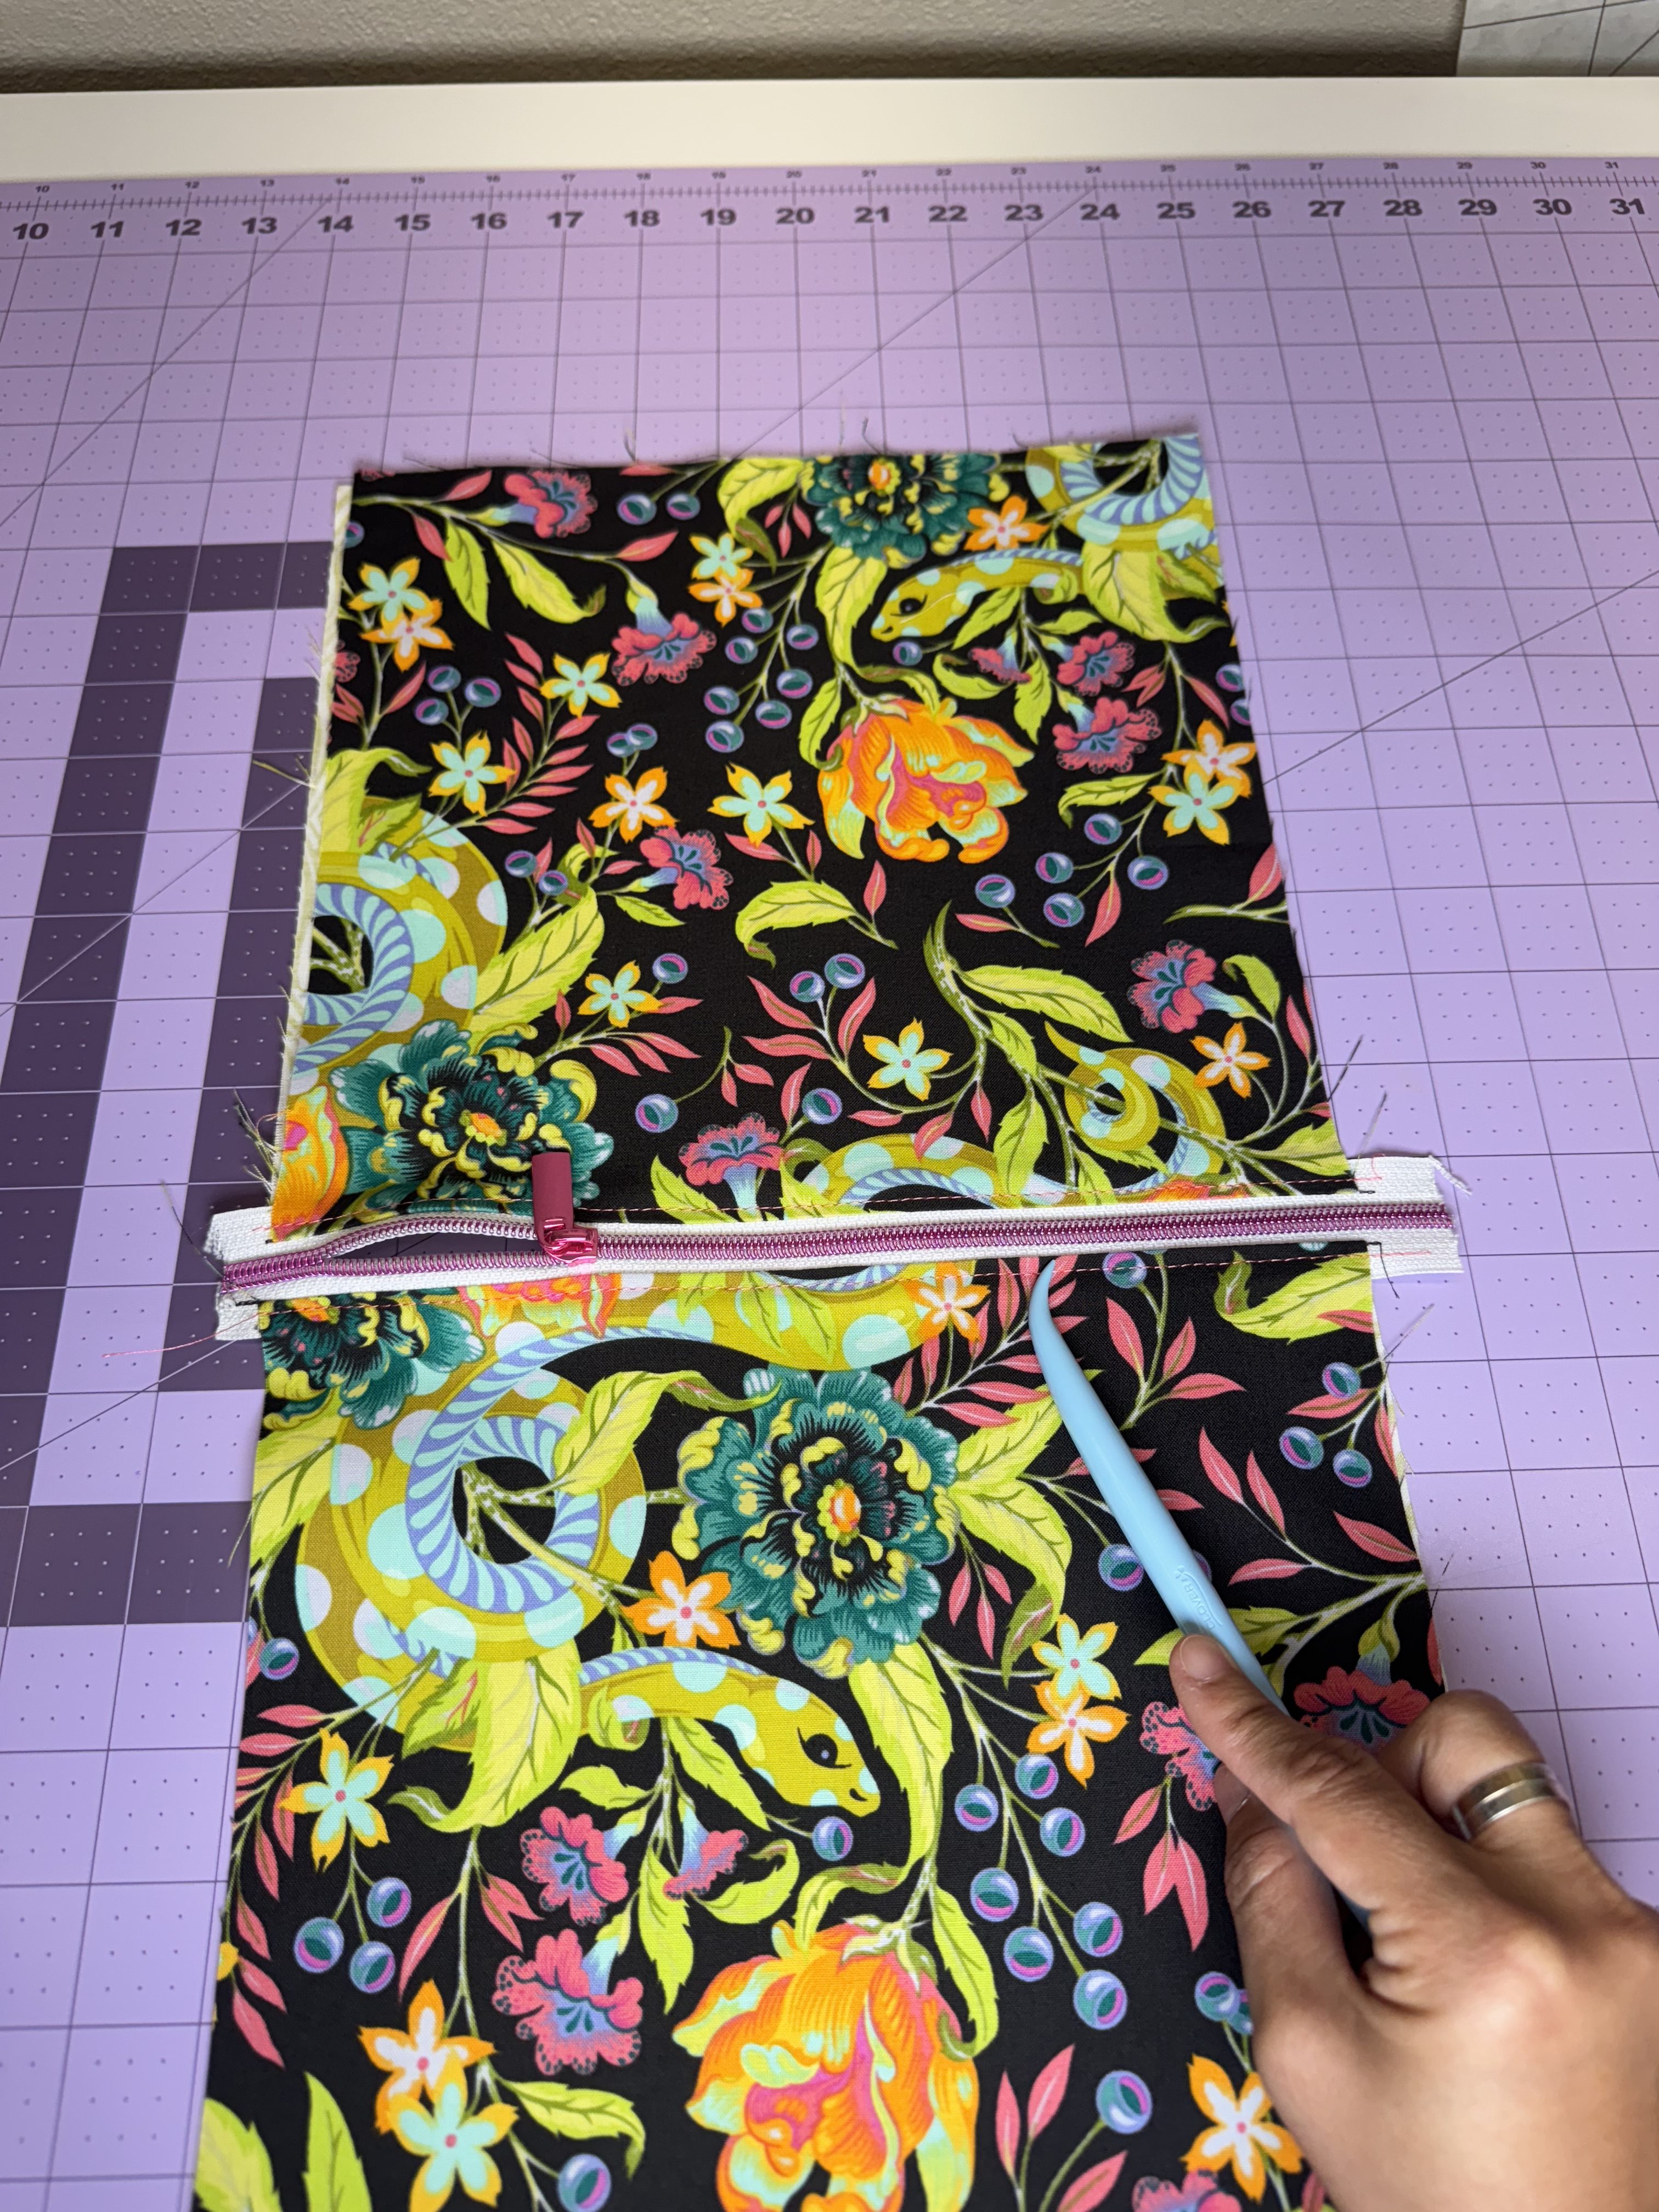
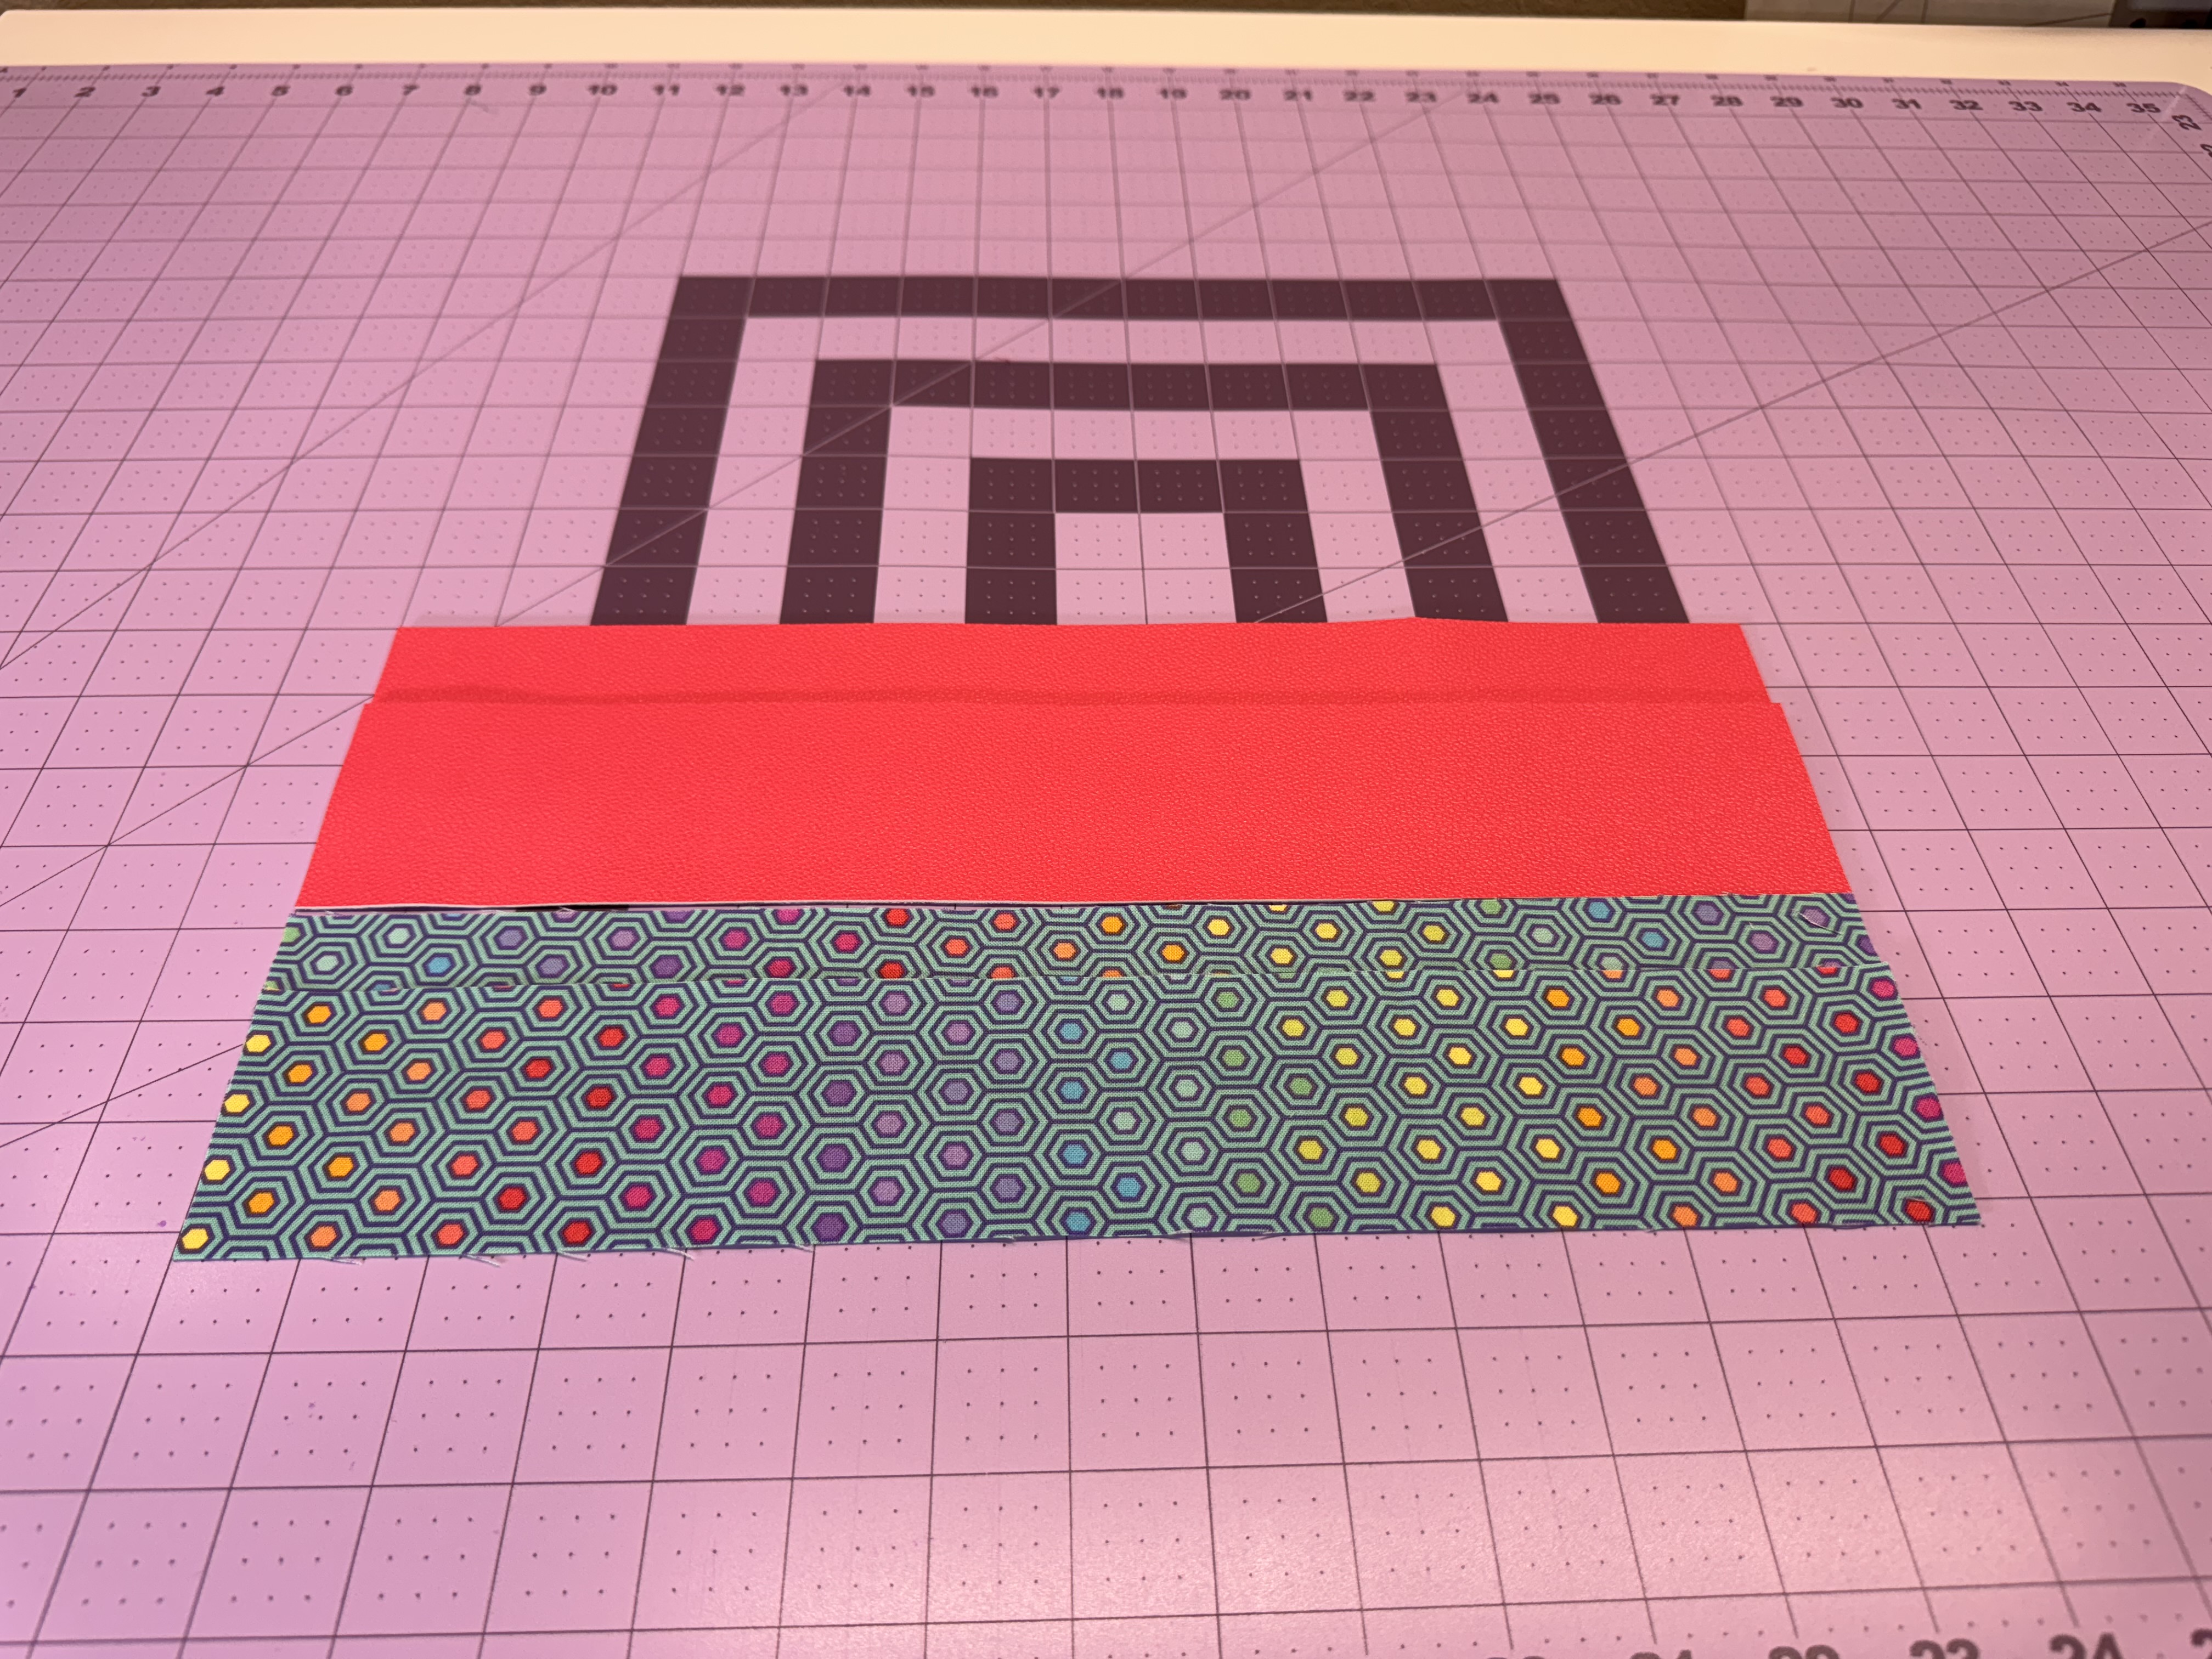
Fold both the outer and lining fabrics away from the zipper. Press well to flatten the seam.
Topstitch using ⅛” seam allowance along all 4 edges of the zipper panel.
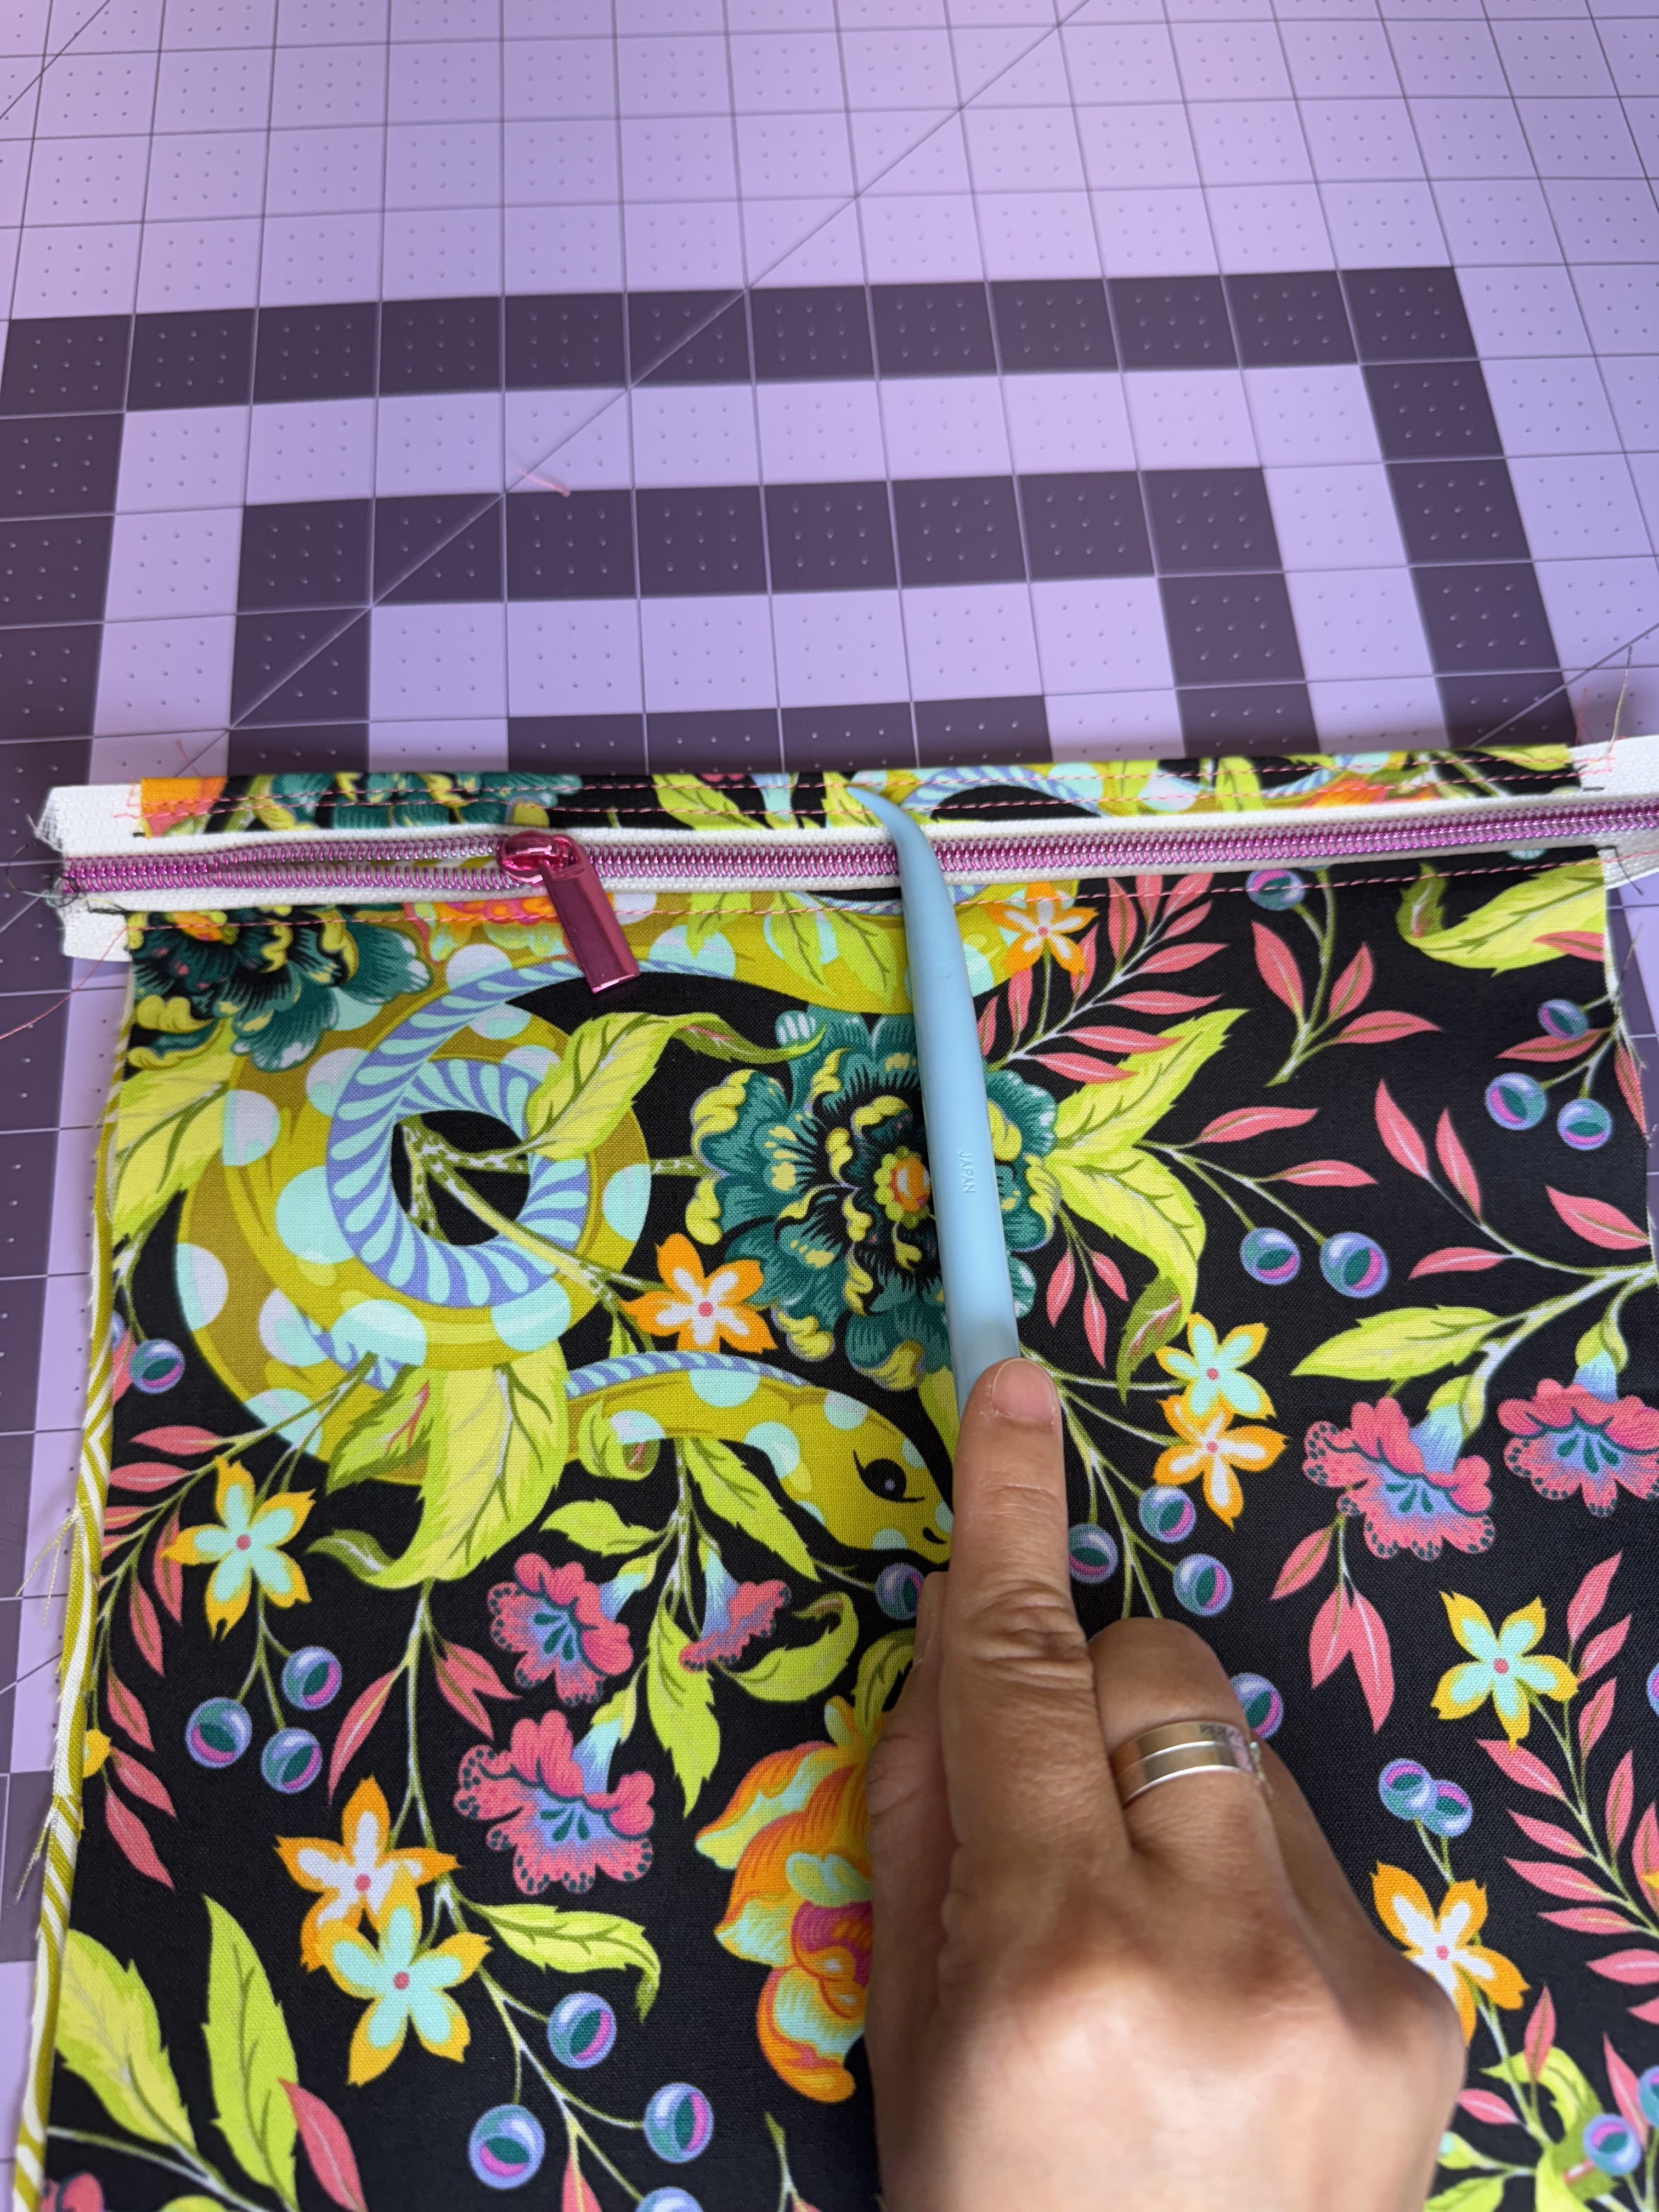
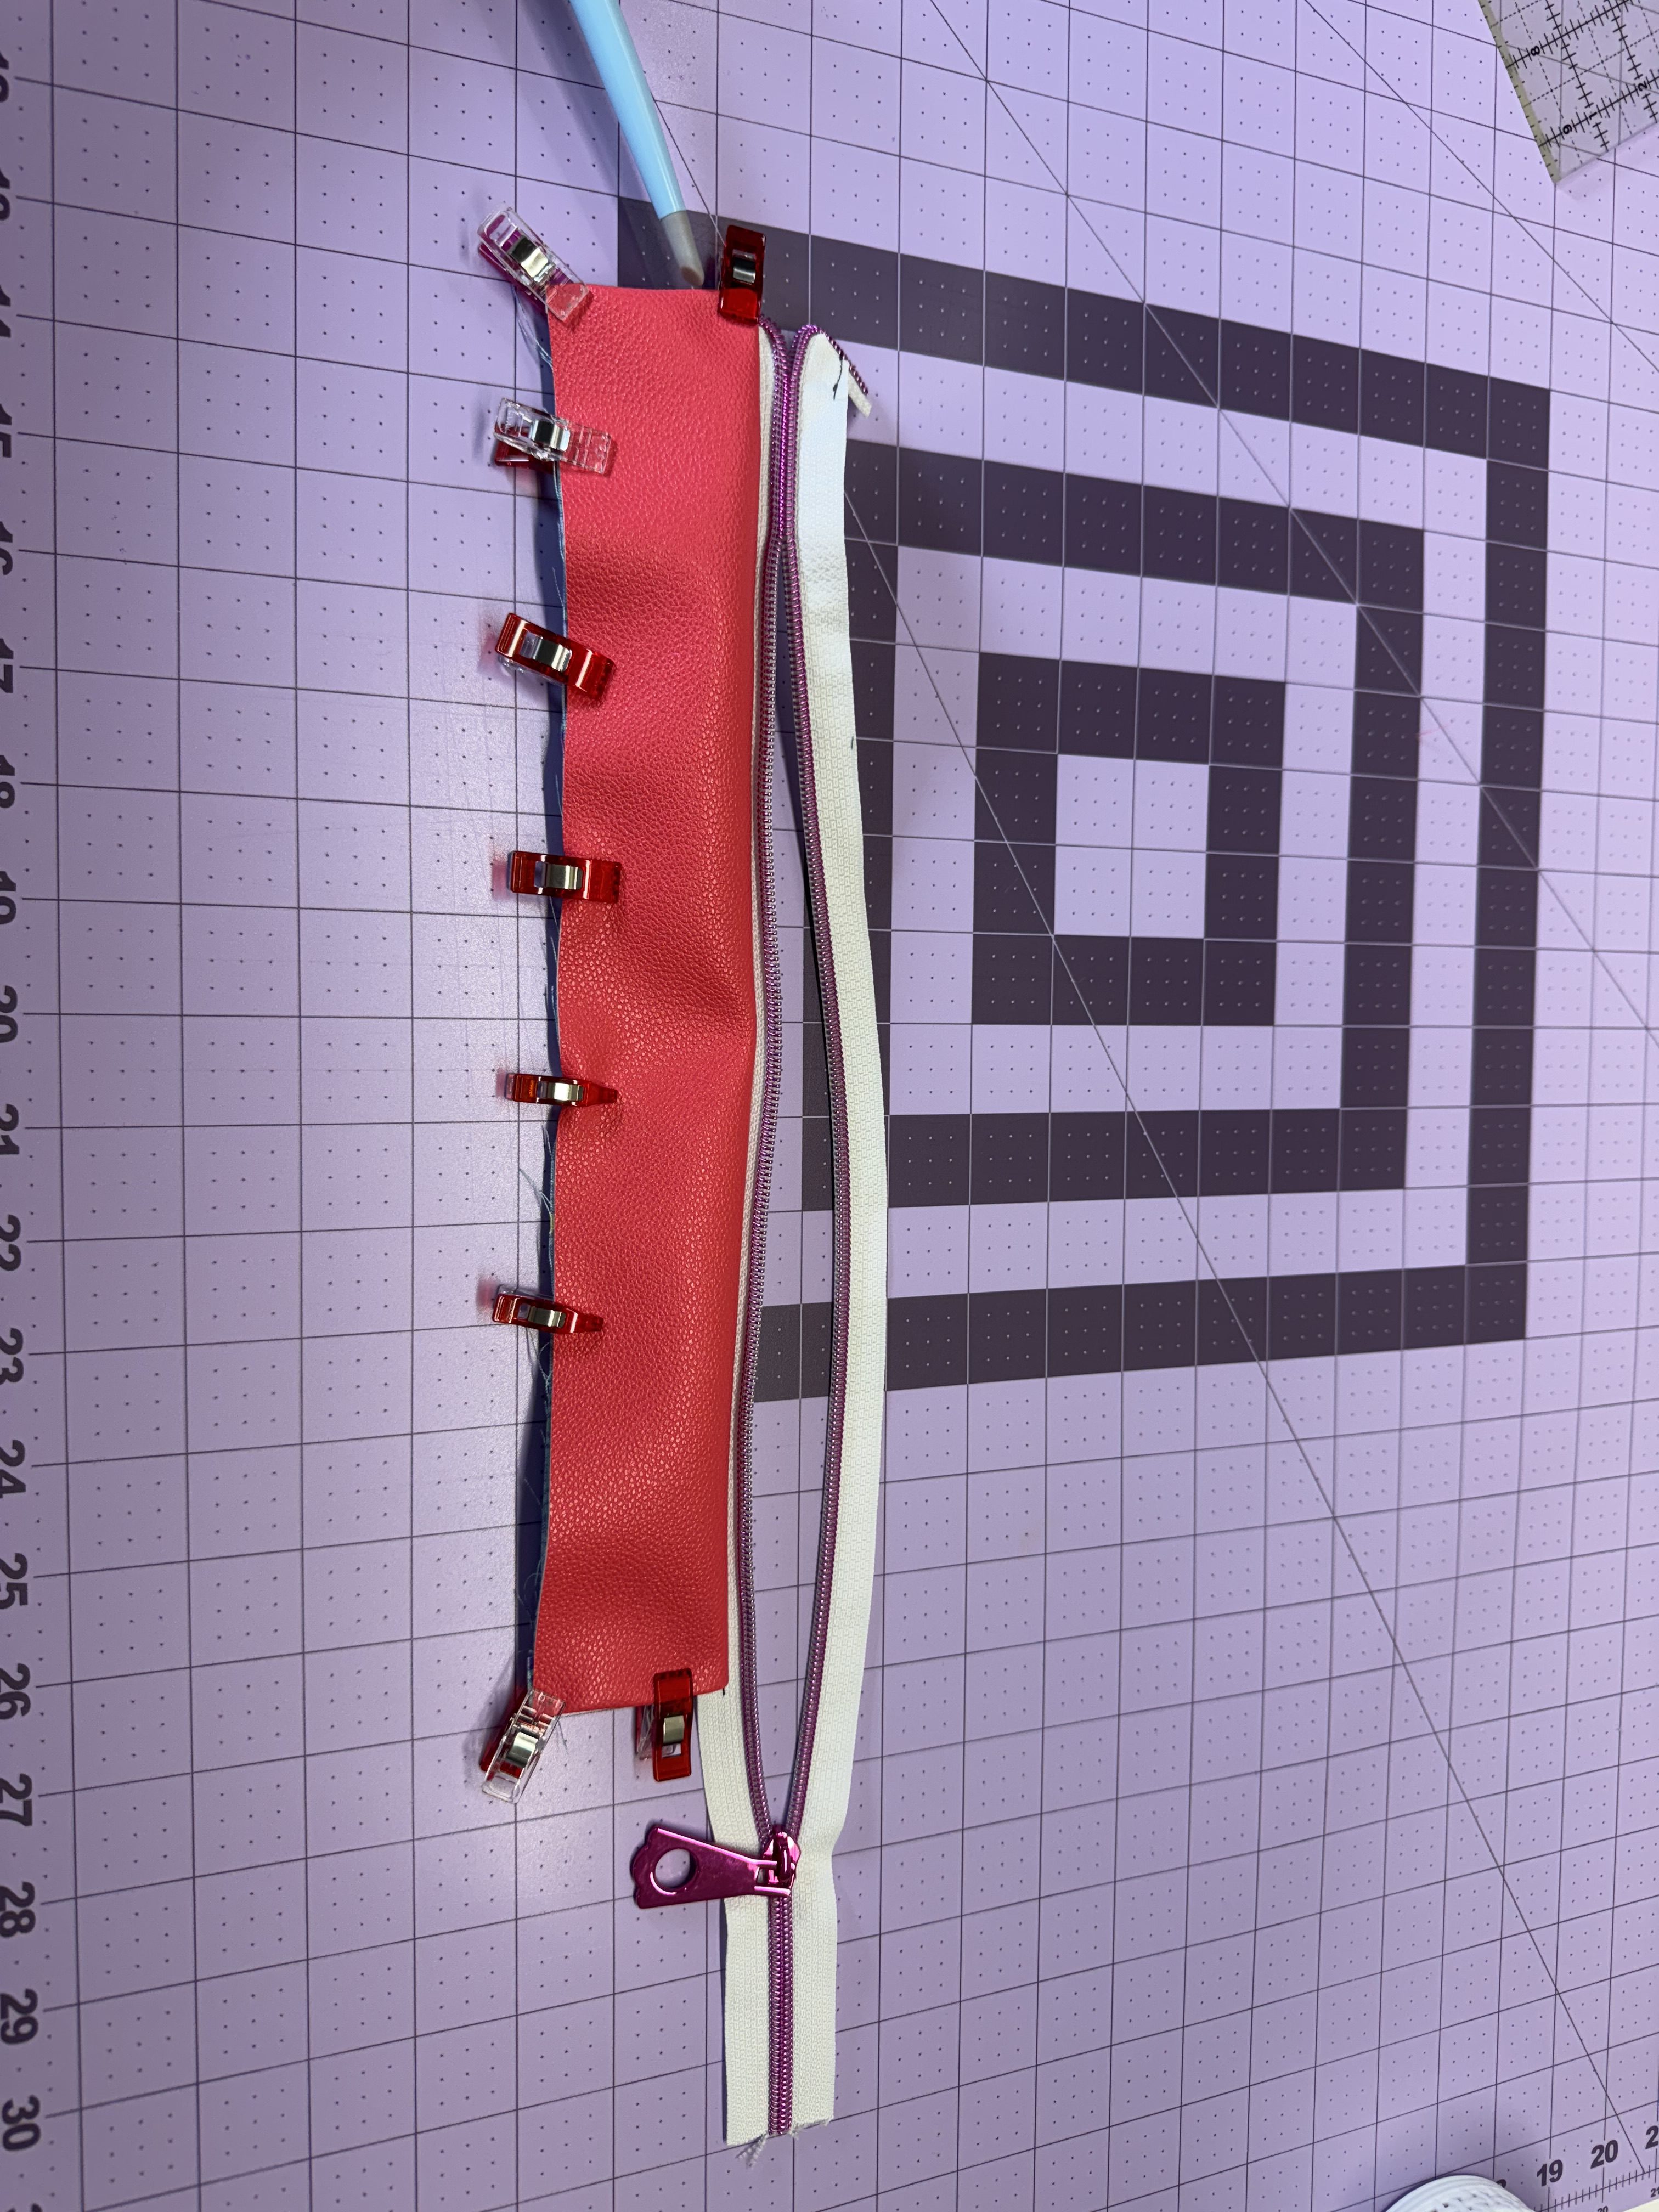
Take the second main vinyl strip and place it right side up.Lay the zipper panel you just assembled on top, with the zipper right side down (so it sandwiches between fabrics again).
Place the second lining strip on top, right side down, aligning edges.
Pin or clip, then sew with a ⅜” seam using the zipper foot.
Fold both the outer and lining fabrics away from the zipper. Press well to flatten the seam.
Topstitch using ⅛” seam allowance along all 4 edges of the zipper panel
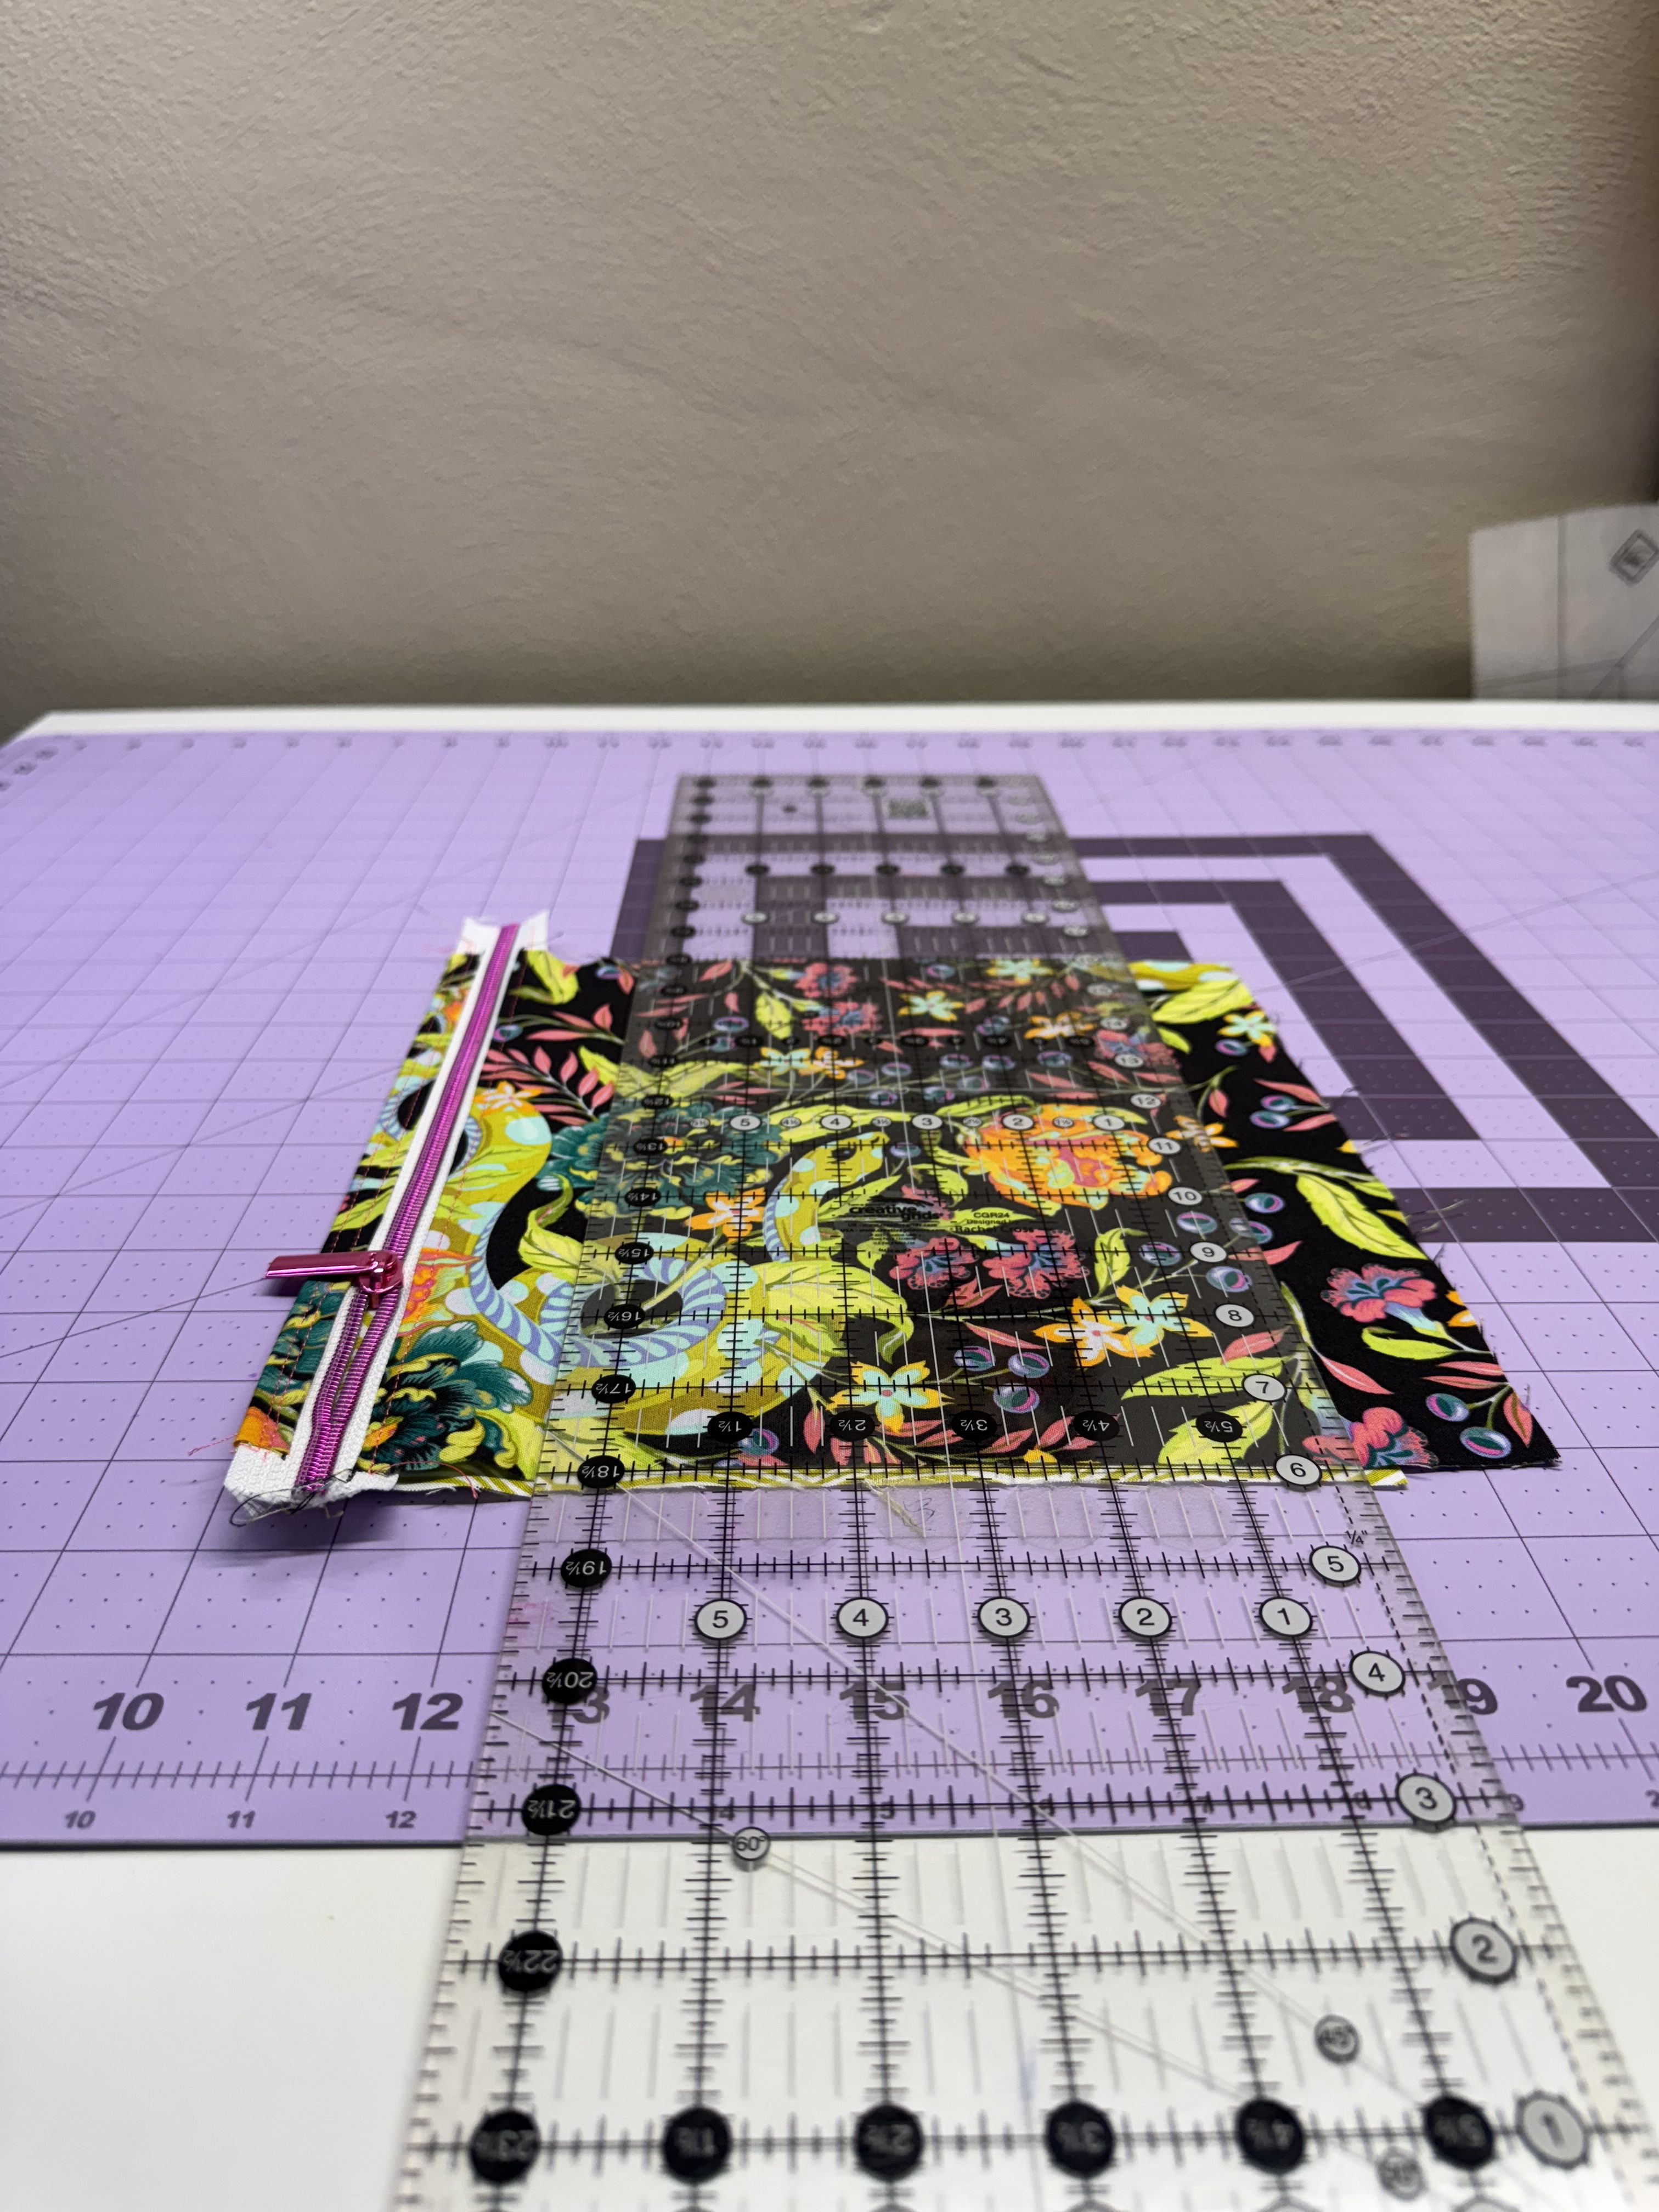
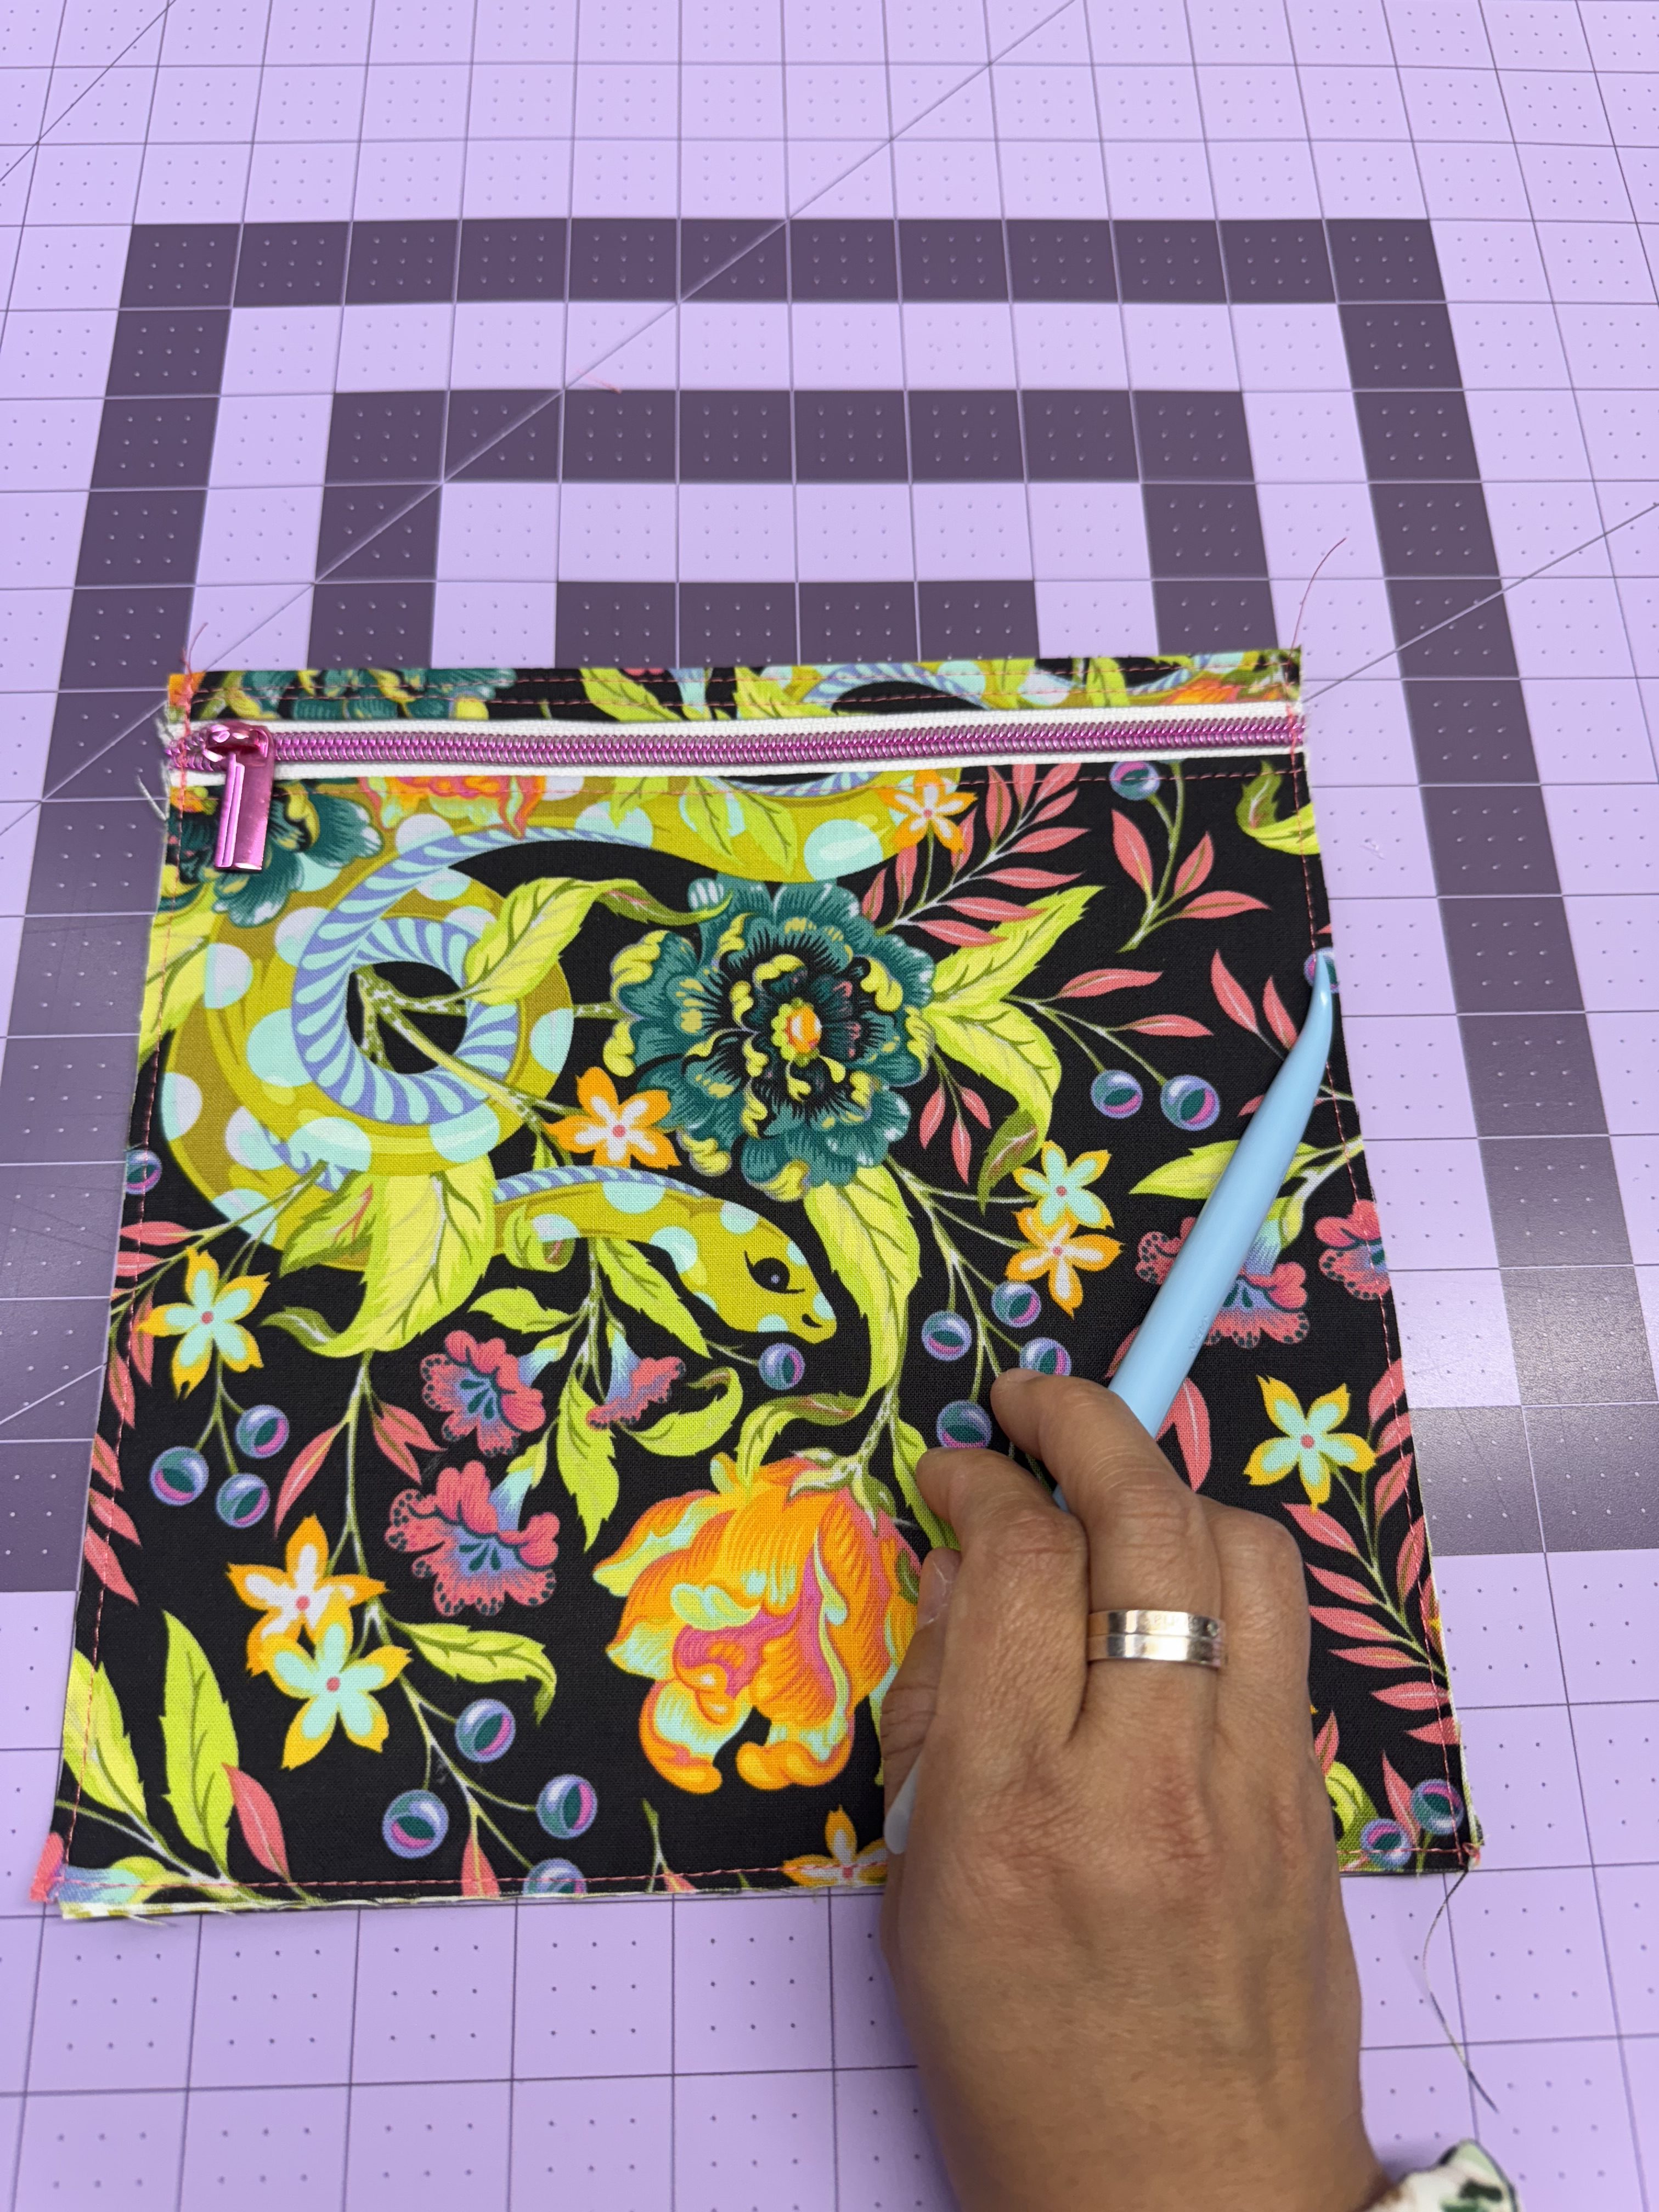
If necessary, trim the zipper panel to make sure it measures 2” in length, making sure the zipper is centered and straight.
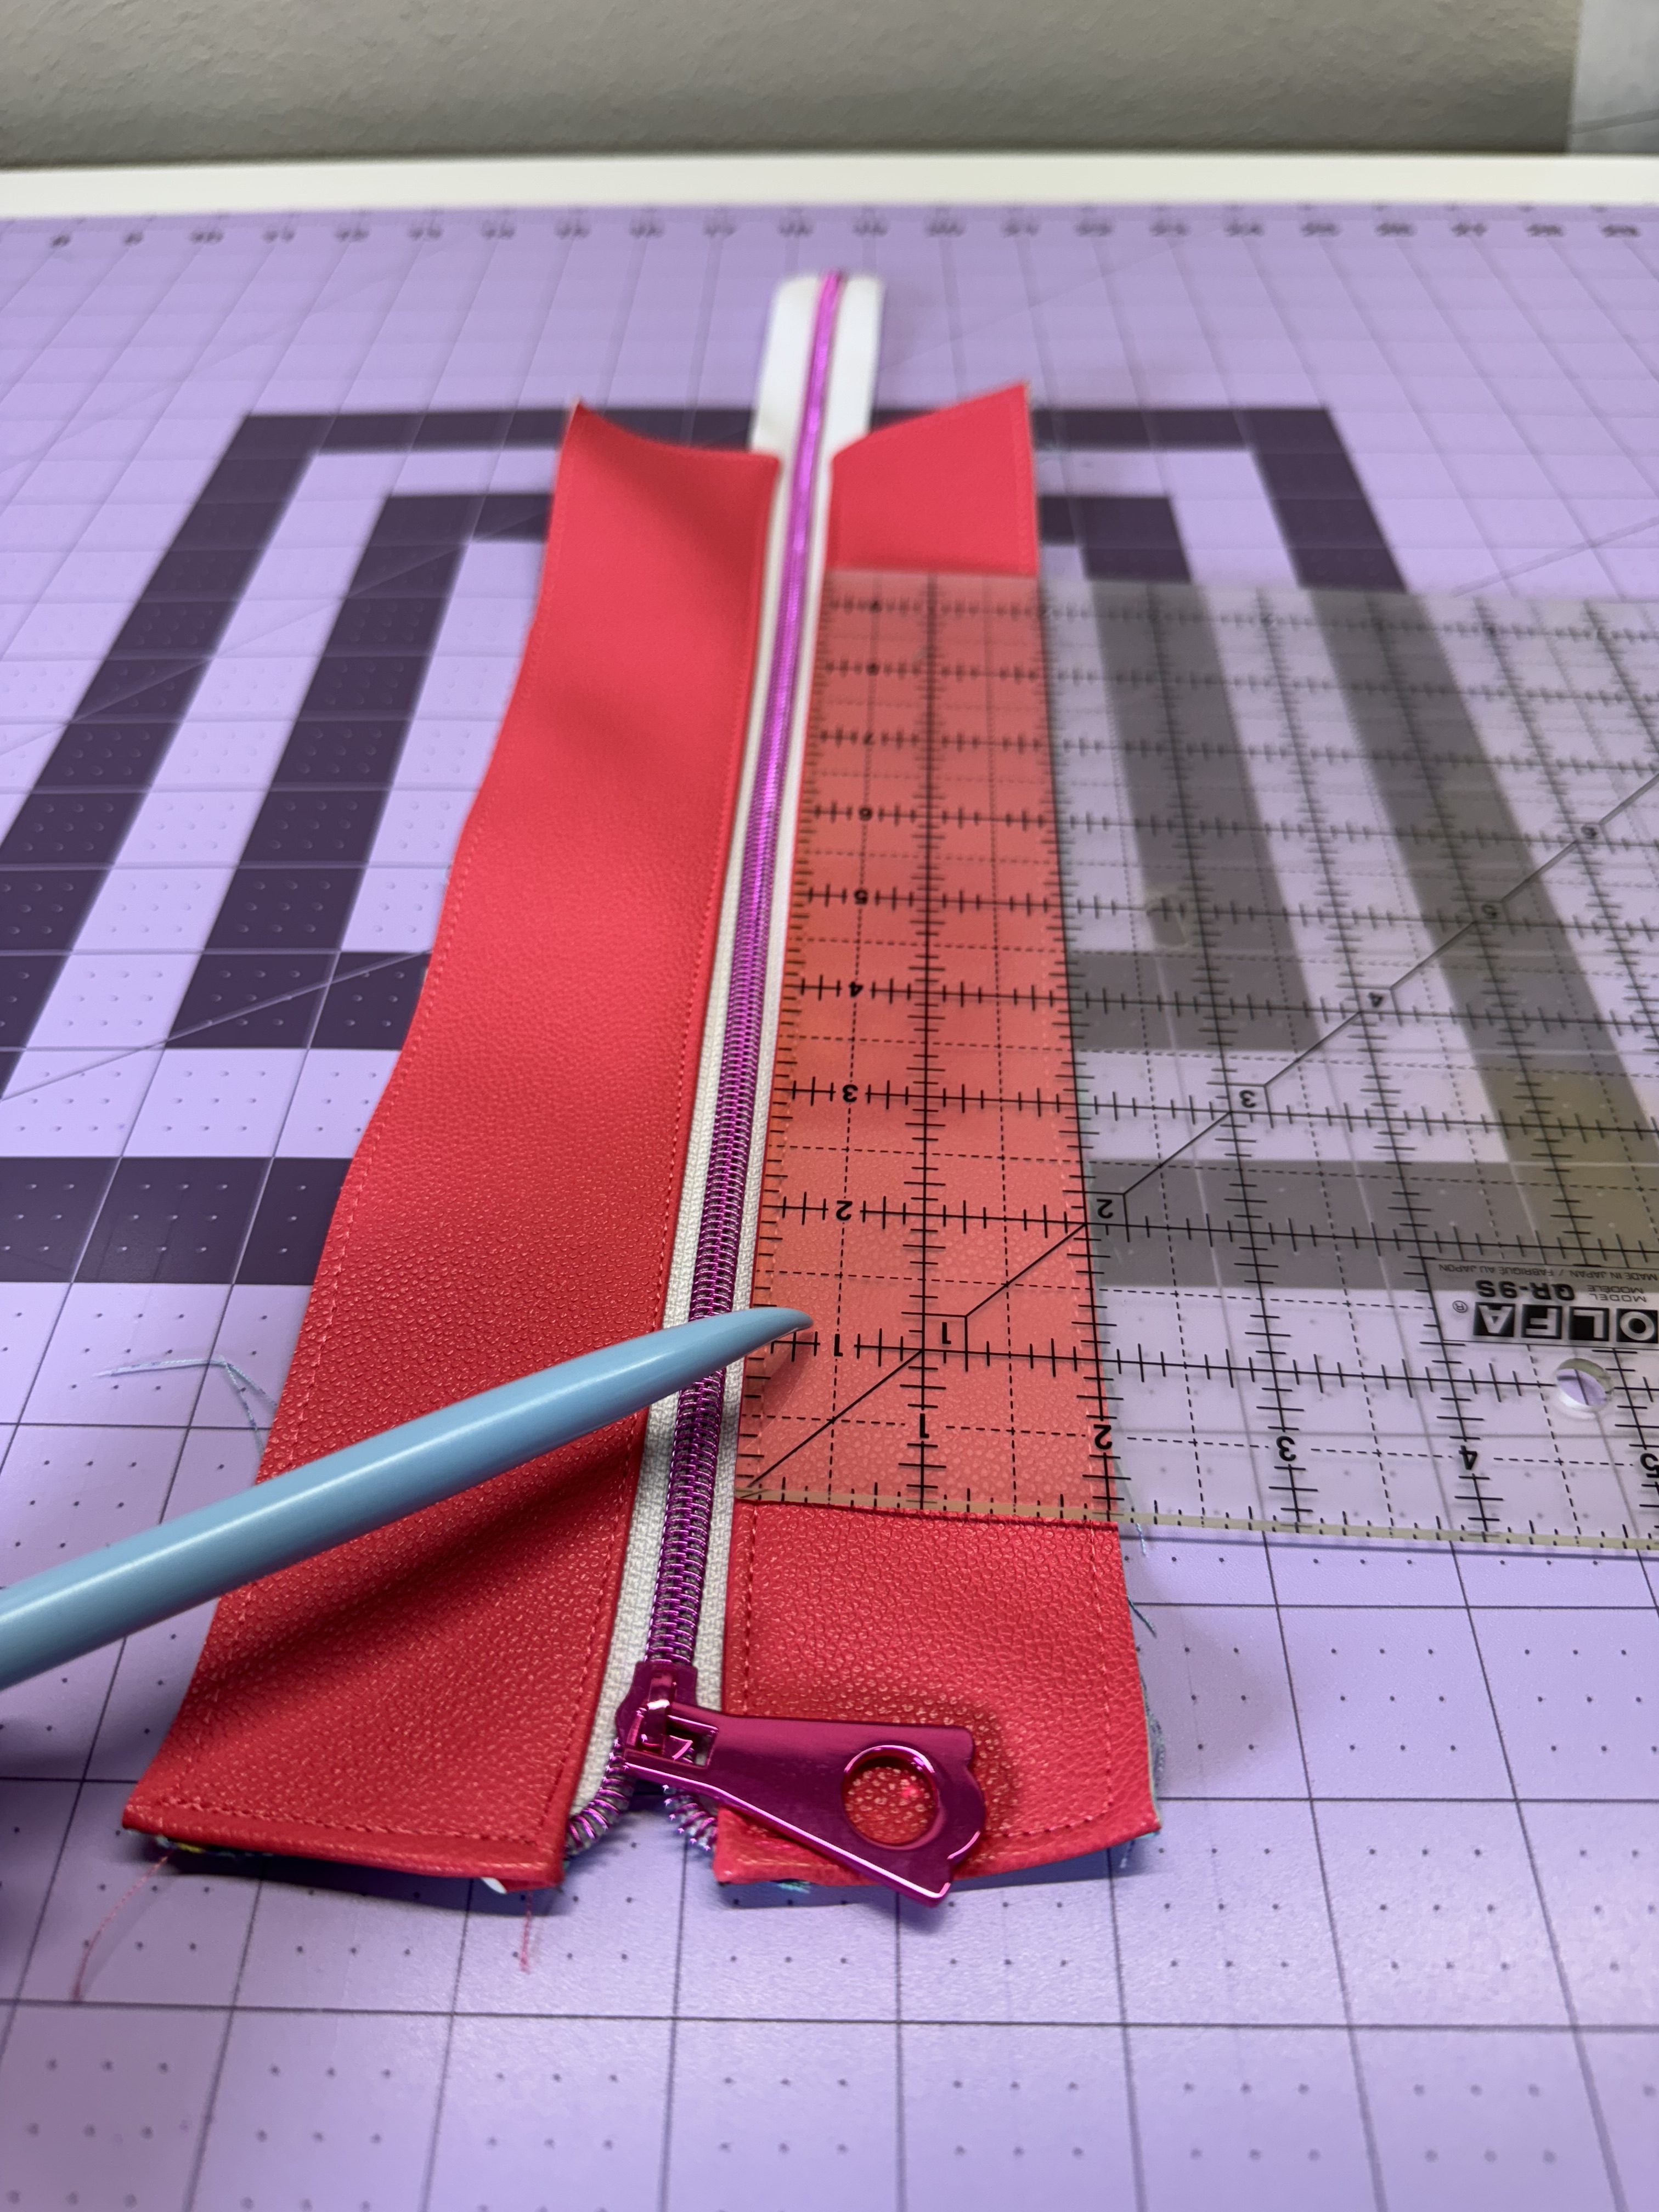
Attach the metal zipper end to the end of the zipper tape according to the manufacturer’s instructions.
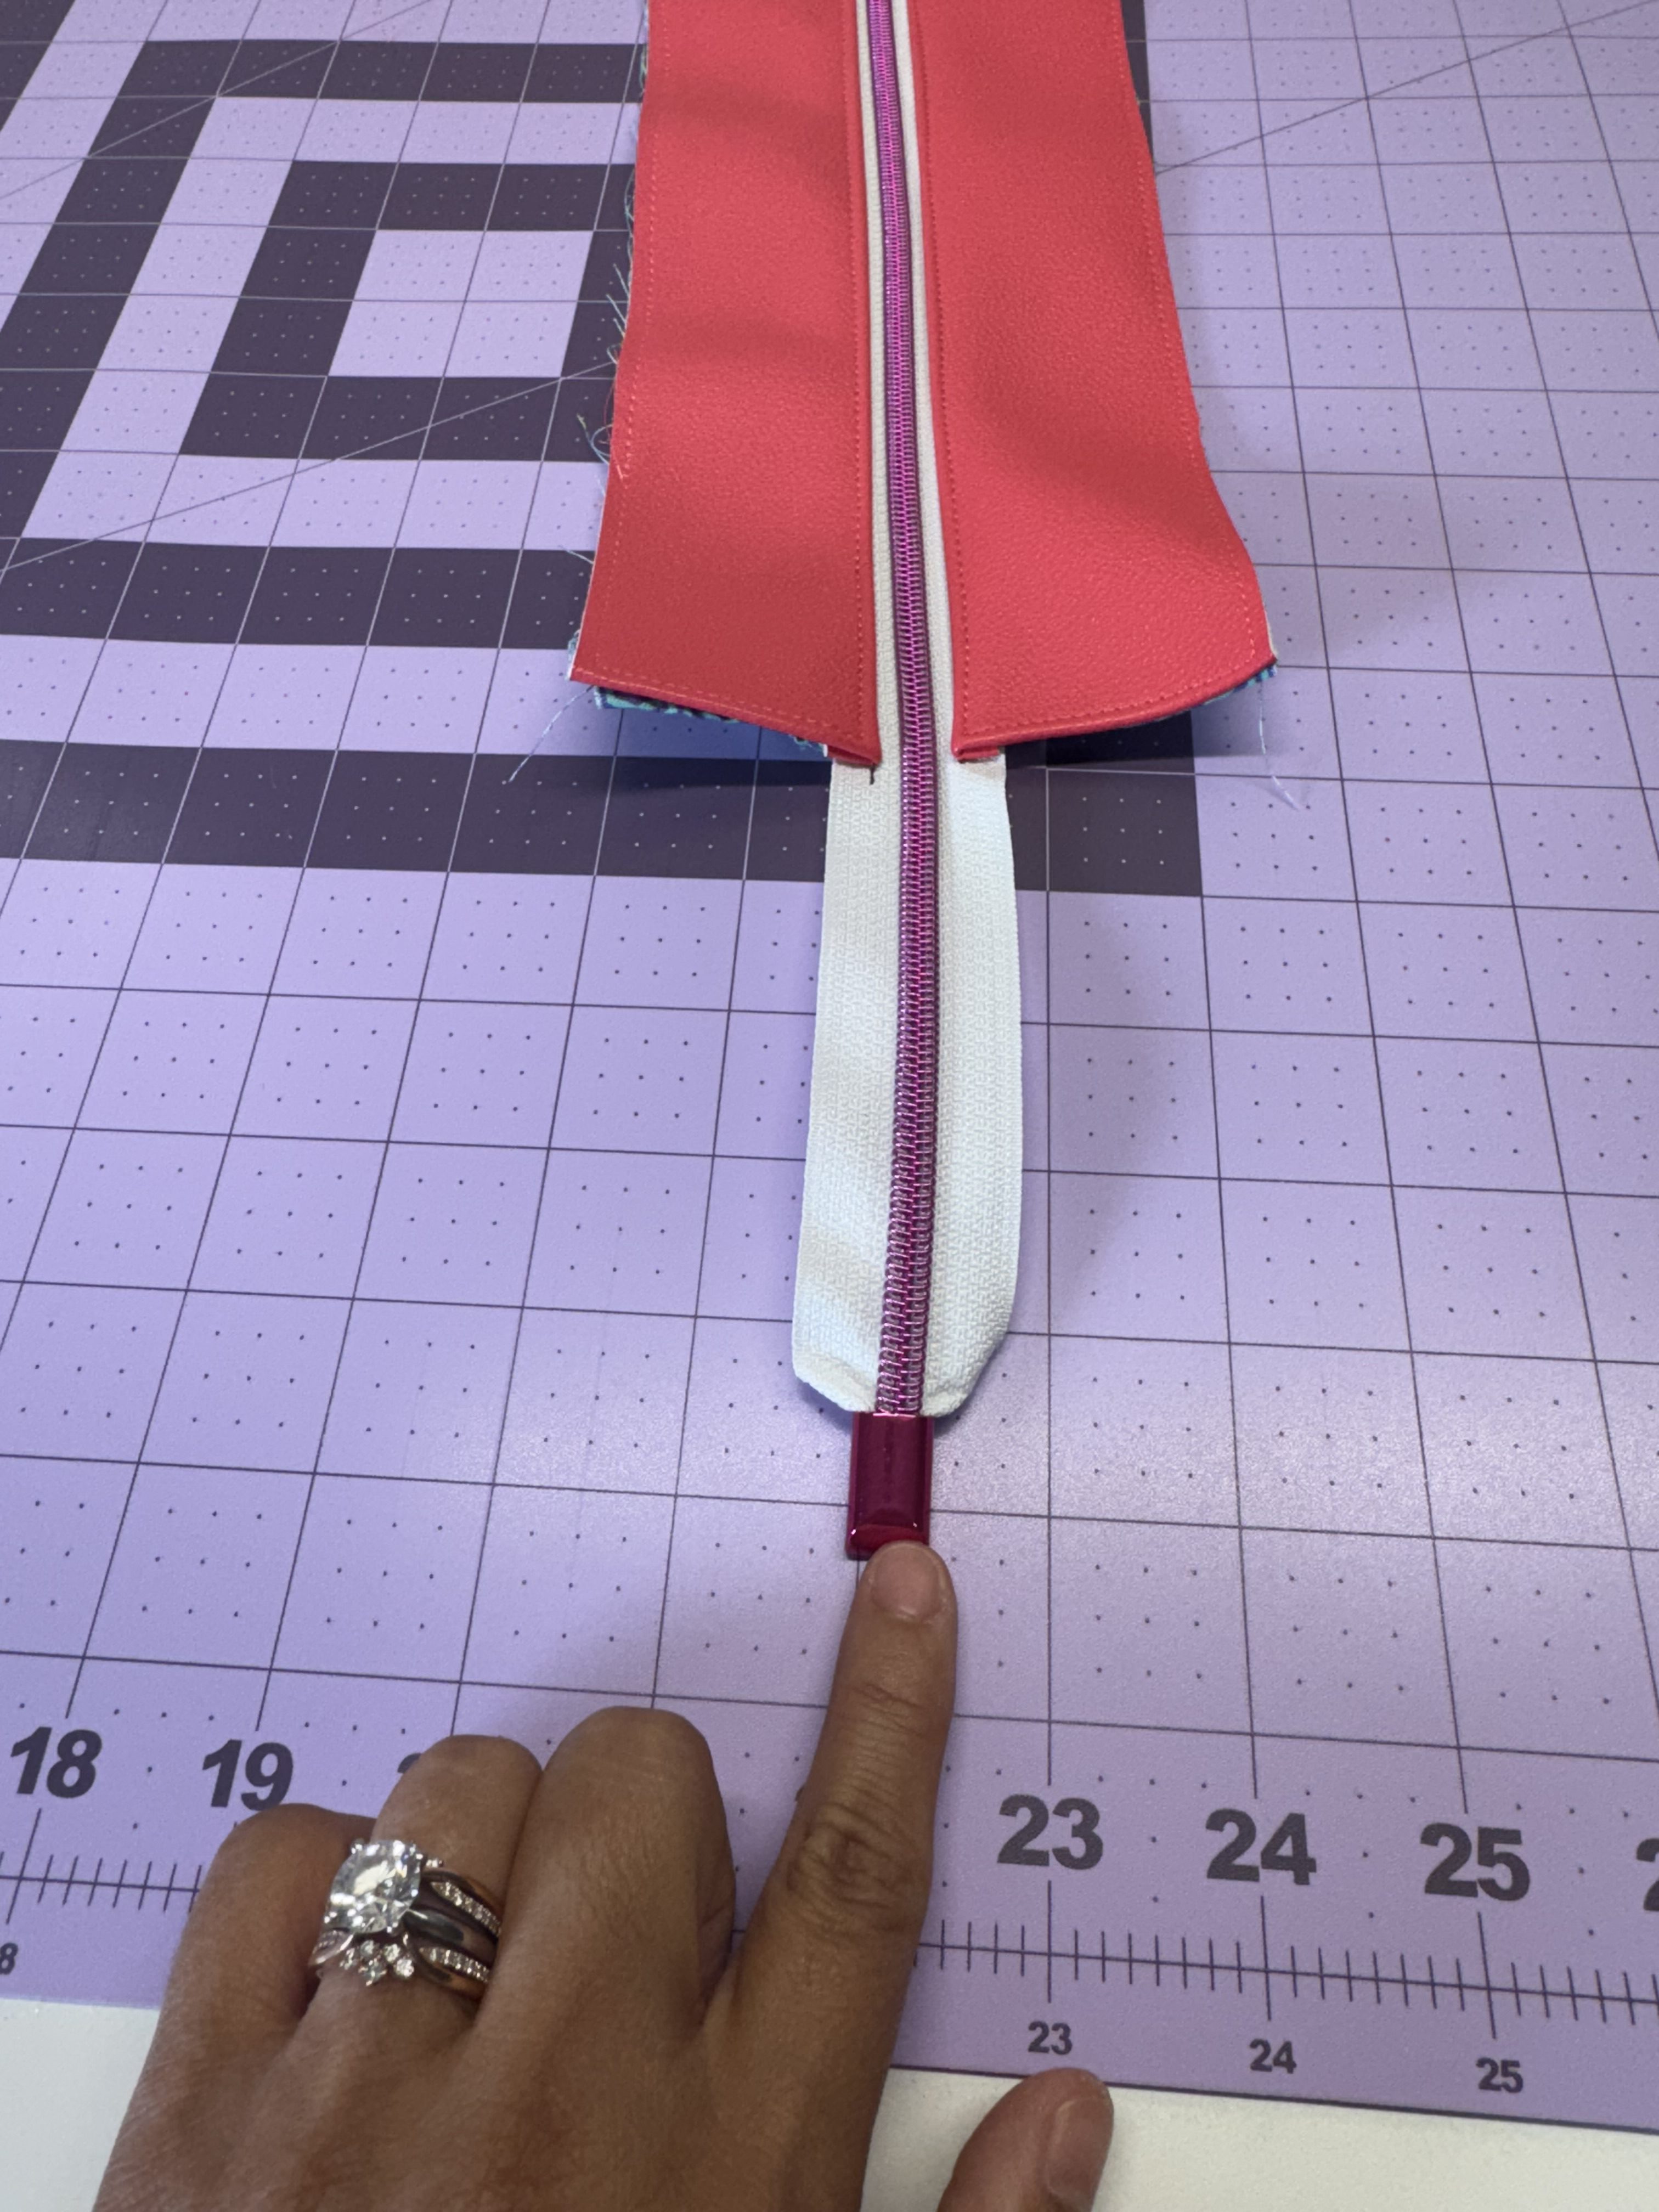
Set aside.
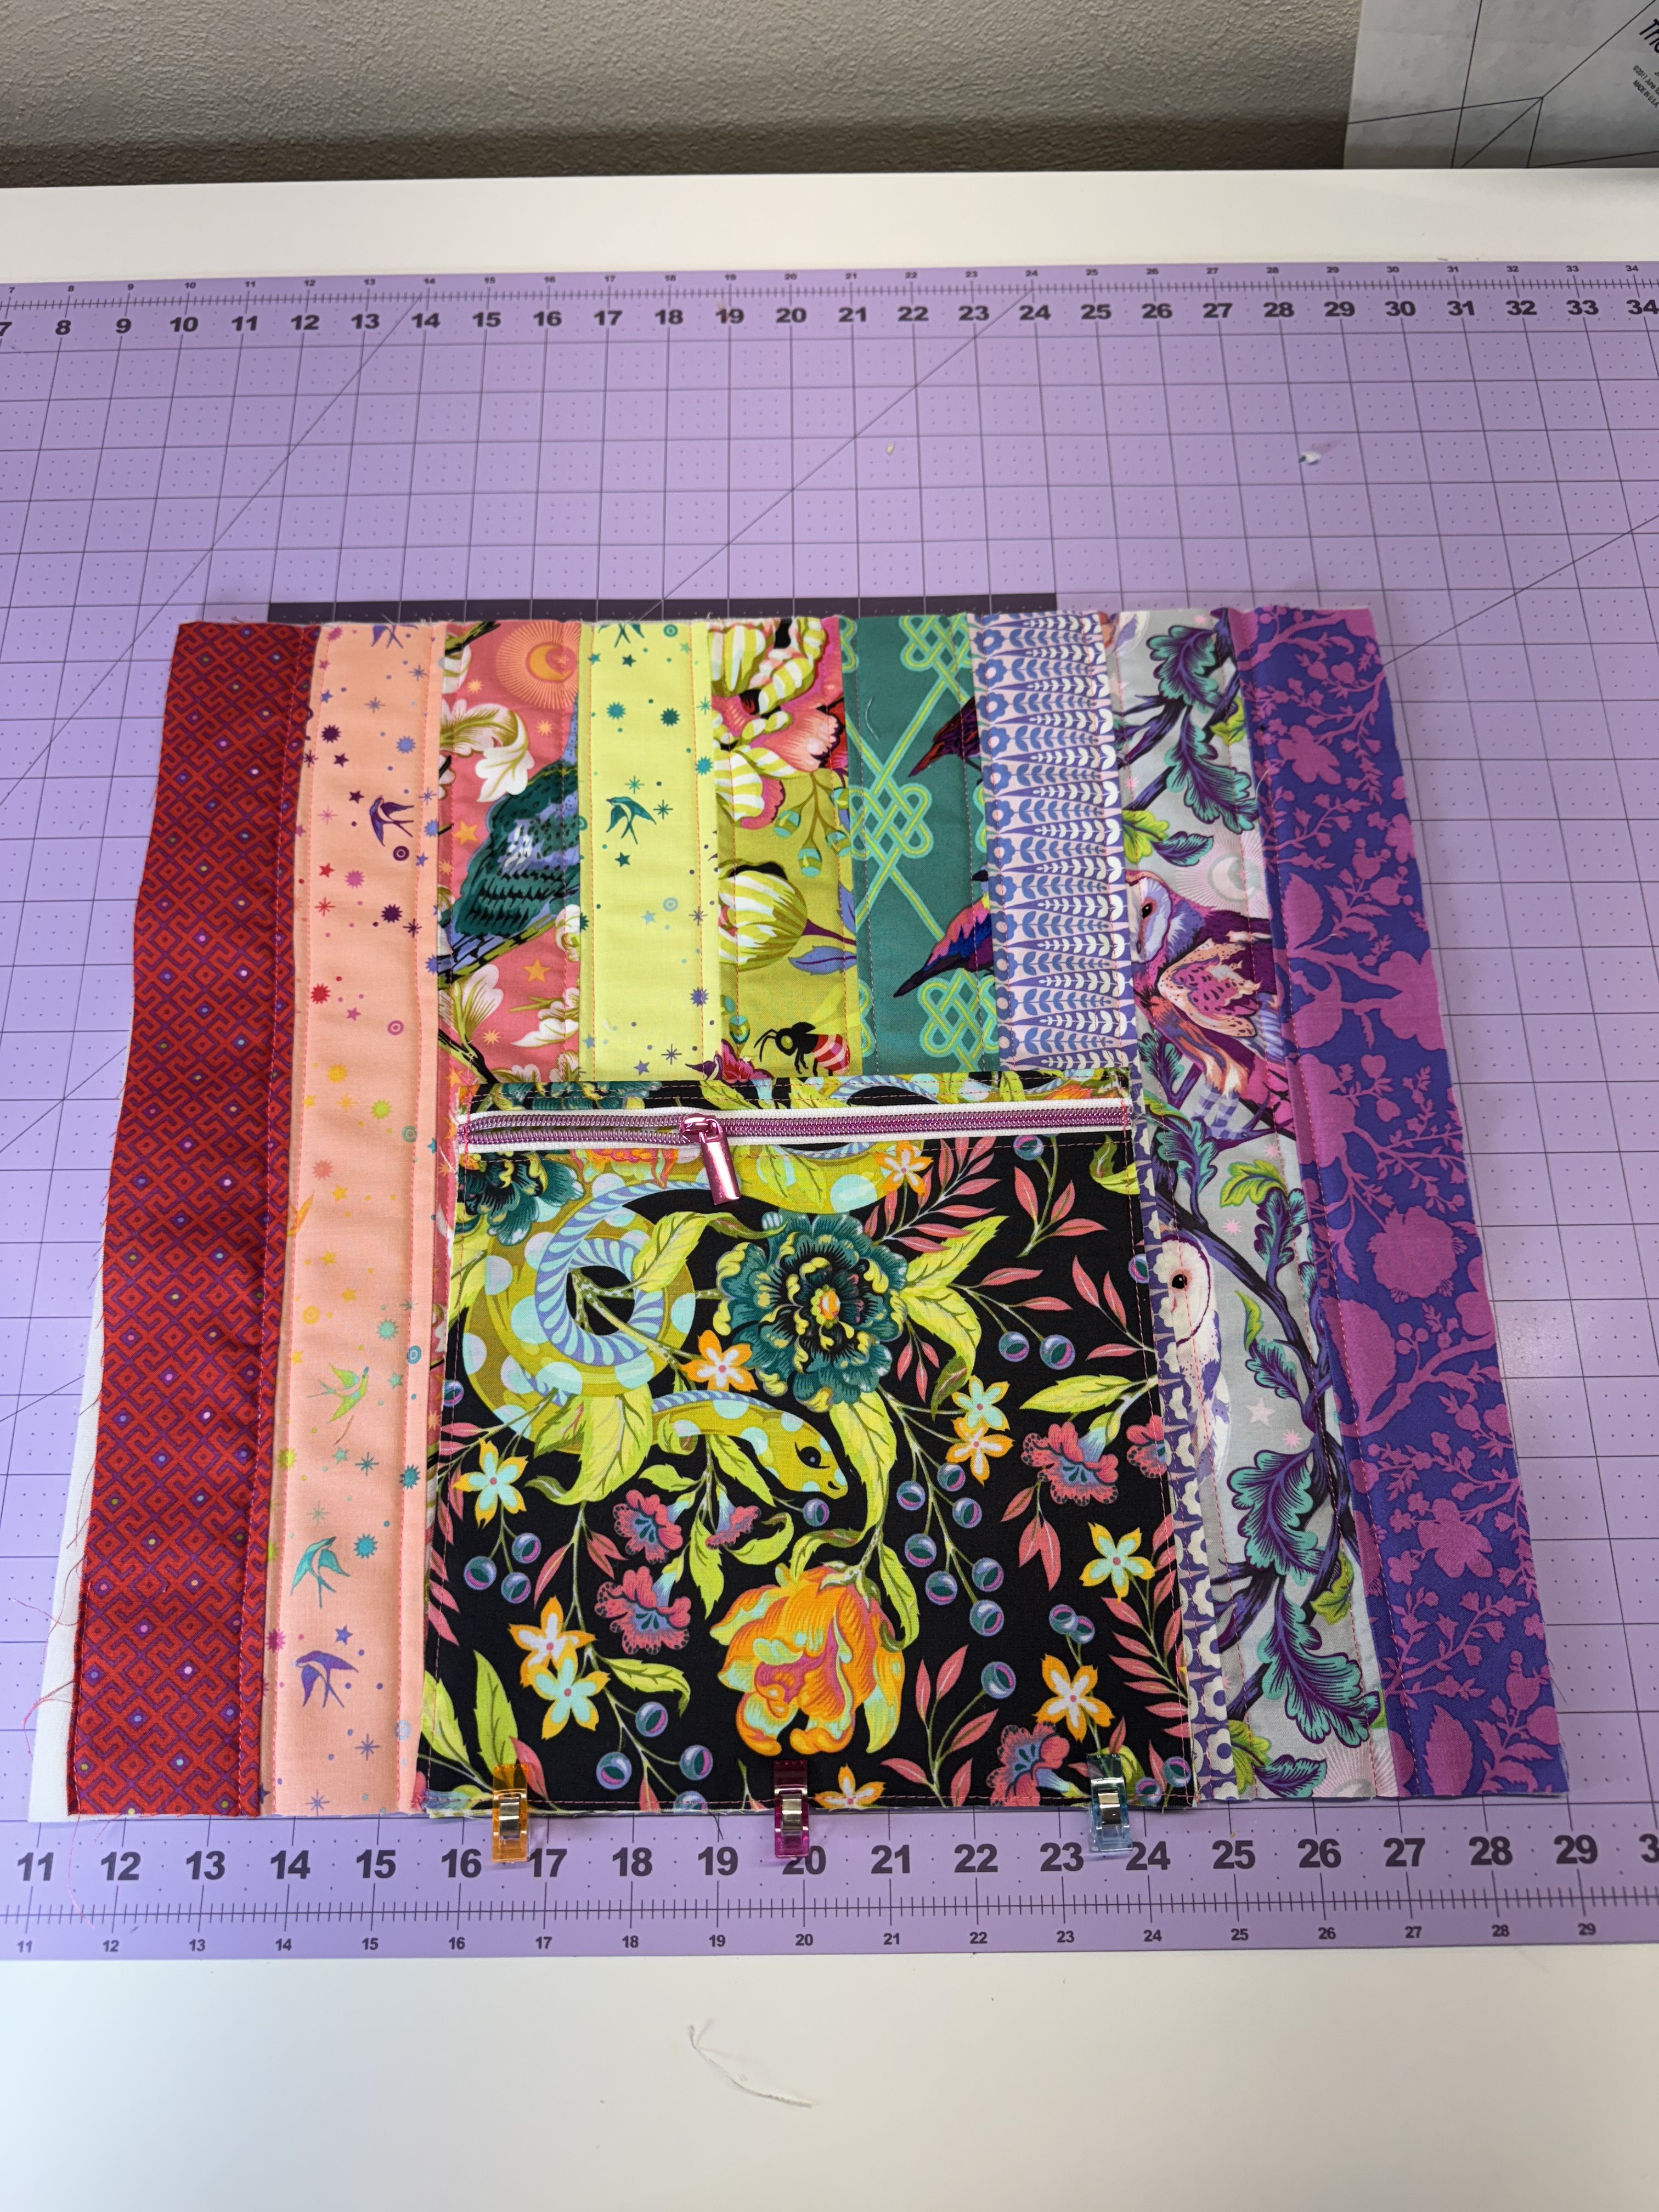
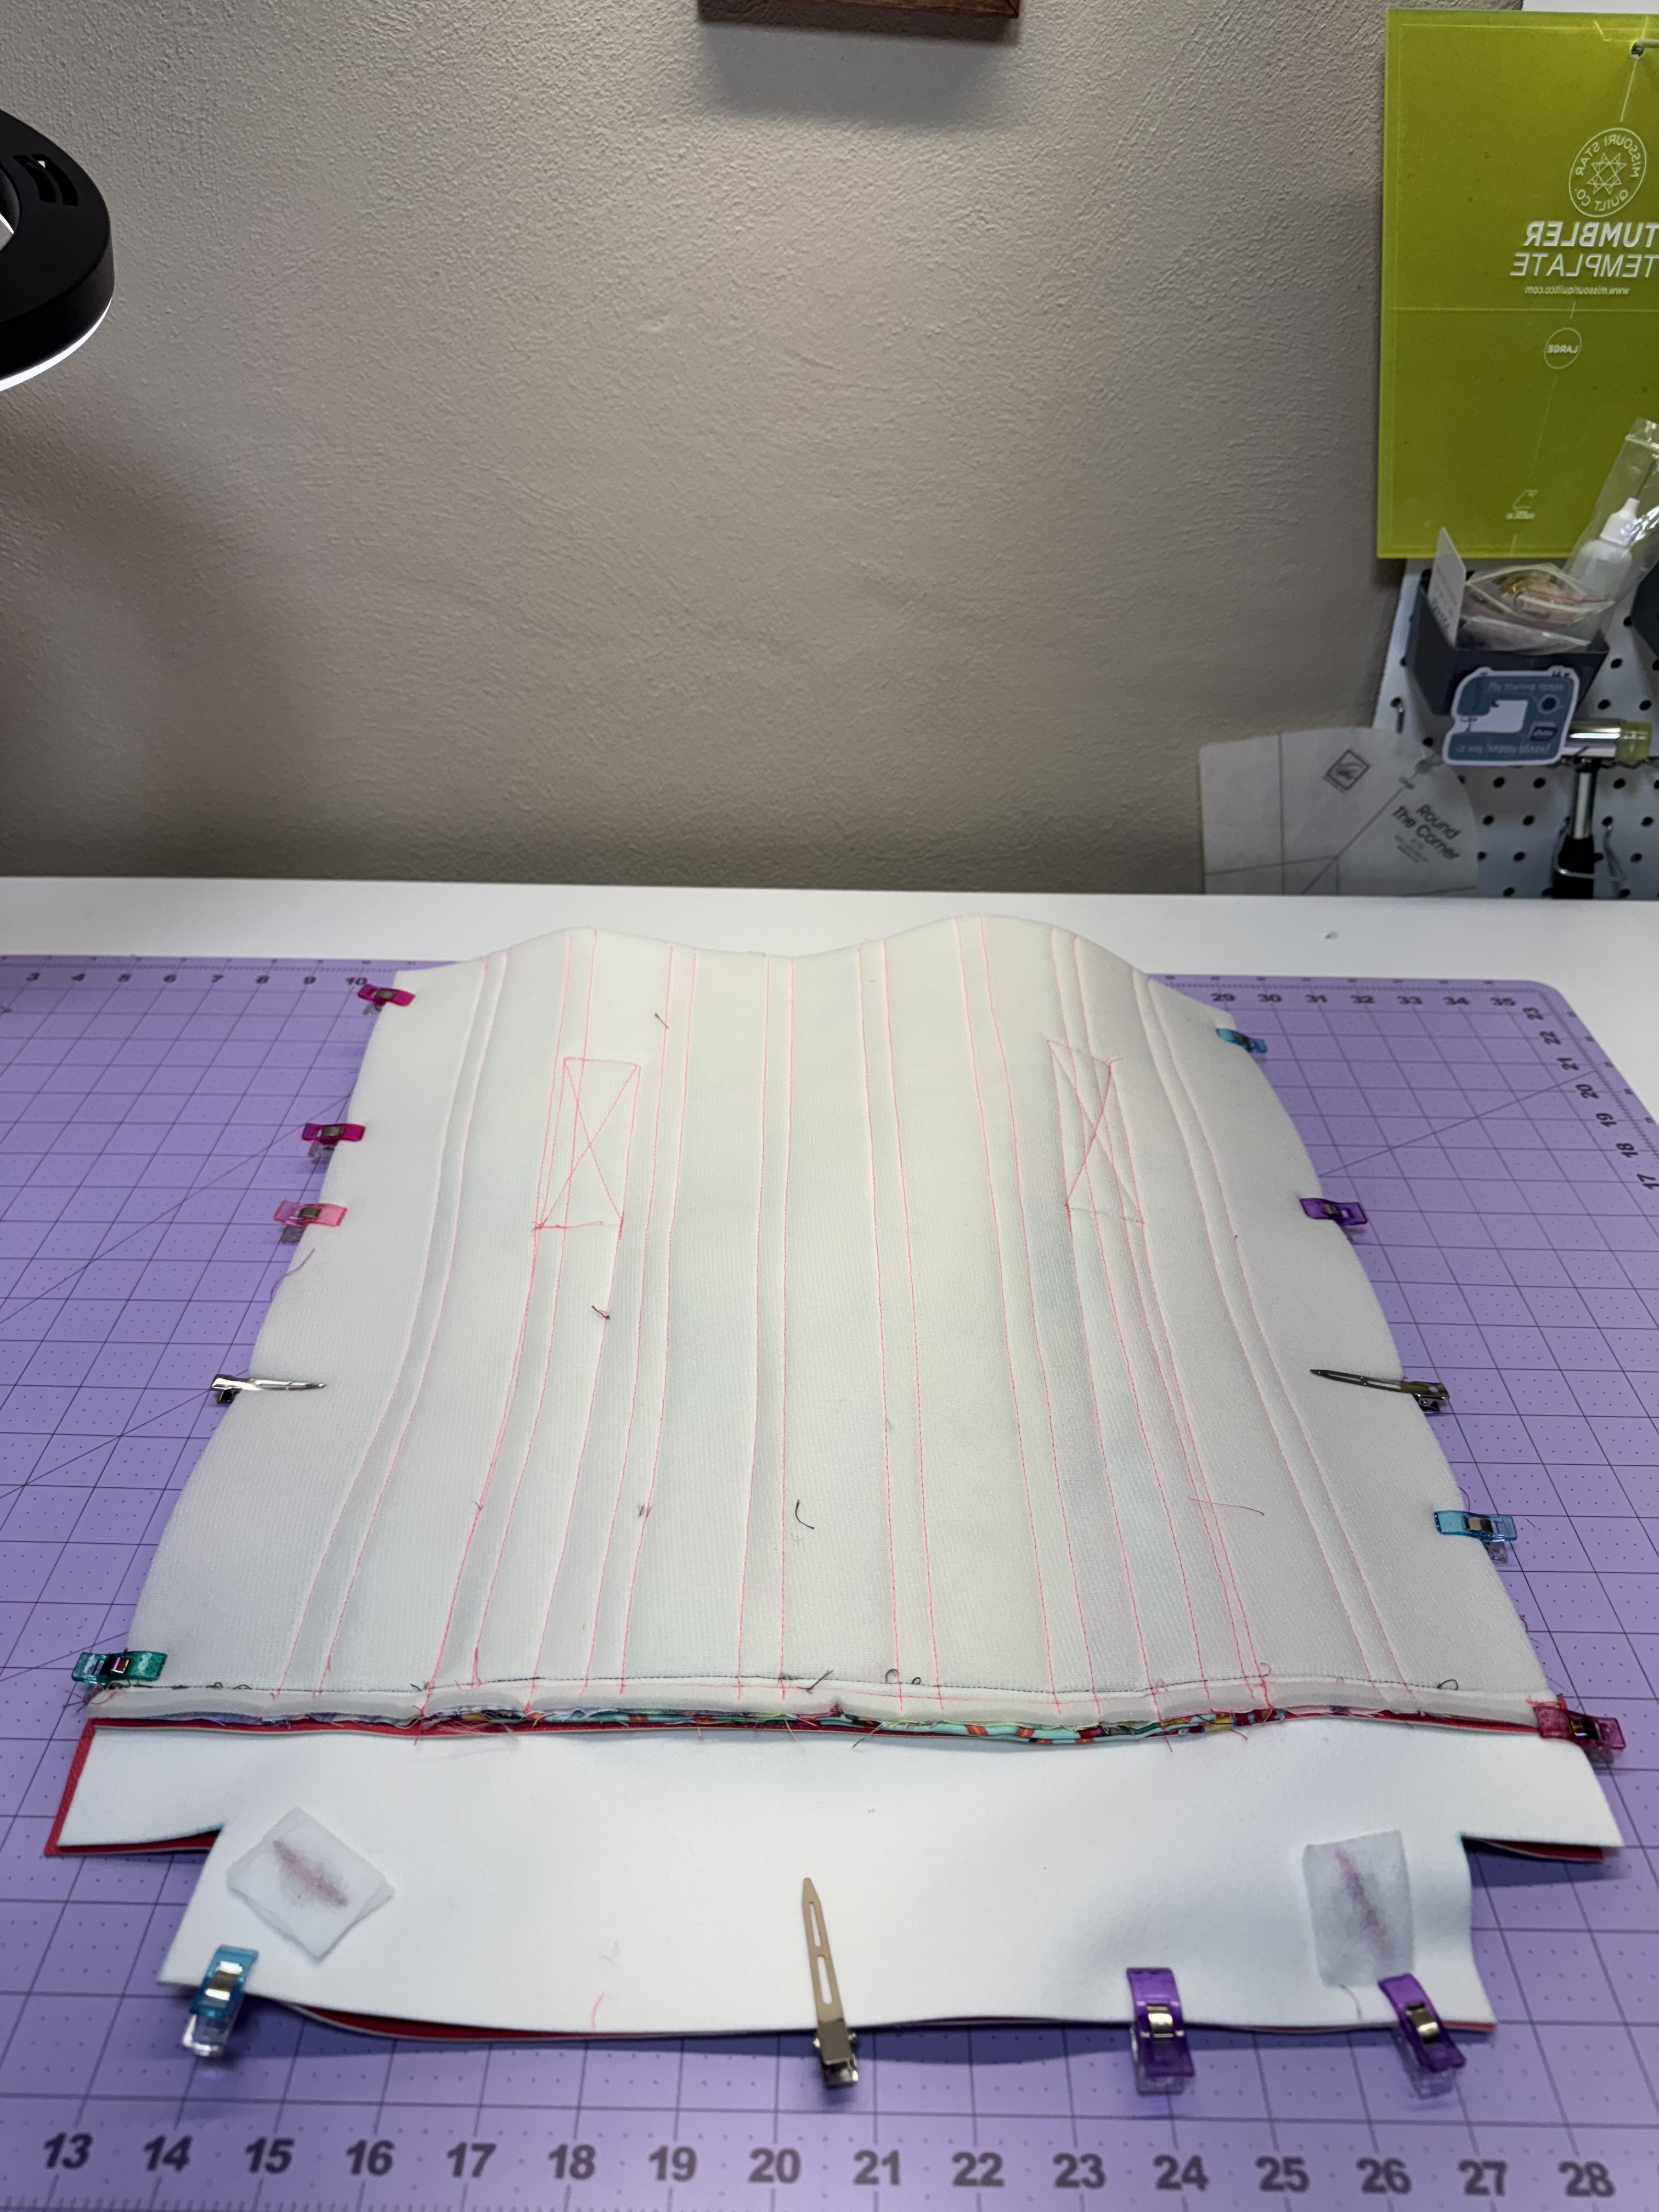
Step 7: Creating Front & Back Exterior Panels
Take one exterior panel and mark the center along both the top and bottom edges.
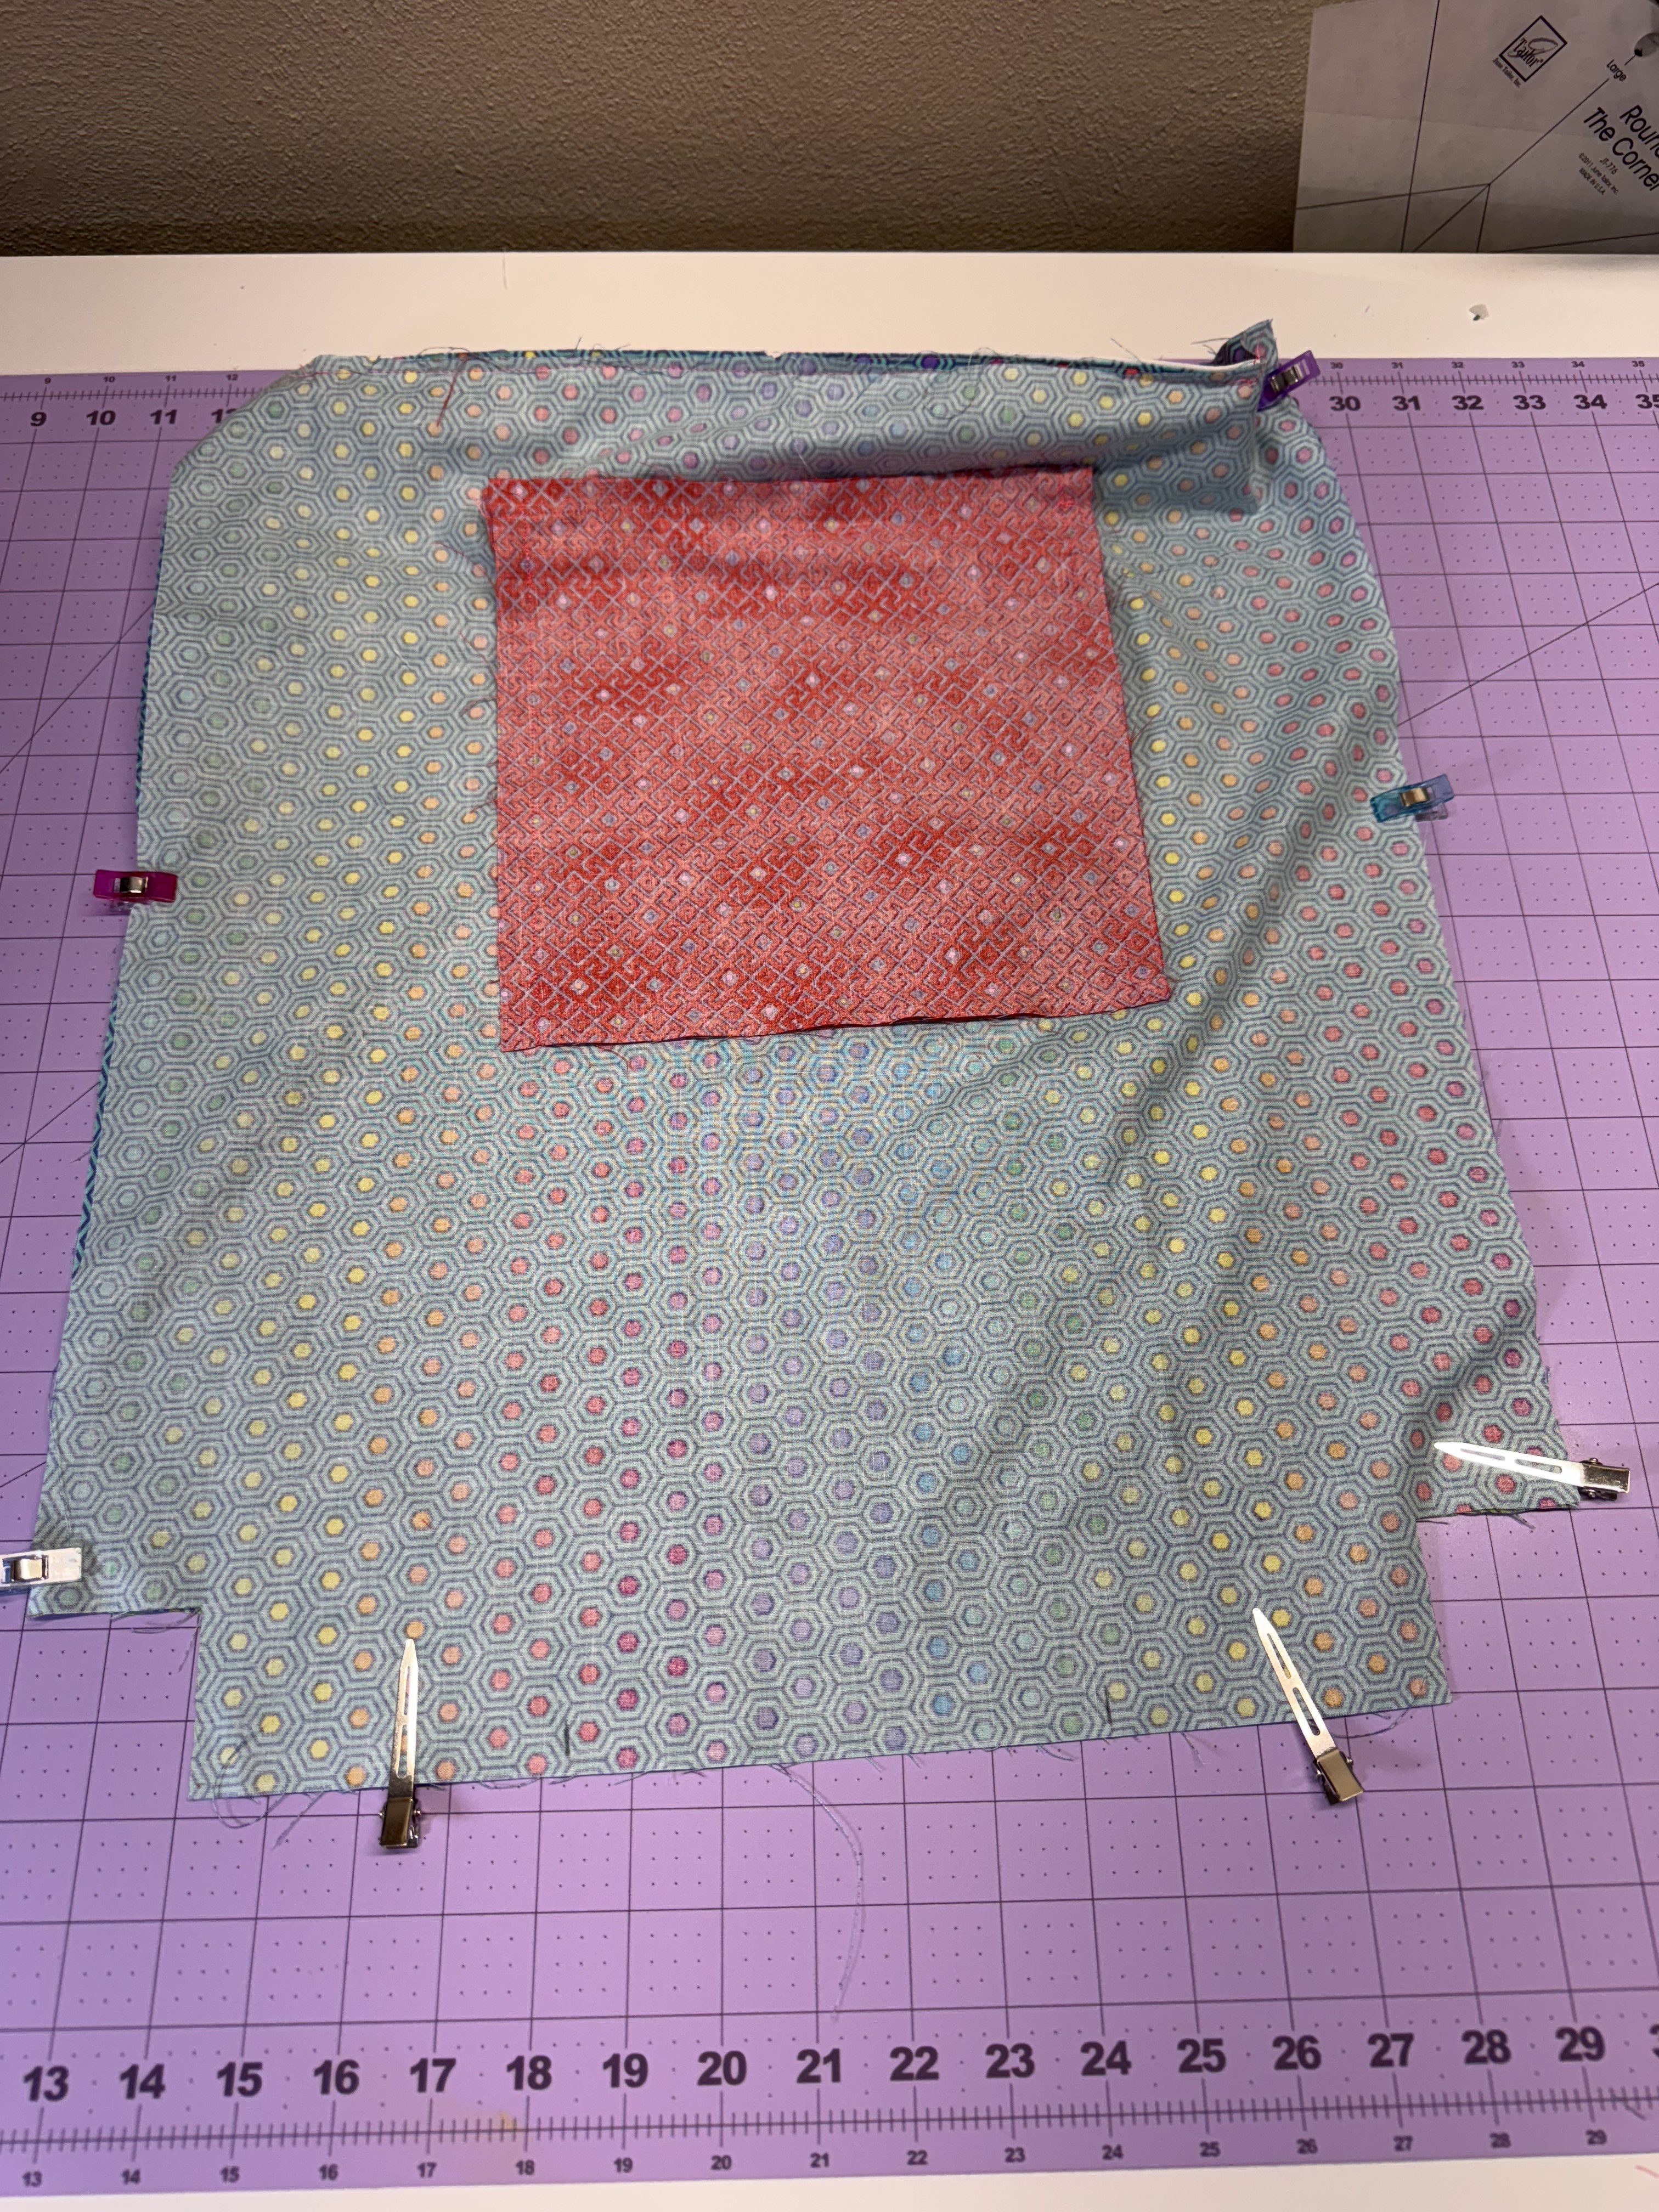
Center the zipper pocket on the bottom of the panel, aligning the bottom edges, and clip in place.
Cut a strip of 1½” wide webbing, 50” long (or longer if desired).
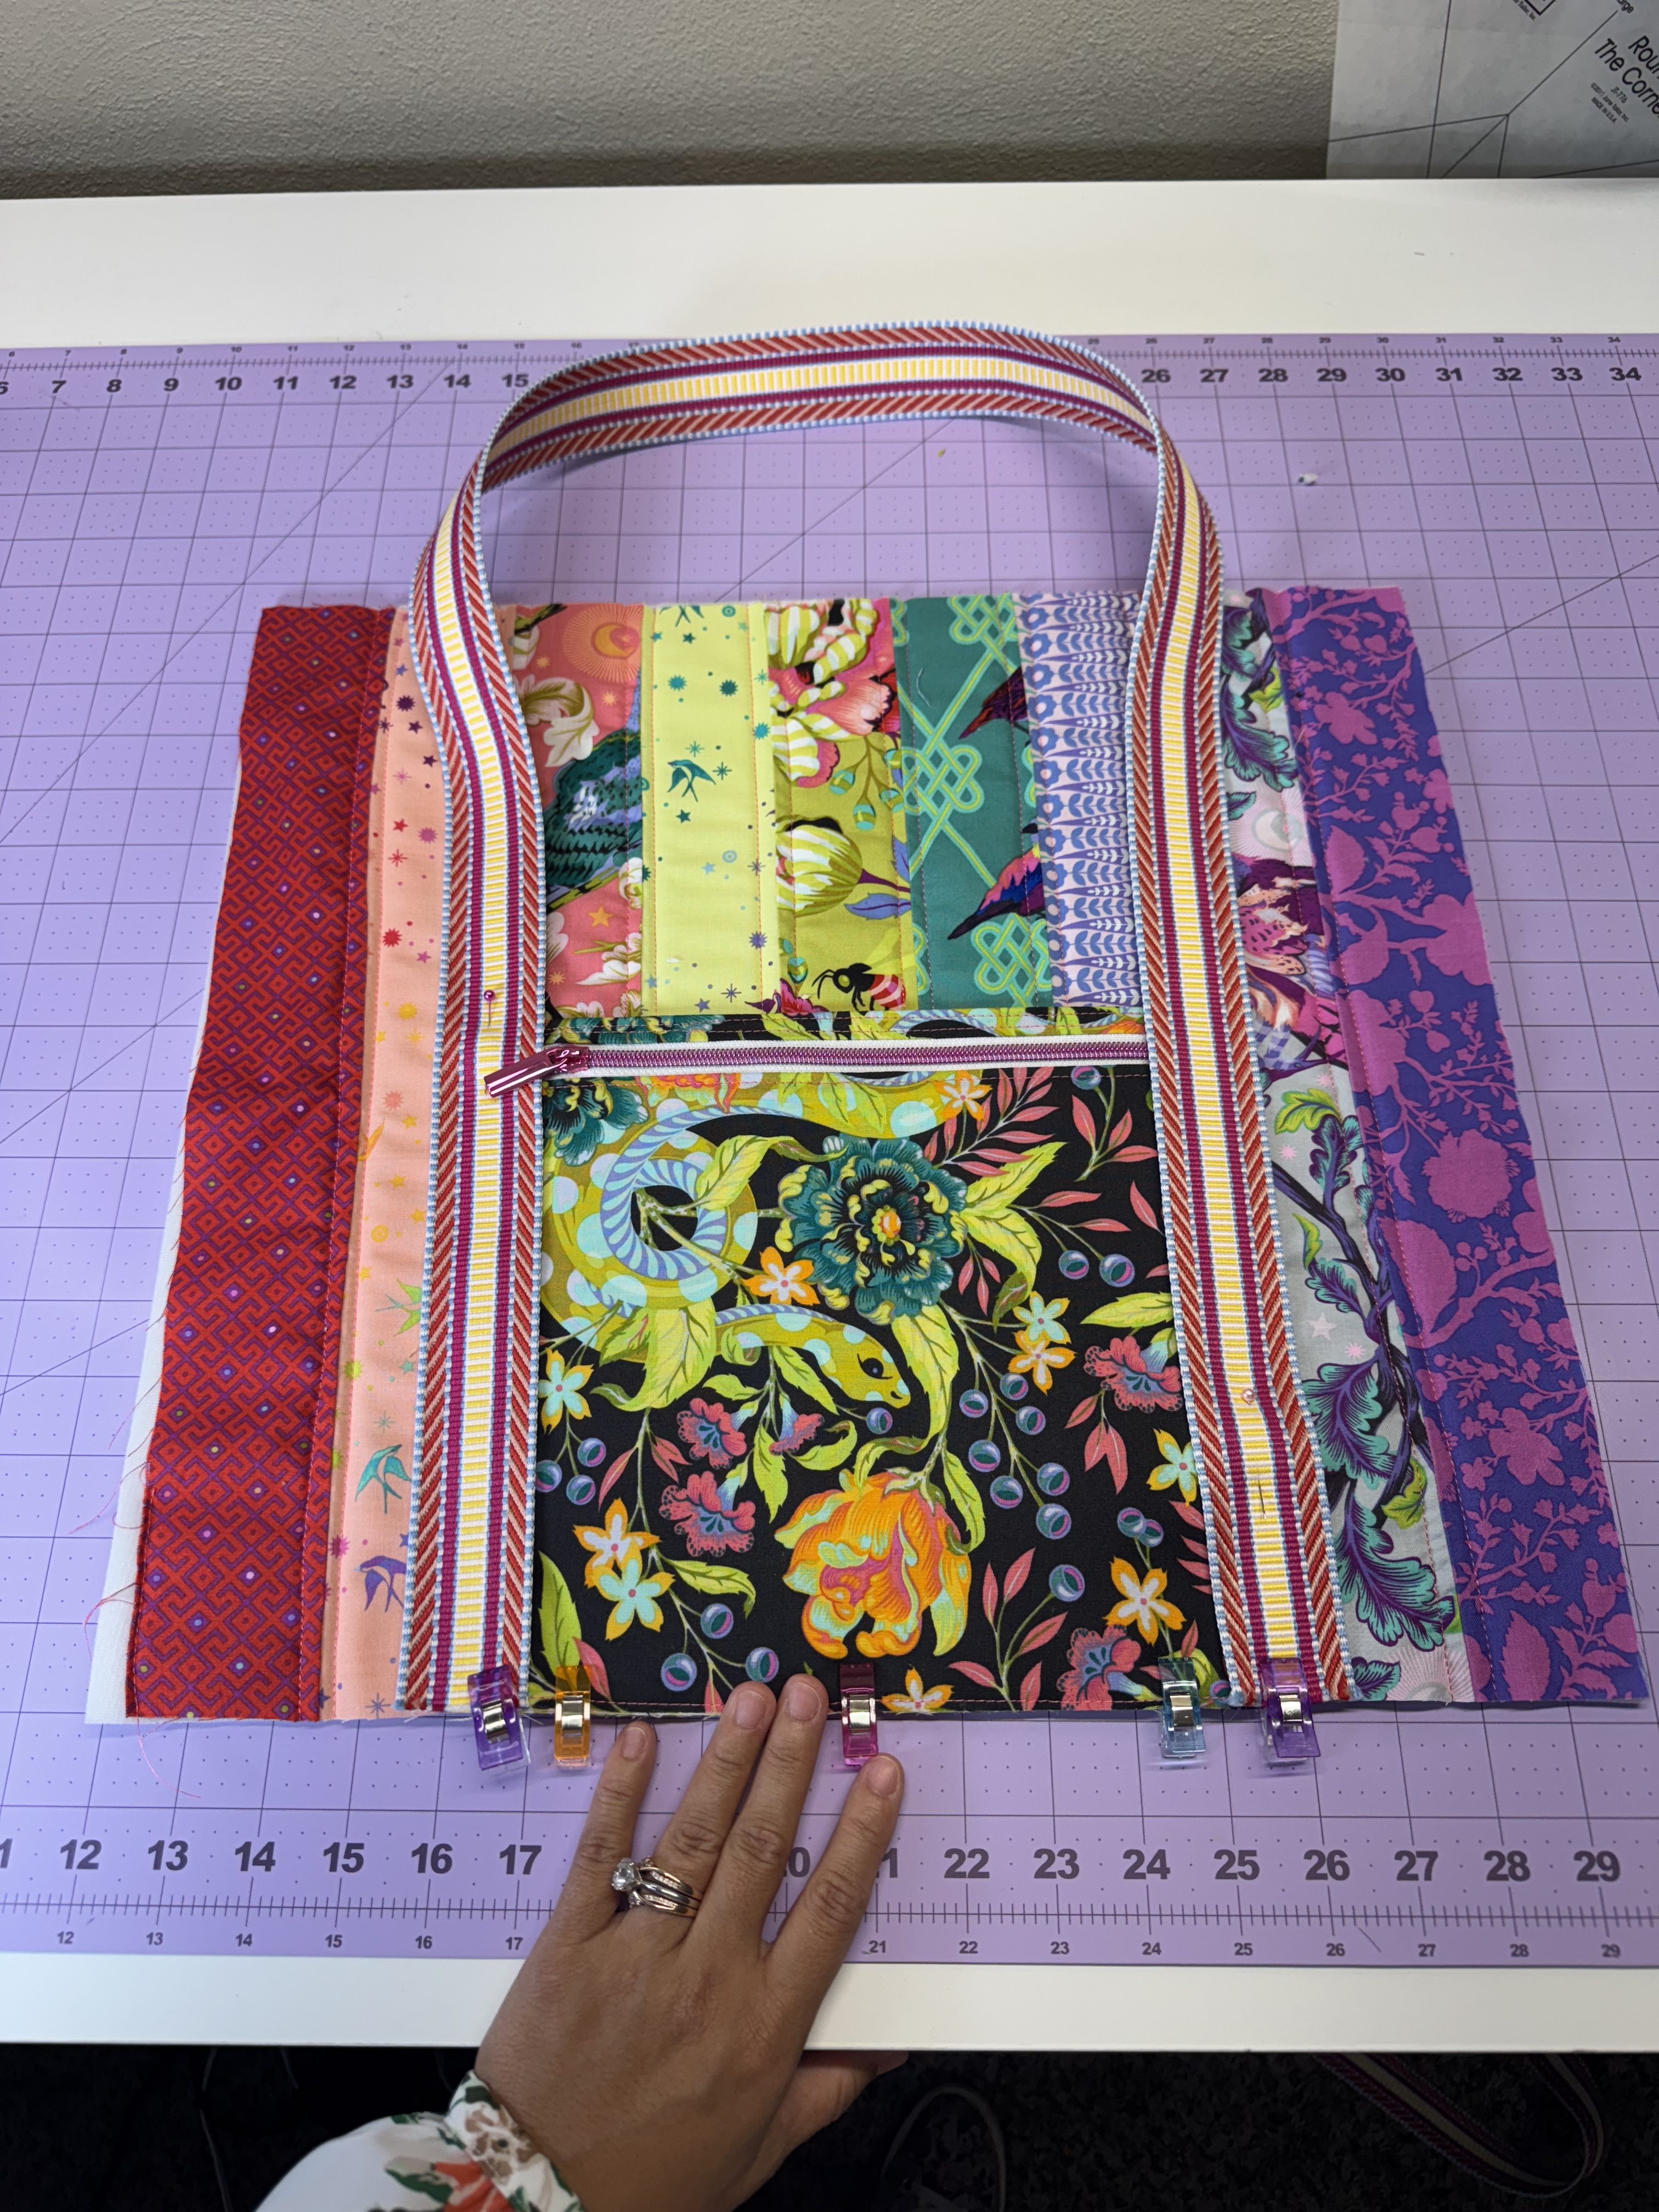
Measure 4” above the top edge of the zipper pocket and mark this point on both sides.
Position the webbing ends along each side of the zipper pocket, sandwiching the unfinished pocket sides underneath the webbing for a clean finish.
Ensure the webbing is correctly oriented to create tote handles, with the loop arching above the pocket.
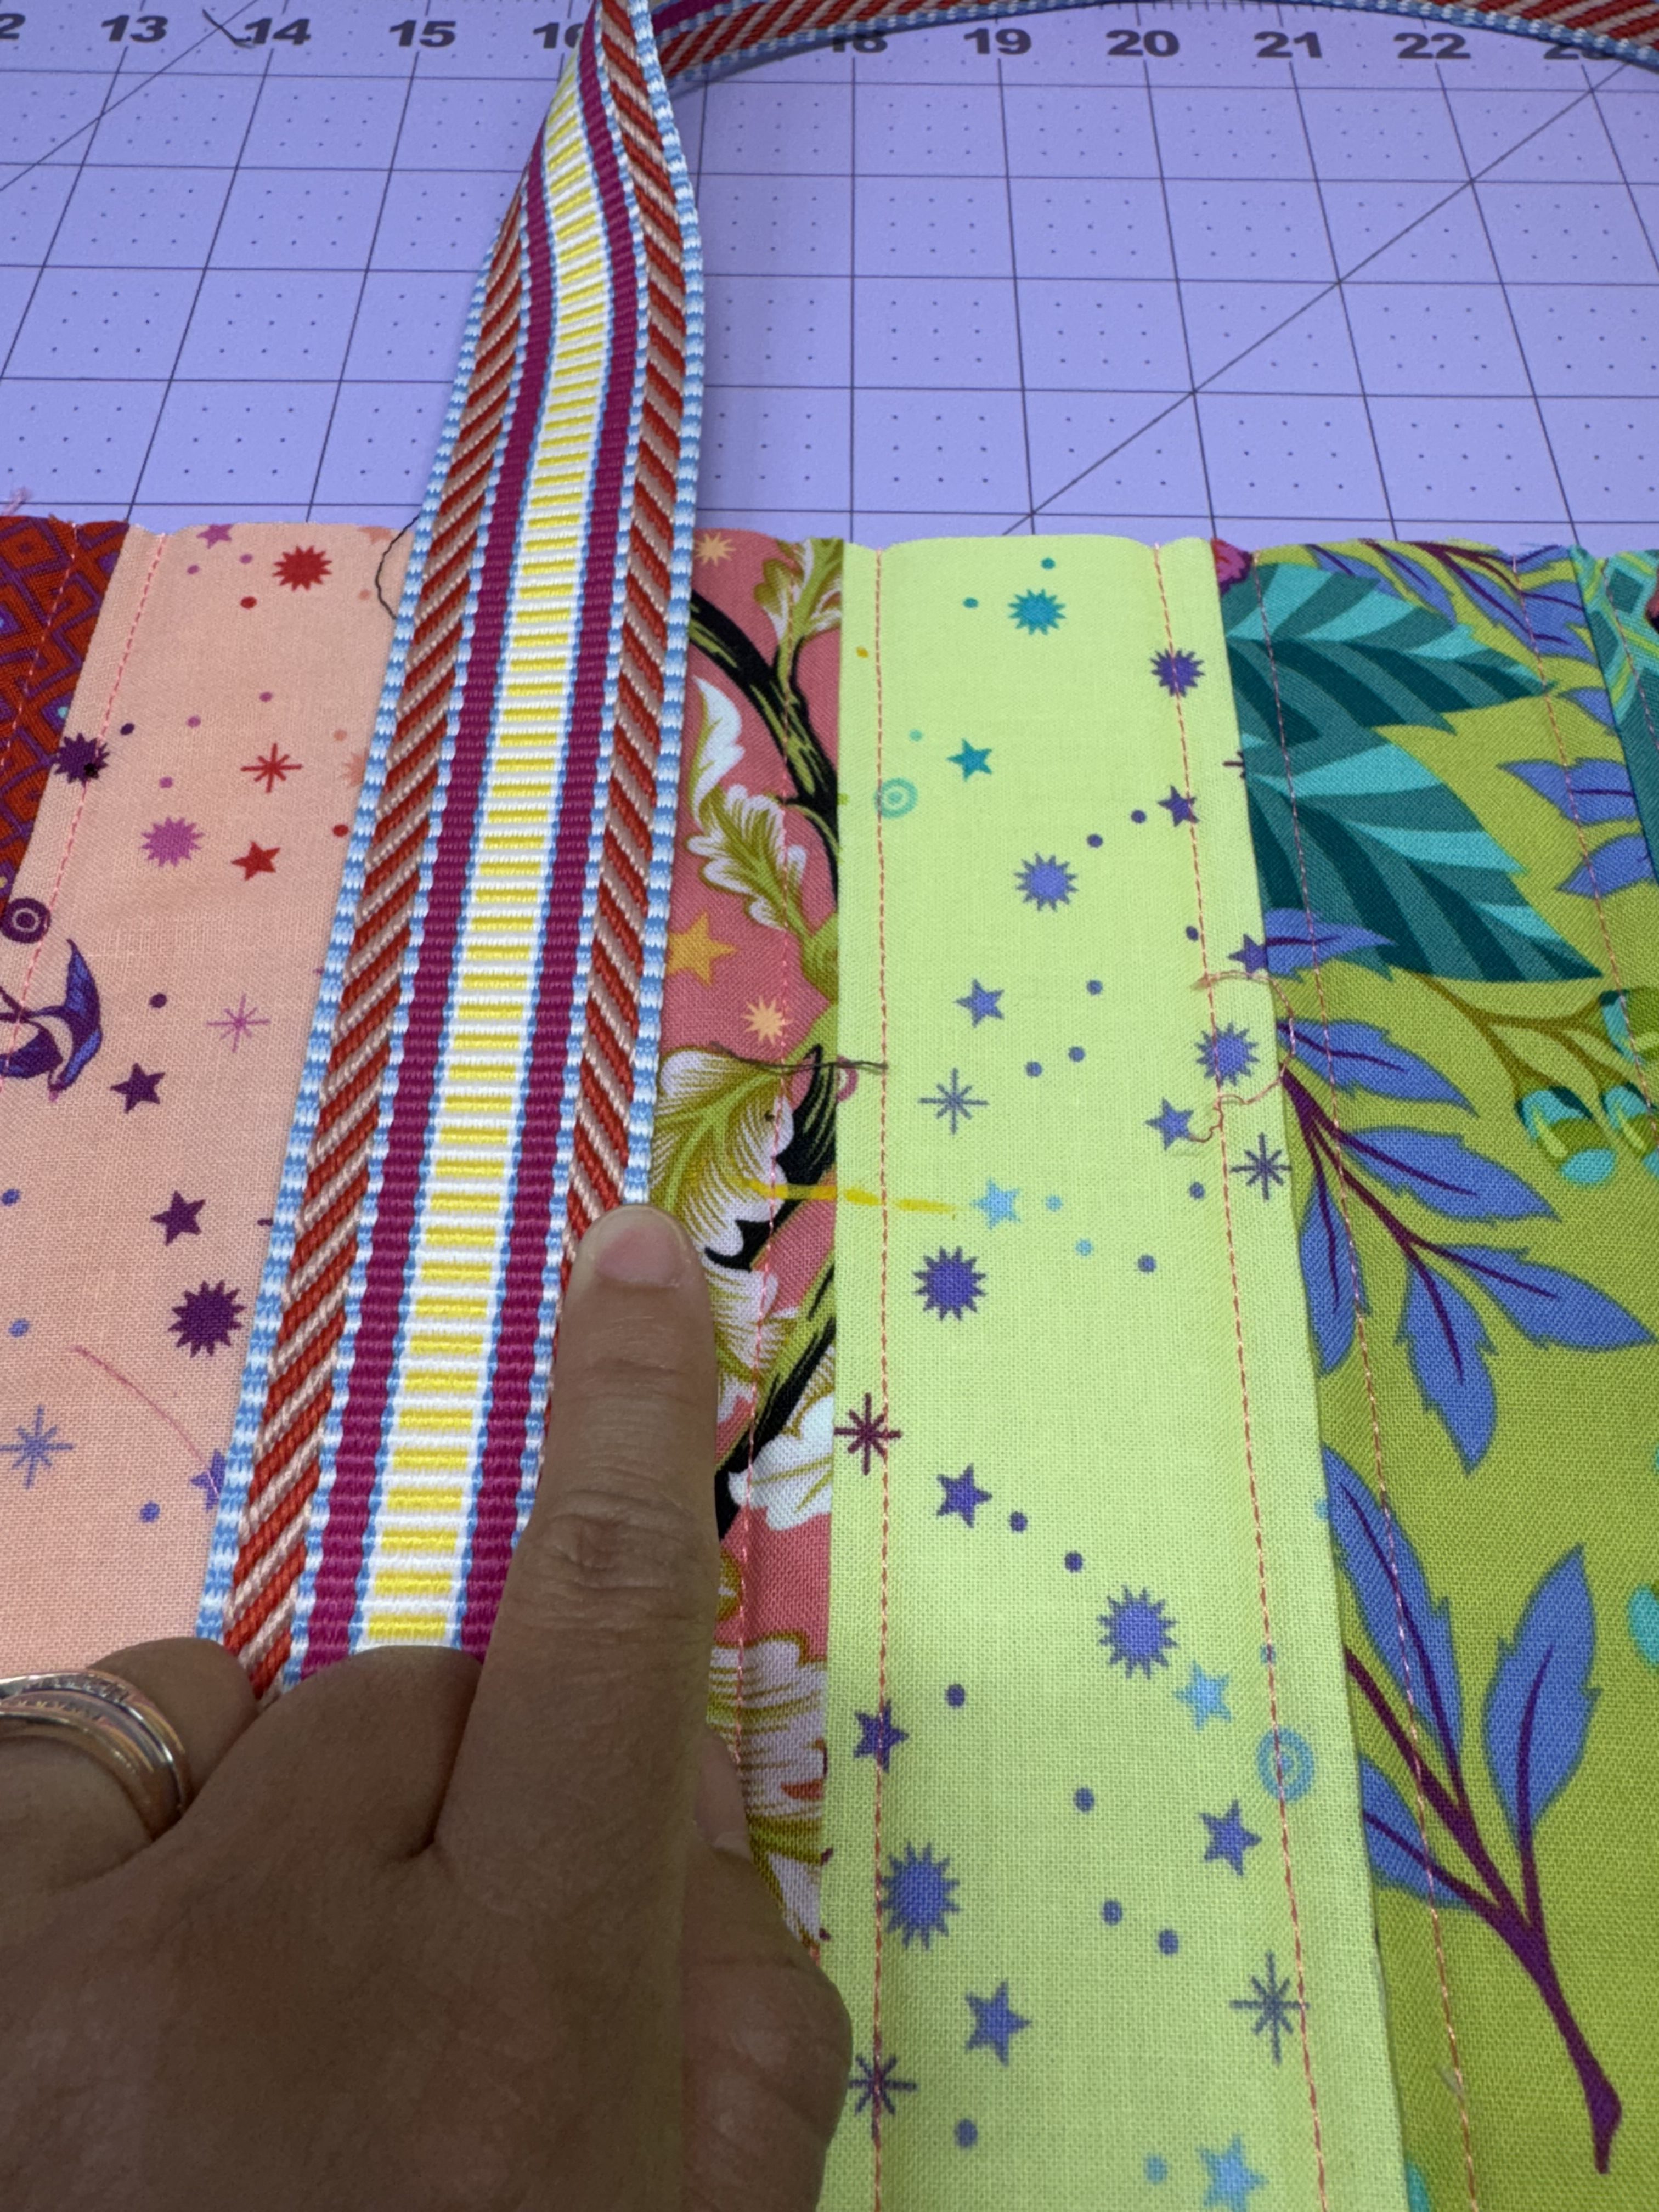
Stitch the webbing down along each side from the bottom of the pocket up to the 4” mark using a ⅛” seam allowance.
At the top of the zipper pocket (beginning at the pocket’s top edge), topstitch an X-box (a box with an X inside) up to the 4” mark to reinforce the handle area.
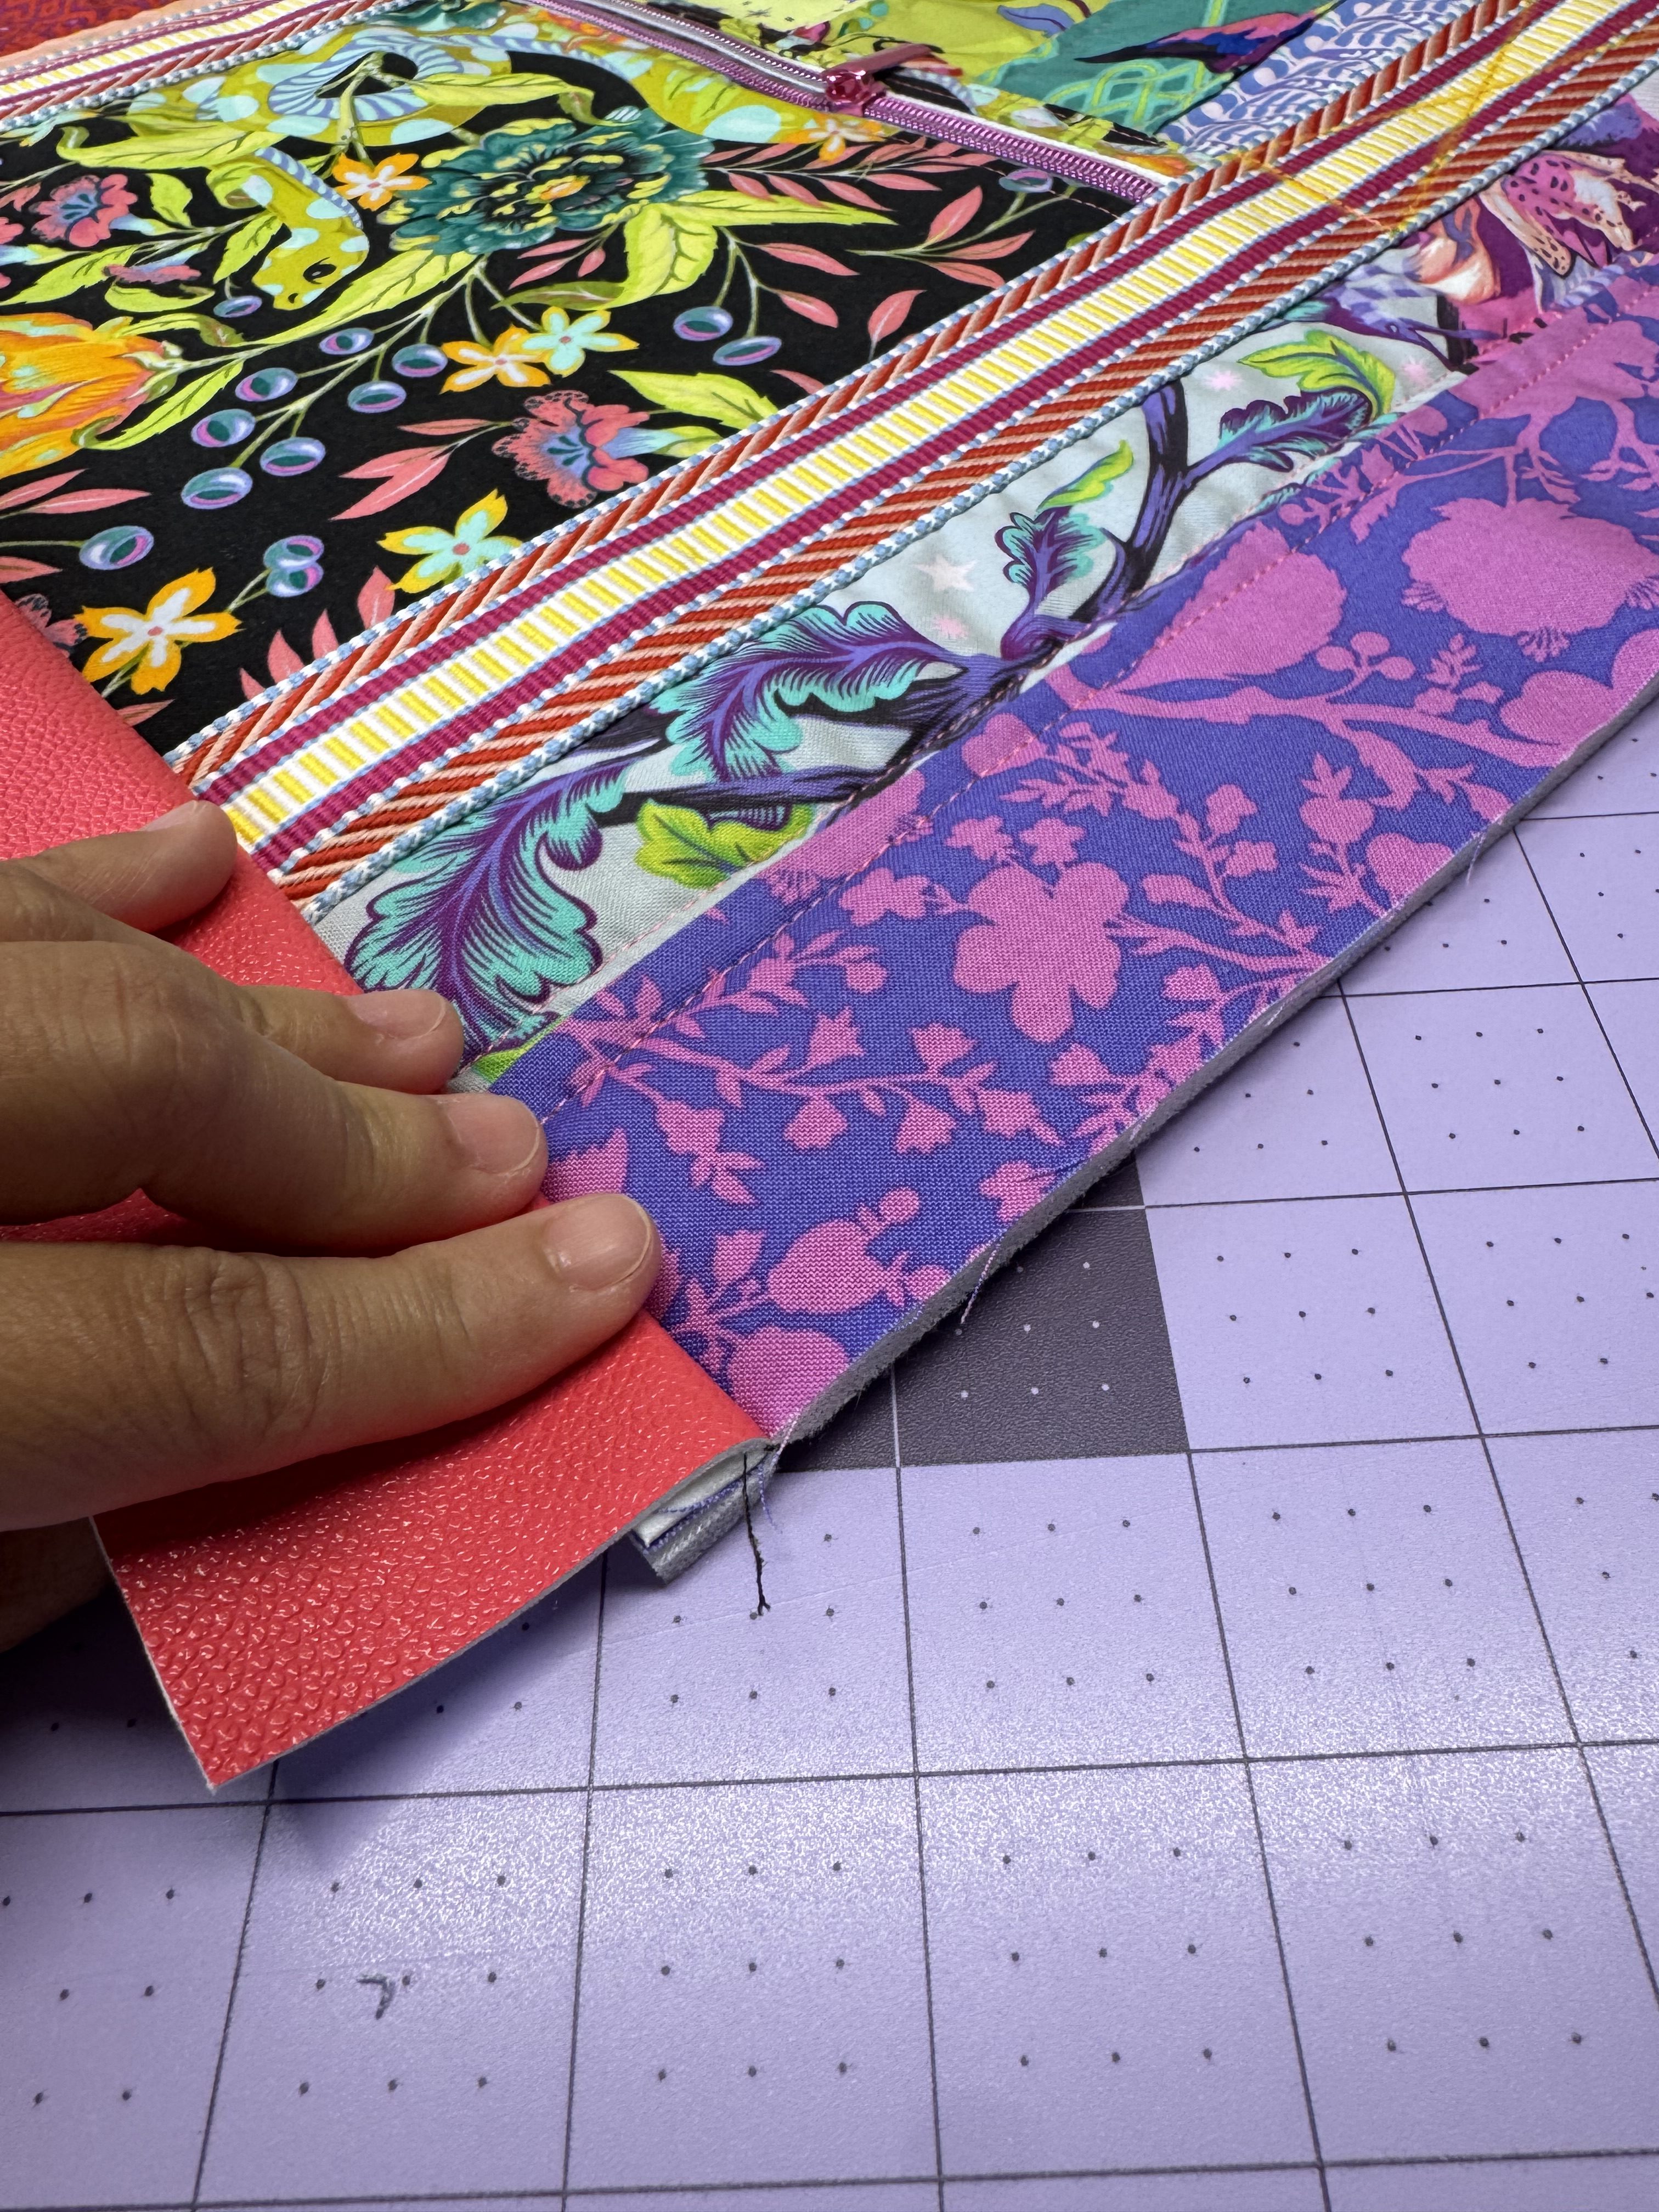
Place the vinyl bottom panel right sides together with the bottom edge of the front panel.
Clip in place, then sew with a ½” seam allowance.
Press (do not use an iron due to the vinyl) the seam toward the vinyl side and topstitch ⅛” from the seam for a professional look.
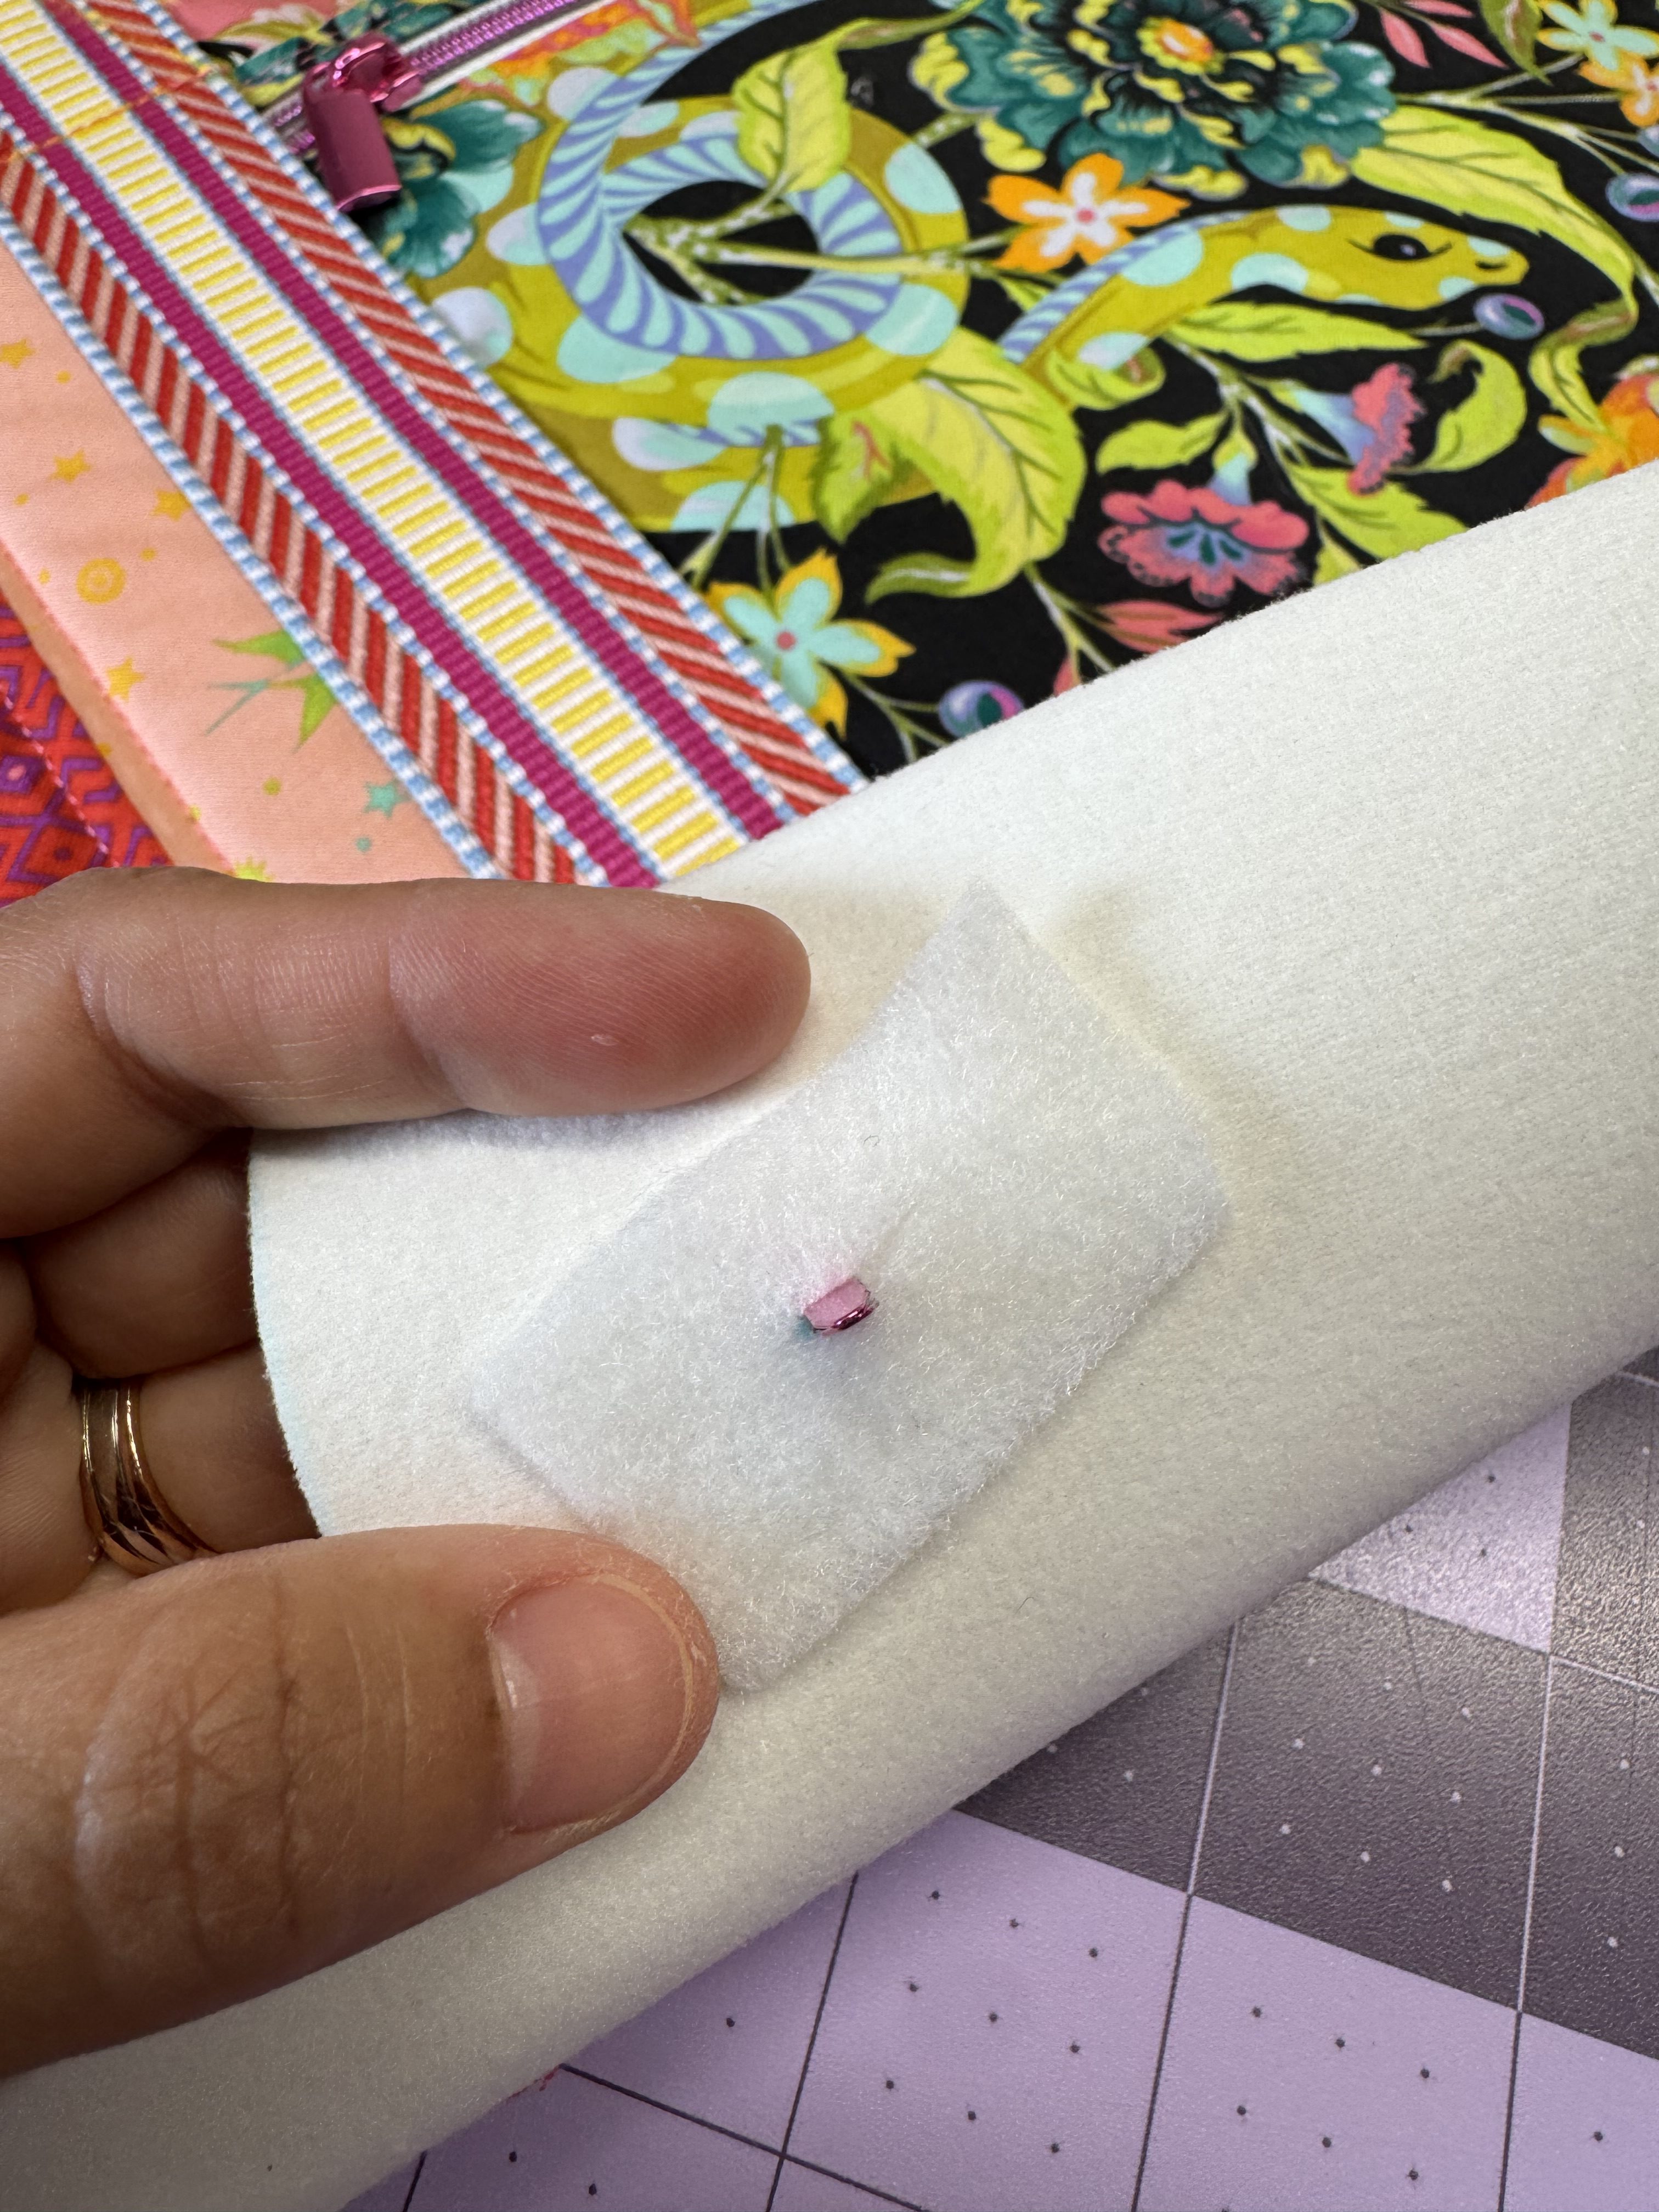
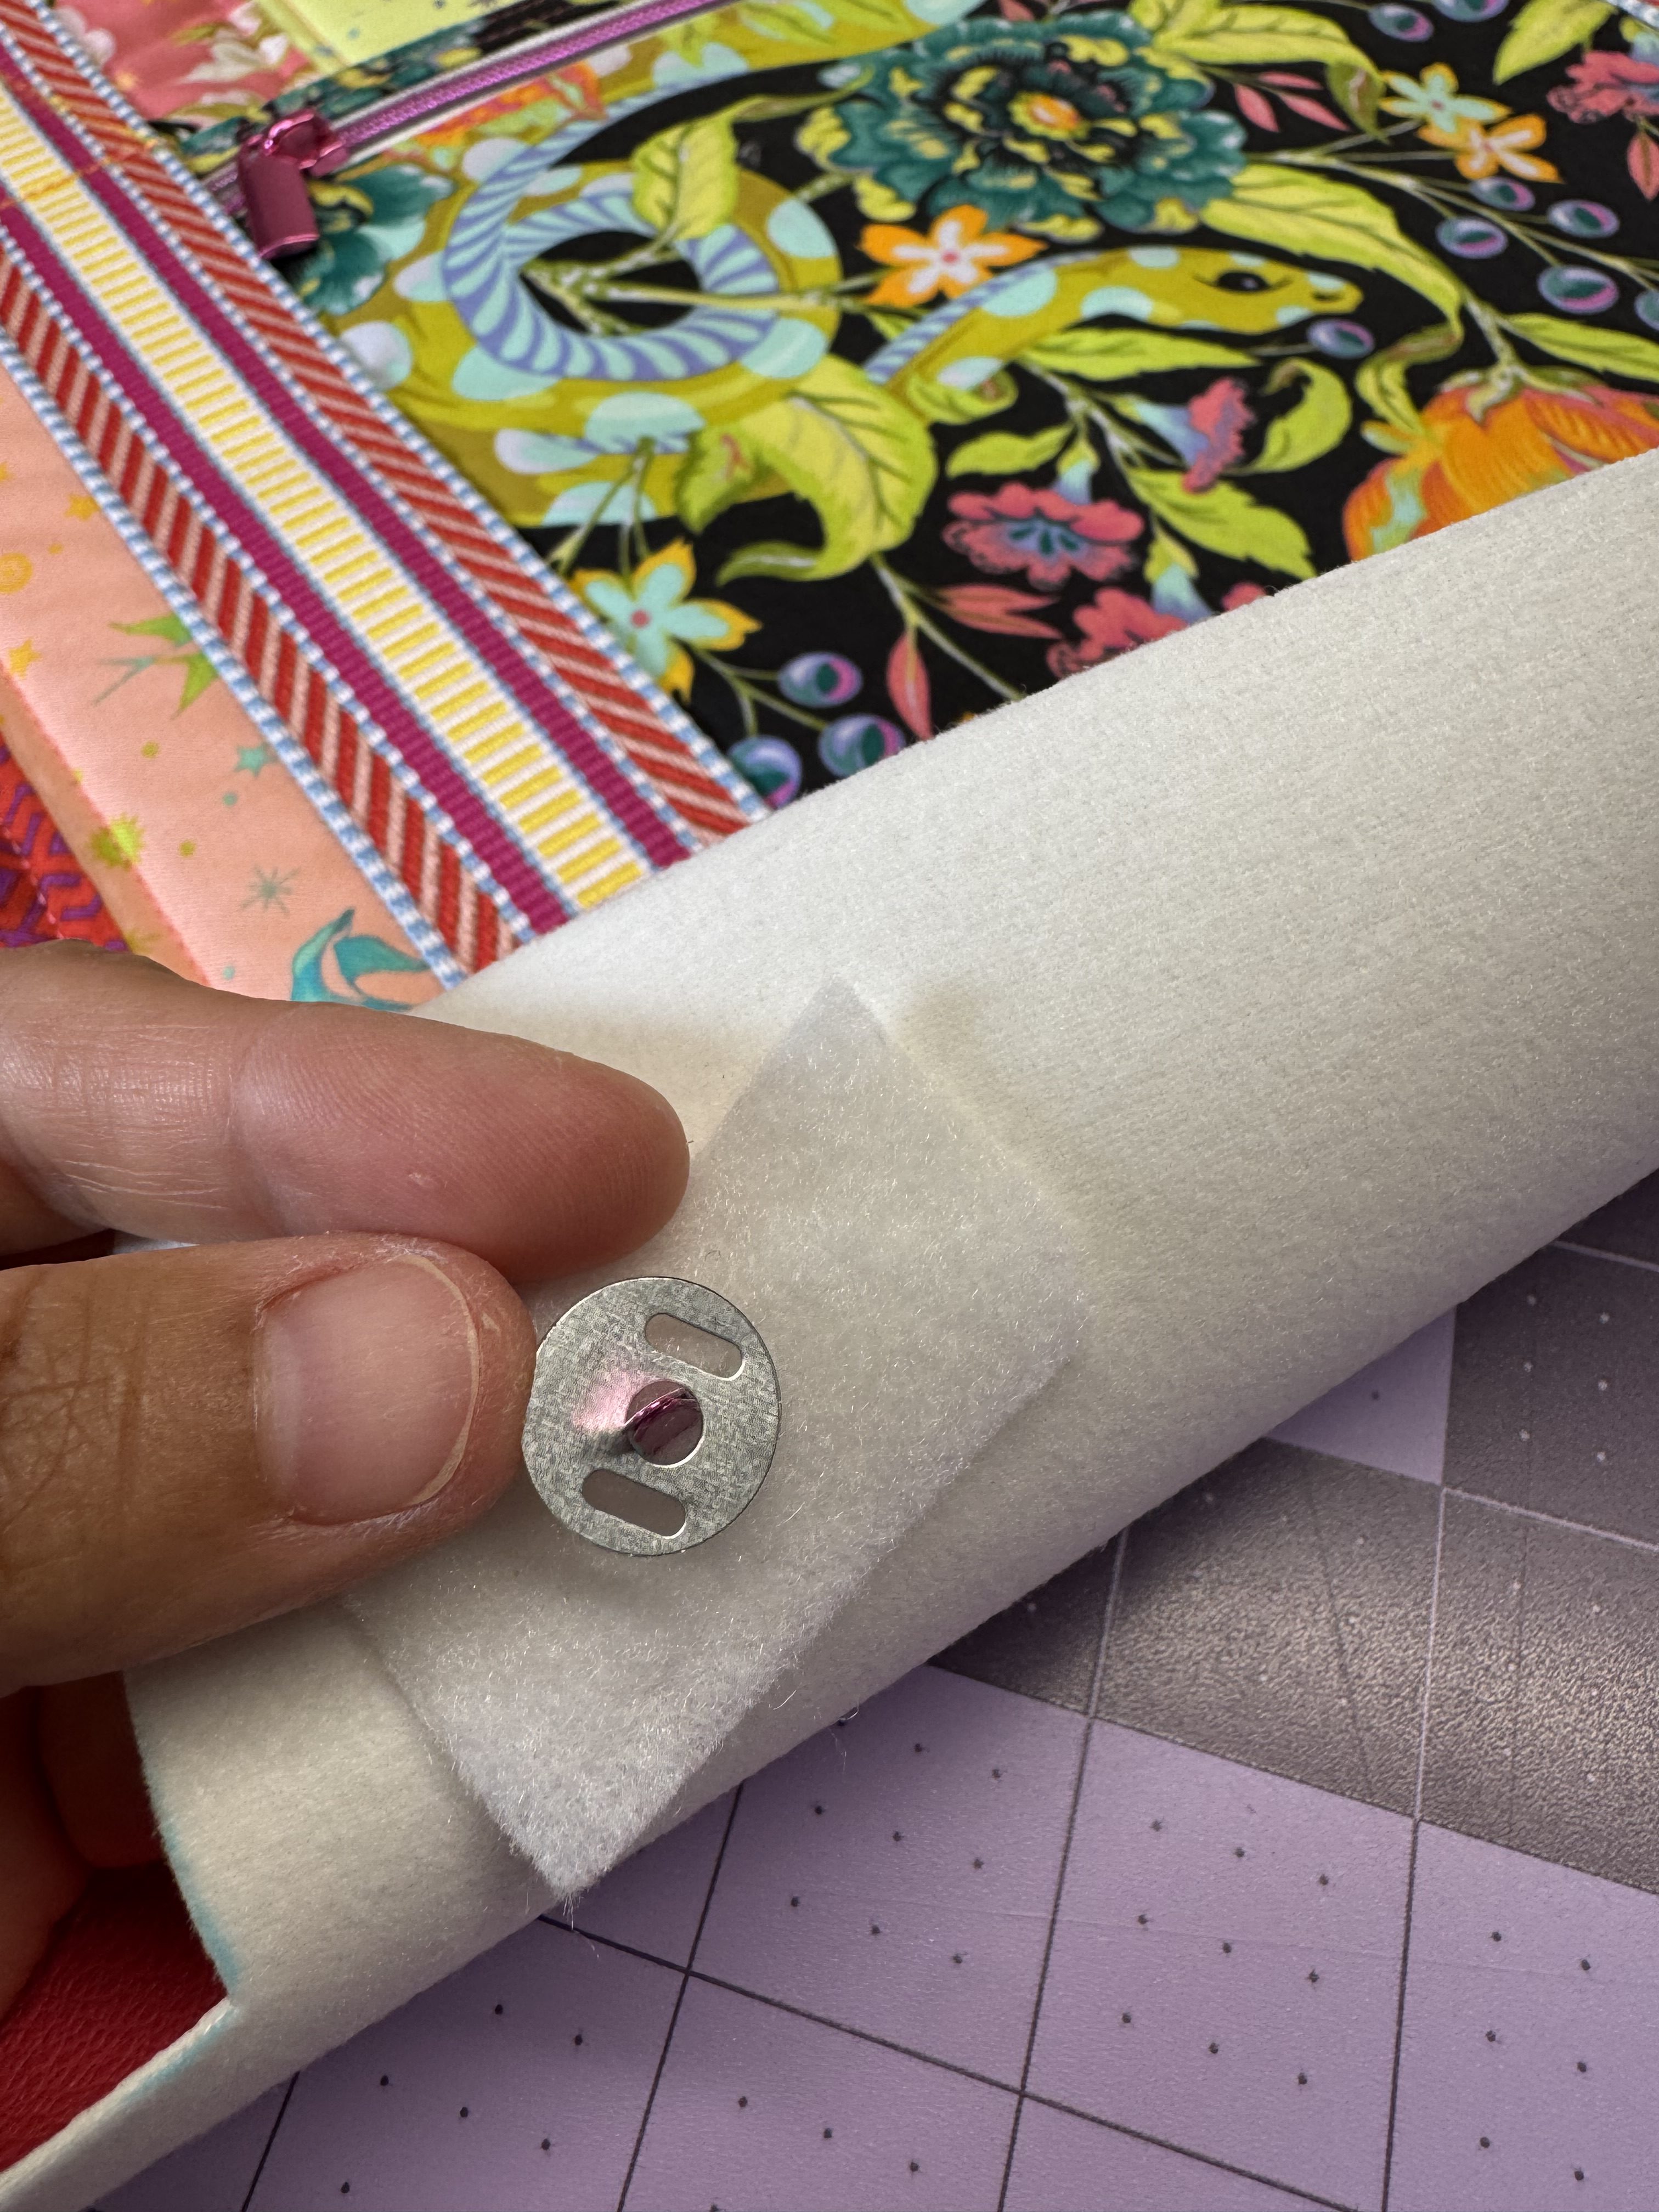
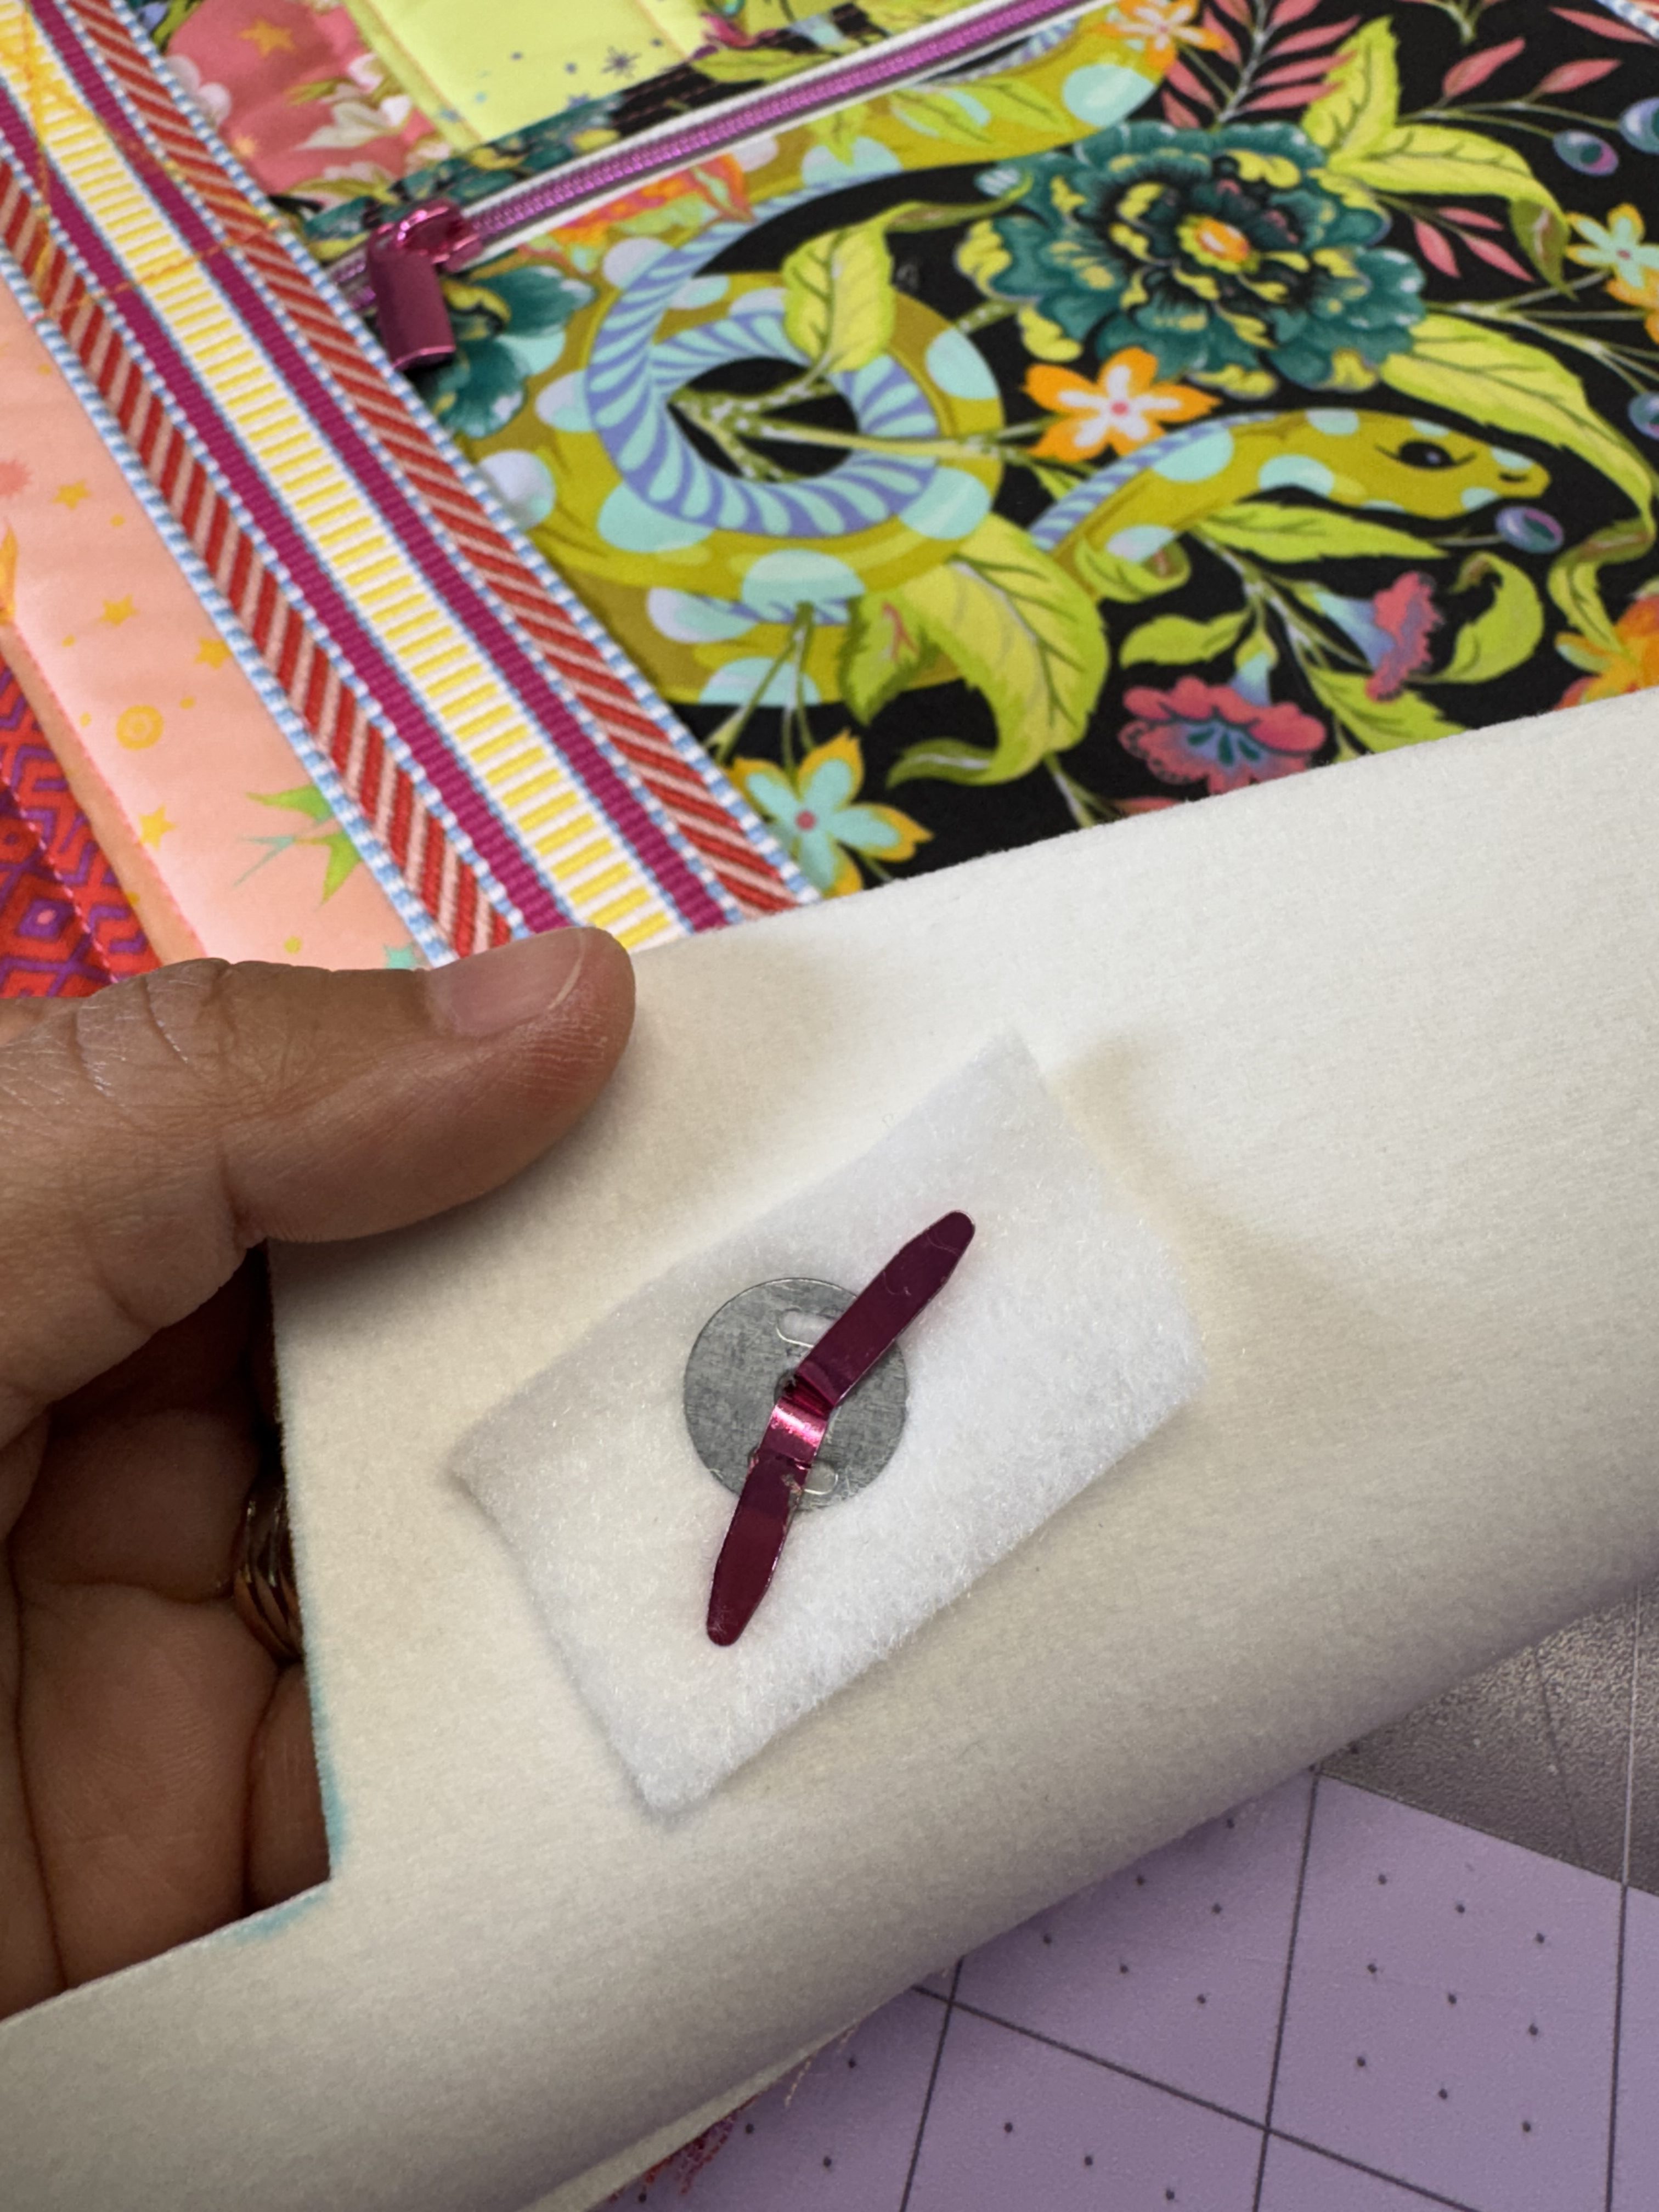
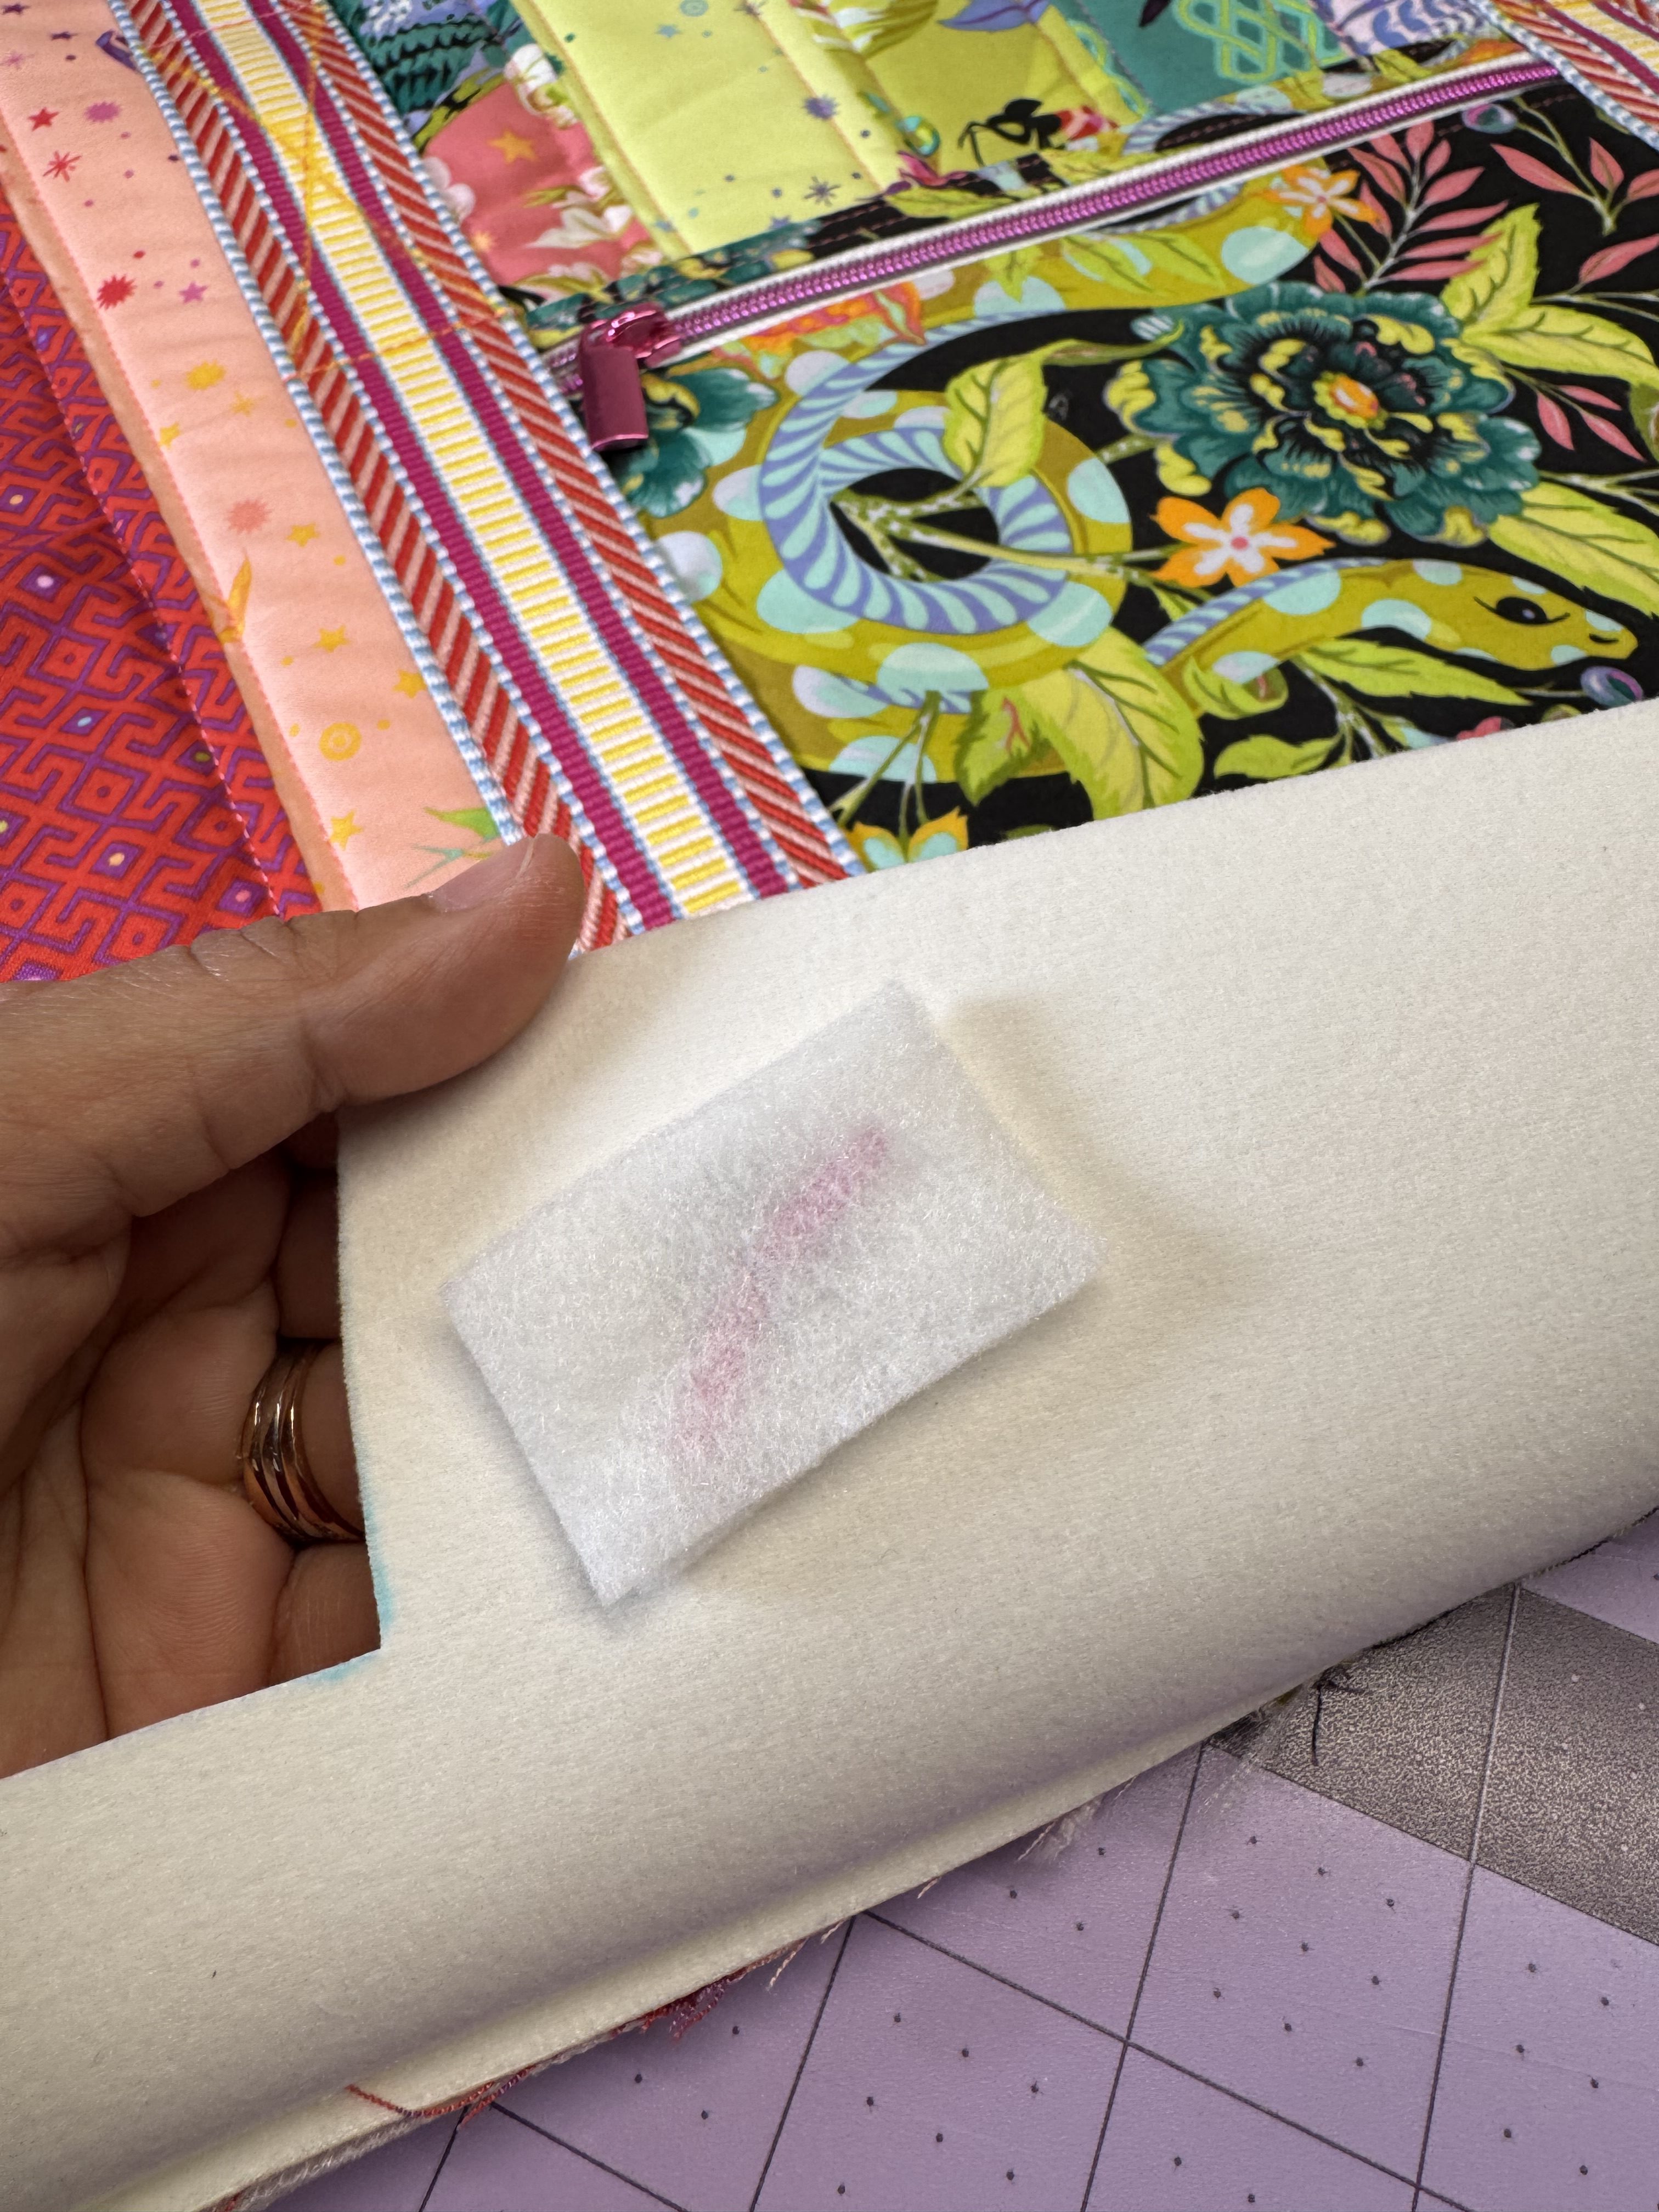
Add Bag Feet (Optional). Follow the manufacturer’s instructions to install bag feet.
- Pro Tip: Use a small square of fusible interfacing between the vinyl and the metal post for extra stability, and cover the post inside the bag with a fabric scrap or interfacing if desired.
Repeat the above steps to assemble the back exterior panel, including attaching the remaining pocket, webbing handles, and bottom vinyl panel.
Step 8: Assemble the Exterior Bag Body
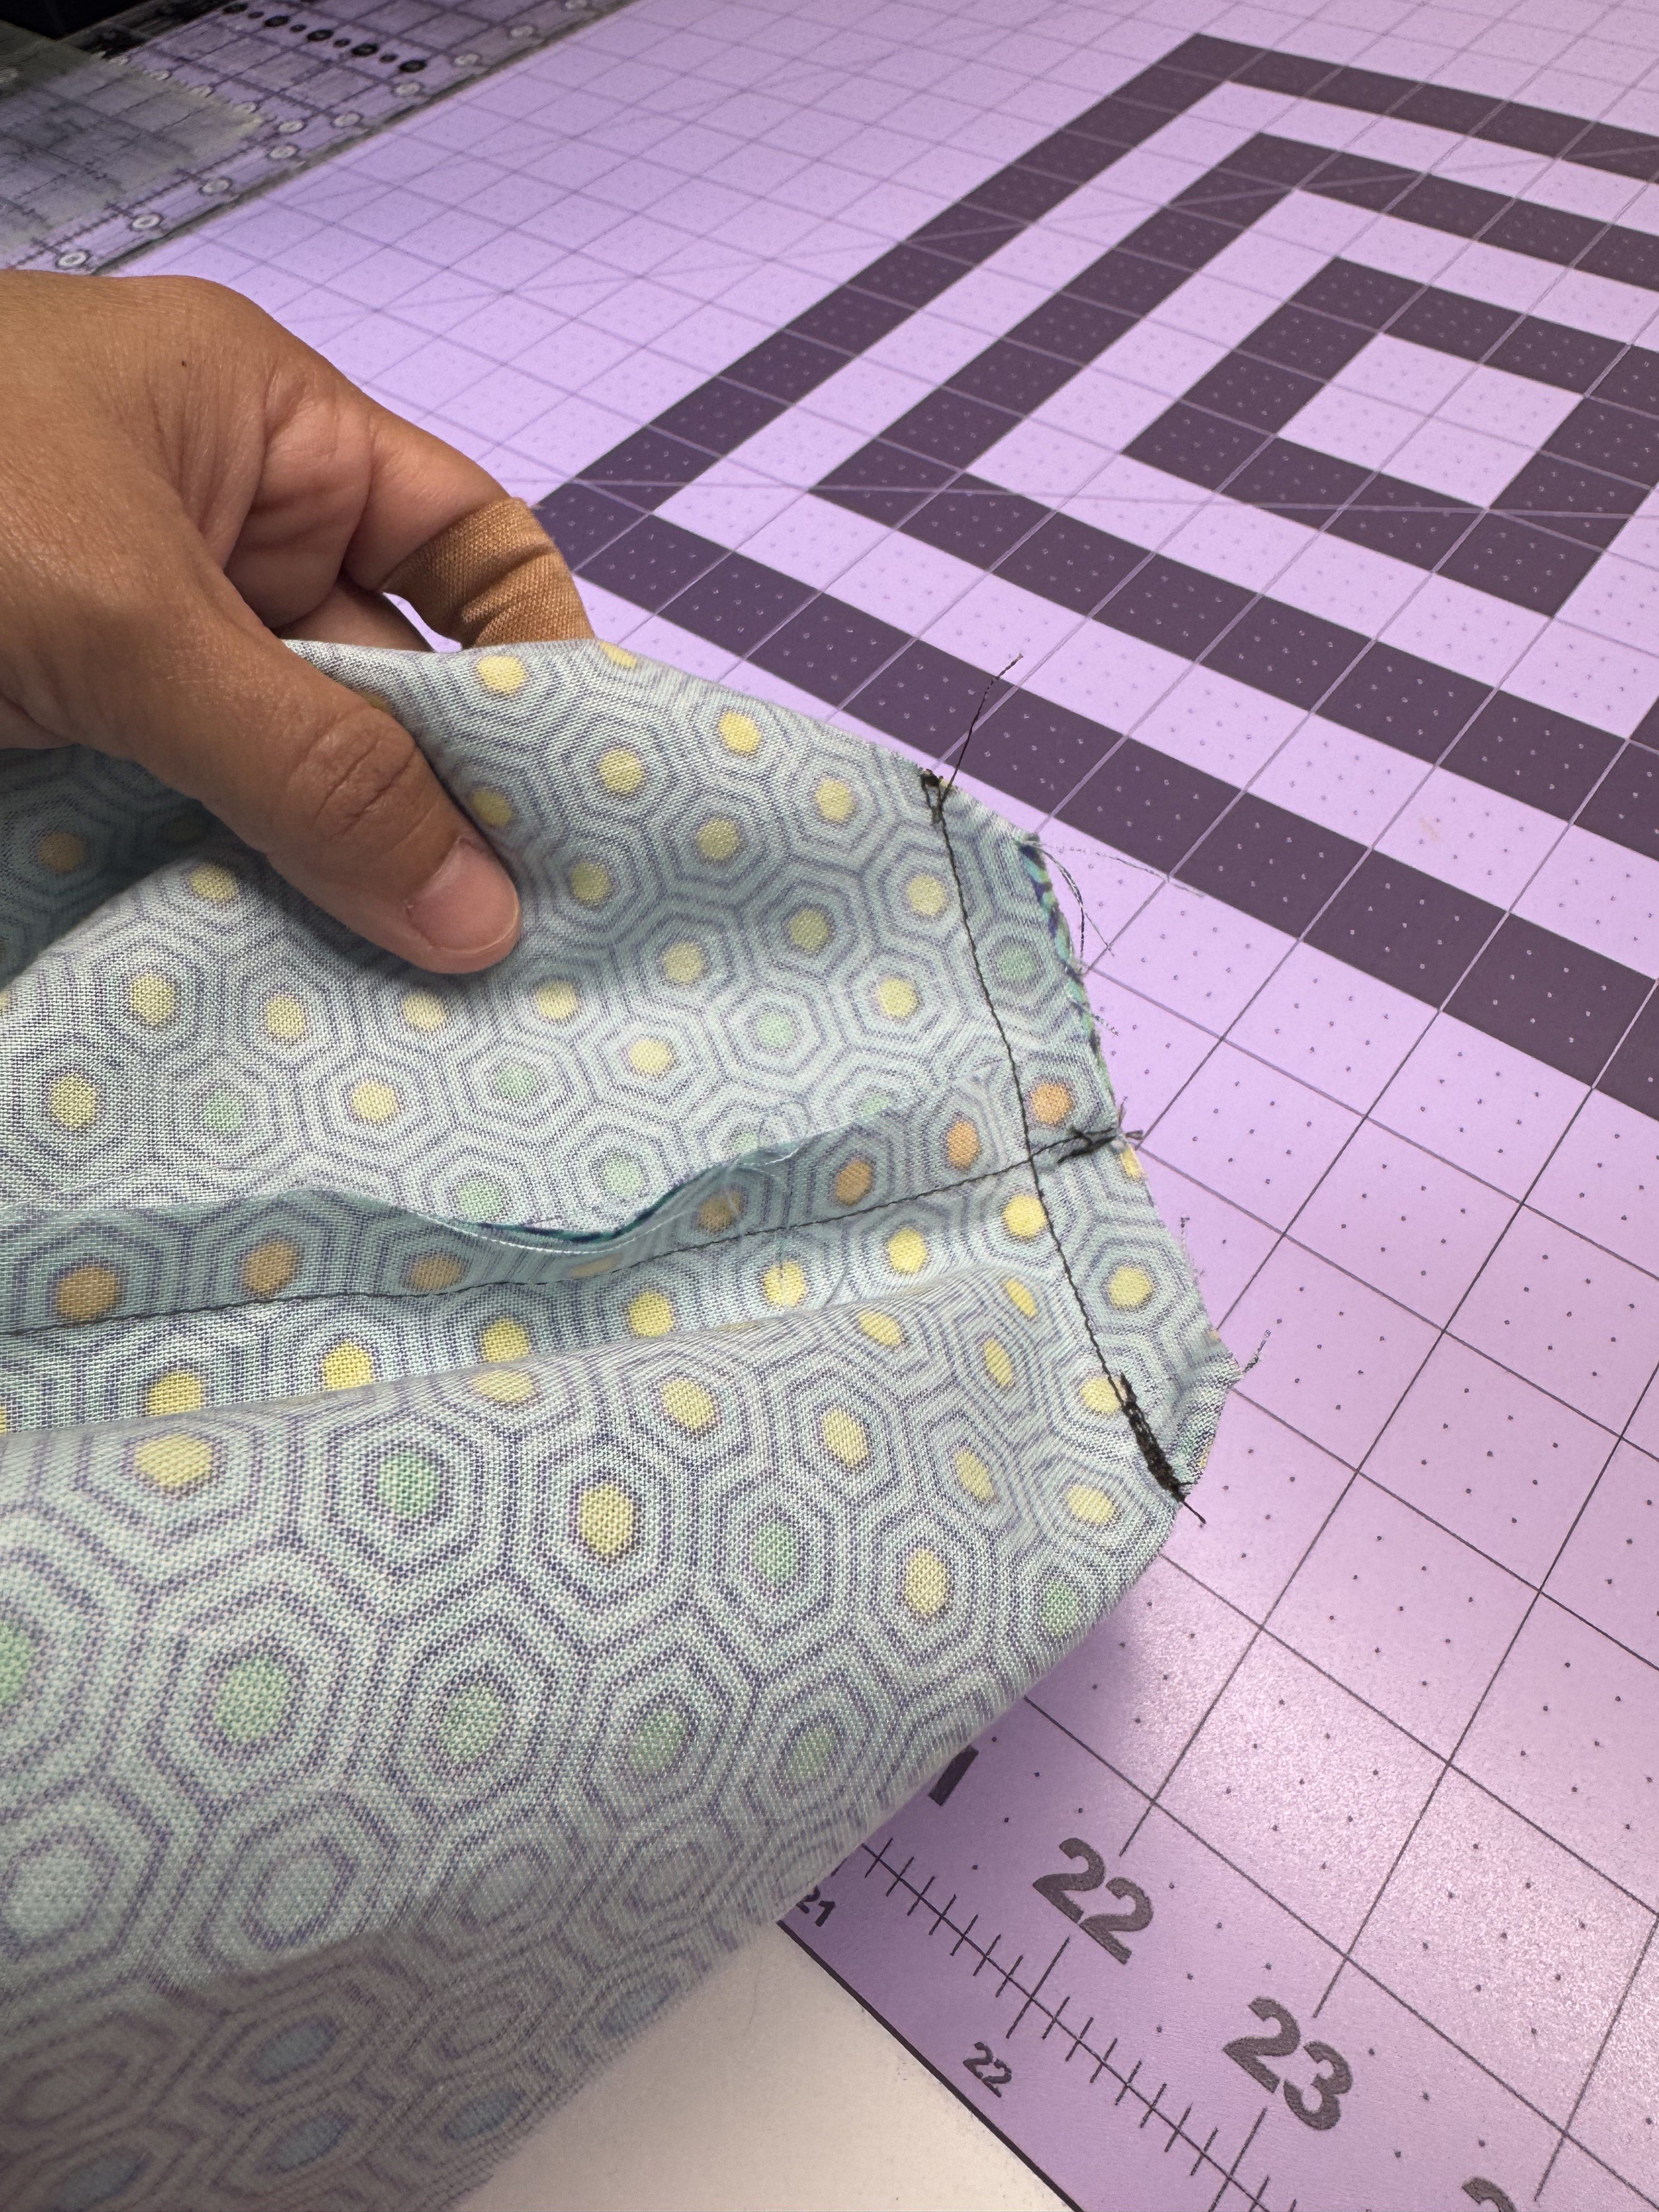
Place the front and back exterior panels right sides together. Sew the side and bottom edges using a ½” seam allowance.
Match the side and bottom seams on one corner to form a straight line, creating a box shape. Clip in place and sew with a ½” seam allowance.
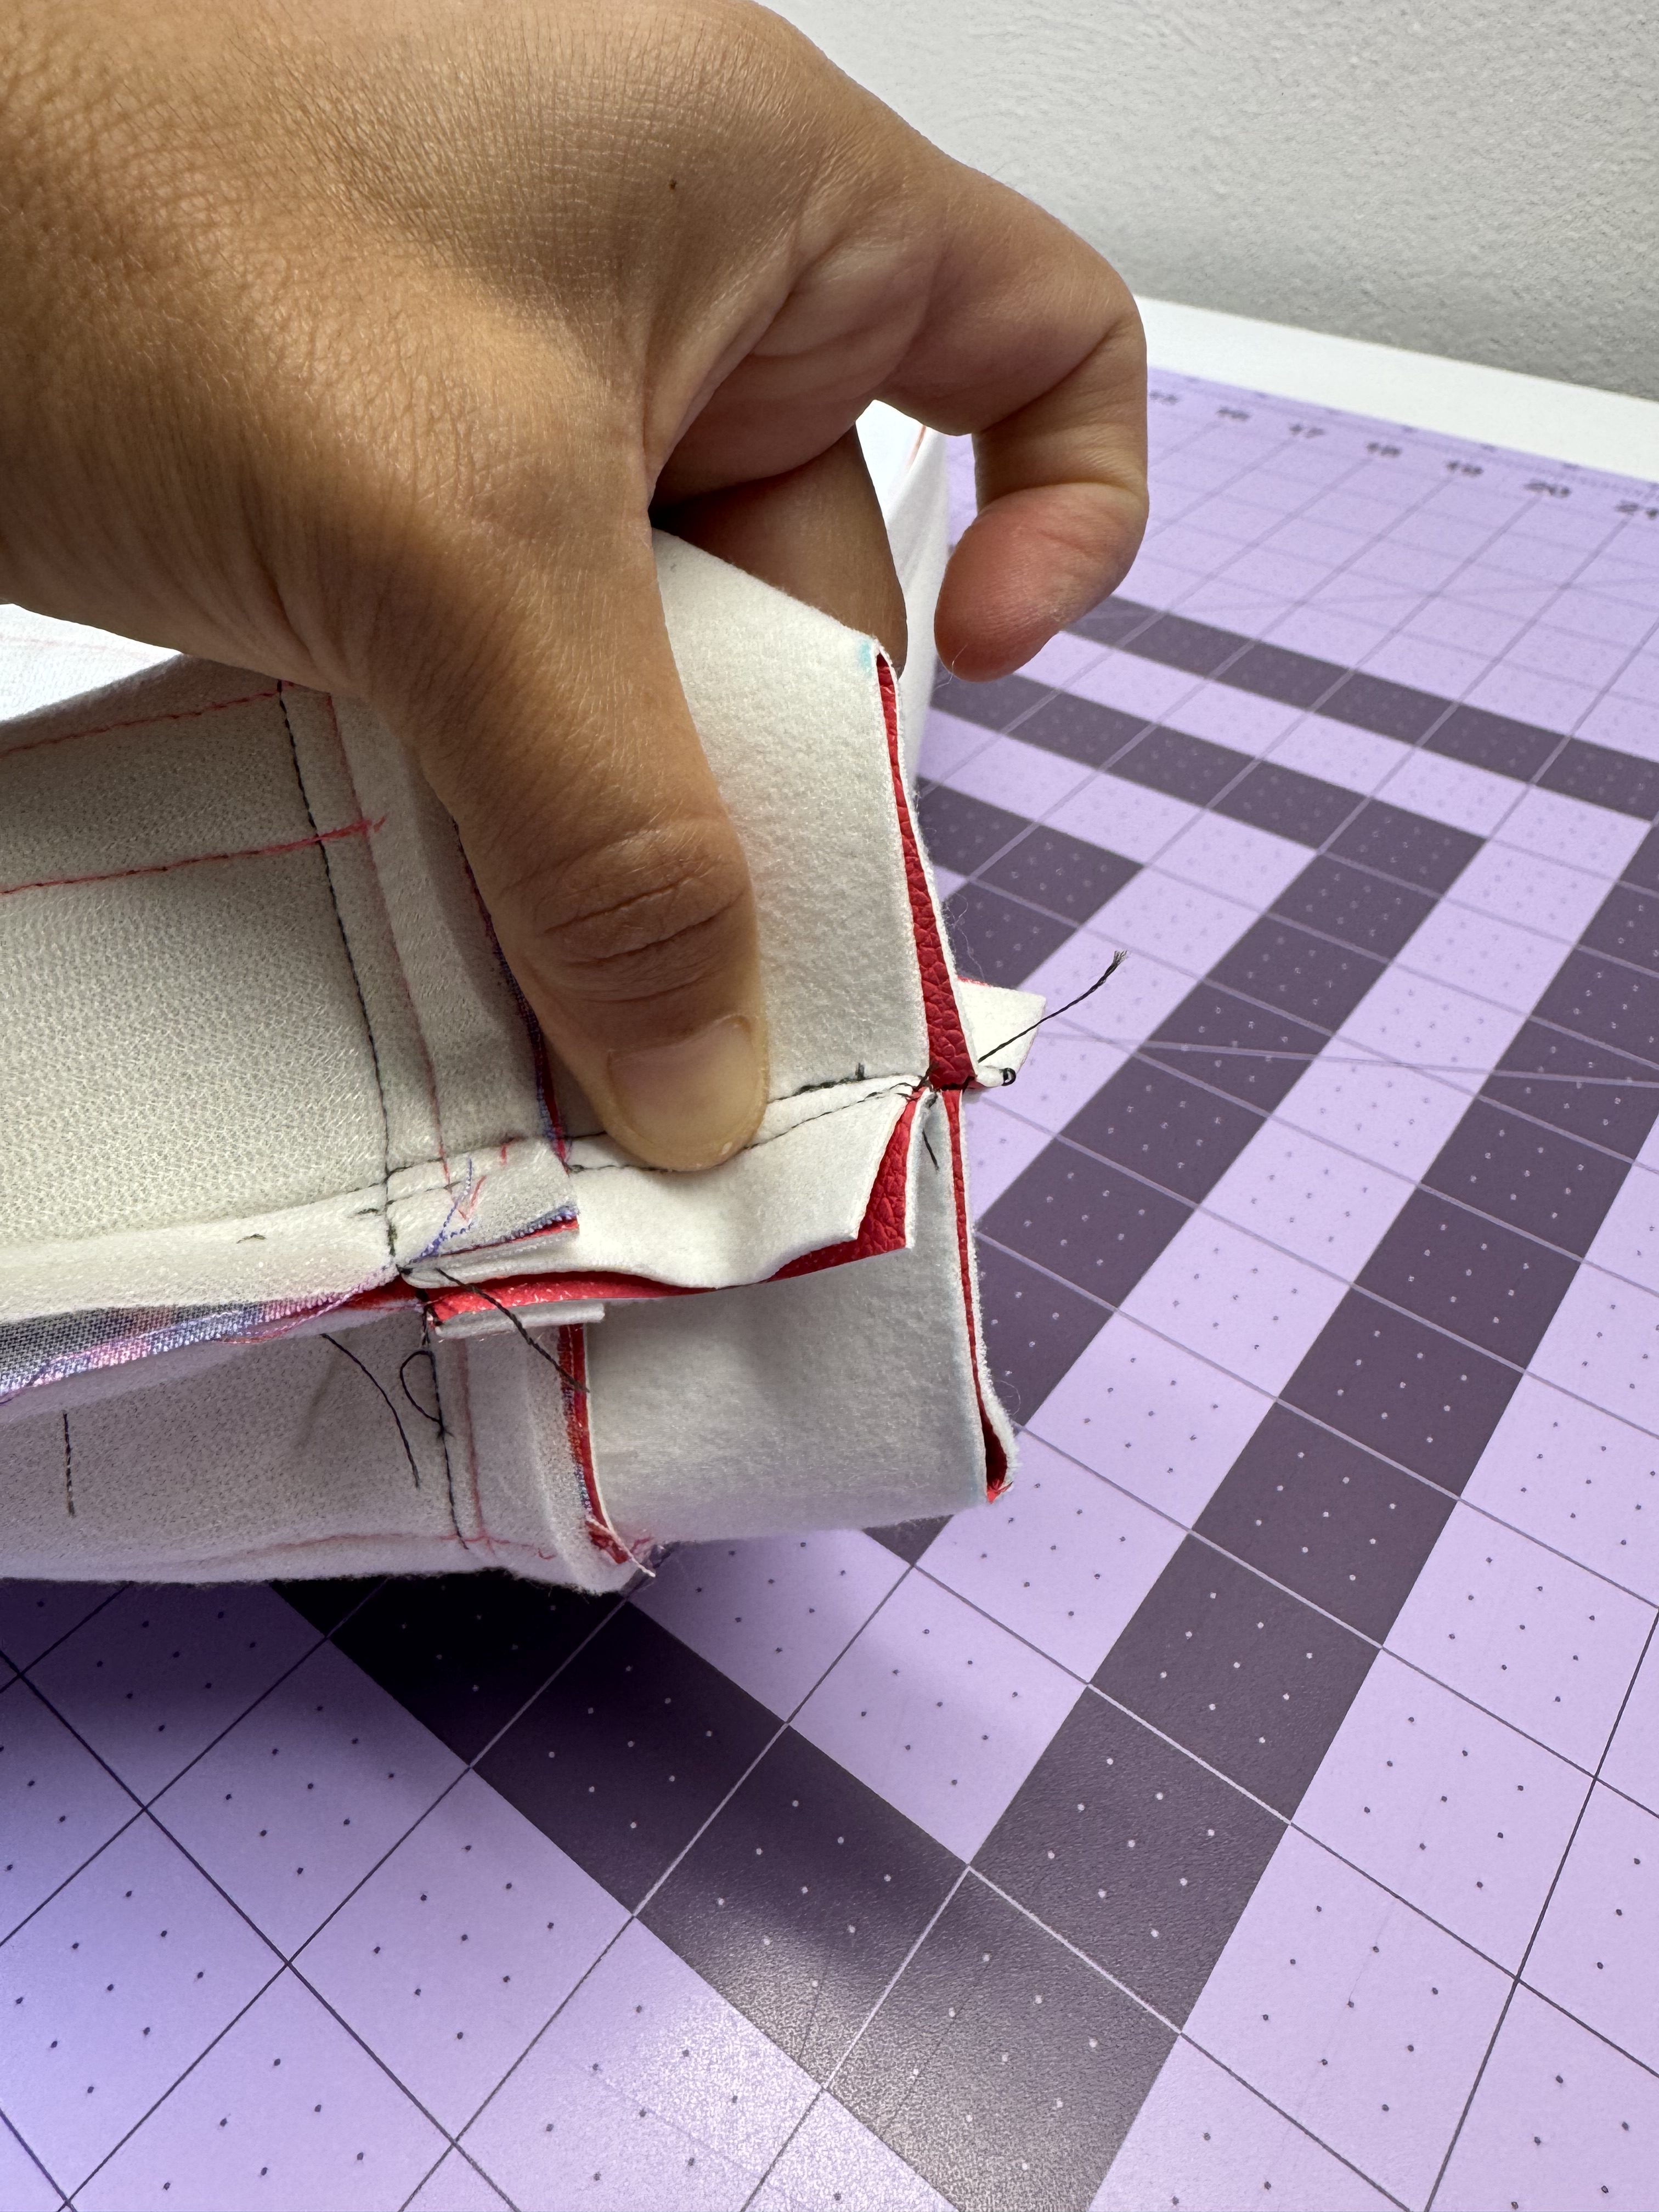
Repeat on the opposite corner.
Turn the finished exterior of the tote bag right side out and gently push out the corners to shape the base.
Cut (2) strips of 1½” webbing, each measuring 2½” long.
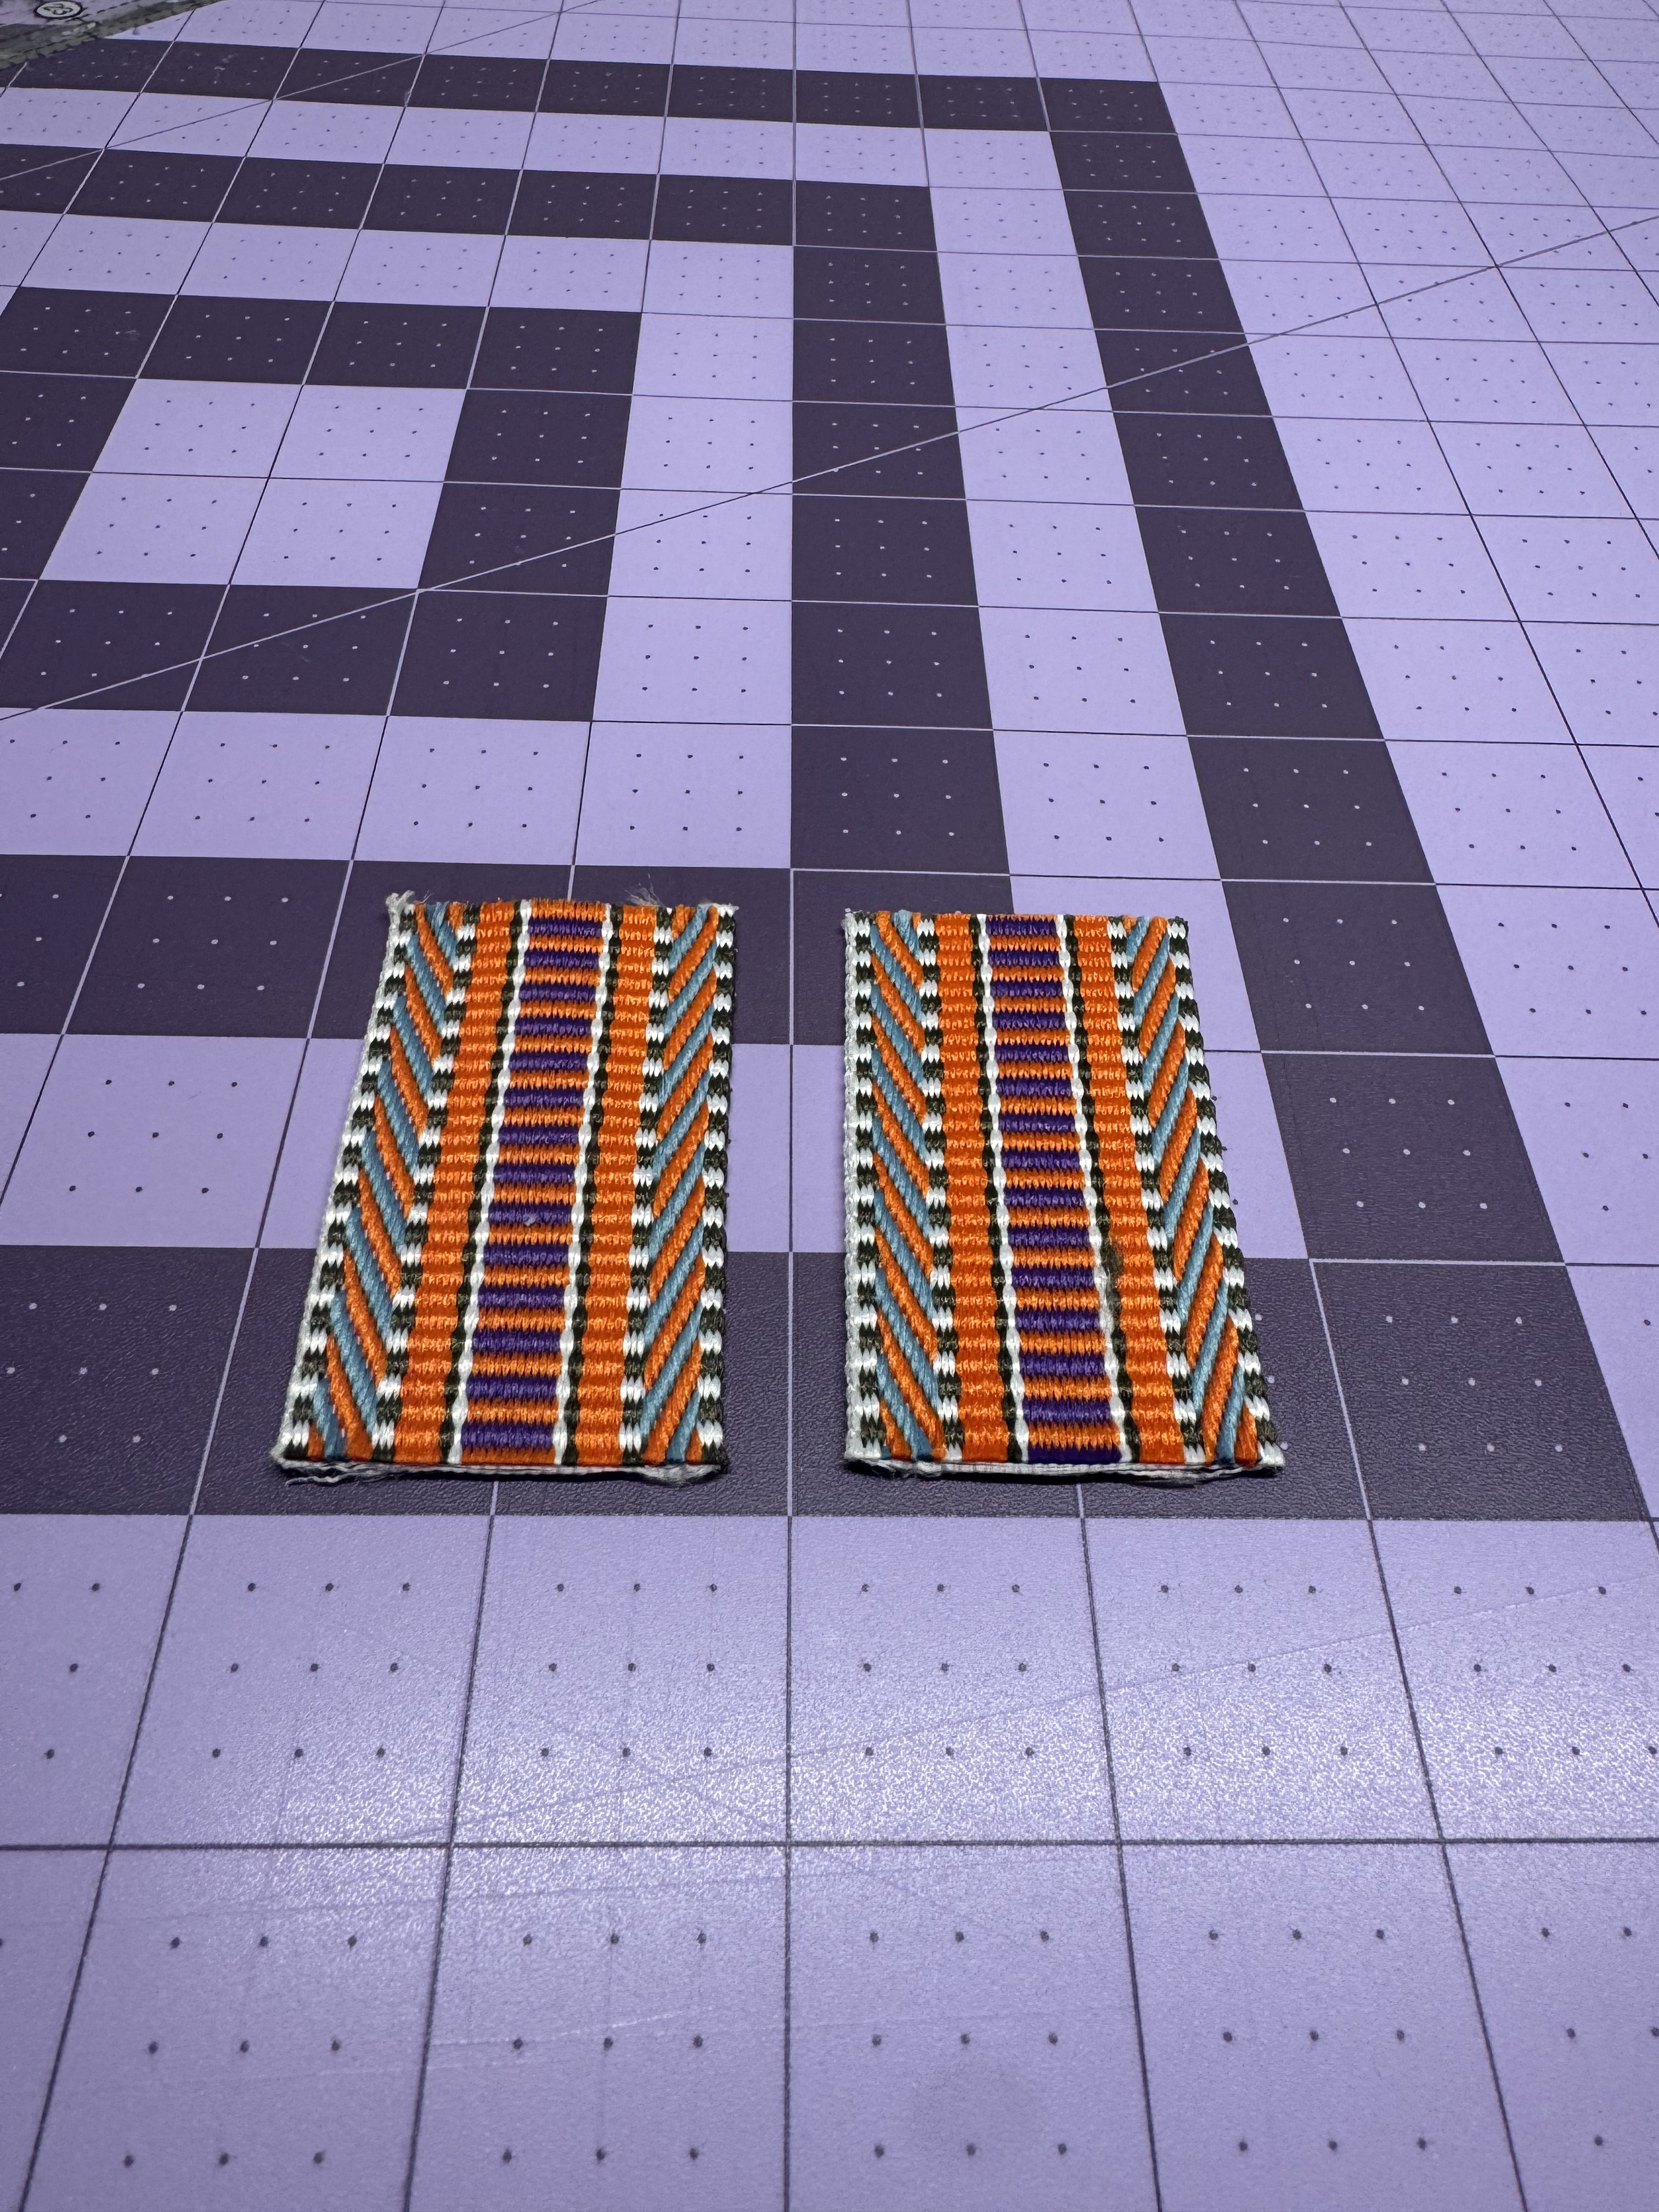
Insert one strip through a D-ring, folding it in half so the raw ends align. Topstitch across the webbing as close to the D-ring as possible to secure it in place.
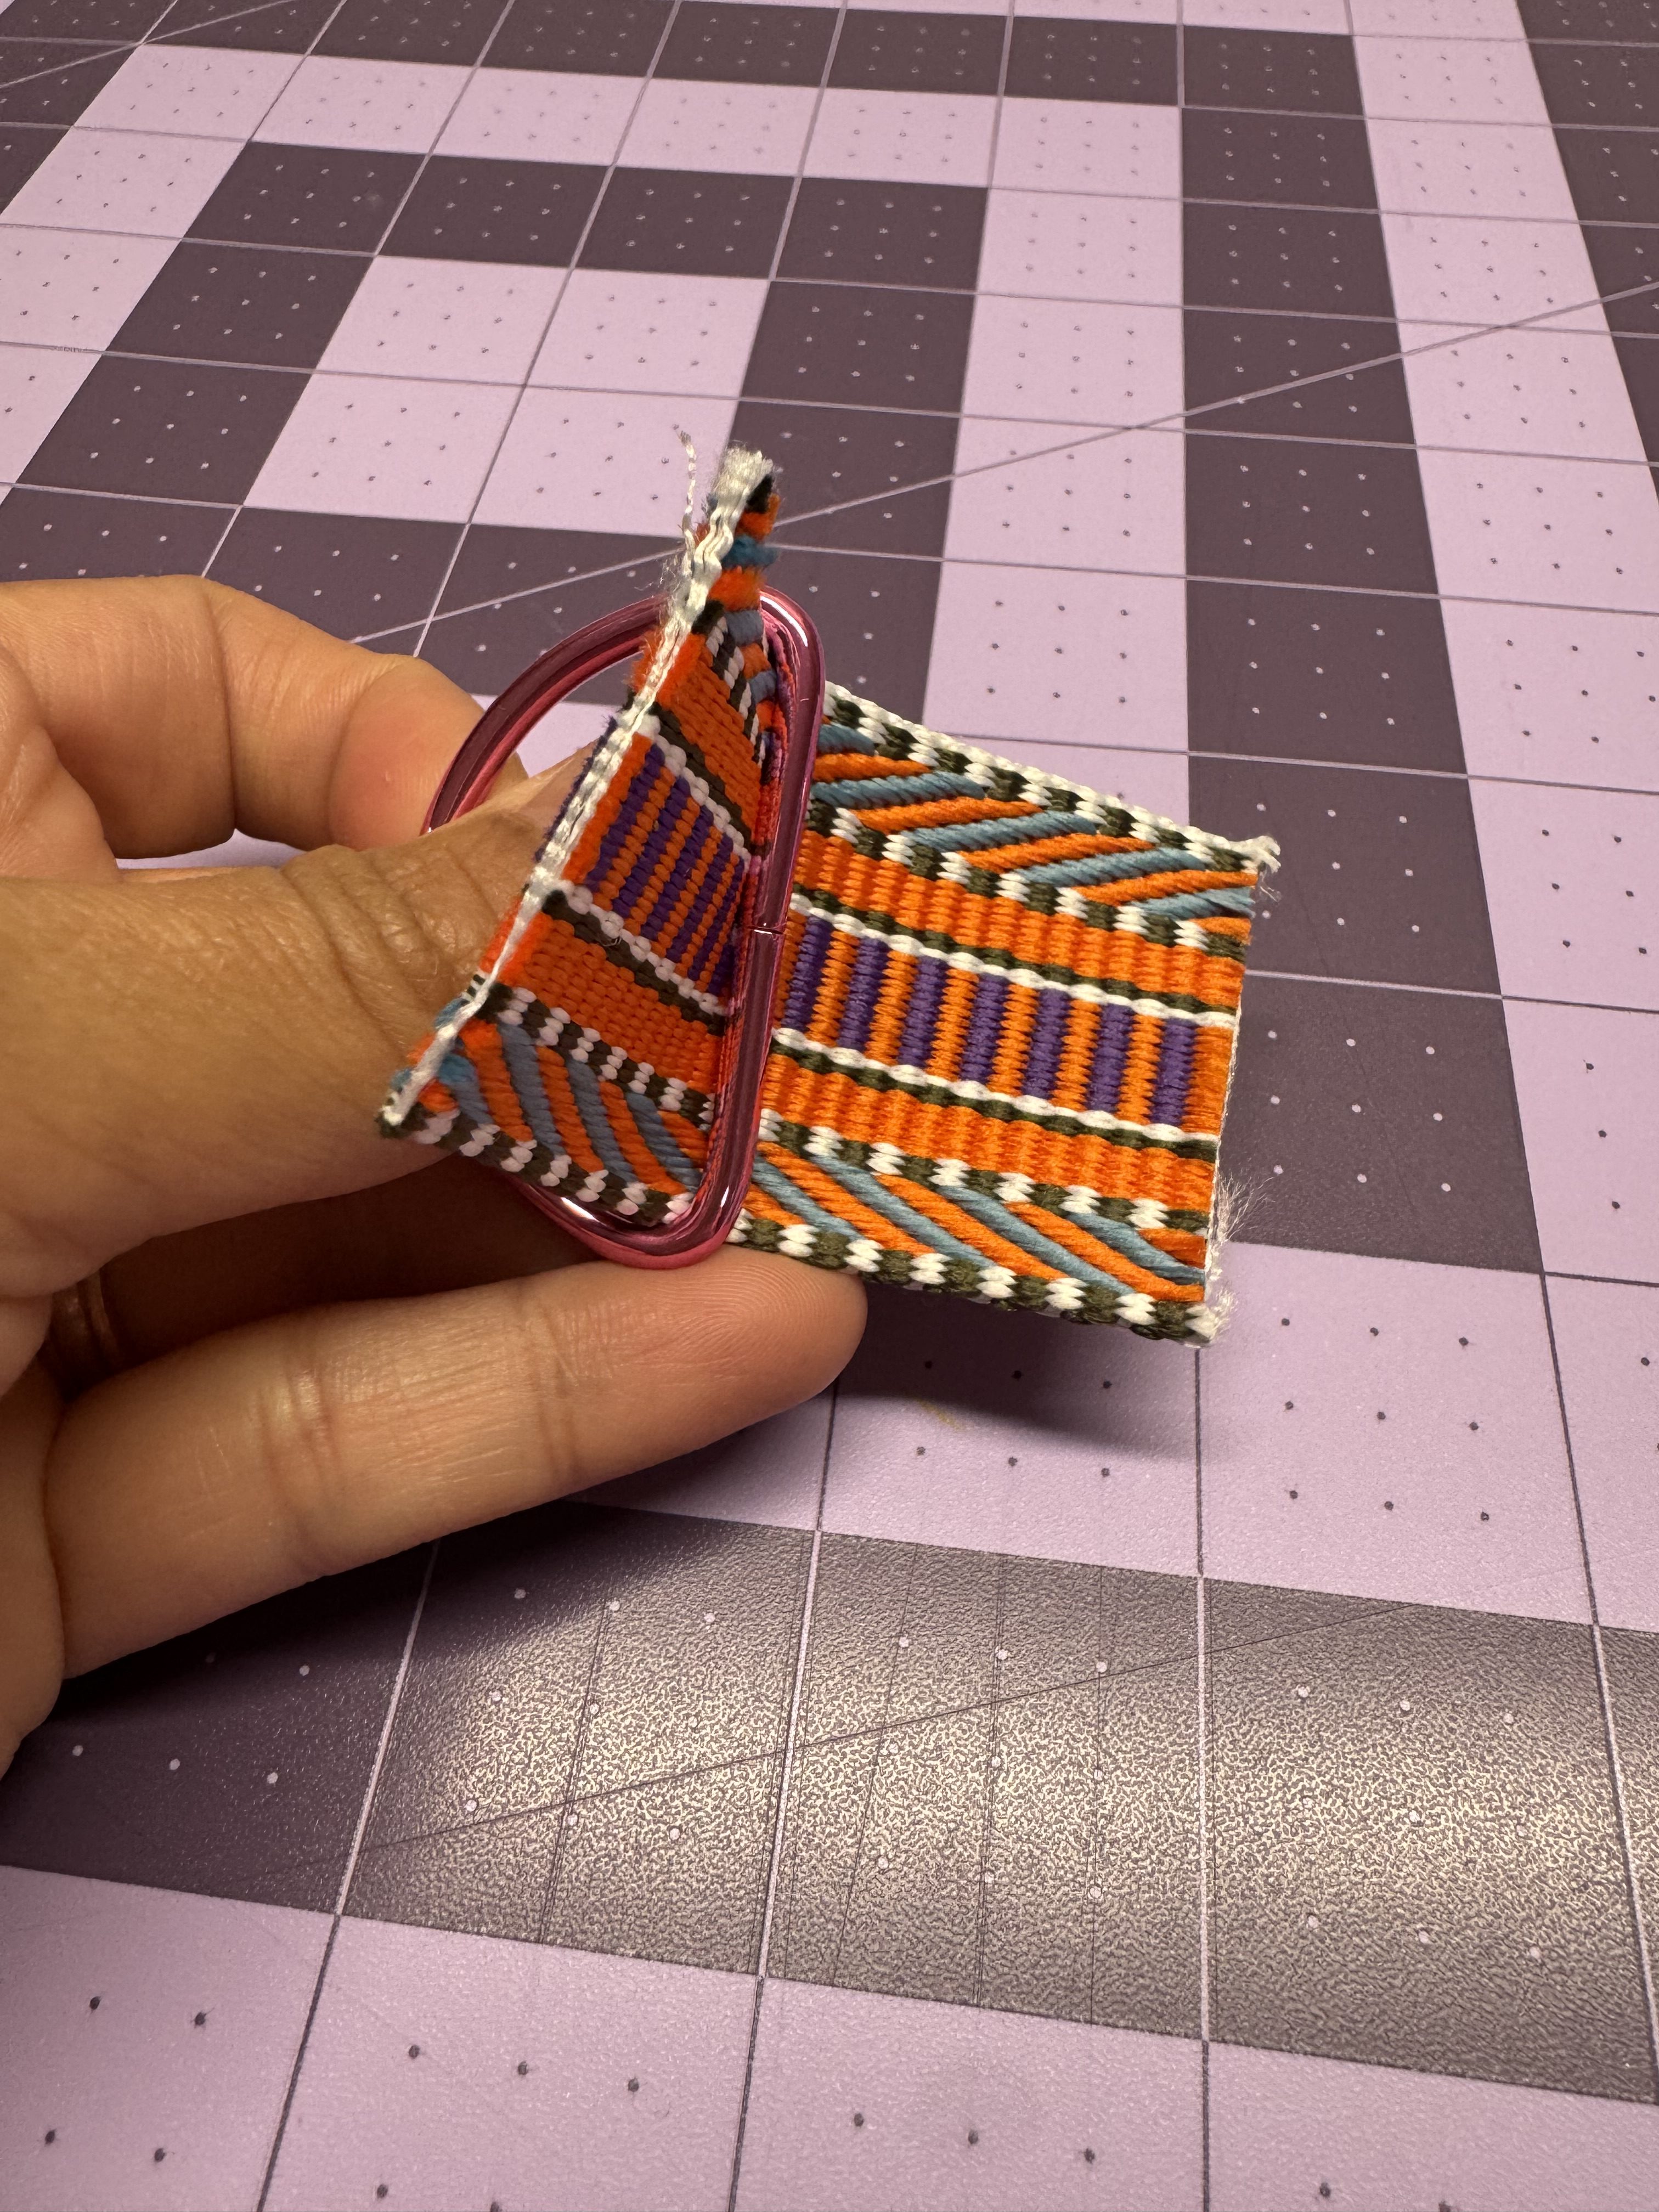
Repeat with the second strip and D-ring.
Center one prepared D-ring on a side seam of the exterior, with the D-ring facing downward and the raw edges of the webbing aligned with the top edge. Topstitch securely to hold it in place.
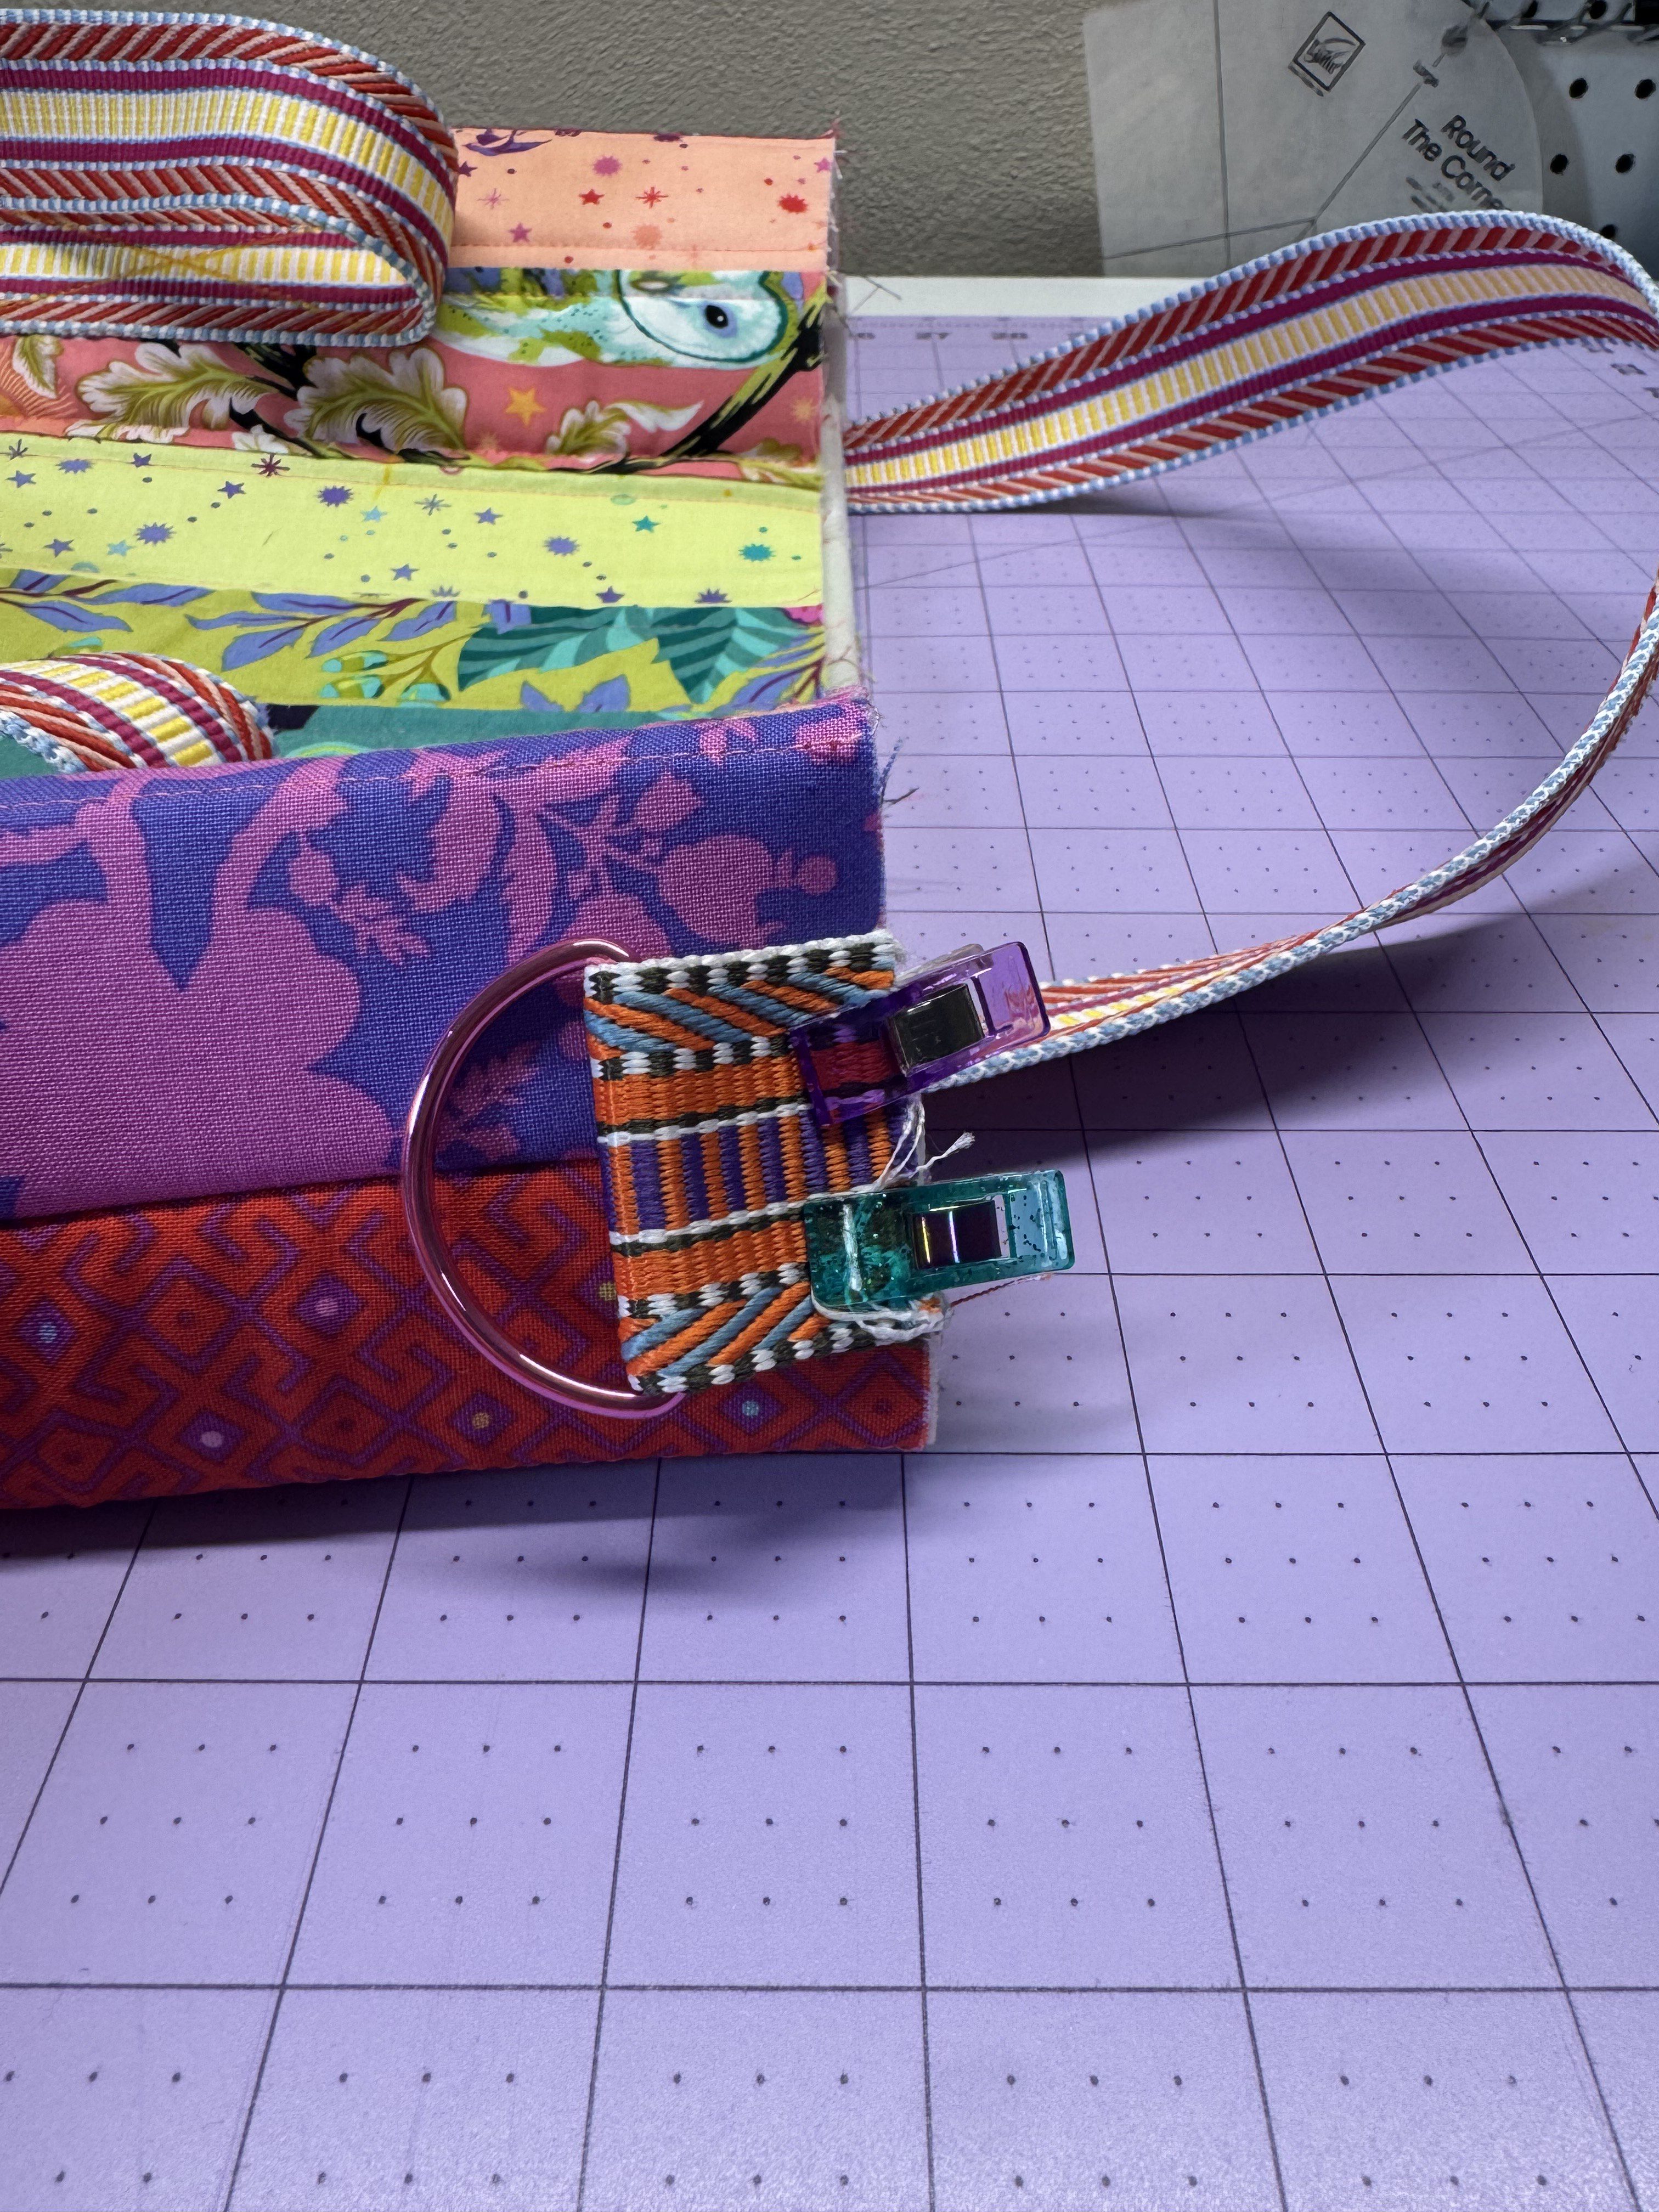

Repeat on the opposite side with the second D-ring.
Step 9: Creating the Lining
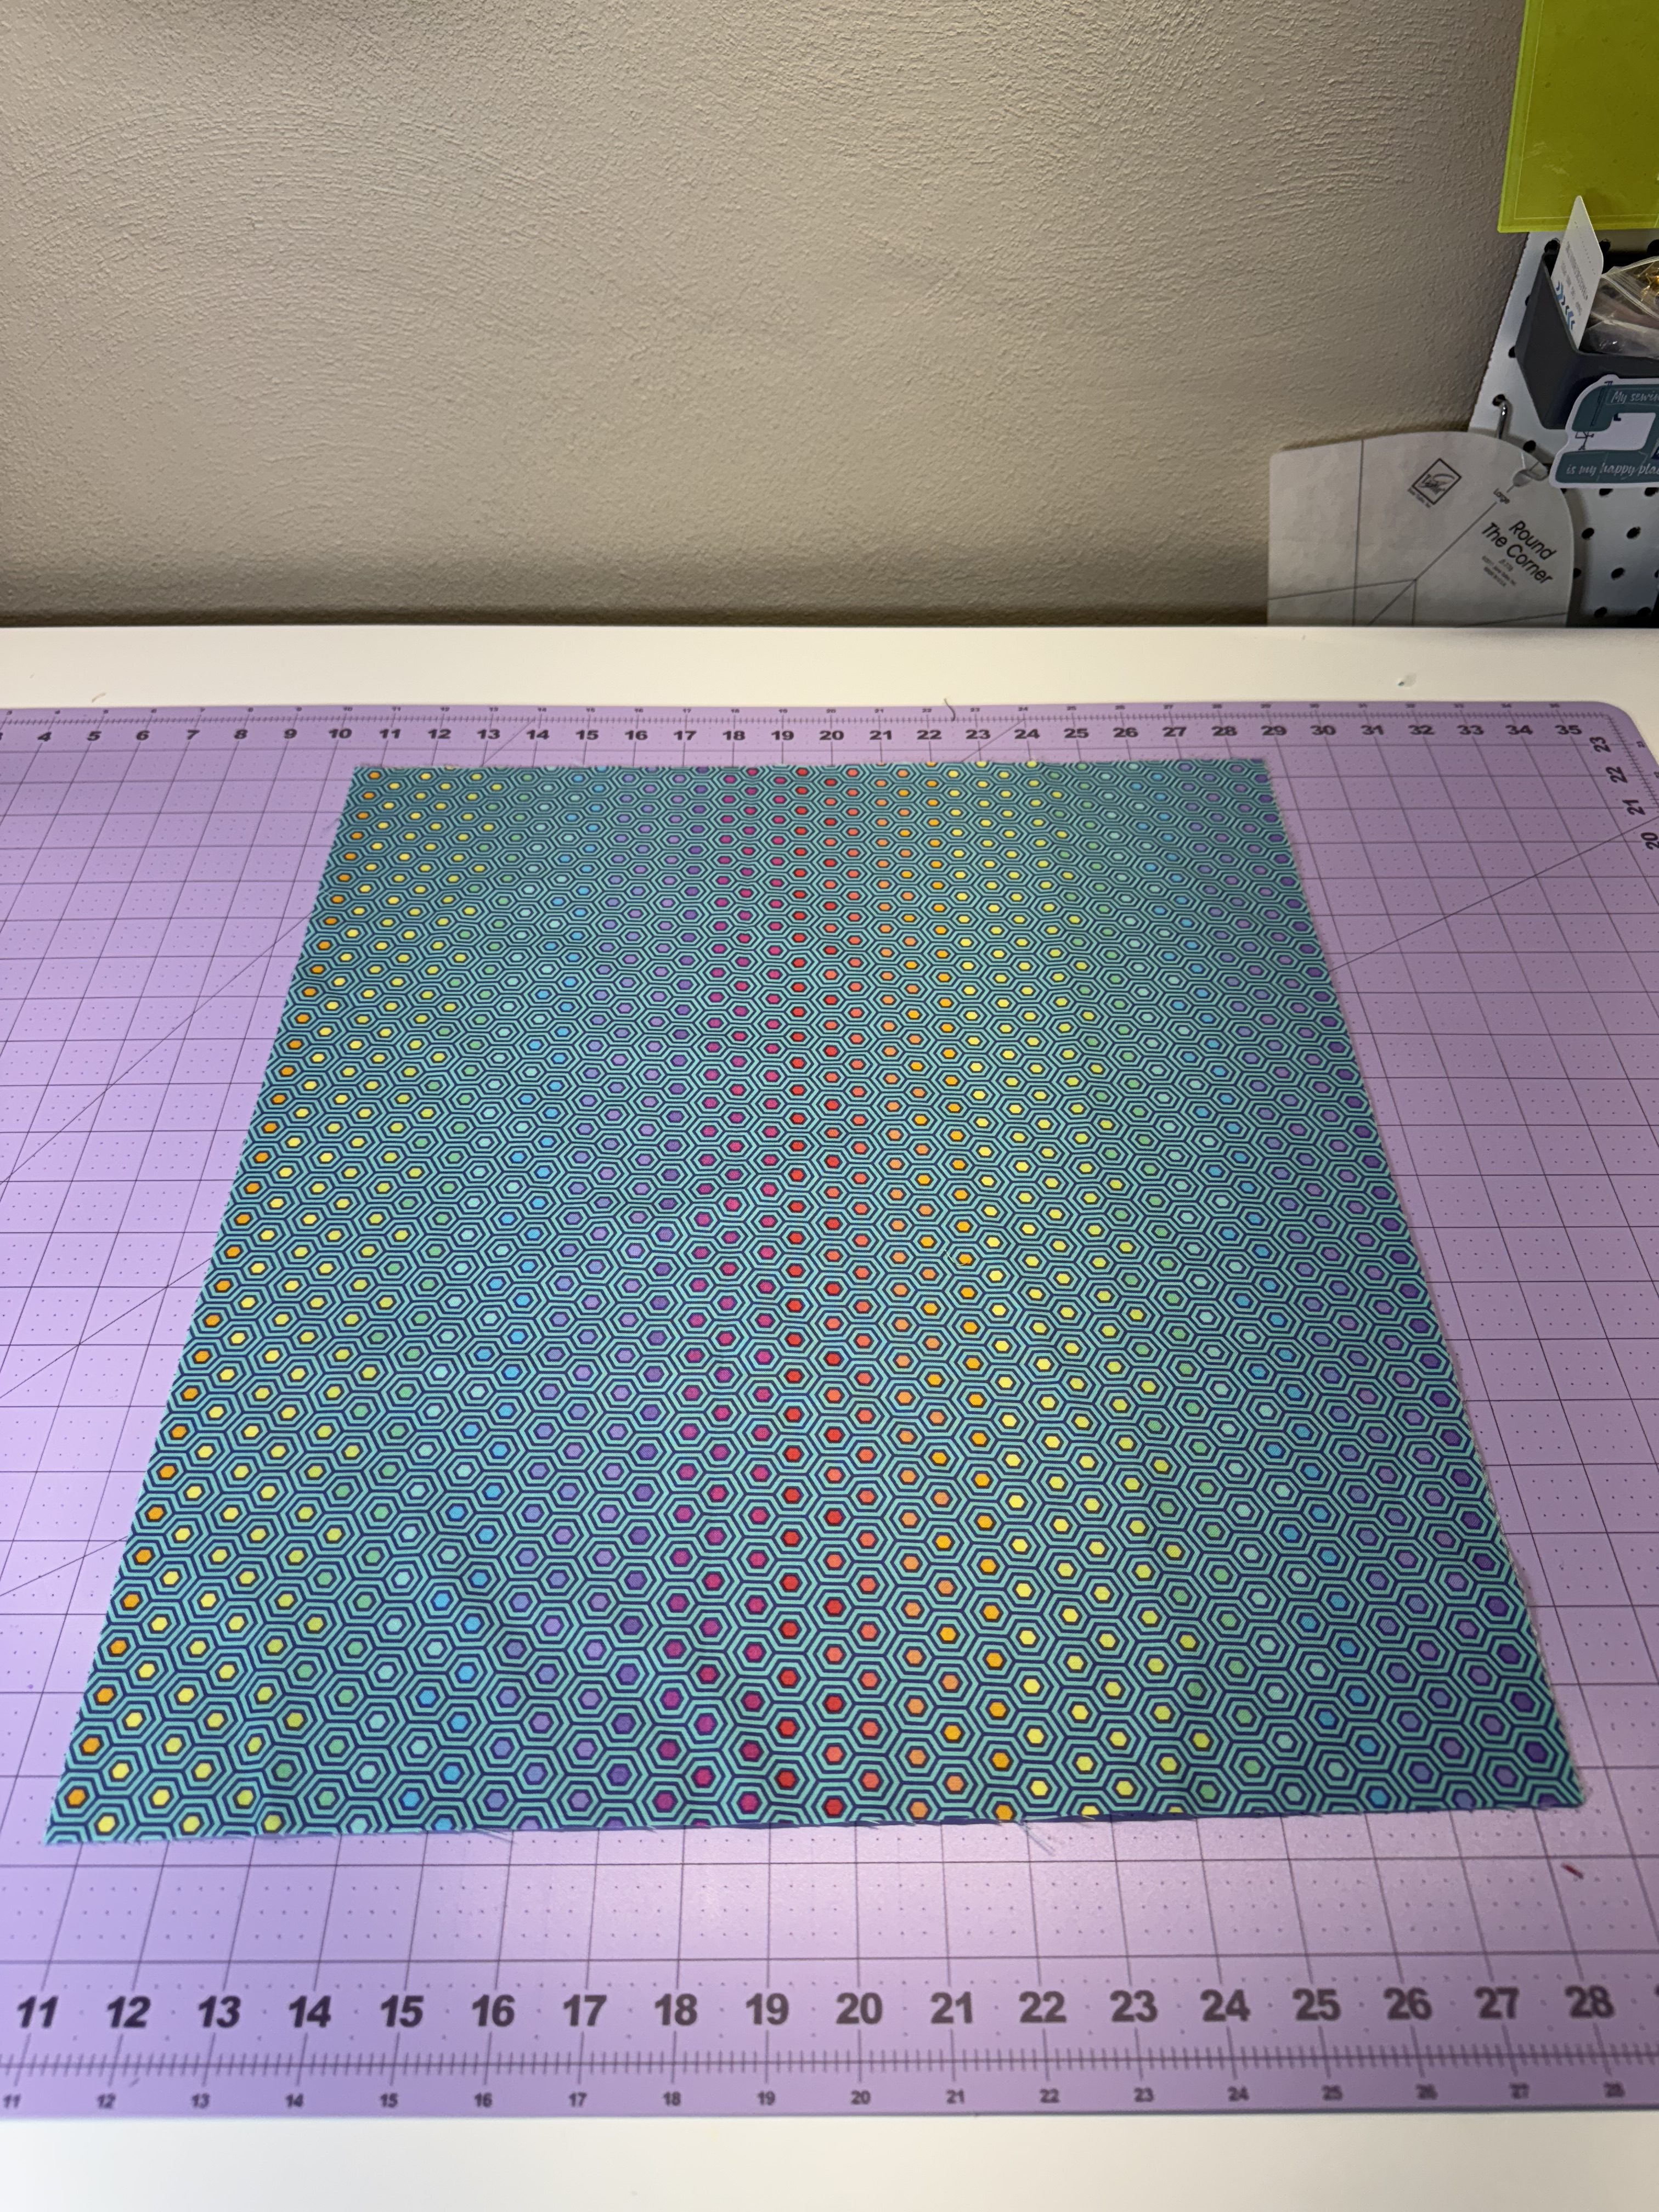
Cut (2) rectangles measuring 18” W x 21” L from the lining fabric. These will form the main interior panels of the tote.
Cut (2) squares measuring 9” x 9” from the same lining fabric (for the interior zipper pocket).
Cut a 9” length of zipper tape and insert the zipper pull. (If using a premade zipper, ensure it is at least 7” long.)
On both lining rectangles, mark and cut a 2” square from each bottom corner. This will create the boxed base of the tote.
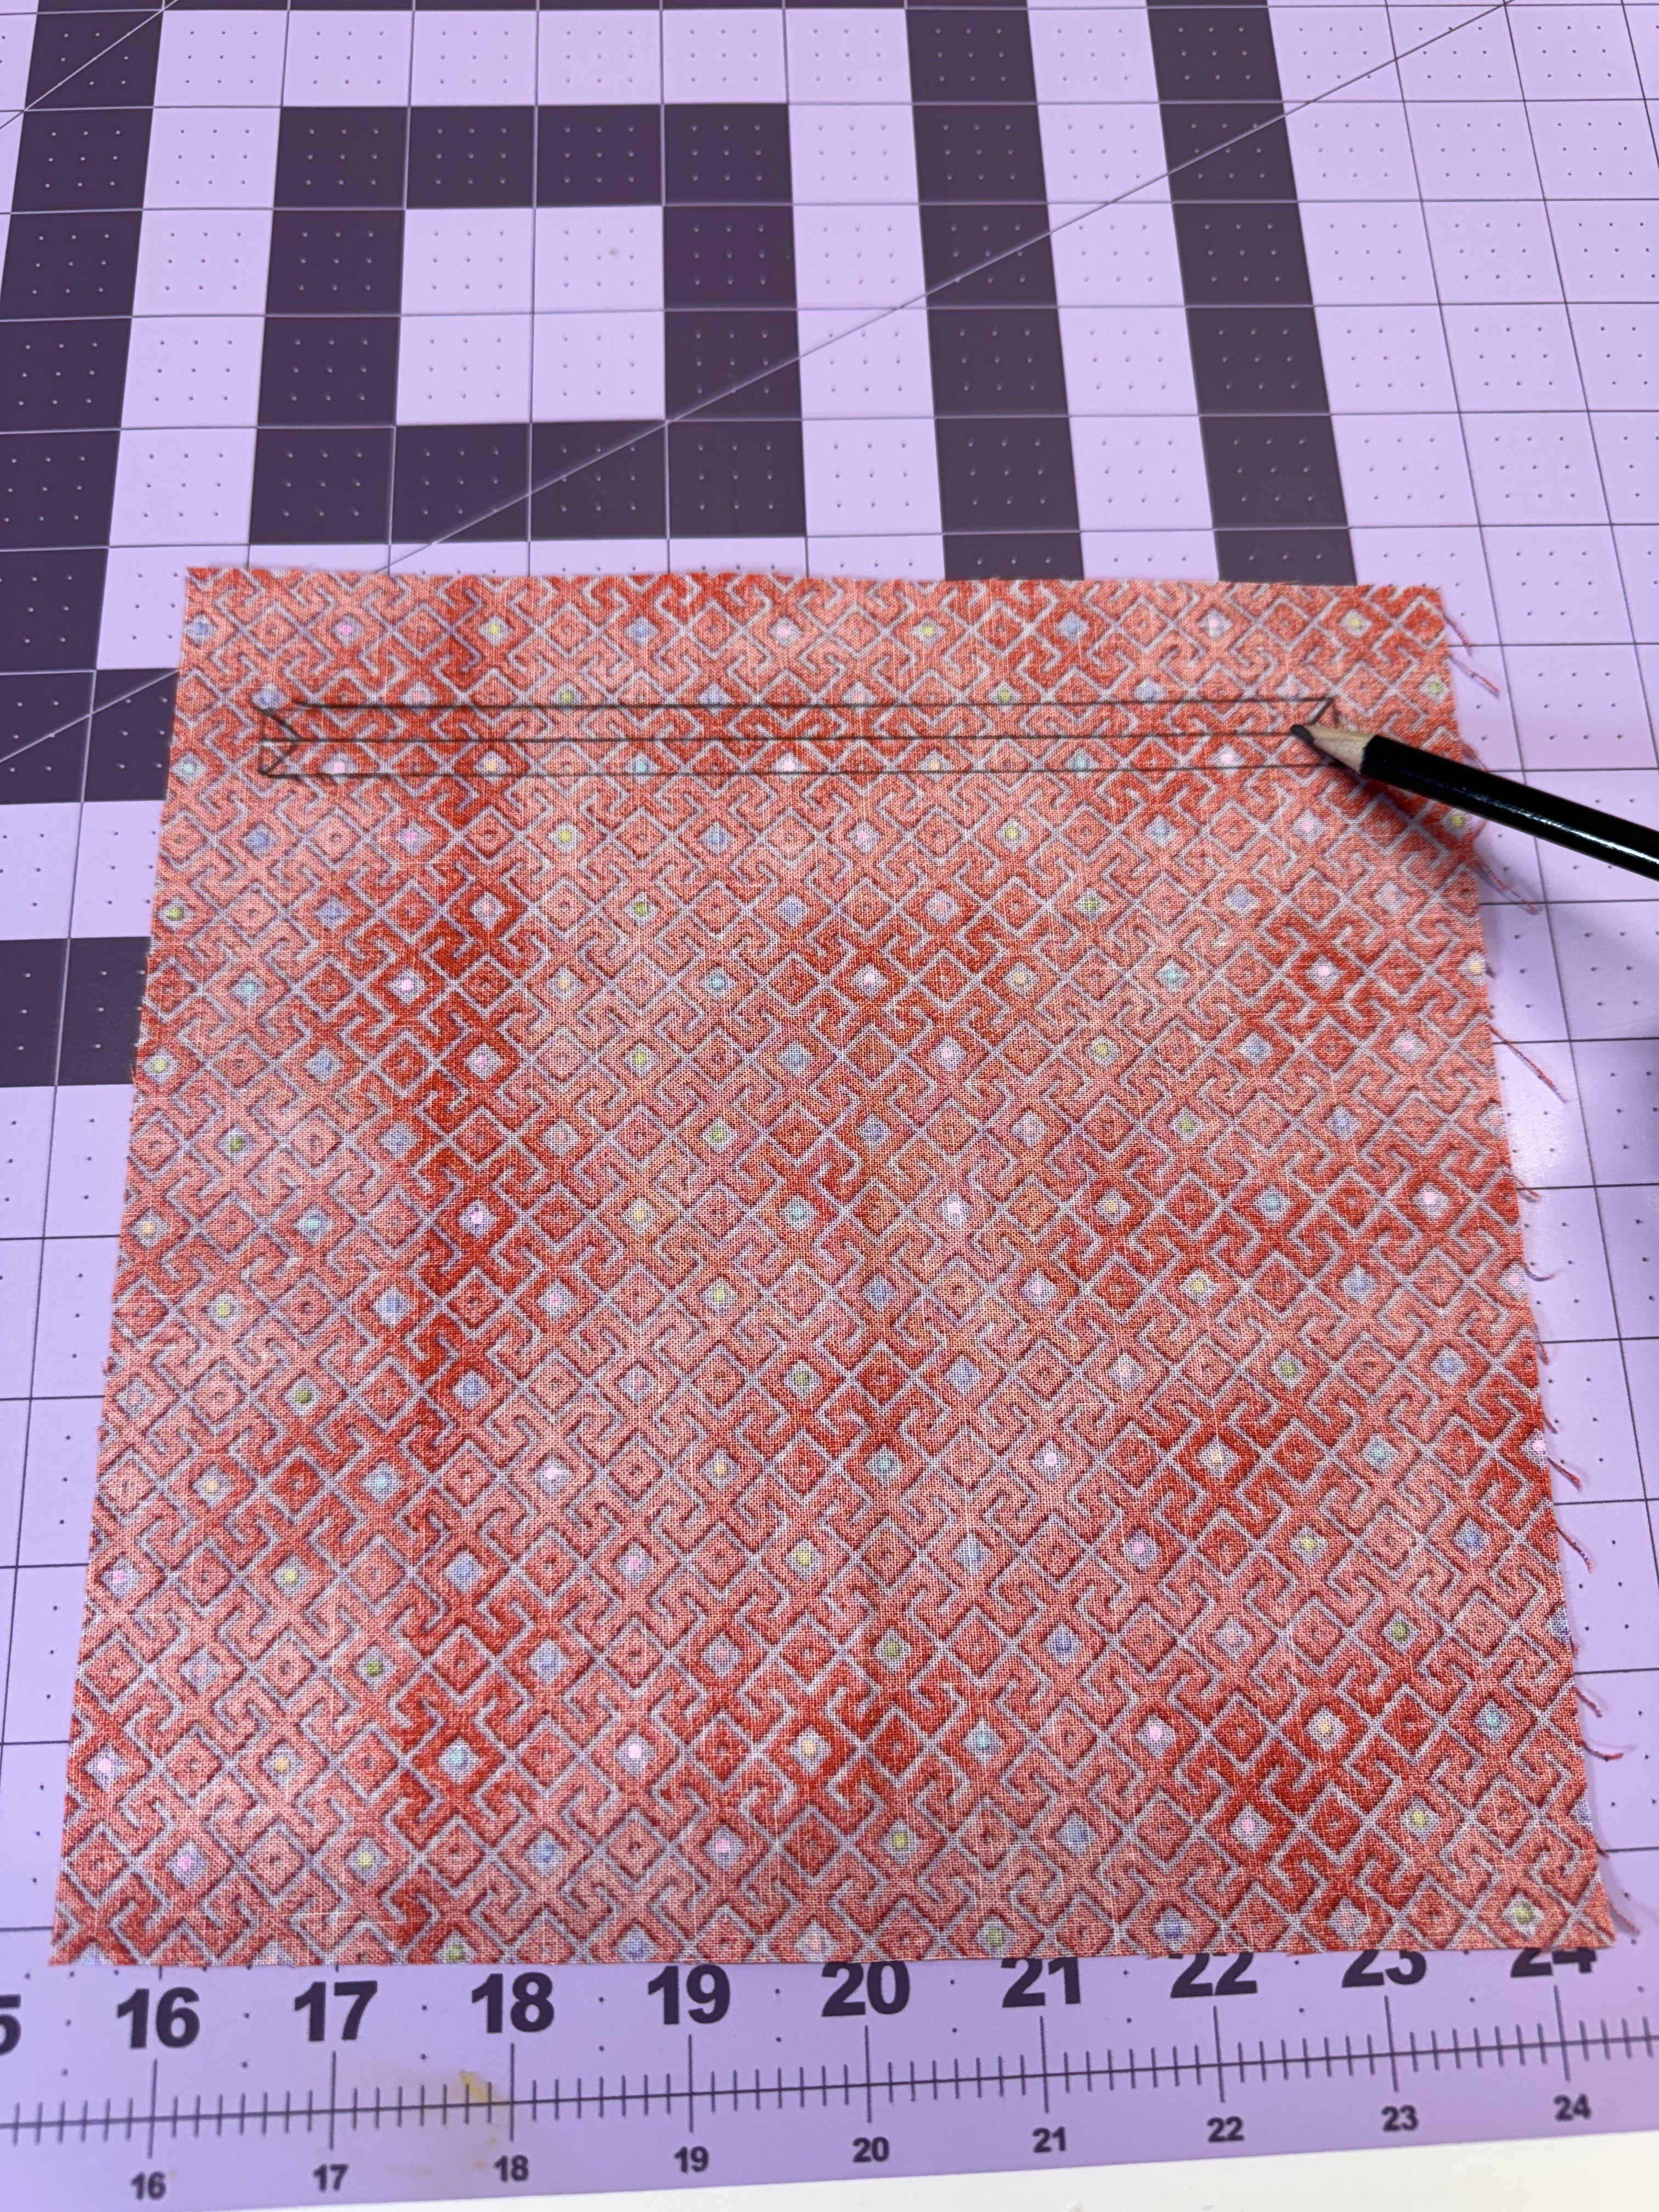
Step 10: Creating the Lining Zipper Pocket
Take one of the 9” squares and place it wrong side up. Measure 1” down from the horizontal center of the square. Draw a rectangle measuring 7½” W x ½” H.

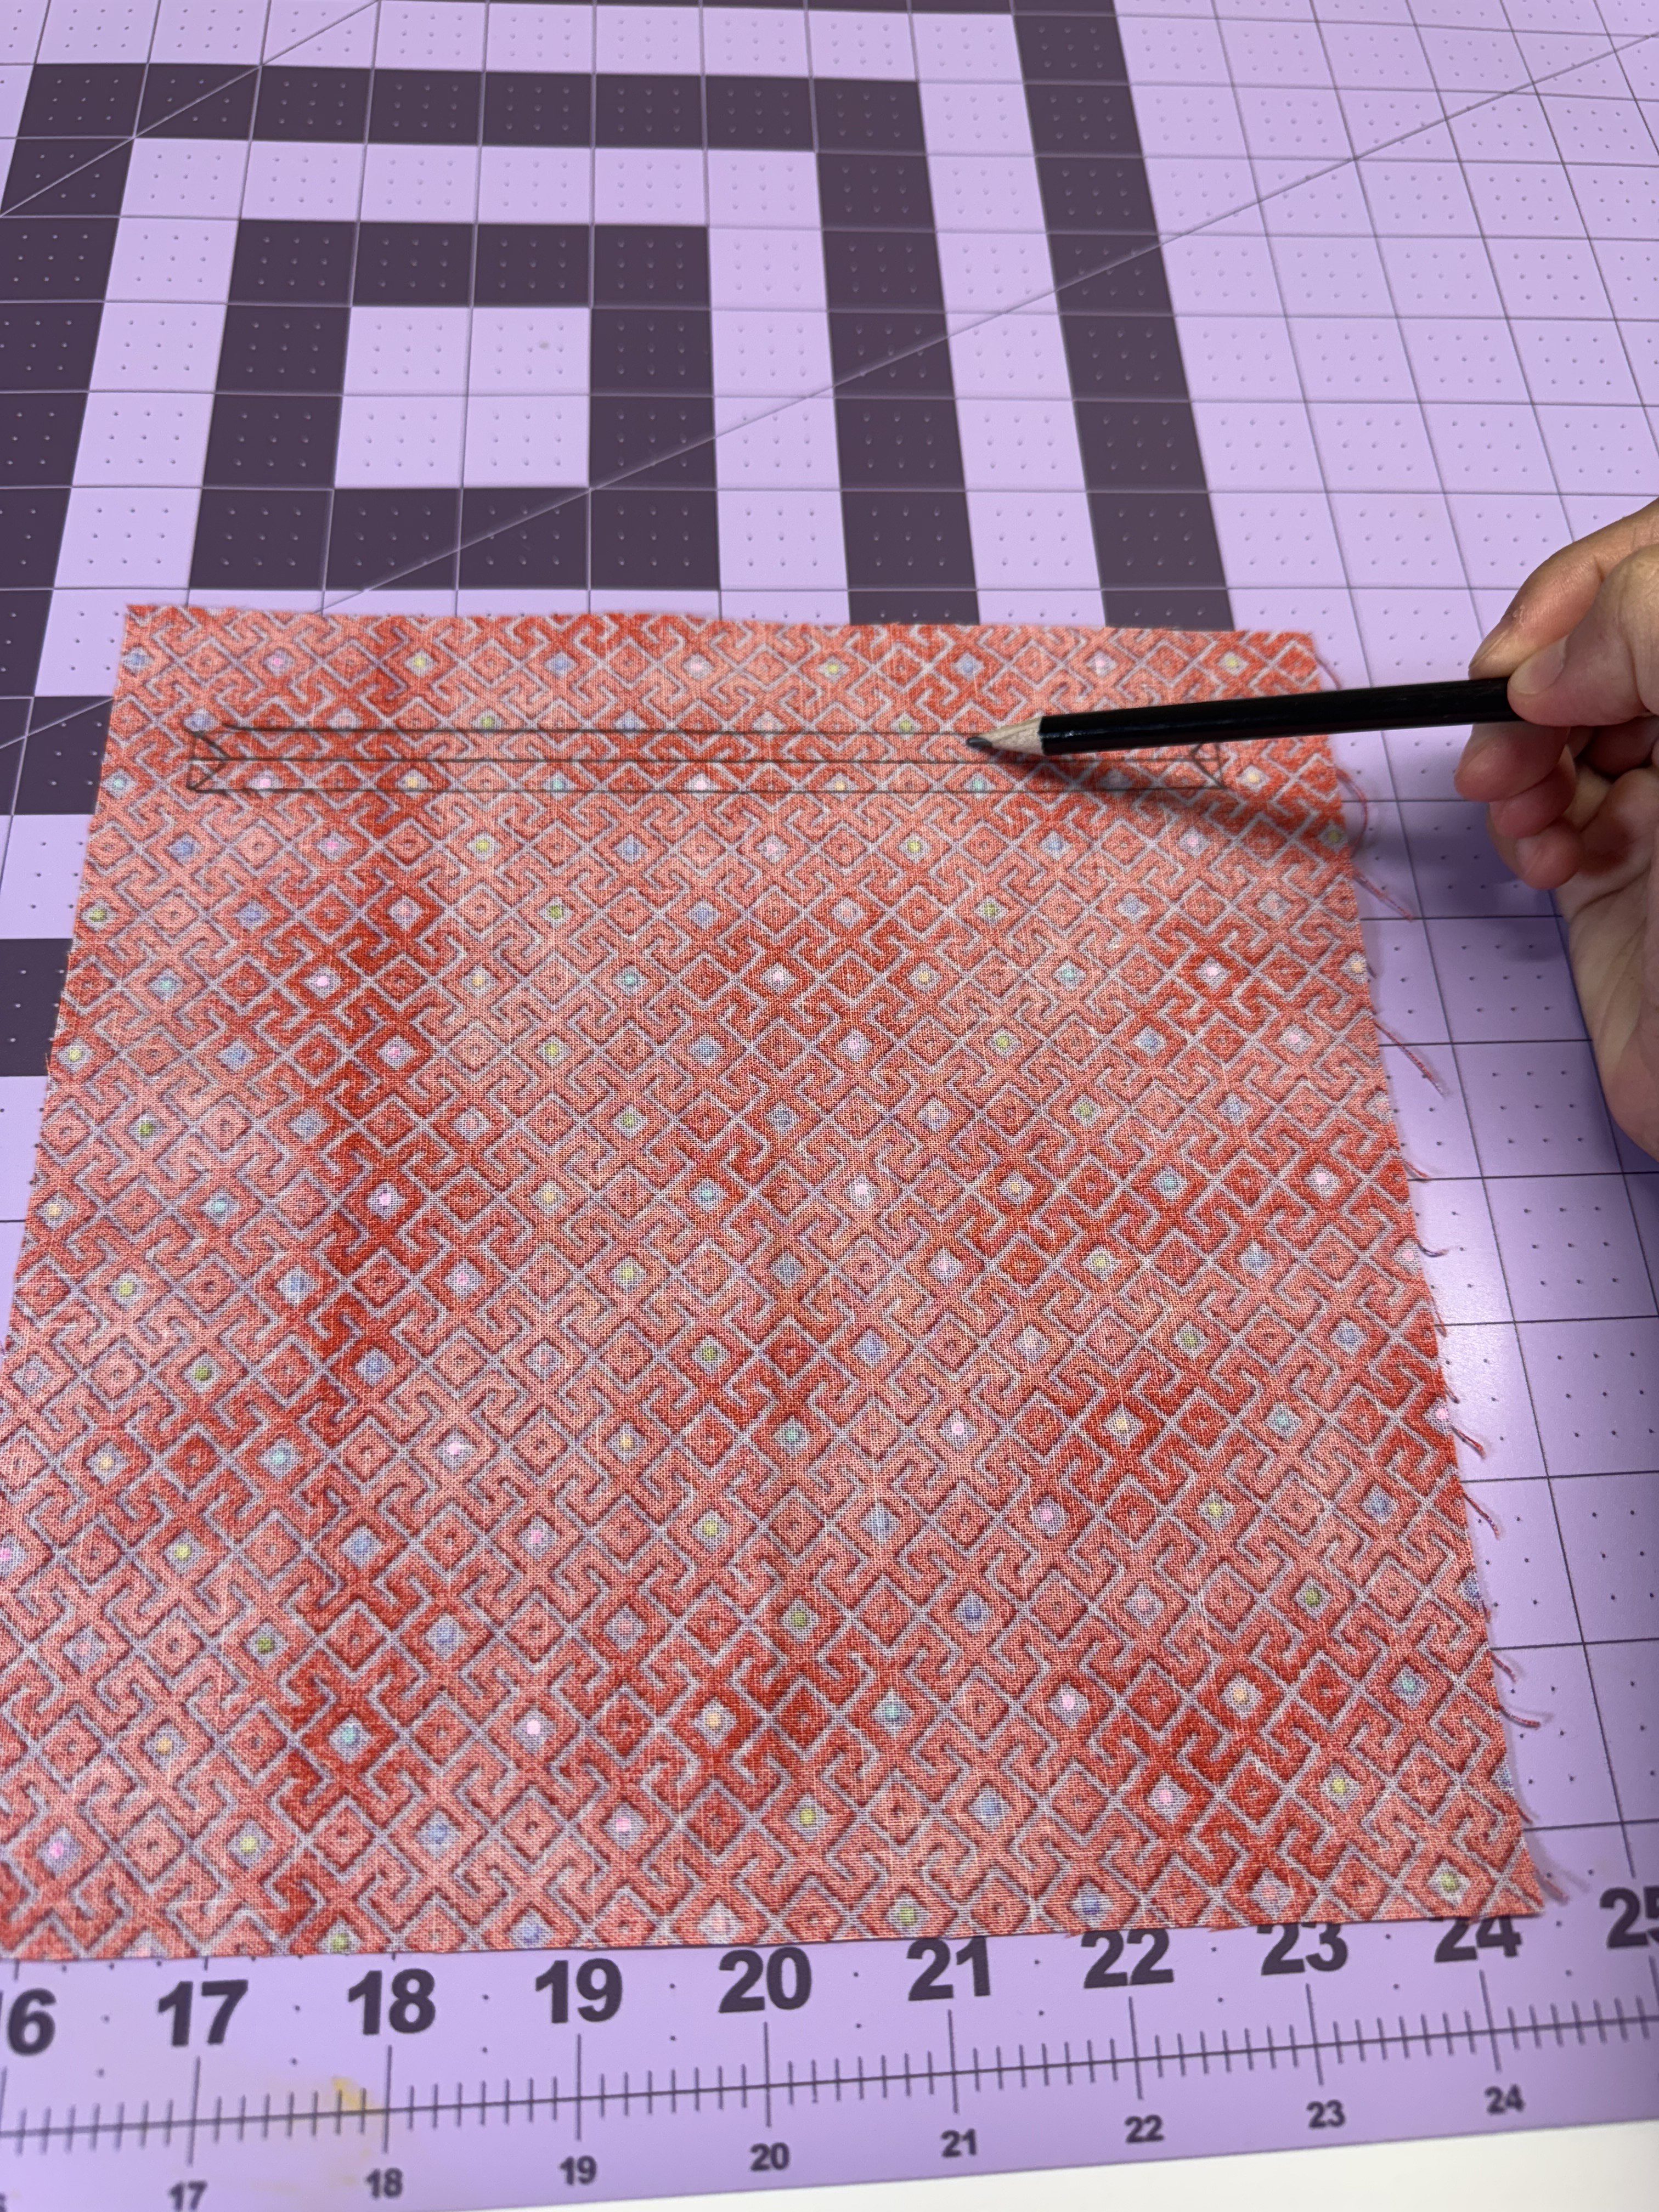
Inside this rectangle, draw a center cut line and two diagonal lines at each end to form a “Y” shape. These will help with turning later.
Take one 18” x 20” lining panel and mark the center at the top edge.
Measure 2” down from the top center and align the pocket square right sides together on this mark. Pin or clip in place.
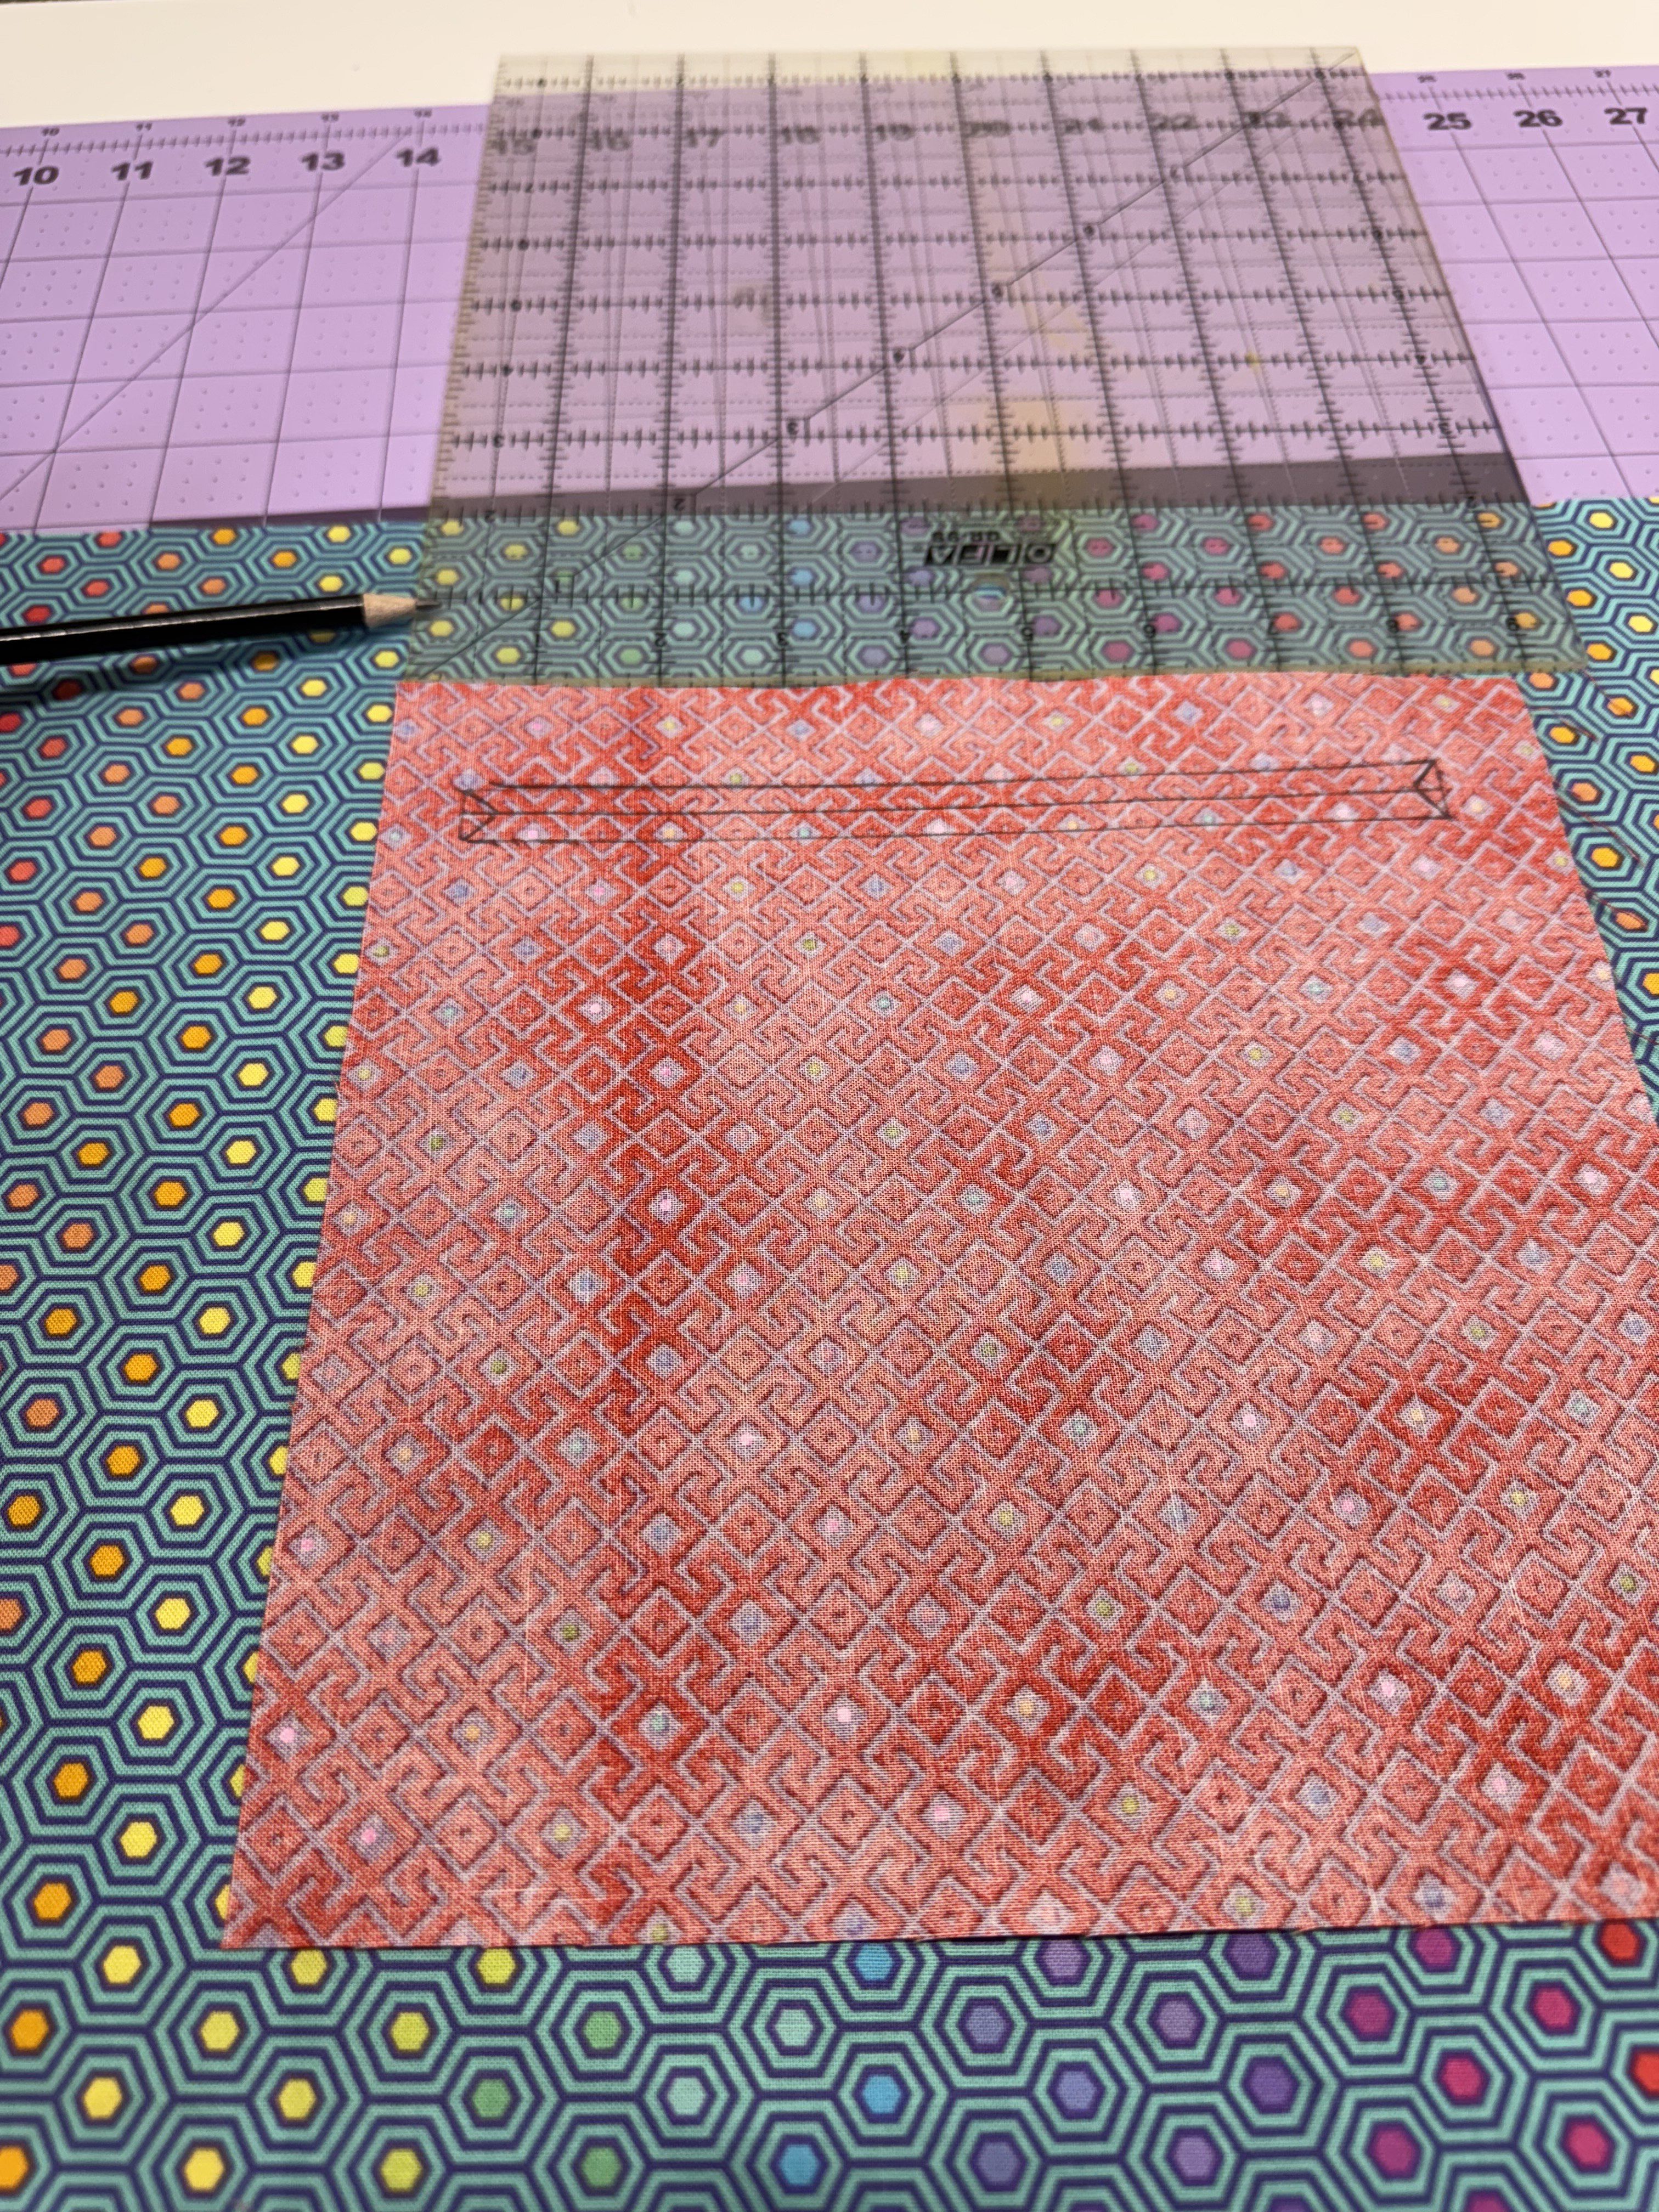
Stitch around the 7½” x ½” rectangle using a short stitch length for accuracy.
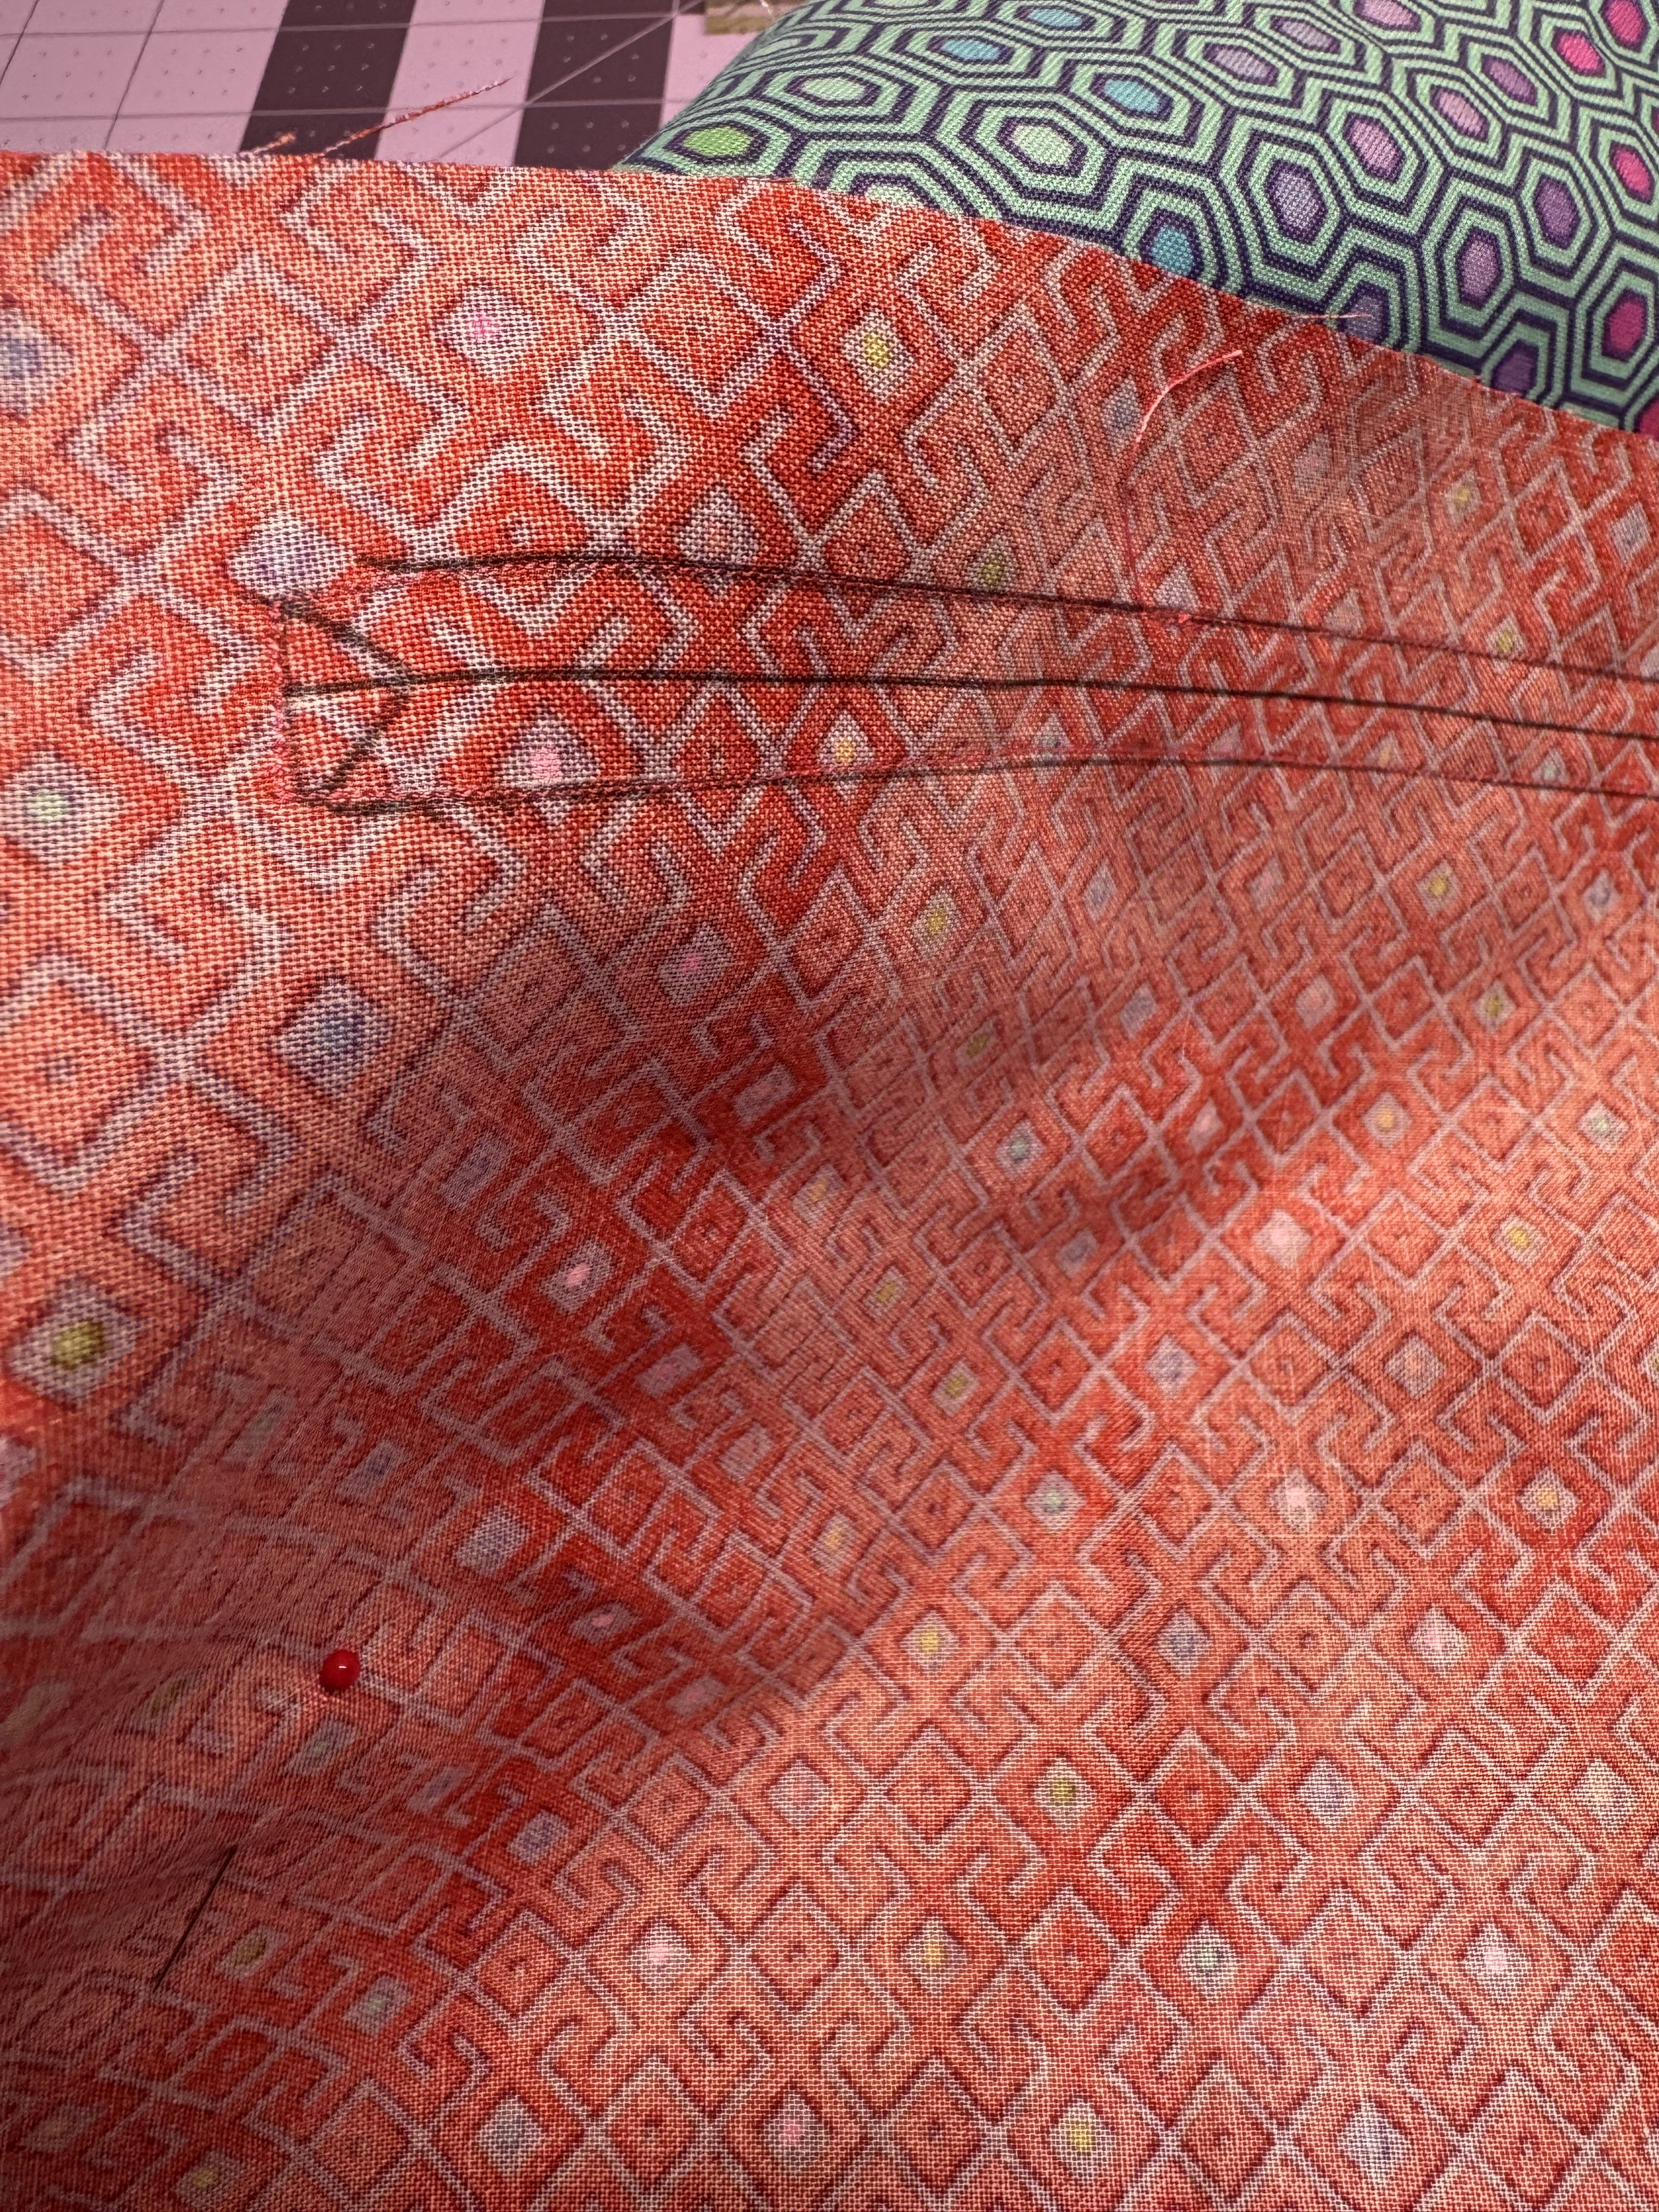
Carefully cut along the center line of the rectangle, stopping ½” from each end.
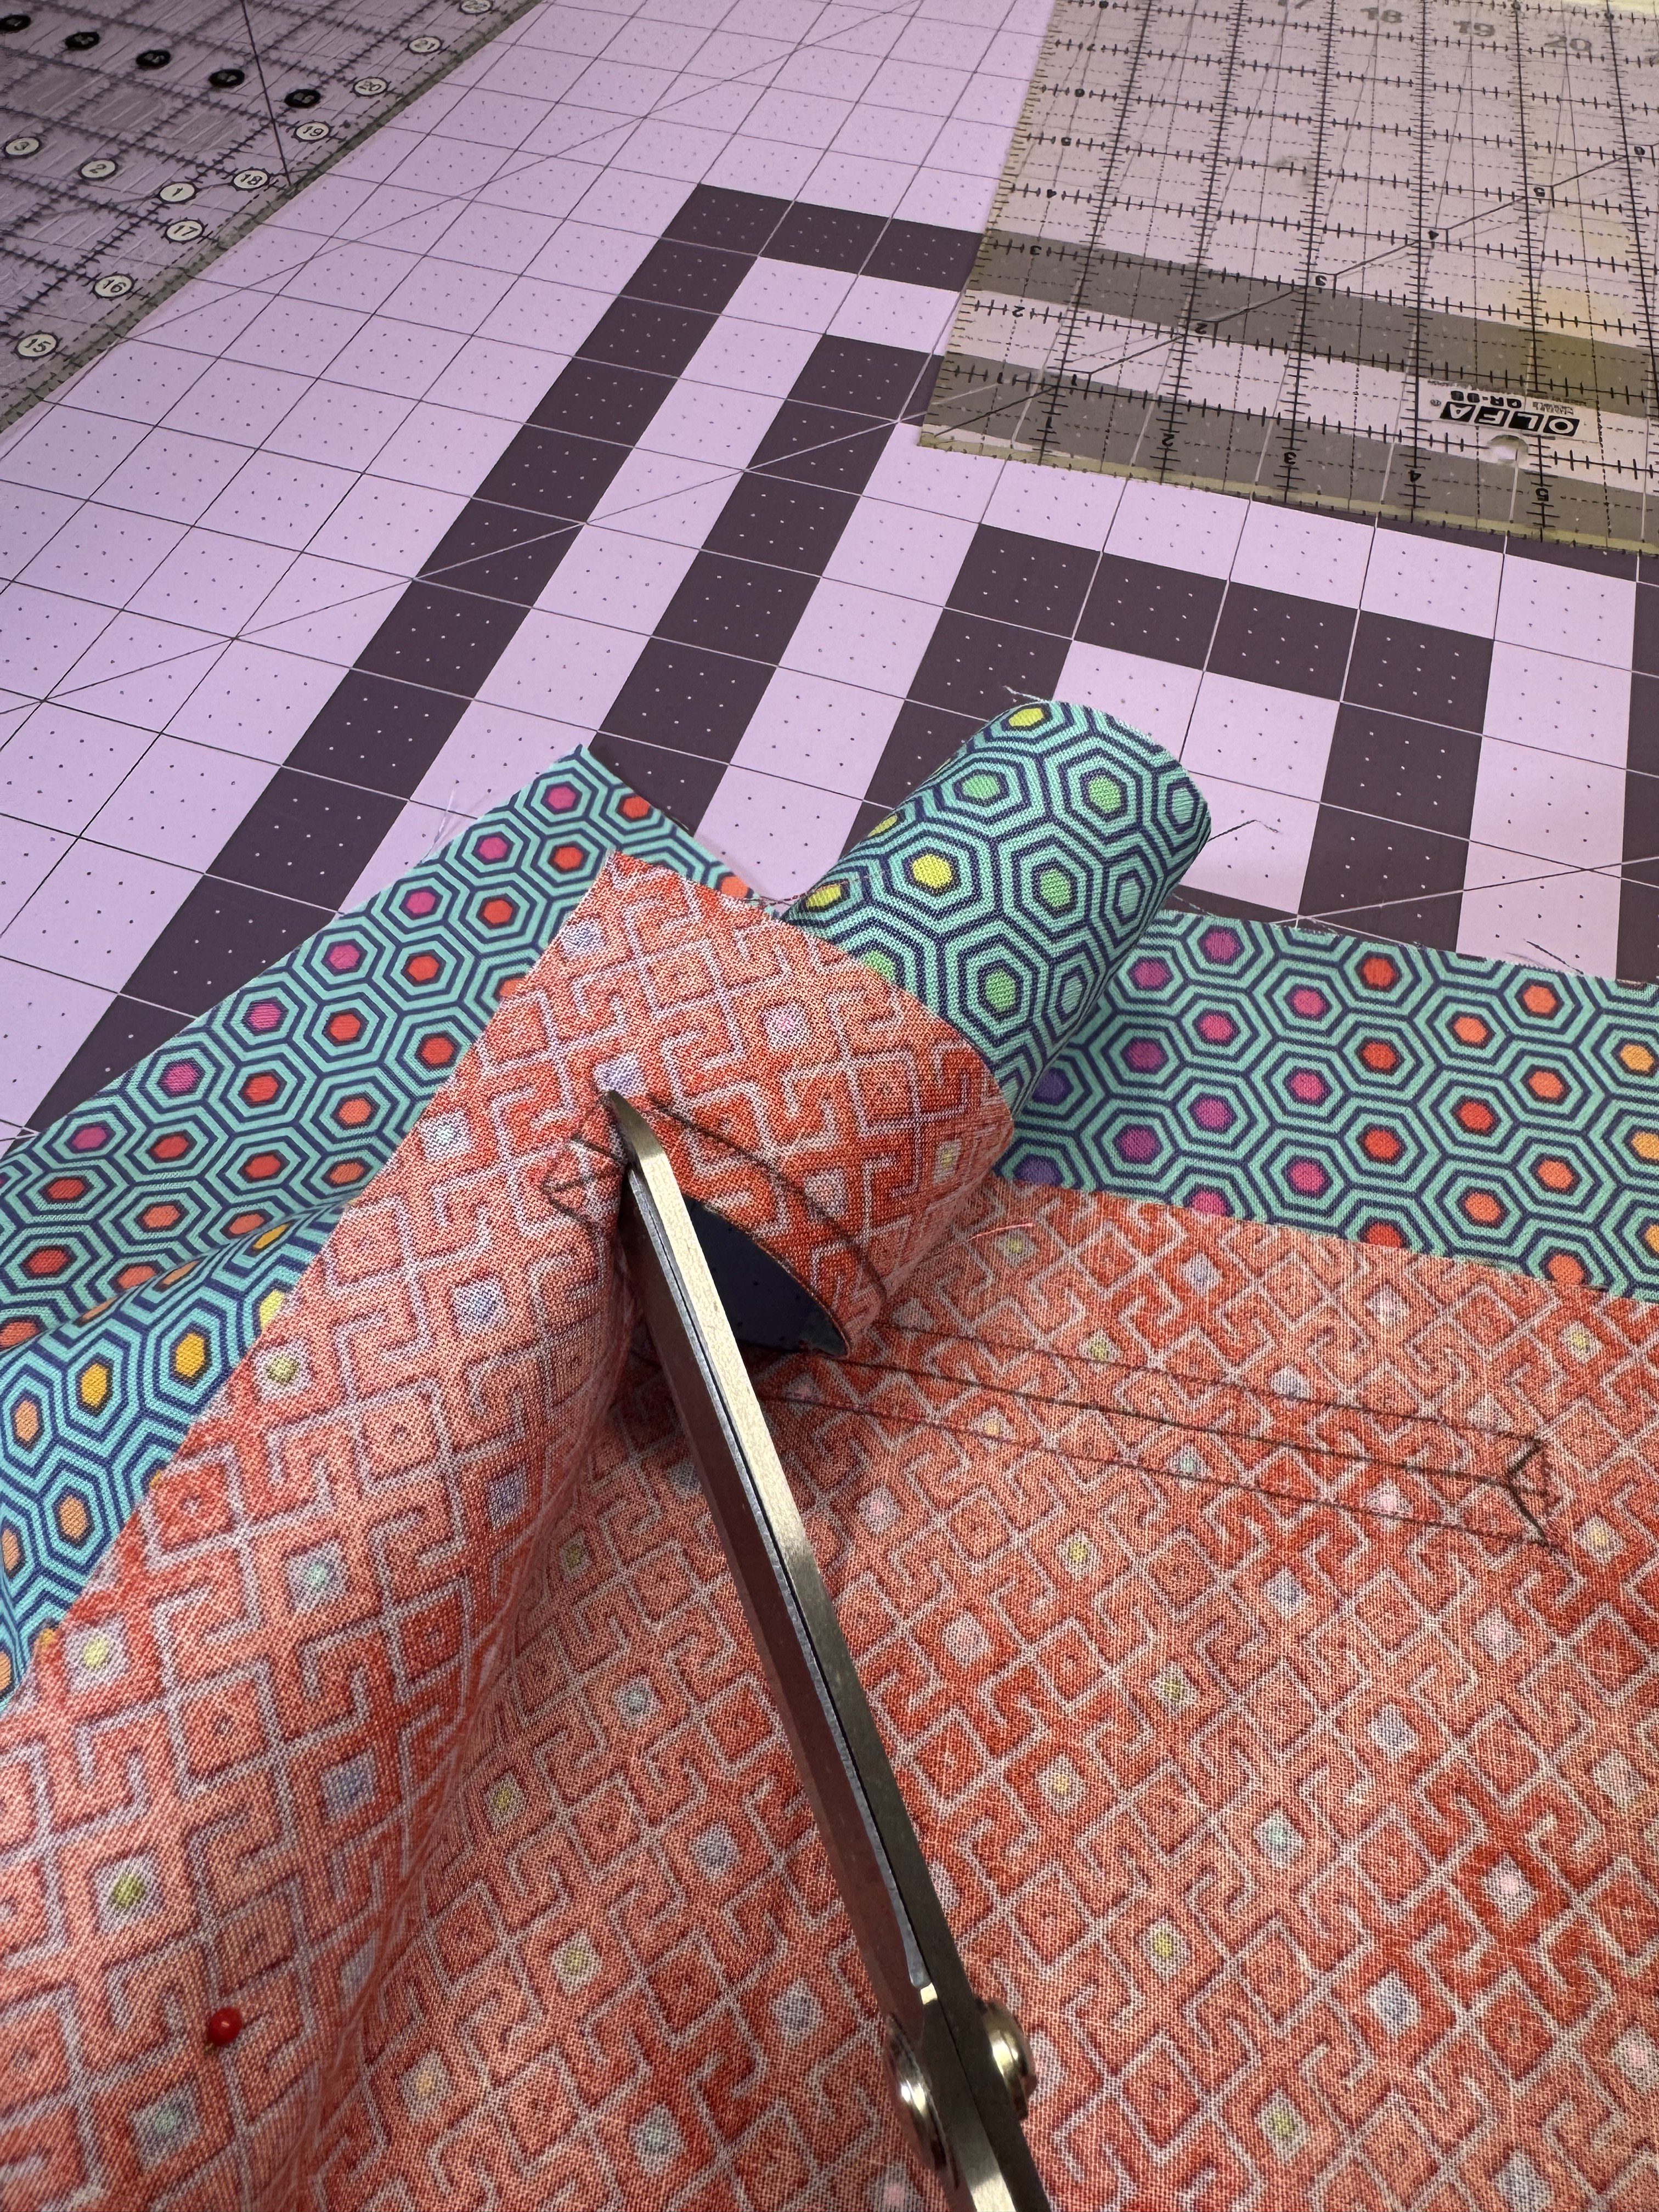
Cut into each corner diagonally, creating small triangles (do not cut into stitching).
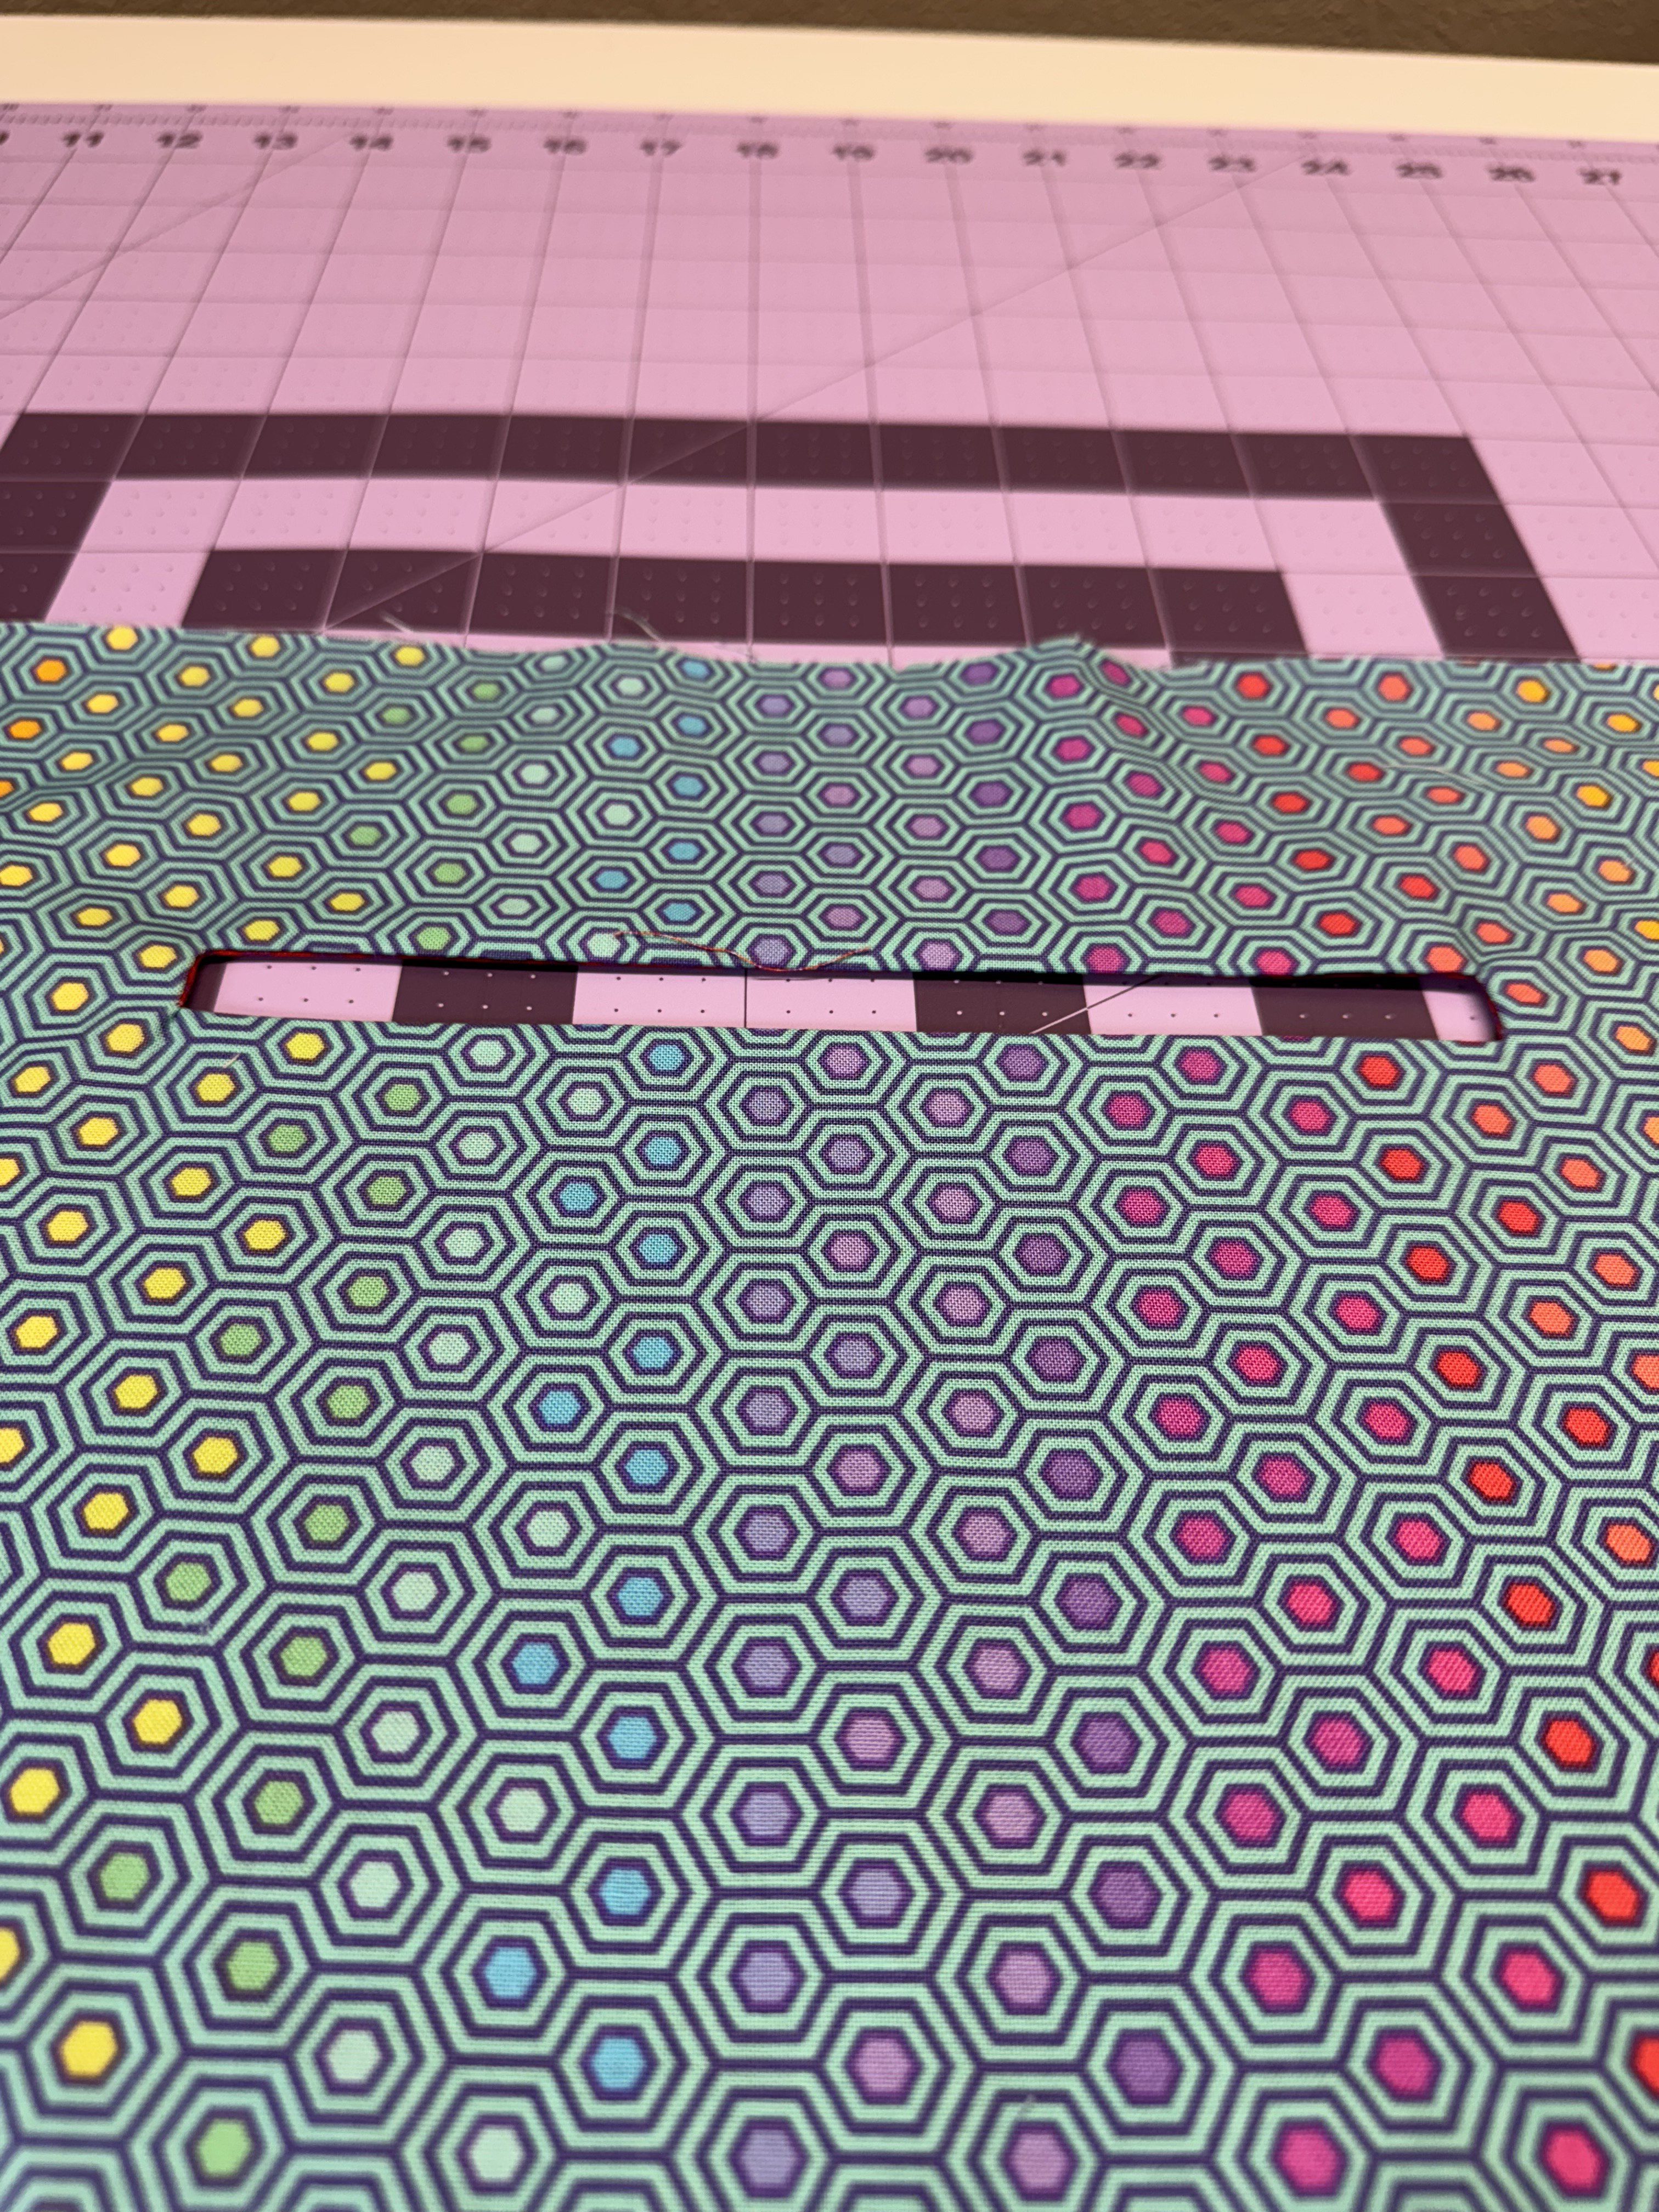
Push the pocket fabric through the opening to the wrong side of the lining.

Pull and press to create a clean rectangular window.
Place the zipper underneath the opening, centering the zipper teeth in the window. Pin or use double-sided sewing tape to secure in place.
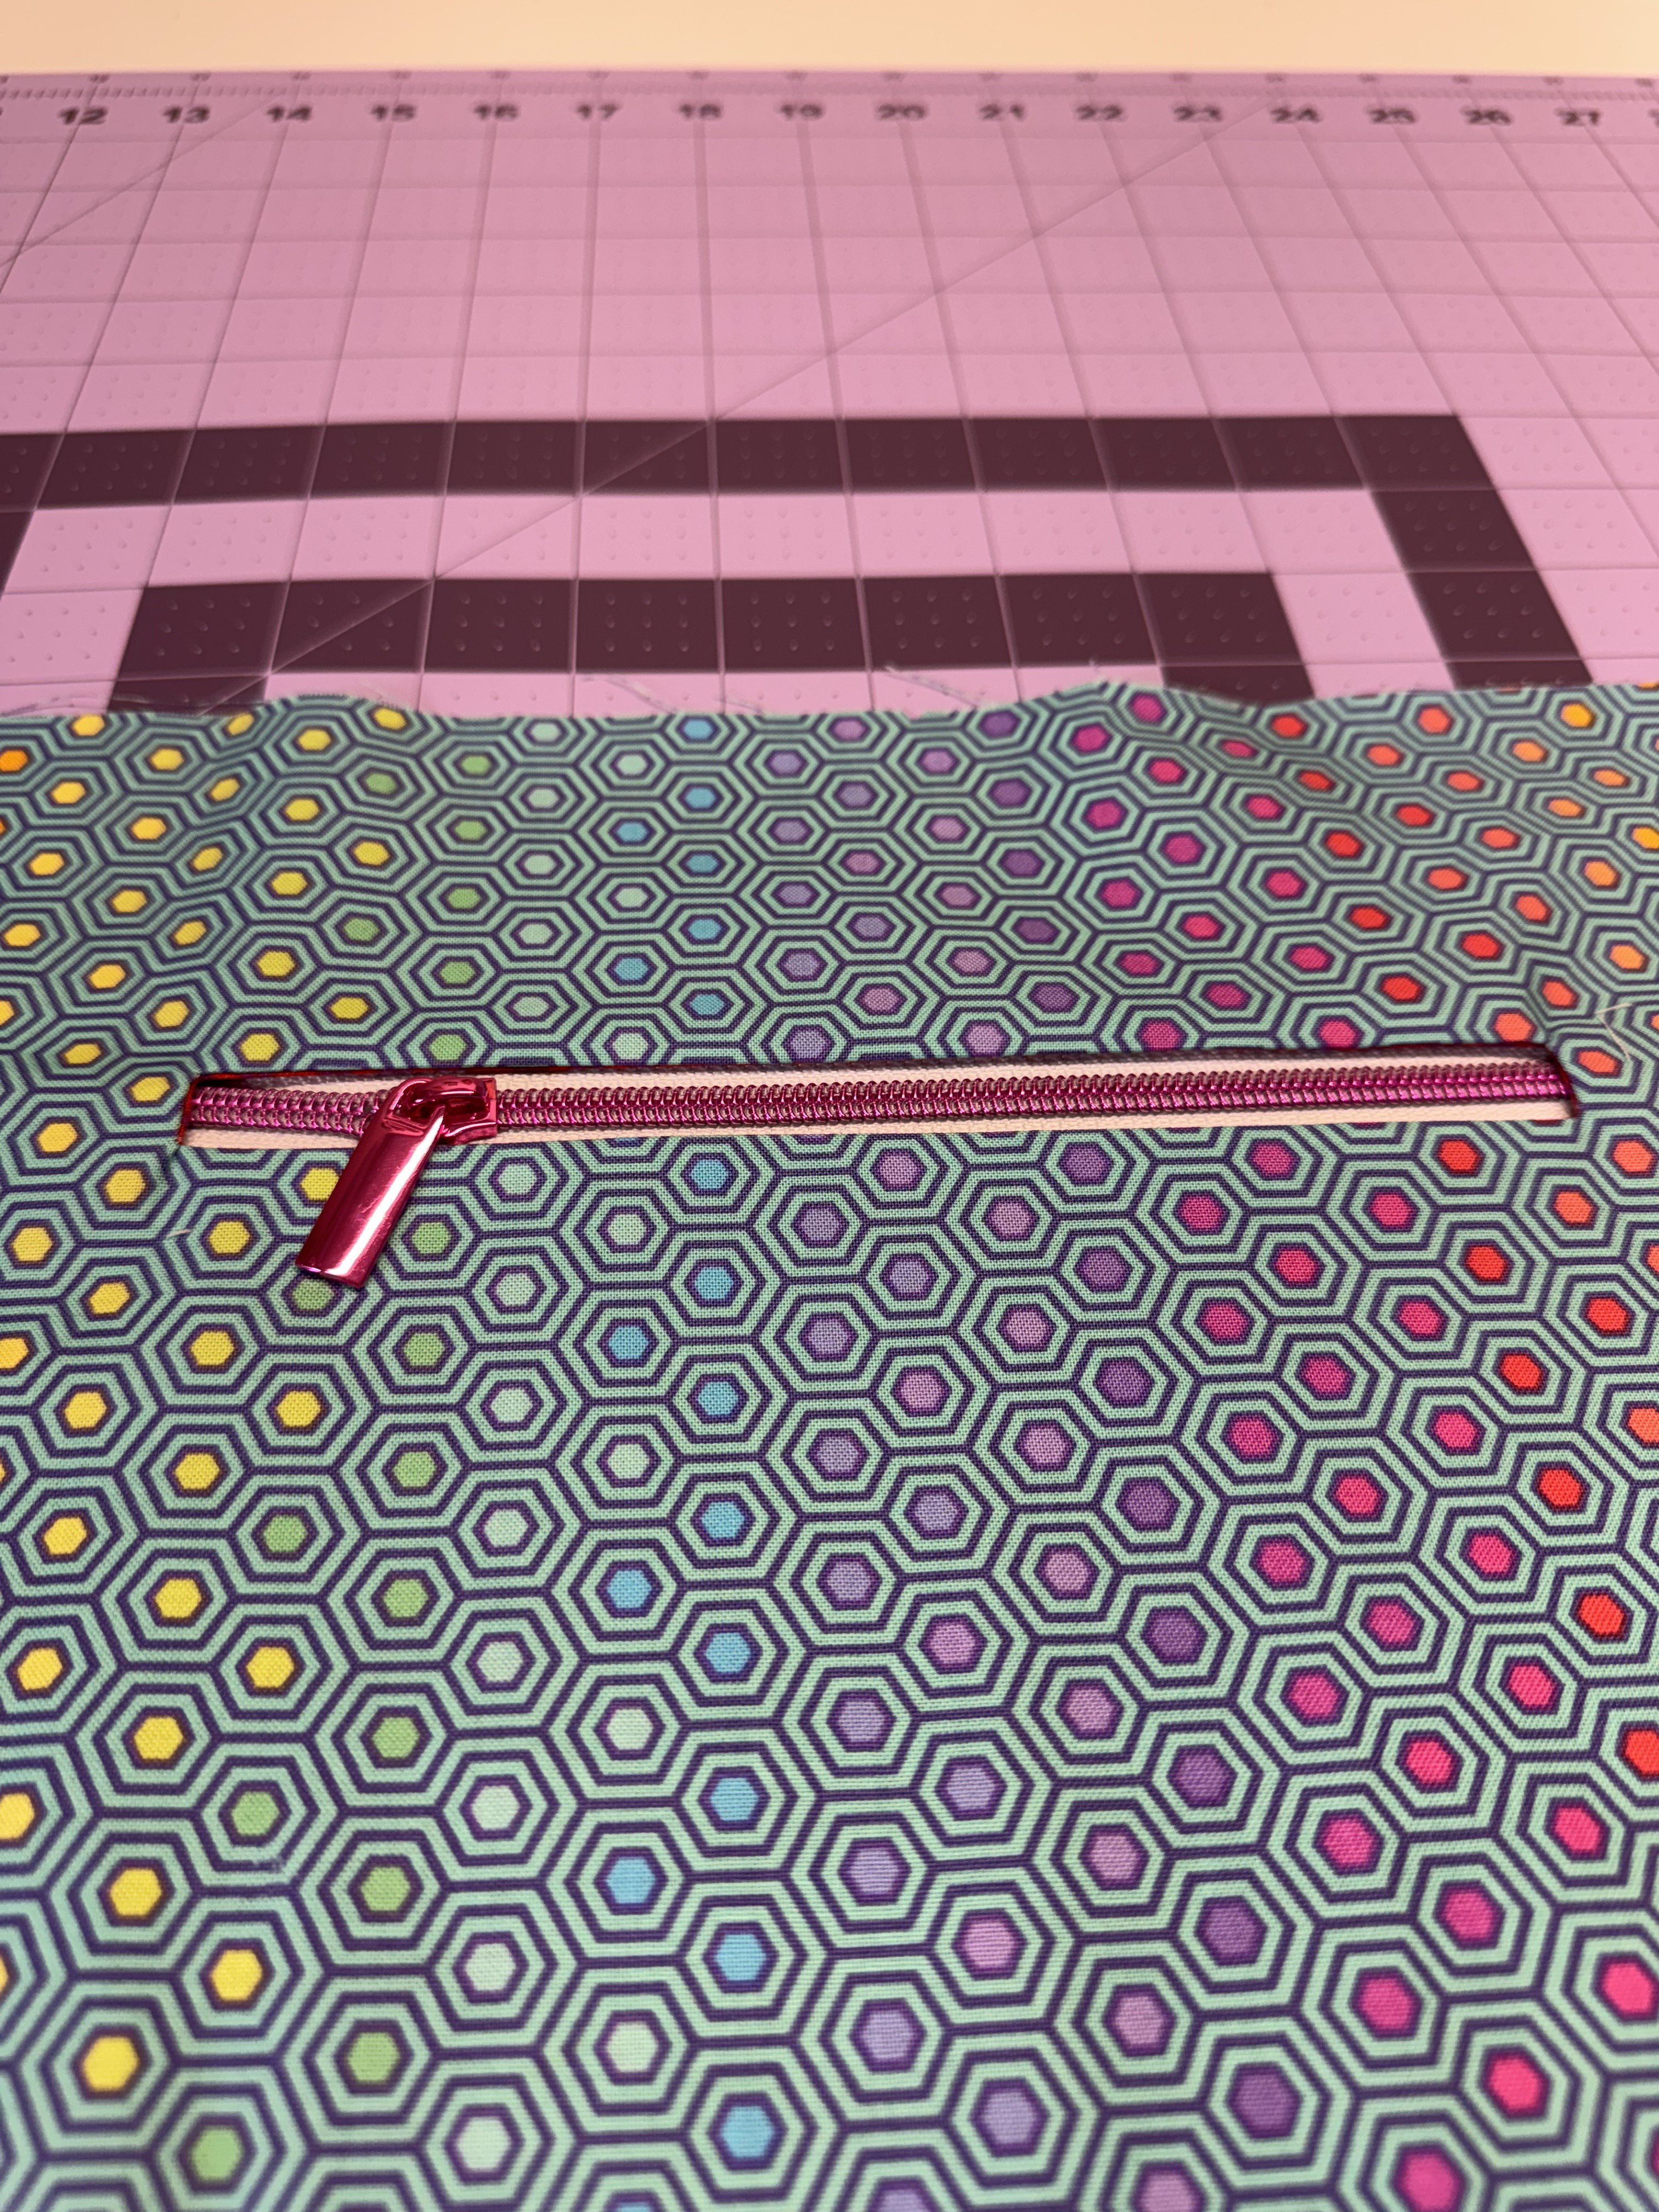
Topstitch around the opening using a ⅛” seam allowance to attach the zipper.
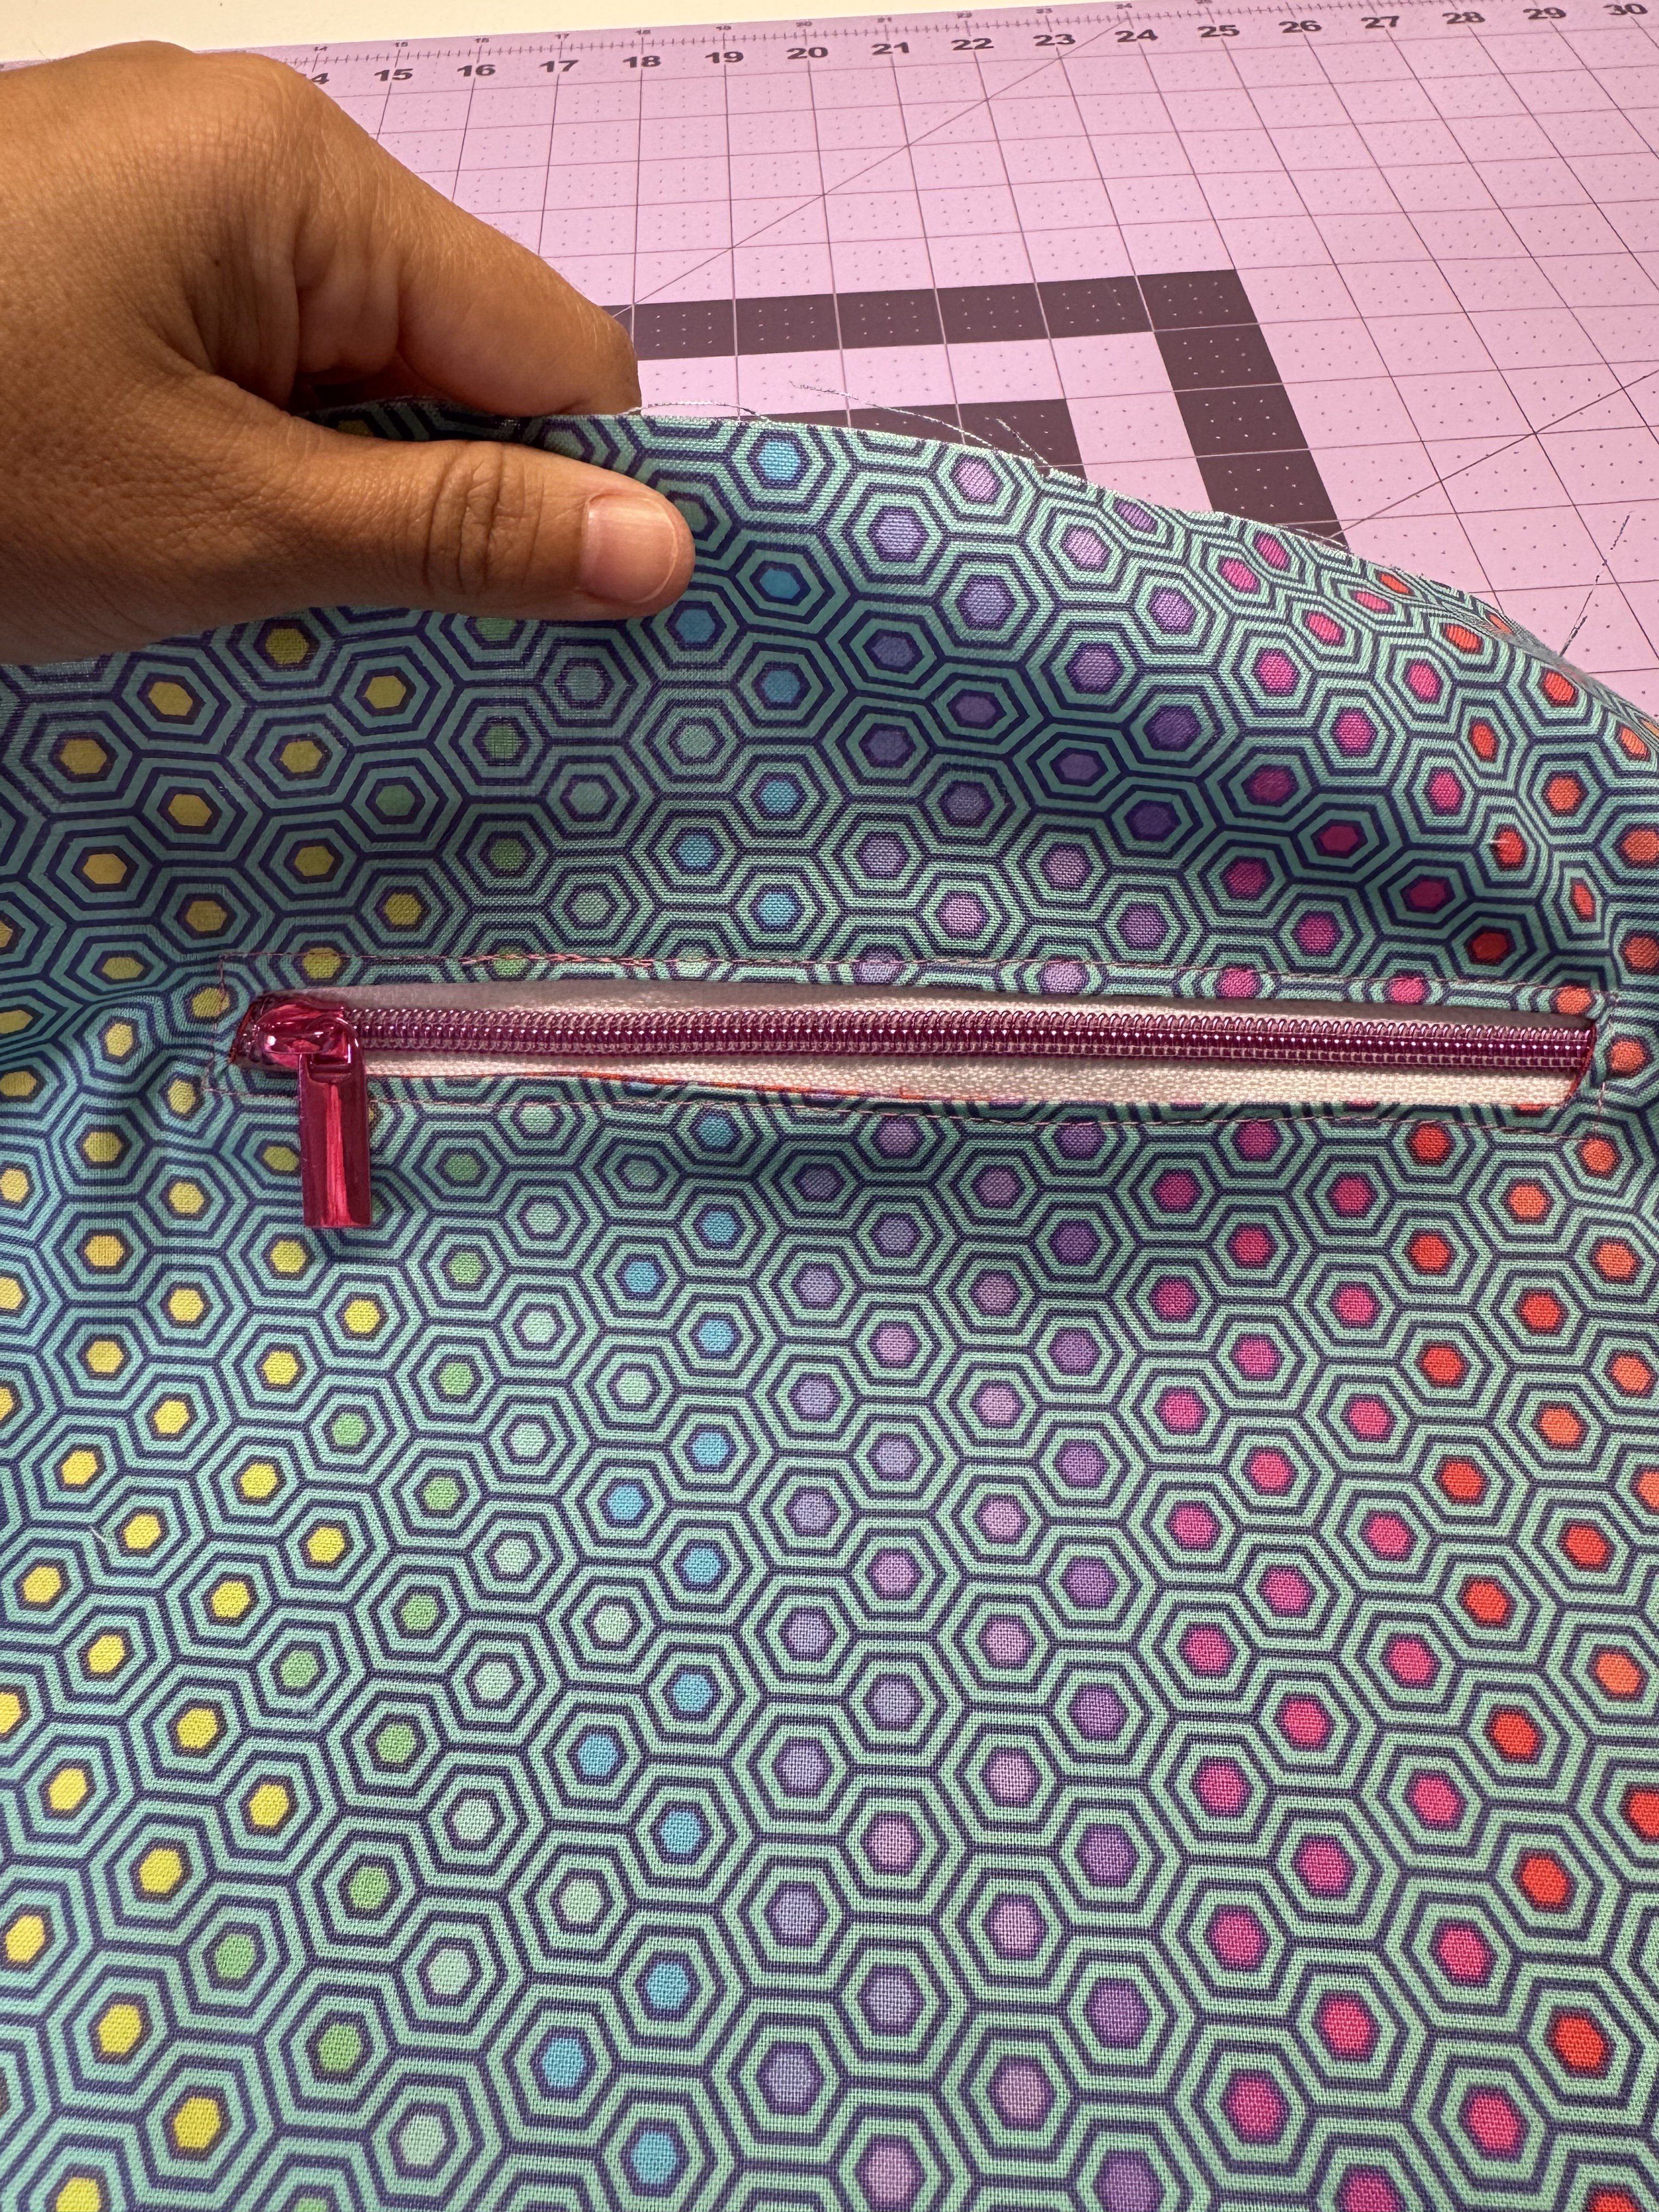
Place the second 9” square right sides together with the first pocket square (on the back of the panel). Pin around the pocket edges, making sure not to catch the lining panel.
Sew around all four sides of the pocket with a ⅜” seam allowance.
Step 11: Attach the Zipper Panel to the Lining Panels
Center the previously prepared zipper panel on the lining, right side up. Baste it in place with a ⅛” seam allowance.
Repeat this process for the second lining panel.
Step 12: Assemble the Lining
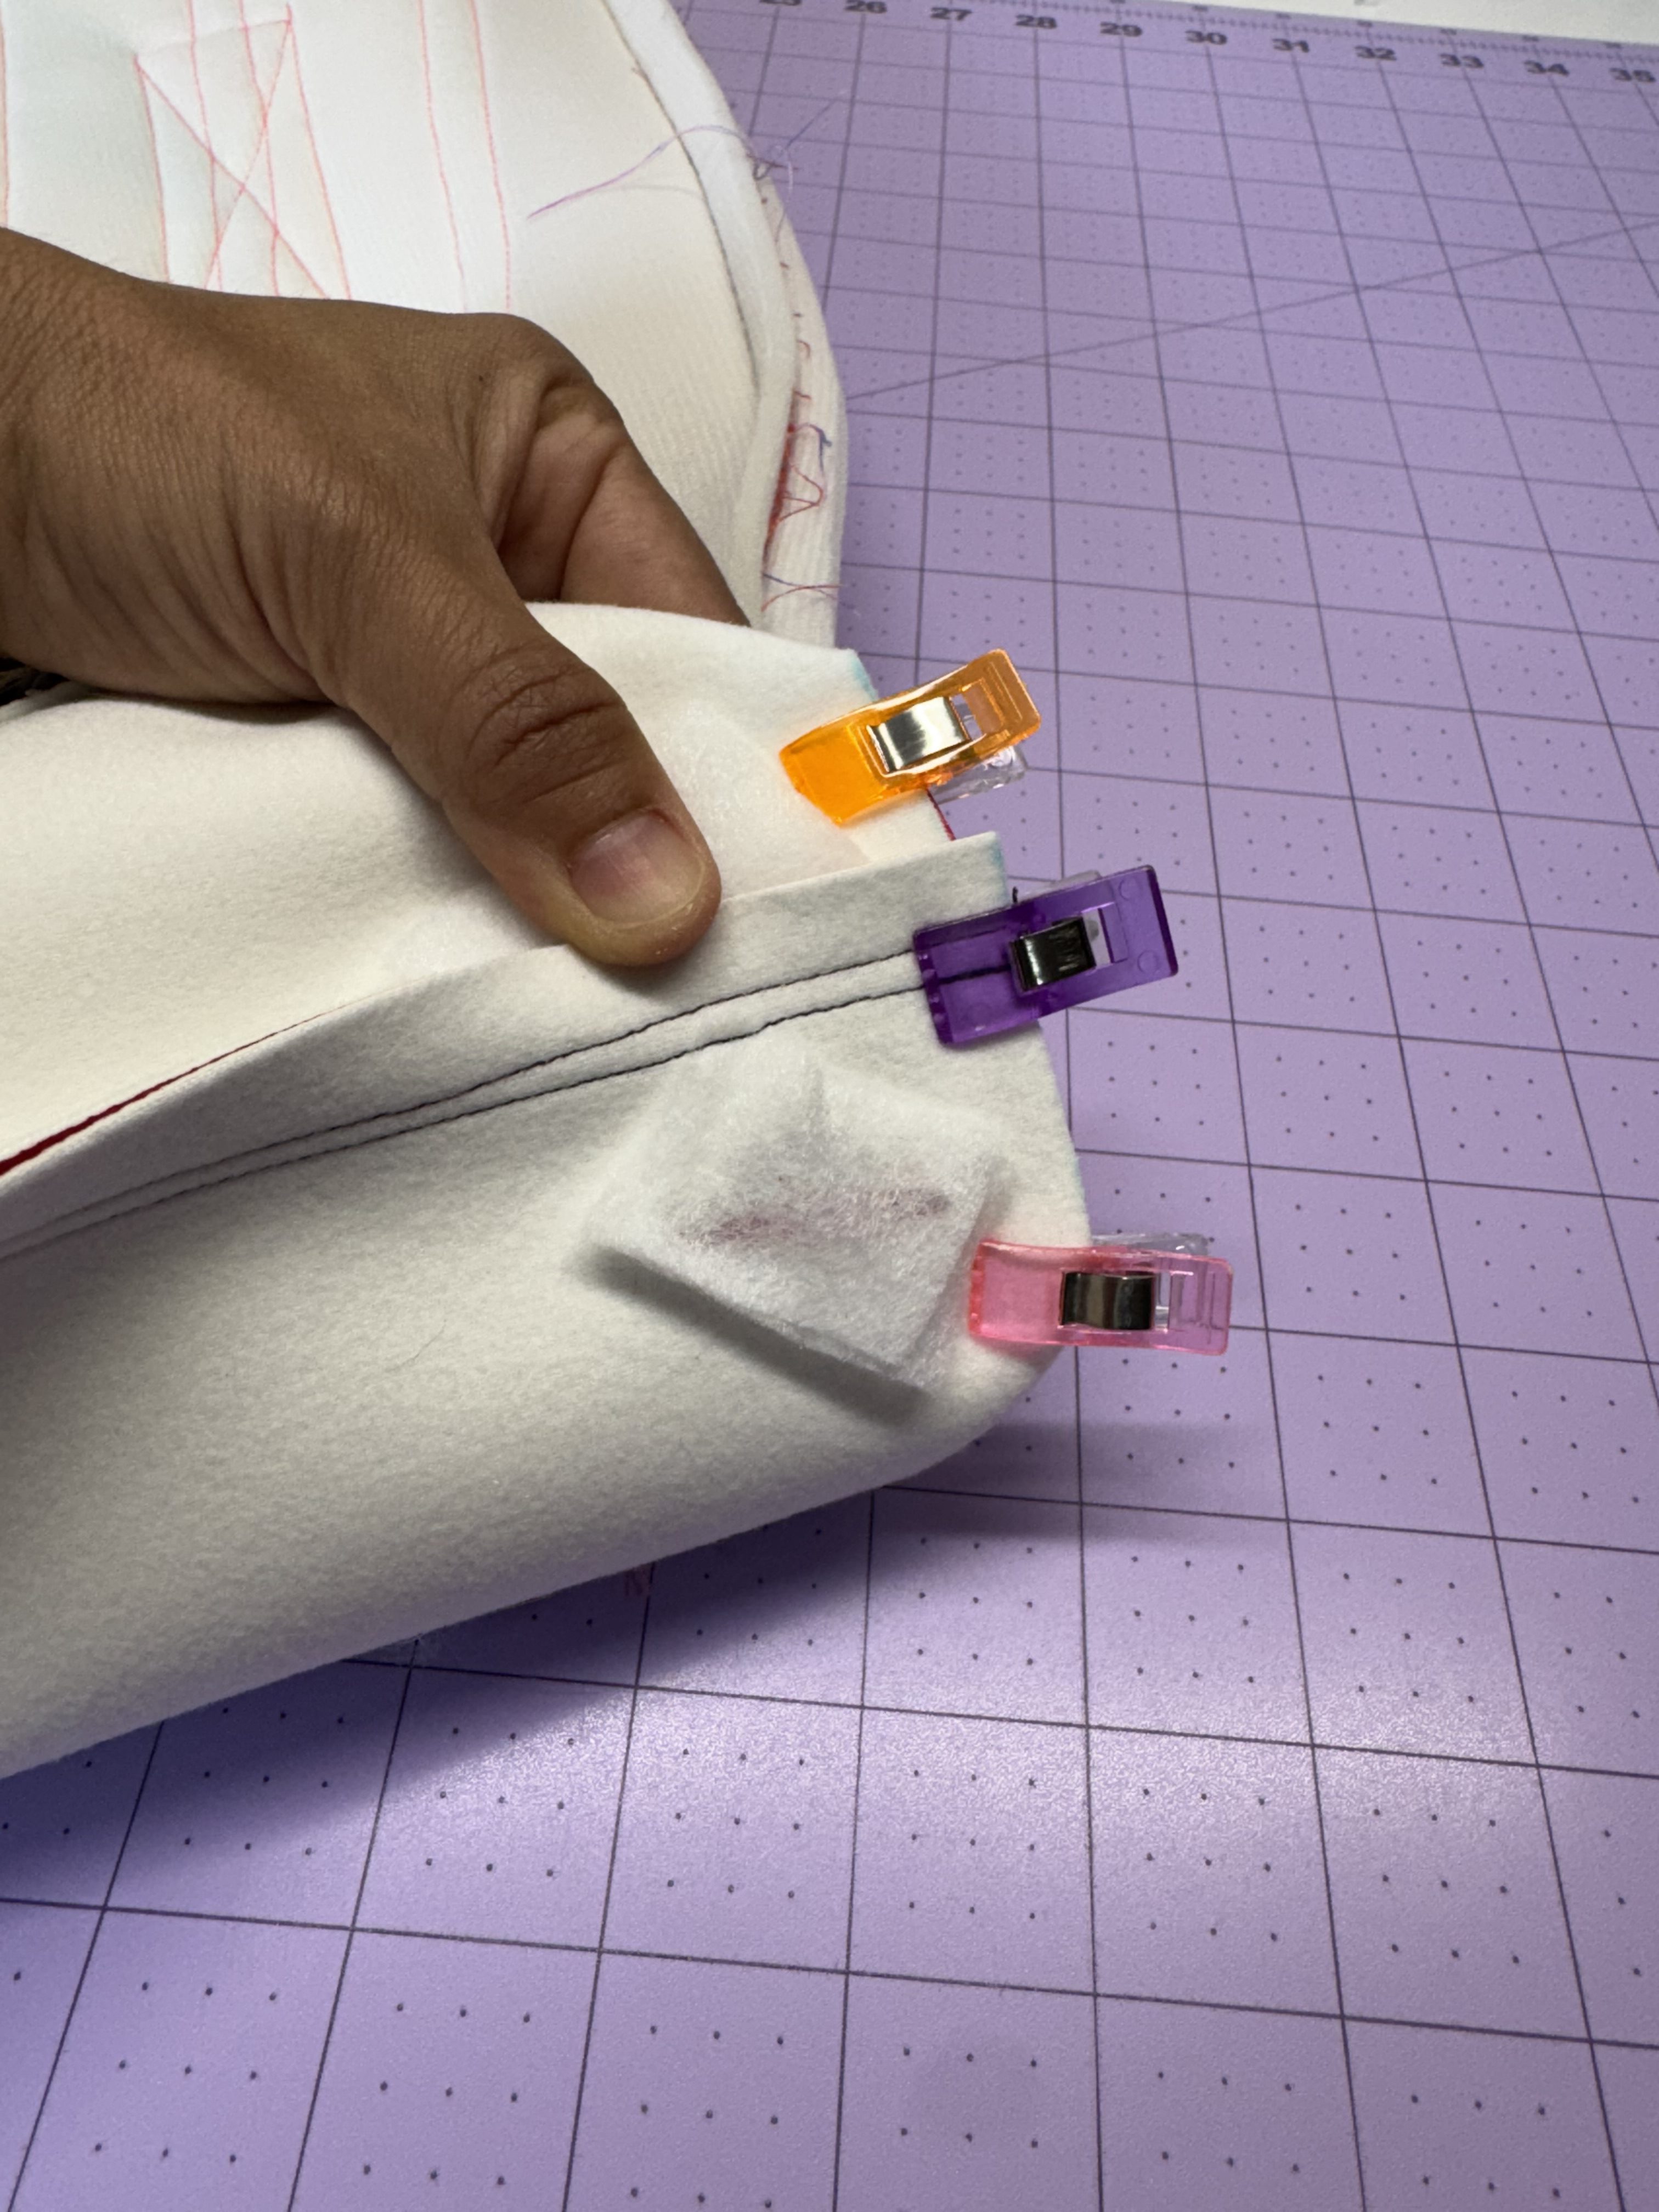
Place the two lining panels right sides together. Pin along the sides and bottom edges.
On the bottom edge, mark a 5–6” opening (for turning the bag right side out).
Sew the sides and bottom with a ½” seam allowance, leaving the marked gap unstitched.
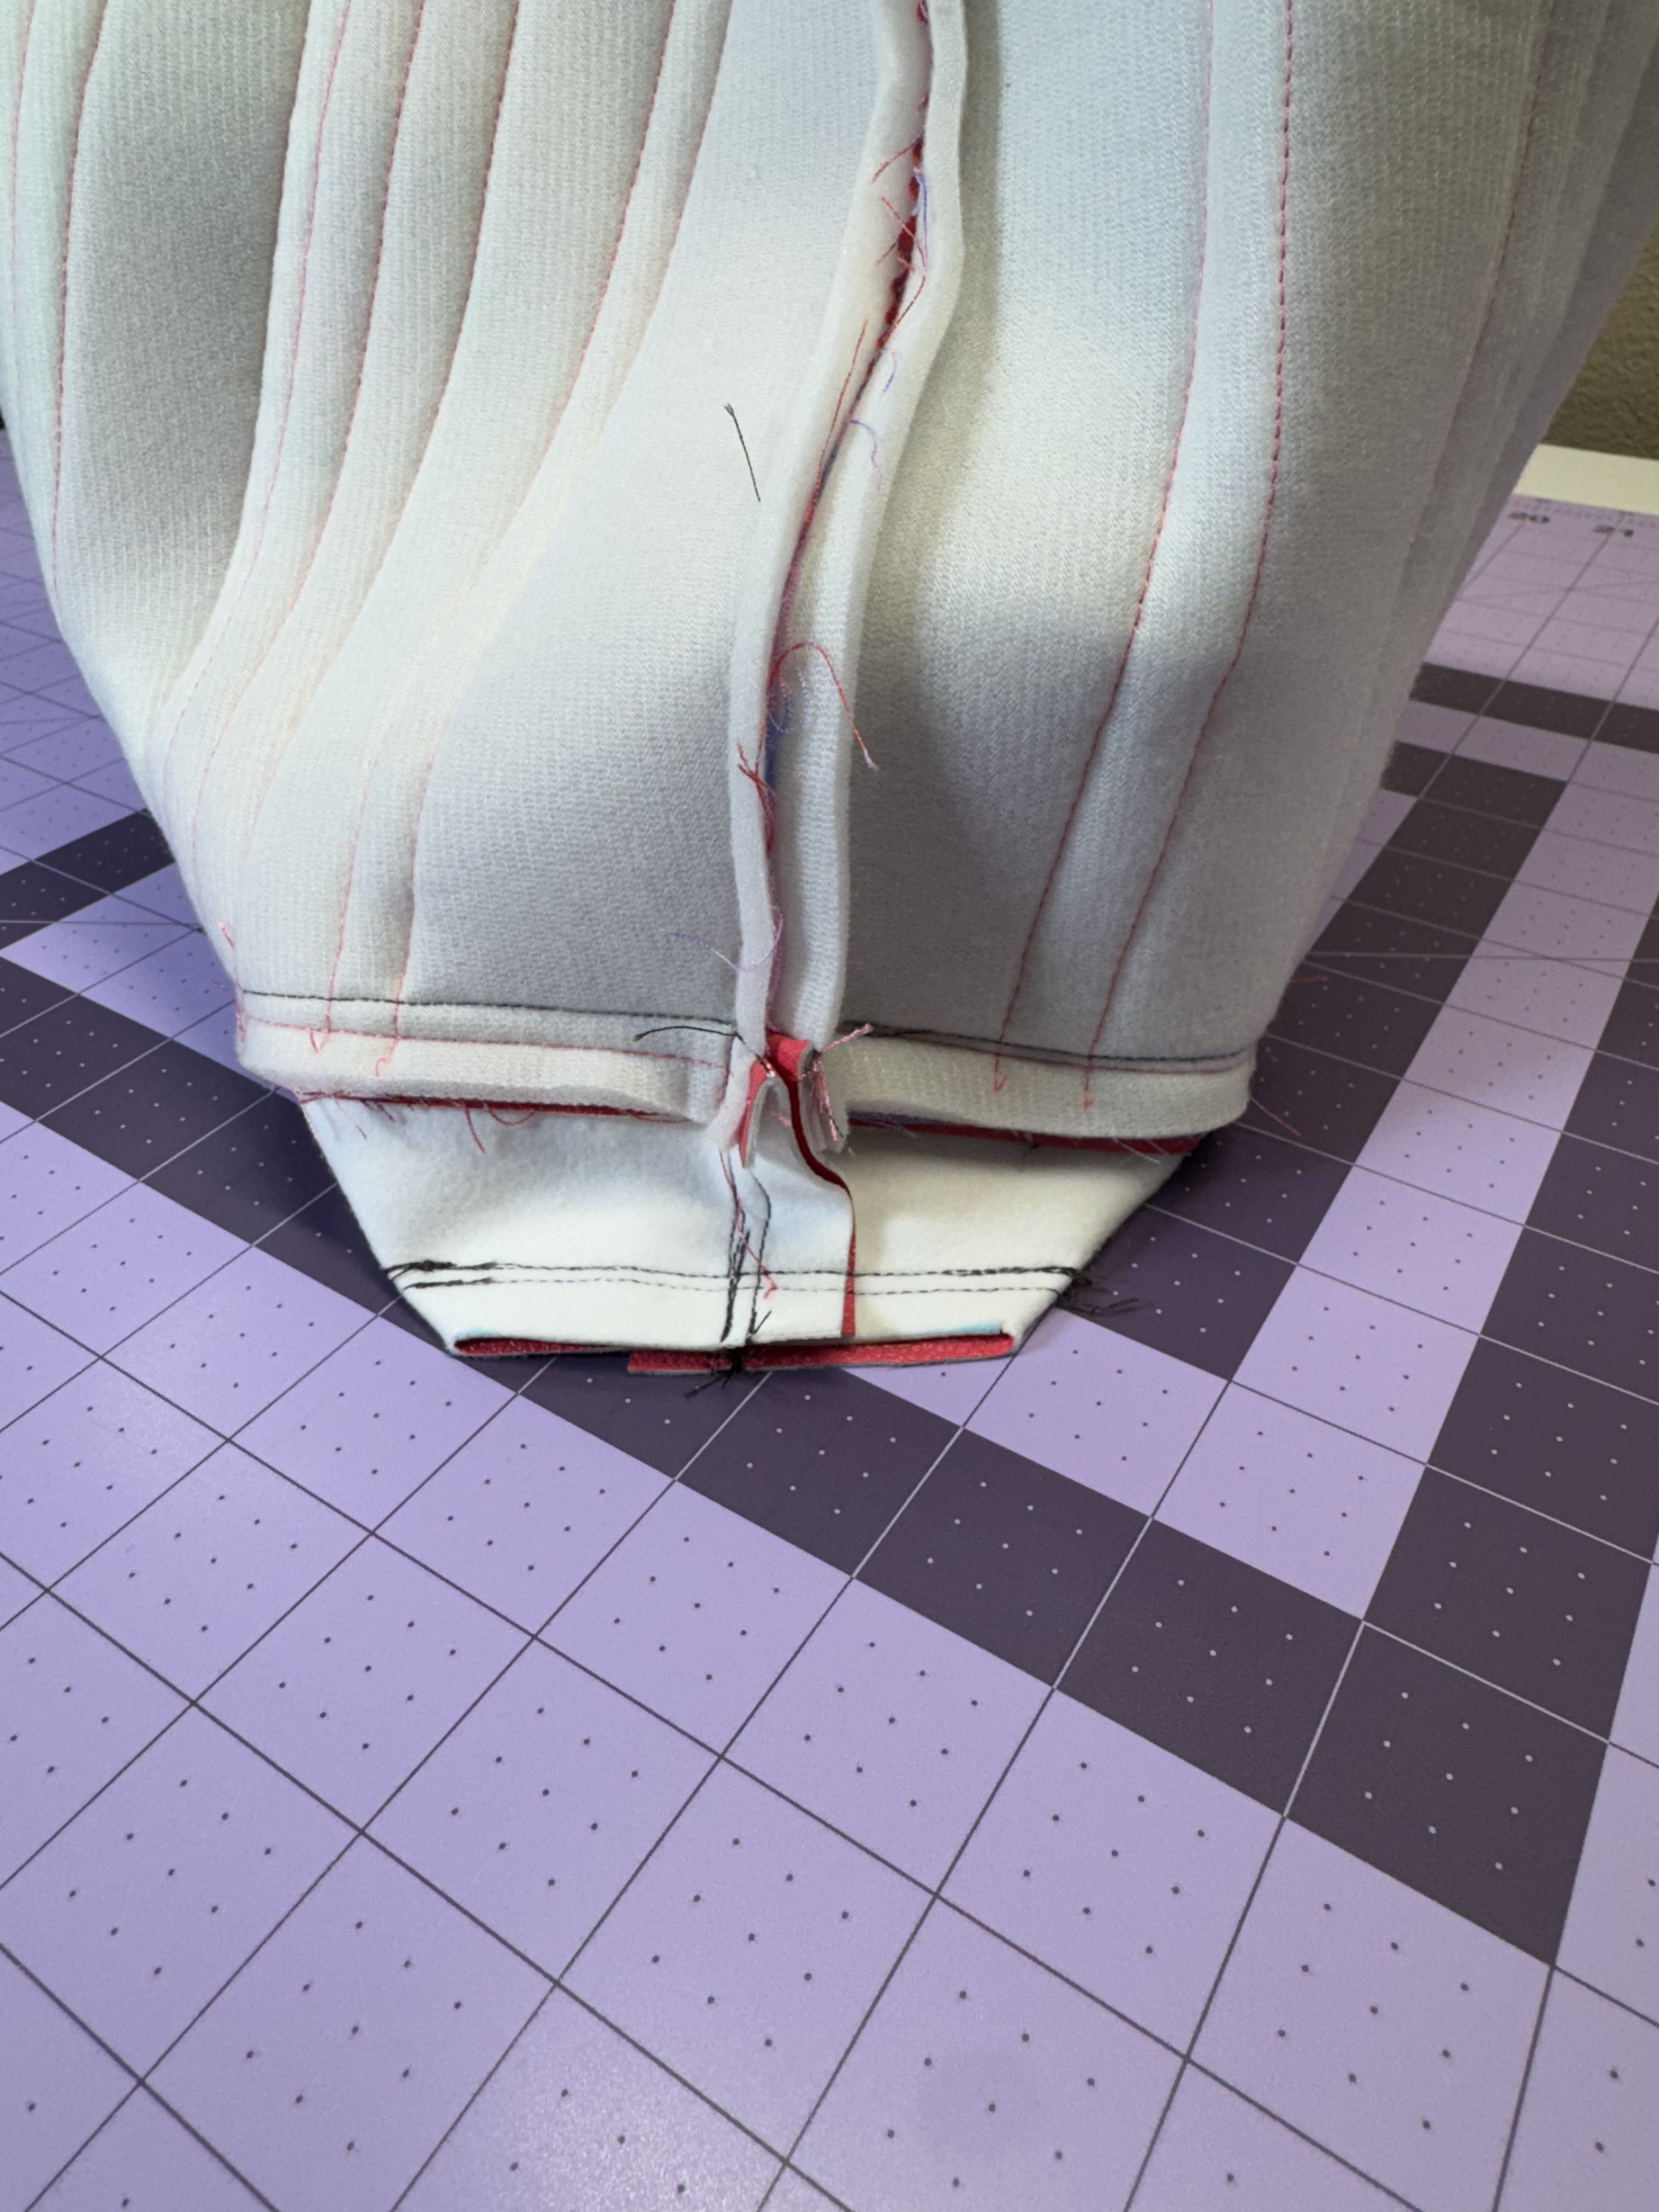
Match the side and bottom seams of one corner to form a right angle.

Sew across the corner with a ½” seam allowance.
Repeat for the other corner.
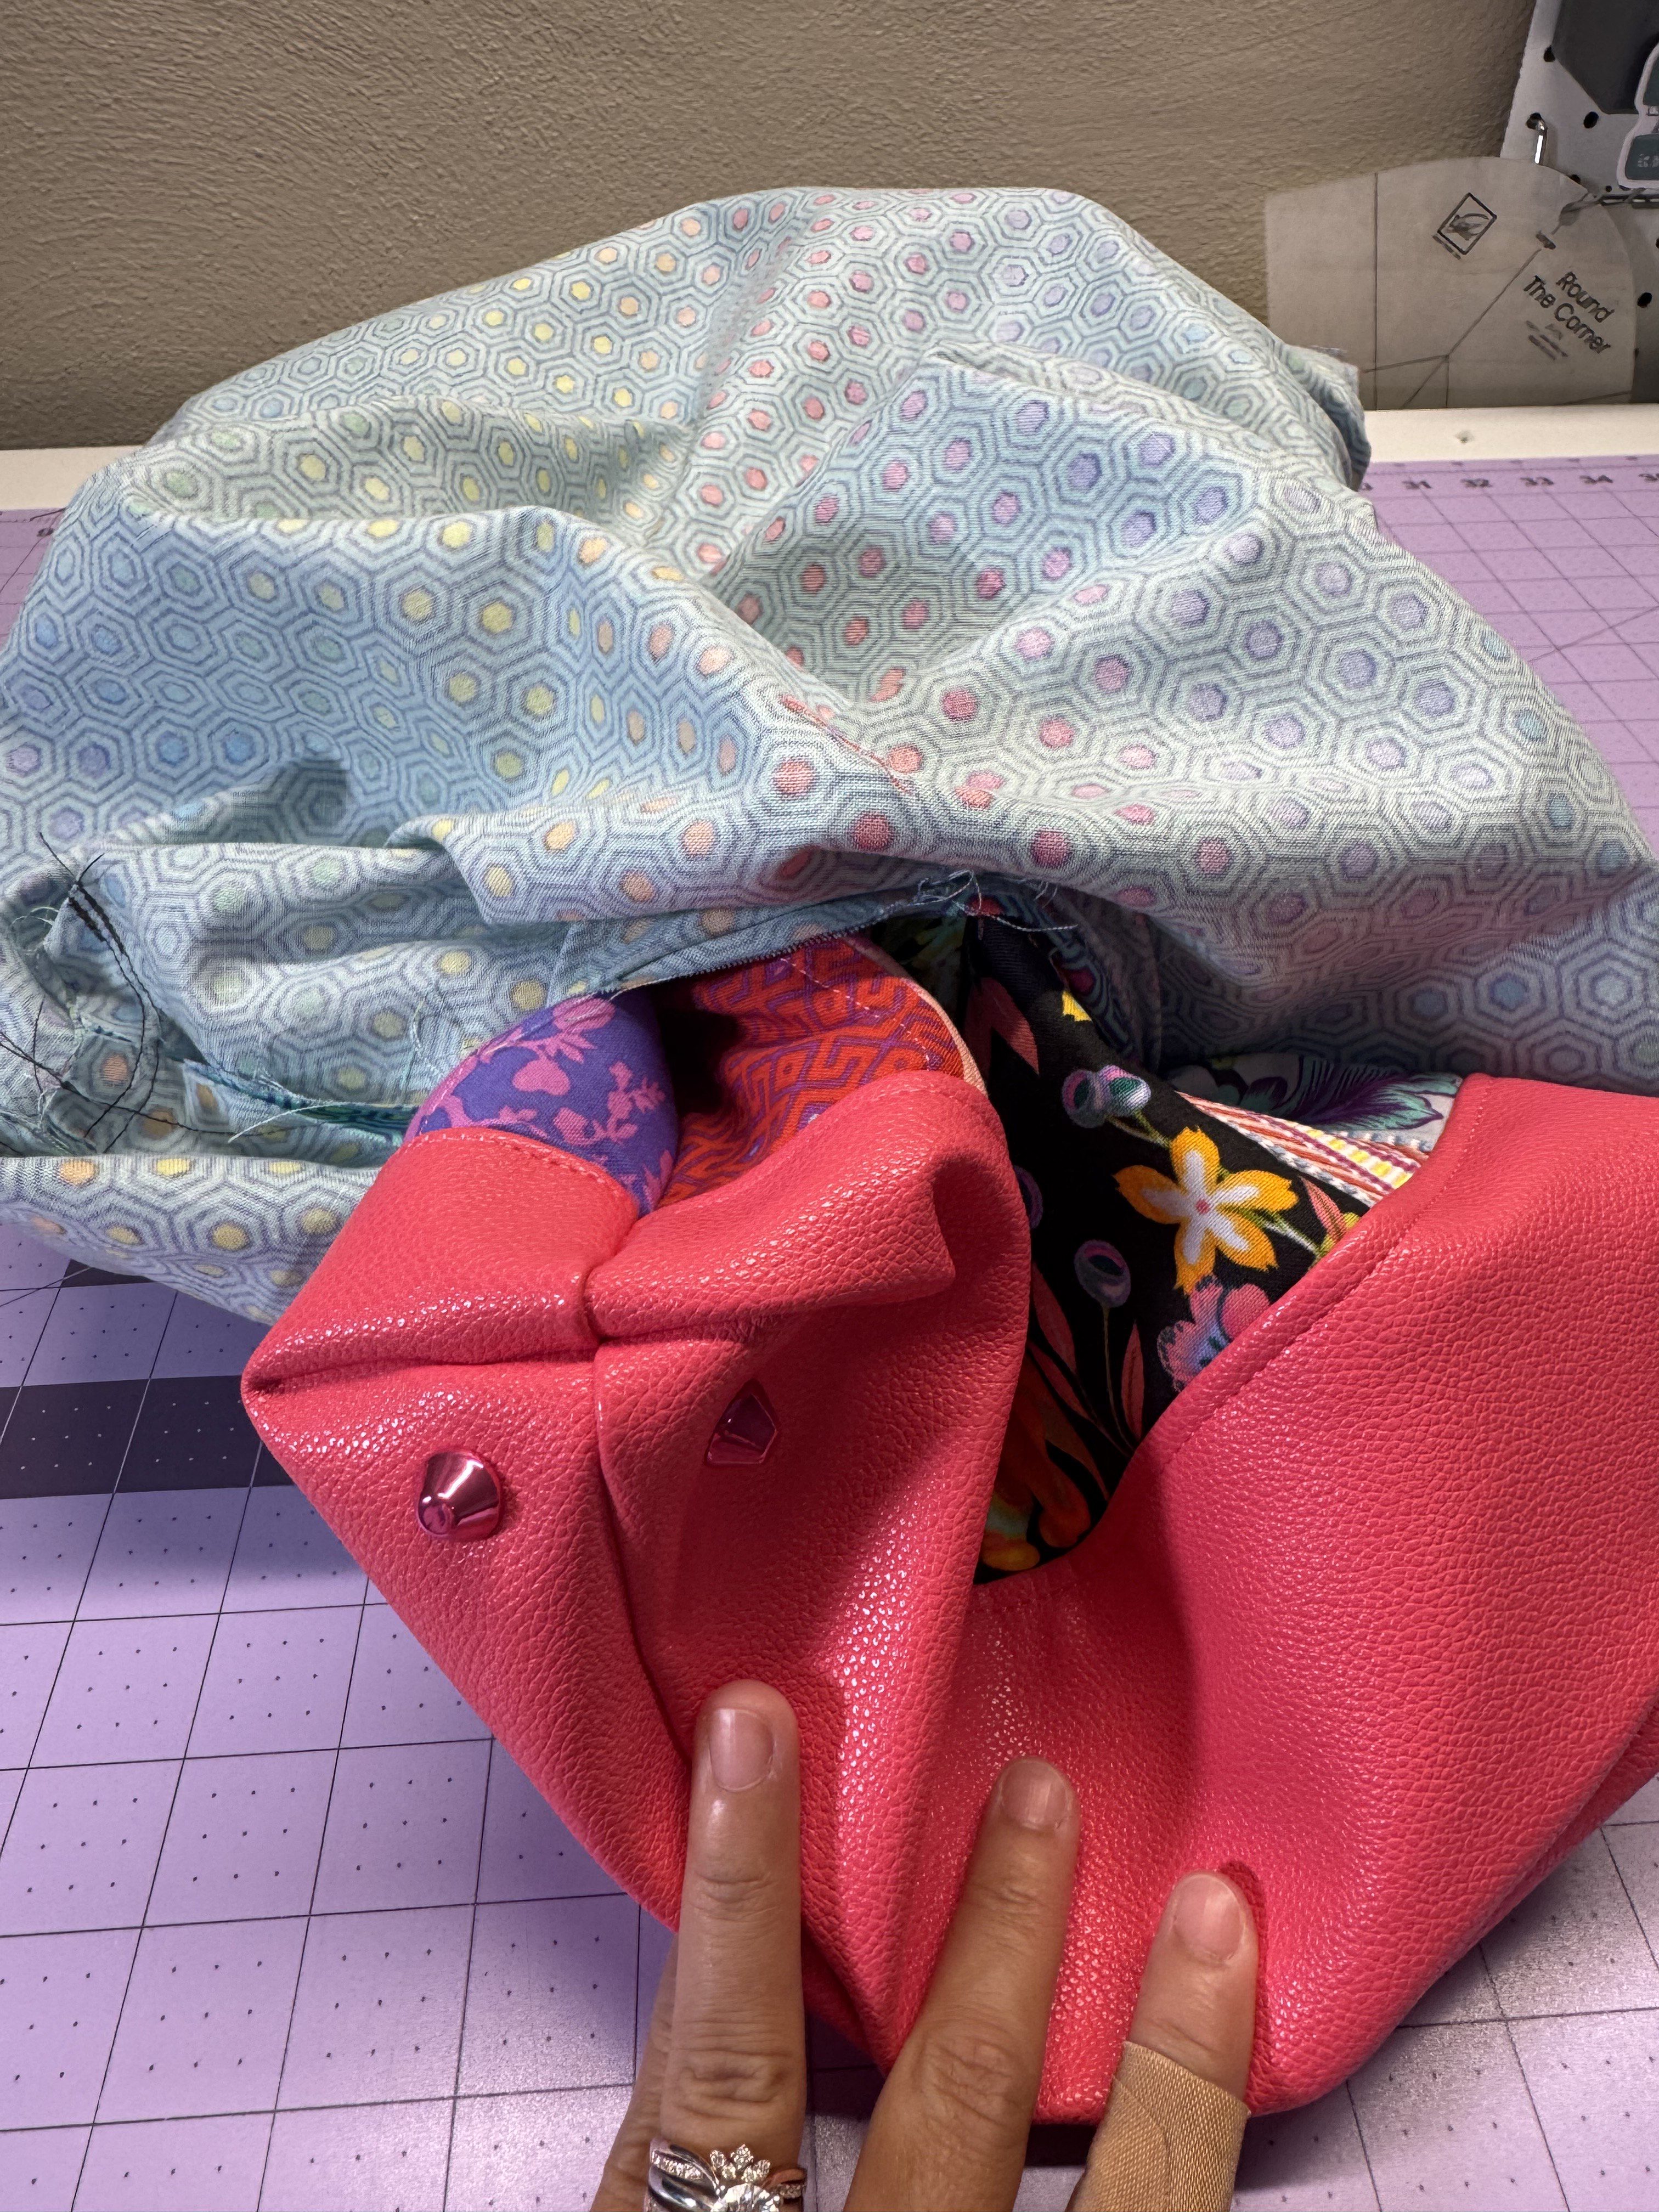
Step 13: Assemble the Bag
With the exterior of the tote right side out, insert it into the lining (which is the wrong side out)—right sides should be facing each other.
Align side seams and top edges. Clip or pin in place.
Sew around the entire top edge using a ½” seam allowance.

Turn the bag right side out through the gap in the lining.
Press (without using an iron due to the vinyl from the zipper panel) the top edge and topstitch all the way around to finish.
Stitch the opening in the lining closed, either by hand or machine.

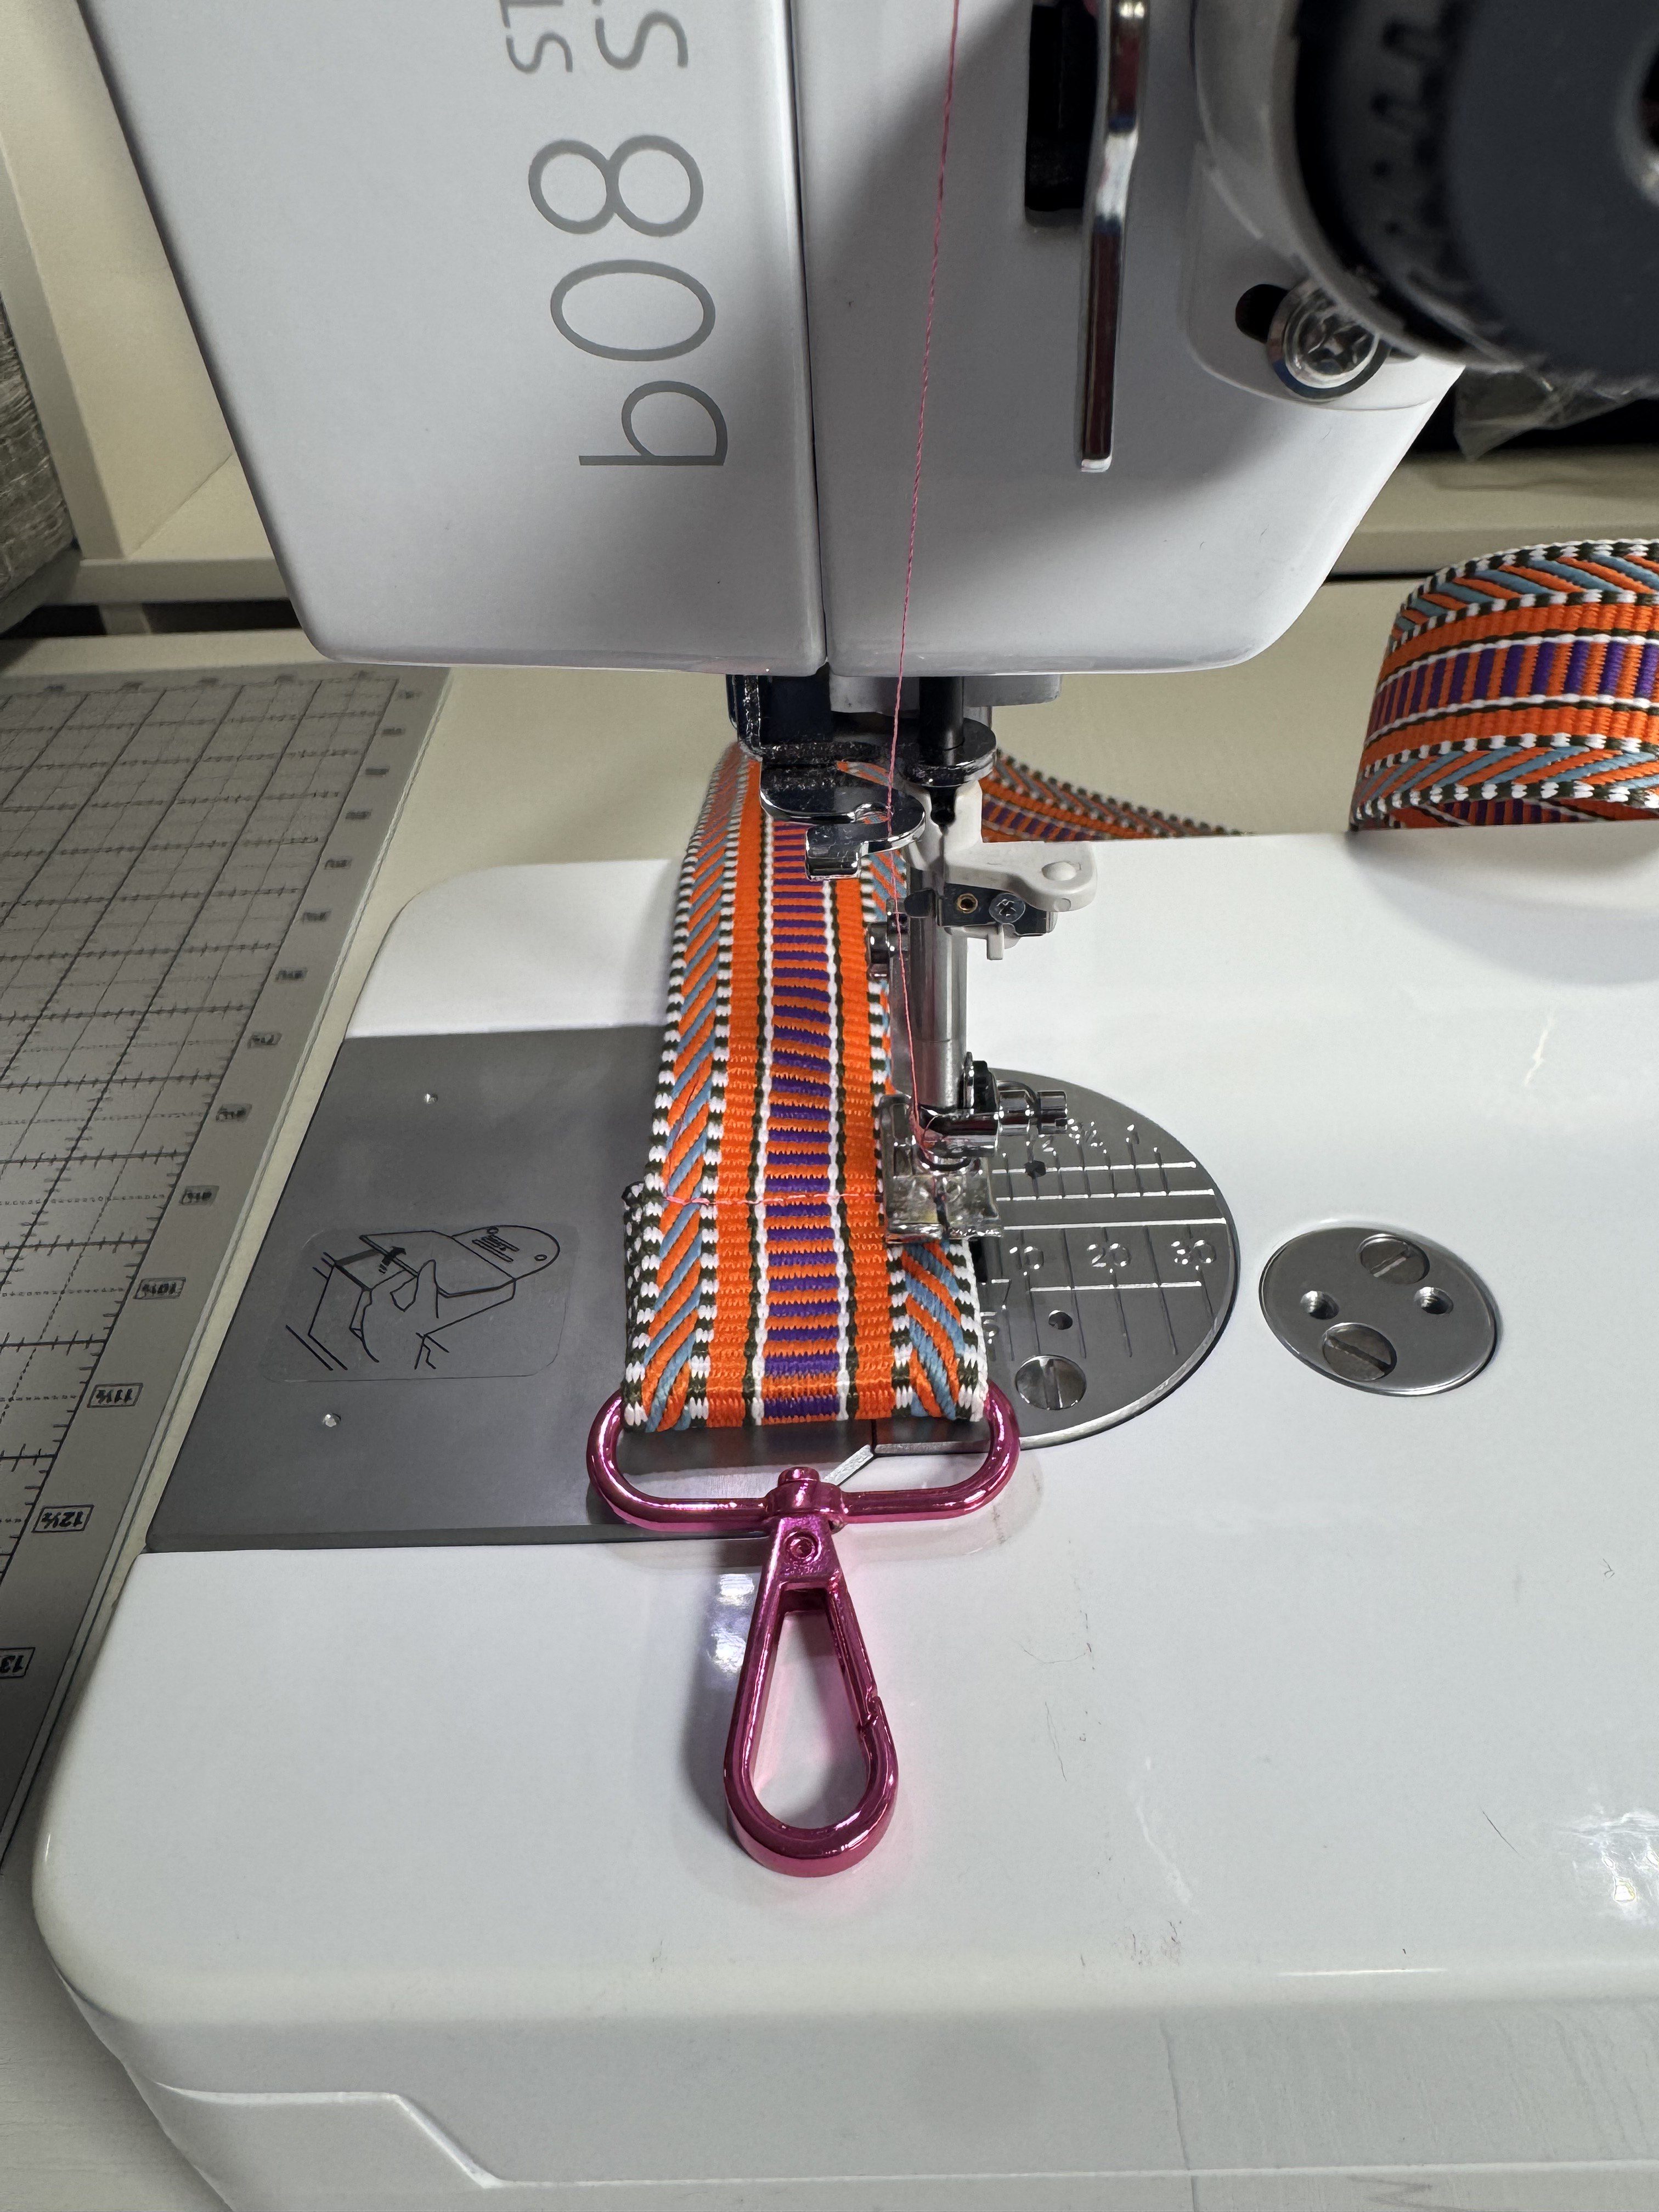
Step 14: Creating the Crossbody Strap
Cut 1 strip of 1½” wide webbing, 60” long.
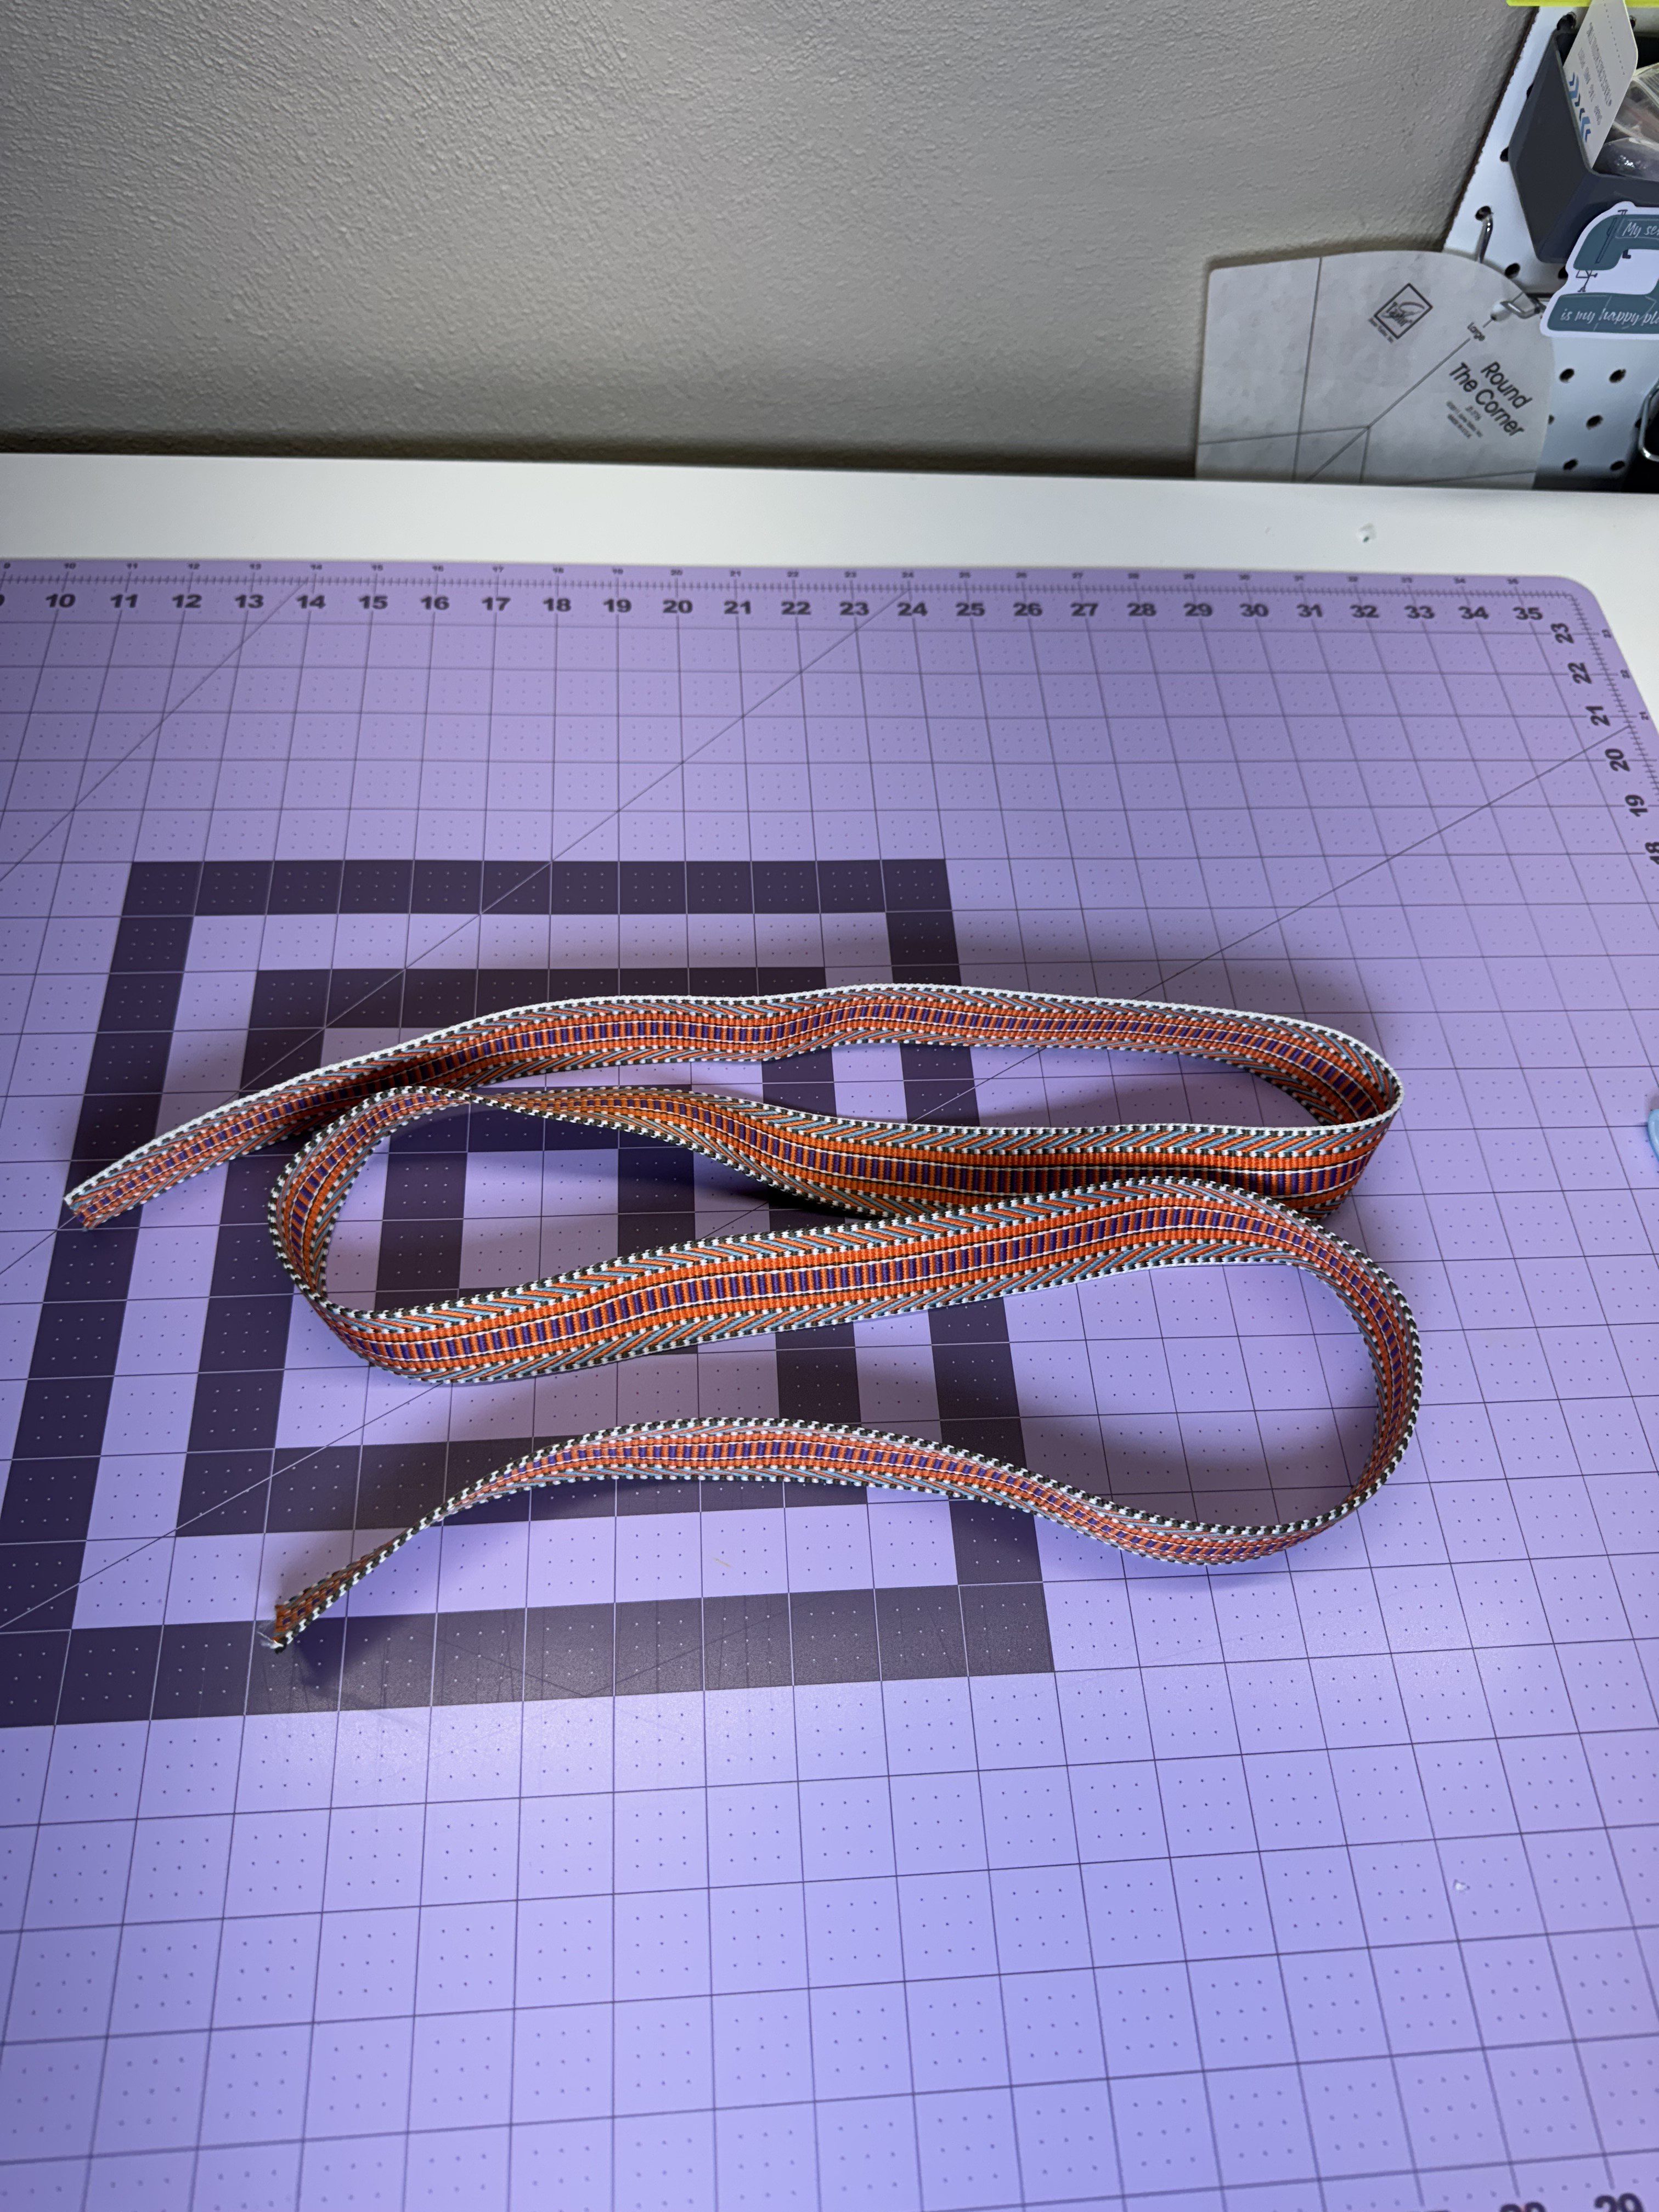
Lightly melt both ends of the webbing with a lighter or heat tool to prevent fraying.
Feed one end of the webbing up through one side of the slider, over the center bar, and down the other side.
Pull through 4–5” of webbing.
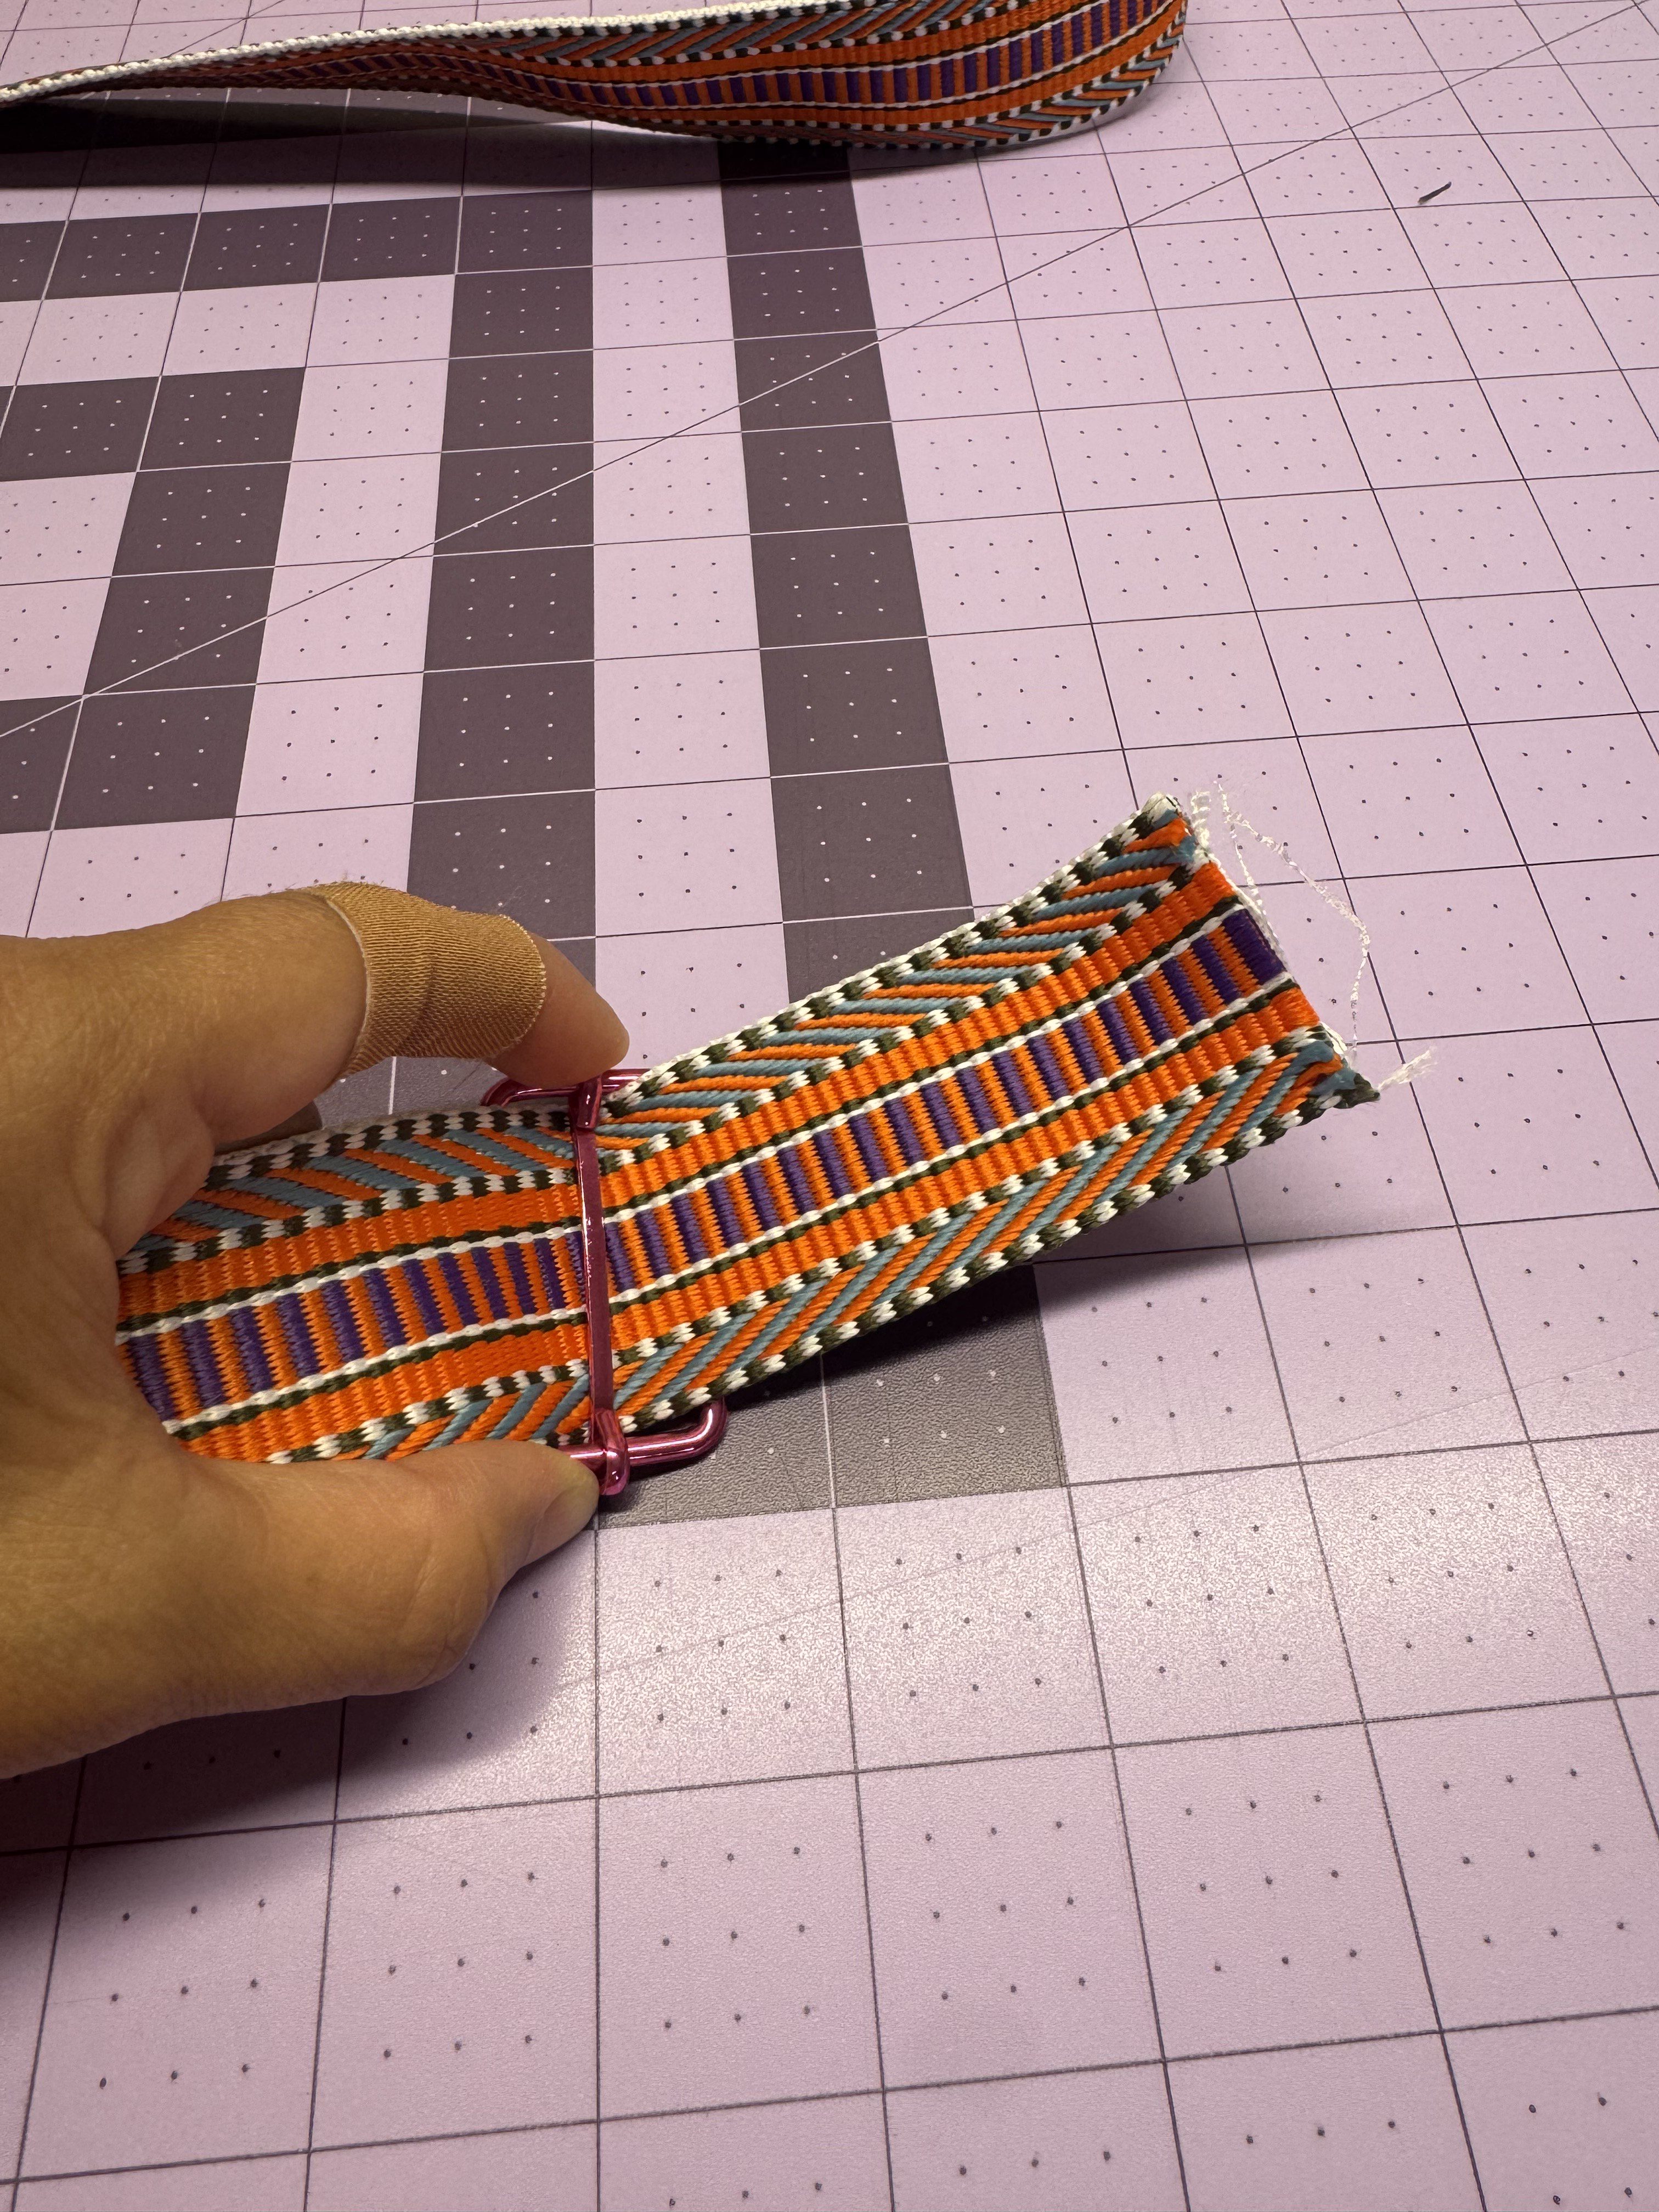
Fold the raw edge under by ½” and stitch it down using a box stitch or double row of stitching for durability.
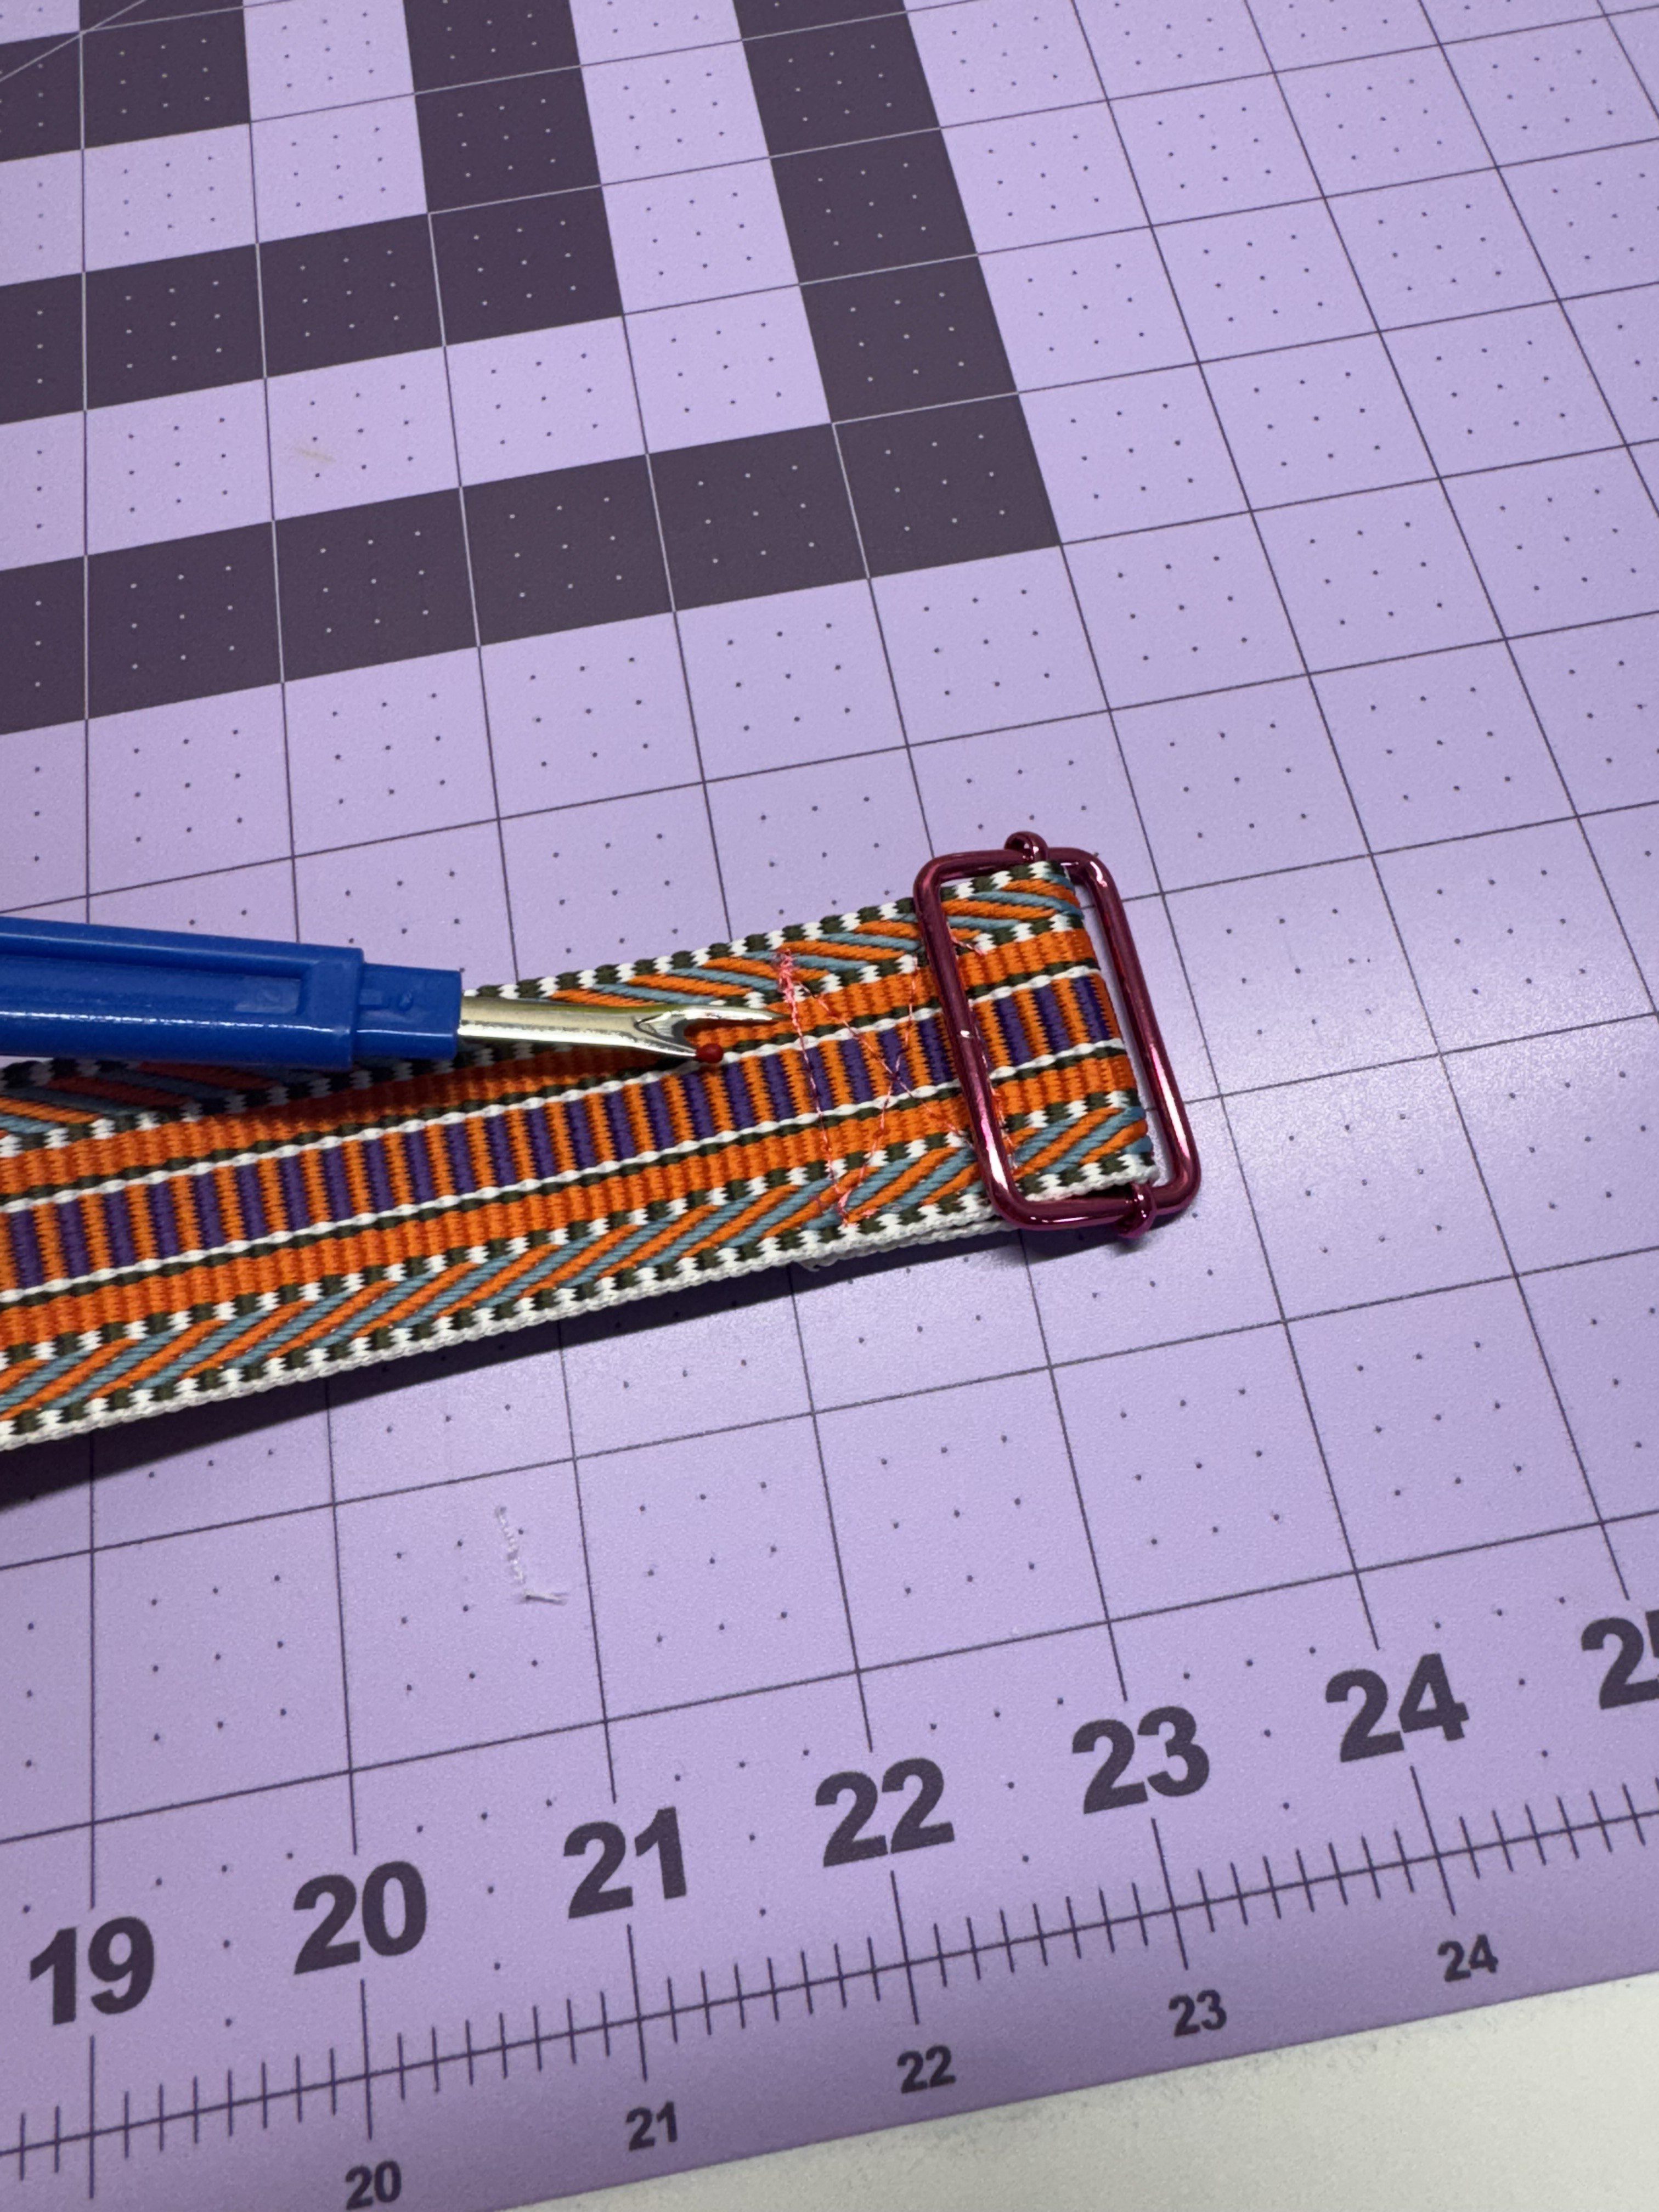
Thread the free end of the webbing up through the loop of the first swivel hook.
Then bring it back through the slider: under the strap, over the center bar, and down again—this creates the adjustable loop.
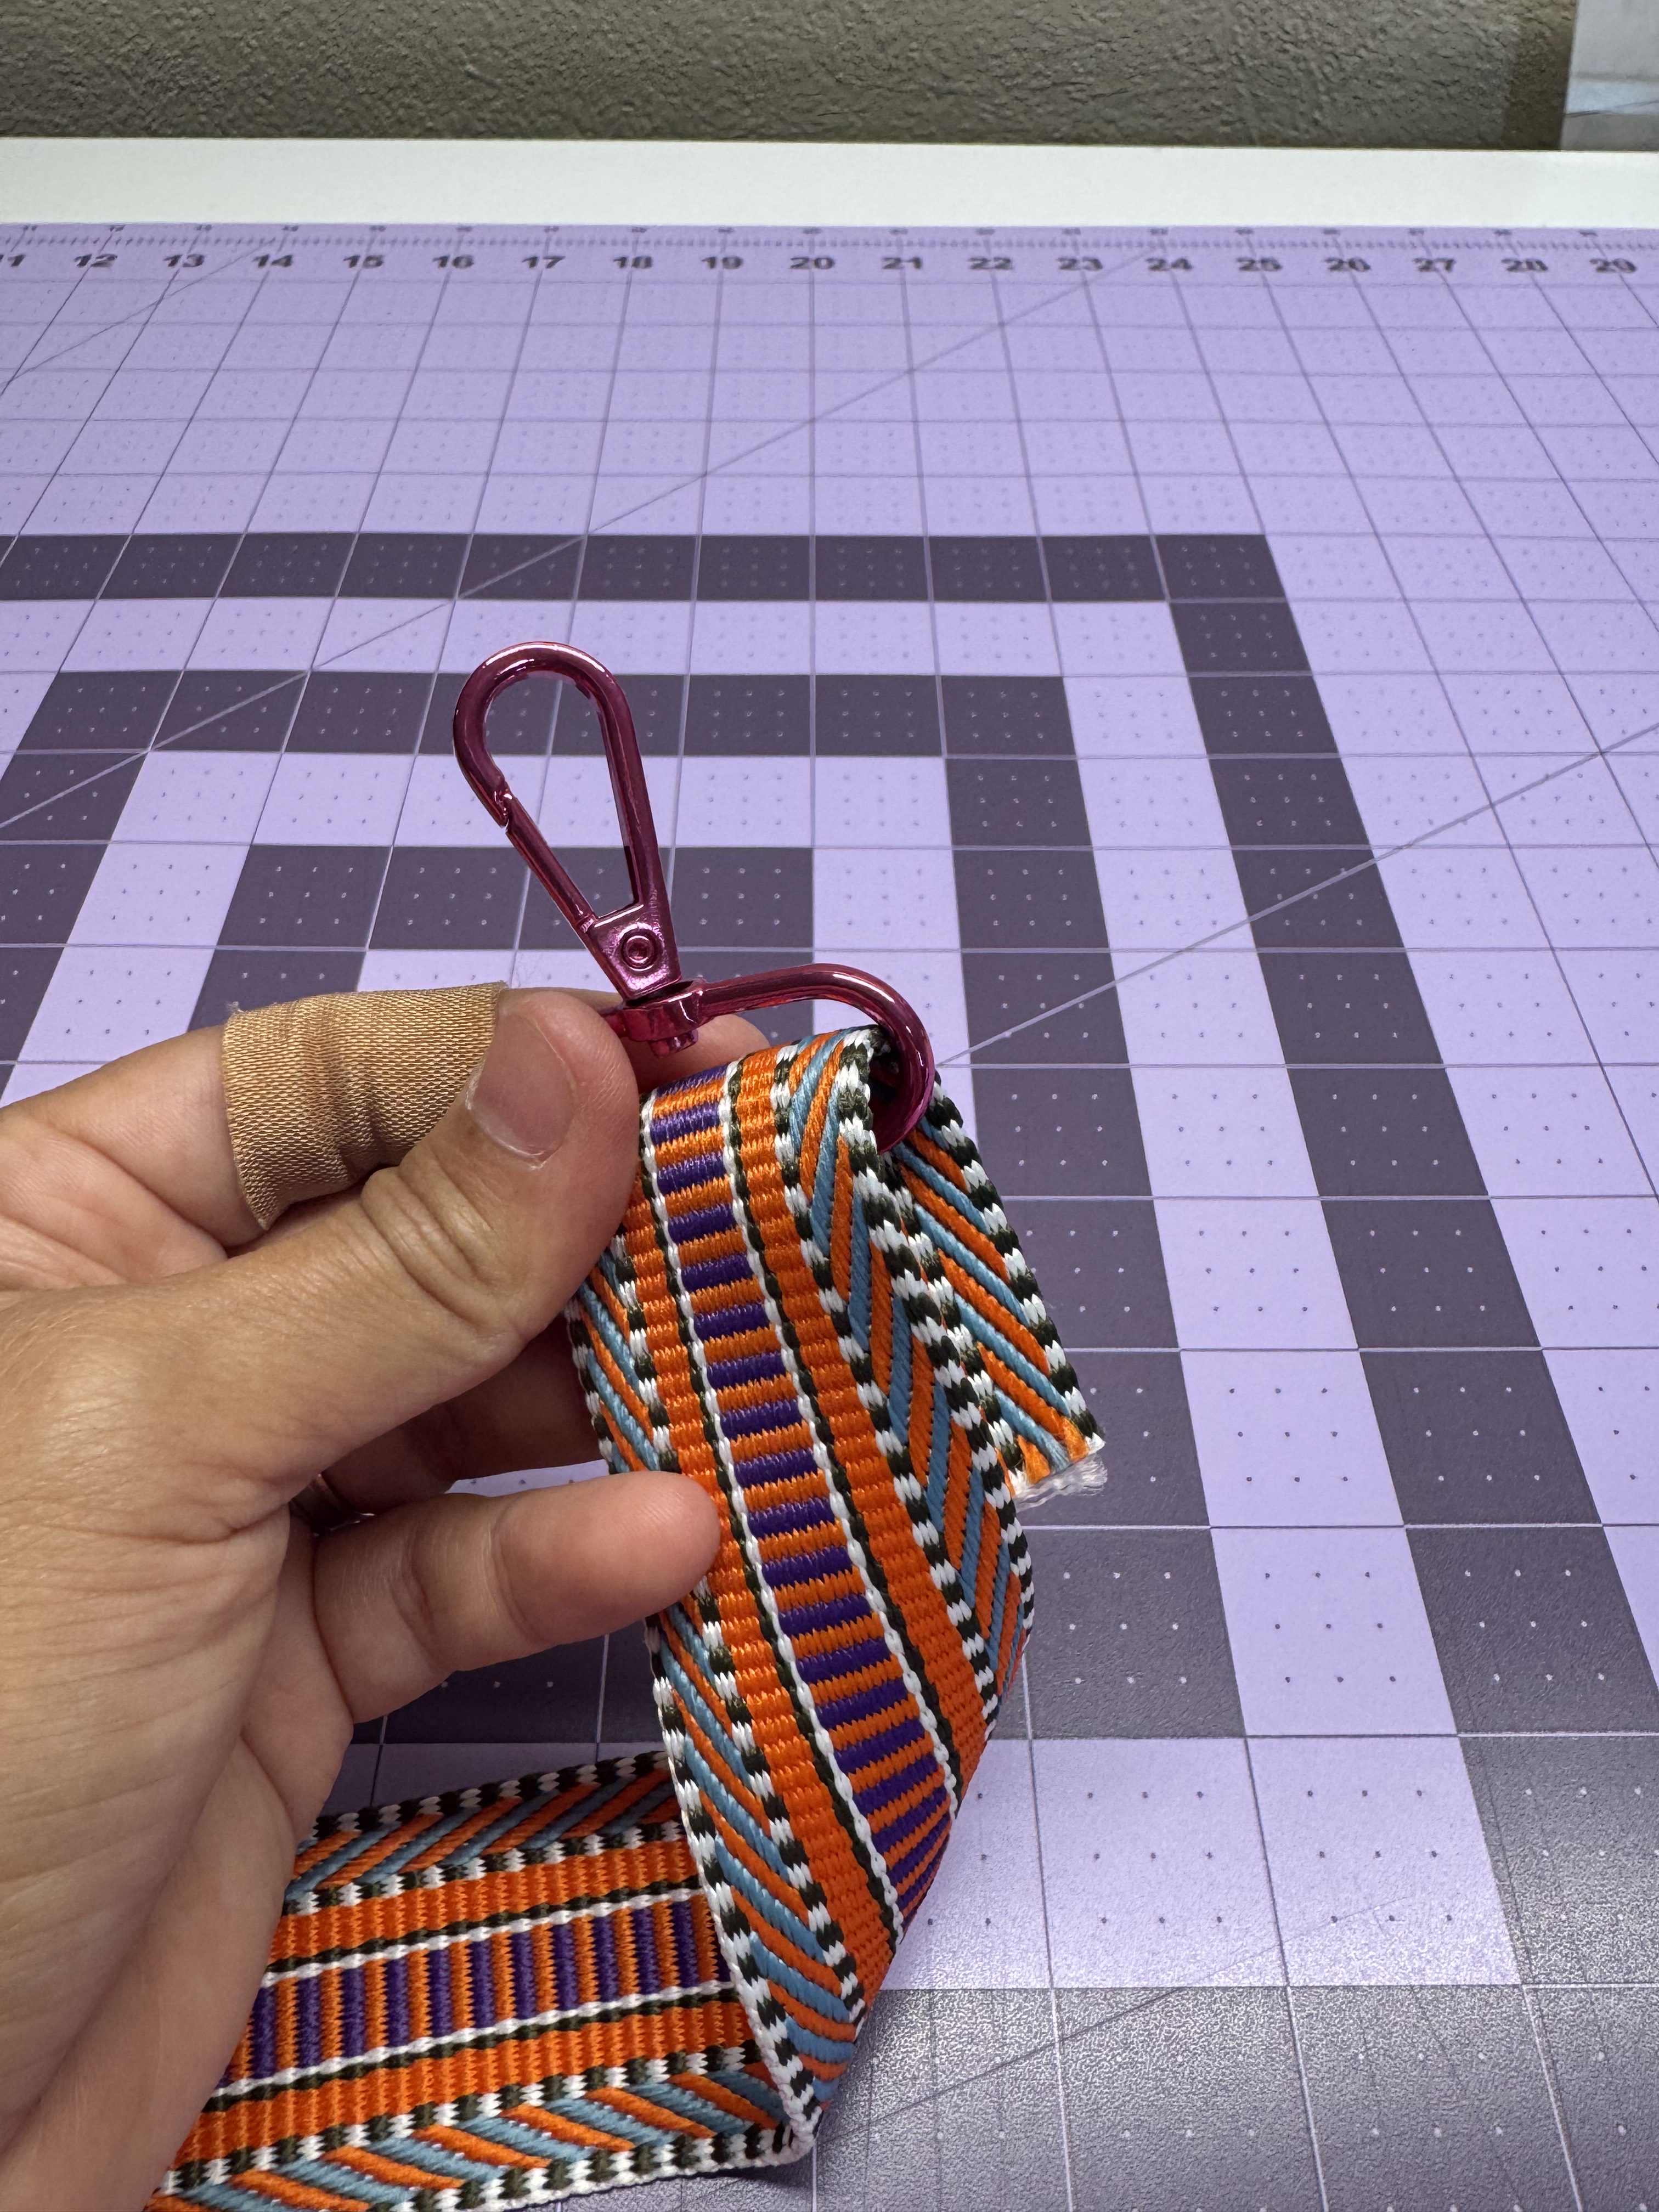
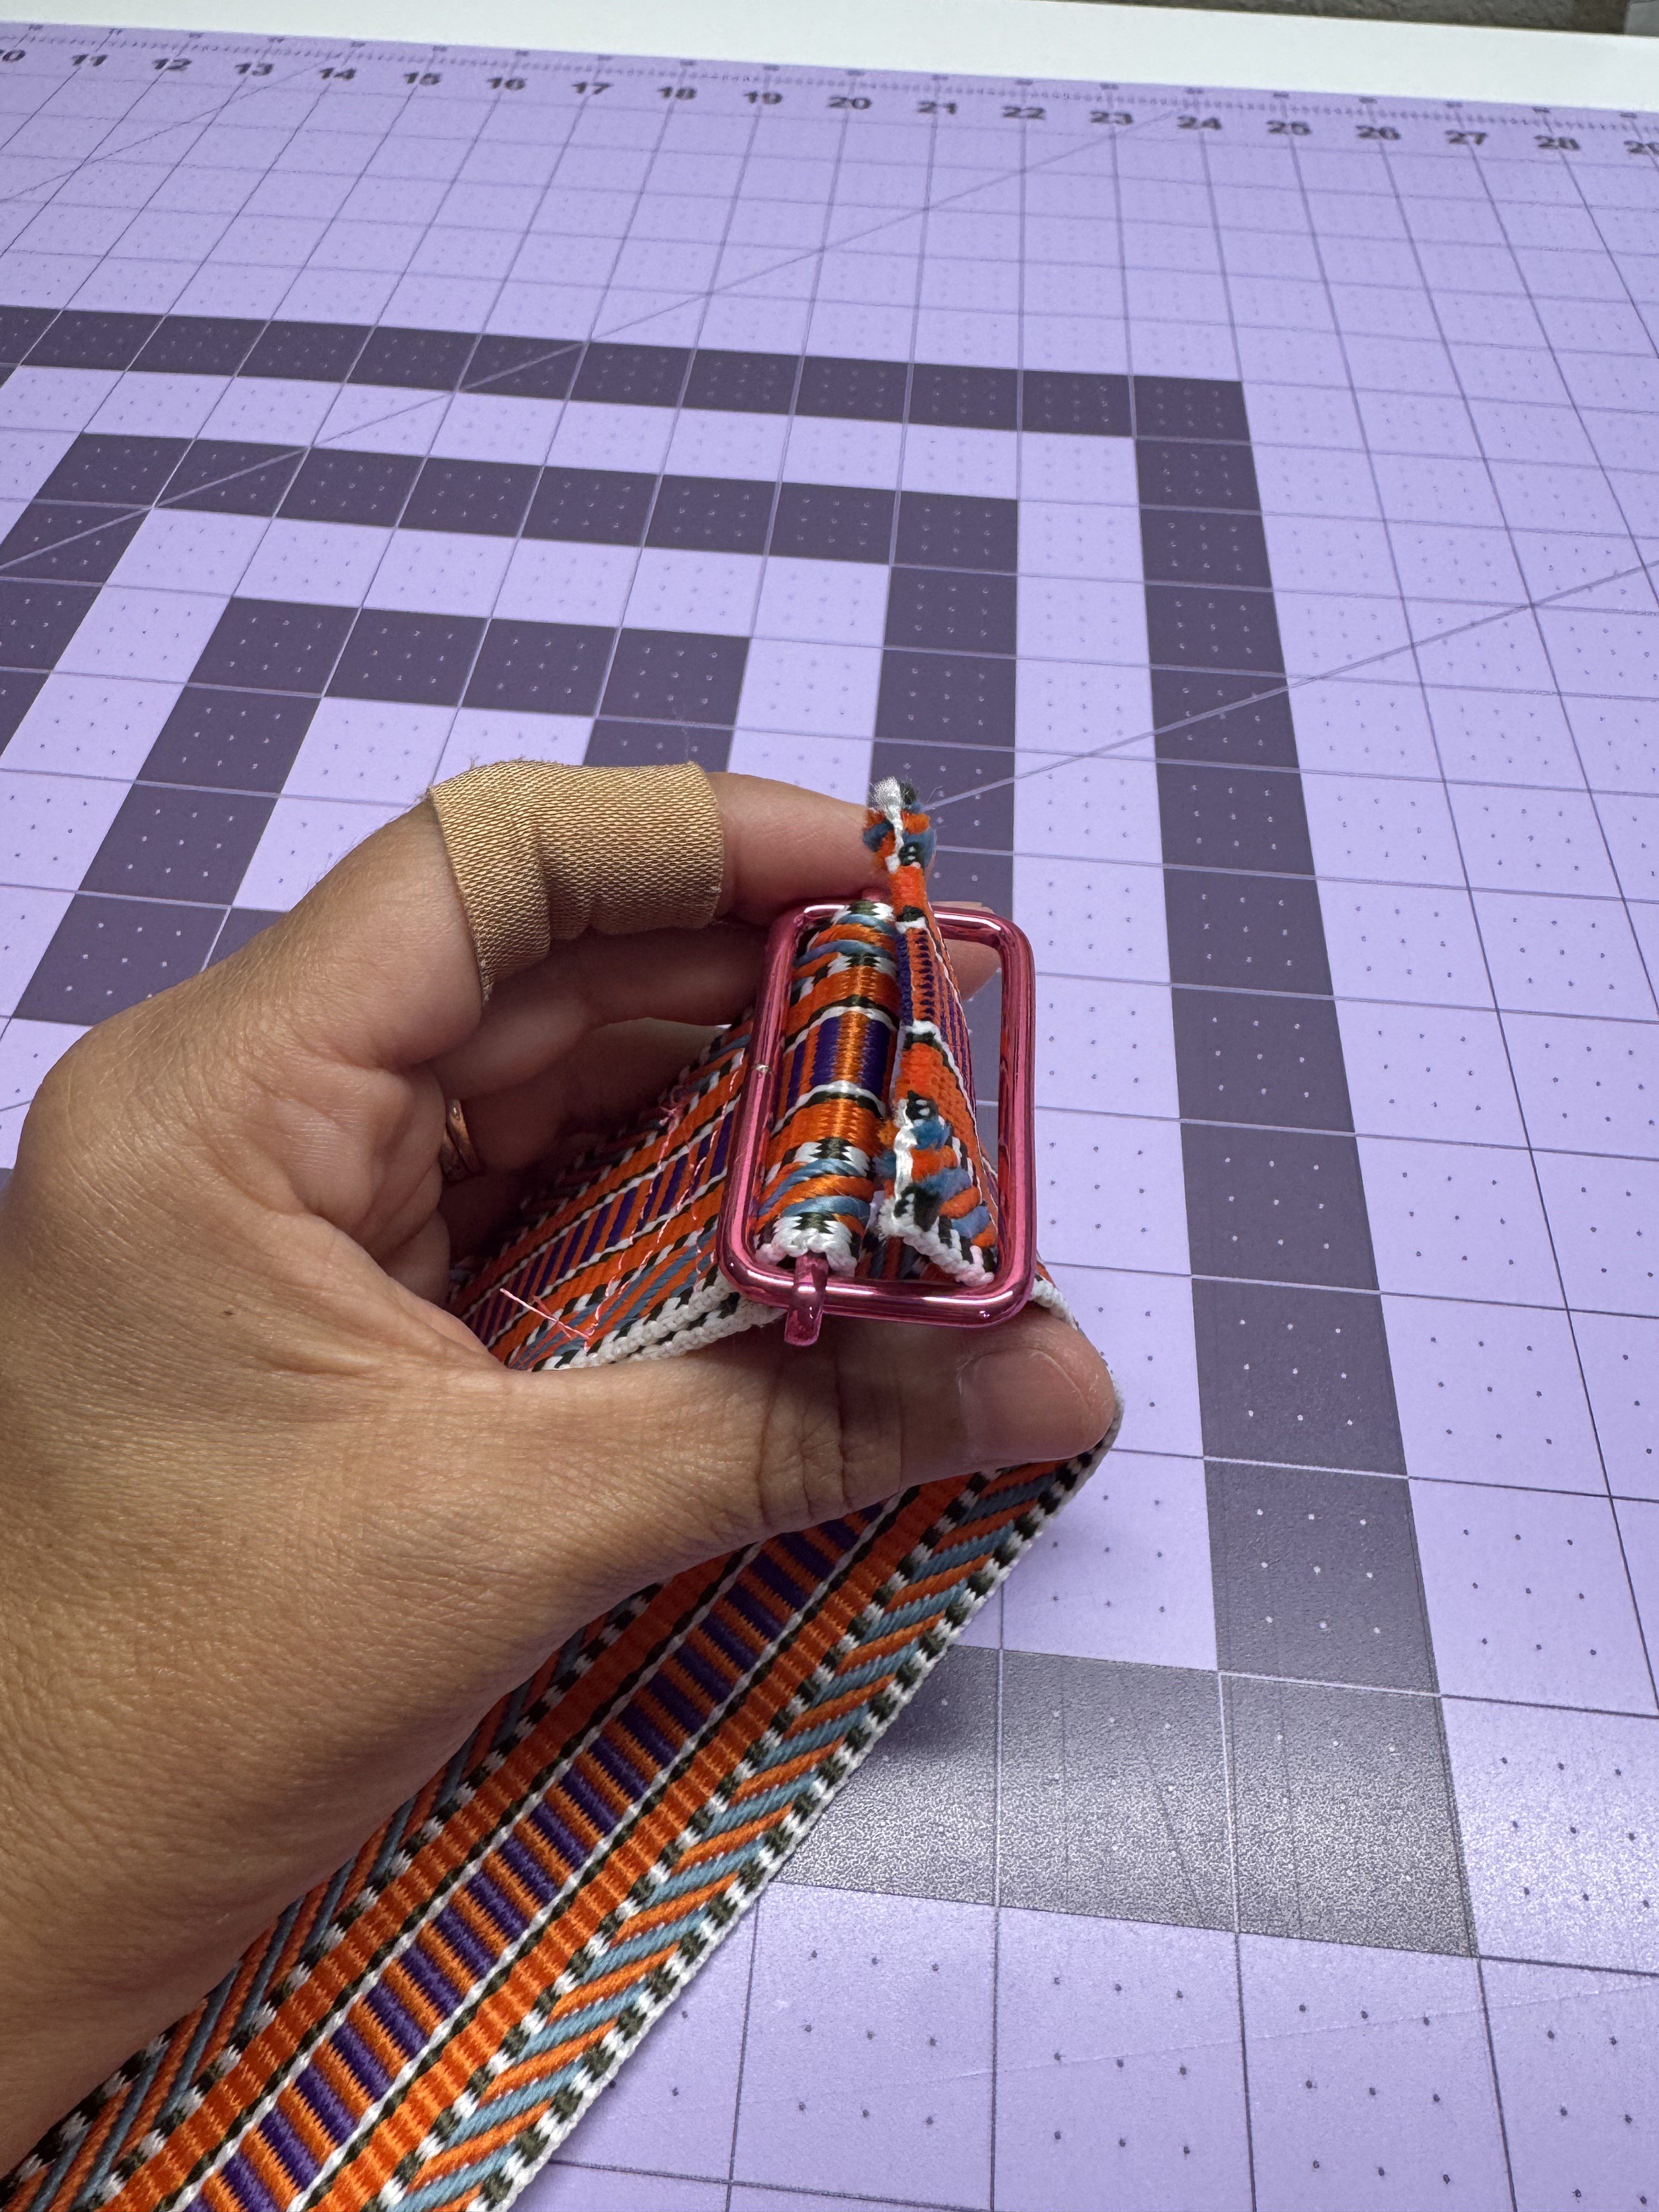
Fold the raw end through the second swivel hook, pulling about 2–3” through.
Tuck the raw edge under by ½” and stitch it in place securely using a box or X-box stitch.
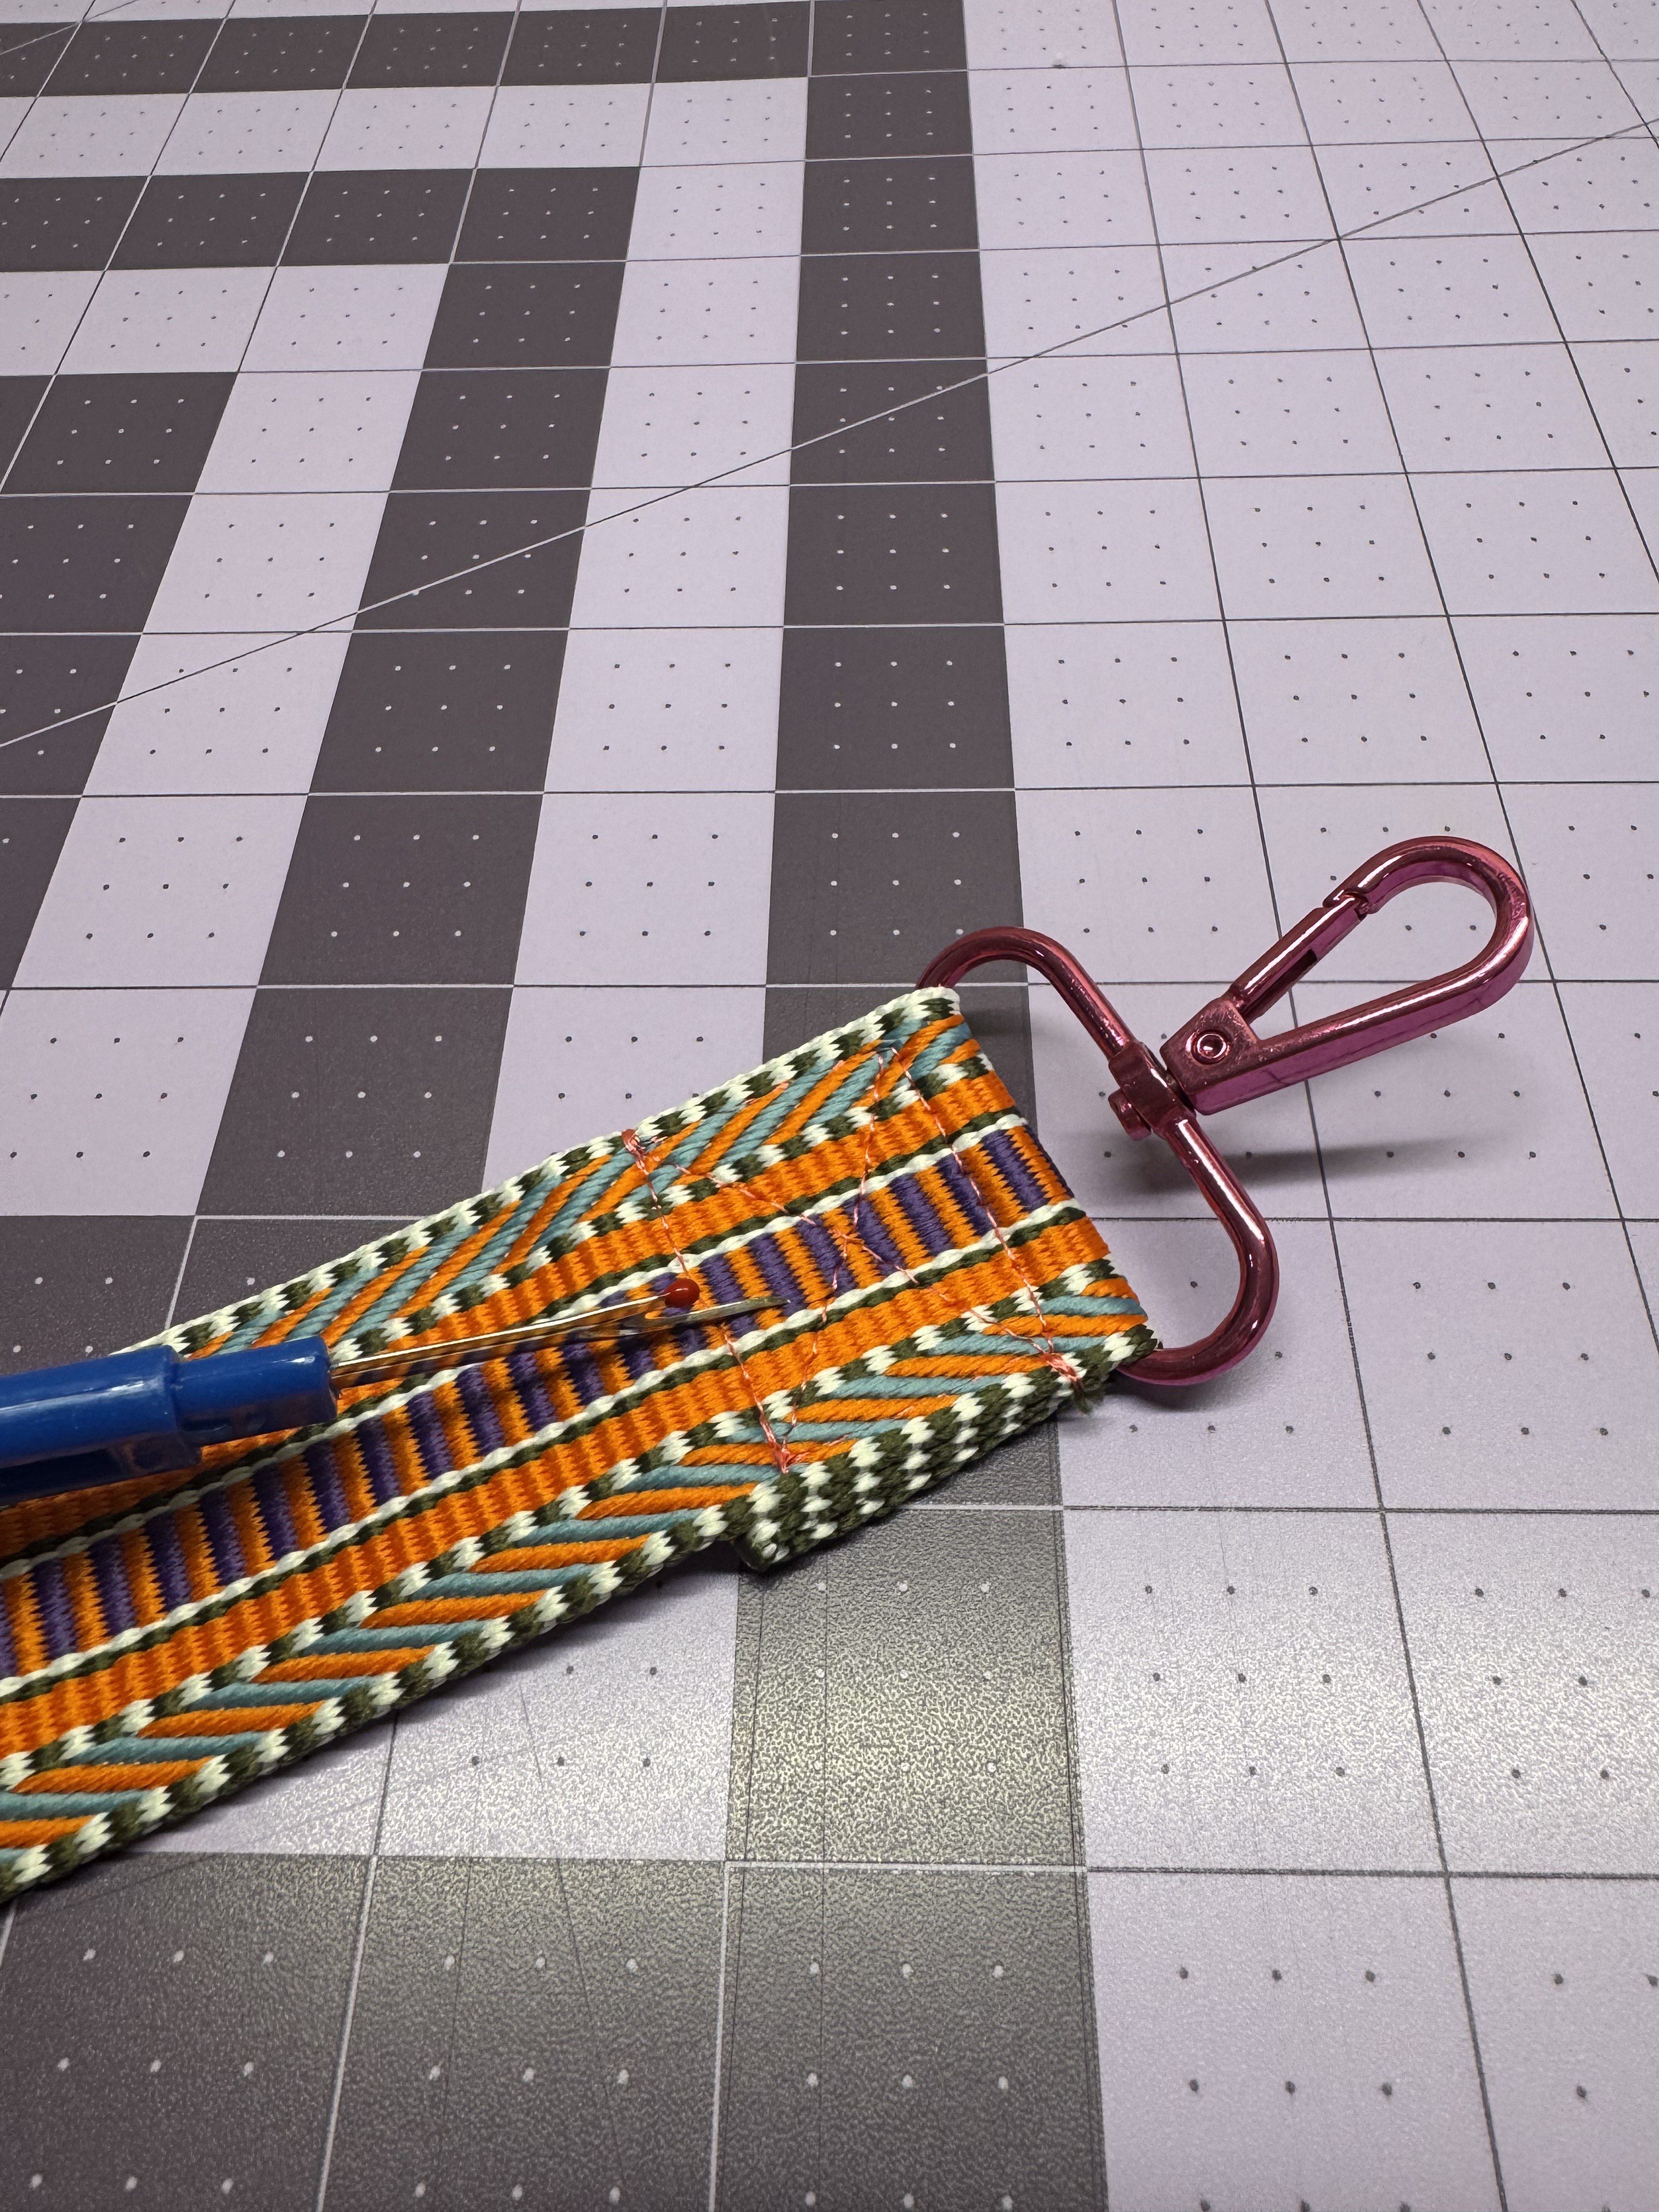
Attach the swivel hooks to the D-rings on your tote bag.
Adjust the strap length as desired using the slider.
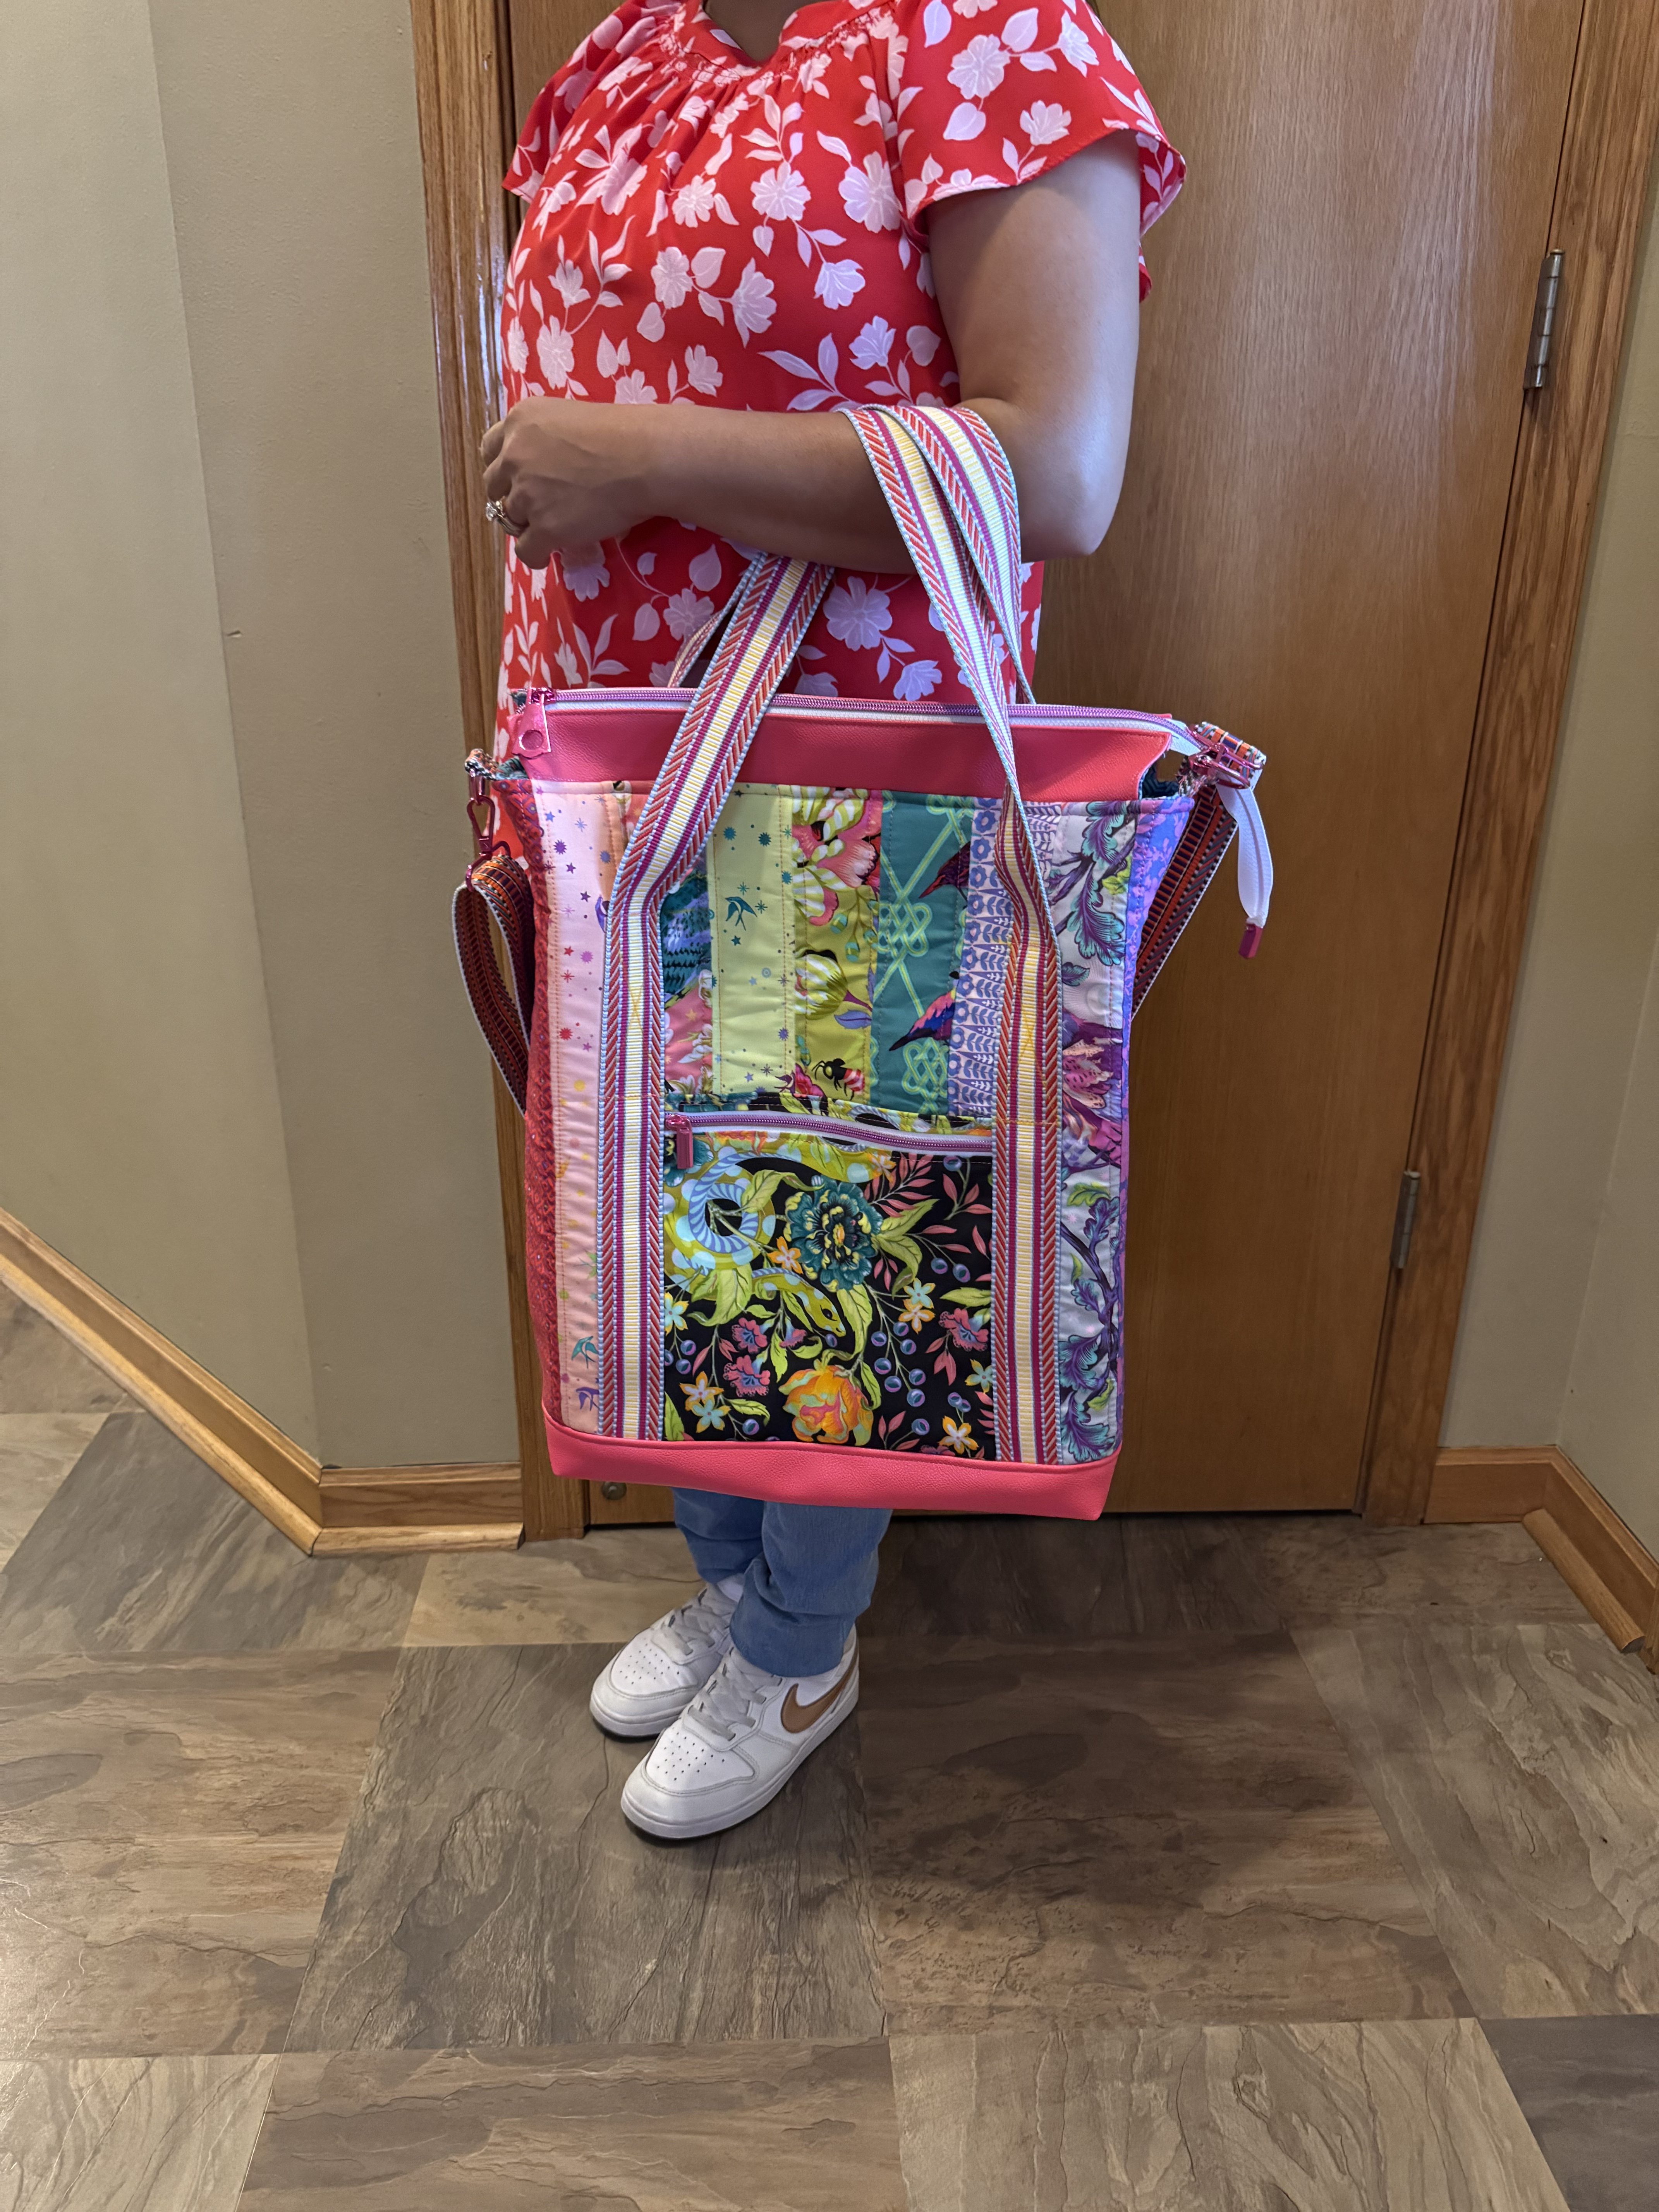

Your Arcoíris Tote Bag is Now Complete!
Enjoy your finished project—and wear it proudly!