Embellishing a Back to School Dress with Cording

Alas, the inevitable day has arrived. My youngest child will be entering Kindergarten in one short month. Though the thought of my last child being school-aged has me a little weepy, I felt it only appropriate to celebrate this parenting milestone with none other than a mama-made dress! Join me as I create a back-to-school dress for my little lady.
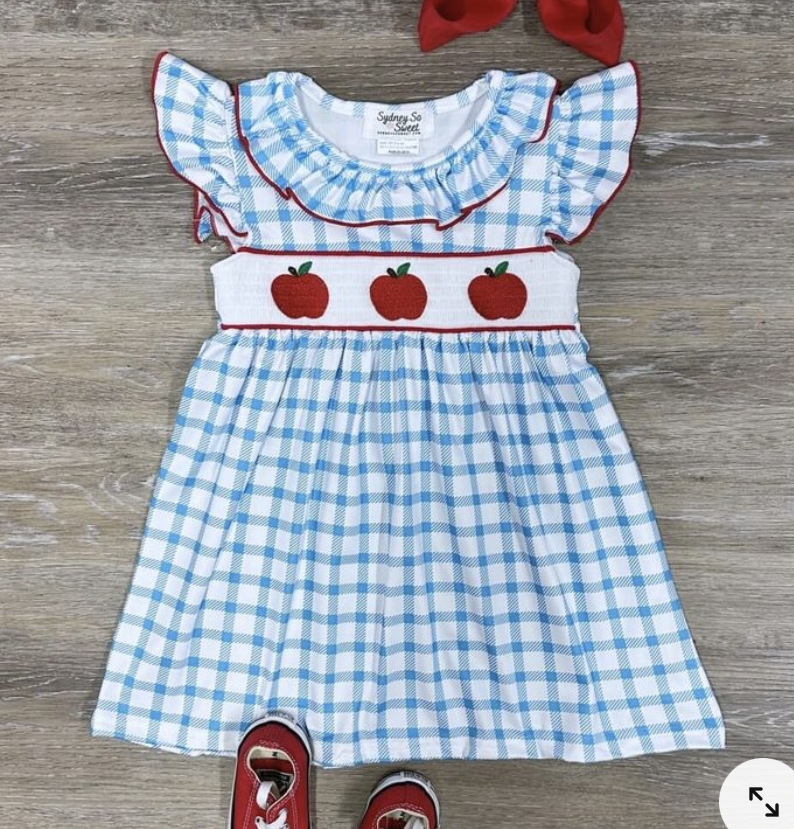
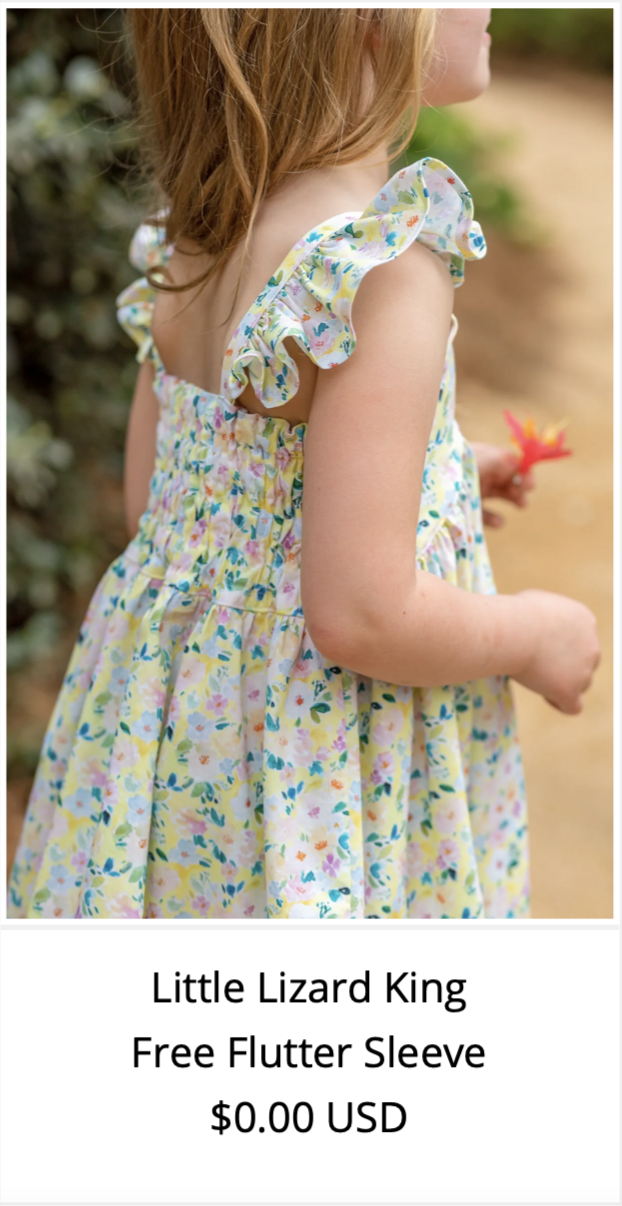
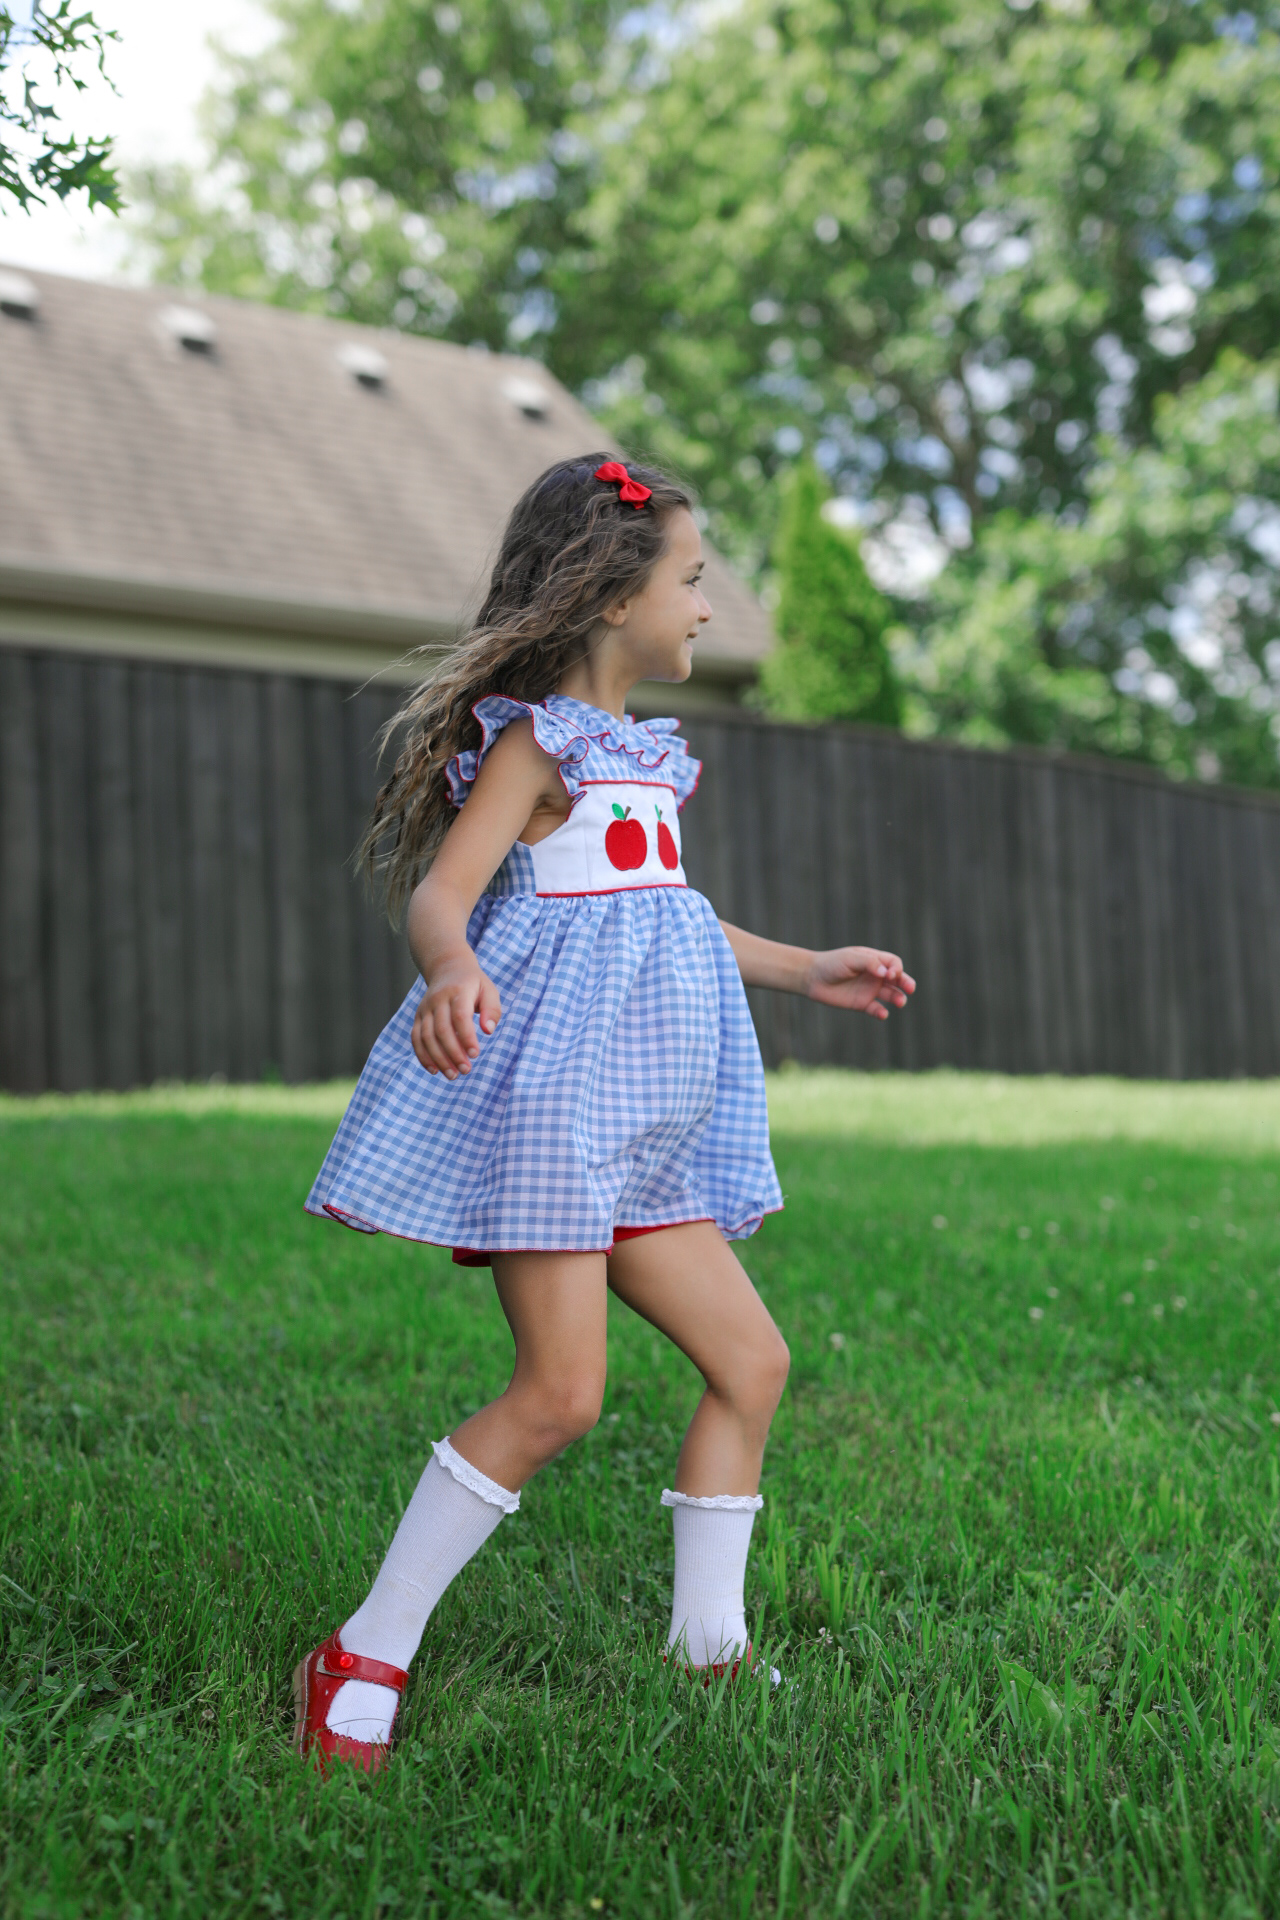
I started this process by searching high and low for an inspiration dress. I wanted something that had a touch of back-to-school, without being too on the nose about it. In my searching, I stumbled upon this adorable image on Pinterest. I thought, “Hey, I can make that!”
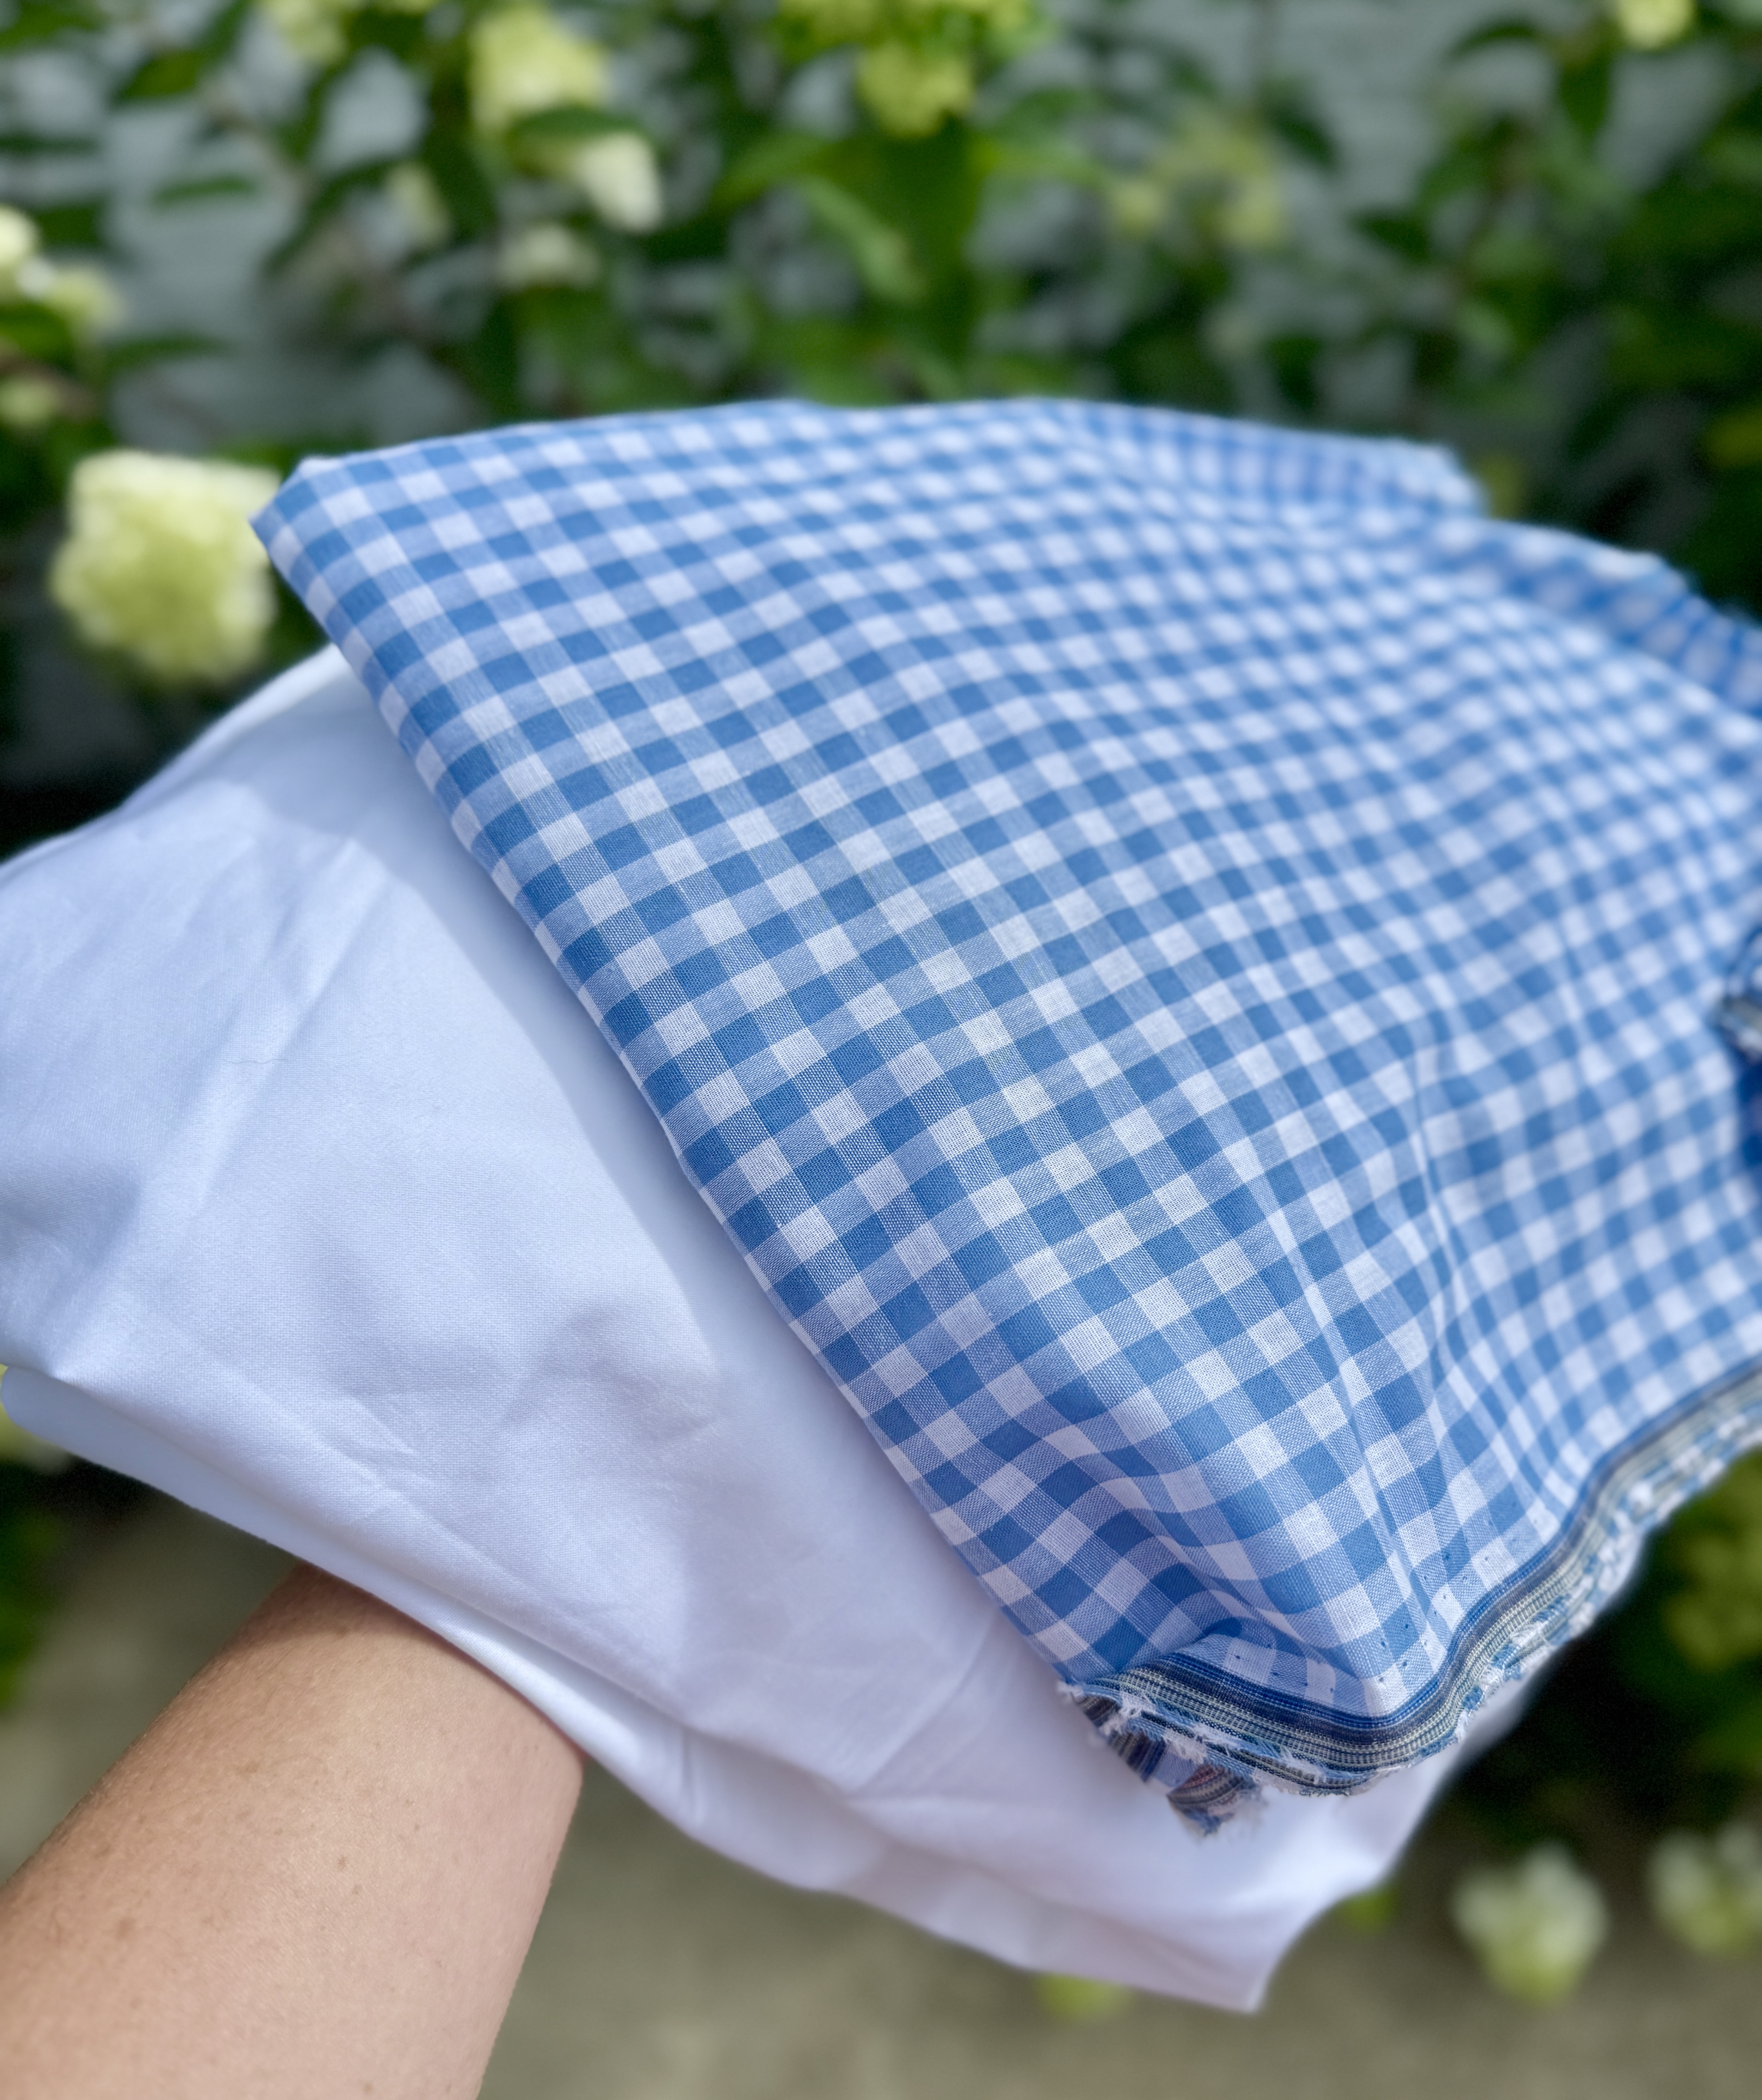
I already had some vintage blue gingham and crisp white cotton stored away in my stash pile, just dying to be used. Check!
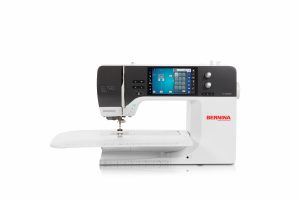
Next, the hunt for the perfect pattern began. From the inspiration photo, you can see that there is a smocked panel insert featuring an apple design. Though I do not have the skills to smock, I DO have the skills to embroider on my B 790 PRO! So, I began searching for a pattern that had a panel insert on the front bodice that I could later embroider. I debated on a few pattern suggestions before deciding to move forward with the Roanoke pattern by Little Lizard King.
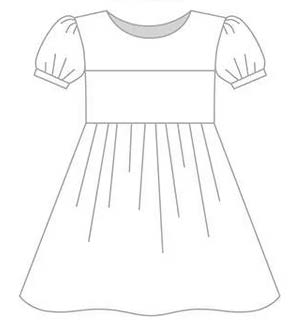
The front panel insert looked to be the perfect size for embroidering little apples. Check! However, it did not include the ruffle sleeves or the ruffle collar that the inspiration photo had. Thankfully, a little perusing of the Little Lizard King Blog revealed that there were already posts on how to alter a pattern to have a ruffled collar and ruffled sleeves!
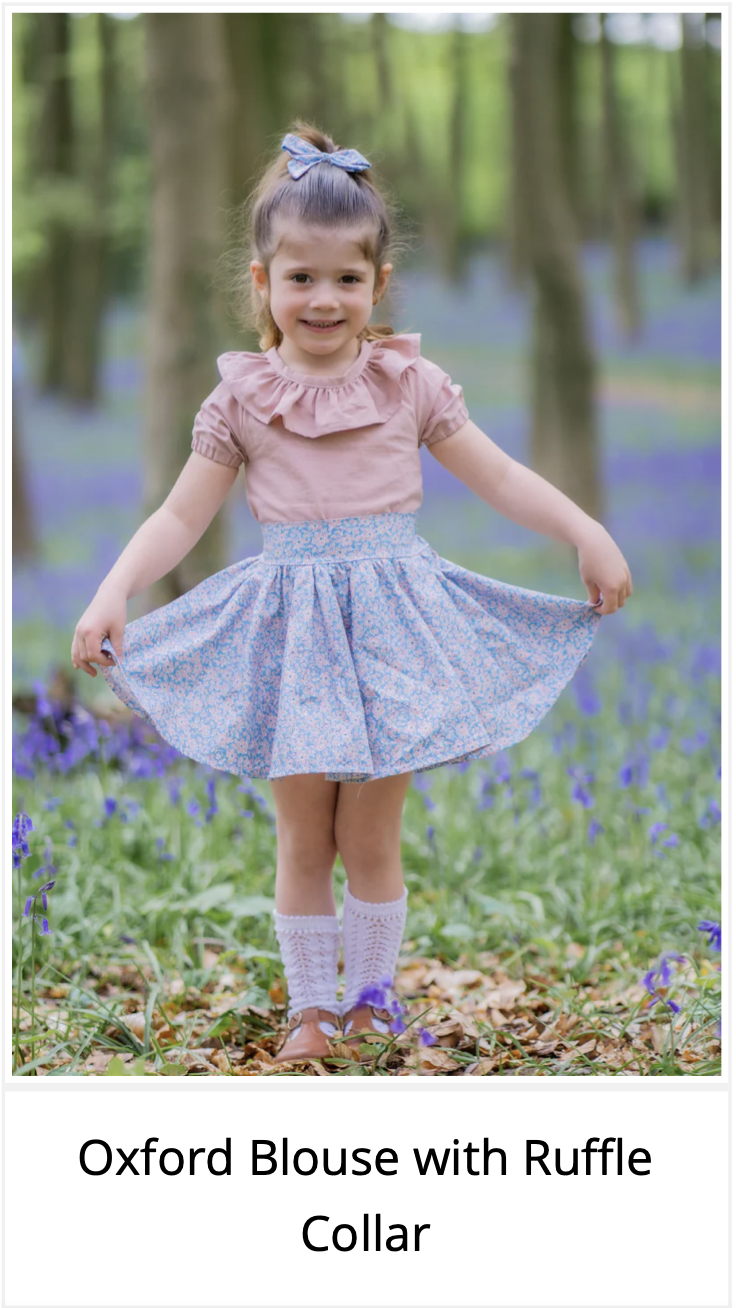
There was even a free pattern for the ruffled sleeves.
Check and check! The pattern was purchased, and the pieces were cut.
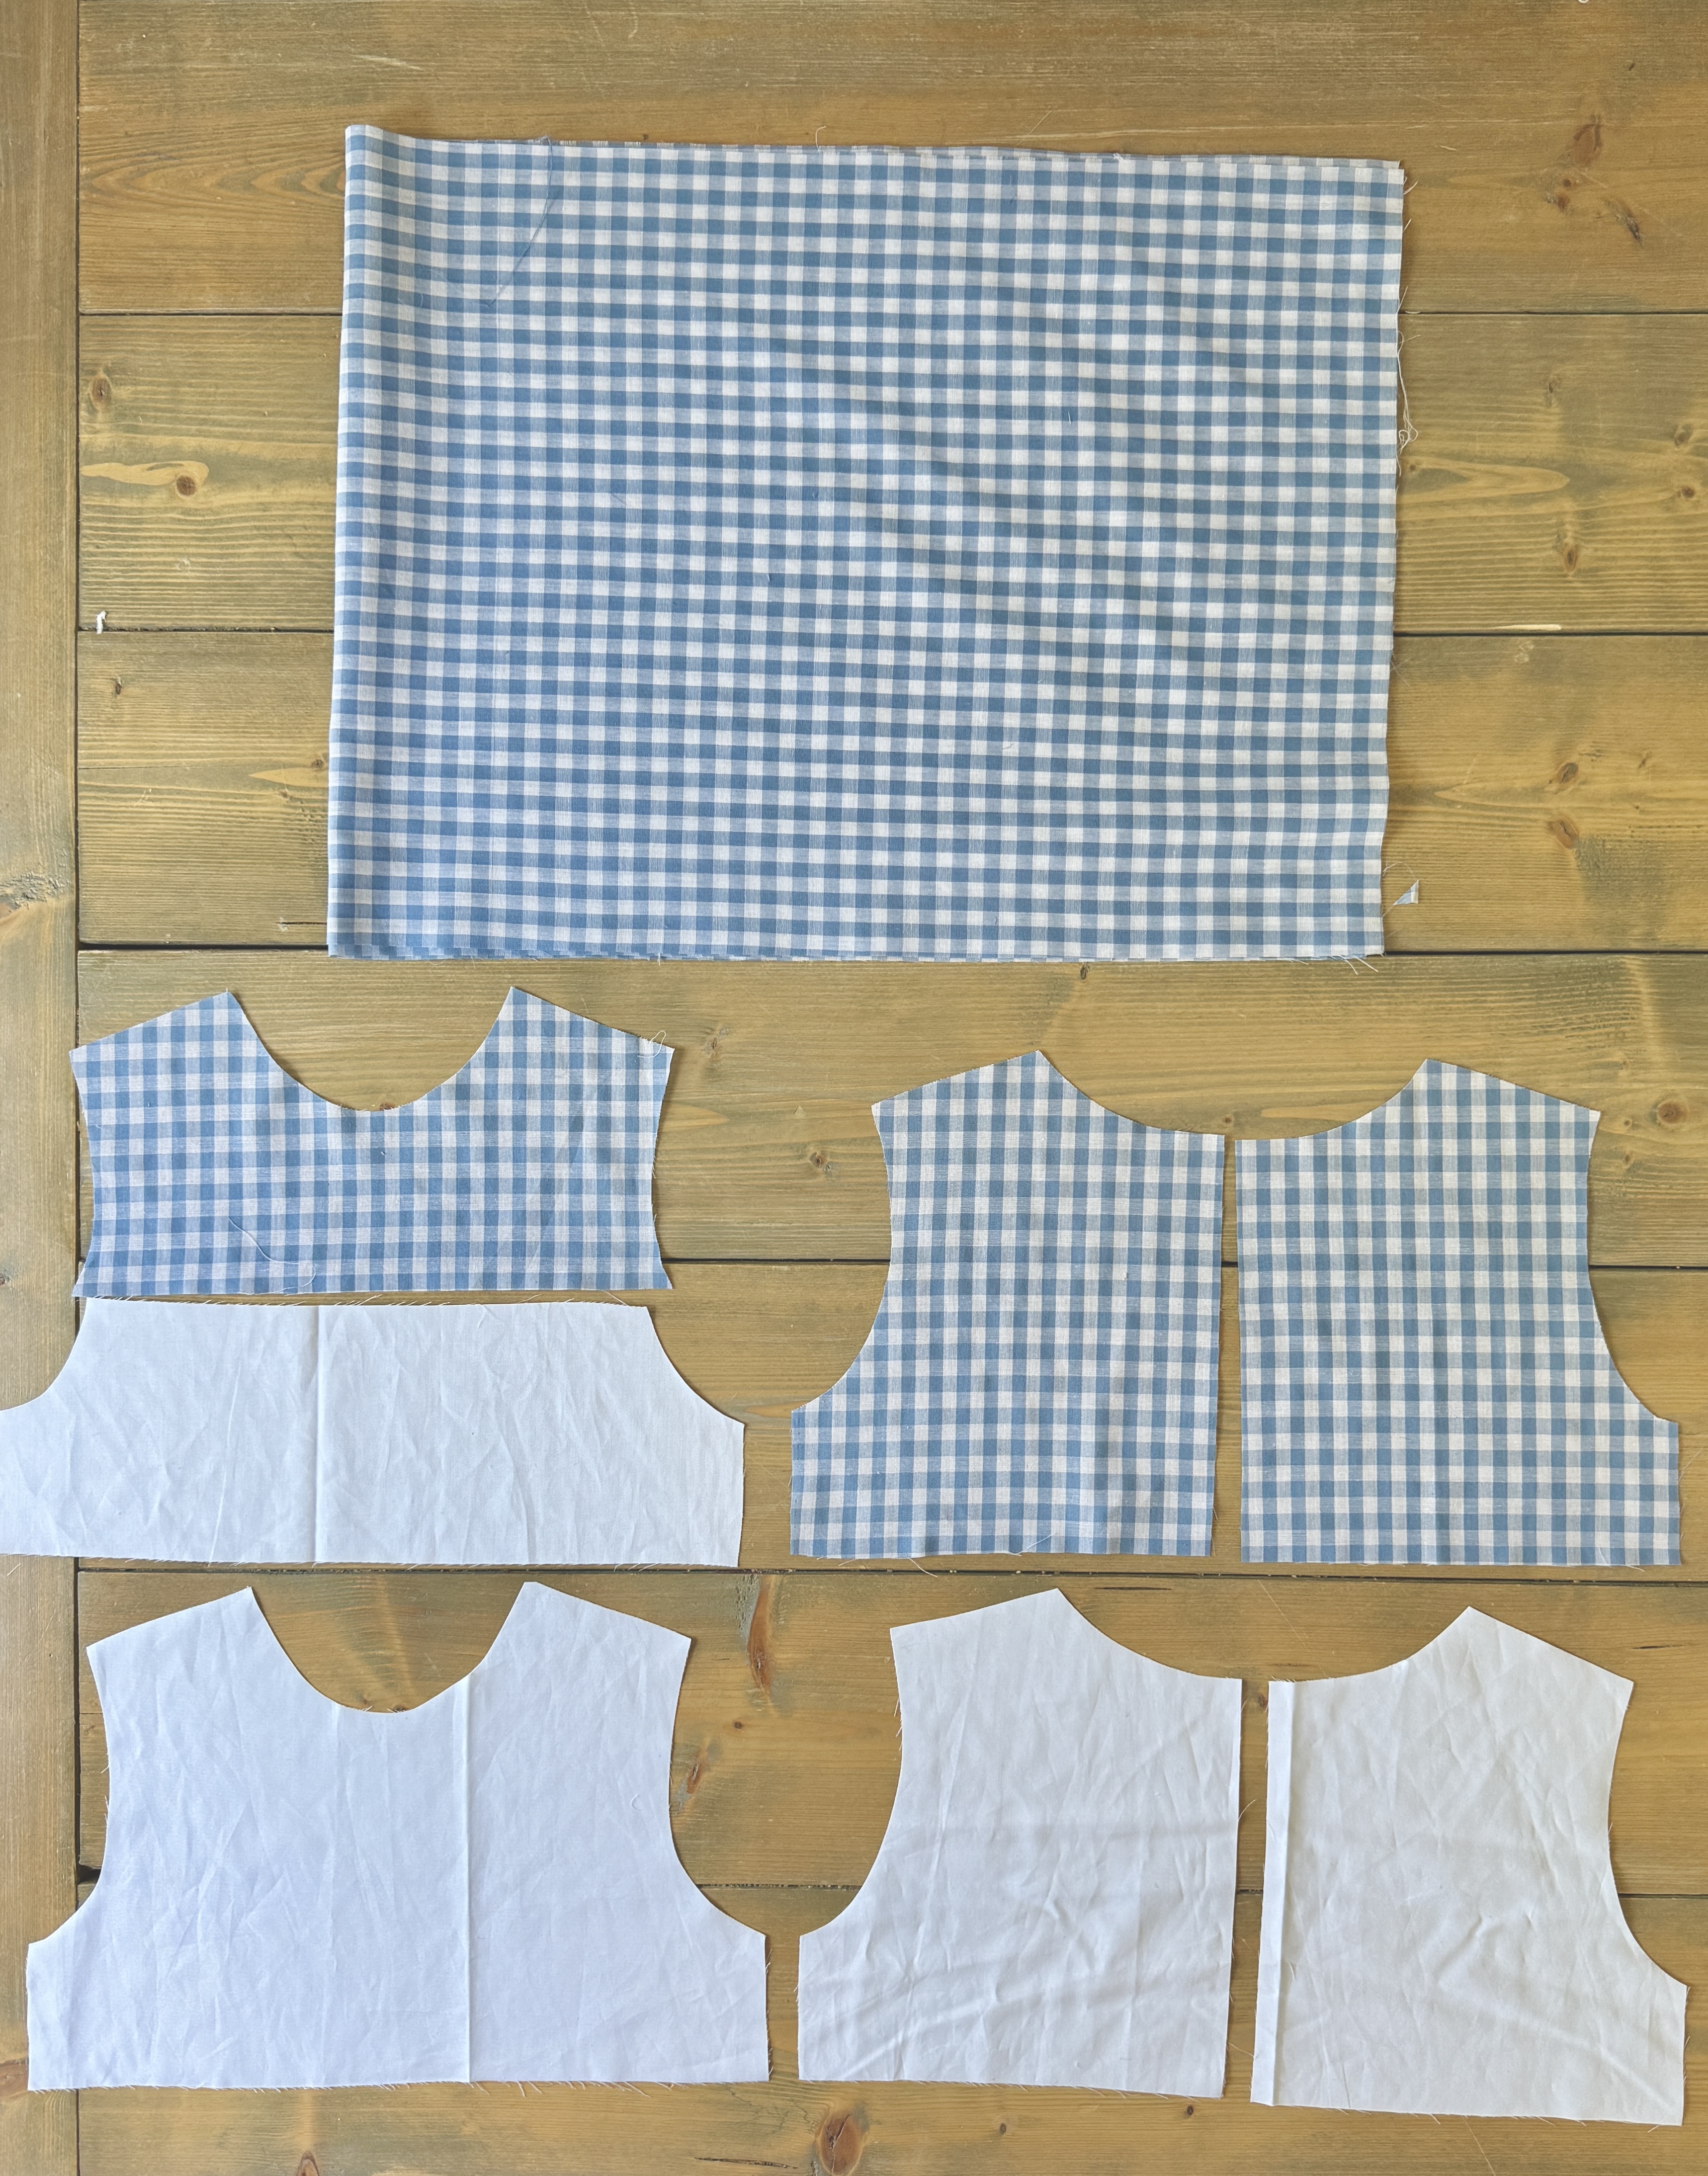
For this dress, I cut:
- 1 Front Top Bodice (in gingham)
- 1 Front Bottom Bodice (in white)
- 1 Front Bodice Lining (in white)
- 4 Back Bodice Pieces (2 in gingham, 2 in white)
- 2 Skirt Pieces (in gingham)
I also cut:
- 1 Ruffle Collar Piece (in gingham using this tutorial).
- 1 Bias Binding Piece (in gingham using this tutorial).
- 2 Ruffle Sleeve Pieces (in gingham using this free pattern and tutorial)
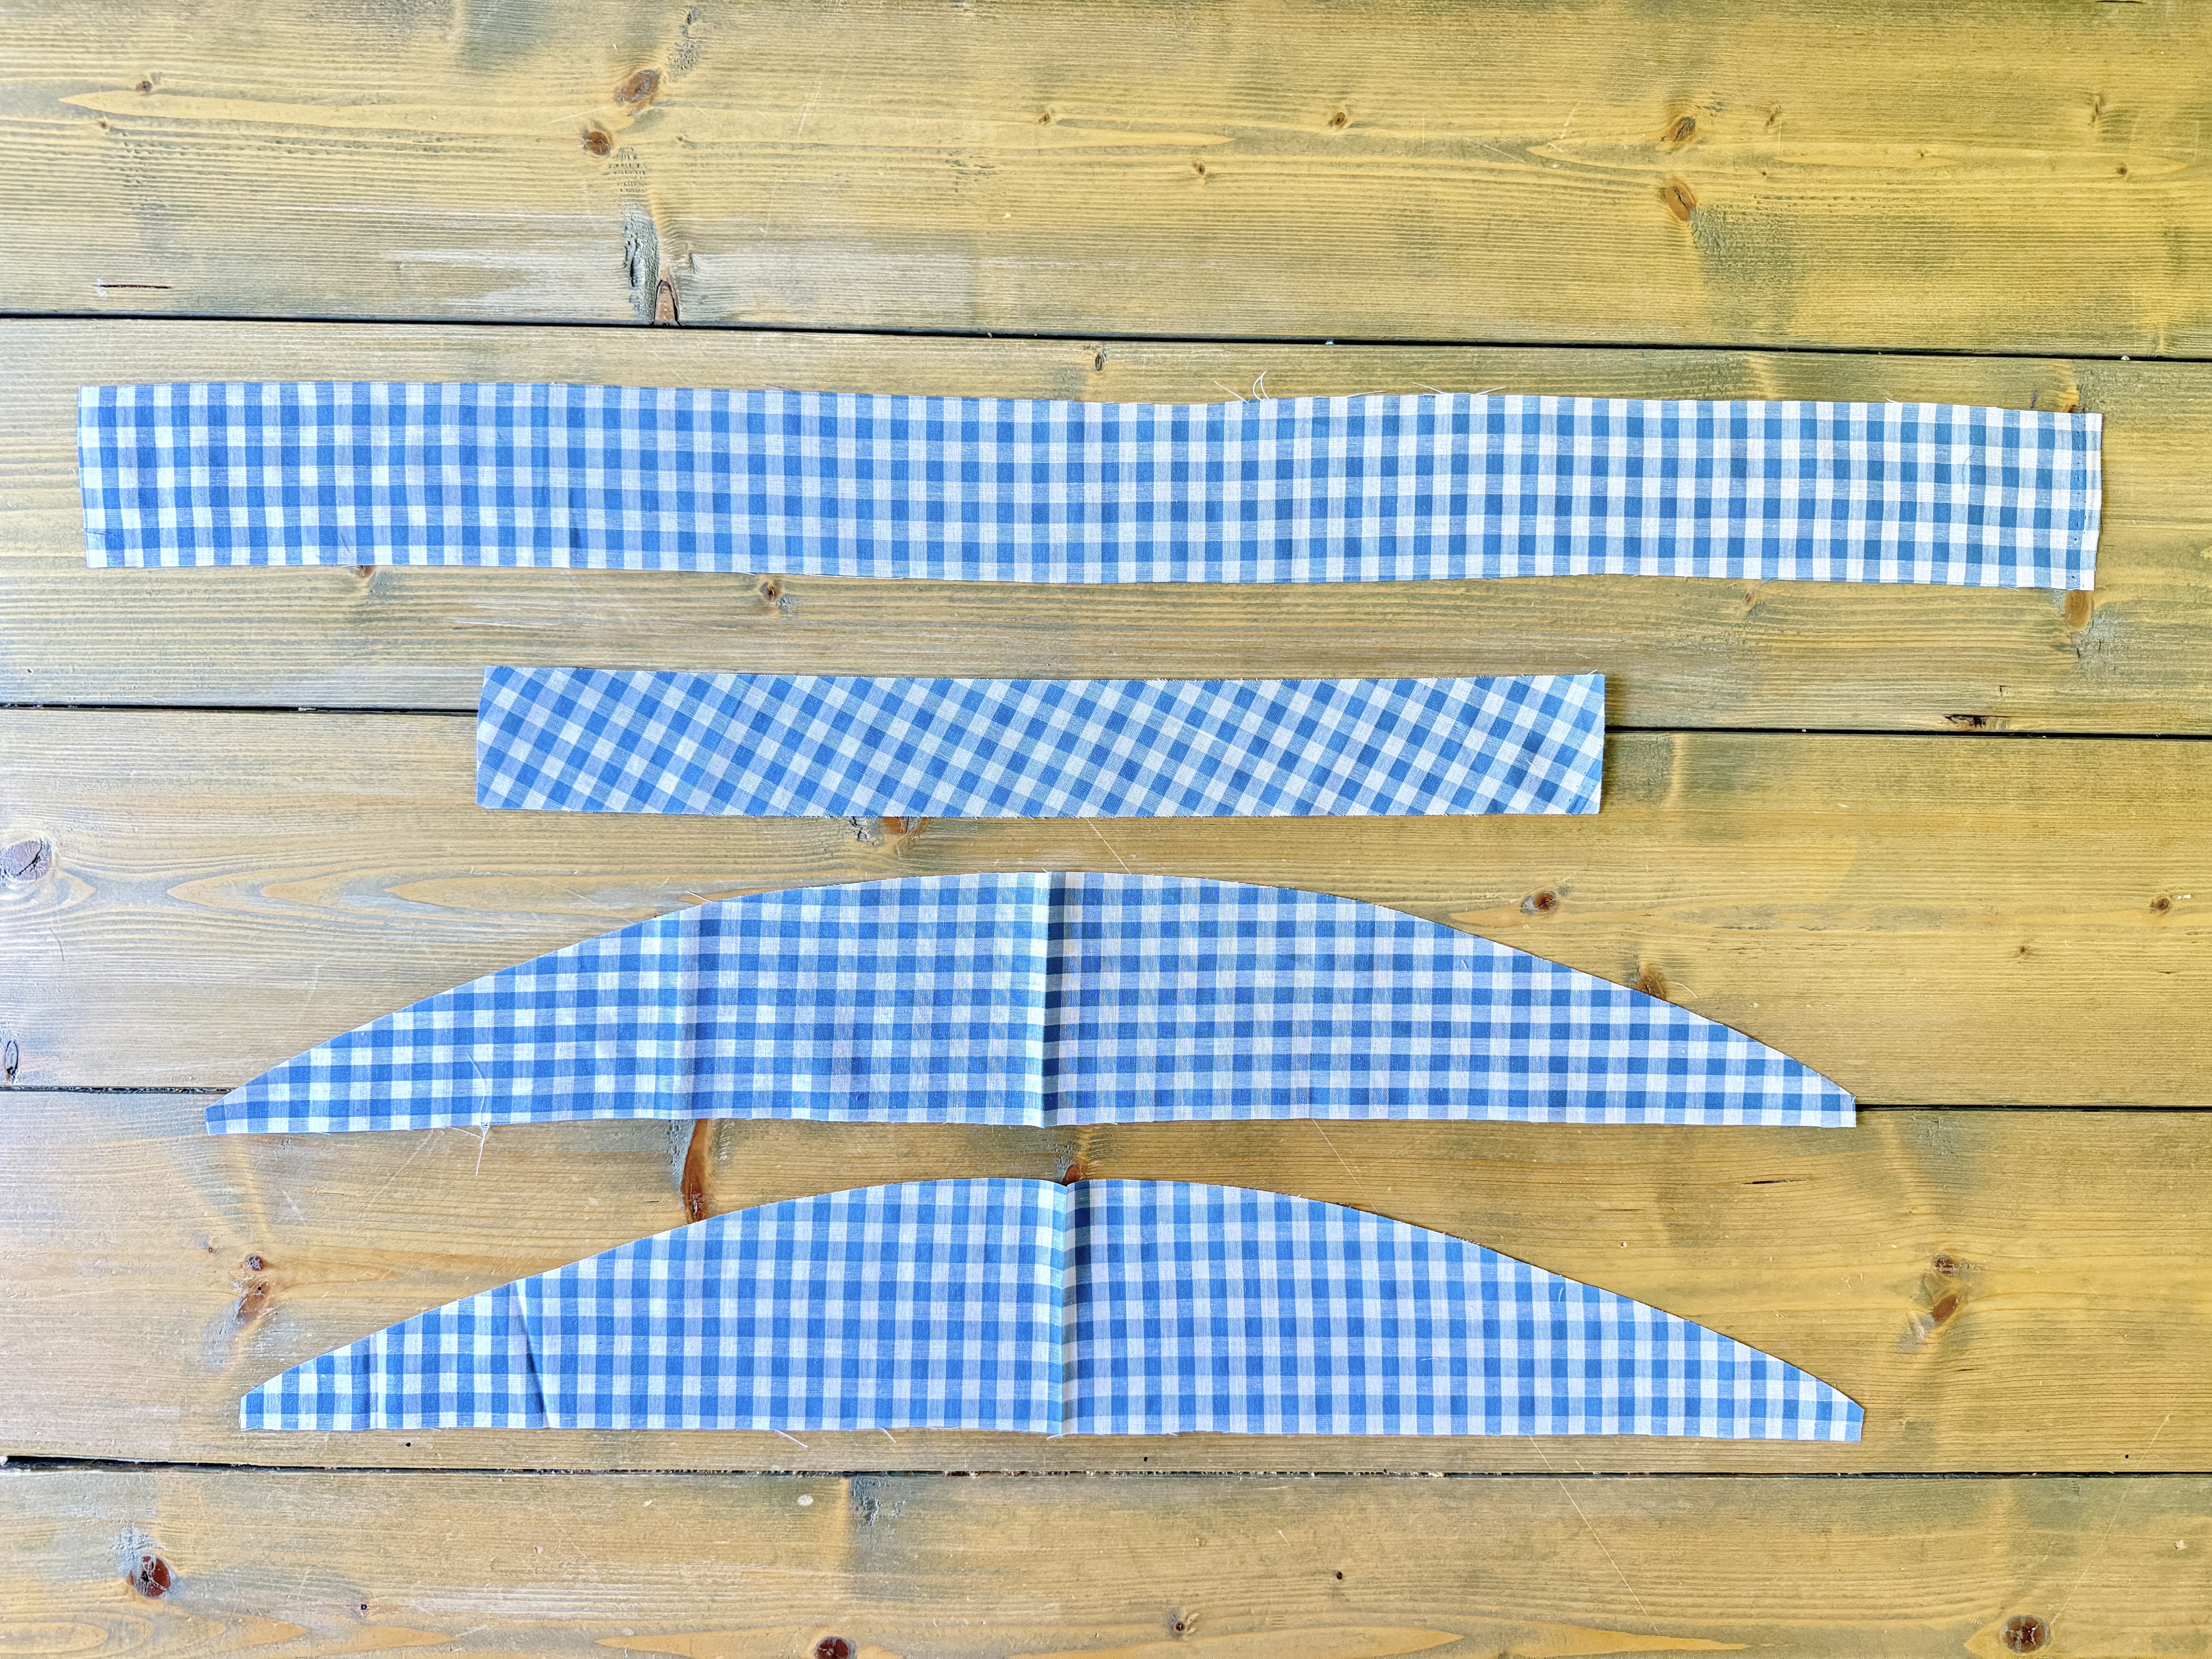
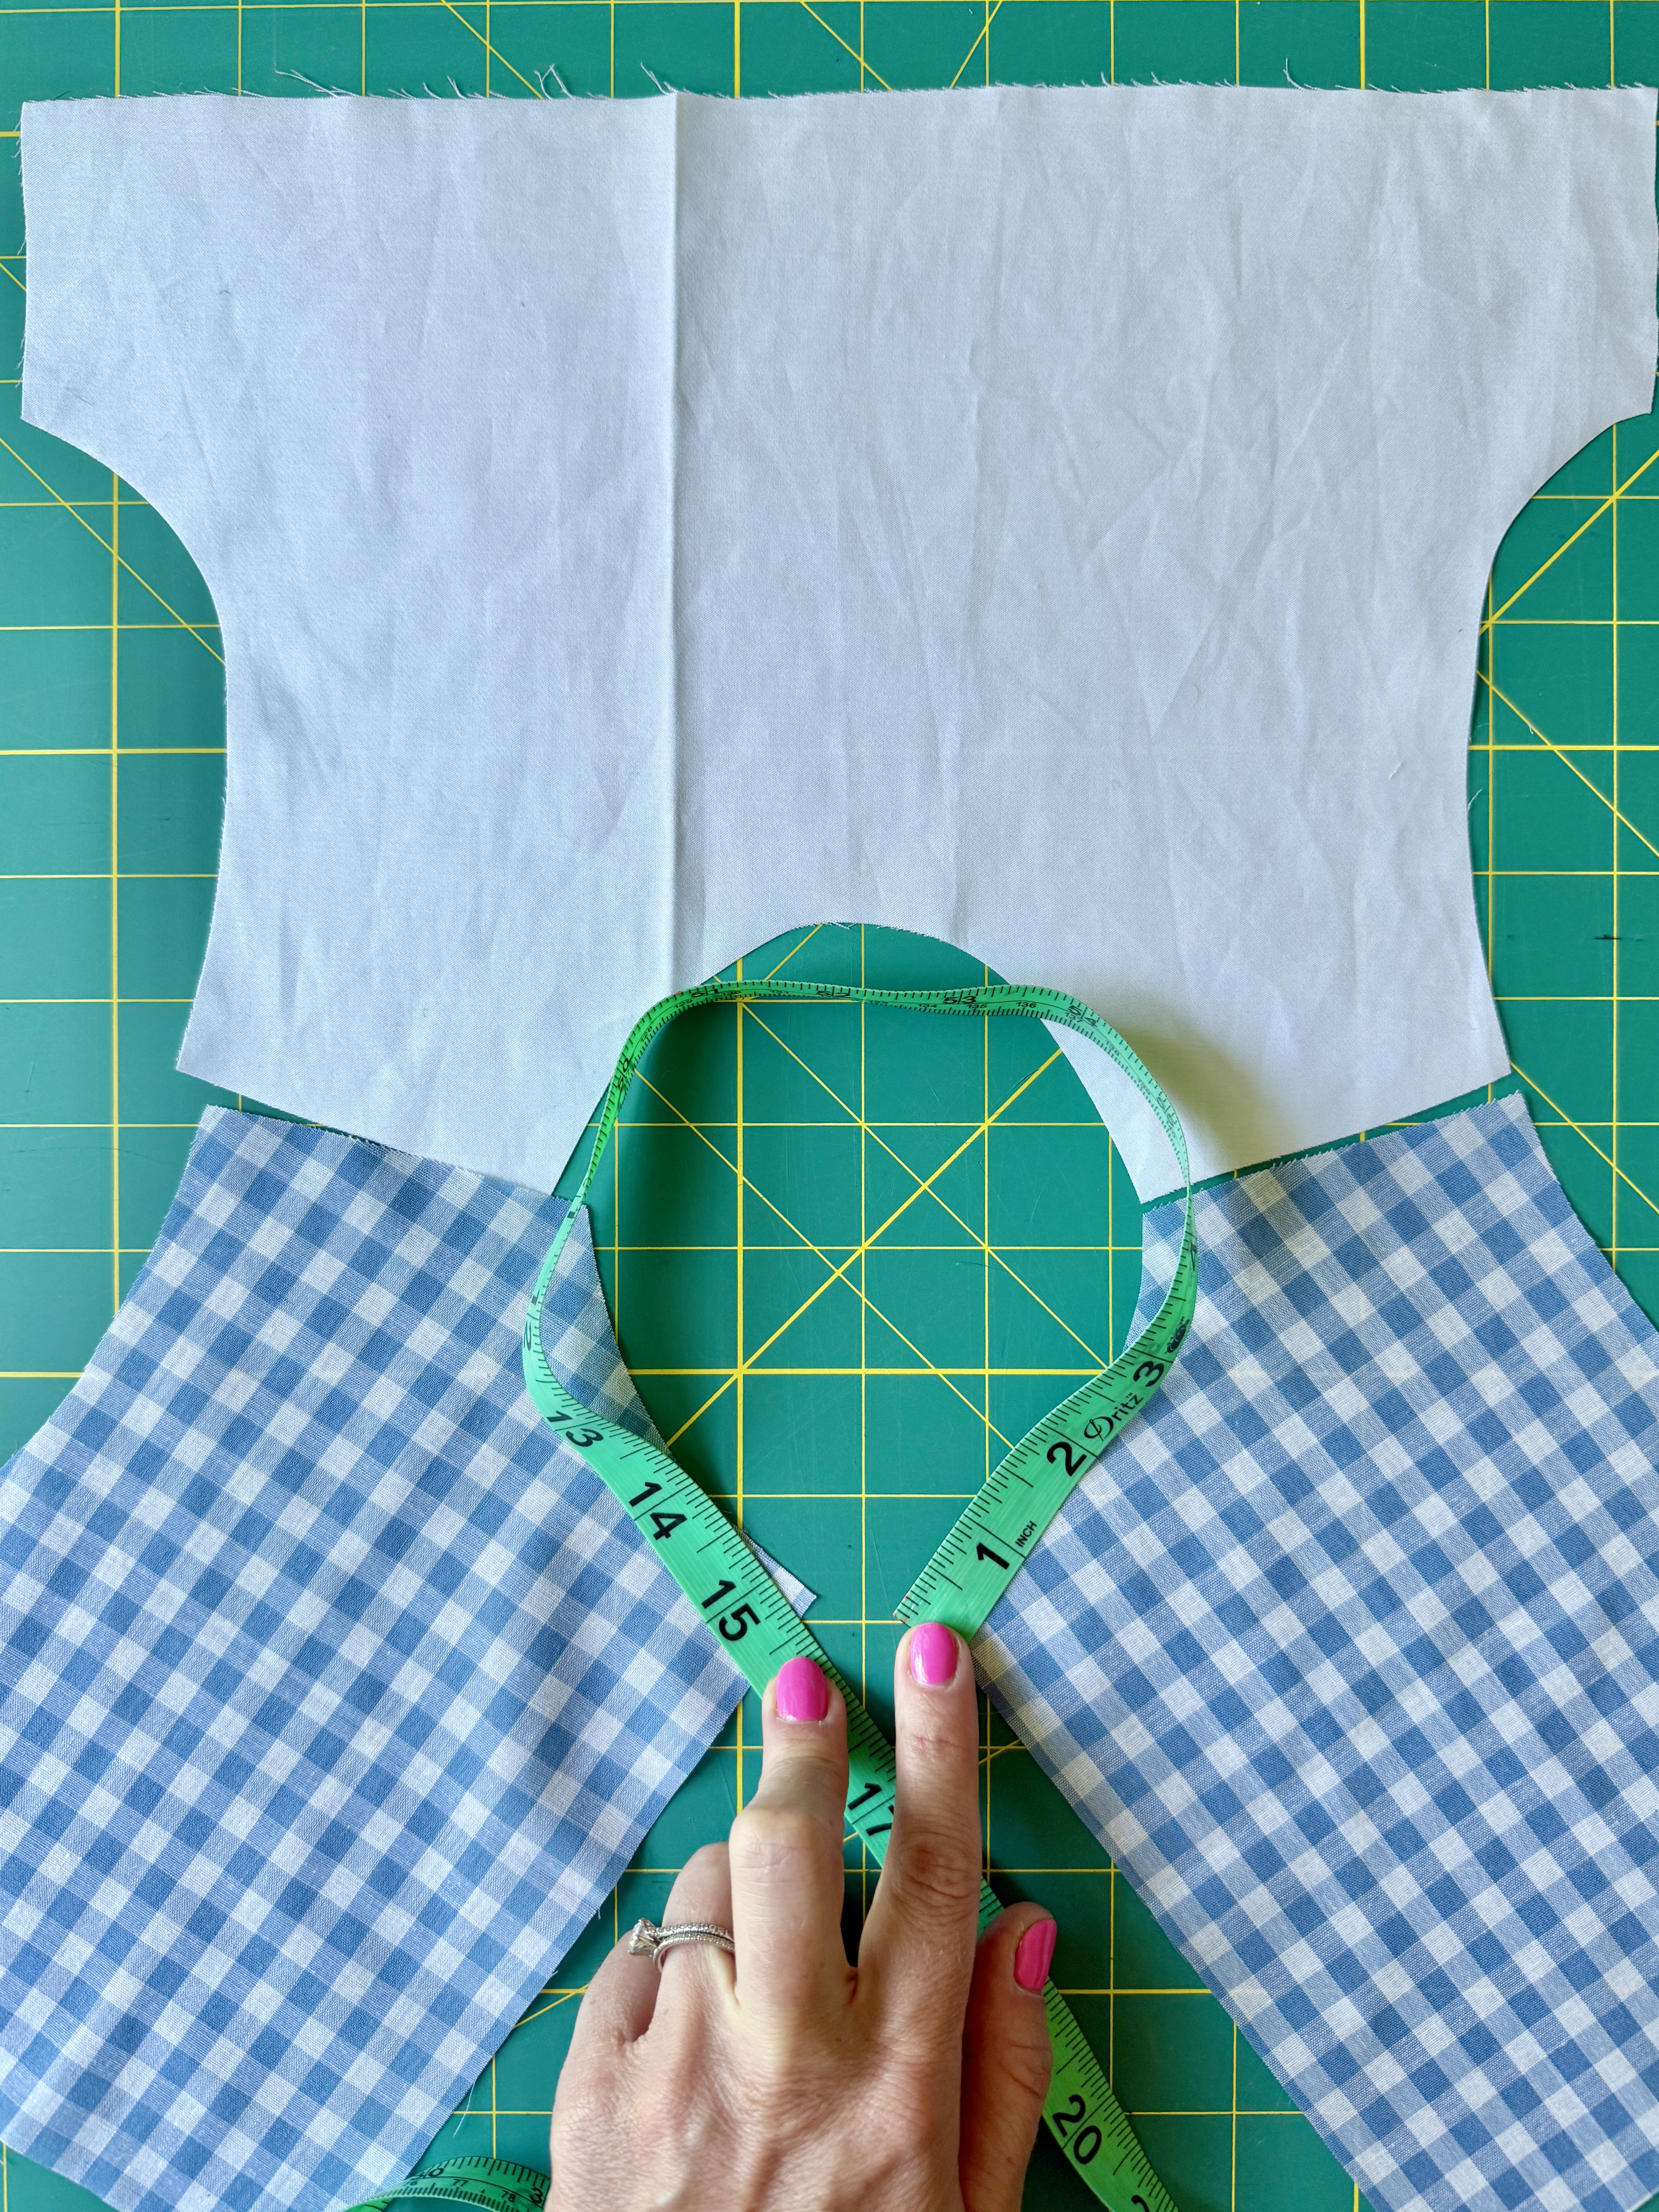
For the Collar Piece, I measured the opening of the neckline for the size 5 that I was cutting. The opening was roughly 15 inches. Following the tutorial, I doubled this number so that I could eventually gather the piece to create a ruffle. The length measurement that I cut was 30 inches.
For the height, I decided I wanted it to be 1.5″ once attached. To account for seam allowances on the top and bottom, I added 1″ to that measurement. The height of the collar was cut at 2.5″. To recap, I cut one Ruffle Collar piece at 30″ x 2.5″.
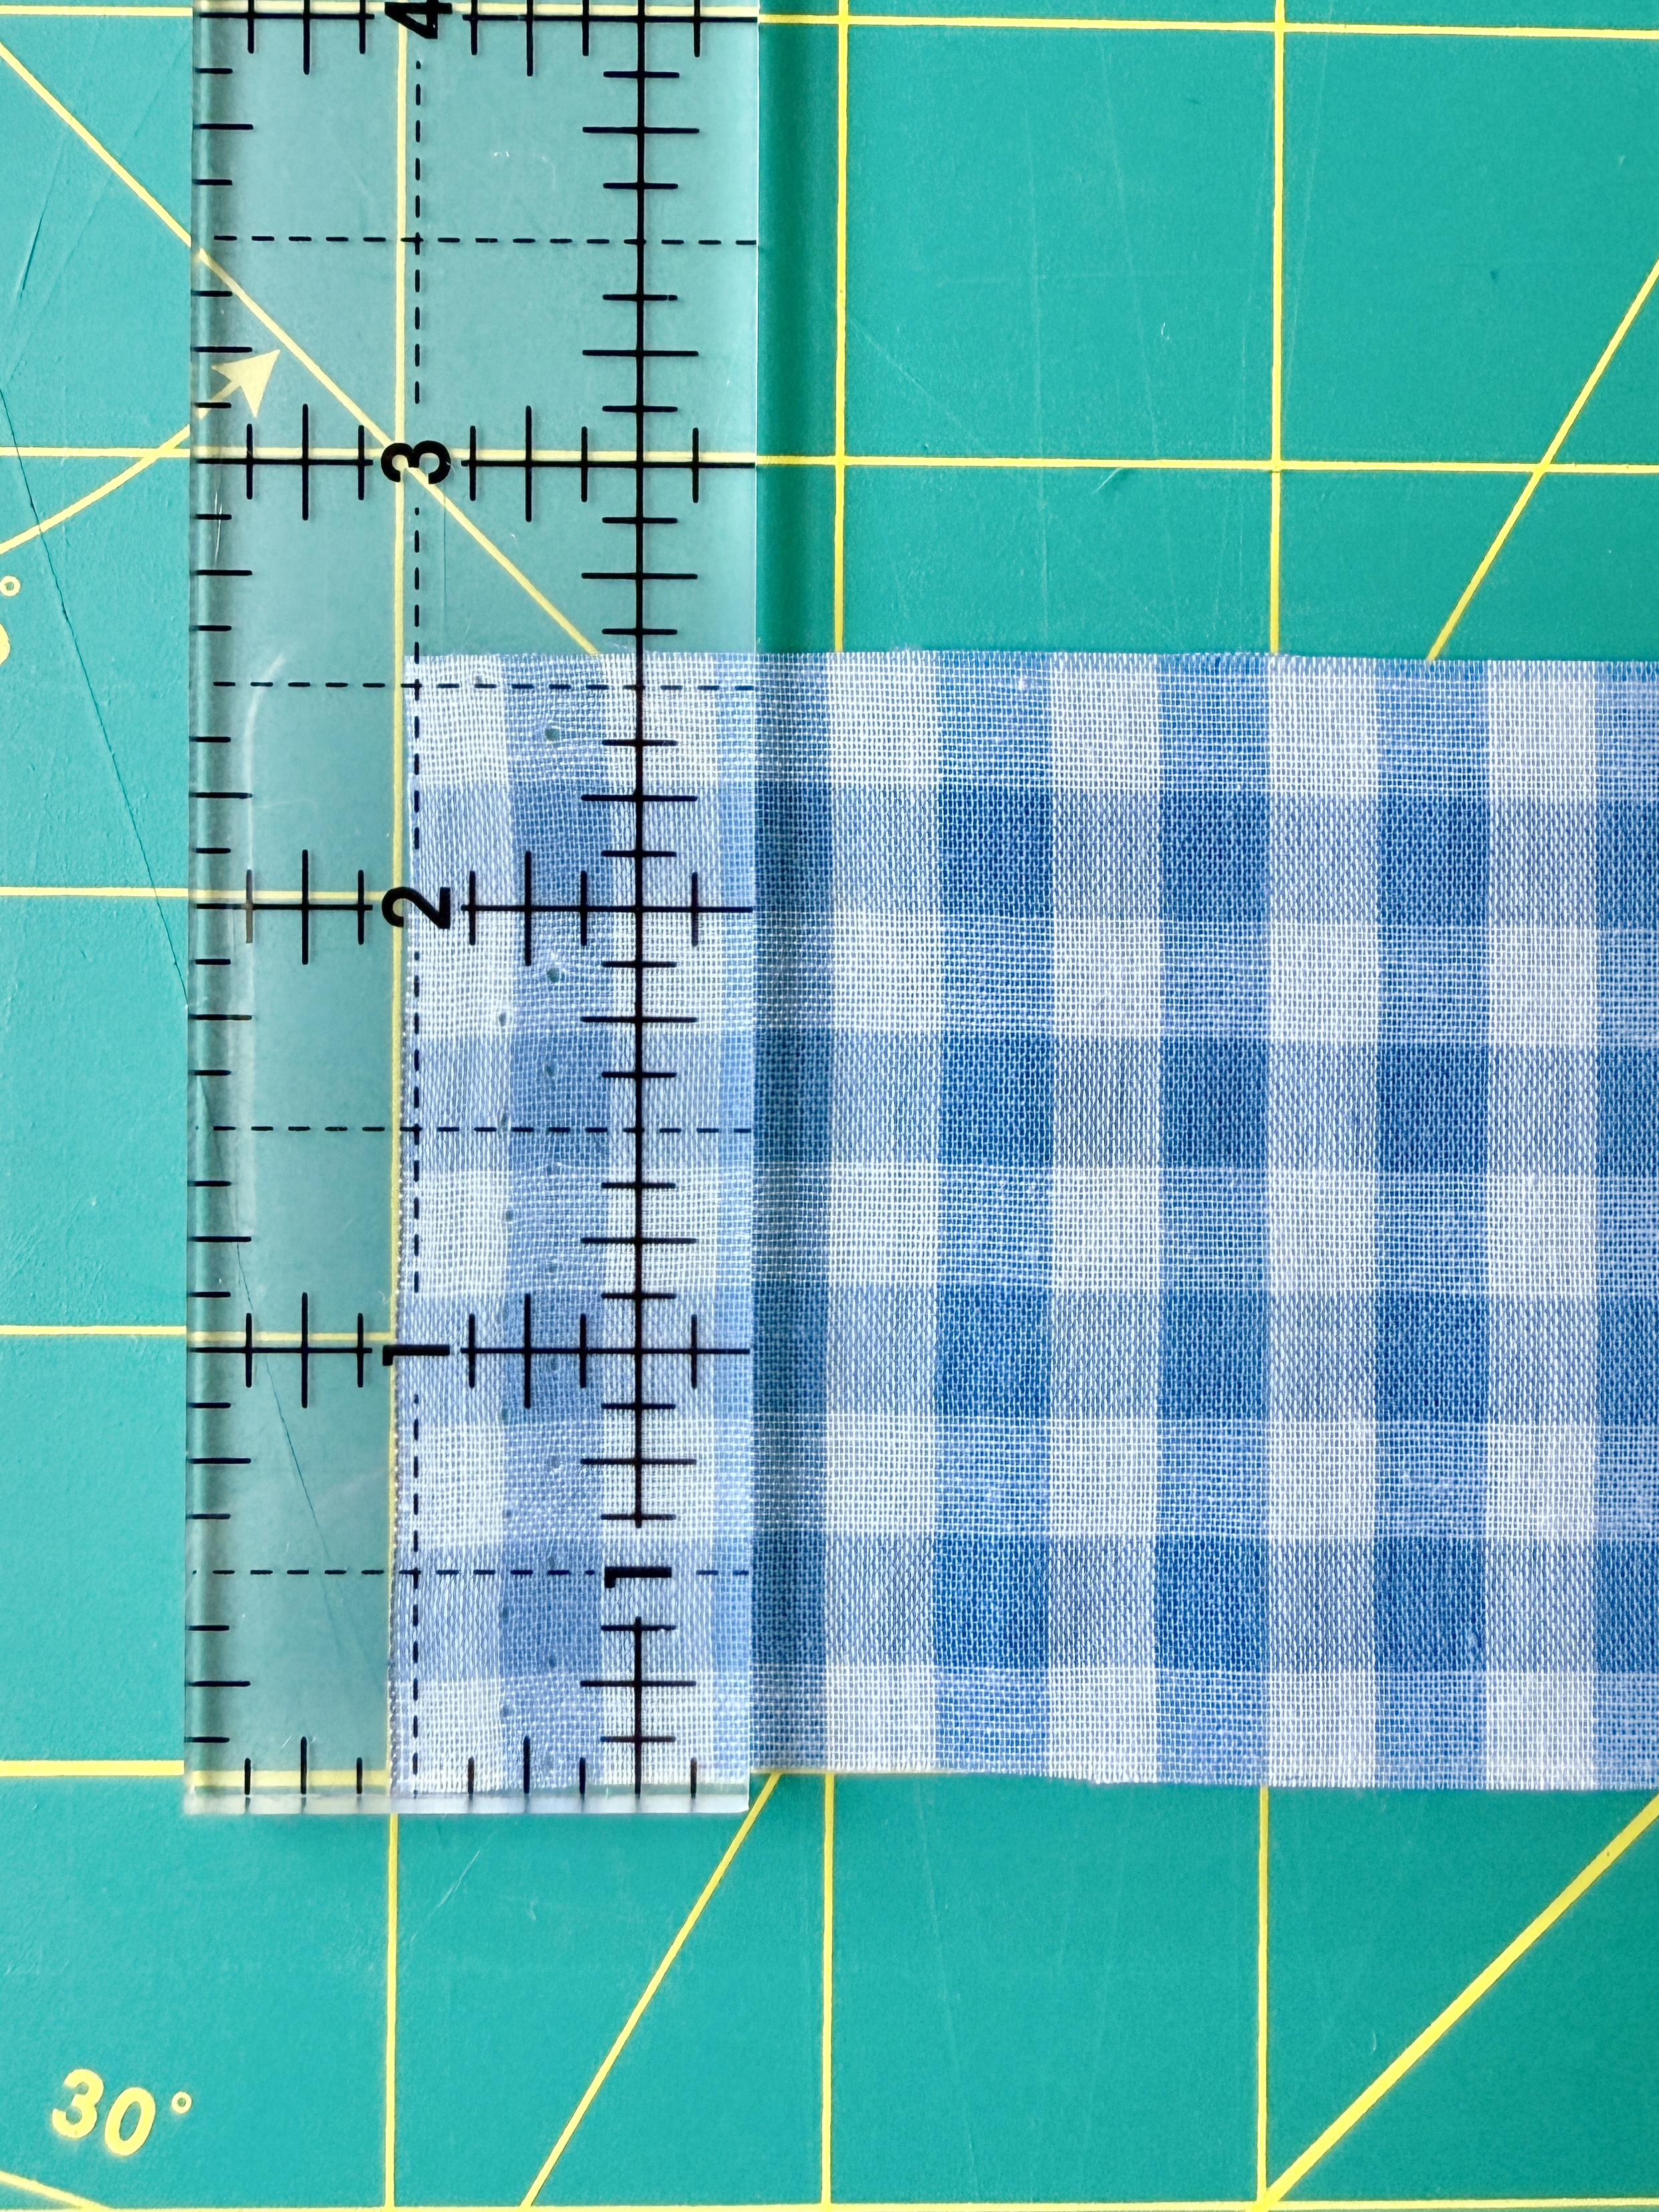
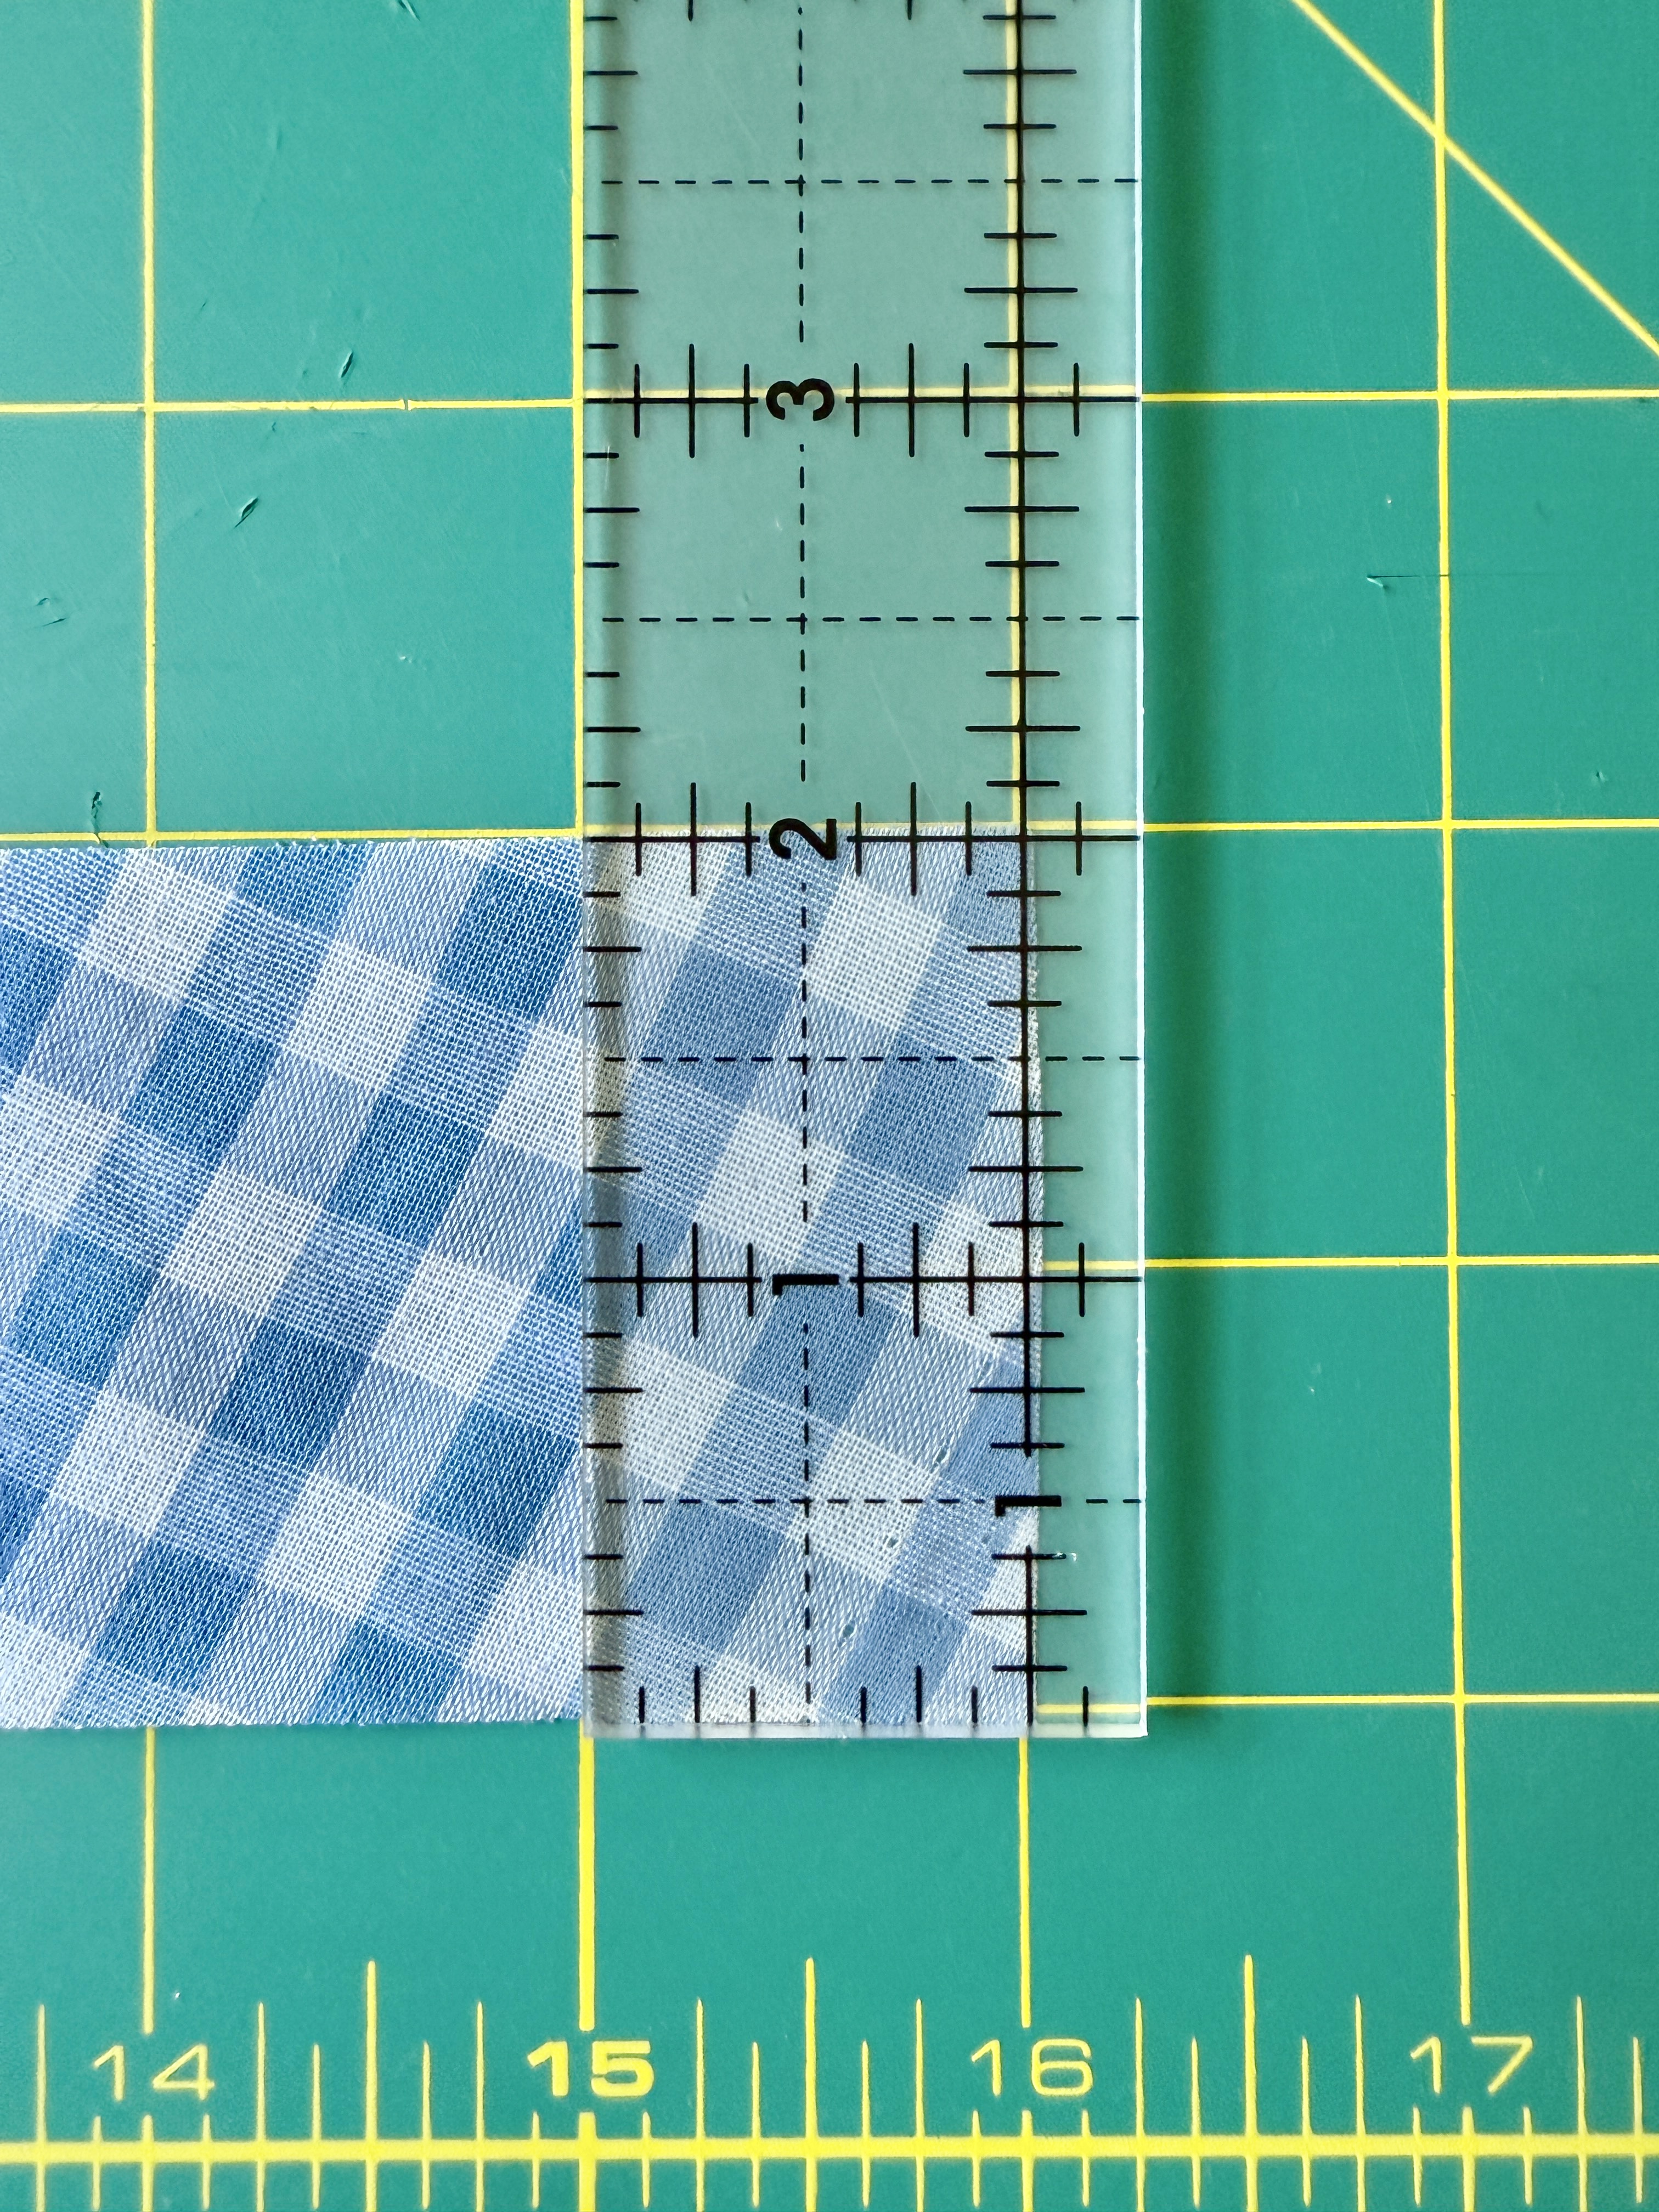
The bias binding piece was cut at 16″ x 2″.
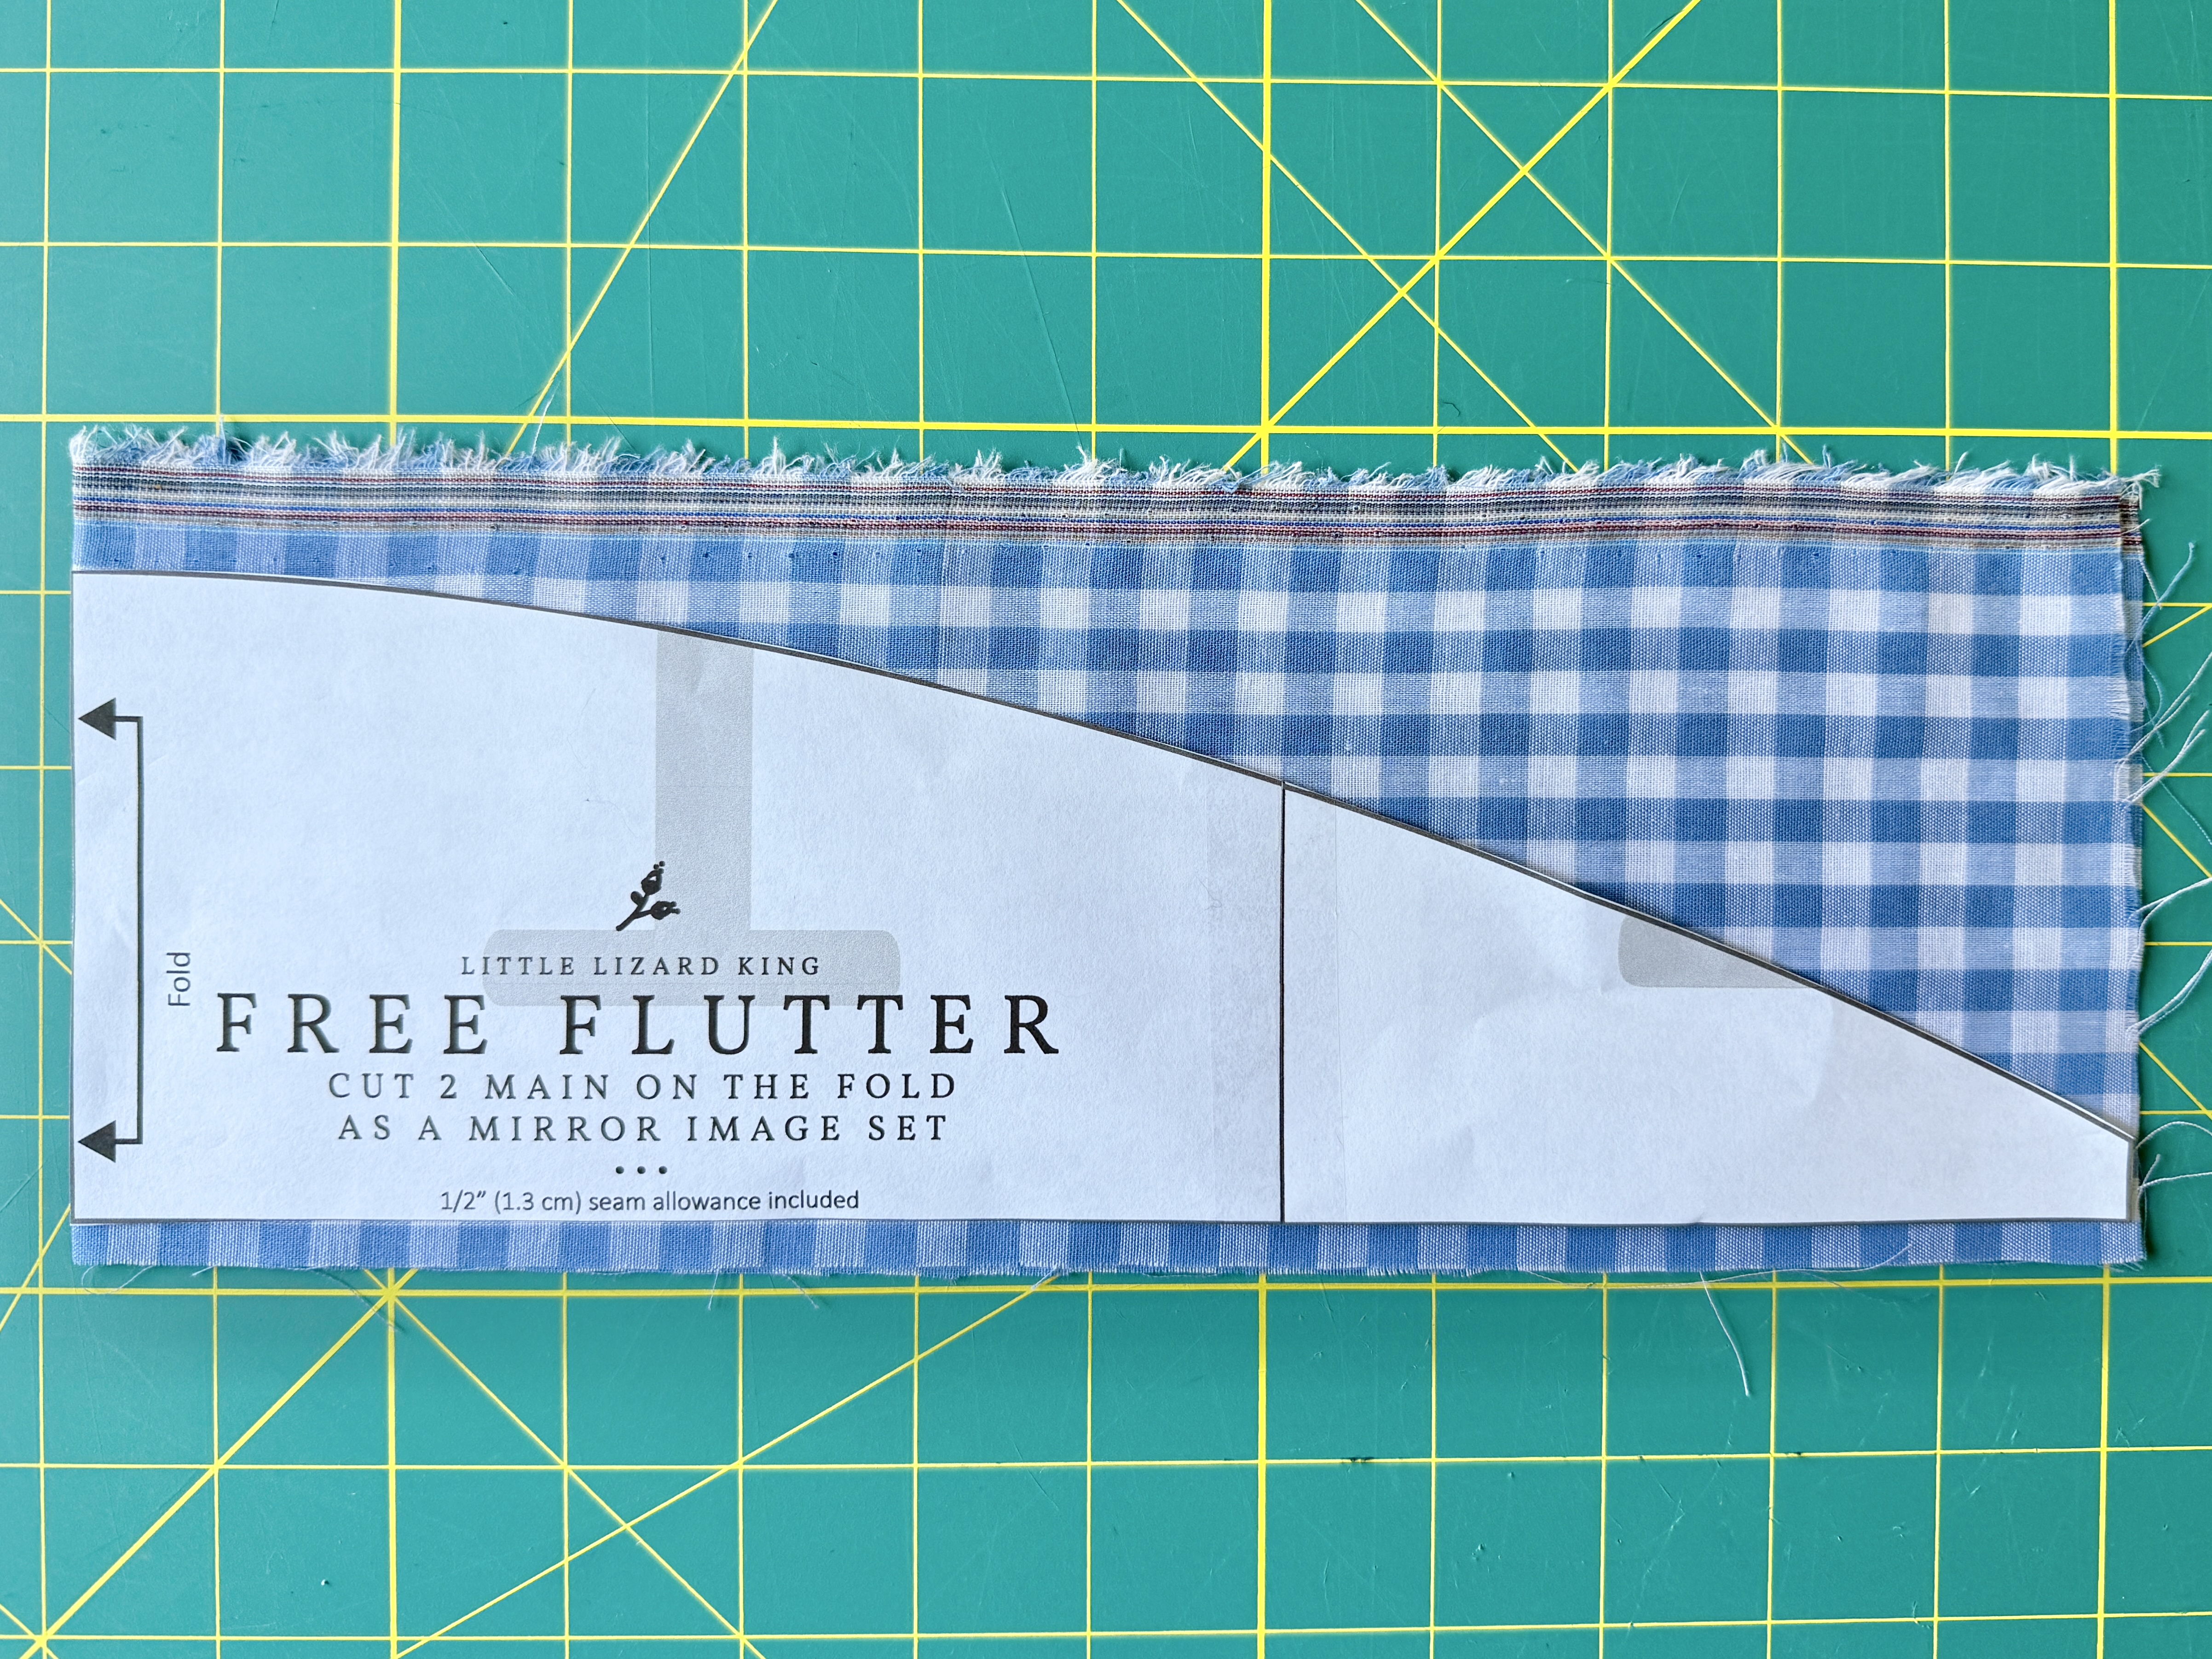
For the Ruffle Sleeves, I used the free pattern and cut 2 size 5 pieces.
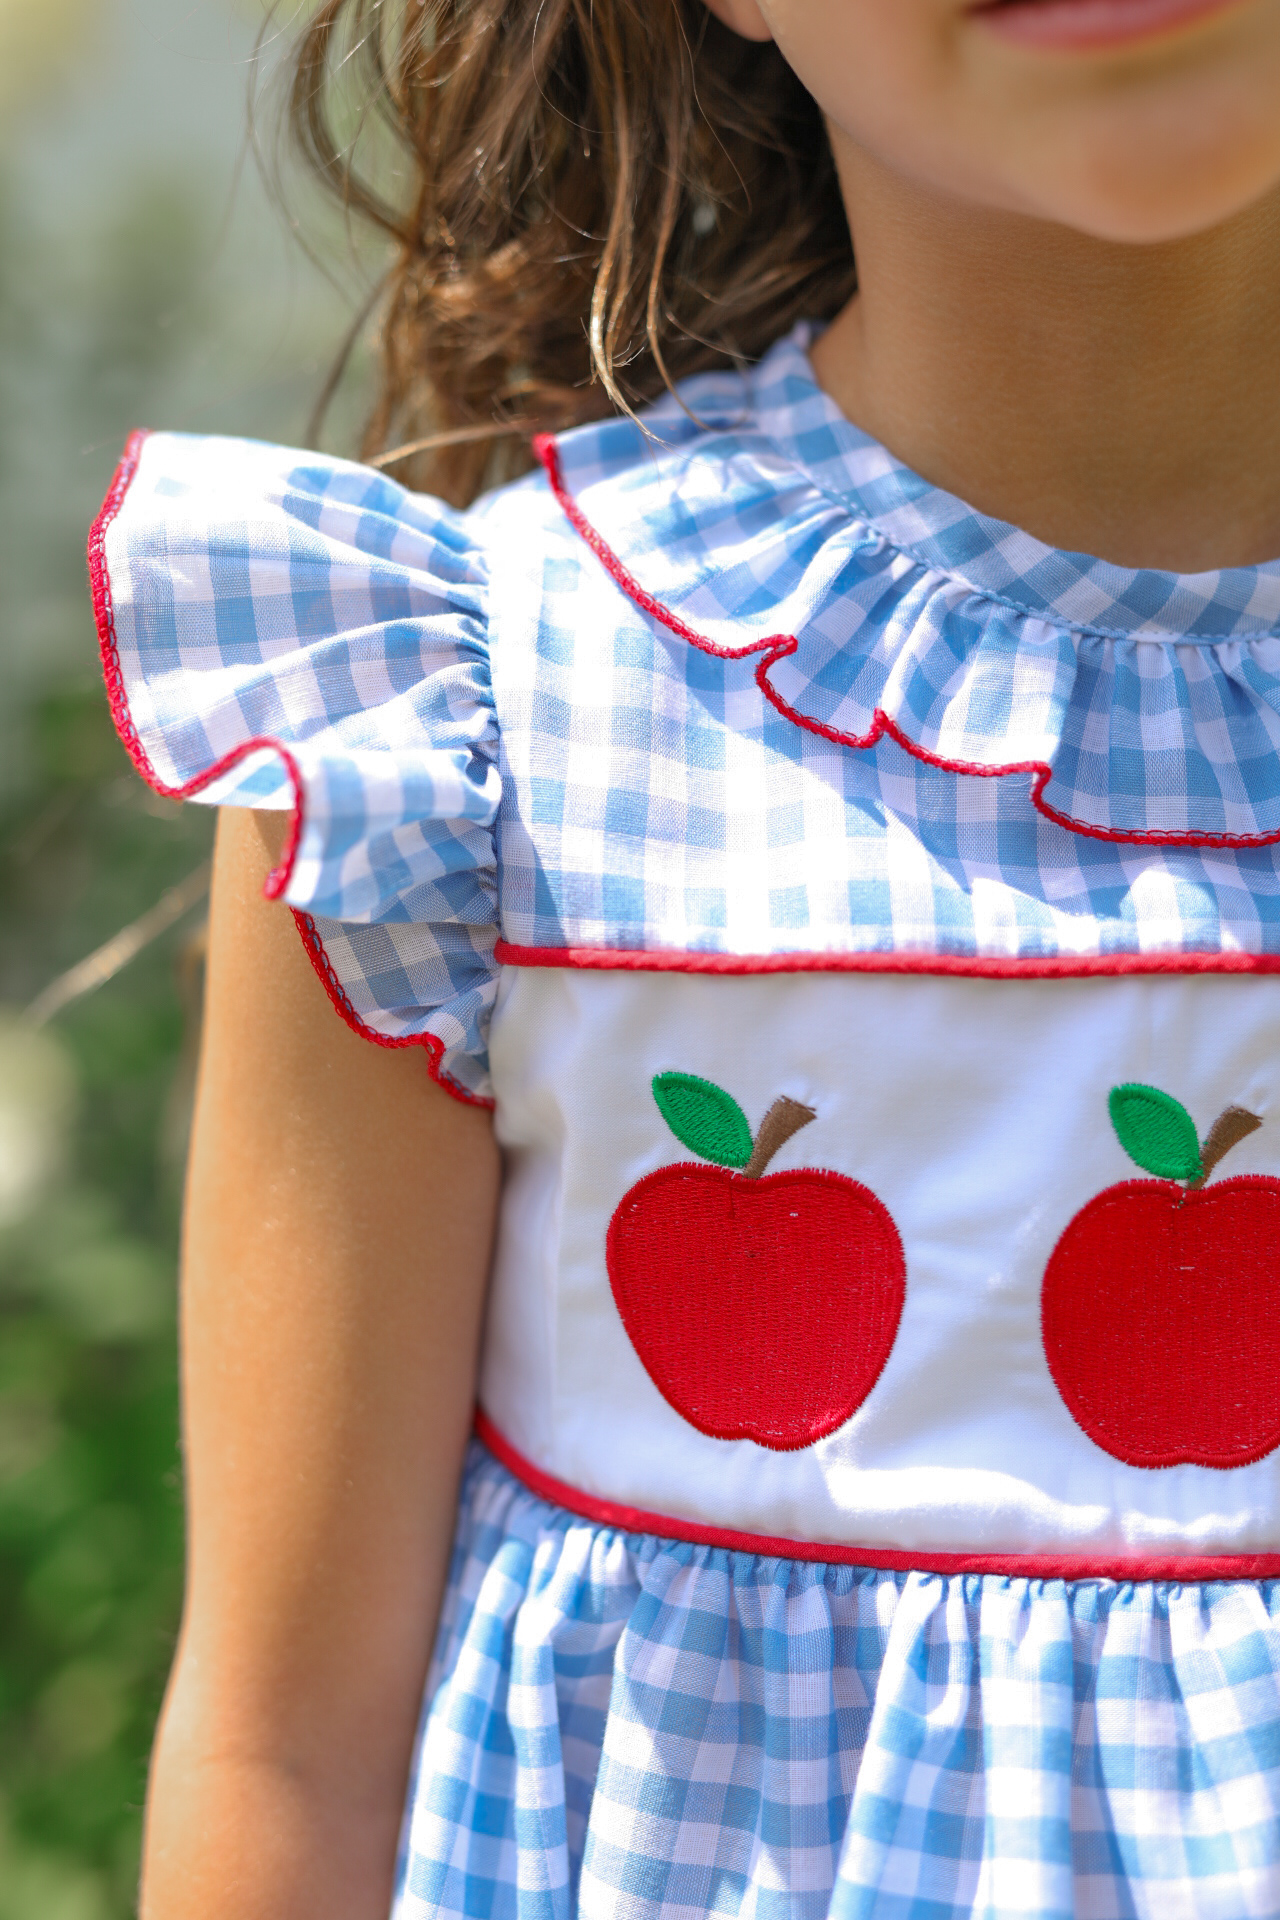
Next, I searched for an apple embroidery design on Etsy that included different size options. This design from the shop SweetMachineDesign was exactly what I was looking for and came in 14 different sizes (.8 inches – 5.9 inches in height). The variety in sizing meant I didn’t have to edit the embroidery design at all! Check!
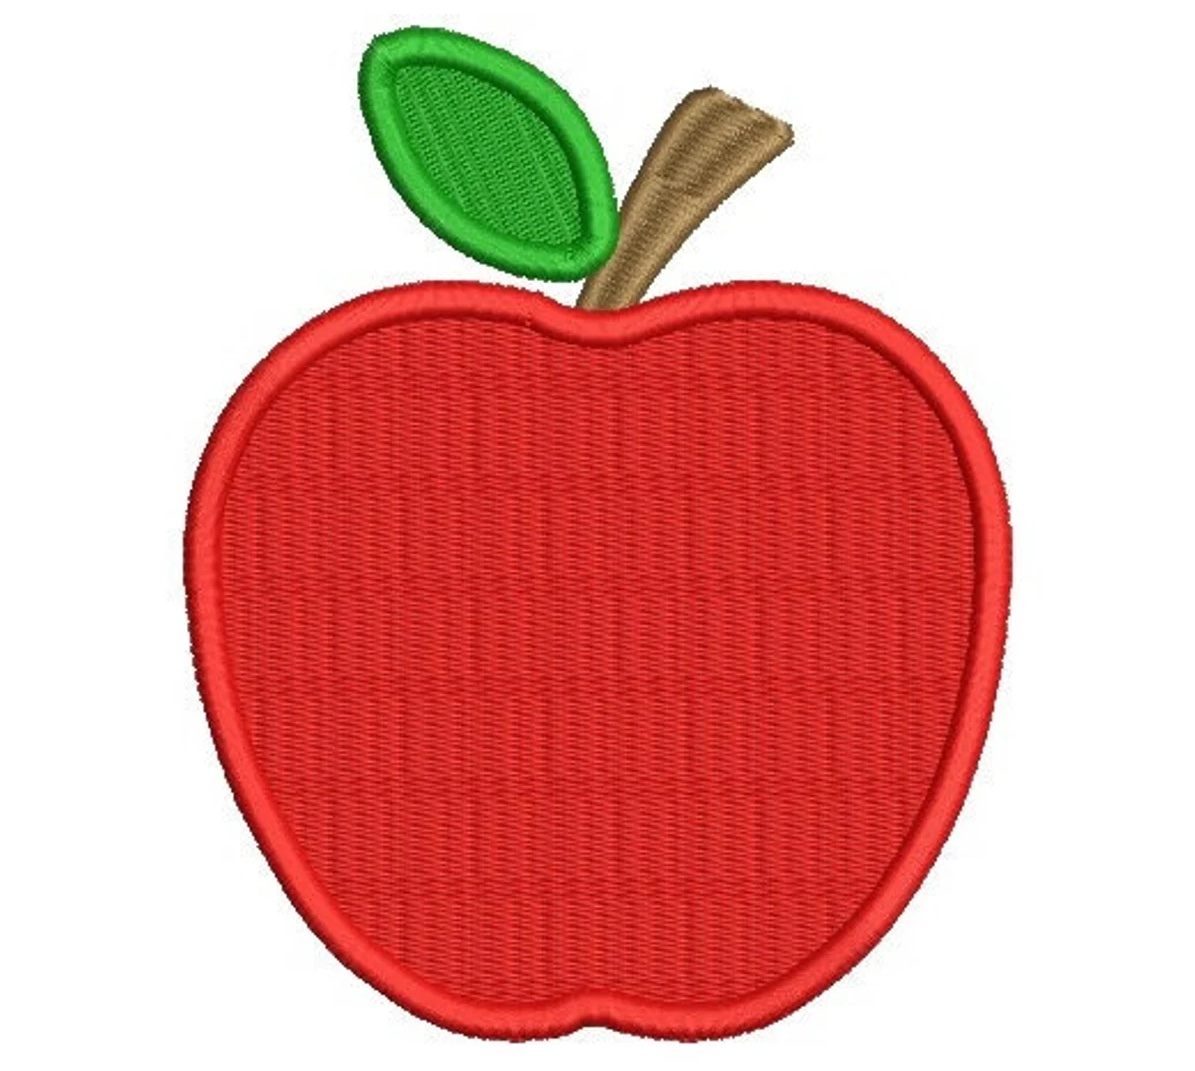
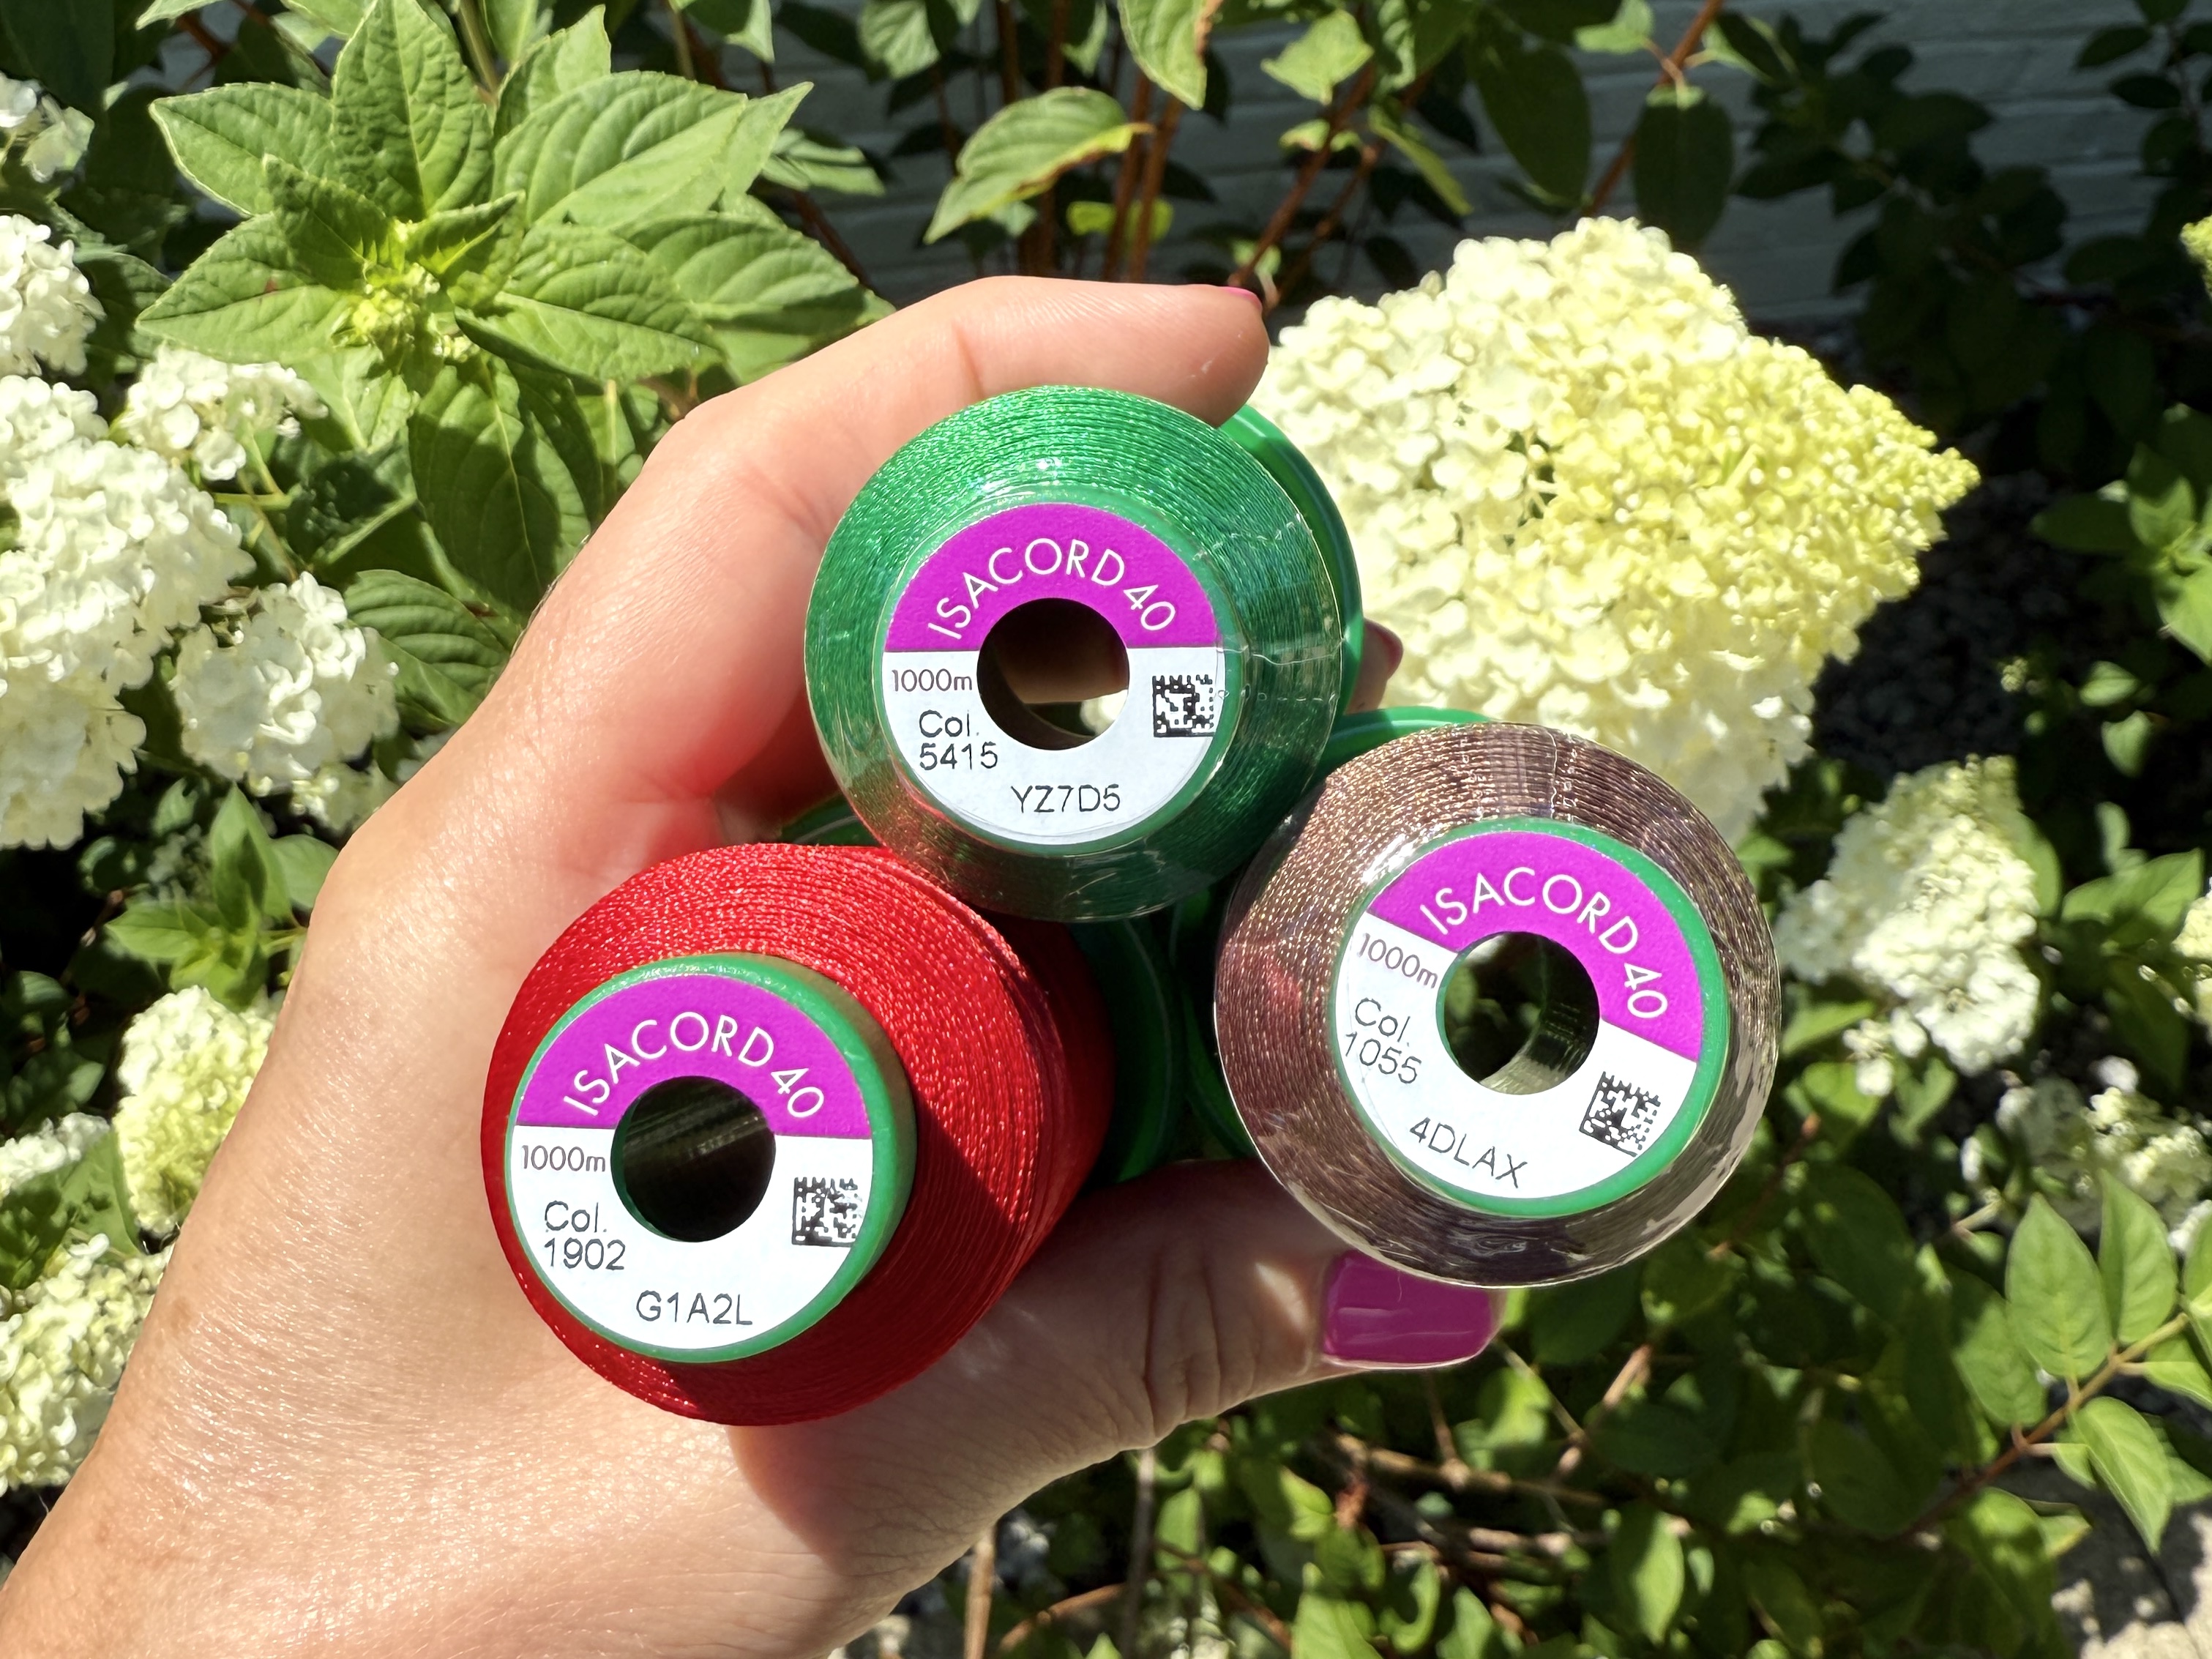
The embroidery design included 3 thread colors, so I chose Isacord 40 #1902 for the Red, Isacord 40 #5415 for the Green, and Isacord 40 #1055 for the Brown.
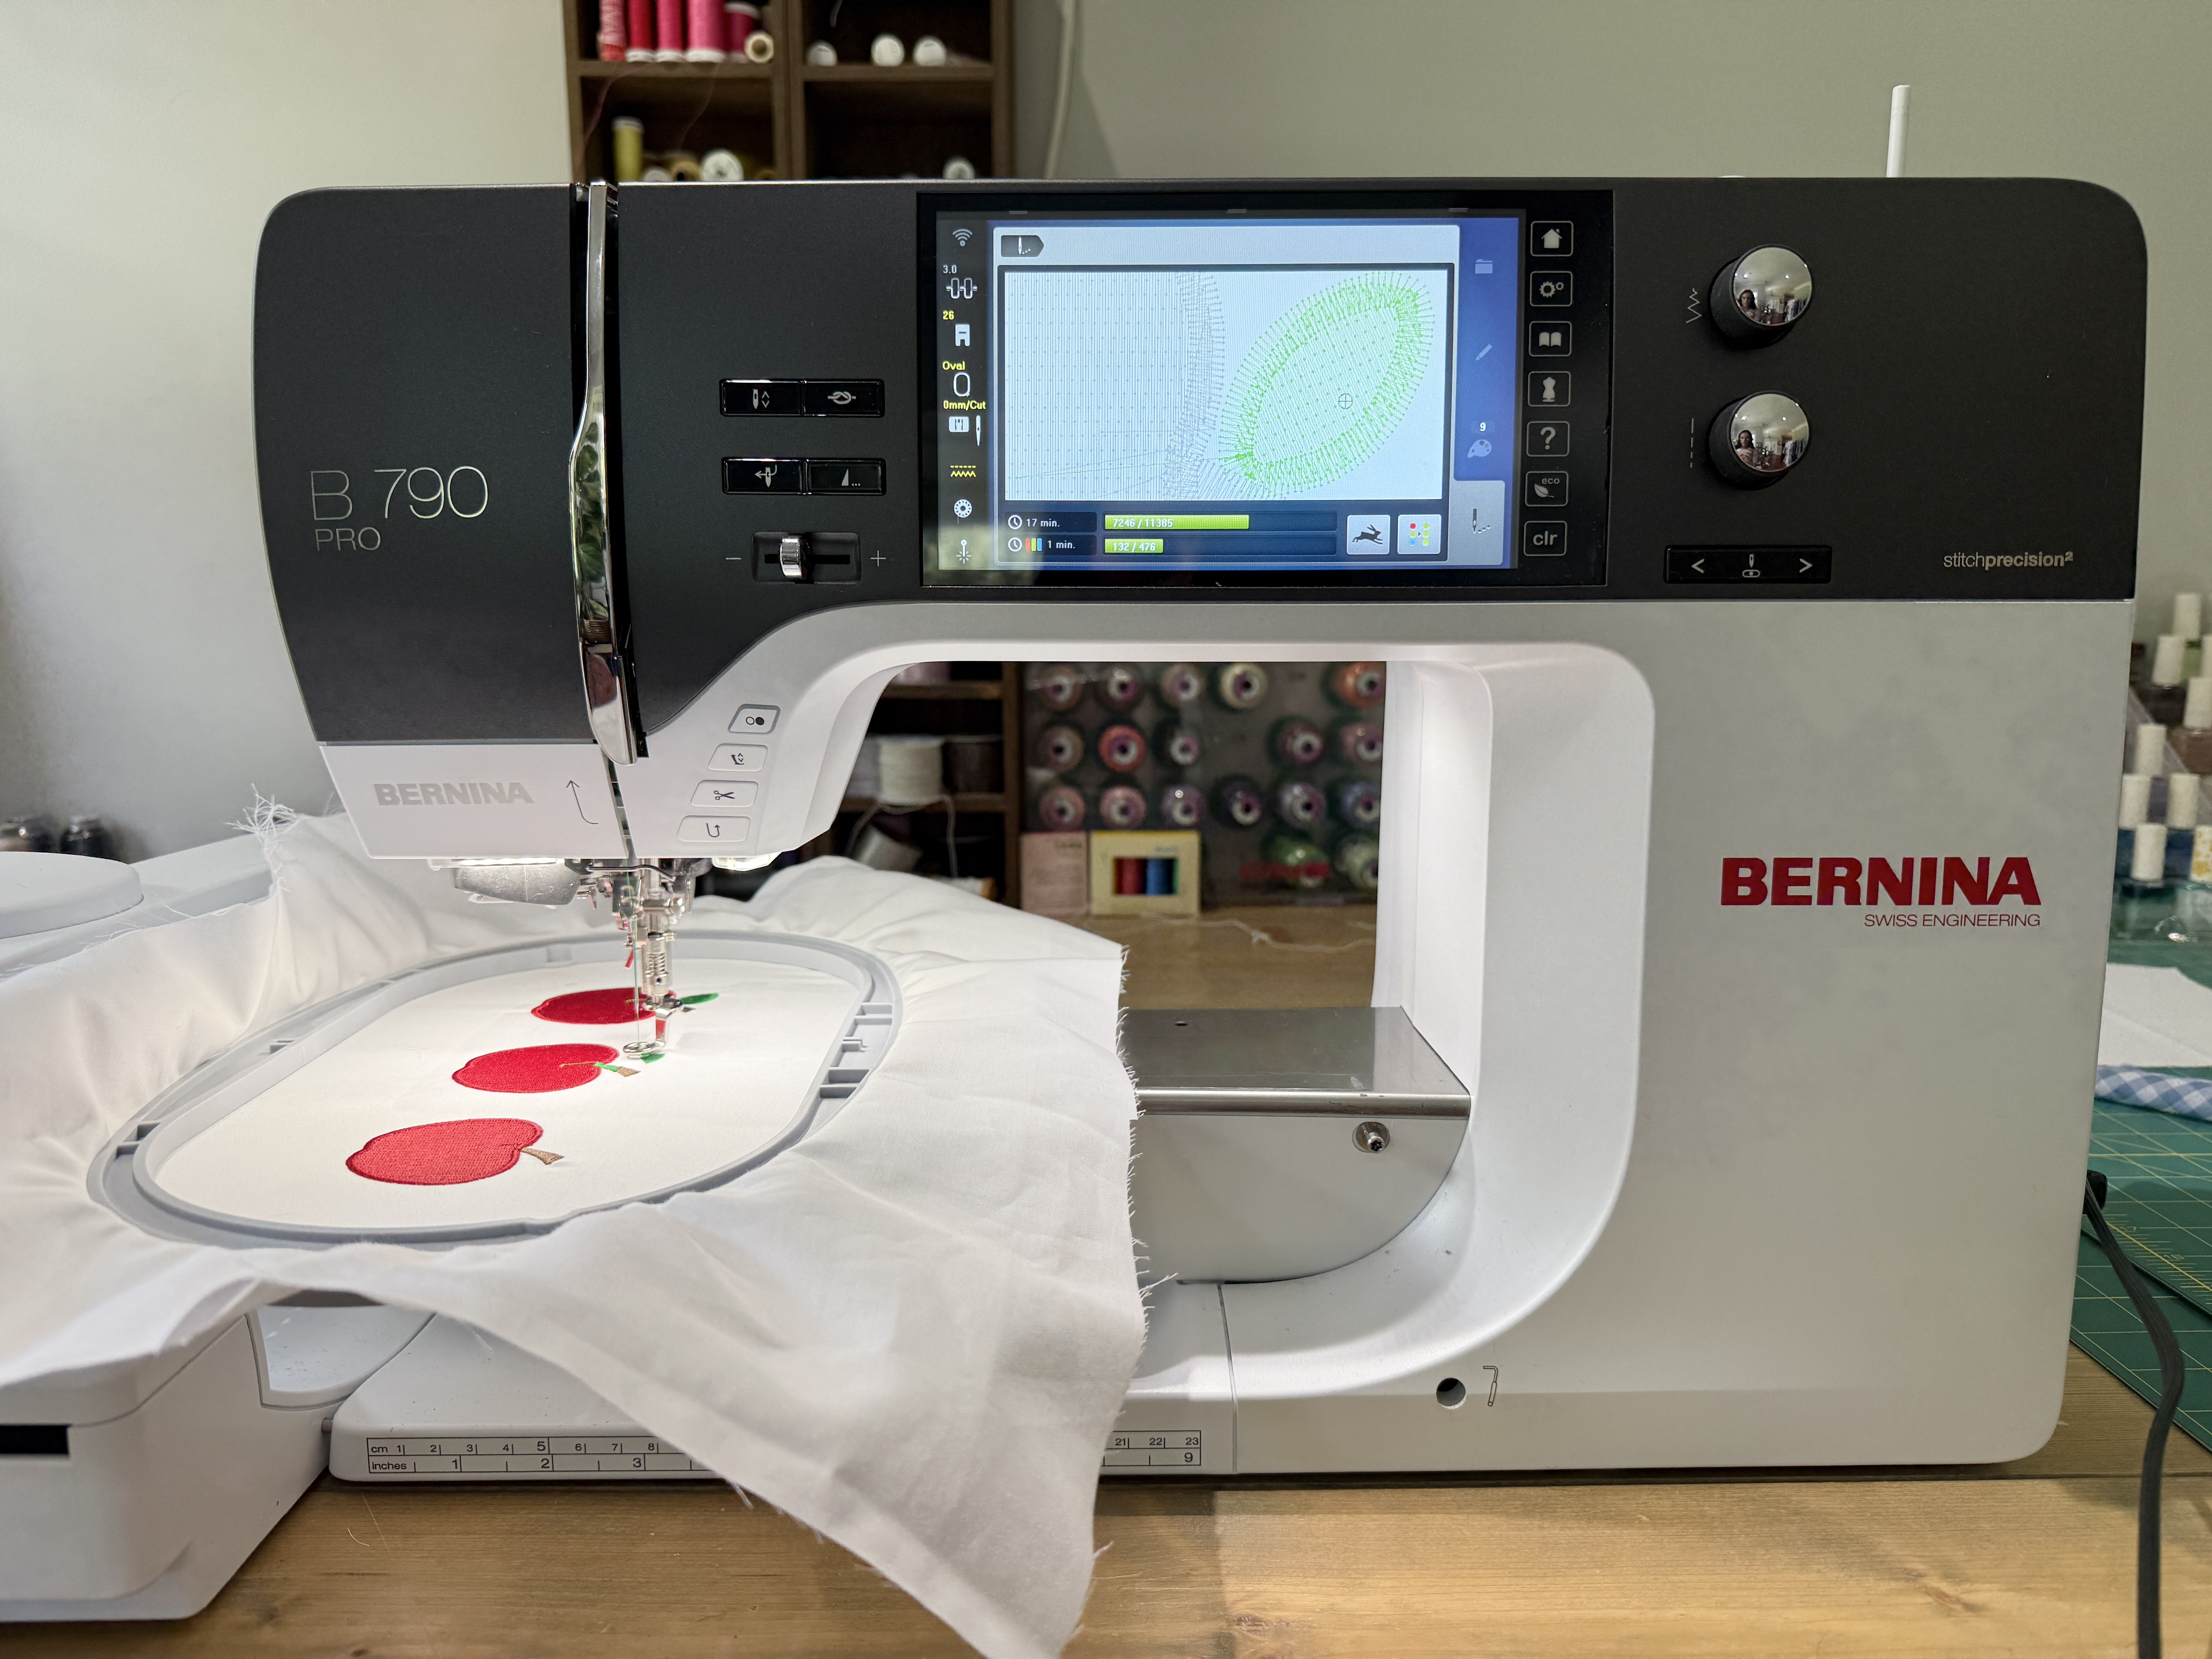
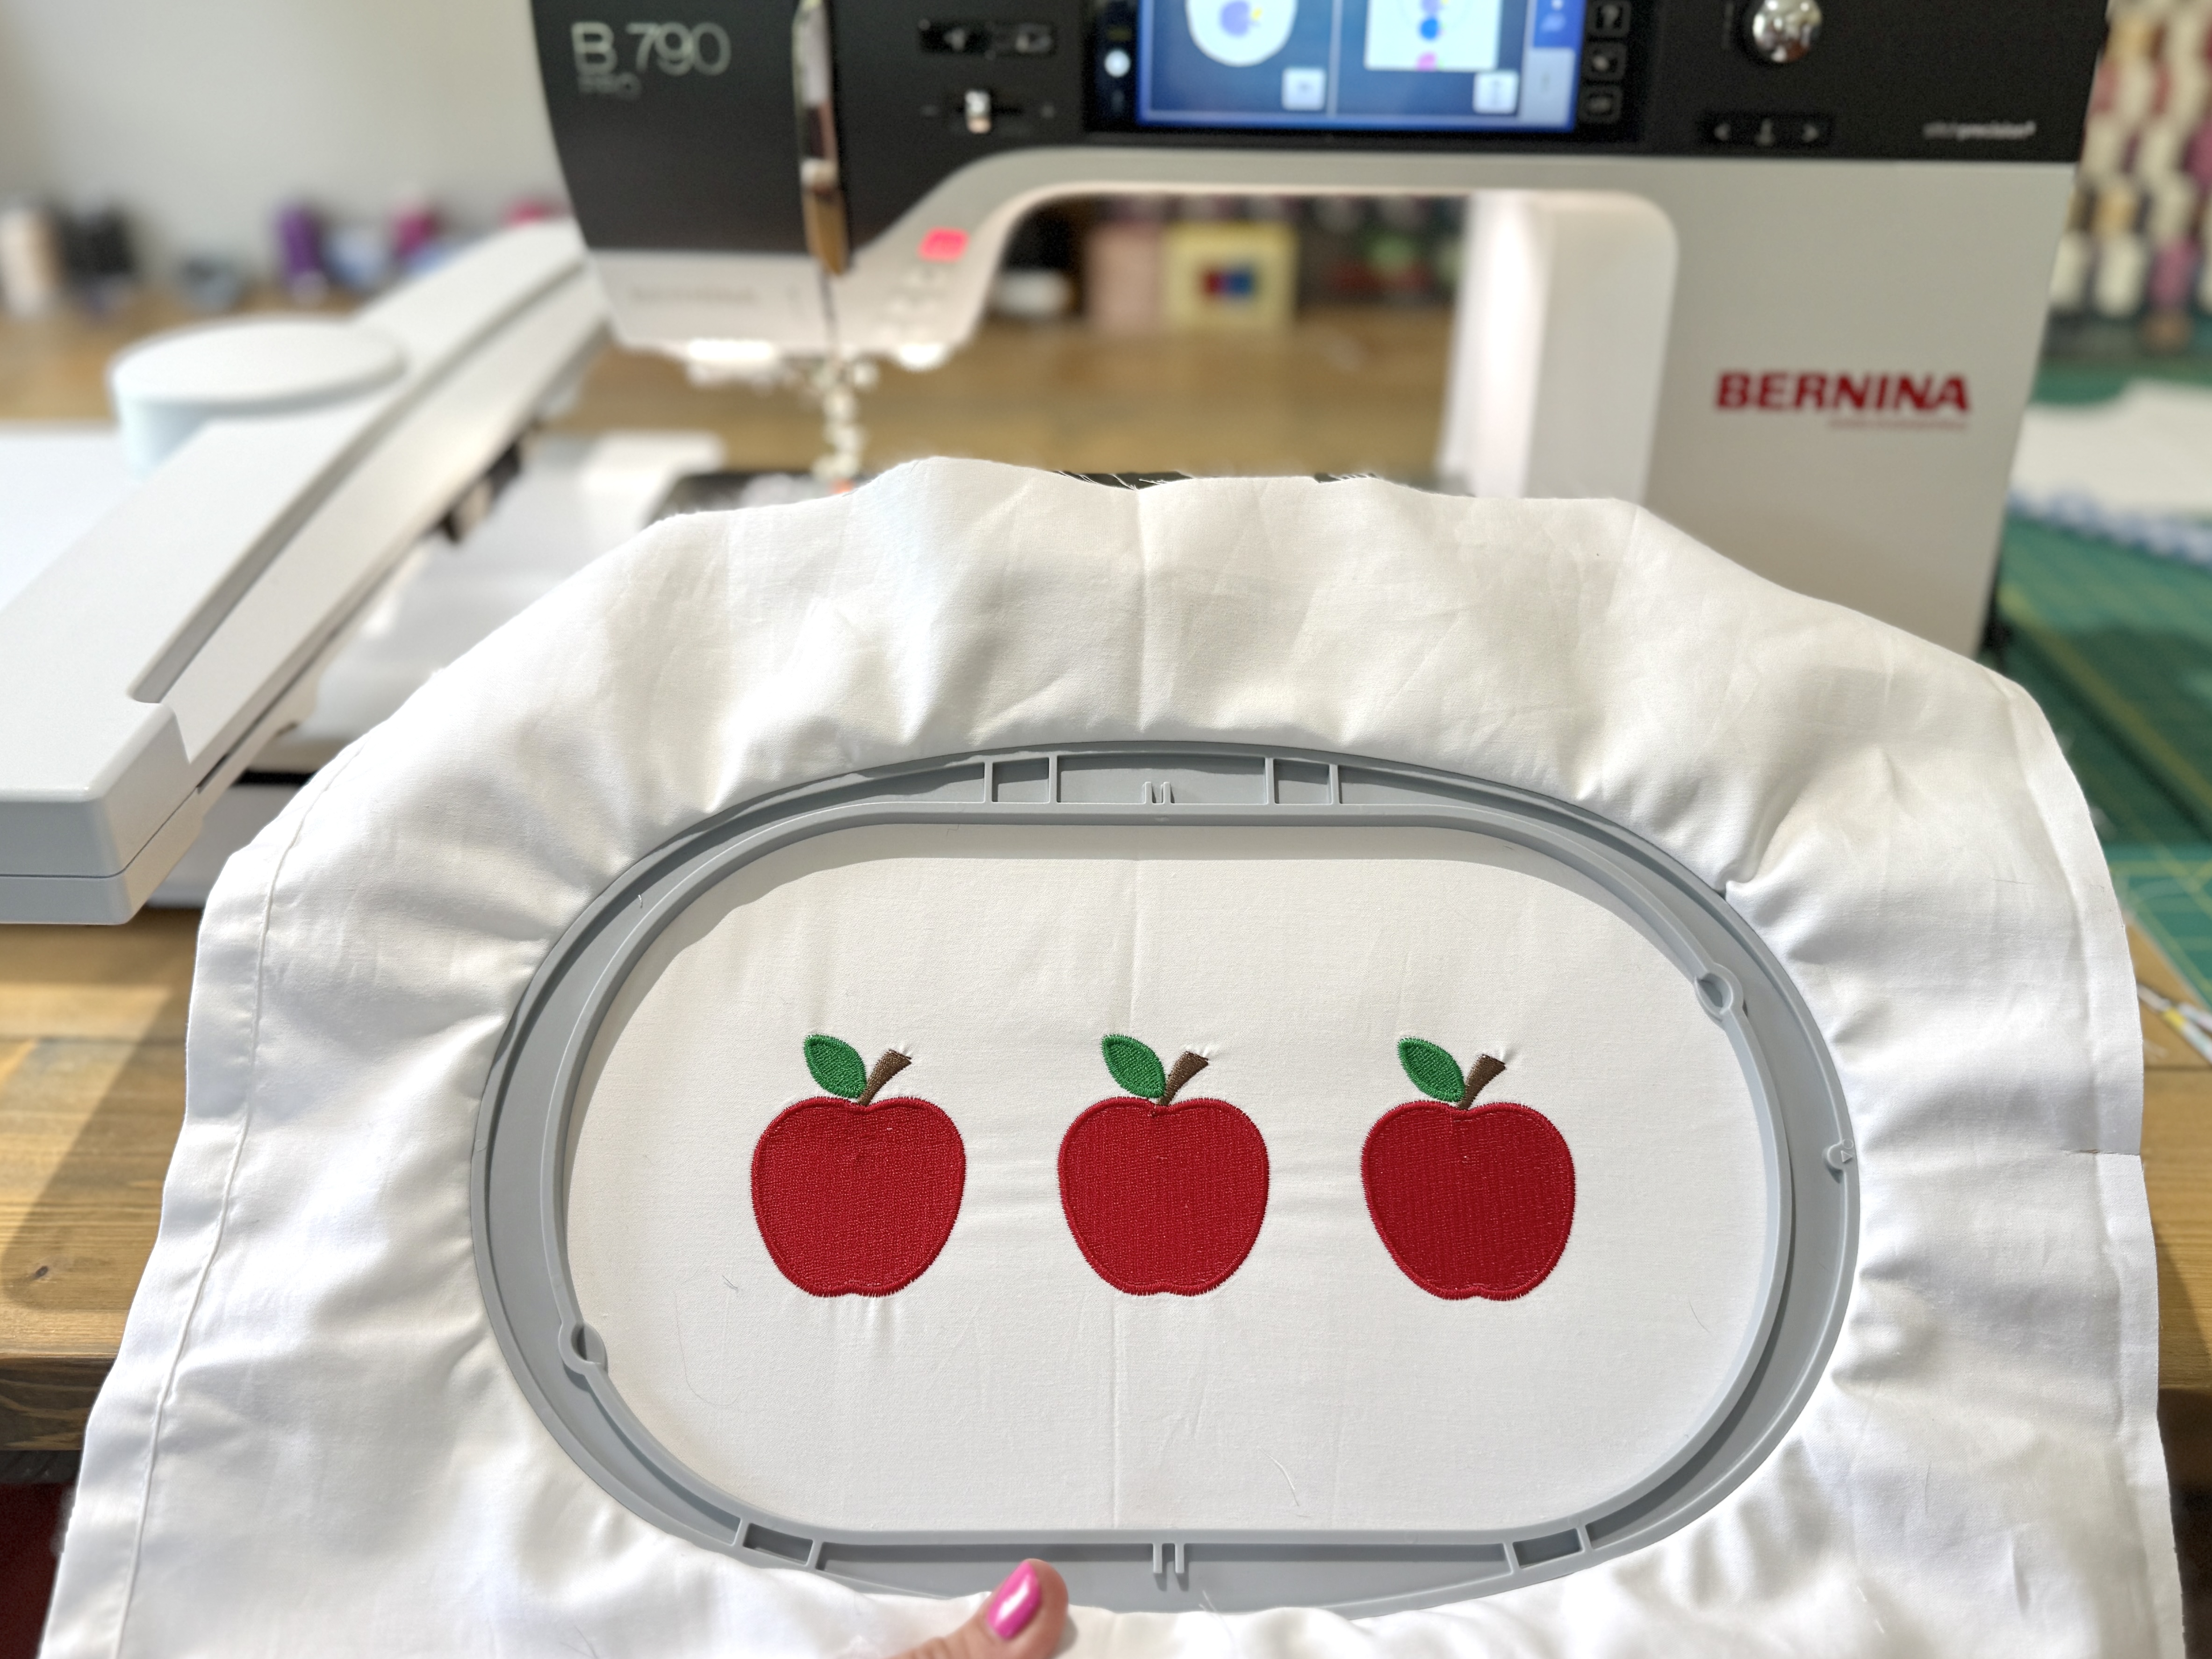
I converted my B 790 PRO to the embroidery function and embroidered three apples onto the white front bottom bodice piece using the size 5 stitch design.
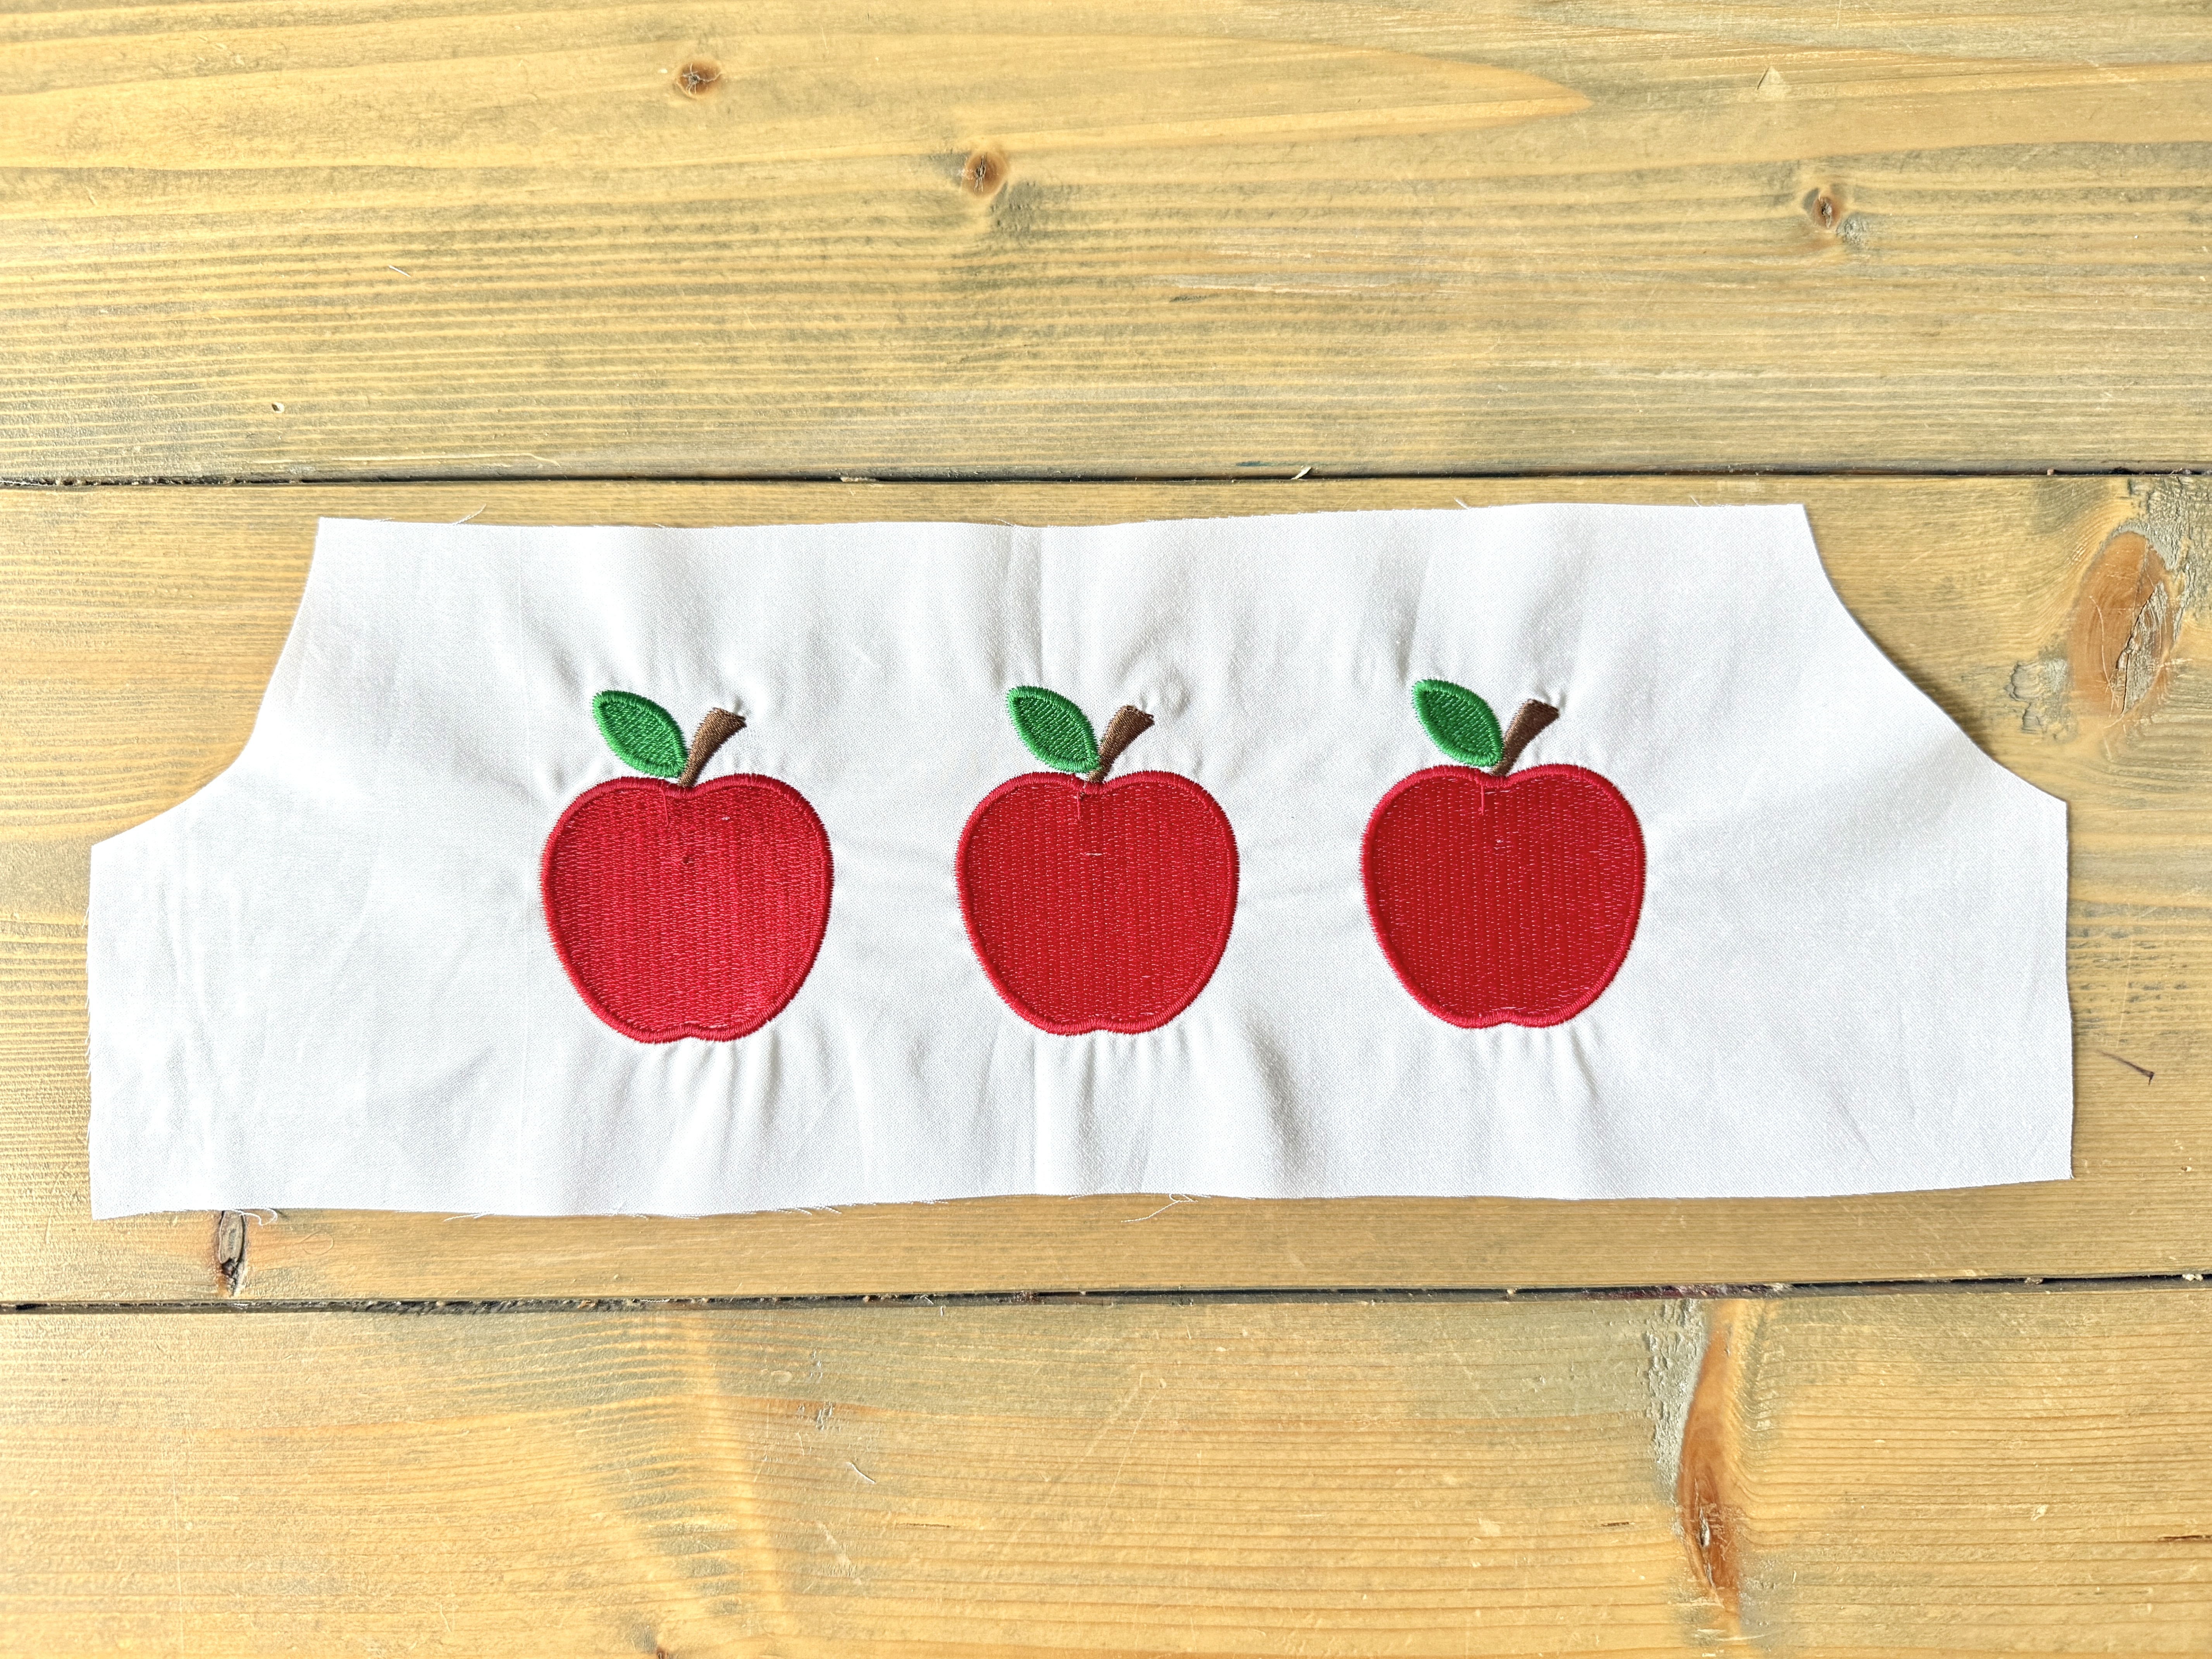
I found it easier to embroider onto a larger piece of white fabric, and then cut it down to the front bottom bodice piece measurements.
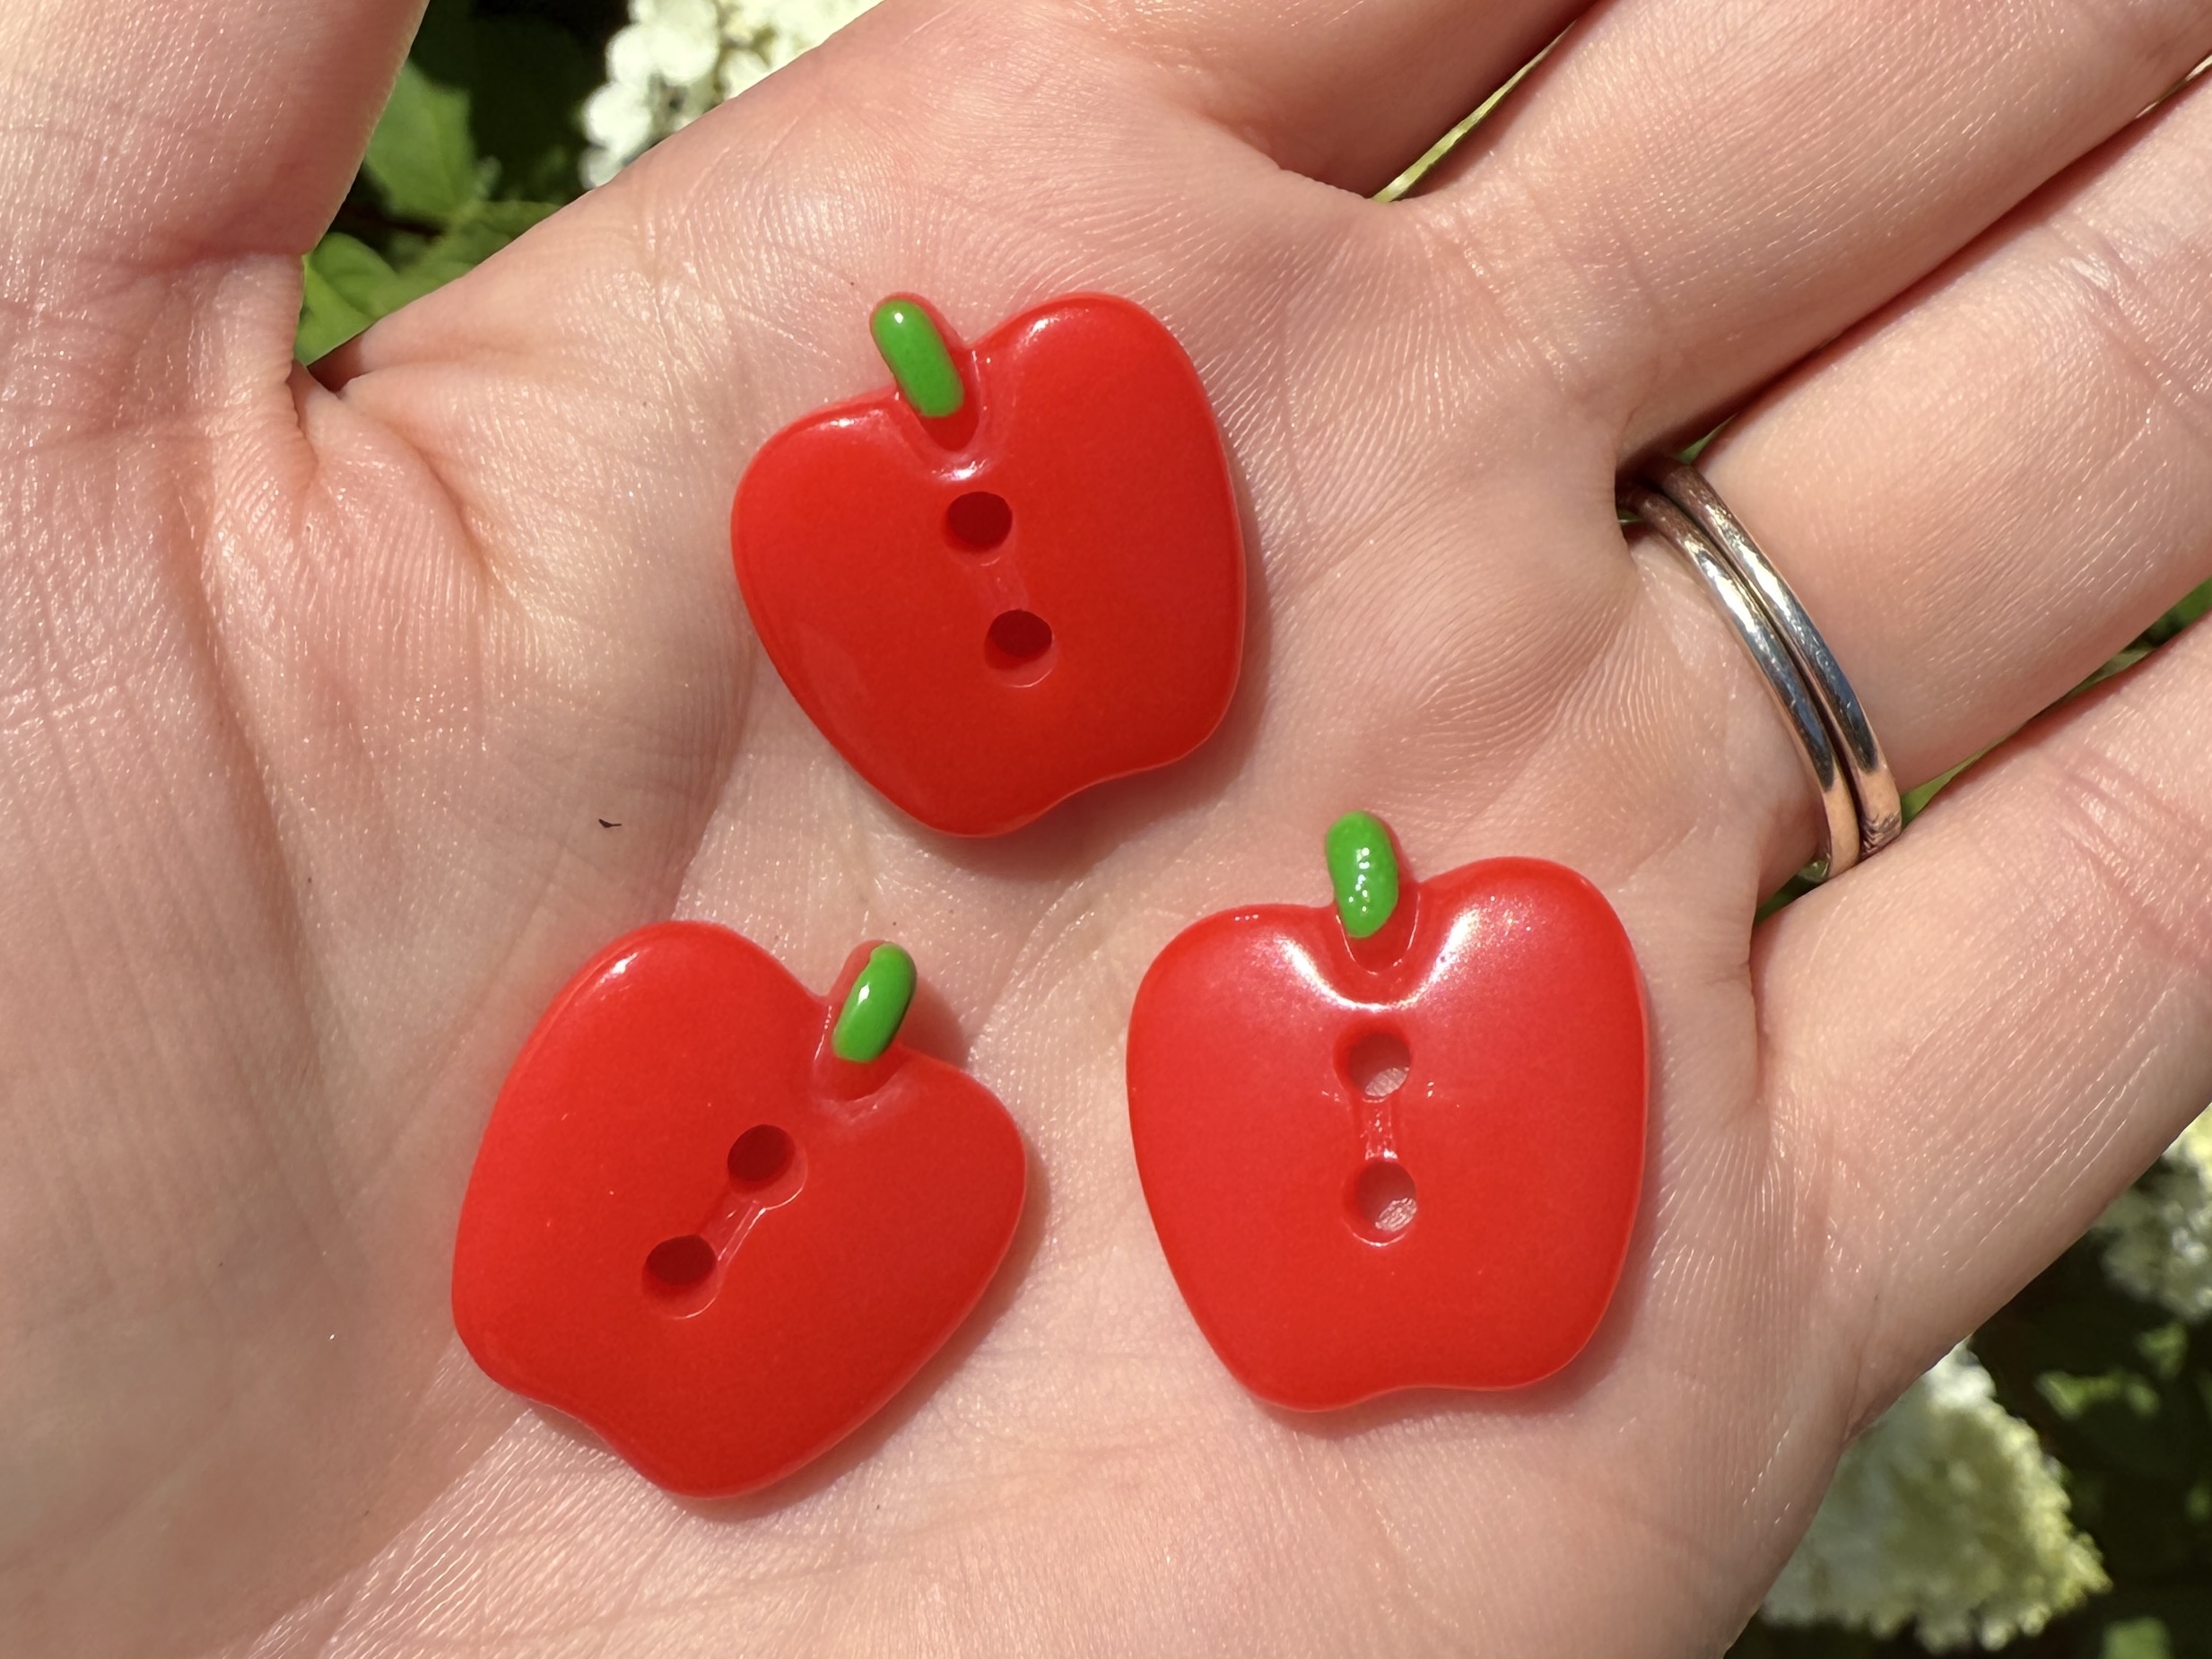
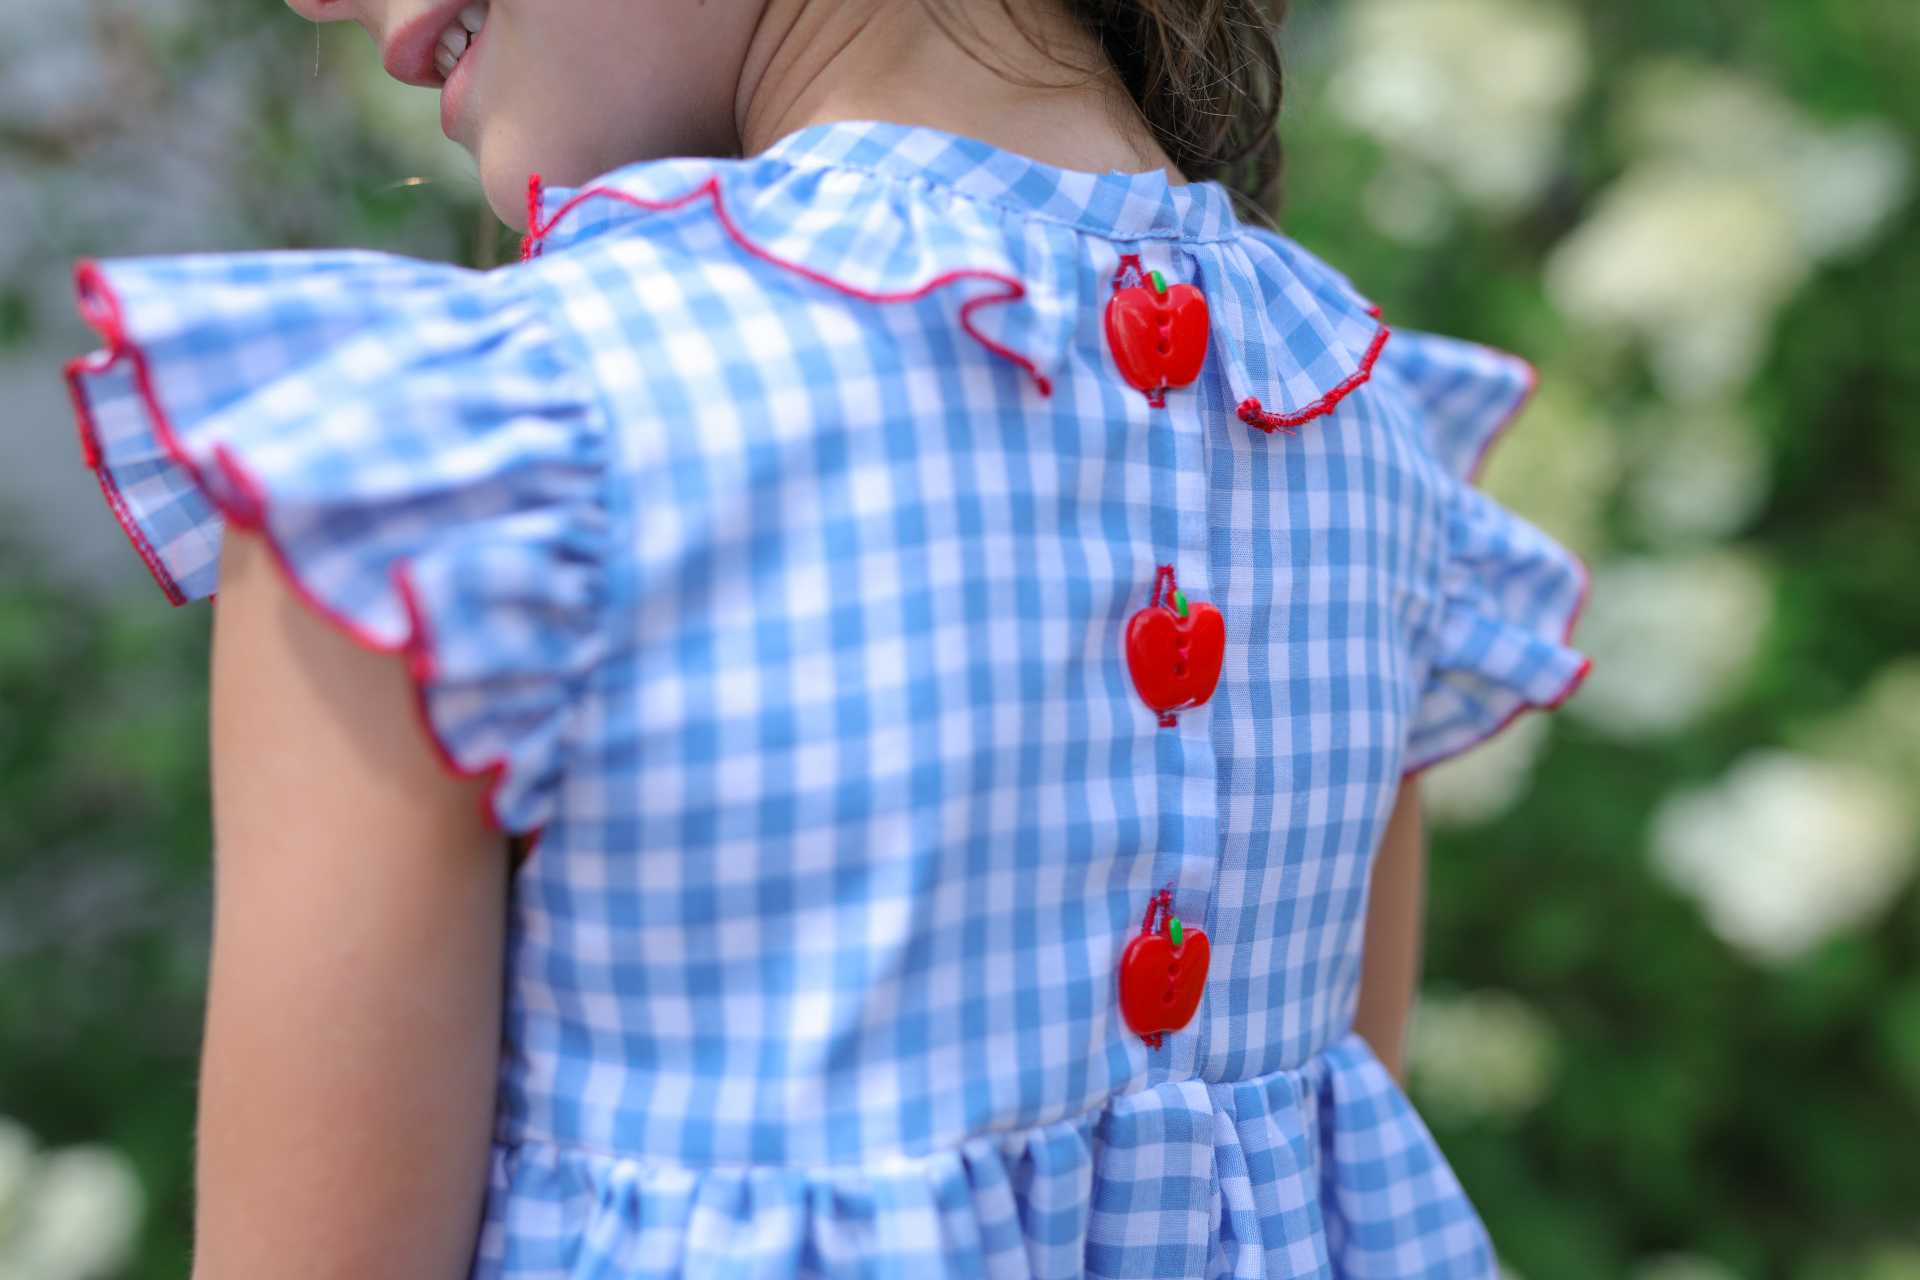
Next, I was on the hunt for some buttons. The pattern called for 3/4″ to 1″ buttons, and I just so happened to find these adorable apple buttons in the correct size at Hobby Lobby!
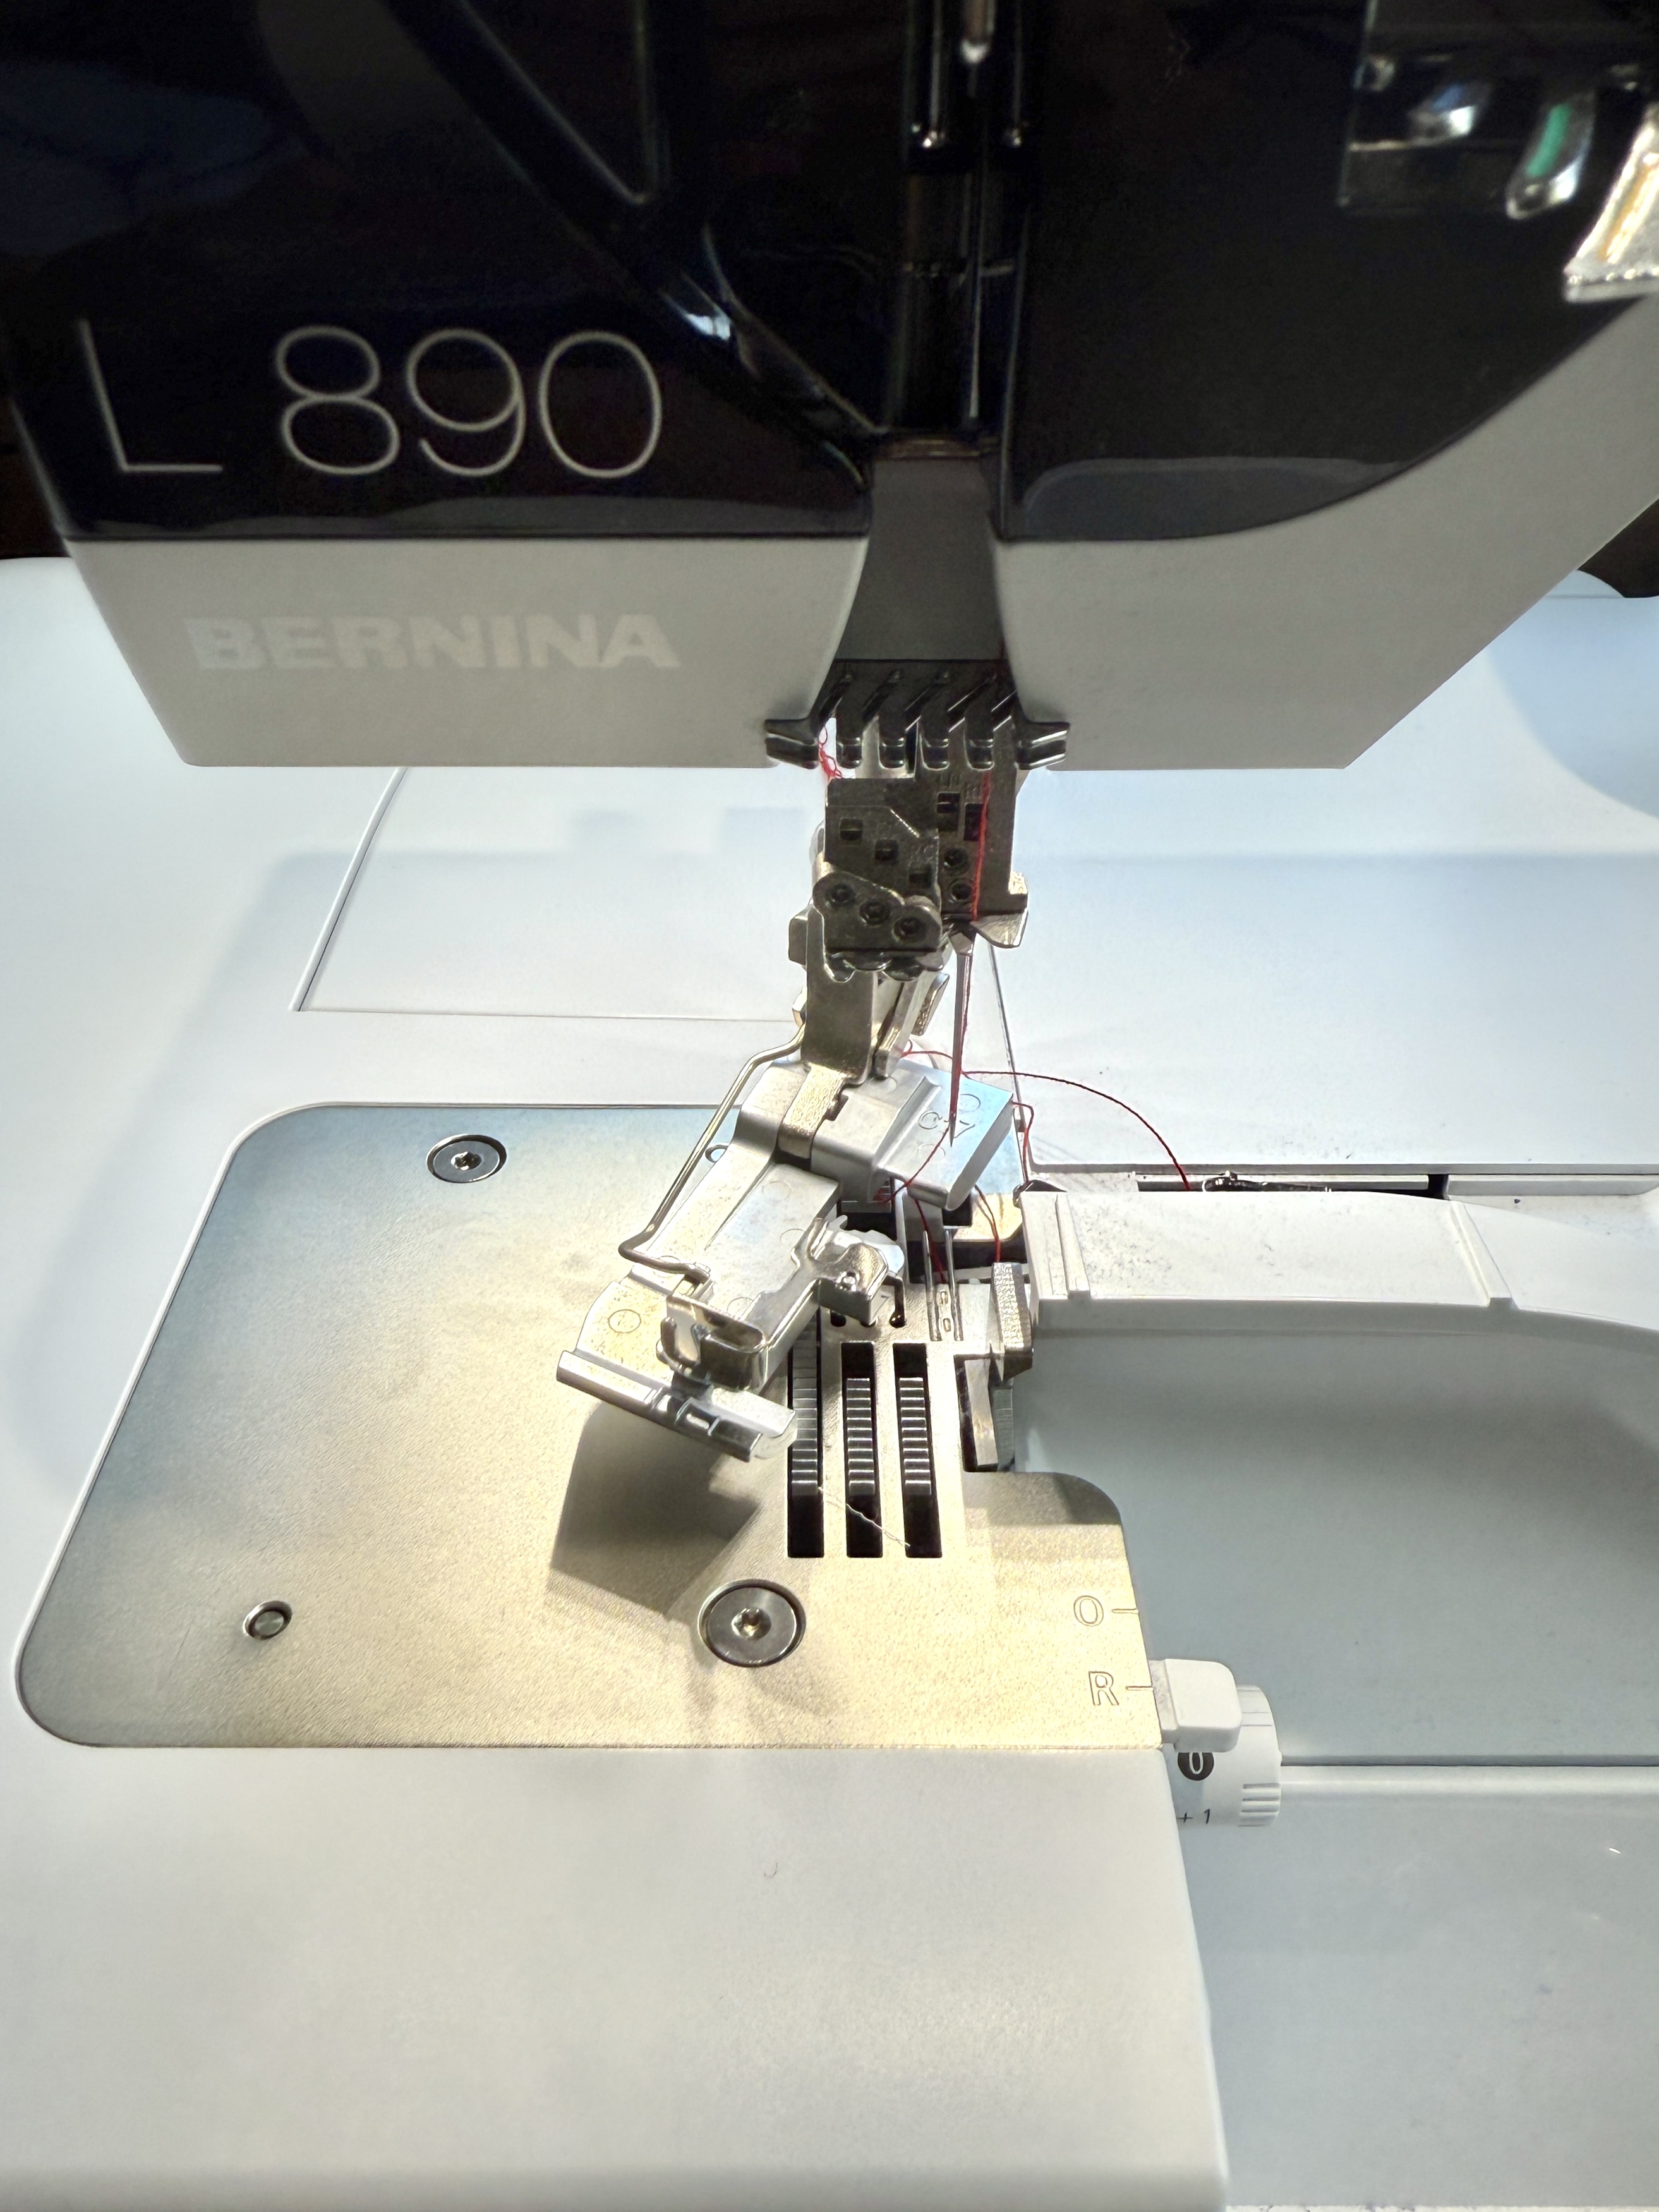
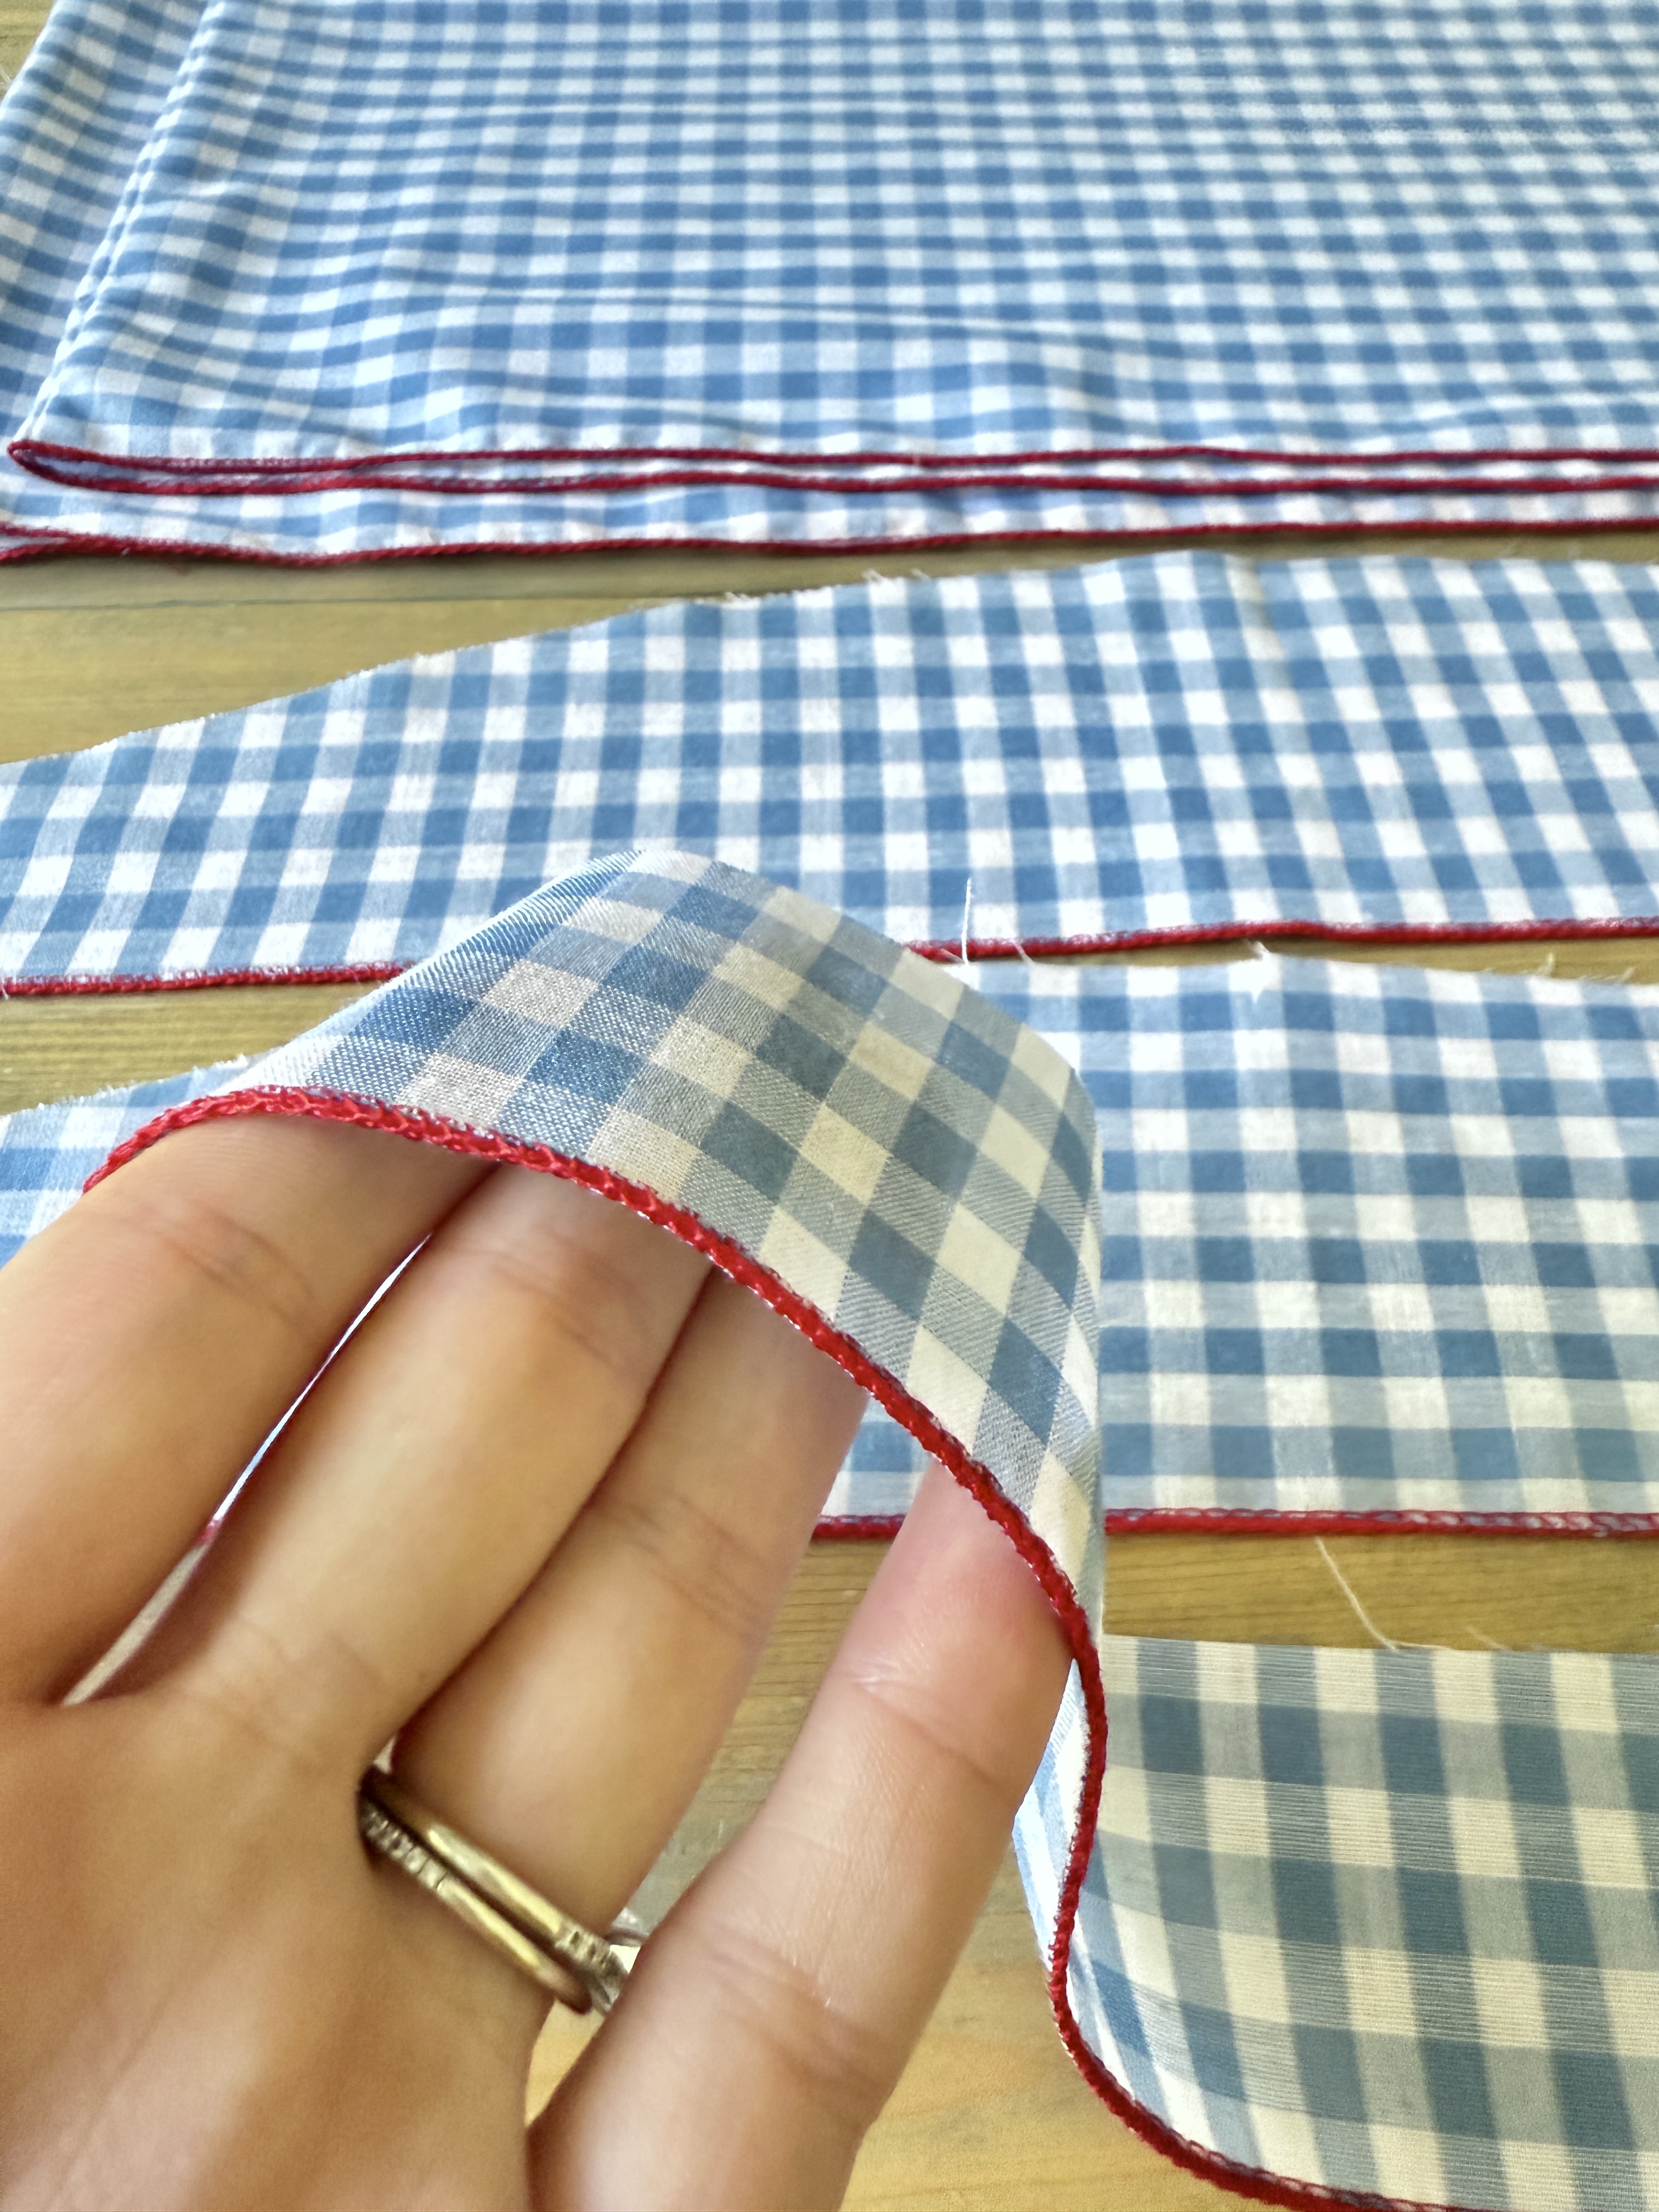
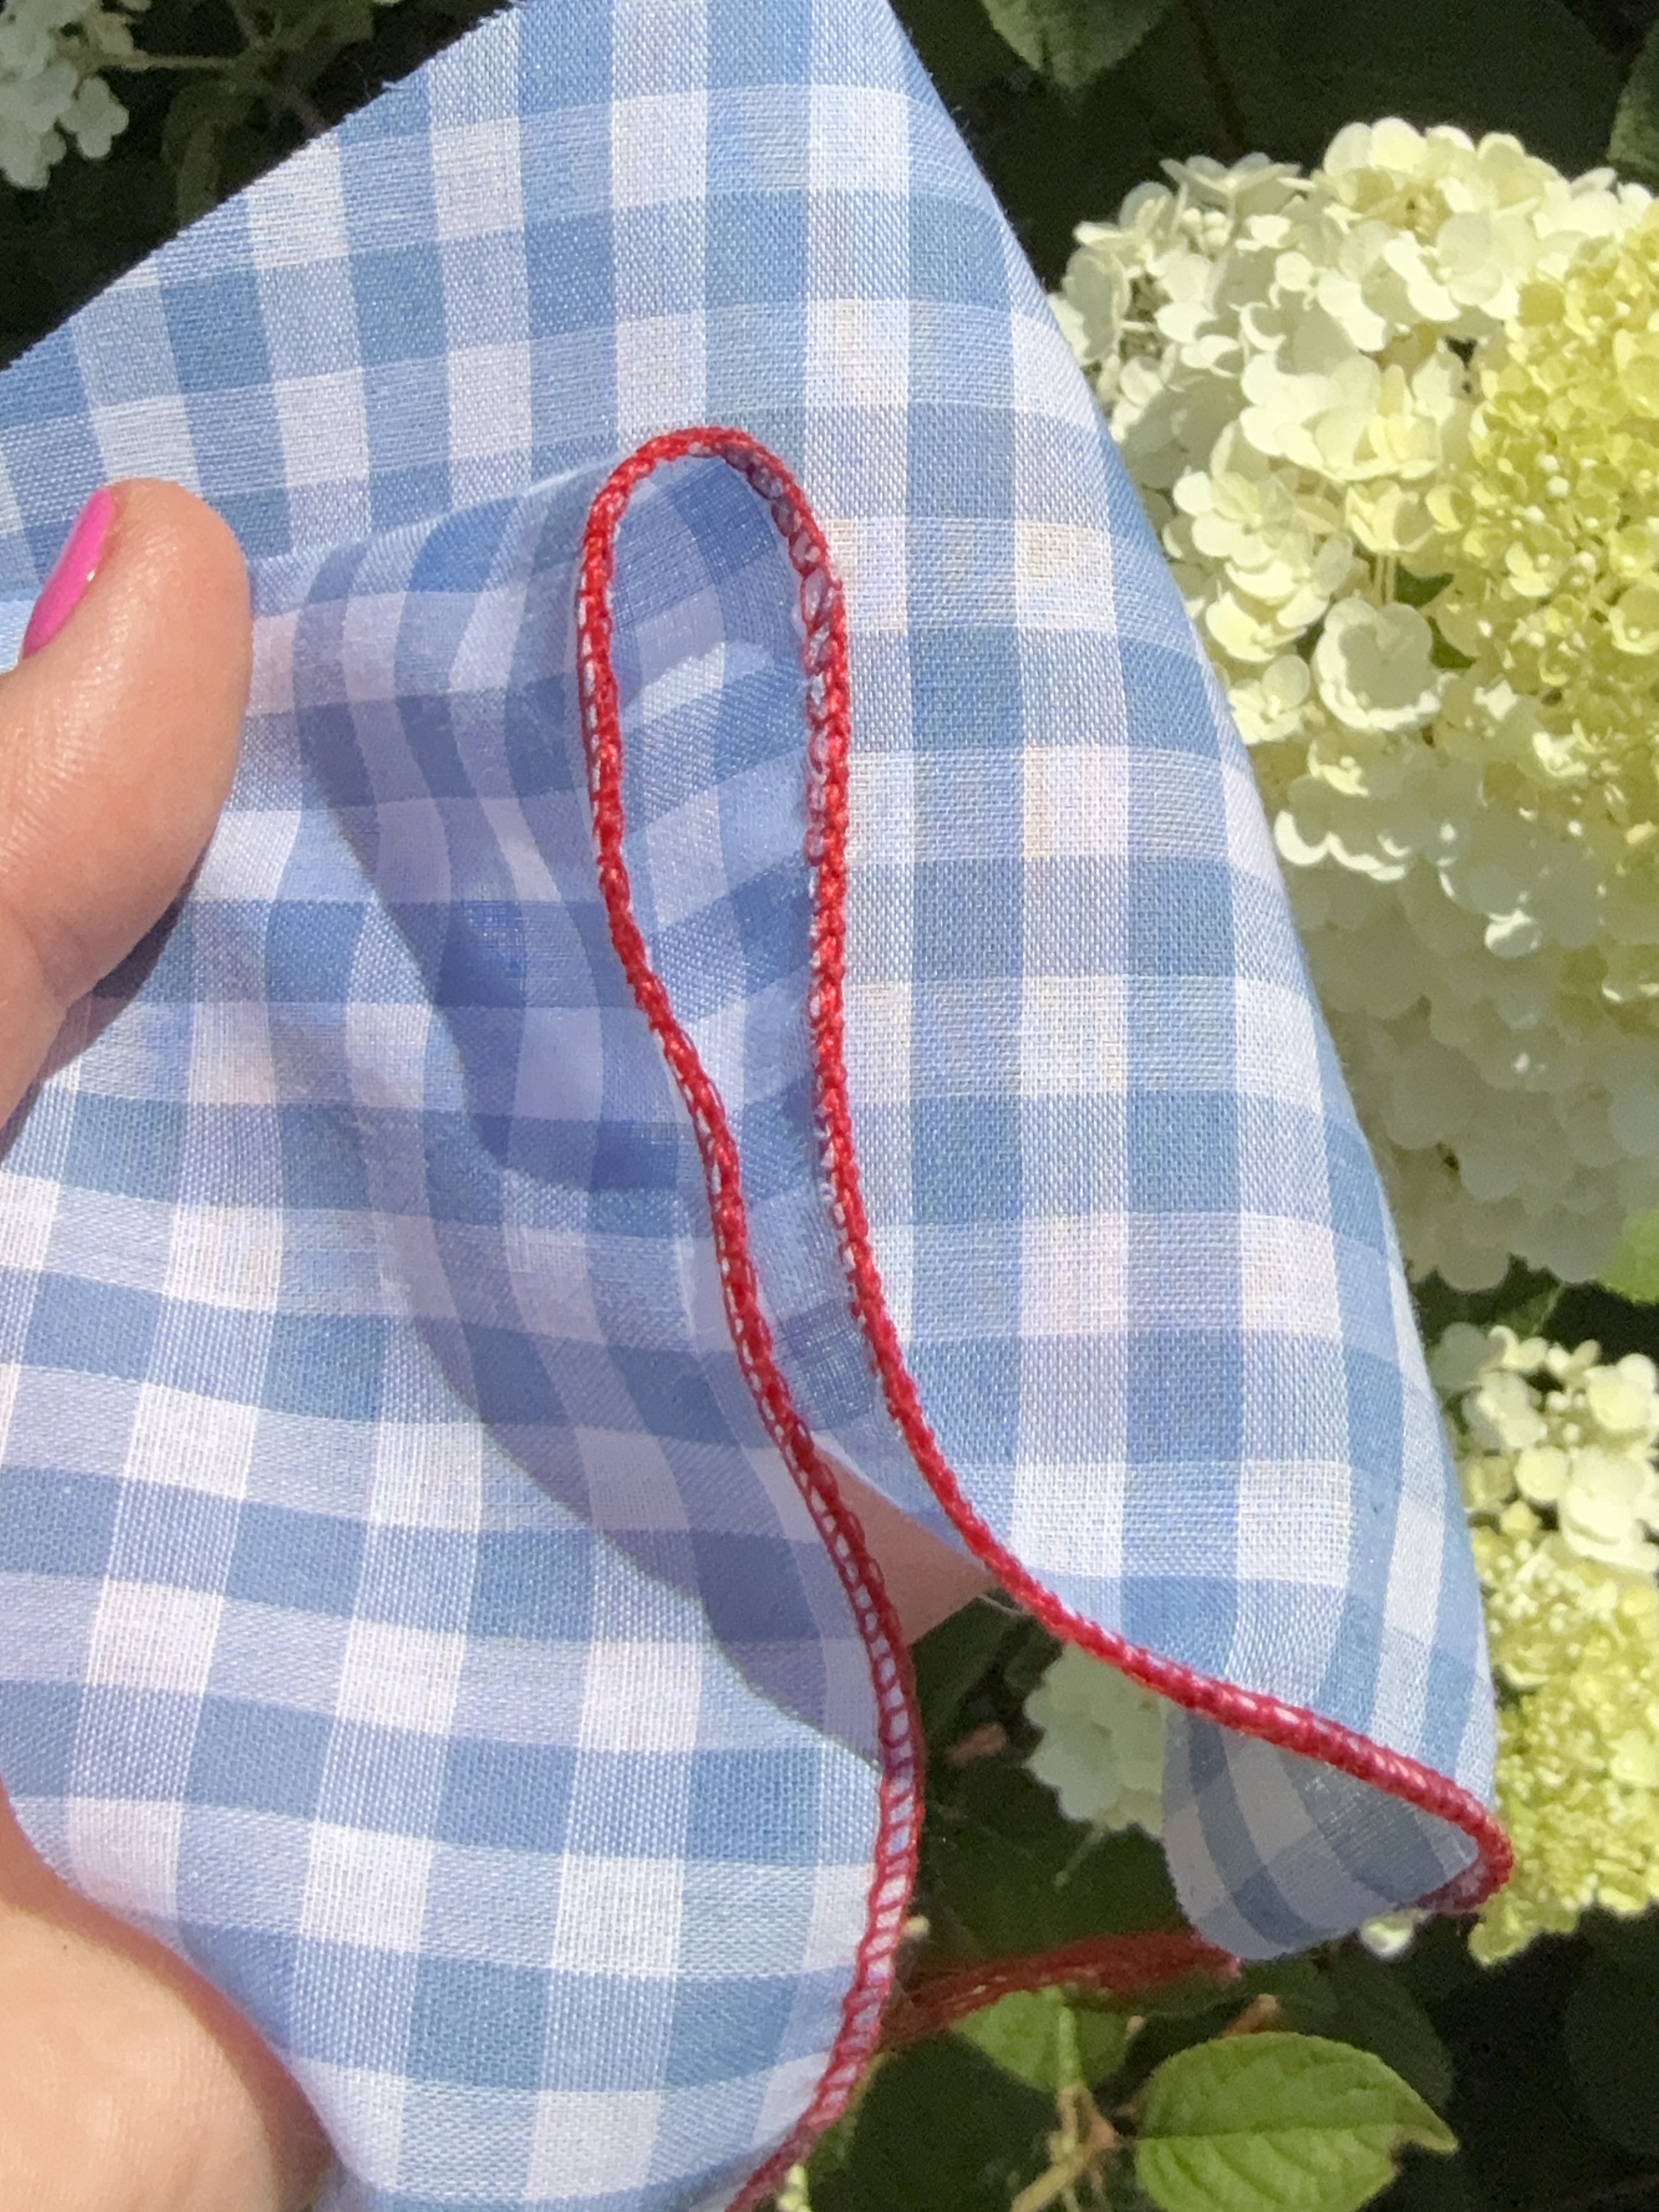
With everything prepped and ready to go, the last part of the puzzle was figuring out how I wanted to complete the red edging on the hems. A simple rolled hem would have been a fine touch. But I wanted something more substantial. More fancy. More WOW factor! So I decided to do a technique that I usually only see done on heirloom pieces – a decorative yarn rolled hem. This is a finish that attaches yarn/cording to the edge of a garment via a rolled hem. In order to do this technique, the BERNINA Cording Foot #C17 is required.
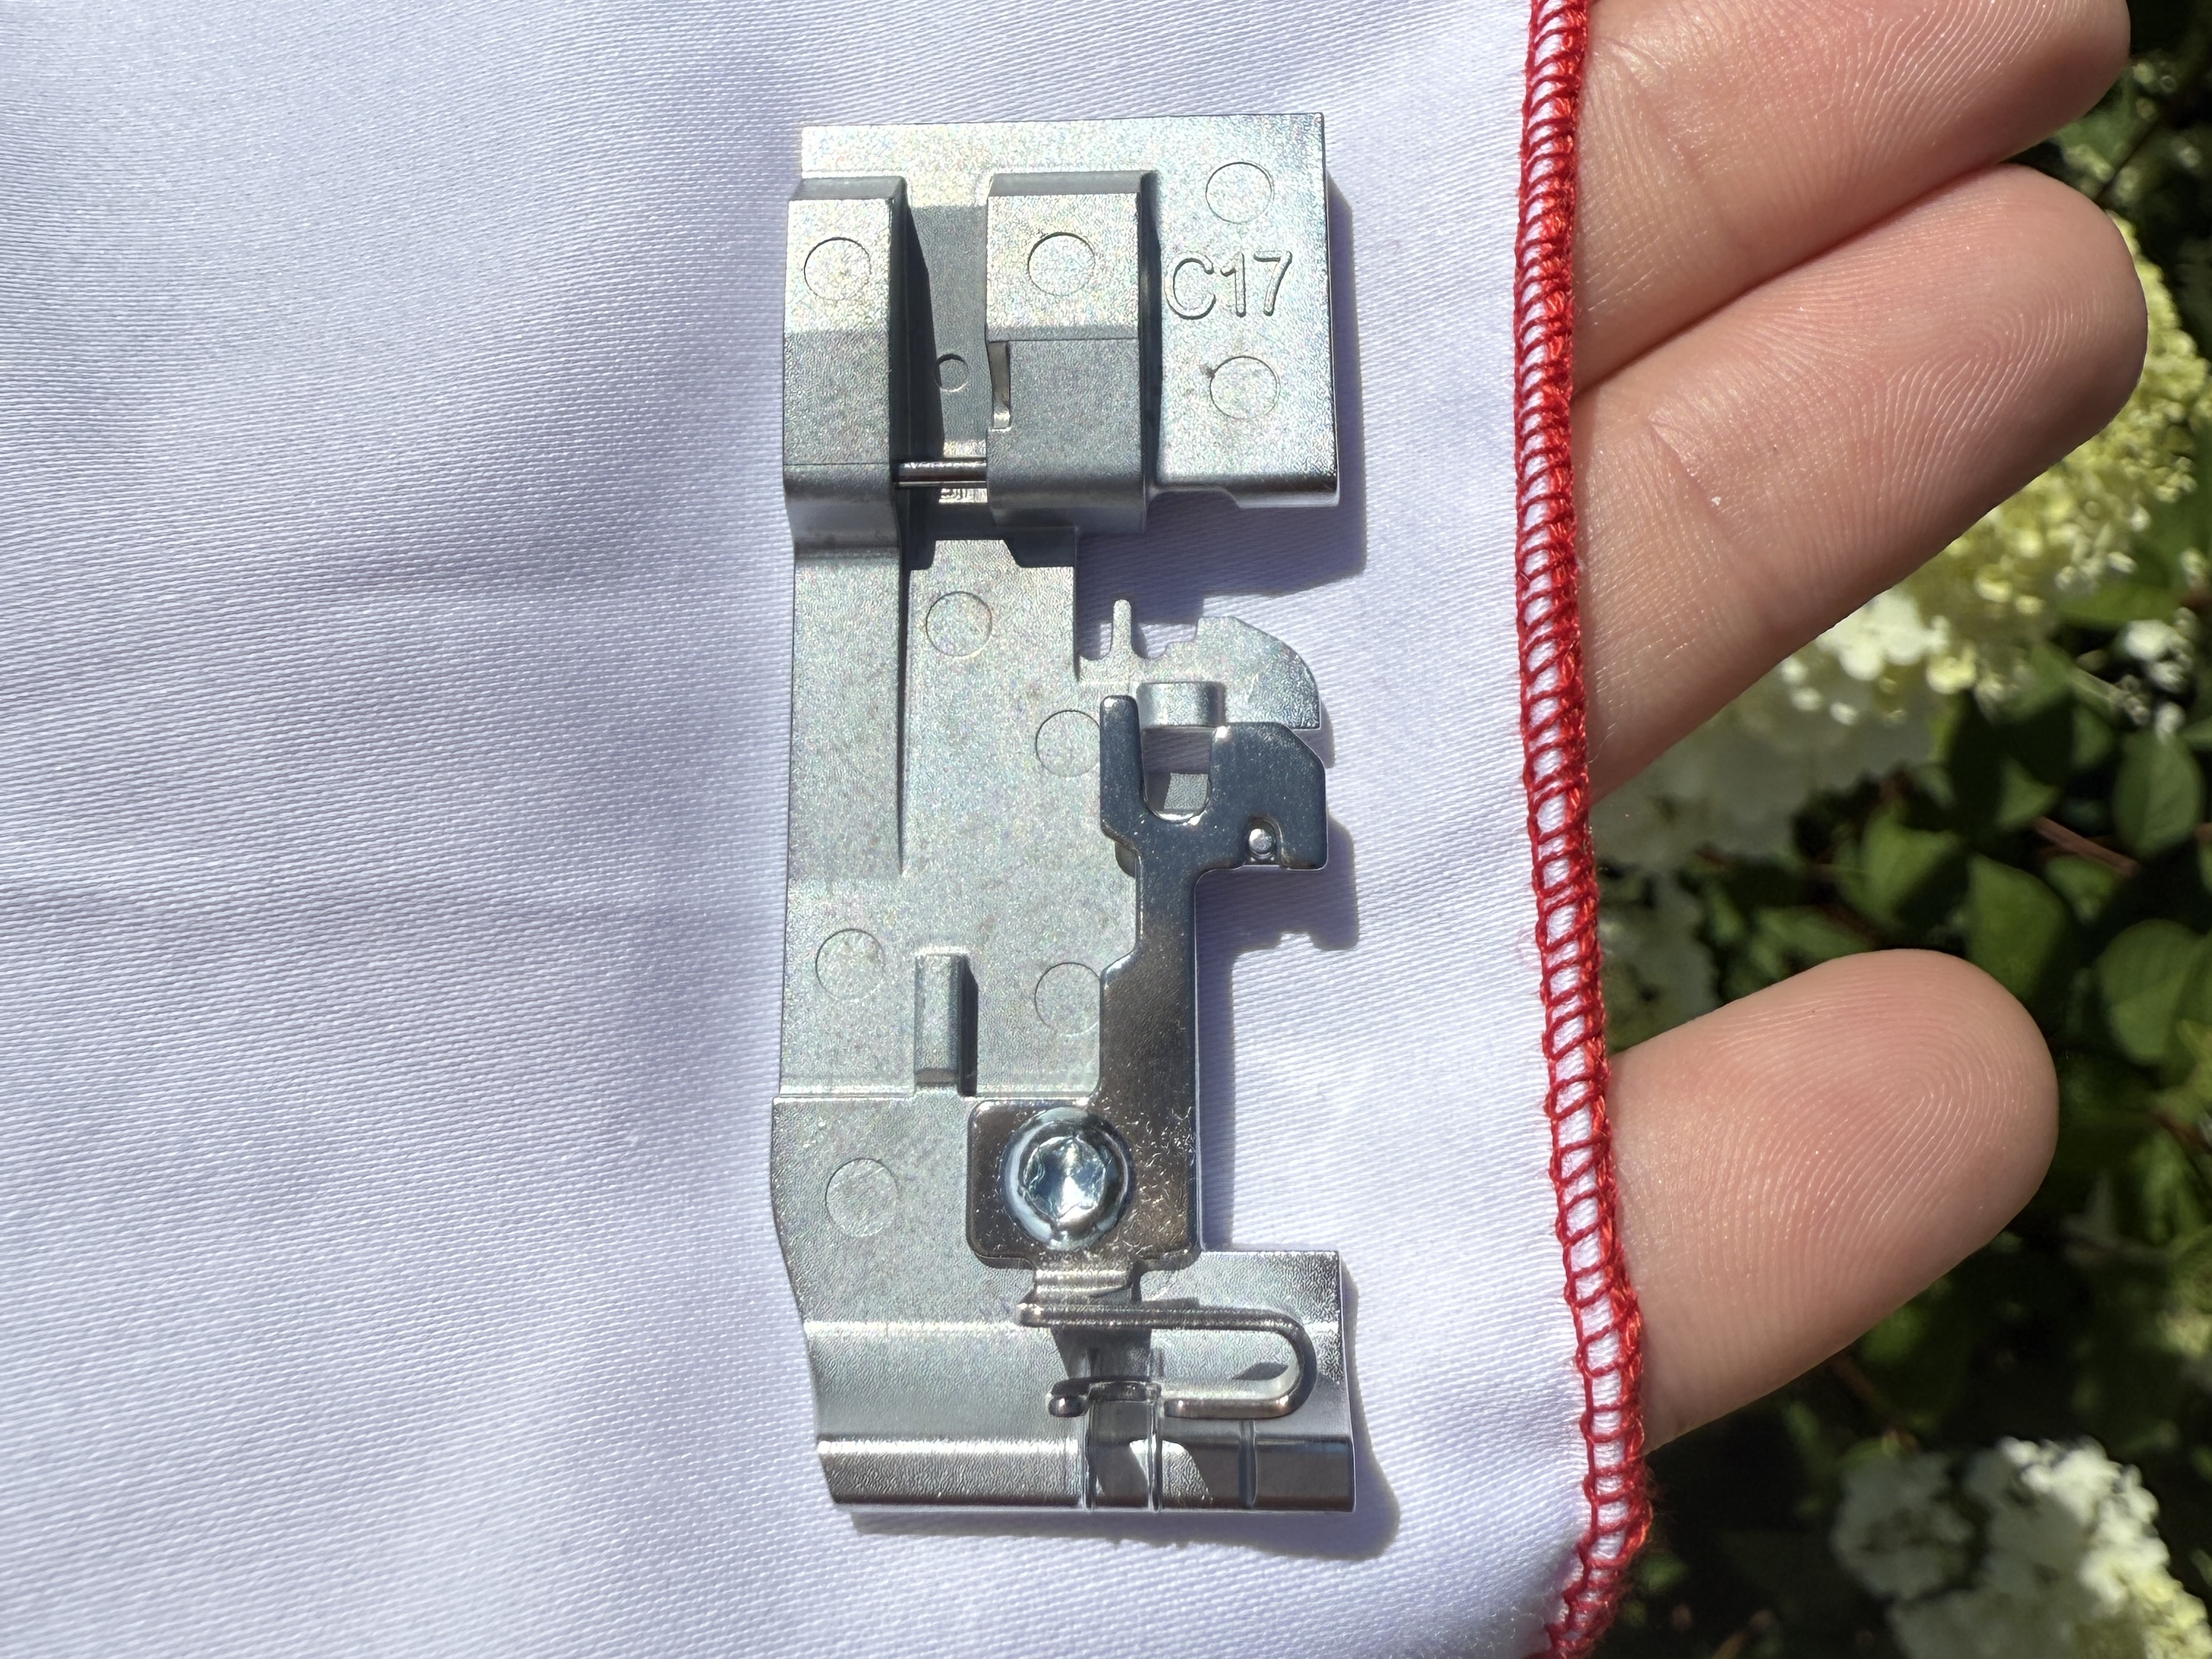
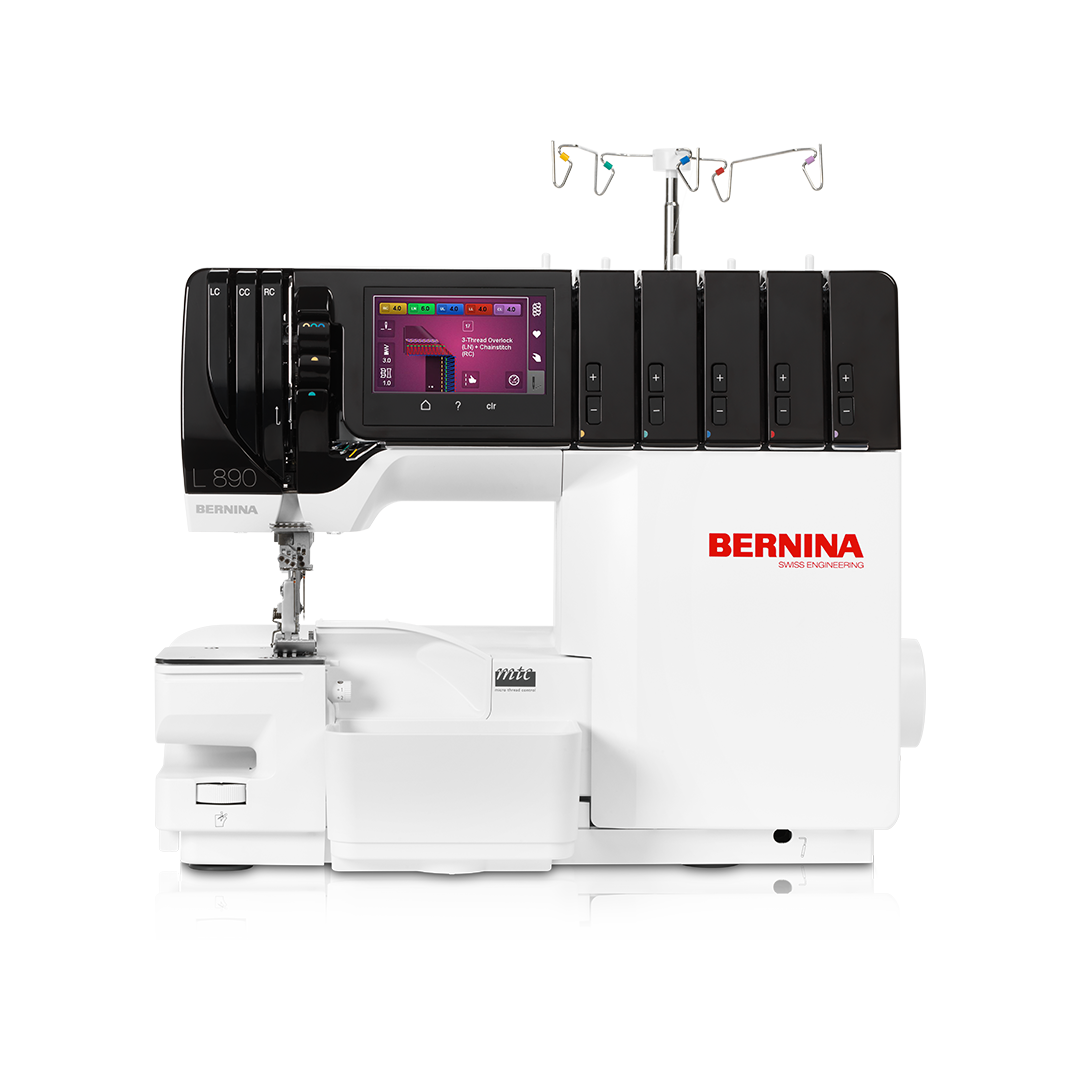
The Cording Foot #C17 is used for sewing thin cord, wire, fishing line, perle yarn or fine yarn into a decorative or reinforced edge. Thanks to the BERNINA Cording Foot #C17 guides and grooves, the yarn and fabric are fed through the serger with correct placement and spacing every time. If you’ve never used the Cording Foot before, here is a simple tutorial to get you started!
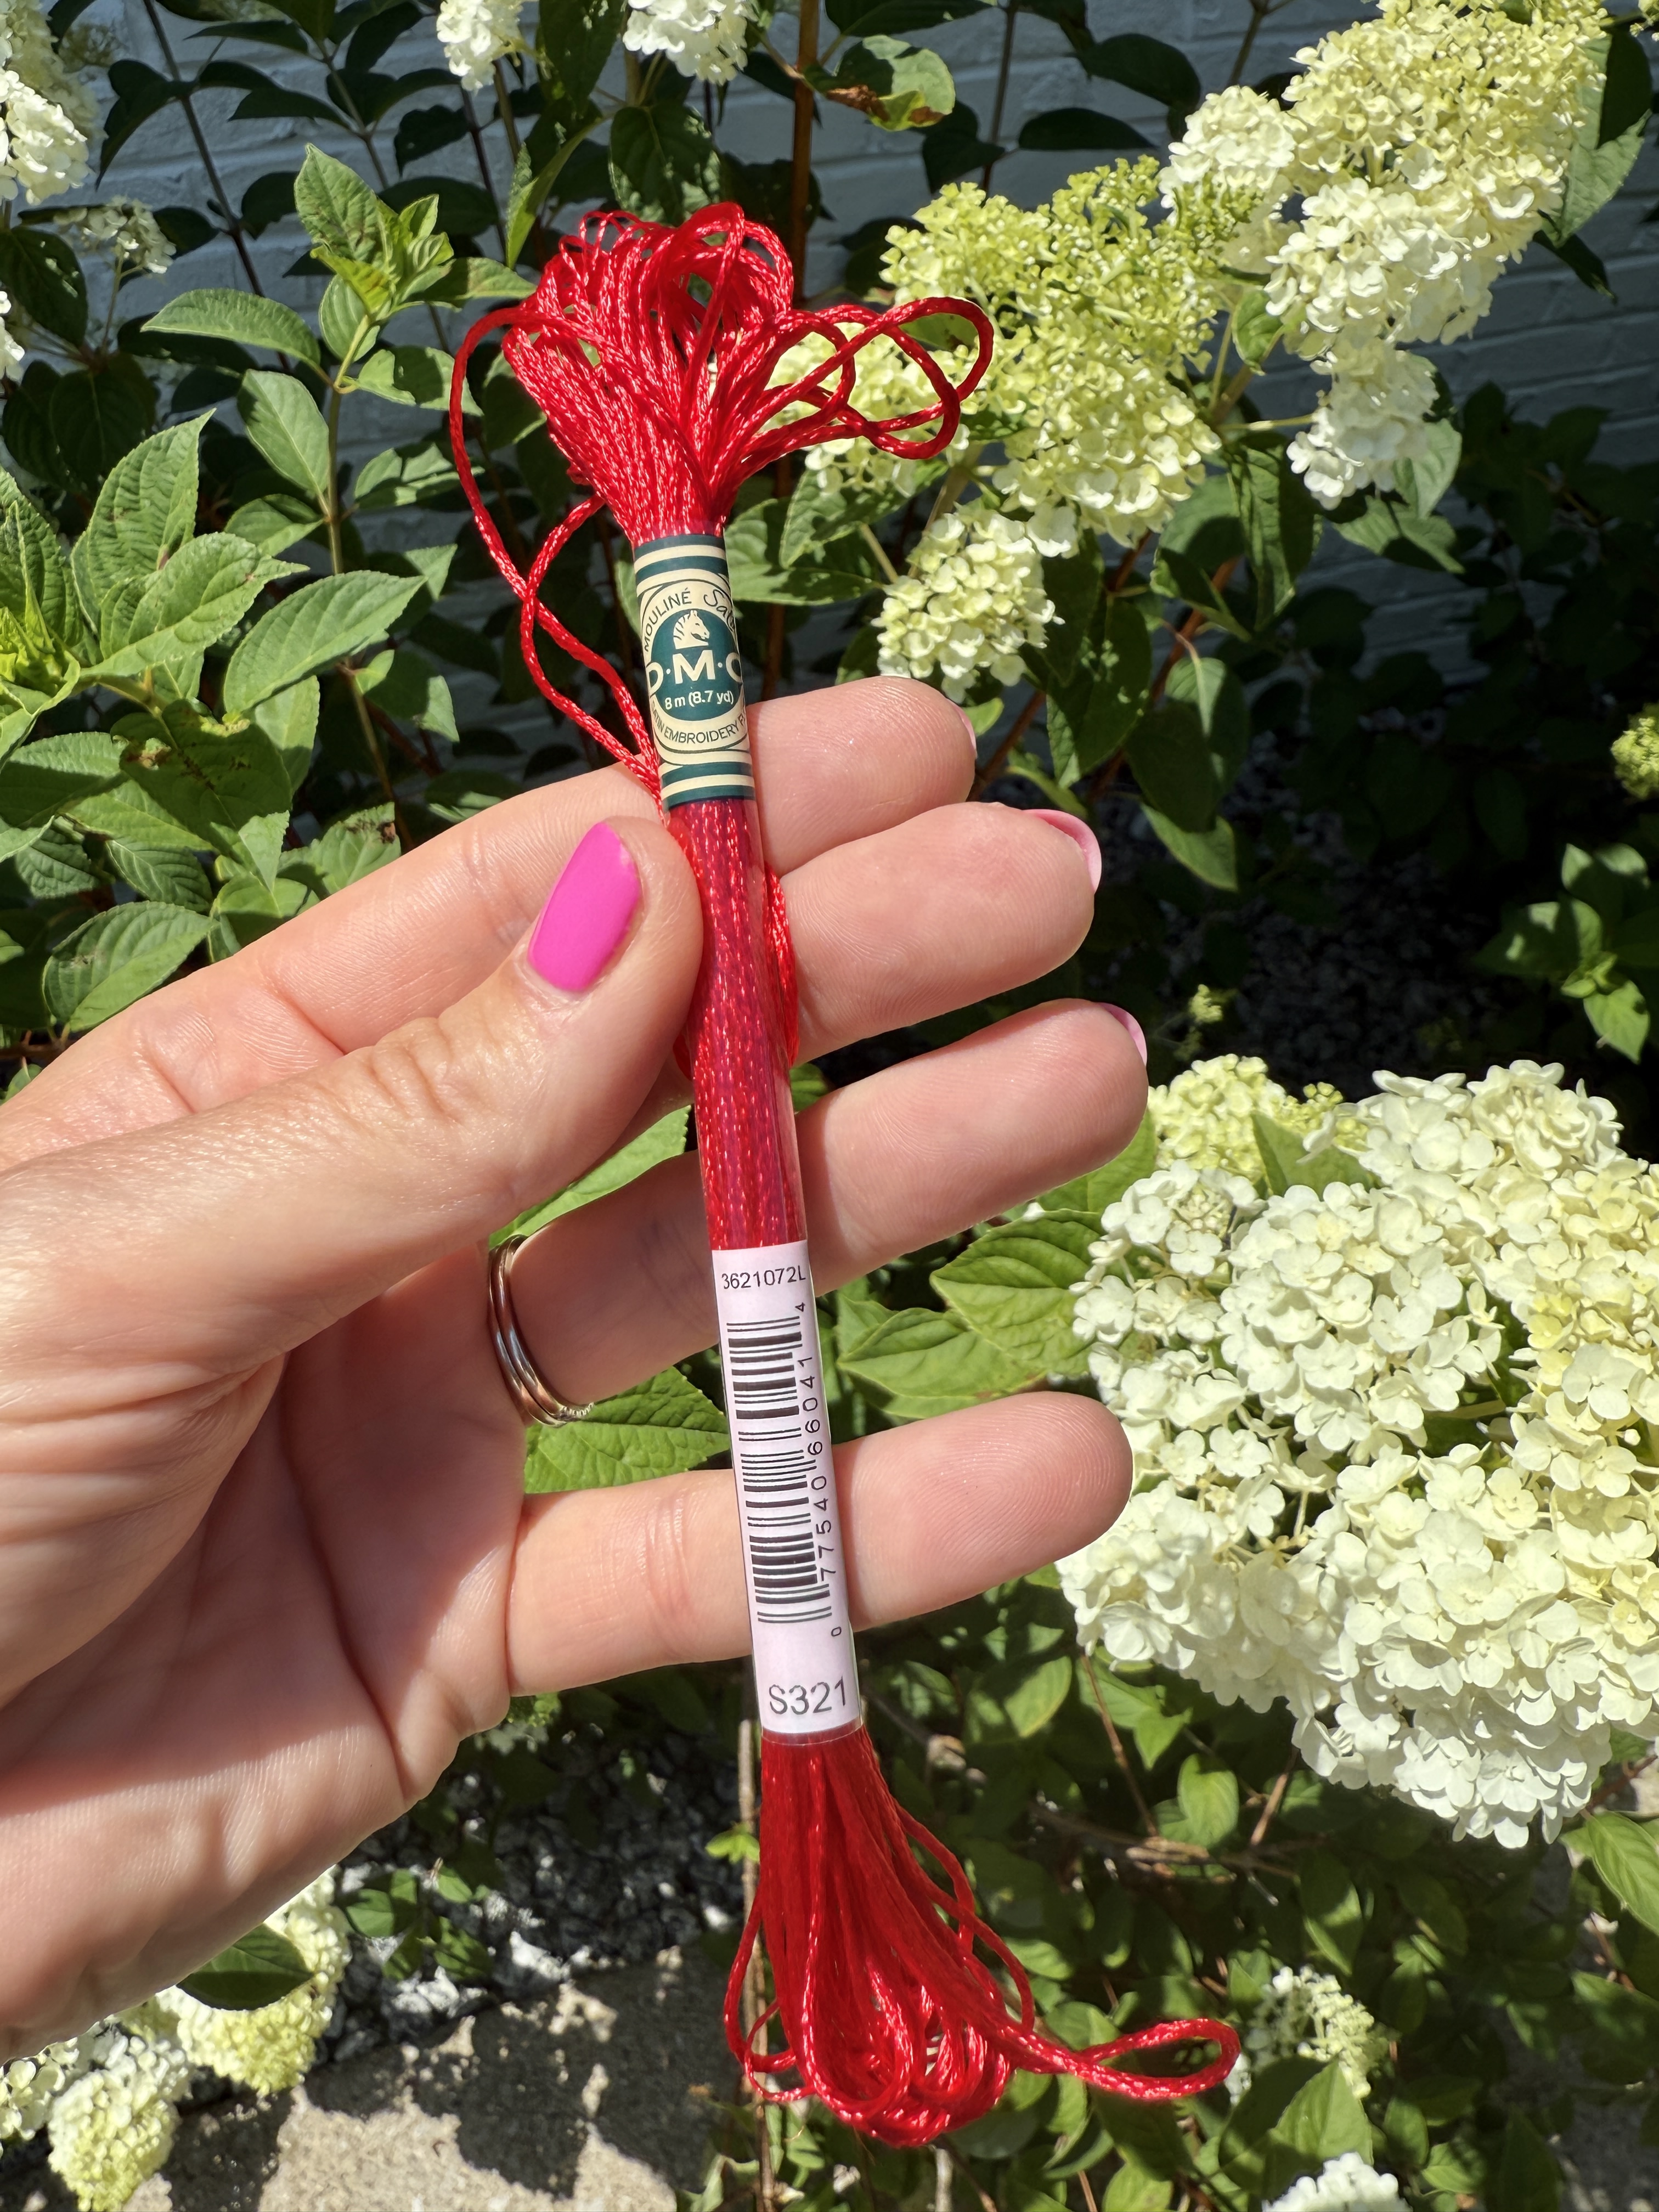
First, choose which type of cord you would like to use. The cord or yarn can be up to 2 mm in diameter. Anything greater than that will not fit properly in the guides and grooves of the cording foot. For today’s tutorial, I am using a fine Satin Embroidery Floss in the color #S321 from Hobby Lobby.
Next, you will need to choose which stitch you want to use for the decorative hem. Here are a few stitches to choose from:
- 3-Thread Rolled Hem
- 2-Thread Rolled Hem
- 3-Thread Picotstitch
- 3-Thread Narrow Seam
In this tutorial will be using the 3-Thread Narrow Seam. Select your stitch, and thread your machine accordingly. I prefer to increase my stitch length to a 3.
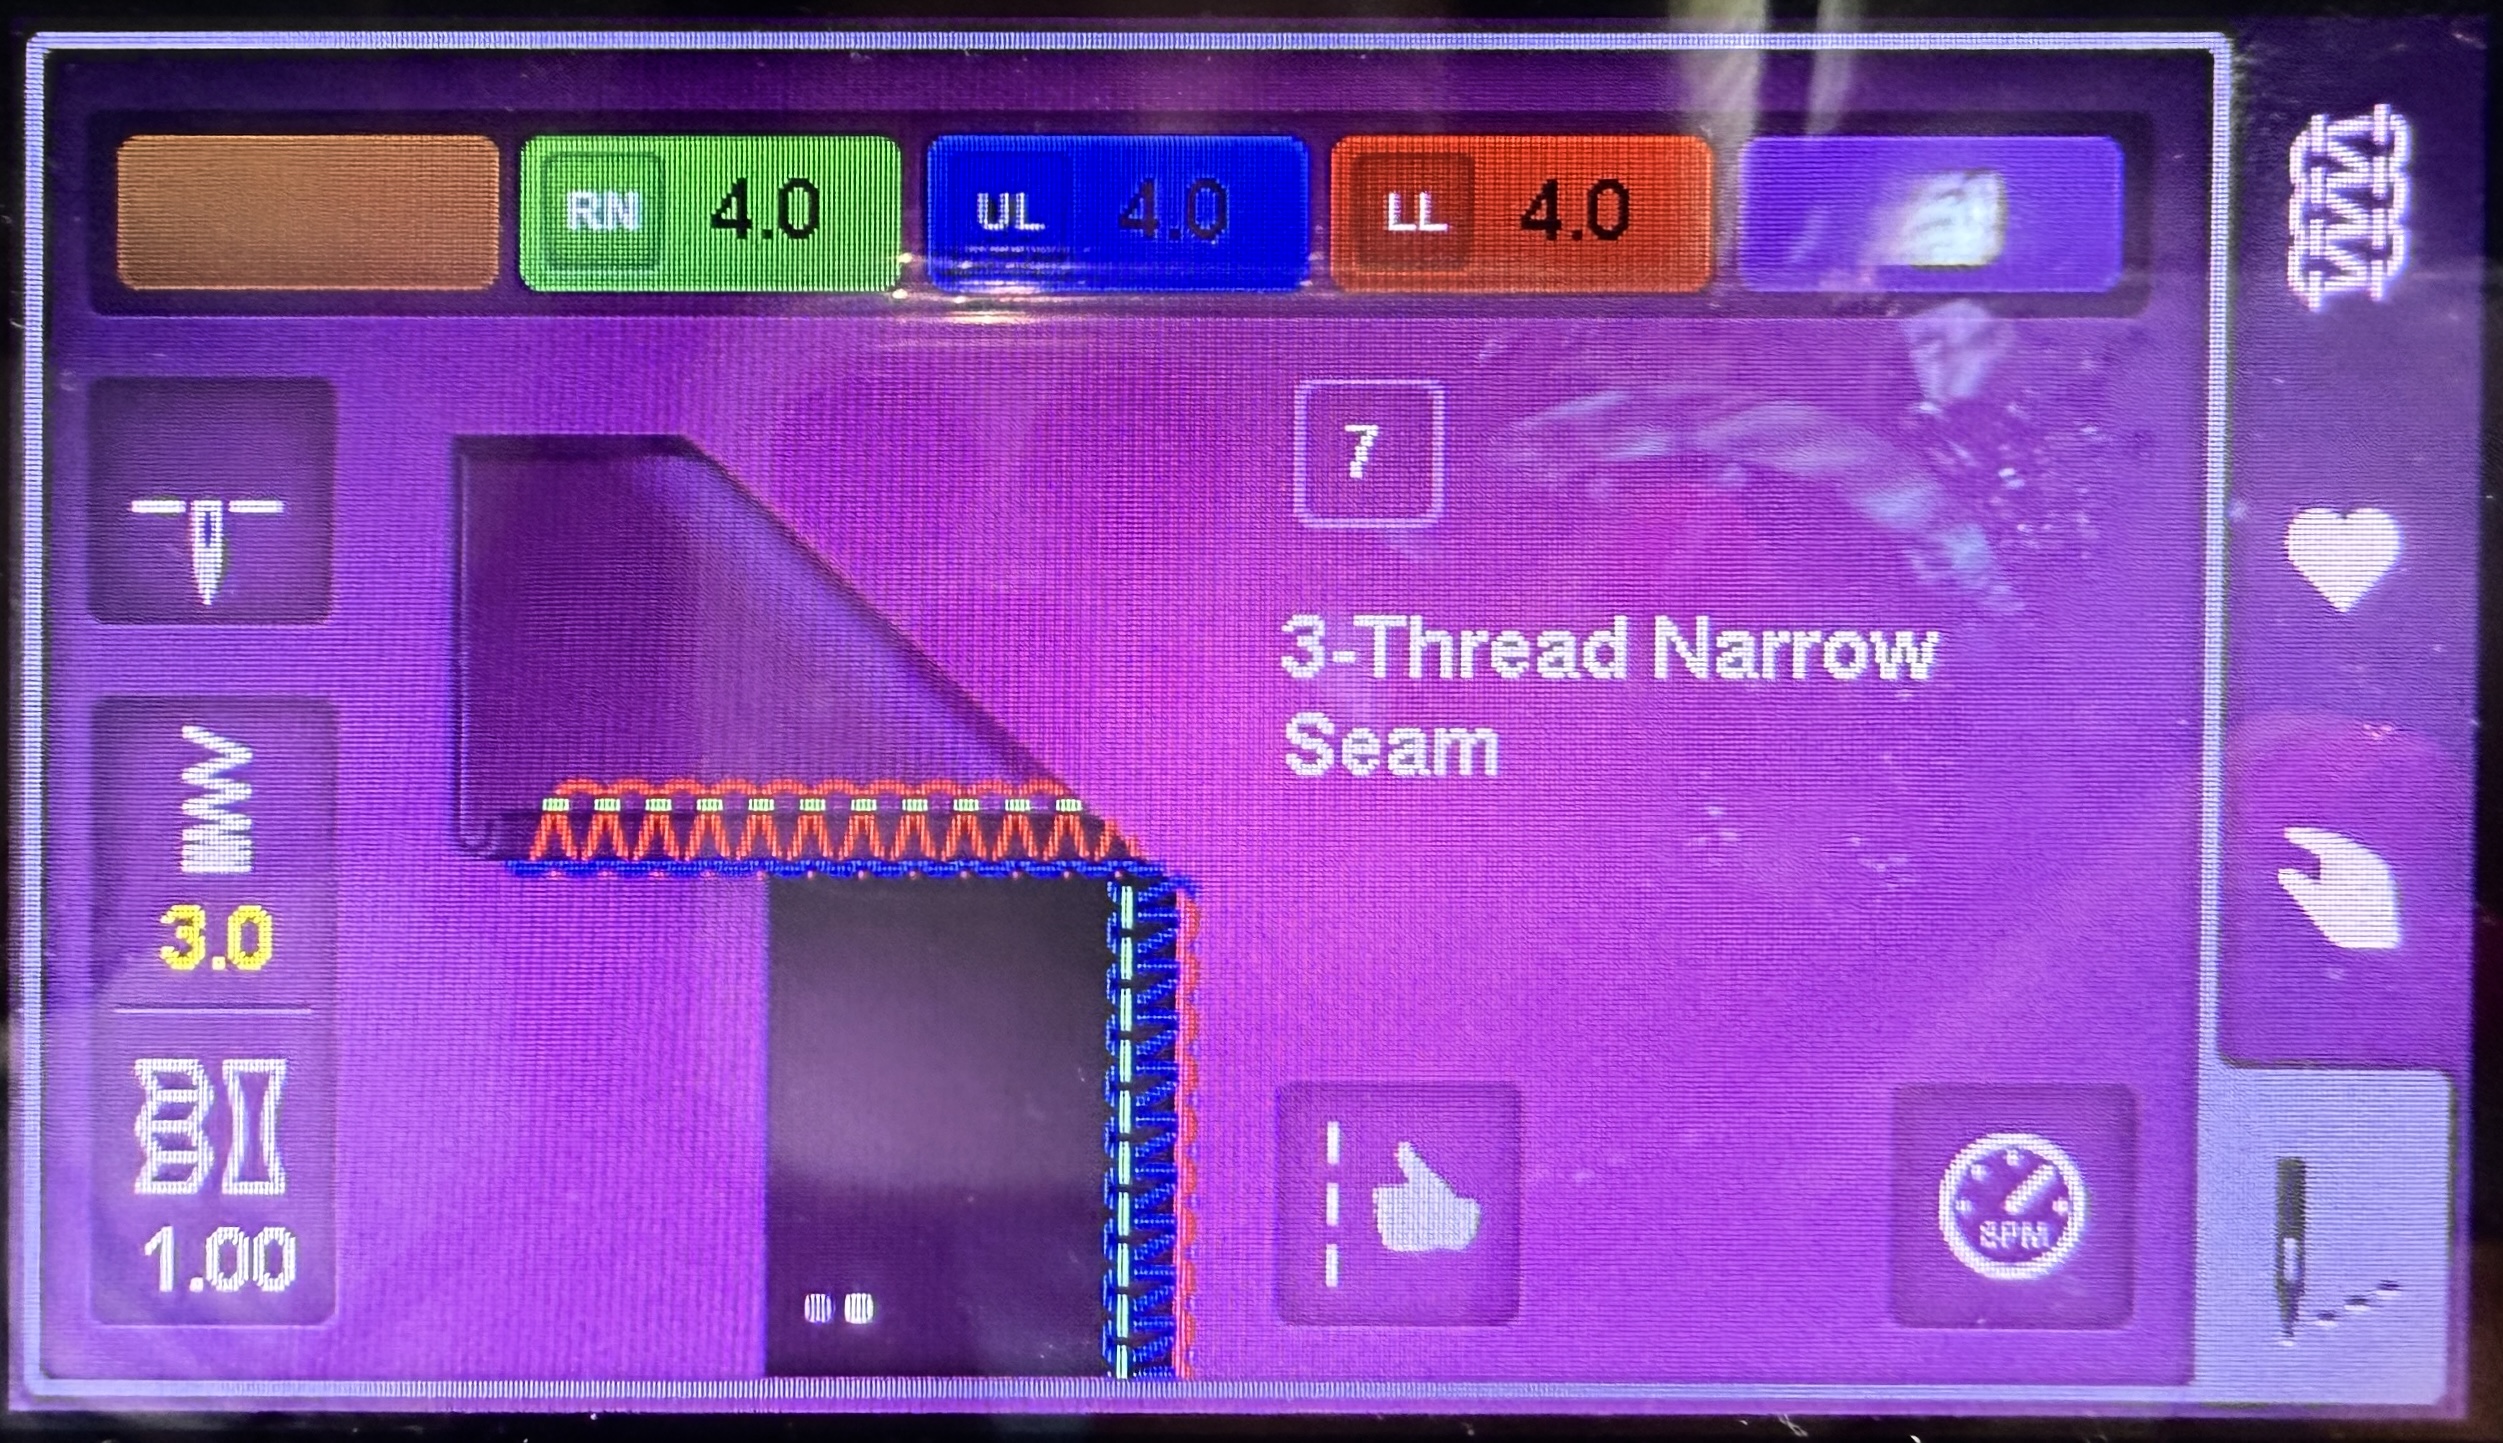
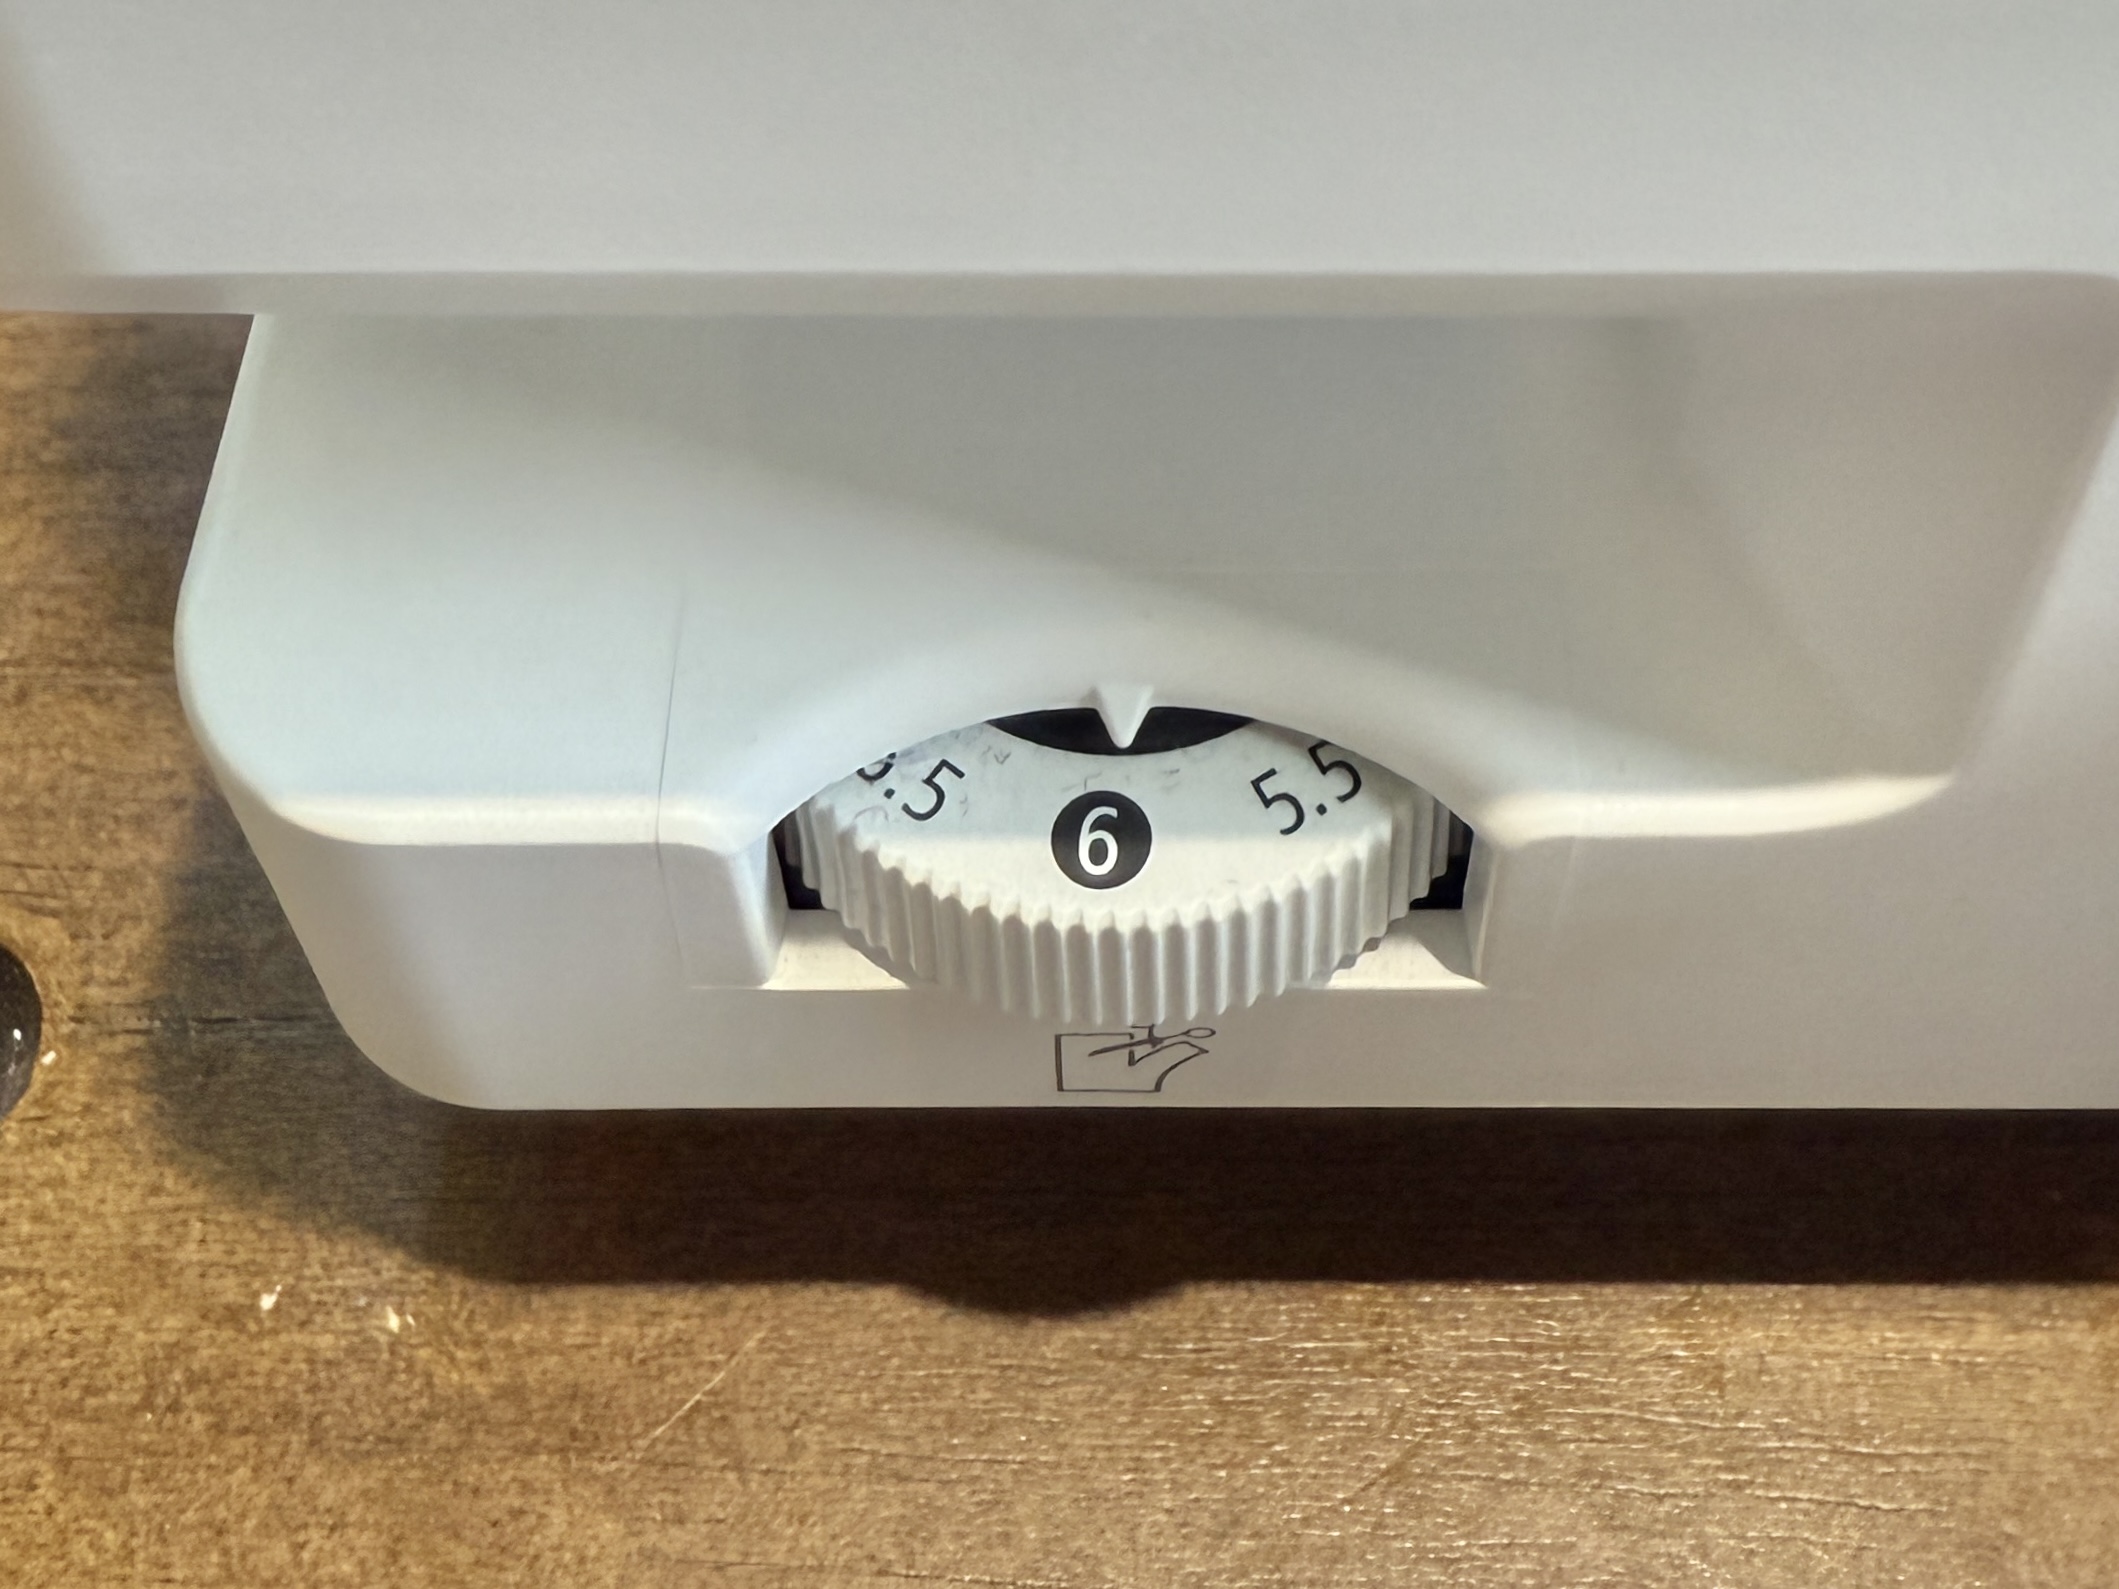
Adjust your cutting width to be a 6.
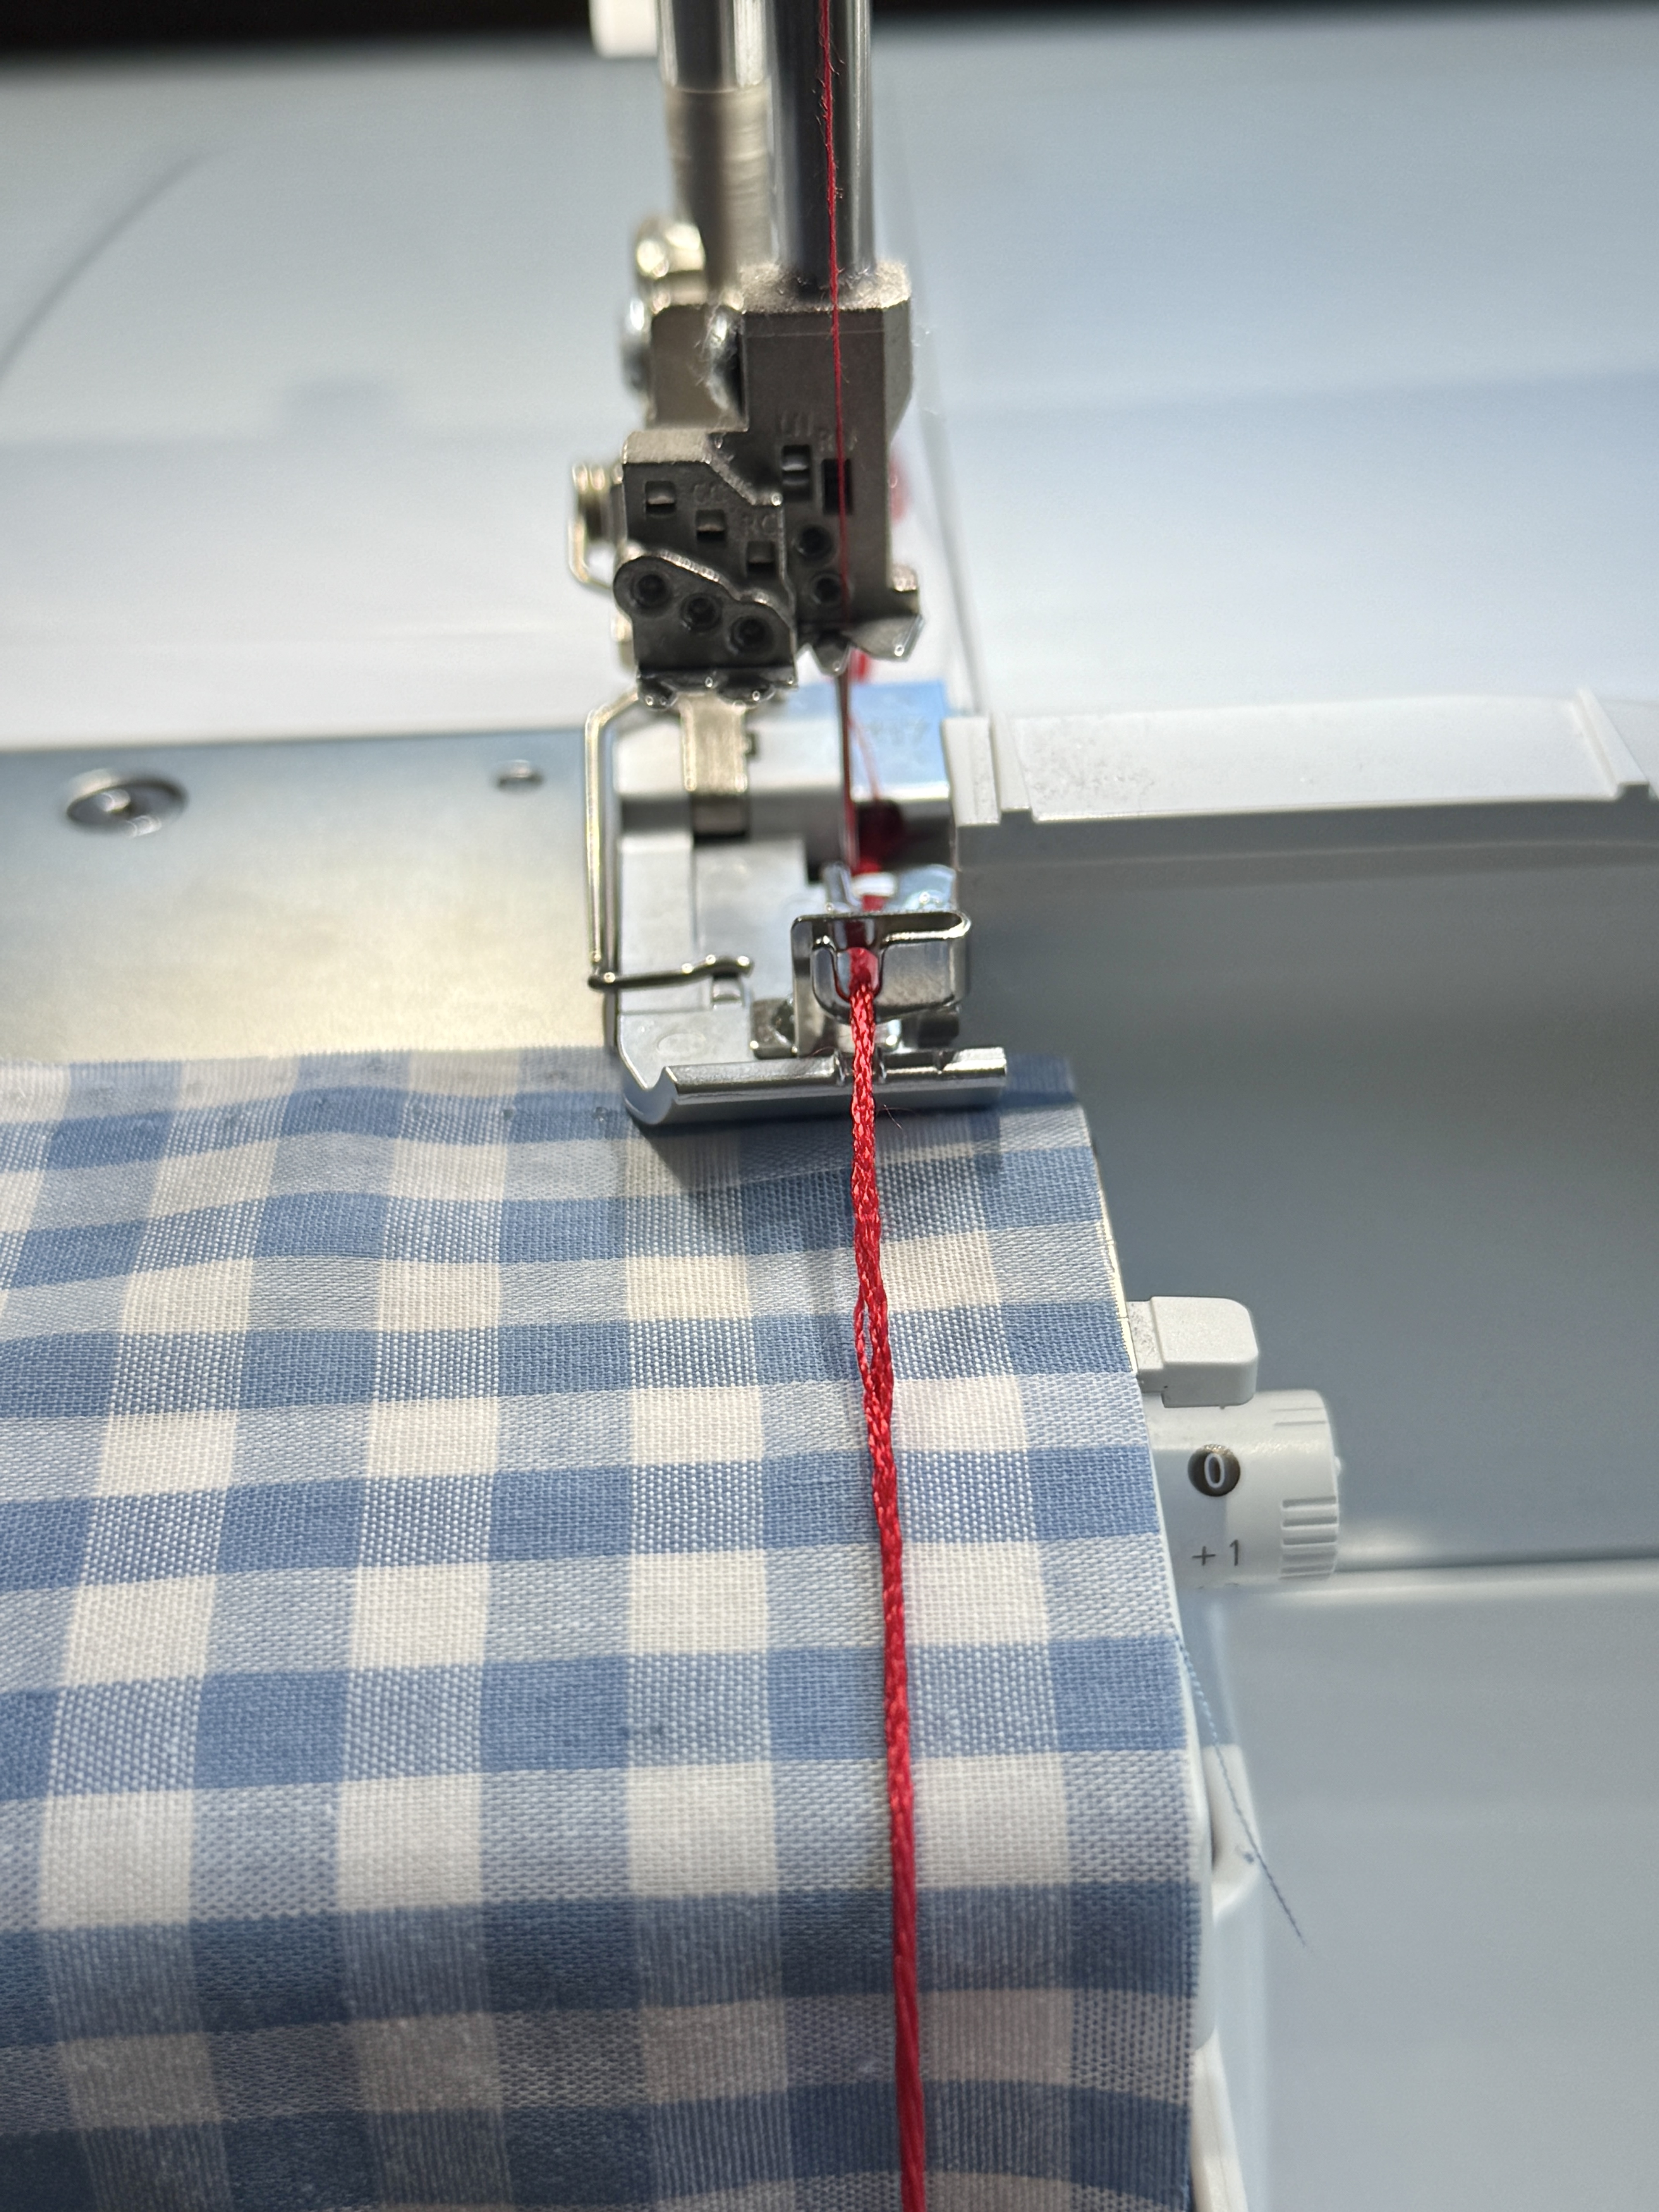
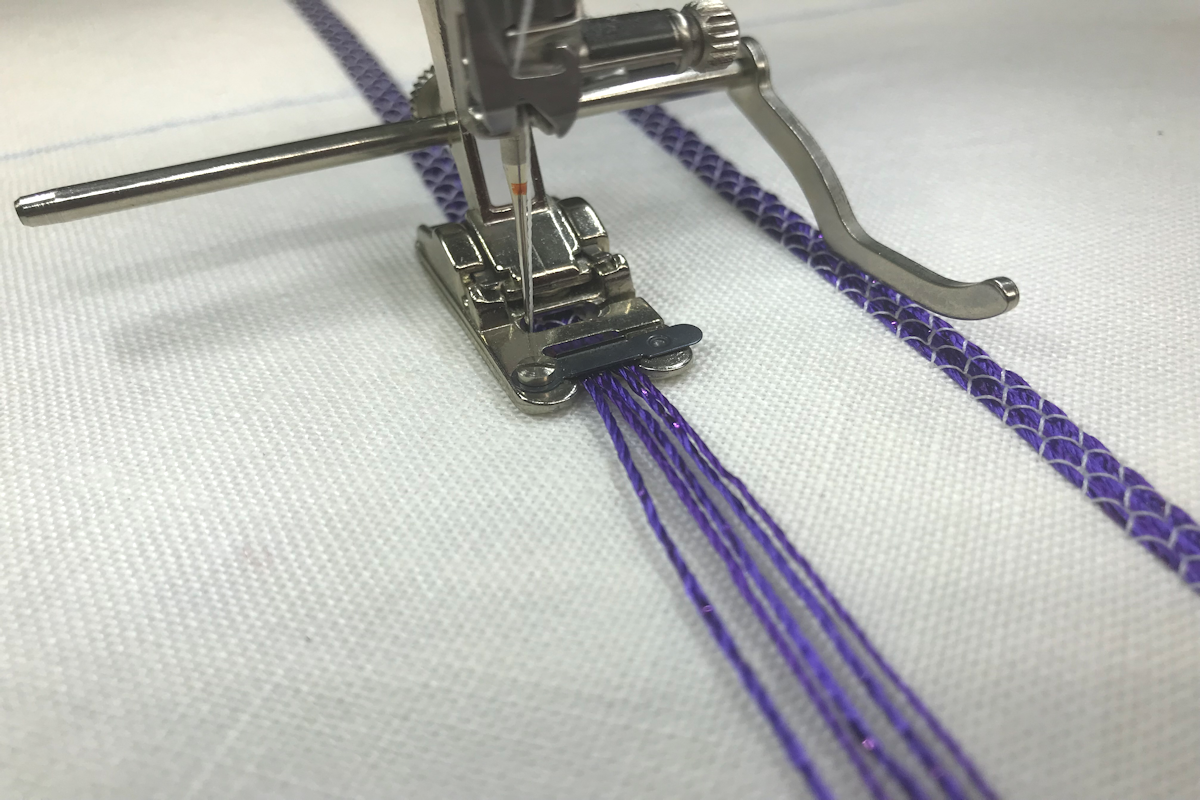
Attach the Cording Foot and swing out the foot for easy access and installation of the yarn.
Holding the yarn in both hands, slide the yarn underneath the Cording Foot. With your right hand, raise the yarn up through the center guide.

Continue guiding the yarn forward around and through the front guide.

While still holding the yarn in your left hand, use your right hand to swing the foot back into place.
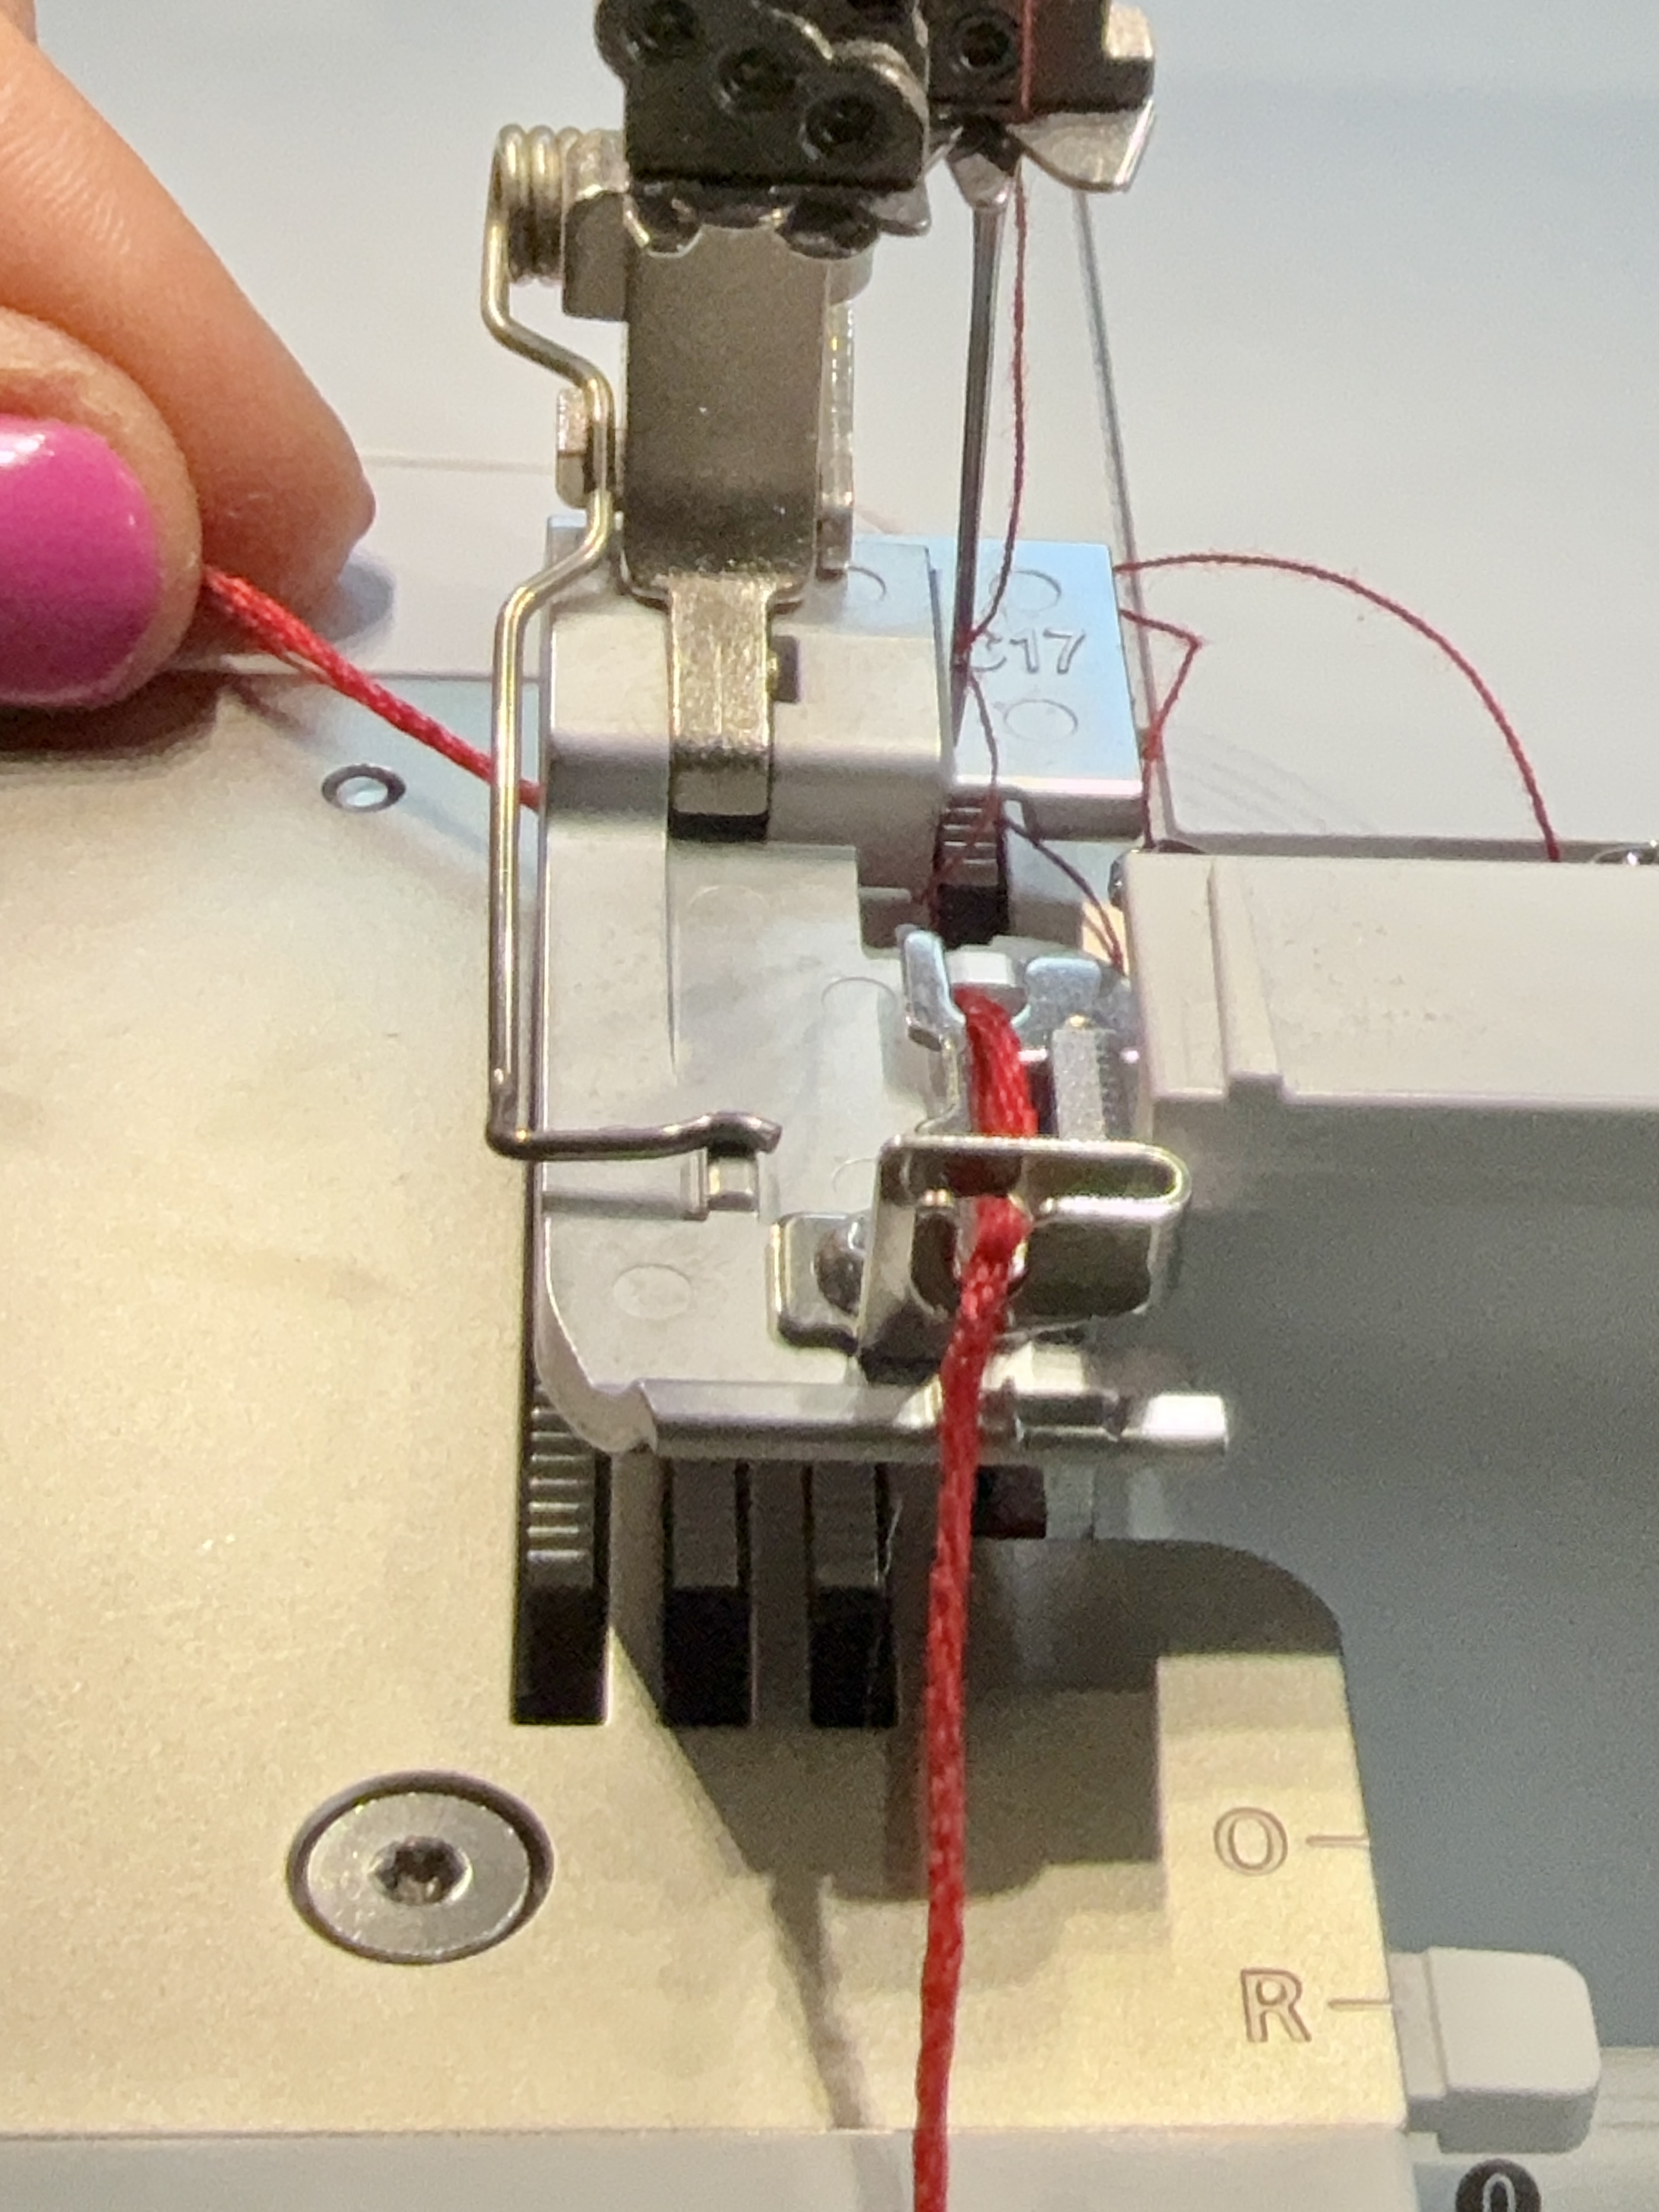
With your left hand, lay the end of the yarn behind the cording foot. Lower the presser foot. Ensure the yarn can glide through the guides without resistance. You should be able to move the yarn freely back and forth through the guides.
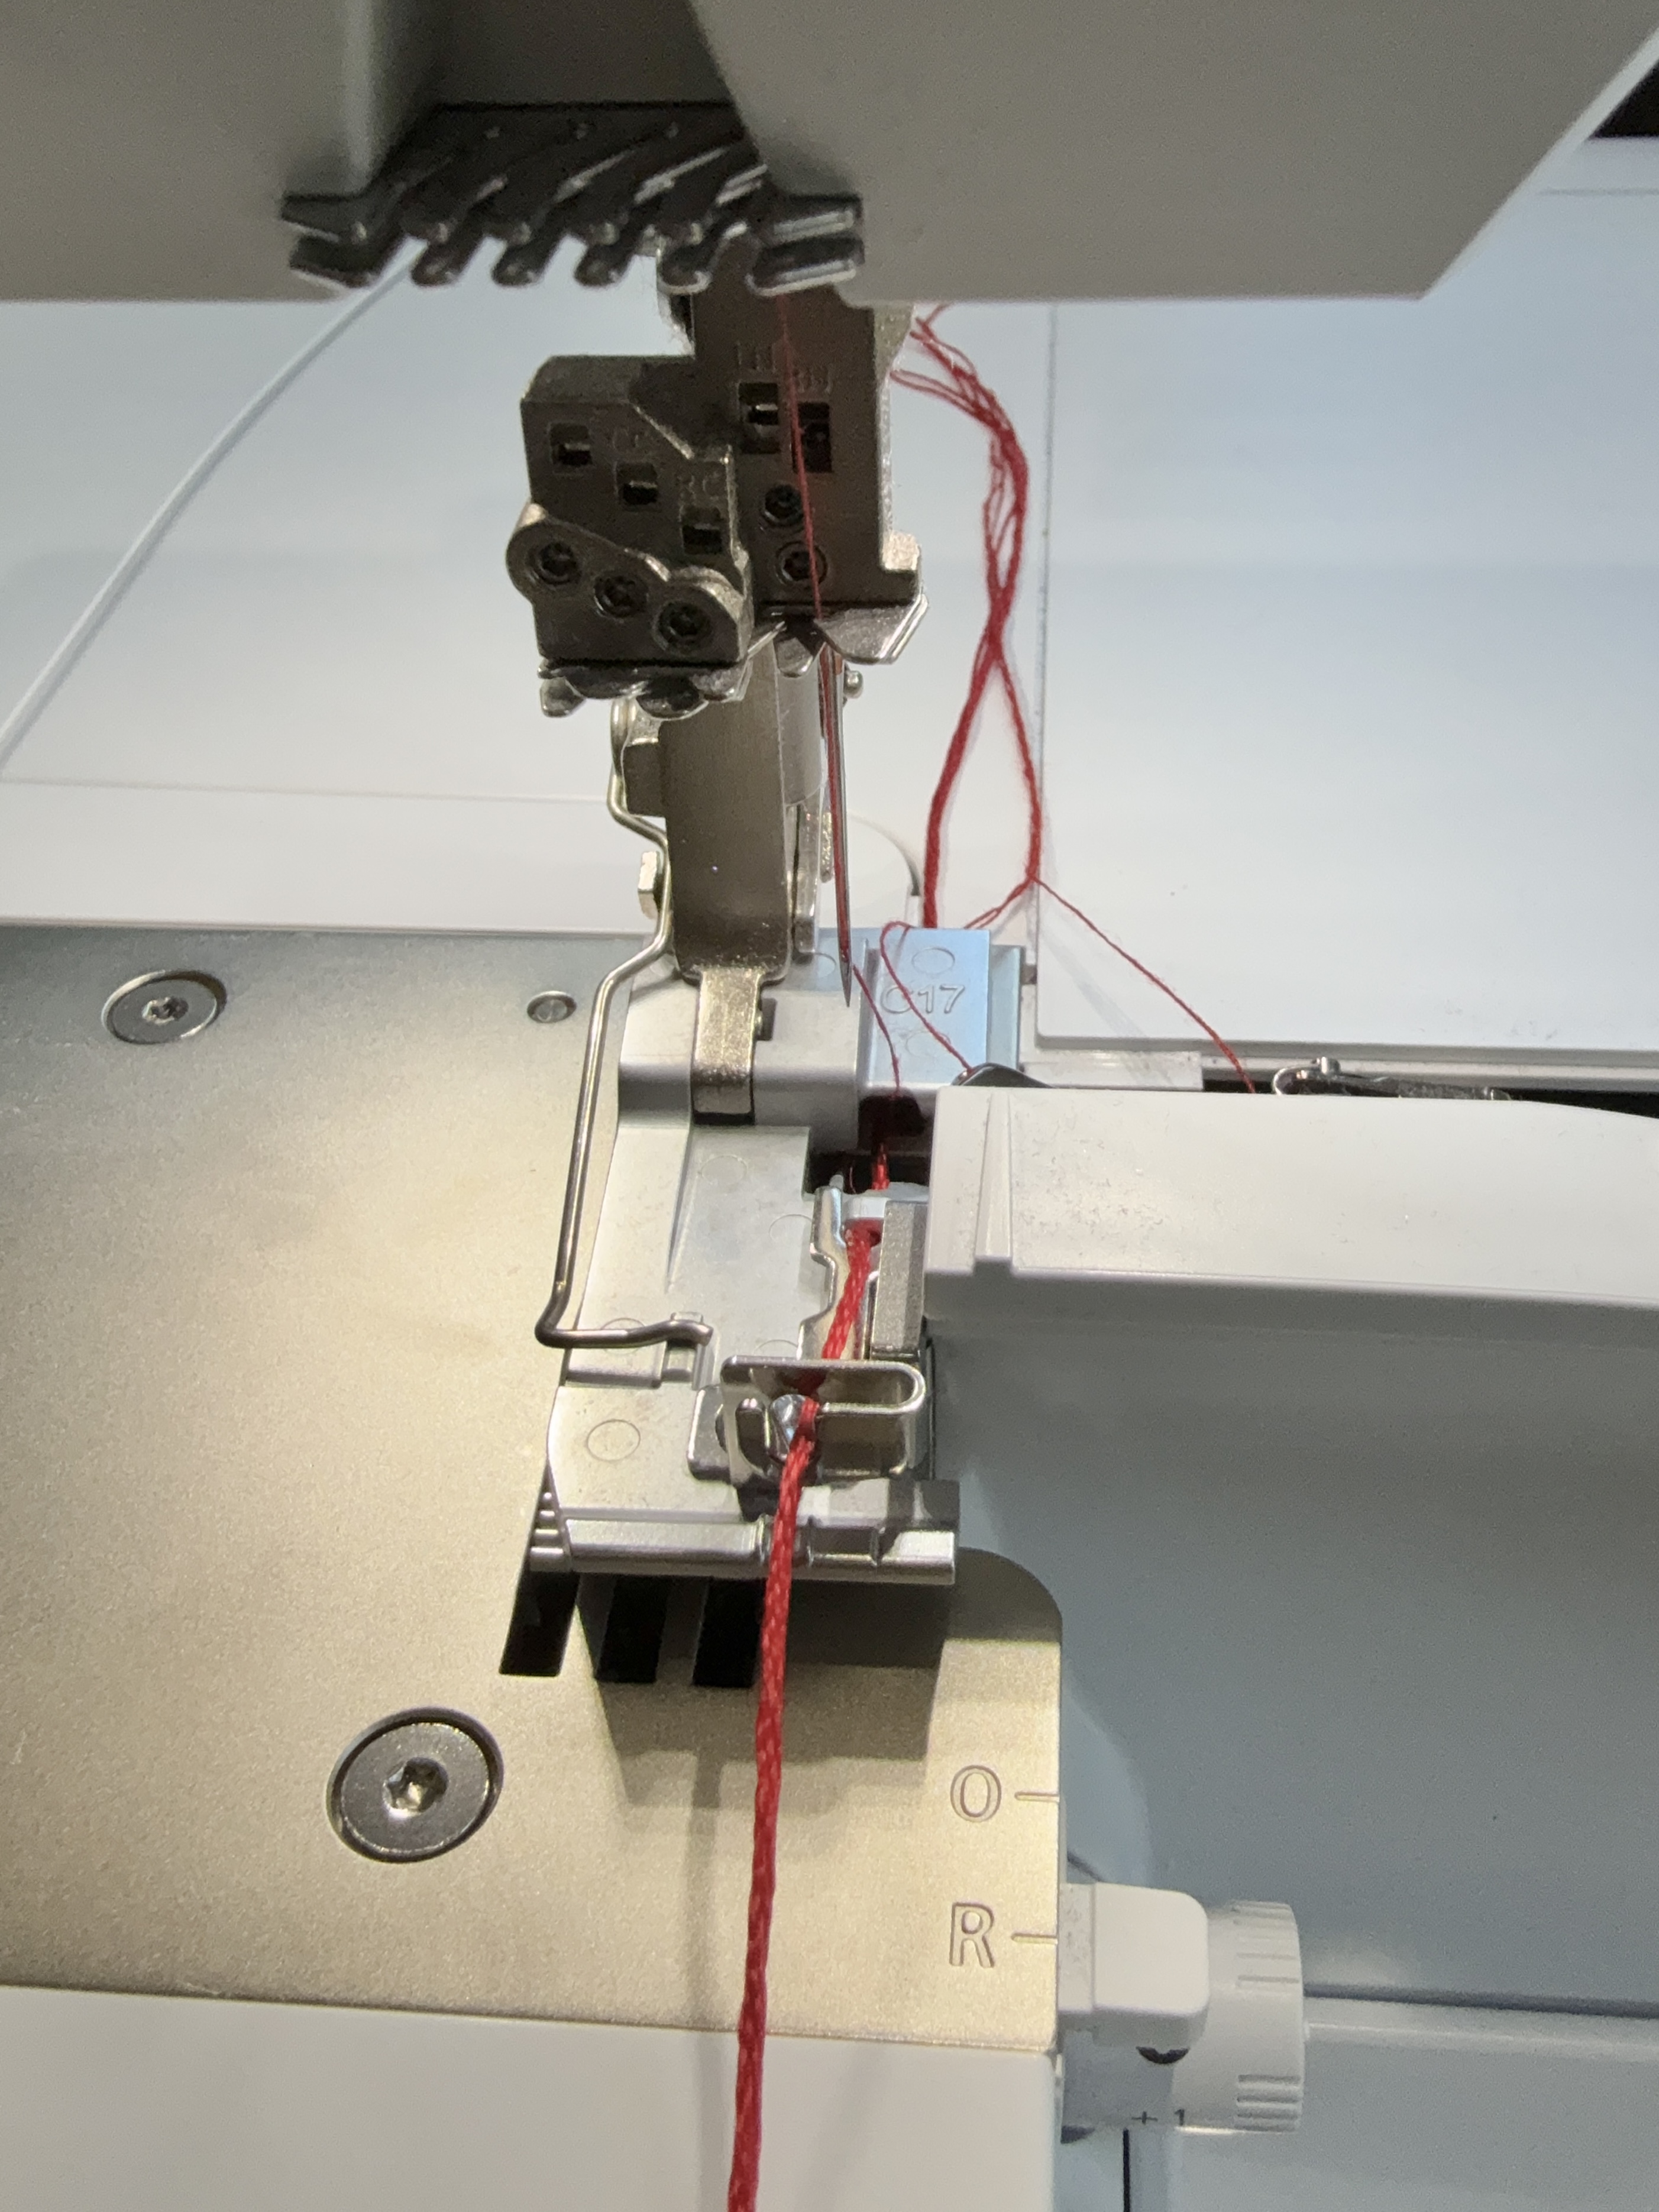
Sew a few stitches to fix the cord in place. Raise the presser foot. Place the fabric under the foot, right sides up, aligning to the correct seam allowance.
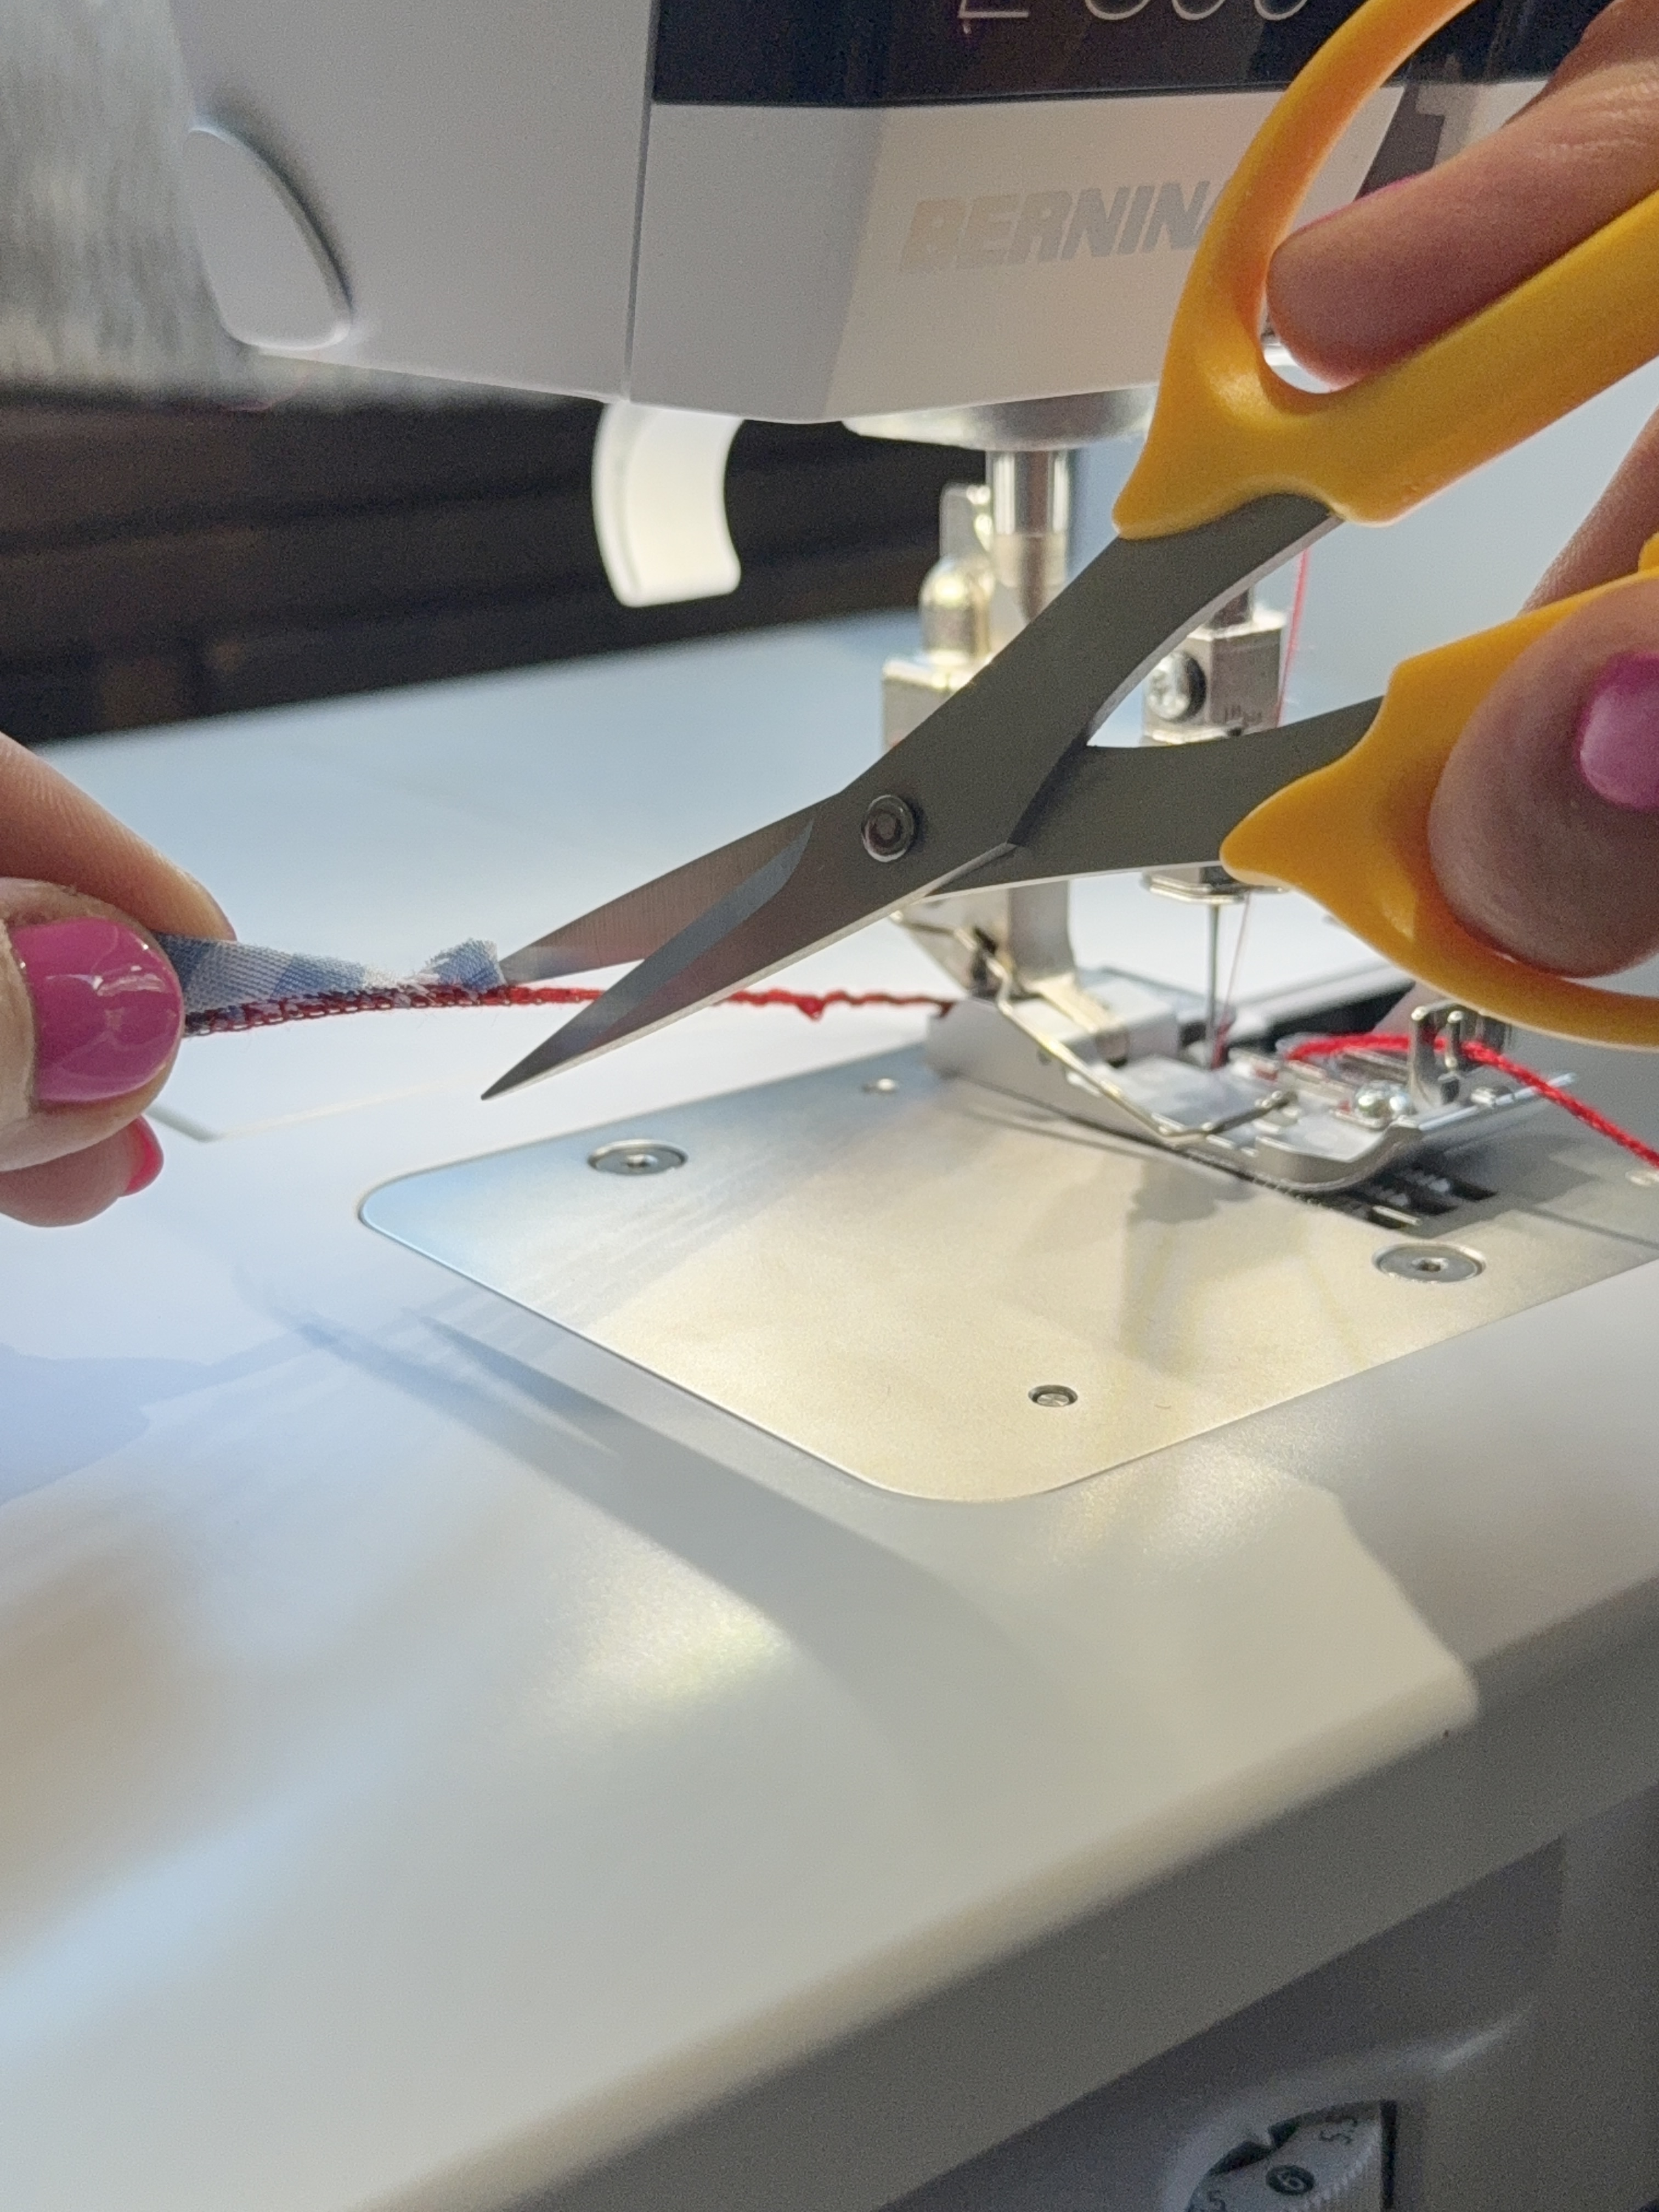
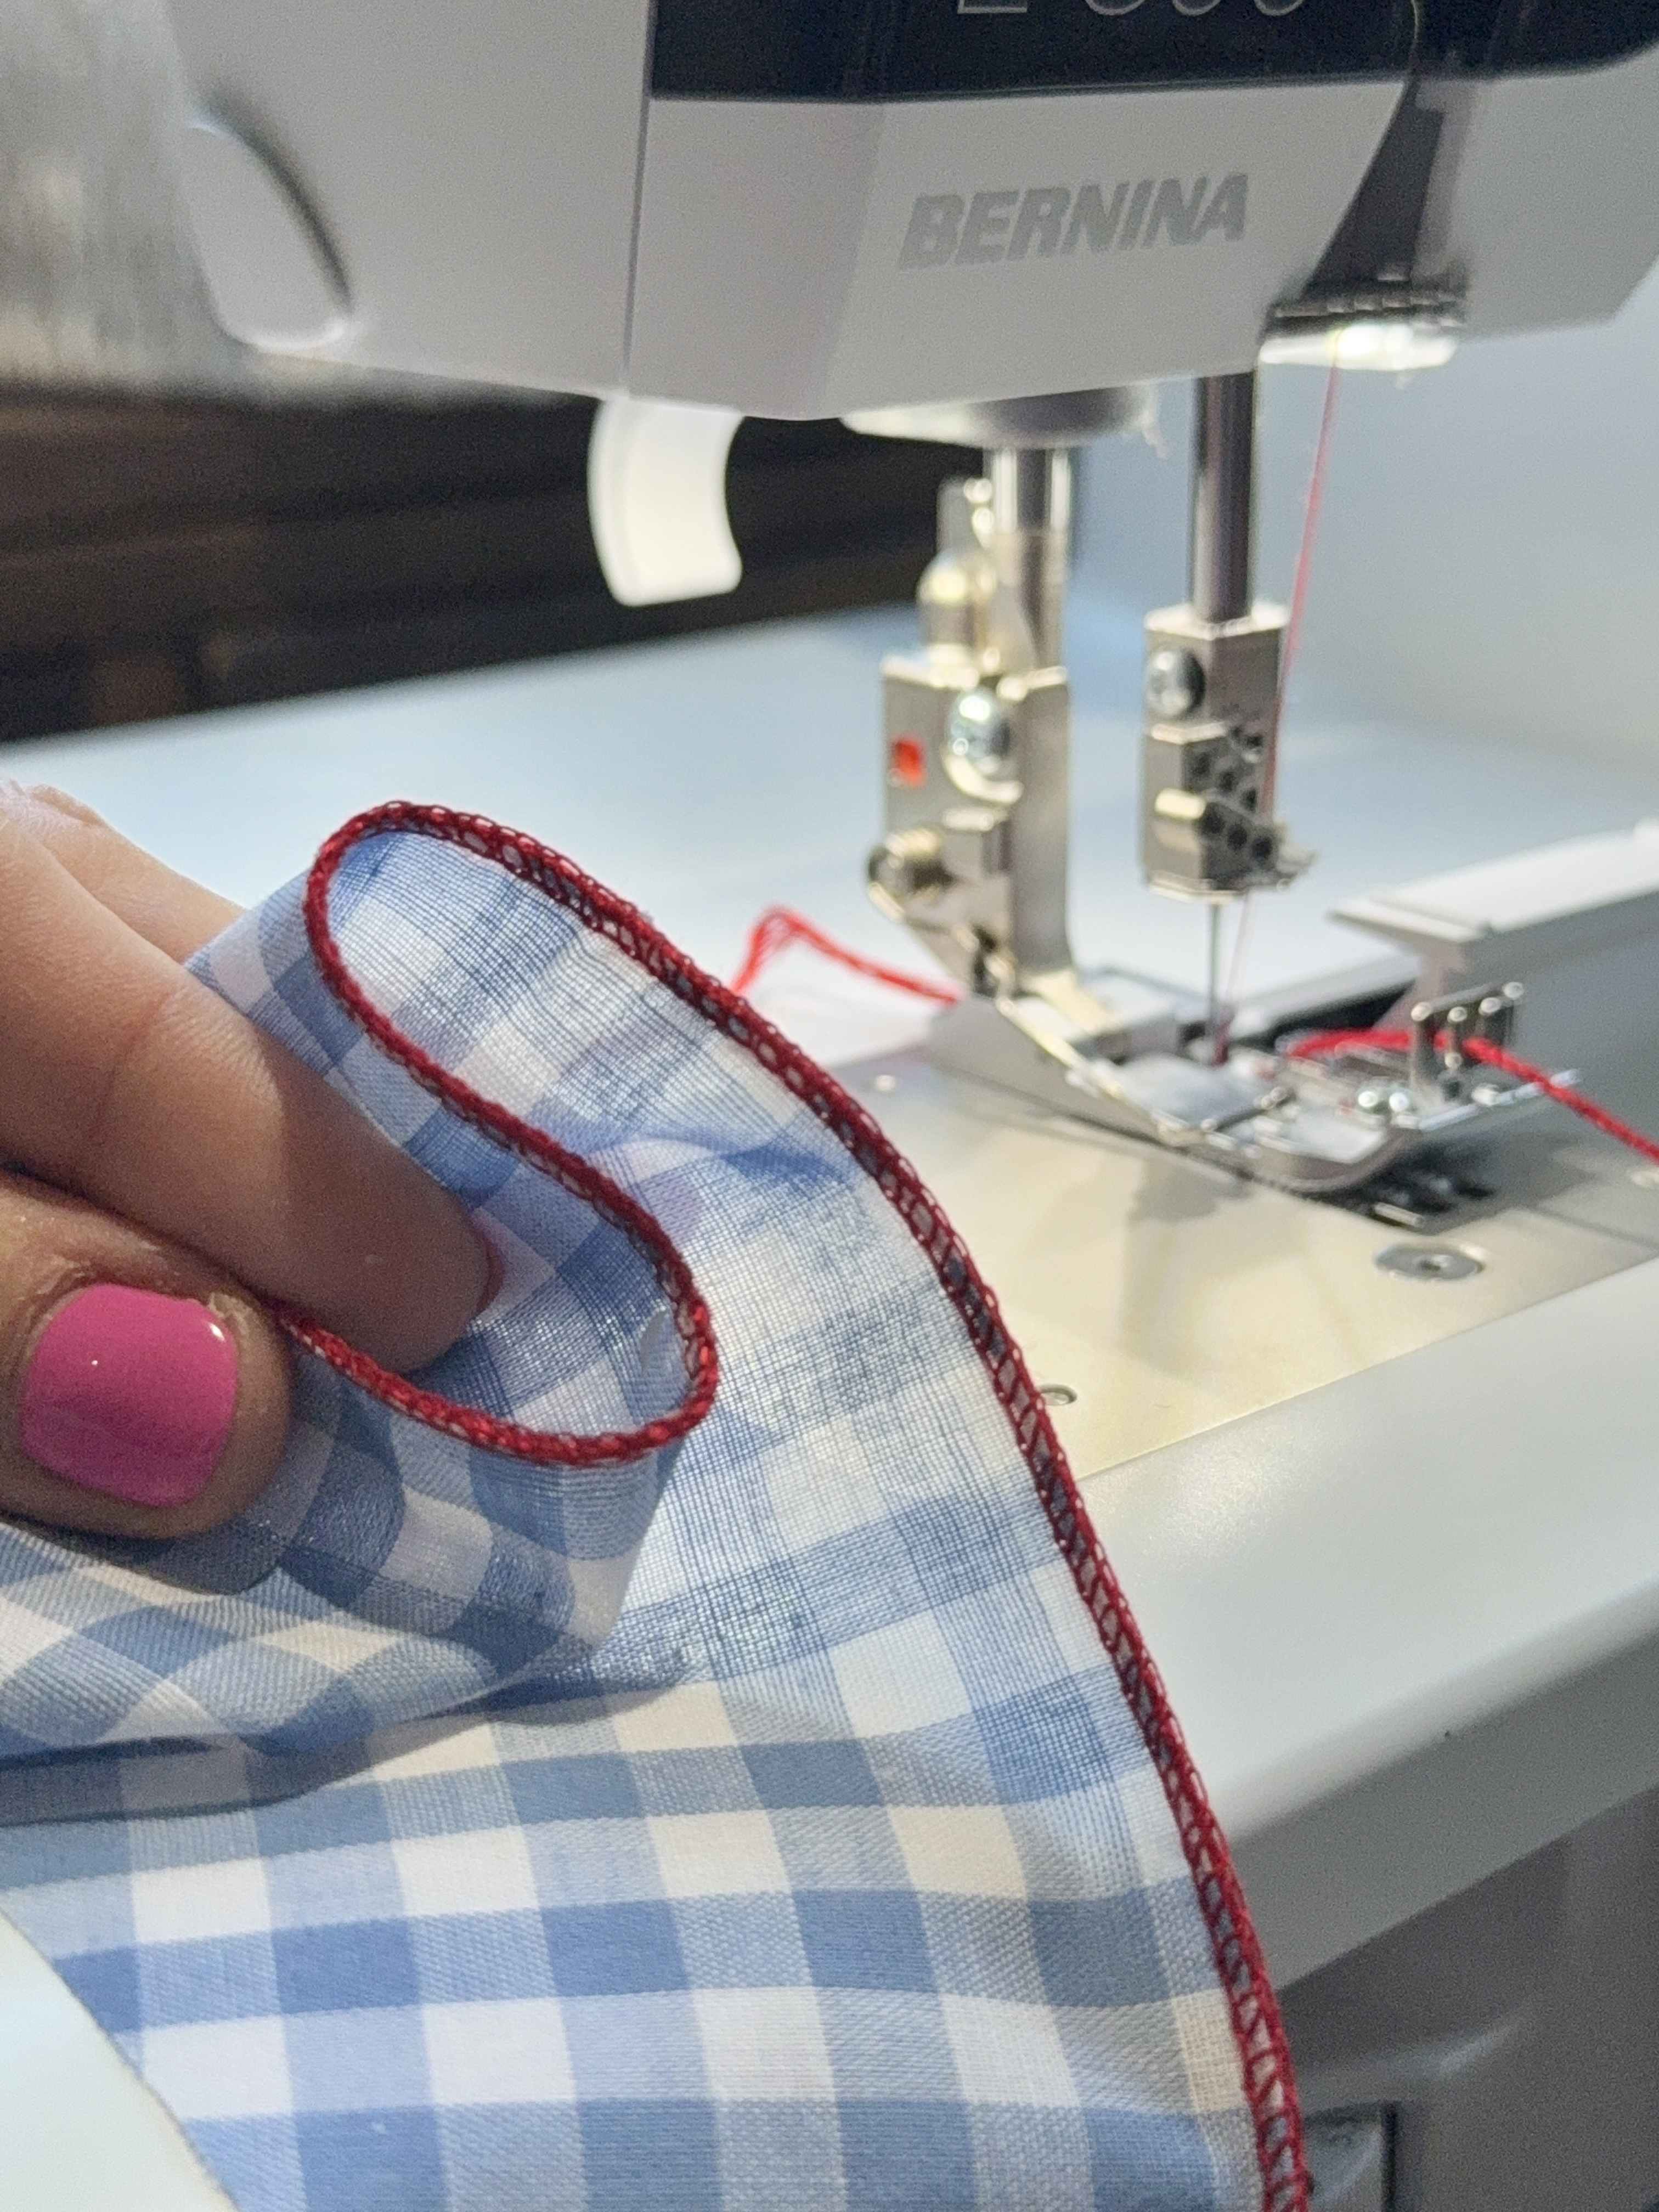
While sewing, ensure the yarn is not tangled or stuck. It needs to glide through the Cording Foot without resistance. If any waviness or gathering occurs, adjust the differential feed accordingly. Sew across the edge of the fabric. When the end is reached, continue serging and cut with scissors.
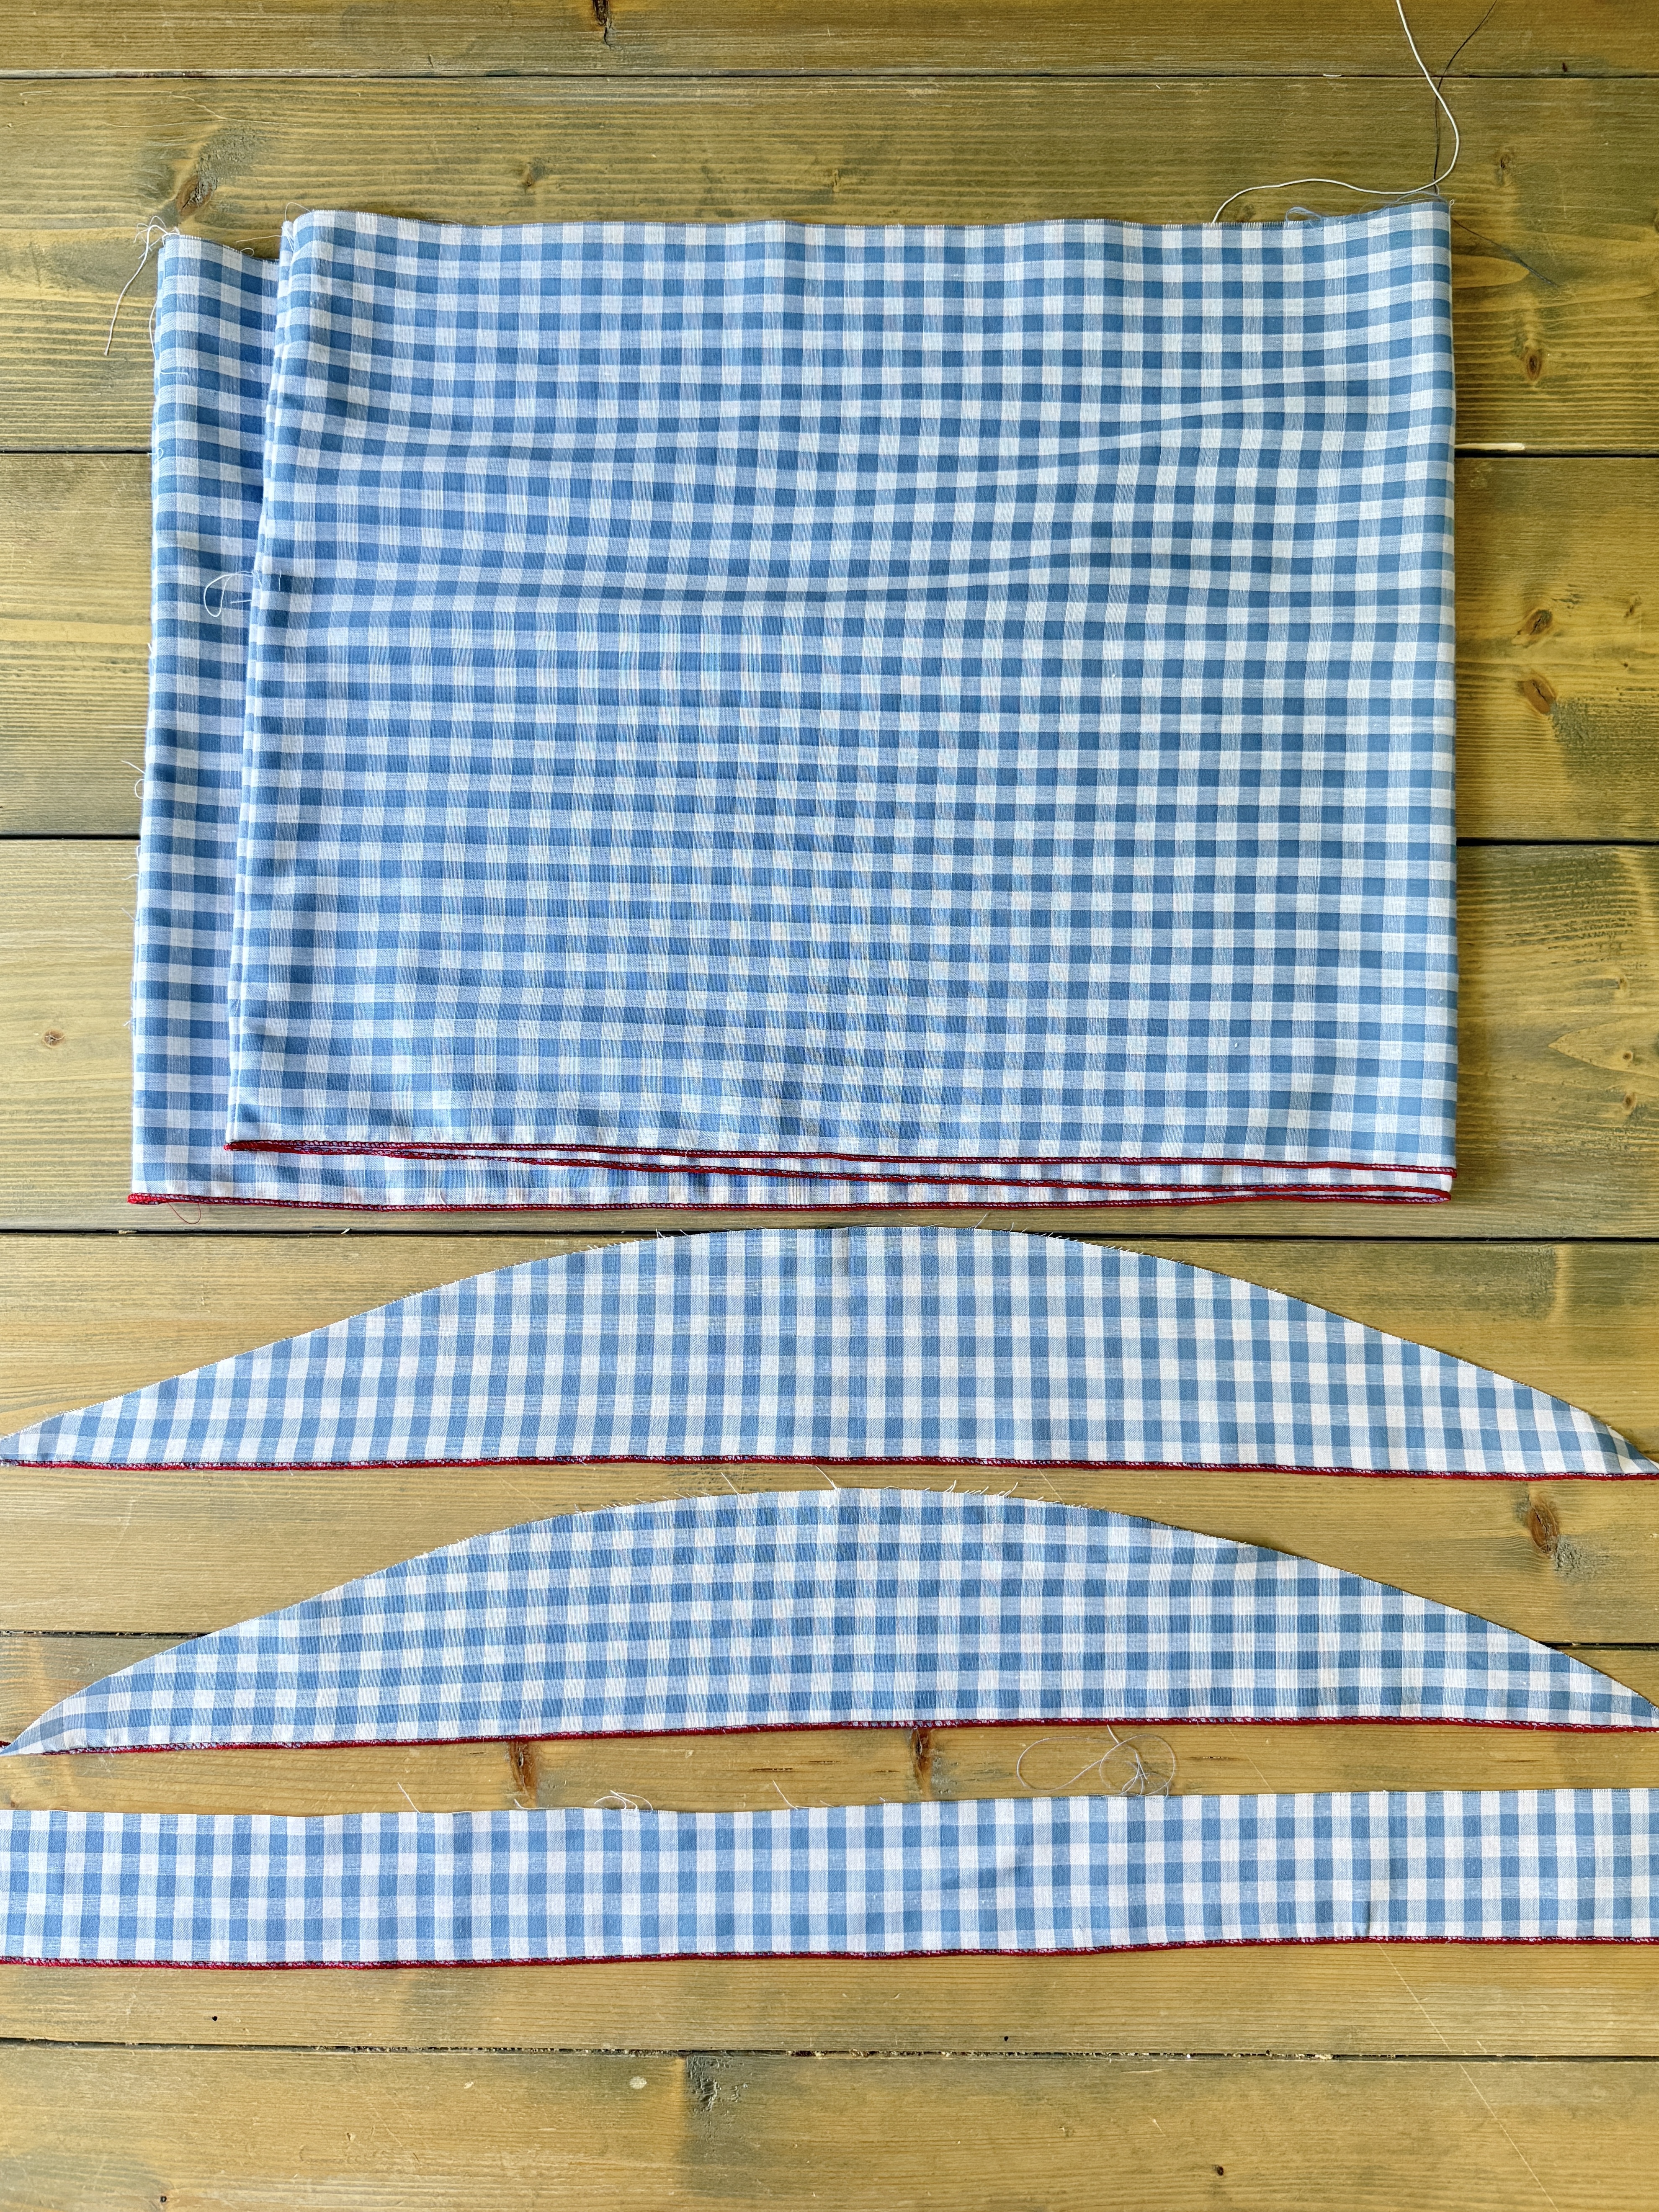
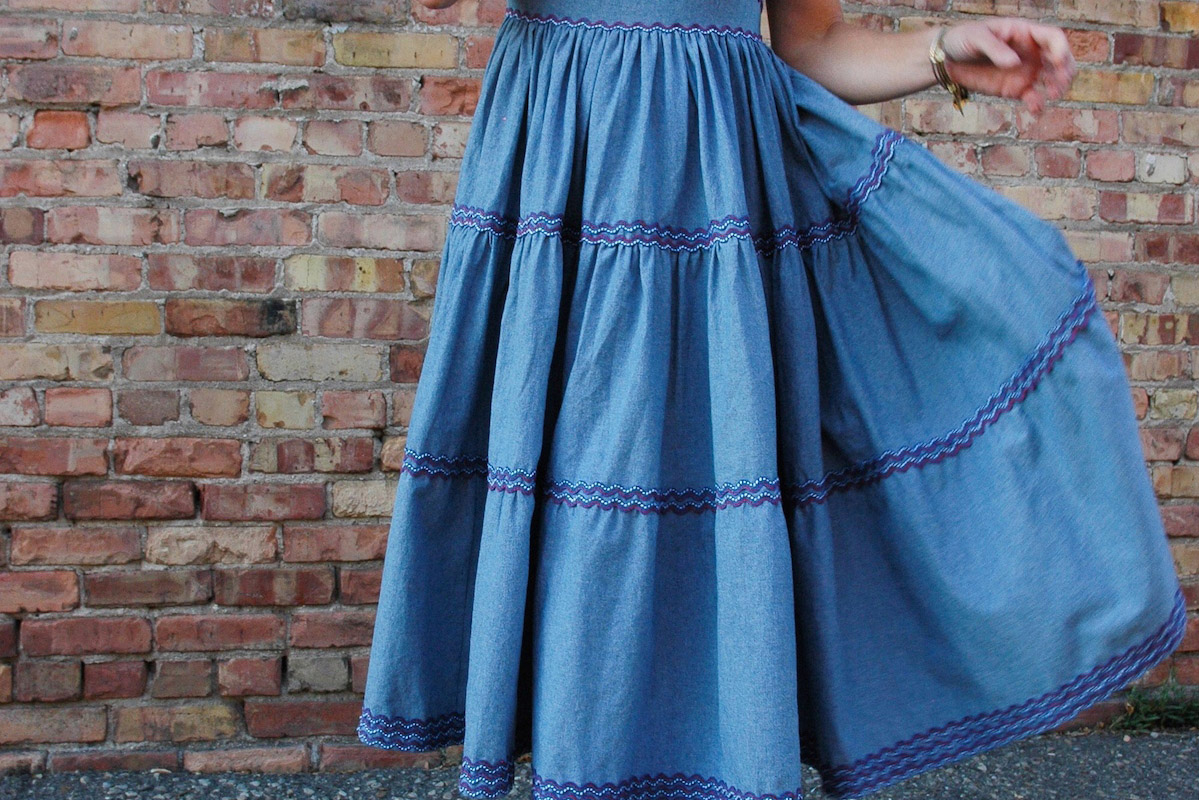
For this dress, I decided to use this decorative stitch on all the hems. So I prepped the ruffle collar, ruffle sleeves, and skirt hemlines with this decorative satin yarn rolled hem.
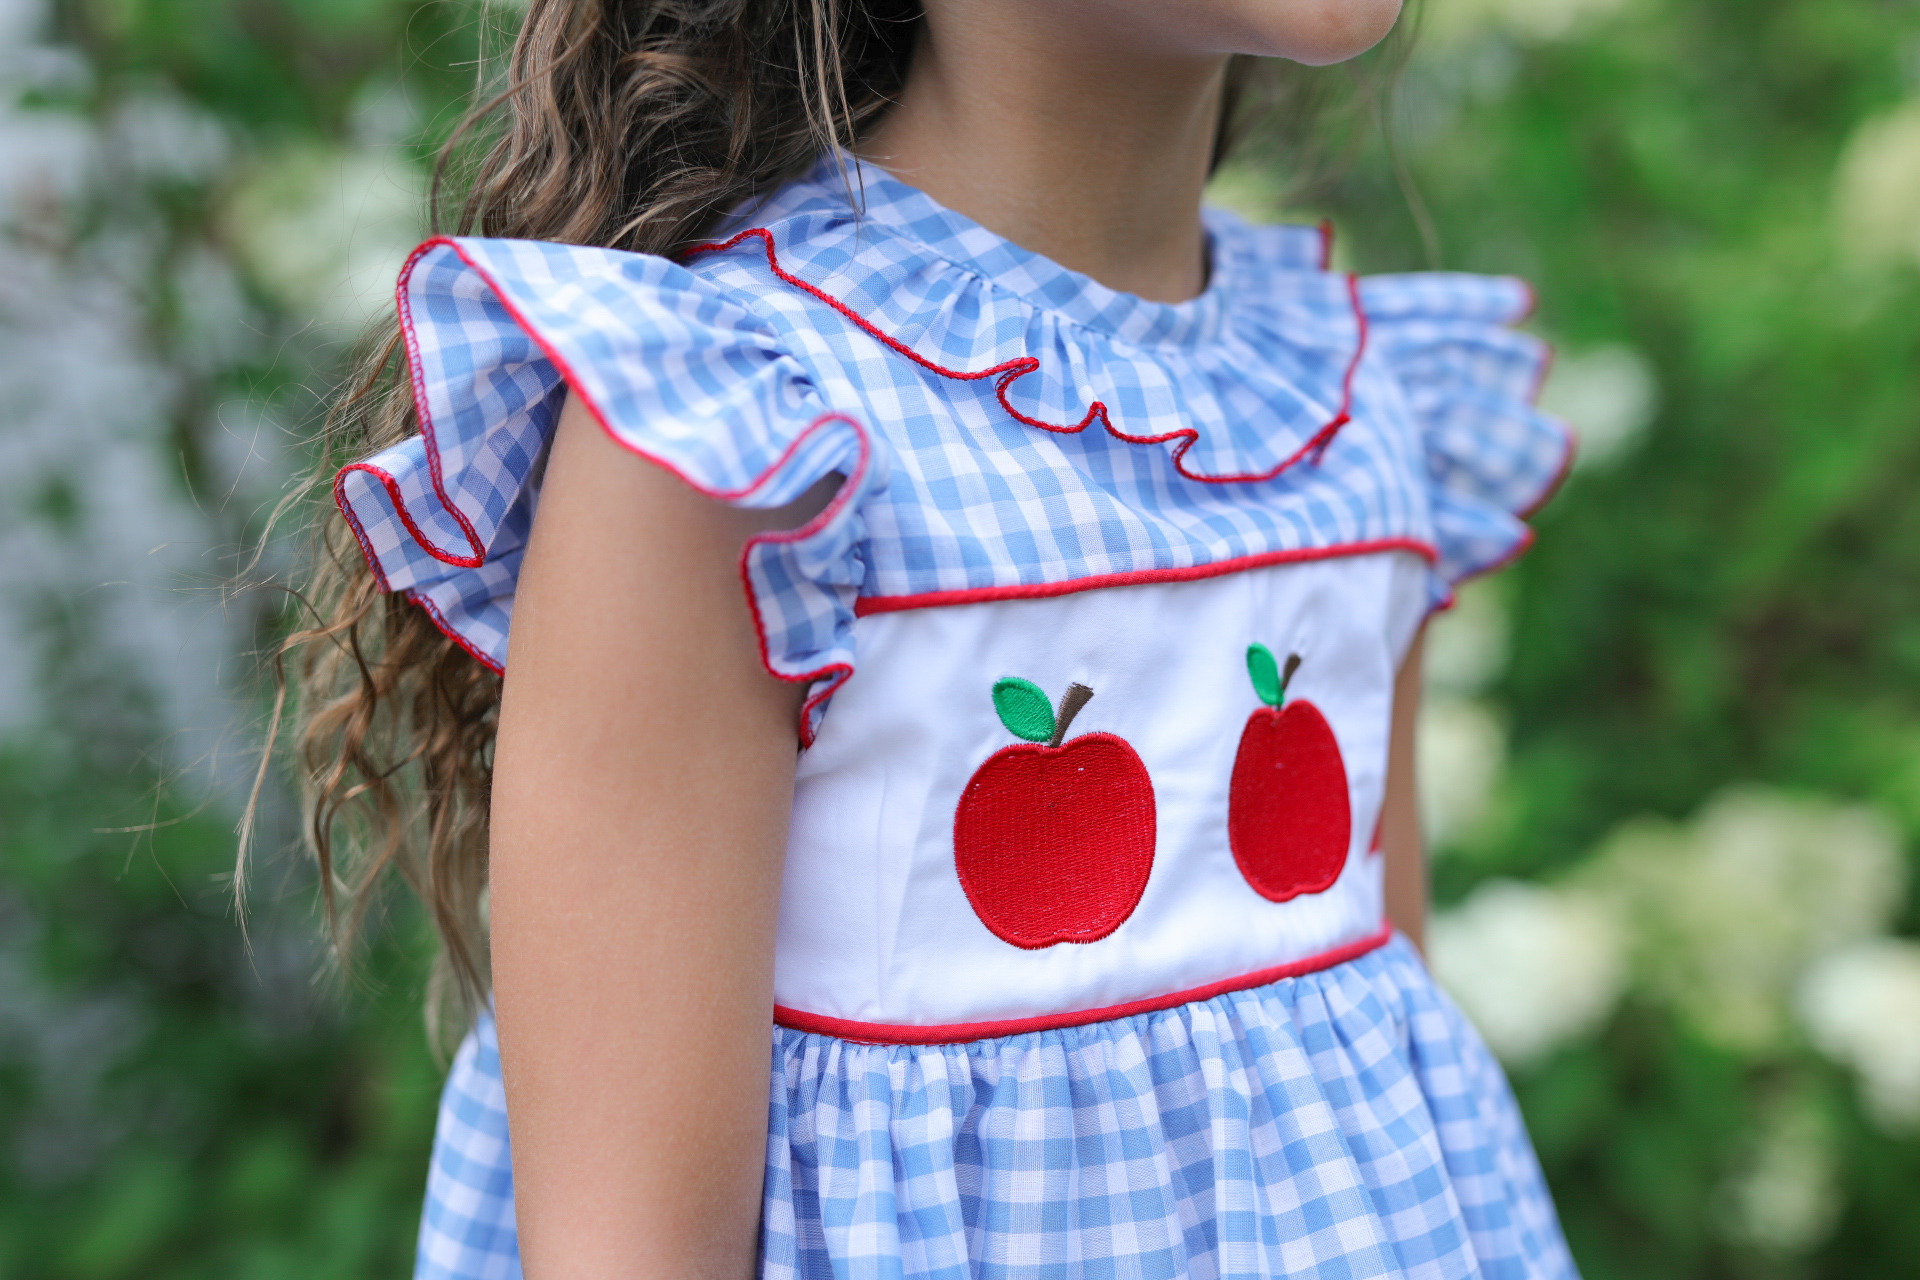
Everything was finally ready to go for me to actually sew up the dress! Following the patterns and blog post tutorials, I whipped this dress up in one afternoon.

I love how this dress turned out! It was surprisingly a very easy sew, and the alterations to the pattern were minimal. The red accent hem detail pulls the entire dress together and gives it a high-end look. And those apple buttons – precious!
I cannot wait to send my daughter to her first day of school, knowing she is clothed in a big ole hug from her weepy mama at home.