Corded Piping the Easy Way
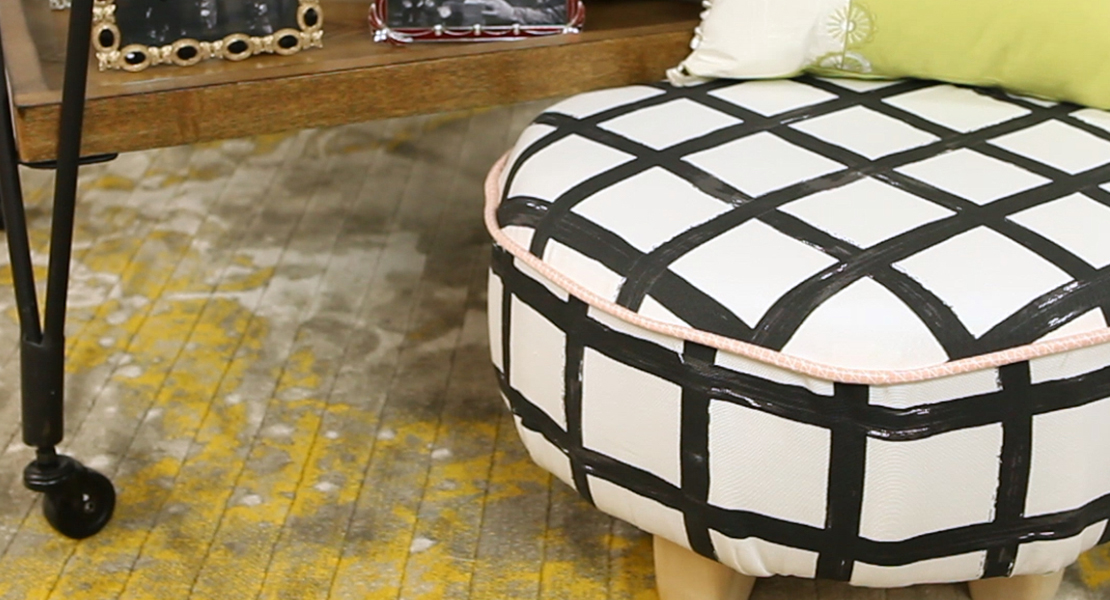
Corded piping offers a simple and striking way to add both structure and aesthetic definition to a project. The key to keeping things simple is to use the right tools and techniques when making the cording. This article will review how to make corded piping in three sizes. The method will be the same for all sizes; only the presser foot and cord sizes will change.
There are multiple ways to attach corded piping to a project, often depending on the bulk and the construction of the project itself. For instance, attaching a heart-shaped piece of silk-covered cording to a ring bearer’s pillow differs from outlining a tote bag’s construction seams with rigid corded piping for structural purposes. Please note that such a variety of applications is beyond the scope of this article. The focus here will be on constructing the corded piping and a simple attachment method.
Corded Piping Sizes
The three common sizes of corded piping include:
- 1/4”
- 1/8”
- Cords smaller than 1/8” (e.g. La Espiga No.18 nylon cord)
The process of creating the corded piping is the same for all three sizes:
- Cut a longer cord than the finished dimensions call for.
- Cut the cord-wrapping fabric strip on the bias.
- Use the correct presser foot for the size of the cord being used.
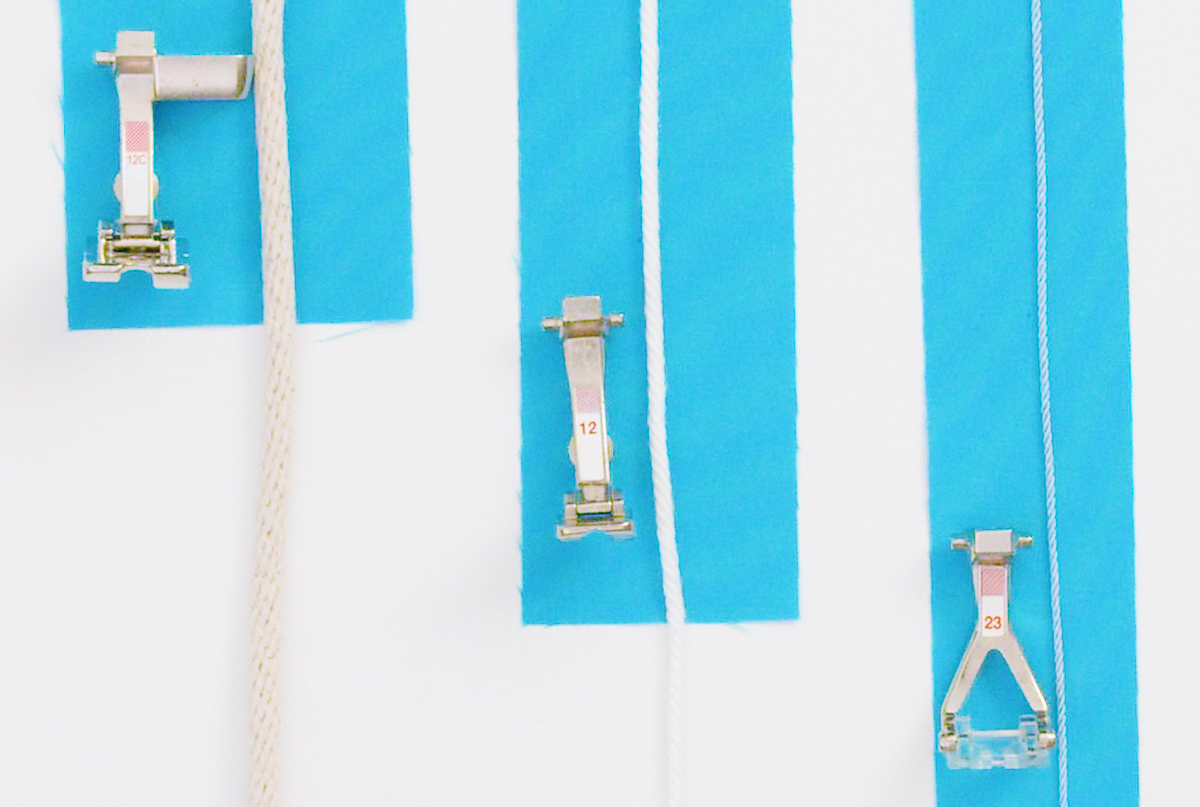
Speaking of presser feet, BERNINA has three that make this task a breeze:
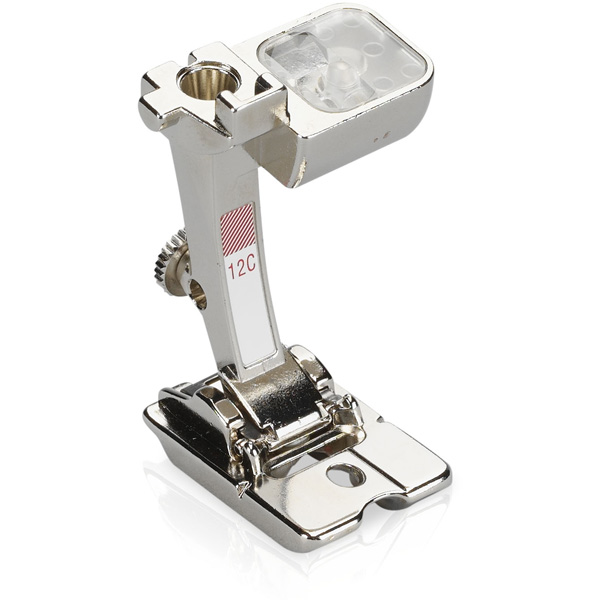
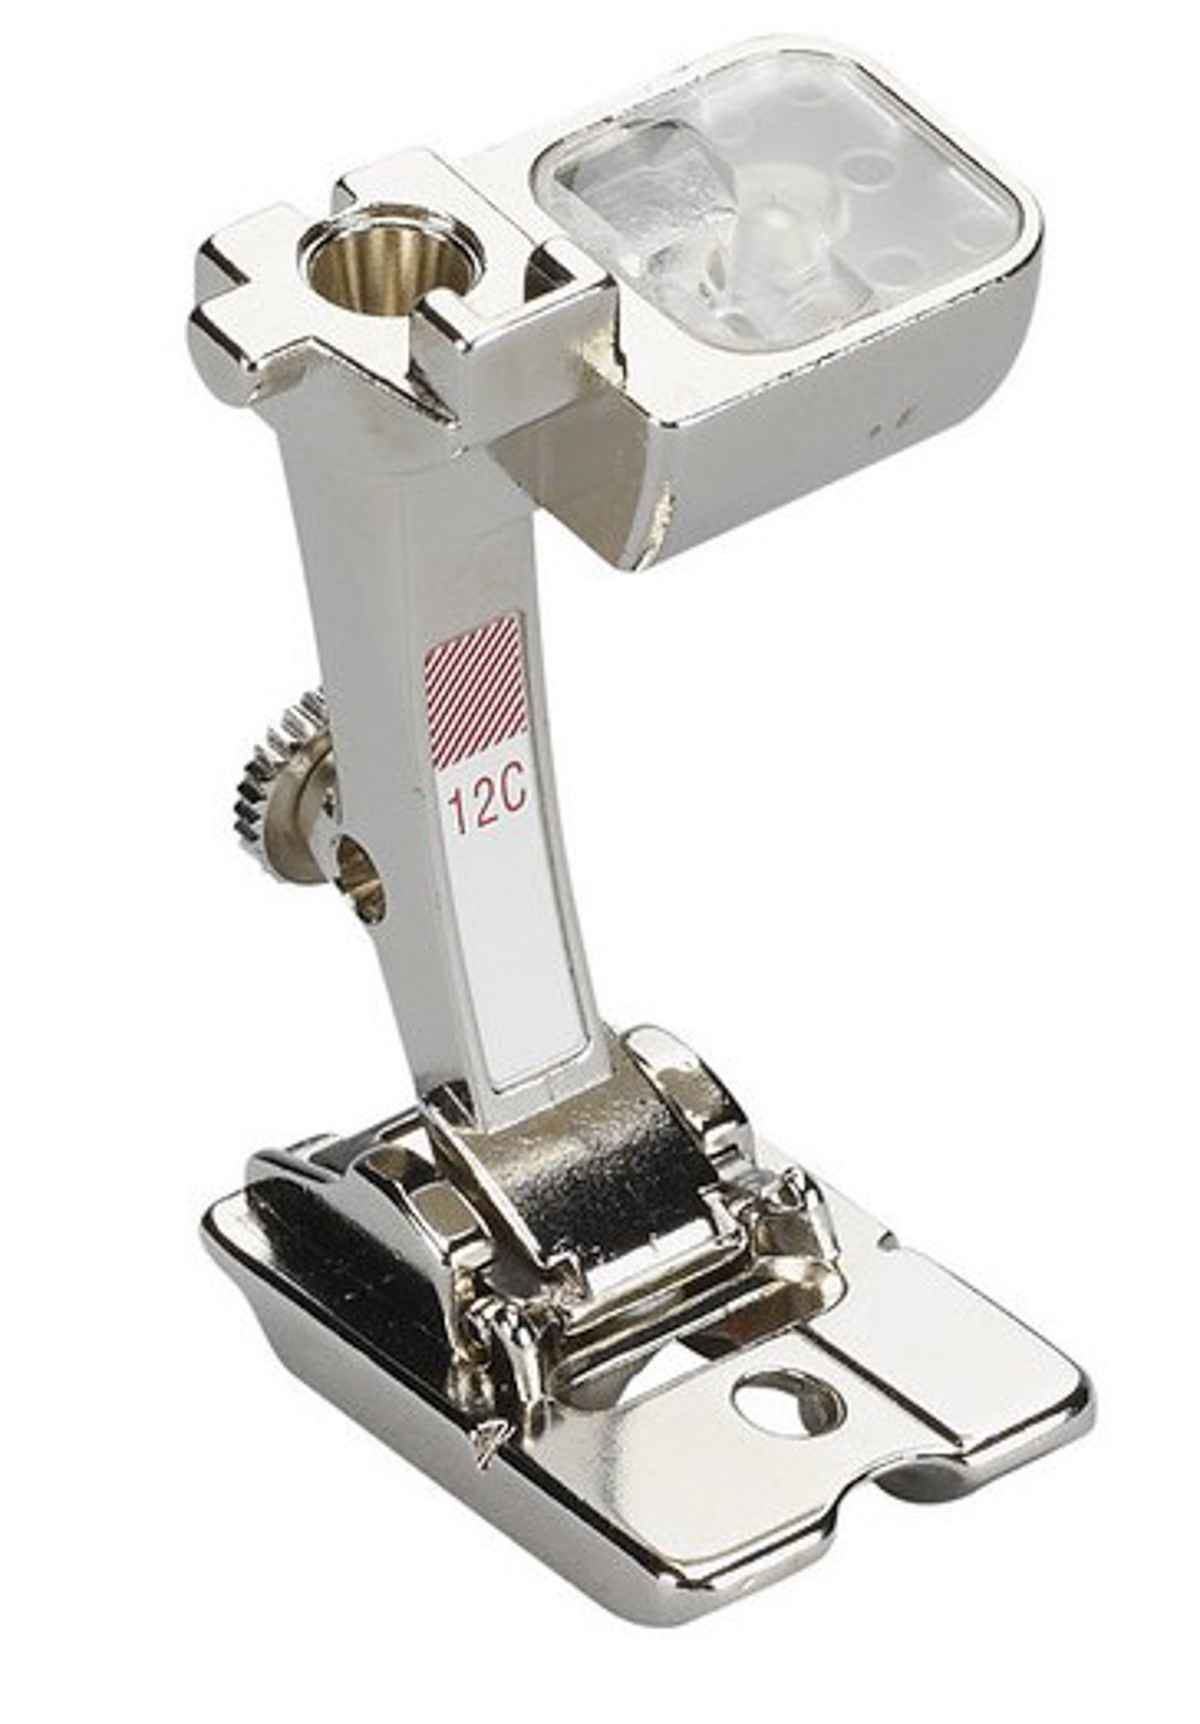
- Bulky Overlock Foot #12C (for 1/4” cord)
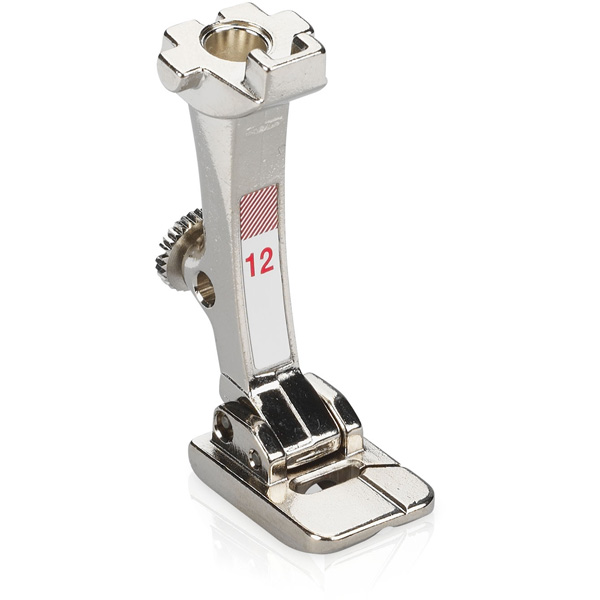
- Bulky Overlock Foot #12 (for 1/8” cord)
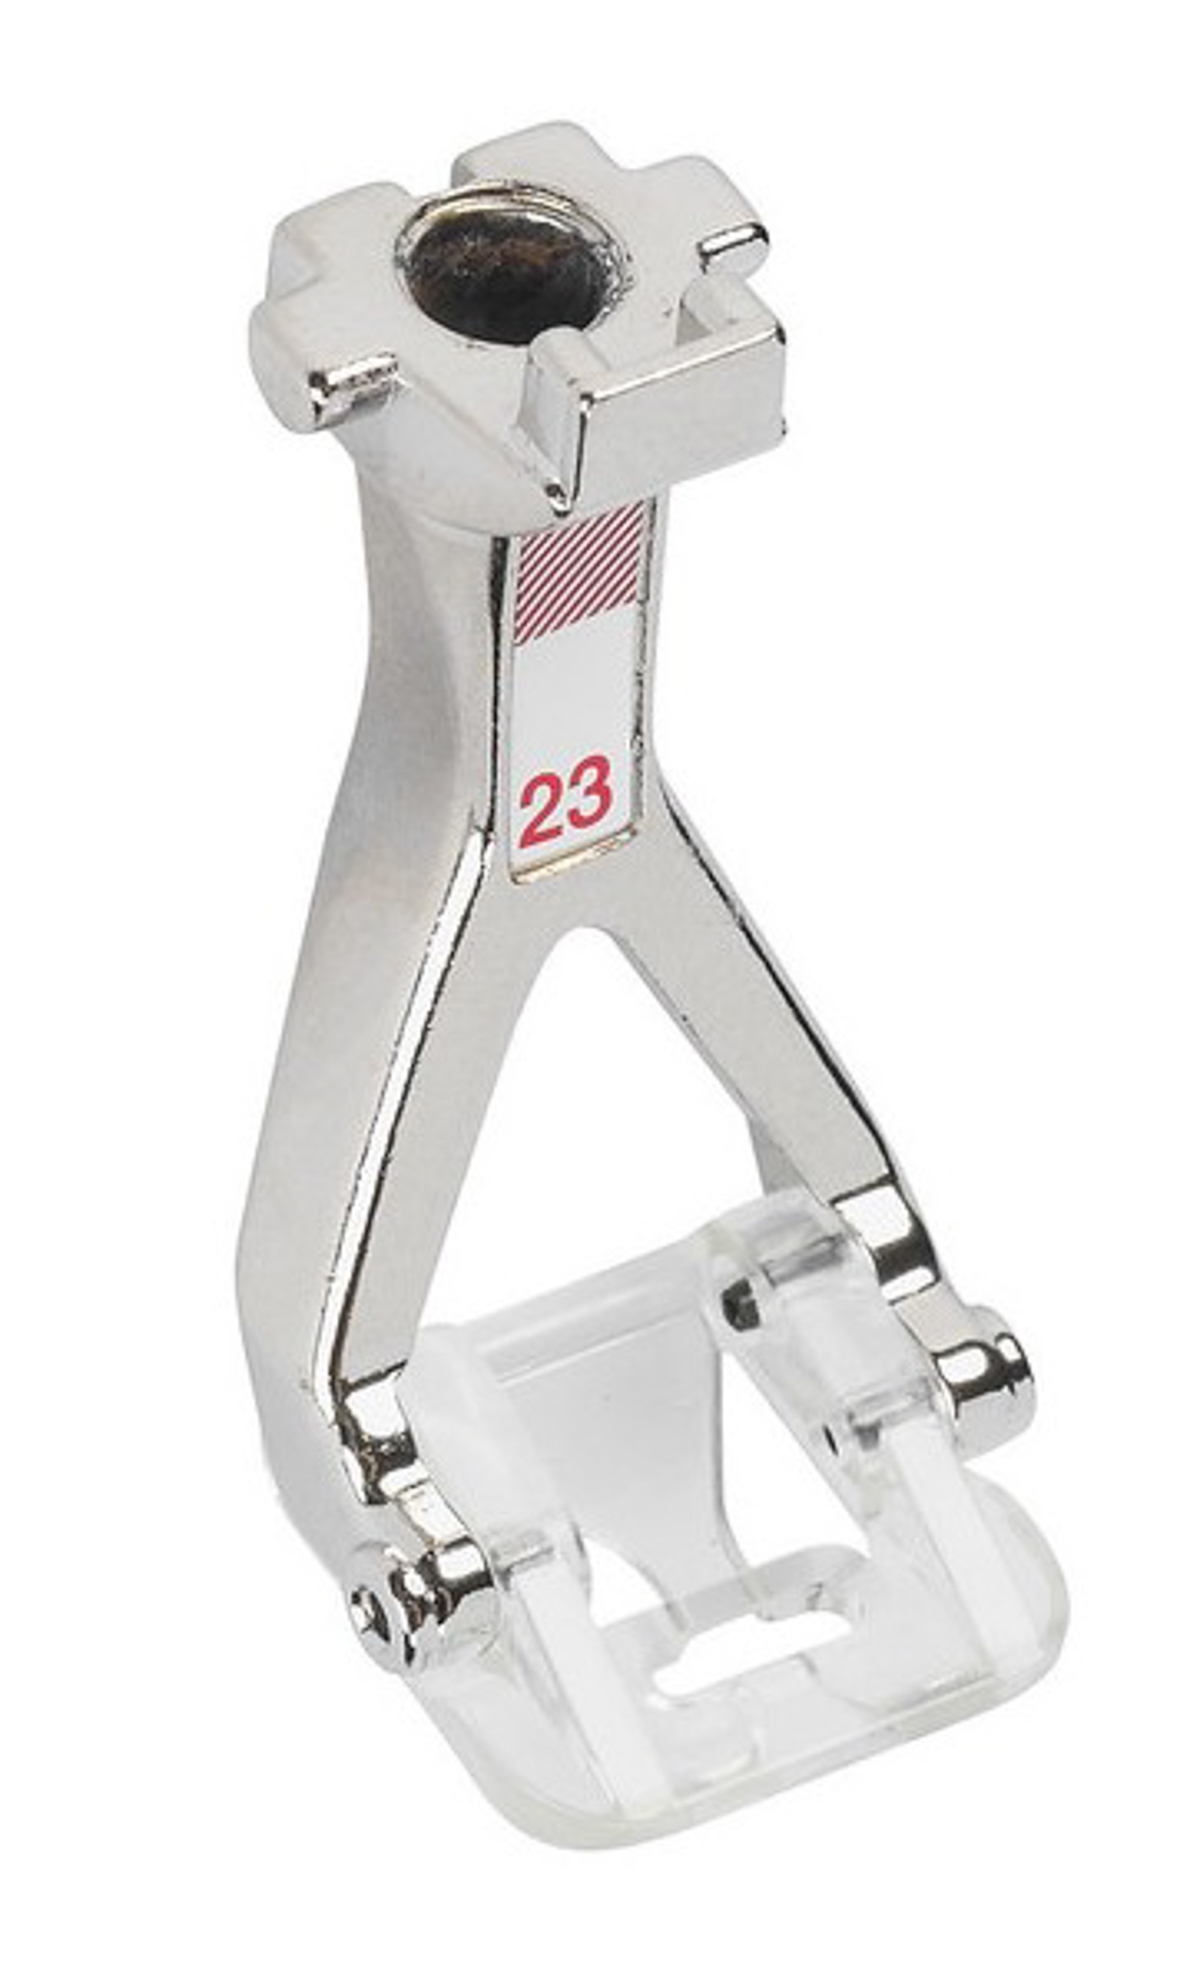
- Clear Appliqué Foot #23 (for cords smaller than 1/8”)
The key is to remember to select the foot based on the cord size.
How to Make 1/4” or 1/8” Corded Piping
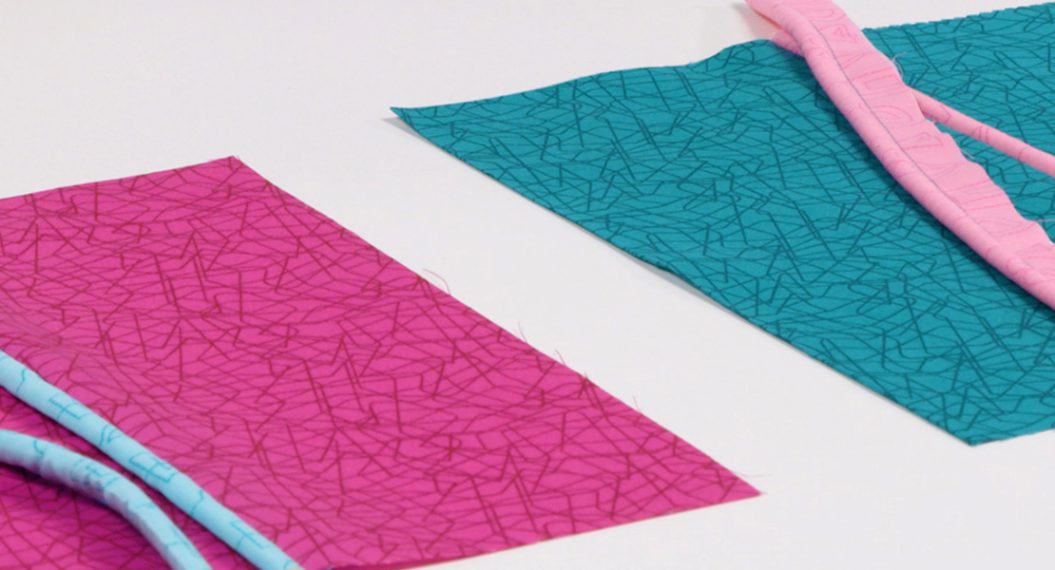
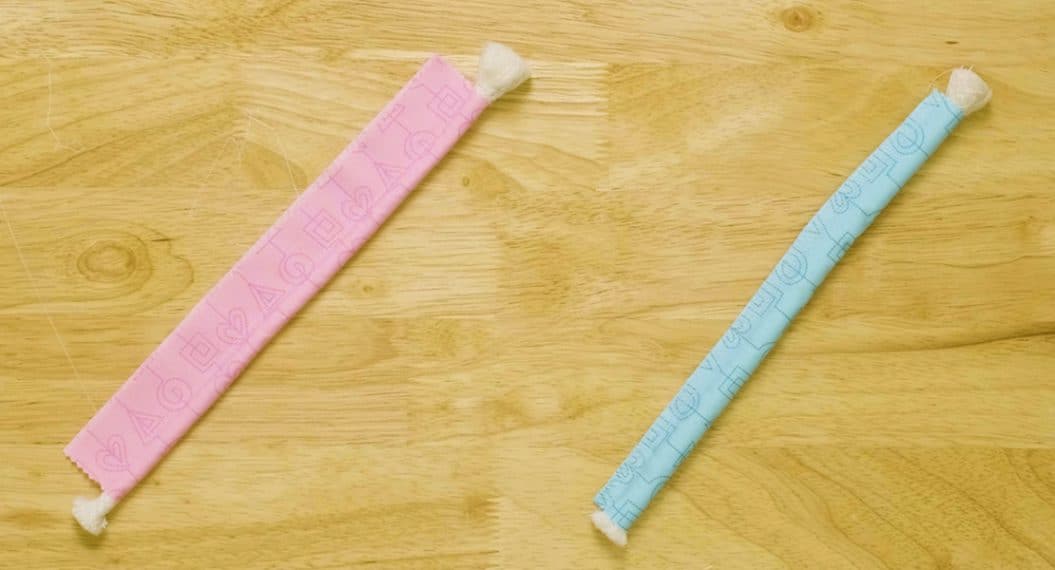
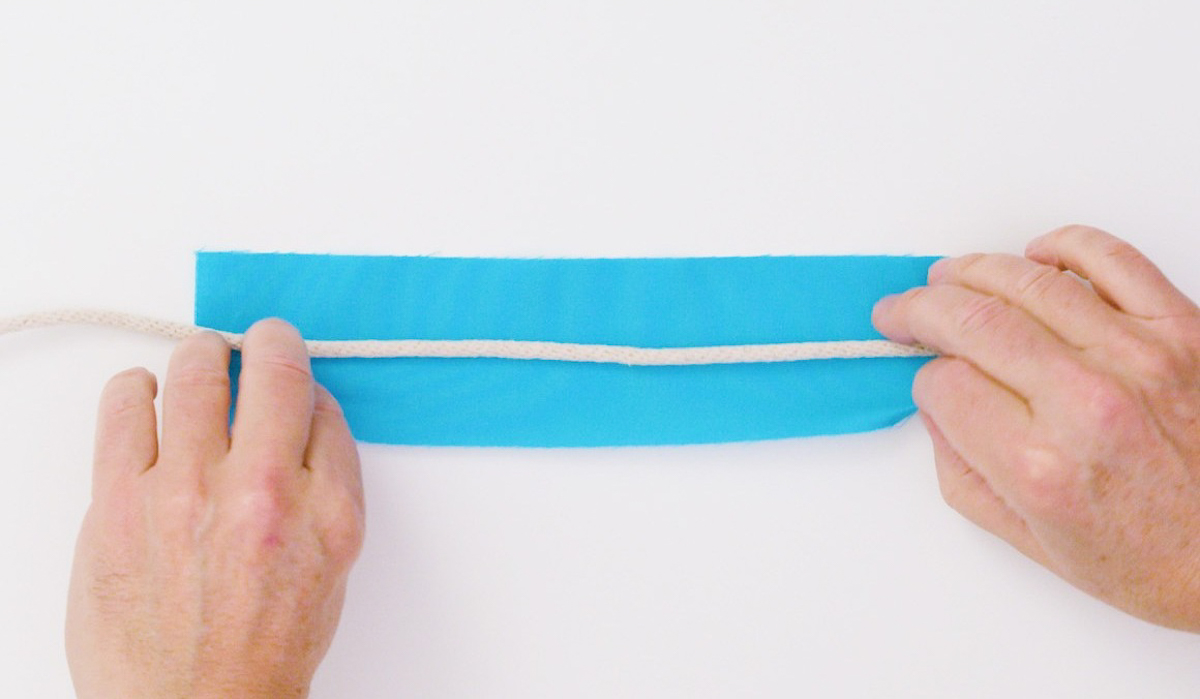
Step 1: Wrap the Cord with the Fabric Strip
First, cut the cord to a length longer than the wrapping fabric. When wrapping the cord, be sure to leave a leader (extra cord sticking out of the fabric) at both the beginning and the end of the cord segment. This will make handling the cord easier at all stages of construction.
- For short cords, lay the cord on the fabric on a flat surface and roll it into the fabric.
- For longer cords, insert the cord into the fabric strip gradually, at least 8 to 12” ahead of the stitching point, so that the covered cord will feed smoothly when stitching.
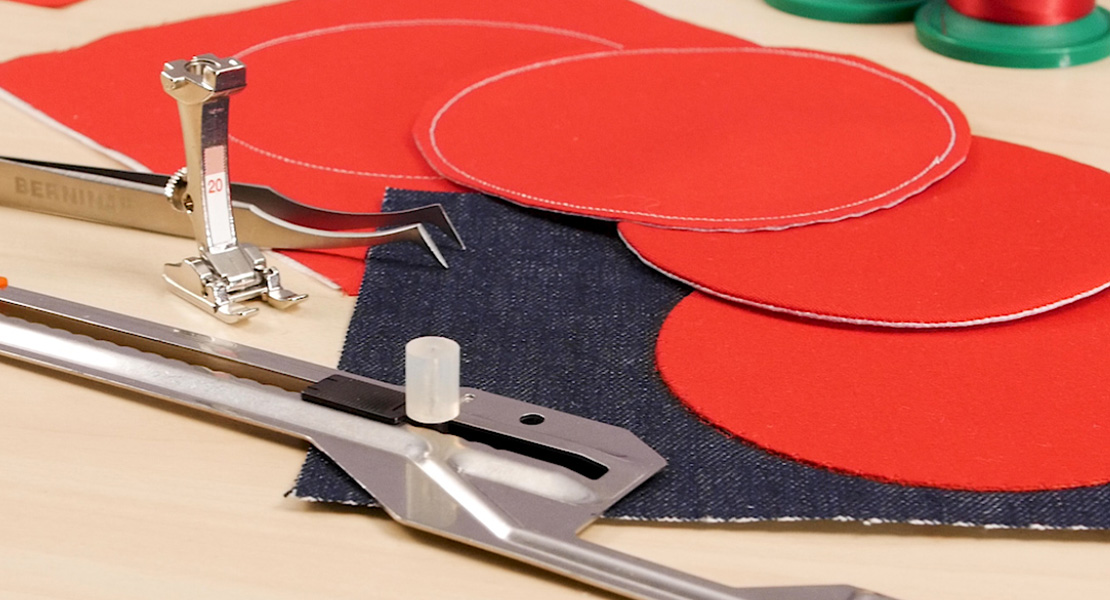
TIP: Spool the cord around your Free Hand System bar and fanfold the fabric on your lap to make feeding long cords easier.
Regardless of length, make sure the raw edges of the cord wrap are evenly matched.
Step 2: Set Up the Machine
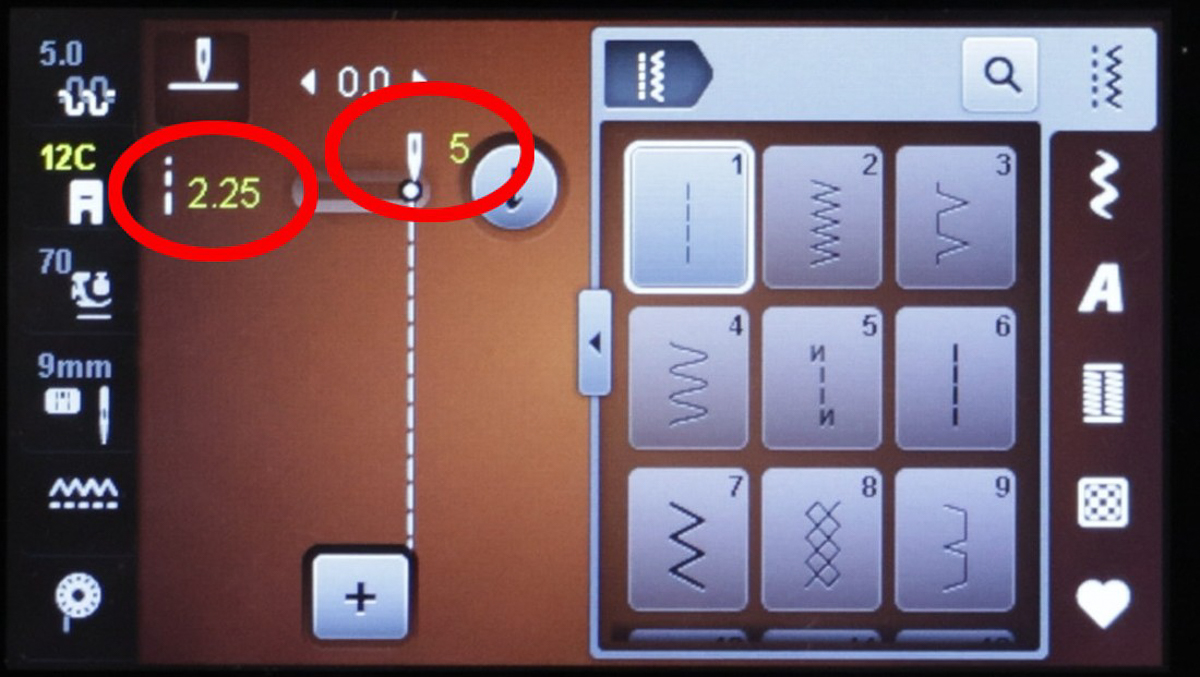
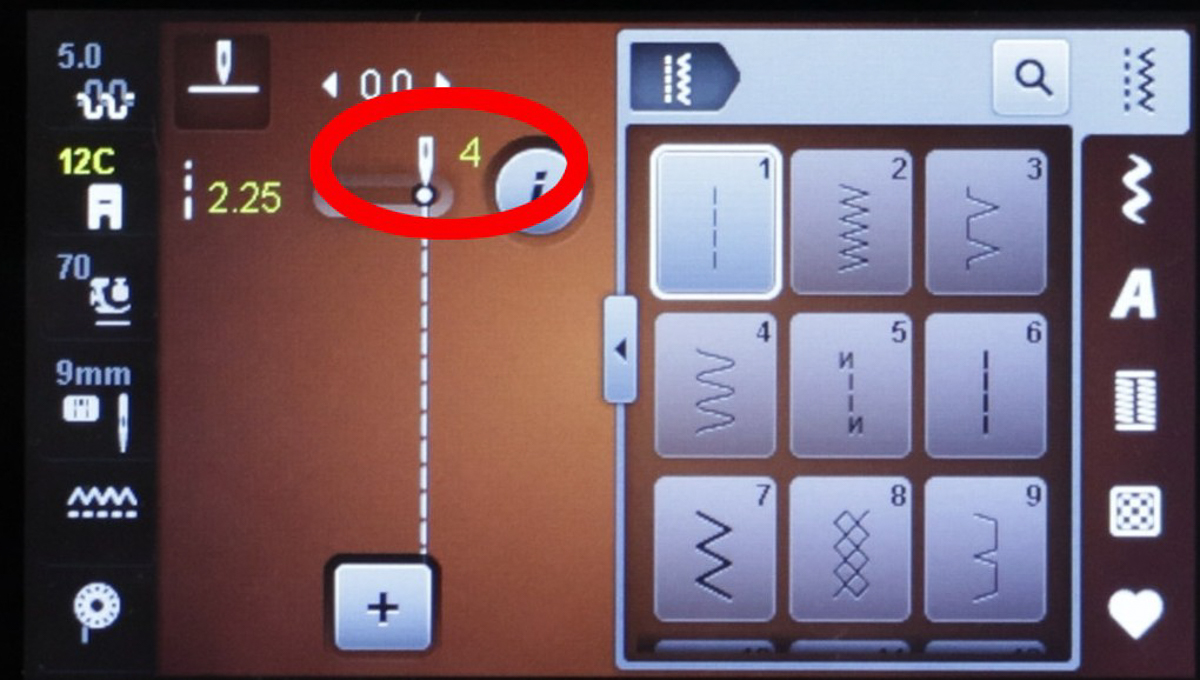
Select a straight stitch. Set a Stitch Length of 2.0-2.25 mm for regular cotton fabric. Avoid stitches that are too short.
Move the Needle Position to the far right (+5) to take advantage of the foot.
If your machine supports Presser Foot Selection, select the Bulky Overlock Foot you are using. On BERNINA machines with larger screens, the presser foot sole will be displayed on the screen, making it much easier to verify your settings.
TIP: Bulky Overlock Feet #12C and #12 both have a groove etched on the top of the sole. The groove marks the very edge of the channel under the foot and helps visually confirm that the needle position is on the far right.
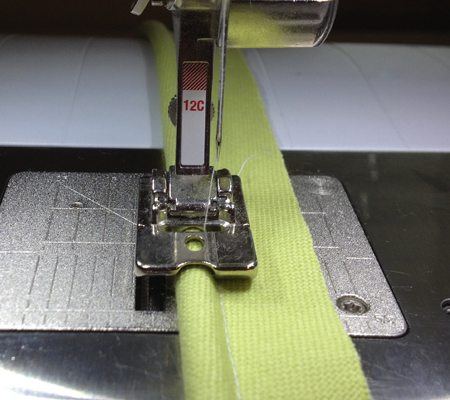
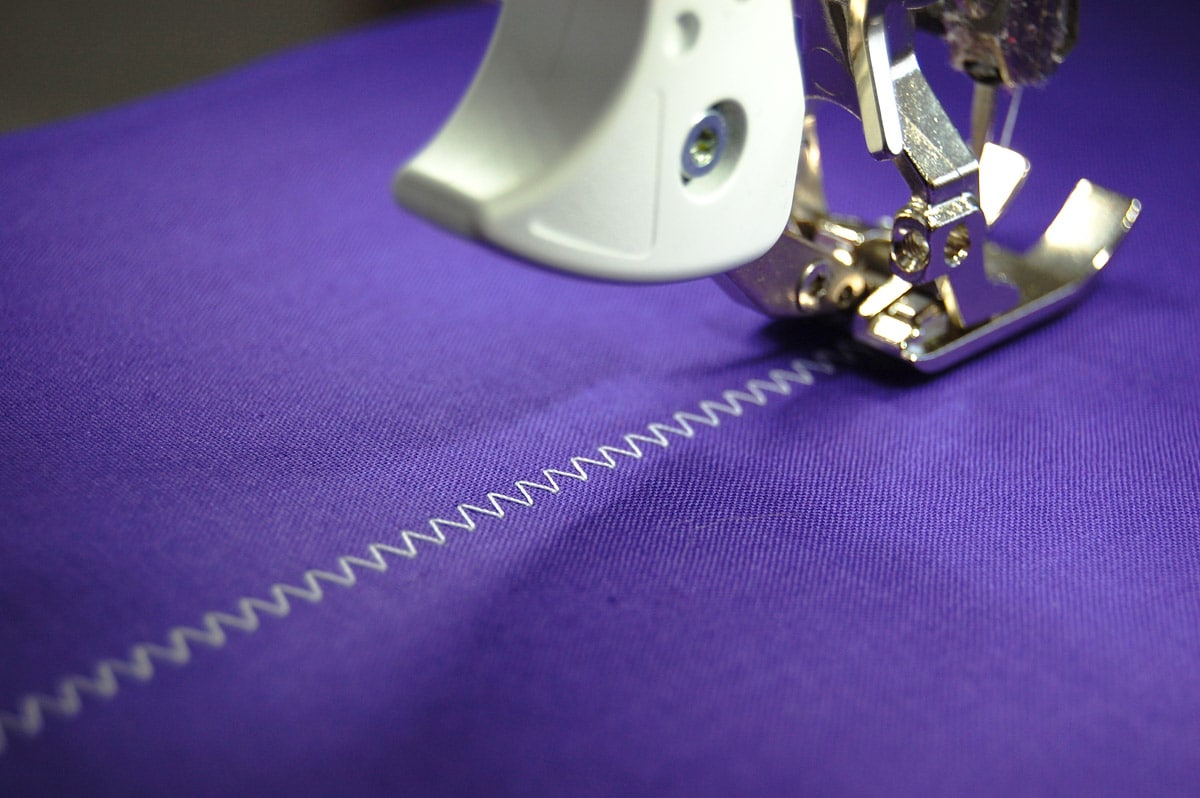
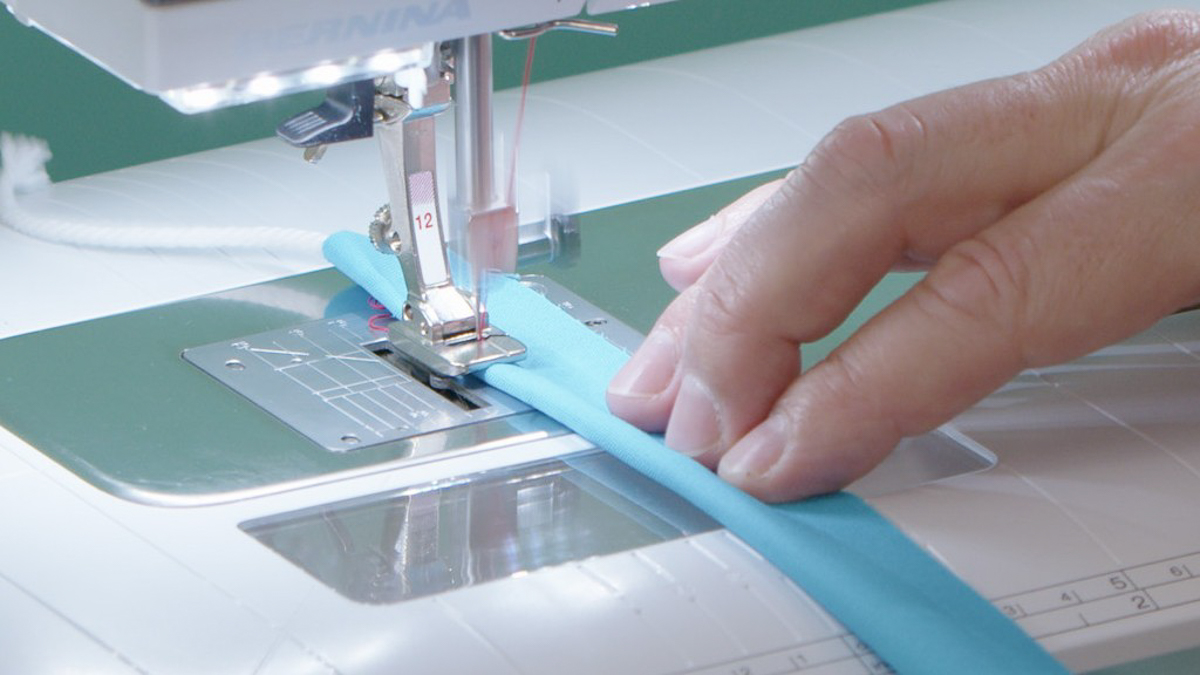
Step 3: Stitching the Wrapped Cord
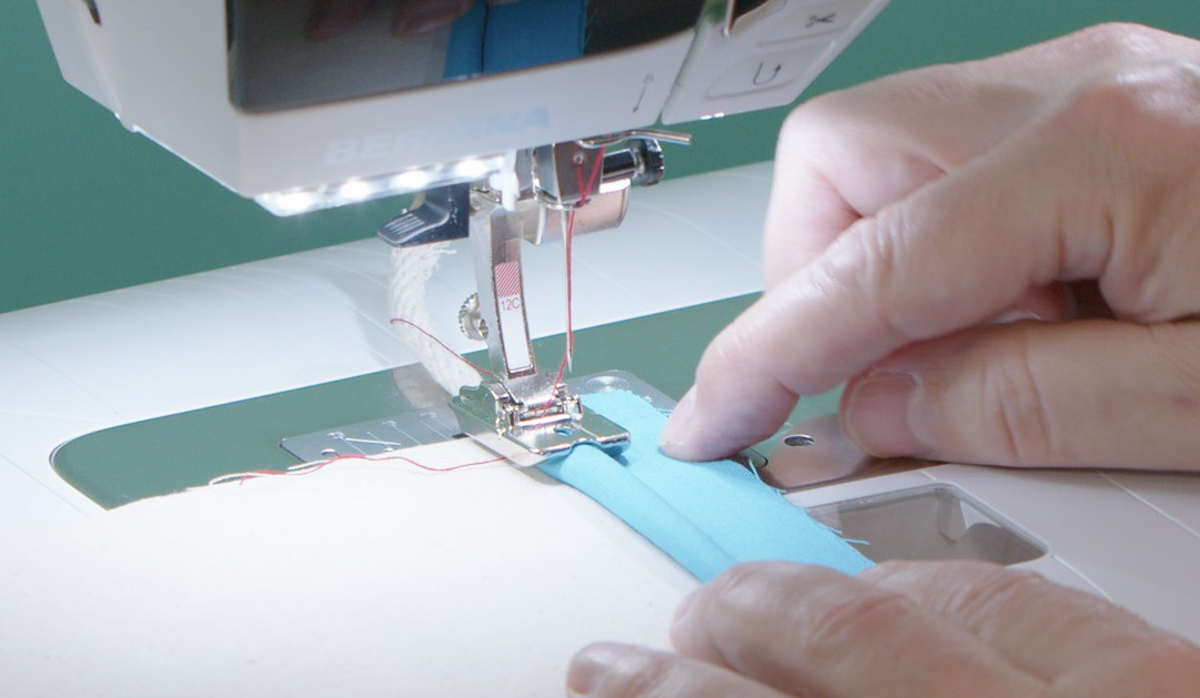
Place the wrapped cord under the Bulky Overlock Foot (remember, choose Foot #12 for 1/8” cords and #12C for 1/4” cords) and stitch.
Use the fingers of your right hand to coax the cord into a snug wrap, allowing your index finger to ‘walk with the fabric’ to help keep the raw edges together. Use your left hand to position the wrapped cord in front of your right hand.
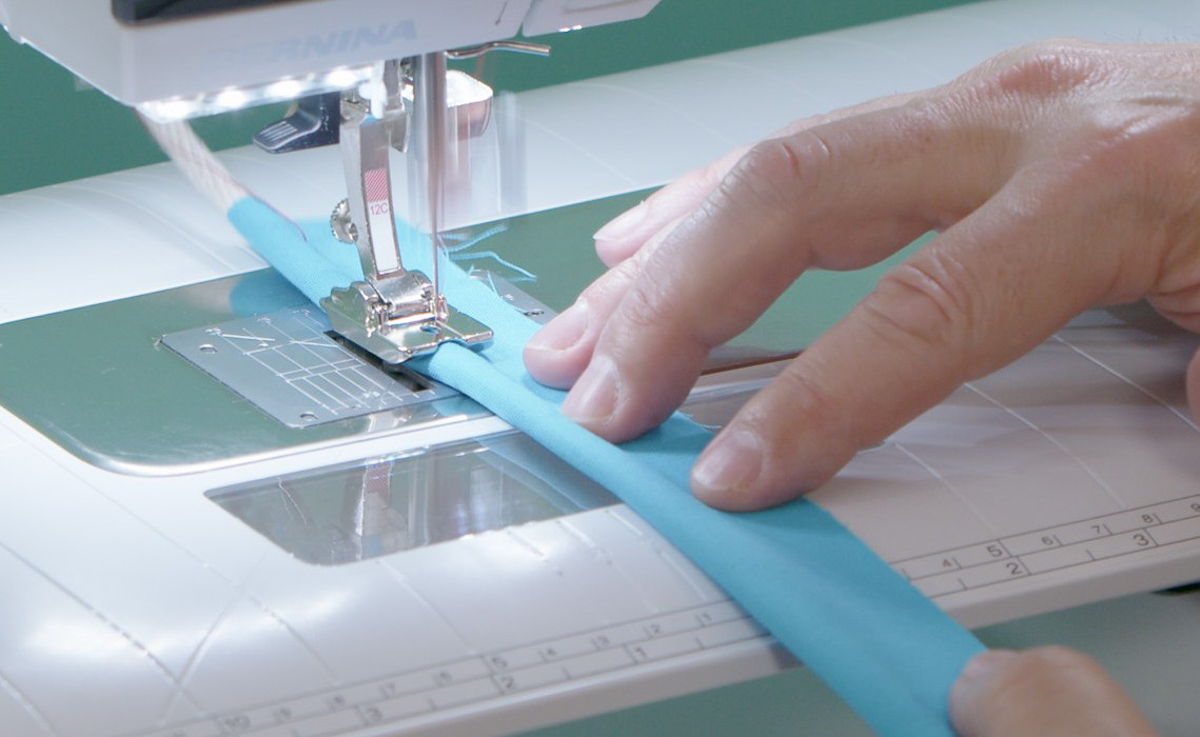
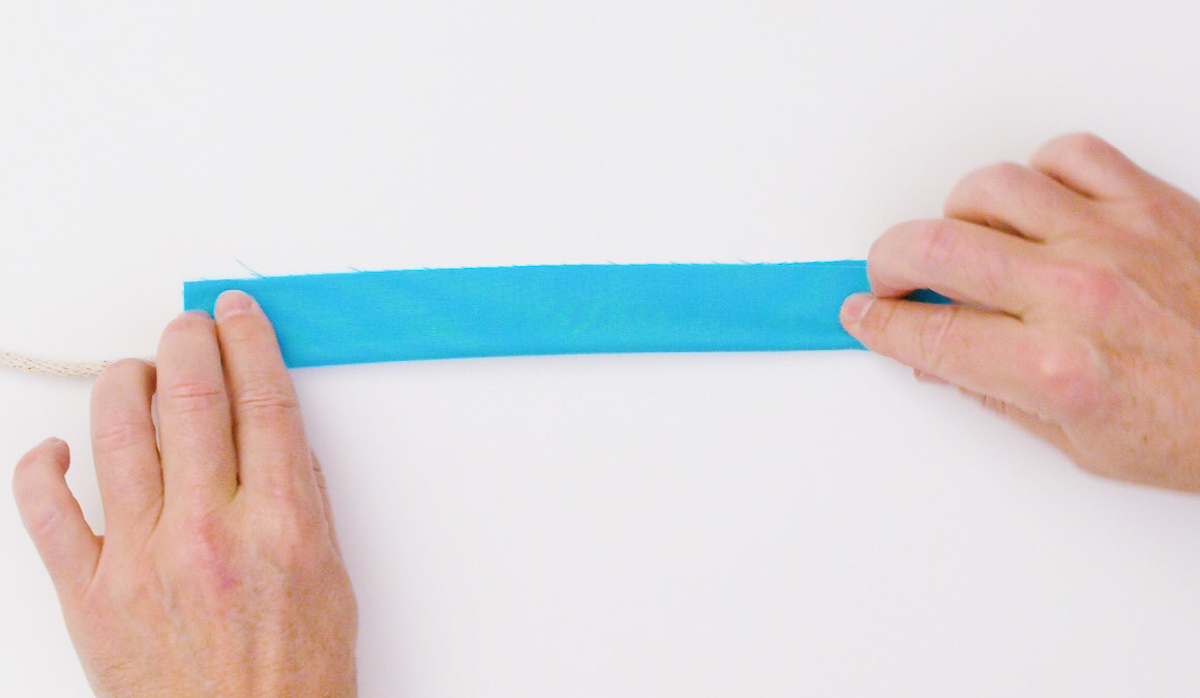
Stitch with the cord riding in the channel of the foot. The cord will guide itself under the foot, resulting in a more evenly wrapped cord, especially when compared to the traditional zipper foot method.
You may observe that the fabric wrapping is not quite snug against the cord at this stage. That is a benefit as it will allow you to smooth out the cord wrap if handling longer cords causes the fabric to bind on the way to the machine stitching point.
TIP: If the wrapped cord doesn’t seem to feed properly at the start, gently nudge the cord at the back of the foot to help get the stitching started. Before stitching, the layers might resist feeding on the first couple of stitches because they are not yet snug.
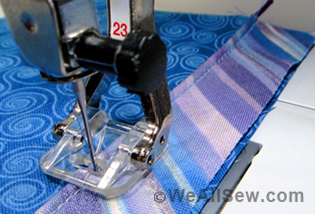
How to Make Smaller Corded Piping
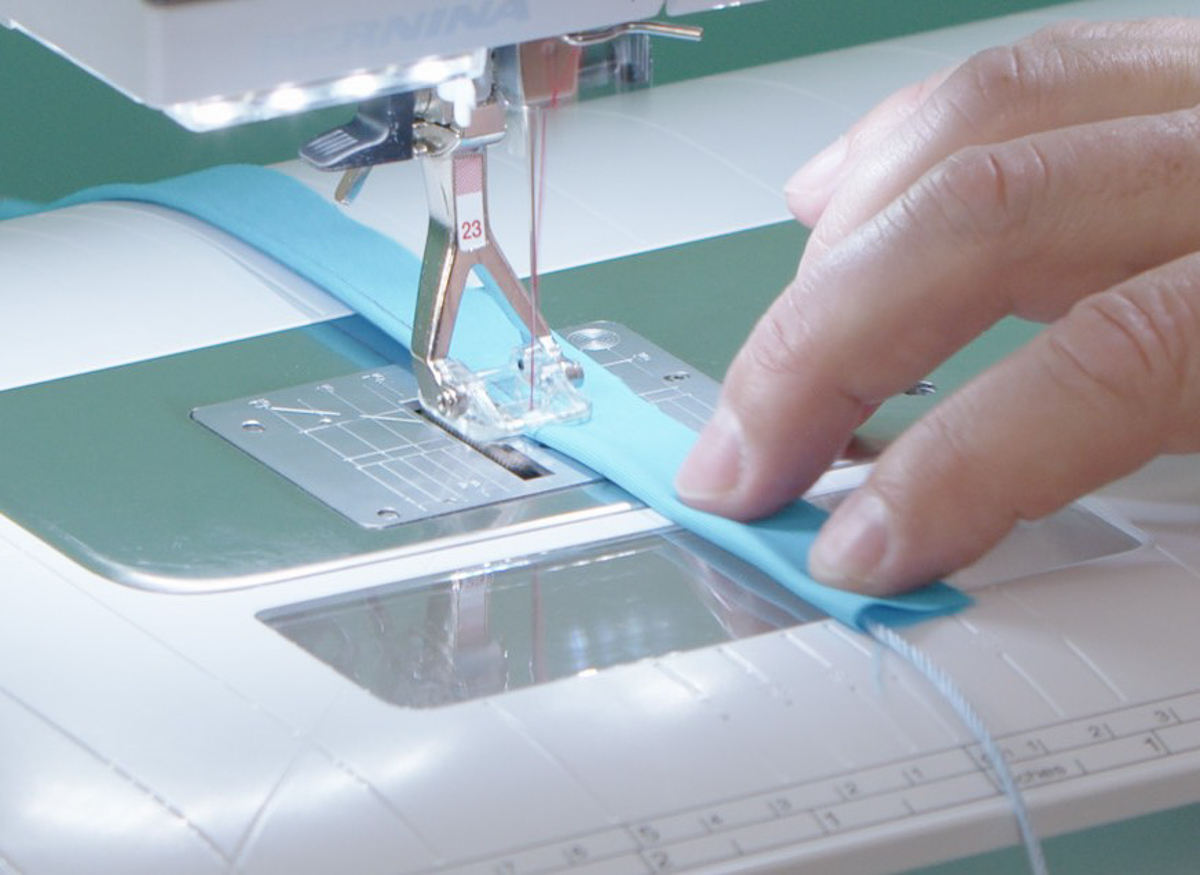
As the name suggests, the Bulky Overlock Foot works for bulkier cords. For fine cords like perle cotton or La Espiga, the channel under these feet is too wide to guide a fine cord. Clear Appliqué Foot #23 to the rescue. It has a narrow channel at the center front of the foot that effectively guides a fine-wrapped cord.
The key to remember with this foot is that having a centered, narrow channel means the needle positions will need to be closer to center.
In the steps above, when using Foot #12C or #12, we started with a loose cord fitting with the needle in a far-right position (+5). We then followed with a snug fit with the Needle Position one step closer to the center (+4). This was to leverage the design of the feet.
Since Foot #23 is used with finer cords of varying sizes, there is no single set of needle positions to be used each time. Rather, we need a simple test using the intended cord and wrapping fabric. Here’s how to test with finer cords:
- Wrap the cord as with the 1/4” and 1/8” cords (above).
- Place the wrapped cord under the foot, ensuring it sits in the center channel of the foot (with the raw edges or wrapping fabric to the right, as mentioned above).
- Move the Needle Position to the right, just far enough to get a snug wrap (this will yield the setting for Step 2 of attaching the wrapped cord to the project). For fine cords, that will usually be around Needle Position +2.
- Test sew the snug wrap.
- Once you’ve determined that the wrap is snug (and not too tight), simply move one Needle Position to the right (e.g. +3). This will be your starting needle position for both the initial cord wrapping and Step 1 of attaching the wrapped cord to the main project.
TIP: If using a very fine fabric (e.g. handkerchief linen) to wrap a fine cord, use a smaller needle (e.g. Microtex 70), fine thread, and shorter stitch than you would on regular cotton, canvas, etc.
With this simple test, you can find the right starting needle position for any fine cord and fabric combination.
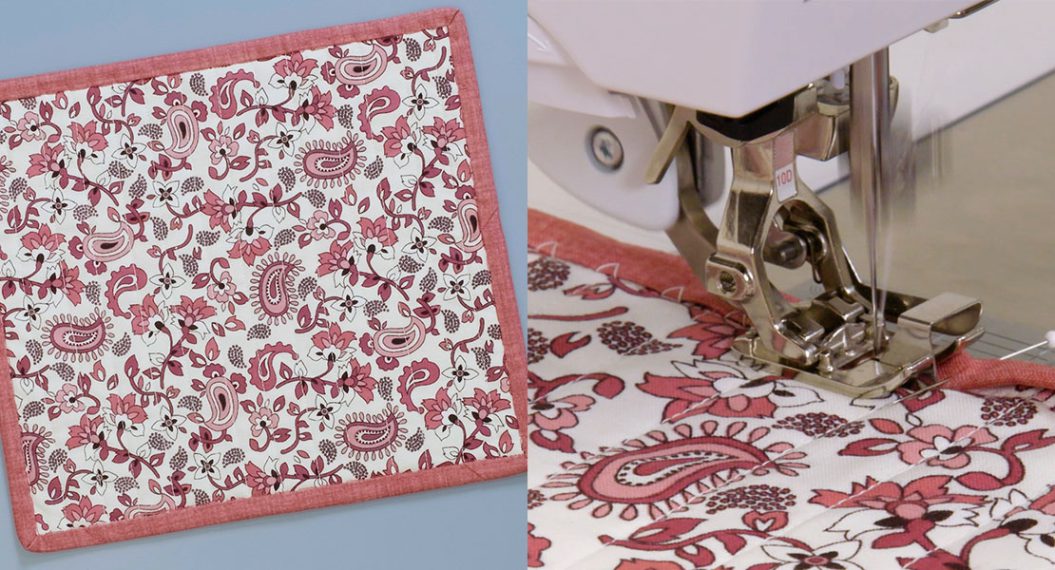
Attaching the Wrapped Cord to the Project
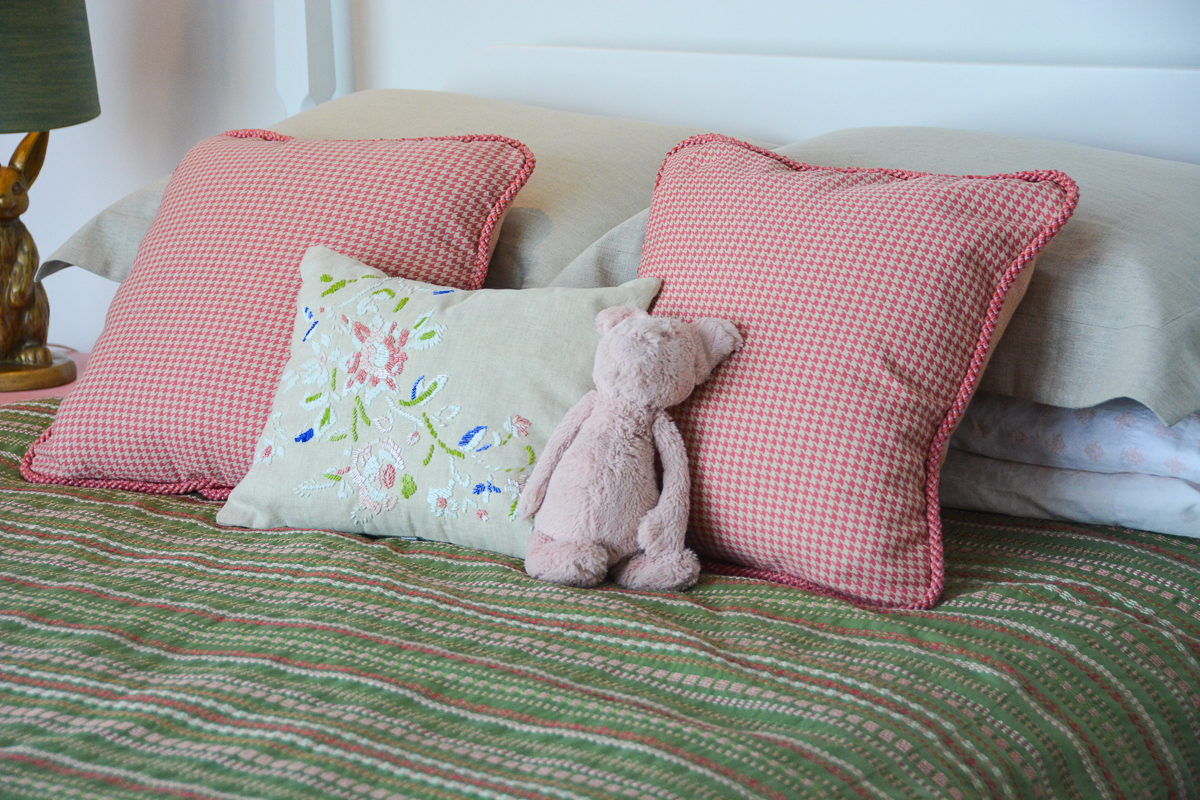
Attaching the cord to your project is done in two steps. For example, consider a pillow sham. The cord is first attached to the front panel, and then the back panel is added and stitched on next.
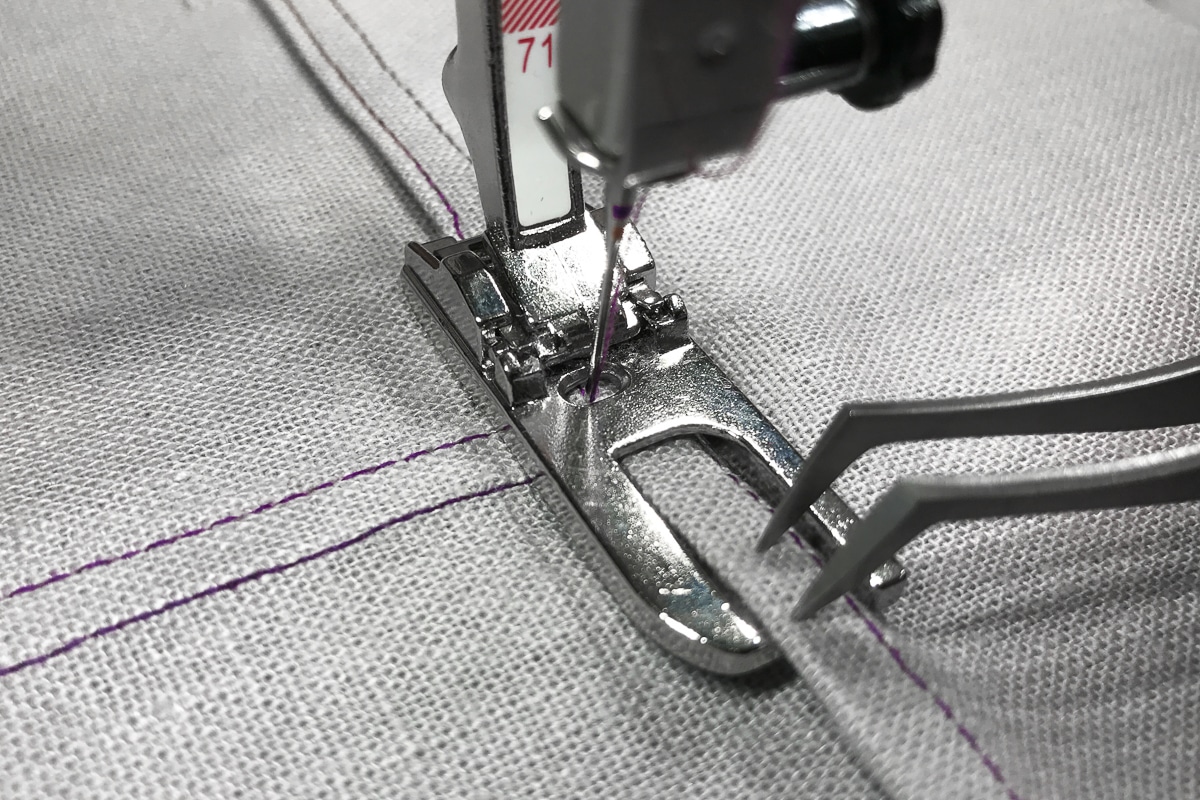
Step 1: Attach to the First Panel
Keep the same stitch settings (Stitch Length = 2.0-2.25 mm; Needle Position = 5).
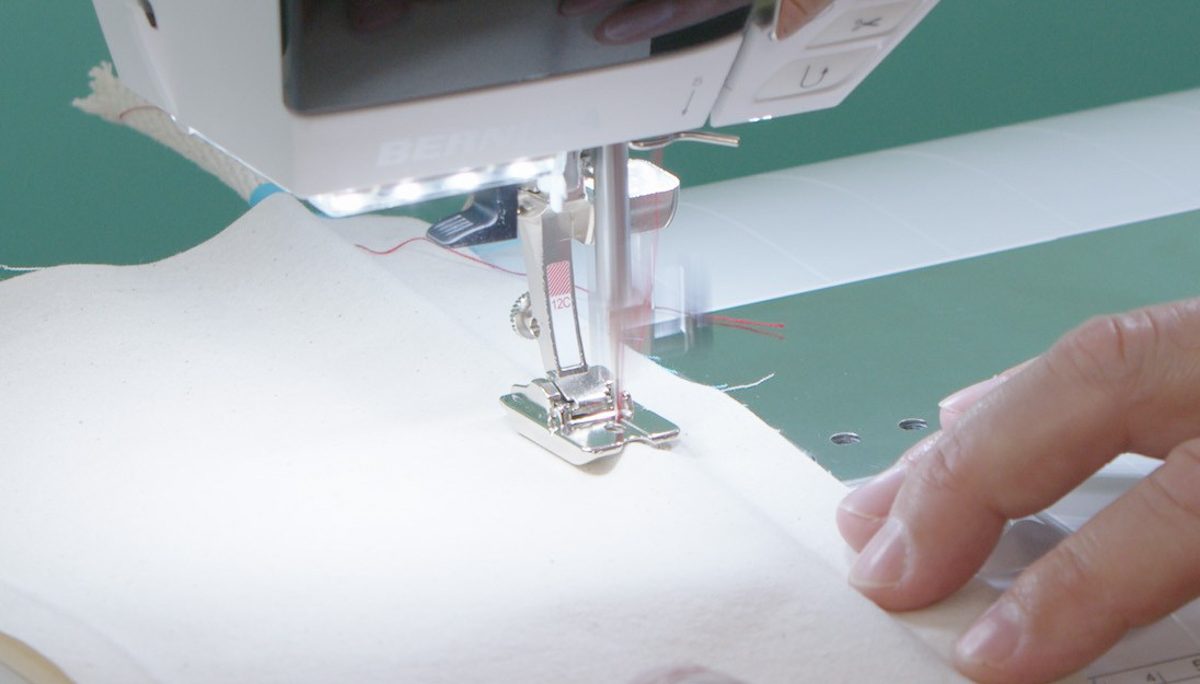
Lay the wrapped cord along the right side of the project fabric, raw edges aligned.
Attach the cord, riding in the channel of the Bulky Overlock Foot that you used to wrap it. You are essentially re-running the seam, this time with the added base layer.
TIP: If the project base fabric is on the thicker side (e.g. canvas), consider a longer stitch length (e.g. 2.5 mm), especially if you notice hesitation in feeding the layers.
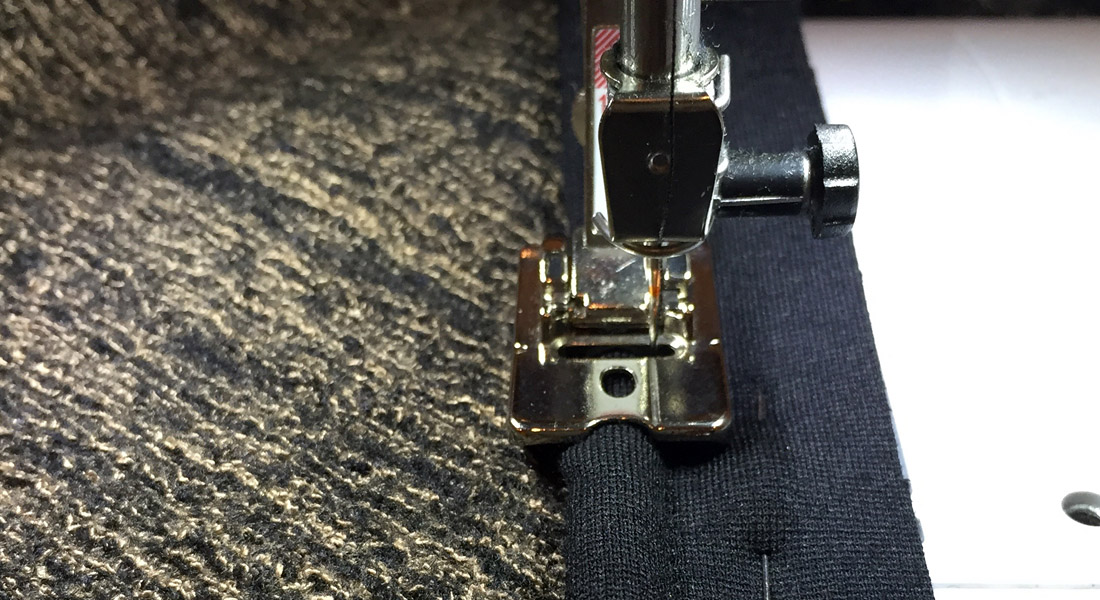
Step 2: Attach the Back
Change your stitch settings: bring the Needle Position one step closer to center, to +4.
Lay the remaining panel of your project fabric on top of the existing assembly, matching the project pieces. Note that you can no longer see the wrapped cord sandwiched between the project layers, but you can still feel its bulk.
Feel and place the cord bulk under the channel of the foot and stitch the final seam.
When you open the layers and look at the right side, you will see the piping is perfectly attached and snug to the base fabric of the project. The tucked-in needle position did the trick.
Some Final Tips
- Don’t use too short a stitch (it could weaken the assembly).
- Use bias strips to wrap the cord. This ensures a smoother cord wrap that better conforms to curves and turns corners.
- Round the corners to avoid unsightly puckers.
- Clip seam allowances when going around curves / corners for smoother contouring.
- For extra body and shaping of your project, use vinyl-covered clothesline (if using 1/4” cording) as the cord. This works well with tote bags.