Decorative Techniques with Cordonnet Foot #11
Many BERNINA presser feet are named for their primary sewing uses — whether that is for patchwork piecing, inserting a zipper, sewing on buttons, creating pintucks, or even attaching binding. However, those same presser feet can be used for many more techniques beyond just the primary ones. One foot in particular, Cordonnet Foot #11, falls into this category.
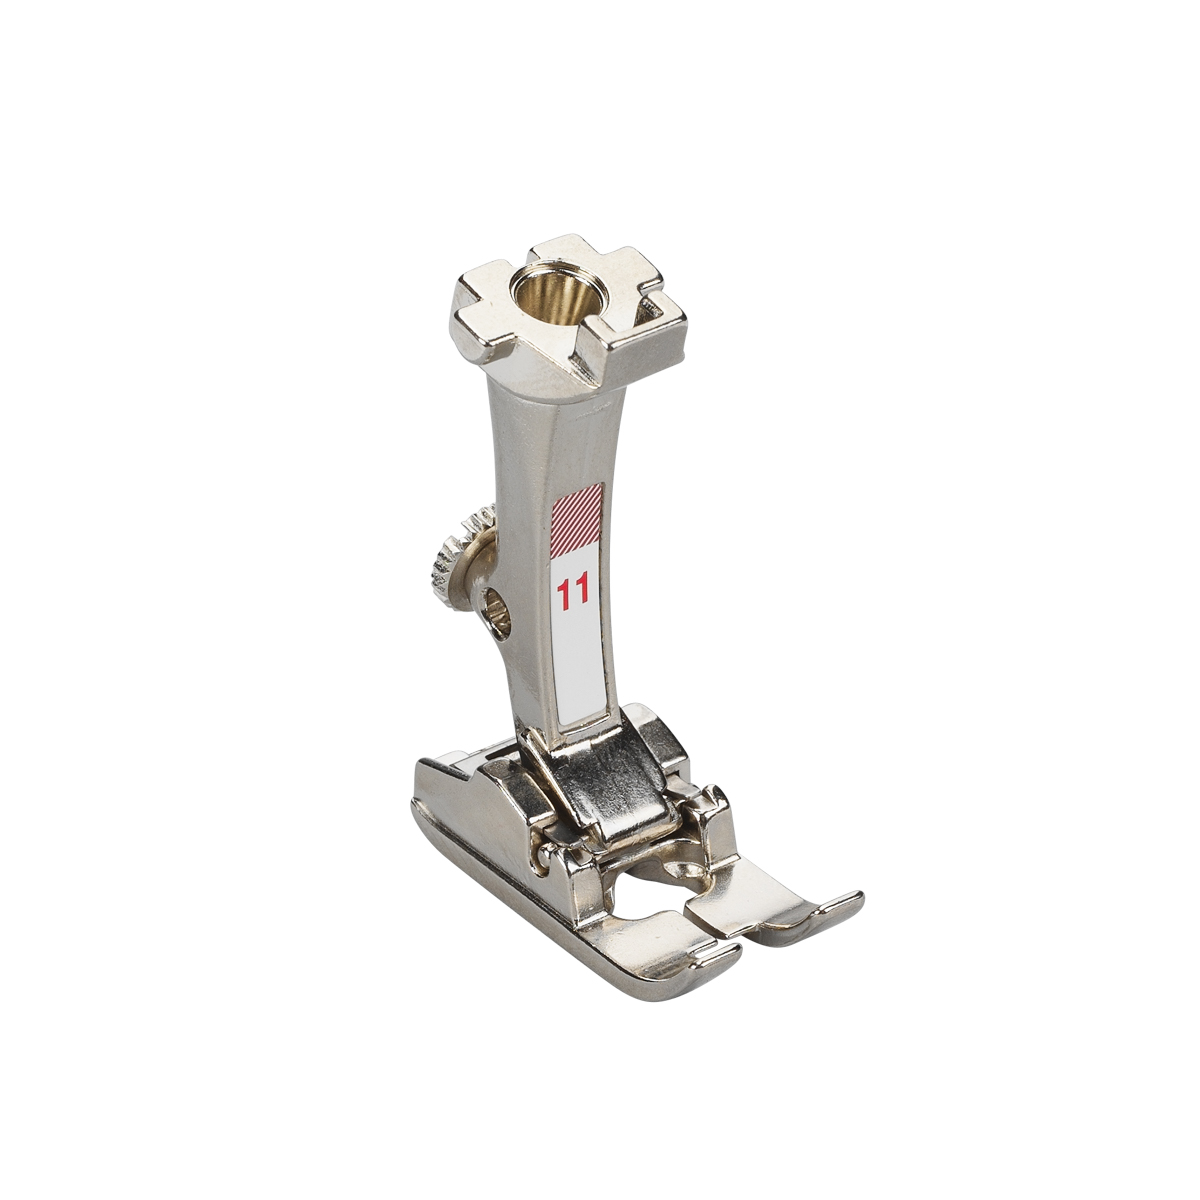
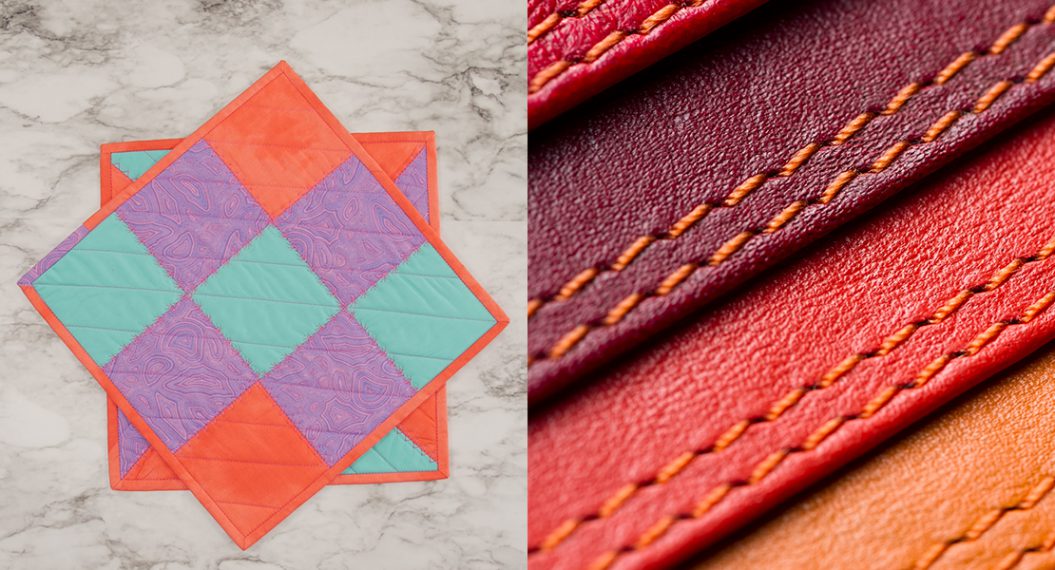
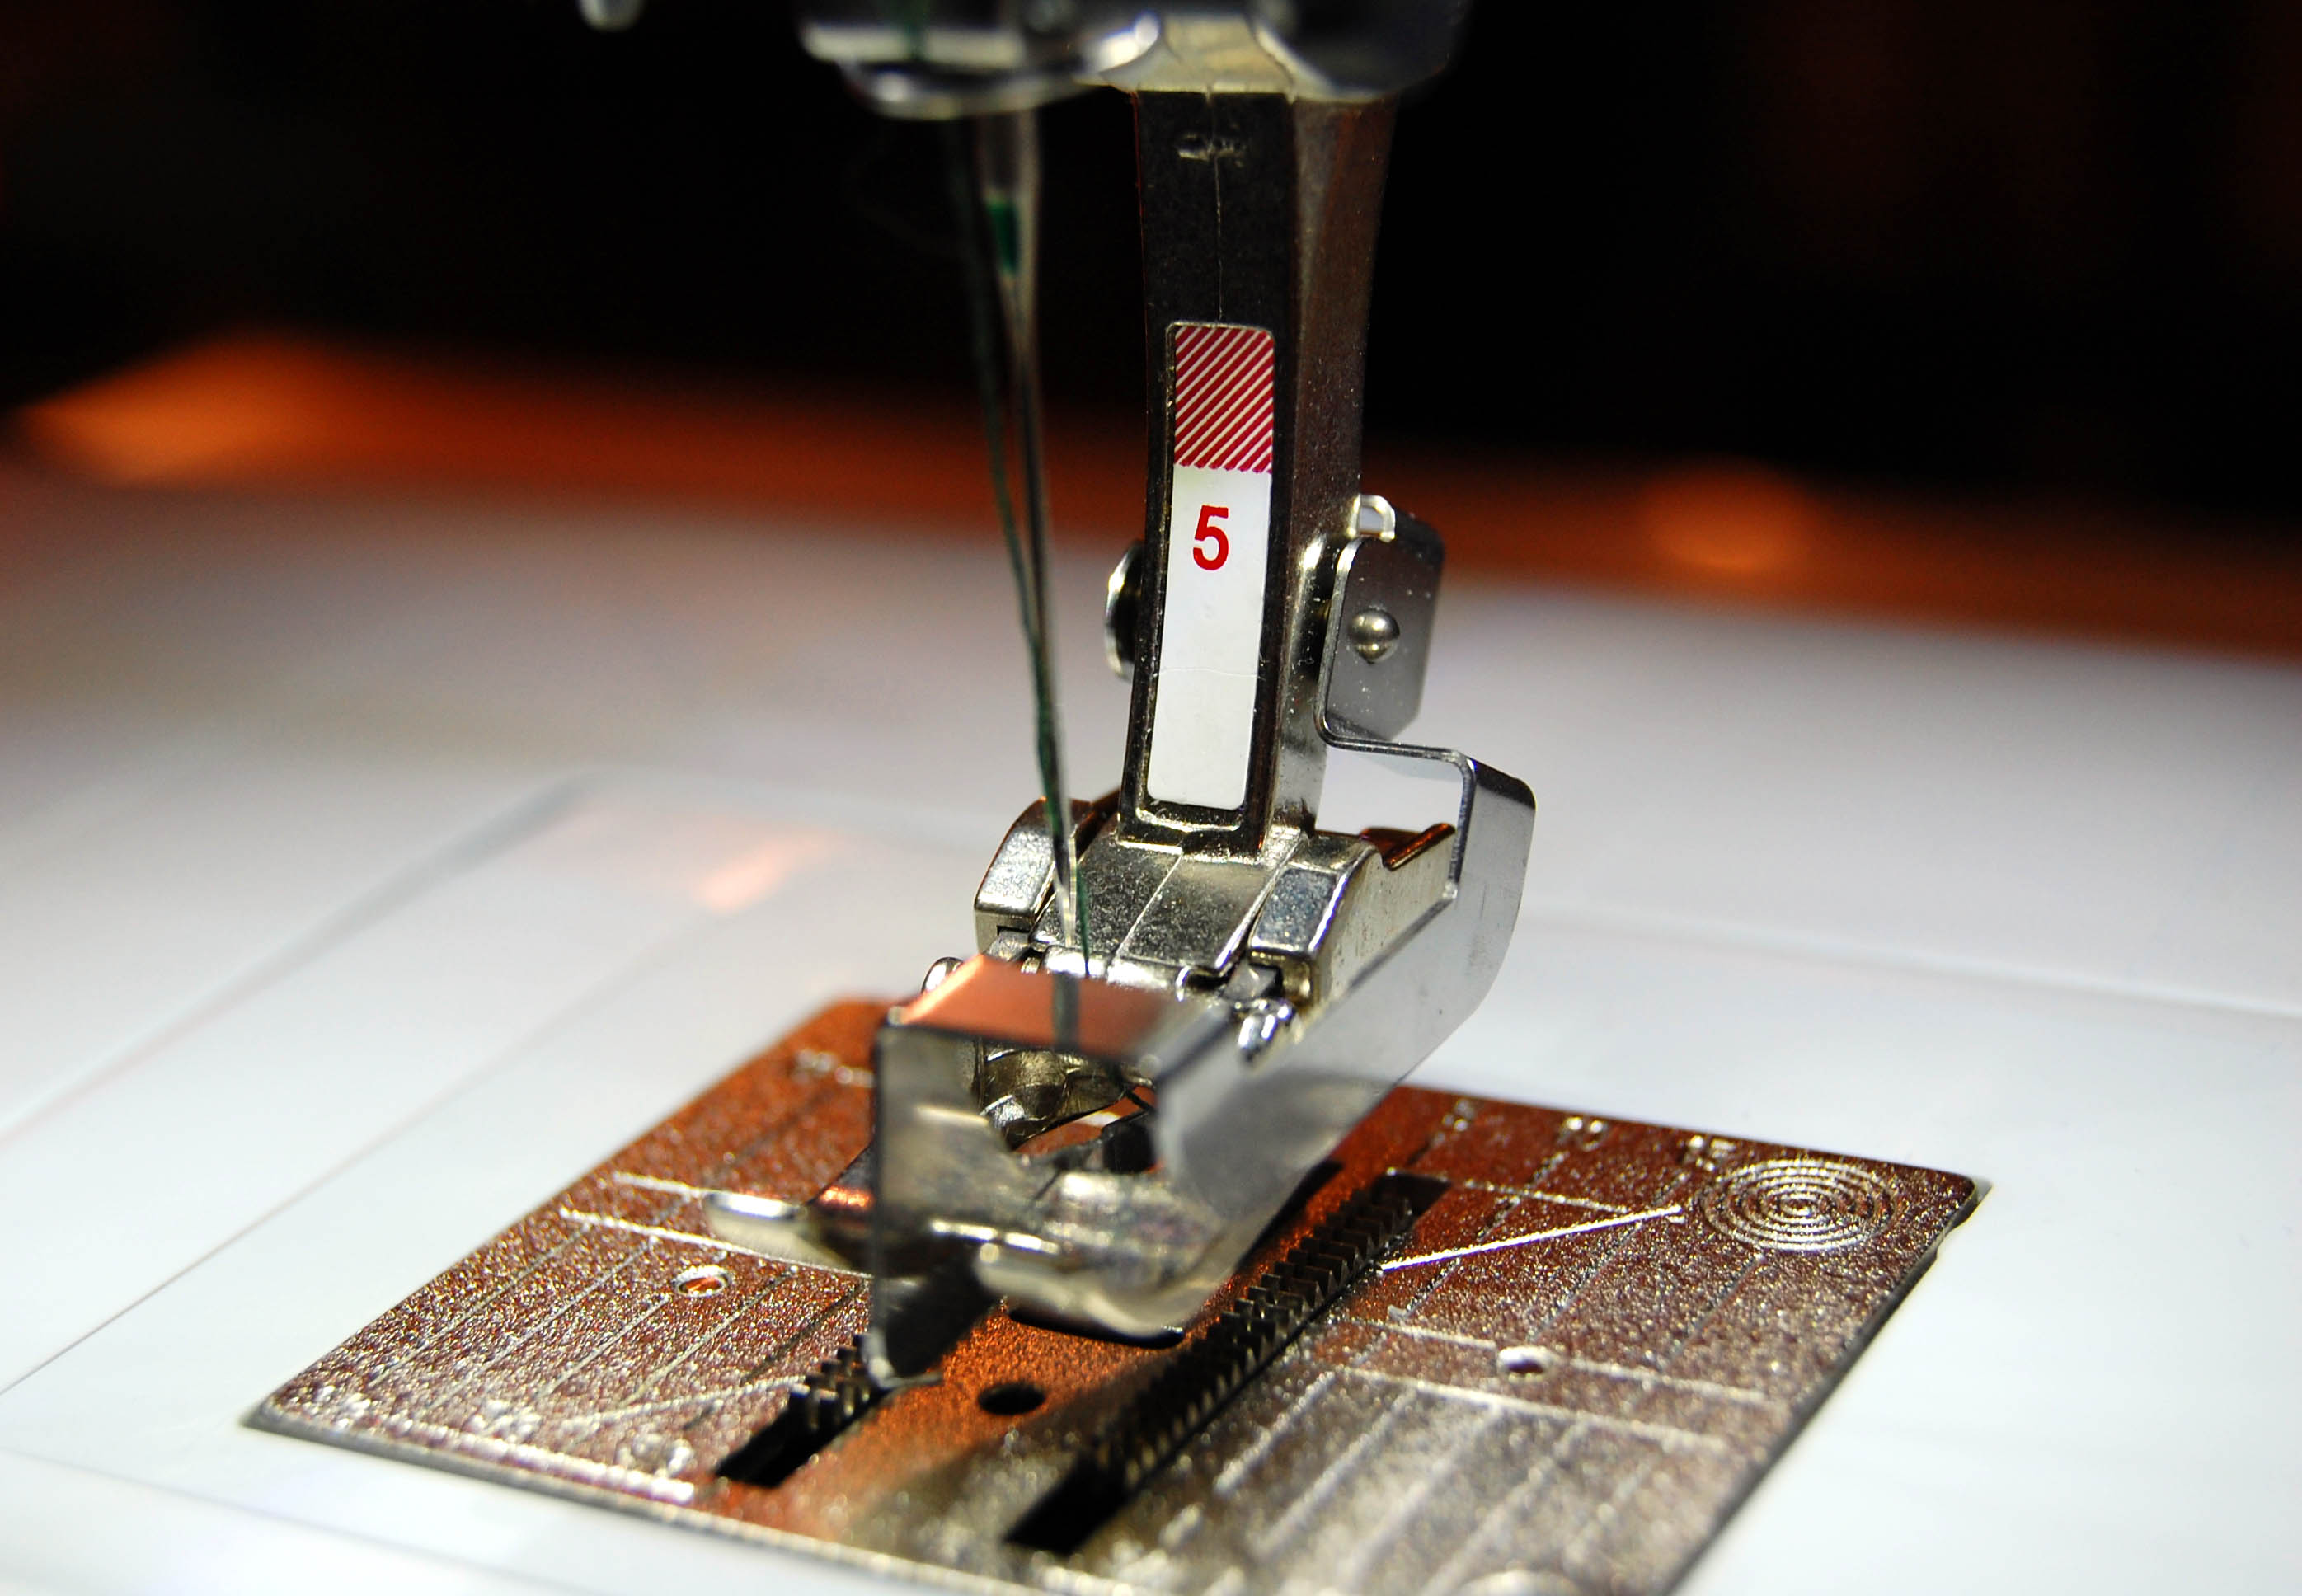
Cordonnet Foot #11 was created as a collaboration between BERNINA and Mettler to be compatible with a specific Mettler thread – Cordonnet. This cord-like thread is most often used for topstitching (think of the thread used to topstitch and hem jeans) and, because of the thread thickness, it enhances the visibility when used for decorative purposes. To accommodate that thickness, the presser foot has a 2 mm groove in the center of the sole that allows the heavy thread to move freely while feeding correctly.
The needle opening on the top of the foot accommodates a stitch width up to 5.5 mm, making the Cordonnet Foot #11 useful for several other decorative stitching techniques. This blog will highlight a few of those many uses to give you inspiration for your next project with Cordonnet thread and decorative embellishments!
Technique #1: Decorative Stitching
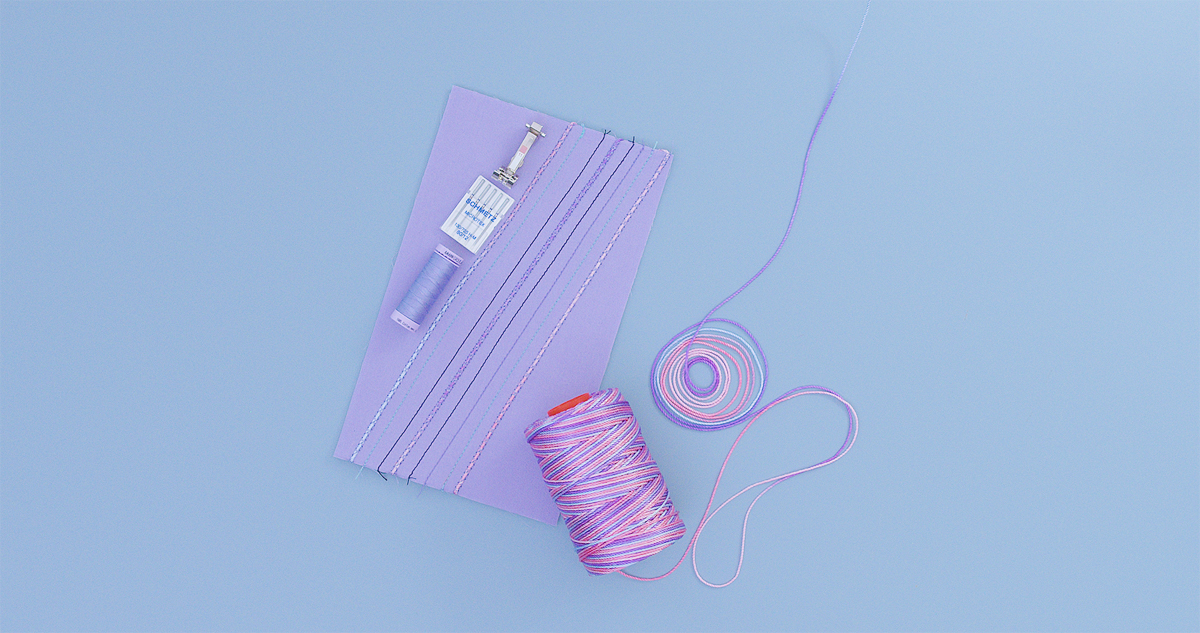
Materials for Decorative Stitching with Cordonnet Foot #11
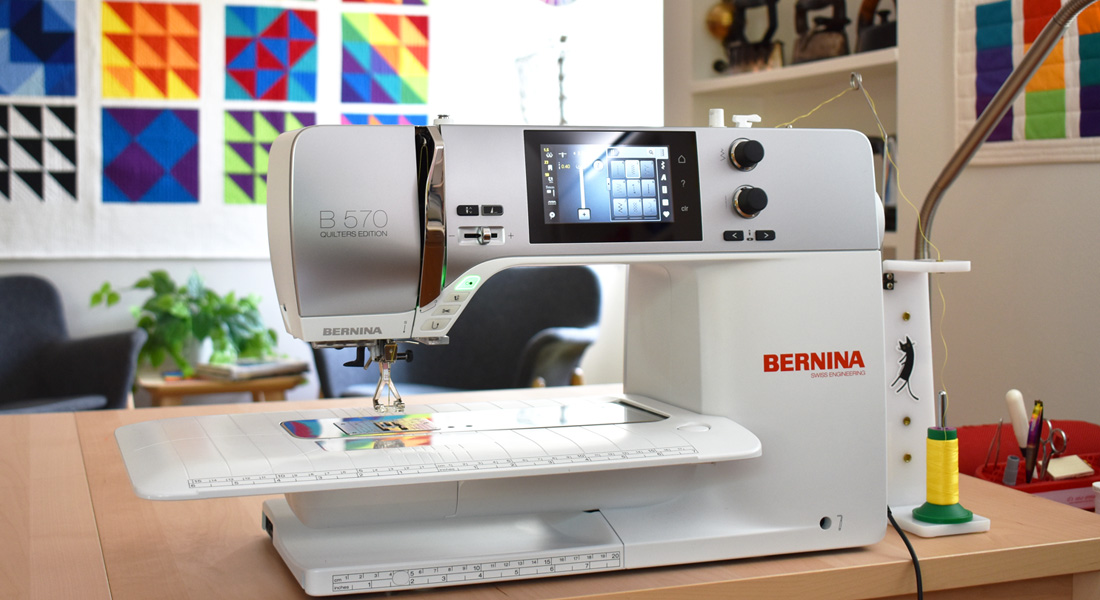
- B 480
- Cordonnet Foot #11
- Mettler Cordonnet thread
- Mettler Silk-Finish Cotton 50wt cotton thread
- Schmetz 90/14 Topstitch needle
- Cotton fabric
- Pellon Peltex Stabilizer
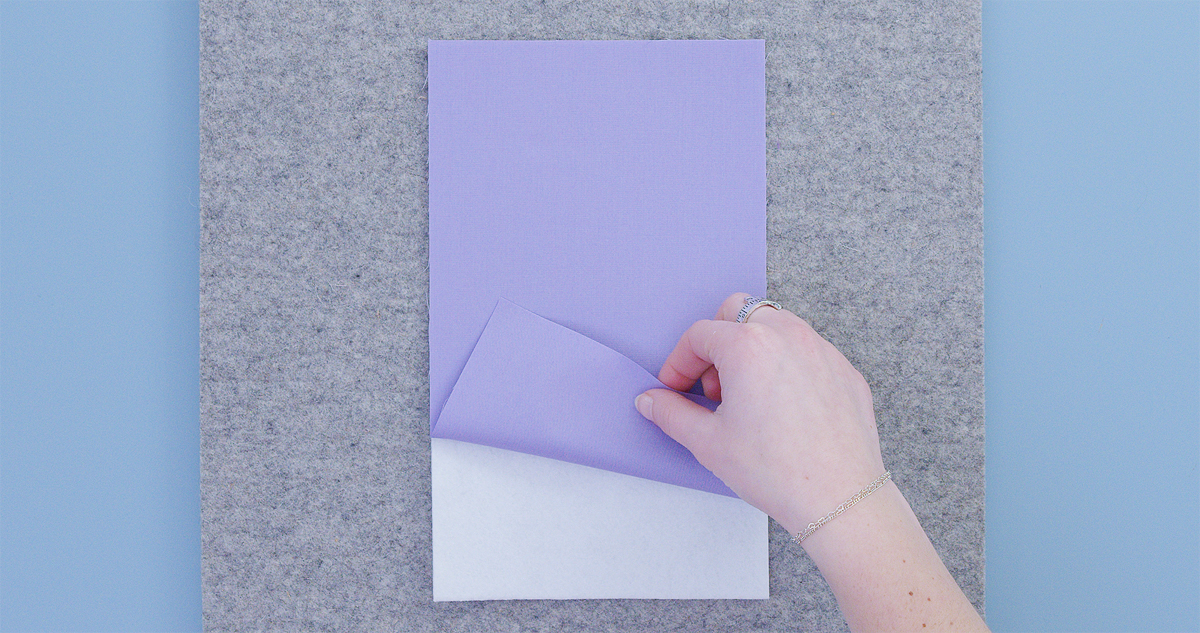
In preparation for decorative stitching, the fabric should be stabilized properly. I used Pellon Peltex for a firm foundation. This one-sided fusible stabilizer works well for bag making and other home dec projects that need extra support. Fuse this to the wrong side of the fabric.
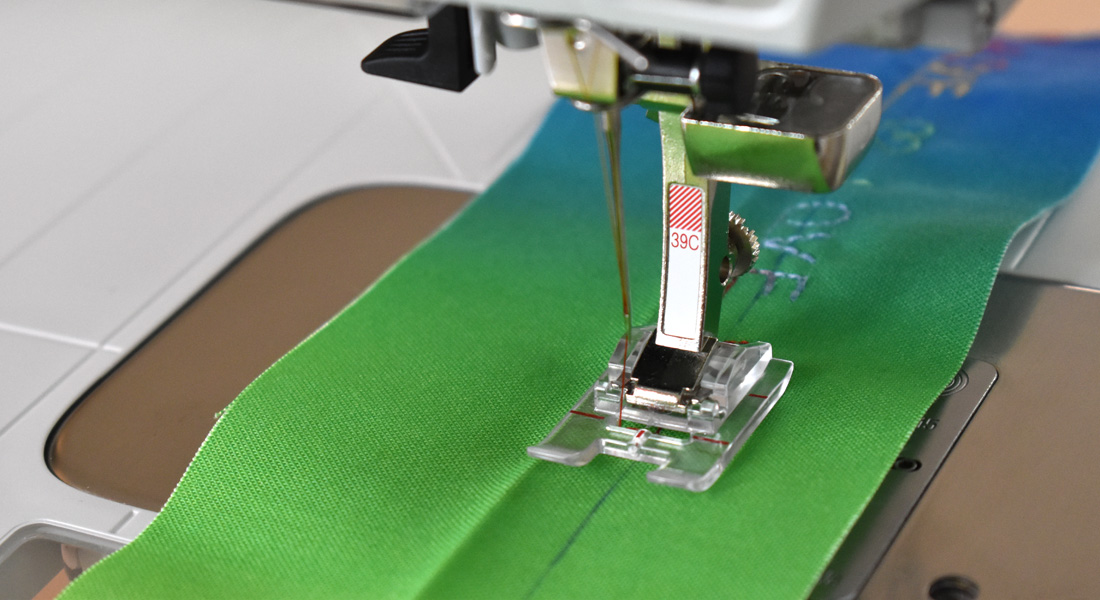
Setting up the sewing machine is simple. Let’s start with the needle. Because of the thickness of the Cordonnet thread, a topstitch needle is recommended. These needles have larger eyes, allowing the thread to pass through smoothly. Use a size 90/14 needle or larger. On the B 480, the needle threader can be used with this heavy thread for quick threading!
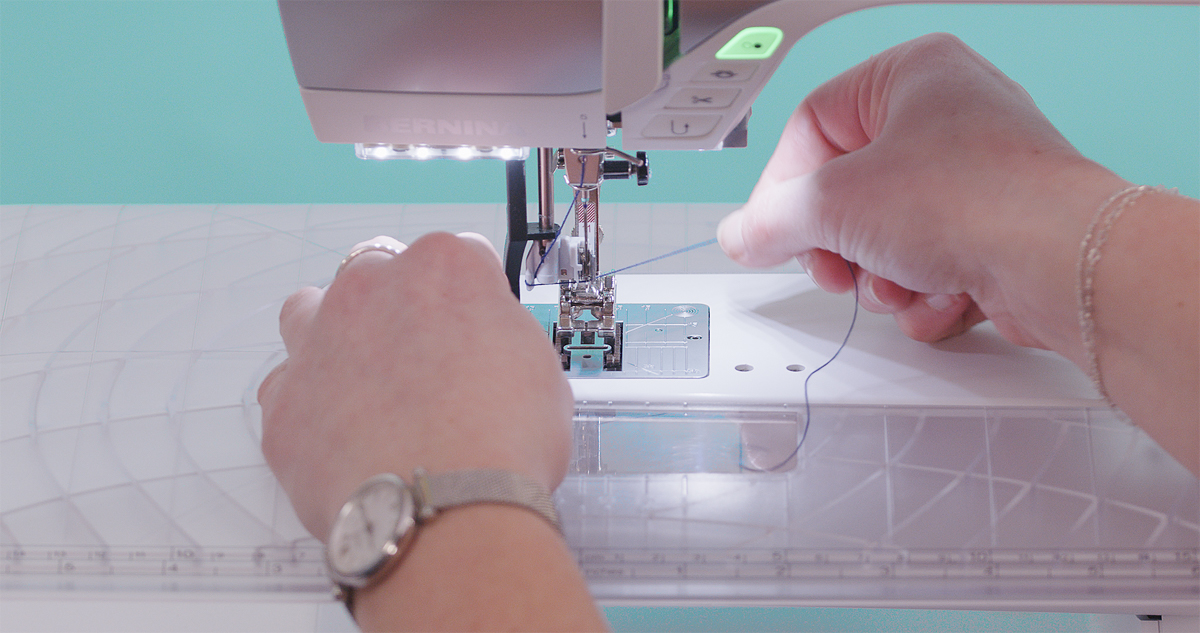
The bobbin doesn’t need any special adjustments. Use a standard sewing thread that matches in color. I used Mettler Silk-Finish 50wt cotton thread. If your machine has Presser Foot Selection, set it for Cordonnet Foot #11.
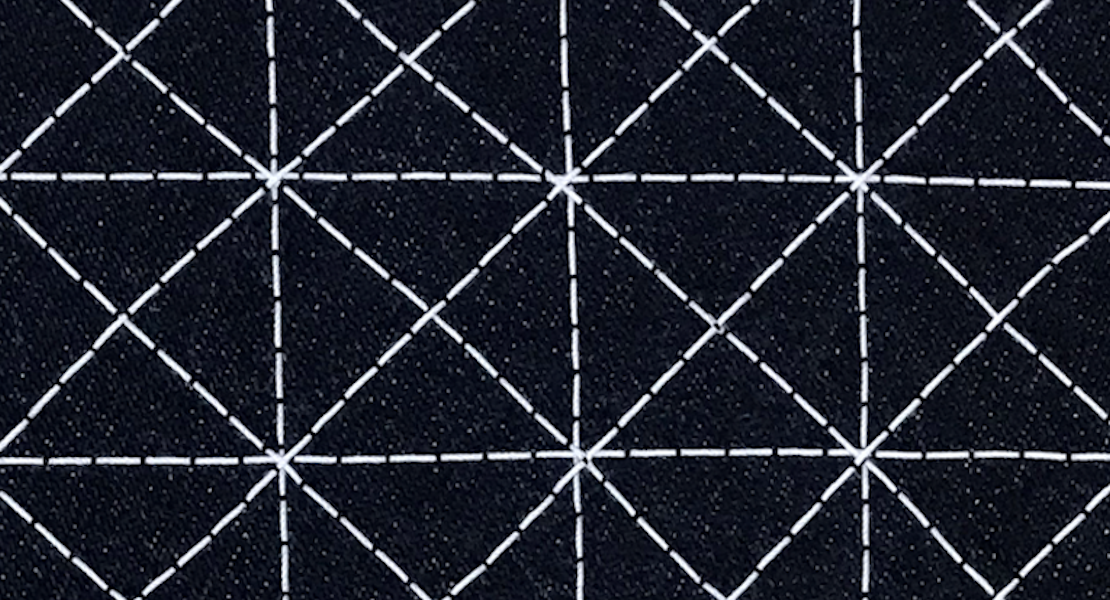
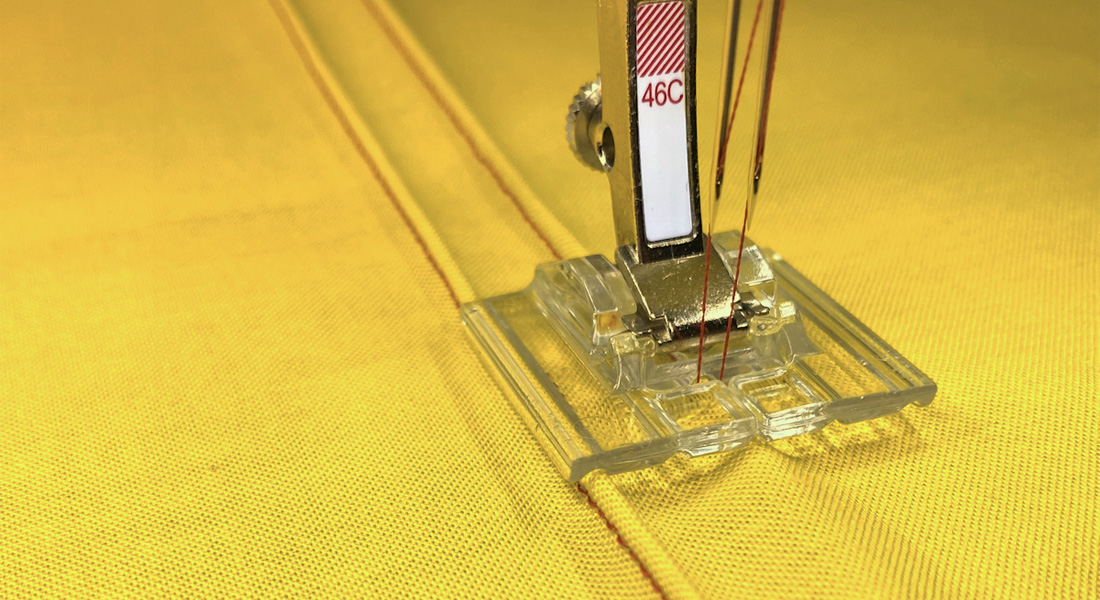
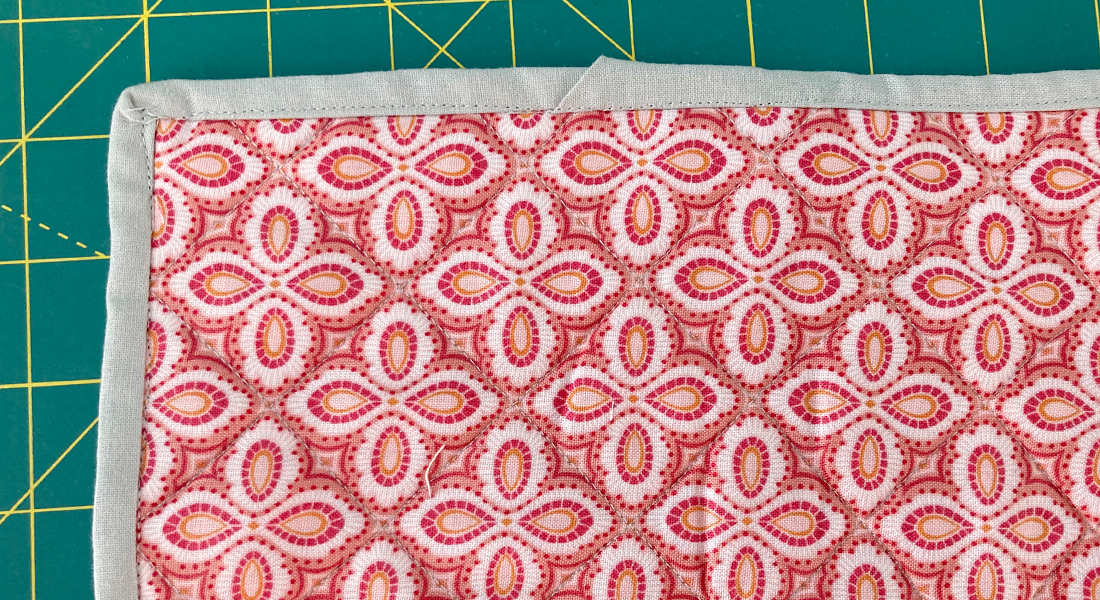
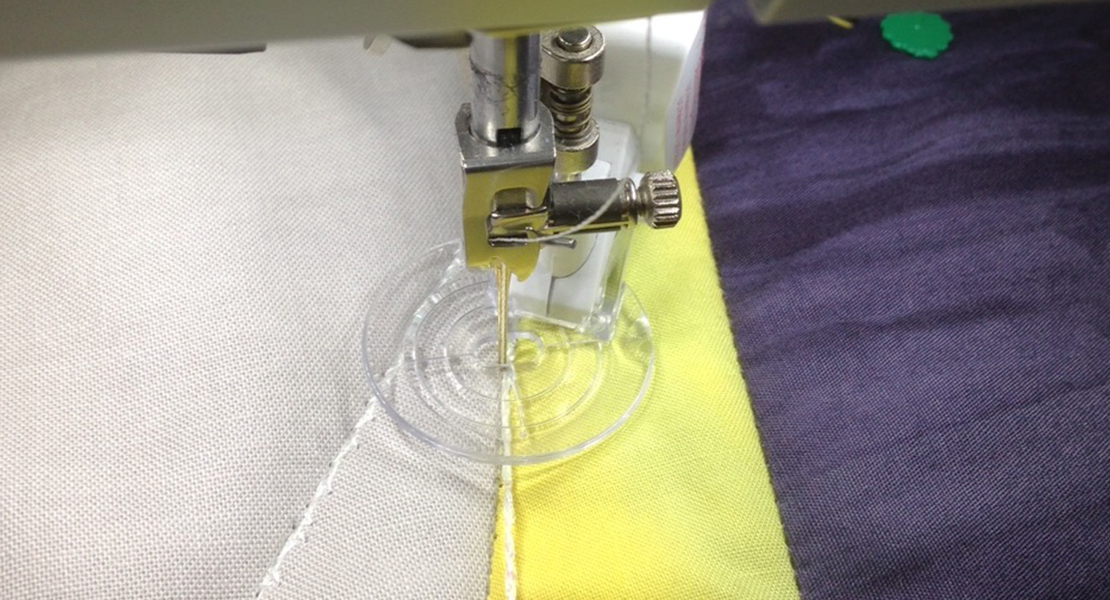
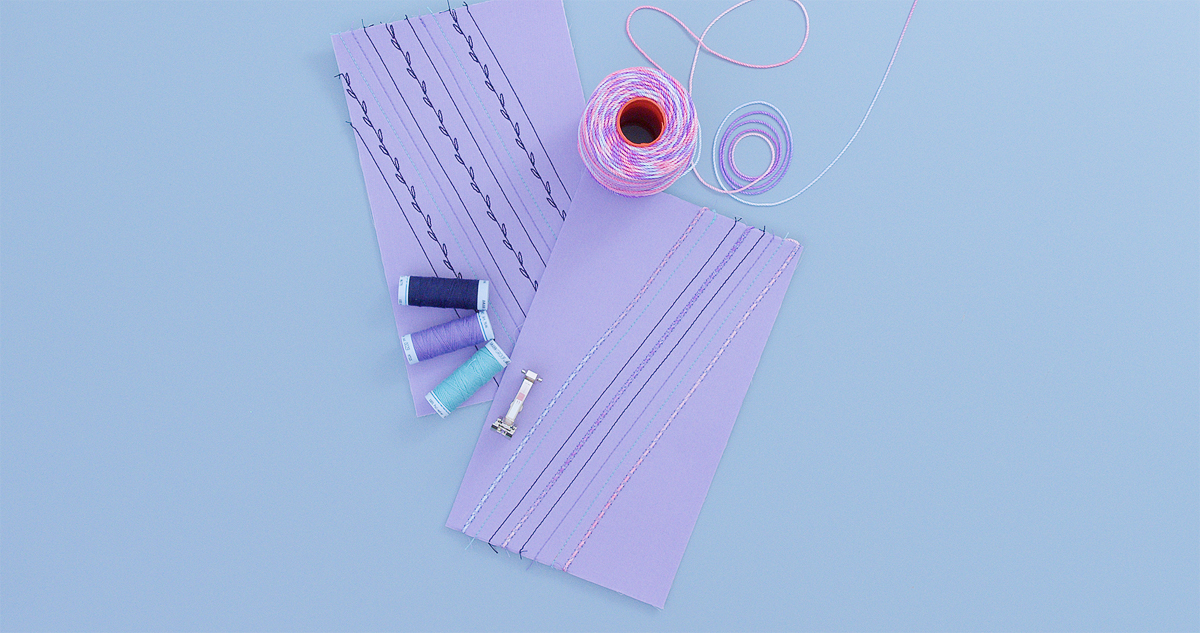
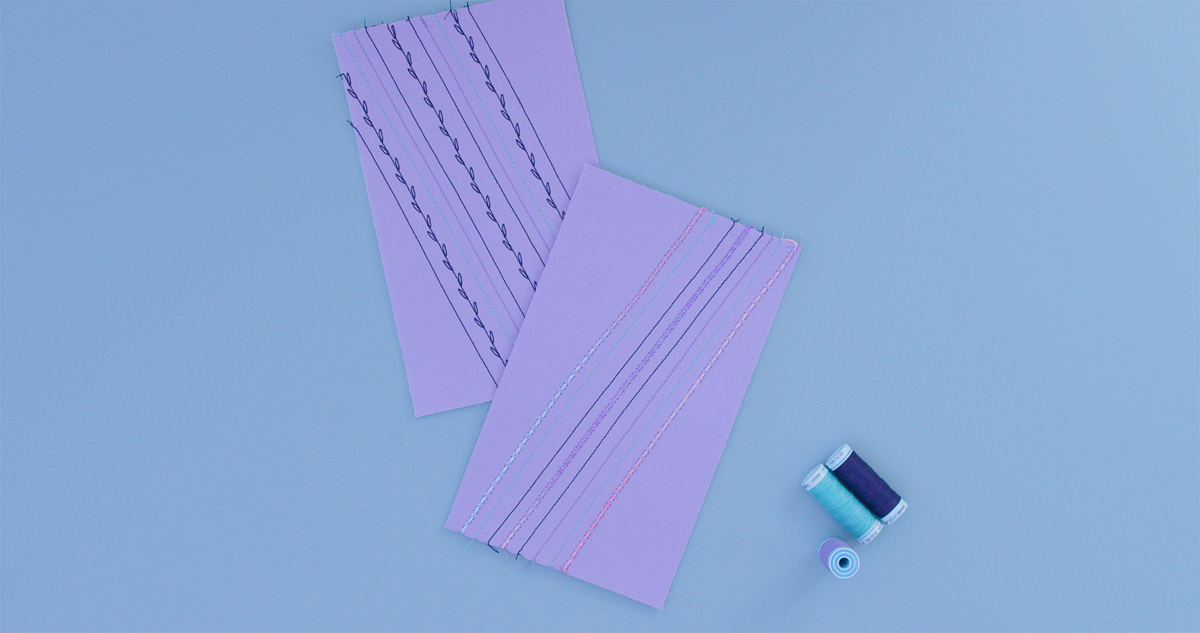
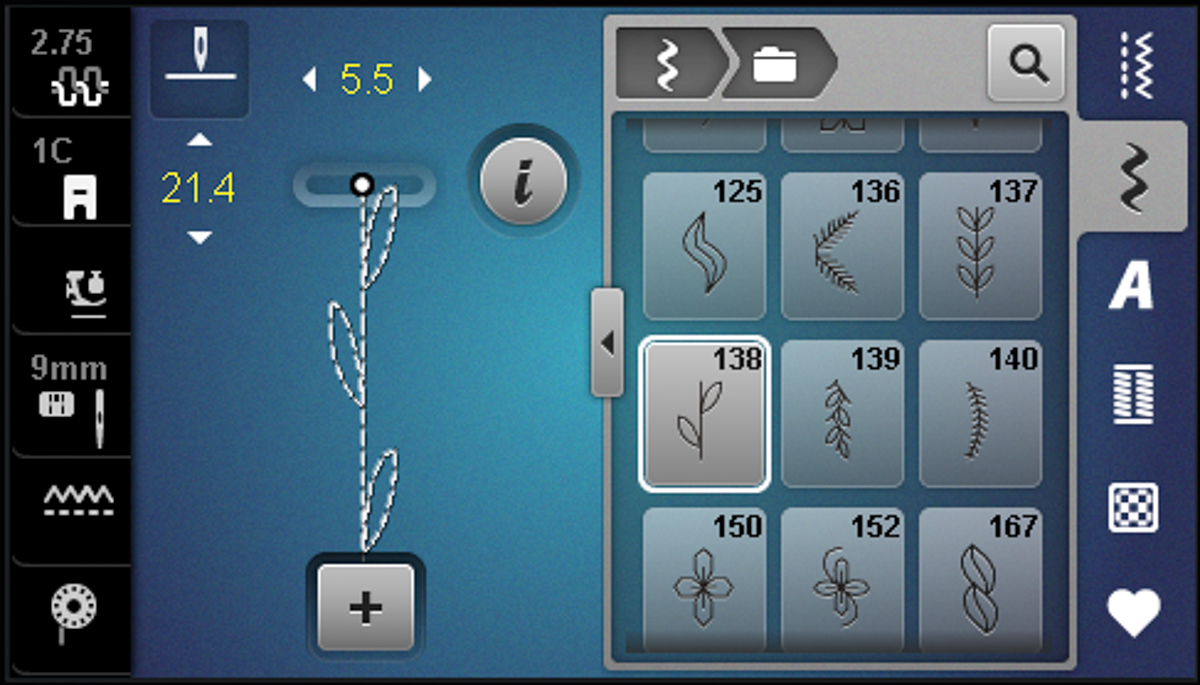
BERNINA machines offer a variety of decorative stitches that can embellish and decorate any project. Be sure to test the stitching on scrap fabric before sewing on the final project. On screen, select stitch #138. Because the needle opening on the foot is 5.5 mm wide, adjust the stitch width to match. When using a thicker thread, increase the stitch length to ensure that the thread does not pile up on itself. For this stitch, I increased the stitch length to about 21.
Other settings can be changed for even more total stitch control and sewing comfort. I decreased my sewing speed to allow time for the stitches to form properly. You may also want to decrease the Presser Foot Pressure. Because of the thickness of the stabilizer and the thread, decreasing the pressure will keep everything moving smoothly underneath the presser foot. On the B 480, this can be adjusted using the knob on the left side of the machine.
At the beginning of the seam, hold both thread tails. Stitch across the fabric as desired. At the end of the fabric, use the Pattern End feature to ensure that the entire stitch design is sewn. Use the Automatic Thread Cutter or cut the threads manually. I prefer to knot and trim the thread tails close to the fabric edge.

Tip: You may prefer to backstitch to secure the stitching. When backstitching with a decorative stitch, the needle may not stitch into the same points as before. Instead, use backstepping. This simple setting change tells the machine to go backward through the same points as before. Consult your machine manual for more details.
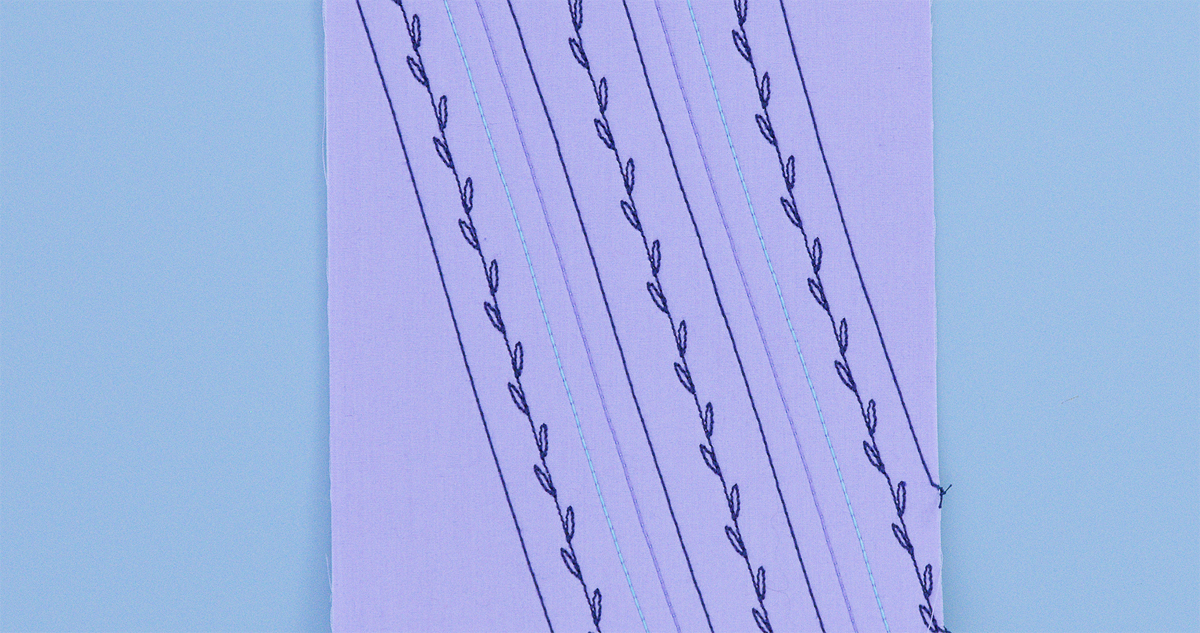
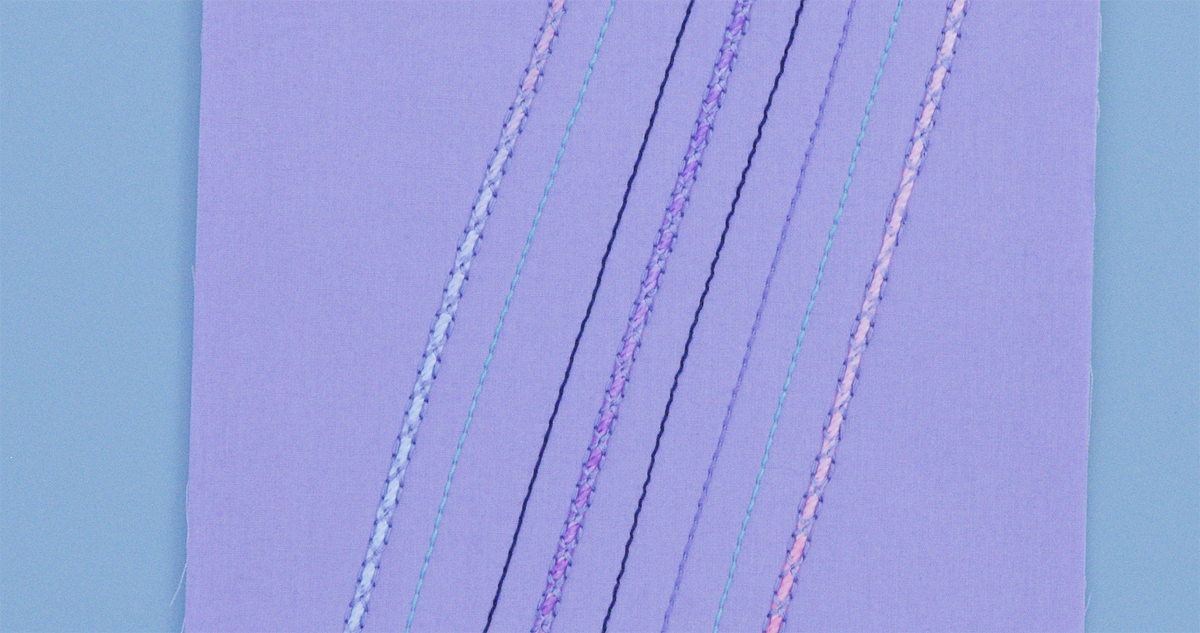
Accent the decorative stitching with rows of straight stitching. Use a variety of colors too. Mettler Cordonnet comes in 54 different color options!
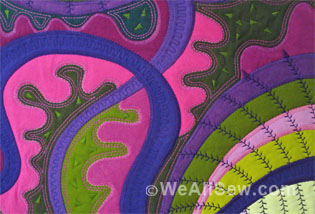
Technique #2: Decorative Couching
Materials for Decorative Couching with Cordonnet Foot #11:
- B 480
- Cordonnet Foot #11
- Mettler Silk-Finish 50wt cotton thread
- La Espiga nylon cording
- Schmetz 80/12 Microtex needle
- Cotton fabric
- Pellon Peltex Stabilizer
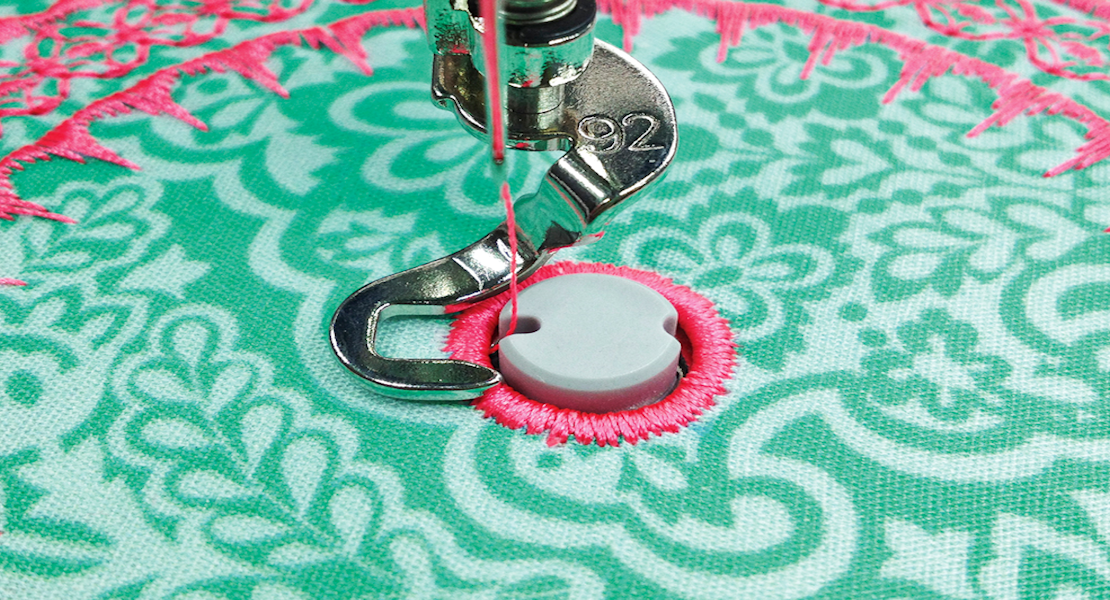
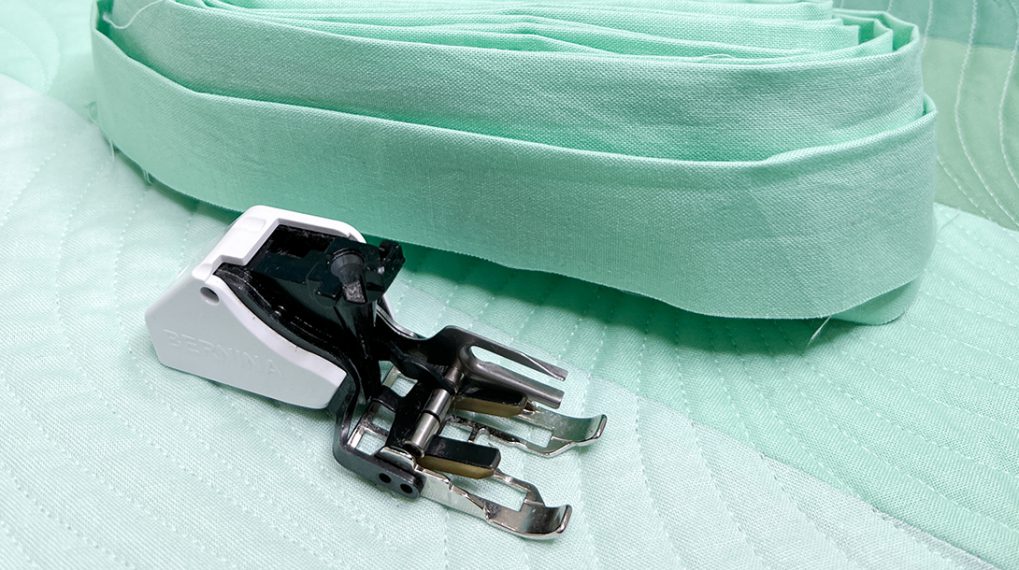
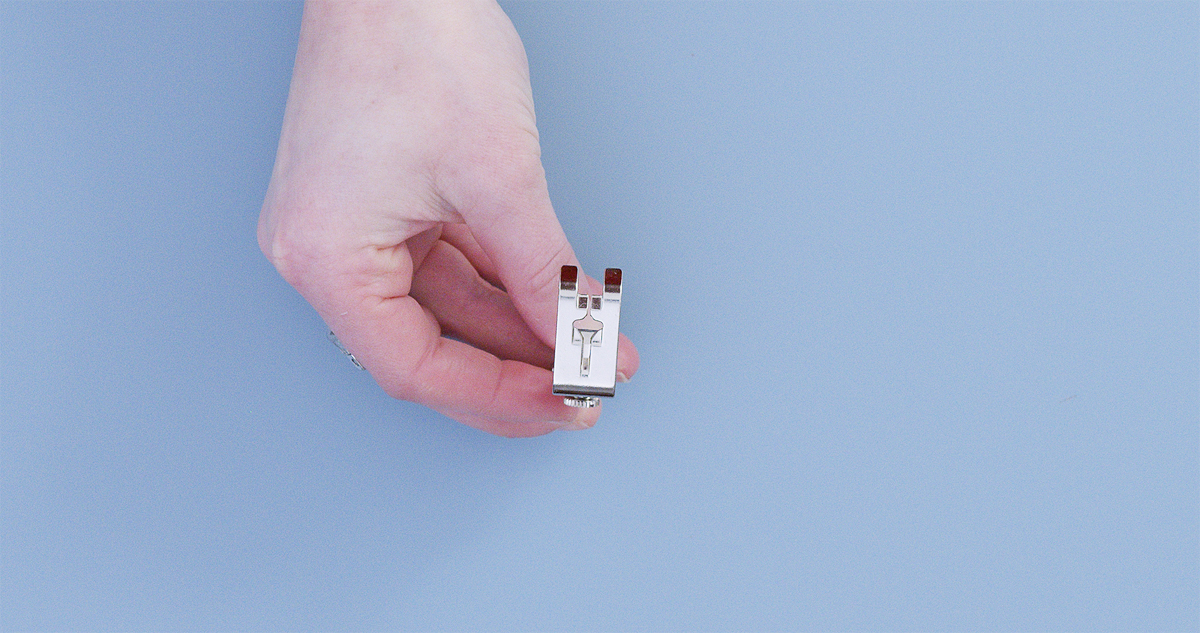
BERNINA has several presser feet that can be used for couching cording of any size. The key is to use a presser foot with the right-sized channel or groove that holds and guides the cording while it is being couched down. With Cordonnet Foot #11, small cords, yarns, and trims under 2 mm wide can be couched onto fabric with ease. The groove in the bottom of the foot helps keep cording in alignment with the stitching for beautiful, finished results.
At the machine, swap out the topstitch needle for a Microtex needle. Then, thread the machine with the same thread in the top and bobbin. I used Mettler Silk-Finish 50wt cotton thread. The cording used for this couching sample is a variegated La Espiga nylon cording. When couching, the thread color can add unique effects. If the goal is to show off the cording, use a neutral thread color that blends in.
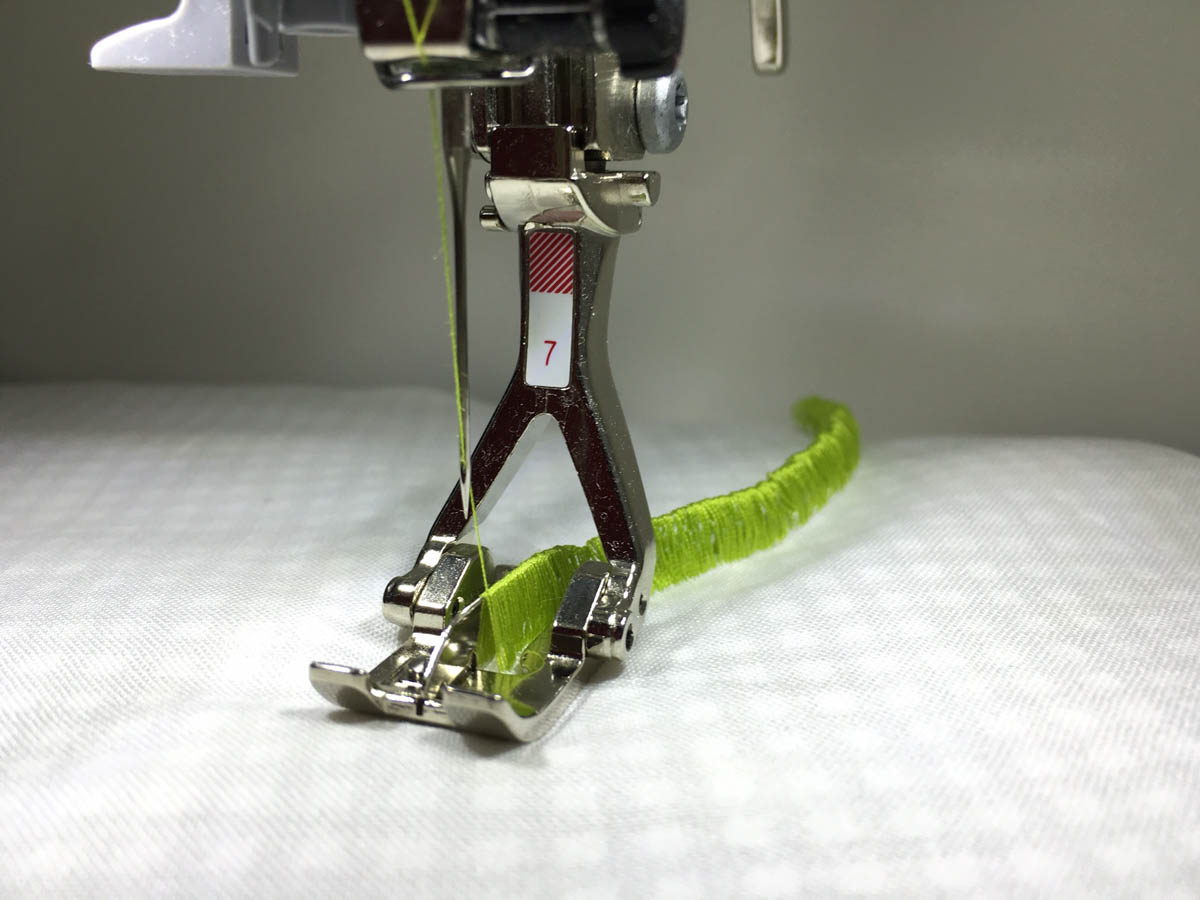
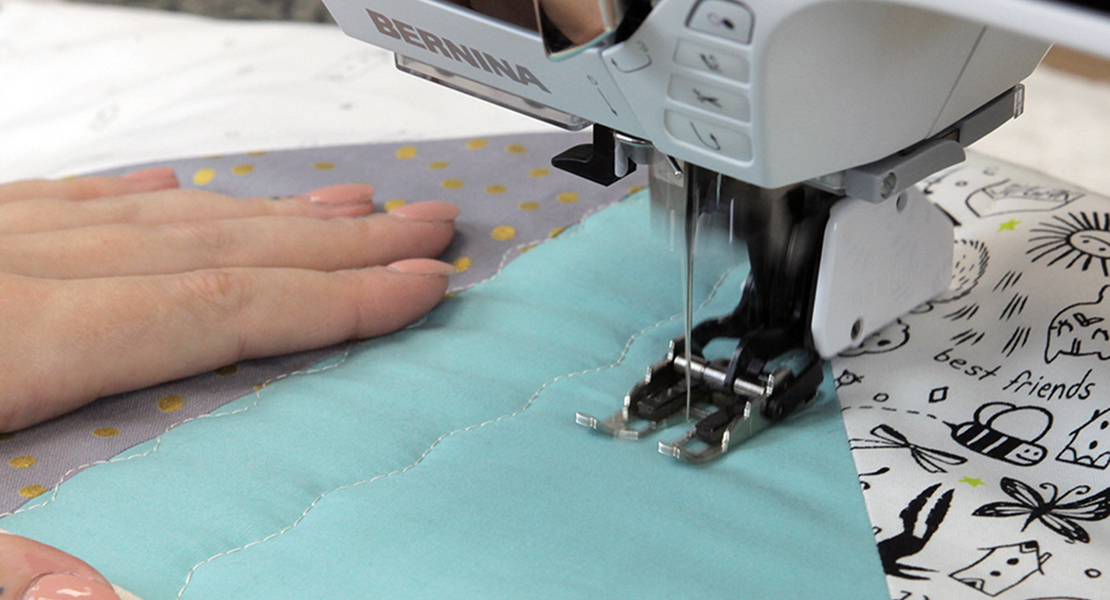
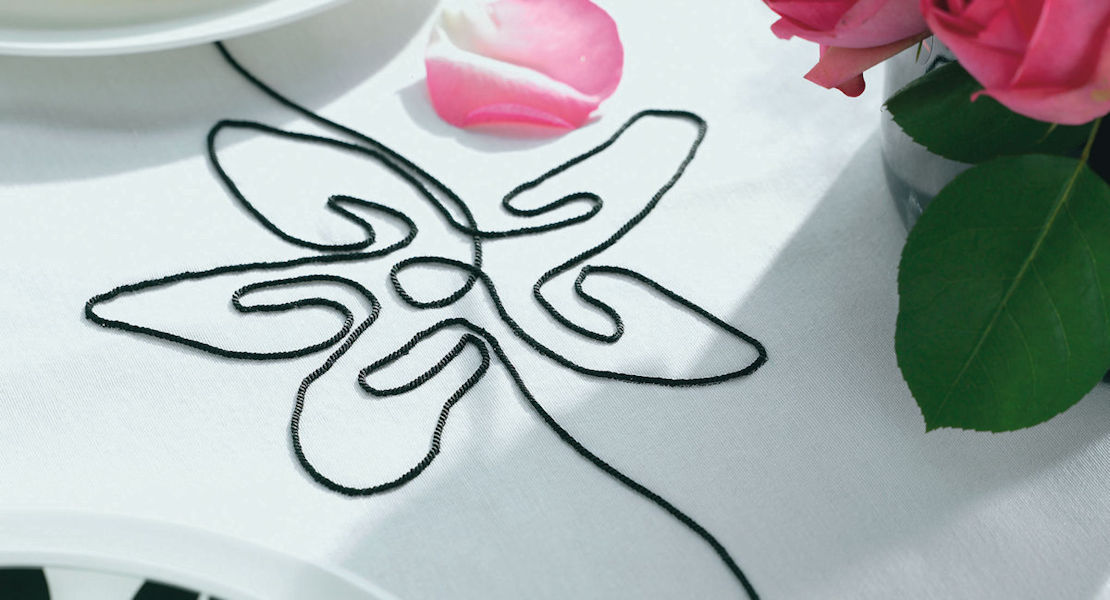
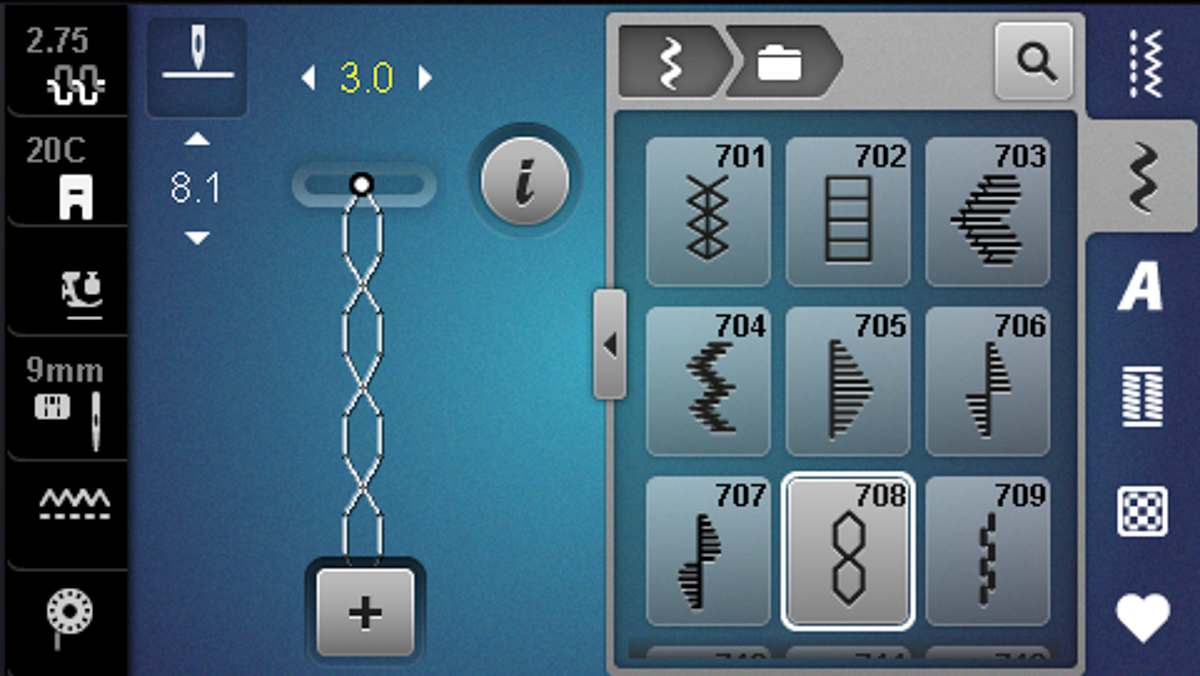
Like thread color, the stitch used to couch can change the finished look. Rather than using a straight stitch, I wanted to show off the cording and chose an open decorative stitch that still holds the cording securely. On screen, select stitch #708. Using the upper Multi-function Knob, decrease the stitch width. The stitch should only be slightly wider than the cording. The decreased Presser Foot Pressure will keep the cording stabilized but allow it to glide under the presser foot smoothly.
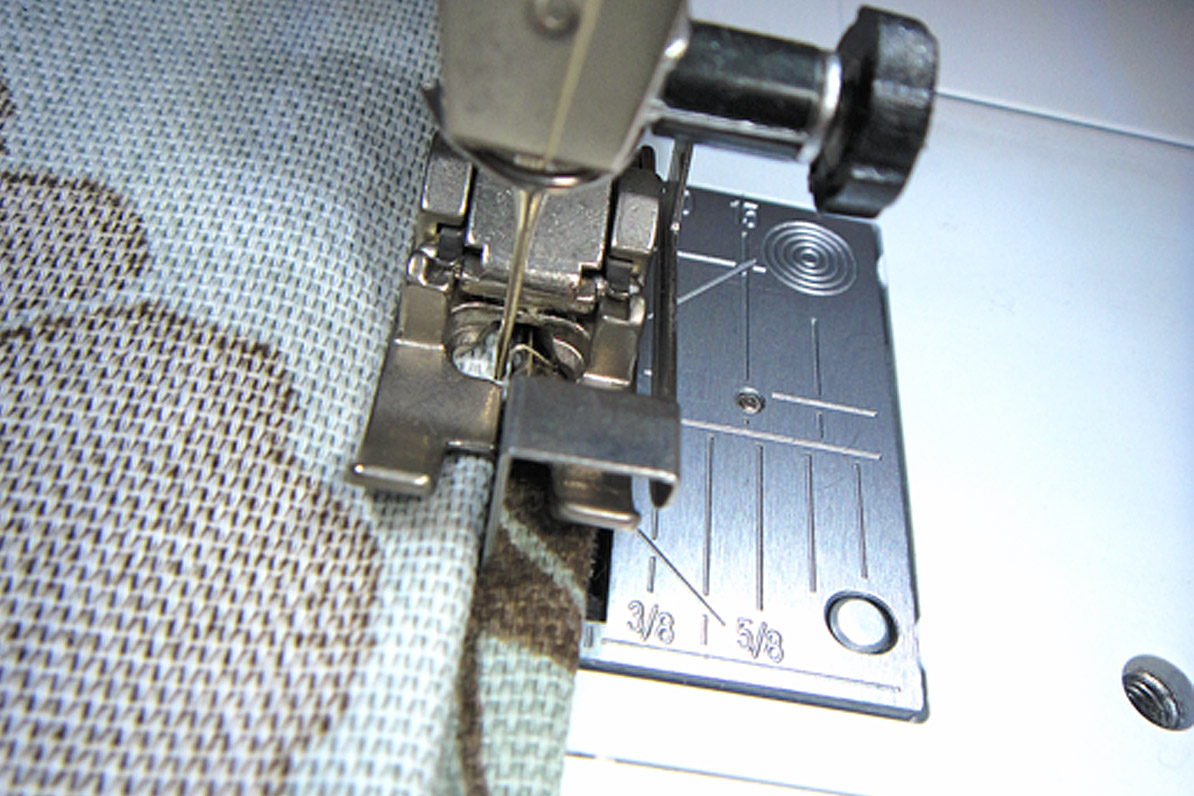
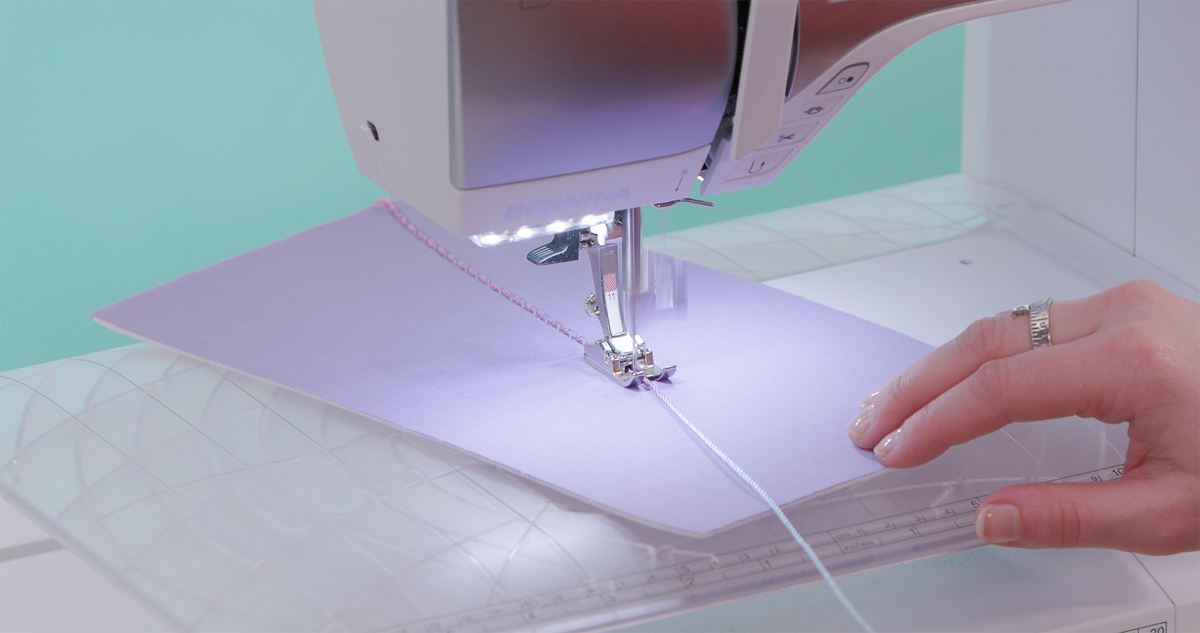
Add stabilizer to the fabric as needed. Place the cord under the foot, flossing it into the groove or channel on the bottom of the foot. Note that there is also a small channel at the back of the foot. Hold 2-3” of cording behind the foot to begin sewing. Use the BERNINA Free Hand System (FHS) to raise/lower the presser foot as needed to adjust the position of both the fabric and cording. Stitch along the desired path or pattern. Cut the threads and cording at the end of the stitching.
As you can see, there are so many fun ways to use Cordonnet Foot #11. For more information and inspiration, check out the BERNINA Big Book of Presser Feet!