Denim Sewing Skill Builder Tote, Part One
Build your denim sewing skills by making a blue jeans tote bag. All of the techniques used to sew this blue jeans tote, such as sewing a buttonhole on thick fabrics, decorative stitching on a patch pocket, and topstitching straight lines, can be applied to making a pair of denim jeans. In this three-part series, you’ll learn how to use special presser feet, accessories, and tools to make the job of sewing thick denim easier!
Find a full list of materials and tools in this post, along with instructions to cut the tote pieces and prepare the pocket.
In part two, learn how to tackle making buttonholes on thick layers just like the waistband in blue jeans with special tools and accessories.
And in part three, we’ll wrap it all up and finish the tote.
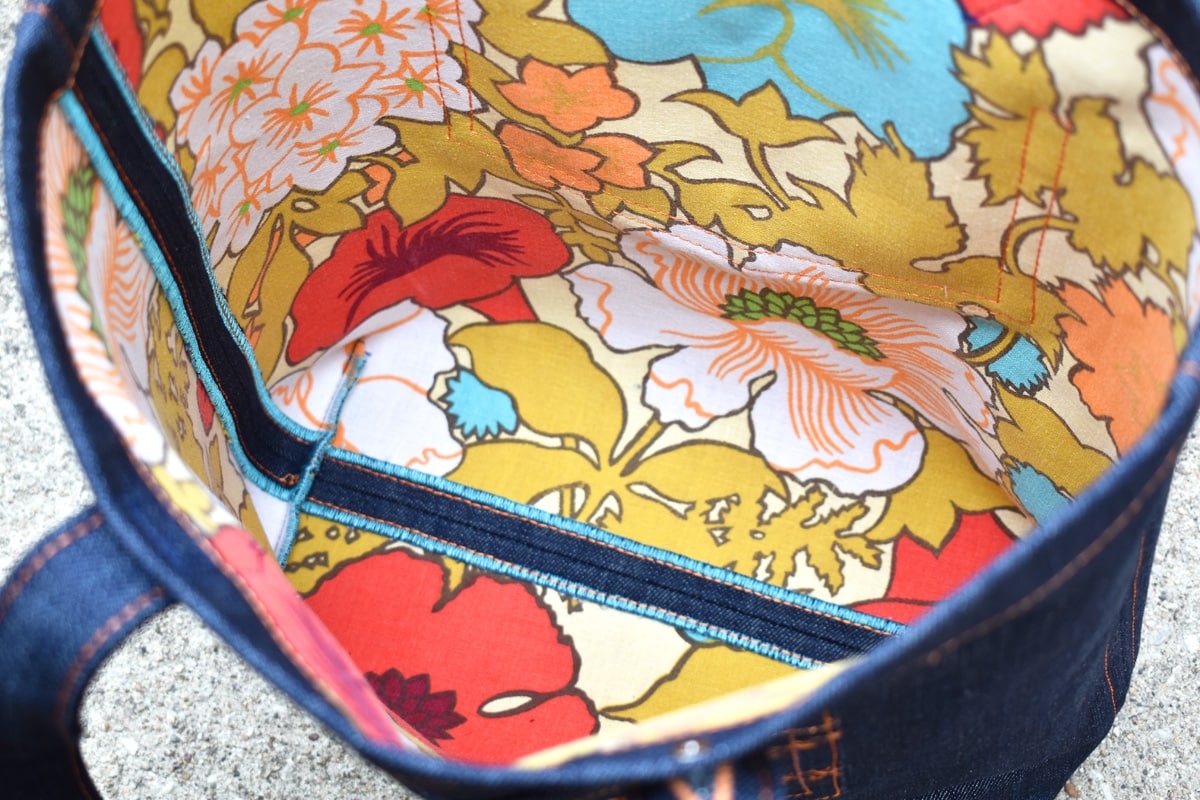
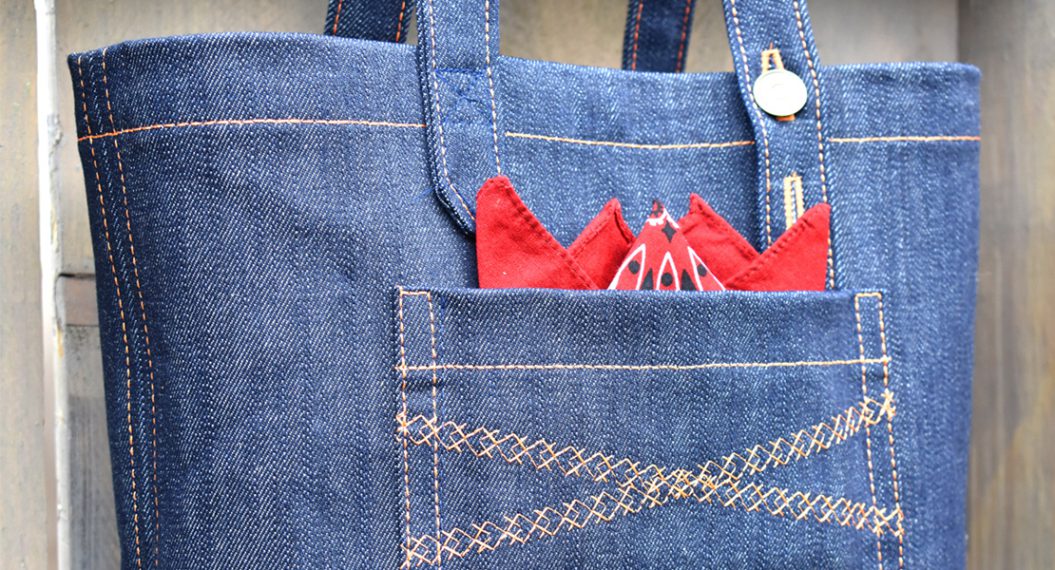
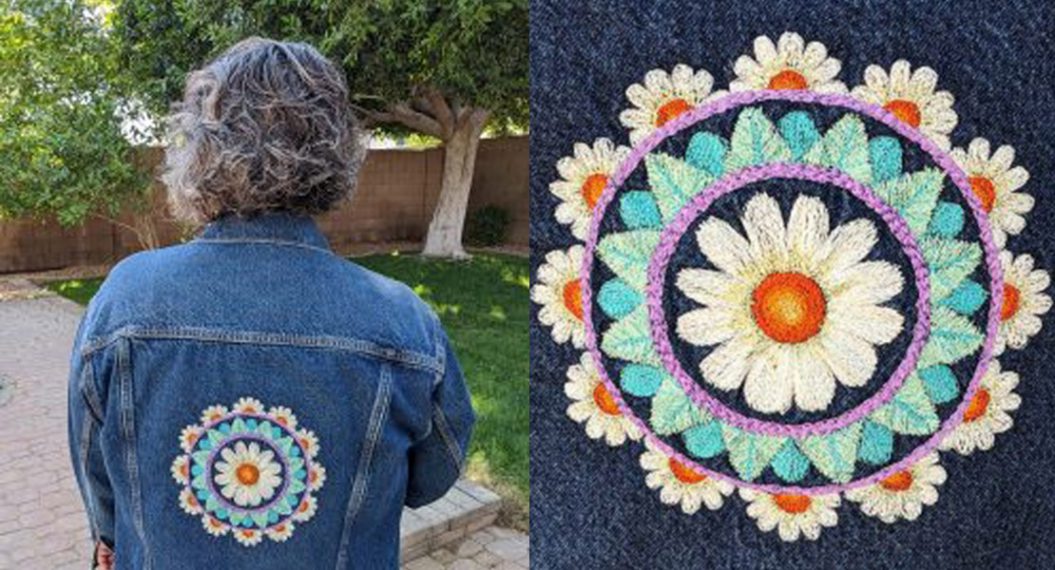
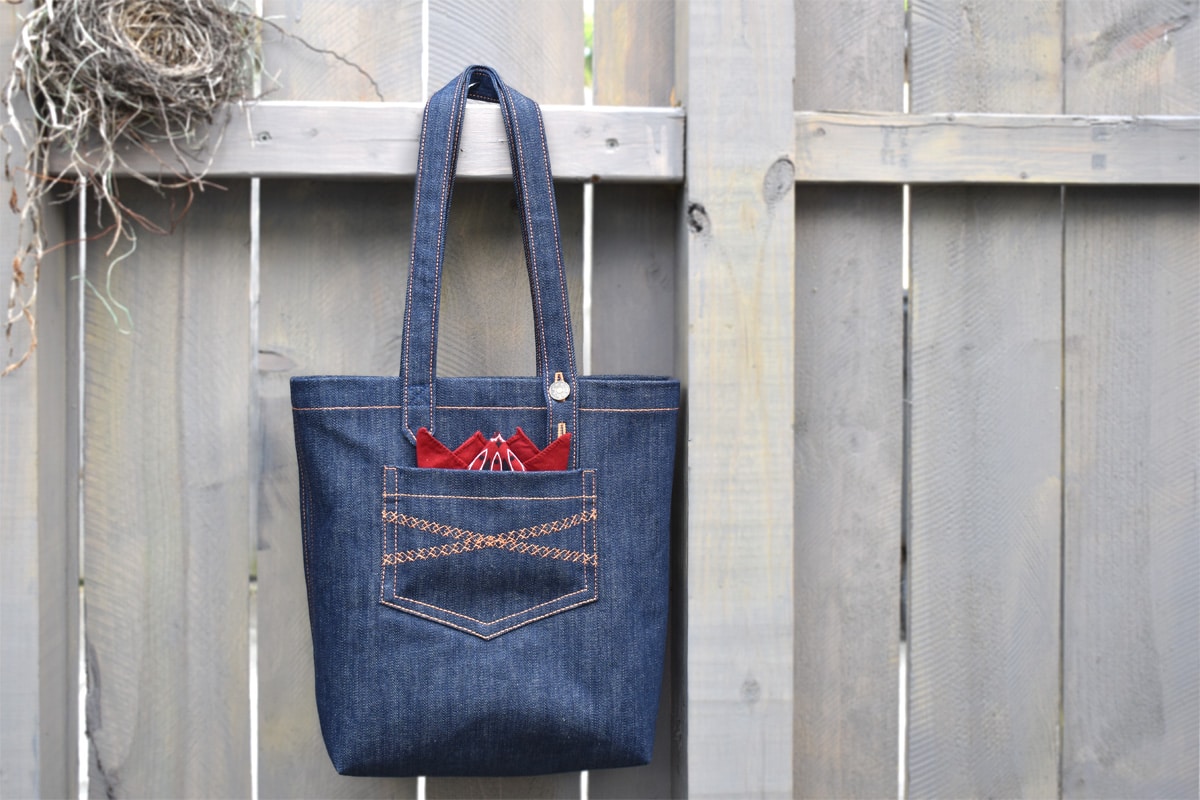
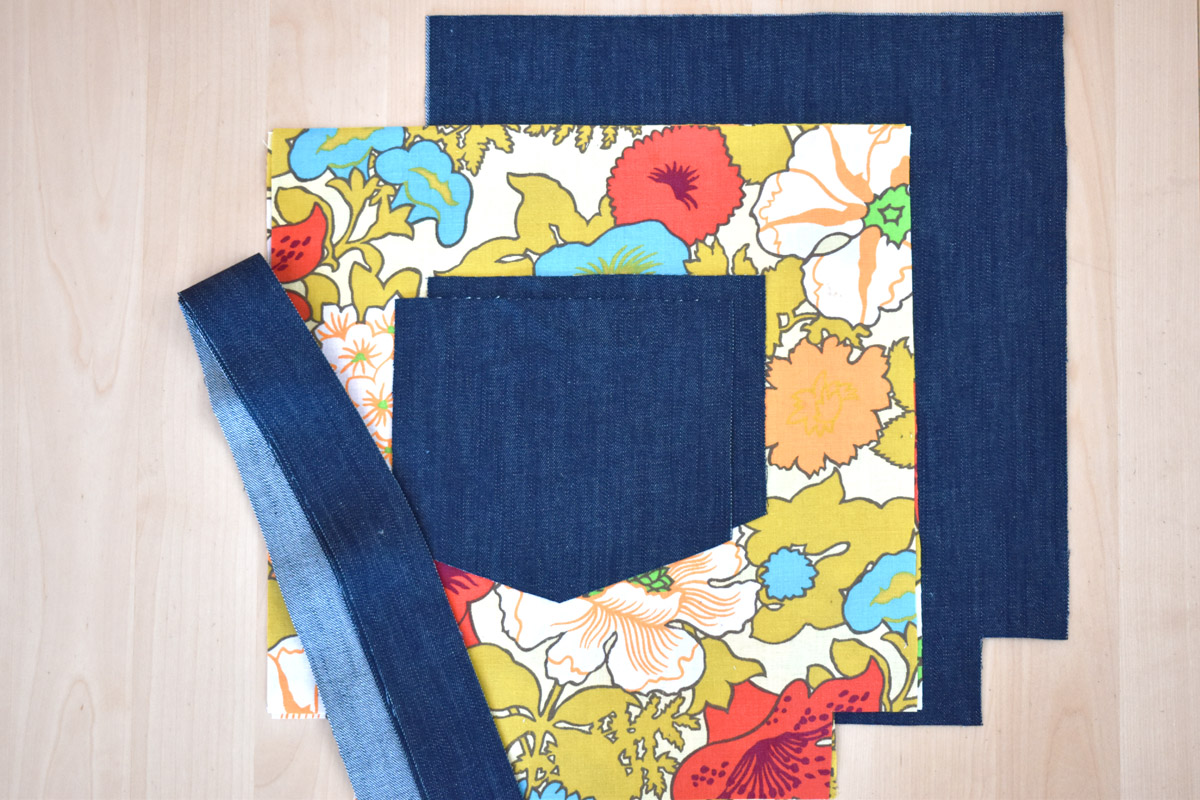
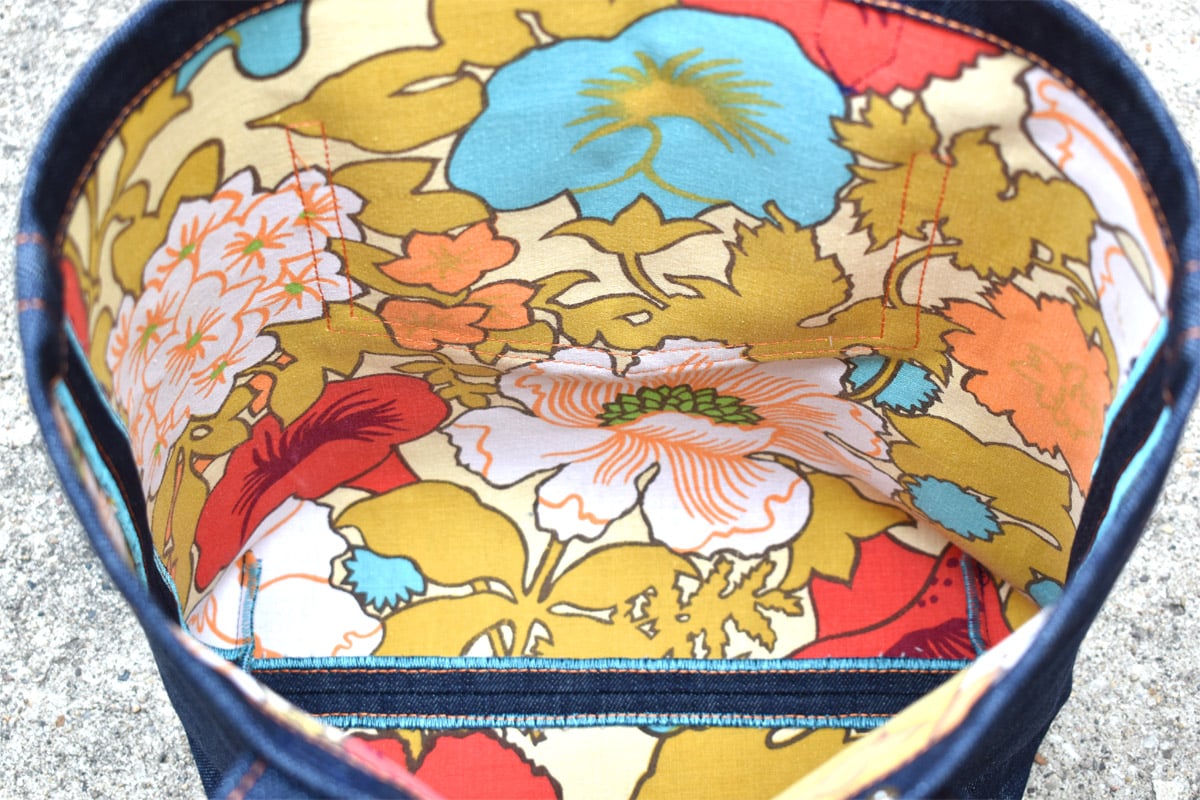
This tote gives me those 70’s blue jean vibes, and I wanted to see the seam finish on the inside, just like looking at the side seams in your favorite denim jeans. You can choose to leave the inside of the tote plain or add a pop of fun color with a lining and bright thread. I used a very colorful vintage print to match that 70’s denim vibe.
My favorite part of this tote is the adjustable handles, allowing you to button the straps up or down for three different strap lengths from 23″ to 27″.
Materials to Make a Denim Sewing Skill Builder Tote
Suggested fabrics: any non-stretch heavy denim, twill, or canvas (I use a 12 oz heavy denim) for the main bag. The lining is optional and adds thickness and stability to the bag; if your fabric is already heavyweight and stiff, you can choose to skip the lining steps.
- Main Fabric Yardage: one yard 50″ – 54″ denim or heavyweight fabric
- Lining fabric (optional): one half yard medium-weight cotton fabric (more may be needed for a directional print, suggest taking pattern piece with you)
- Paper backed fusible webbing (optional, for lining): 1 yard
- Medium-weight cutaway embroidery stabilizer: 1/4 yard or small 8 1/2″ x 11″ sized scrap
- Matching thread for main fabric (I use Gutermann in a denim color)
- Contrasting thread for topstitching (I use Isacord 40 wt embroidery thread 1220 Apricot)
- Contrasting thread for inside bag seams (optional, I use Isacord 40 wt embroidery thread)
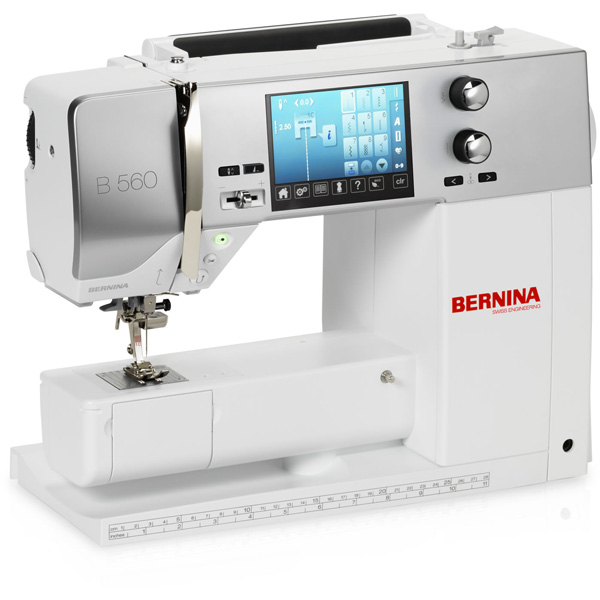
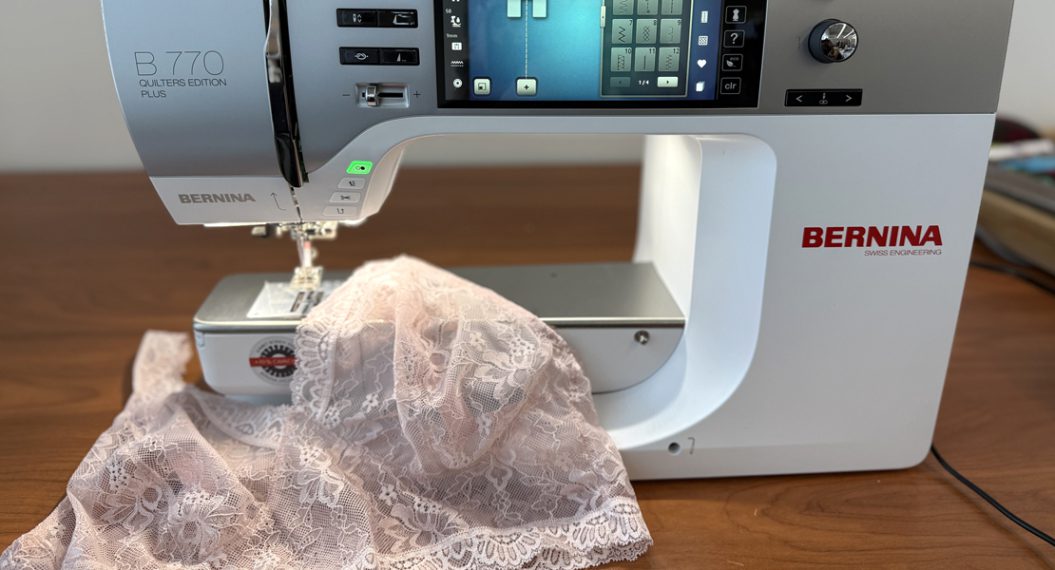
- Sewing machine (I use a BERNINA 570 QE)
- Jeans Foot #1D
- Reverse Pattern Foot #1D
- Overlock Foot #1A
- Buttonhole Foot With Slide #1A
- Fabric-feeding Aid for Sewing Buttonholes
- Buttonhole Cutter with Wooden Block
- Height compensation tool
- Basic Sewing Supplies
- Iron and ironing board (pressing ham or sleeve board helpful but not needed)
- Printed Denim Tote Pocket Pattern

Prepare the Pattern and Cut Pieces for the Denim Sewing Skill Builder Tote
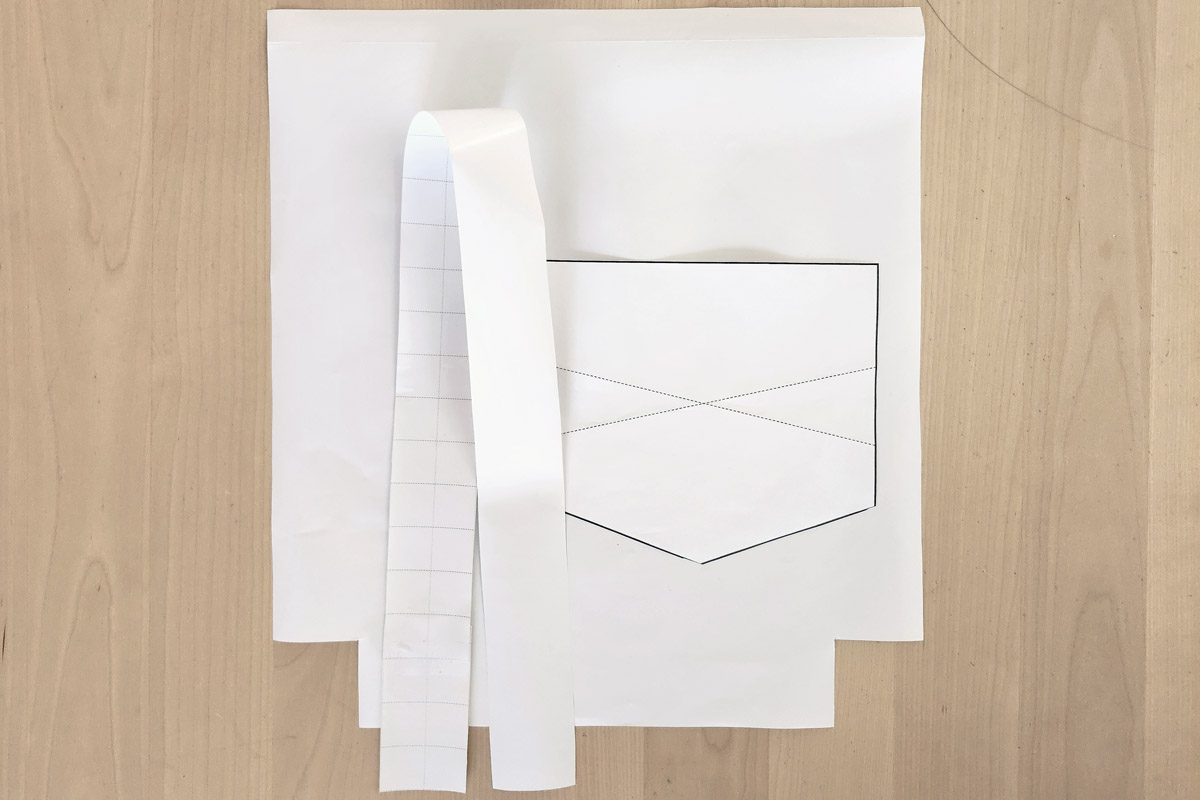
There are three main ways you can cut pattern pieces from thick denim: trace or draw the pattern directly on the denim, use a paper pattern, or measure and cut all at once with a rotary cutter. Use the measurements below to cut the pattern pieces with the method that works best for you. I created paper patterns to use with the printed pocket pattern piece (see photo below).
- Main bag piece: 15″ wide x 16 1/2″ tall, with 2″ x 2″ squares cut out from the two bottom corners. Cut 2 pieces from denim for main bag.
- Bag lining (optional): use the same dimensions above, but cut the top edge 3/4″ shorter than the main bag pattern (I folded the top edge of the paper pattern made for the main bag piece over 3/4″ to cut the lining). Cut 2 pieces for bag lining.
- Paper backed fusible webbing (optional, for lining): cut 2 pieces the same dimensions as the lining pieces.
- Straps: 2″ wide x 32″ long, cut 4 pieces for the straps.
- Pocket: cut 2 pockets from the pocket pattern (print at 100% to ensure the pattern isn’t stretched or warped when printed).
Notes on Cutting
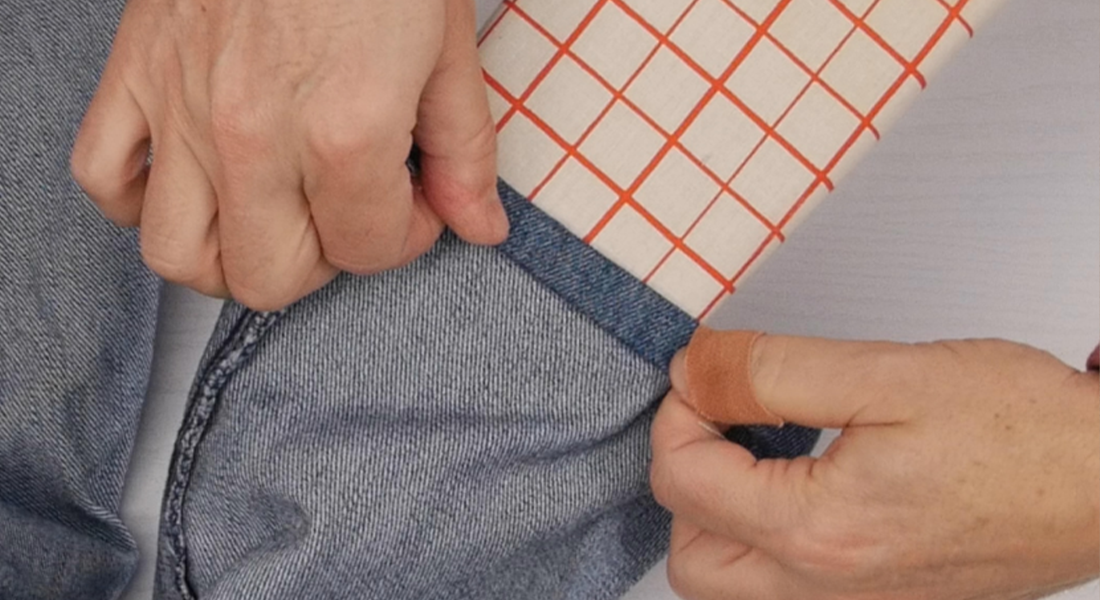
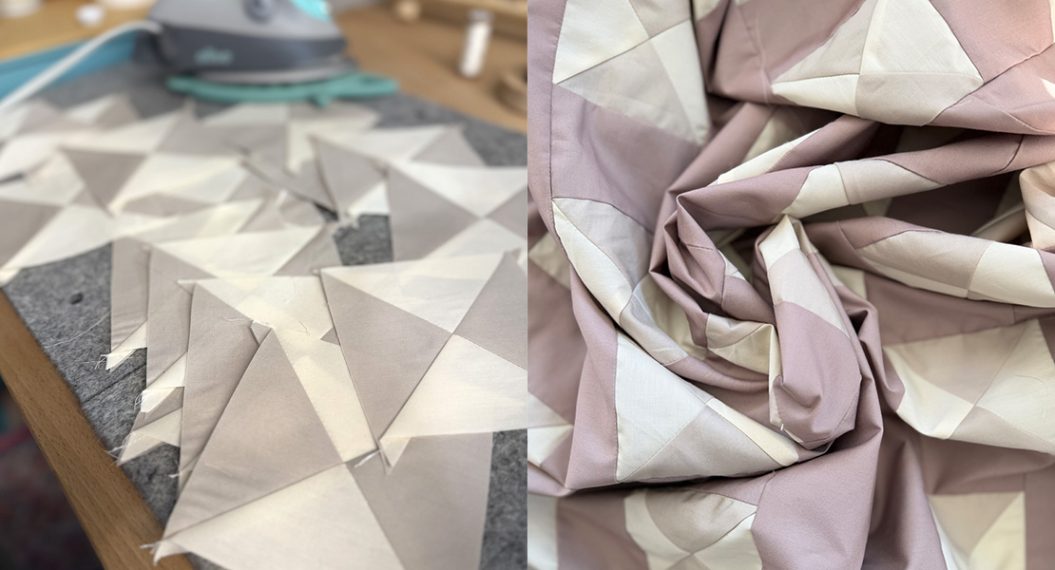
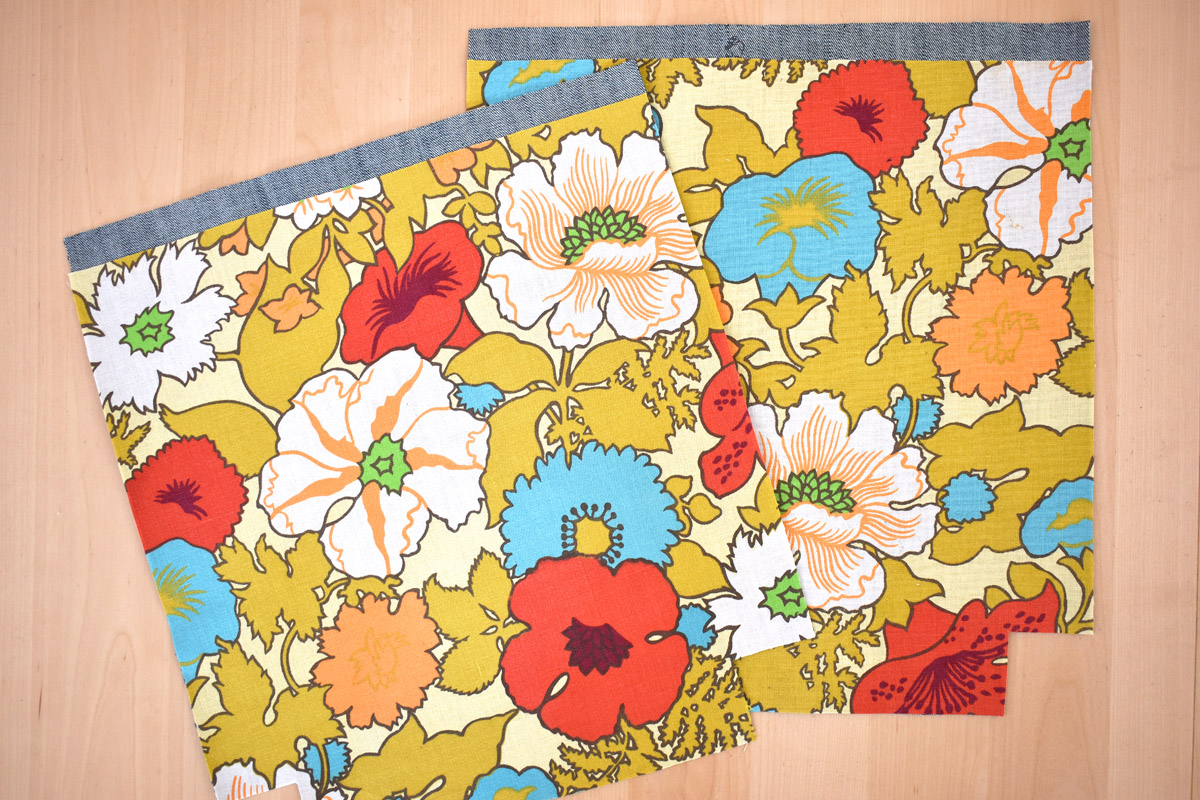
- Some denim has a strong pattern running in one direction, and you may want to cut all pieces in the same direction, or grainline of the fabric. In the photos below, you can see the subtle striping running vertically in the 12 oz denim; I cut all the pieces so that this grain of the fabric is running in the same direction.
- Cotton prints often have a definite direction, such as flowers that appear to grow up, or cats all sitting the same way. Look at the direction of a print before cutting to make sure the pieces will be oriented in the right direction.
Preparing the Lining for the Denim Sewing Skill Builder Tote
I added a lining to the tote for more body and stiffness, and to add a bold pattern on the inside. If your main fabric is heavier than a 12 oz denim (if it is stiff like it will stand up on its own), you may want to skip the lining and go to the next step to keep the fabric from becoming too thick to sew the multiple layers in this project.
Fuse the lining pieces to the wrong sides of the main tote pieces using the paper backed fusible webbing. Follow the manufacturer’s instructions to iron the first side of the fusible webbing to the wrong side of the lining fabric. Test-fit the lining on the wrong side of the main tote fabric, lining up the bottom edges (the lining will be 3/4″ shorter than the main bag fabric on the top edge). Trim the lining to fit exactly over the main tote pieces if needed. Remove the paper backing and press in place until fused.
Set these two tote pieces aside for a later step.
Prepare the Pockets to Make the Denim Skill Builder Tote
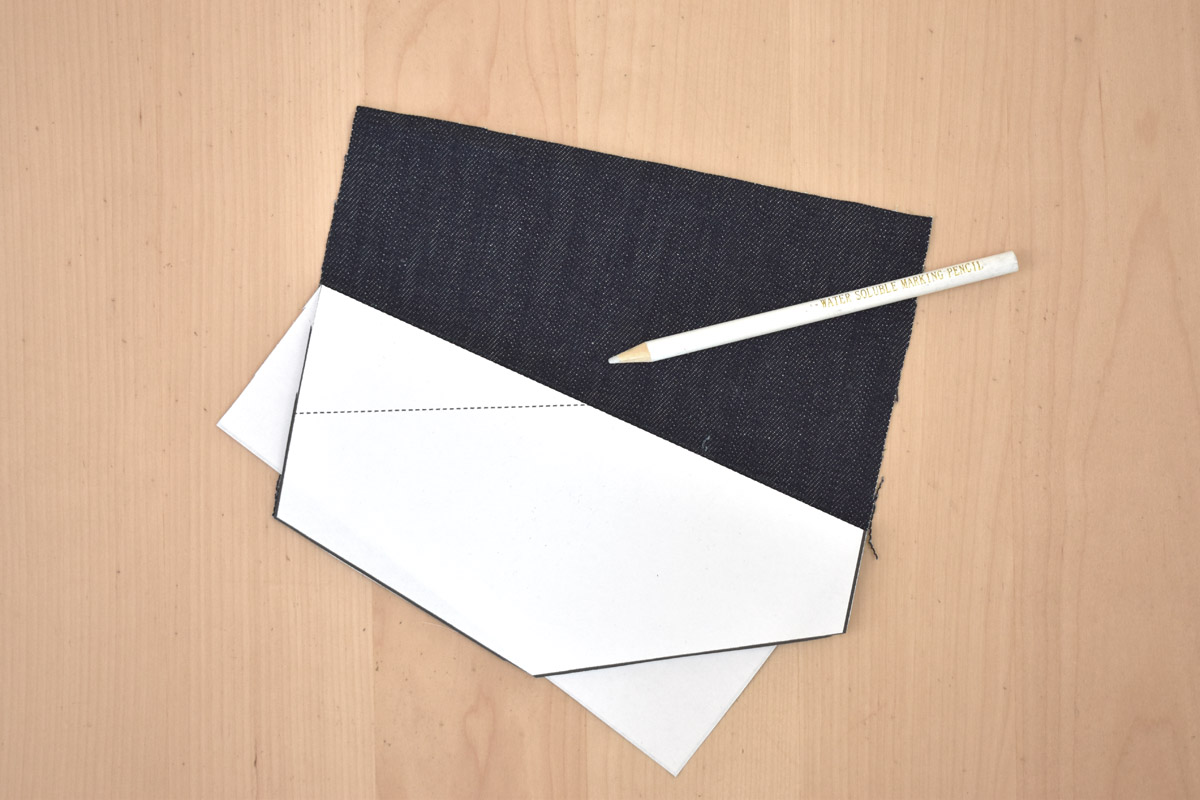
Use the printed pocket pattern to mark the decorative stitch lines on each pocket. Use a fabric-safe pen or pencil for this step, I use a white water soluble pencil that shows up easily on the dark denim.
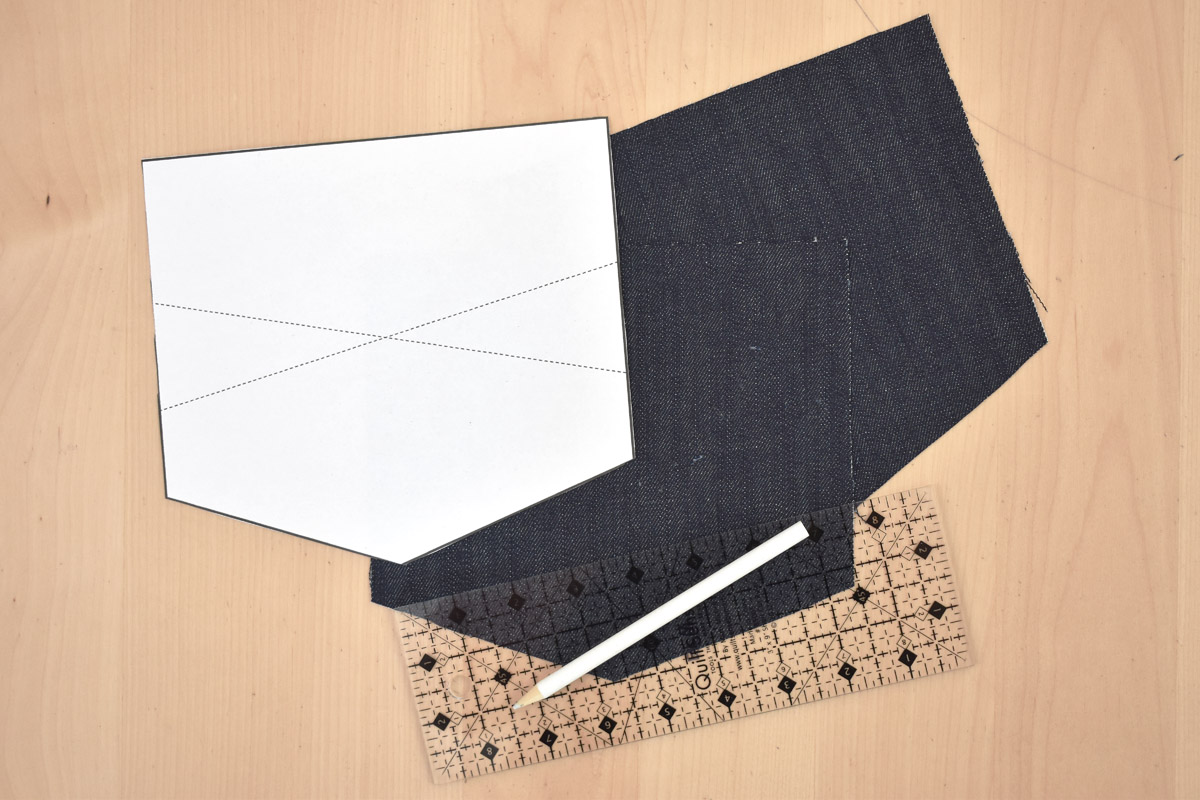
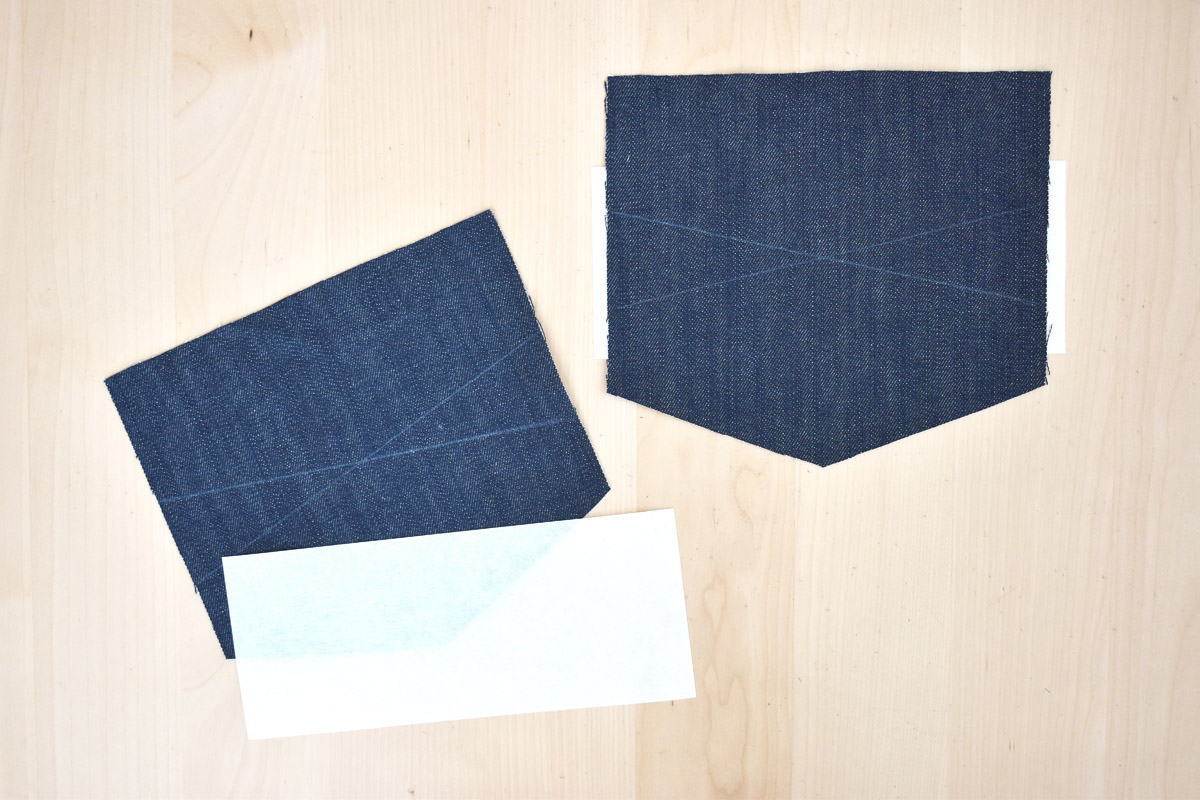
Fold the pocket pattern back along one of the dotted lines. Line up the bottom of the printed pattern on the right side of each cut pocket piece, matching the bottom edges together, and draw a line across the folded-over edge. Repeat for both pockets.
Next, unfold the pocket pattern, fold the pattern back over on the other dotted line, and mark this fold on both pocket pieces as above.
Get ready to sew the decorative stitches on the pocket pieces.
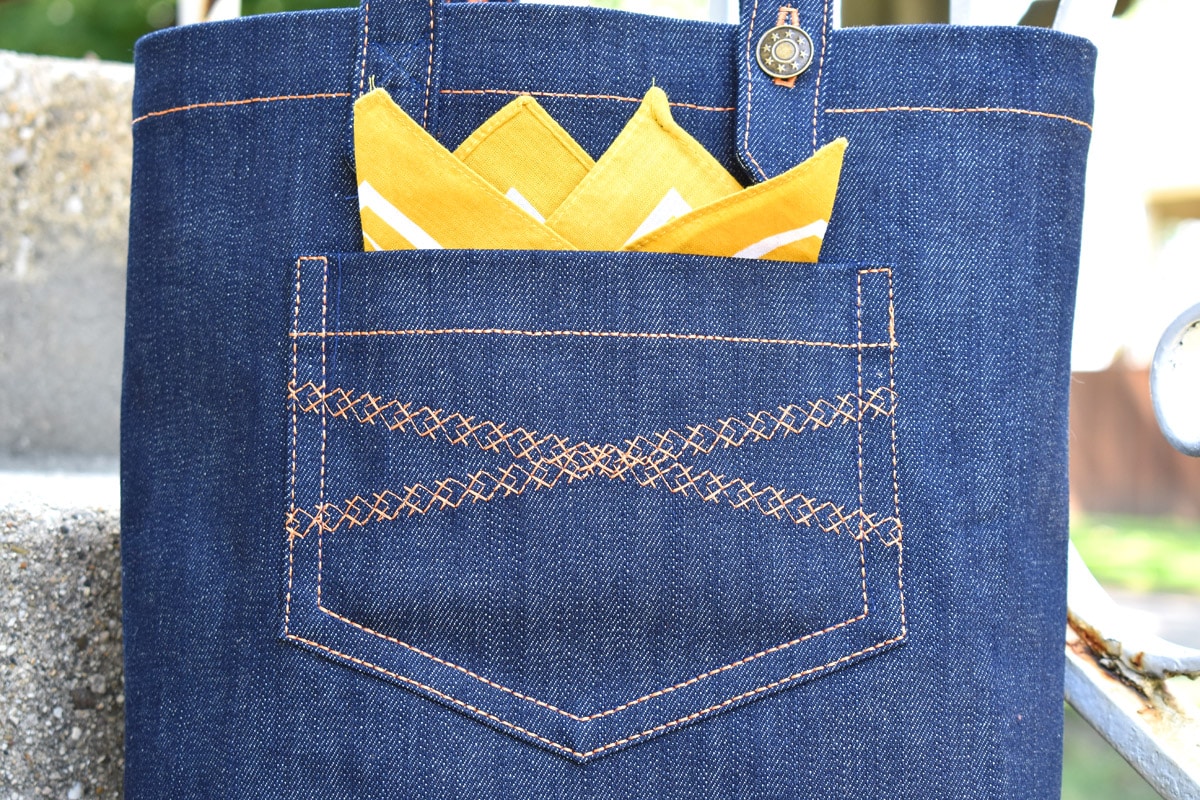
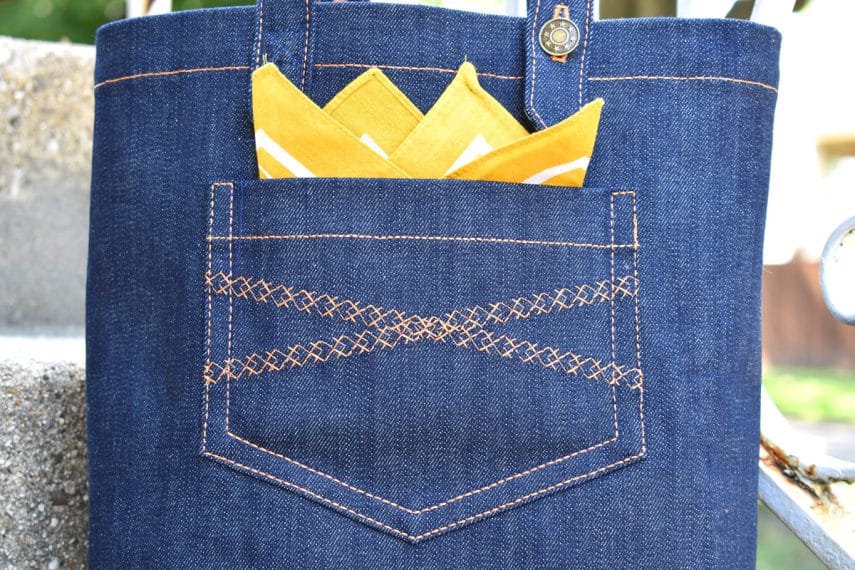
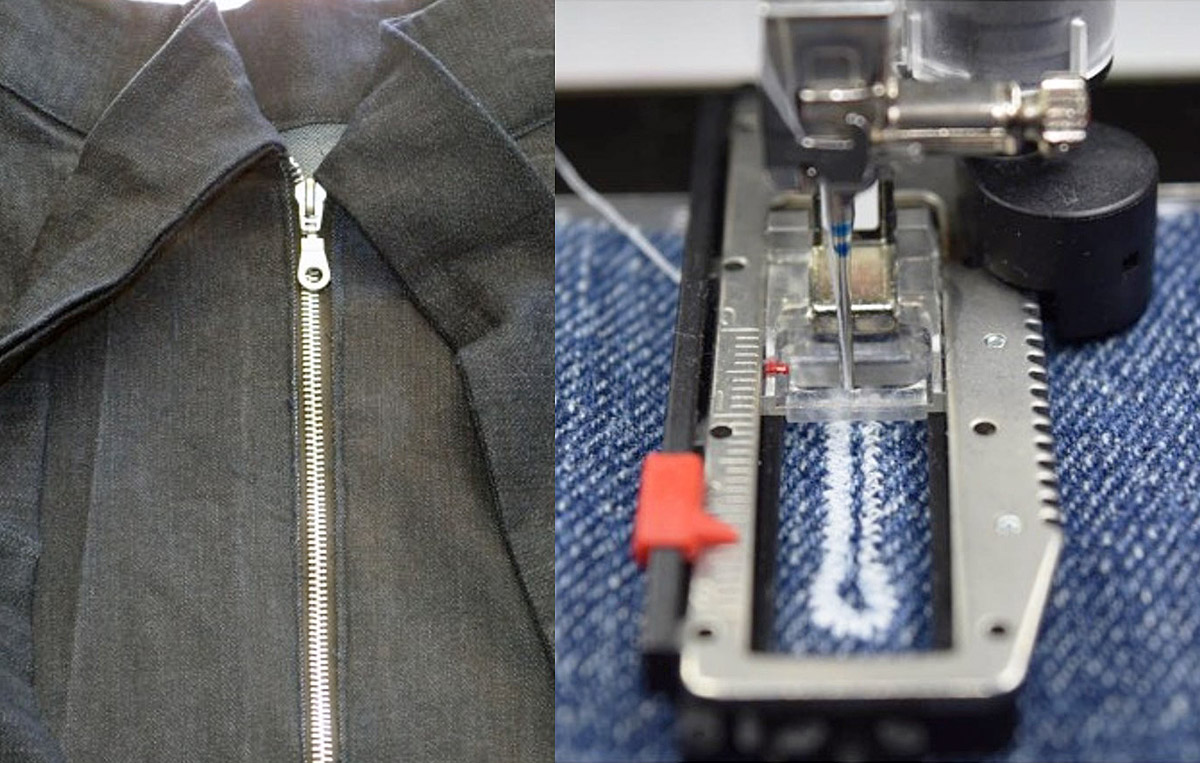
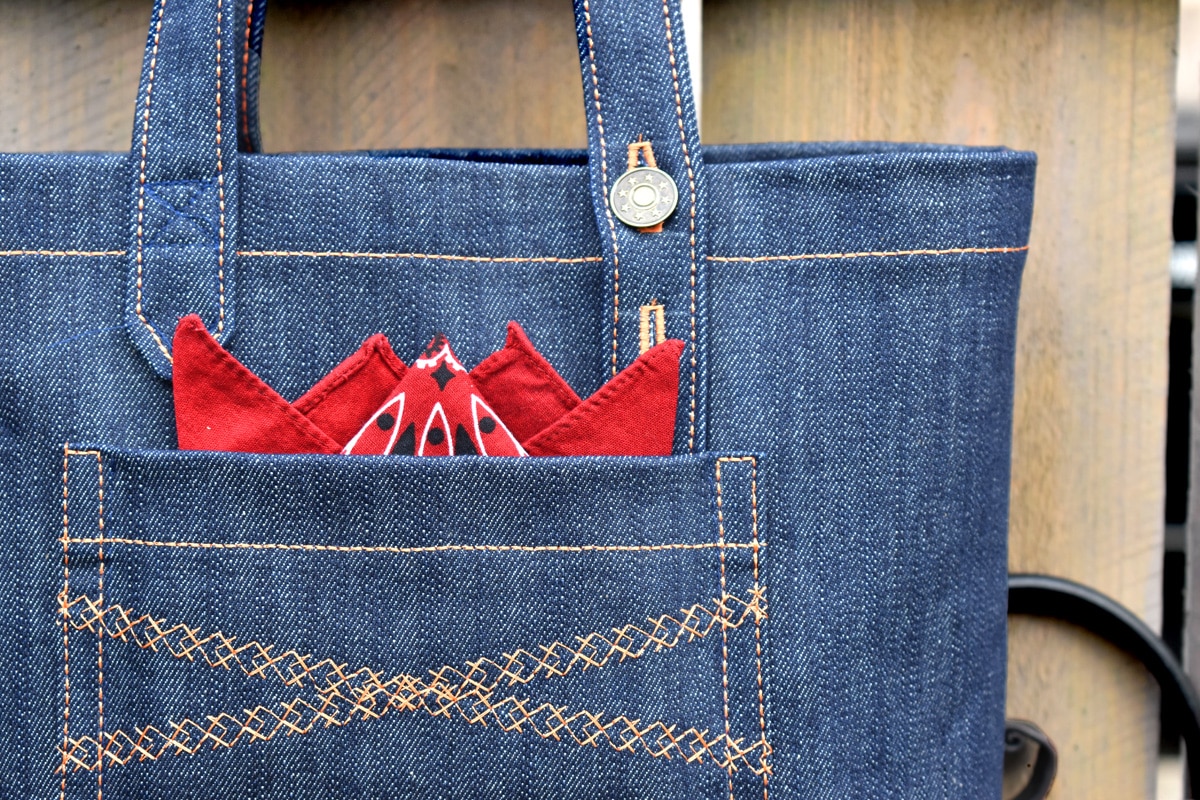
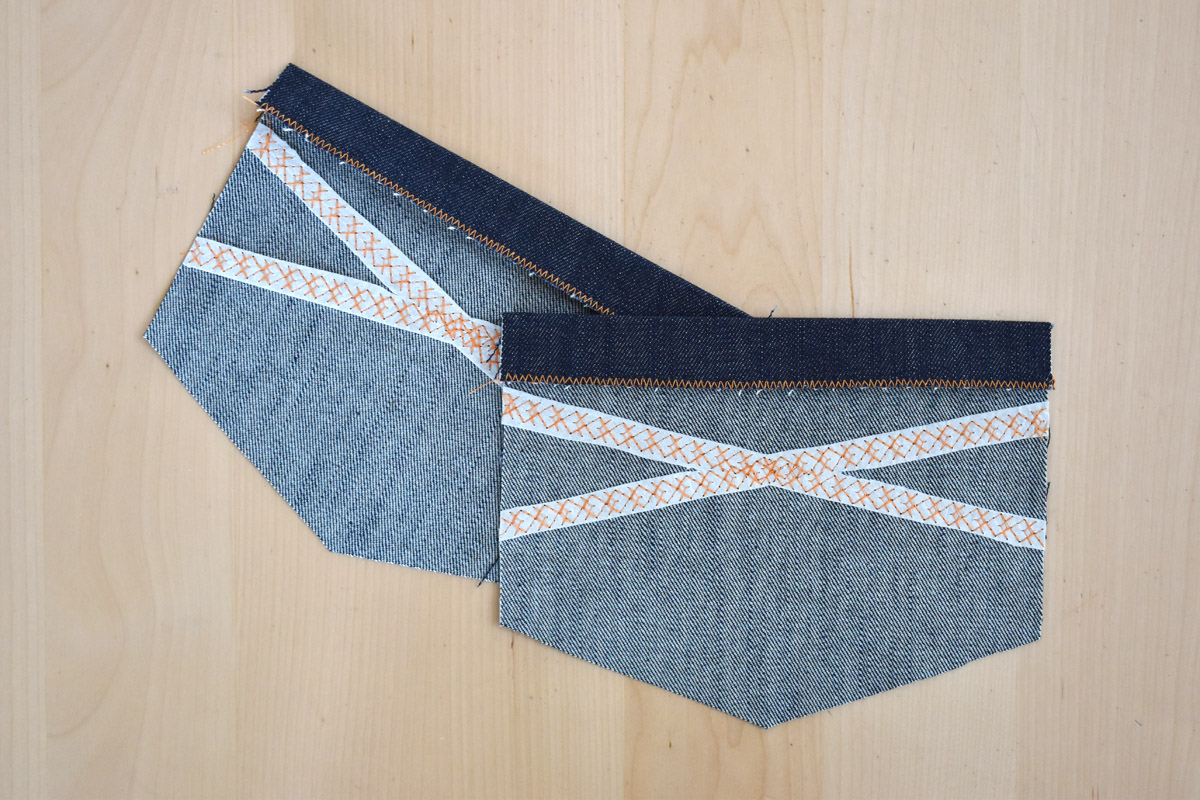
Load a bright or fun contrasting thread color in your machine and install Reverse Pattern Foot #1D with Dual Feed engaged. I use Isacord 40 wt polyester embroidery thread in color 1220 Apricot because it shows up well on top of the dark denim and matches a color in my lining fabric. Select an open decorative stitch to use on the pockets. An open design has some space between the stitches and isn’t as bulky as a design where the stitches are close to each other, like a satin stitched design. Play around with the decorative stitches built-in to your machine on a scrap of denim until you find one that you like. I selected stitch #337 on the BERNINA 570 QE and used the stitch default settings.
Regular non-stretch denim has some give to the fabric, which means that decorative stitching has the potential to slightly distort or stretch the fabric. Using an embroidery stabilizer will help support the stitches and keep the fabric from distorting. Cut two pieces of the medium-weight cutaway embroidery stabilizer to about 3 1/2″ to 4″ tall x 9″ wide, and center the stabilizer under the “X” shaped guidelines on the pockets. You can pin the stabilizer in place or use a small bit of fabric glue stick to hold it during the sewing process.

Begin stitching at the top end of the “X” and stitch across the guideline, following the line with the center mark of Reverse Pattern Foot #1D. Next, flip the pocket and begin stitching on the other arm of the “X” from the top end of the pocket to the bottom.
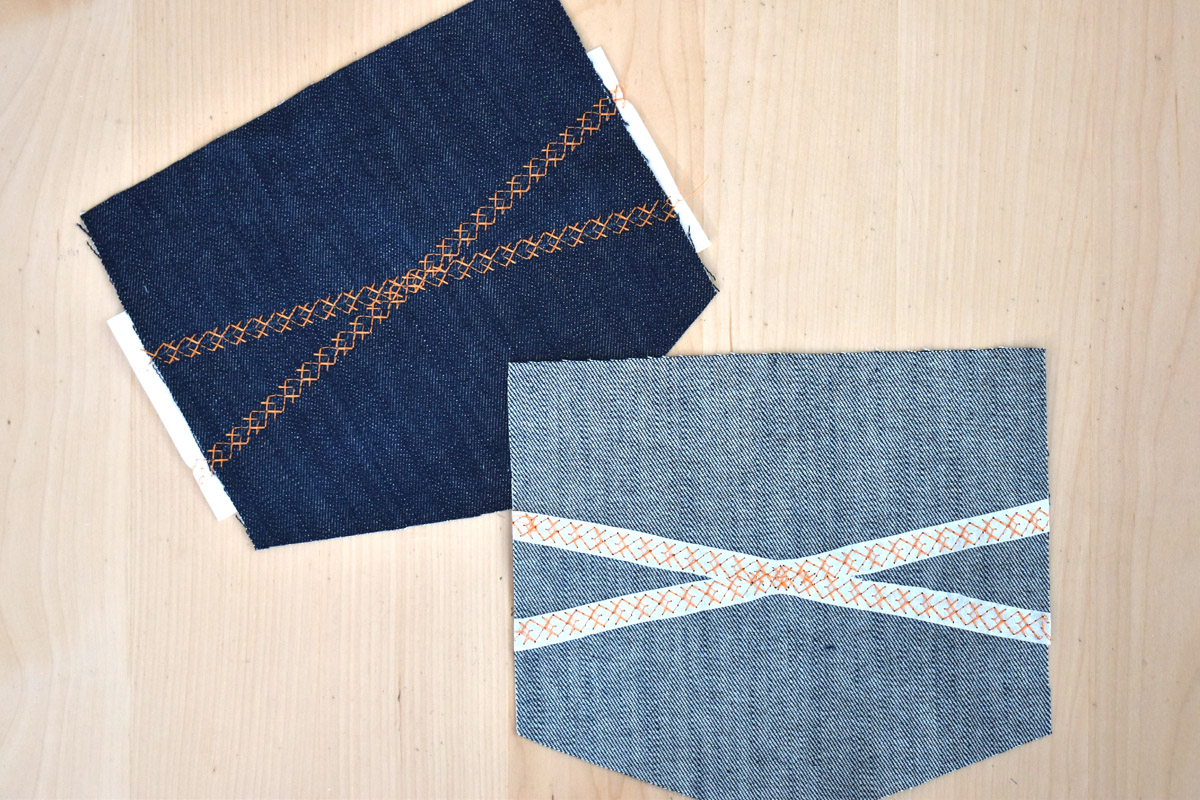
Trim the cutaway stabilizer close to the stitching after sewing. The stabilizer will stay in the project, keeping the stitches looking good without adding extra stiffness to the fabric. The stabilizer is washable and will start to soften up after lots of use.
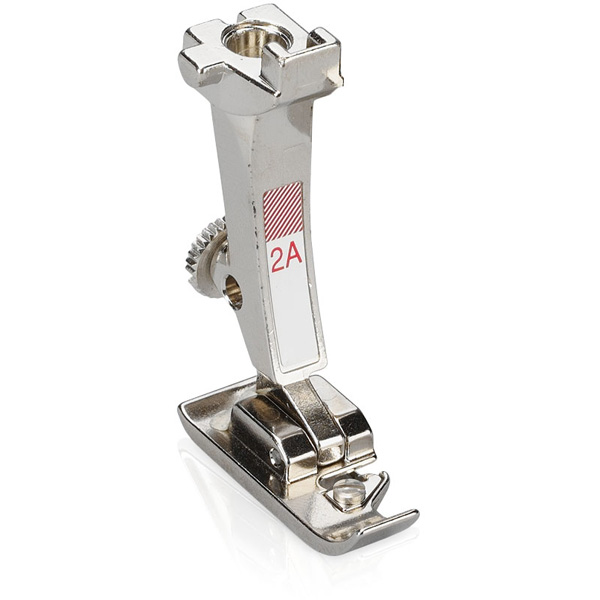
Install Overlock Foot #2A to finish the top edge of both pockets. The Overlock Foot #2A is perfect for adding a zigzag stitch to neatly finish raw edges of fabrics on seams.
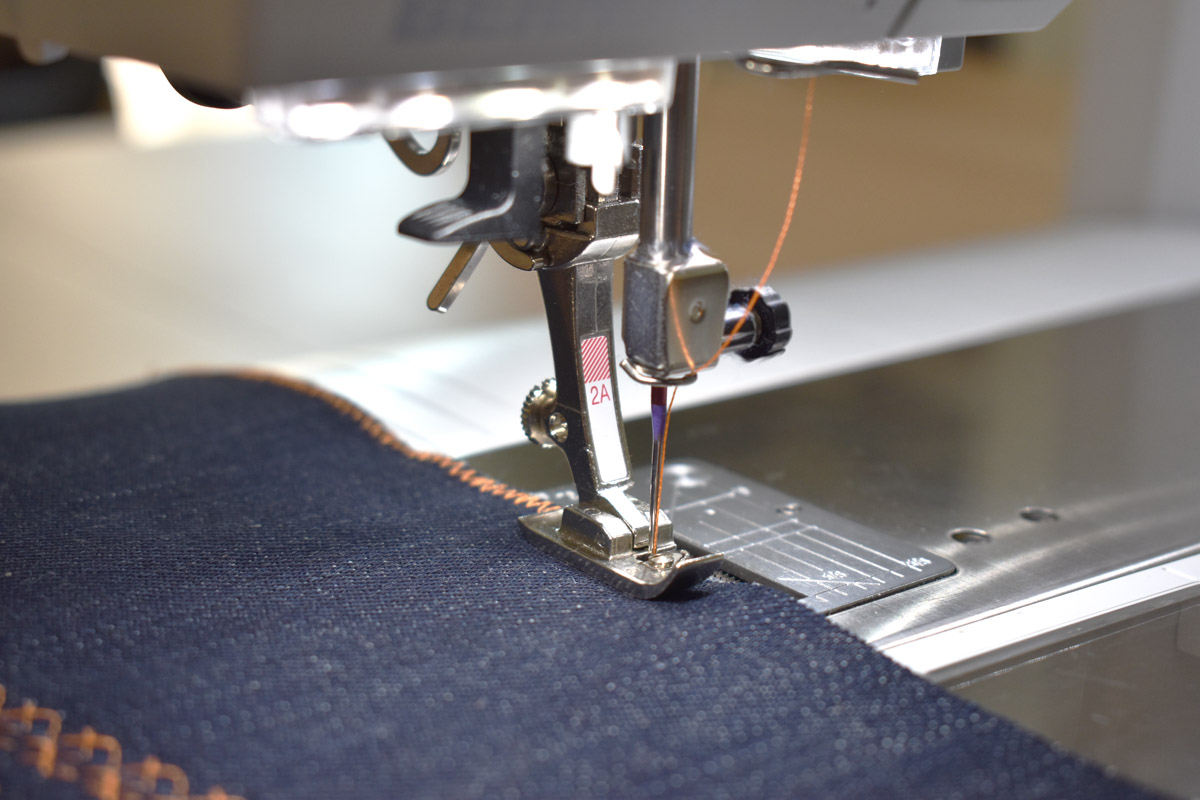
Zigzag stitch all across the top raw edge of the pocket, keeping the raw edge even with the small tab on the Overlock Foot #2A. I use the default zigzag stitch, which will keep the edge from coming unraveled without adding minimal bulk to the top edge of the pocket. Repeat this step with both pocket pieces.
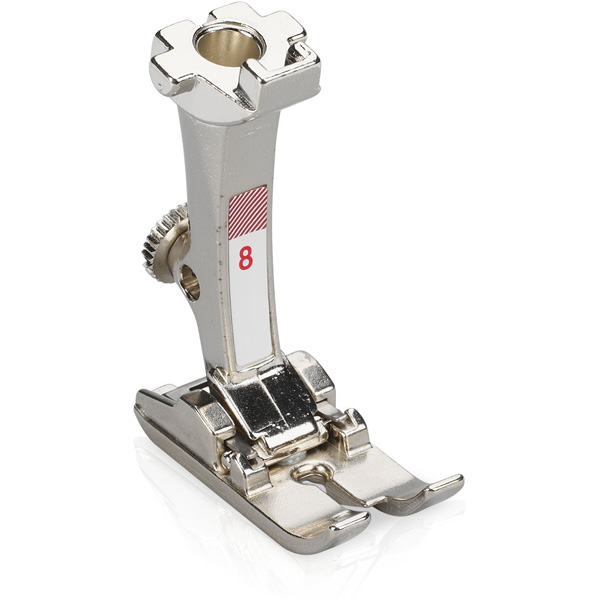
Press the top edge of the pocket over 1″ to the wrong side. At the sewing machine, install Jeans Foot #8D with Dual Feed, and select either a straight stitch or select a Triple Stitch (stitch #6 on the B 570 QE) and set the stitch length to 3.5mm long.
A Triple Stitch will sew three stitches on top of each other for each stitch, making a beautifully thick-looking stitch with decorative thread. It is similar to the thick, golden thread stitches made on the edge of denim blue jeans seams. A straight stitch works just as well, but makes a more moderate-looking line of thread stitches when the project is finished. Decide which of these stitches to use for the topstitching and edgestitching in this project and use the same stitch throughout.
Top stitch across the top, folded over edge of the pocket from the right side with a scant 5/8″ seam. Sewing a “scant” seam means sewing slightly less than the full seam allowance, so this scant 5/8″ seam means to sew with the folded over top edge of the pocket slightly to the left of (or slightly less than) the exact 5/8″ seam line.
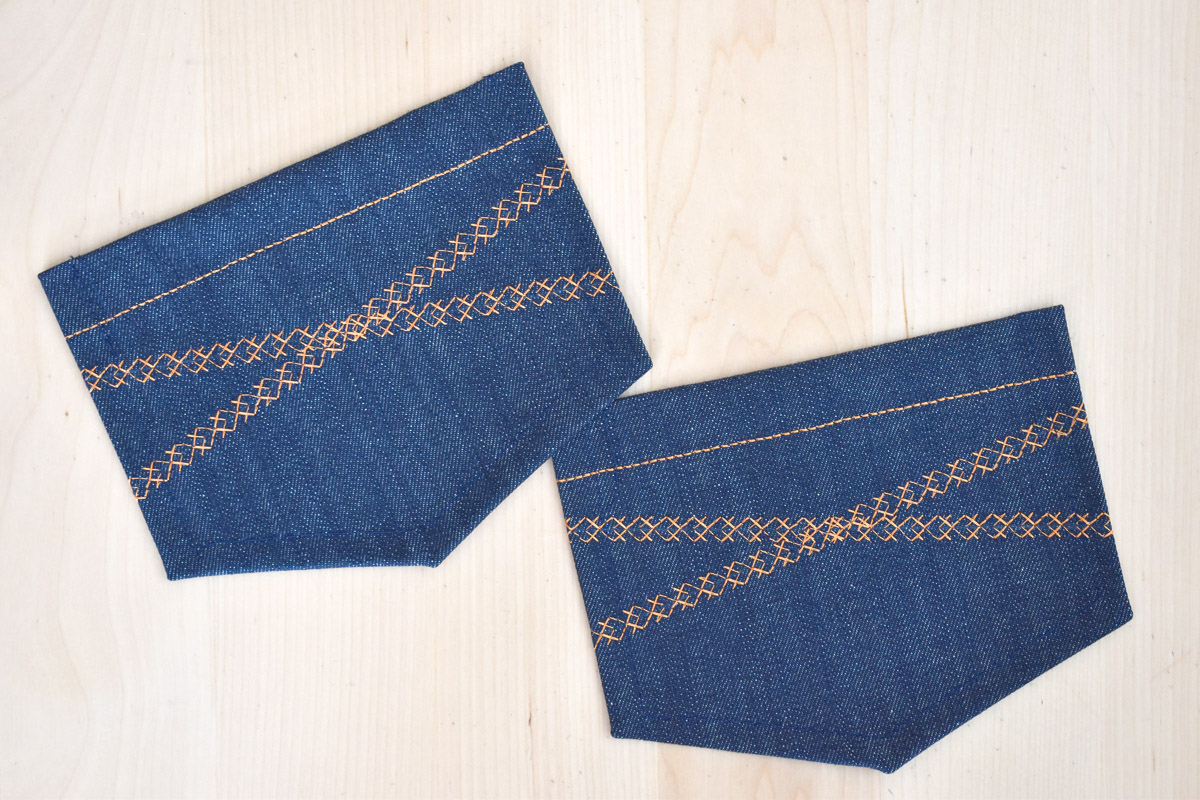
As a final step to prepare the pockets, fold over and press the two sides and two bottom edges 1/2″ to the back of the pocket. Use steam and press down with the iron to make these folds lay as flat as possible. The pockets are now ready to set aside until the last steps!
Join me in the next post to learn a special technique for stitching buttonholes in thick layers (just like a waistband in denim jeans) using the BERNINA Fabric-feeding Aid for Sewing Buttonholes, along with tips for topstitching denim!