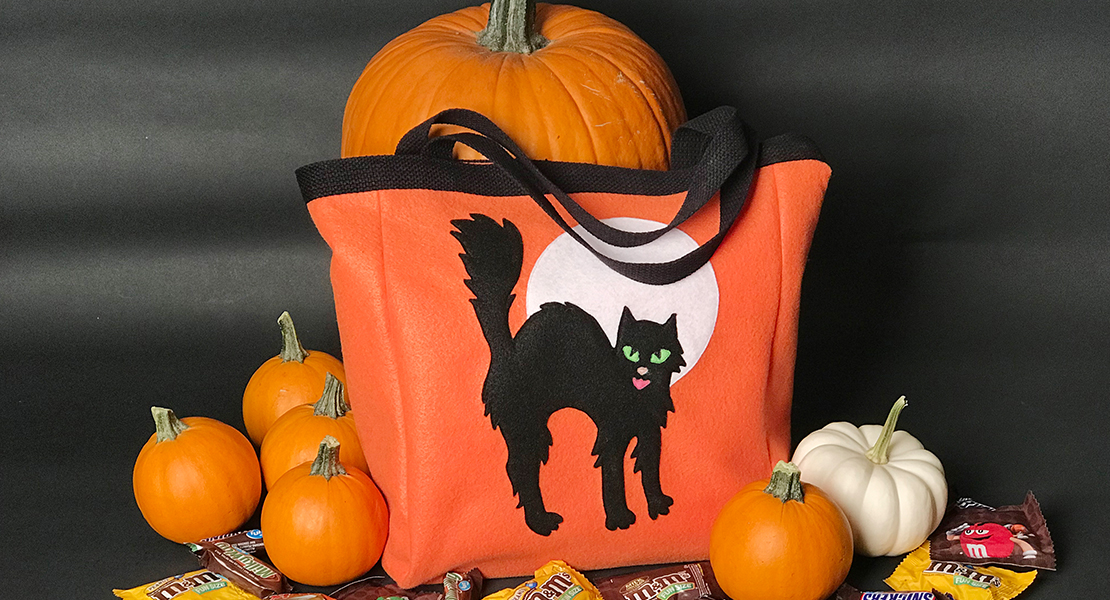
DIY Halloween Door Runner
Hello fellow makers!
As we settle into the first weeks of fall, it’s not too late to add a touch of spooky charm to your home with this boo-tiful Halloween door runner!
This blog is also available in Spanish here. For English, continue reading below.
Este blog también está disponible en español aquí. Para la versión en inglés, sigue leyendo a continuación.

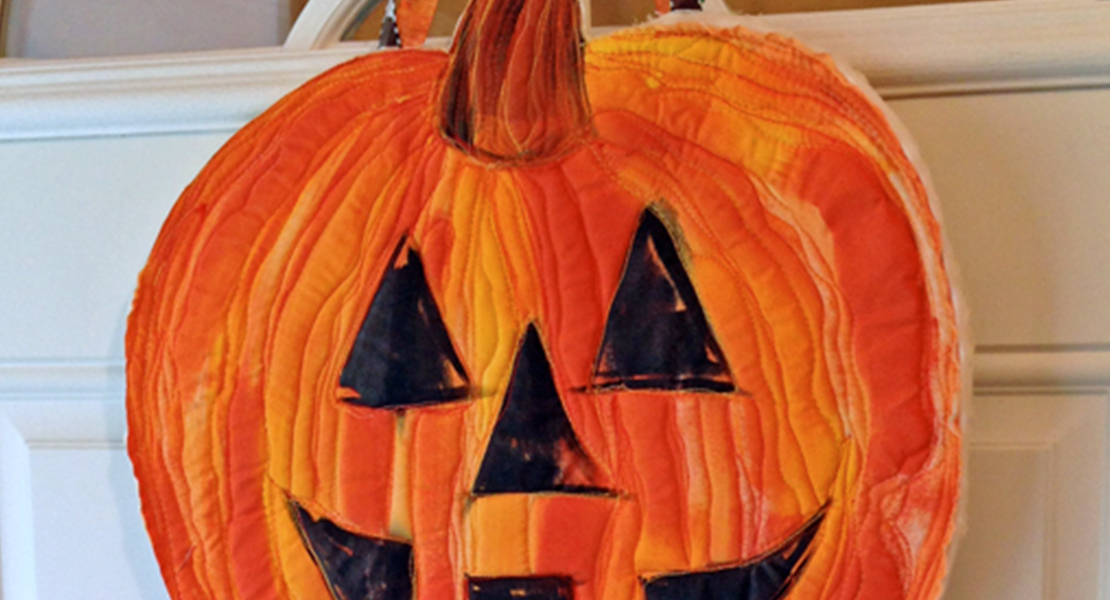
The AGF 13 Days of Halloween Panel includes two playful designs perfect for seasonal projects. For our door runner, we chose the right side of the panel and quilted it on the BERNINA Q 16. It’s a fast, fun project that’s perfect for getting familiar with the Q 16 and exploring your free-motion quilting rhythm.
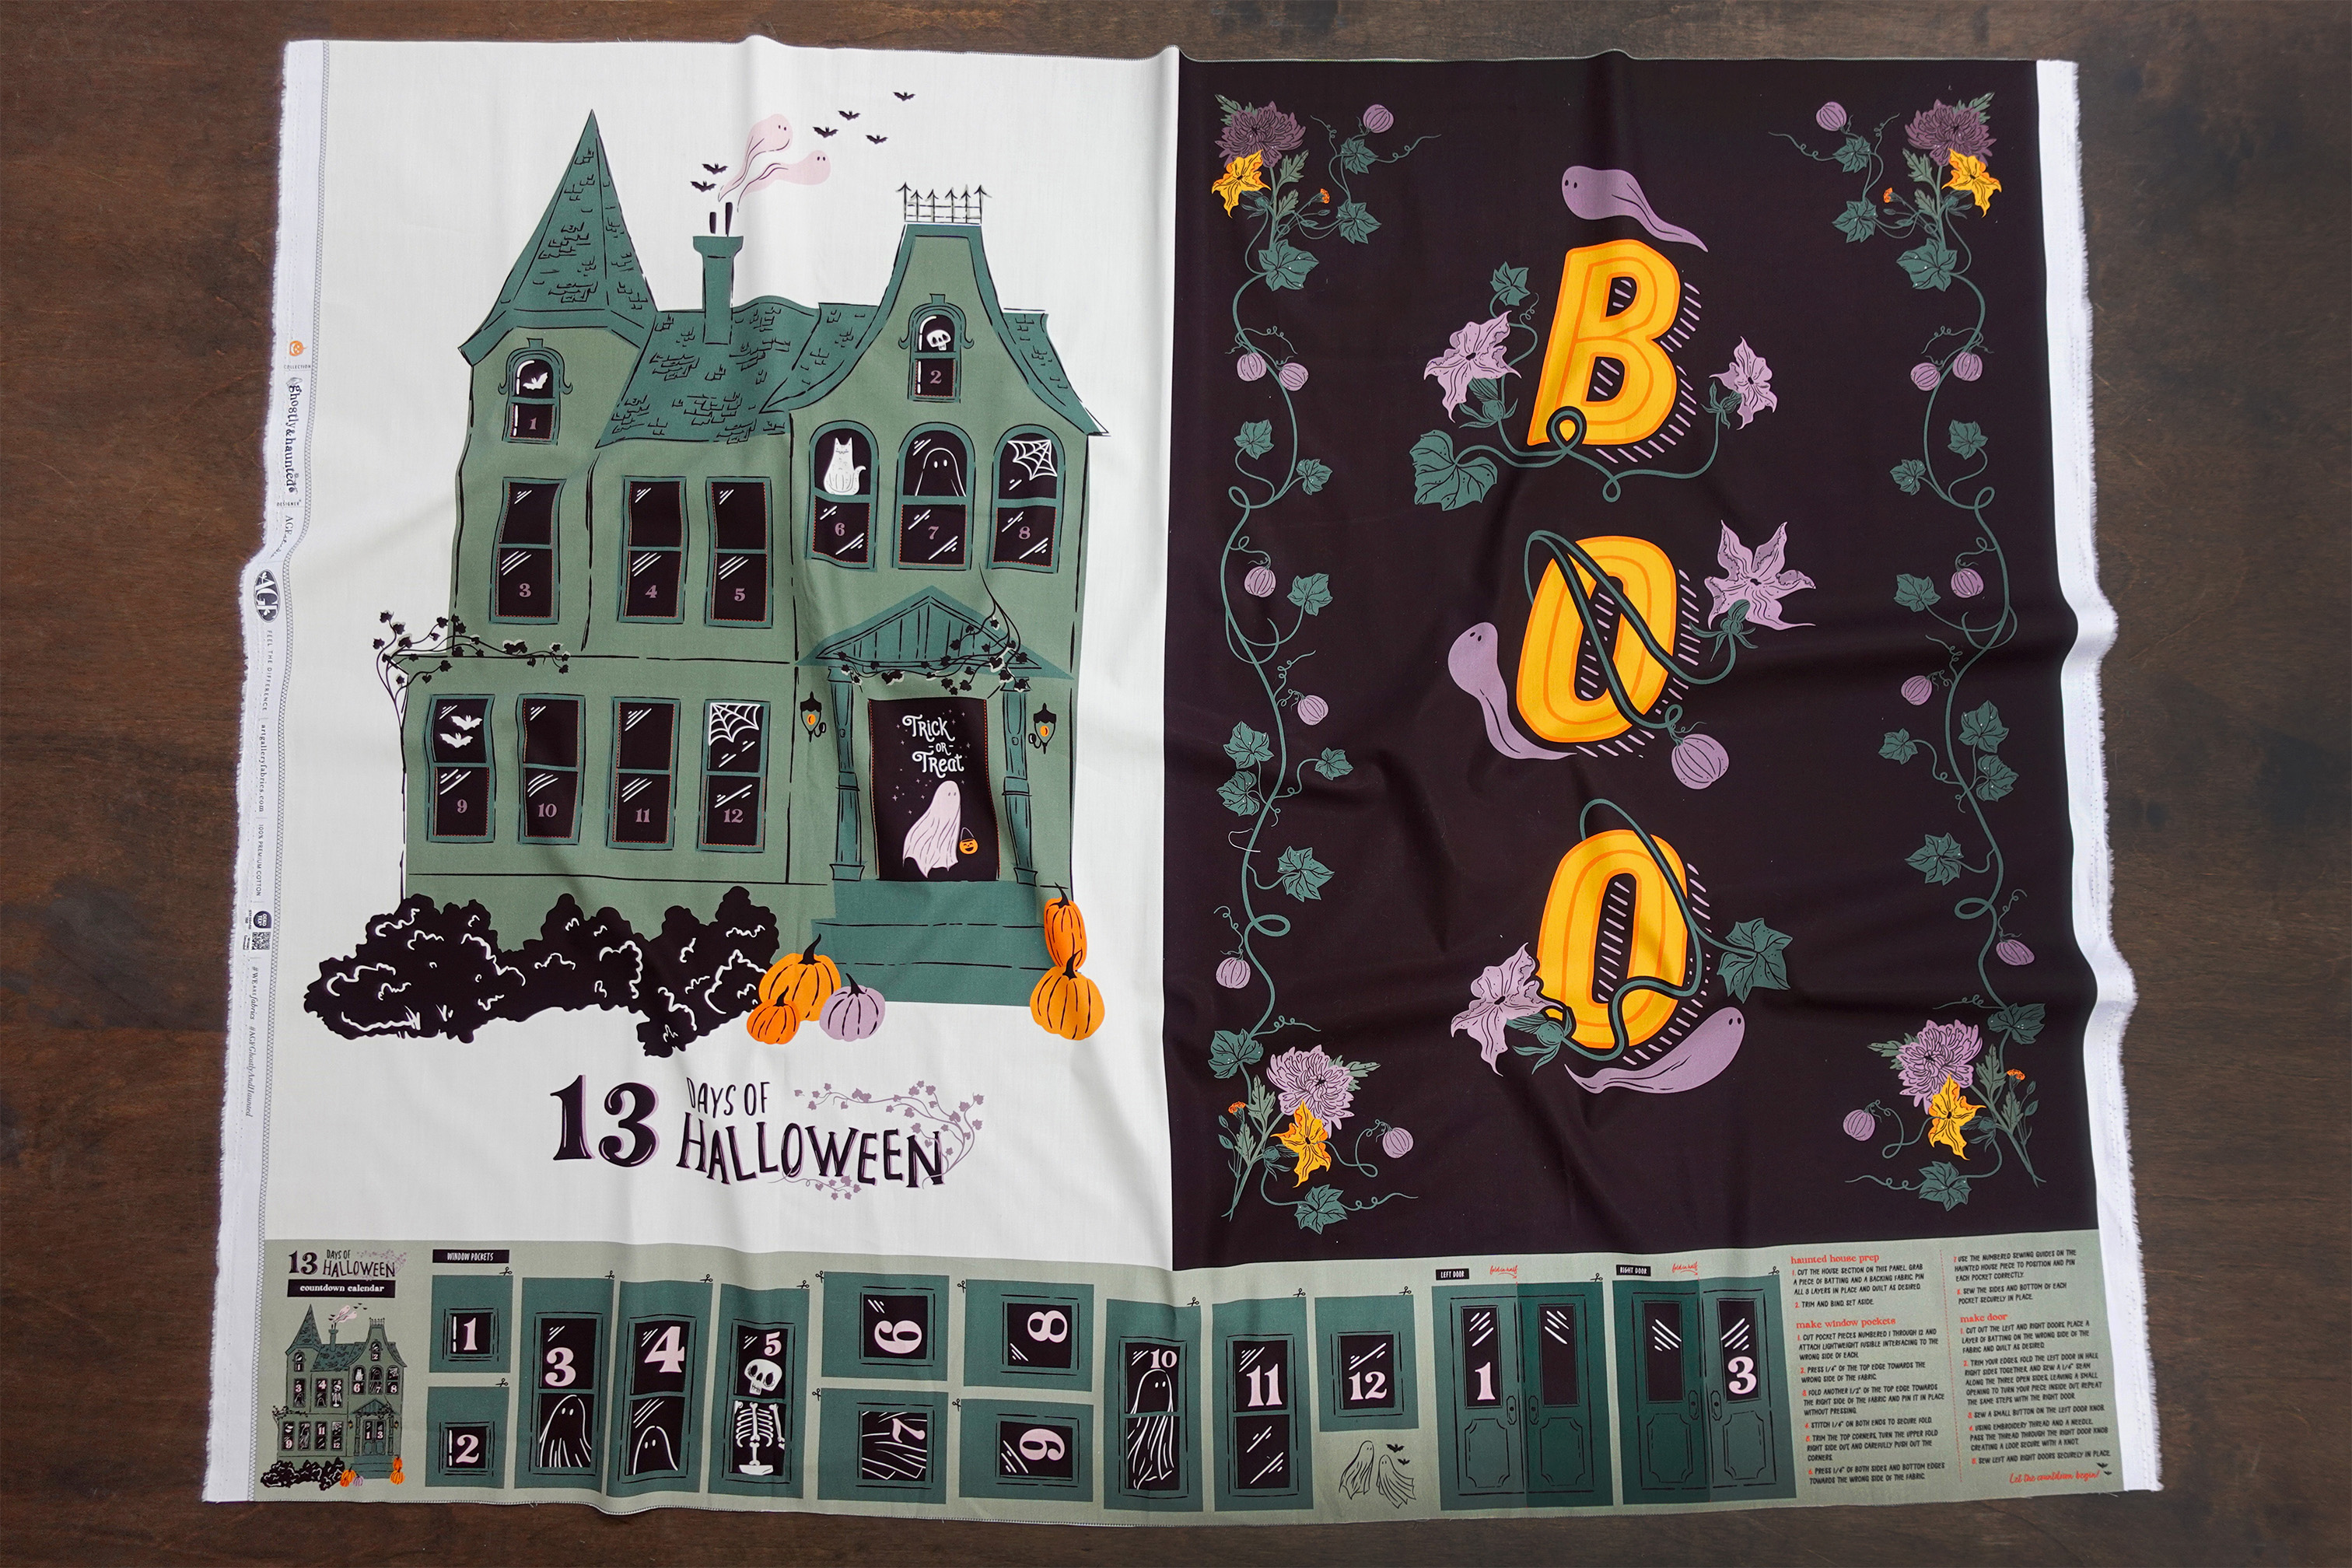 13 Days of Halloween Panel by AGF
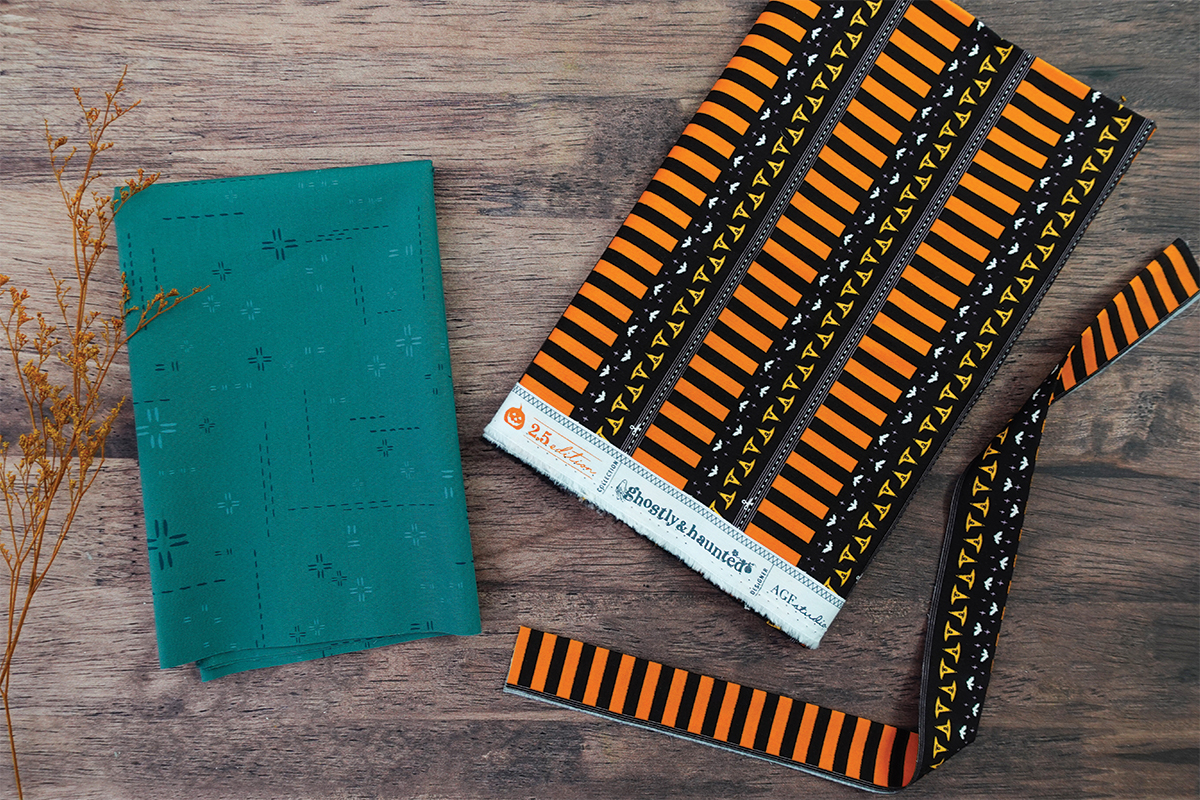
For the backing, we went with Decostitch Elements in Winter Spruce—it gives such a nice balance to the spooky front. And of course, no project is complete without a fun binding! We are using 2.5 Edition binding fabric, which frames the runner perfectly with playful orange and black stripes. The best part is you can switch it up and use either design of the 2.5 strip —that’s the beauty of 2.5 binding fabric!
Materials to Make Boo Door Hanger
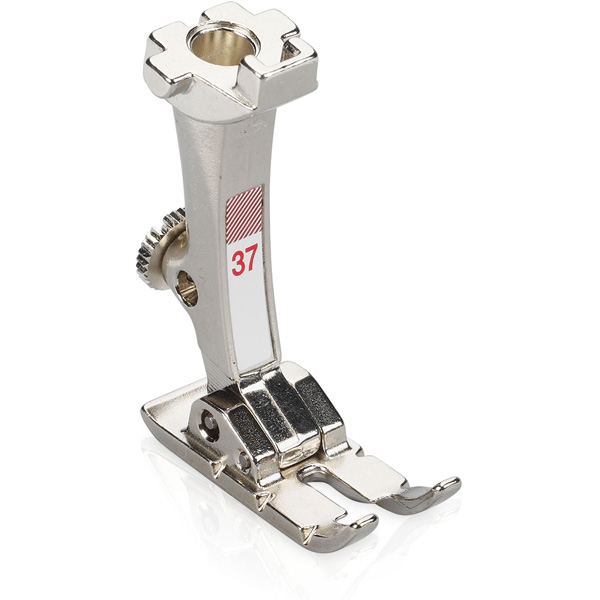
- Patchwork Foot #37
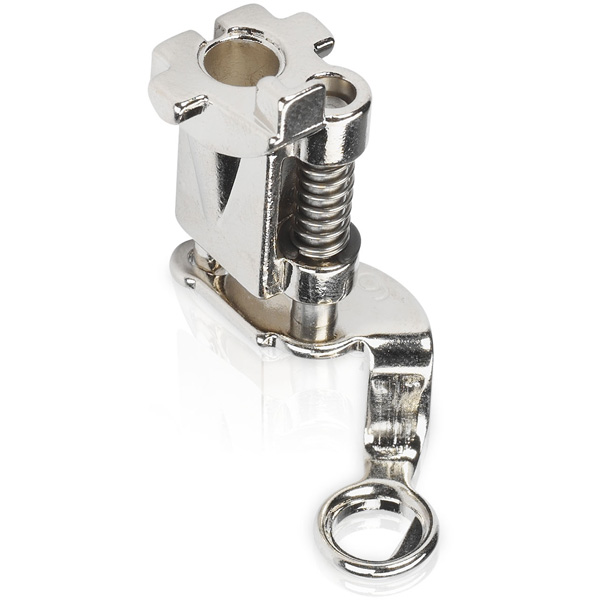
- Darning Foot #9
- (1) 13 days of Halloween Panel from AGF Ghostly & Haunted GHH13145
- ½” yd Decostitch Winter Spruce DSE731
- ½” yd 2.5 Edition Binding Fabric Wicked Bound BINGHH13
- High-loft Batting
- Aurifil Thread # 2930 Golden Toast
- Aurifil Thread # 2515 Light Orchid
- Rotary Cutter
- Heat Erasable Fabric Pen
- Iron
- Clips
Let’s have fun and get started!
Step 1: Assemble the Door Runner Top
Cut the Boo side from the 13 Days of Halloween Panel. Measure and cut 5” away from the long edges. Measure and cut 2” from the top and 3” from the bottom.
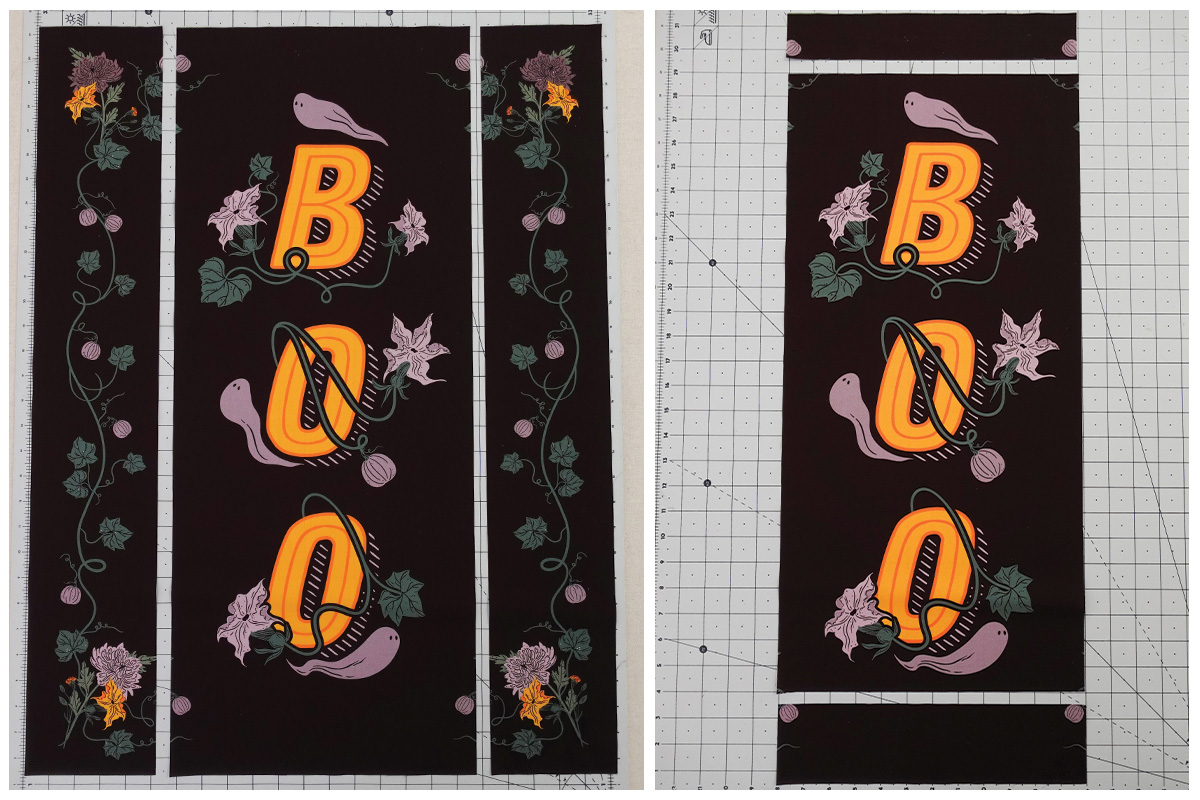
From the strips we trimmed off the long edges, cut the vine motifs the width of the Boo rectangle—these will be added to the top and bottom.
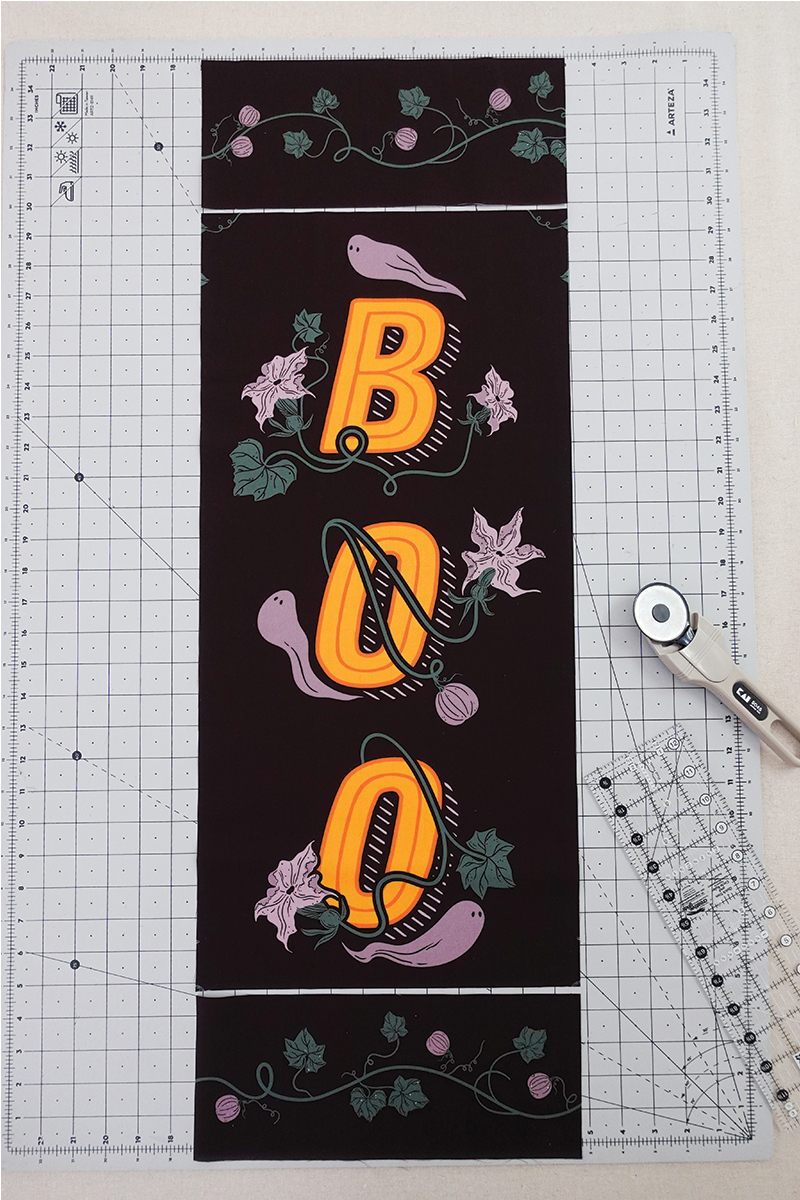
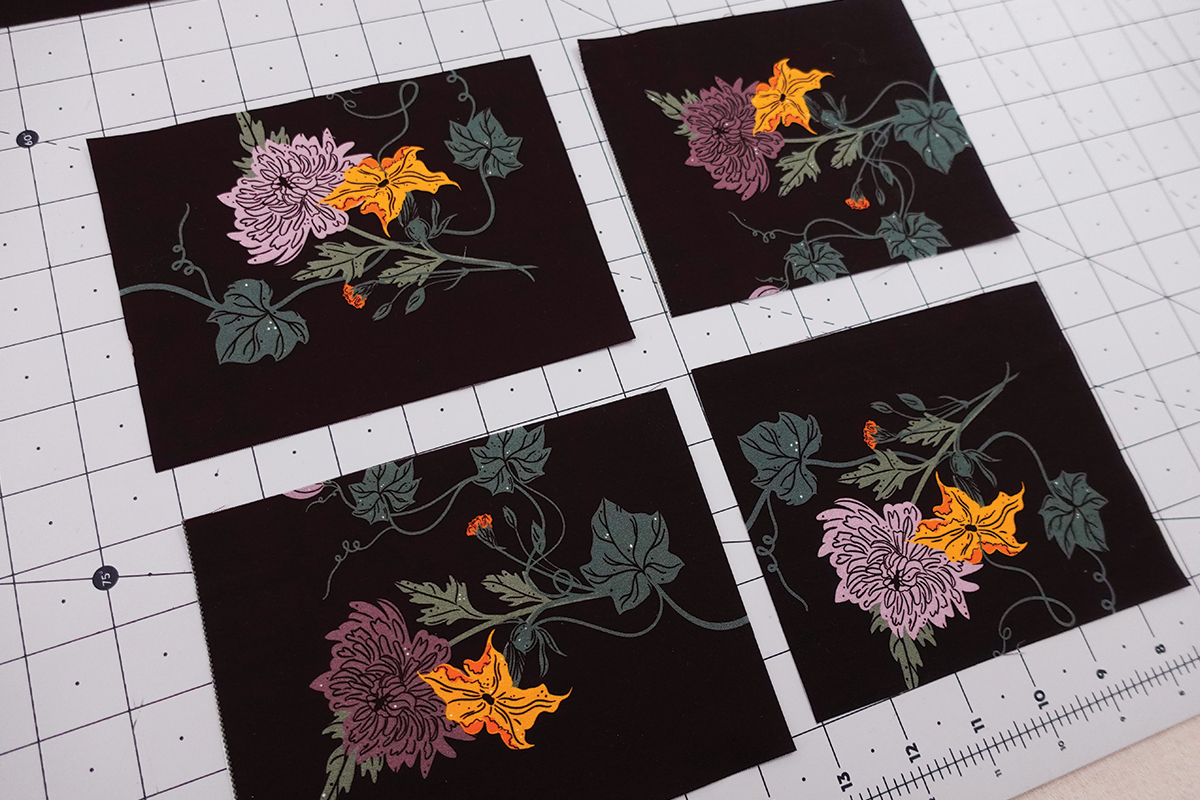
Save the 4 flower corners (from the long vine strips) for later!
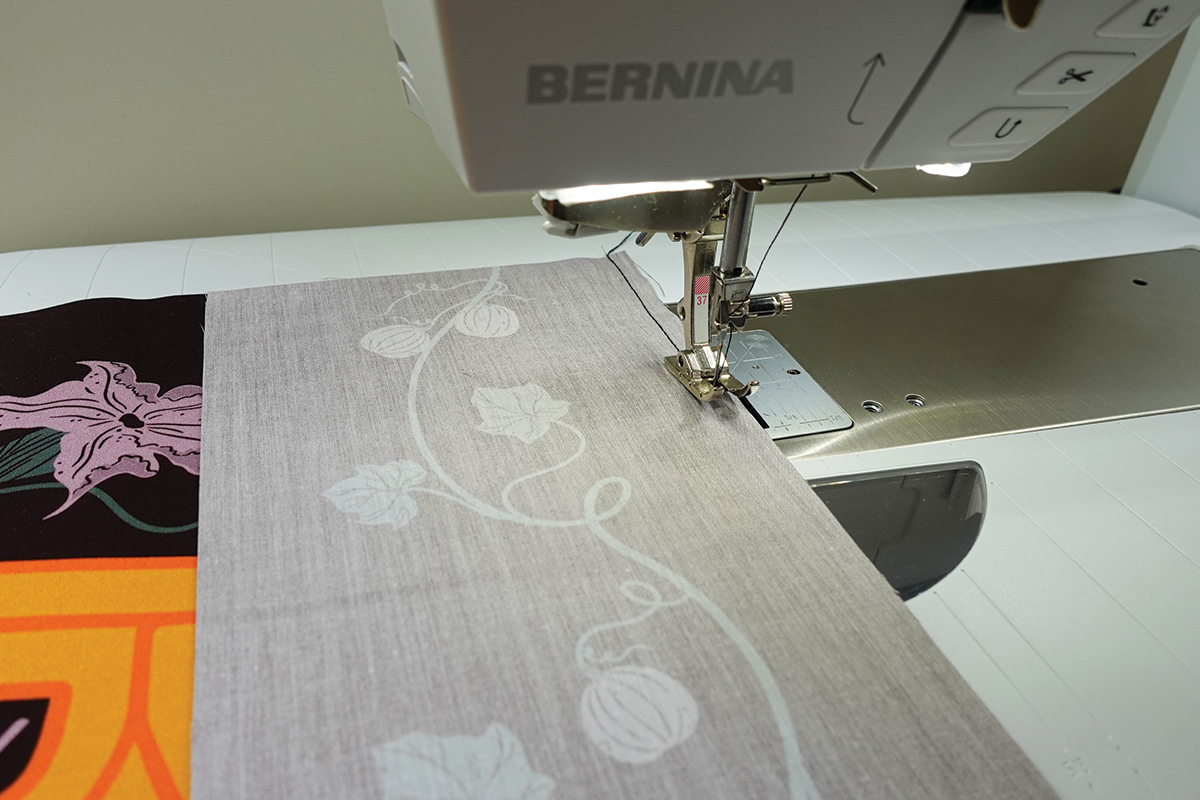
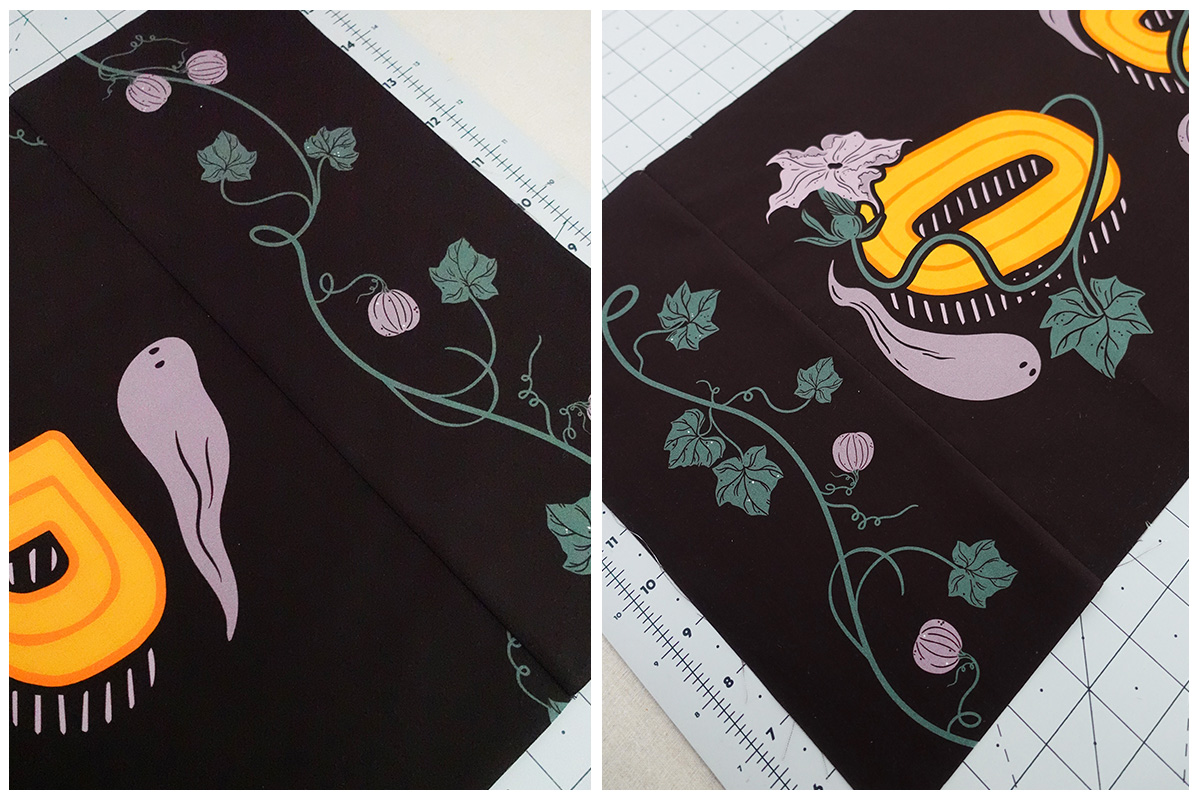
With Patchwork Foot #37 for a precise ¼” seam allowance, sew the vine pieces to the top and bottom edges of the Boo rectangle and press the seams to the side.
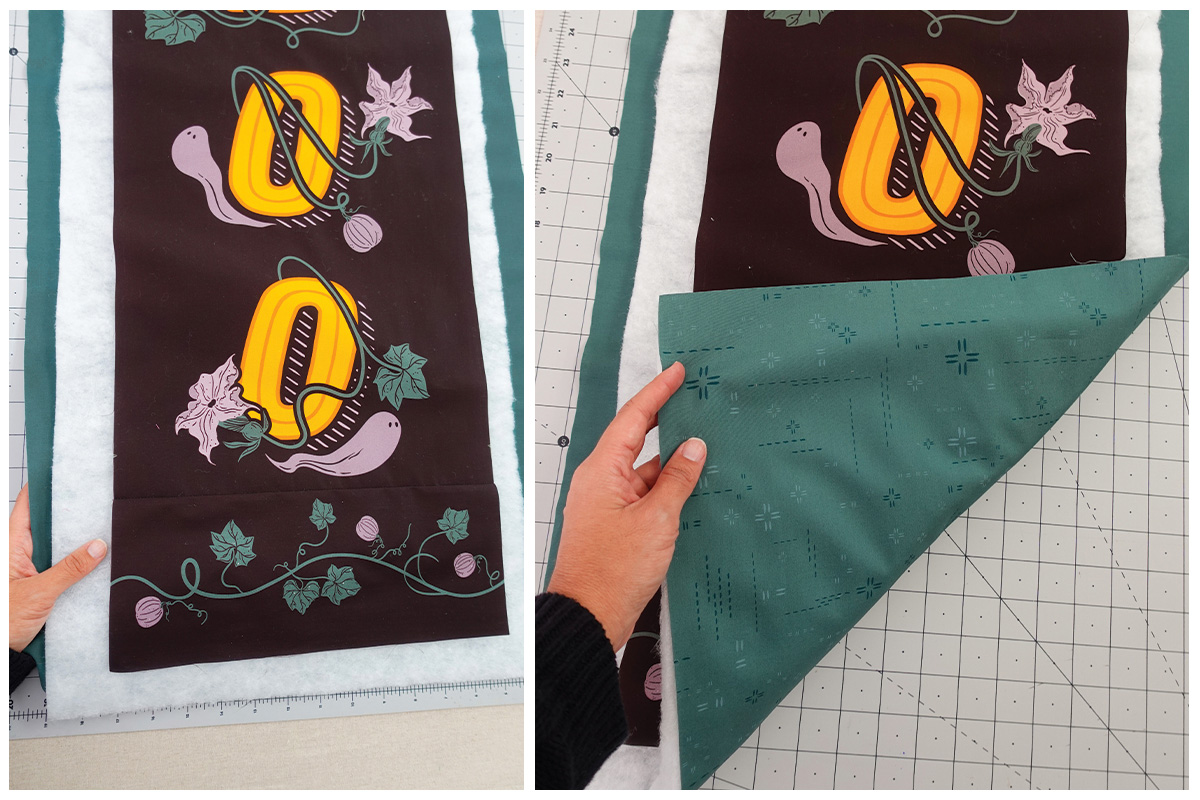
Make a quilt sandwich with a 36” x 17” rectangle of Winter Spruce Decostitch as backing and a 36” x 15” of batting.
Tip: To make quilting easier, cut the backing fabric and batting larger than the project. The extra fabric gives something to hold onto, making it easier to move the sandwich through the machine.
 Now let’s take it over the Q 16 for quilting!
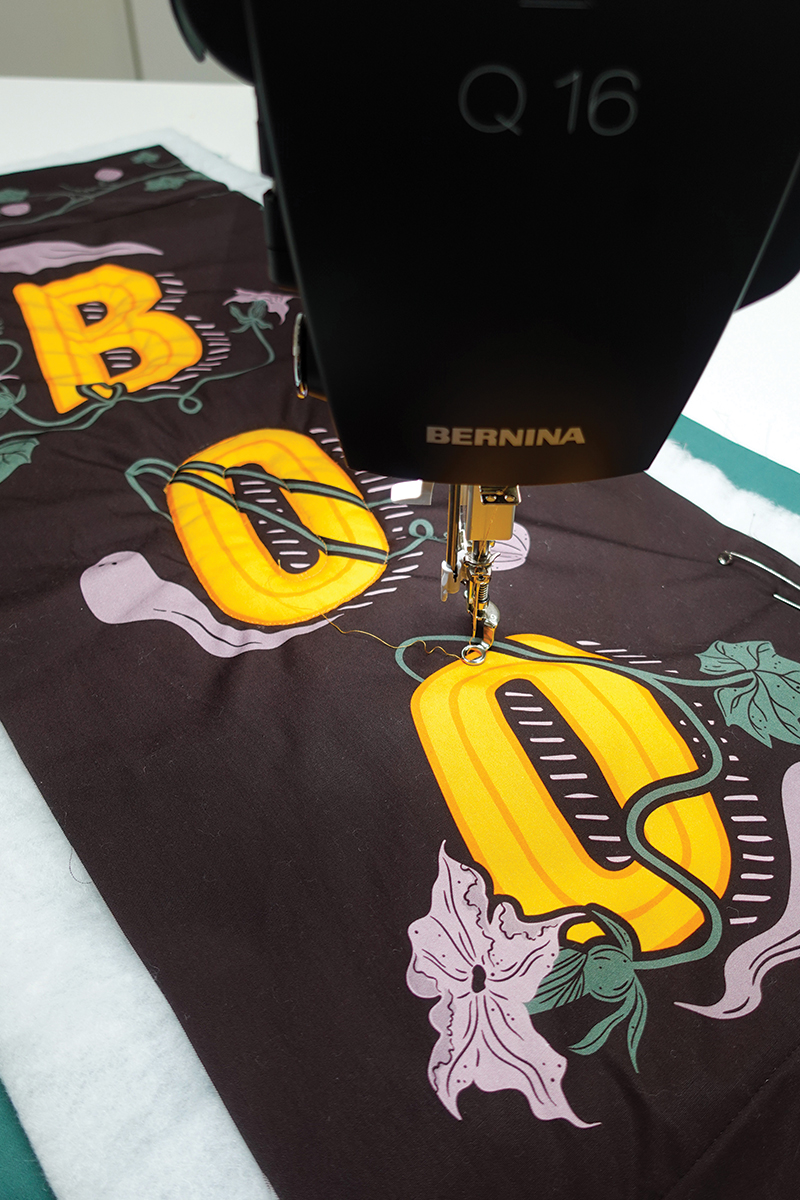
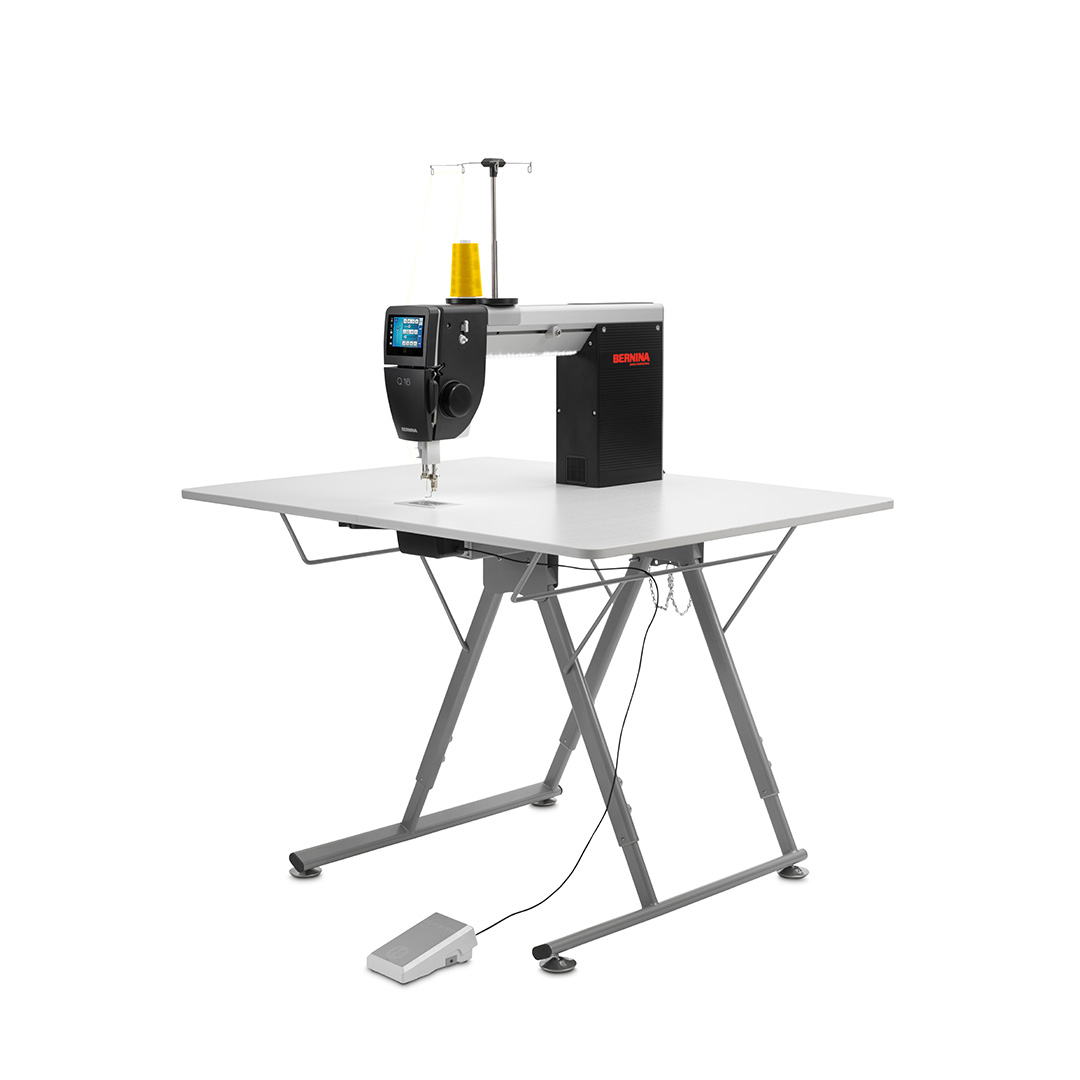
Step 2: Quilting with the BERNINA Q 16
The Q 16 is a sit-down longarm that makes regulated stitches based on how fast the fabric moves over the BSR sensors. This Halloween door runner is a great way to get comfortable with the machine’s movements and find your quilting rhythm. Take your time—move slowly and with intention. We’re using BSR1 mode, which keeps the needle moving while pressing the pedal, making it easier to turn sharp corners.
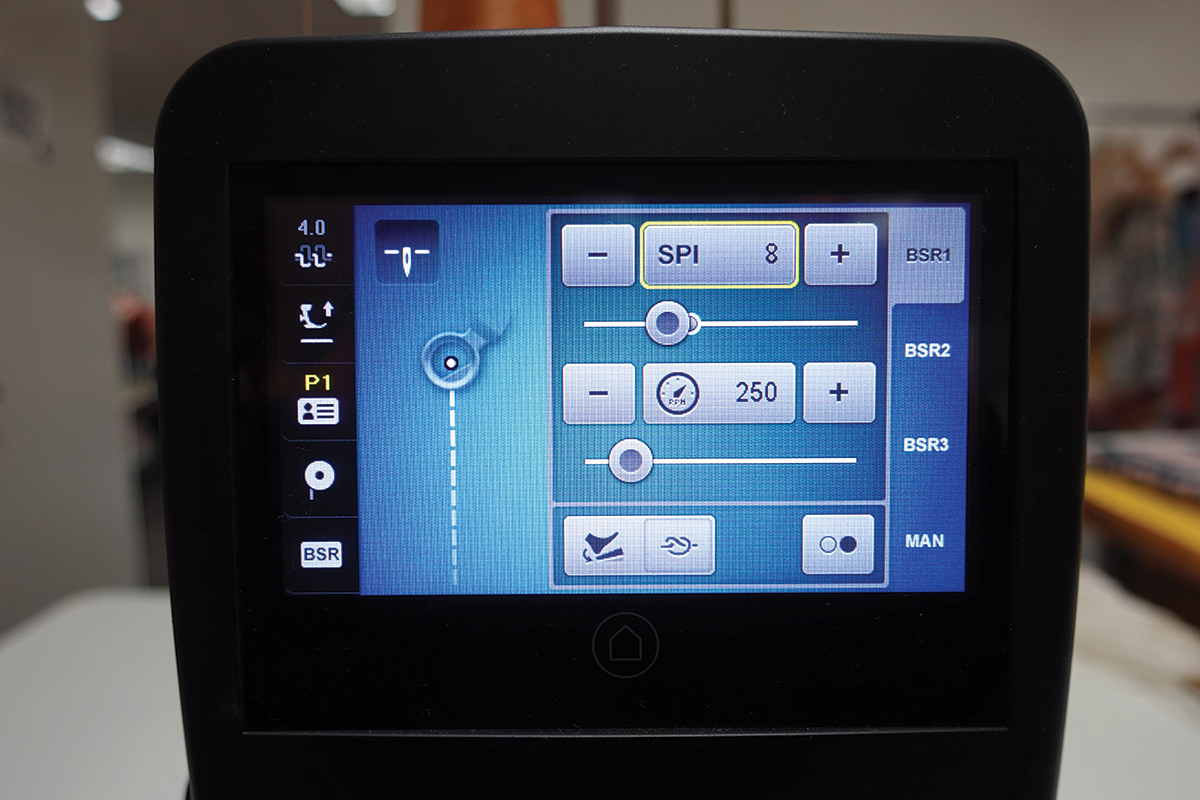
On the touch screen menu, set the following settings to start quilting:
- Needle Position down
- BSR1 Mode
- 8 STI (this is equal to 3.0mm)
- 250 RPM
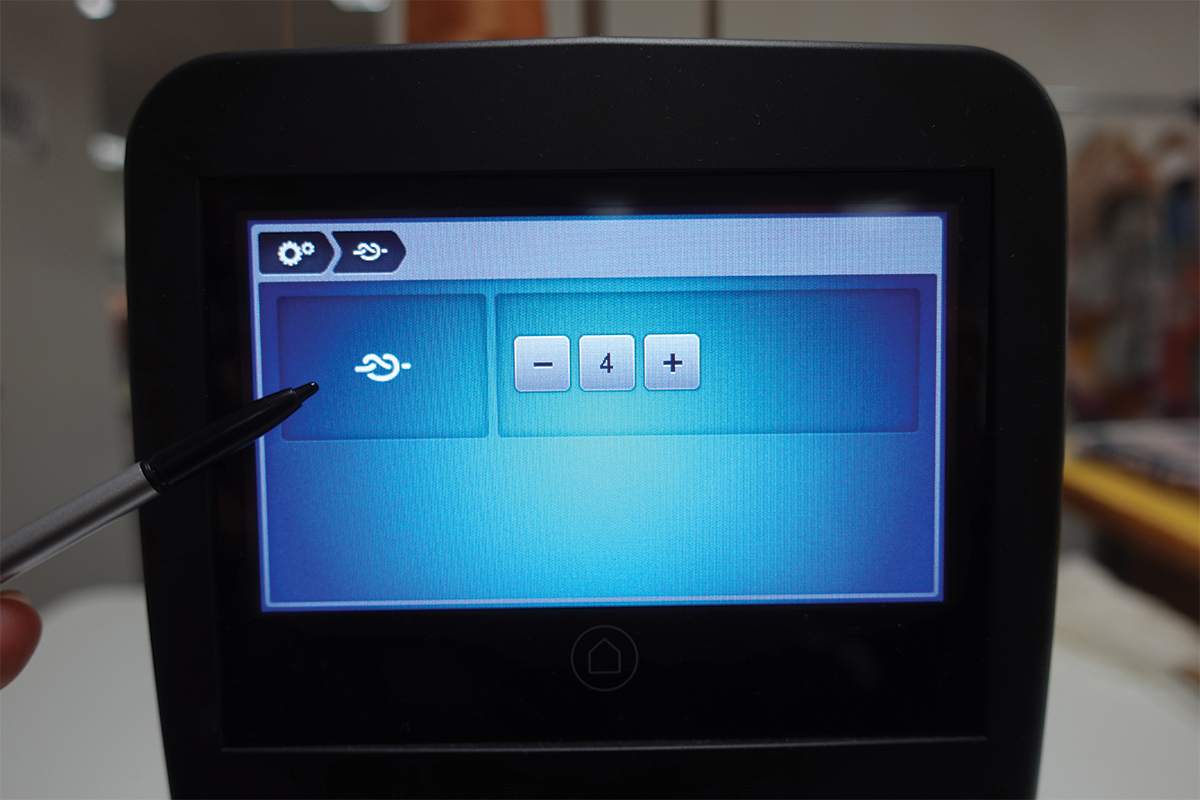
- Securing Stitches – 4 stitches
These are the locking stitches that will be sewn automatically when pressing on the back of the pedal to finish each quilting line before jumping on the next line.
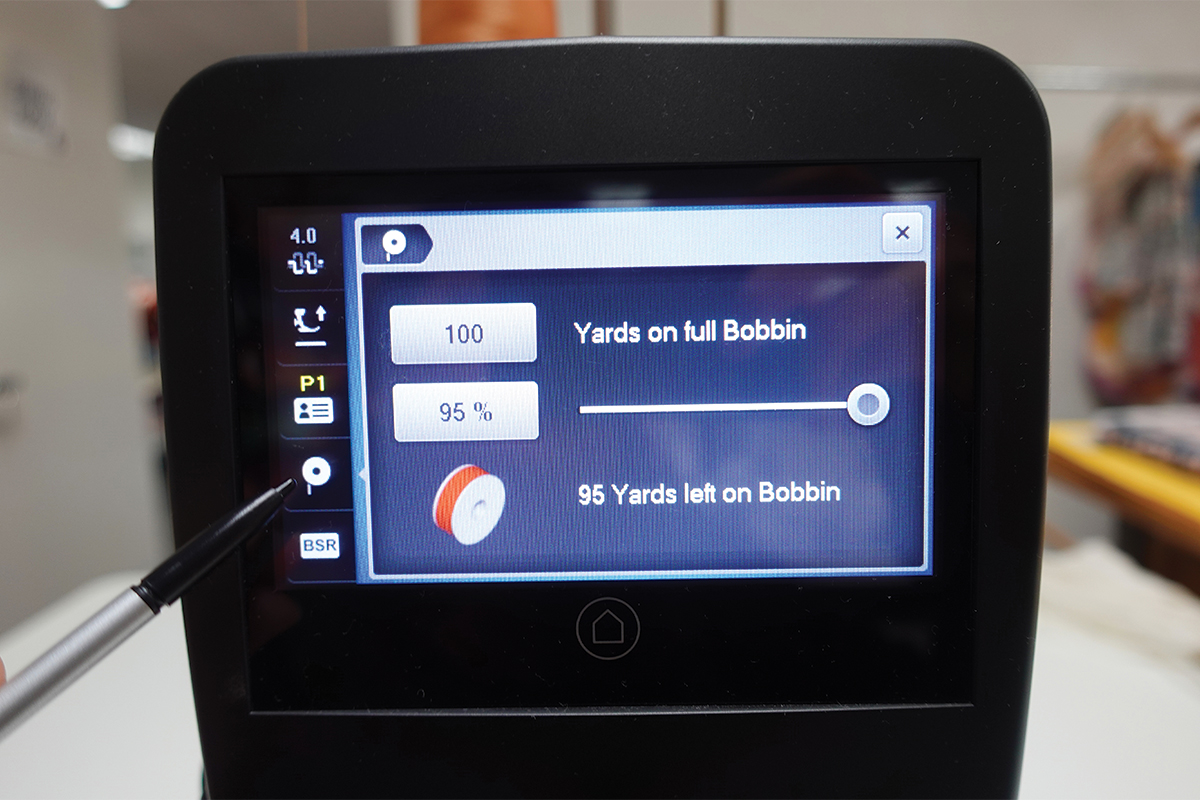
Fill your bobbins and thread the machine with Aurifil# 2930, following the user’s manual. Press the bobbin icon and select the percentage at 95% so the machine recognizes the fullness of the bobbin being used.
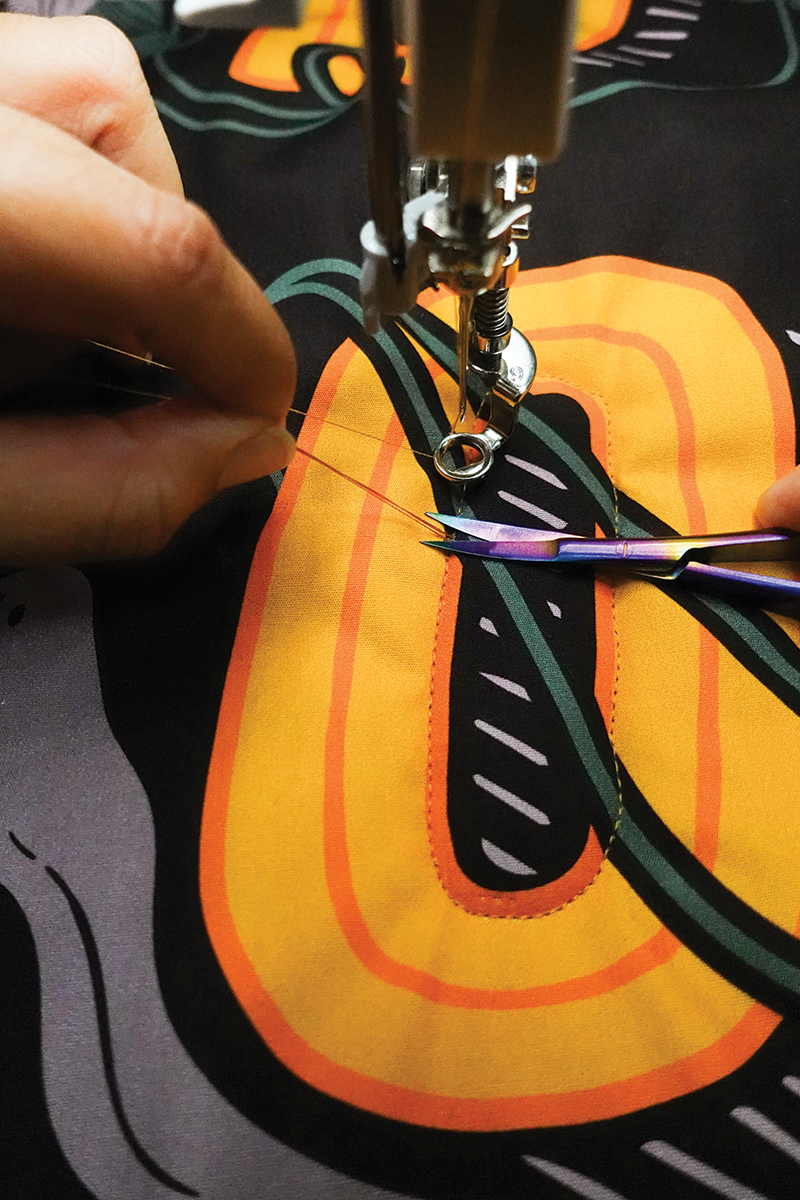
Use the semi automatic threader to thread the needle. Once threaded, pull a long tail of thread and hold taut.
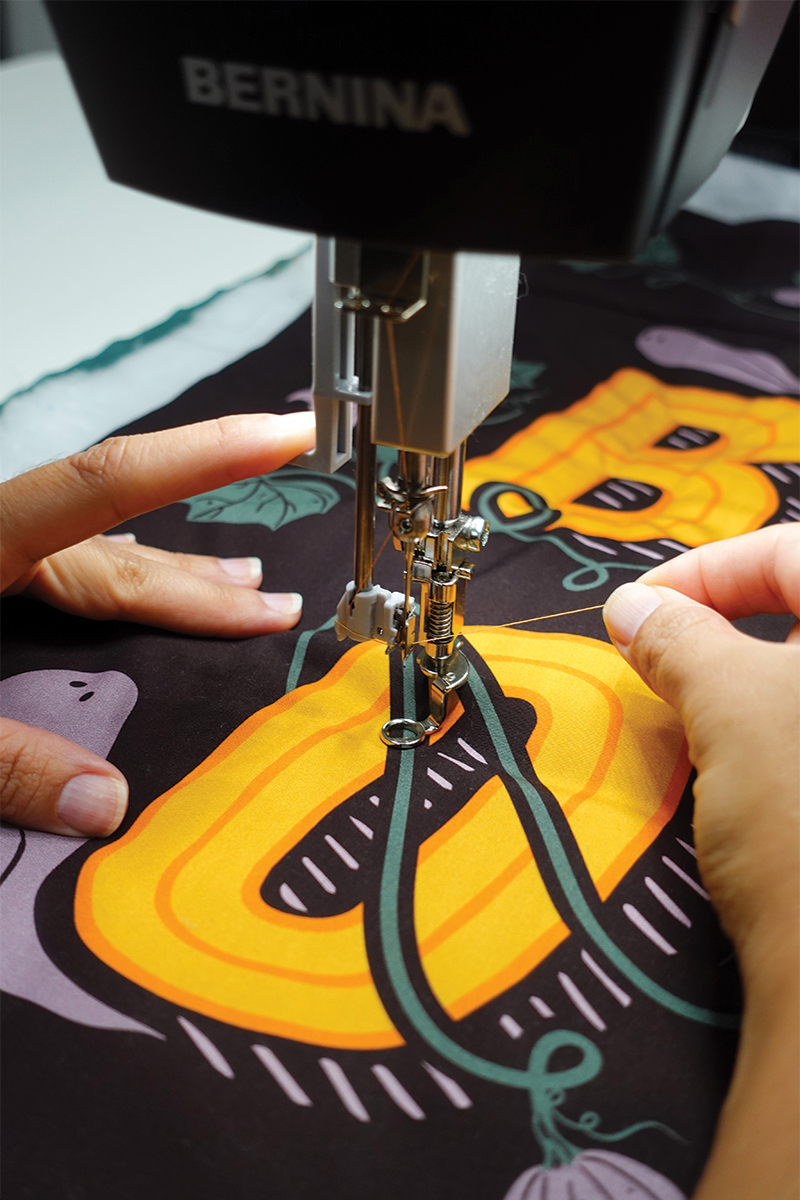
Press on the back kick foot control with your heel once, this will make the needle go down and up once which will bring up the bobbing thread and form a small loop at the top.
Pull on both threads to bring up the bobbin thread, now we are ready to start quilting!
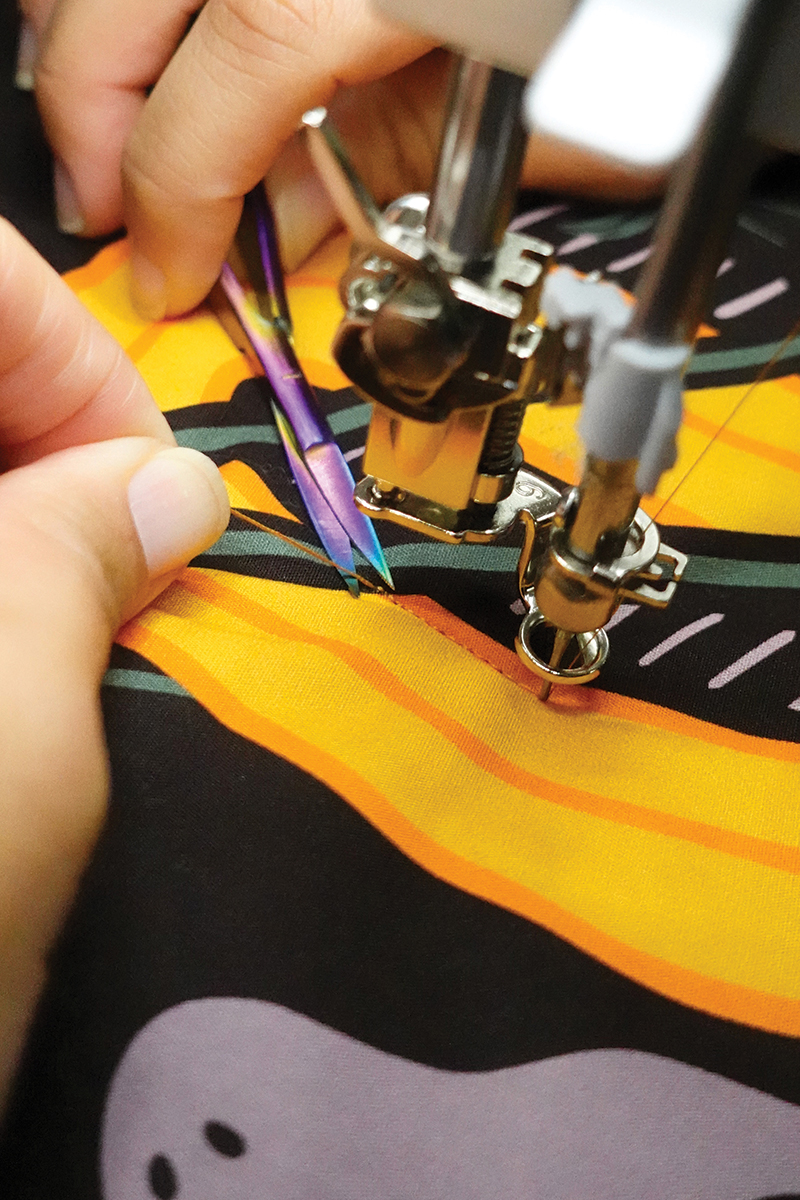
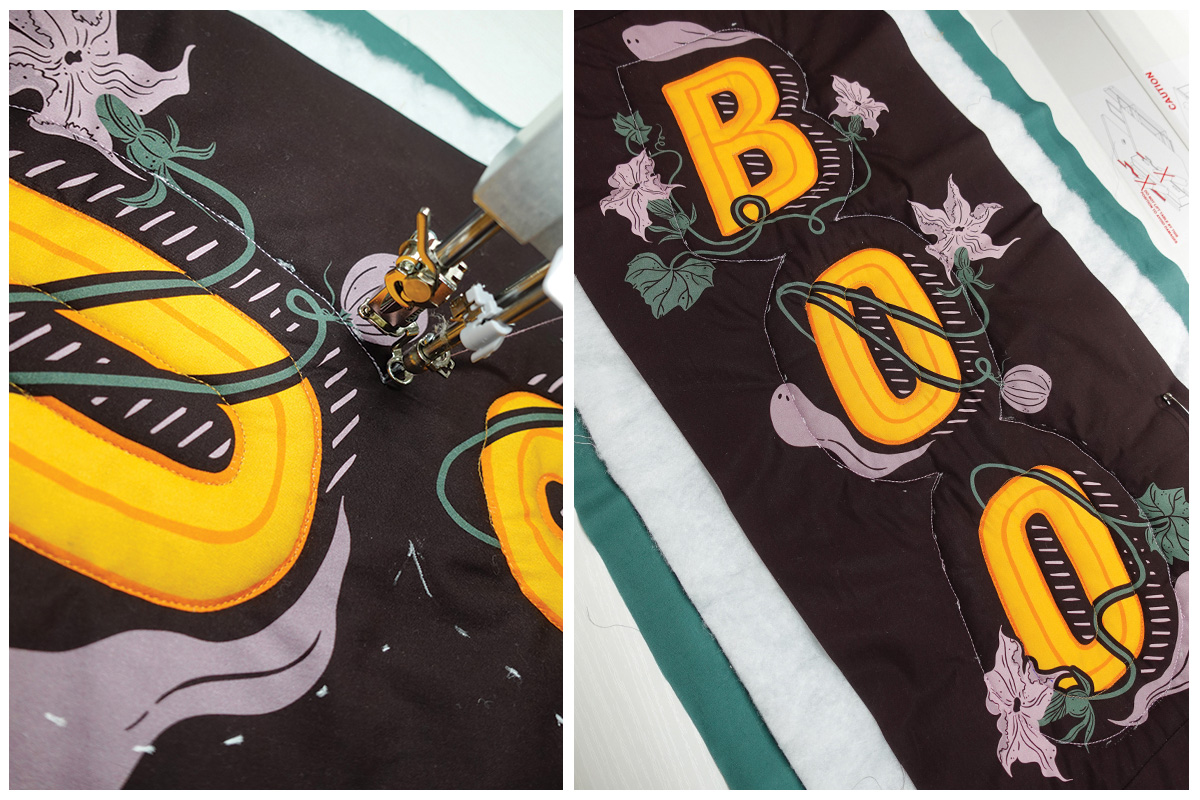
Move the project very slowly to start the line of stitching. Make a few stitches back and forth to lock the starting stitches (like backstitching in a regular sewing machine). Follow the outline of the letter about an inch. Now we can cut on both of the threads peeking out from the beginning so they are out of the way.
Continue following the outlines of the letter. Remember free motion quilting is unique and fun so any lines that are not totally straight work well with this project’s theme. The BSR will regulate the stitches so they are even throughout.
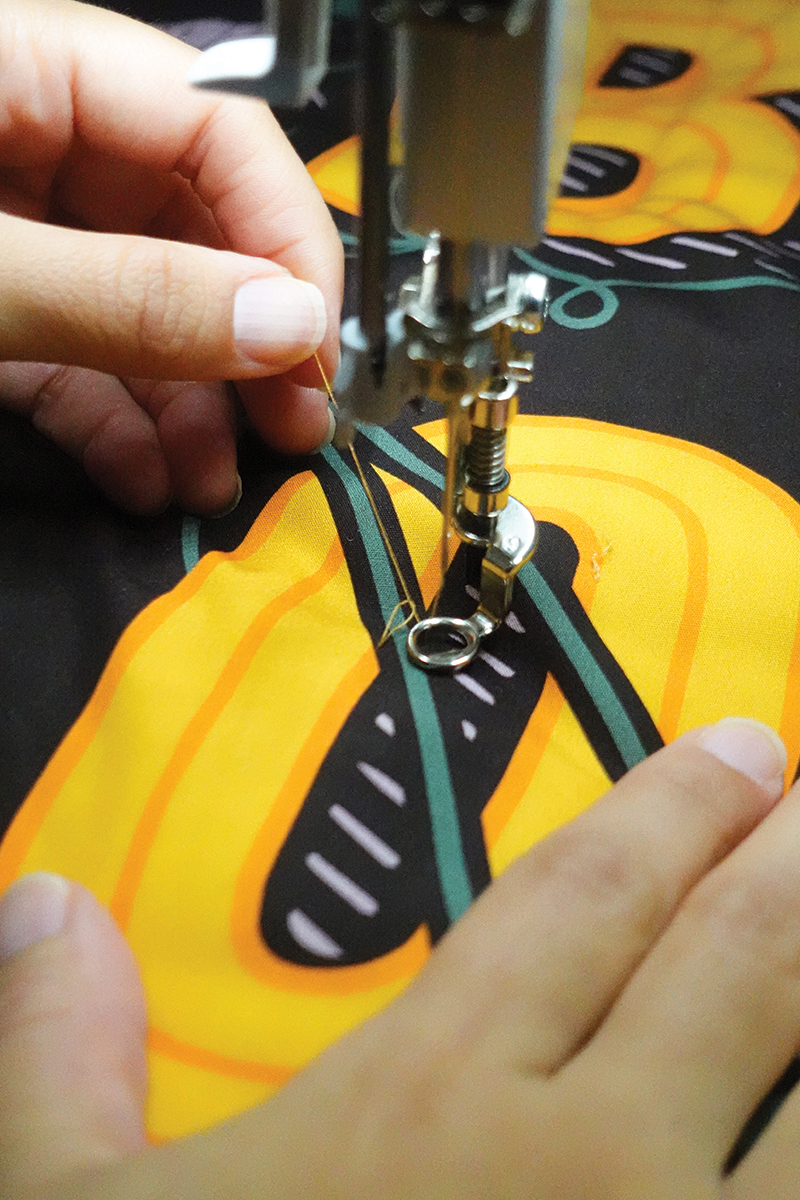
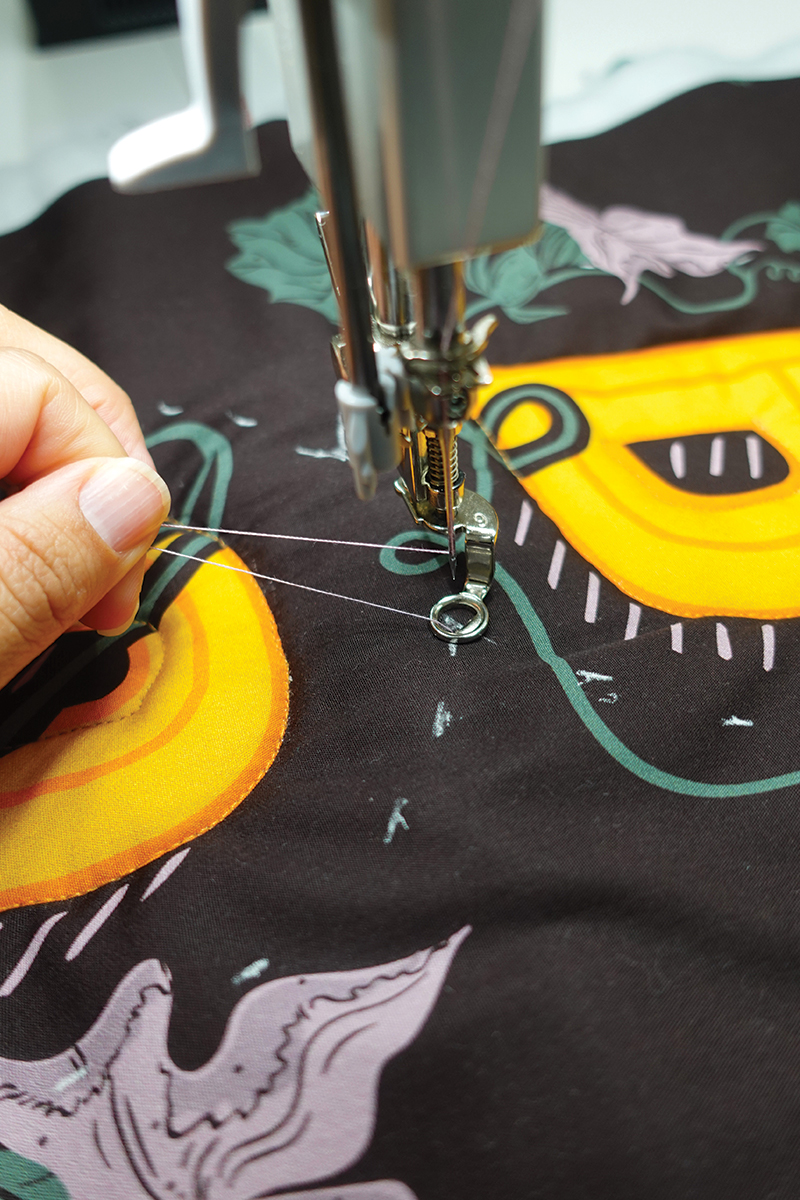
When you reach the end of the quilting line, press with your heel and hold the back kick foot control – this will automatically sew the 4 locking stitches we set up in the machine earlier. Making sure the needle and foot are up, move the project a few inches to gain a bit of top tread. Move the project back so the needle is close to the last stitches made, press the back kick foot control with your heel only once and this will bring the bobbin thread up as a small loop. Pull carefully on all threads to bring up the bobbin thread. 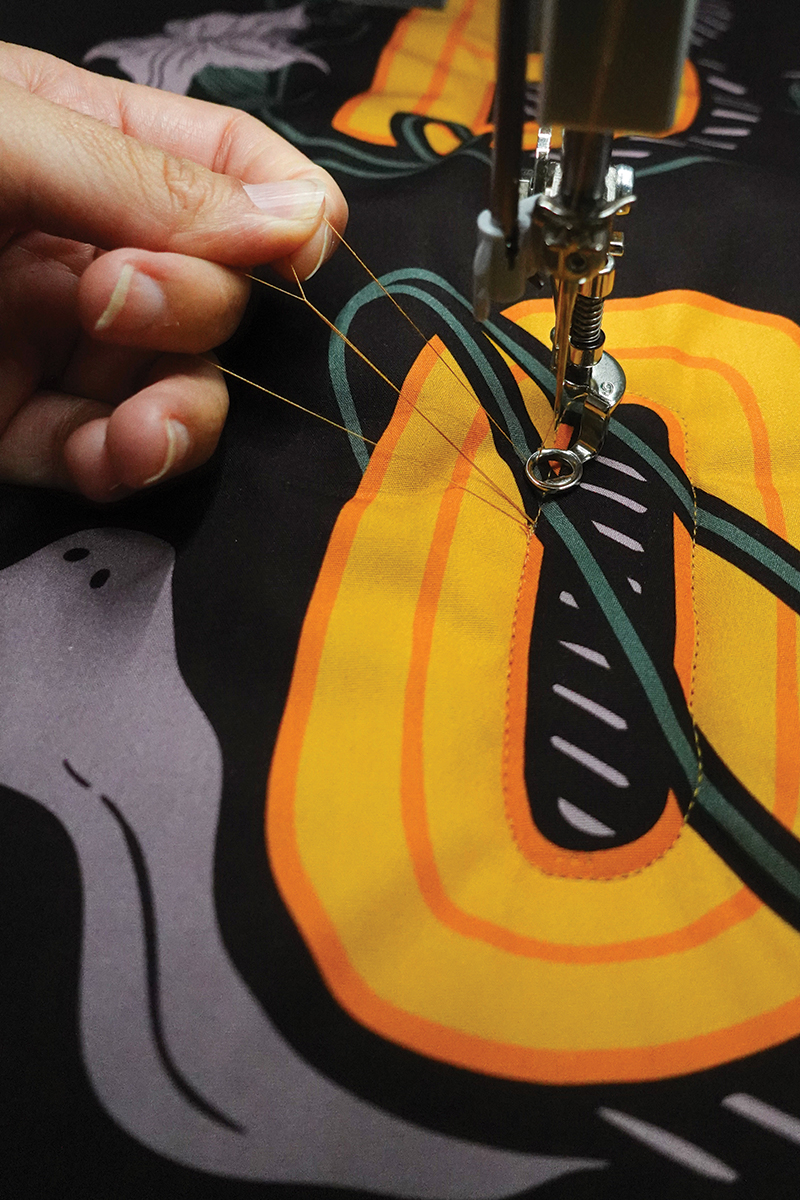
Leaving a long tail coming off the needle, cut the 3 remaining threads carefully.
We just finished our first quilting line!

Continue with the next letters’ outlines to make them pop!
BSR1 will keep the needle moving while the pedal is being pressed and there is movement in the sensors, this will help when making the B sharp corners.

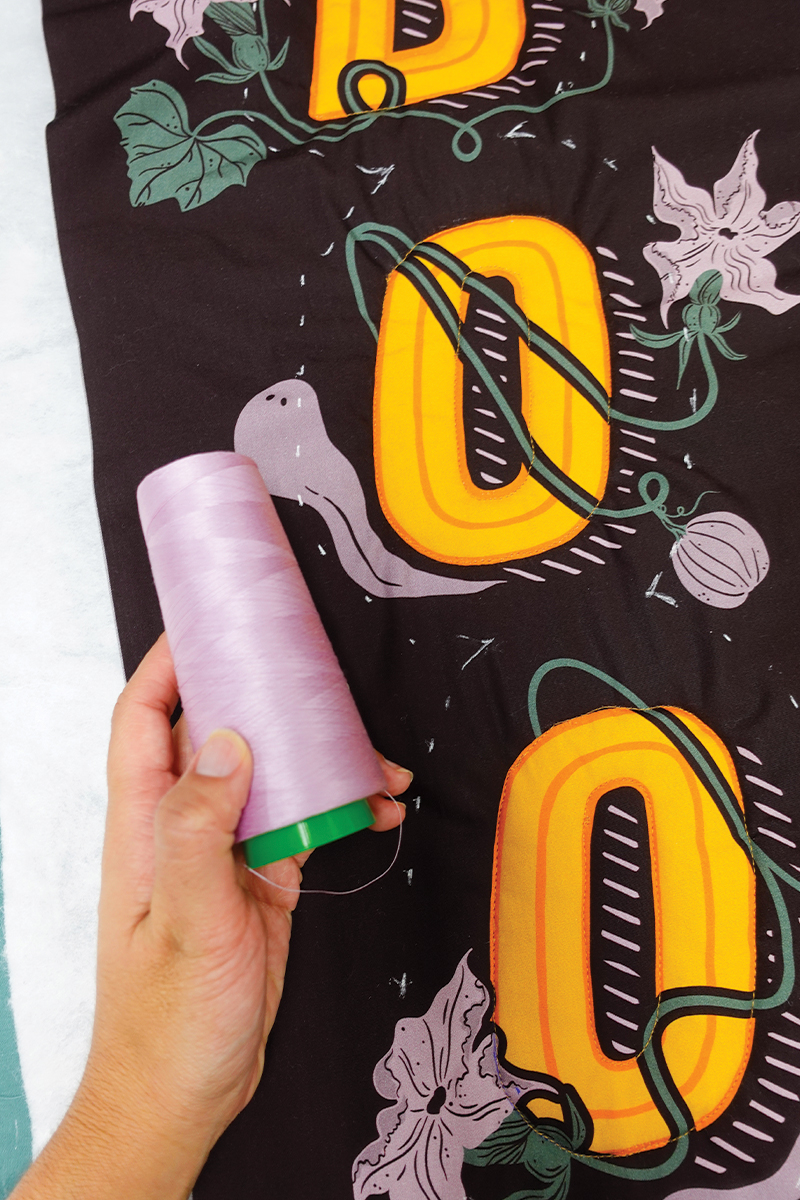
Make small marking guides with a heat erasable pen 1” inch away from the letters to start the echo quilting effect.

Change the thread to Aurifil #2515
Start quilting by bringing up the bobbing thread up like before with the back kick pedal and finishing the lines by pressing and holding the back kick to lock the stitch.
Draw guide marks ¾” of an inch away each finished quilting line to create the echo effect.
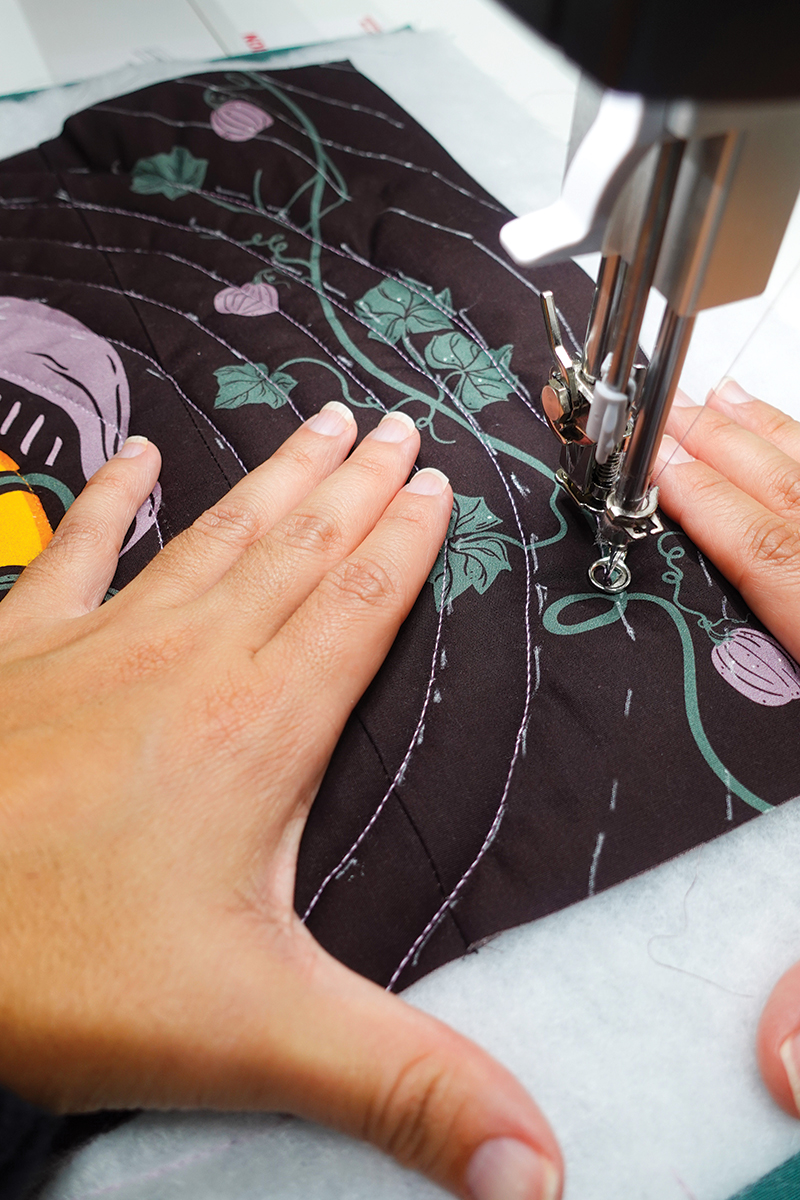
Quilting is done!
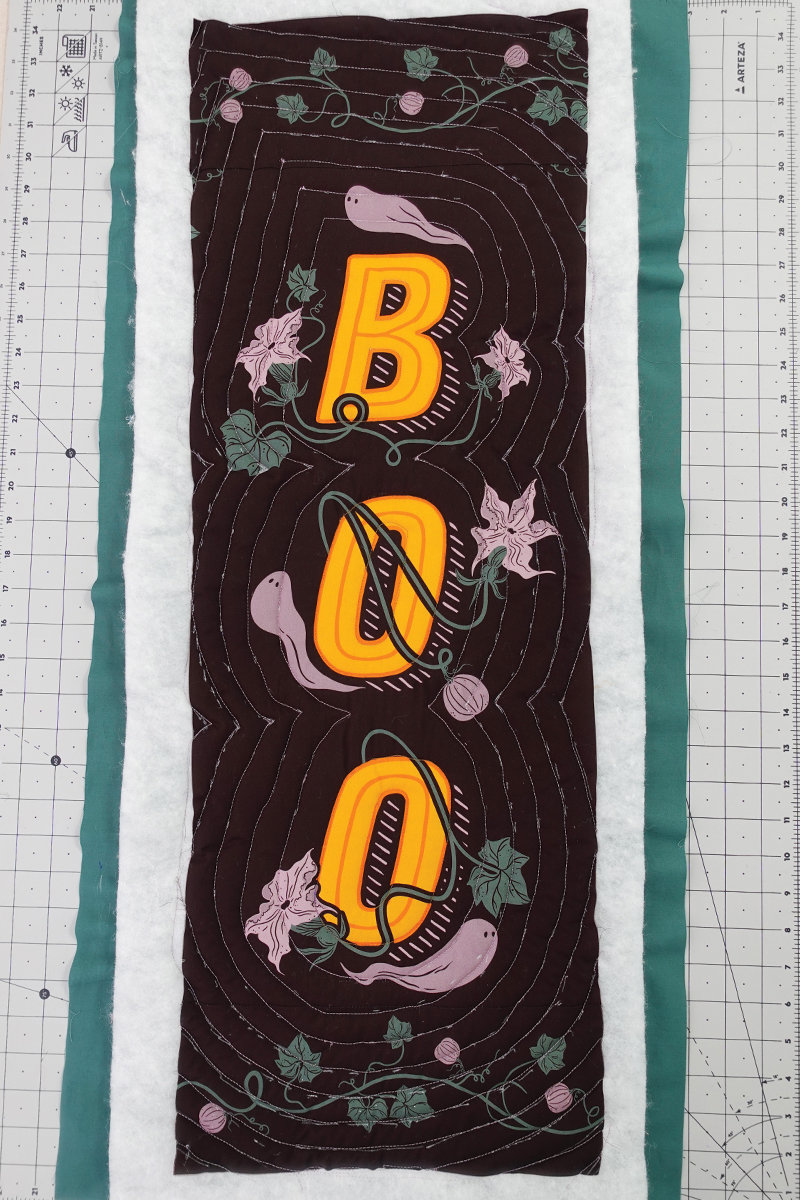
With the tip of an iron, erase the guide markings we made for each line. Time to bind!

Step 3: Binding
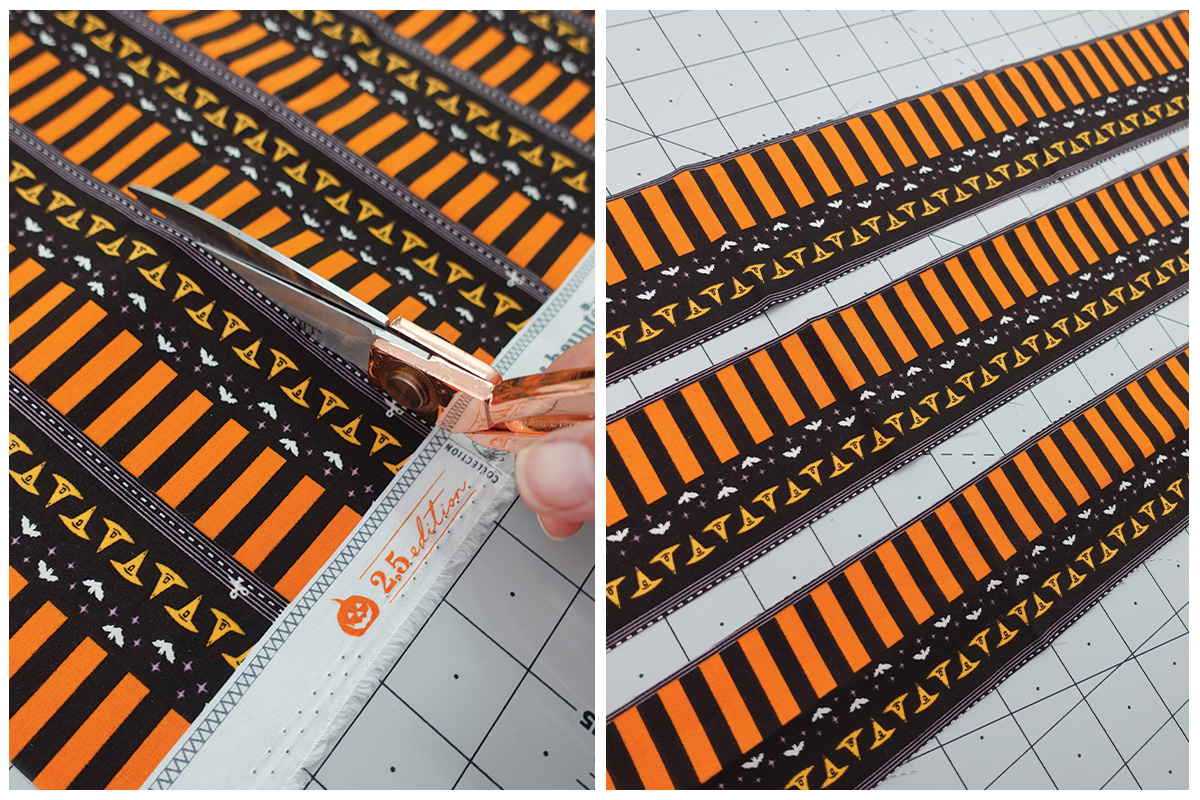
Cut on the pre-marked lines of the 2.5 Edition Binding fabric. This can be done with scissors or rotary cutter for faster cutting. We need 3 strips for this project.
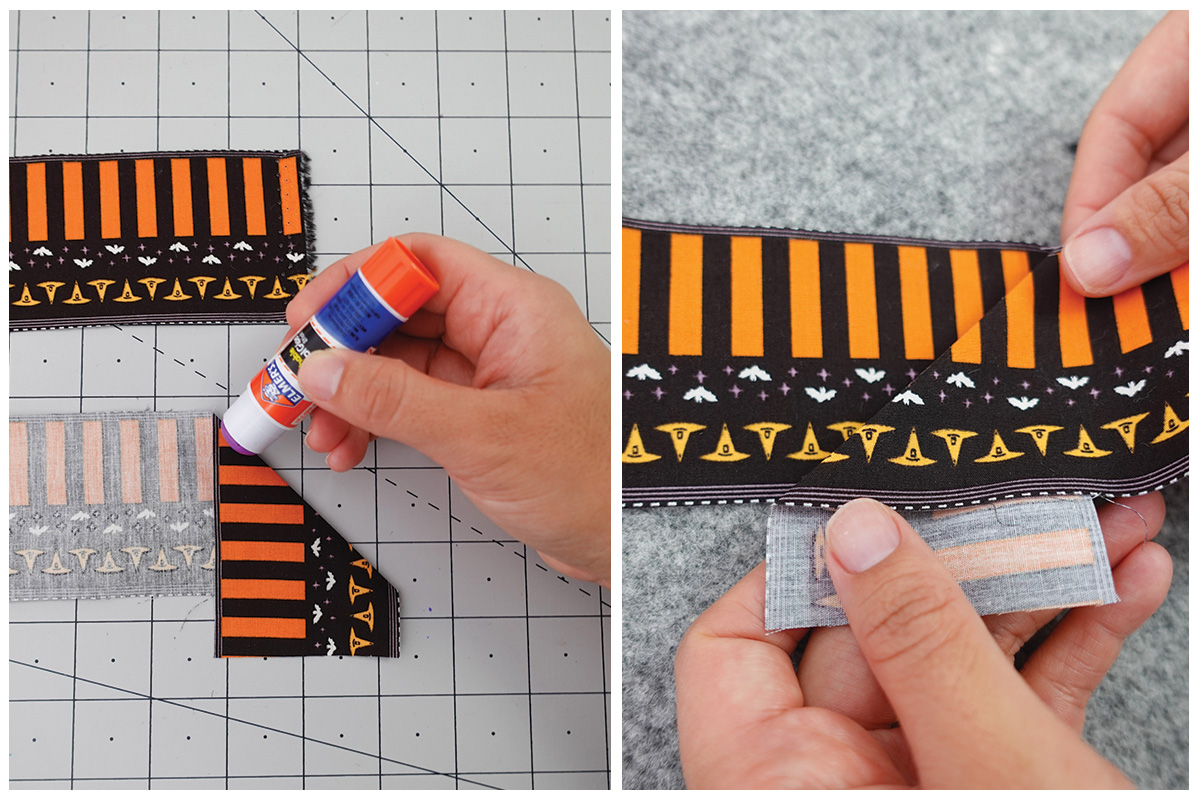
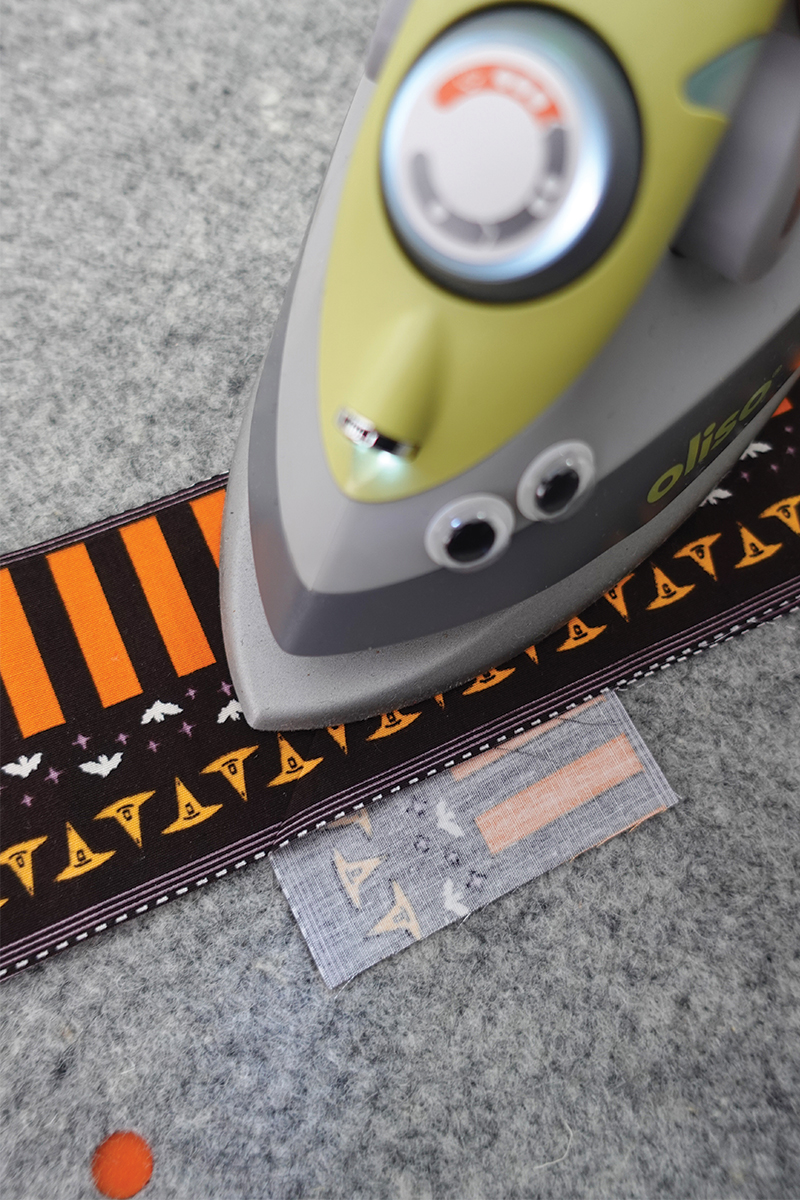
To make a continuous bind strip, make a 45 degree fold on one end and apply a line of glue to the folded edge. Place glue side down on a strip, matching the designs and press with an iron.
Fold the top strip over and sew directly on the creased diagonal line. Cut ¼” away from the sewn line and press open.
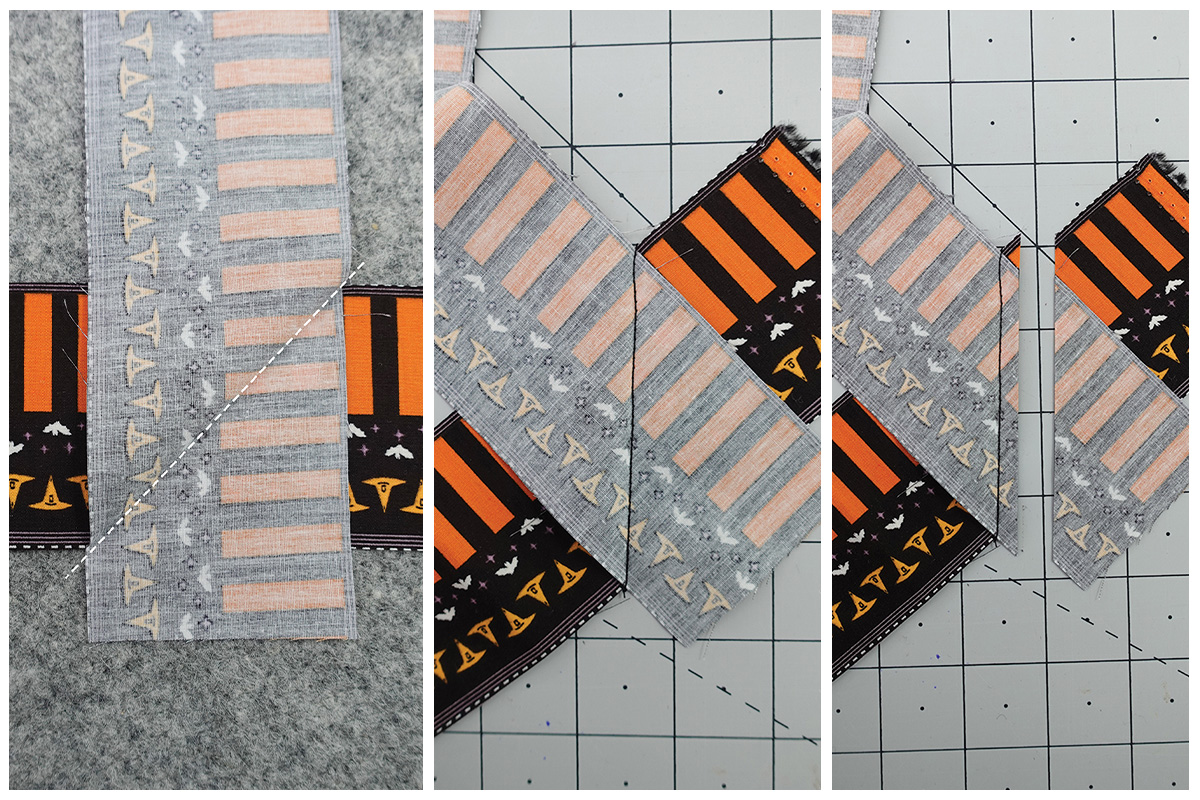
Our binding strip is joined seamlessly!

Fold strip in half and press.
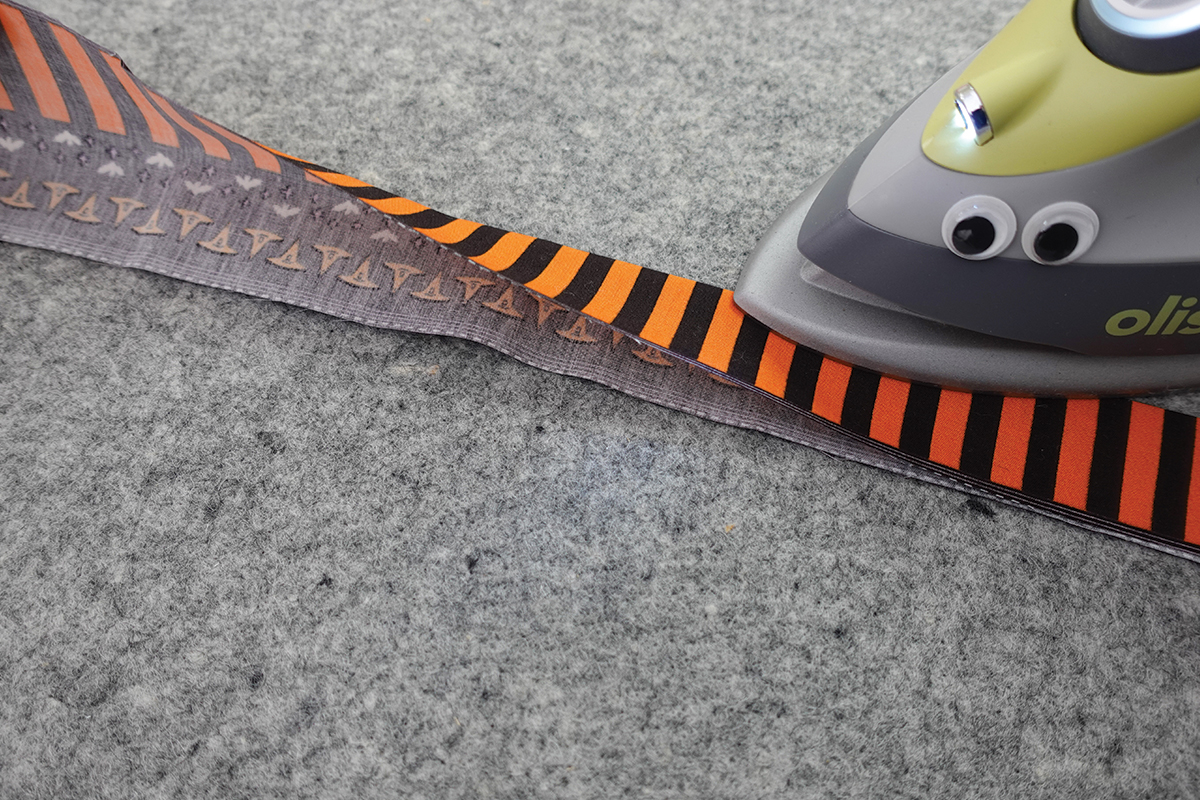
We can choose either design of the strip, that is the beauty of 2.5 Edition Binding Fabric!
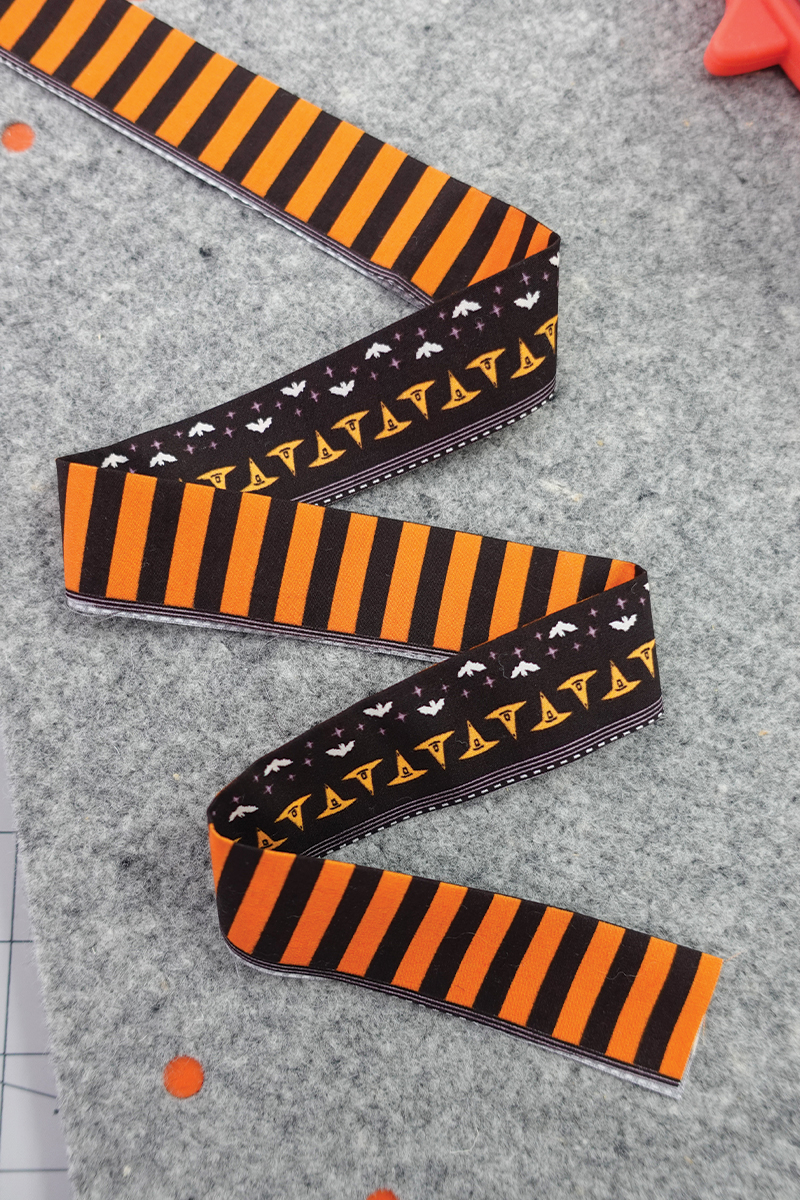
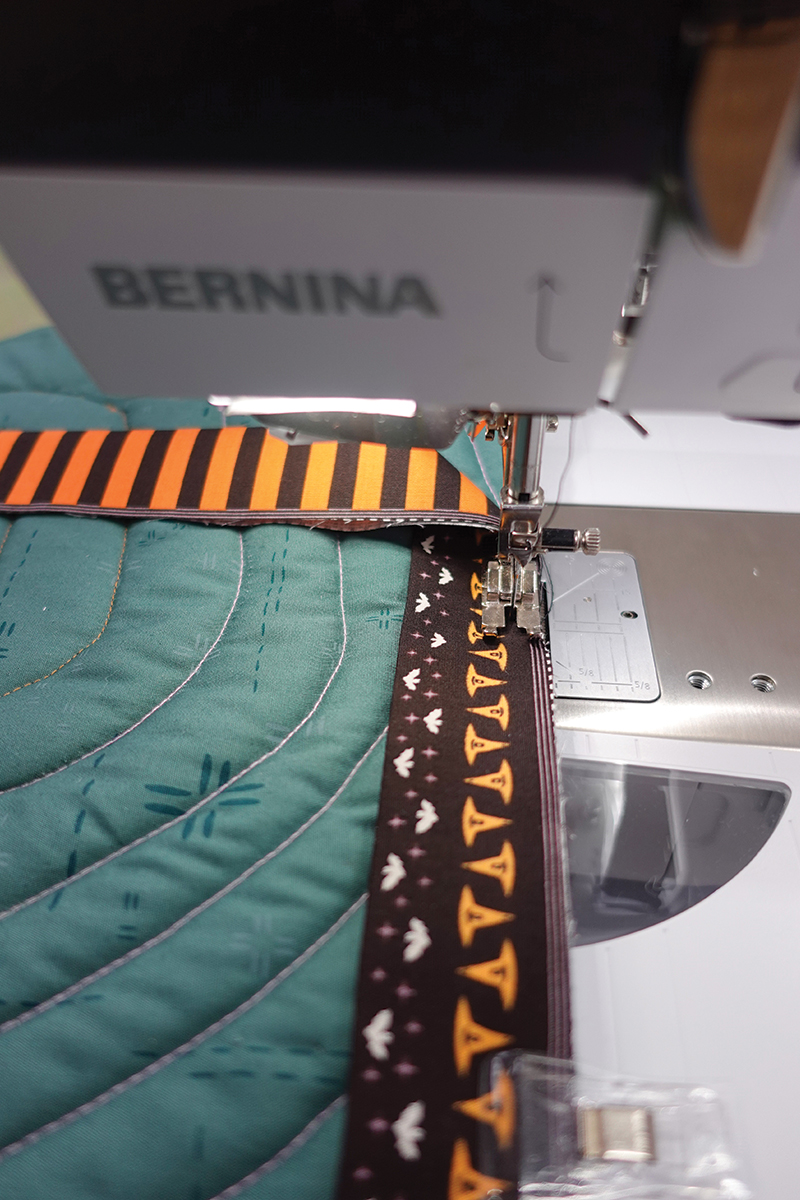
We are going with the orange and black stripes to frame the door runner. With the backing of the project facing up, place the binding strip with the bats/hats design facing upwards and bind the project like a regular quilt with a ¼” seam allowance, miter the corners and connect the ends with your favorite method.
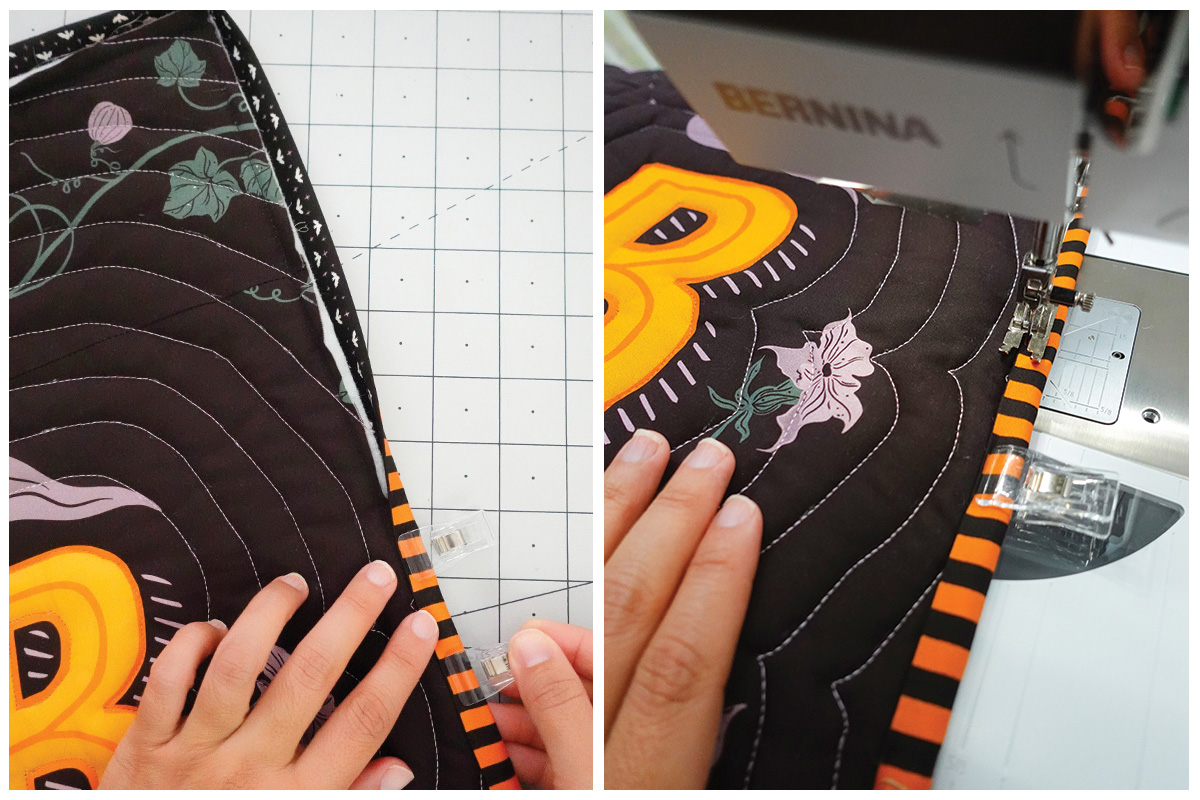
Turn the binding to the front of the project and finish binding.
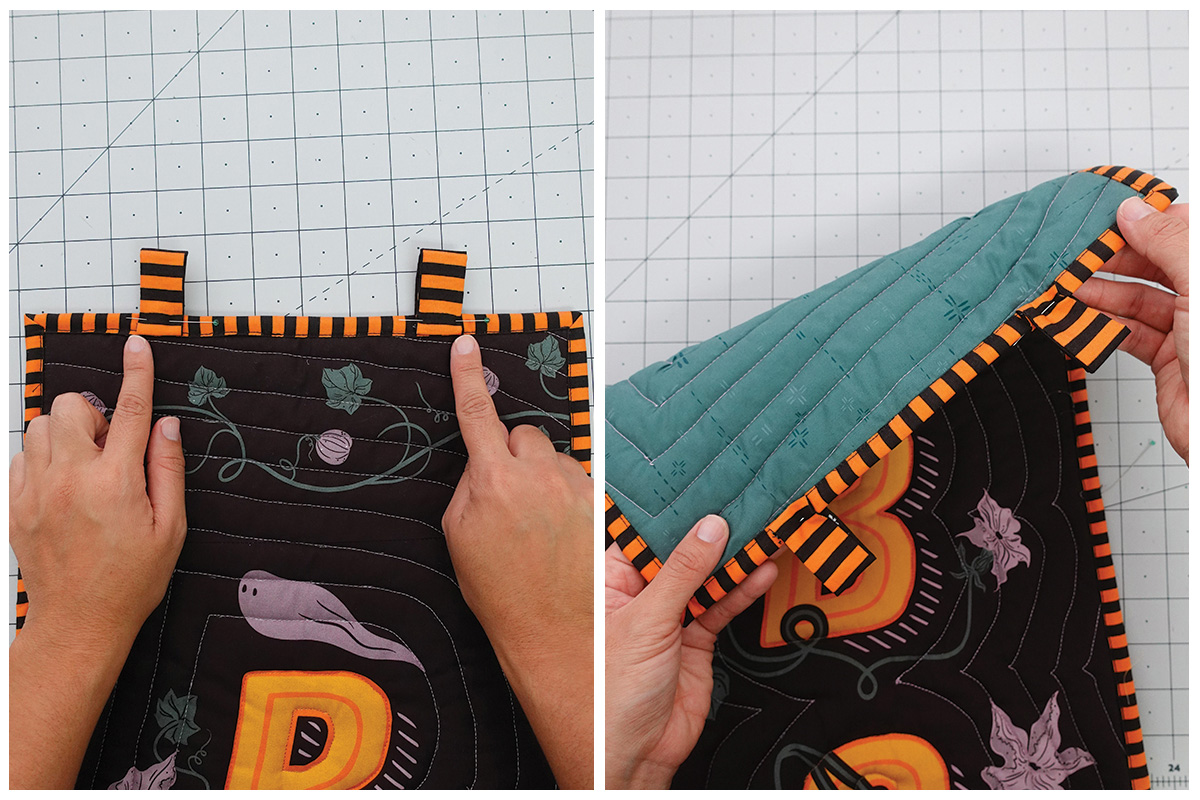
Step 4: Adding the Hanging Straps
Taking remnants from the 2.5 binding strips, cut two 5” inch rectangles. Fold in half lengthwise with right sides touching and sew ¼” away from each edge on both pieces.
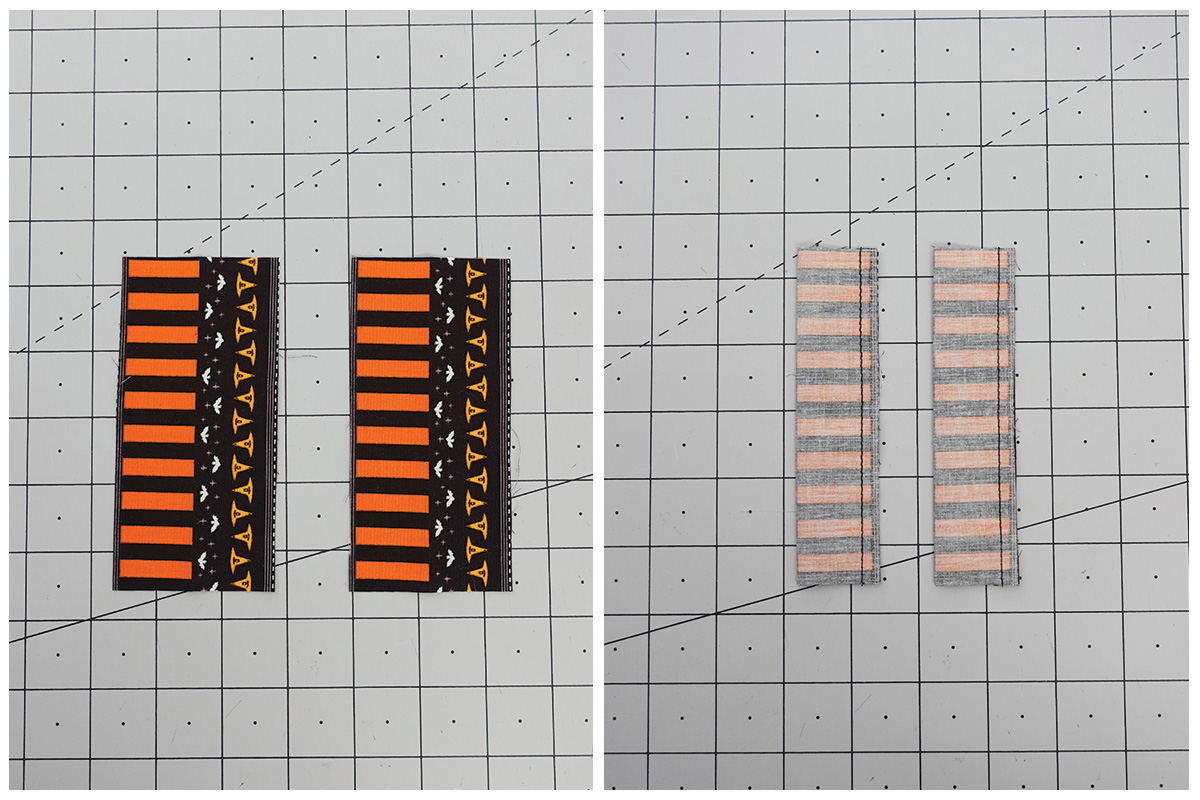
Turn right side out and press. Fold each end twice, ¼” each turn and hold with clips

From back to front, place each strap 2.5” inches away from the top edge of the door runner. Backstitching at beginning and end to secure.
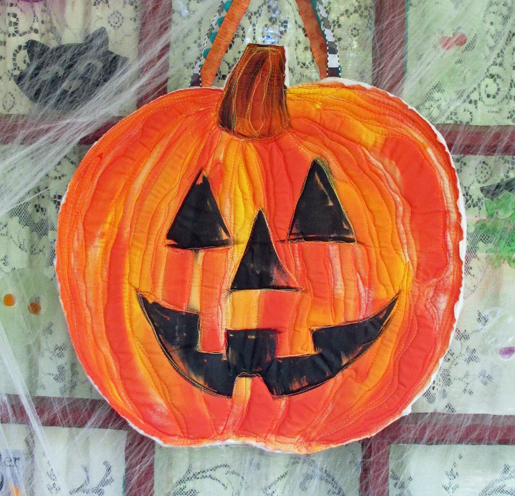
And we are finished! This boo-tiful door runner is a quick and easy project that helps you conquer any free-motion quilting fears and discover all the quilting possibilities the Q 16 has to offer!

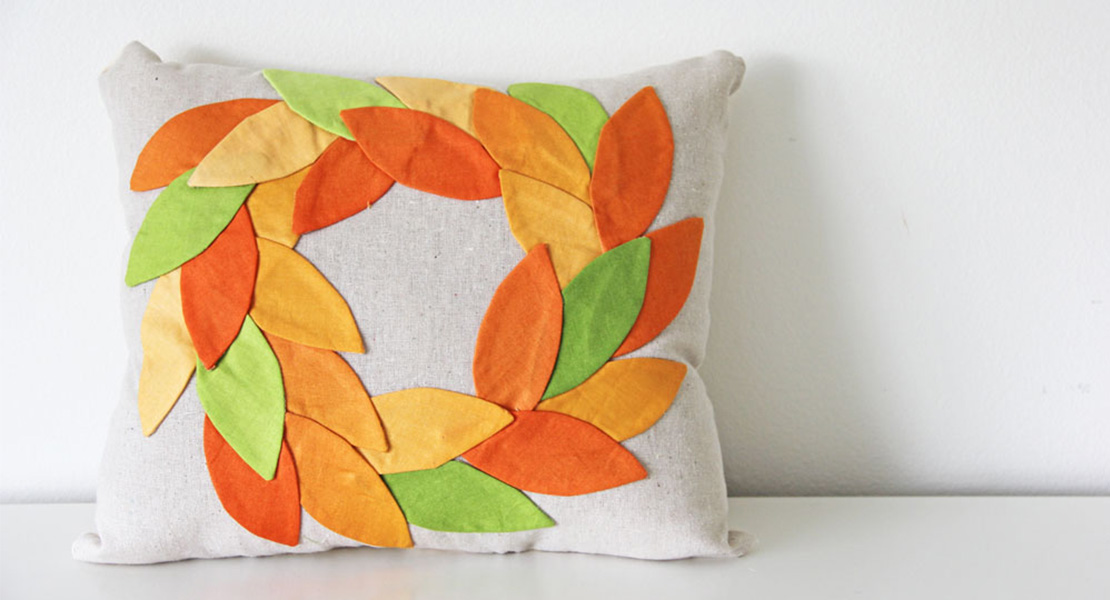
Oh, and remember those flower corners from the panel? We turned them into adorable coasters using the leftover 2.5″ binding—so nothing goes to waste and every bit becomes part of a beautiful project!
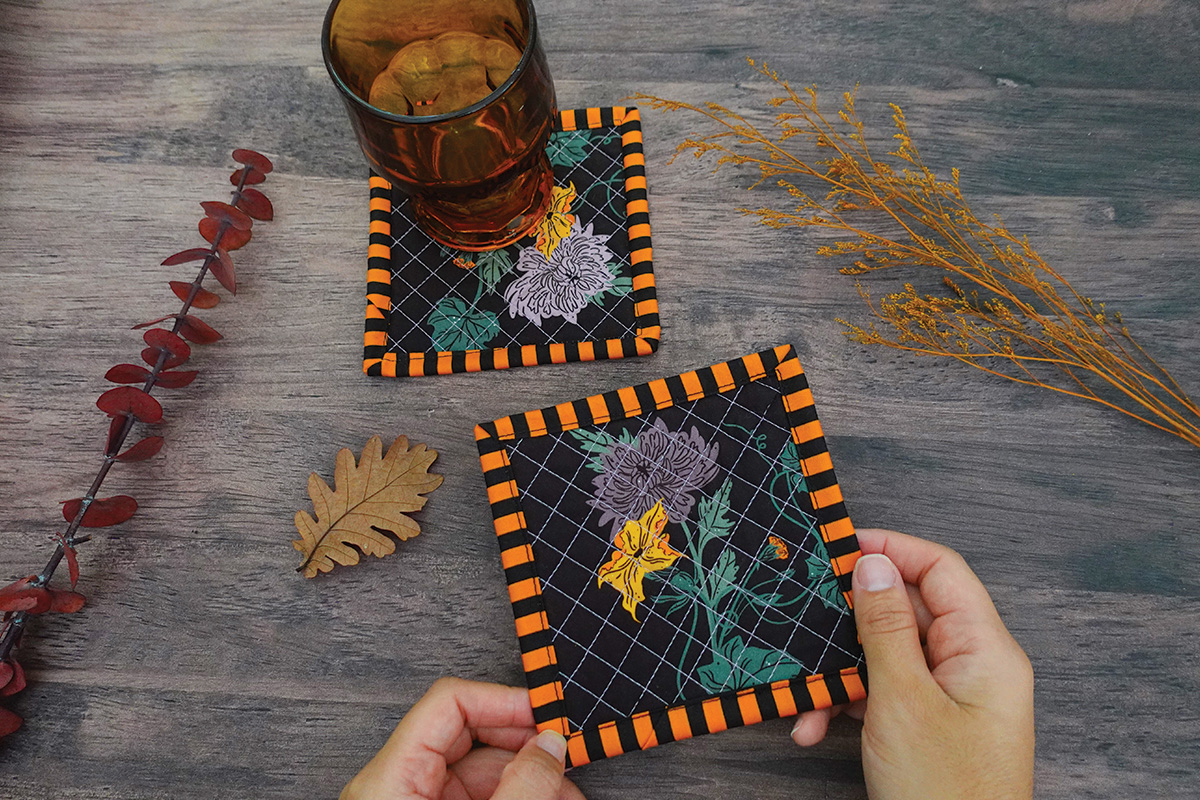
You can make coasters like these, or save the pieces for more patchwork, appliqué, or fussy-cut designs. What would you create with them? Let us know!
Happy sewing!
AGF
![Have a habit of misplacing your keys. Losing your iPod? Forgetting your coupons? Now, with this handy organizer, all your little necessities are in one convenient spot when you're ready to head out the door - right on the door knob! How to Make a Door Organizer Supplies 1/3 yard or heavyweight fabric such as twill, canvas, or denim 1/3 yard of fusible interfacing Coordinating thread Scissors Water-soluble marking pen or tailor's chalk Ruler 1/4" presser foot (BERNINA Patchwork Foot #37 or Patchwork Foot with Guide #57) Download and print the keyhole template: [download id="88"] Step 1) Prepare the fabric pieces. Cut from the heavyweight fabric: Two 5" x 11" rectangles for the organizer body One 5" x 12" rectangle for the large pocket One 5" x 7" rectangle for the small pocket One 6" x 7" rectangle for the hanging pocket Fuse interfacing to the wrong side of both 5" x 11" fabric rectangles following the manufacturer's directions. How to Make a Door Organizer Cut the keyhole: Measure down 1" from the top edge of one 5" x 11" rectangle. Center the top of the keyhole template on this mark. Trace the template. Cut along the traced line. Repeat for the second 5" x 11" rectangle. How to Make a Door Organizer Step 2) Make the large and small pockets. With wrong sides together, fold the large pocket in half to create a 6" x 5" rectangle. Topstitch close to the folded edge. How to Make a Door Organizer Place the large pocket on top of the right side of one 5" x 11" rectangle, matching the raw edges along the sides and bottom edges. Baste in place. How to Make a Door Organizer With wrong sides together, fold the small pocket in half to create a 3 1/2" x 5" rectangle. Topstitch close to the folded edge. Place the small pocket on top of the large pocket, matching the raw edges along the sides and bottom edges. Baste in place. How to Make a Door Organizer Step 3) Make the hanging pocket. With wrong sides together, fold the 6" x 7" rectangle in half lengthwise. Press. How to Make a Door Organizer Unfold the strip and then fold the long raw edges to the center fold line. Press. Refold the strip along the center crease. Topstitch close to both long edges. How to Make a Door Organizer Fold under 1" on both edge of the finished 7" strip. Measure up 1-1/4" from the lower edge on the right side of the second 5" x 11" piece. Center the bottom of the strip on this mark. How to Make a Door Organizer Sew close to the folded ends of the strip, then again 1/2" away from the first stitching. How to Make a Door Organizer Step 4) Construct the door organizer. With right sides together, place the two 5" x 11" rectangles together, matching the raw edges and the keyhole opening. How to Make a Door Organizer Stitch around the entire rectangle, leaving the keyhole open. Do not stitch around the keyhole area! Clip the corners. How to Make a Door Organizer Turn the organizer right side out through the keyhole opening. Press. How to Make a Door Organizer Topstitch close to the finished edges. How to Make a Door Organizer Baste the raw edges of the keyhole opening together. How to Make a Door Organizer Satin stitch close to the keyhole edges. Position the fabric so the needle goes just barely to the right of the raw edges and encloses them in stitches. Tip: A satin stitch is a zigzag stitch with a very short stitch length, so the stitches are very close to each other. How to Make a Door Organizer How to Make a Door Organizer Fill your organizer with keys, pens, letters, etc. so you never leave home without your essentials! How to Make a Door Organizer](https://dhoubxhx.top/wp-content/uploads/sites/4/2011/10/How-to-Make-a-Door-Organizer-WeAllSew.jpg)