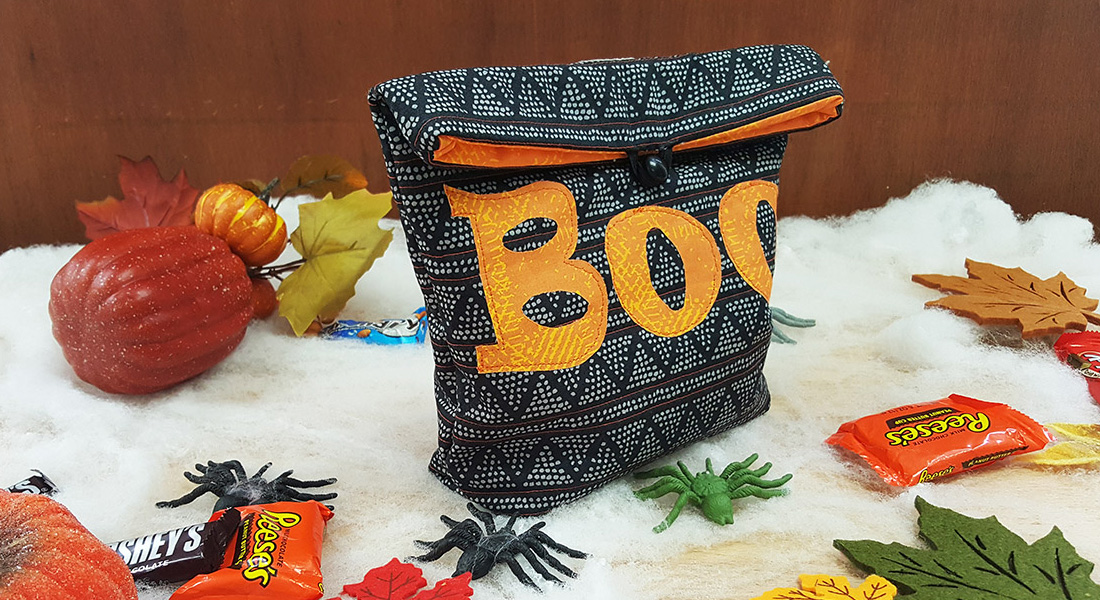
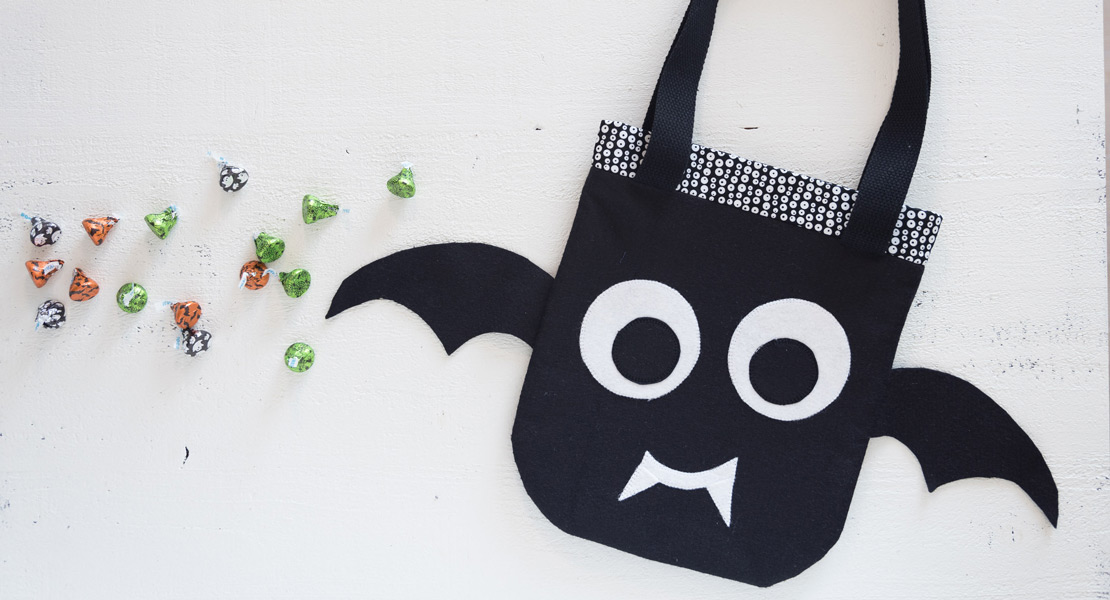
How to Make a Glow Design Treat Bag
Halloween is right around the corner, and while many of us are working on sewing costumes for ourselves or our little ones, I have a project that can be done in a day and can be saved for years to come!
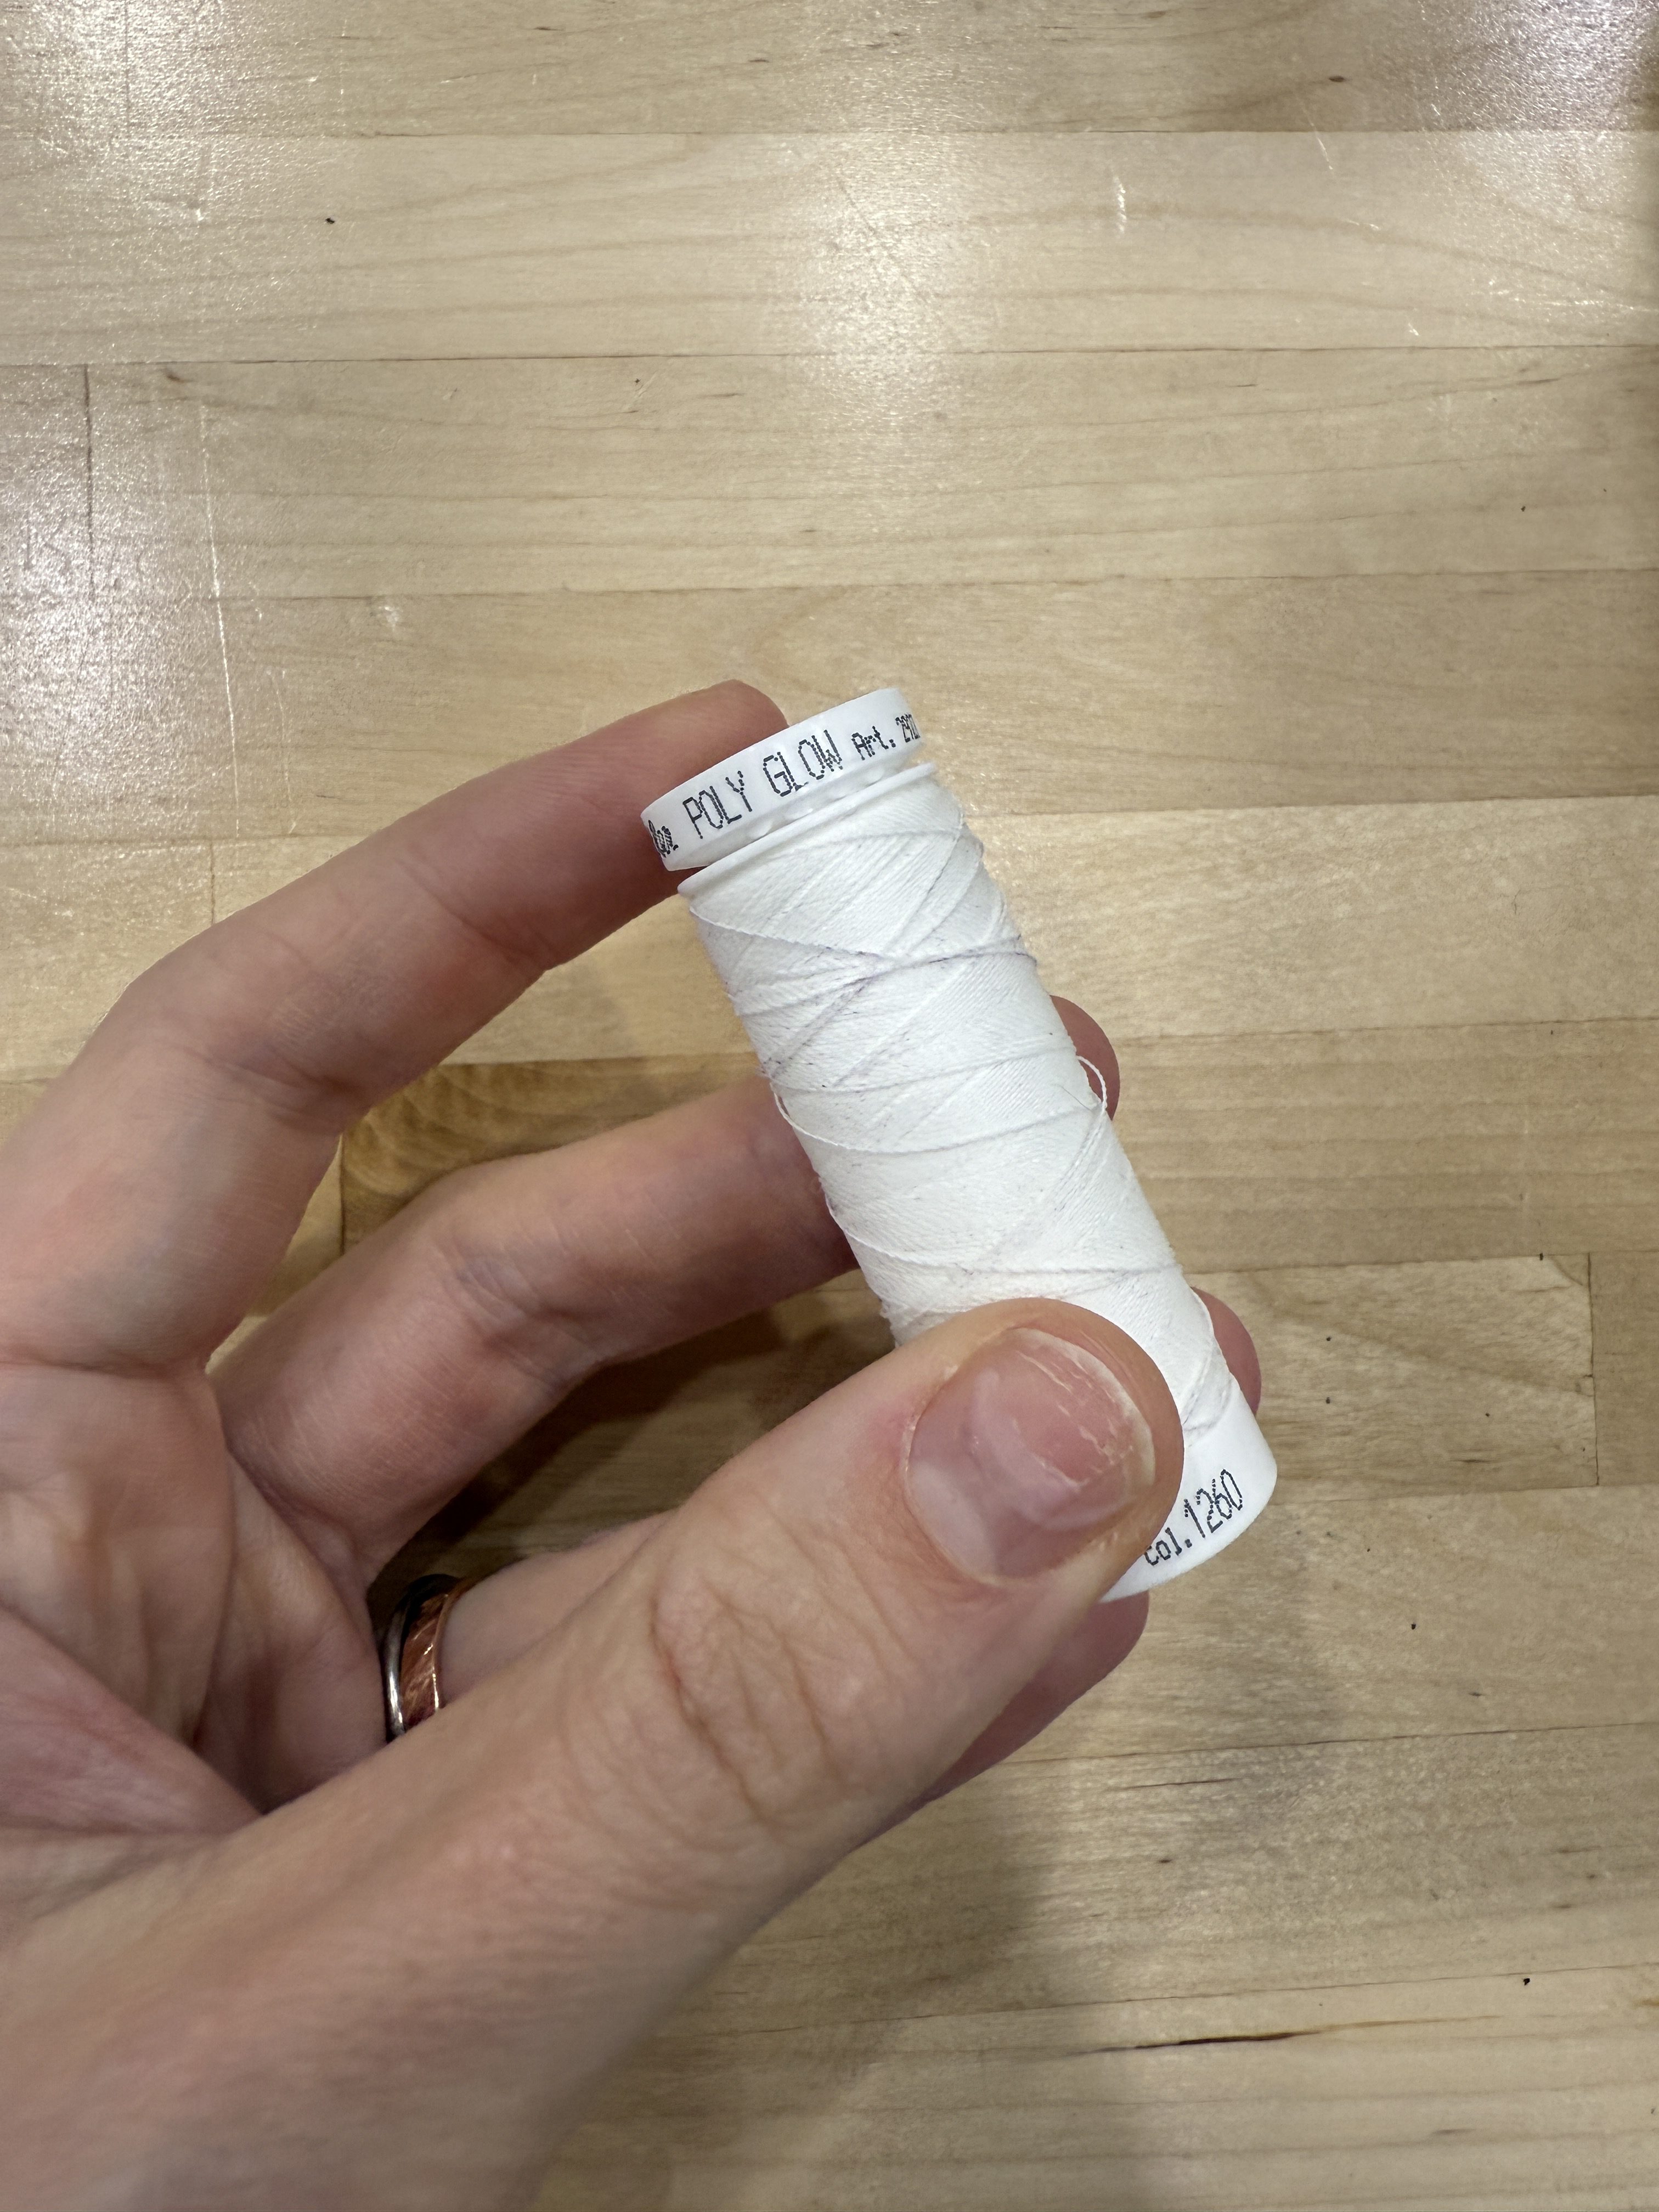
The idea came about because, as the night wears on during Trick or Treating, it can get harder to spot our kids. When I was gifted a spool of Poly Glow Thread by Mettler, I thought, “When would it be useful to use a glowing thread in the dark?”. And the glow design treat bag idea was born!
In this project, our kids can get the opportunity to customize their own treat bag design with chalk, and then you (or your child!) can use your overlocker to not only stitch that design in glow thread but also serge the bag together for a clean, quick result that will be a memento to keep for years.
Materials to Create a Glow Design Treat Bag
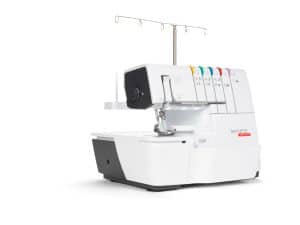
- b68 AIRLOCK
- Dark Colored Fabric – Cotton preferred
- Medium or Heavy Weight Cutaway Stabilizer
- 1 Cone of Serger Thread (Mettler Seracor Serger Thread is my favorite)
- 1 Spool of Mettler POLY GLOW thread
Steps to Make Your Glow Design Treat Bag
Step 1: Cut Fabric and Trace Design
This part is a ‘measure with your heart’ step, meaning that you can choose what size you’d like your treat bag to be and cut accordingly. Trace a square or rectangle the size of your desired bag, add seam allowance, and cut two of these pieces (one for the front and one for the back). I did not add a lining to my bag, but if you decide you’d like a lining, then you’ll want to also cut an additional 2 pieces of lining fabric. Cut a long strip of fabric for your handle, making sure you can fold it lengthwise, sew it, and turn it right side out to hide the seam. This can be replaced with ribbon, cording, or nylon strapping as well!
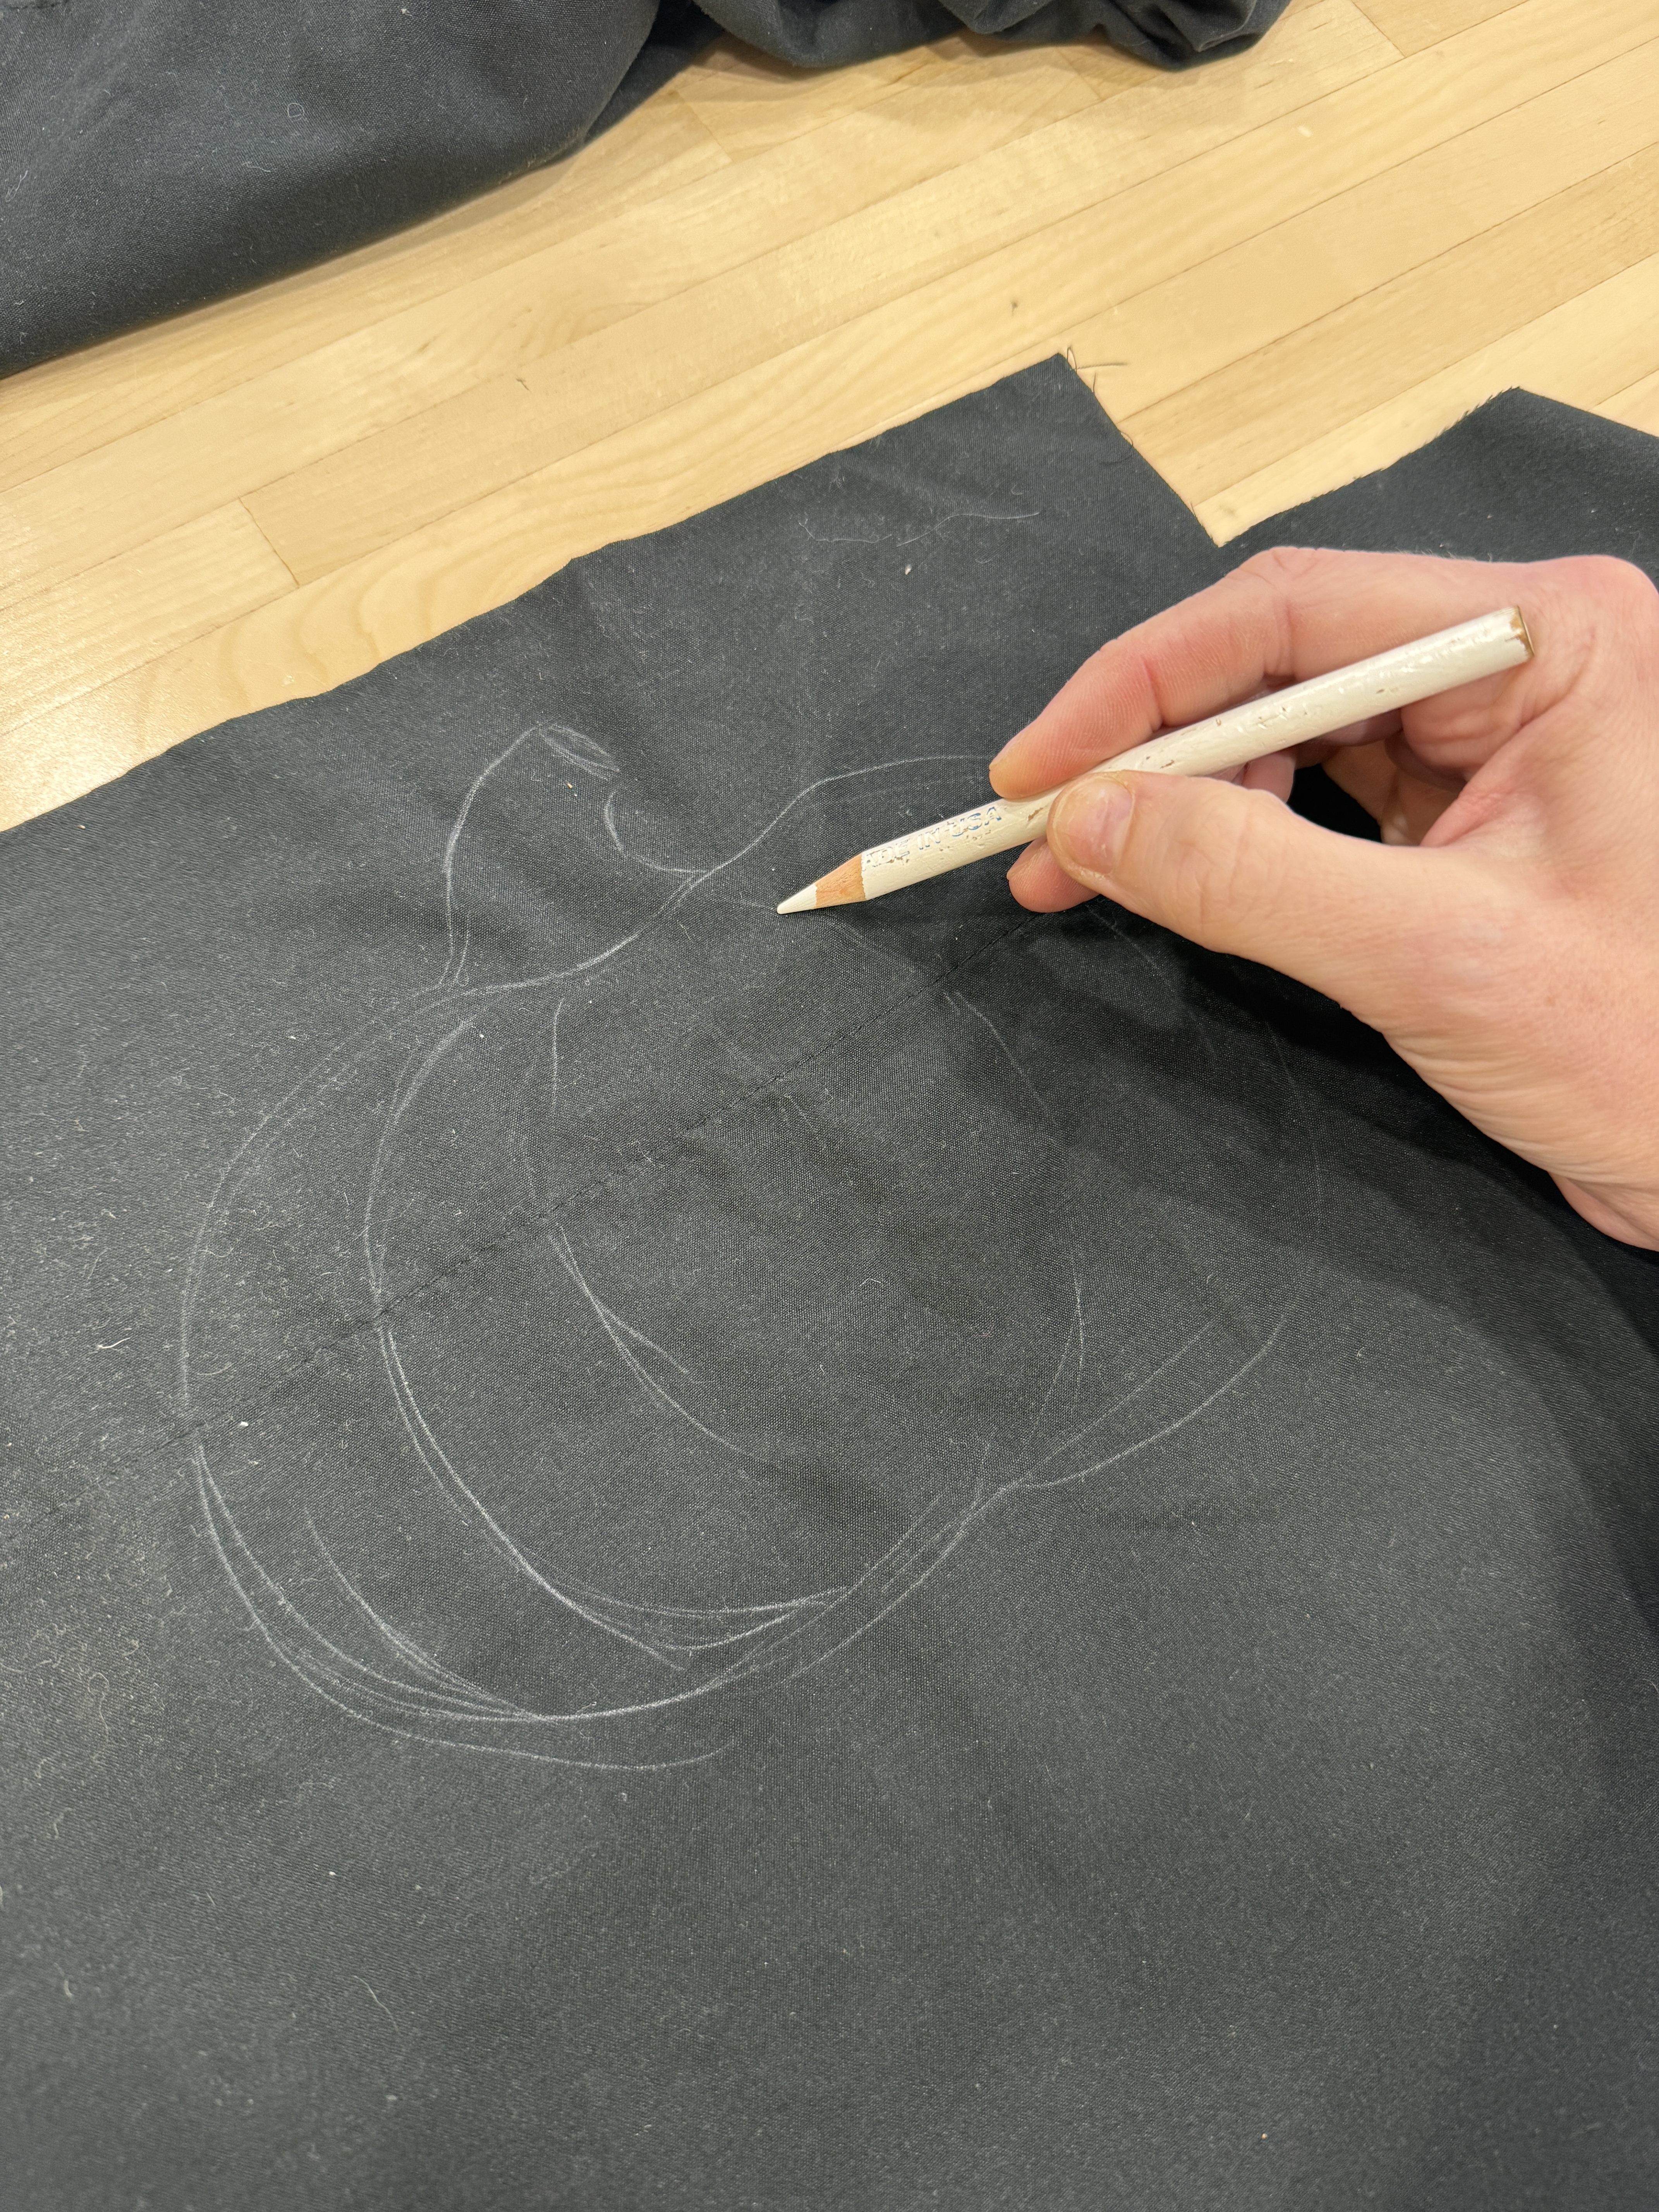
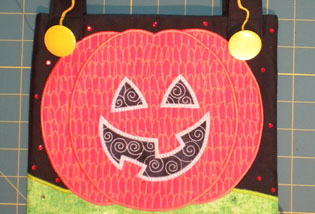
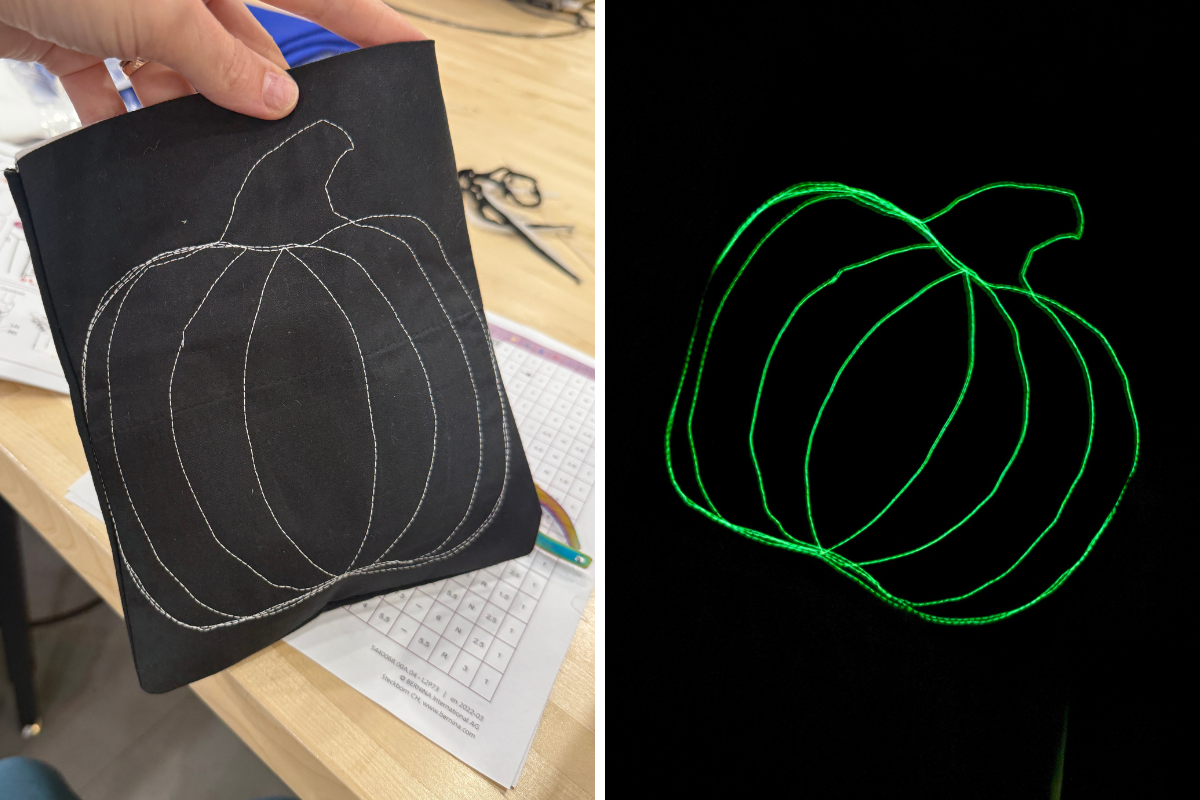
On the right side of one of the facing panels, trace a simple design in white chalk. You can have your child do this so they can make it their own! I drew a simple pumpkin. Remember, the more edges and lines that are drawn, the more you have to stitch over with Glow thread.
Step 2: Set Up and Thread Your Machine
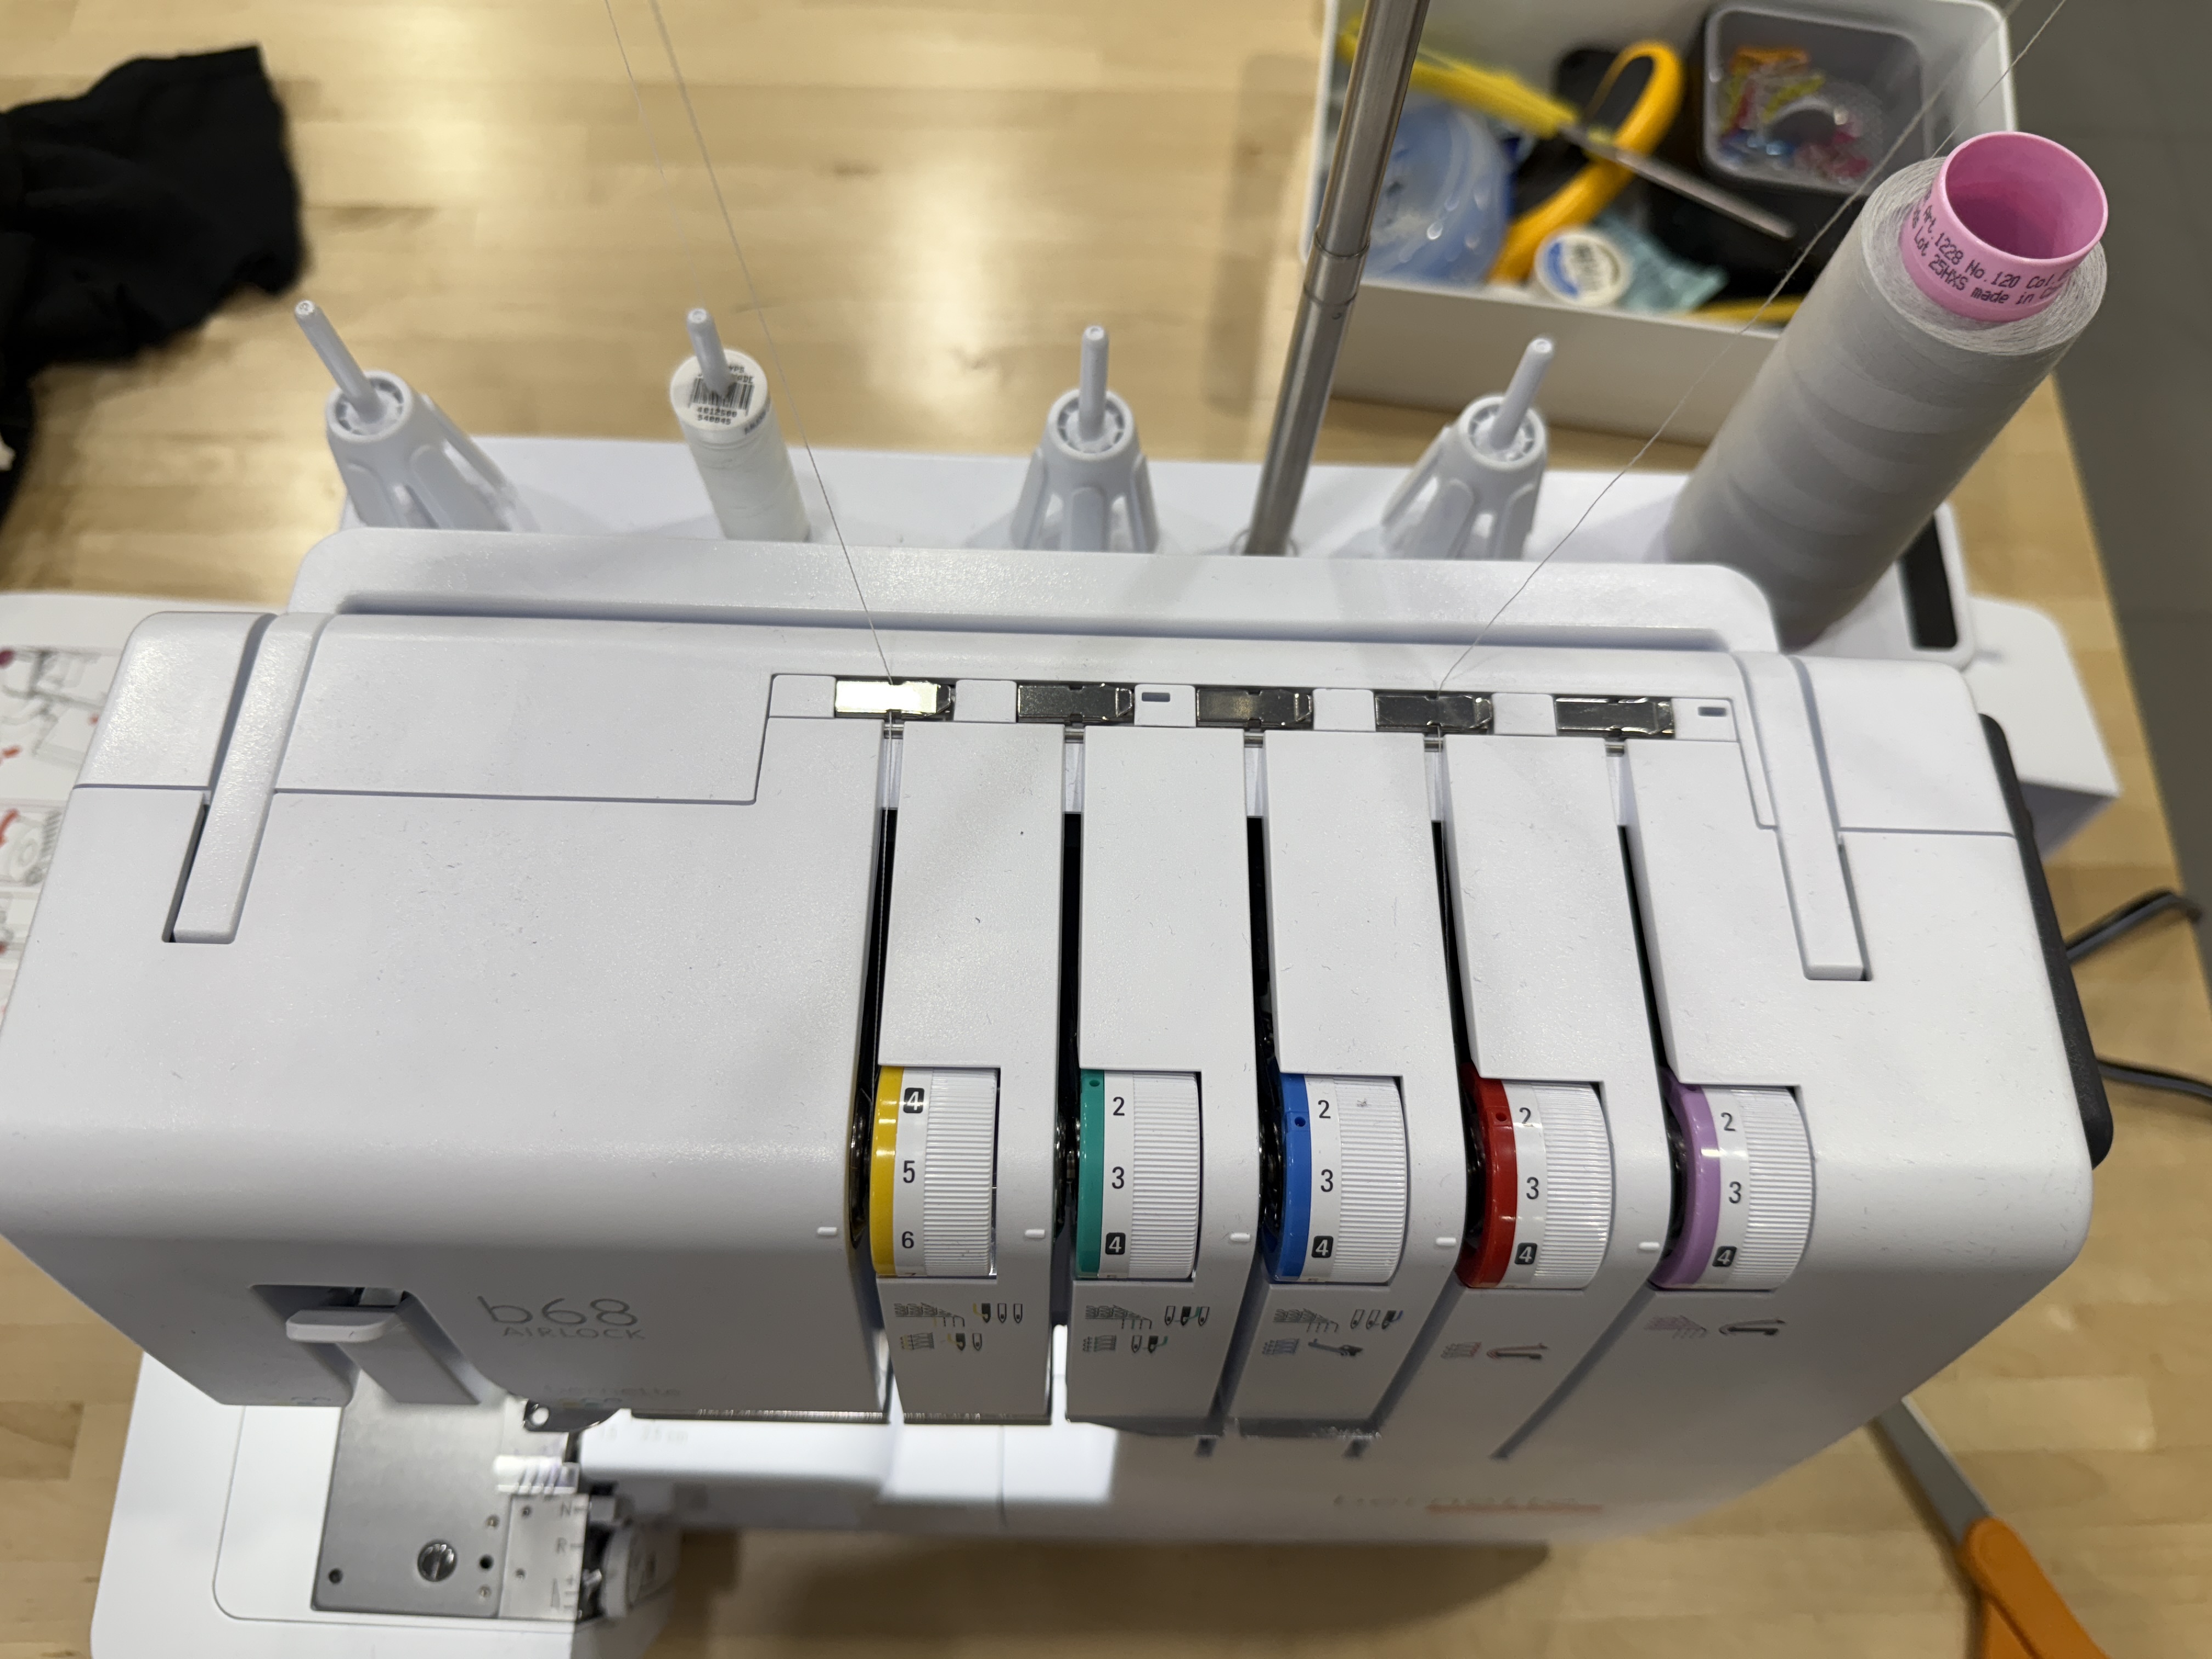
For my b68 AIRLOCK, I will choose a 2-thread chain stitch because it’s simple and gets the job done. No matter what BERNINA or bernette machine you use, you want your top thread to be your Glow thread and the other to be a regular polyester or cotton thread to affix it in place. Thread your machine, noting that the Glow thread may need a lower tension to prevent breakage.
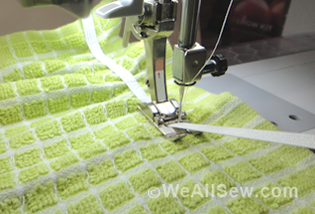
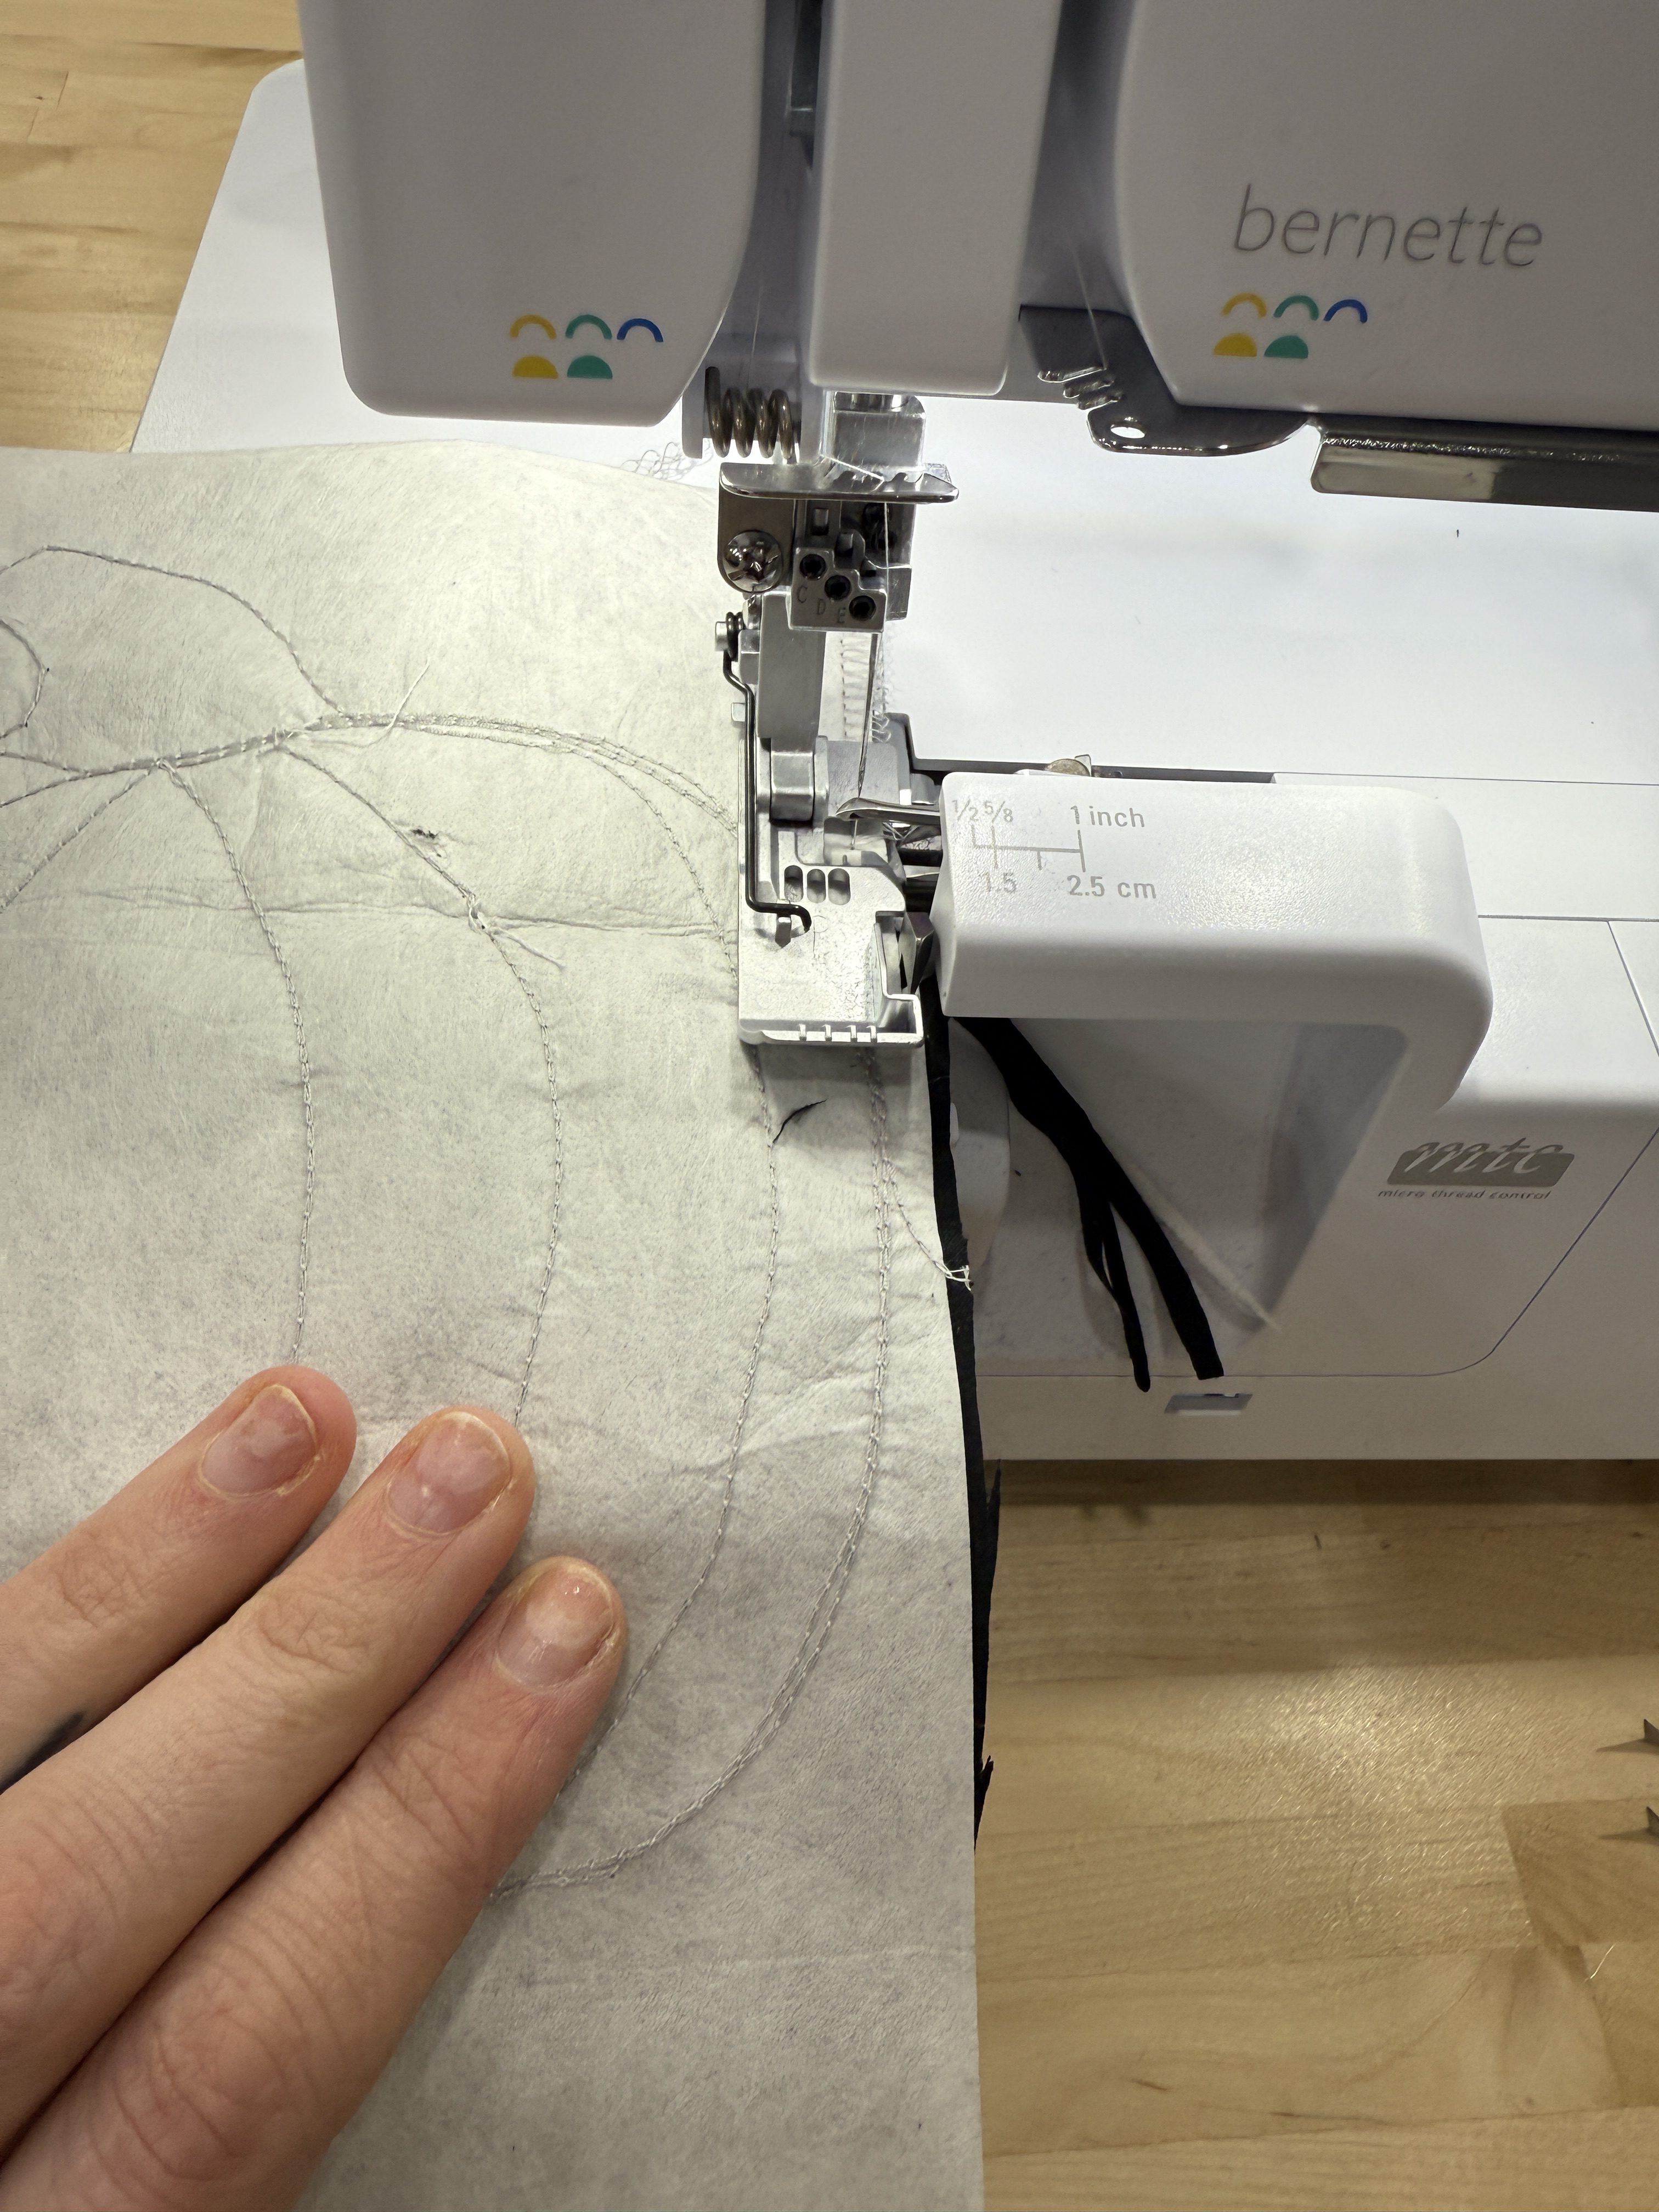
Step 3: Stitch Your Design
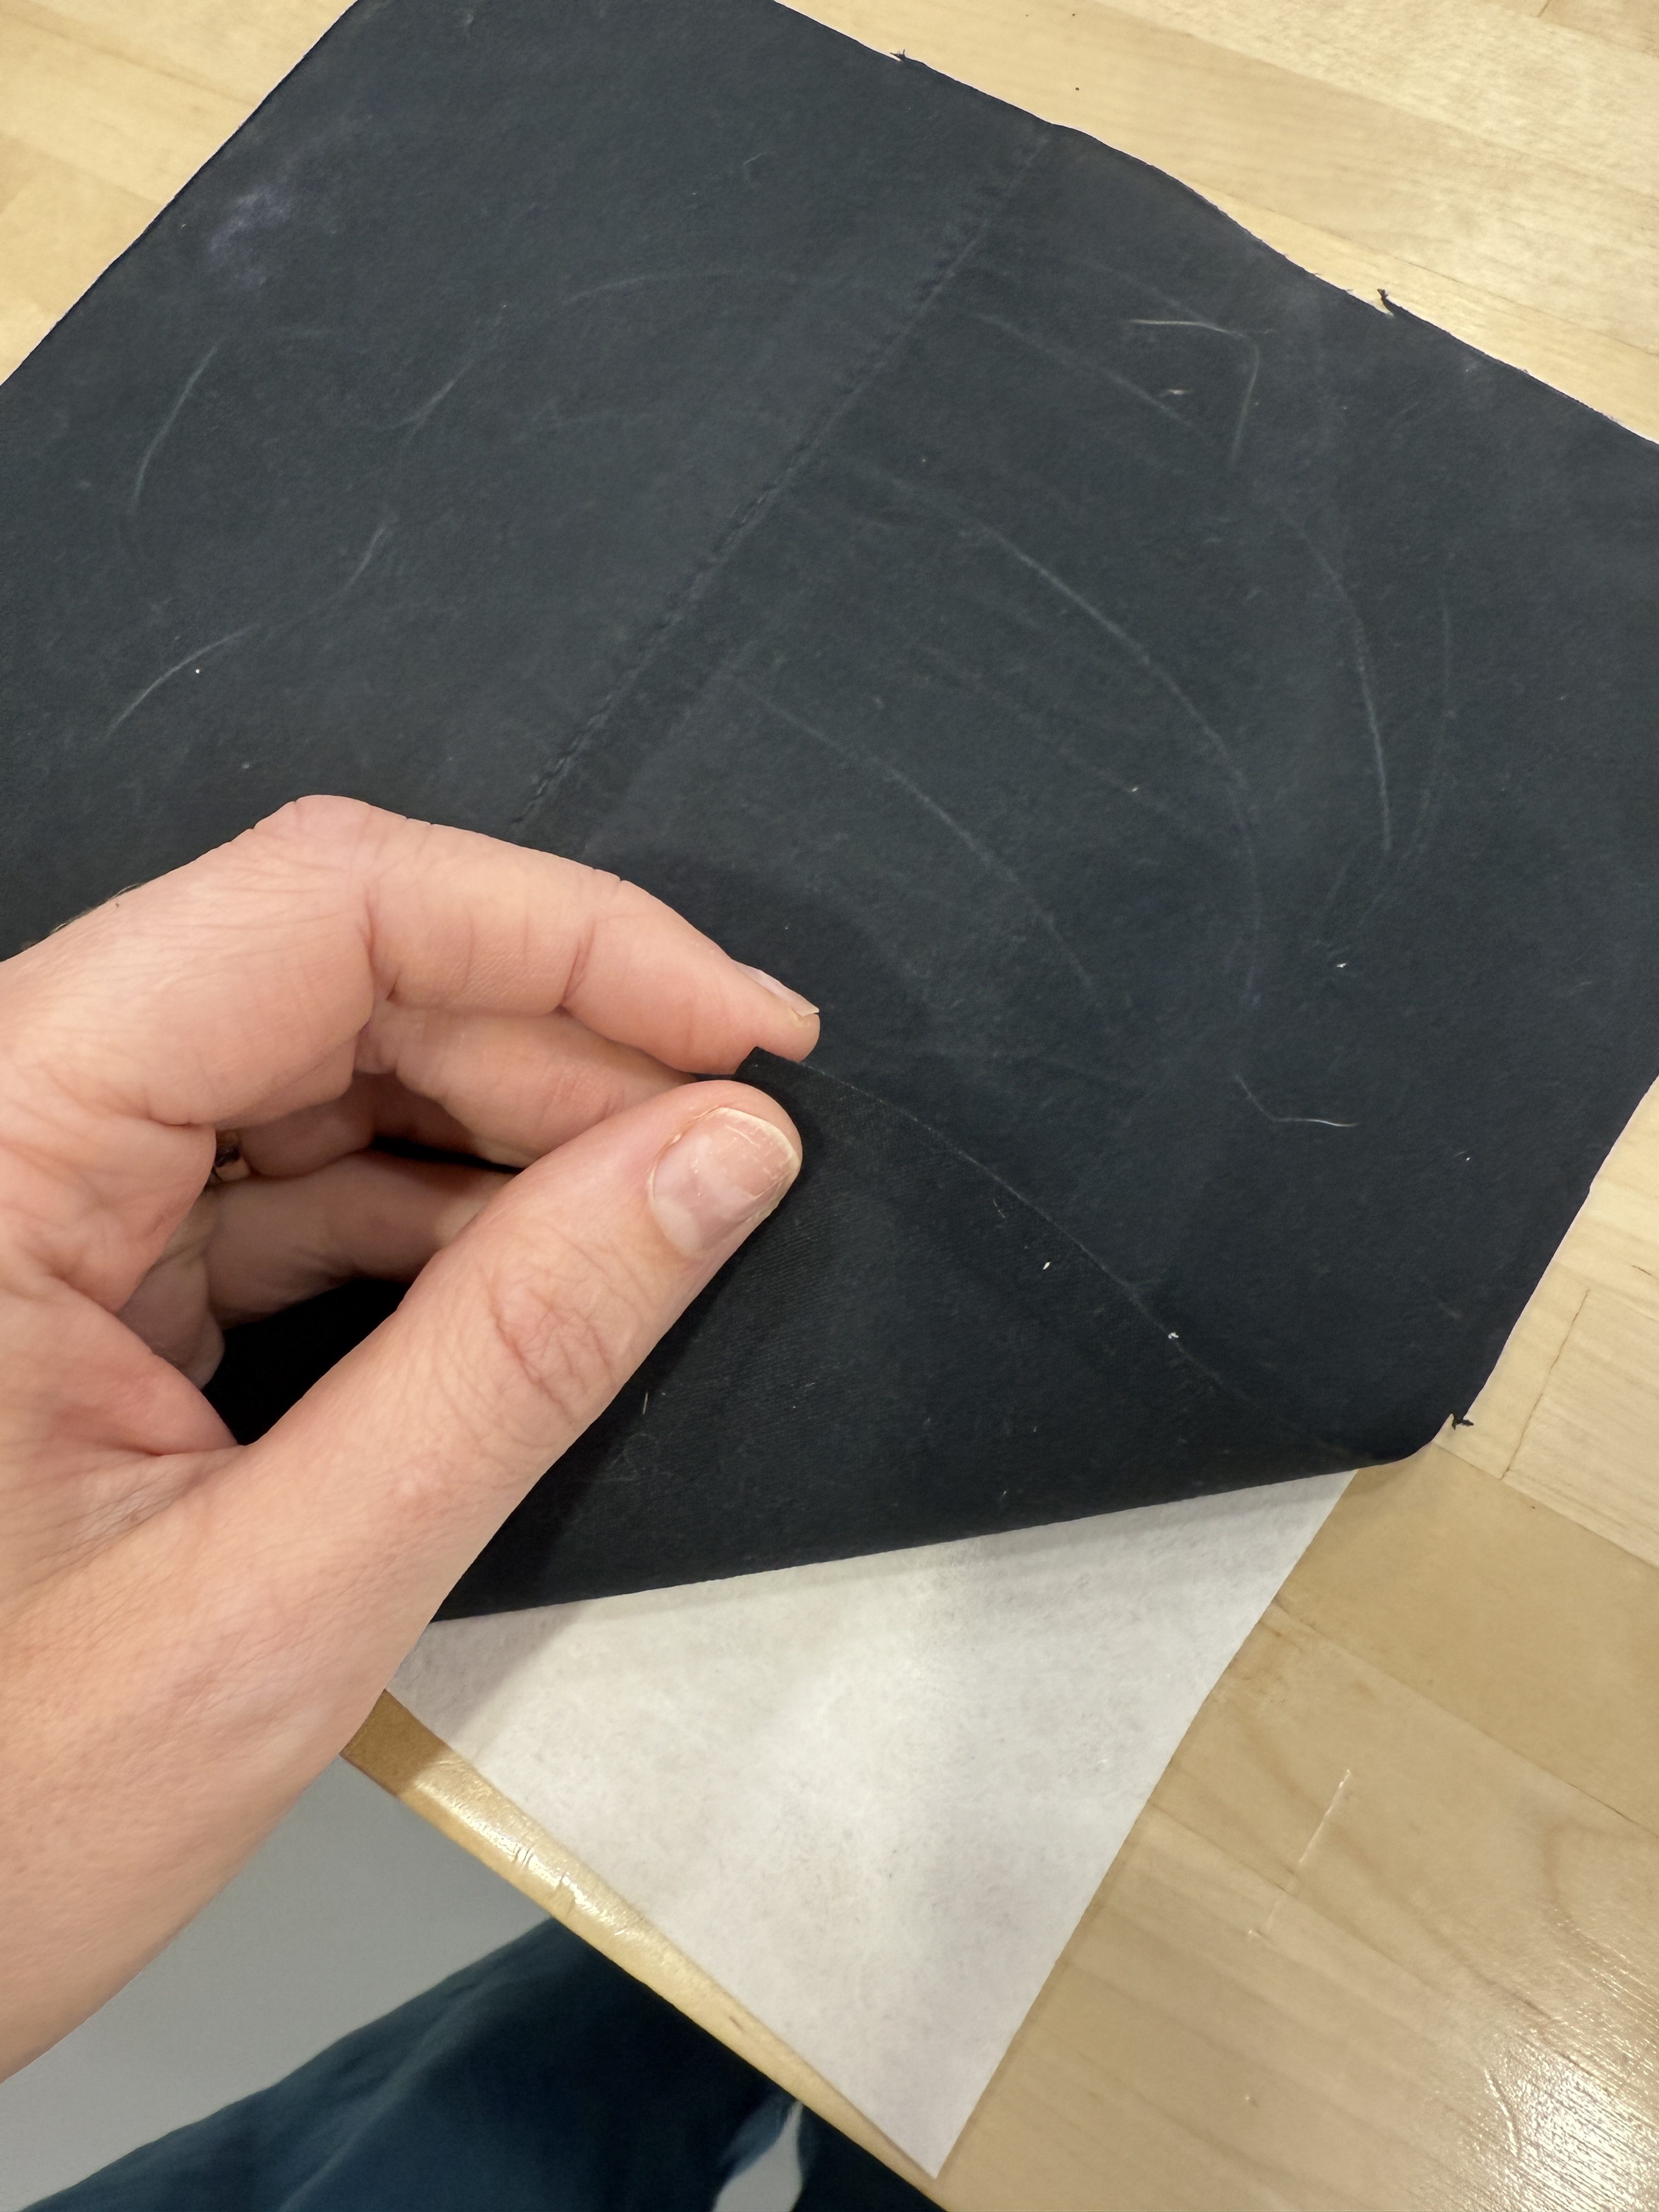
Use a temporary spray adhesive to affix your stabilizer to the back of your fabric with the design. This will keep it nice and stiff during your stitching process.
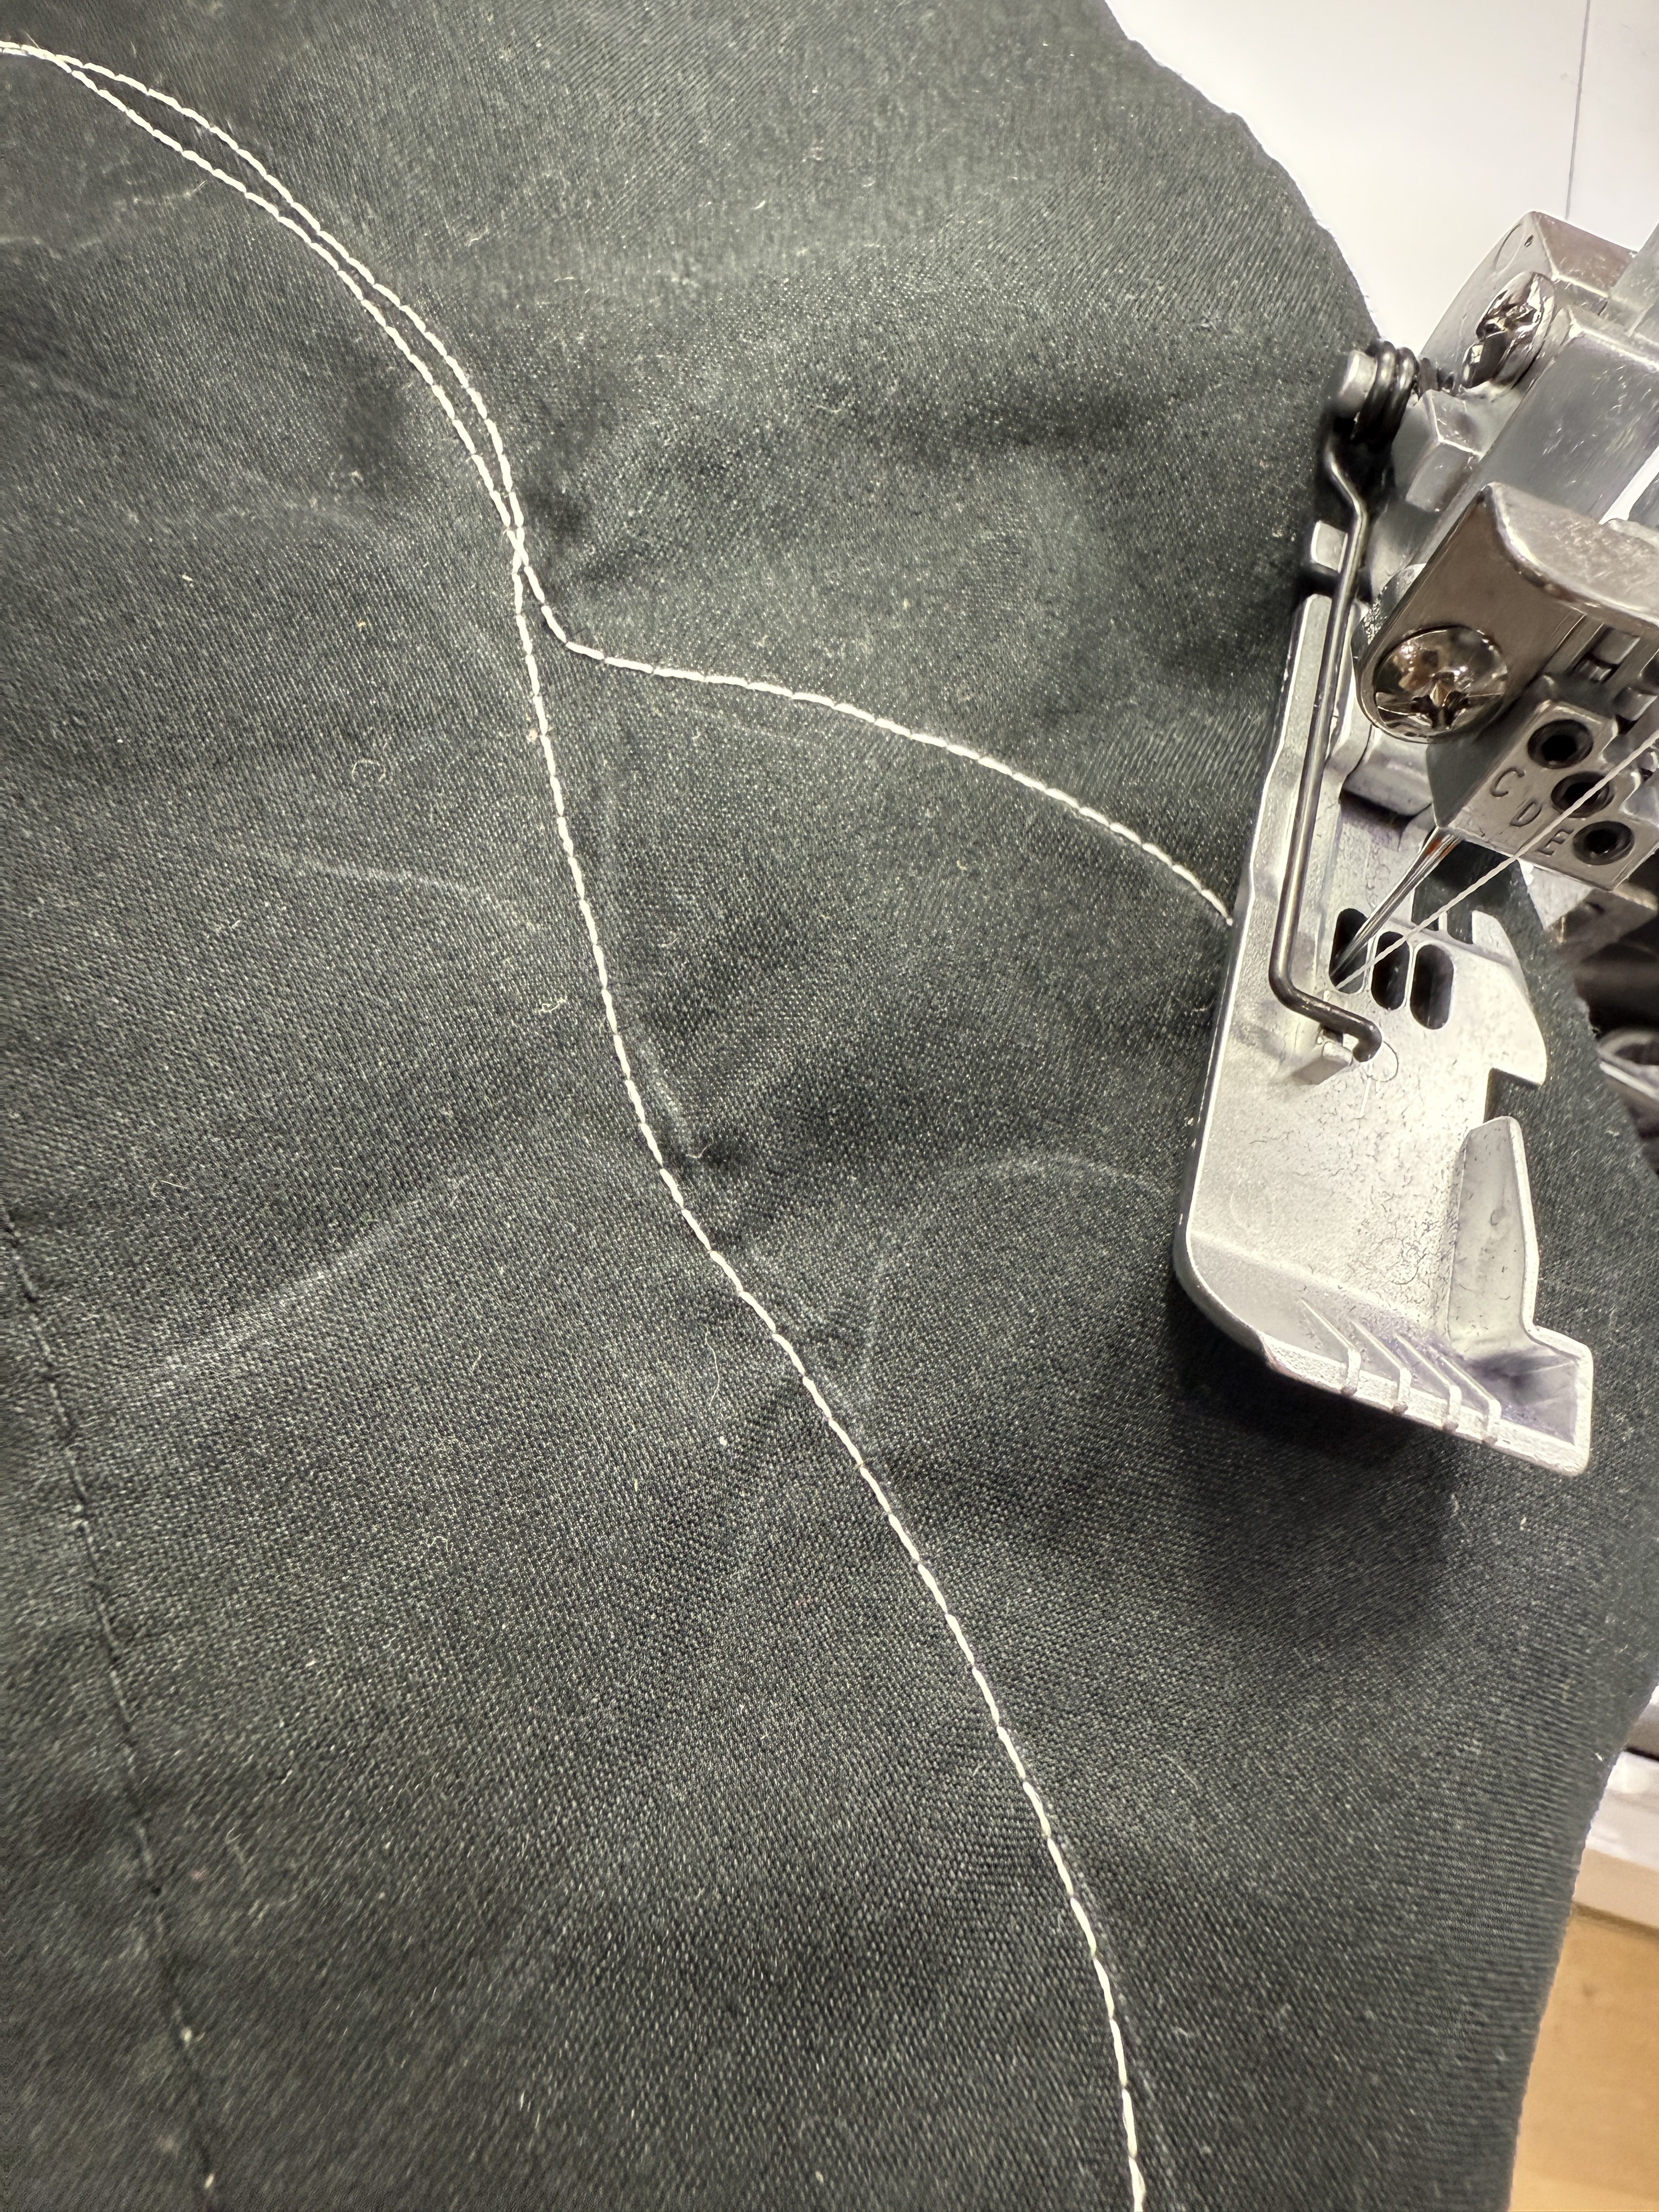
Following the drawn design on your fabric panel, chain stitch using the Glow thread. I do this in one continuous line, so you may need to plan your sewing route accordingly. Be sure to lift your pressure foot at sharp corners. When finished, cut your threads and remove fabric from the machine.
Step 4: Rethread and Set Up Machine for Serging
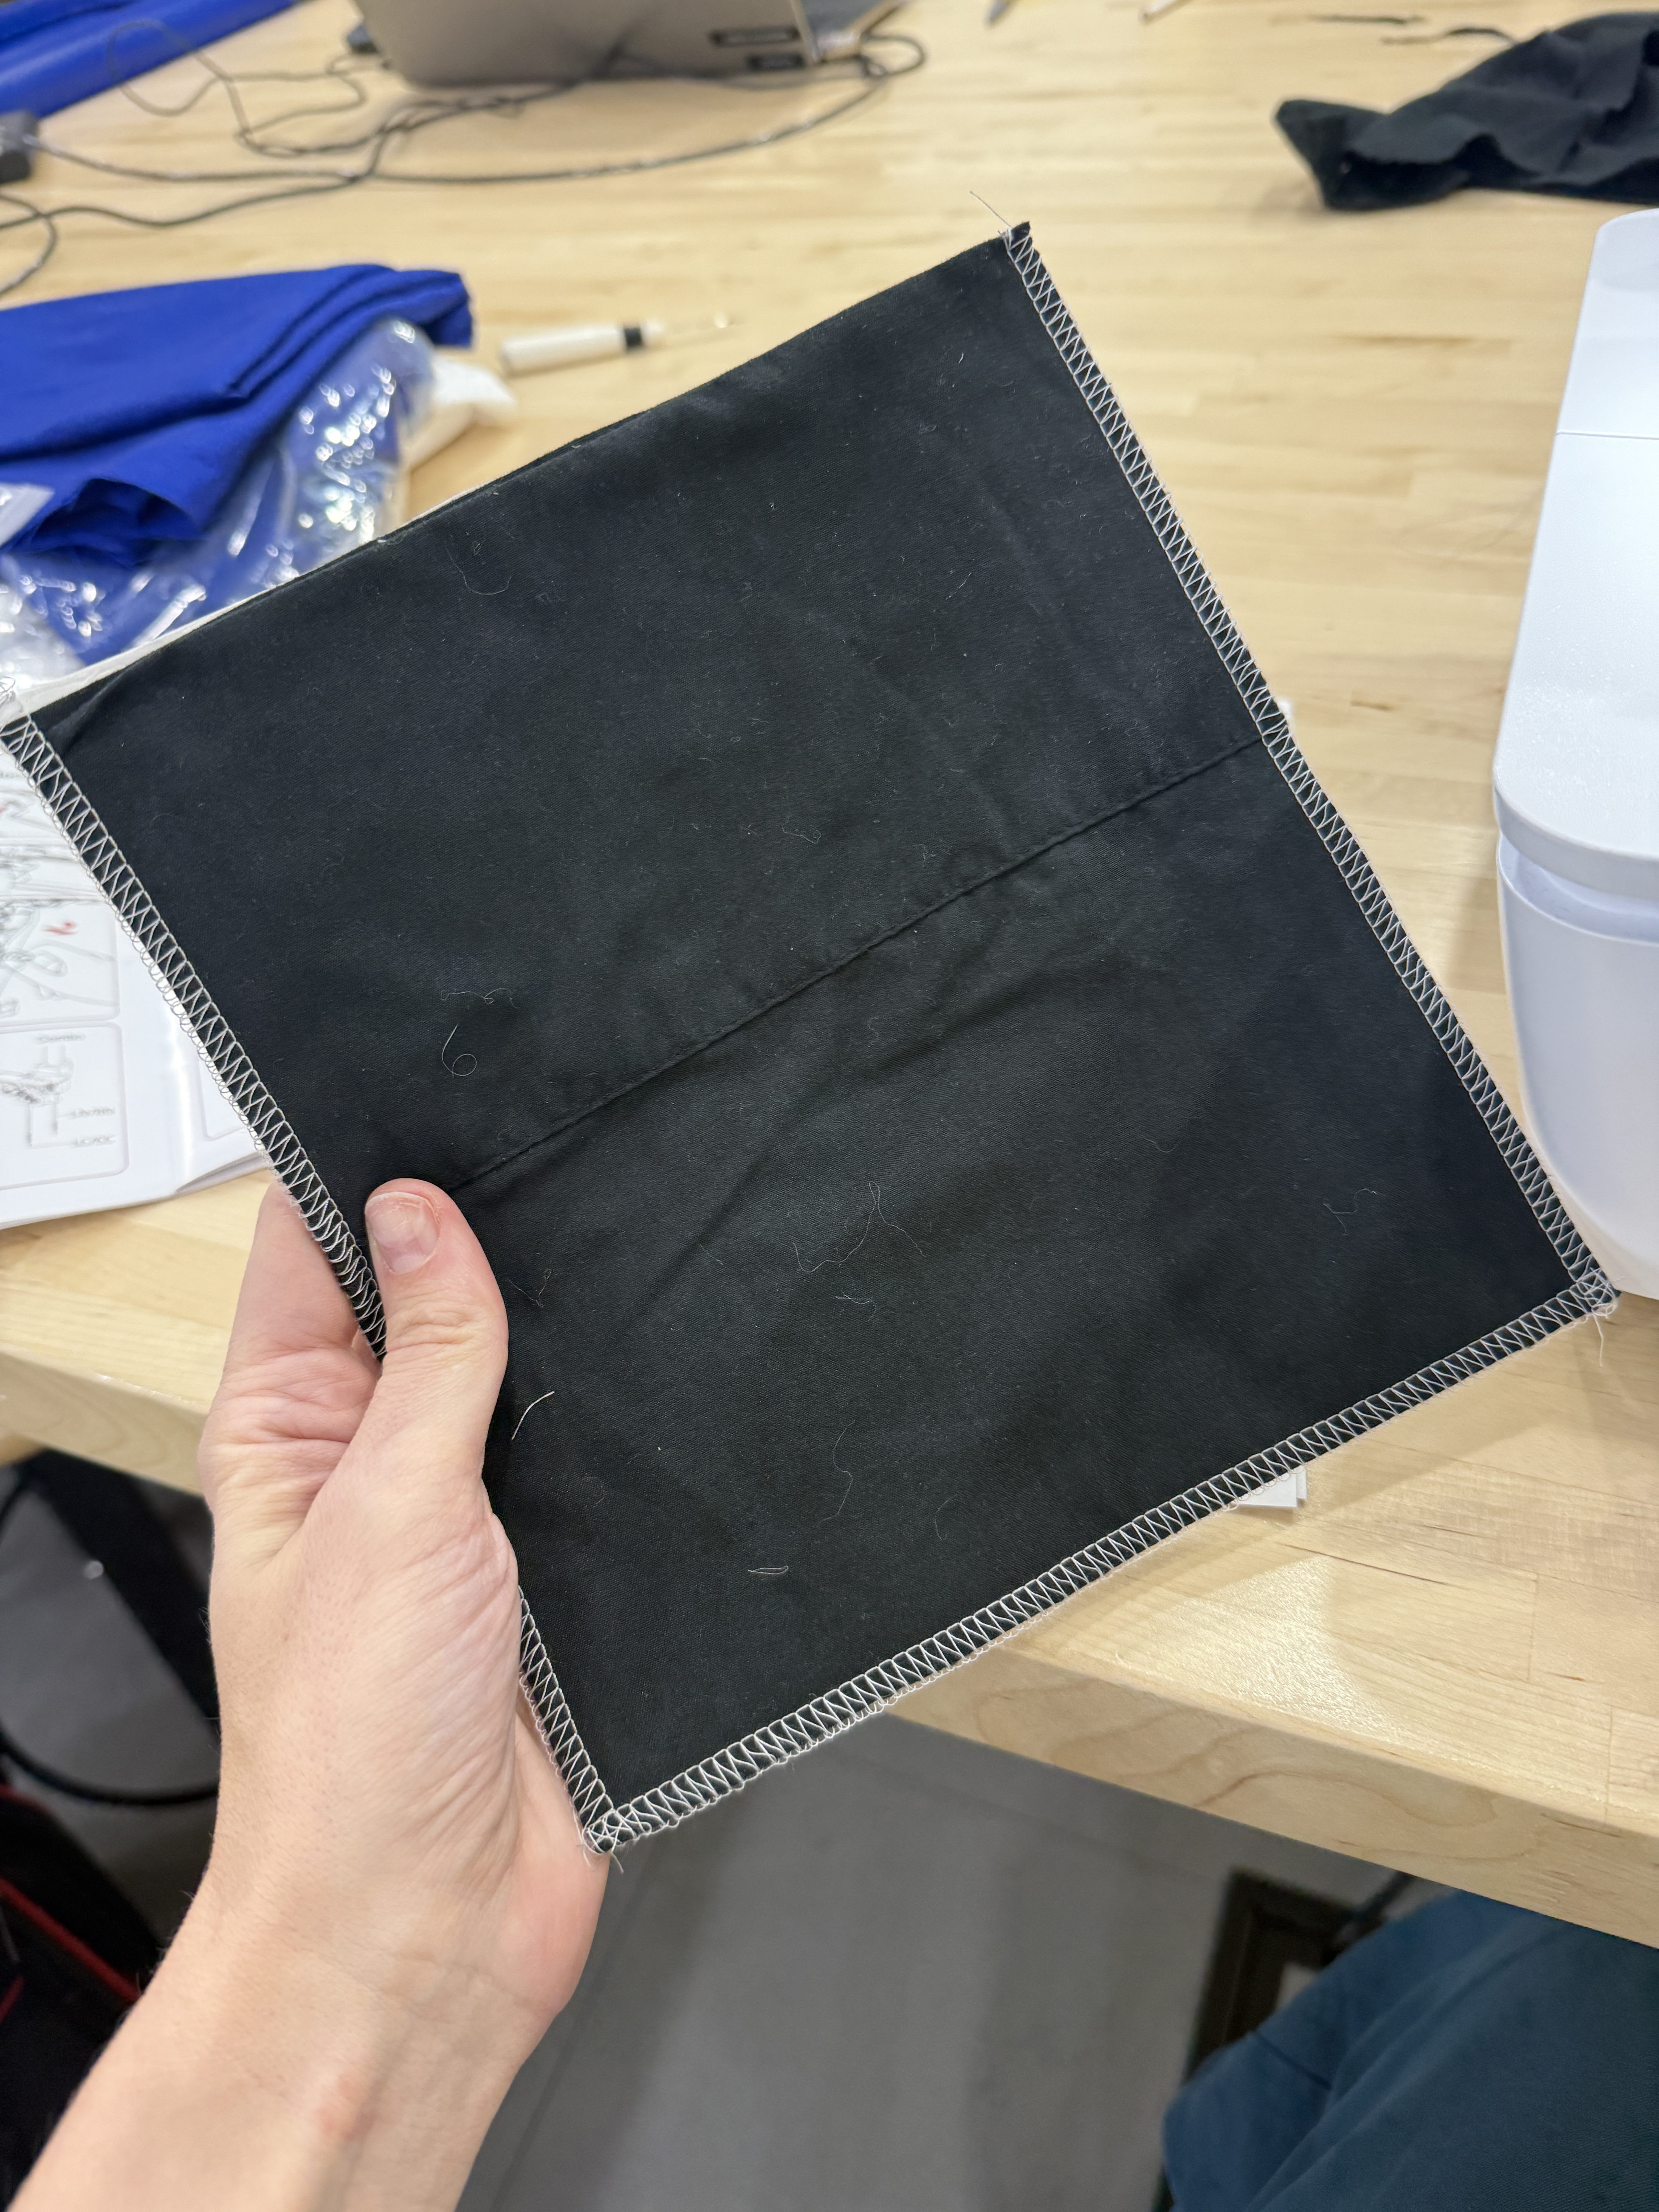
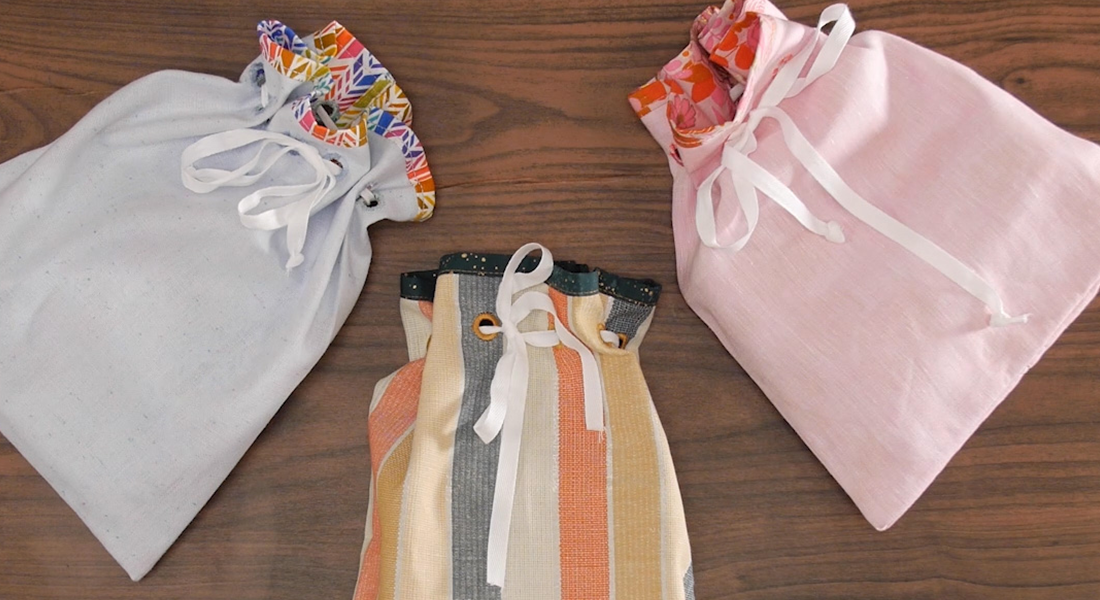
To assemble the finished bag, I kept the stabilizer on without cutting excess away. This made for a smooth inside to my bag with a little stiffness to it. Put the front and back bag panels right-sides together. Serge the sides and bottom together. Sew a rolled hem at the top of the bag, either using your chain stitch on your serger or a standard machine.
Affix your handle to the inside of the topsides of your bag using a zigzag stitch. Turn rightside out to finish.