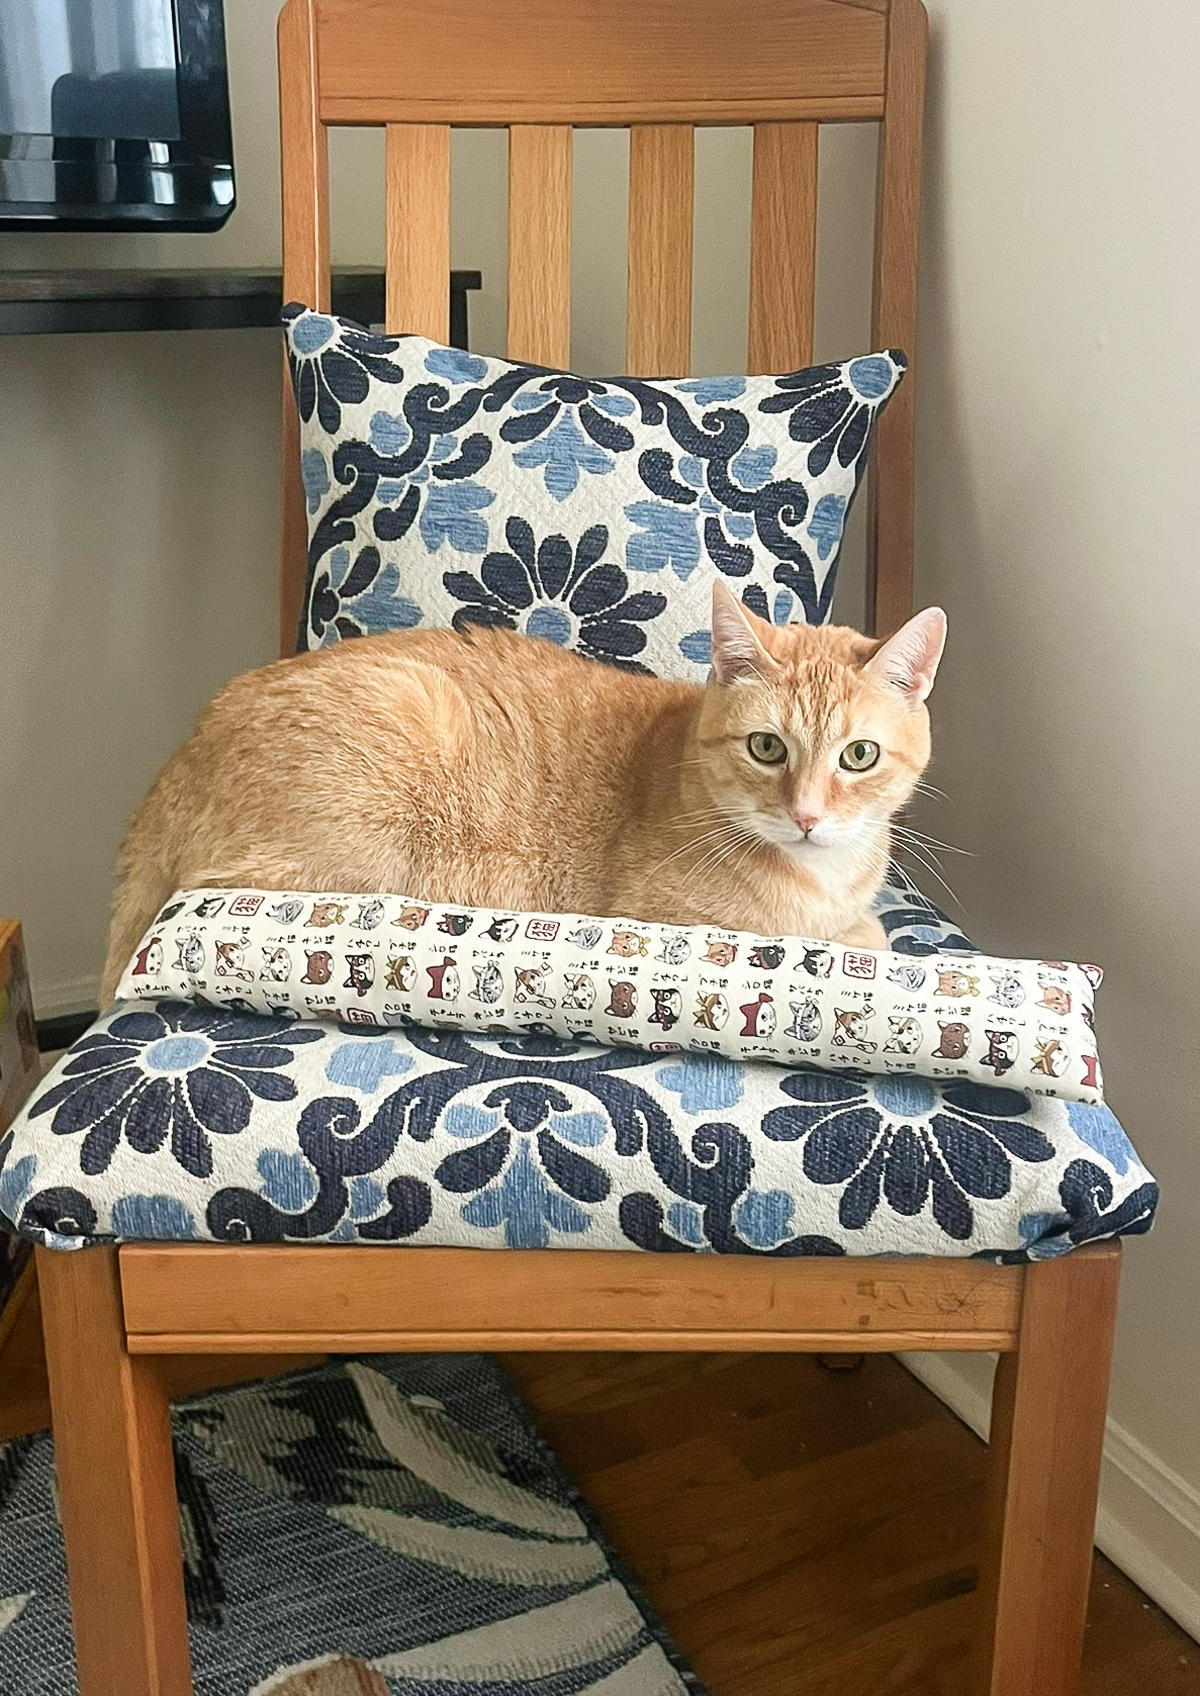
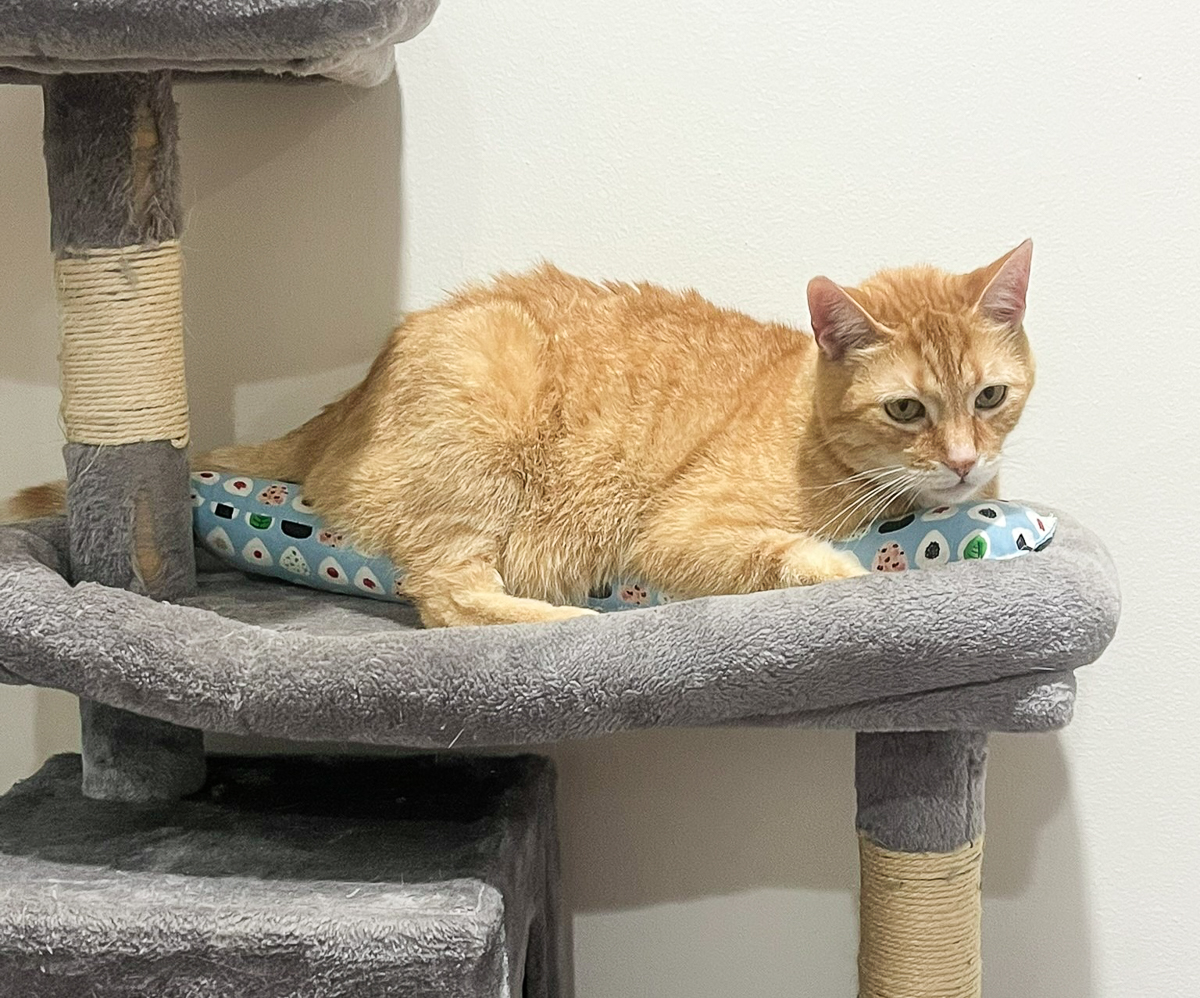
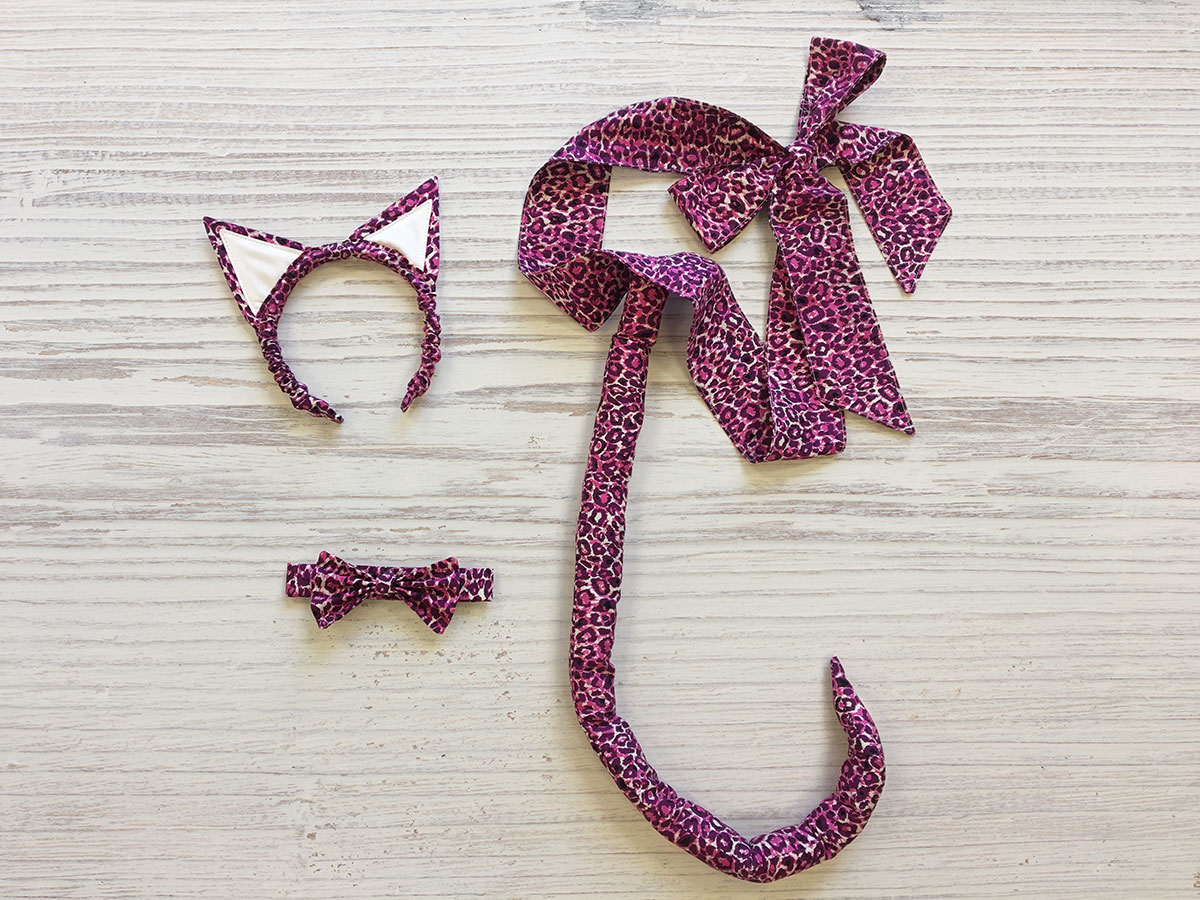
How to Sew Kitty Sticks

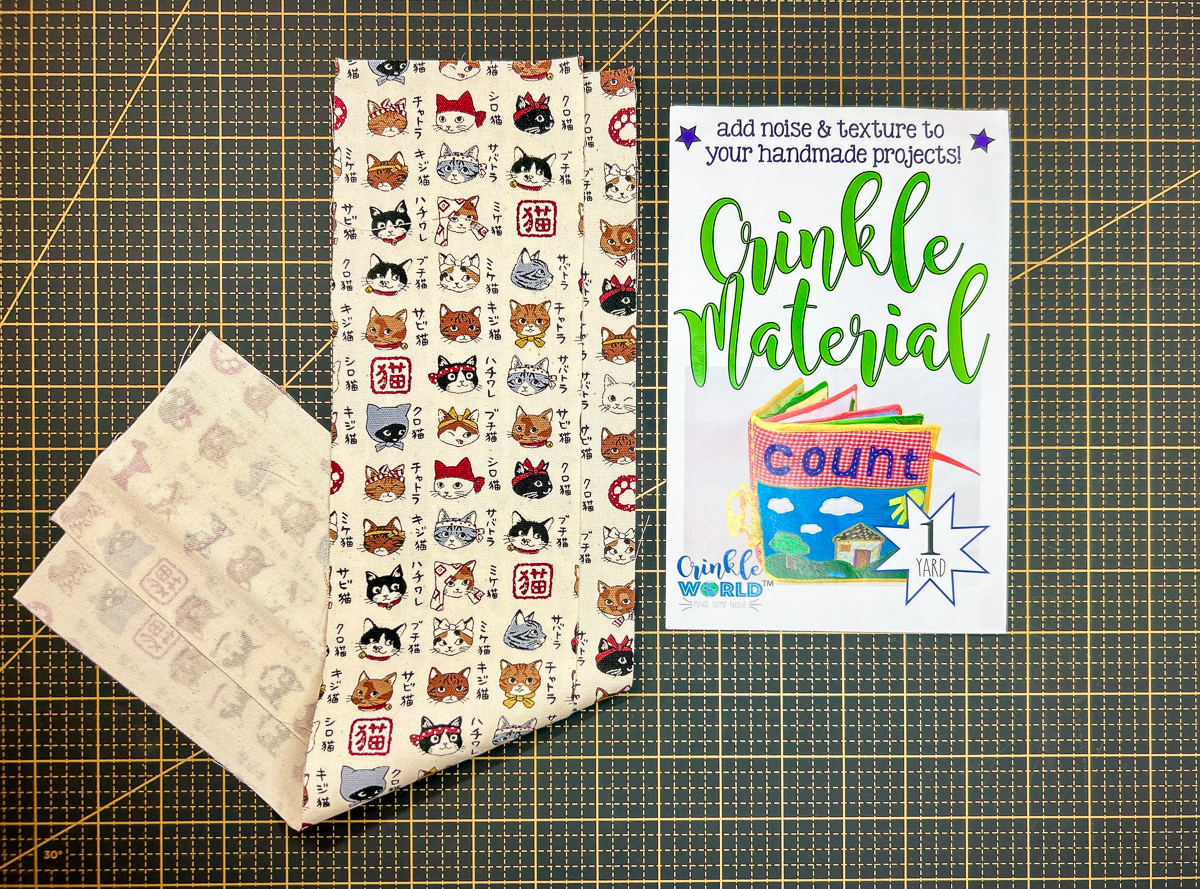
A sewing project made for your kitty doesn’t get any cuter than this, and your cat will love it! I’m sewing this one with Japanese fabric because it’s nice and thick for a pet toy, and the selection of prints are too adorable. Also, I’m including an option to add crinkle material because cats love the sound. I’ve made them both ways, and my daughter’s kitty, Simba, loves them all. Oh, and even though they’re called kitty sticks, small dogs love them just as much!
Materials for Sewing a Kitty Stick
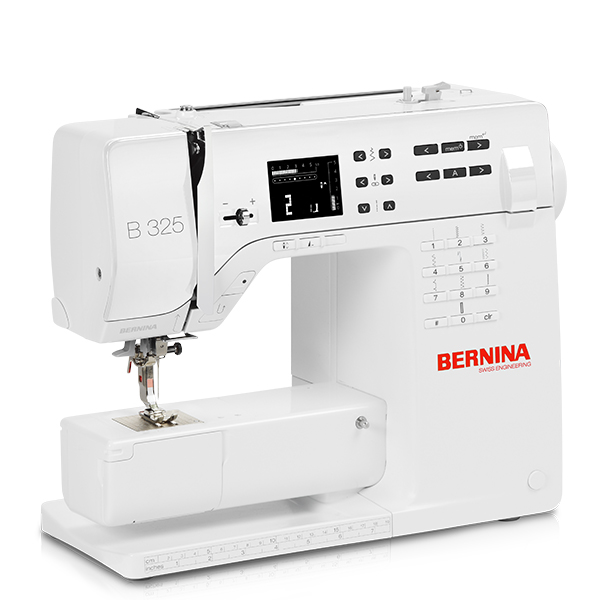
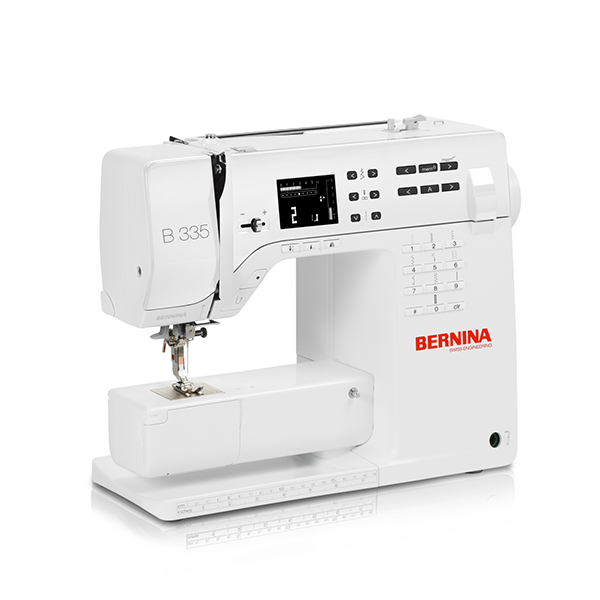
- BERNINA 325 or 335 (Gen 2)
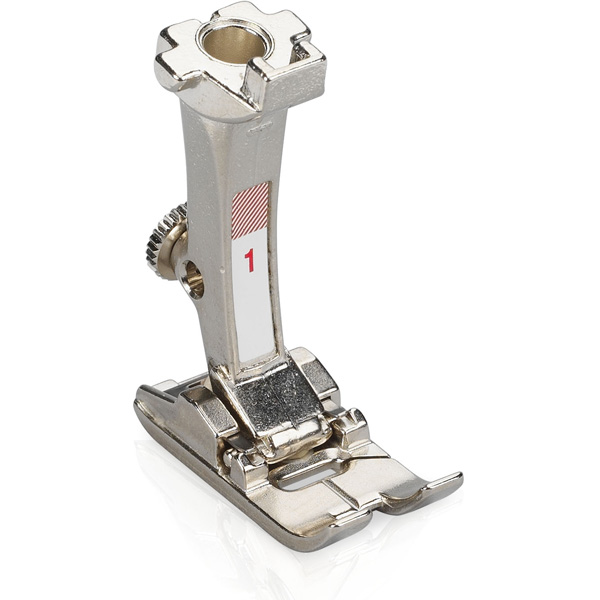
- Reverse Pattern Sole #1
- Fabric:
- Heavy woven or canvas: (2) 4” x 19”
- Optional: Crinkle material: (1) 4” x 19”
- Lining: (1) 4” x 19”
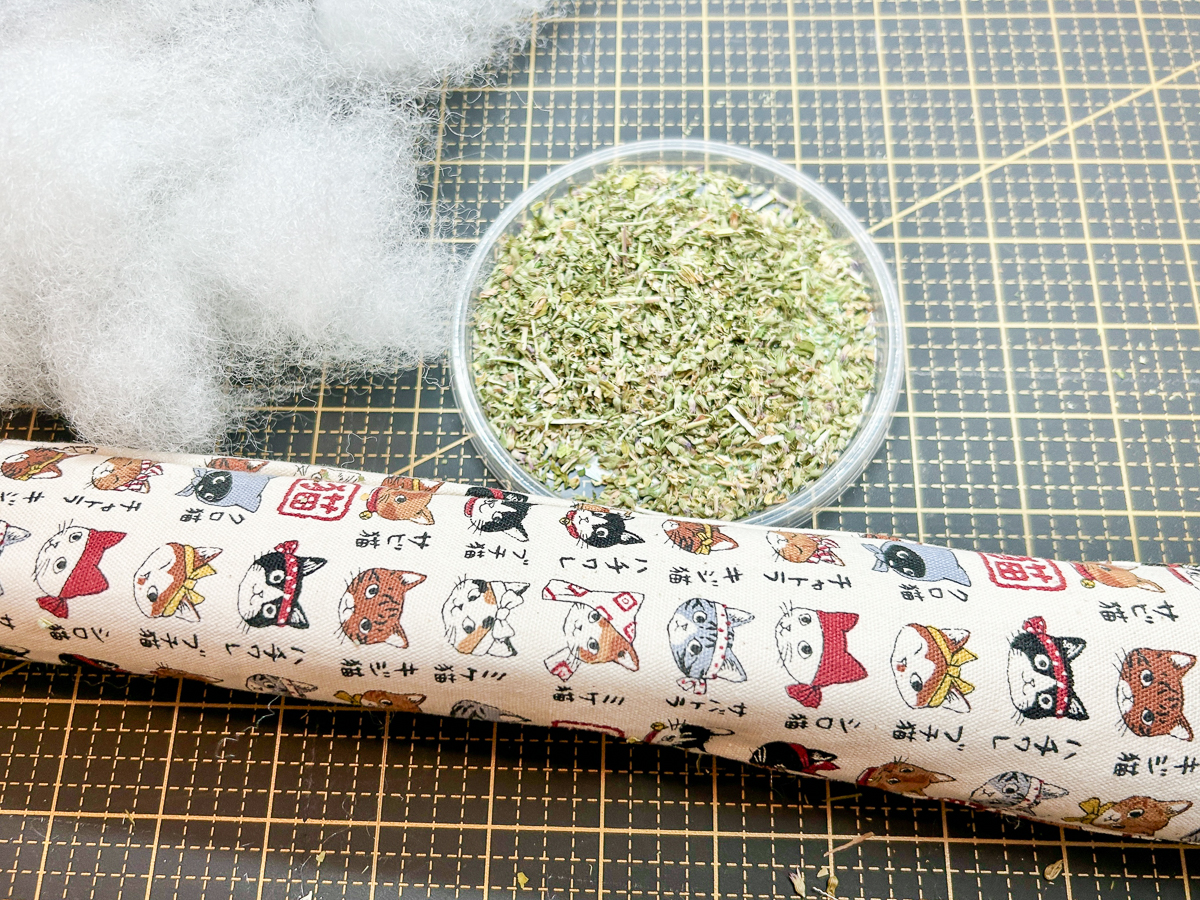
- Stuffing
- BERNINA Microtex Needle, 80
- Mettler Cotton Thread, 50 wt
- Wonder Clips or pins
- OESD Expert Point and Press Tool
- Optional: Catnip
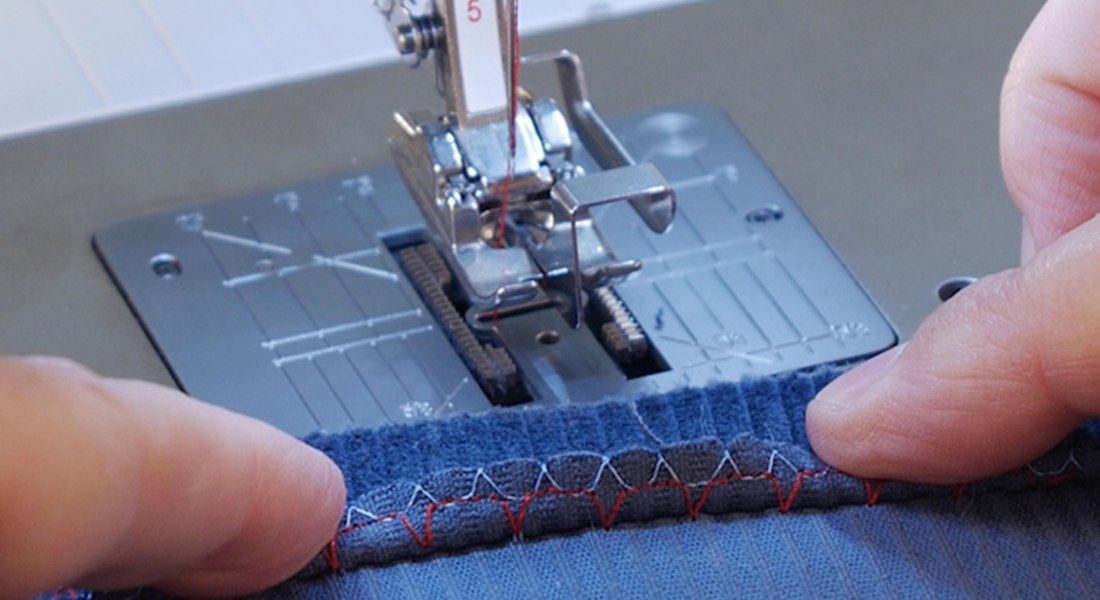
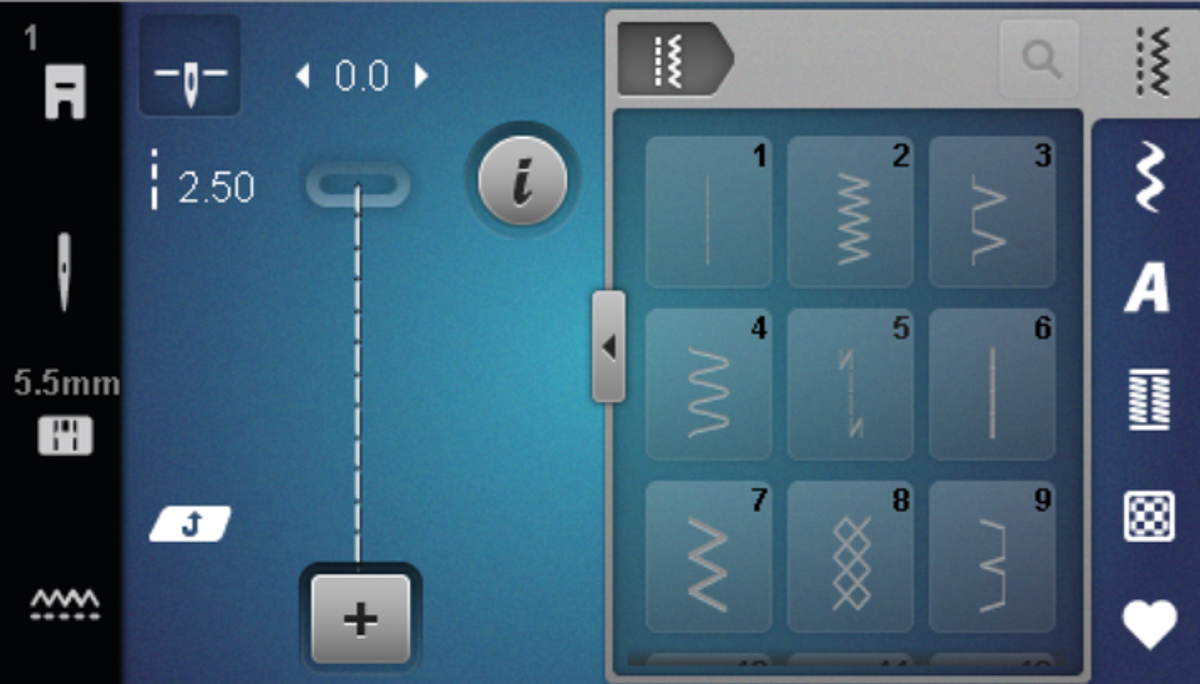
Step 1: Machine Settings
Select straight stitch #1. Engage the Needle Down function. Now, when you stop sewing, the needle will stop in the fabric. This prevents the fabric from shifting under the needle, especially when turning corners.
![]()
Step 2: Start Sewing
Layer the lining, crinkle material, and fabric together with the crinkle in the middle. Secure edges with clips or pins.
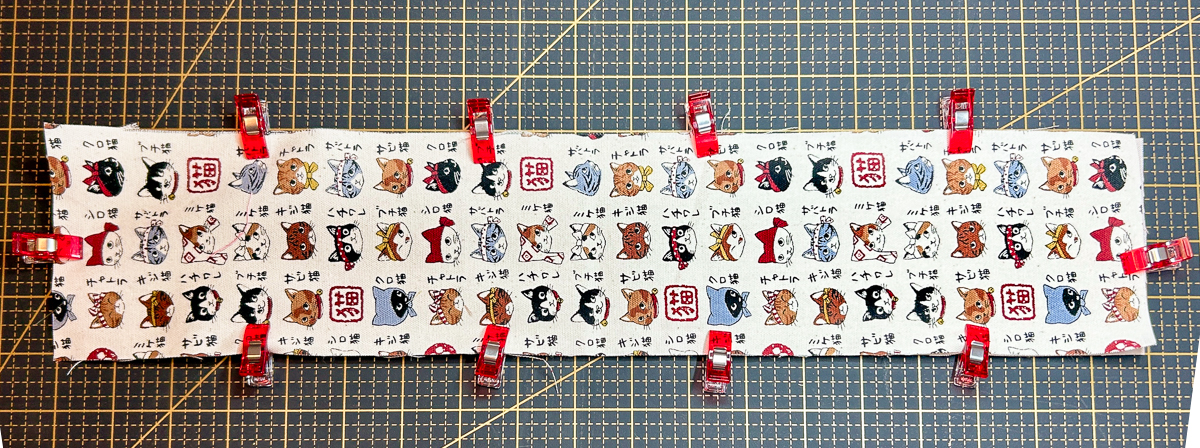
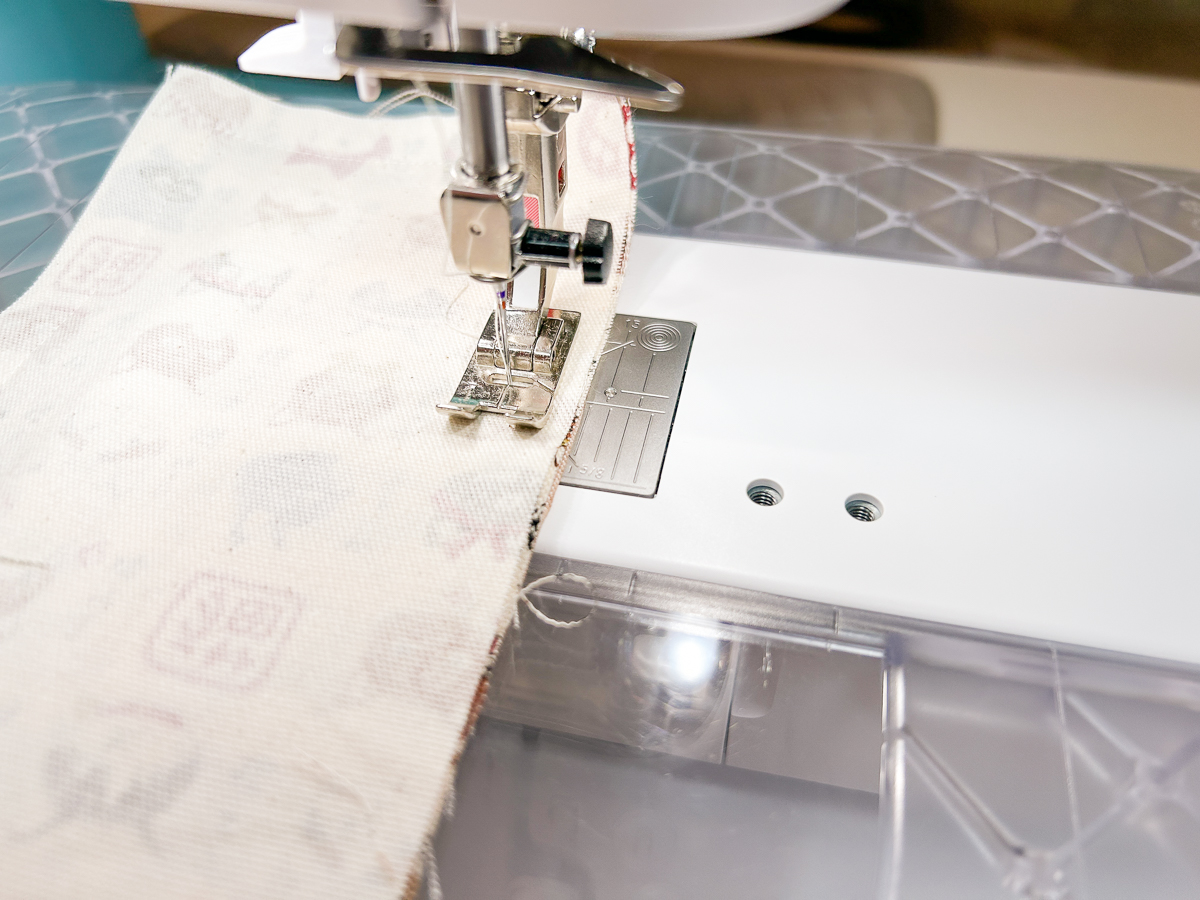
Place the edge of the fabric under Foot #1 at the 3/8″ mark on the stitch plate.
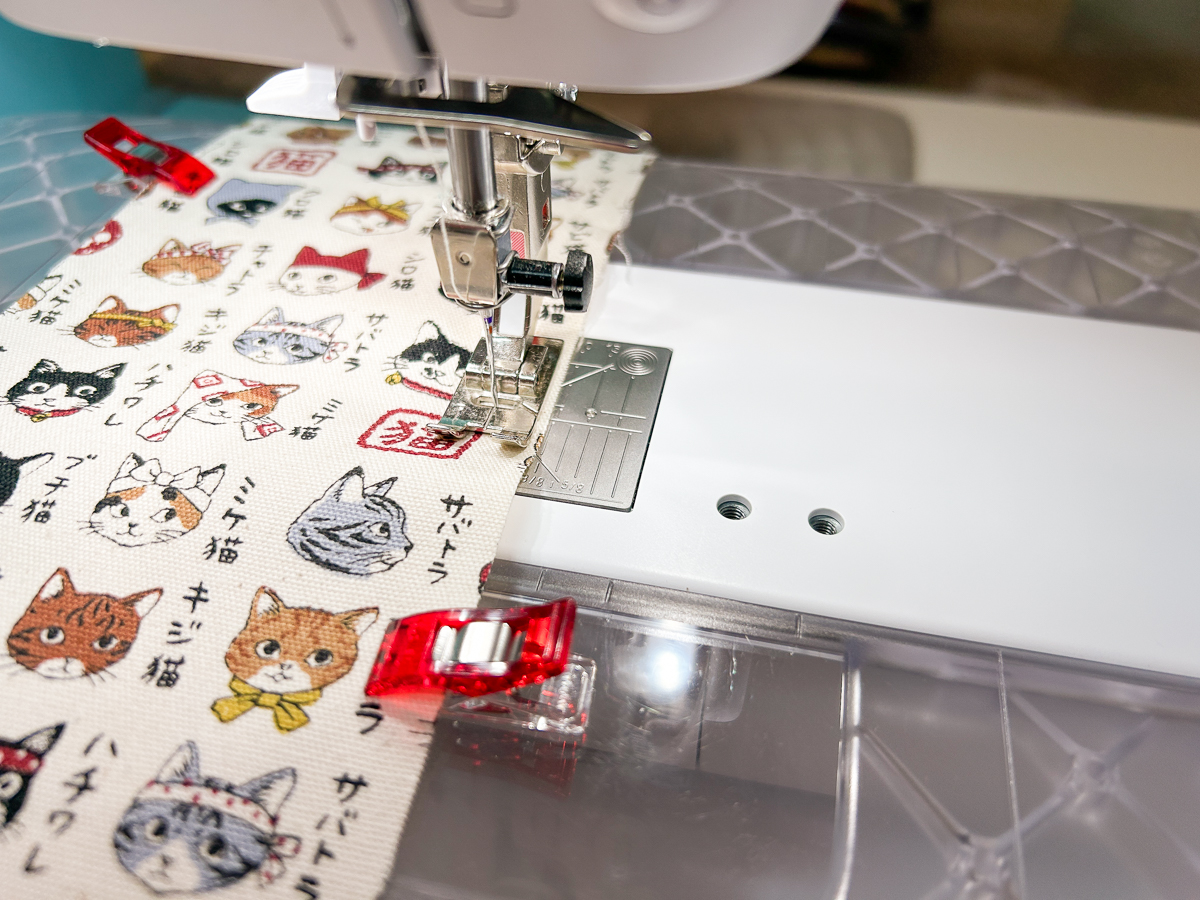
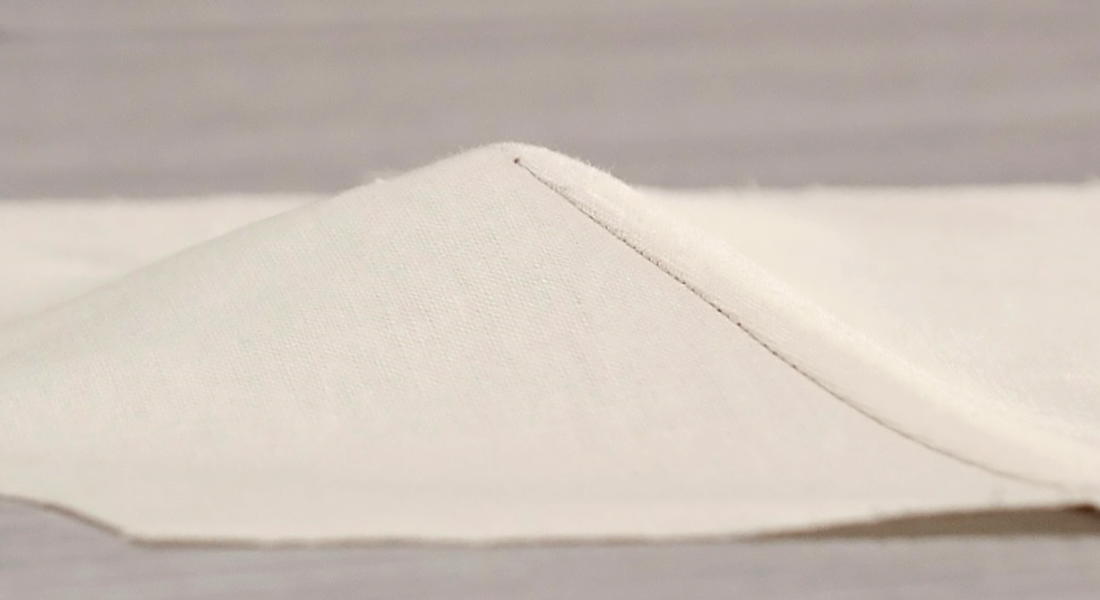
When you near a corner, slow down and stop 3/8” from the edge. The needle should be in the fabric. Raise the presser foot and pivot 45°. If you have a B 335 with the optional Free Hand System, use it for turning corners. The Free Hand System is great for raising the foot without taking your hands off the project. Sew all the way around, backstitching to secure.
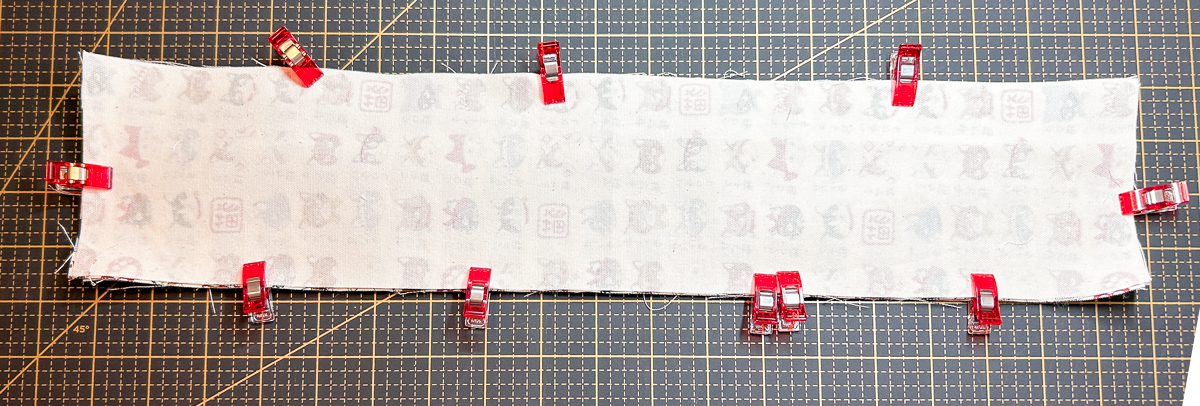
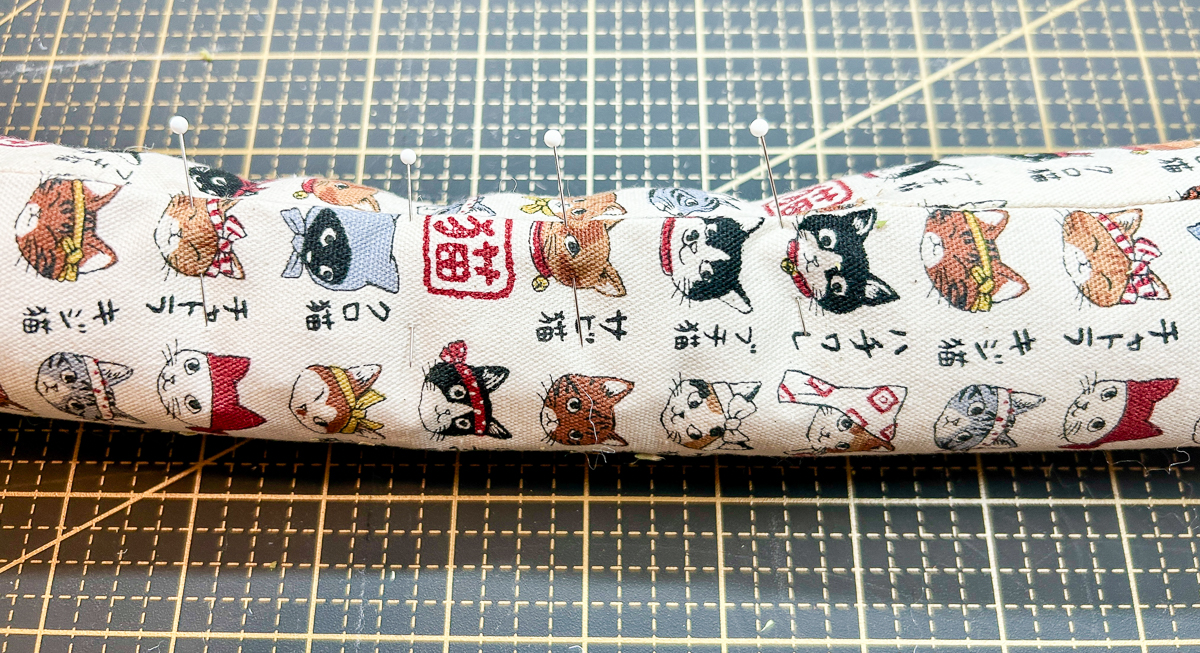
Place the second main fabric piece on top, right sides together. Clip or pin the edges. Place two clips side-by-side as a reminder to stop sewing. You need a 4” opening to turn the kitty stick right-side out.
Let’s try stitch #5. This is a Securing Program. The first part of this program sews six stitches forward, six in reverse, and then continues sewing forward.

A Quick Reverse icon will appear on the screen. This icon lets you know you can press the Quick Reverse button at any time to activate the last part of the program (sews six stitches in reverse and then six stitches forward). Let’s try it!
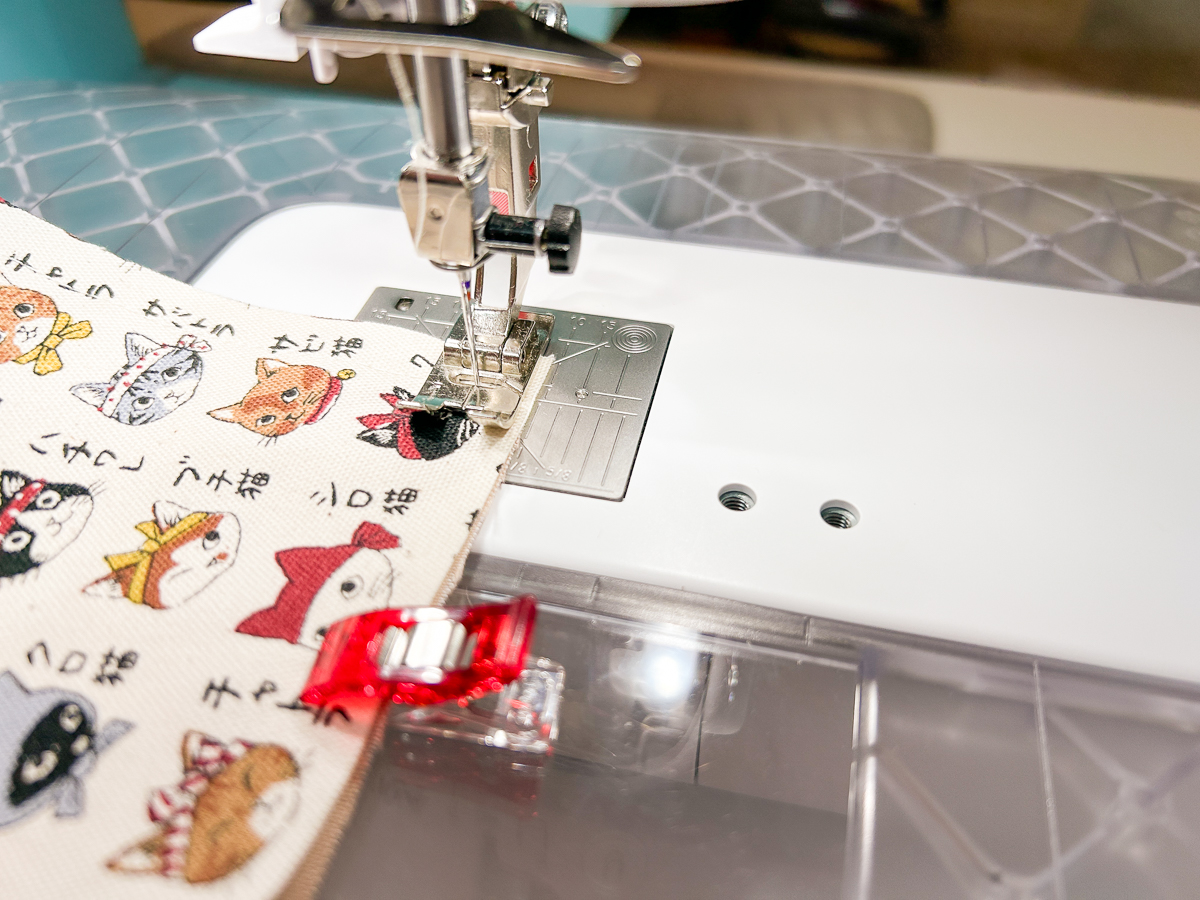
Place the edge of the fabric at the 1/2” mark on the stitch plate and start sewing. The program starts with a securing stitch. Continue sewing along the edges, pivoting at corners, until you reach the two-clip stopping point. Press the Quick Reverse button. The program will end with the securing stitch. Isn’t that so cool?
Step 3: Stuff & Close the Kitty Stick
Trim the corners, being careful not to cut into the stitches. Turn the fabric right-side out using the OESD Point and Press tool for the corners. Add stuffing and optional catnip.
At the opening, fold the seam allowance to the inside and secure with pins.
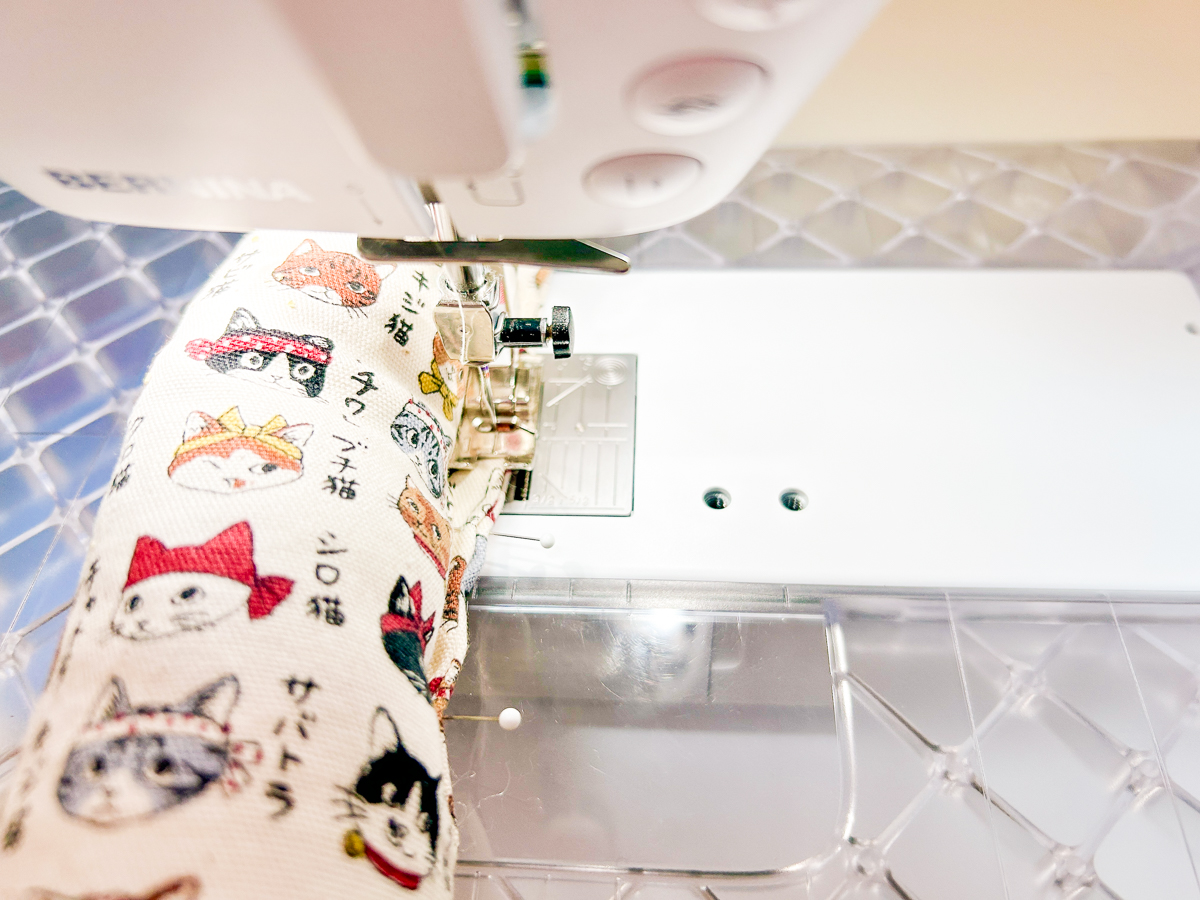
Select stitch #1. Place under the foot inside the right toe. Sew closed, matching the previous stitching line, securing at the start and end using the Securing button. This securing function does a securing stitch in place, which works great here because the stitching area is very tight. This is why BERNINA gives us options!
Now watch kitty have fun! Take a picture of your pet with its new kitty stick and tag us on Instagram @berninausa. We’d love to see your sewing project and your kitty!