How to Sew Piping on a Pillowcase
If you’re anything like me, as soon as the sun starts popping through the clouds after a long, cold winter, my attention immediately turns towards refreshing my home. I believe this is what people refer to as “Spring Cleaning Mode”. Everything gets purged, organized, and given new life.
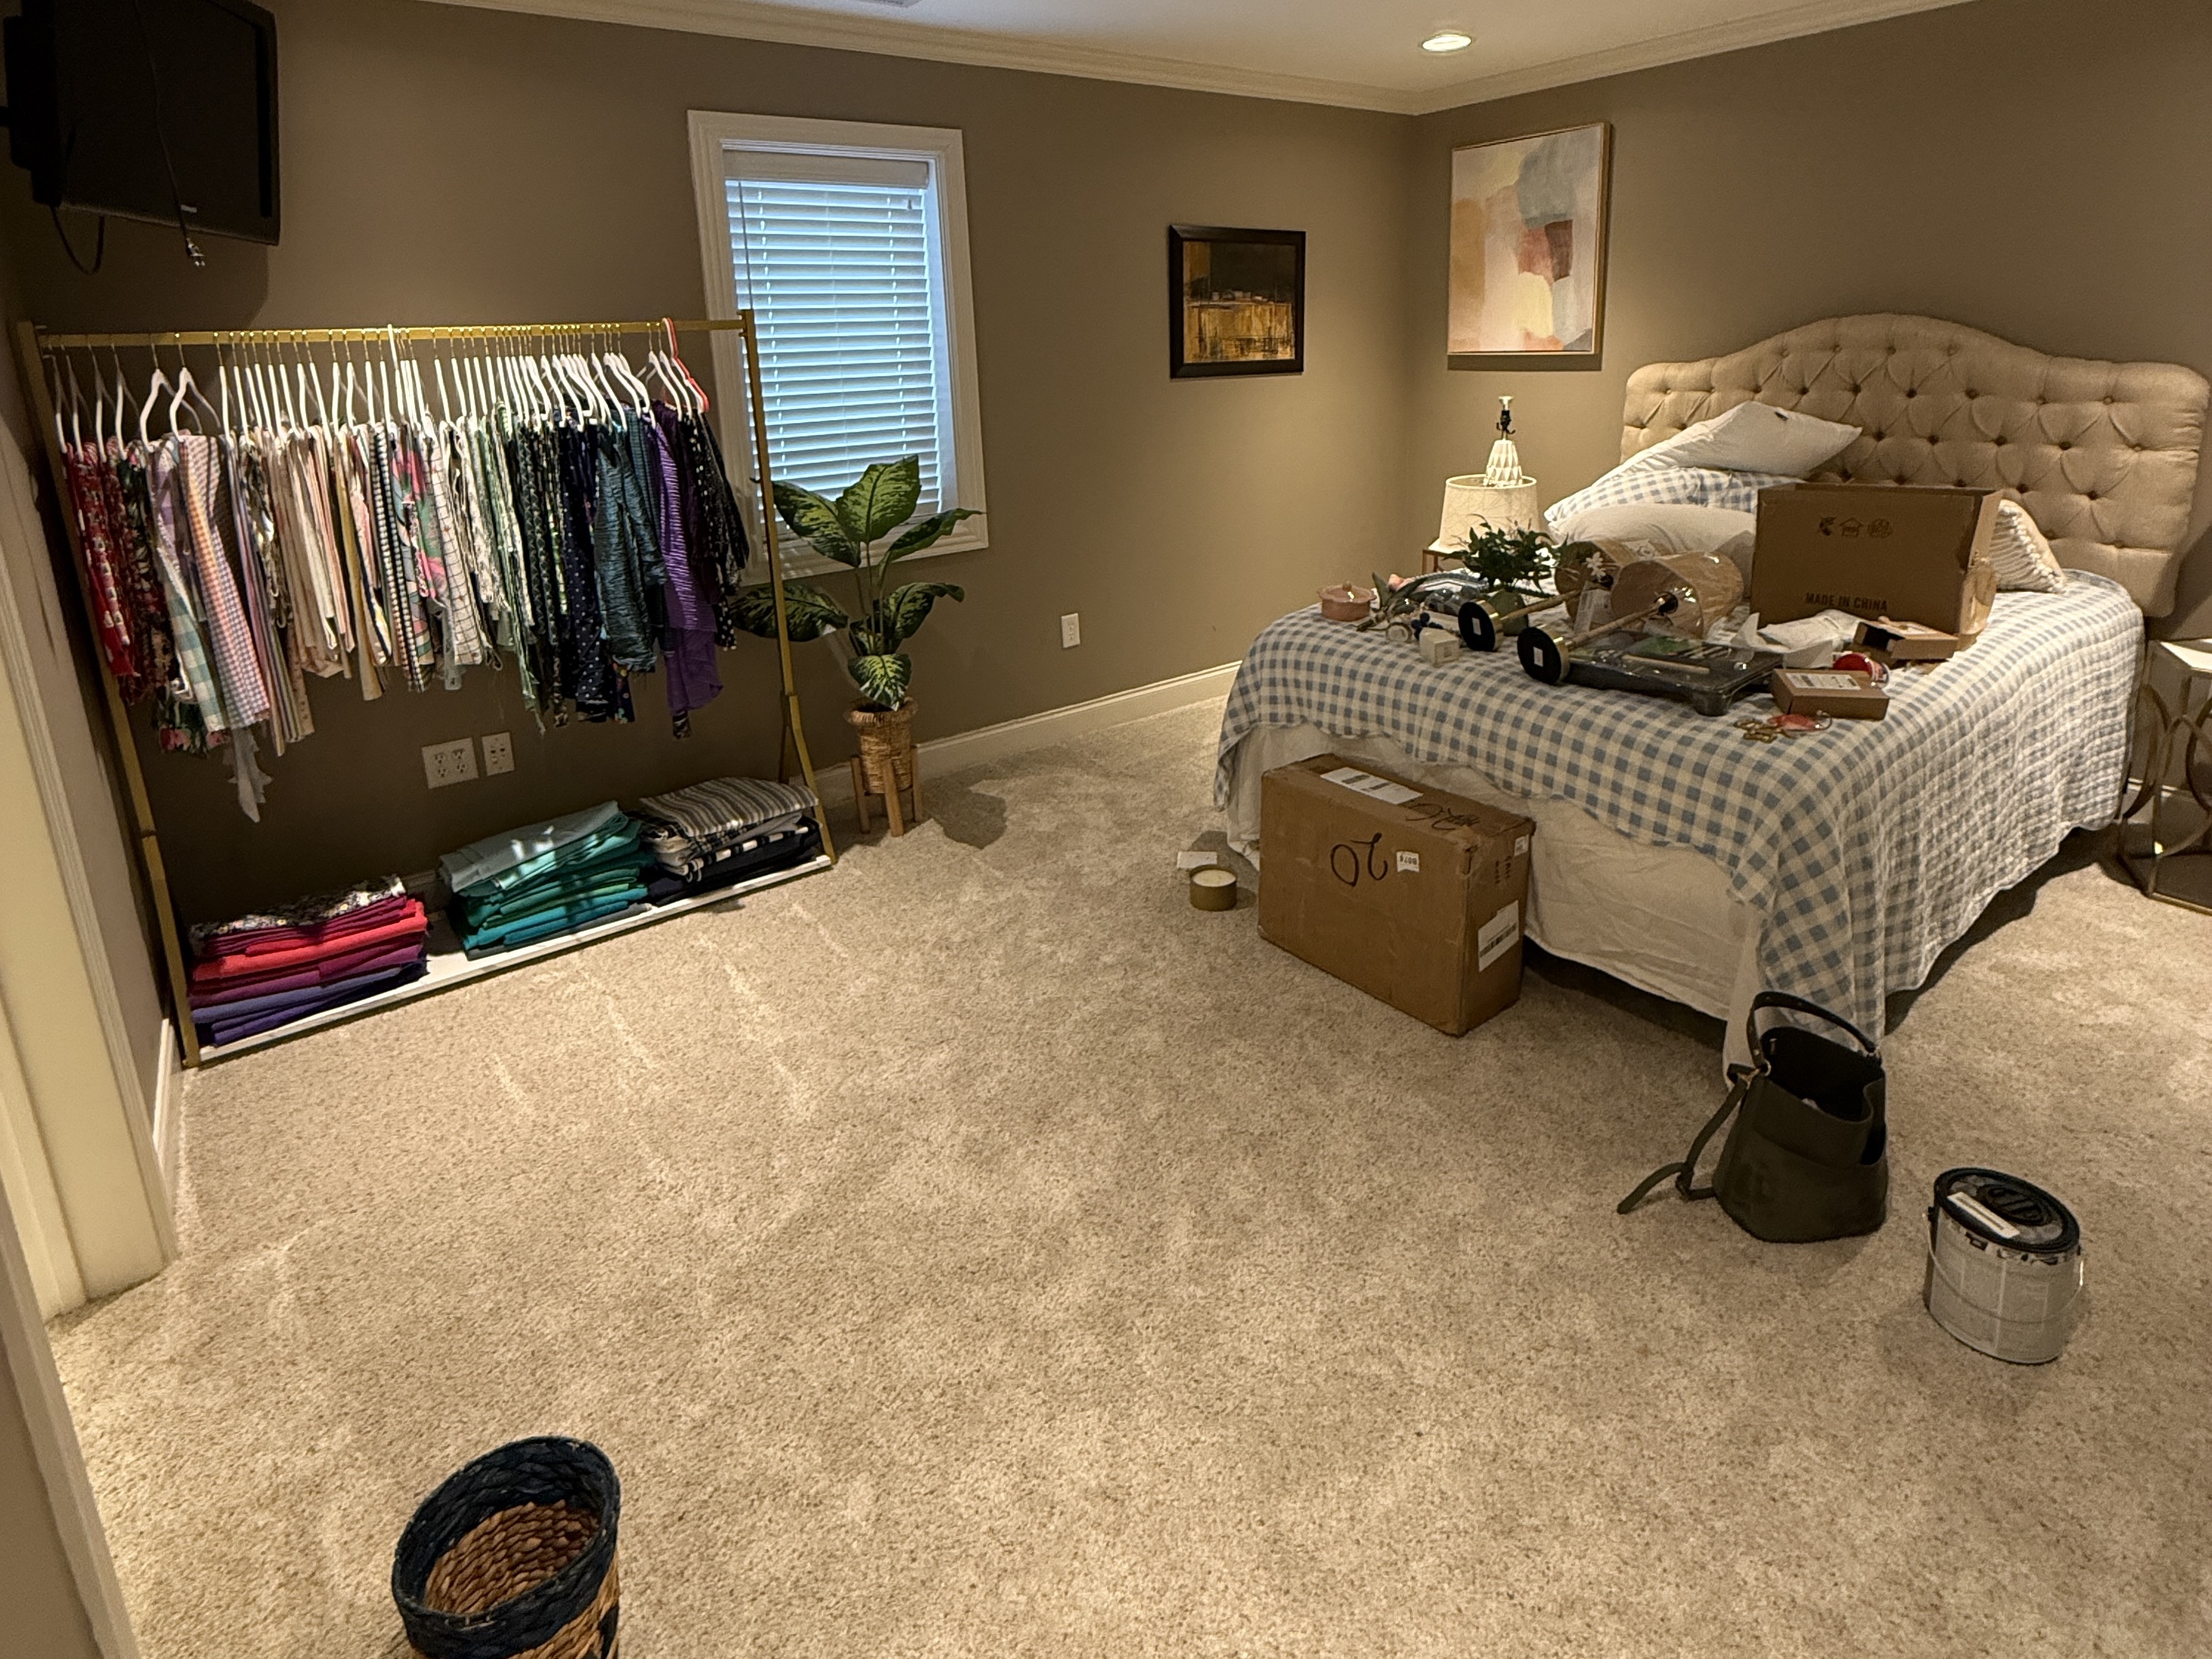
This year, I was finally ready to tackle the guest bedroom! To be honest, I’ve been avoiding this space for far too long. It’s located in our basement away from our most lived-in rooms. Out of sight, out of mind. But we often have family visiting, and I wanted to turn this room into a little haven for our guests. So, I recruited one of my friends to help me with a complete overhaul. We were able to take it from this dark dungeon…
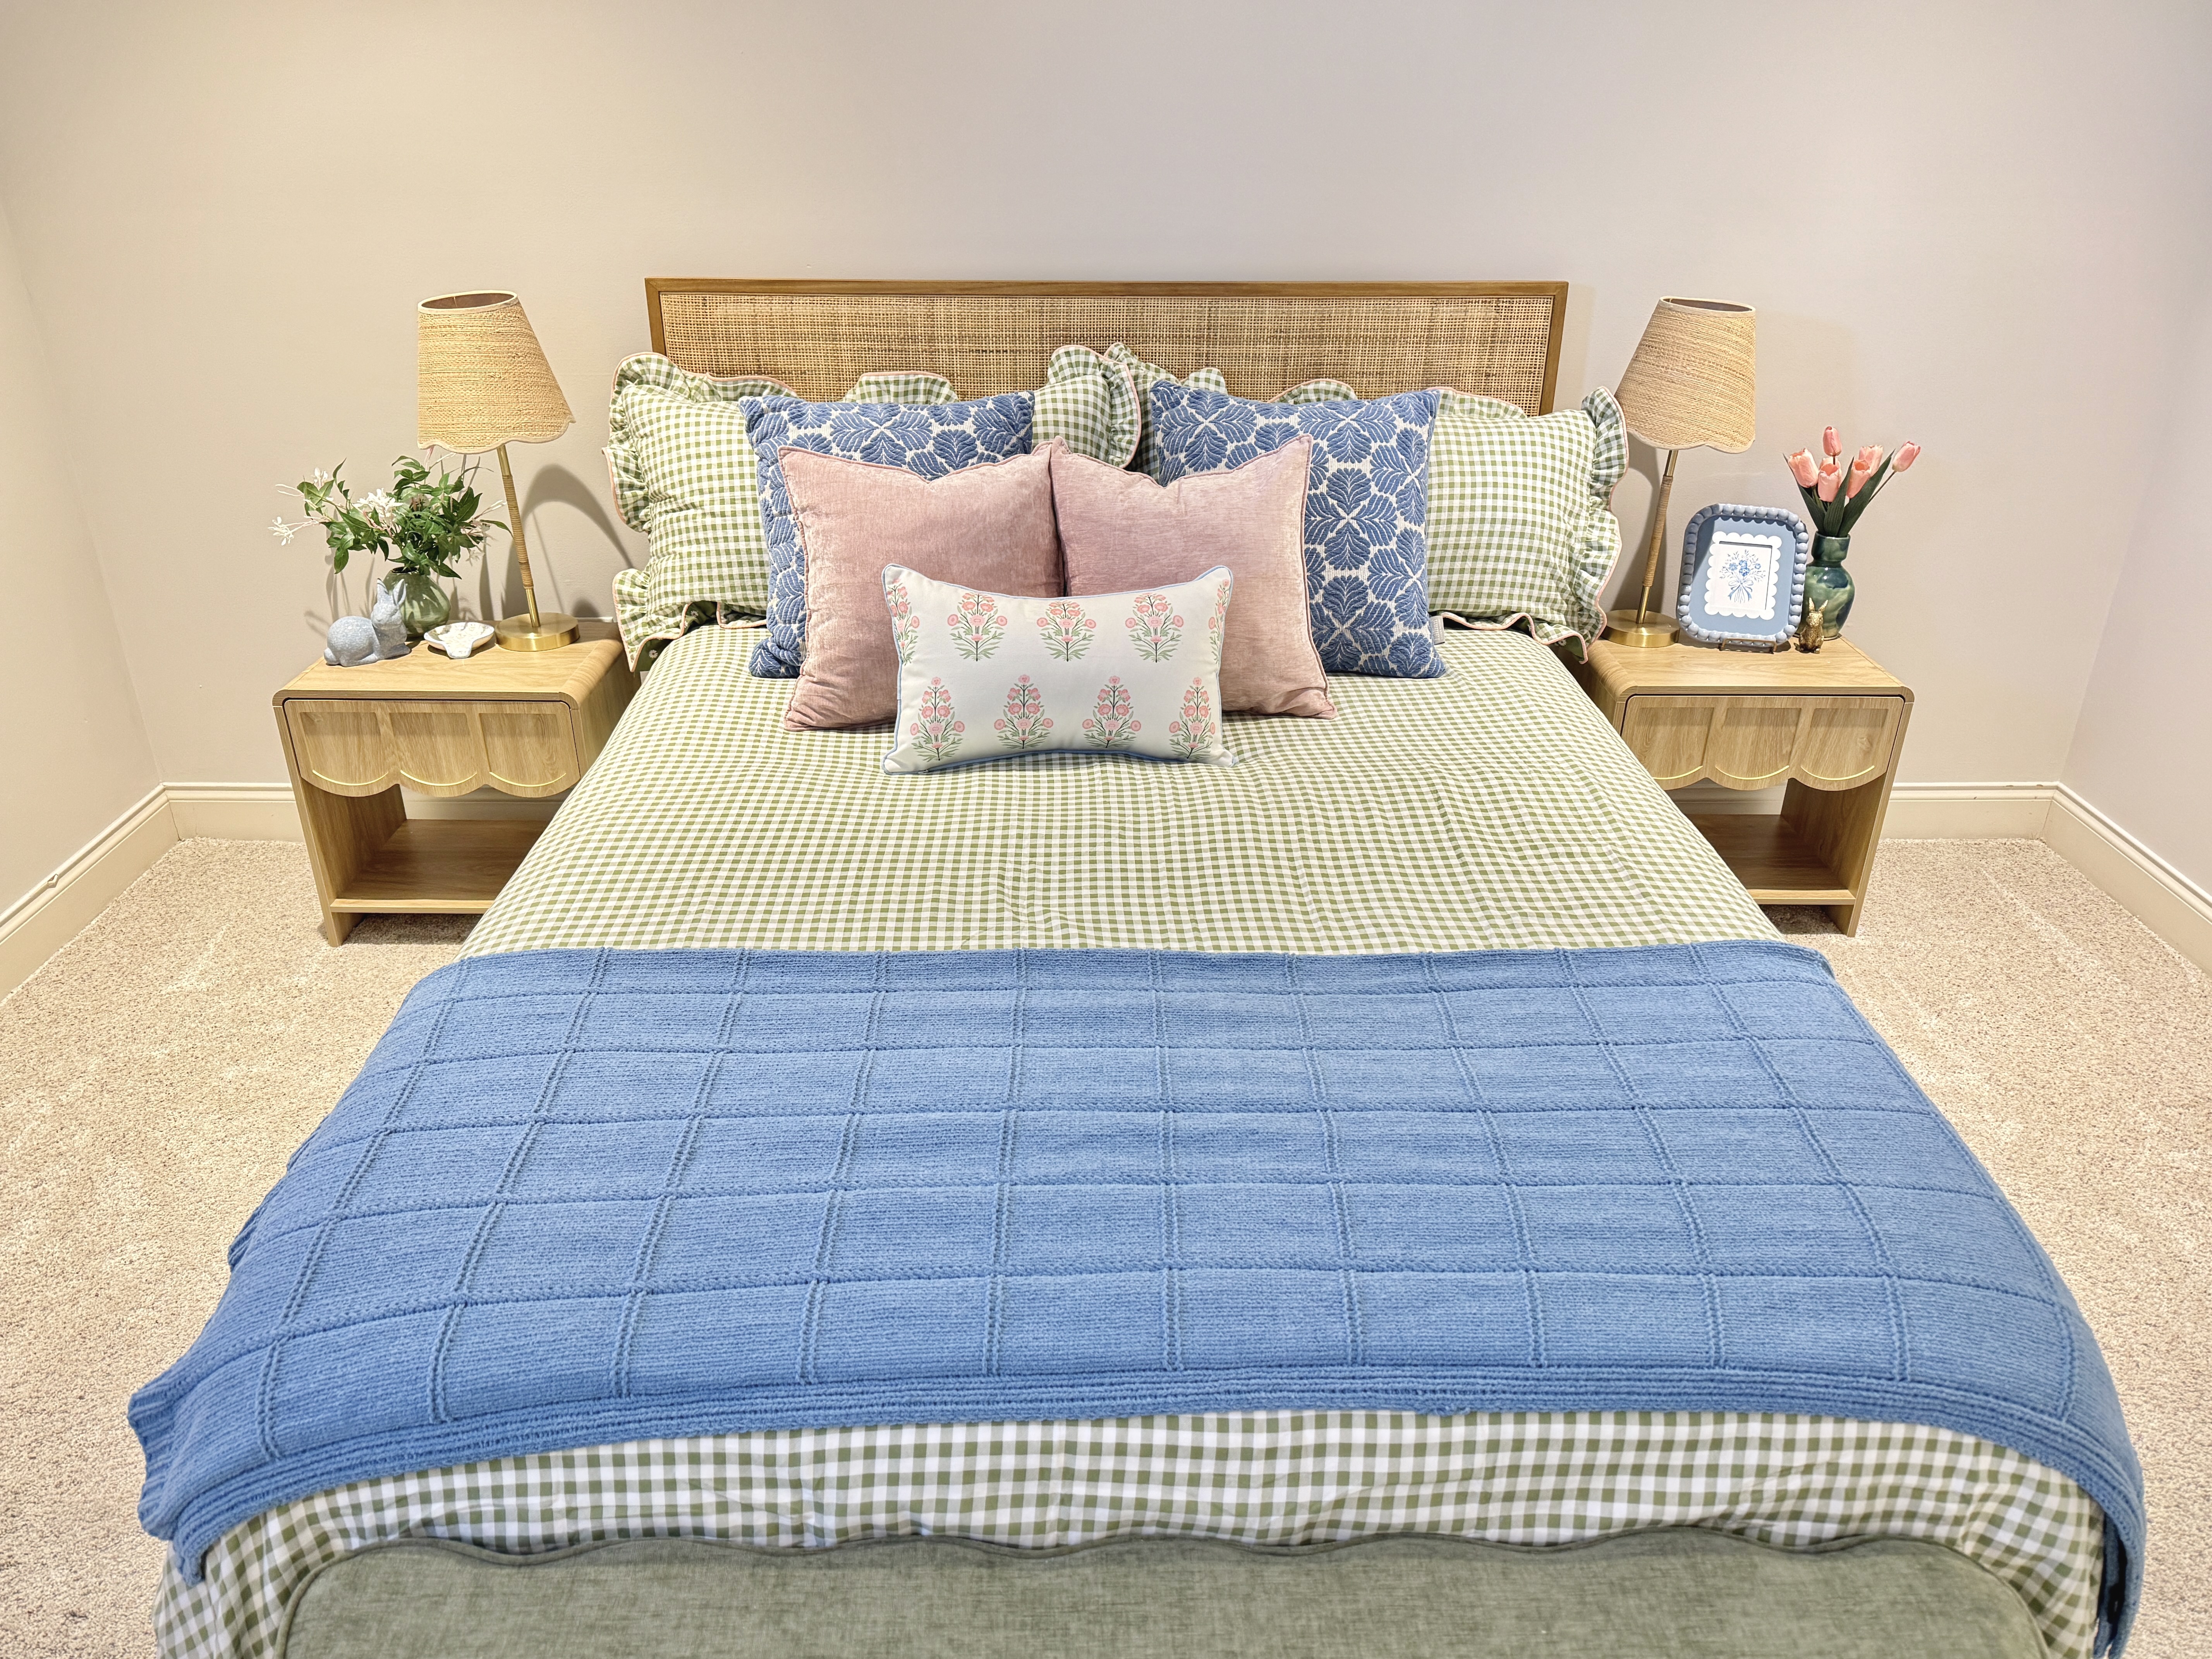
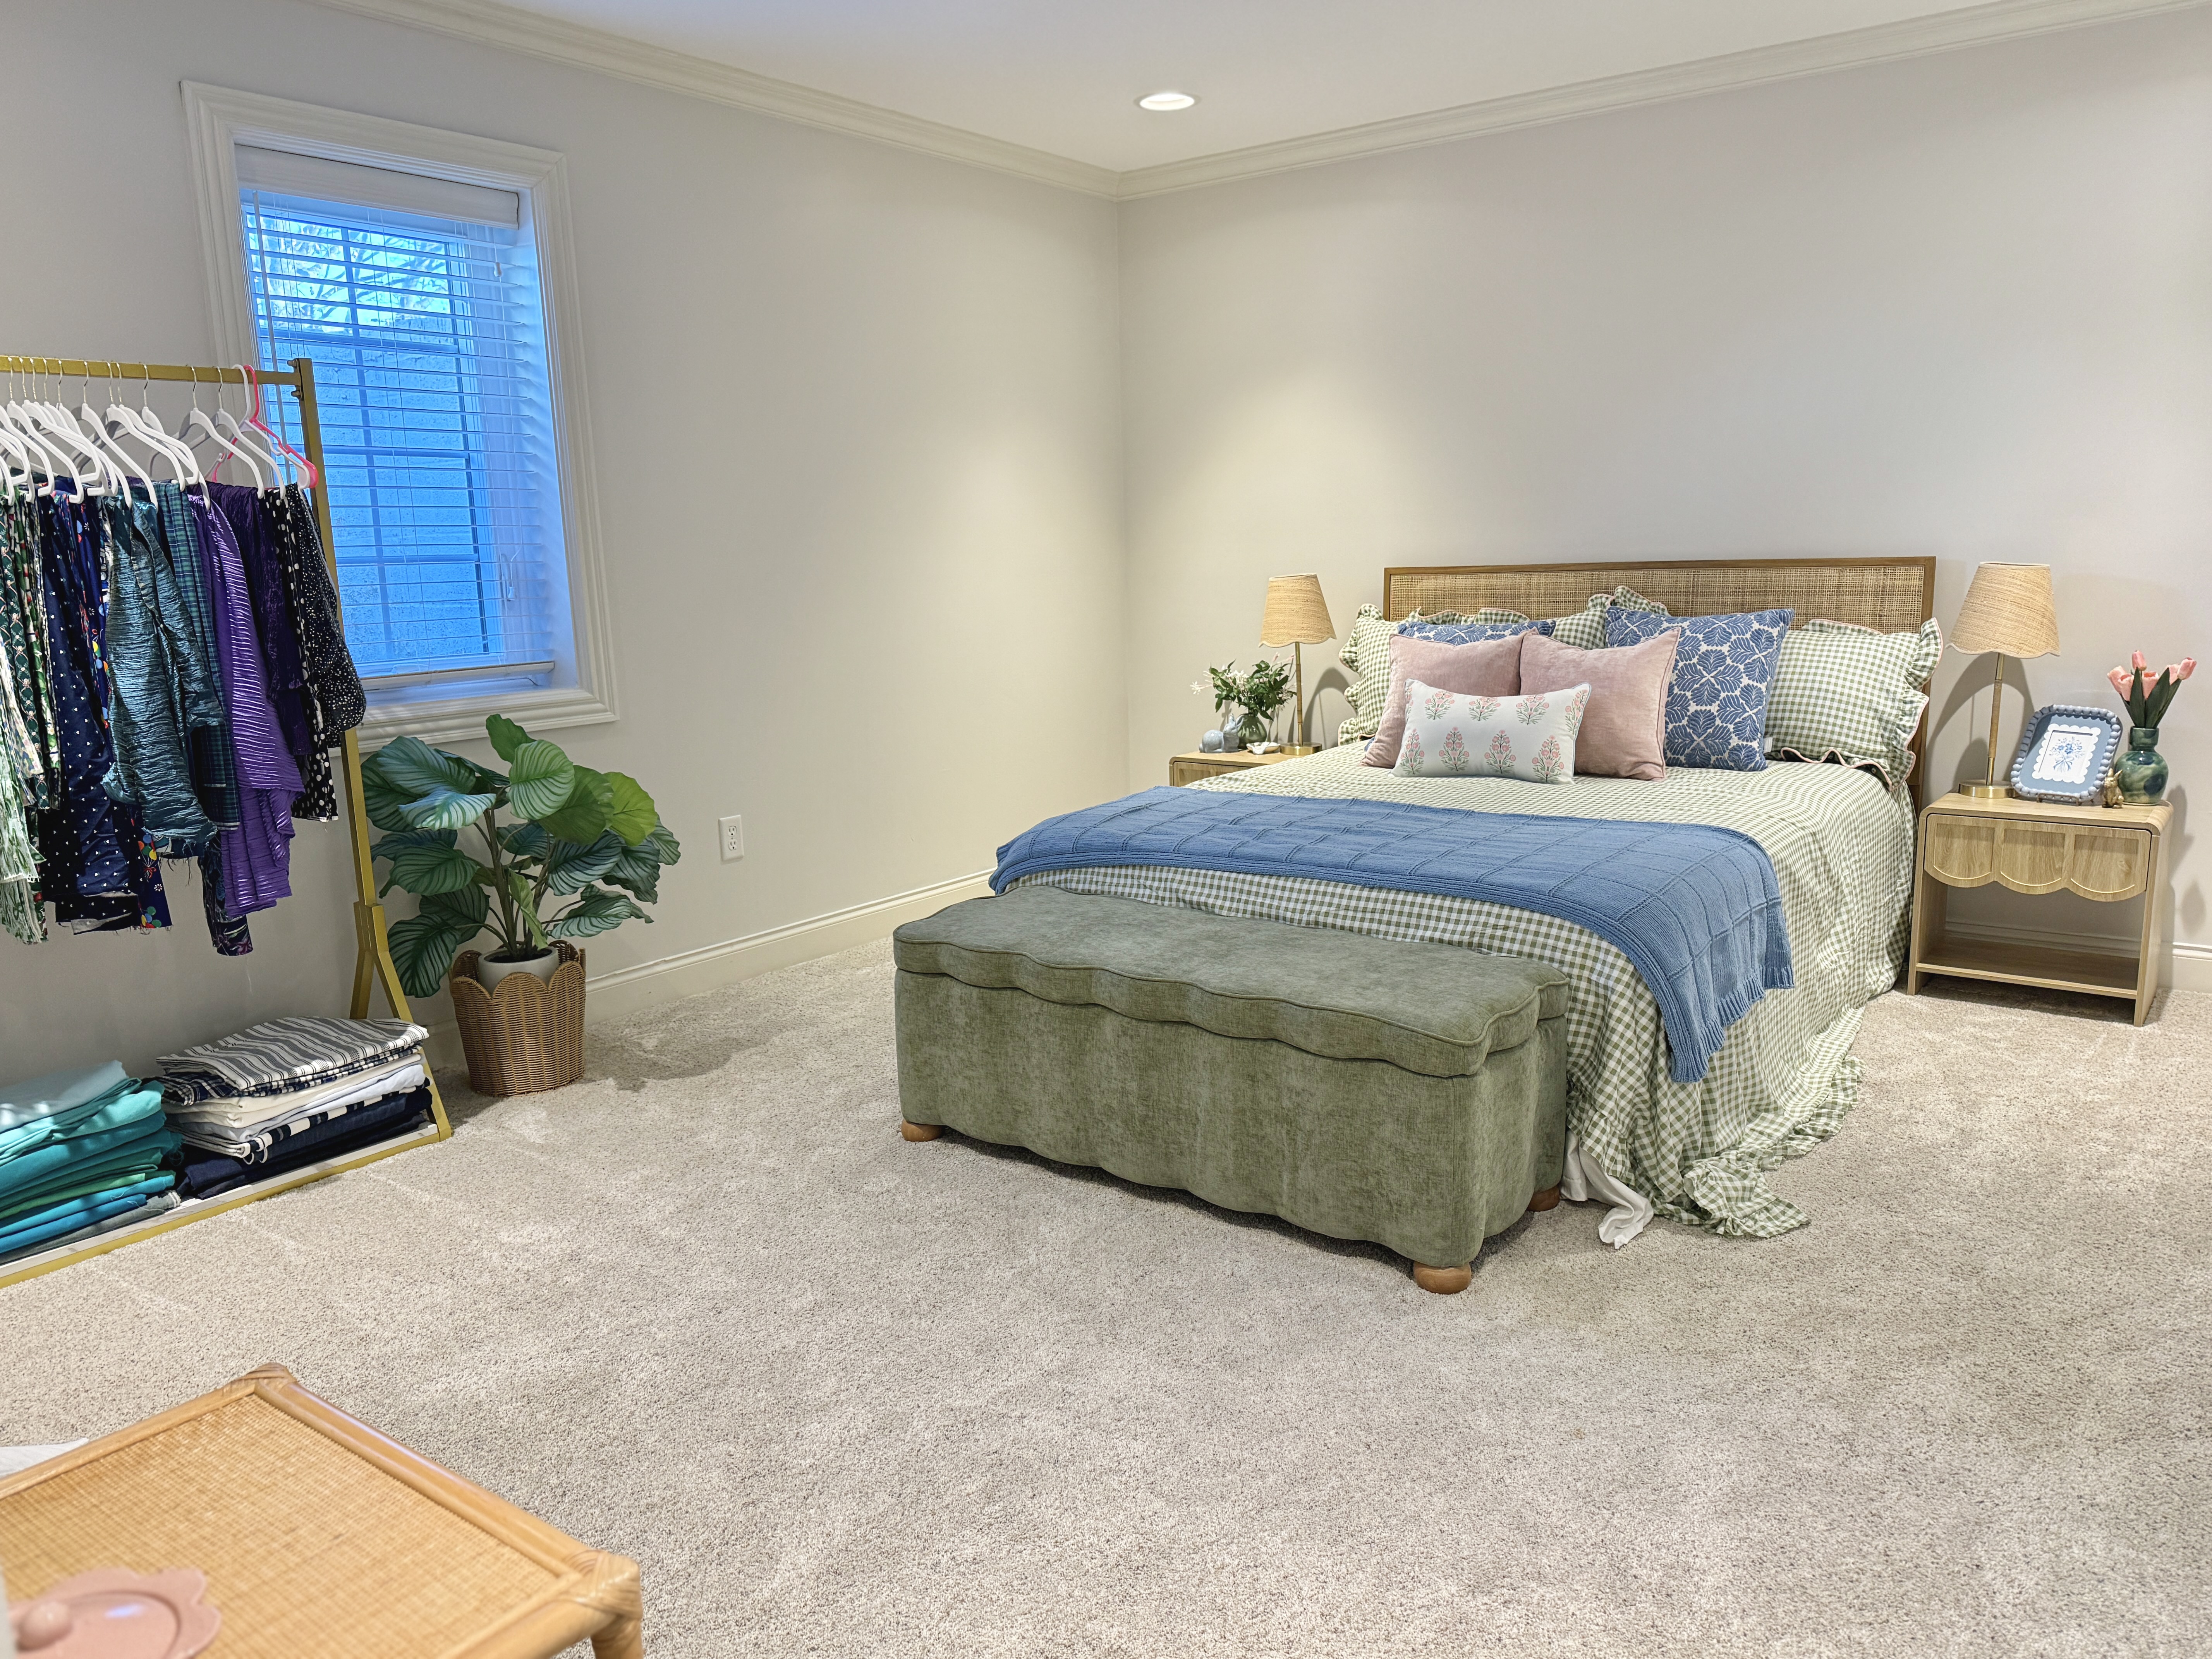
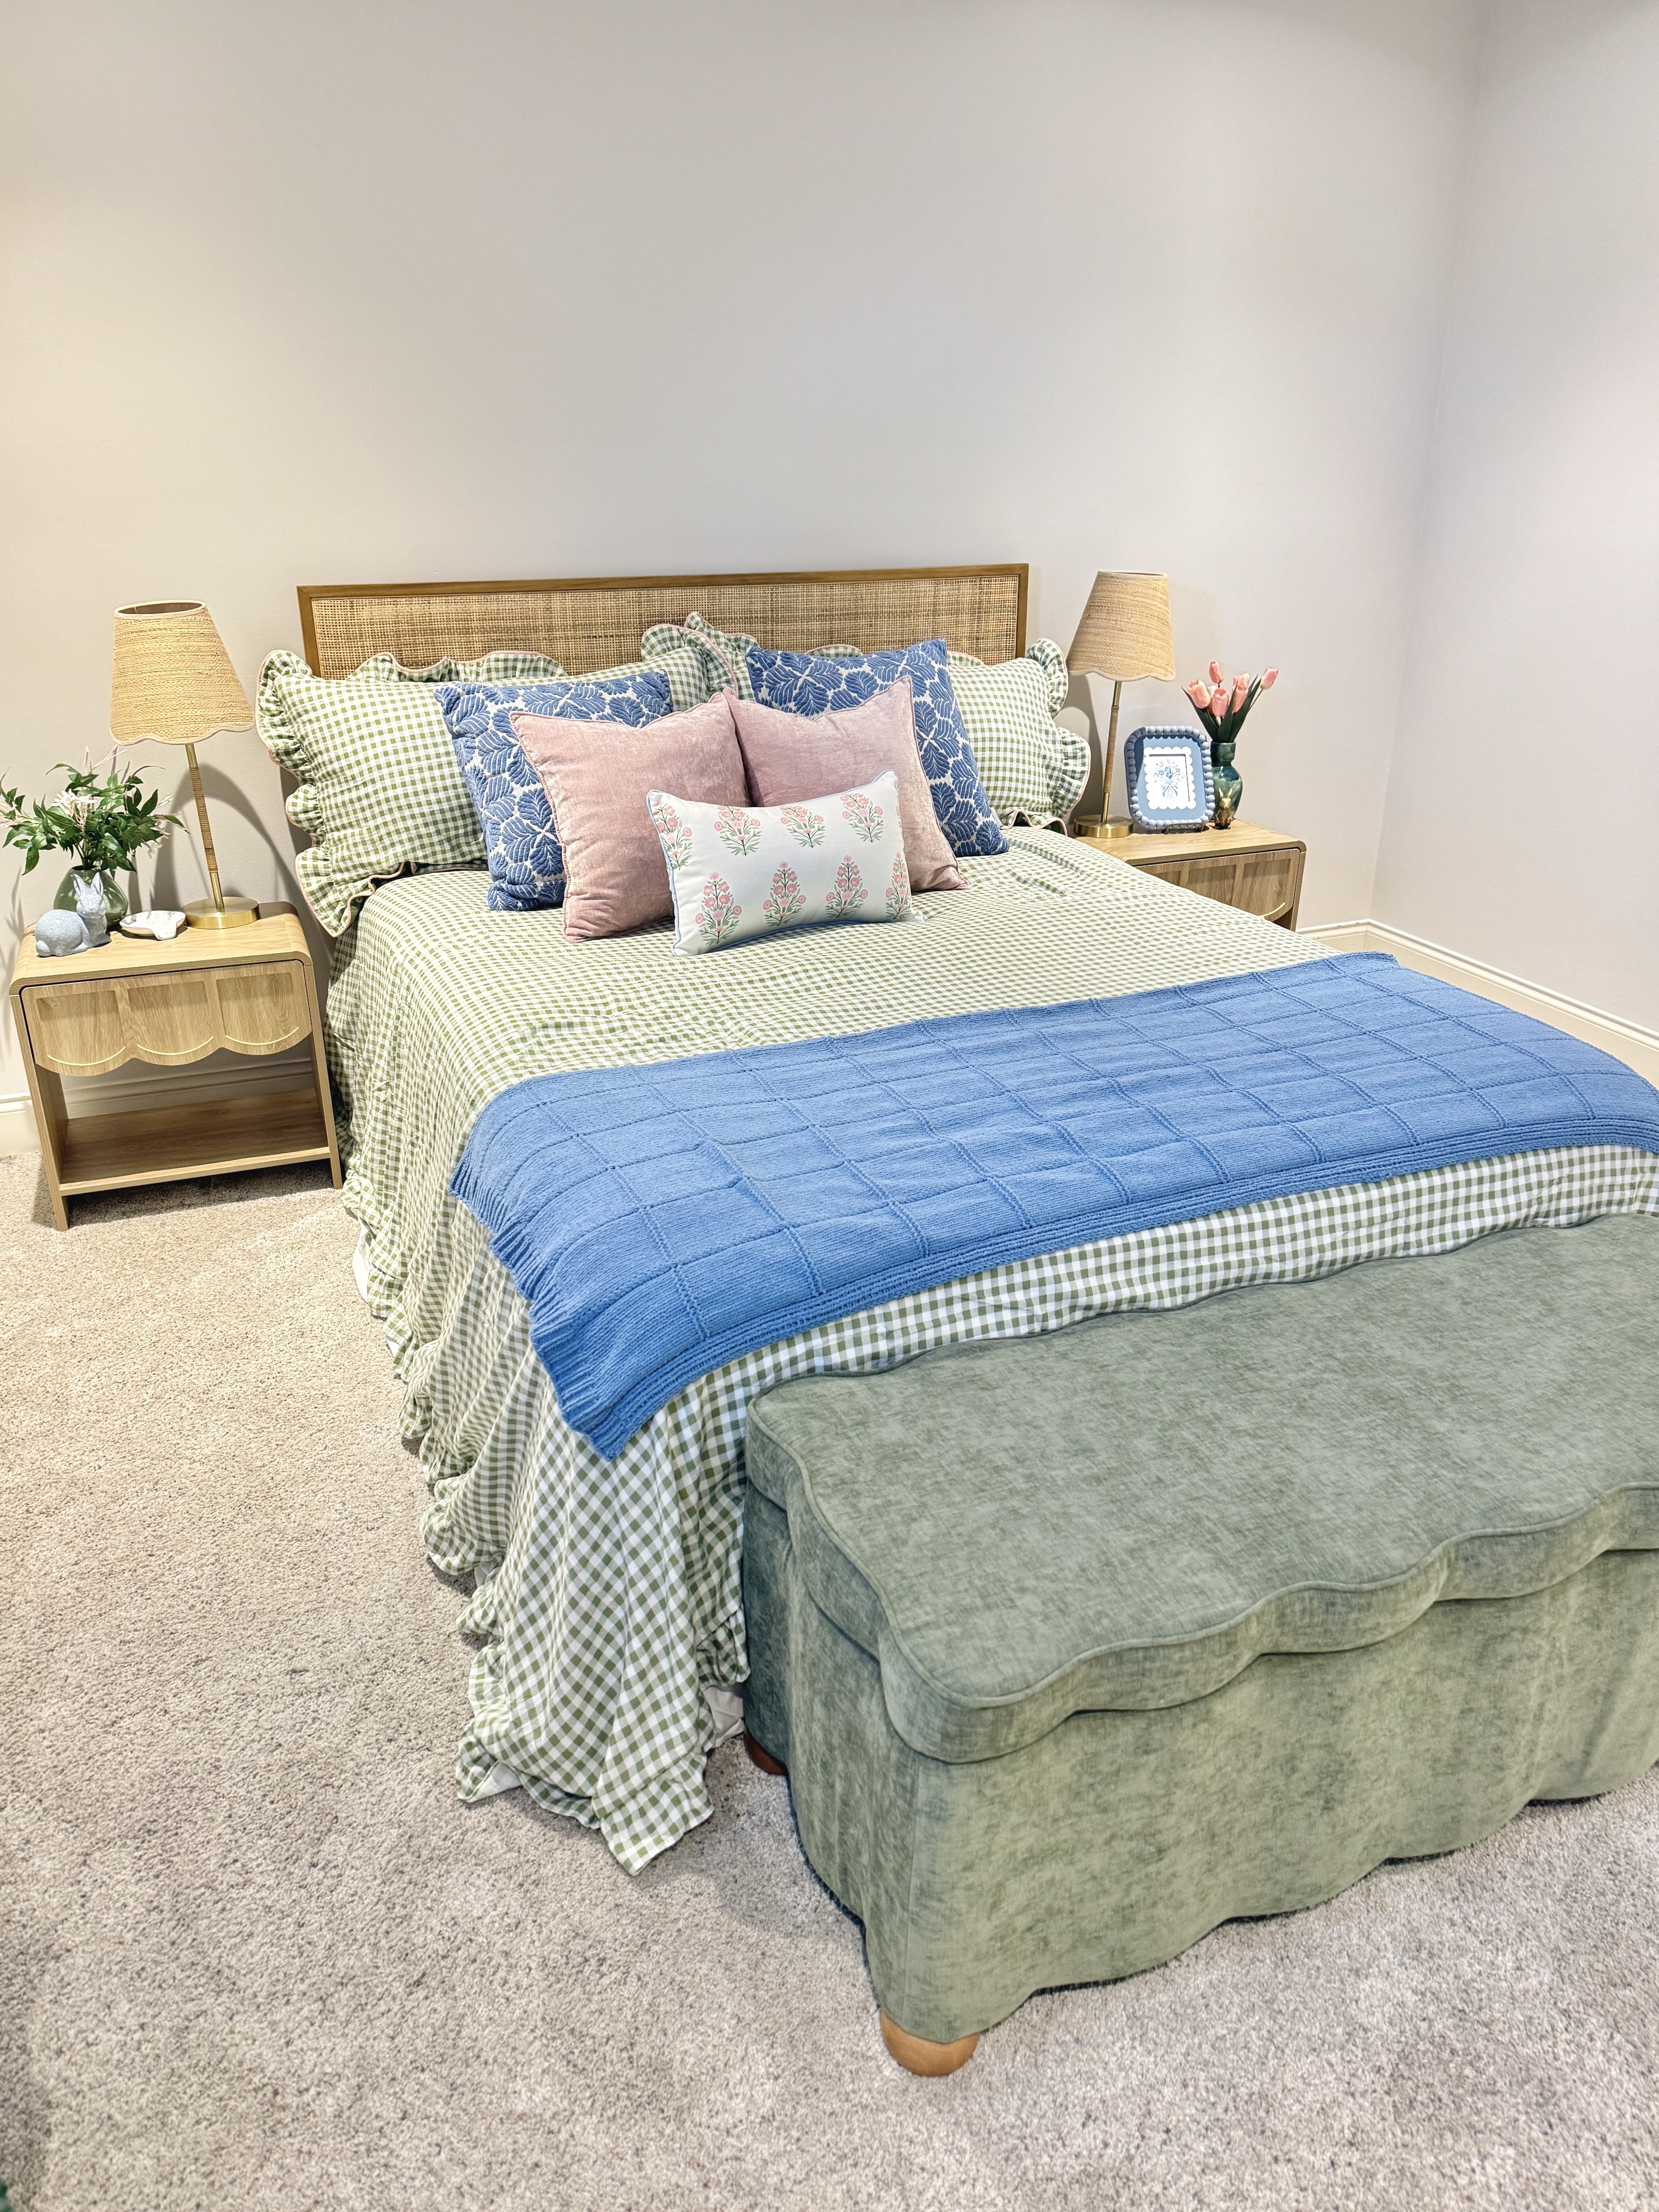
To this bright, happy space!
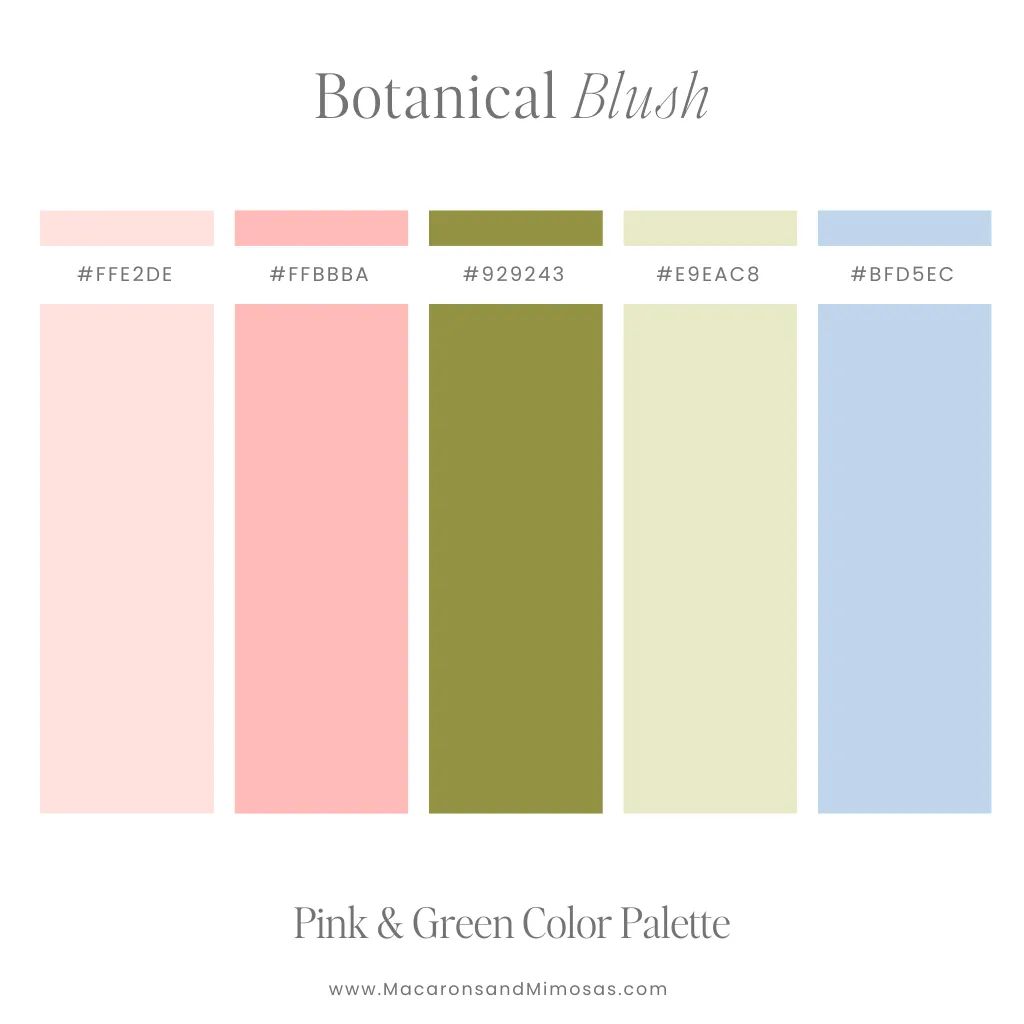
But let’s go back to how we got there. With the color palette of blues, greens, and pinks picked out, I immediately started looking for new bedding.
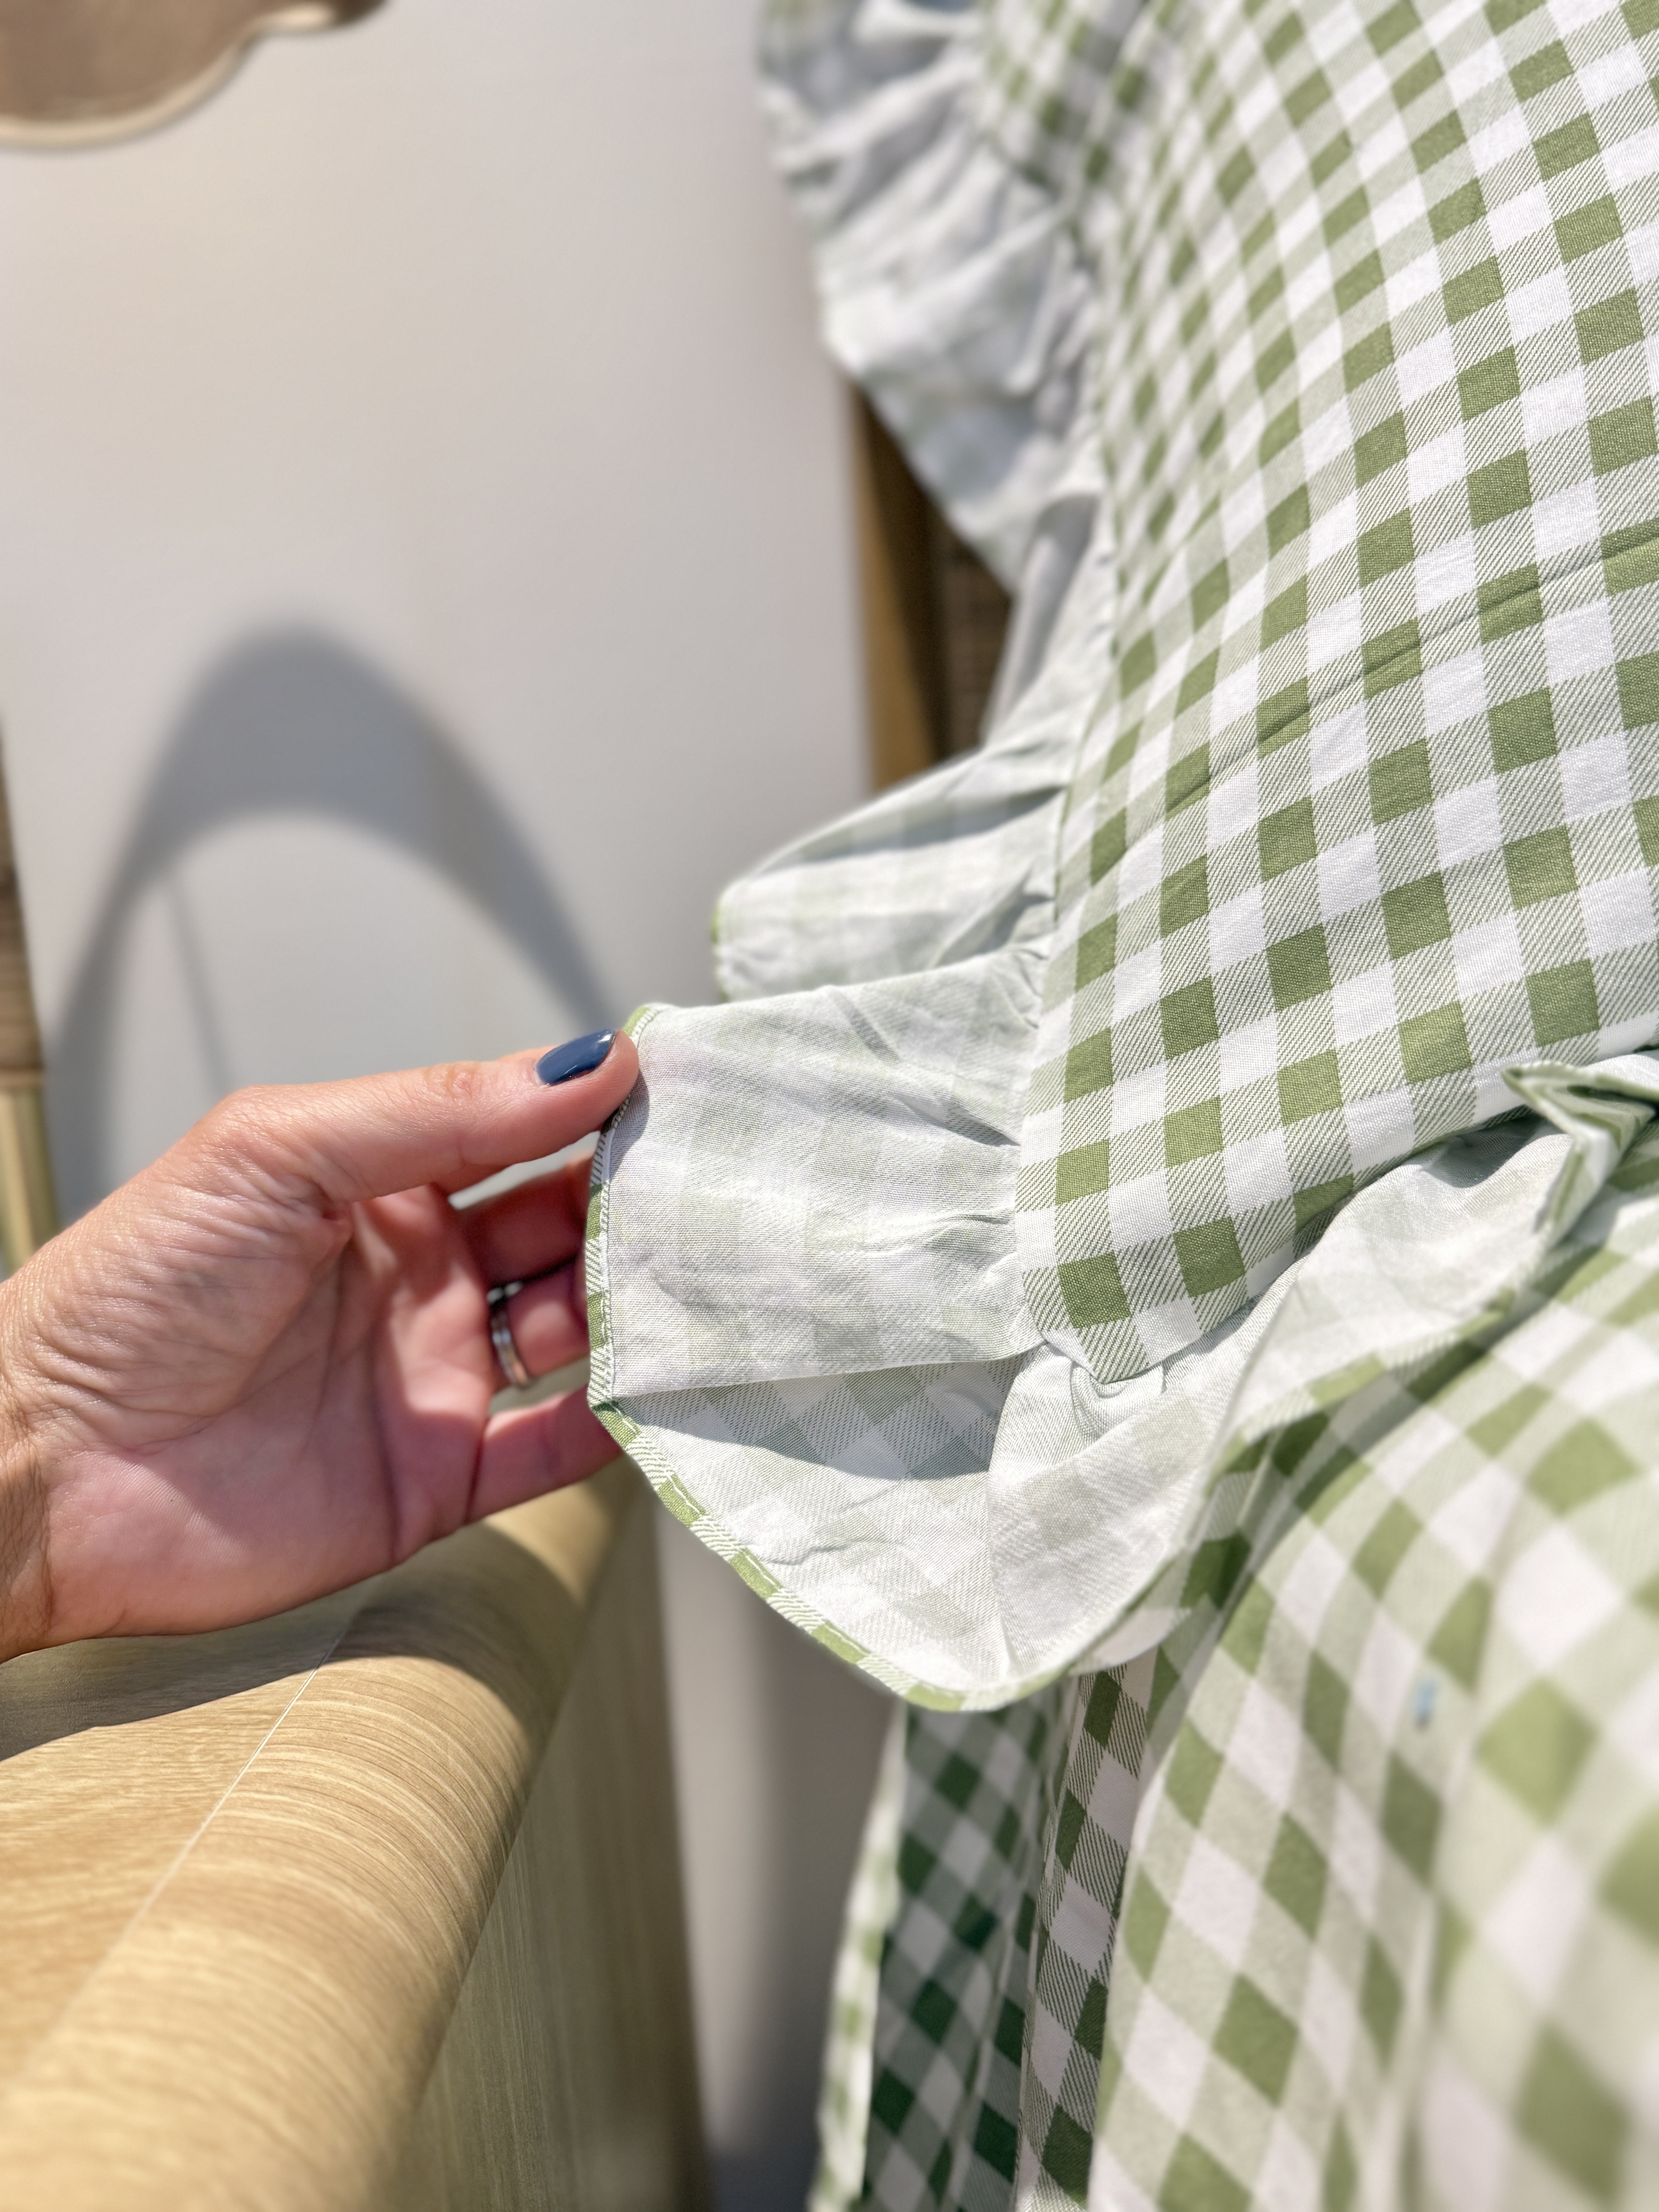
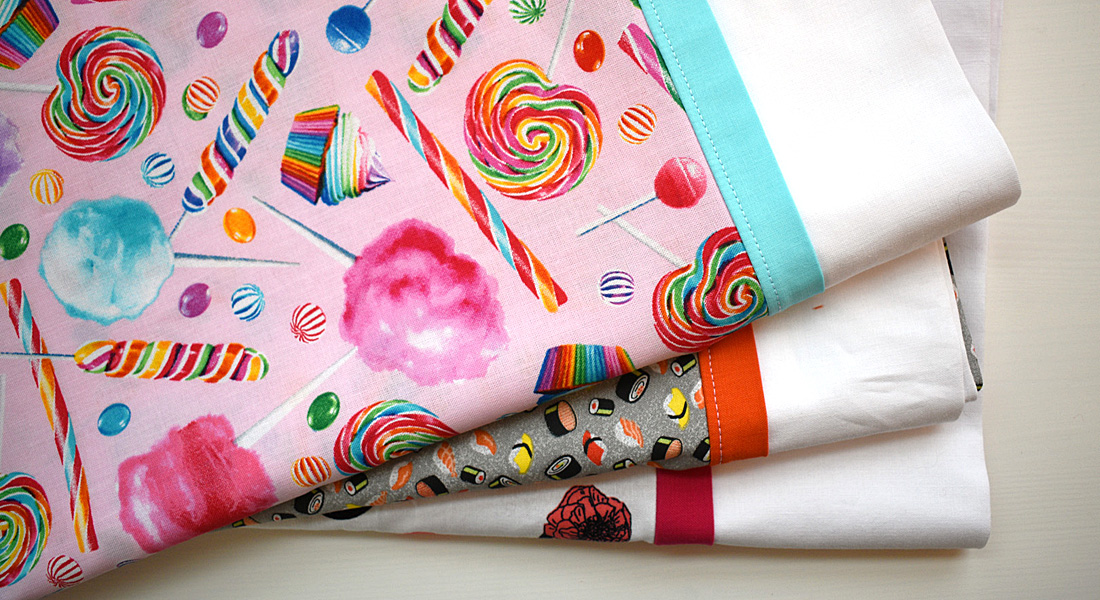
The bedding is the visual anchor of this space and draws the most attention, so I wanted it to pack a punch of color. It took a few tries of deliveries and returns to find one that worked for this space. I specifically wanted a green gingham bedding that featured a ruffle trim like this one from Amazon!

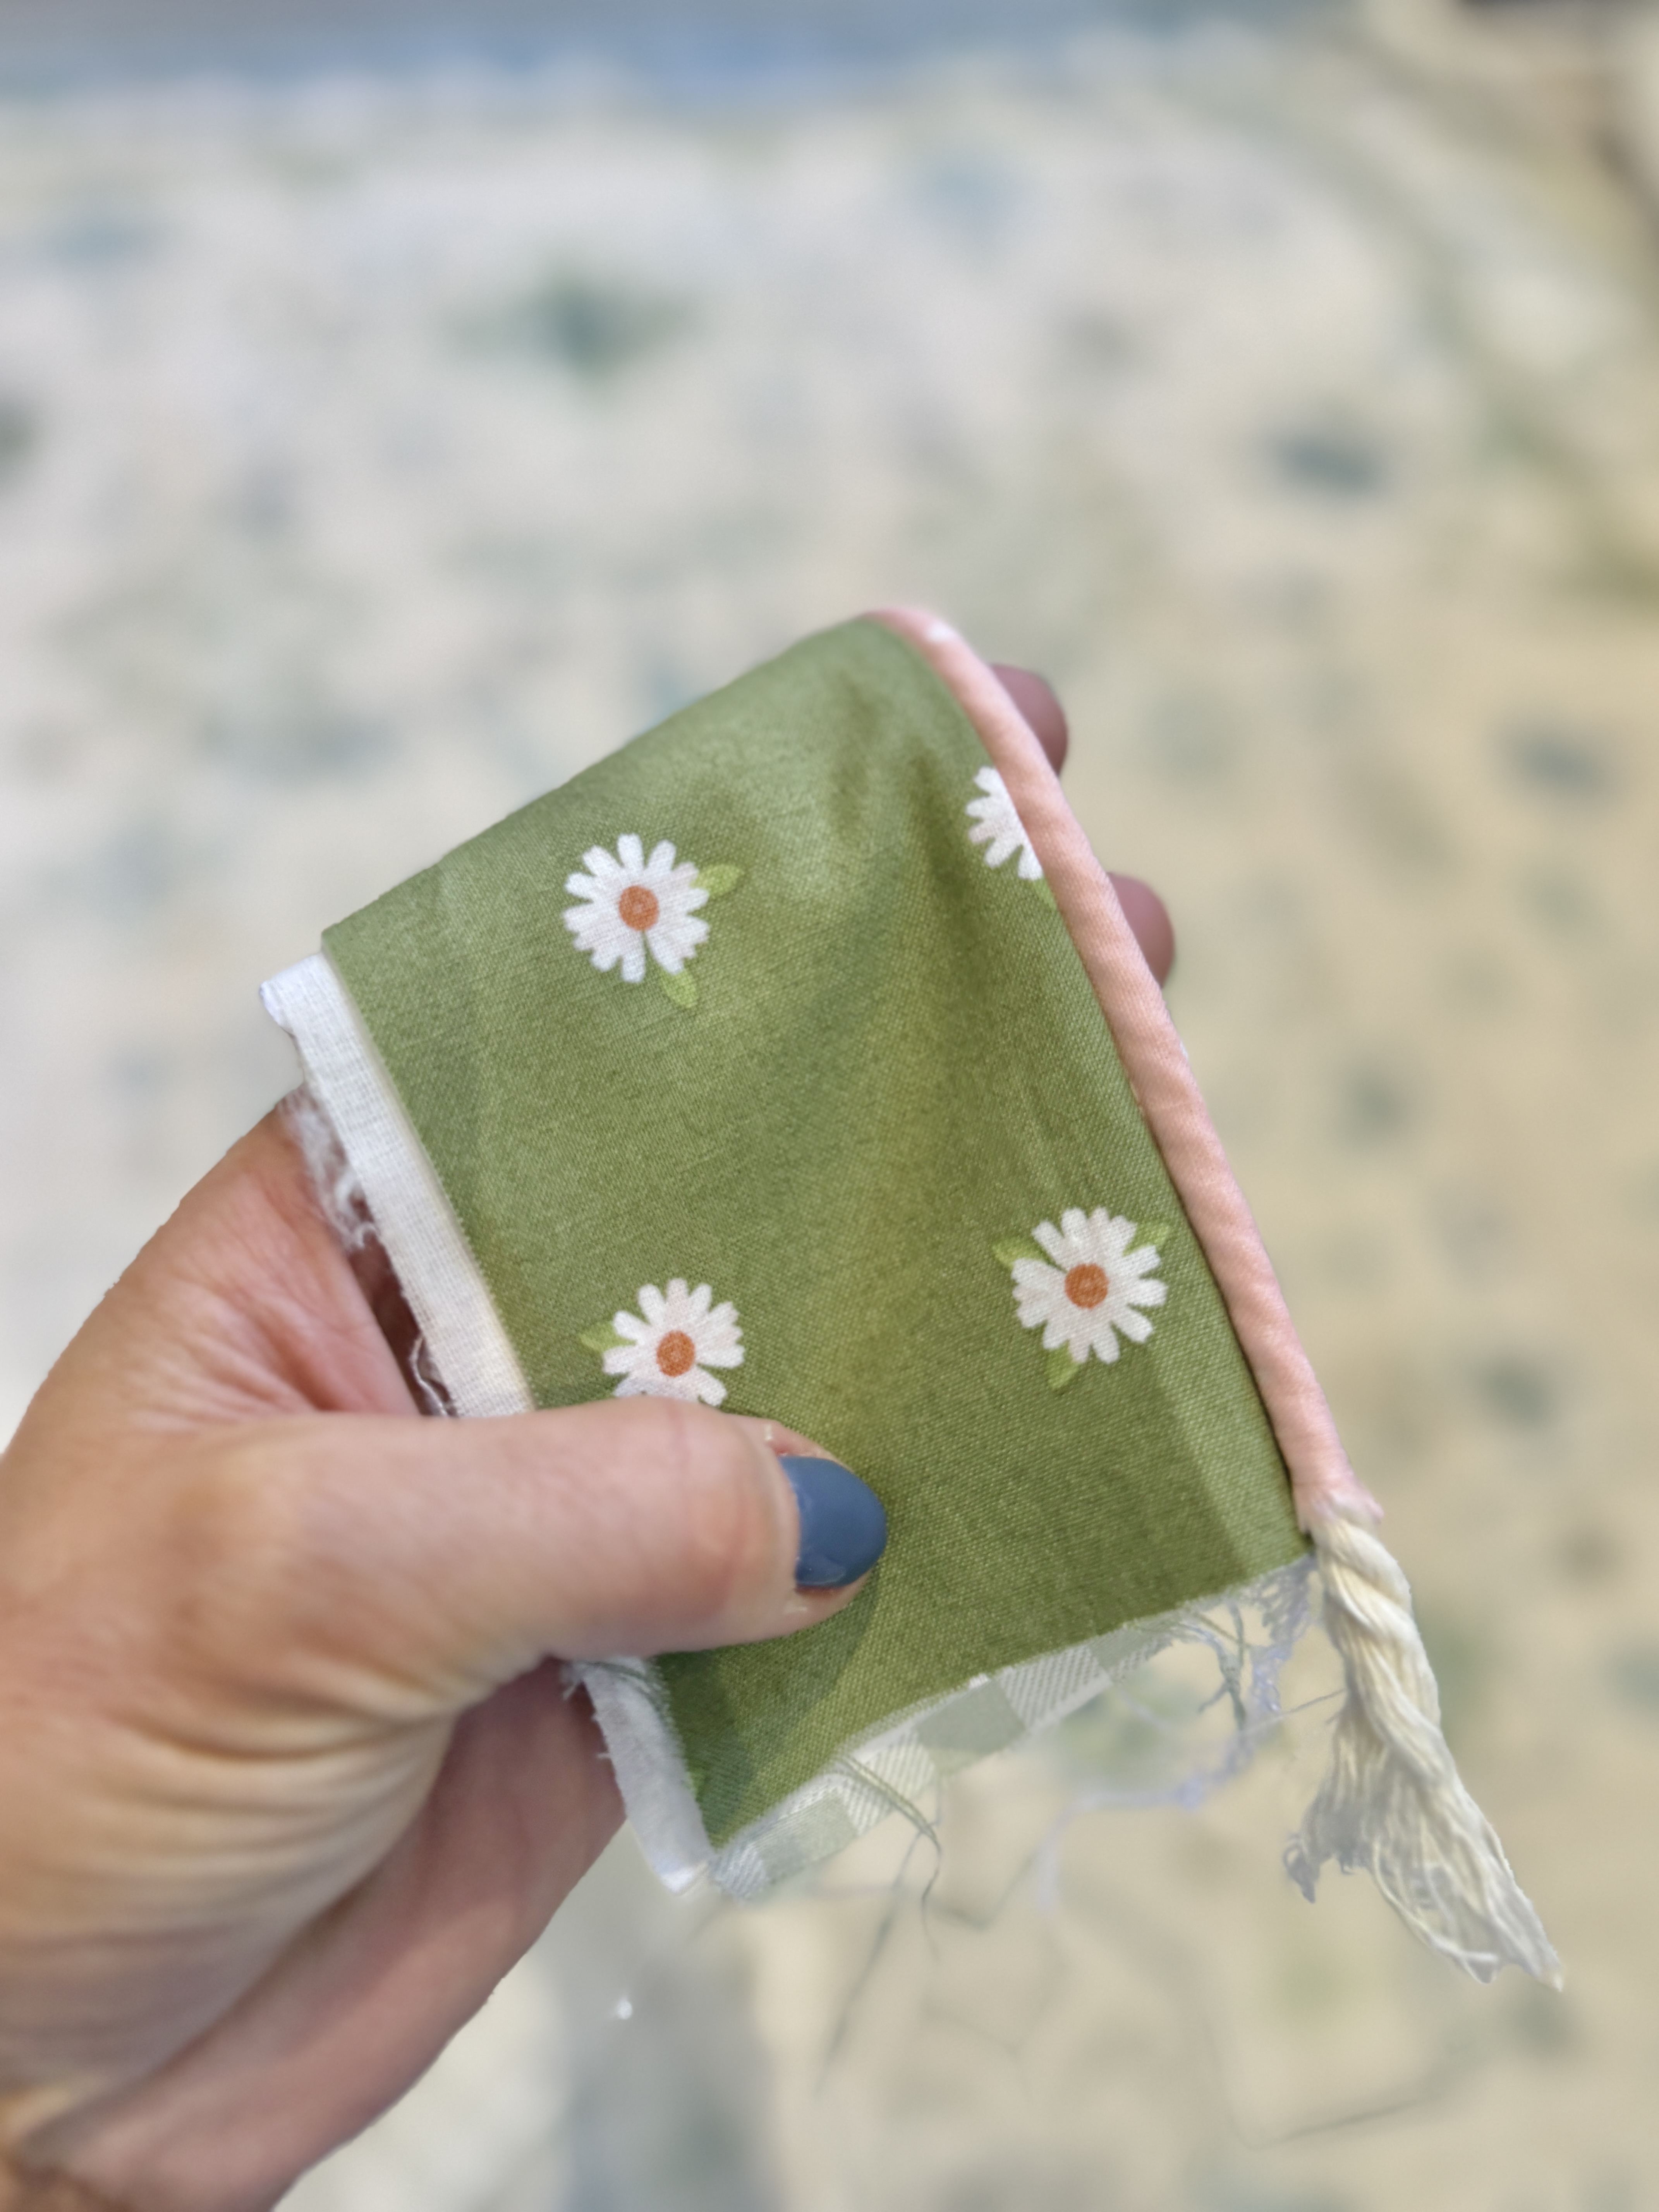
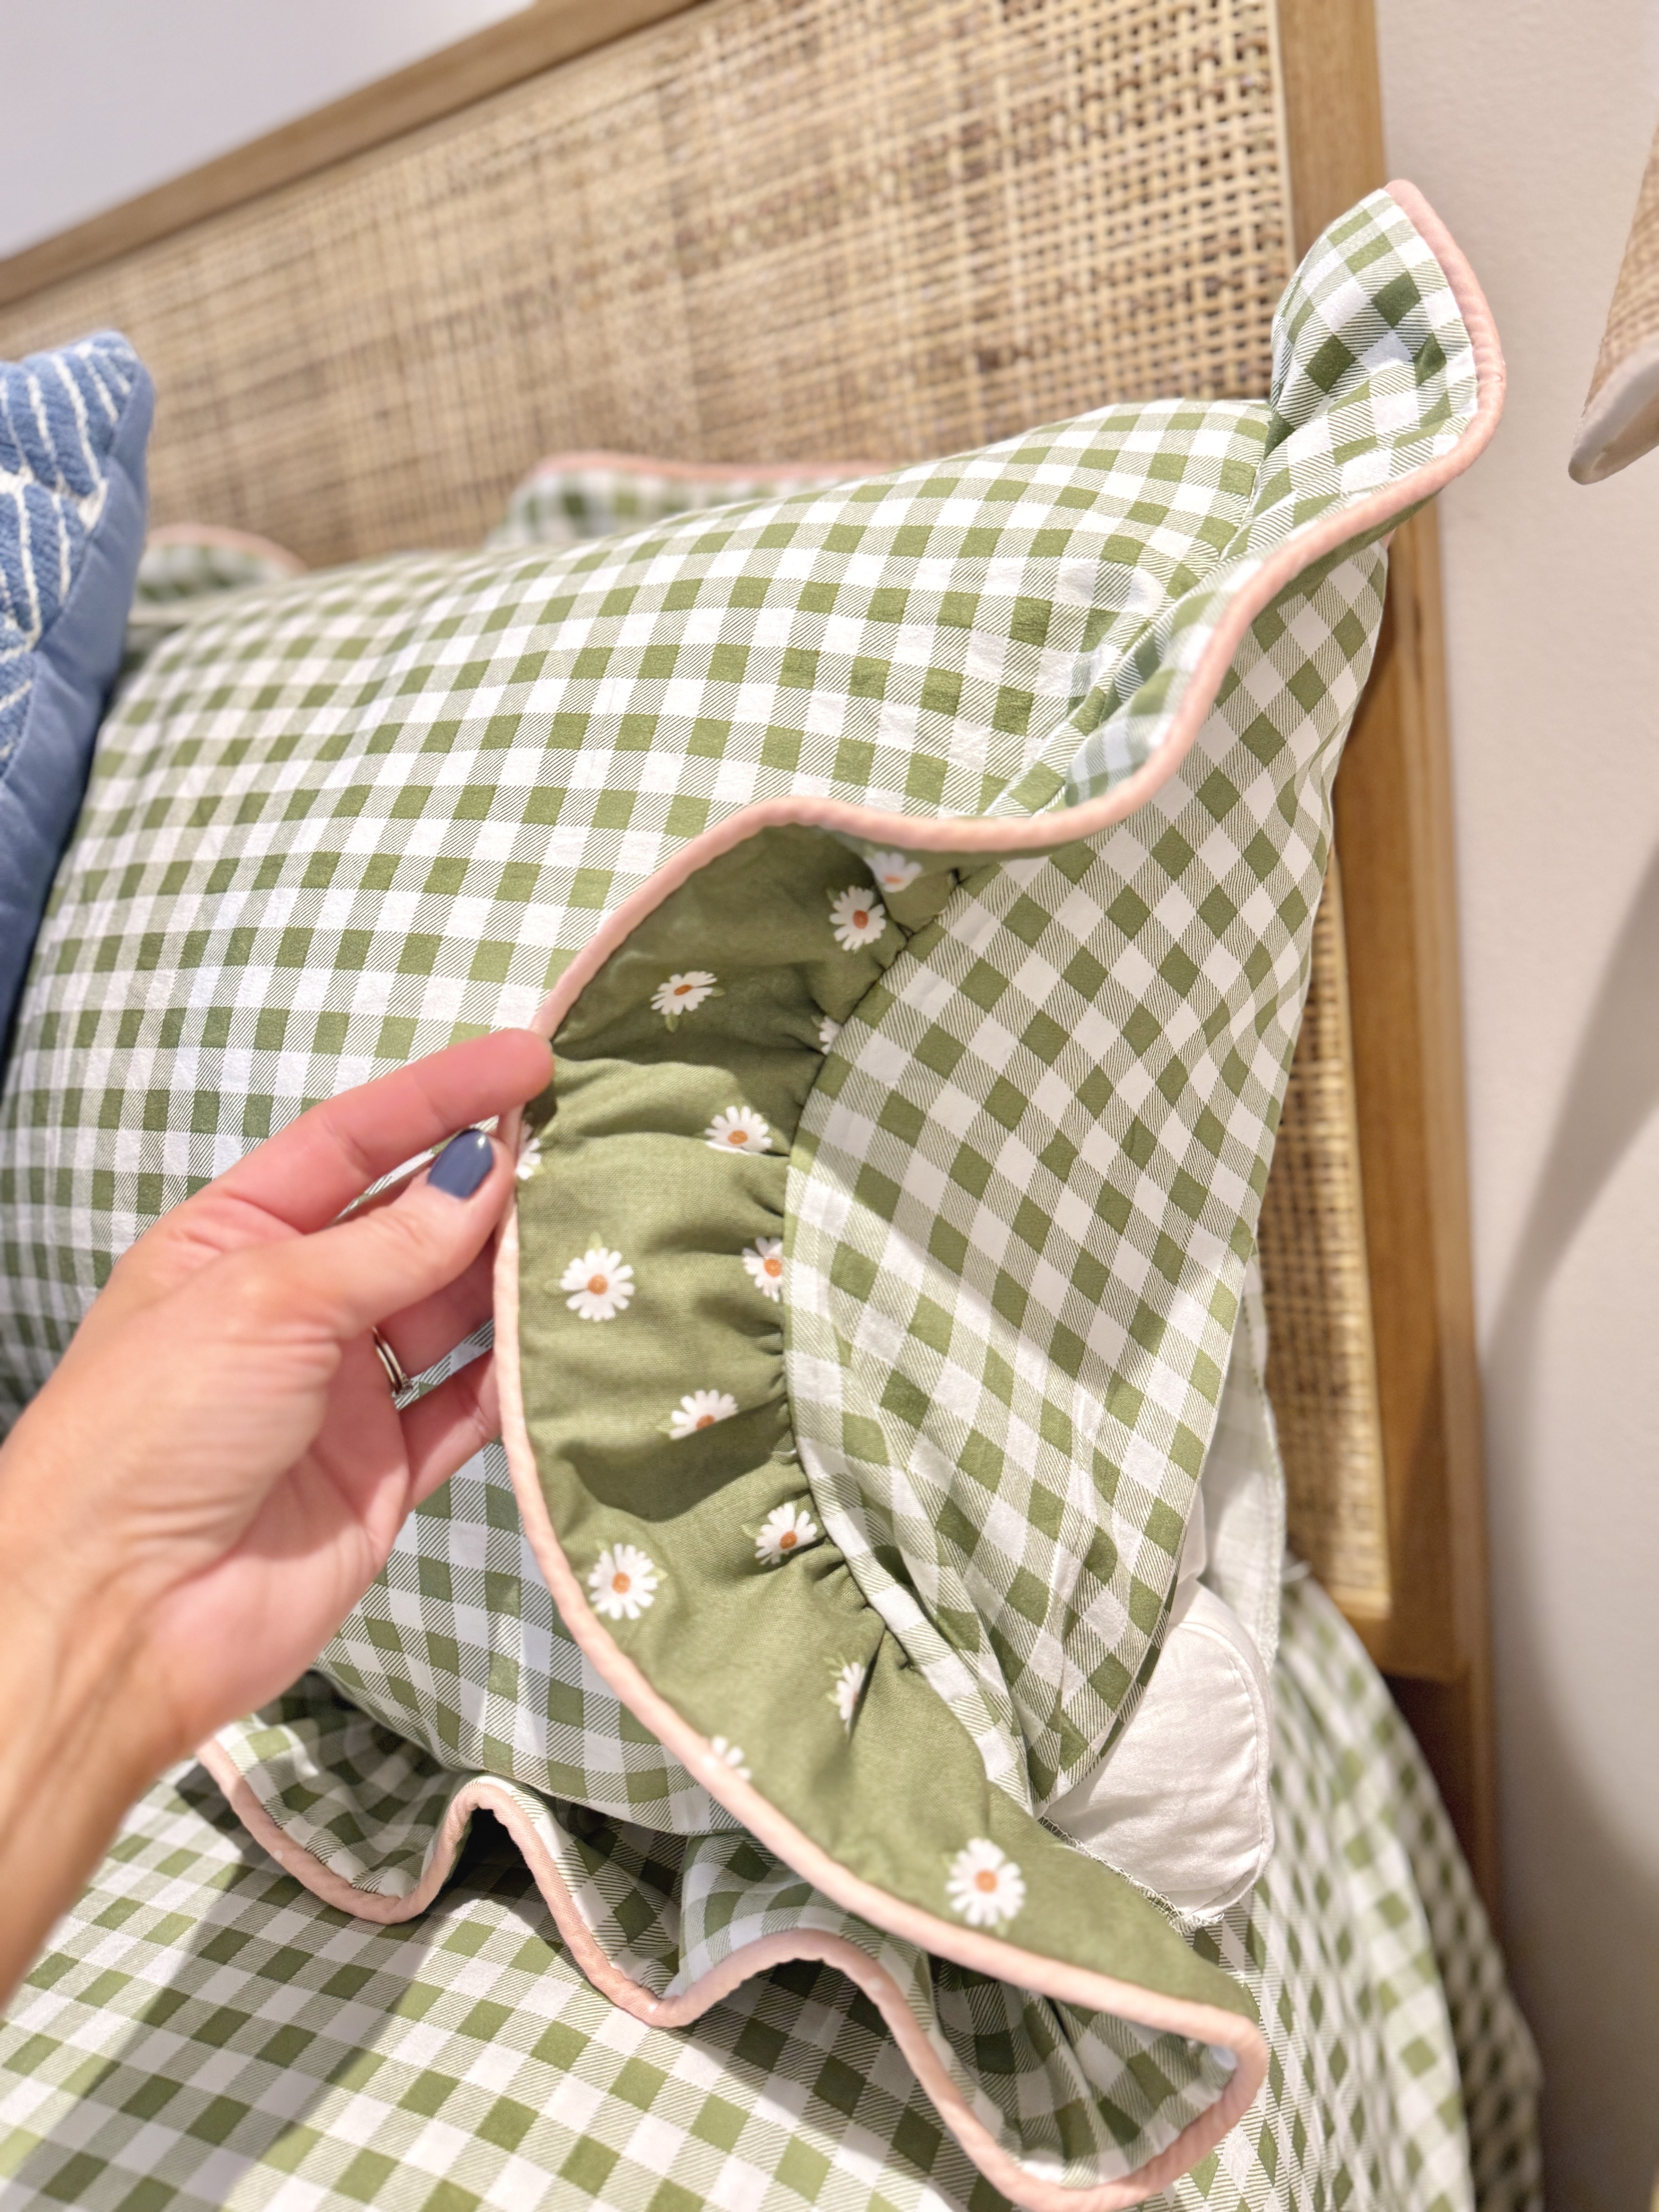
However, when it arrived, I realized that the ruffle accents were finished with a narrow hem, resulting in an exposed wrong side of the fabric. As an avid sewist, I knew I could fix this and turn this affordable Amazon bedding into something amazing!
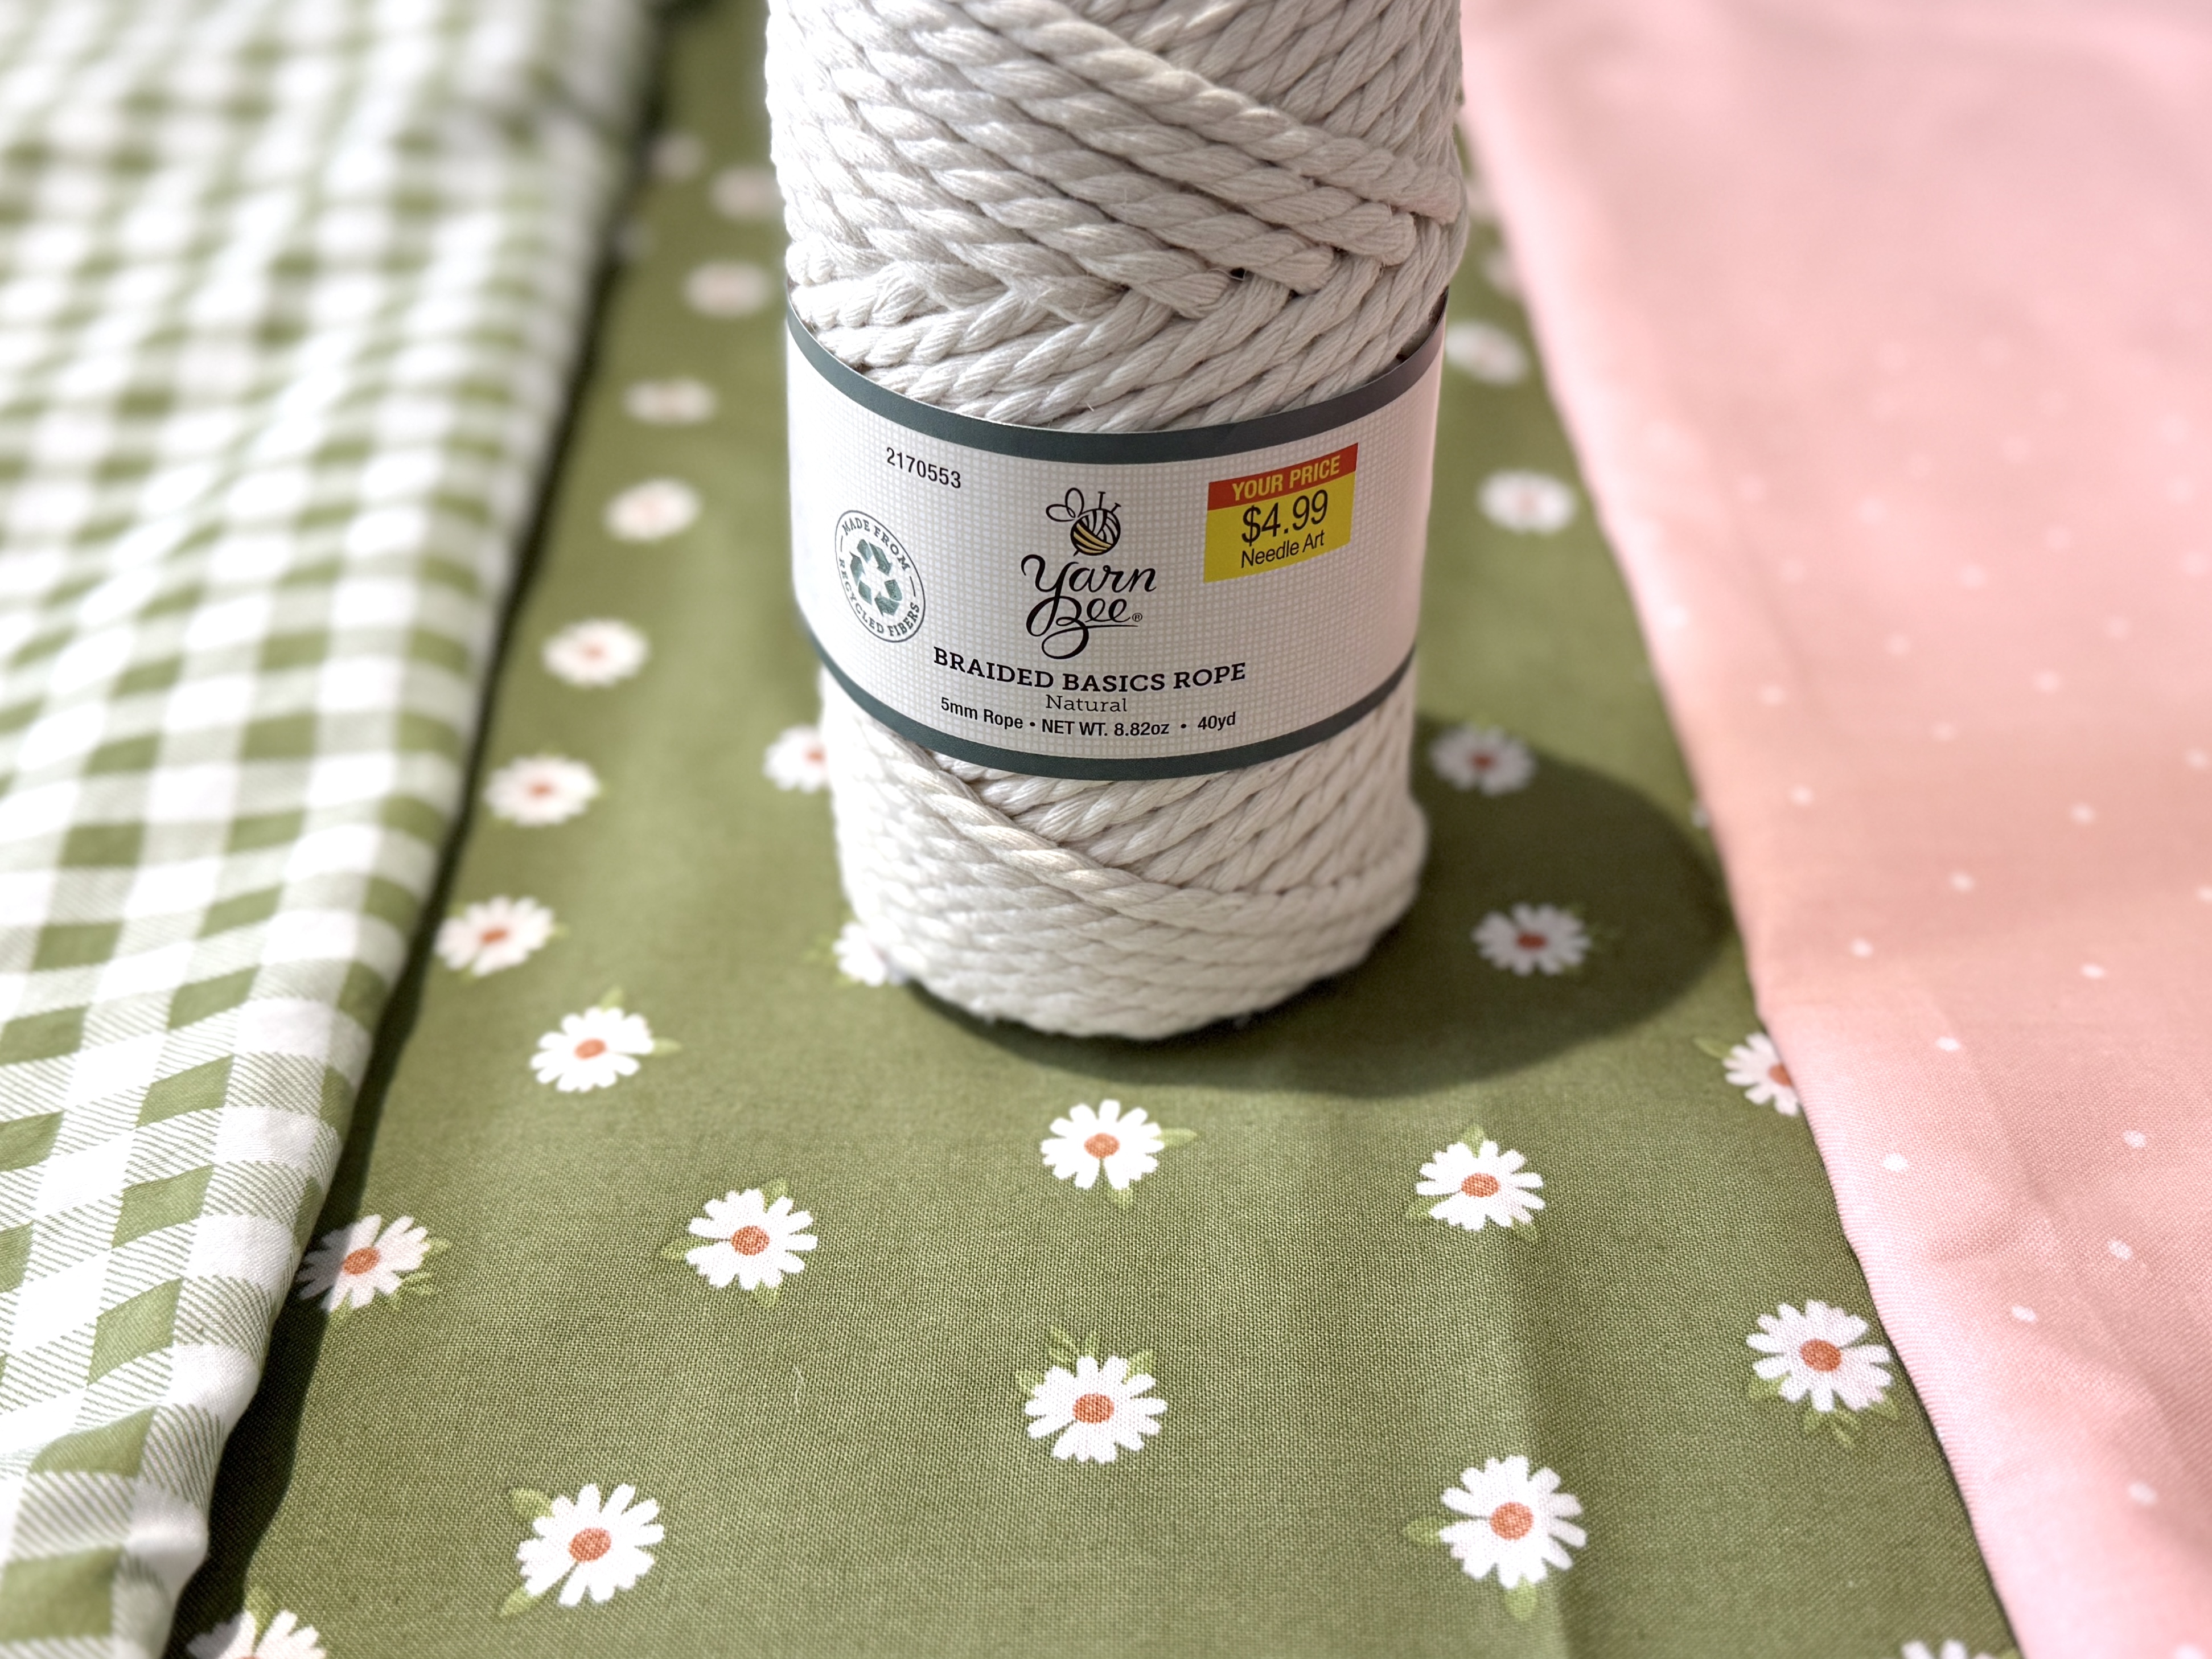
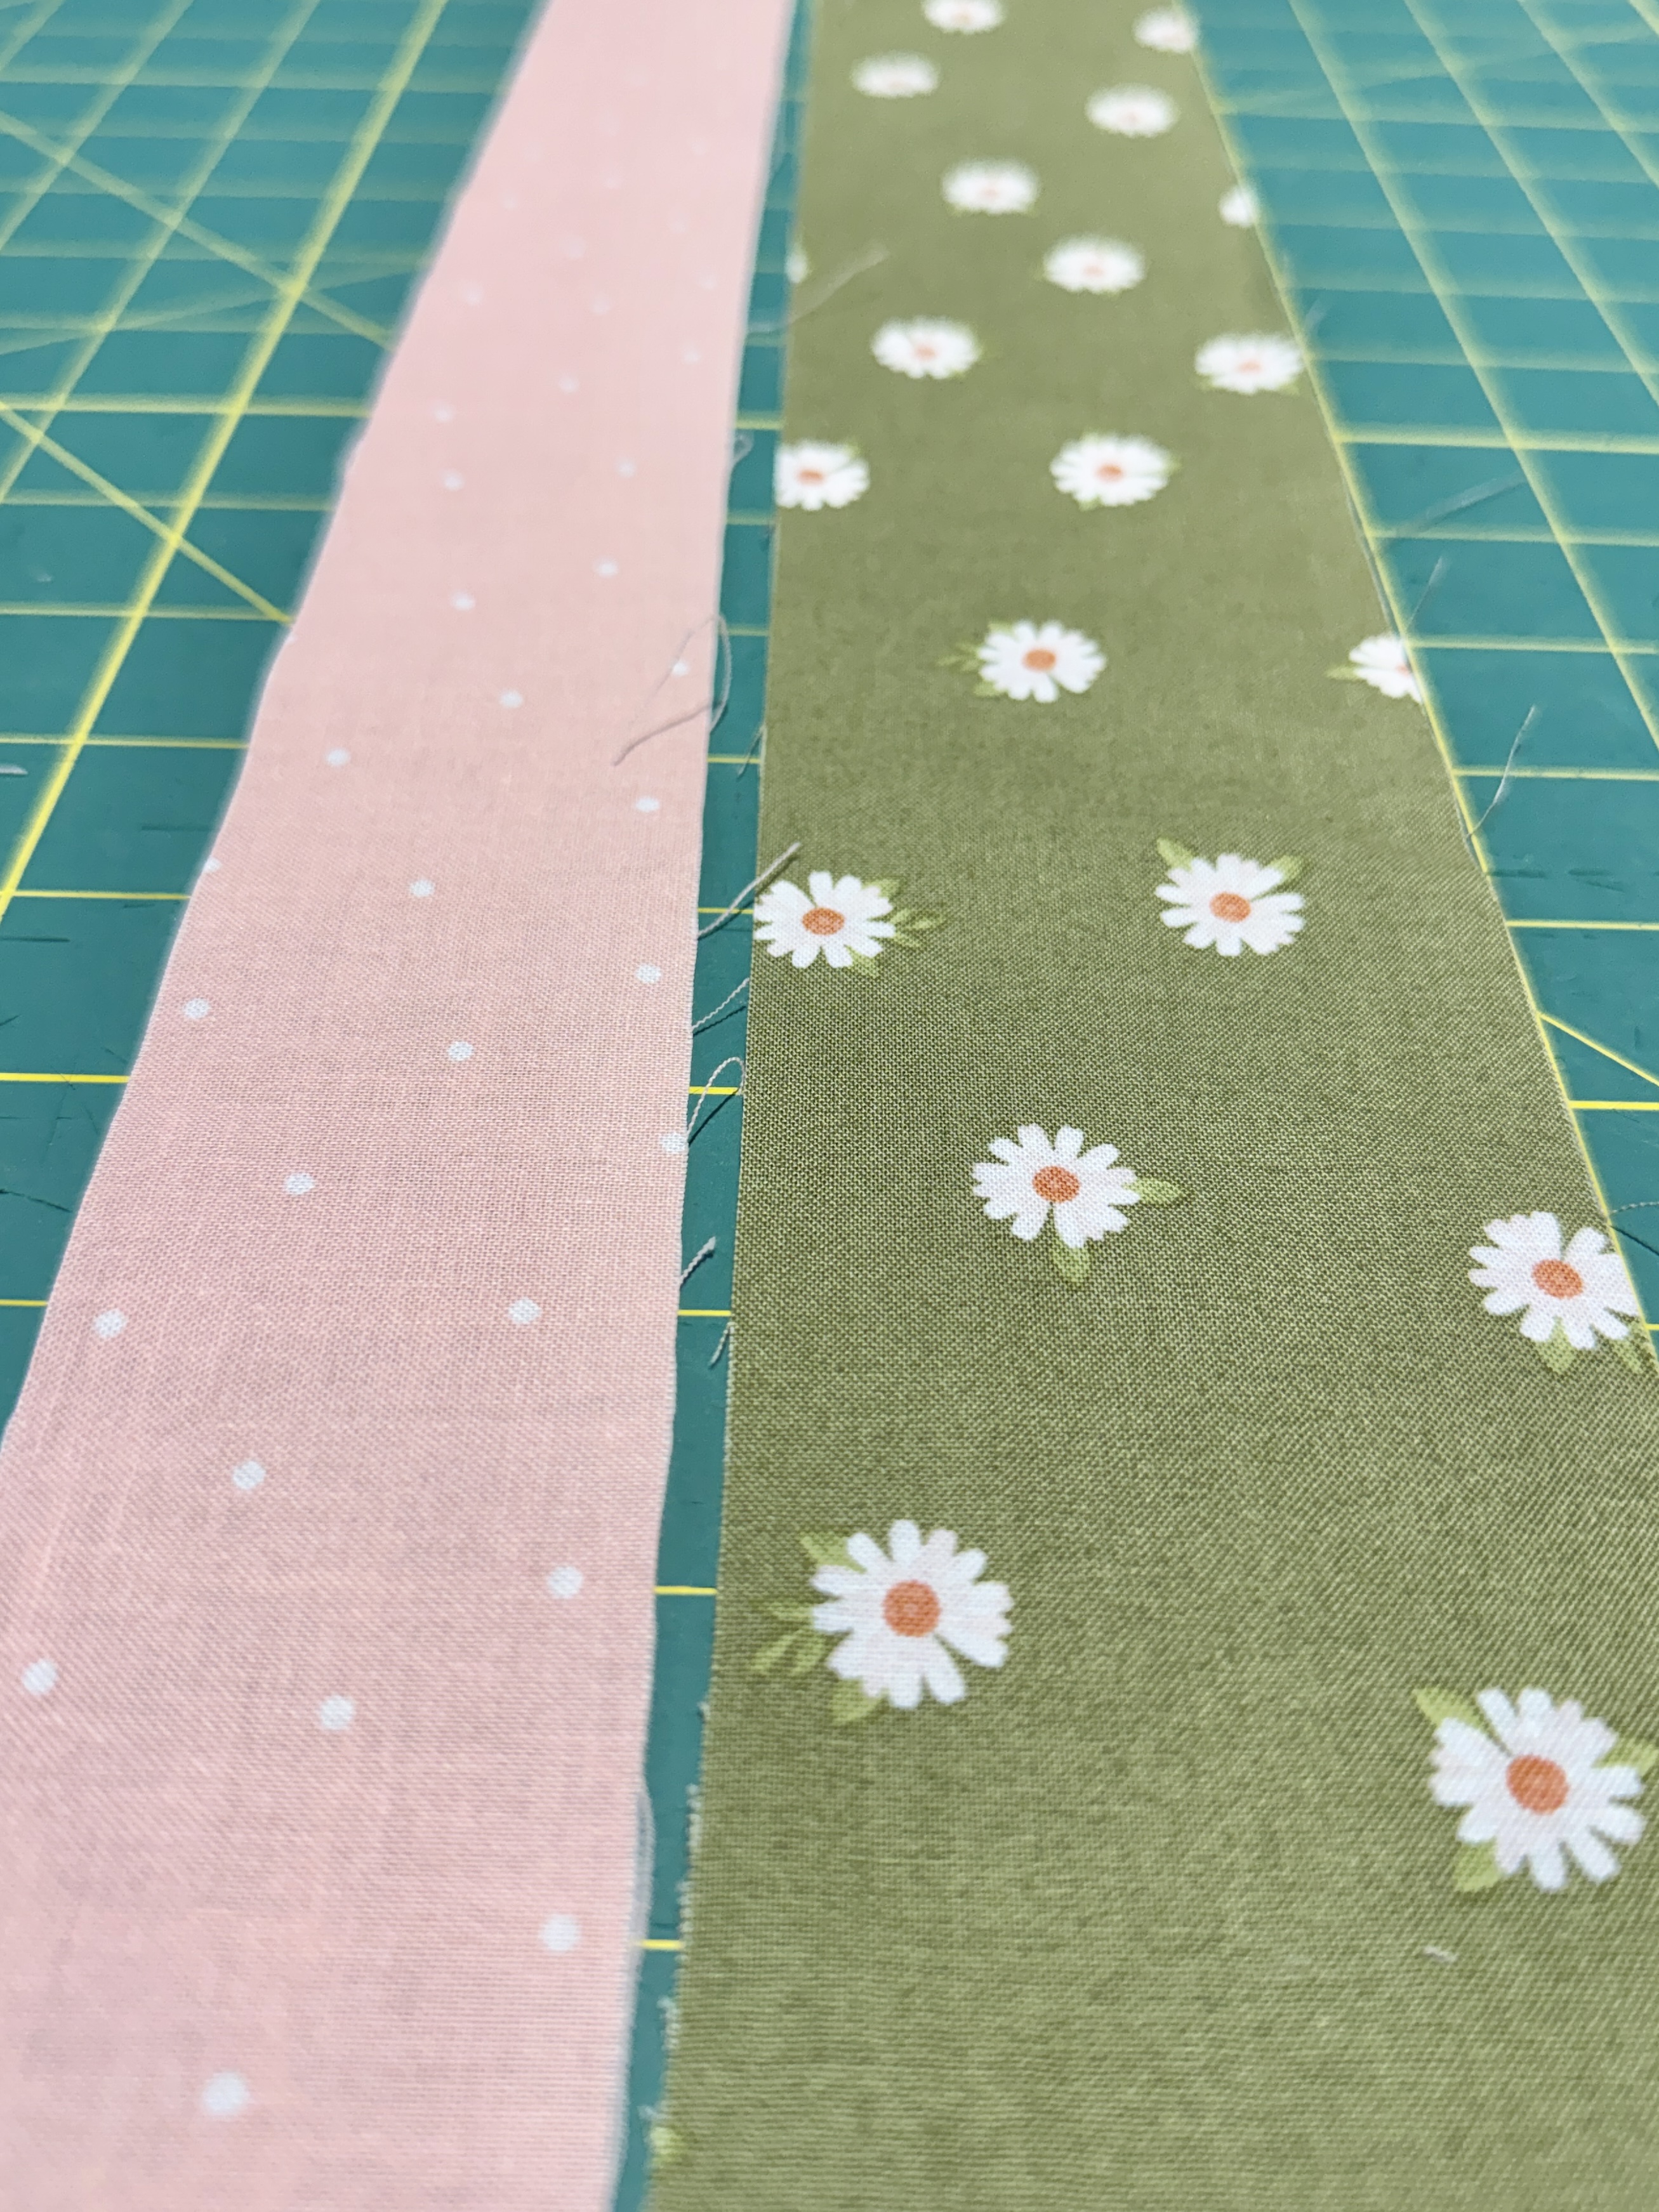
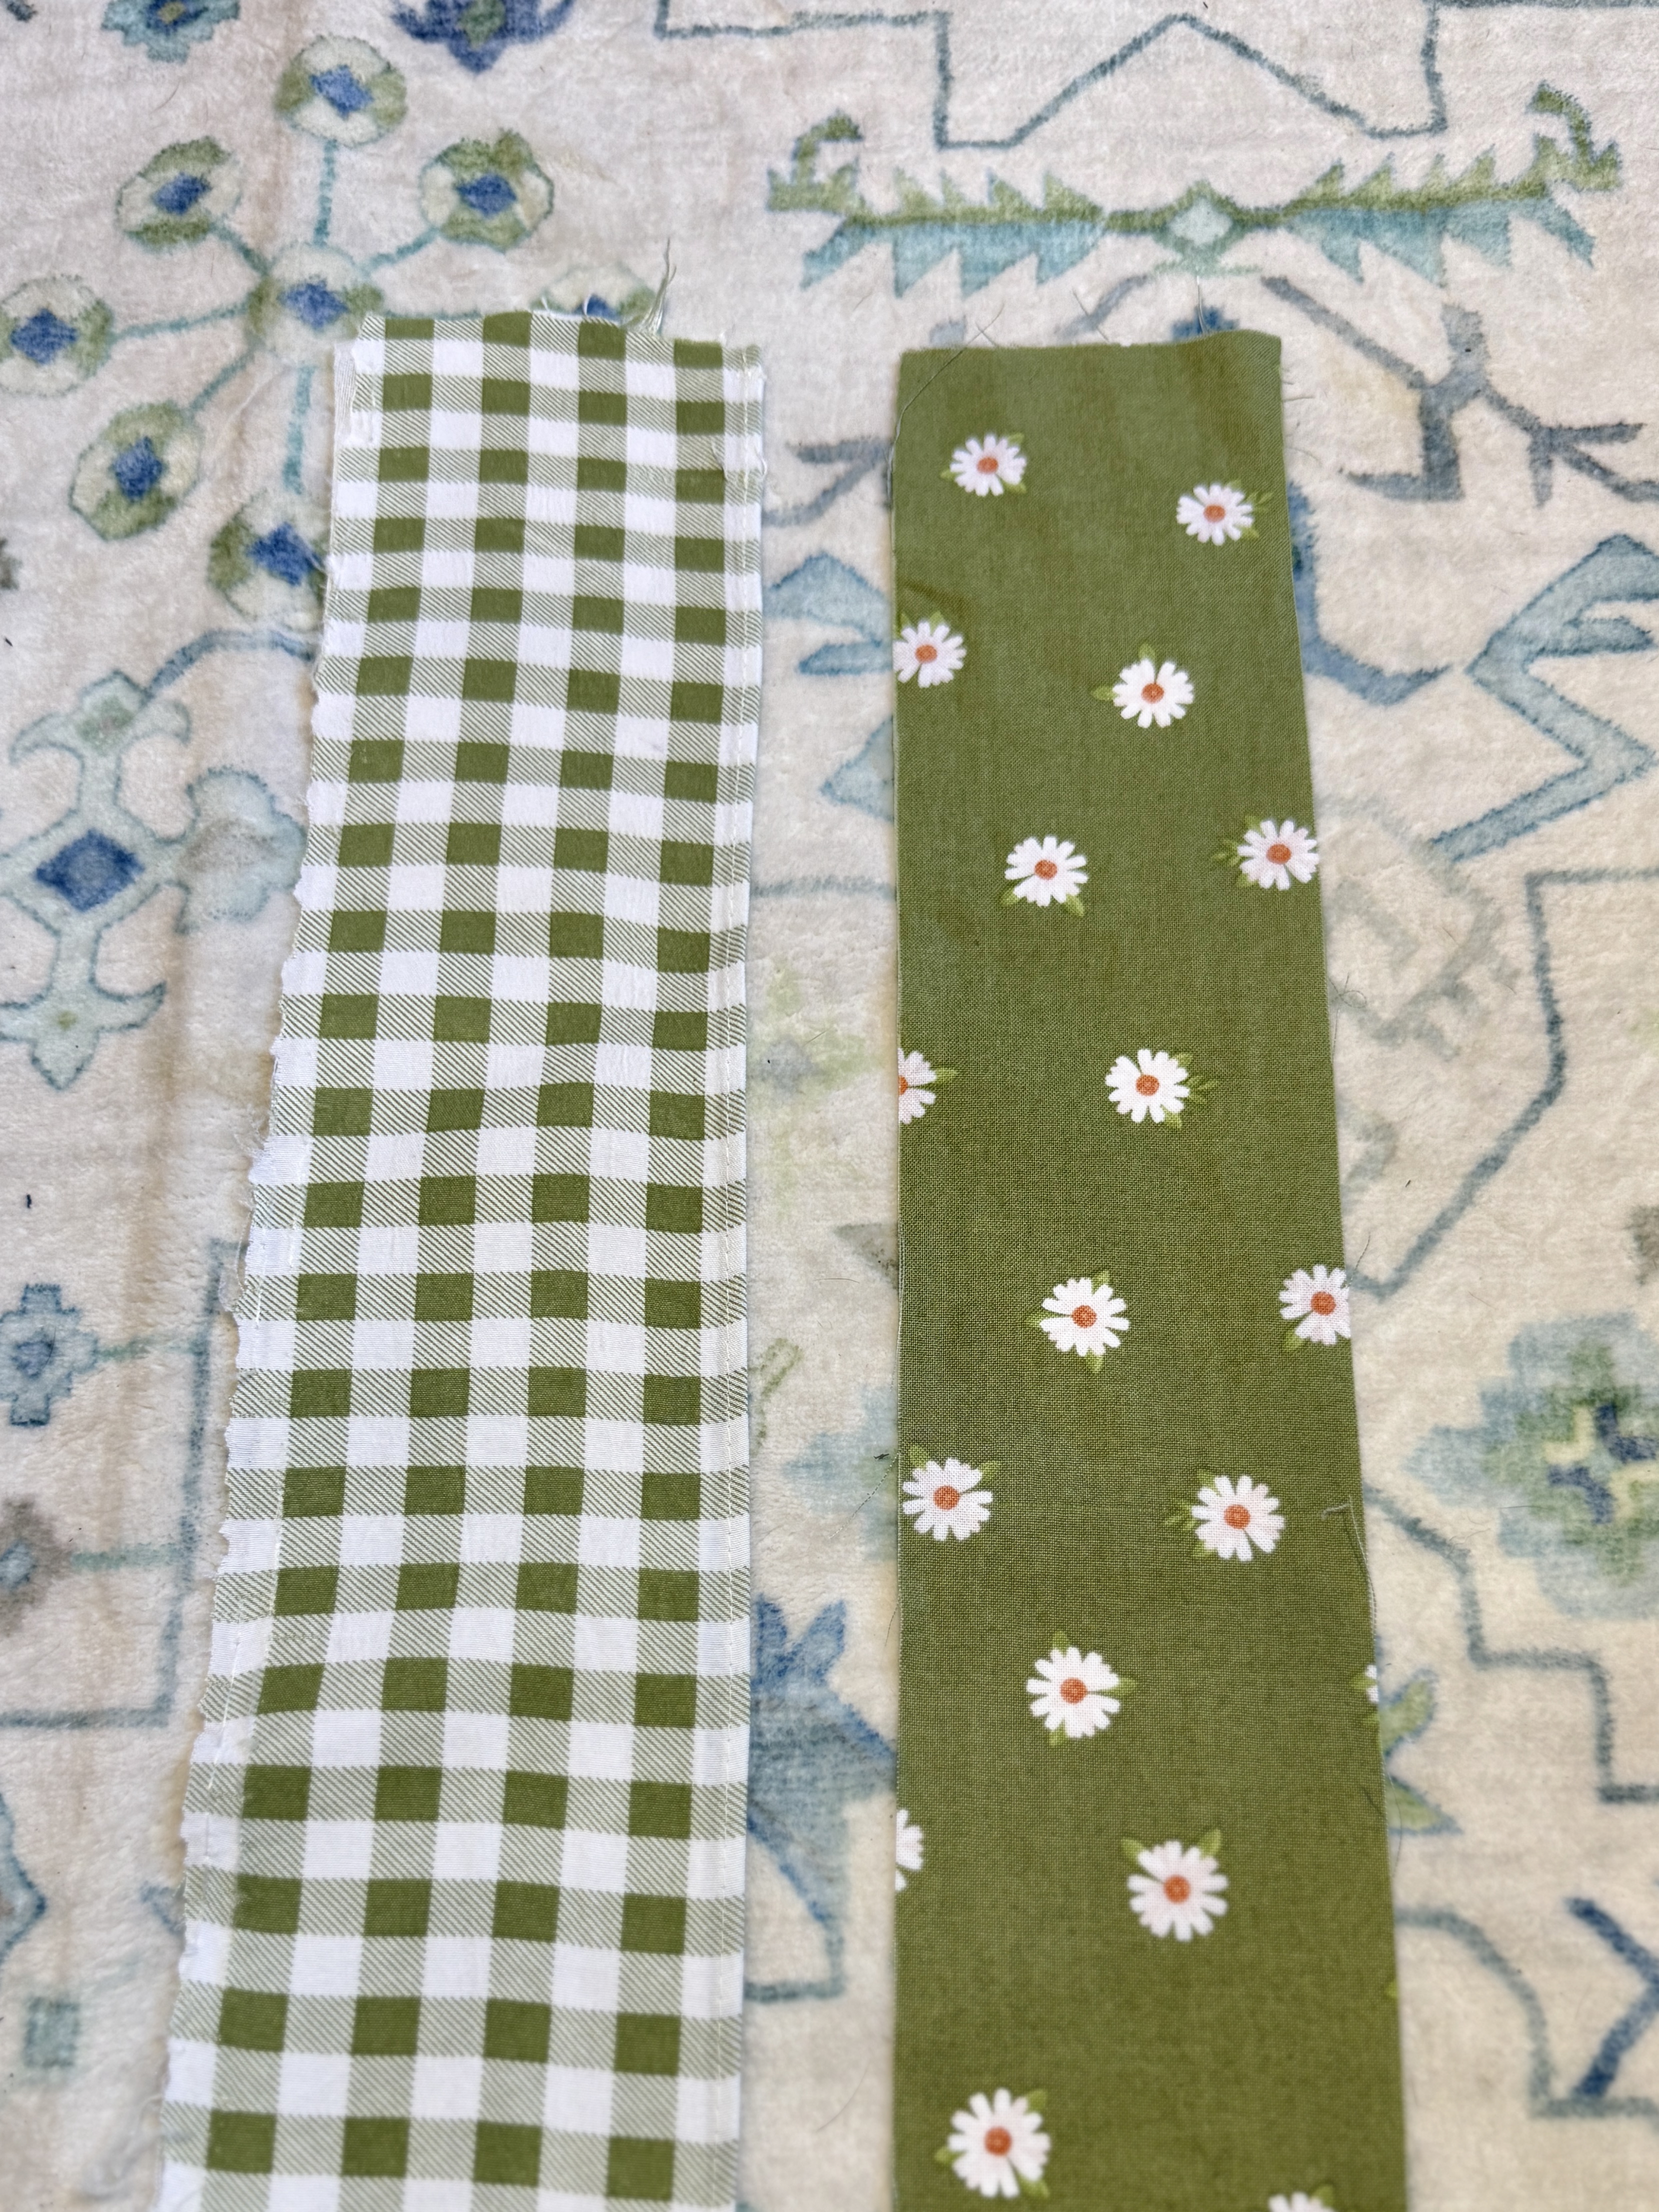
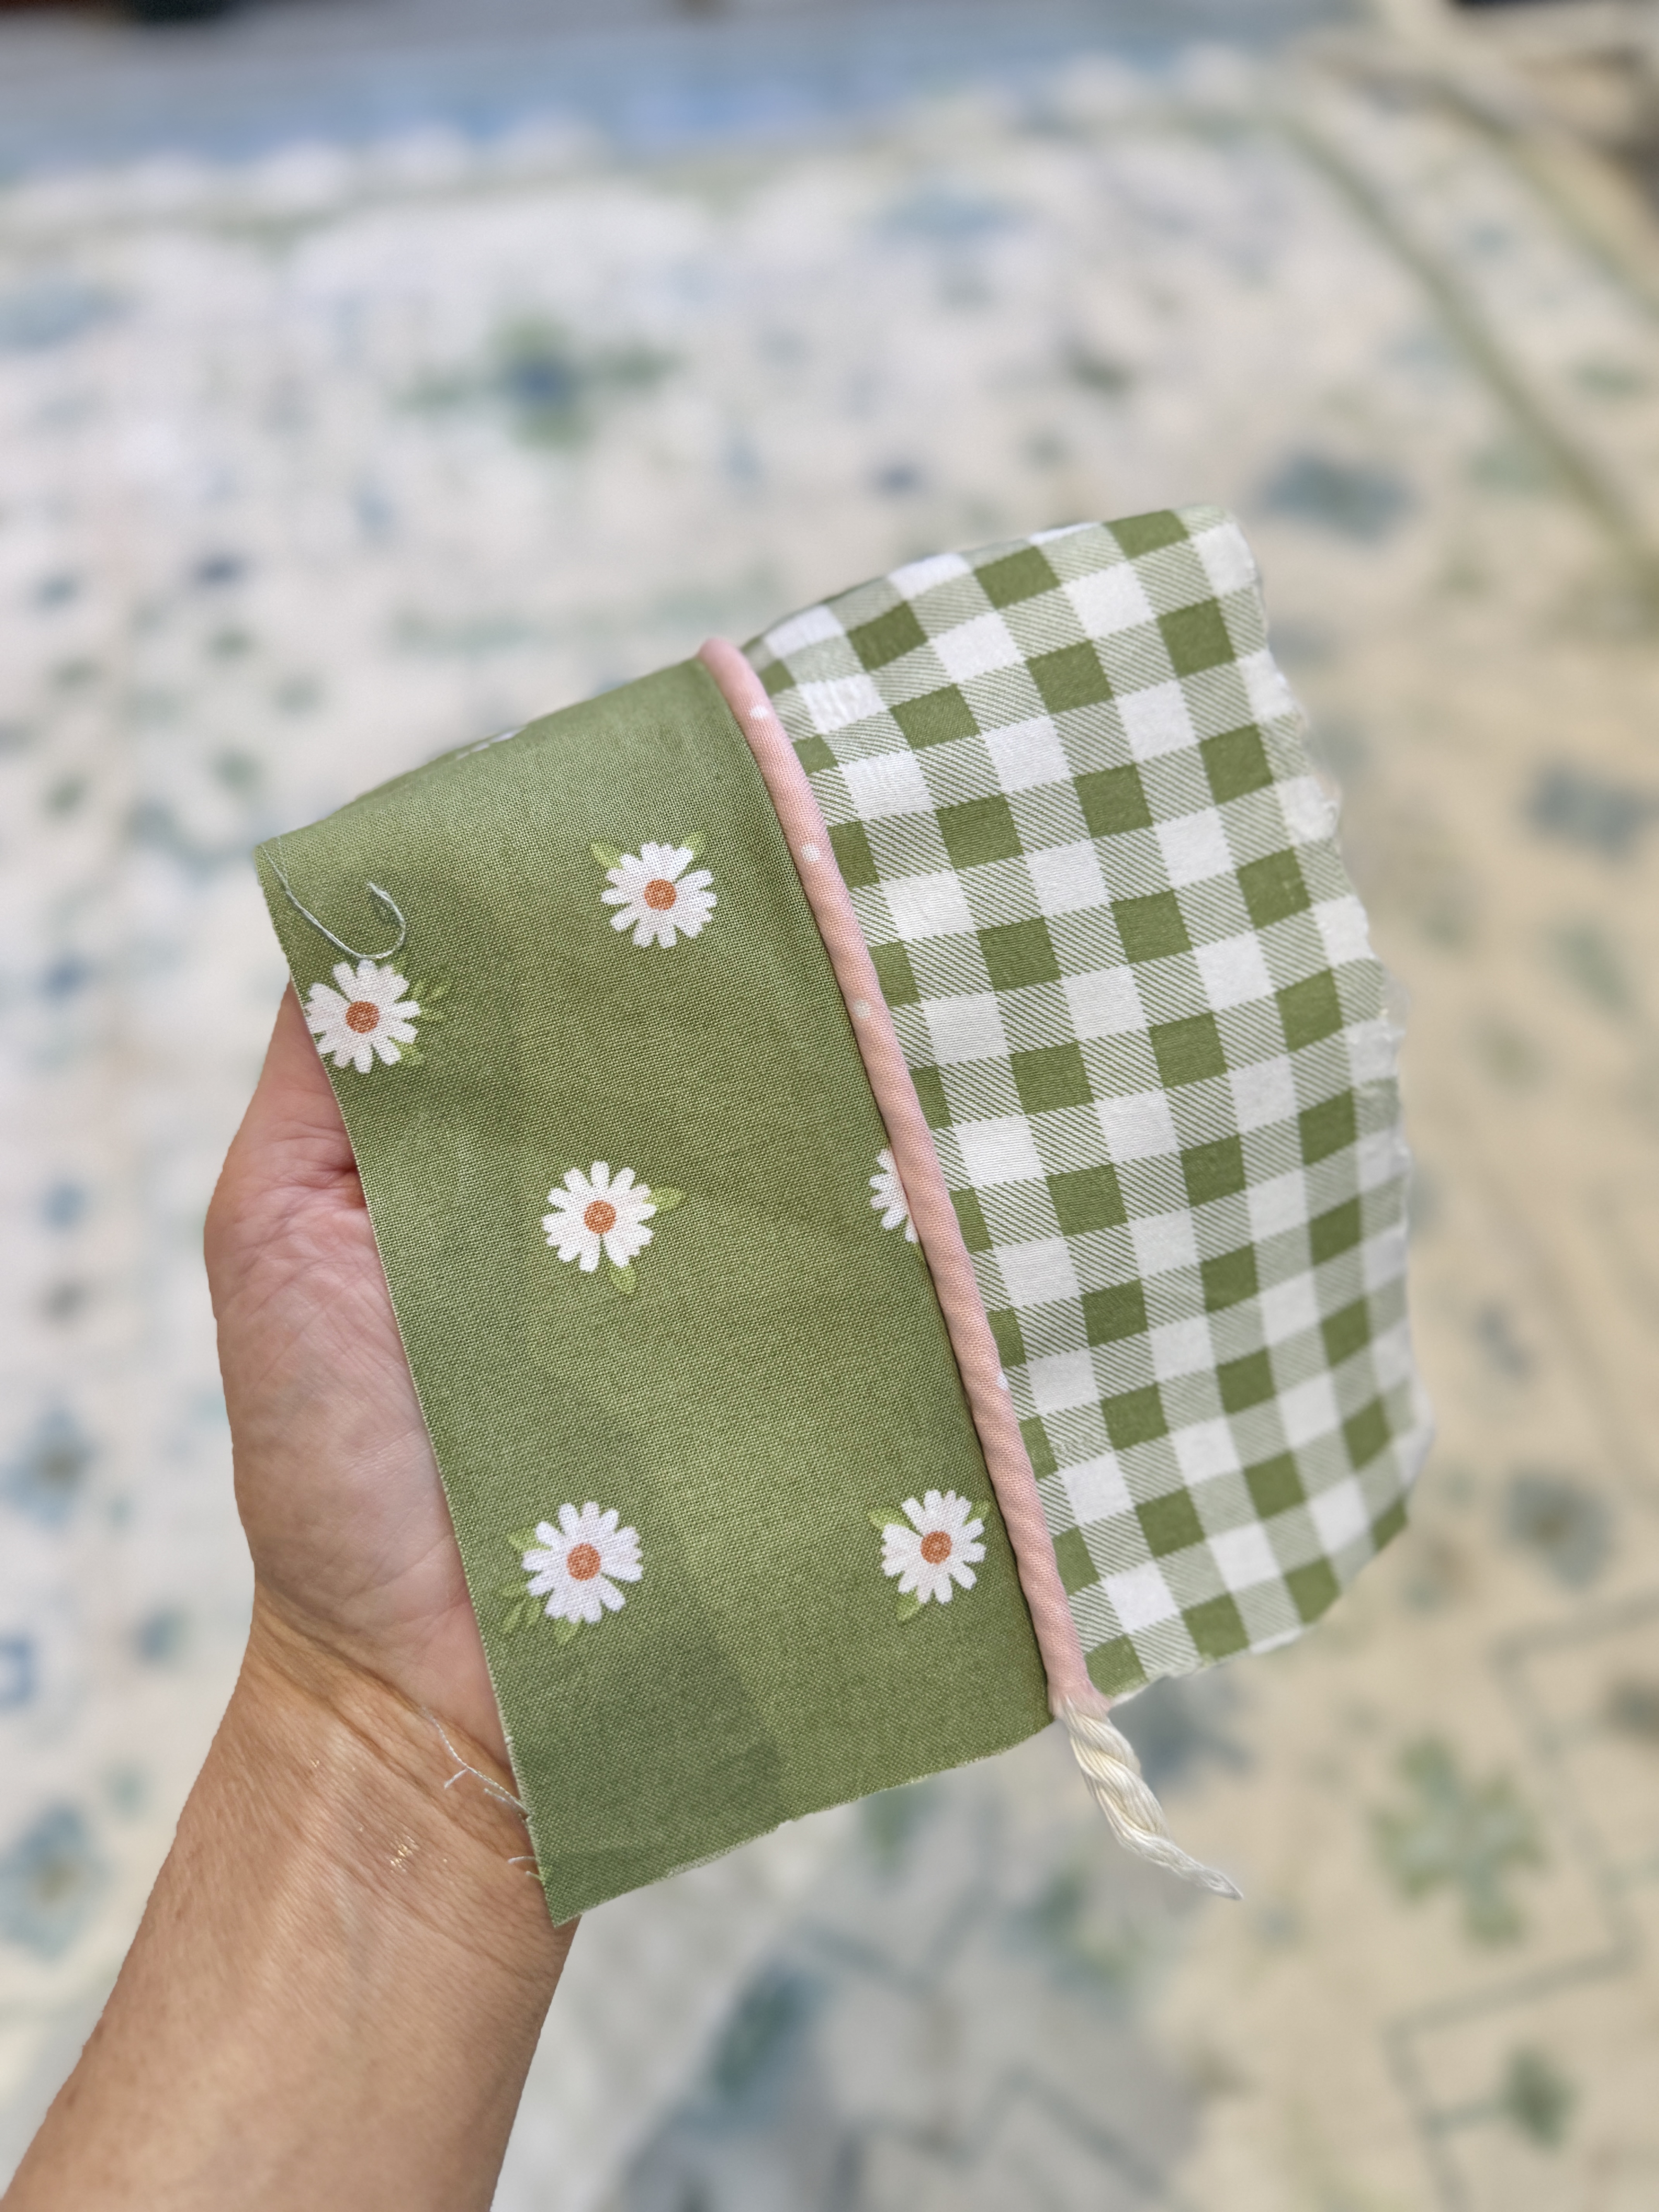
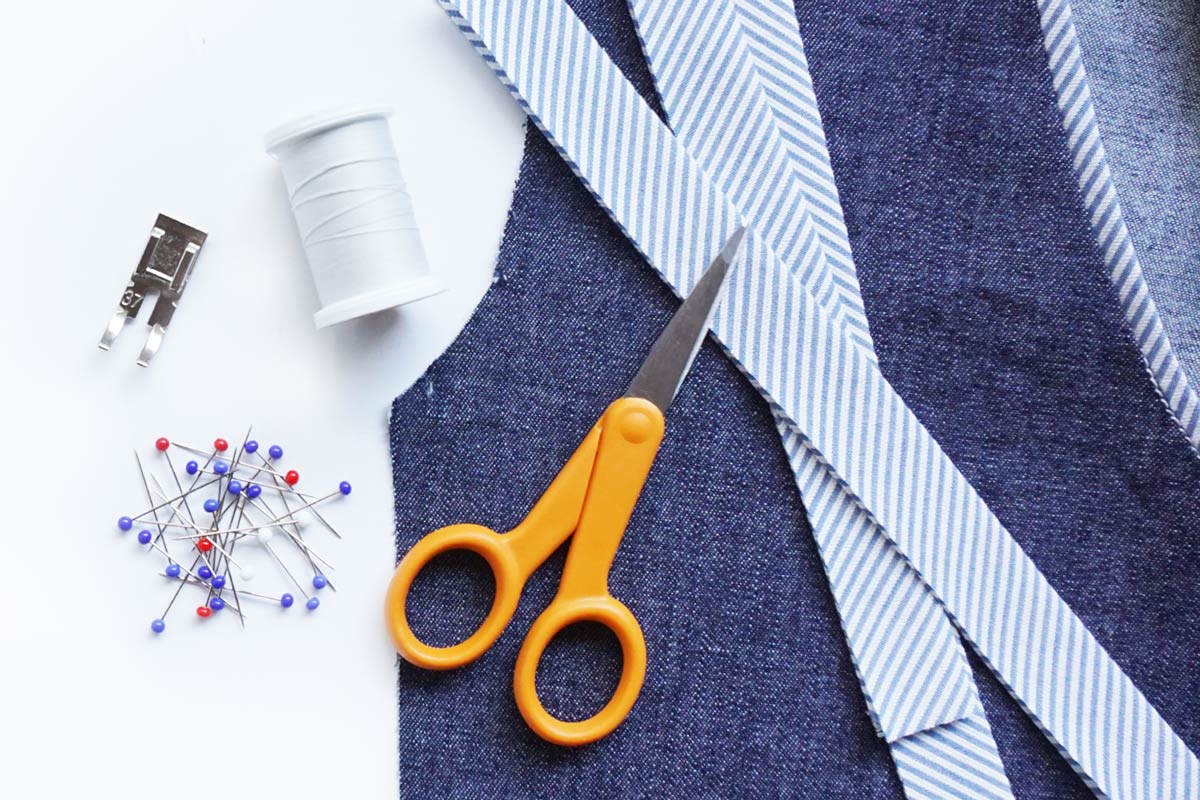
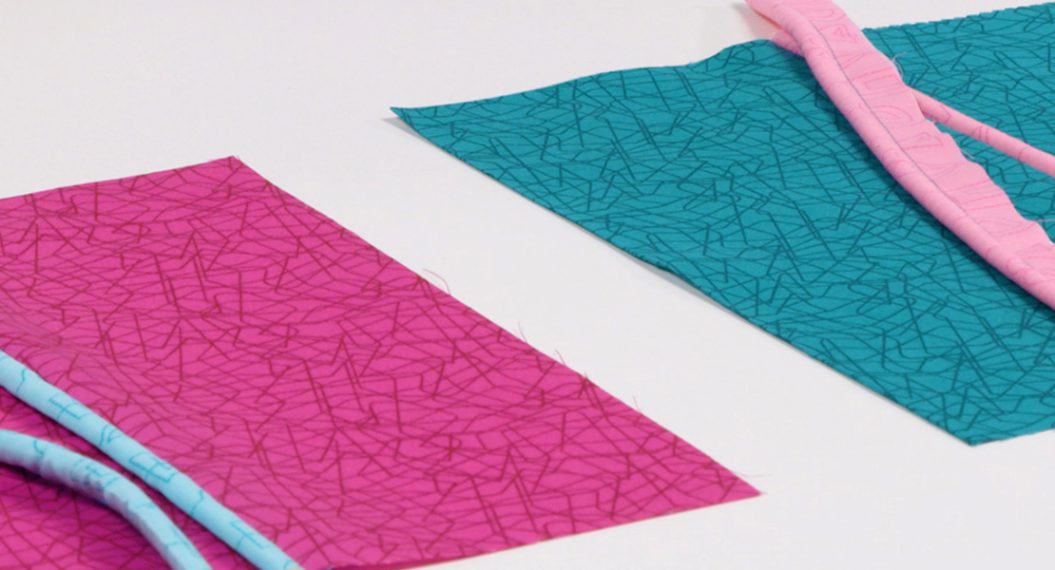
Off I went to search for a coordinating fabric and materials to add a piping trim. As soon as I saw this green floral fabric, I knew it was perfect! I also grabbed some 5mm cording and pink fabric to wrap it in. I am always fond of a surprise pop of print hidden within something handmade. And there’s nothing quite like a crisp piping to make something look expensive.
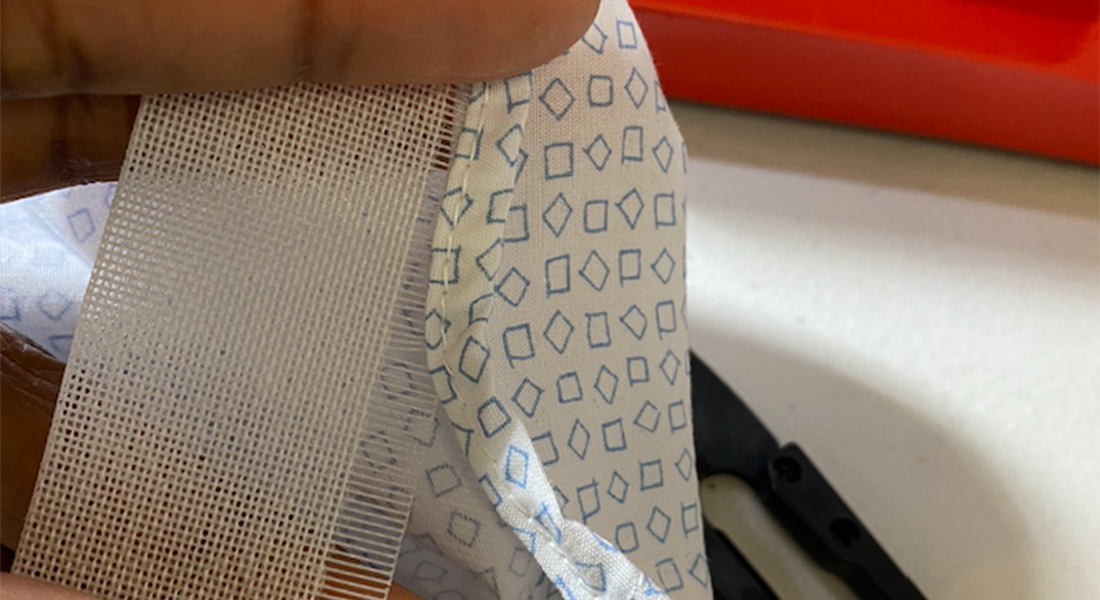
With the materials in hand, I got to work by removing the ruffle trim on the pillowcase.

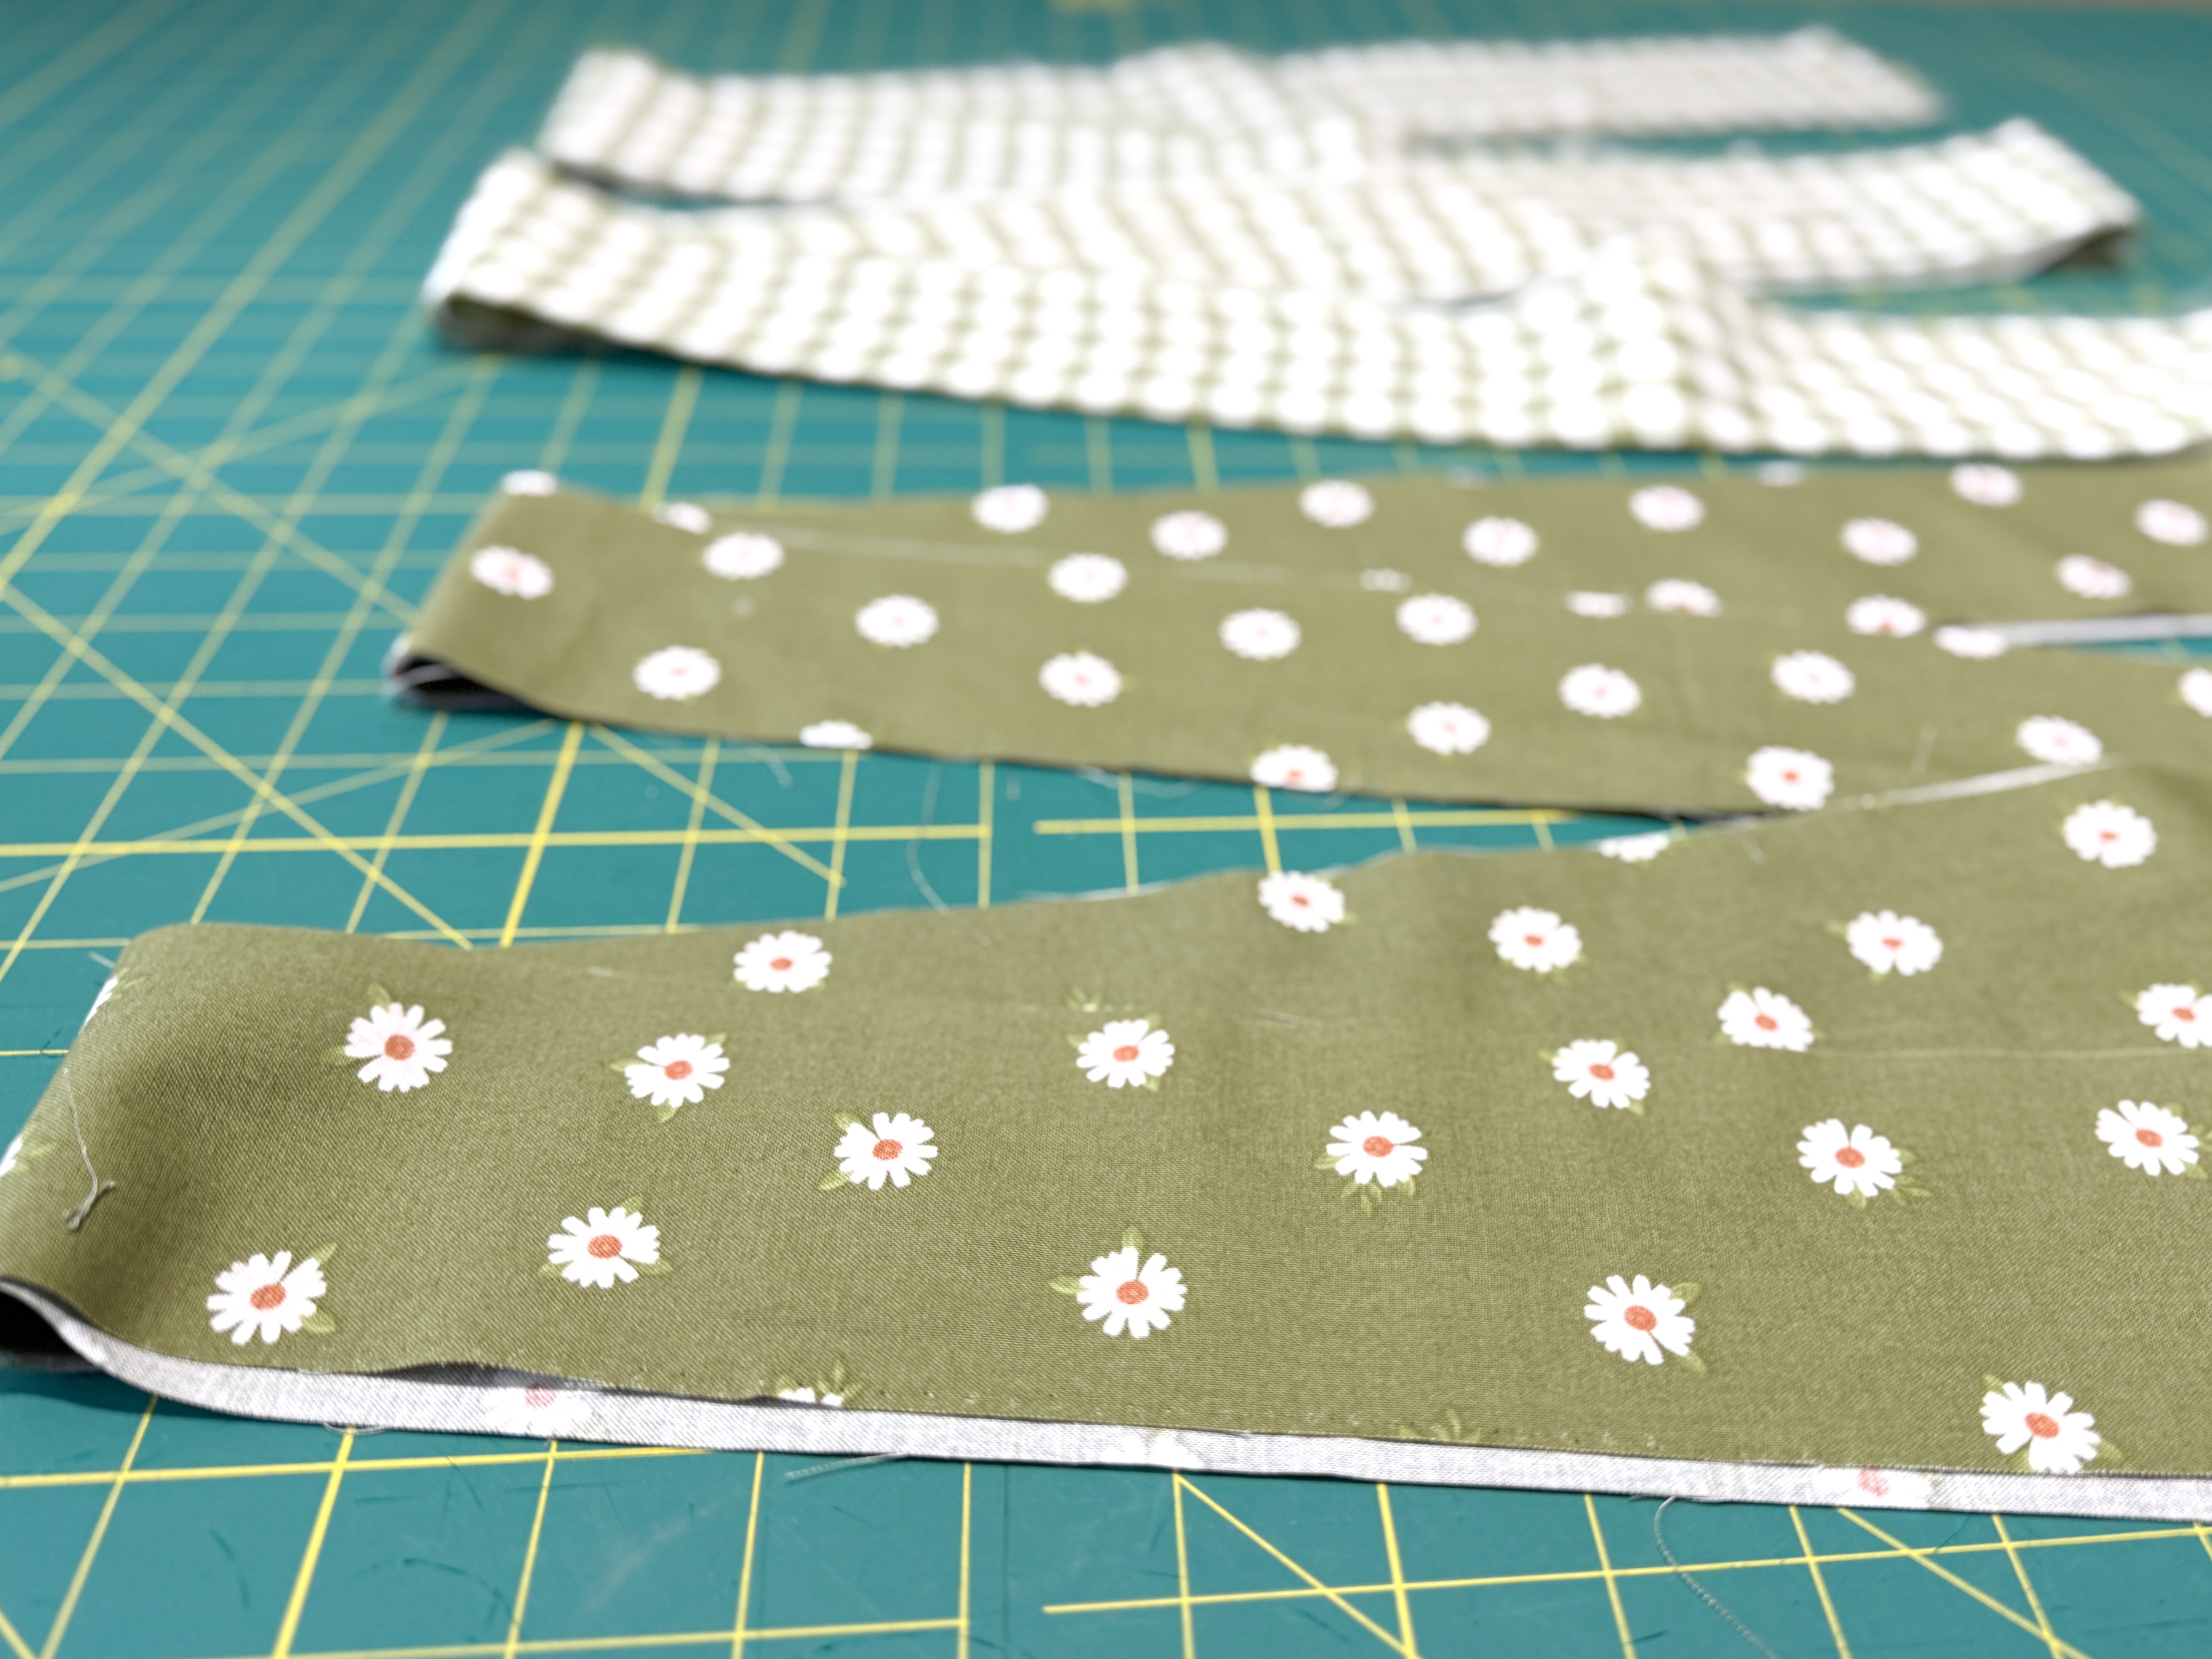
To add some stability to the fabric, I fused lightweight interfacing to the back of the ruffle pieces. The ruffle pieces became the new pattern pieces for the green floral fabric, which I cut out next.
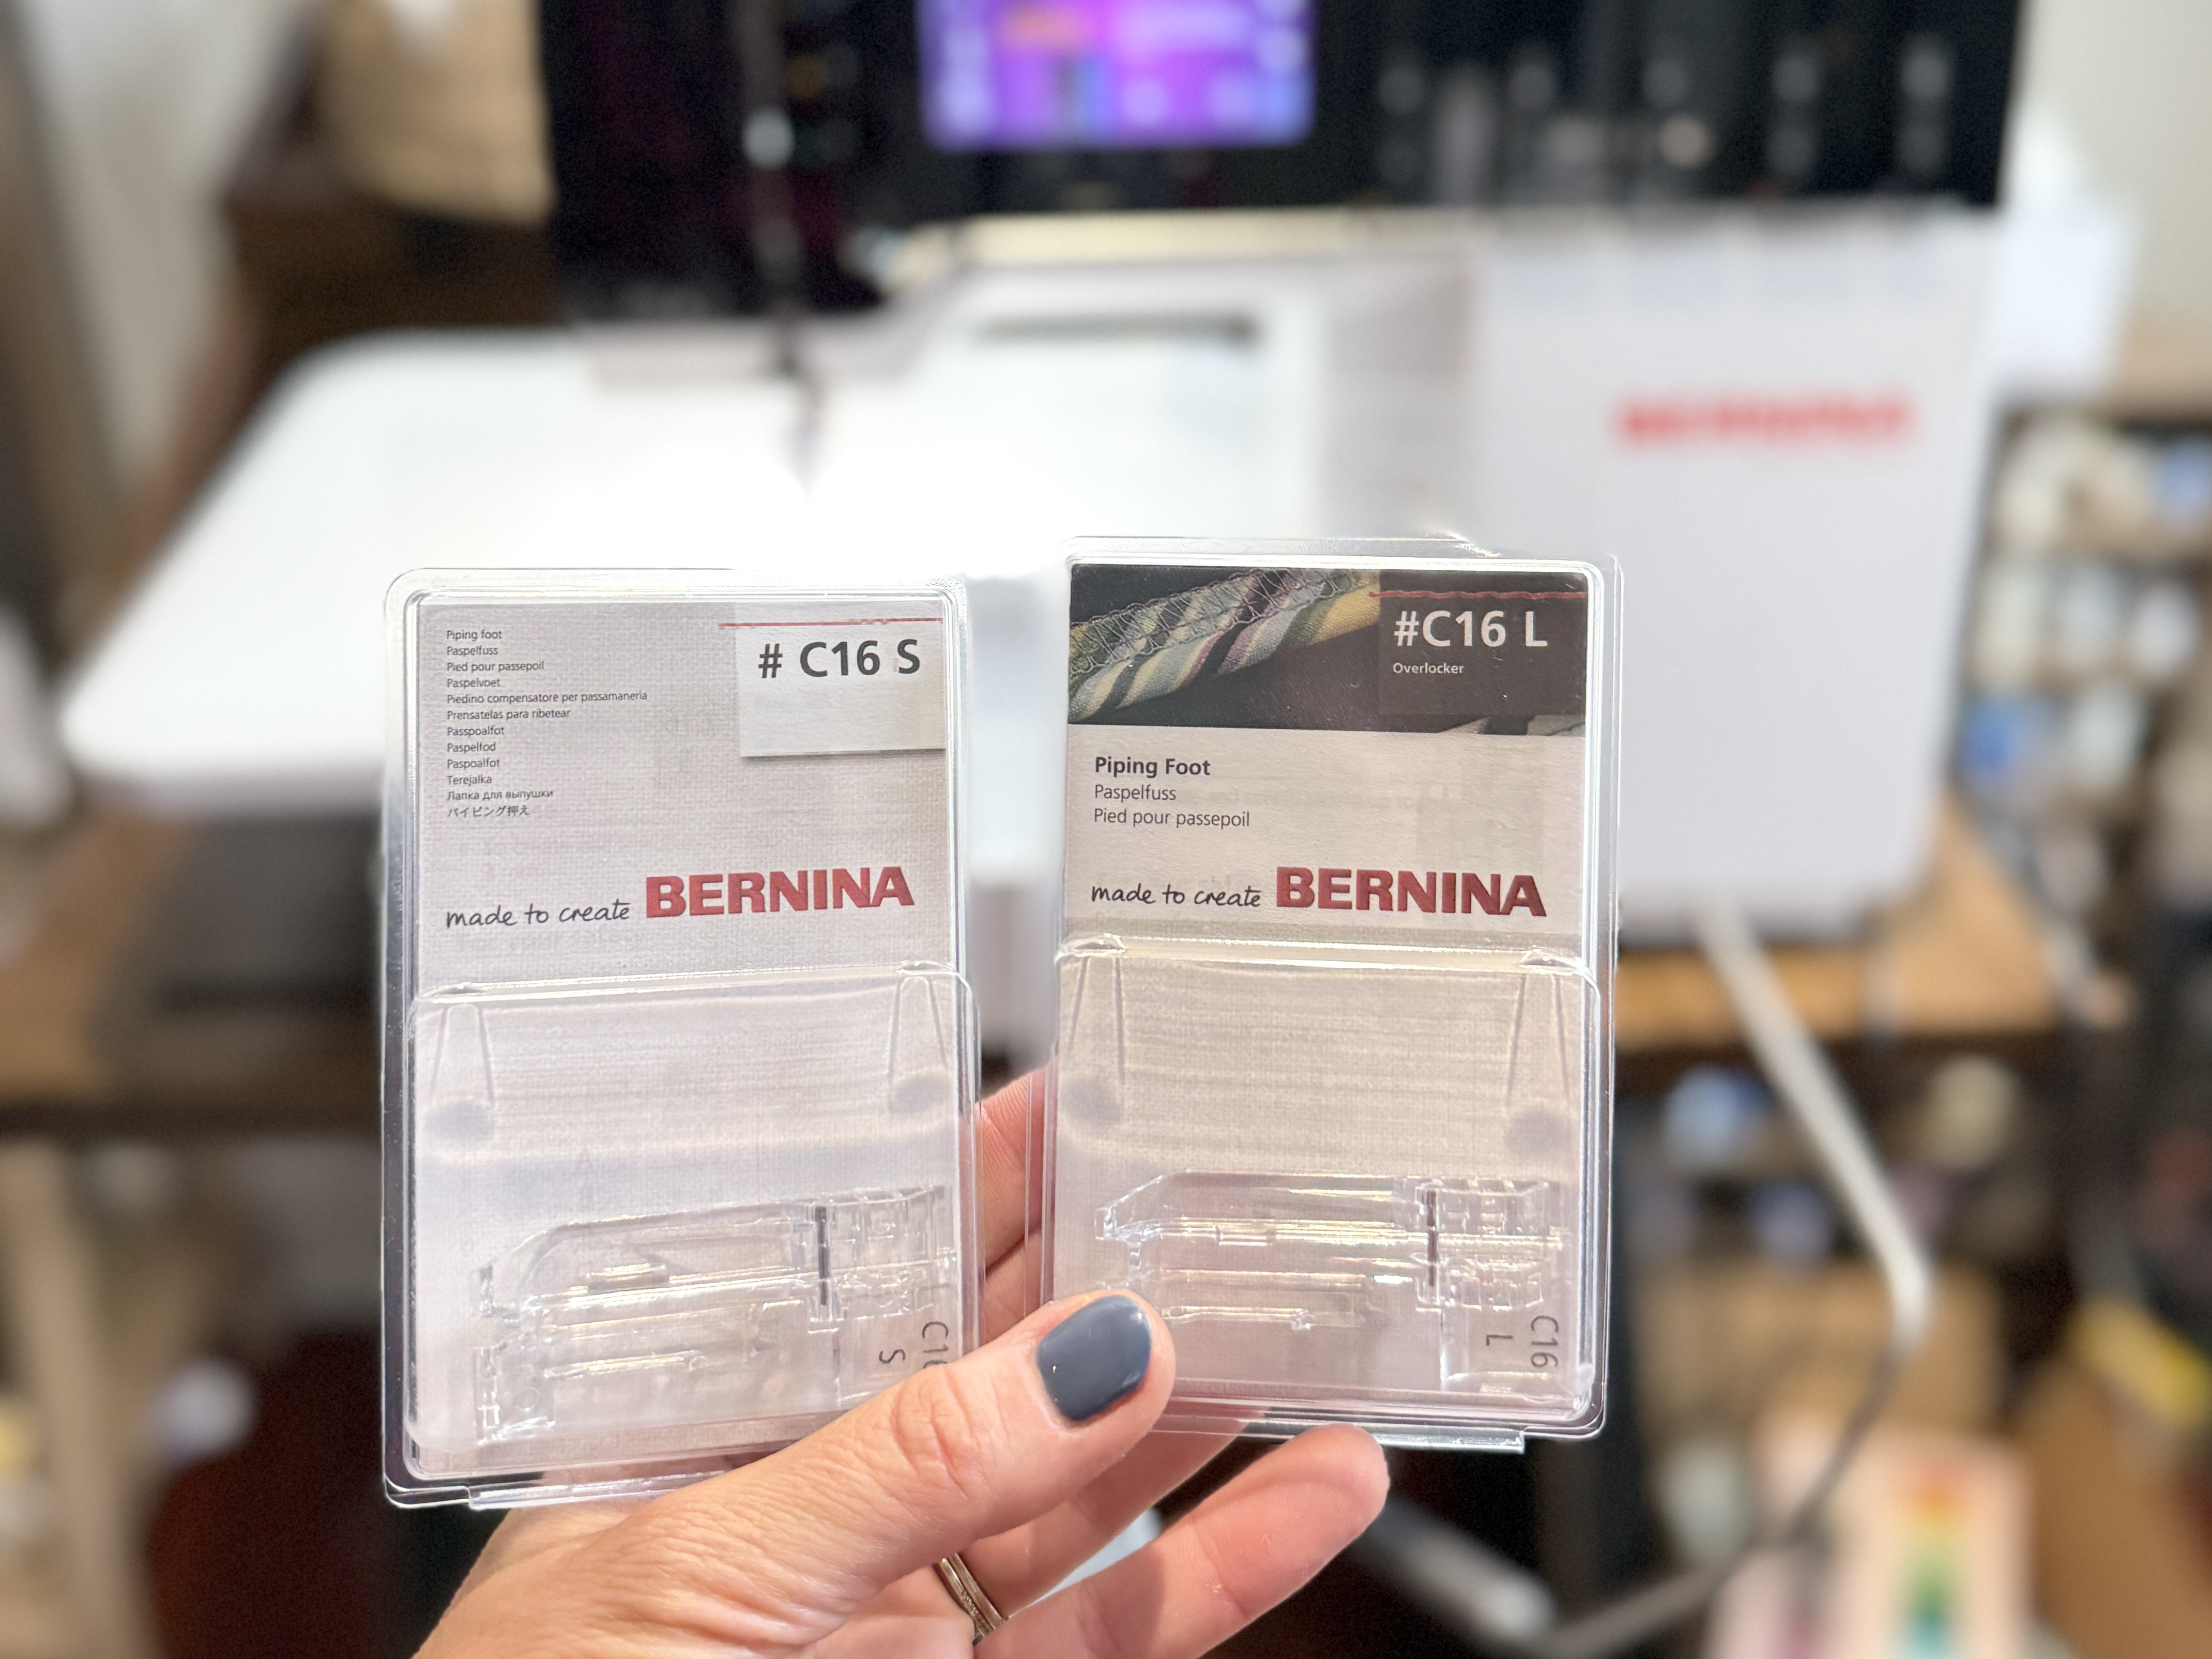
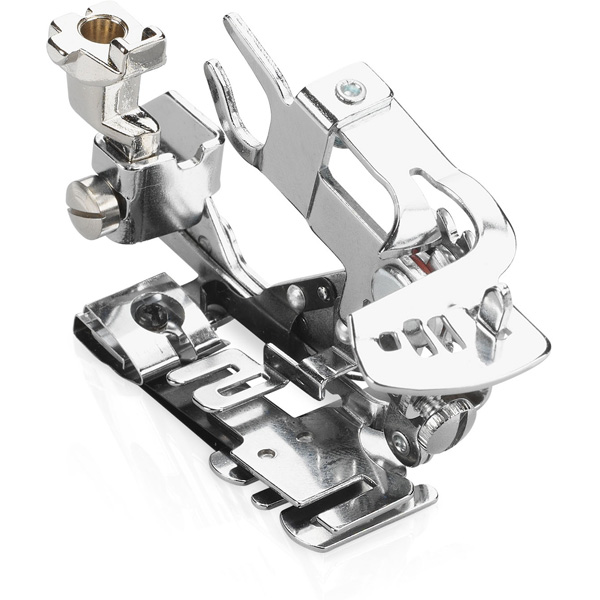
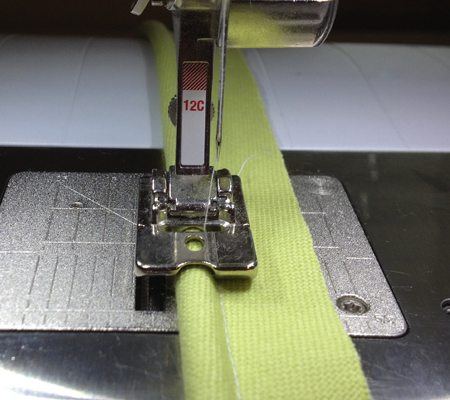
Now it was time to create some piping to sandwich between the two ruffle pieces. Enter in the Piping Foot #C16 L.
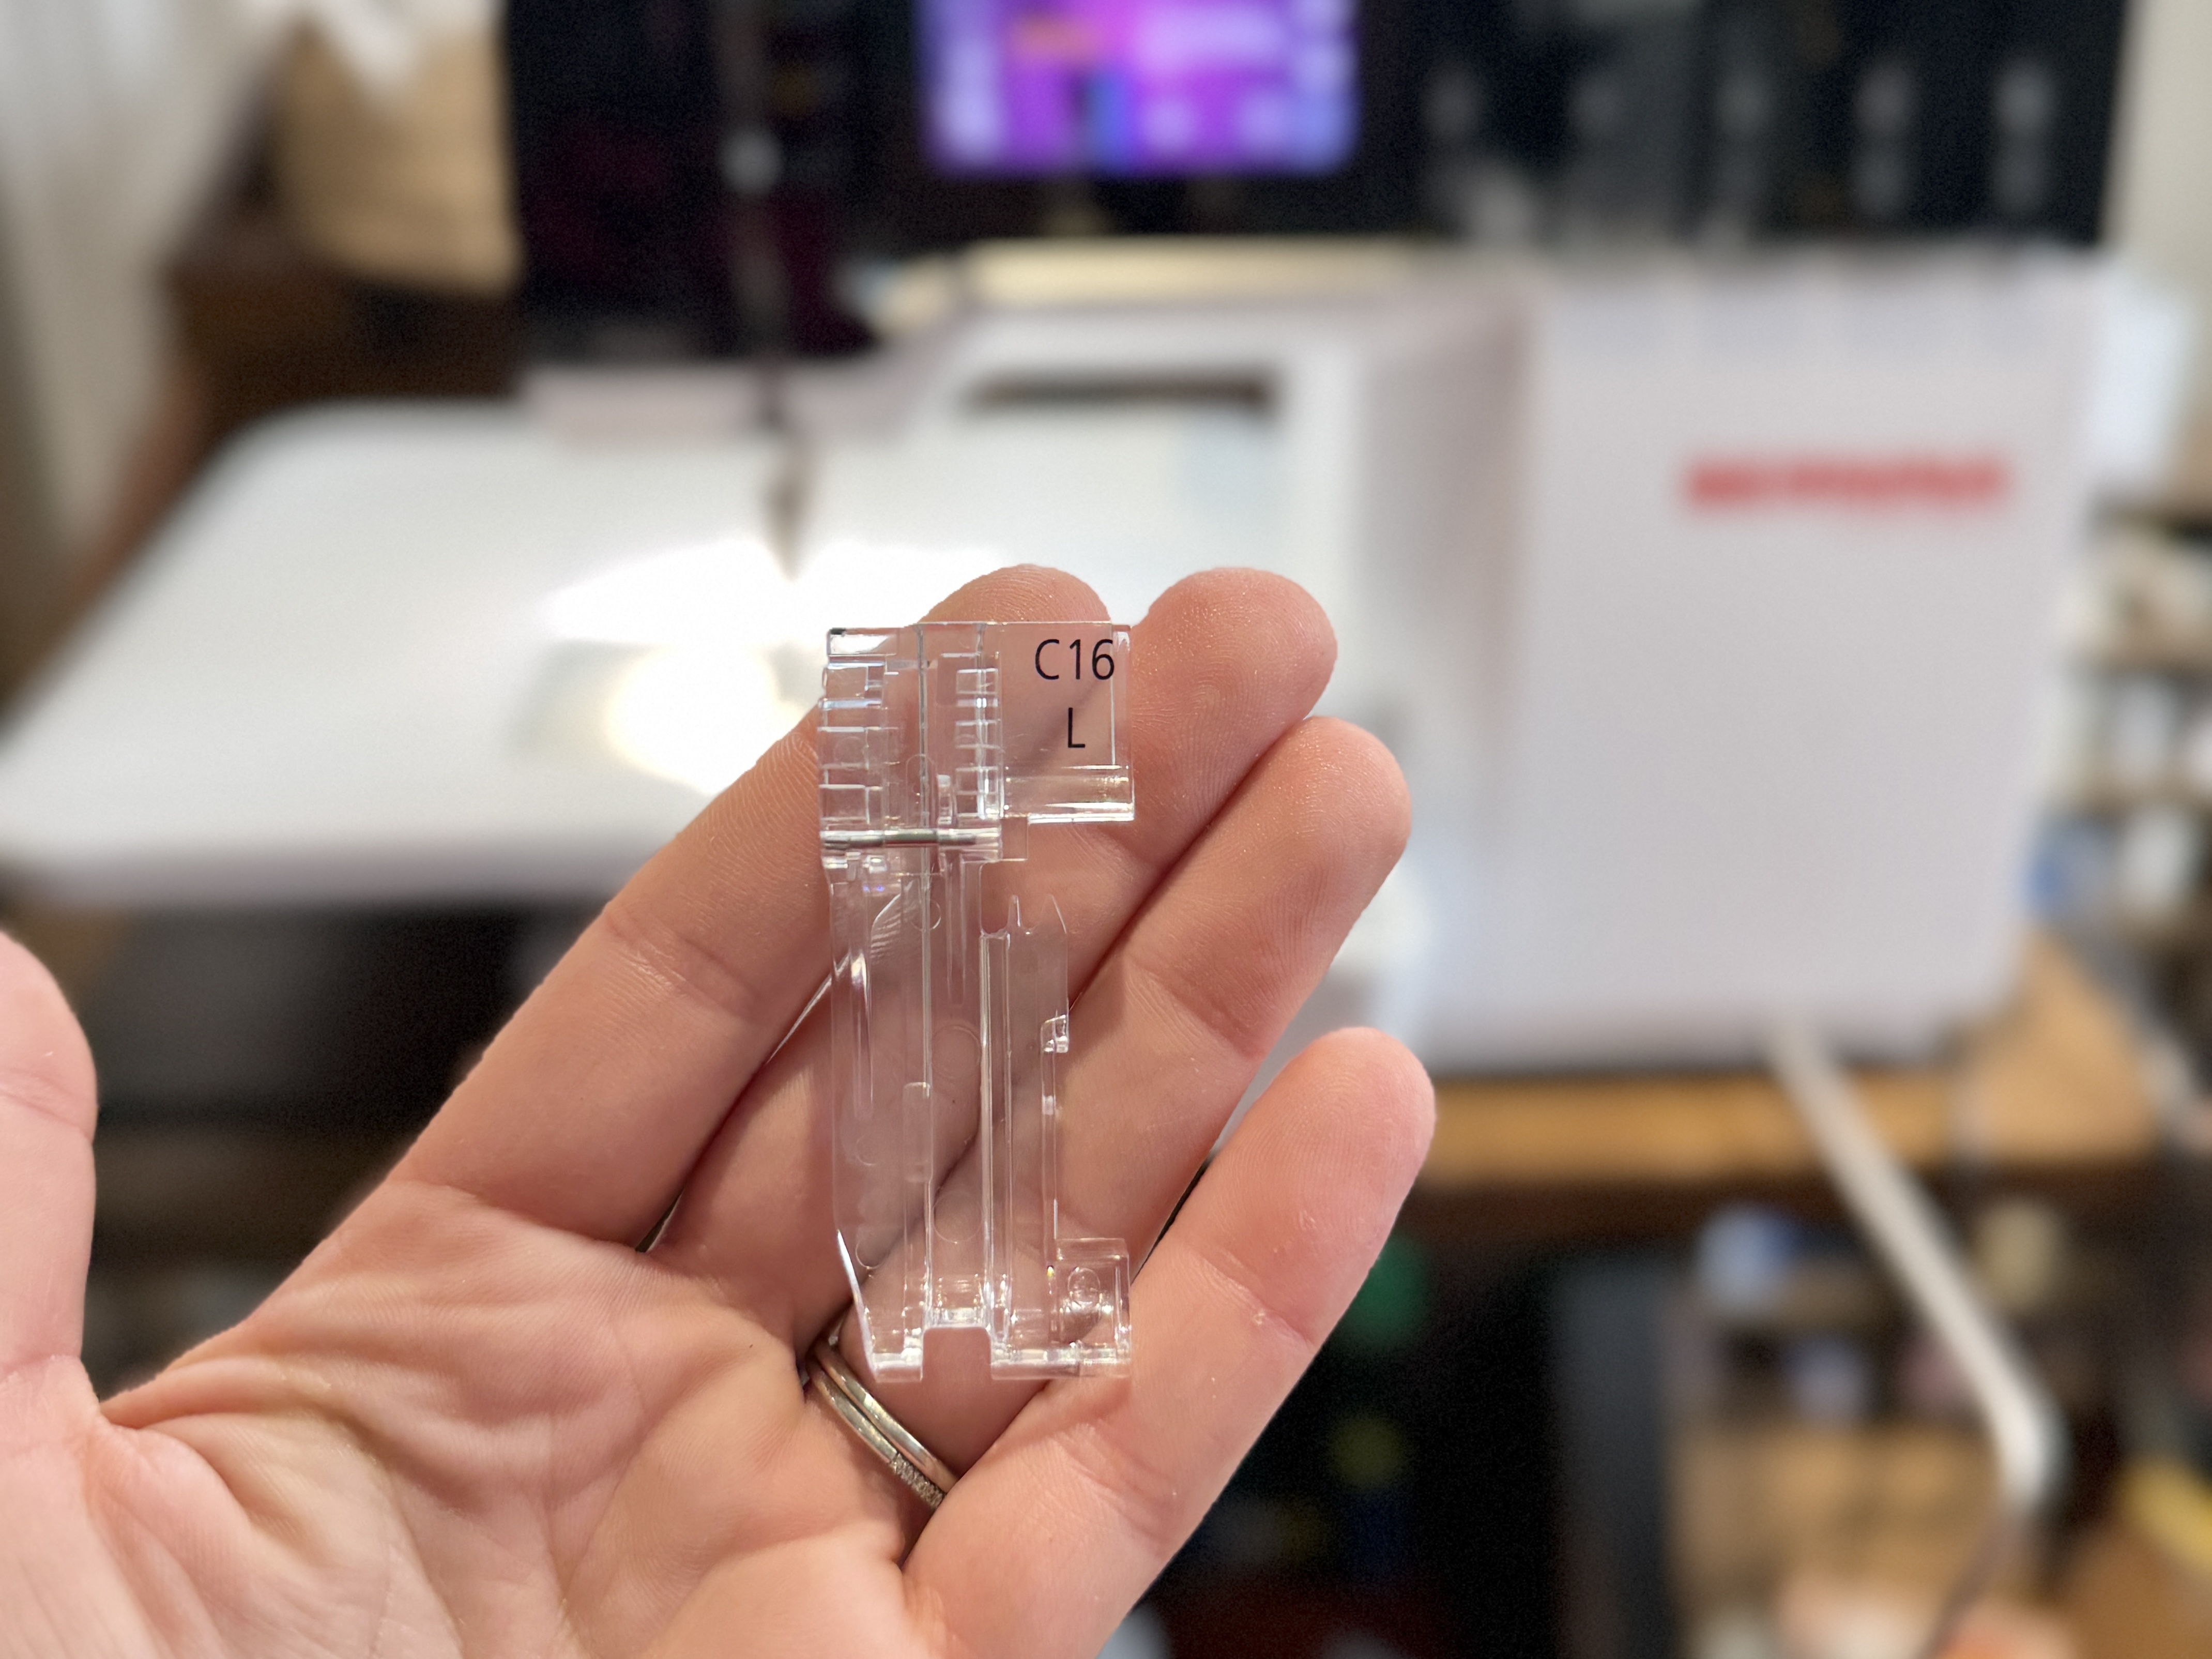
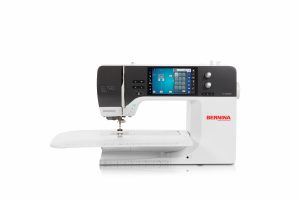
There are actually two piping foot sizes you can choose from for your L 890 – the S and the L. The S is for sewing piping onto lightweight fabric with a max diameter up to 3mm. The L is for medium to heavyweight fabric and up to a max diameter of 5mm. For this tutorial, I will be using the size L.
There are two steps for using this foot. First, you will create the piping, then you will sew the piping into the fabric. Both steps can be done on your serger with this foot!
Creating the Piping
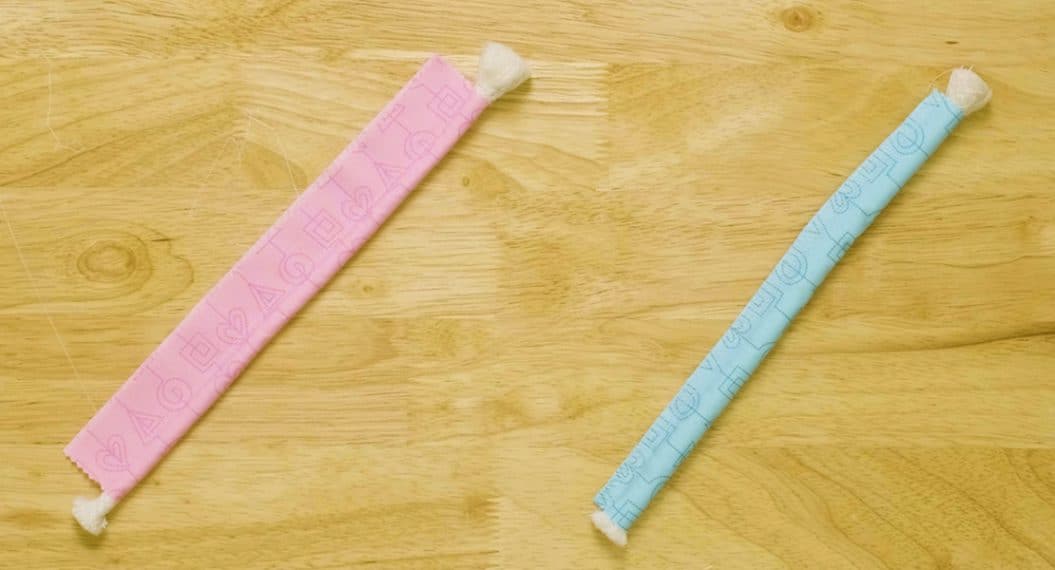
Let’s begin by creating the piping. I first cut a long strip of pink fabric the same length as the ruffle pieces, but with only a width of 2 inches. This strip of fabric will be used to enclose the cording.
Next, I attached the #C16 L foot to my serger and chose stitch #1, which is the 4-thread overlock with integrated safety seam.
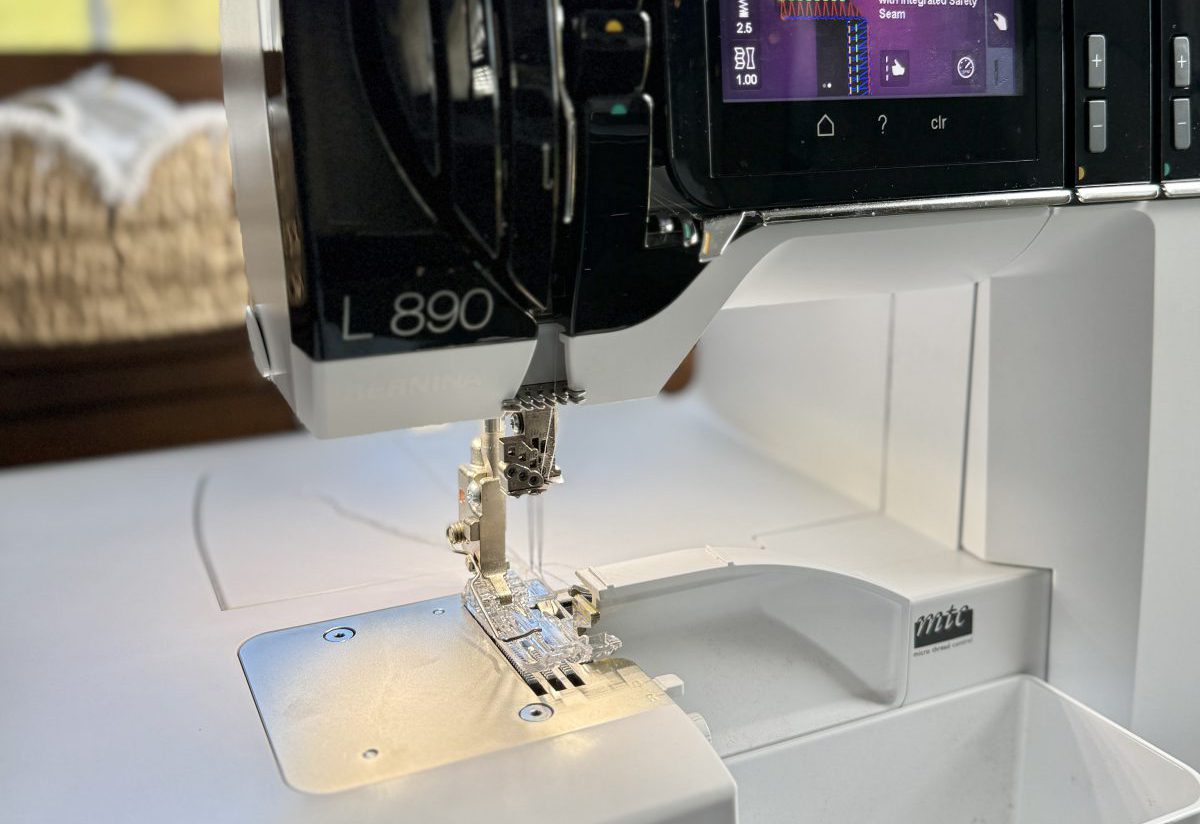
I adjusted the stitch length to 3, and kept the differential feed set at 1.

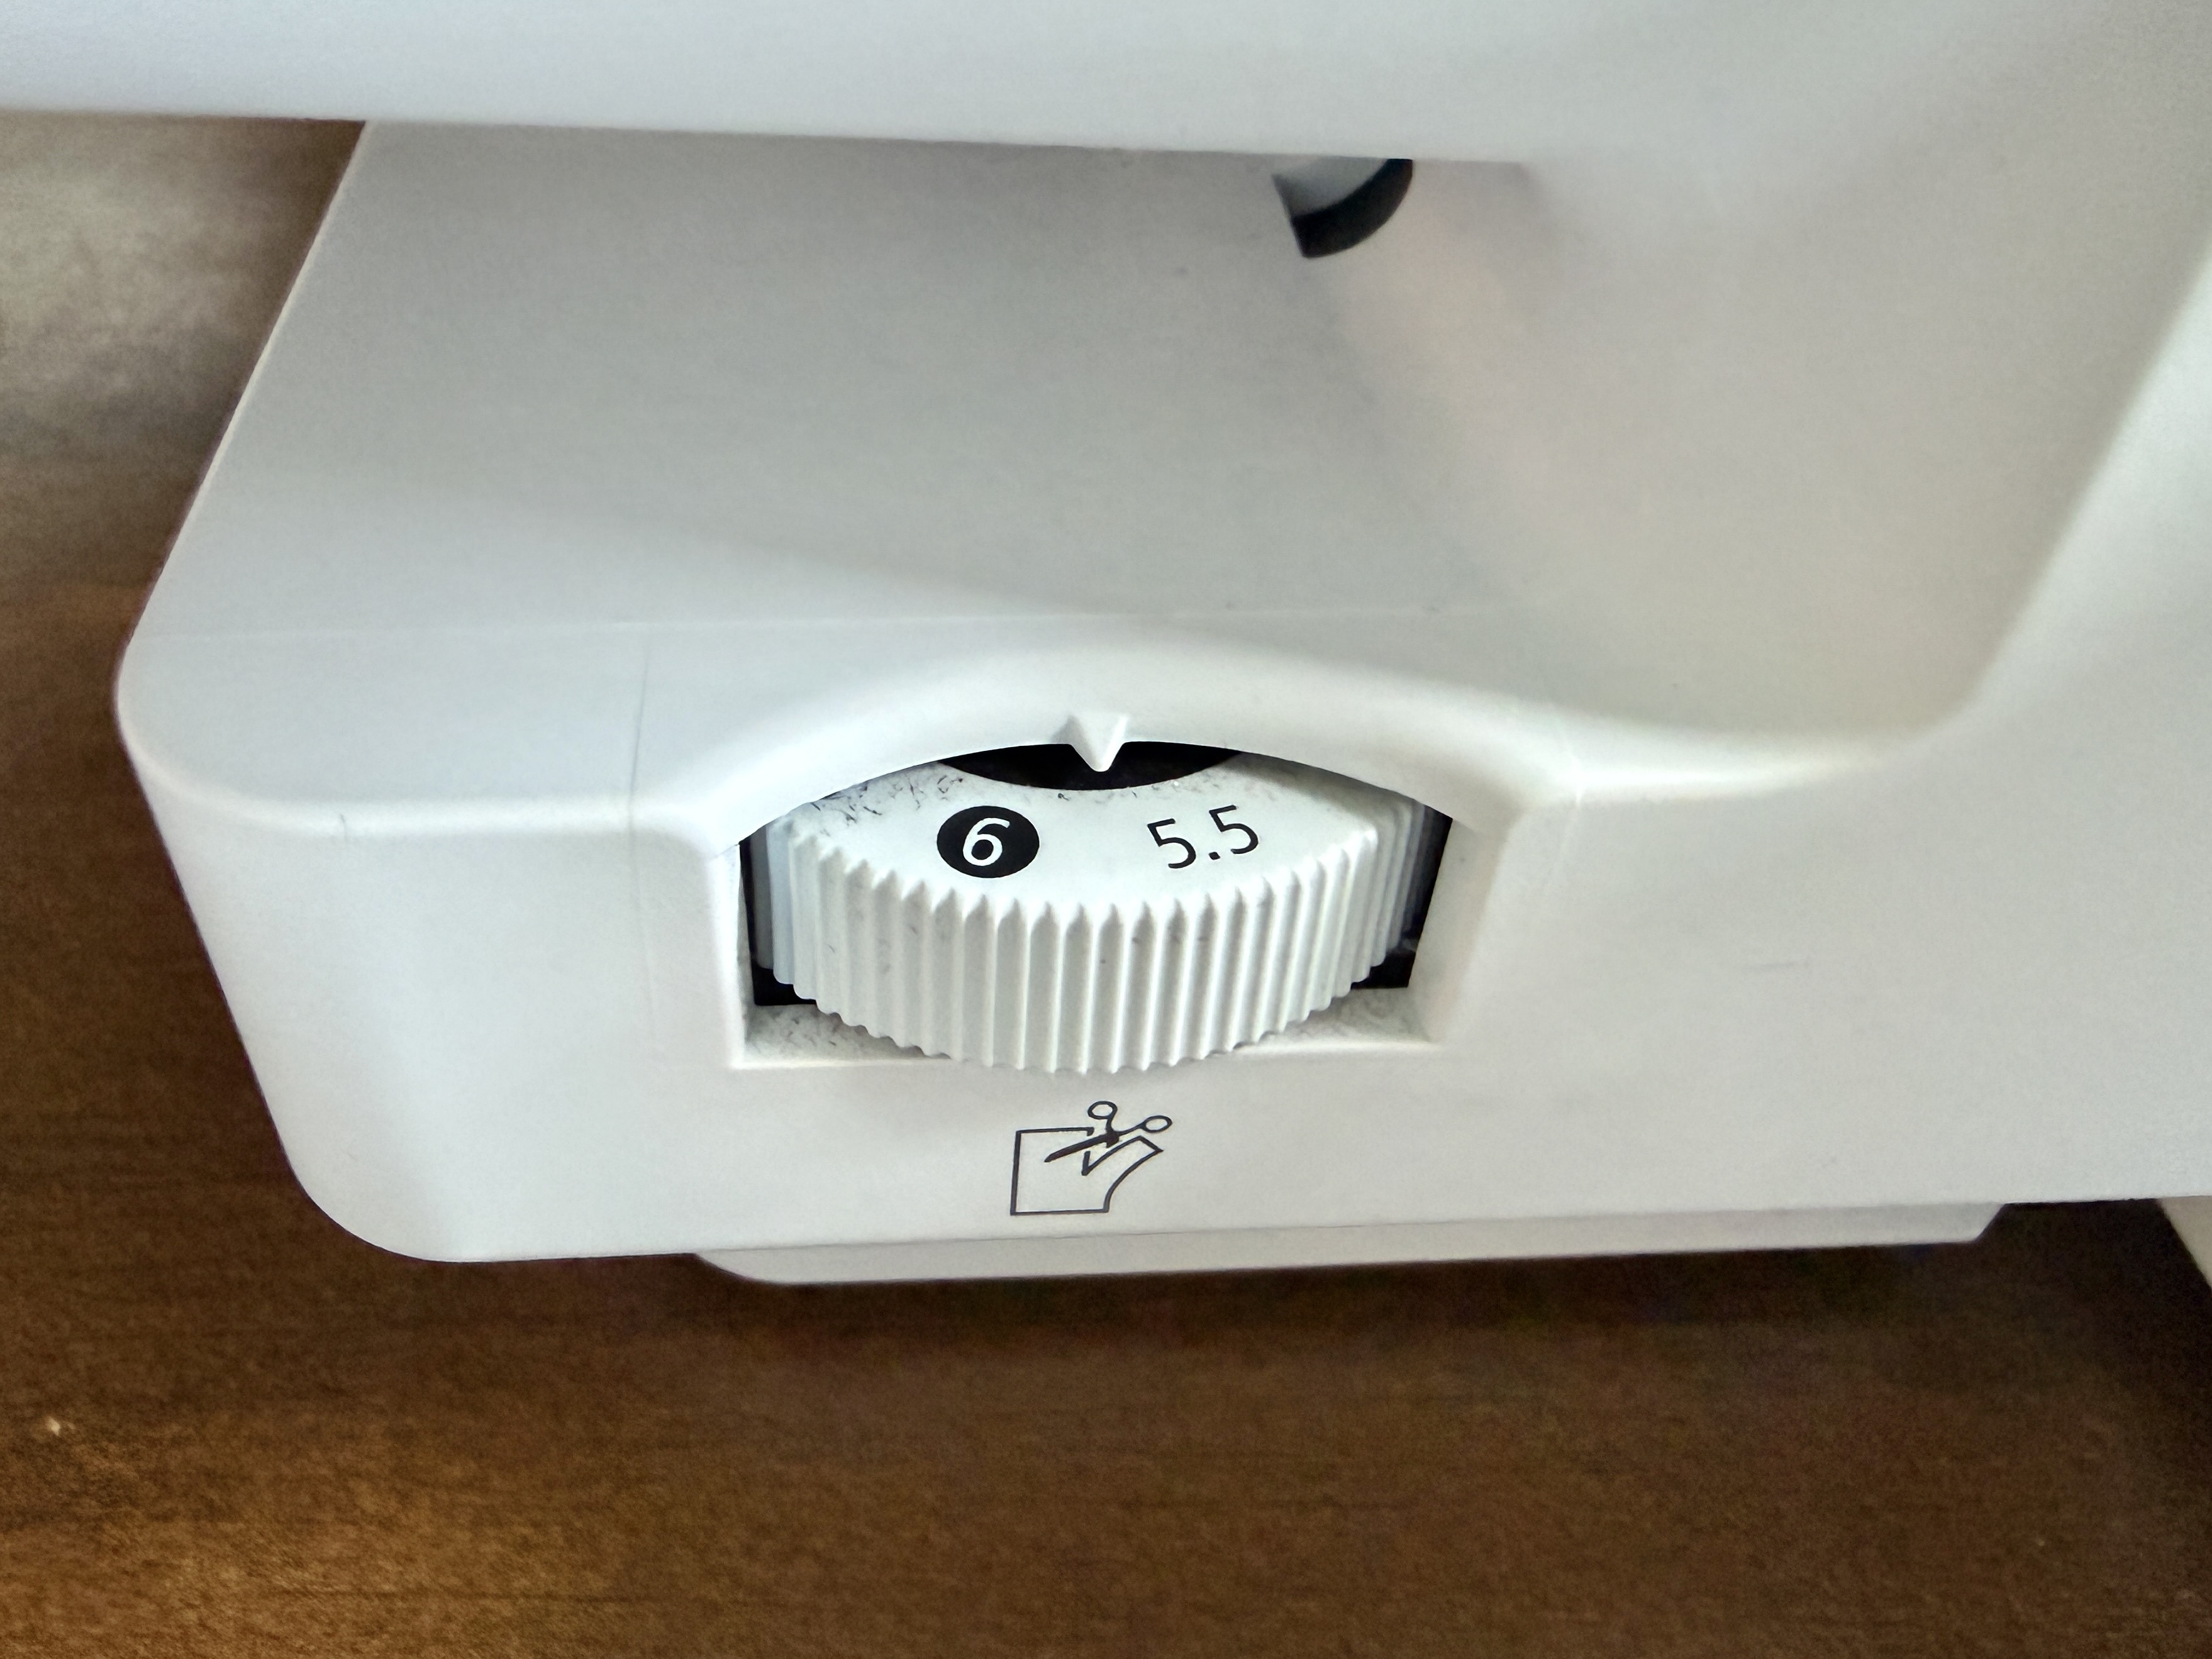
The cutting width was set between 5.5 and 6.
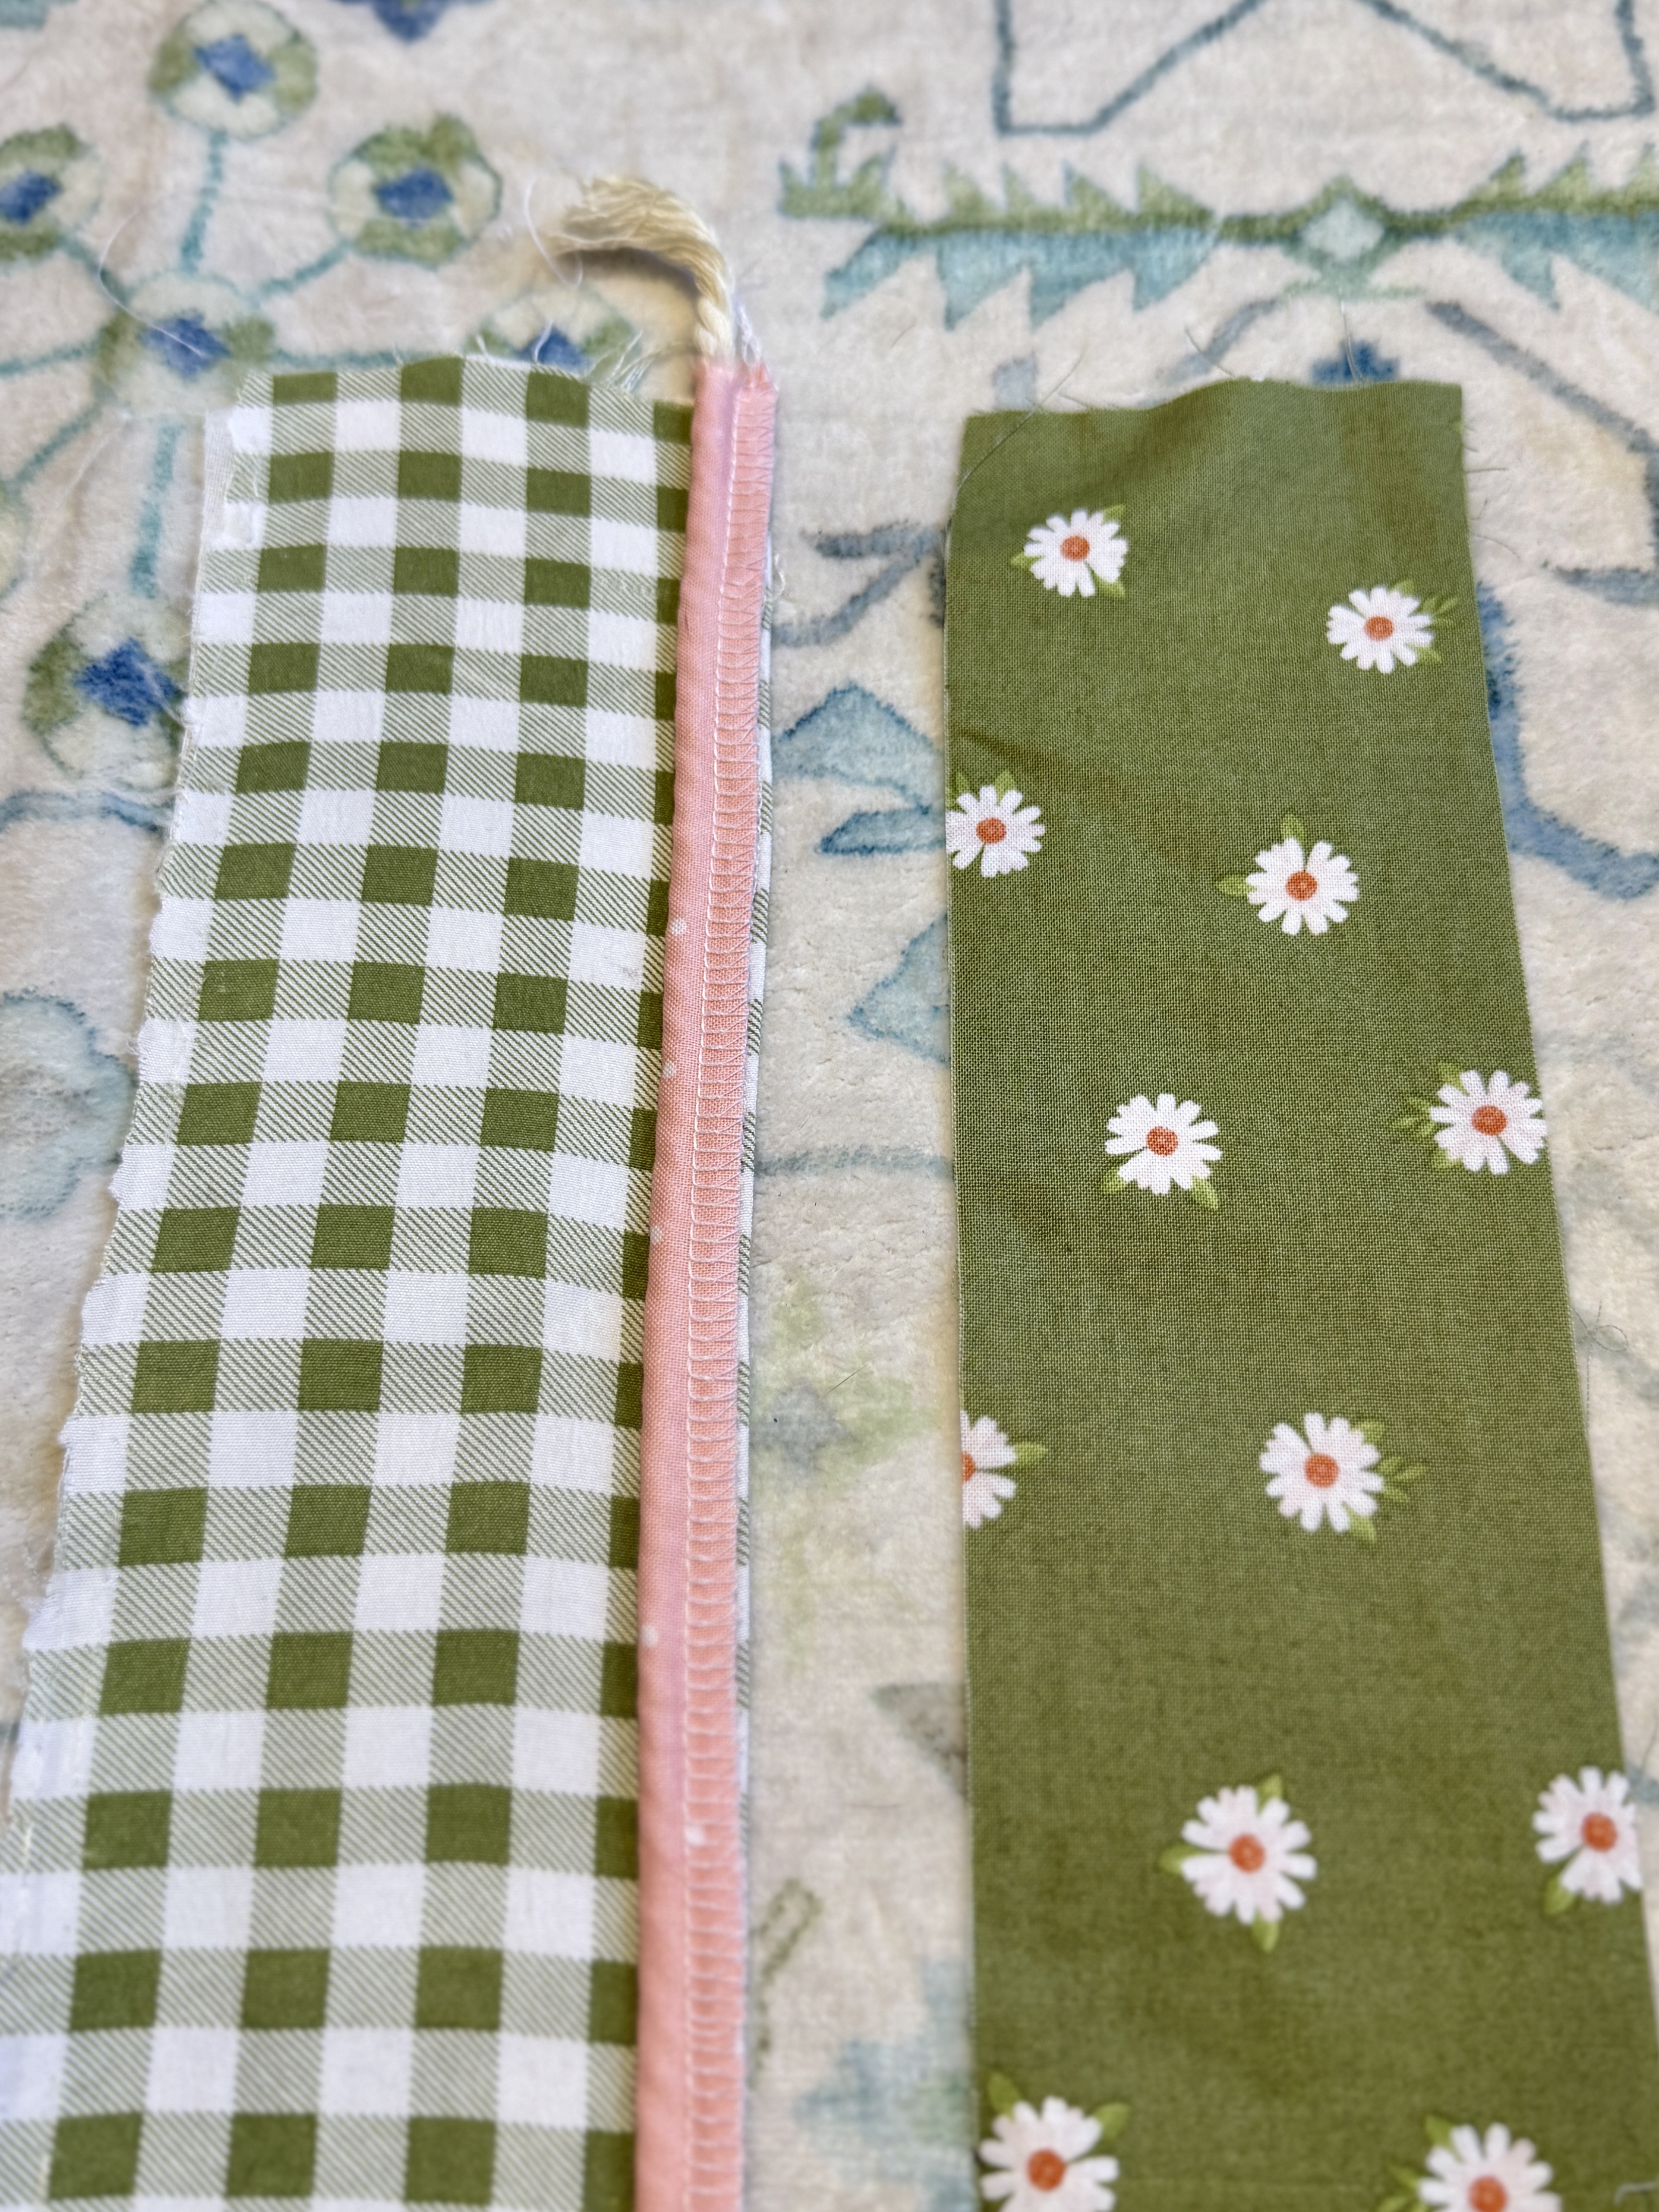
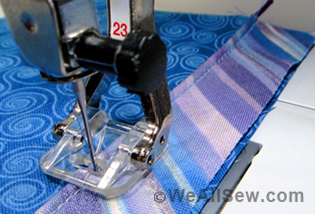
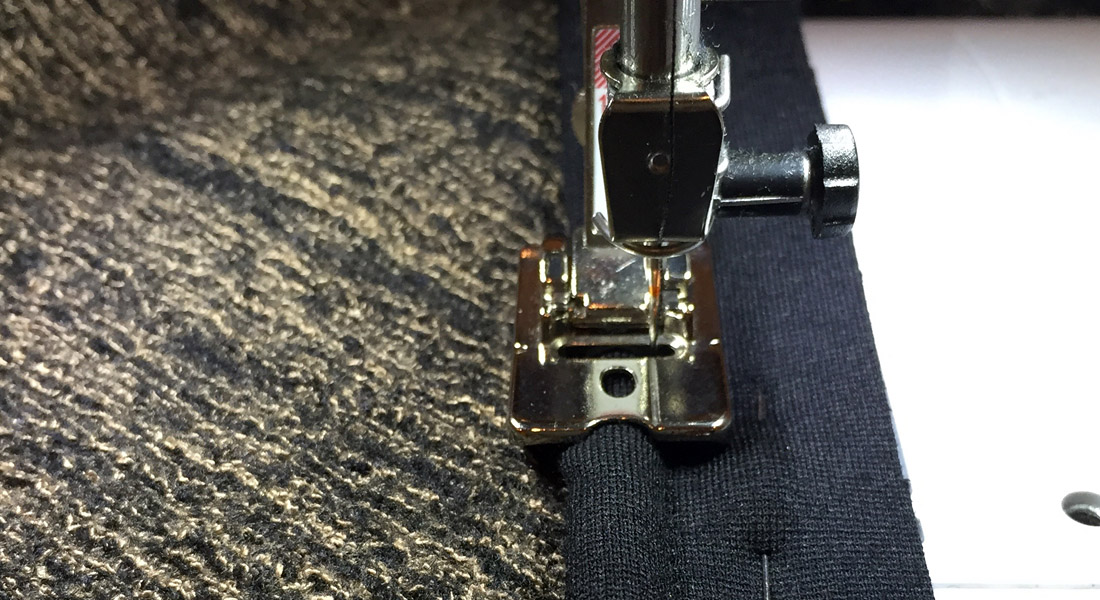
With the strip of fabric wrong sides up, wrap the cording in the center of the fabric and enclose fully.
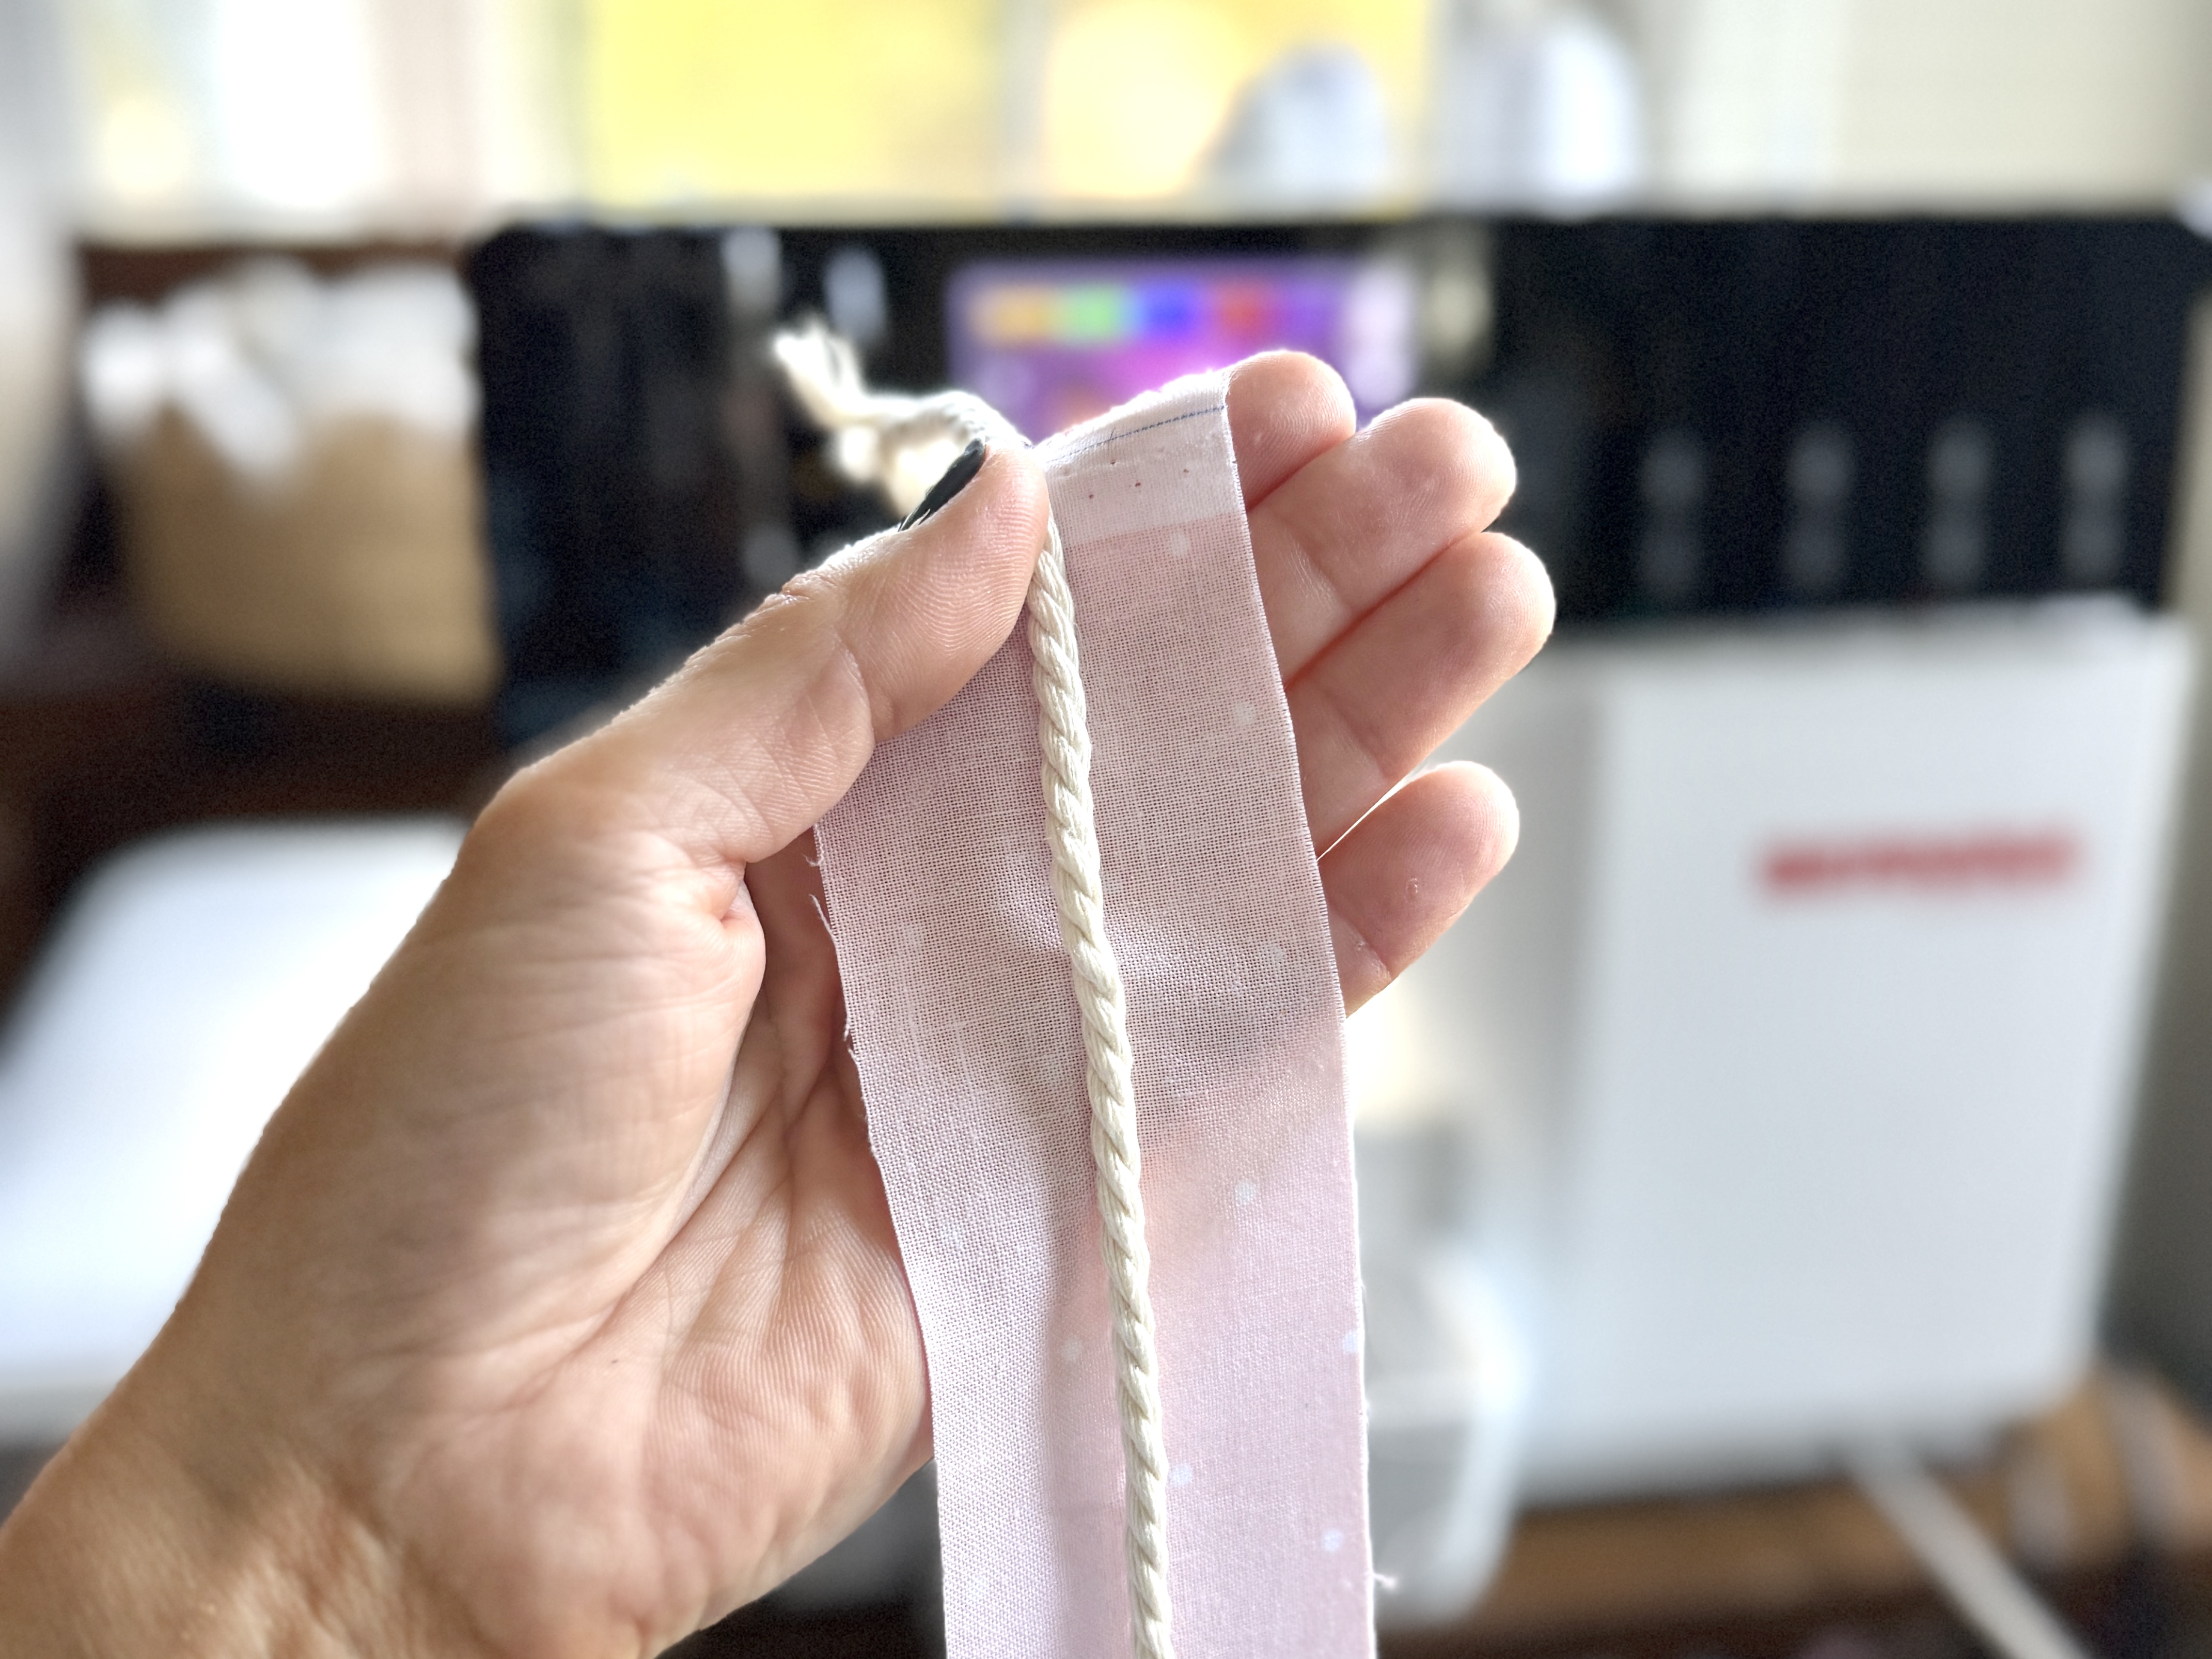
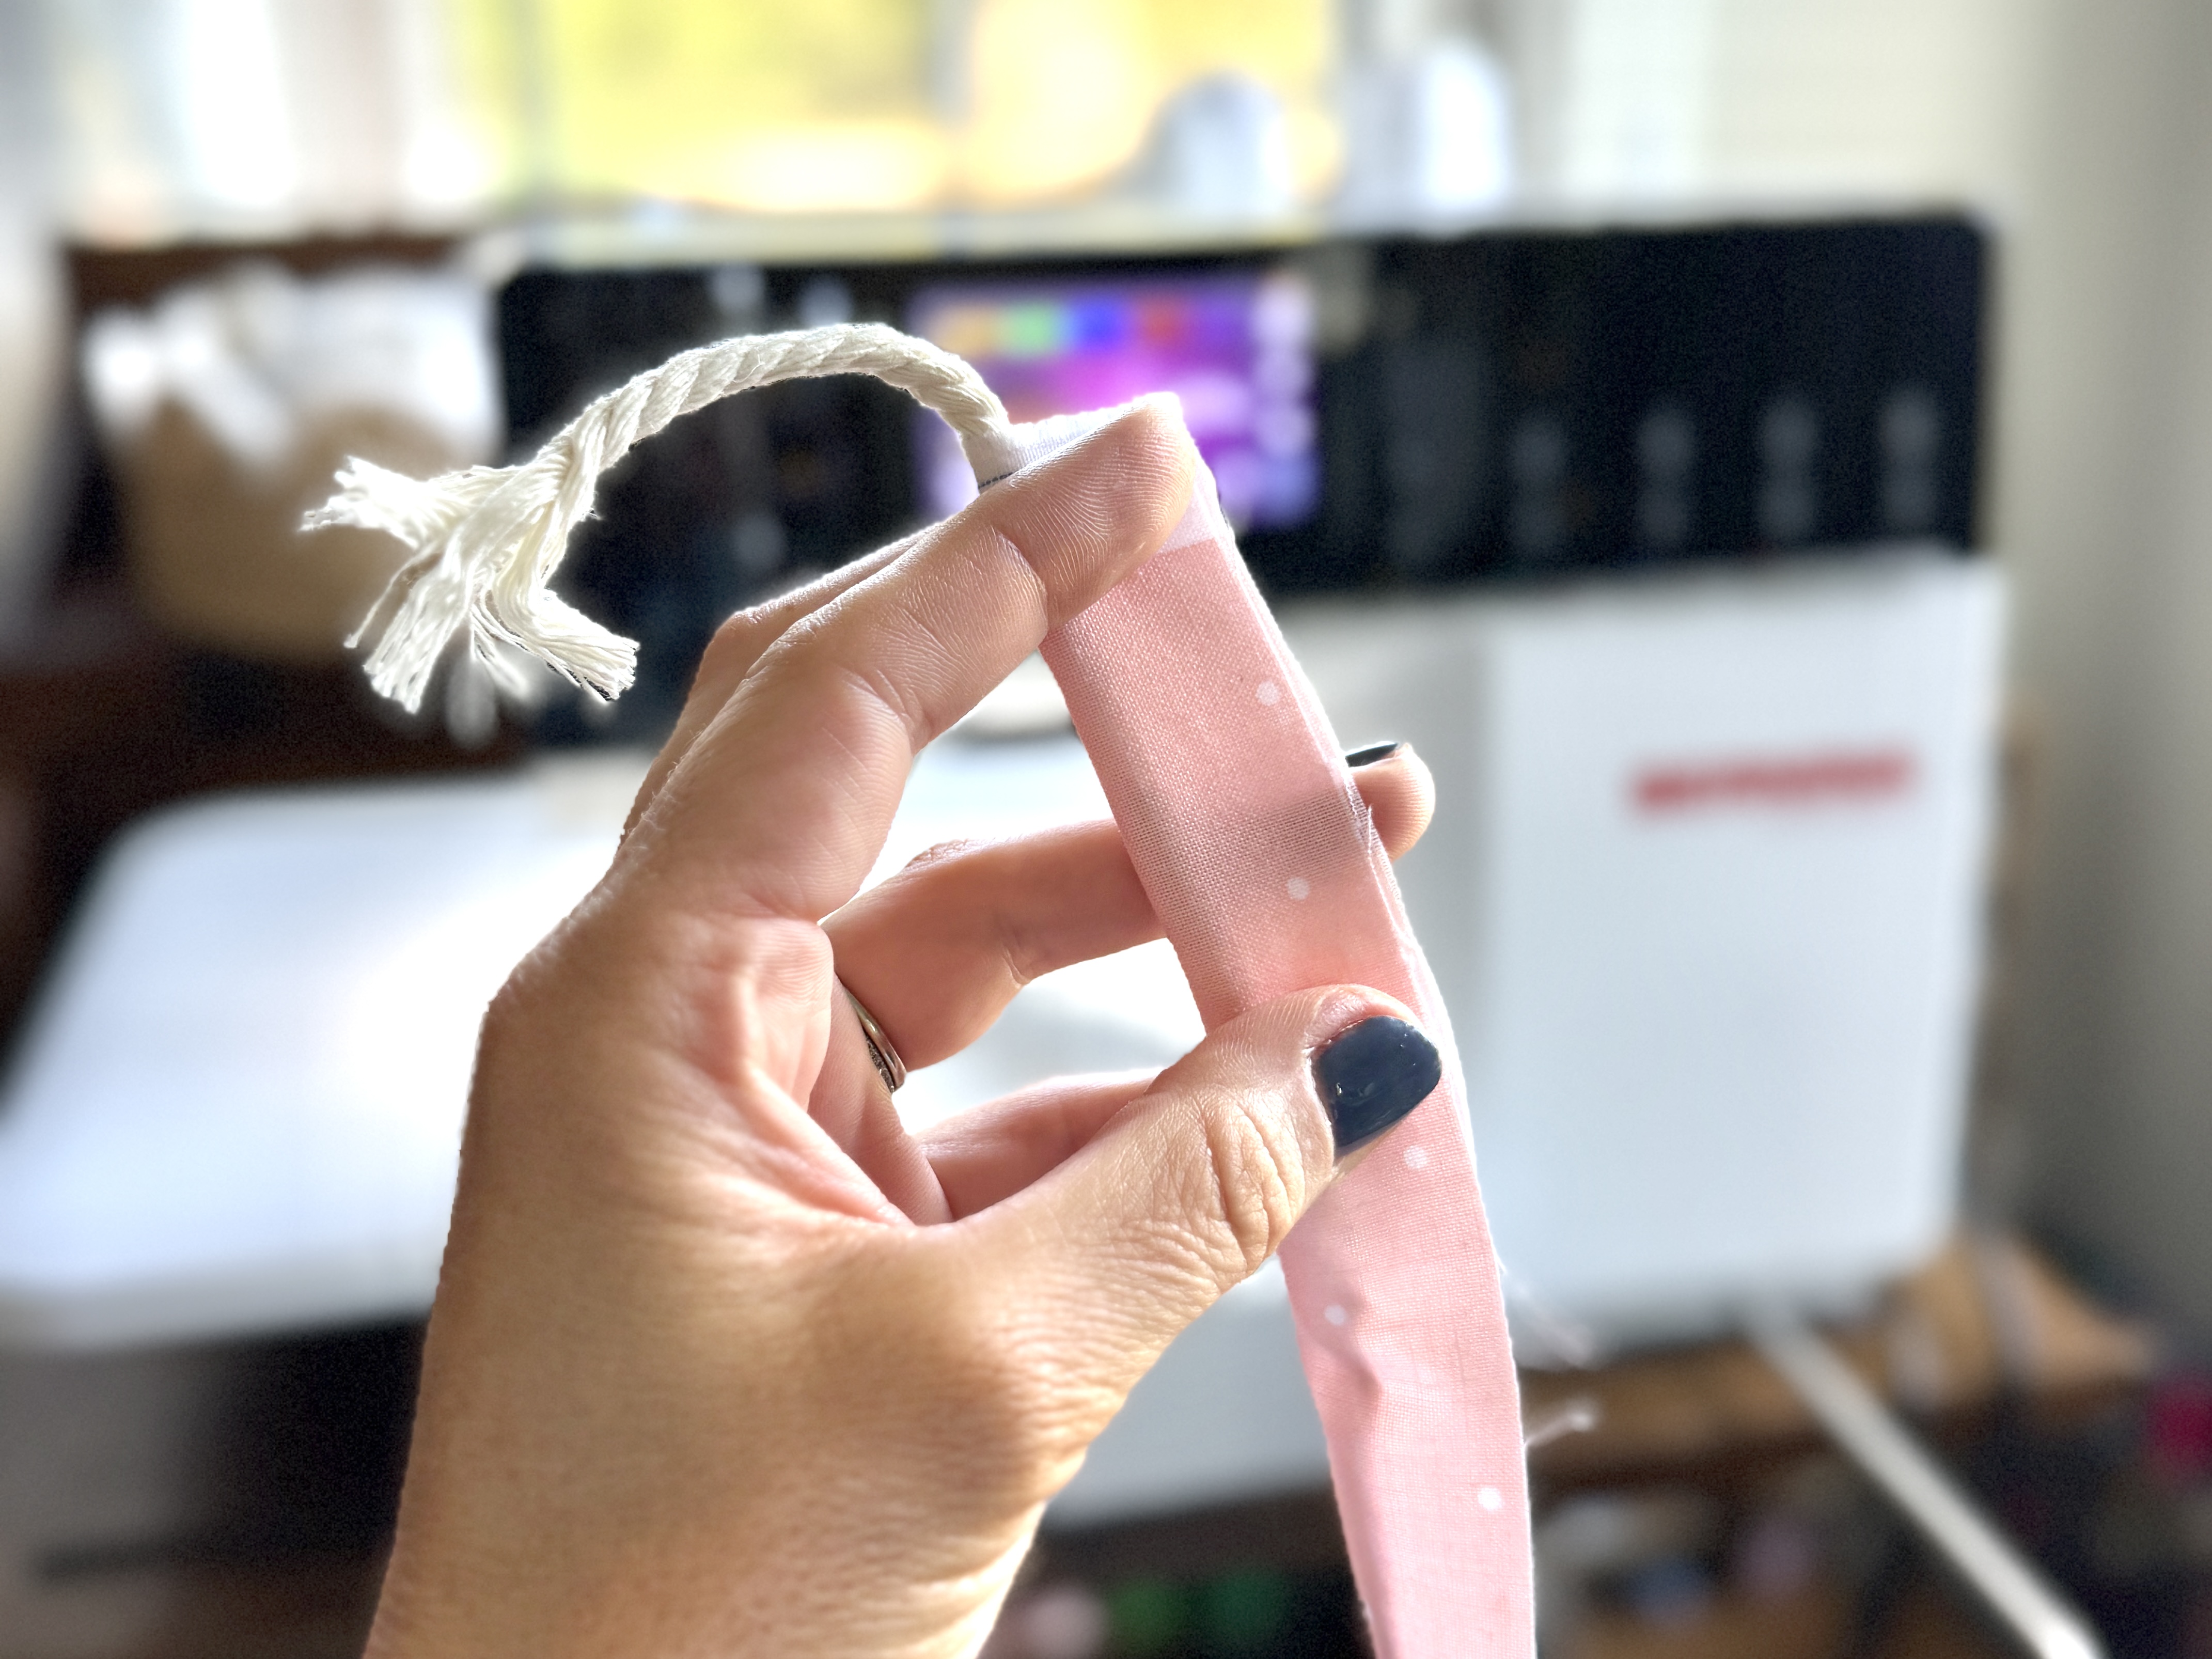
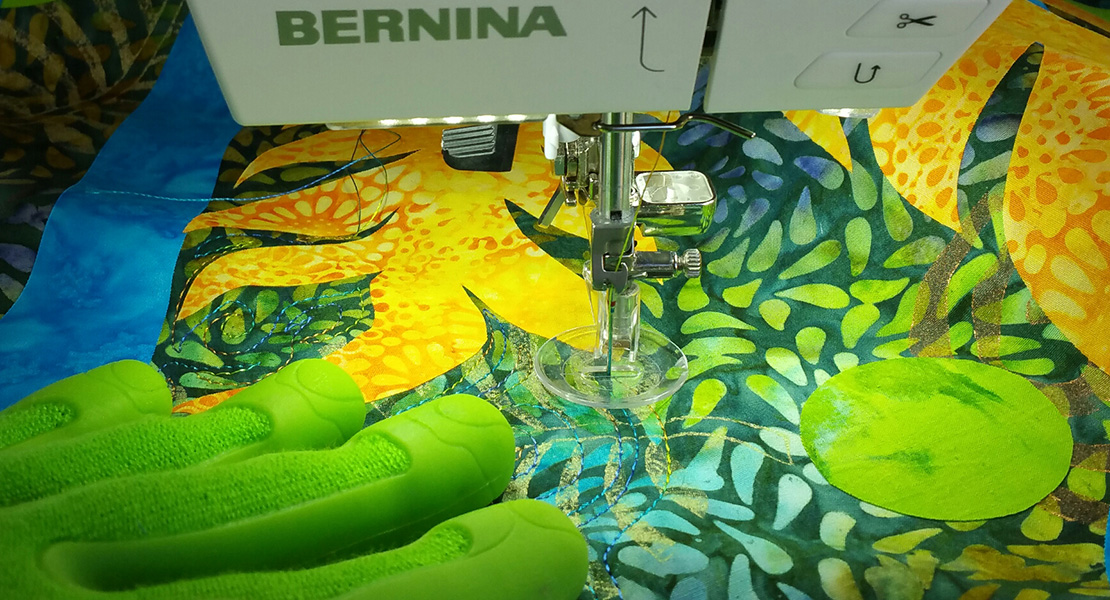
Place the strip of fabric underneath the presser foot, guiding the cording inside of the groove.
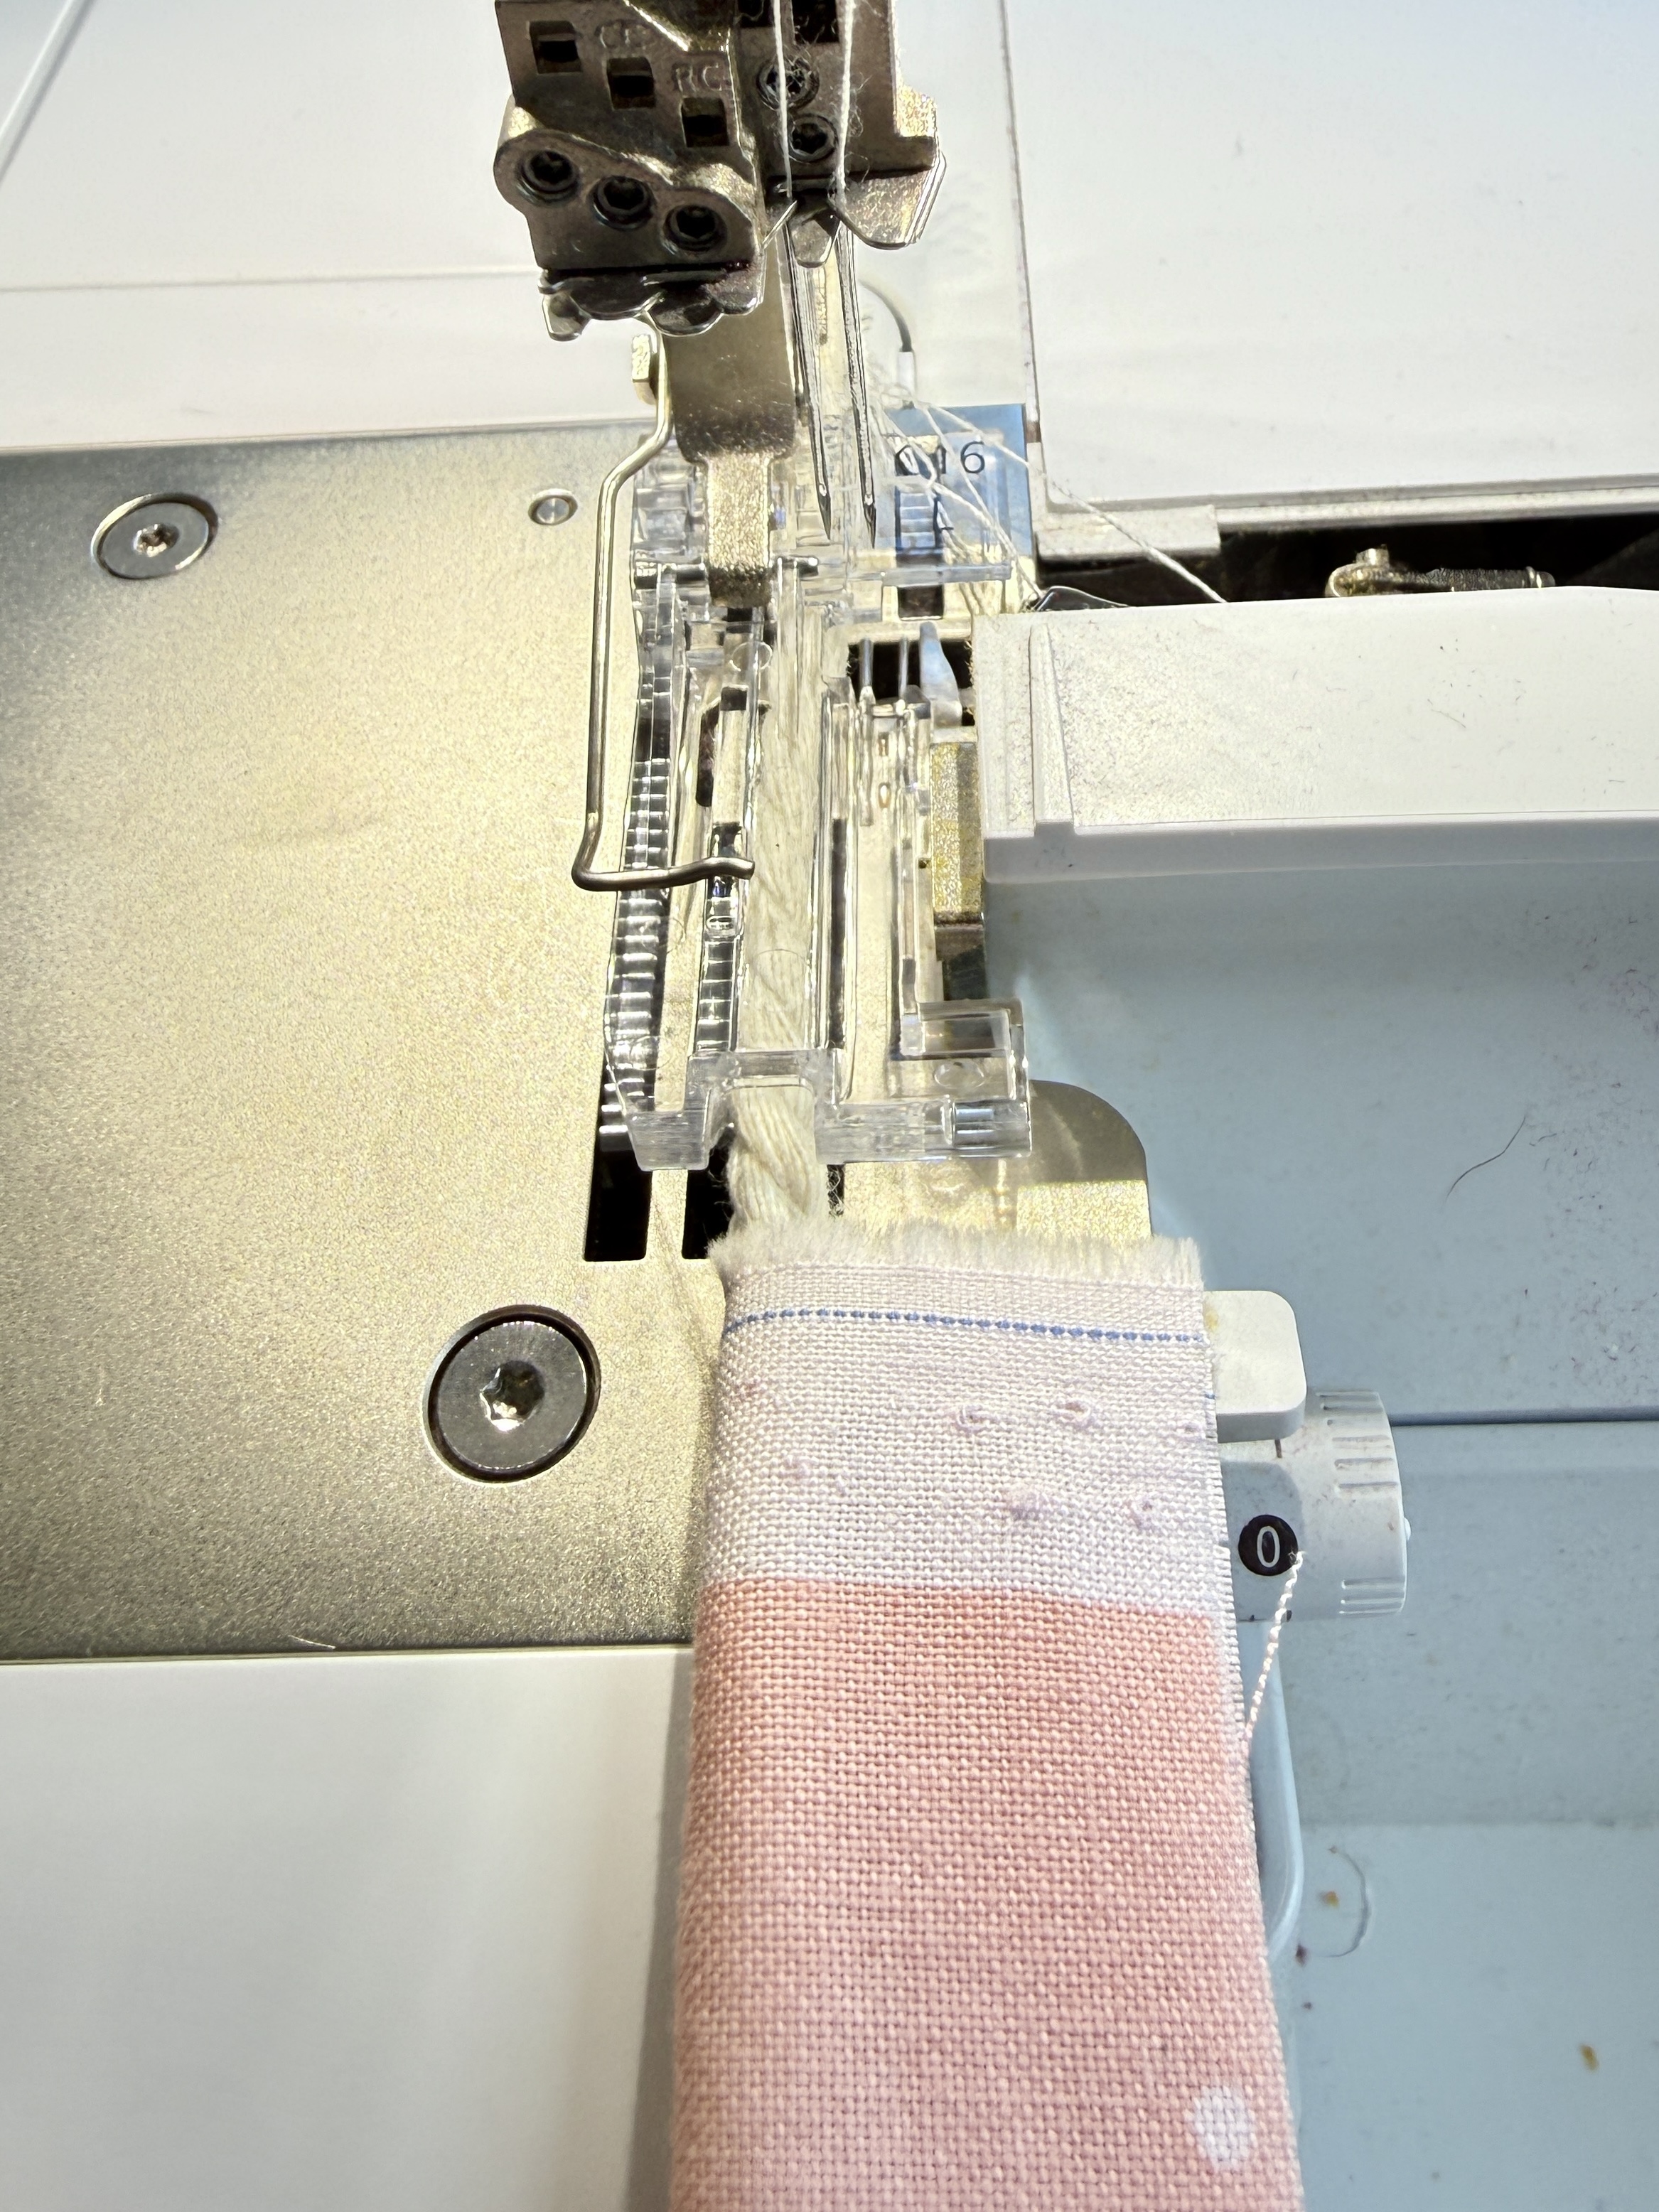
Serge along the entire raw edge of the strip of fabric, creating one long piece of piping.
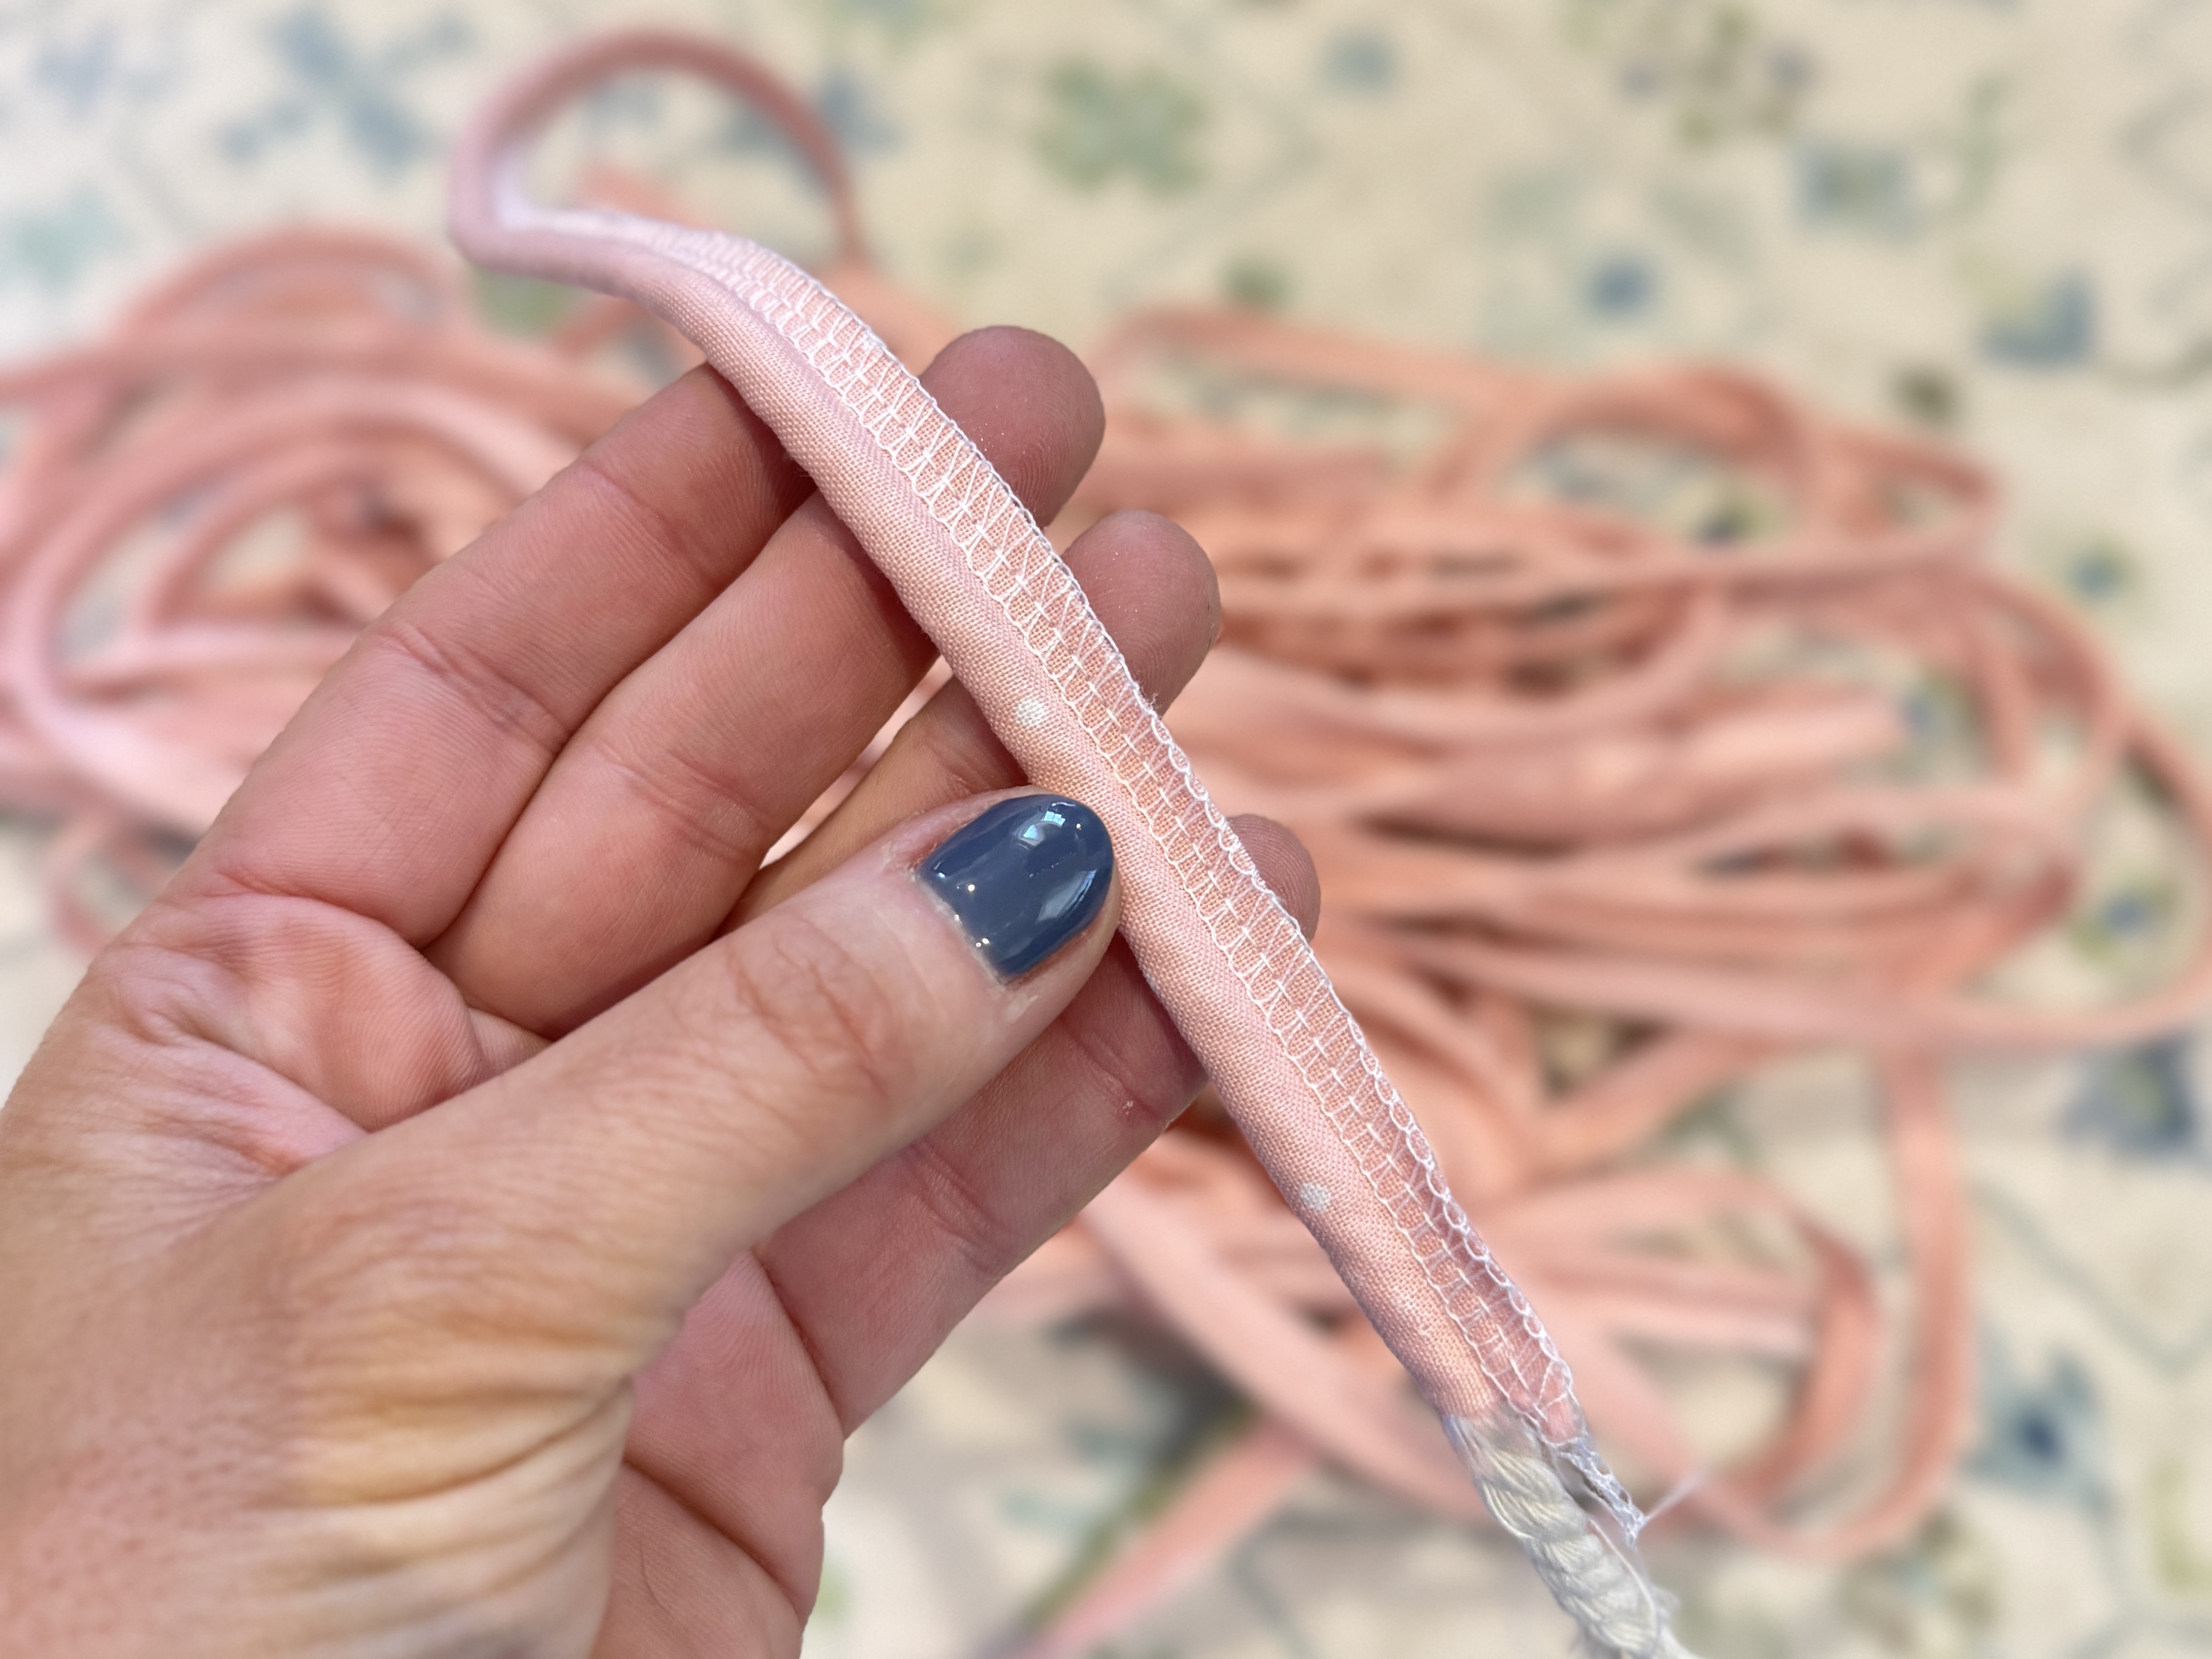
Now that the piping is created, we will move on to sewing it into the fabric.
Sewing in the Piping
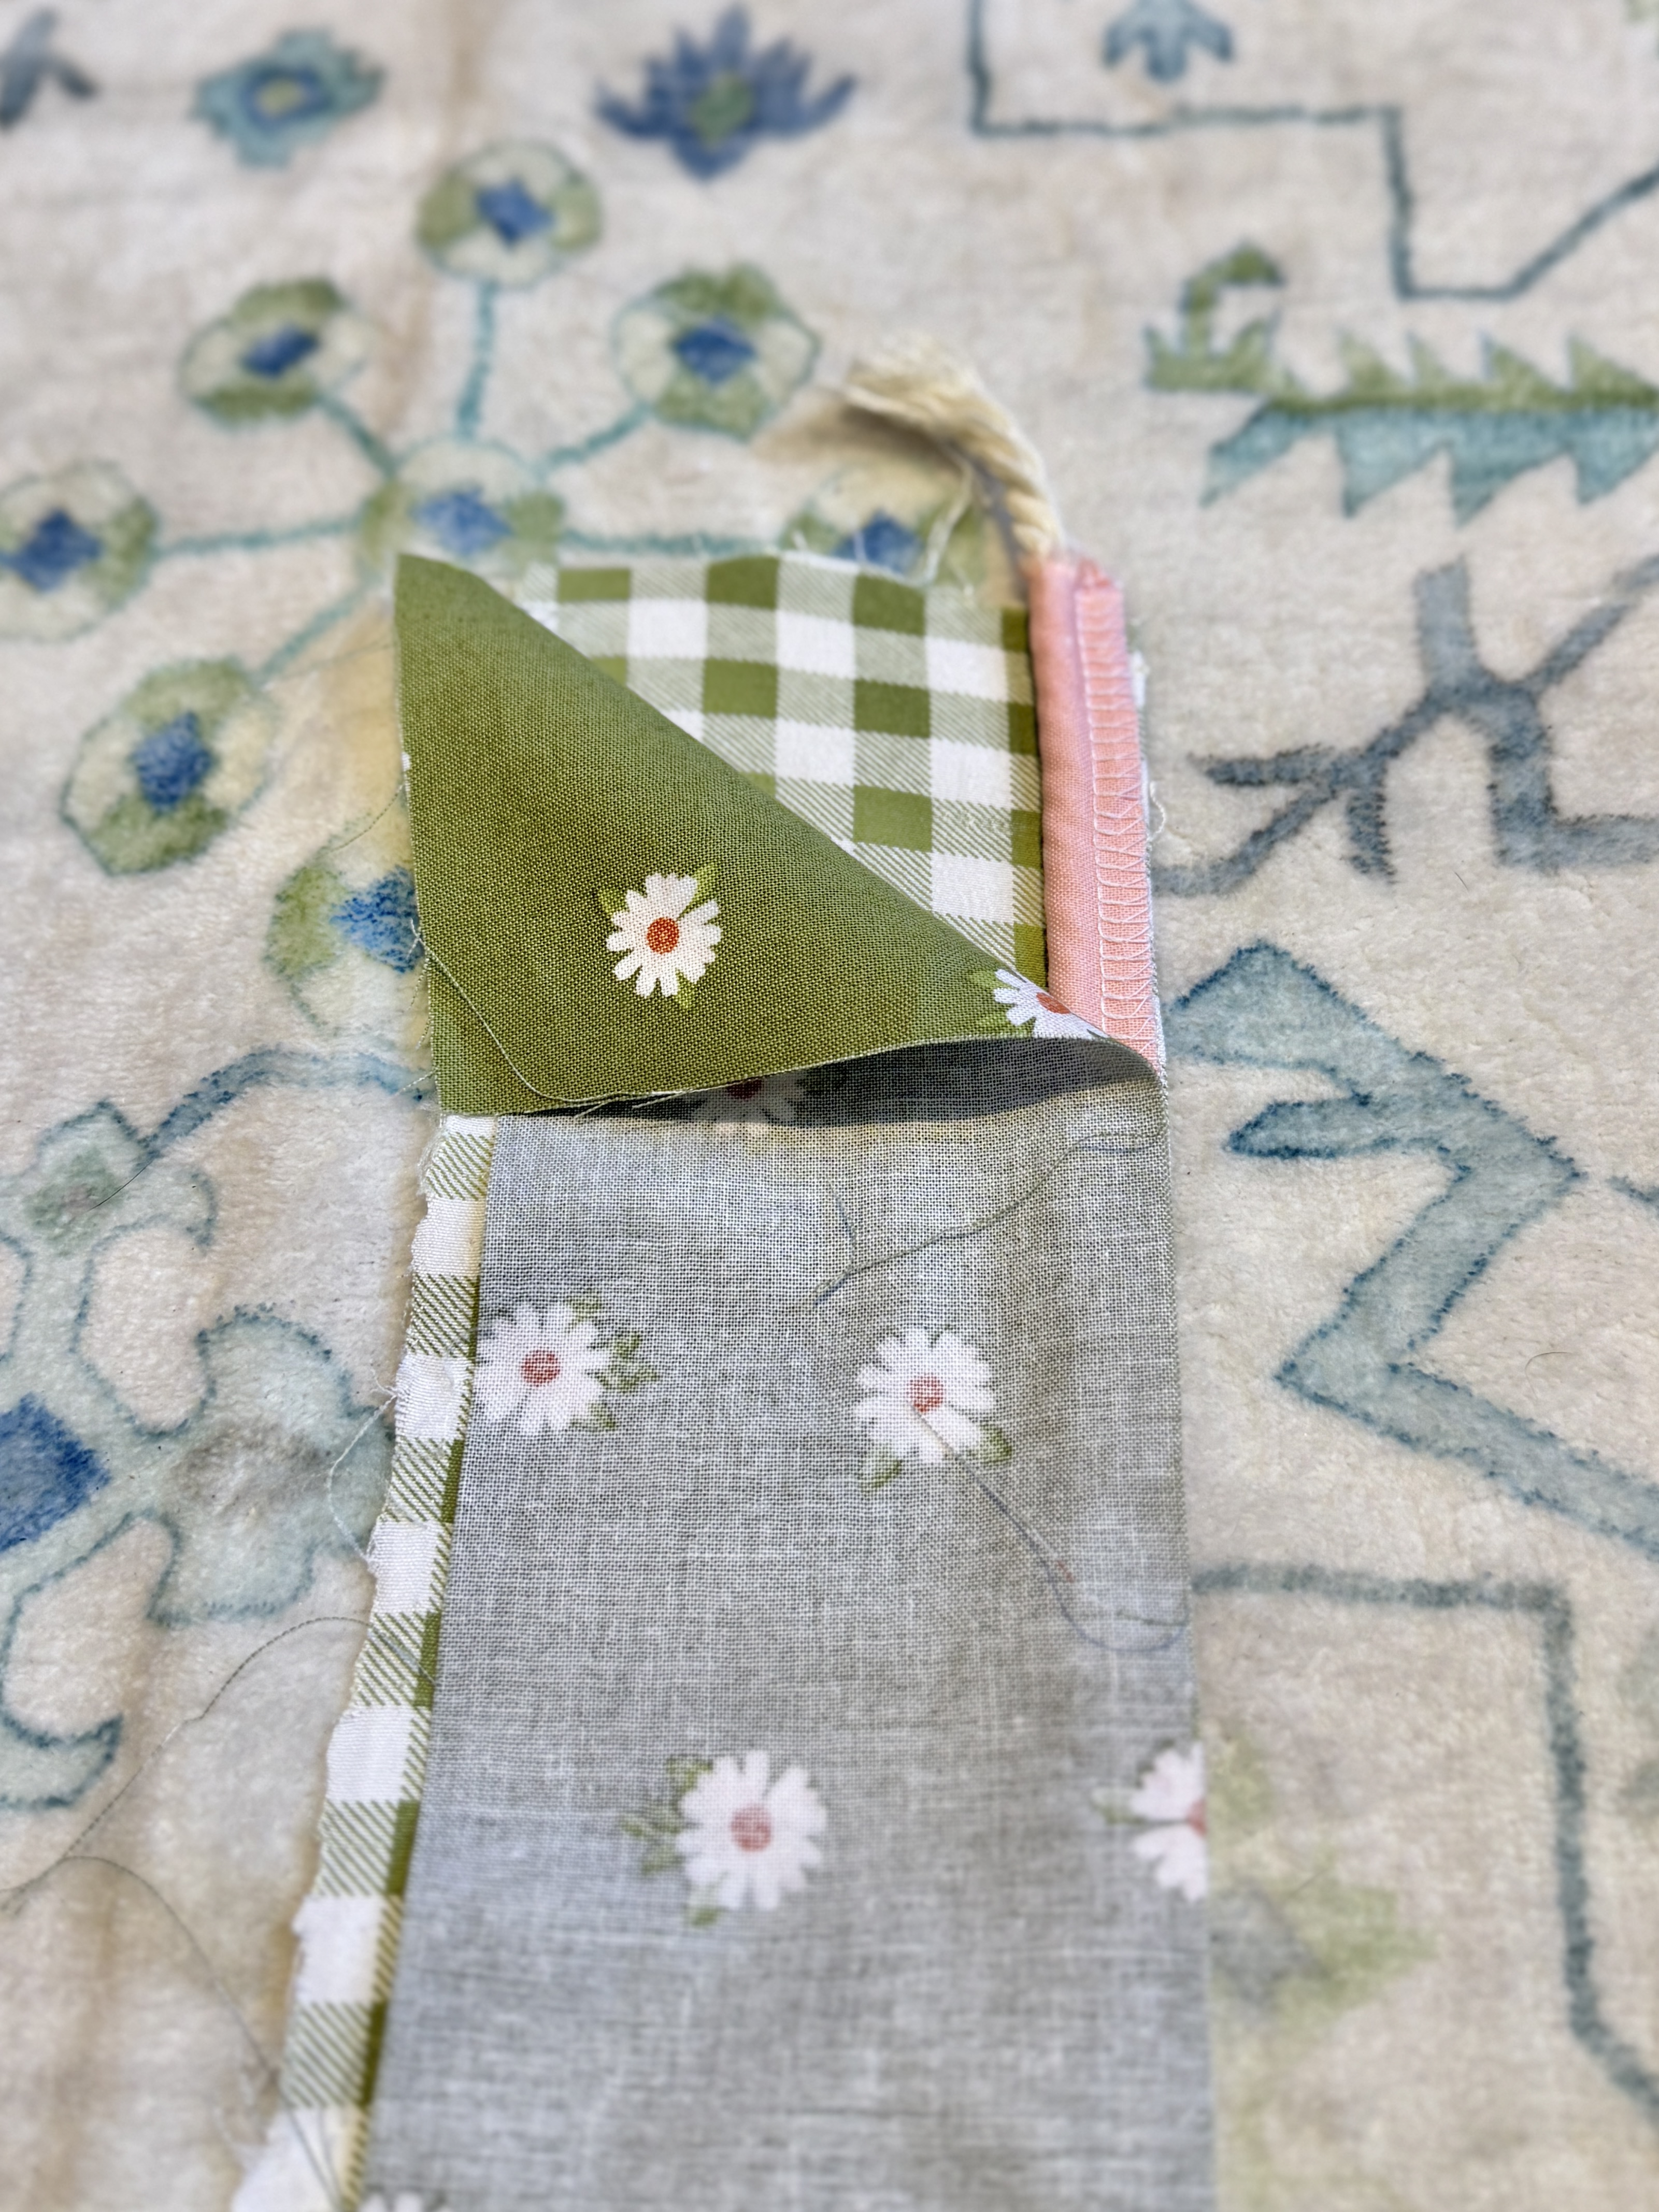
Locate the two strips of ruffle fabric.
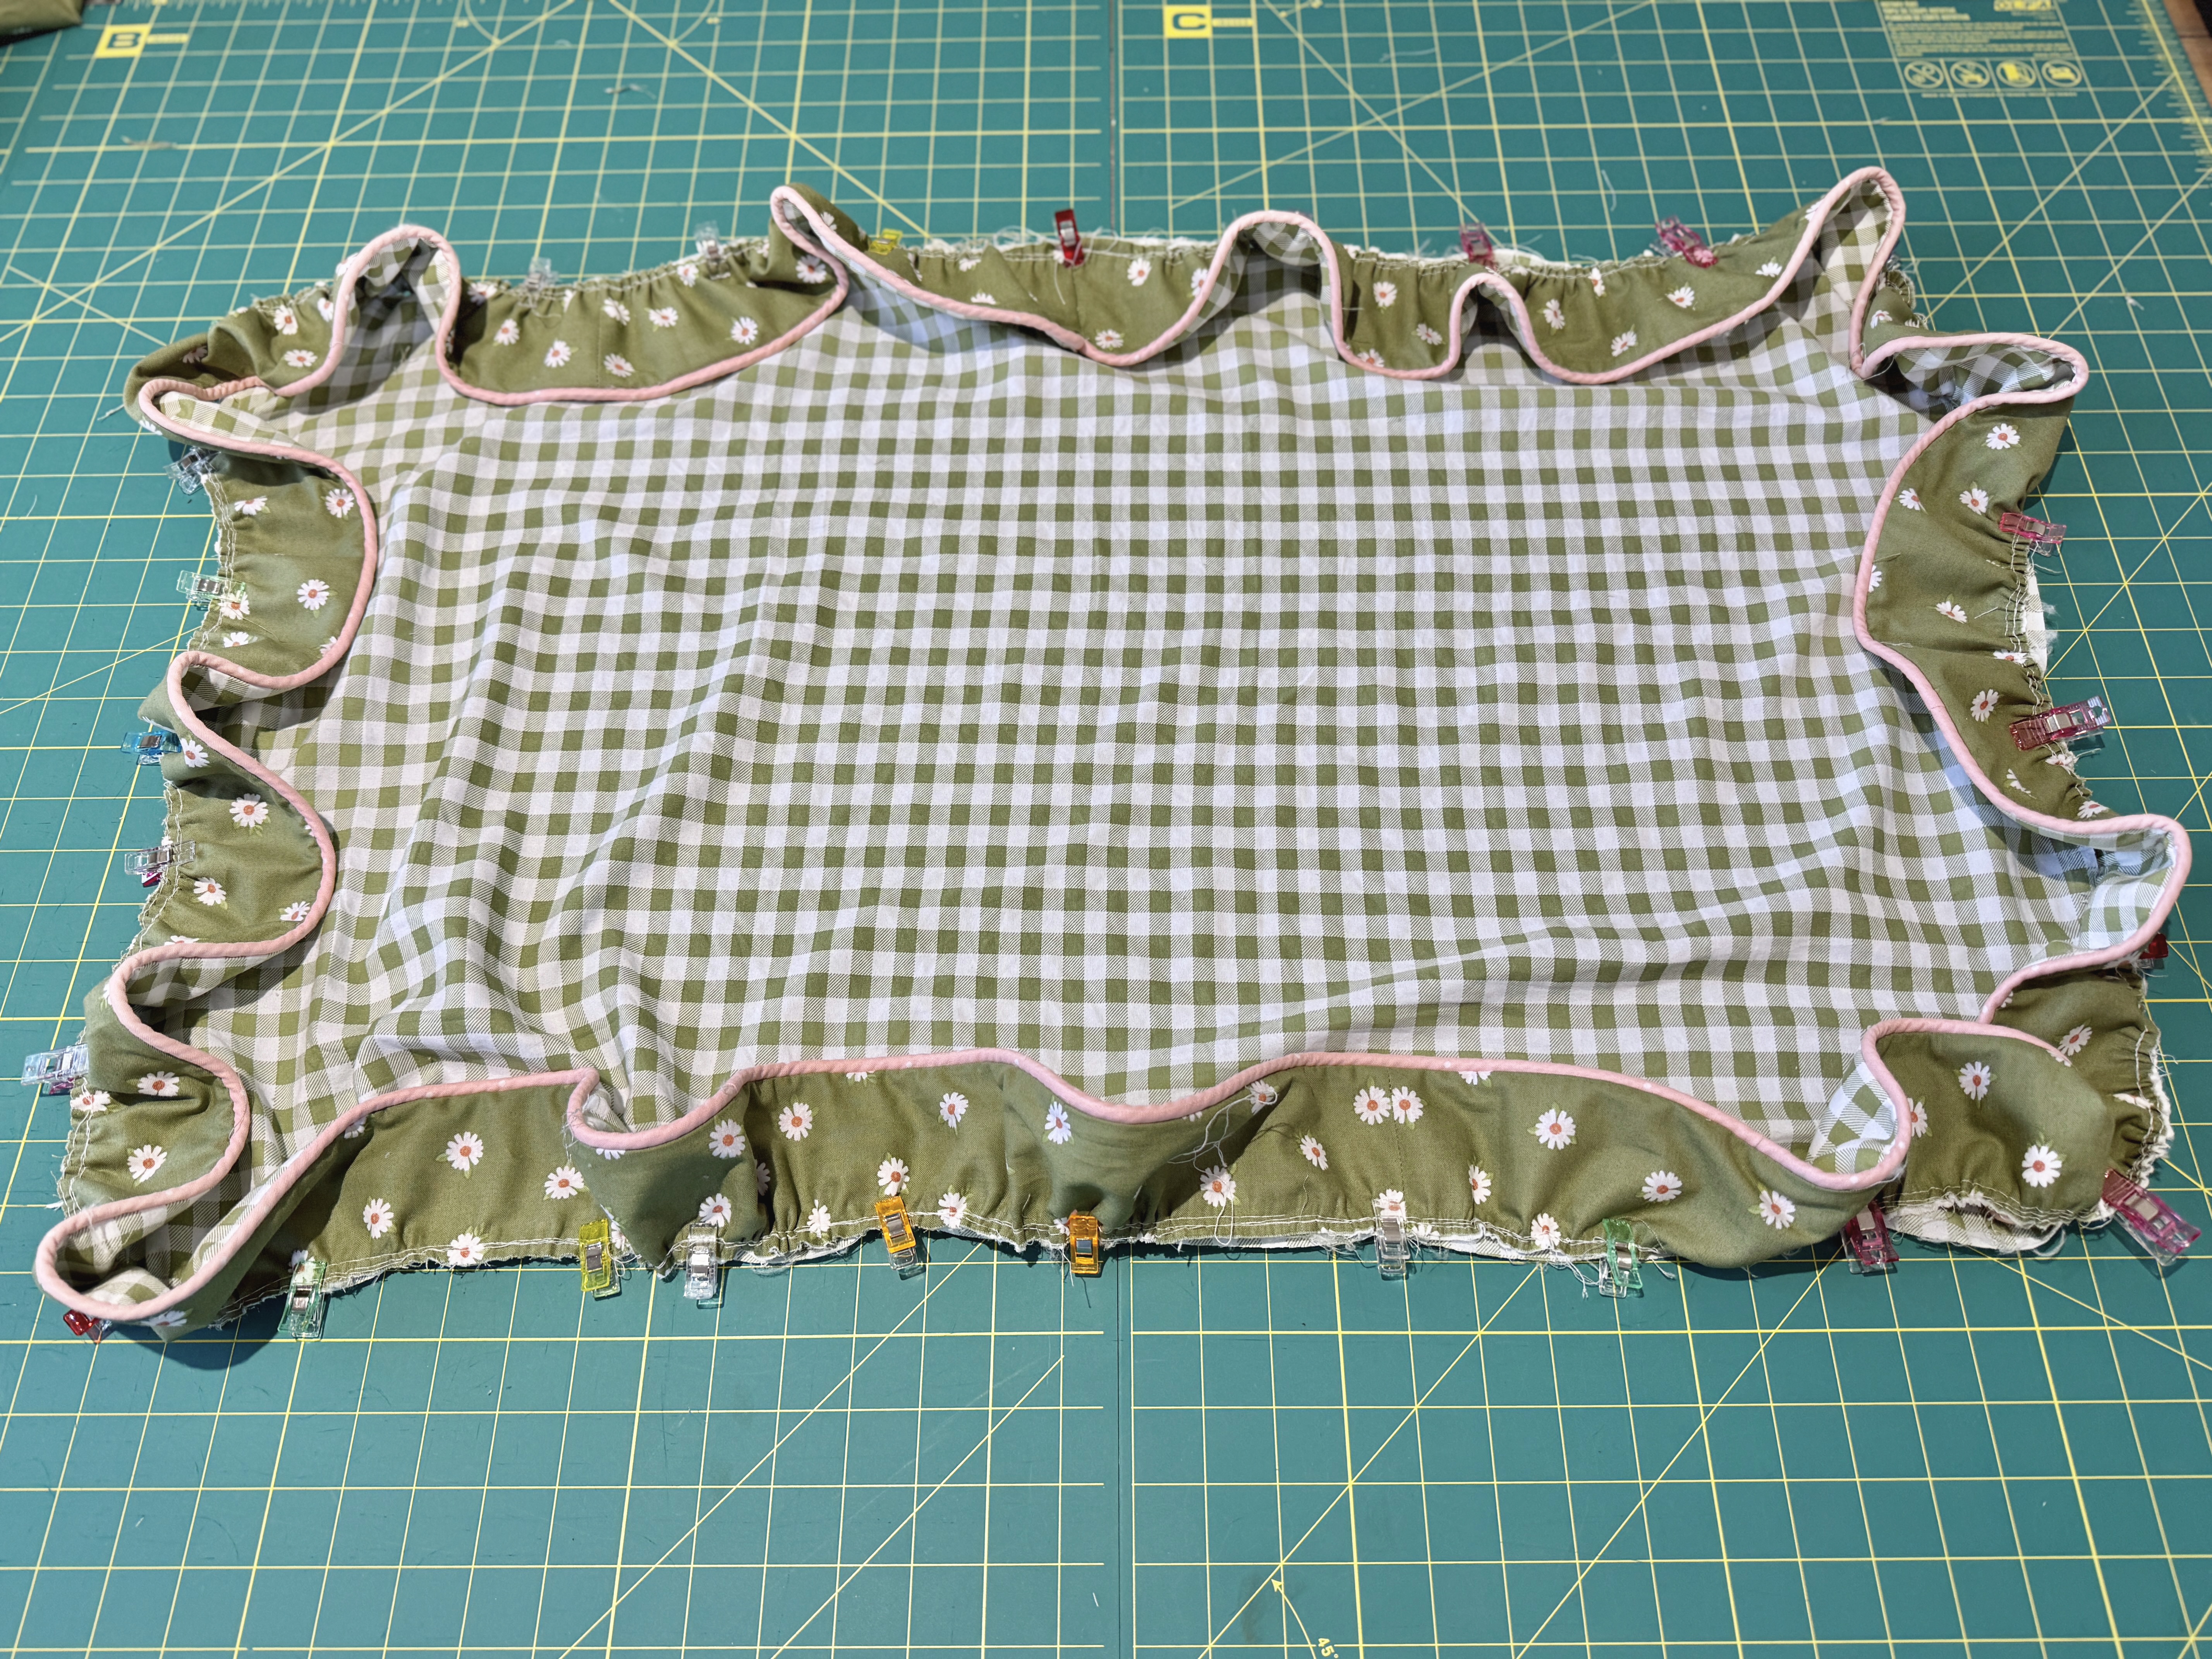
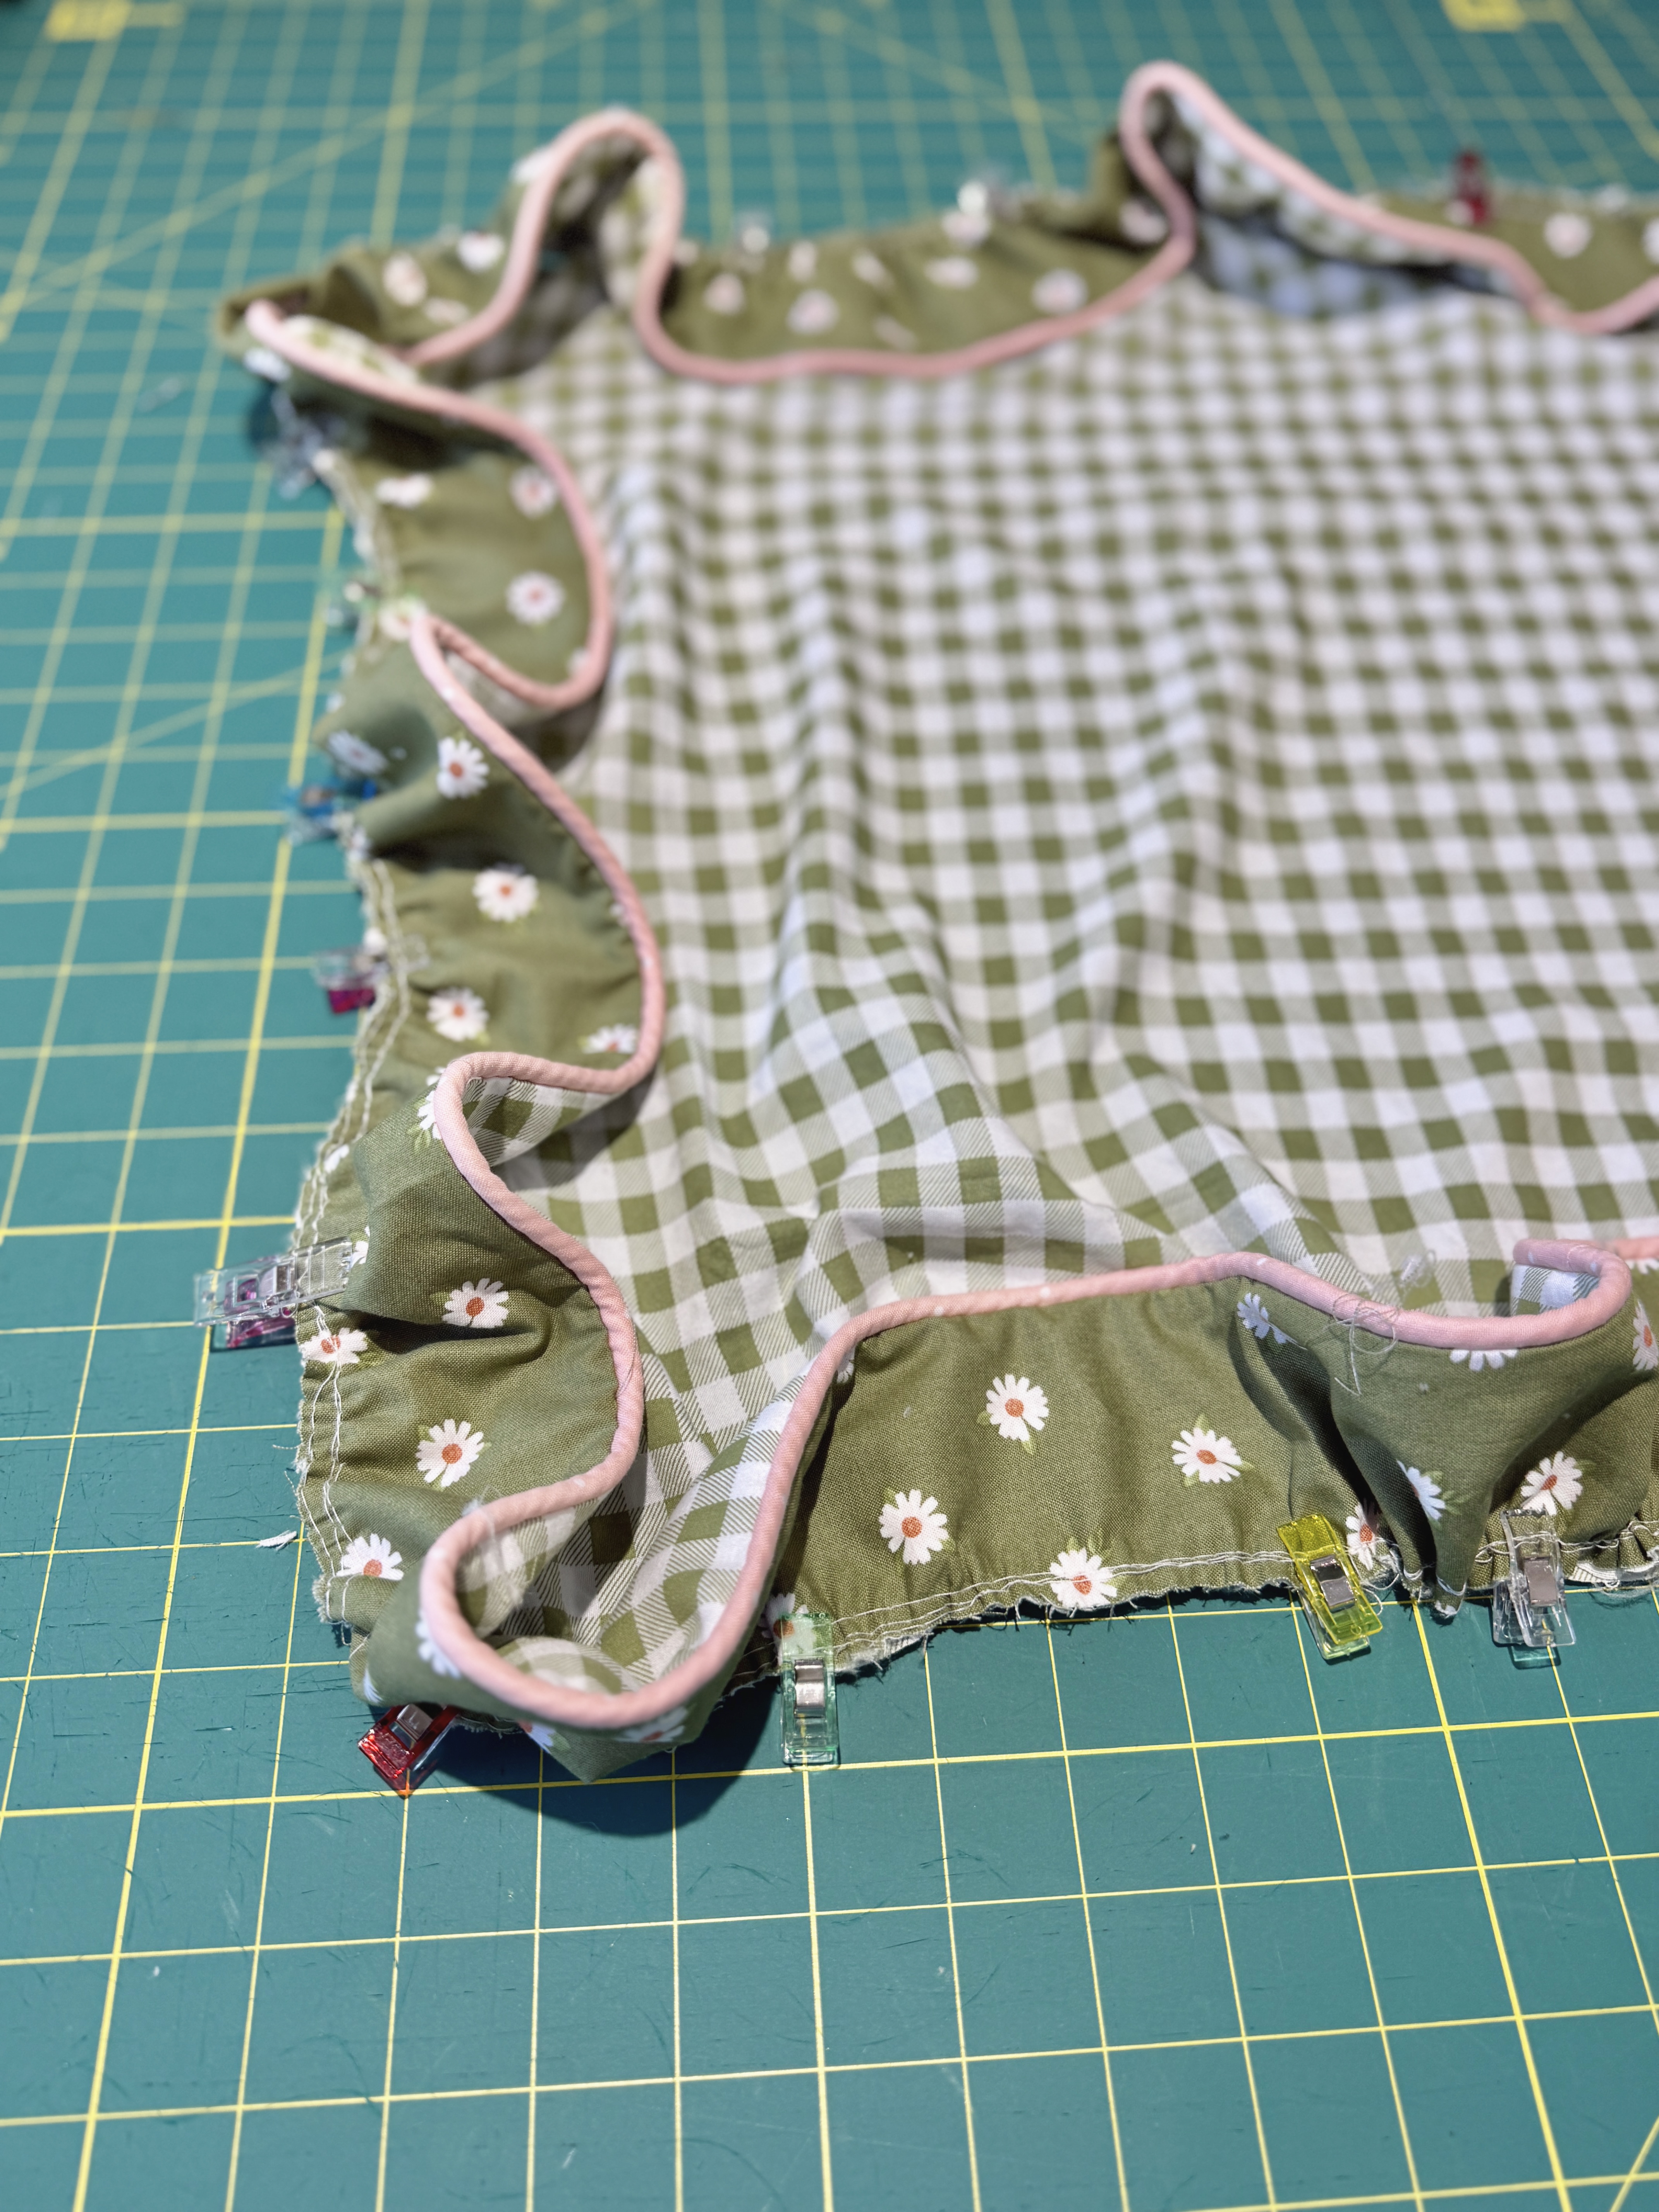
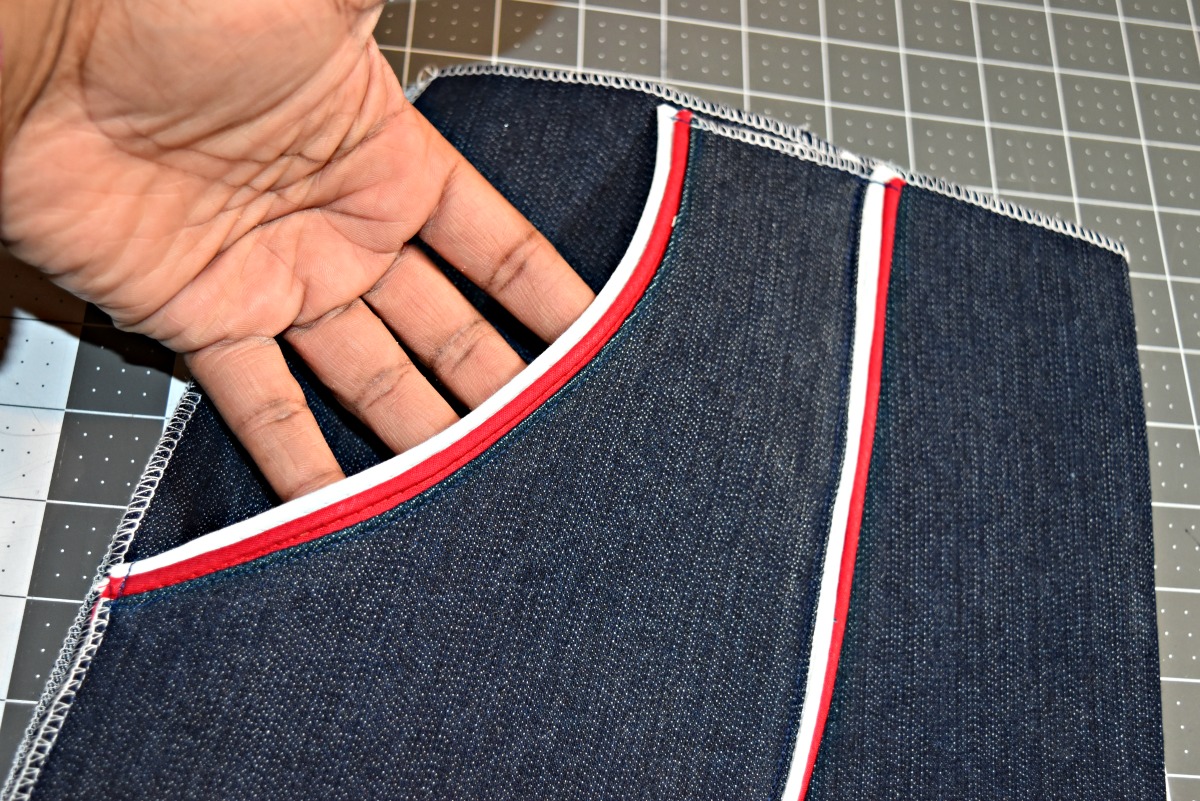
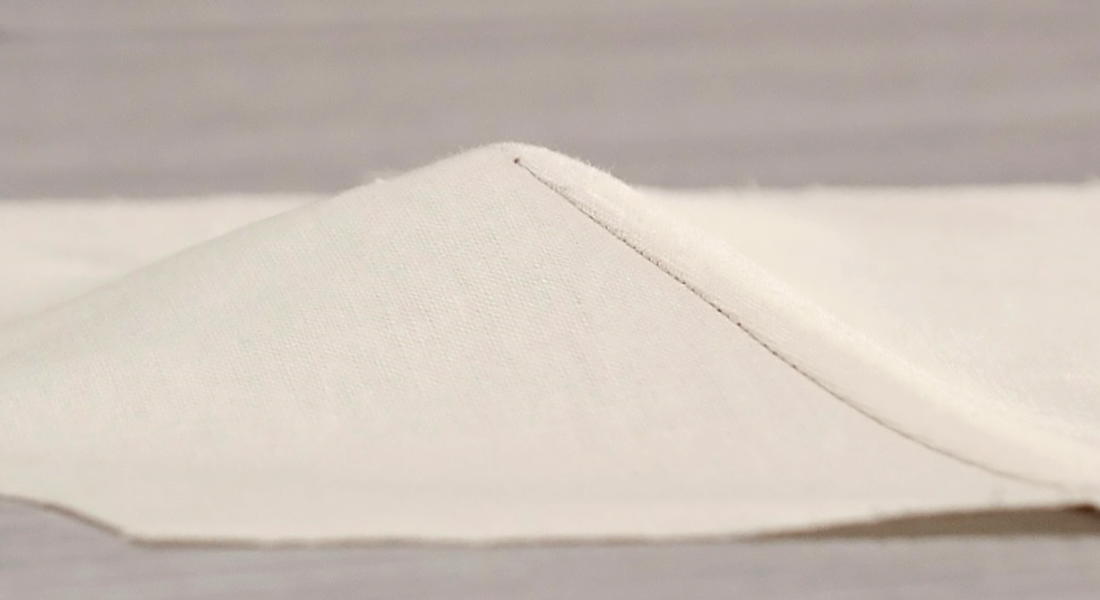
Sandwich the piping between the two fabrics, aligning the serged edge of the piping with the raw edges of the fabric.
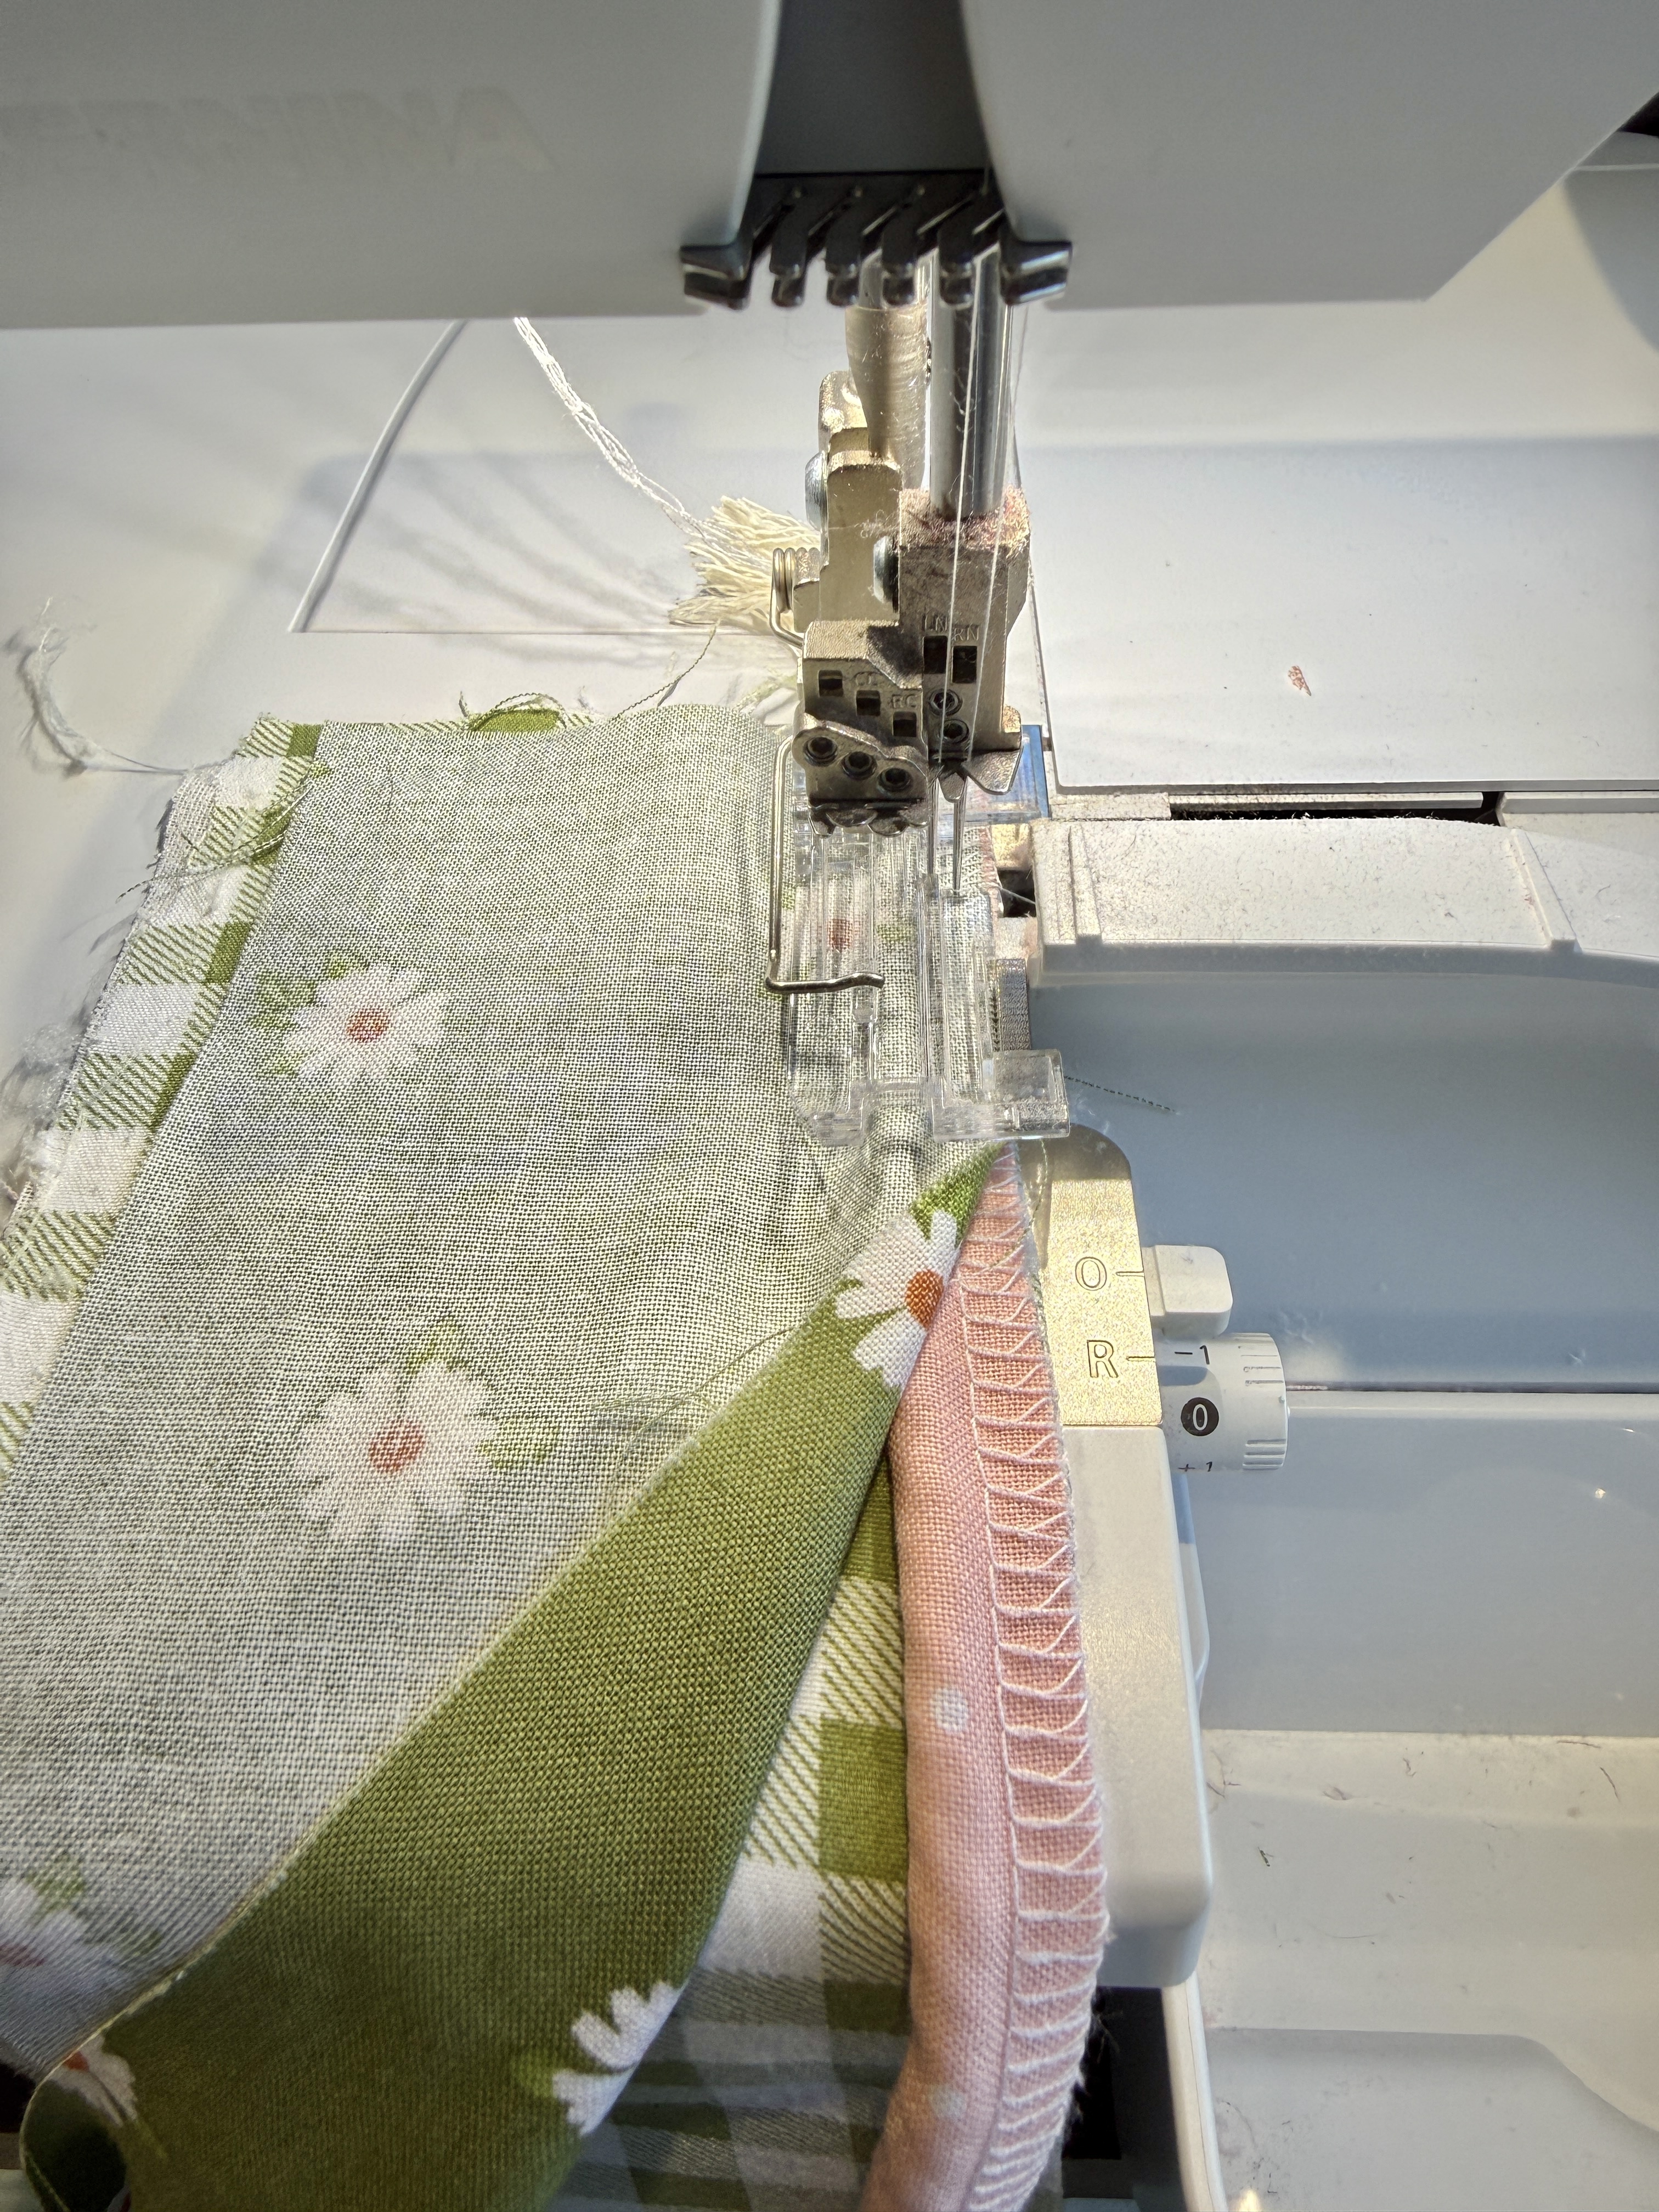
Slide the fabric underneath the presser foot so that the piping is guided through the groove. Serge to attach the fabrics.
The piping is now installed flawlessly. Look how high-end this makes the edge of the fabric appear!
To complete the bedding, I serged the two ends of the ruffle pieces together to enclose the raw edges. Then I used my ruffler foot on my B 790 PRO to re-gather the ruffles and reattach them to the original pillowcase.
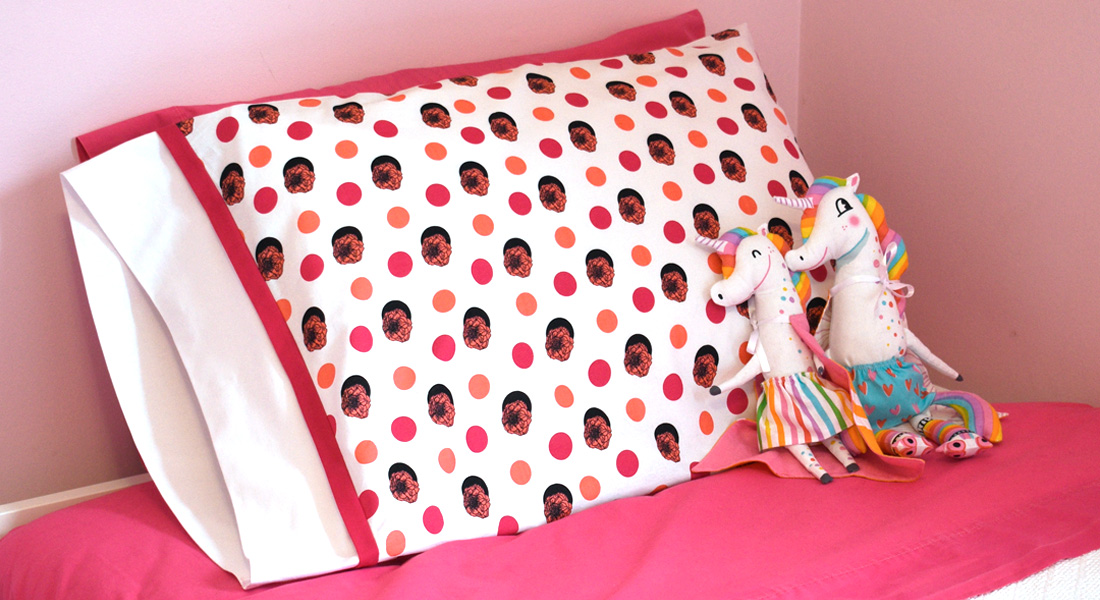
I think the new bedding turned out fantastic and really adds a fun pop of detail to the bedroom!
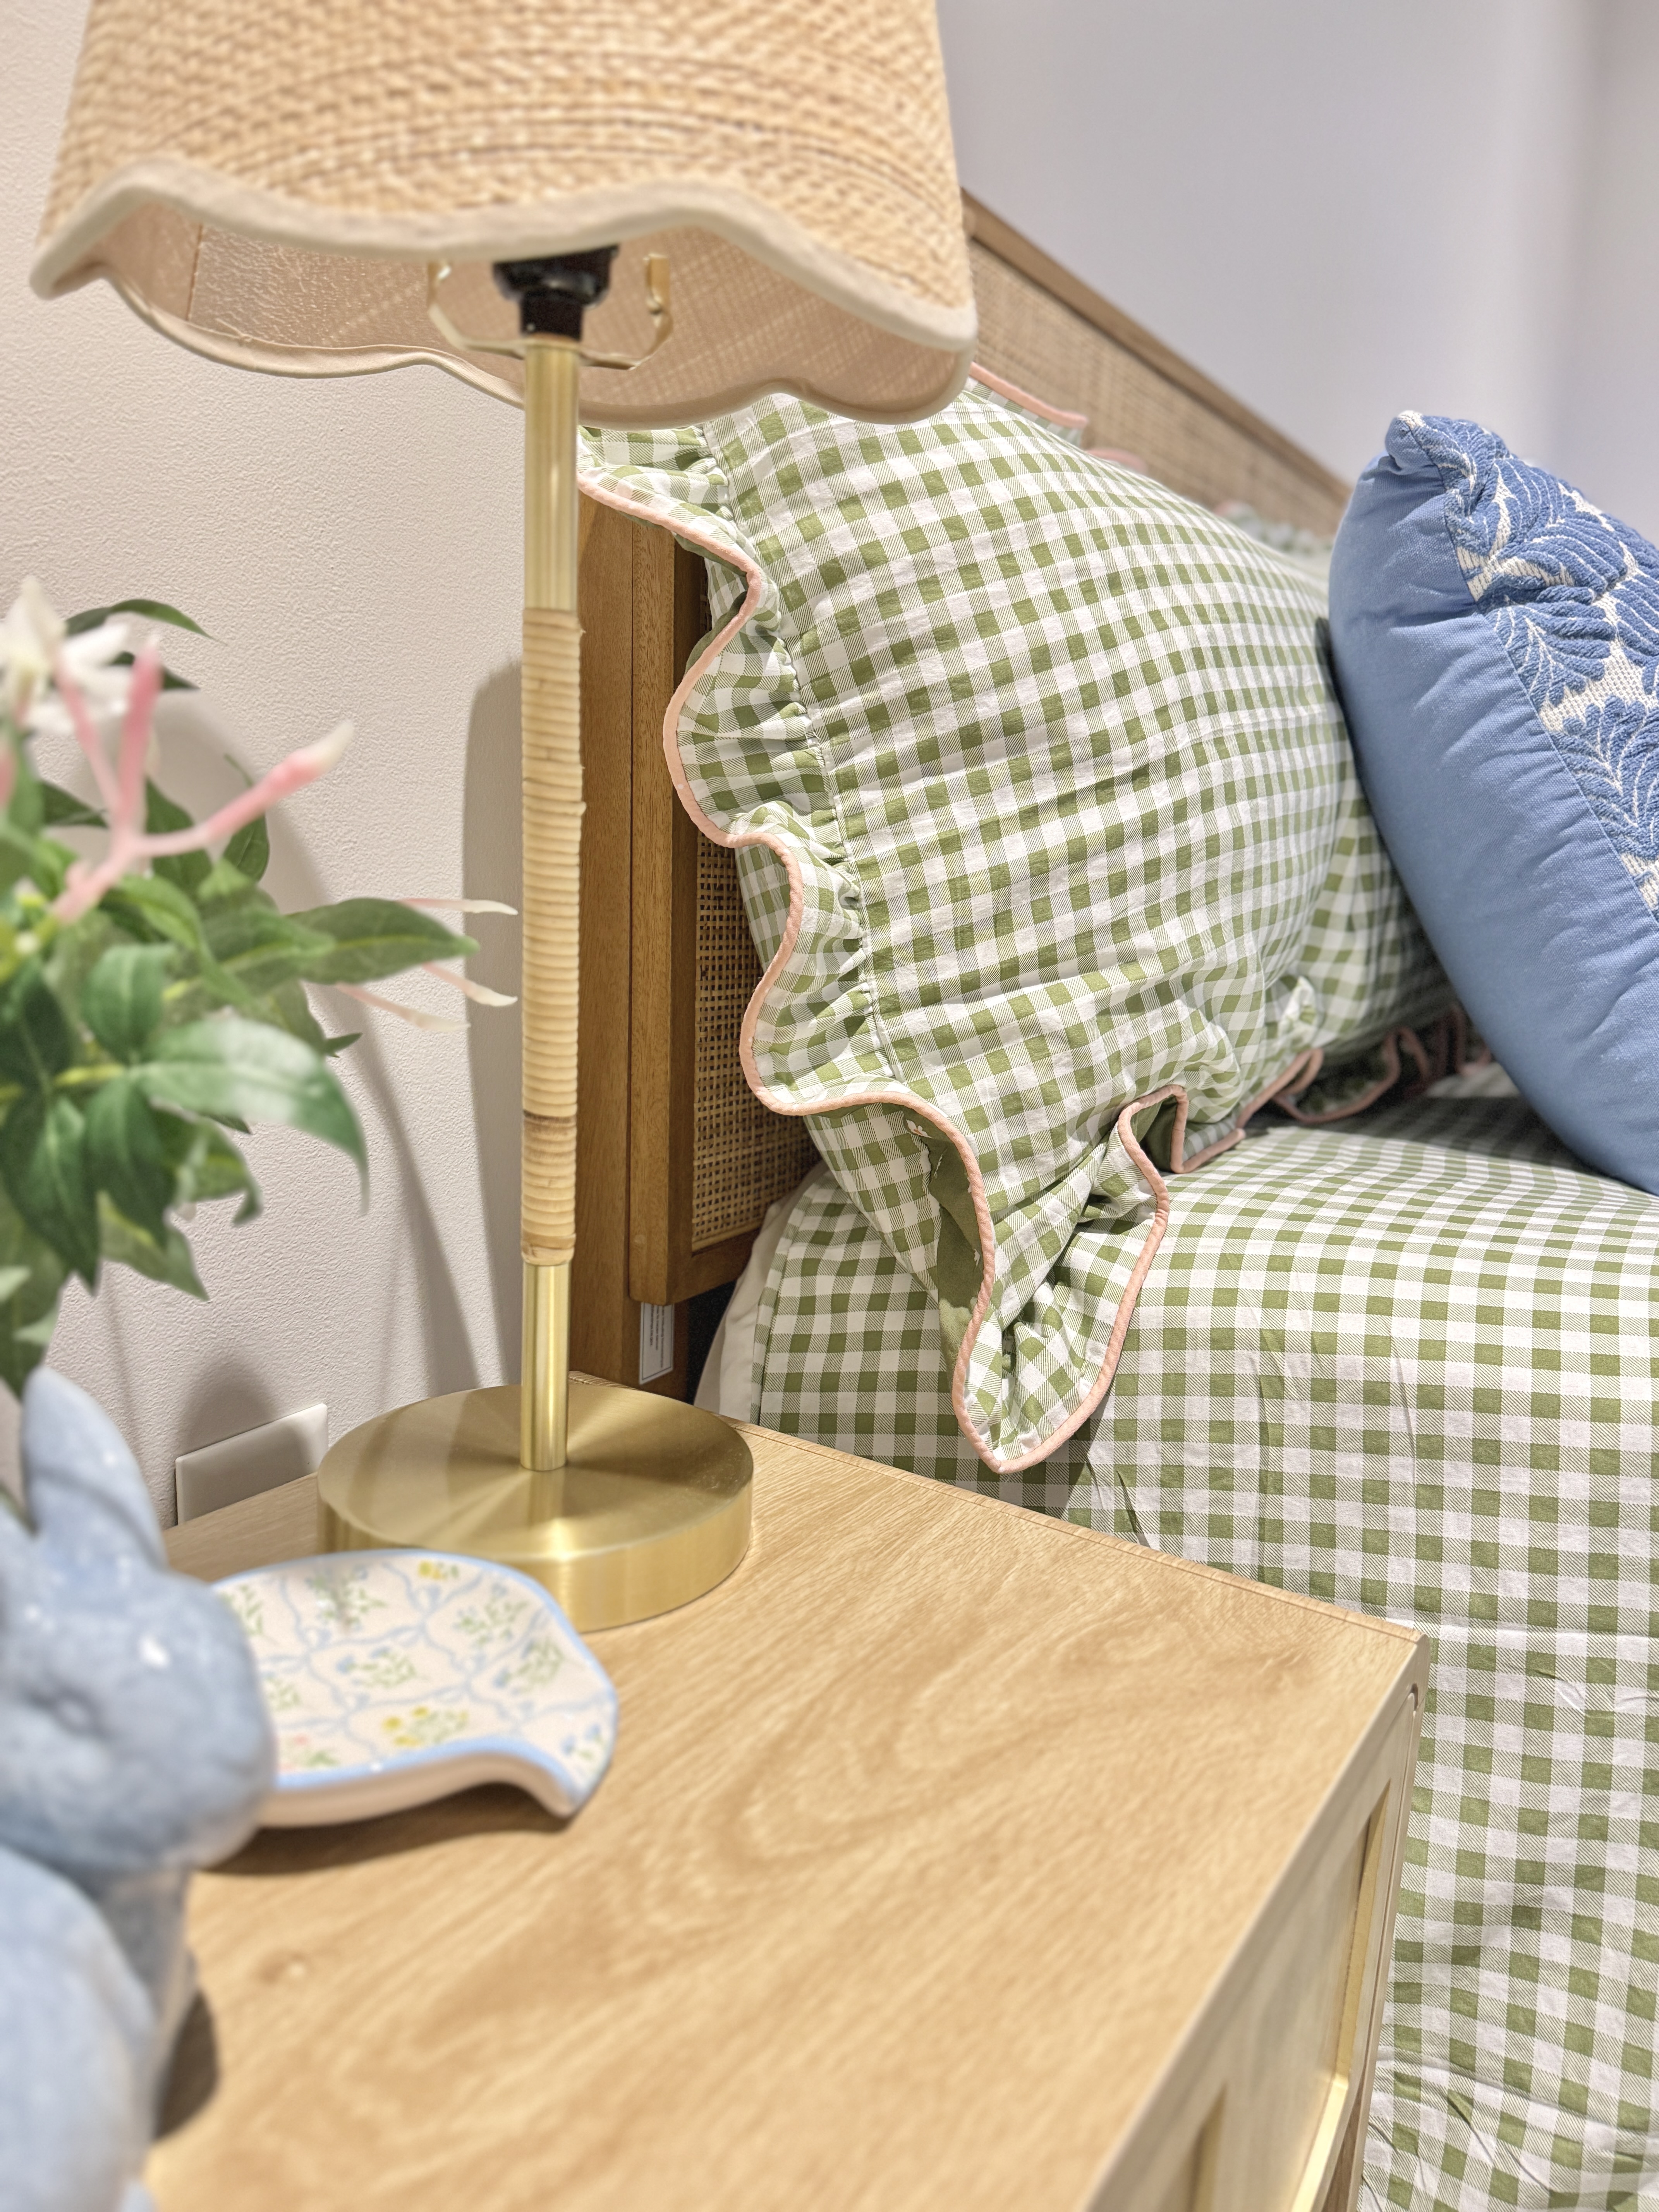

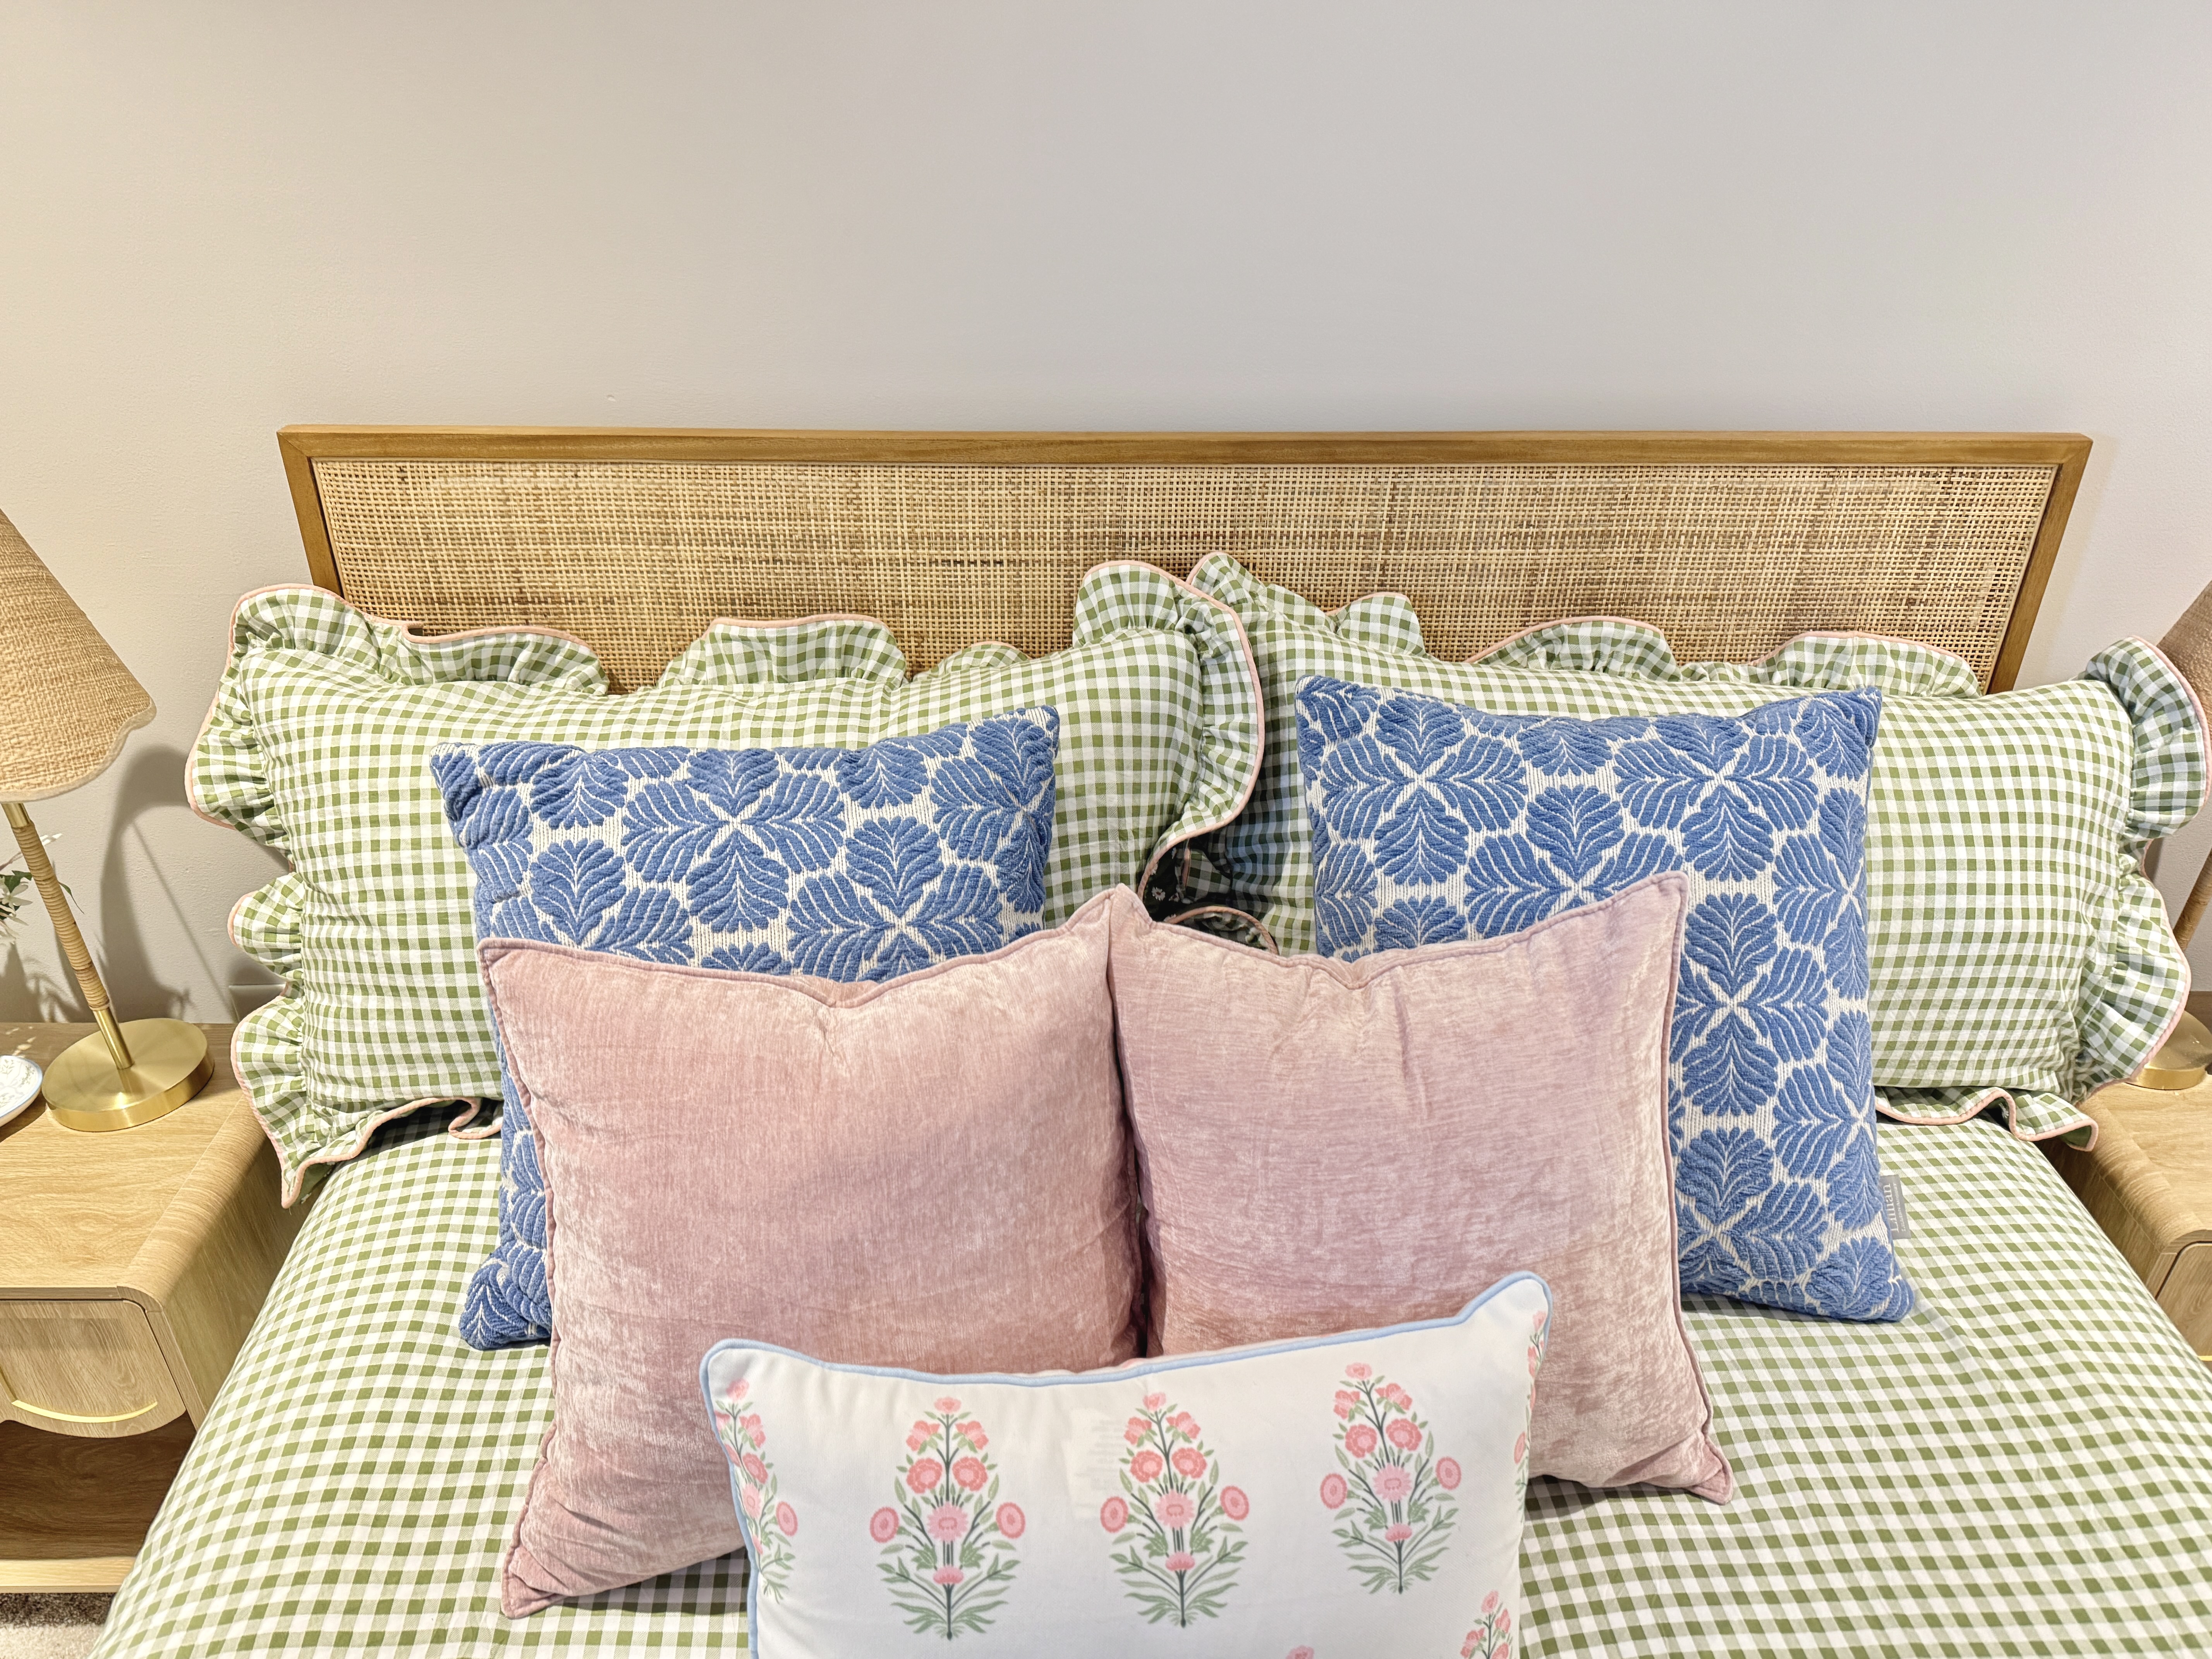
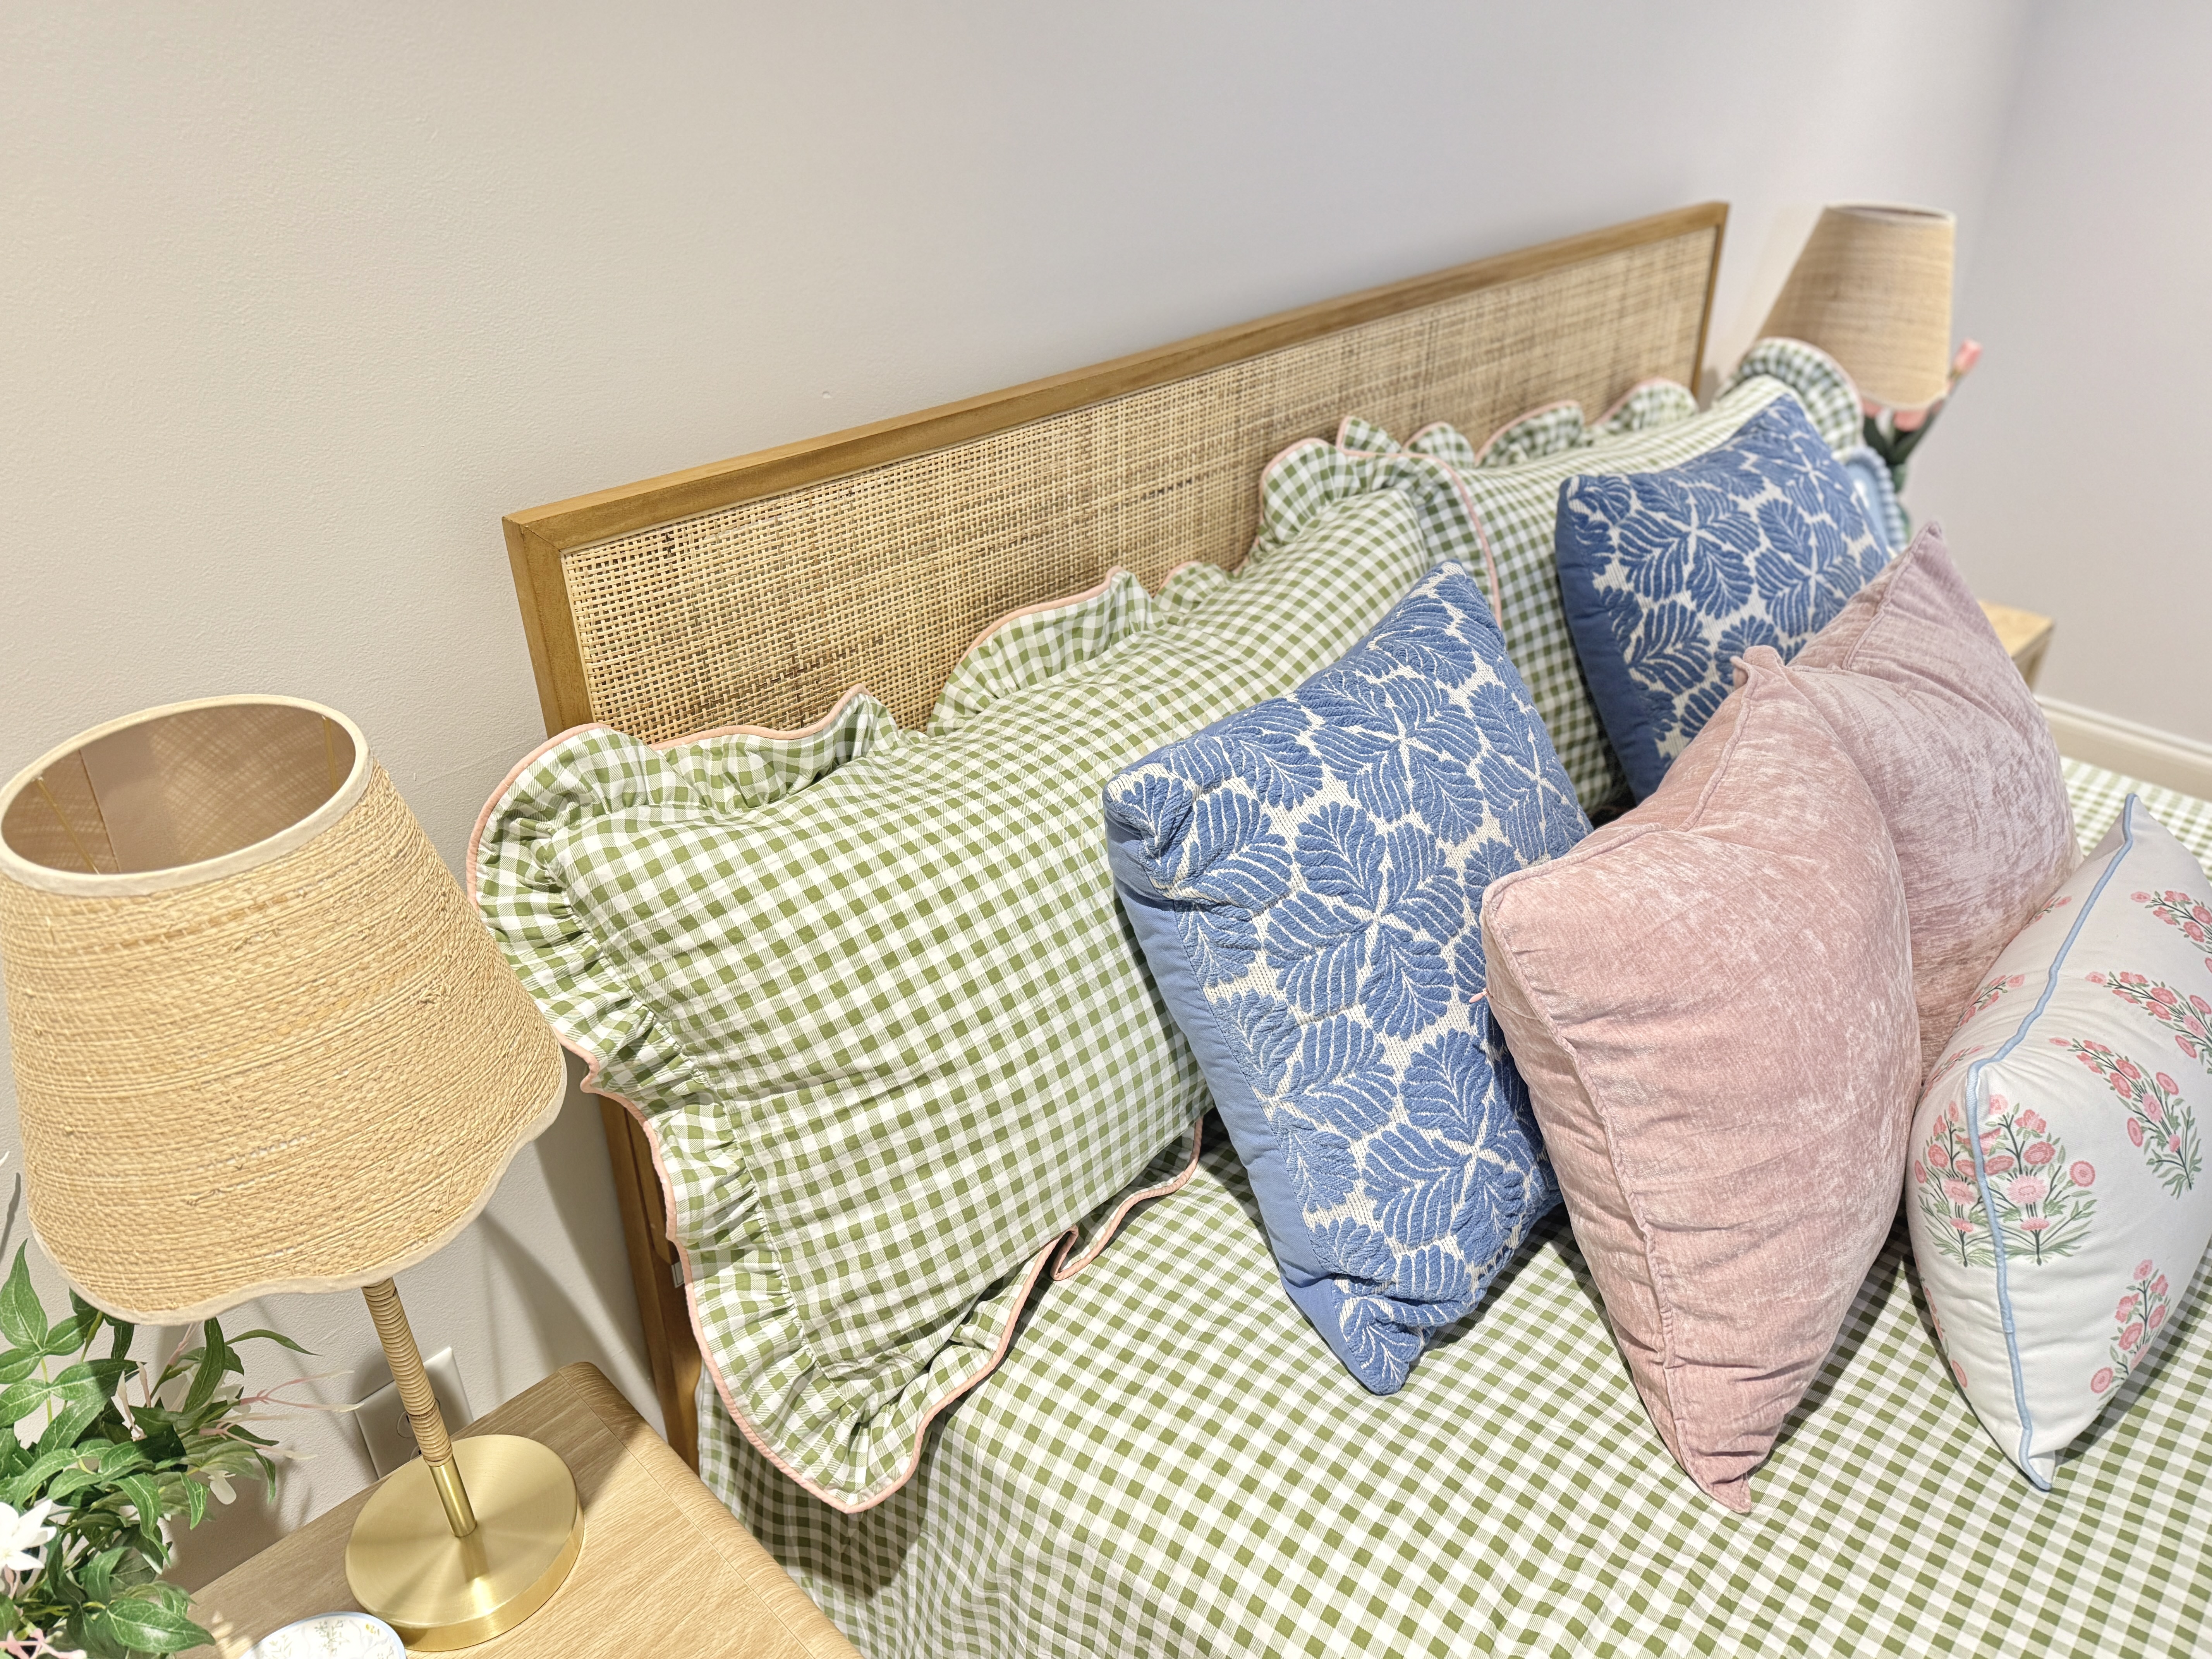
I am so happy with how my new bedding looks, all thanks to my L 890 and #C17 L foot!
Used Products

What you might also like


One comment on “How to Sew Piping on a Pillowcase”
Leave a Reply
You must be logged in to post a comment.
I love how you upscaled a store-bought pillow sham. Looks so much better with the additional fabric. What a great idea to add the piping to the edge of the ruffle – such a professional, custom look!