My Secret to Effortless Buttonholes
When I first started sewing menswear, the most intimidating things for me were buttons and buttonholes. I didn’t even know where to begin! I didn’t know how to do buttonholes, and I didn’t know how to use my sewing machine to attach buttons. It was all a confusing and intimidating mystery to me! But last year, I told myself I was going to learn how to attach buttons and make button holes. With the help of my friend, Julian Collins, and my bernette 79, I did my first set of buttons and buttonholes, and my life changed forever! Now I feel like I am a buttonhole savant, and what was once intimidating to me now actually makes me excited because it means that the button down shirt that I’m working on is almost finished, and I get to put the final touches on it!

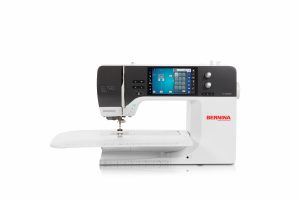
Using my sewing machine to make buttonholes, specifically my BERNINA 790 PRO is a breeze! Both the b79 and the B 790 PRO make doing the buttonholes really simple and quick. There are features on the B 790 PRO that make attaching the buttons and creating the button holes even easier. I love that it’s not a complicated process and that there are really simple steps to follow. I recently did a button down shirt using a linen viscose fabric from my Minerva fabric collection, and I wanted to show you how I used features on my B 790 PRO to do my buttonholes!
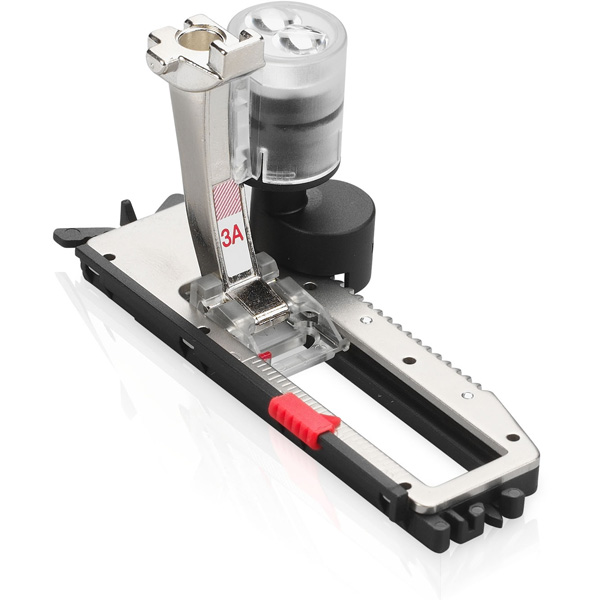
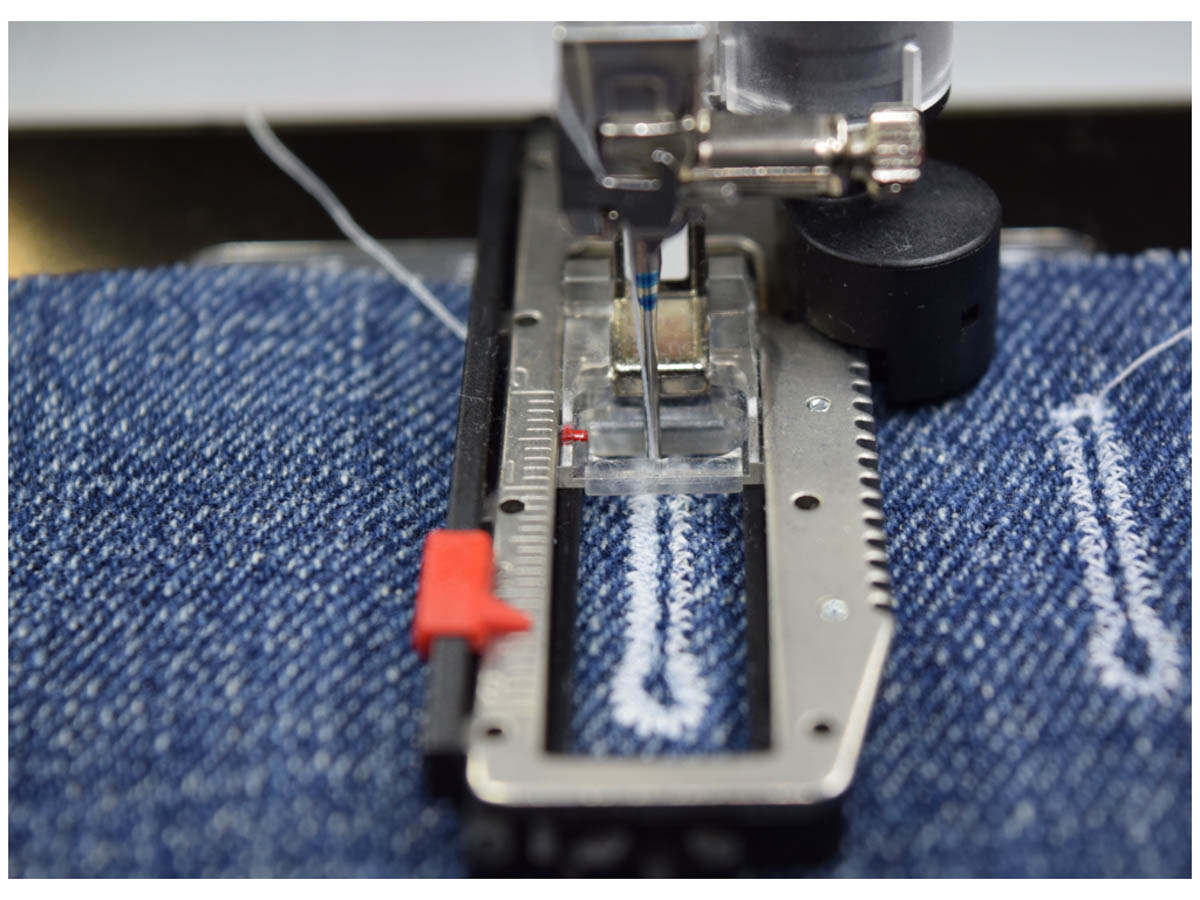
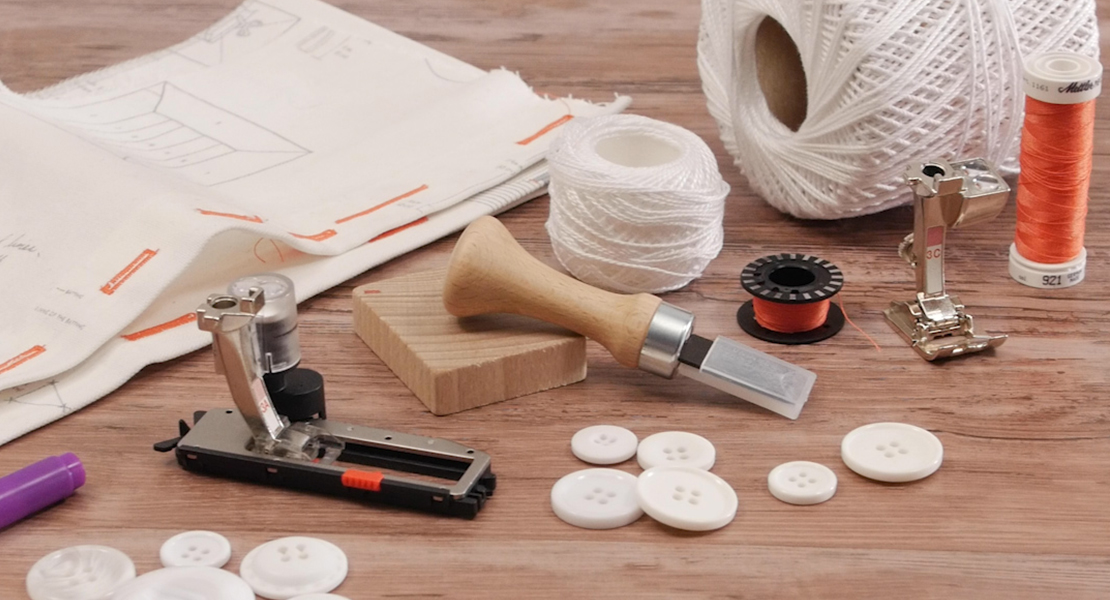
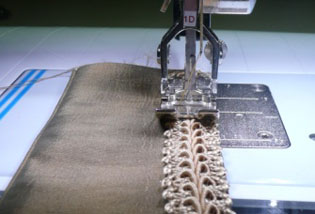
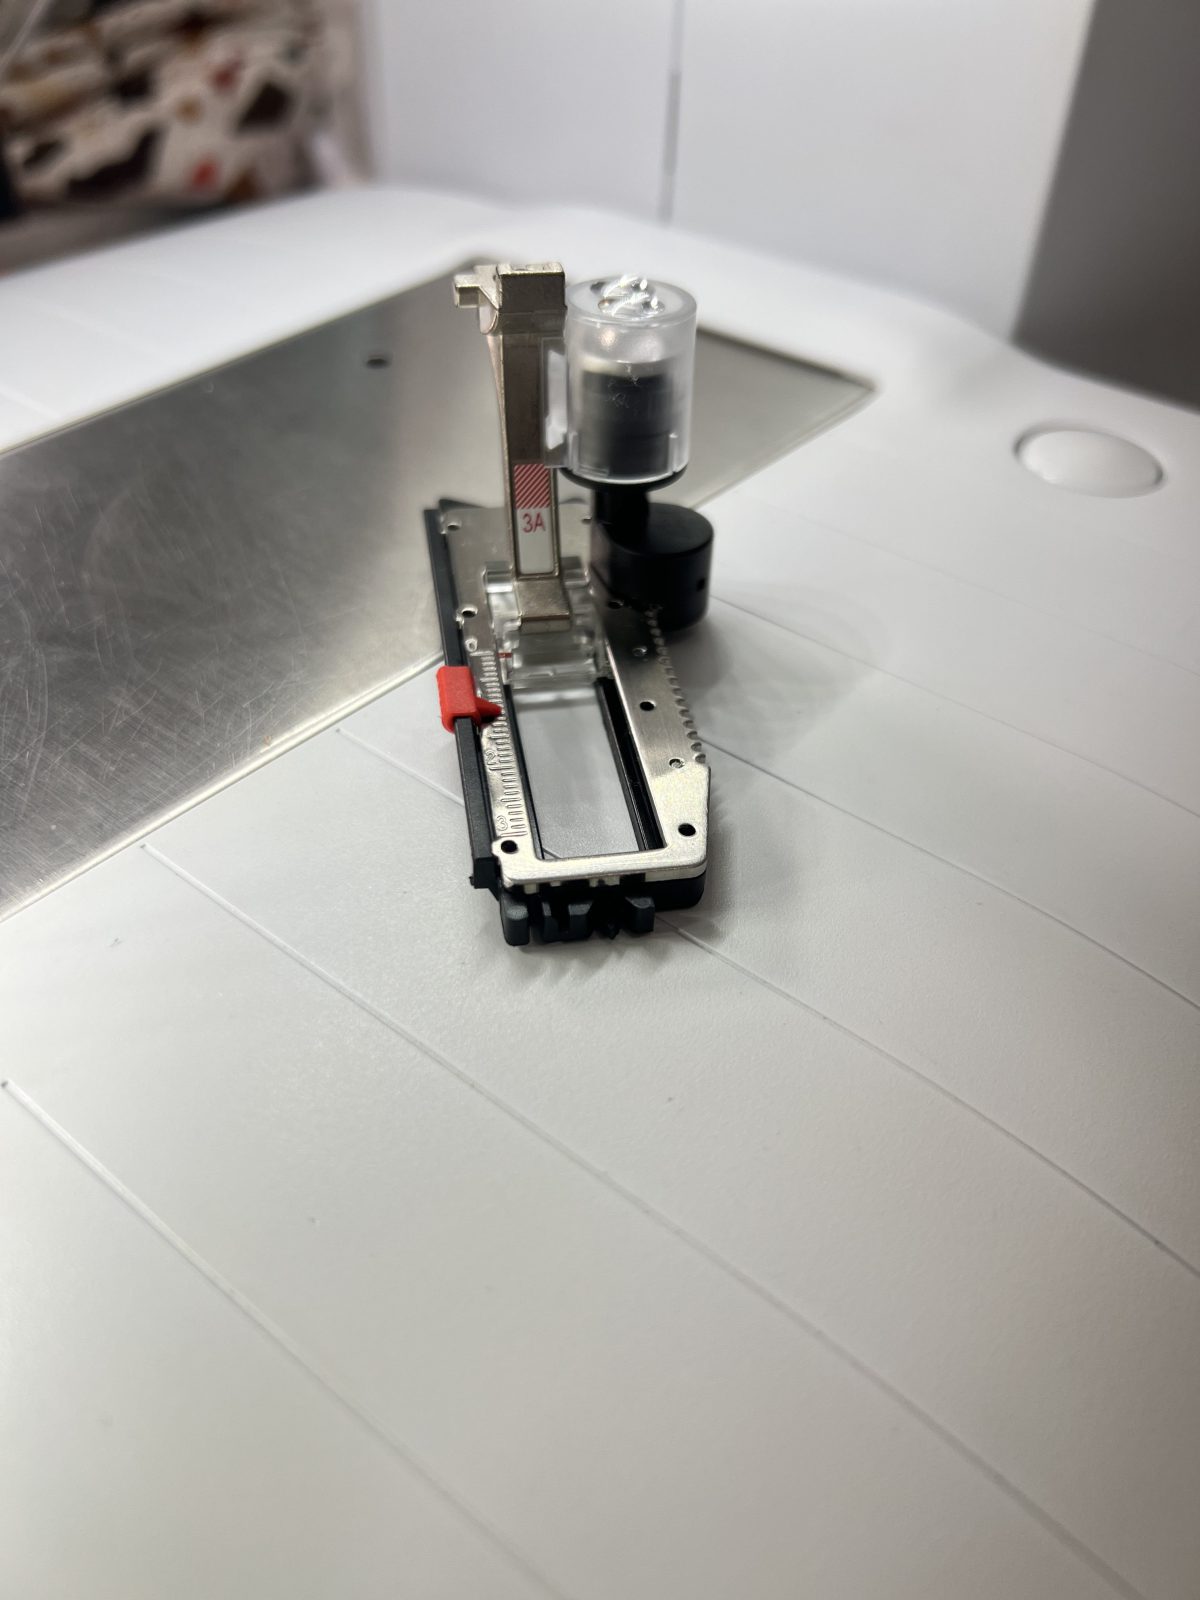
BERNINA Buttonhole Foot with Slide #3A
In order to do a successful buttonhole, you need to use the Buttonhole Foot with Slide #3A. When it comes to crafting perfect buttonholes, this presser foot is a true game-changer. This little accessory is like having a mini automated tailor at my fingertips. The Buttonhole Foot with Slide #3A is designed specifically for creating consistently sized buttonholes easily.
Key Features of the Buttonhole Foot with Slide#3A
- Automatic Precision: The foot works in stitch with my BERNINA 790 PRO to measure each buttonhole automatically. That means every buttonhole is the exact length I need without me having to measure and guess.
- Ease of Use: It’s easy to set up the foot! I just set up the foot, select the buttonhole stitch I want, and let the machine do the rest! The Buttonhole Foot with Slide #3A takes care of the length and repetition, so I get neat, identical buttonholes every single time.
- Versatility: Whether I’m working on delicate fabrics like for my tulle embroidered dusters or thicker layers like for a coat, this presser foot does it all. It’s especially helpful if you want a professional finish without the intimidation.
The Buttonhole Foot with Slide #3A makes the process of adding buttonholes practically effortless. It’s one of those tools that makes you wonder how you ever sewed buttonholes without it.
Steps For Sewing Buttonholes
Step 1: Select the Buttonhole Menu
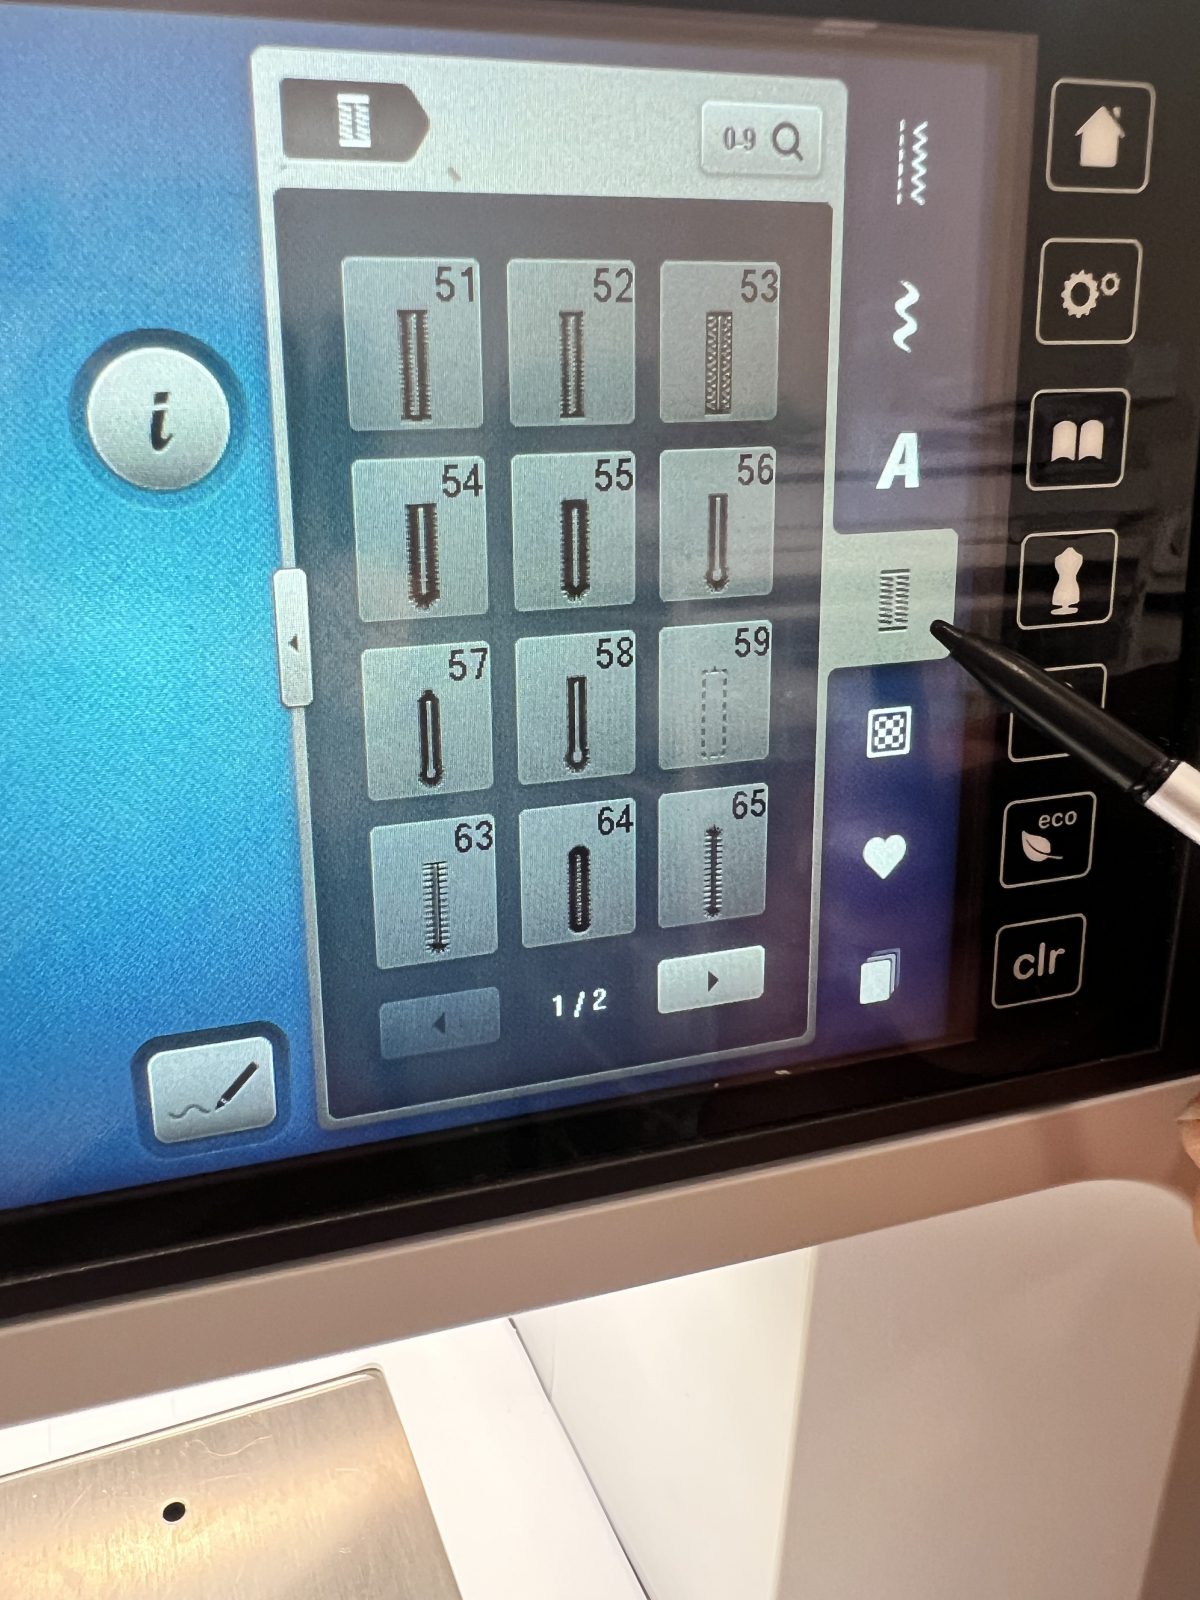
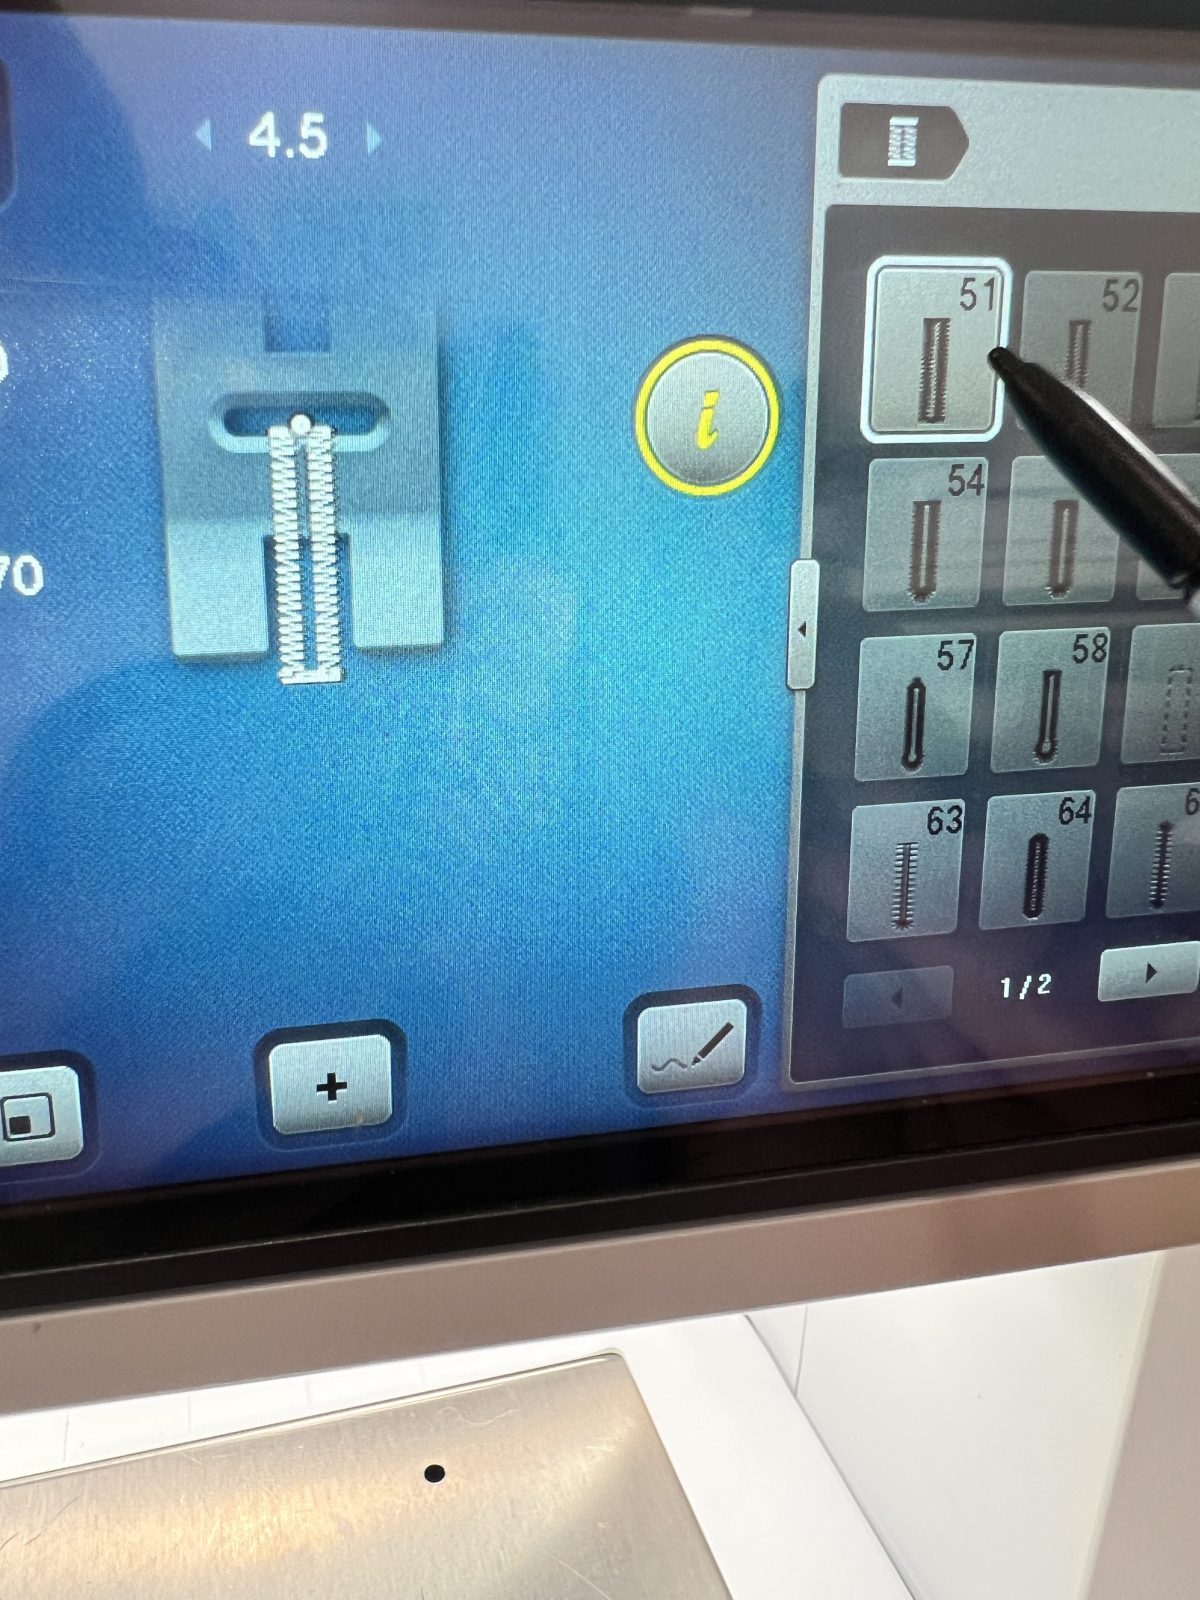
Step 2: Select Buttonhole 51
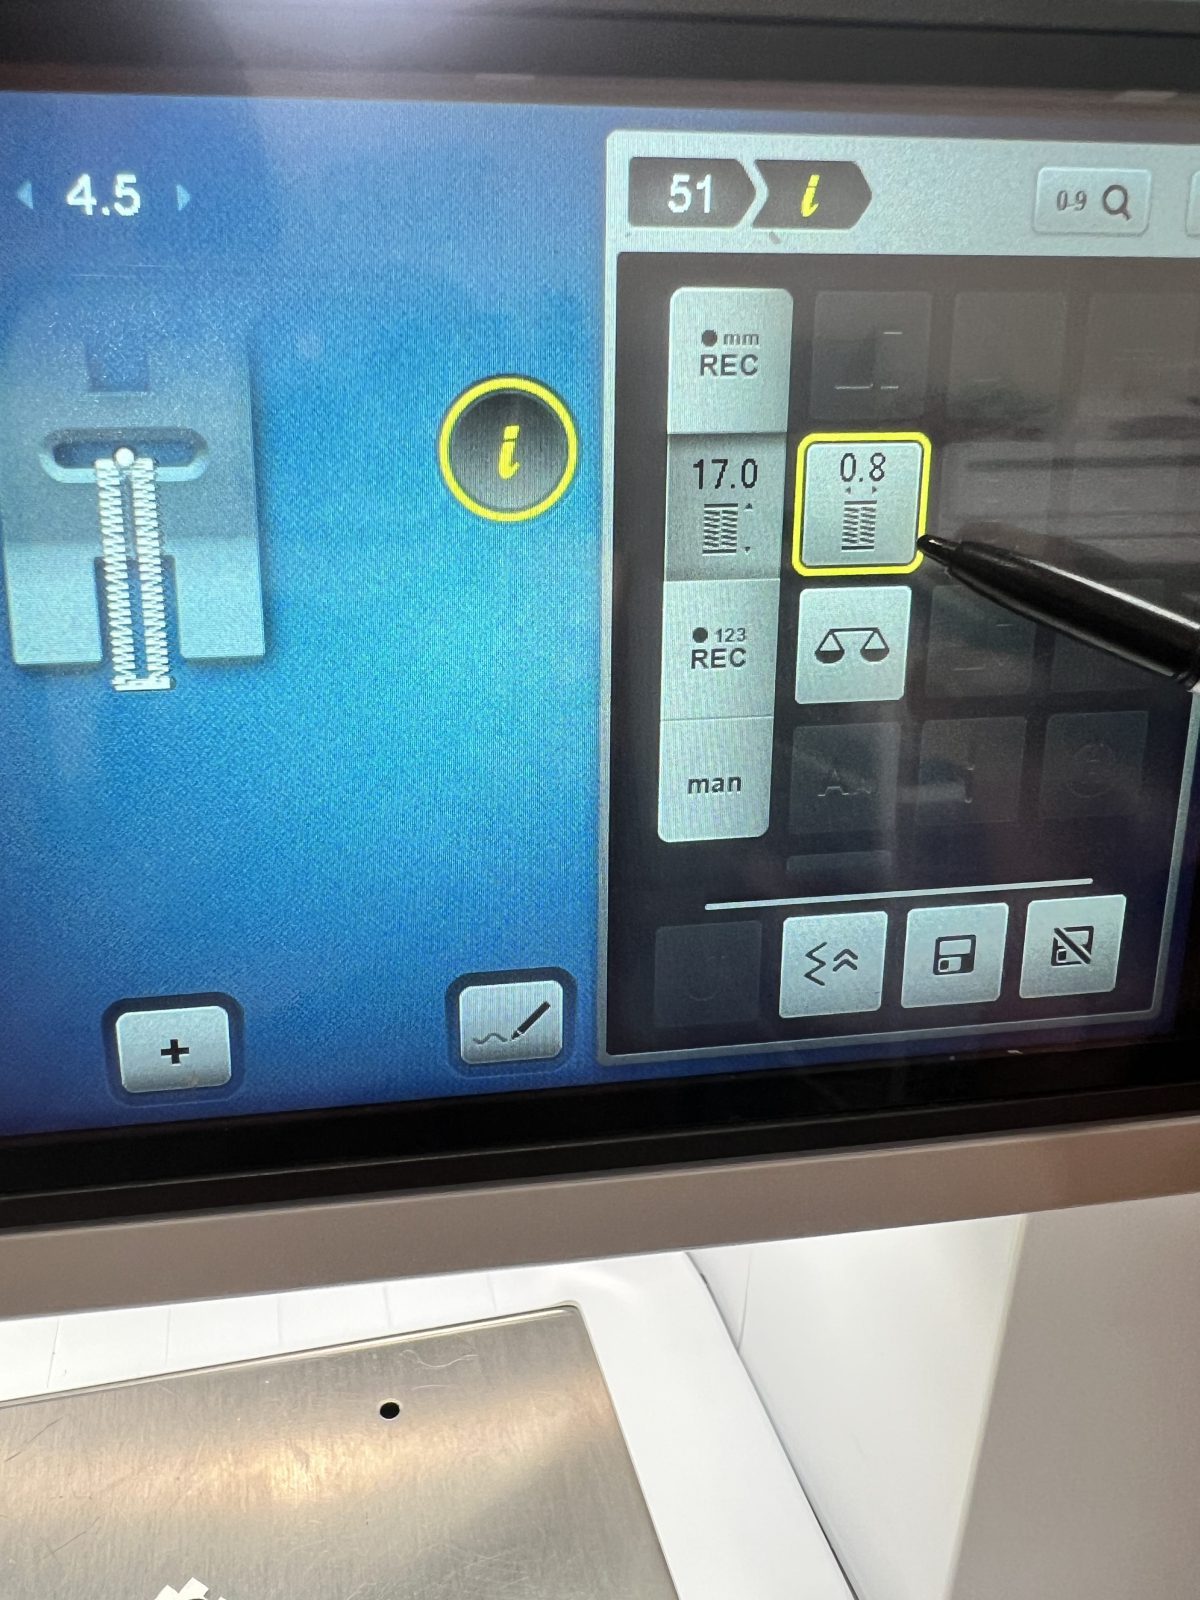
Step 3: Adjust Buttonhole Slit Width
Press the ‘i’ icon to access the buttonhole adjustment settings. You can use the multifunction knobs to increase the buttonhole slit width
Step 4: Select the Buttonhole Measuring System
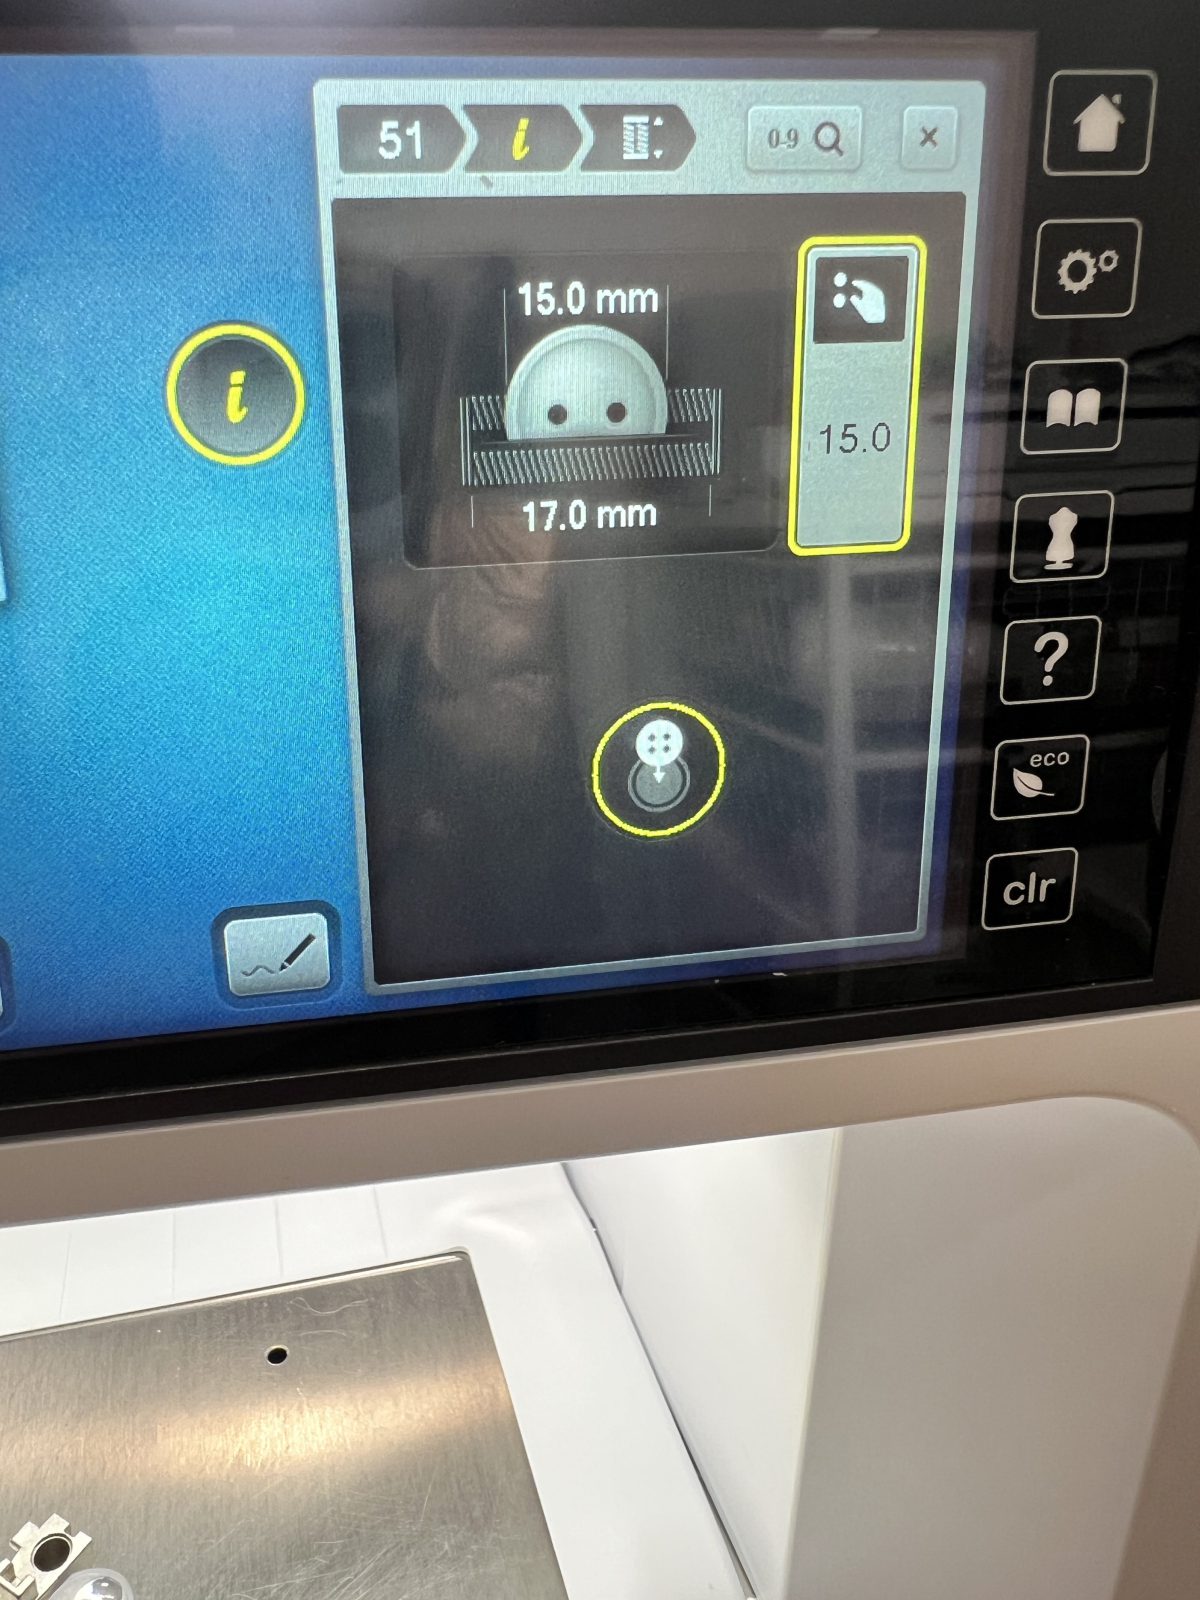
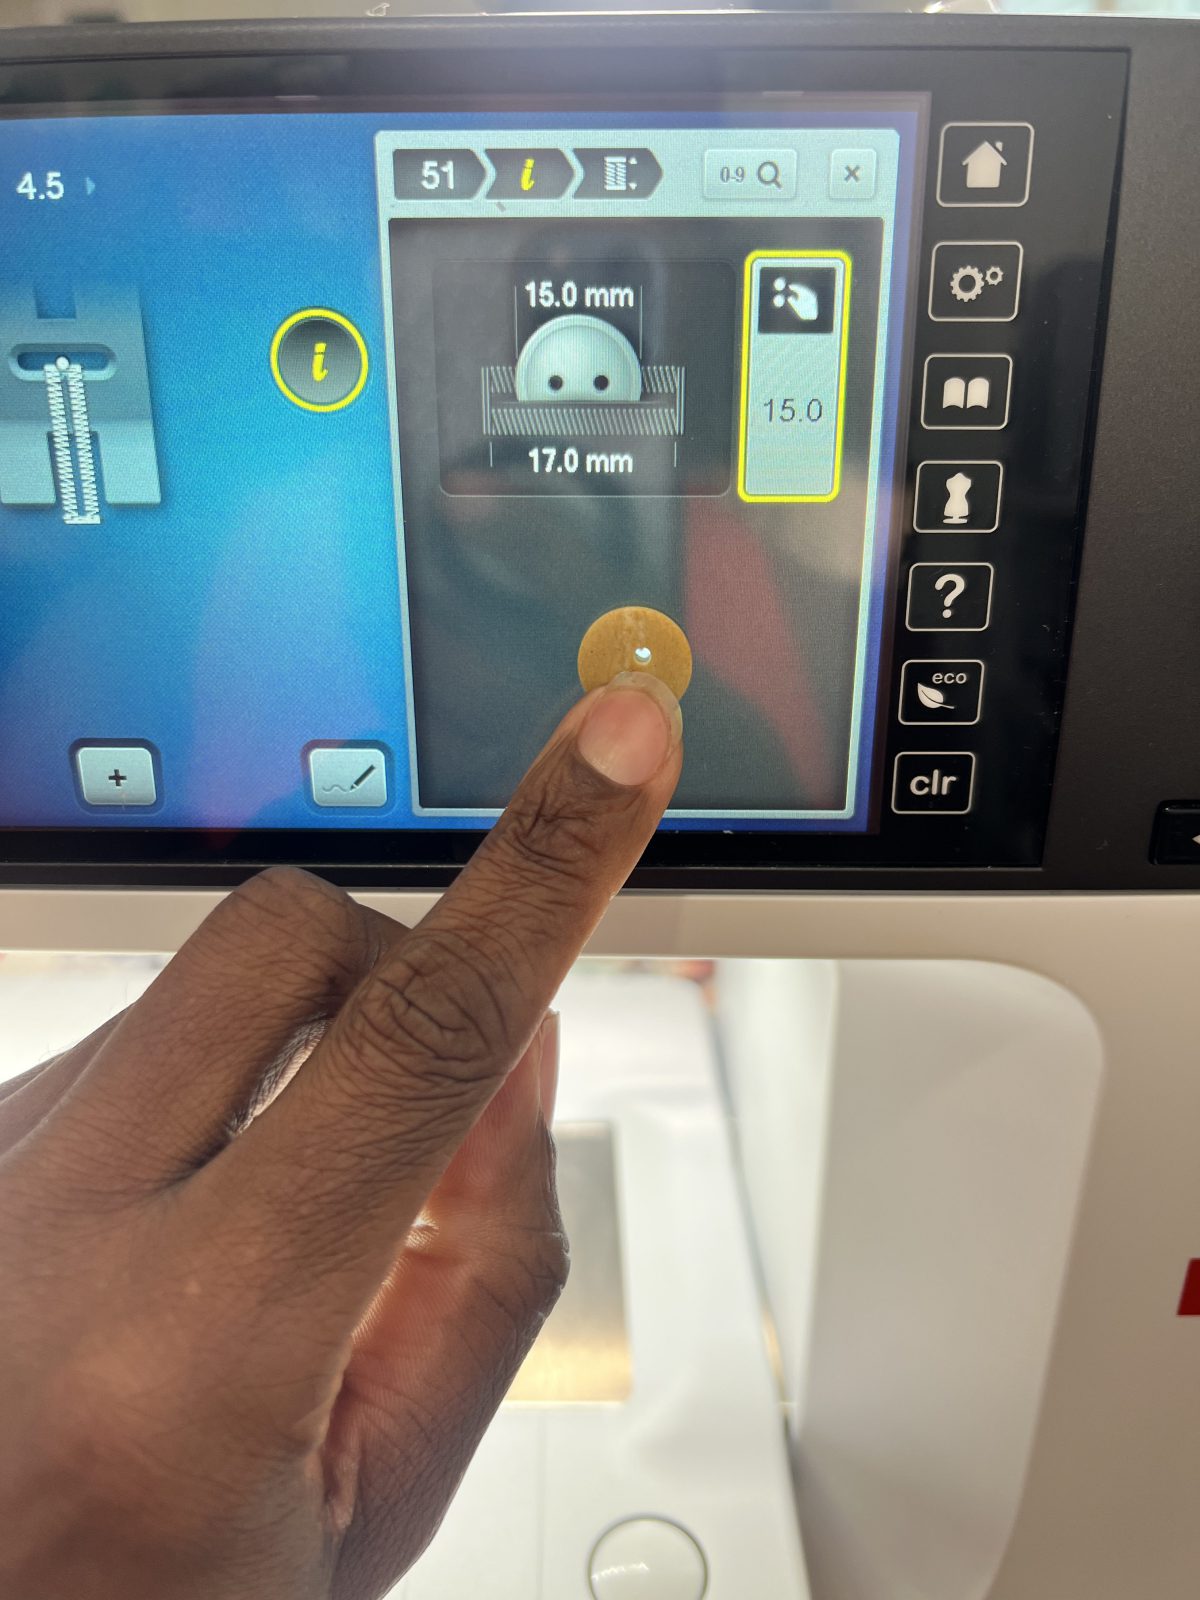
Step 5: Adjust Buttonhole Size
Hold up your button against the display and use the multifunction knobs to adjust the size for the button.
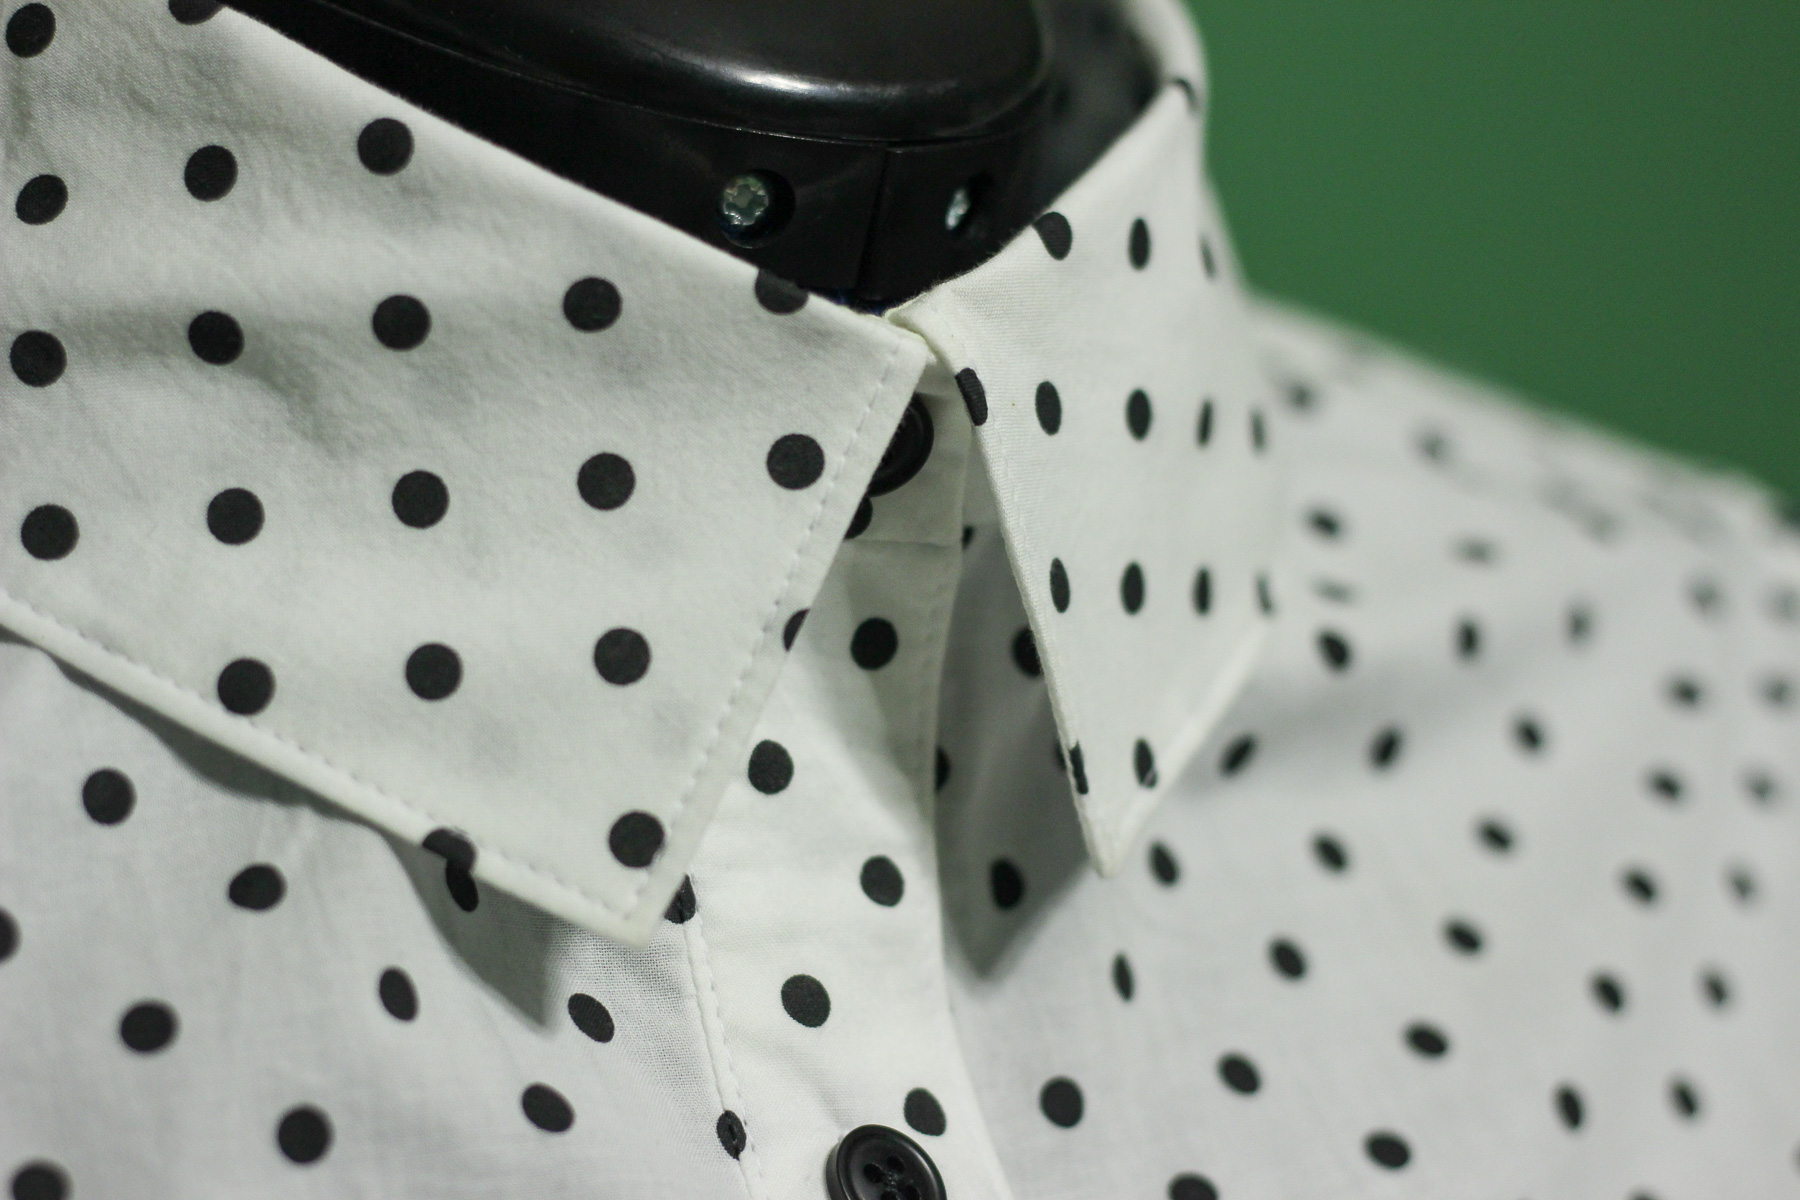
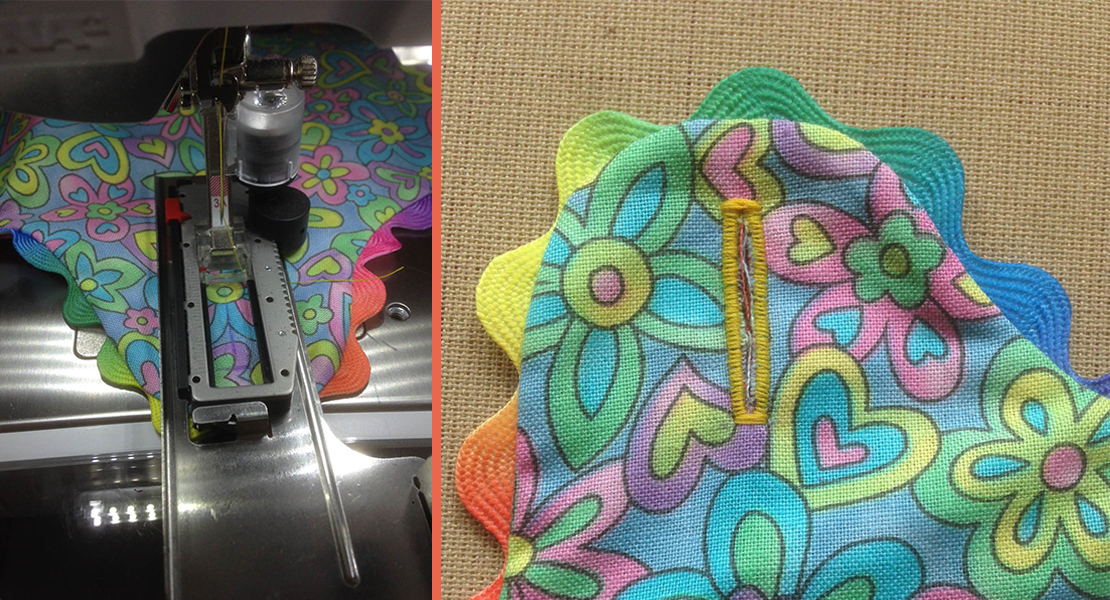
Step 6: Now Sew the Buttonhole!
And just like that, we have a buttonhole! Whether you’re a beginner tackling your first button down or a seasoned sewist refining your tailoring game, the Buttonhole Foot with Slider #3A foot takes the stress out of buttonholes. It’s tools like this that make sewing not just easier but more enjoyable. If you’ve been hesitant about adding buttonholes to your garments, this presser foot is your sign to dive in and let your BERNINA do the heavy lifting. Trust me, once you try it, you’ll never look back!