Patching Jeans with Sashiko Look Stitches
Use a basic hemstitch with Cordonnet Foot #11 to create a mock sashiko stitch to patch a pair of denim jeans.
I was playing around with the stitches in my BERNINA 570 QE recently, and I wondered, could I create a stitch that was similar to Japanese sashiko stitching to patch denim jeans? After playing around with multiple stitches and techniques, I found this combination made a neat-looking stitch, was strong, and wears well. Read on to find all the details for making this stitch!
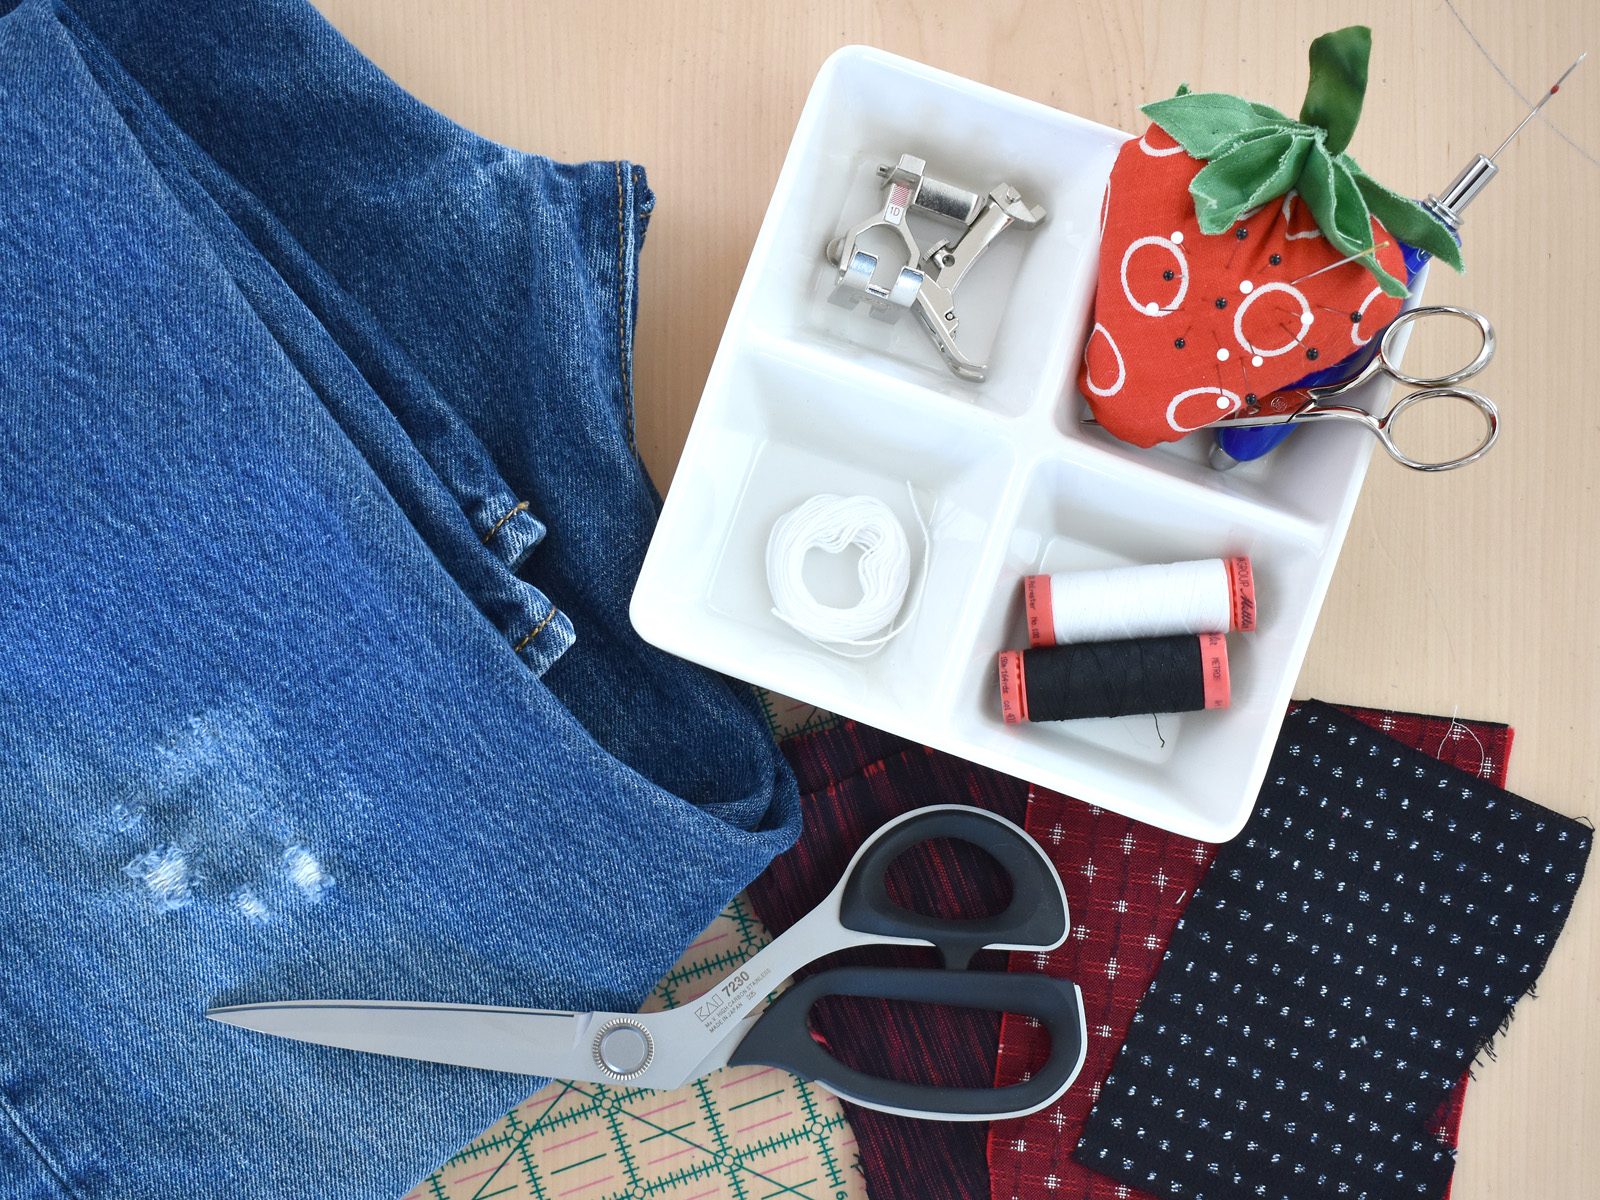
Materials to Make Patches with Sashiko Look Stitches
- BERNINA Sewing Machine (I use the B 570 QE)
- BERNINA basic hemstitch #702
- Cordonnet Foot #11
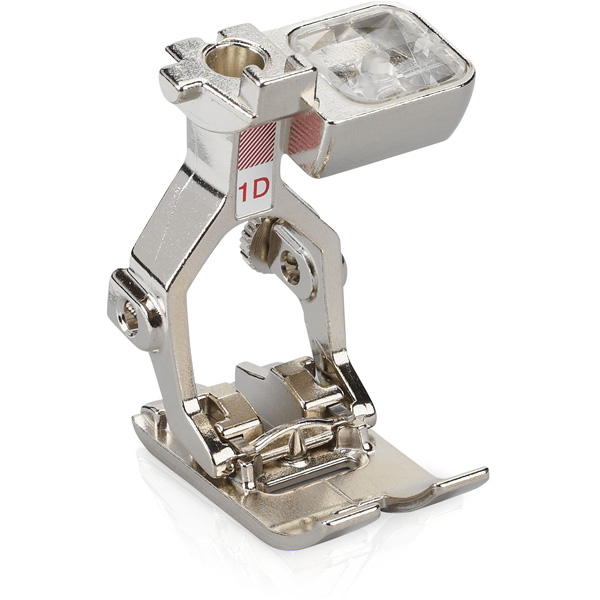
- Reverse Pattern Foot #1D
- Scraps of coordinating fabric for patches
- Sticky-backed wash-away stabilizer (I use Sulky Stick n’ Stitch)
- 40 wt Mettler Metrosene thread in coordinating colors
- Thin cording (I use white cotton #10 crochet thread)
- Basic sewing supplies
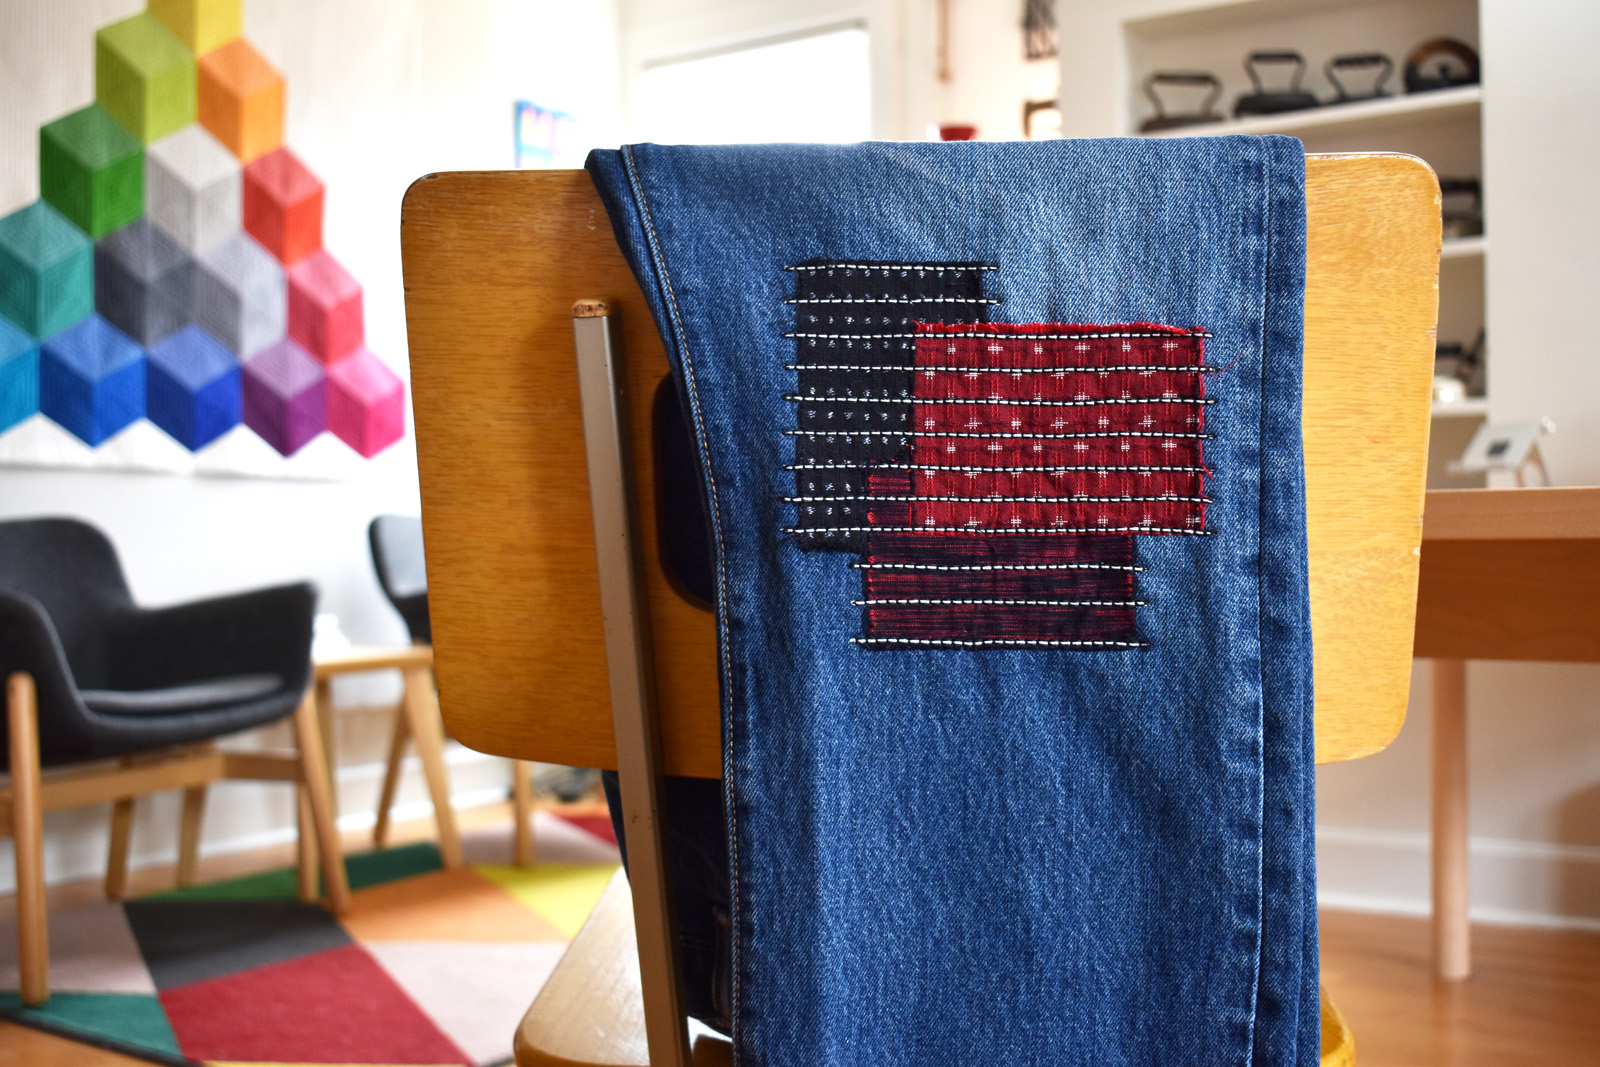
I used this technique to strengthen a weak spot over the knee of an old pair of denim jeans.
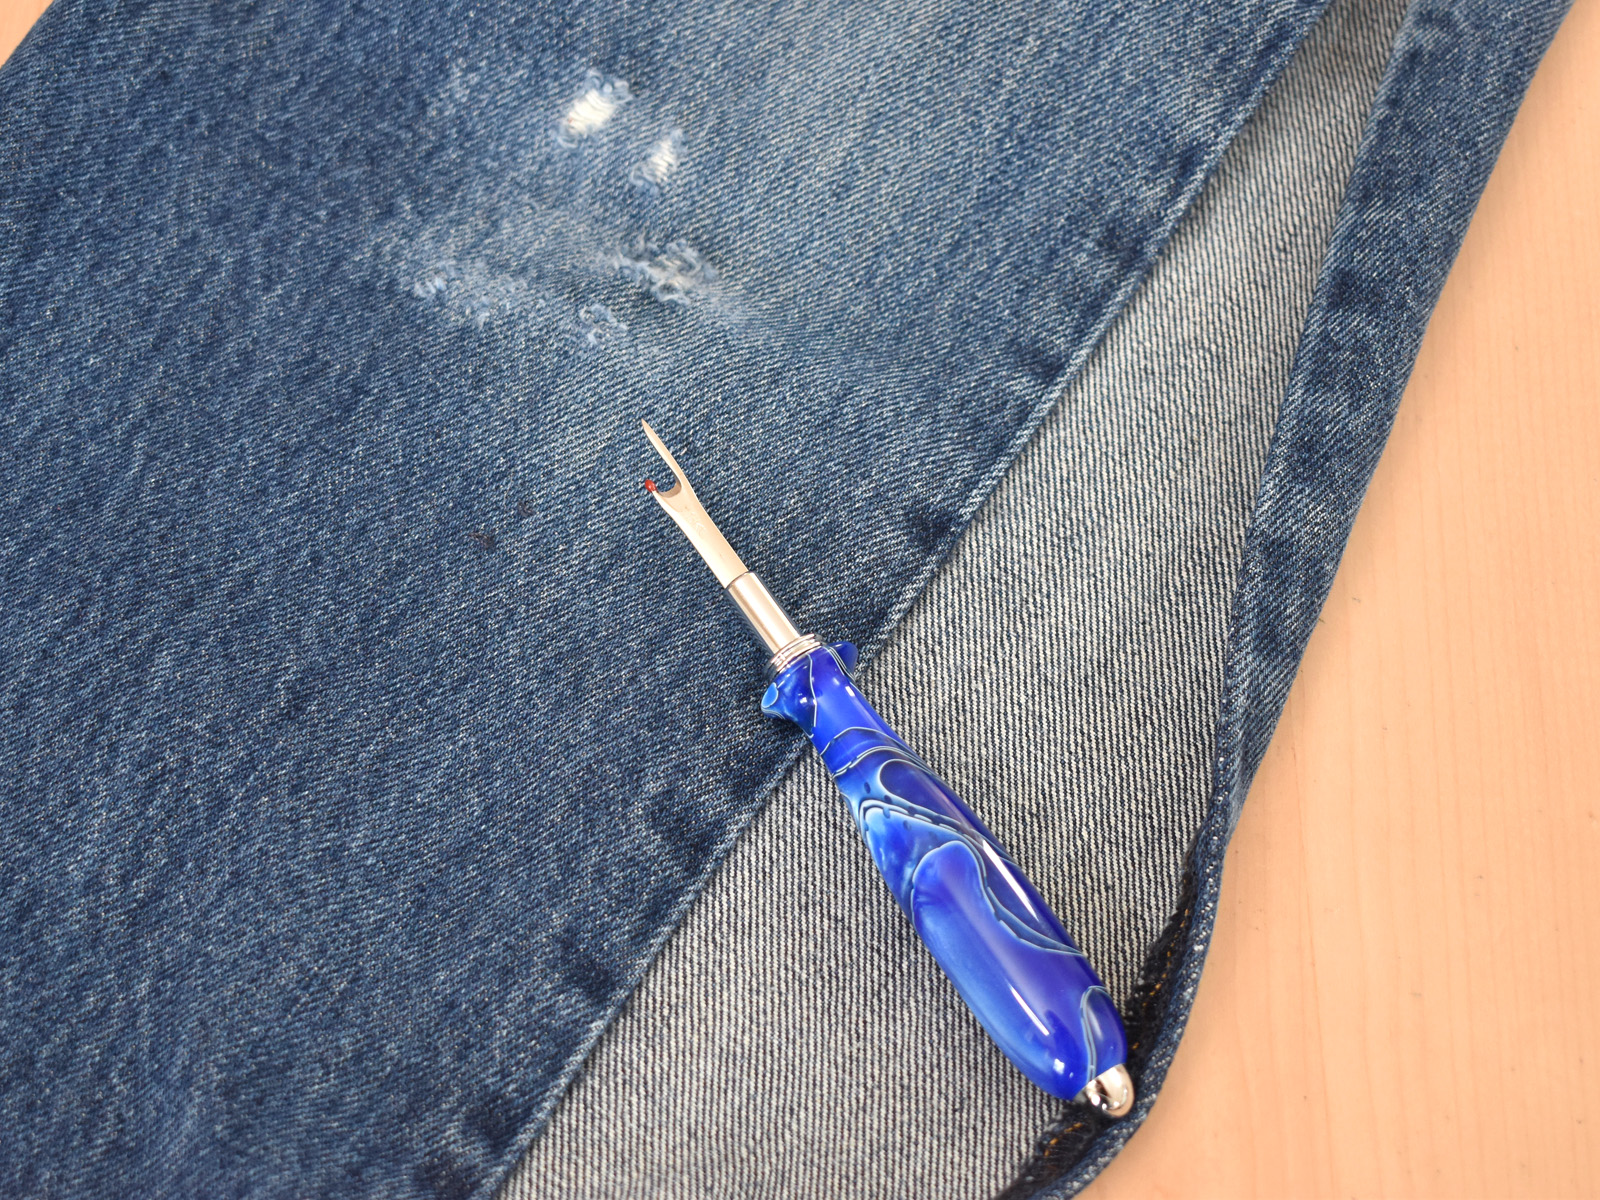
Step 1: Open the side seam of the denim jeans to apply the stick-on stabilizer.
These denim jeans have a simple side seam that I can open with a seam ripper to make it easier to work on patching the weak spot. If the pants do not have a seam that is easy to open (like cargo pants with pockets over the side seam), you can use the free arm of your BERNINA to slide the pant leg on and stitch the repair.
Use the wash-away stabilizer on the back side of the repair spot to stabilize the weak spot and support machine stitching. The stabilizer will wash away after sewing the patches. If you are patching a hole, you might consider using a medium weight interfacing to strengthen the hole that will stay attached after the repair to make it stronger.
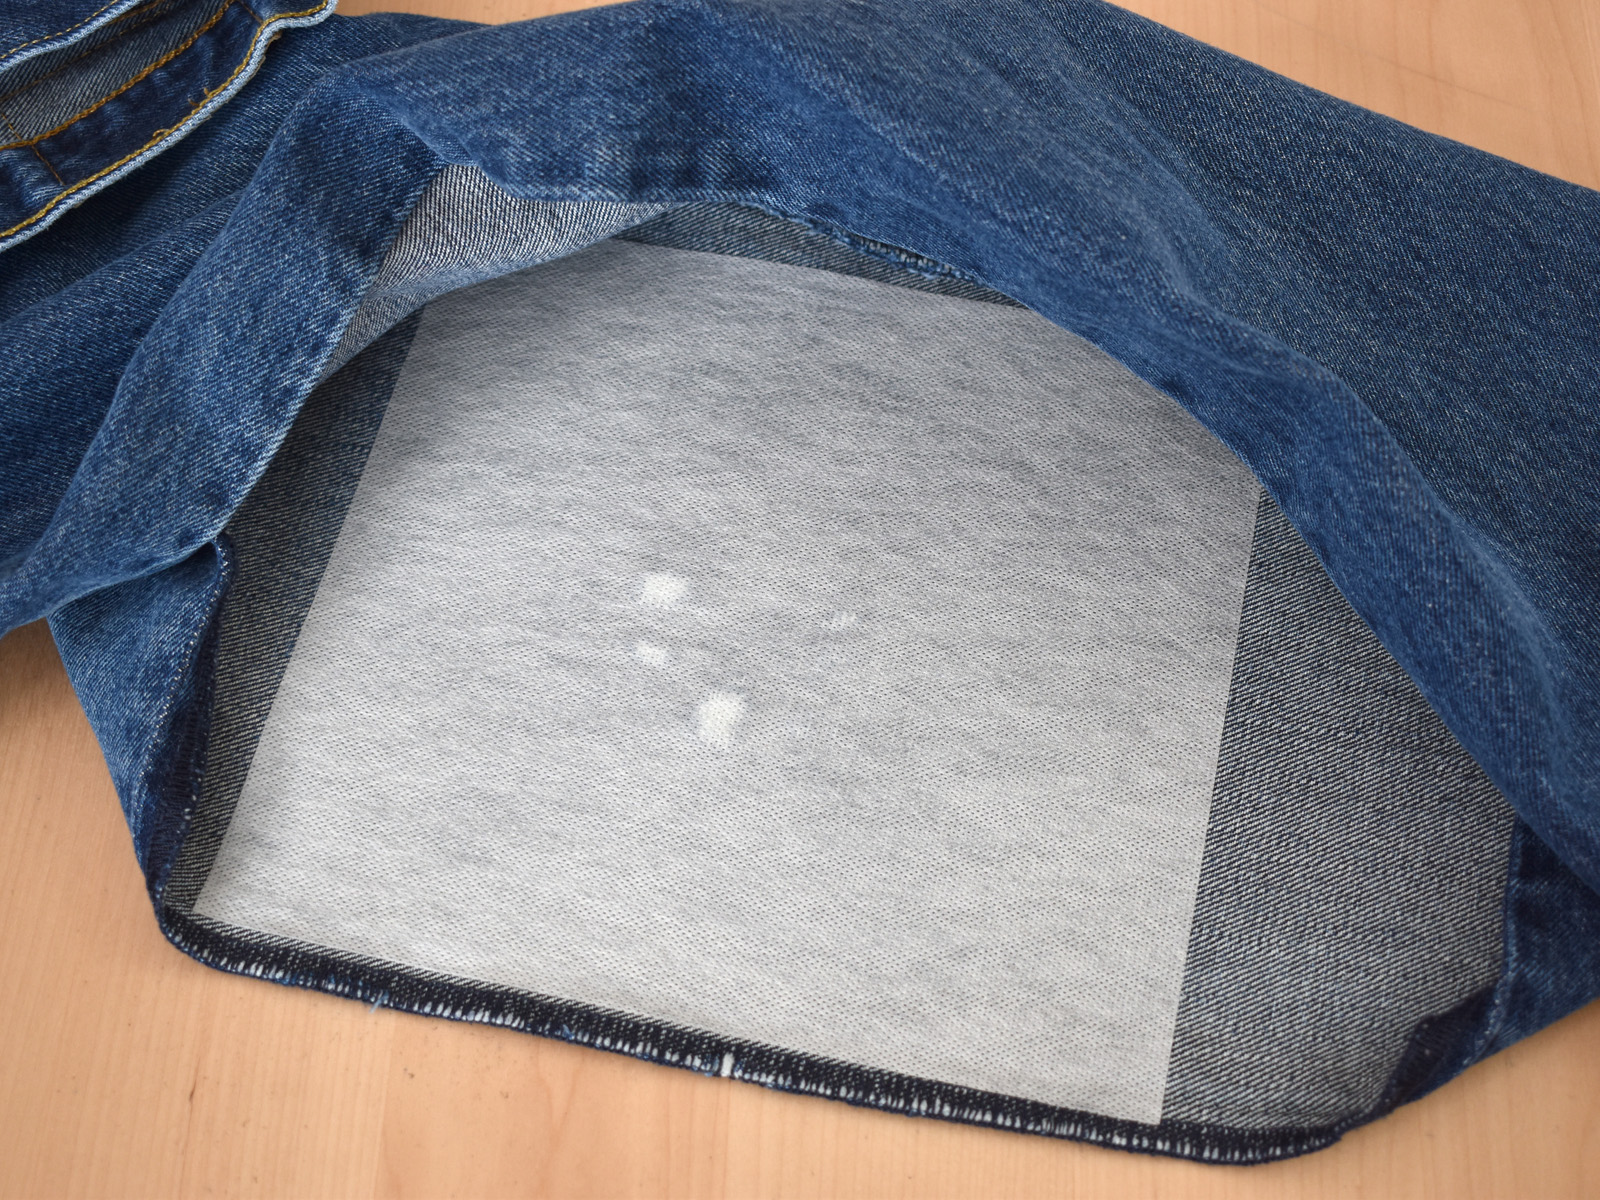
I cut the sticky-back wash-away stabilizer a few inches larger than the weak spot, and apply it to the back side of the denim jeans.
Step 2: Secure the patches over the weak spot or hole.
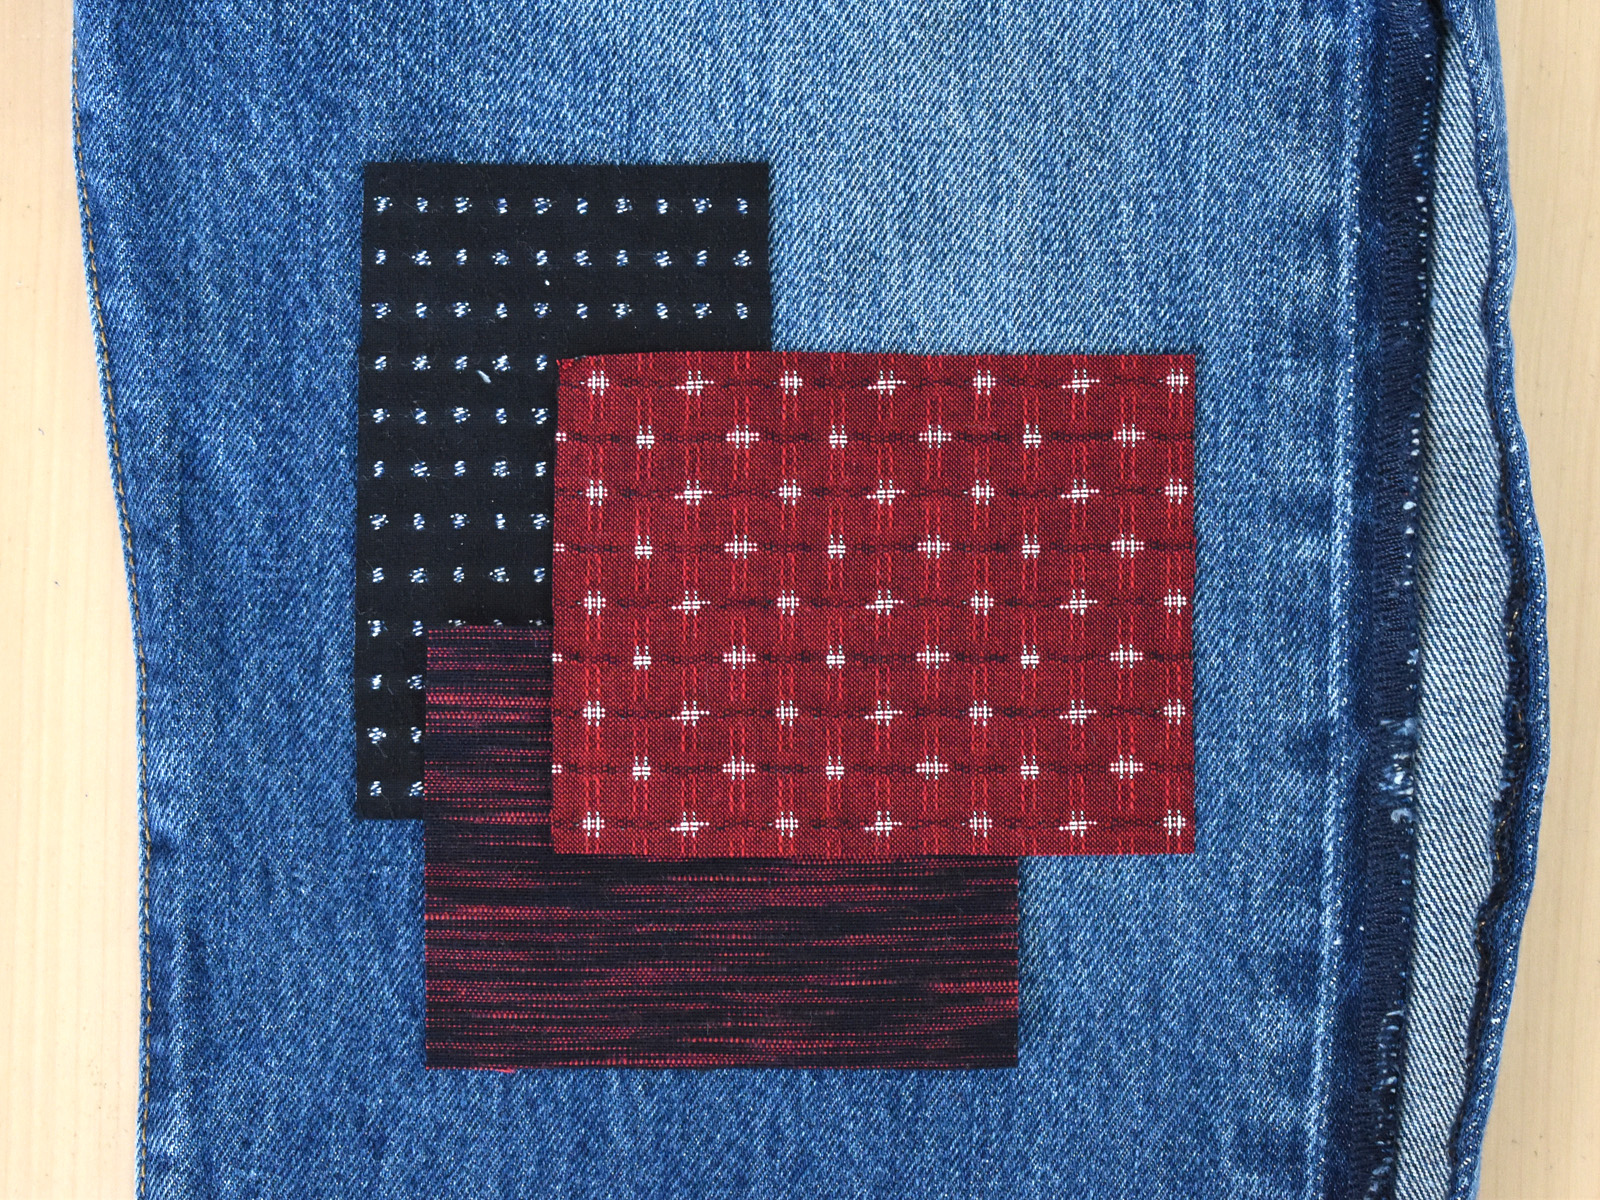
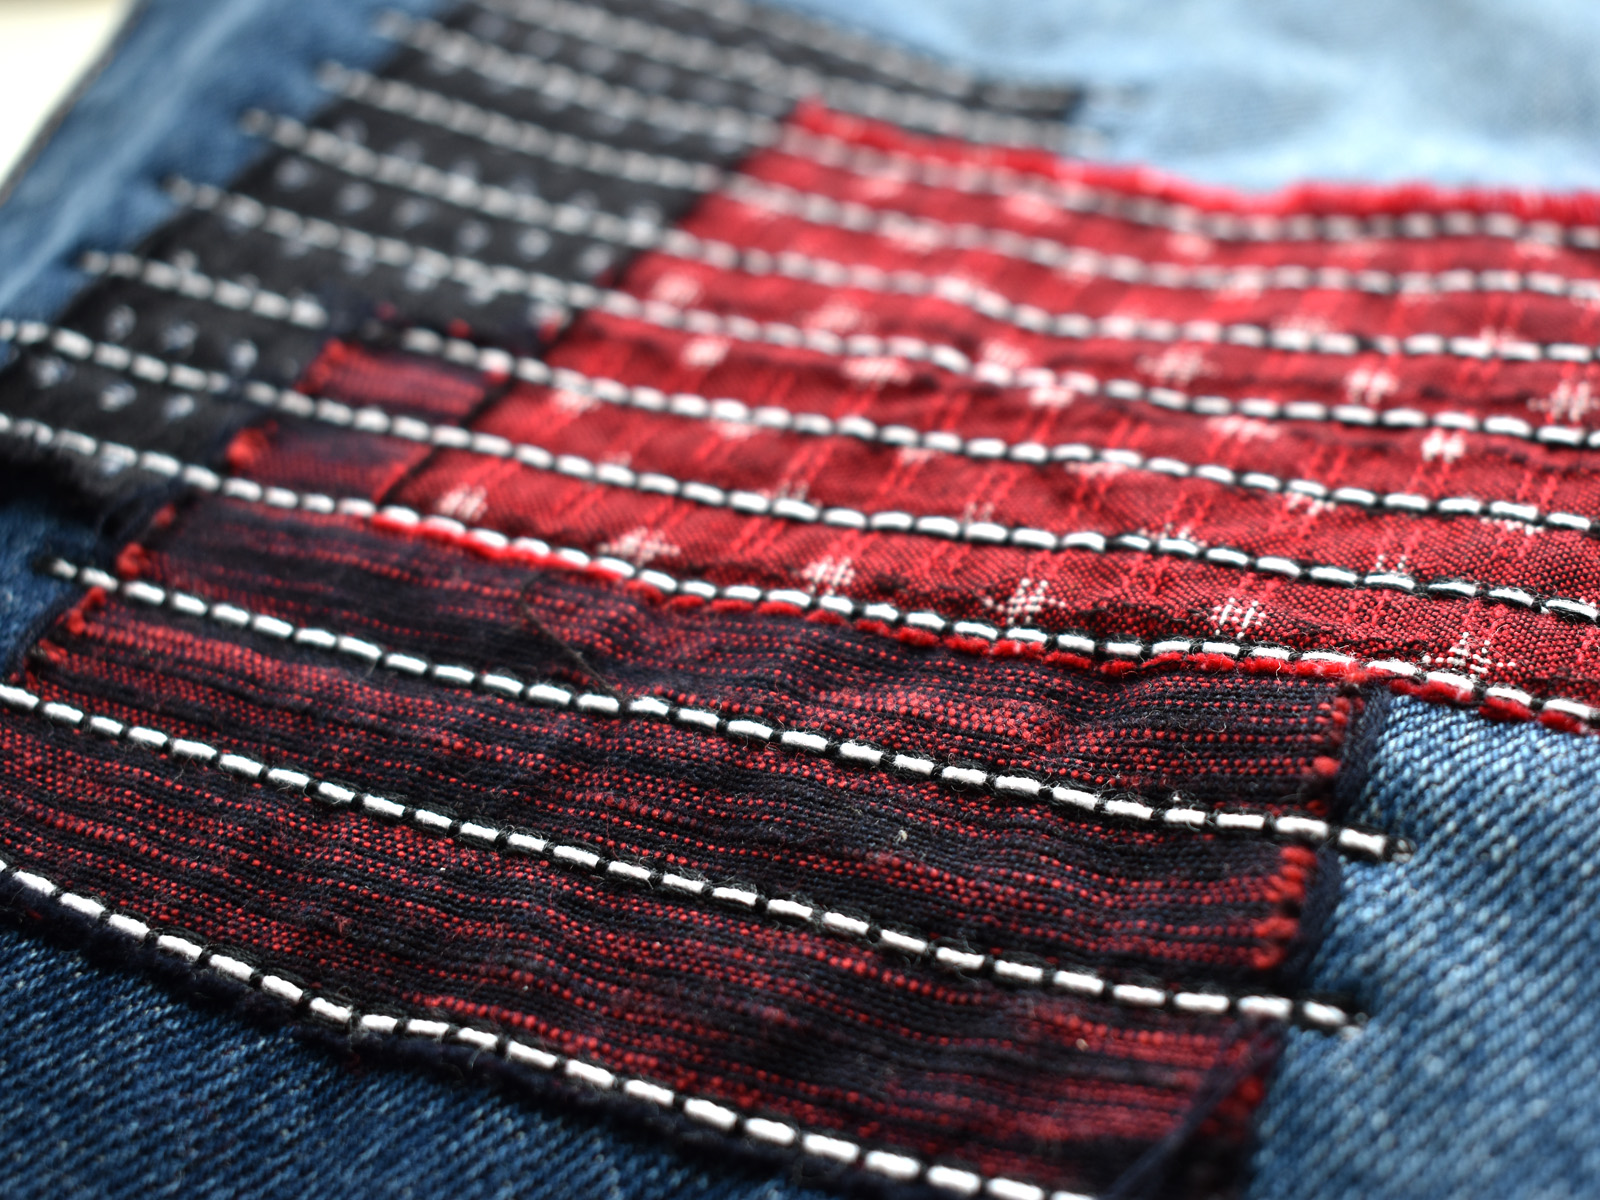
I made a deep dive into my scraps for these patches, pulling out three woven Japanese bits of fabric. My friend brought me a pack of beautiful woven scraps from Japan years ago, and they are perfect for this project. Once they are cut to size I work on the placement.
You can space the stitching over the patches any way you please! I space the stitches 1/2″ apart when I sew, and I keep this in mind while I’m laying out the patches on the fabric.
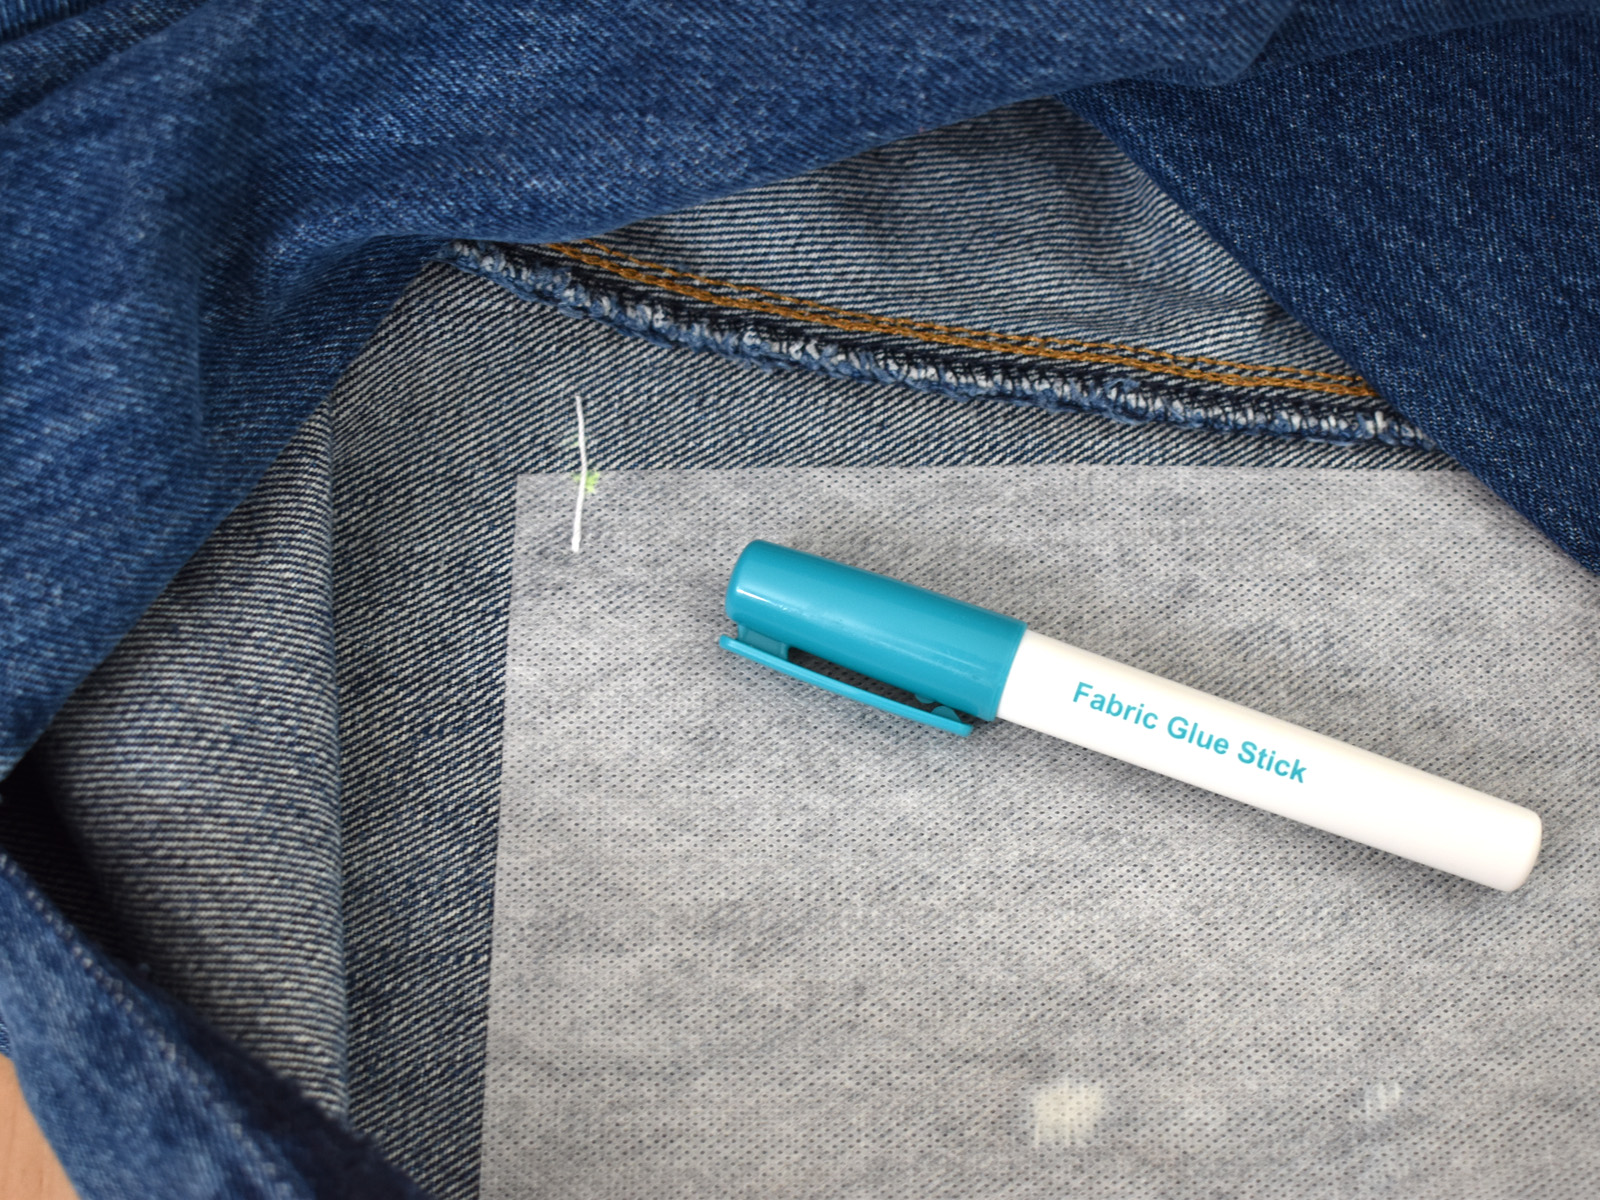
I want the stitches to secure the very top and bottom edges of this group of patches, about 1/4″ from the raw edges of the fabric. With this spacing in mind, I need to be able to fit stitches in every 1/2″ between the top and bottom lines of securing stitches. So, I use my gridded acrylic ruler to align the patches to fit in the stitching. Once I find the perfect placement for the patches, I use a fabric glue stick to keep them in place.
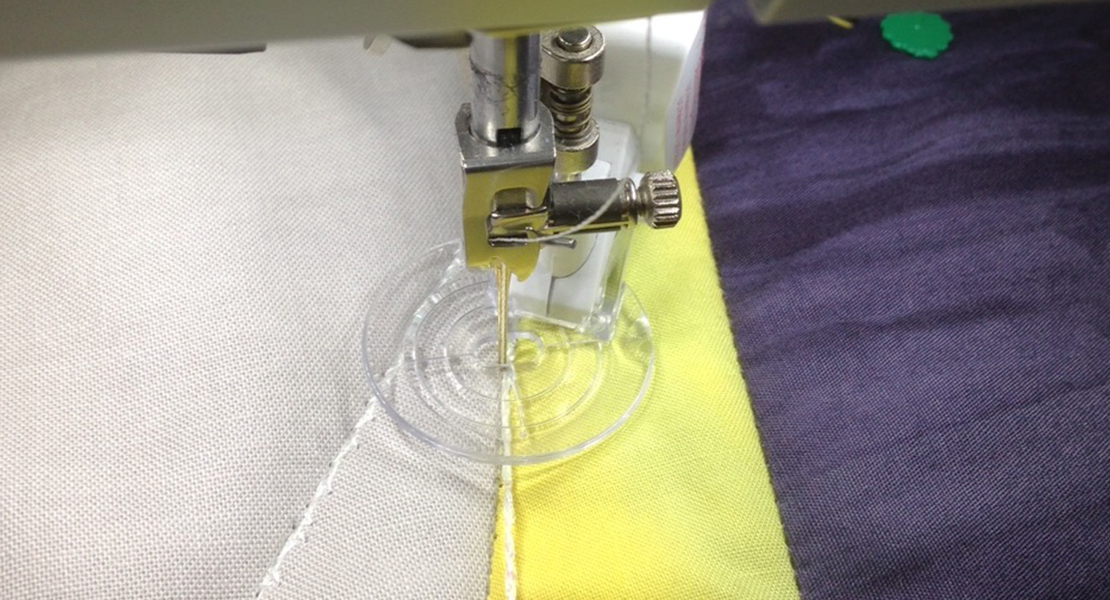
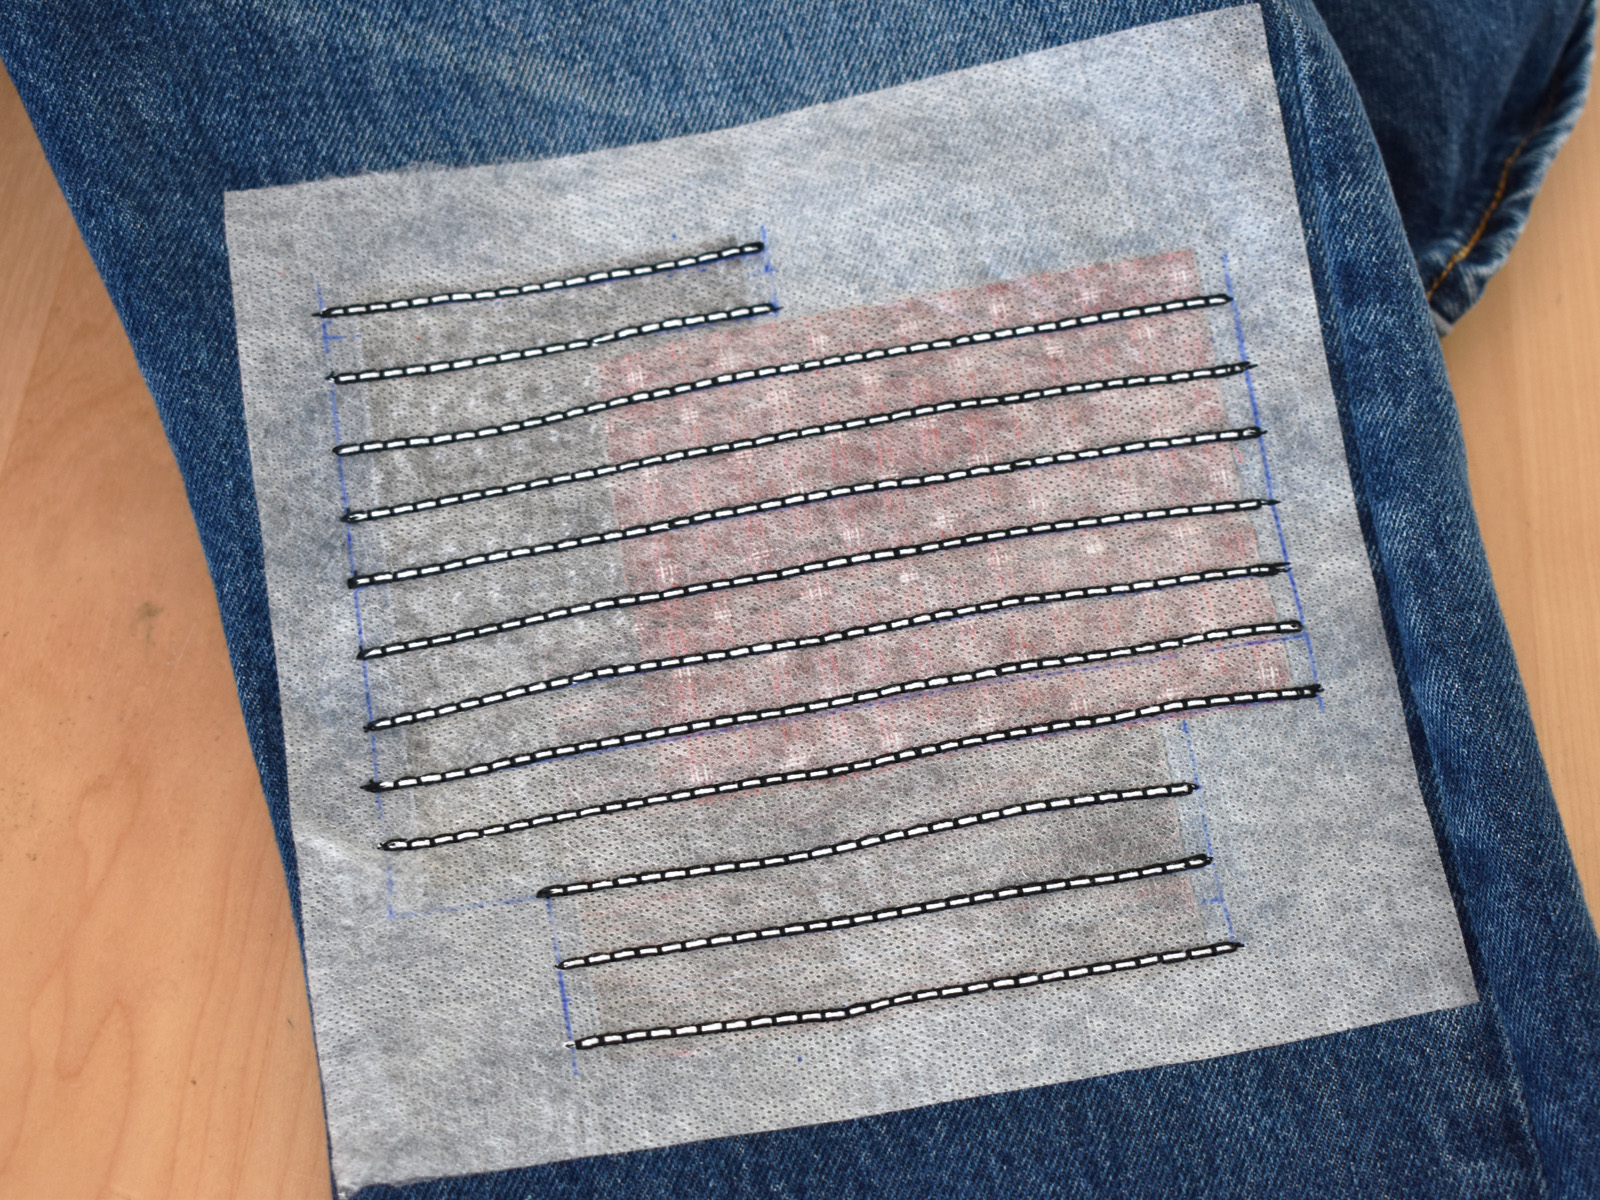
I cut another piece of the sticky-backed wash-away stabilizer one inch larger than the patched area and secure it right on top of the patches. This will help keep everything stable when applying the stitches because the decorative stitch has a lot of back-and-forth movement under the presser foot. It also allows me to draw stitch lines directly on the stabilizer to follow when I sew.
It doesn’t look like it in the photos, but it is easy to see the outlines of the patches through the stabilizer in real life. Using a gridded ruler and fabric marking pen (any marks you make will wash away with the stabilizer), I mark start and stop lines about 1/4″ away from the side edges of the fabric patches. Then I mark stitch lines every 1/2″ between the top and bottom stitch lines. Now you are ready to set up the machine to sew the stitches.
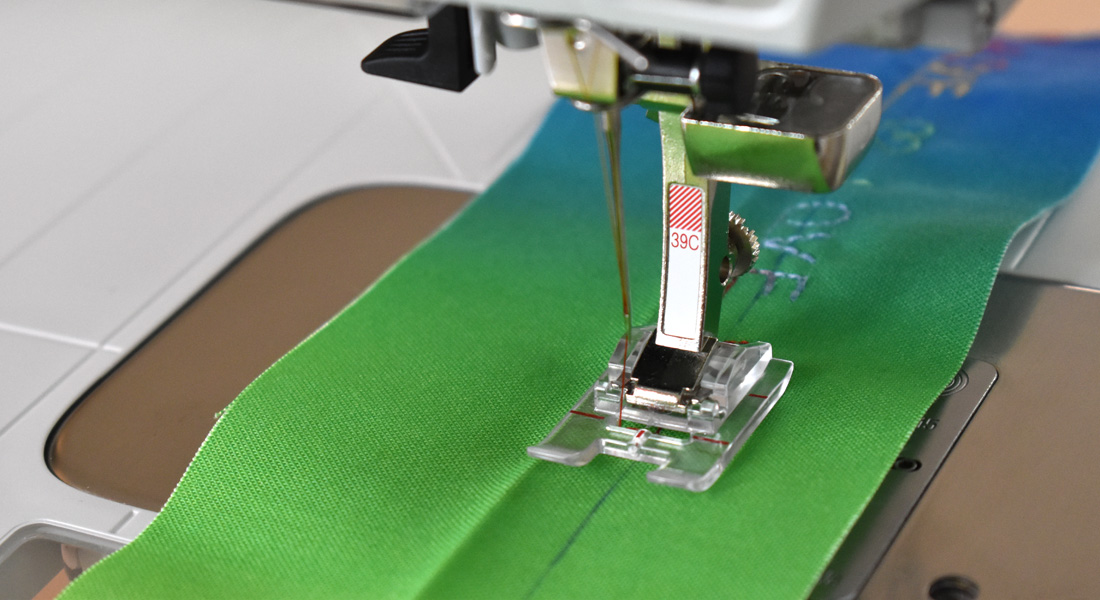
Step 3: Set up the sewing machine. Use Cordonnet Foot #11 with a brand new jeans needle size 90/14. Use a modified straight stitch #1 and a modified heirloom stitch #702 for this project (specific stitch settings below).
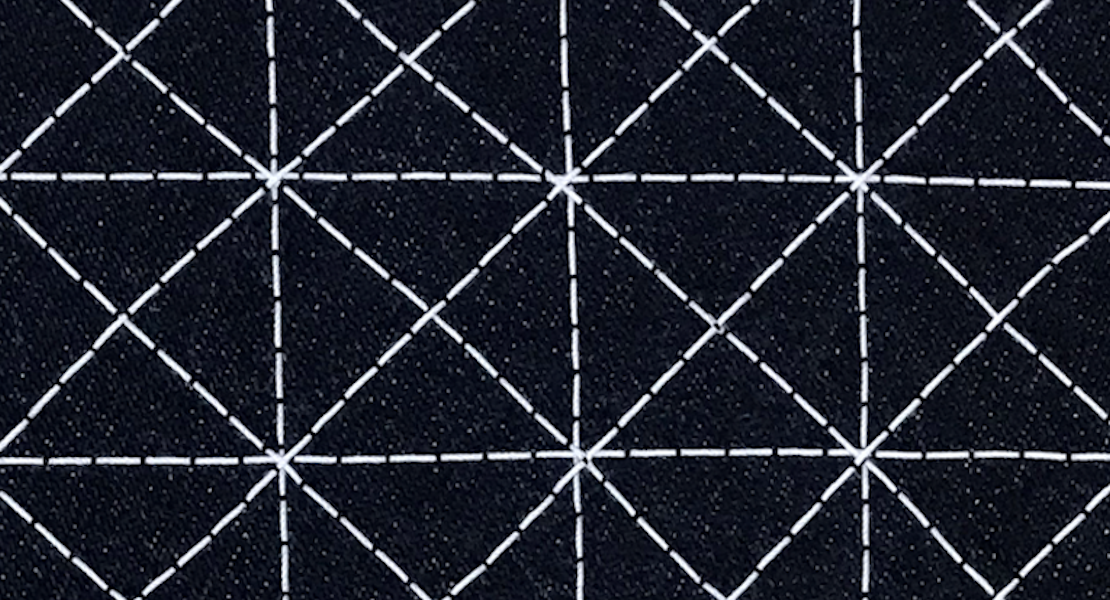
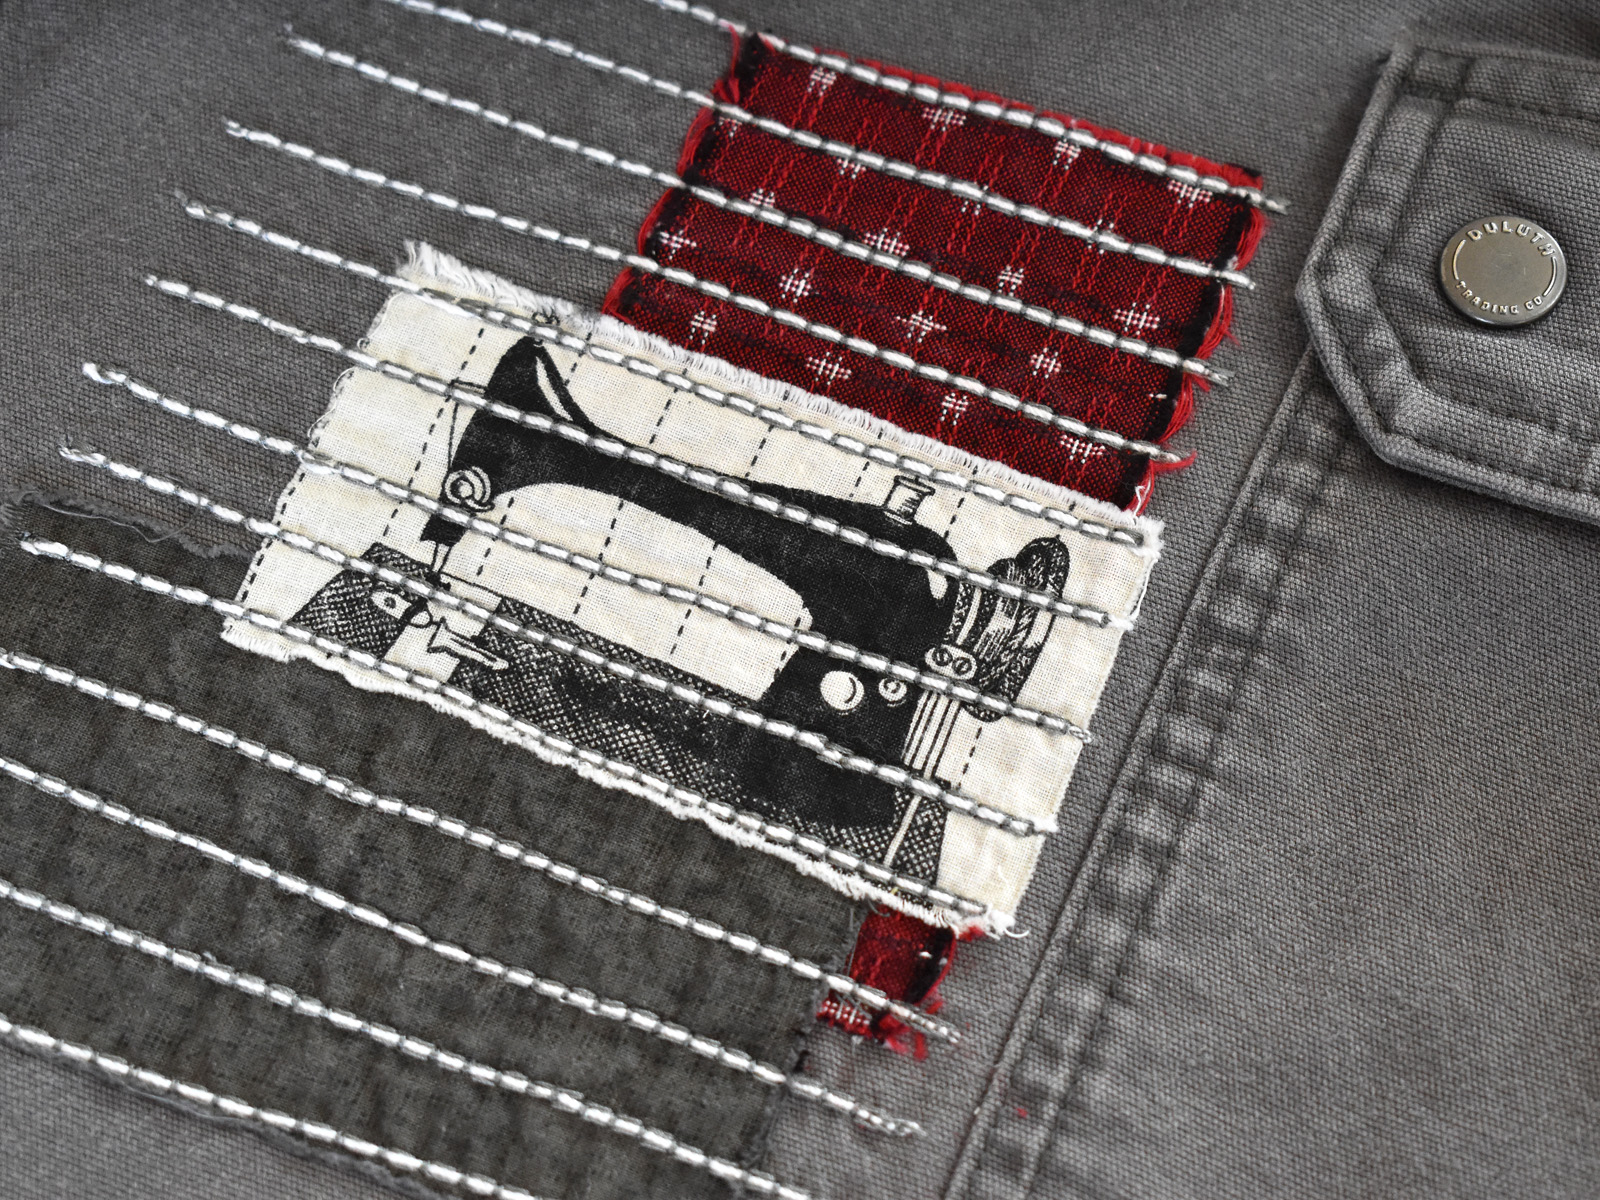
When sewing this stitch, the top thread in the machine should match what you’re sewing on as closely as possible. I chose white thread in the bobbin to coordinate with the back side of the denim weave, and black thread in the needle to coordinate with the patches. If you want to sew this stitch directly on top of denim, use white in the bobbin and select a top thread that matches the color of the denim. Here’s an example below of another patch project I made on grey/green cargo pants.
Using thread that matches the fabric in the project above makes the stitches literally disappear over the pants. But you can still see the stitching on top of the patches. For patching on the denim jeans, I decided on black top thread, knowing it would show a bit over the red fabric. Choose your top thread wisely.
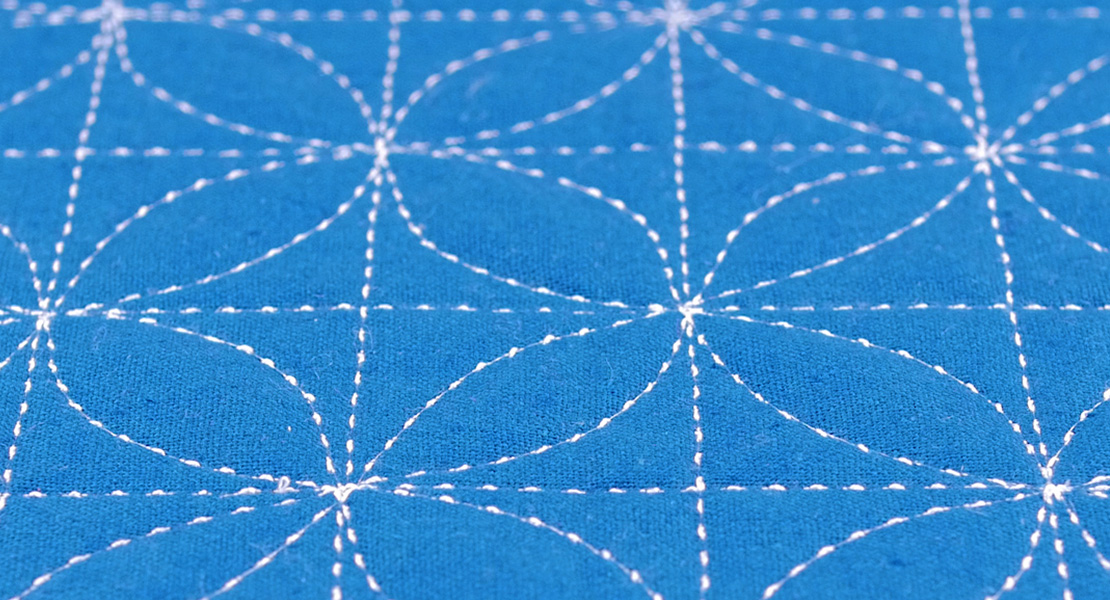
The illusion of big stitches made with this technique is created by couching cording with a modified heirloom stitch. Couching is a technique where string, yarn, thin ribbon, cord, or anything similar is laid on top of the fabric and secured down with stitches. I use a #10 cotton crochet cord, but anything similar, such as a few strands of embroidery floss, thin string, or similar, will work. If you are using an all cotton cord, pre-shrink the cord with a steam iron to prevent shrinkage when washing.
Step 4: Start sewing the first line of stitches over the cording.
Use a hand sewing needle large enough to fit your cording through for this step. Thread the needle with about 2 – 3 feet of cording. You will leave the needle attached to the cording through the next steps.
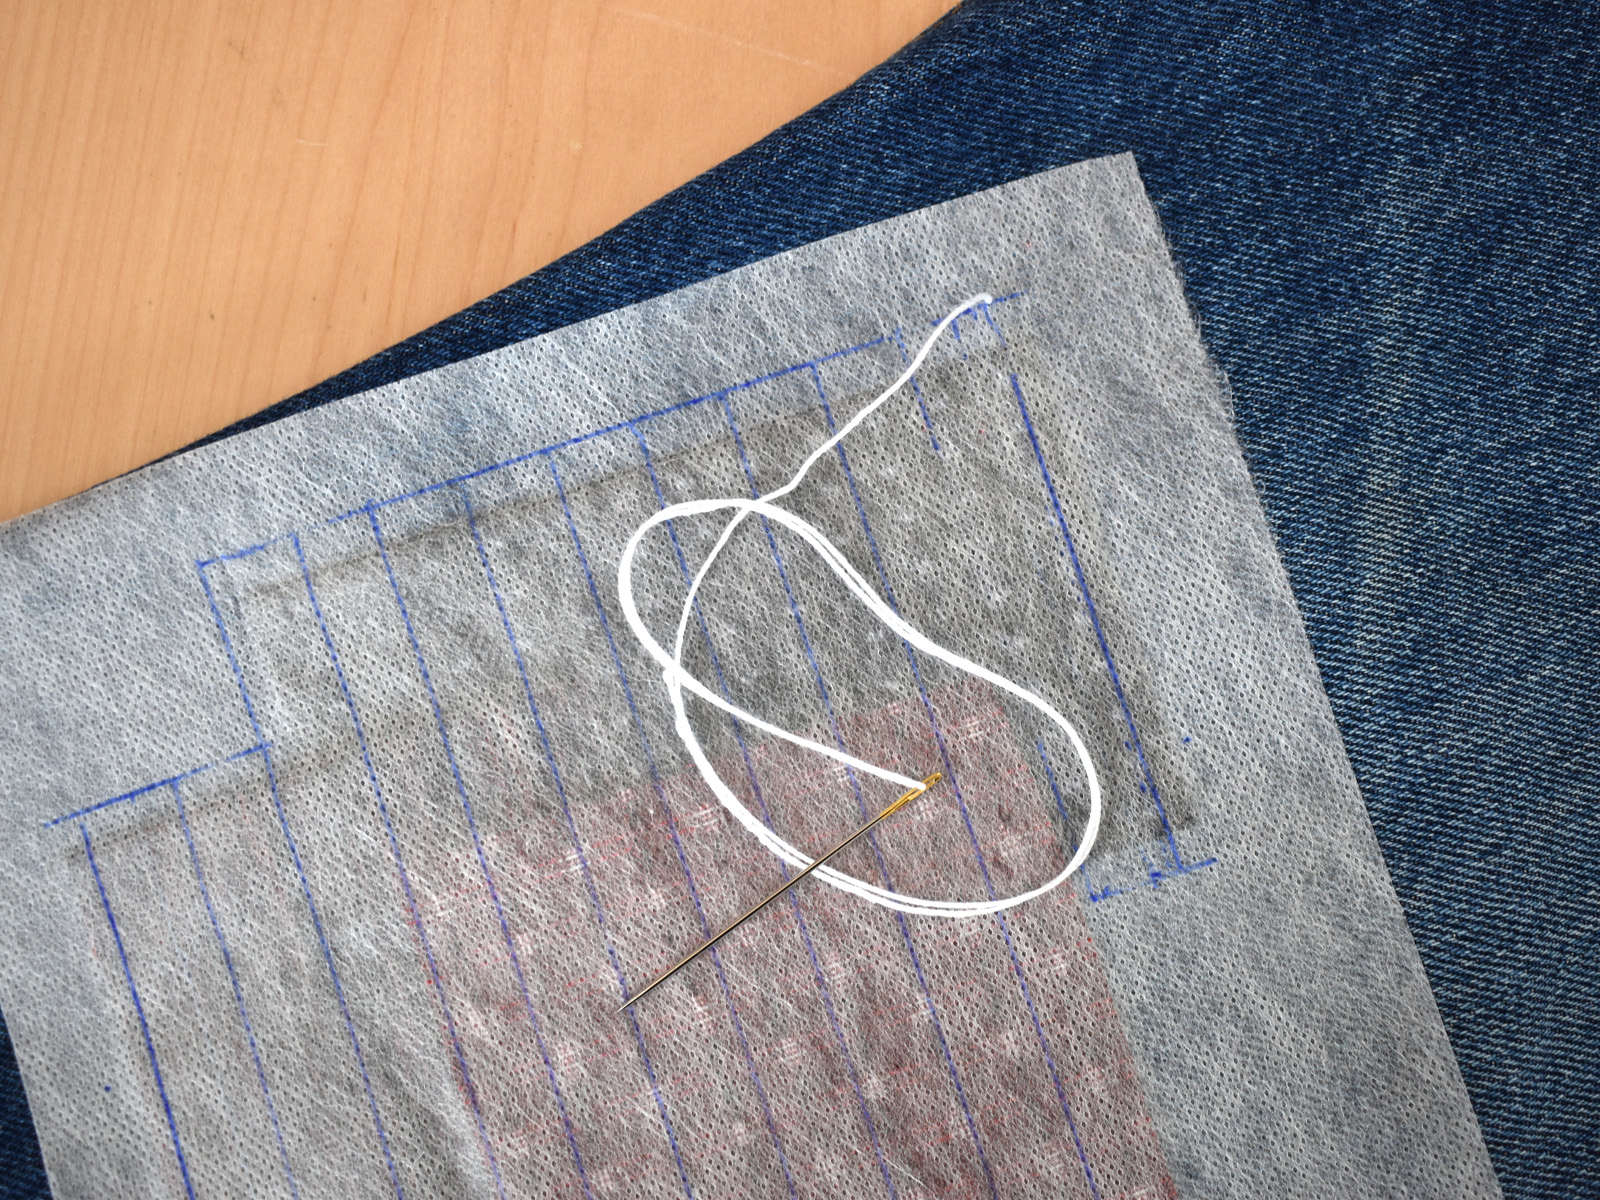
Bring the needle threaded with the cording from the back side of the project to the front, entering through the first line of stitching. Aim to set the needle where the start line runs 1/4″ away from the patch edge and meets the first stitch line across the patches. “X” marks the spot! Leave about 1″ of cording on the back side of the project.
On the back side of the fabric, stick the 1″ tail of cording towards the top, or the opposite direction of the patches, with a small bit of glue or tape to hold it out of the way. Bring the fabric to the sewing machine and place it underneath Cordonnet Foot #11.
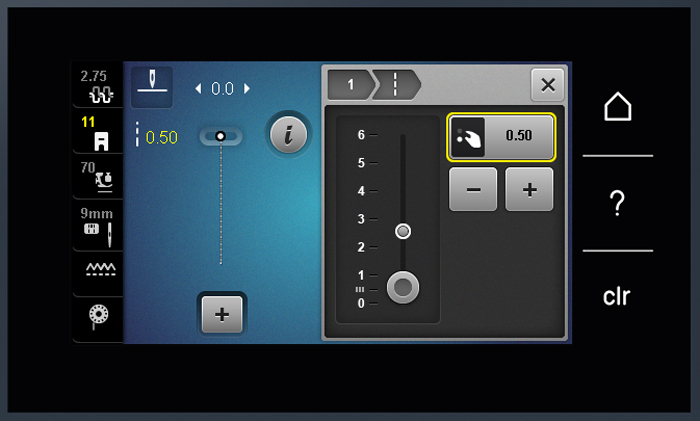
Use straight stitch #1 to anchor the end of the cording to the fabric. Set the length of the straight stitch very short, about .5mm.
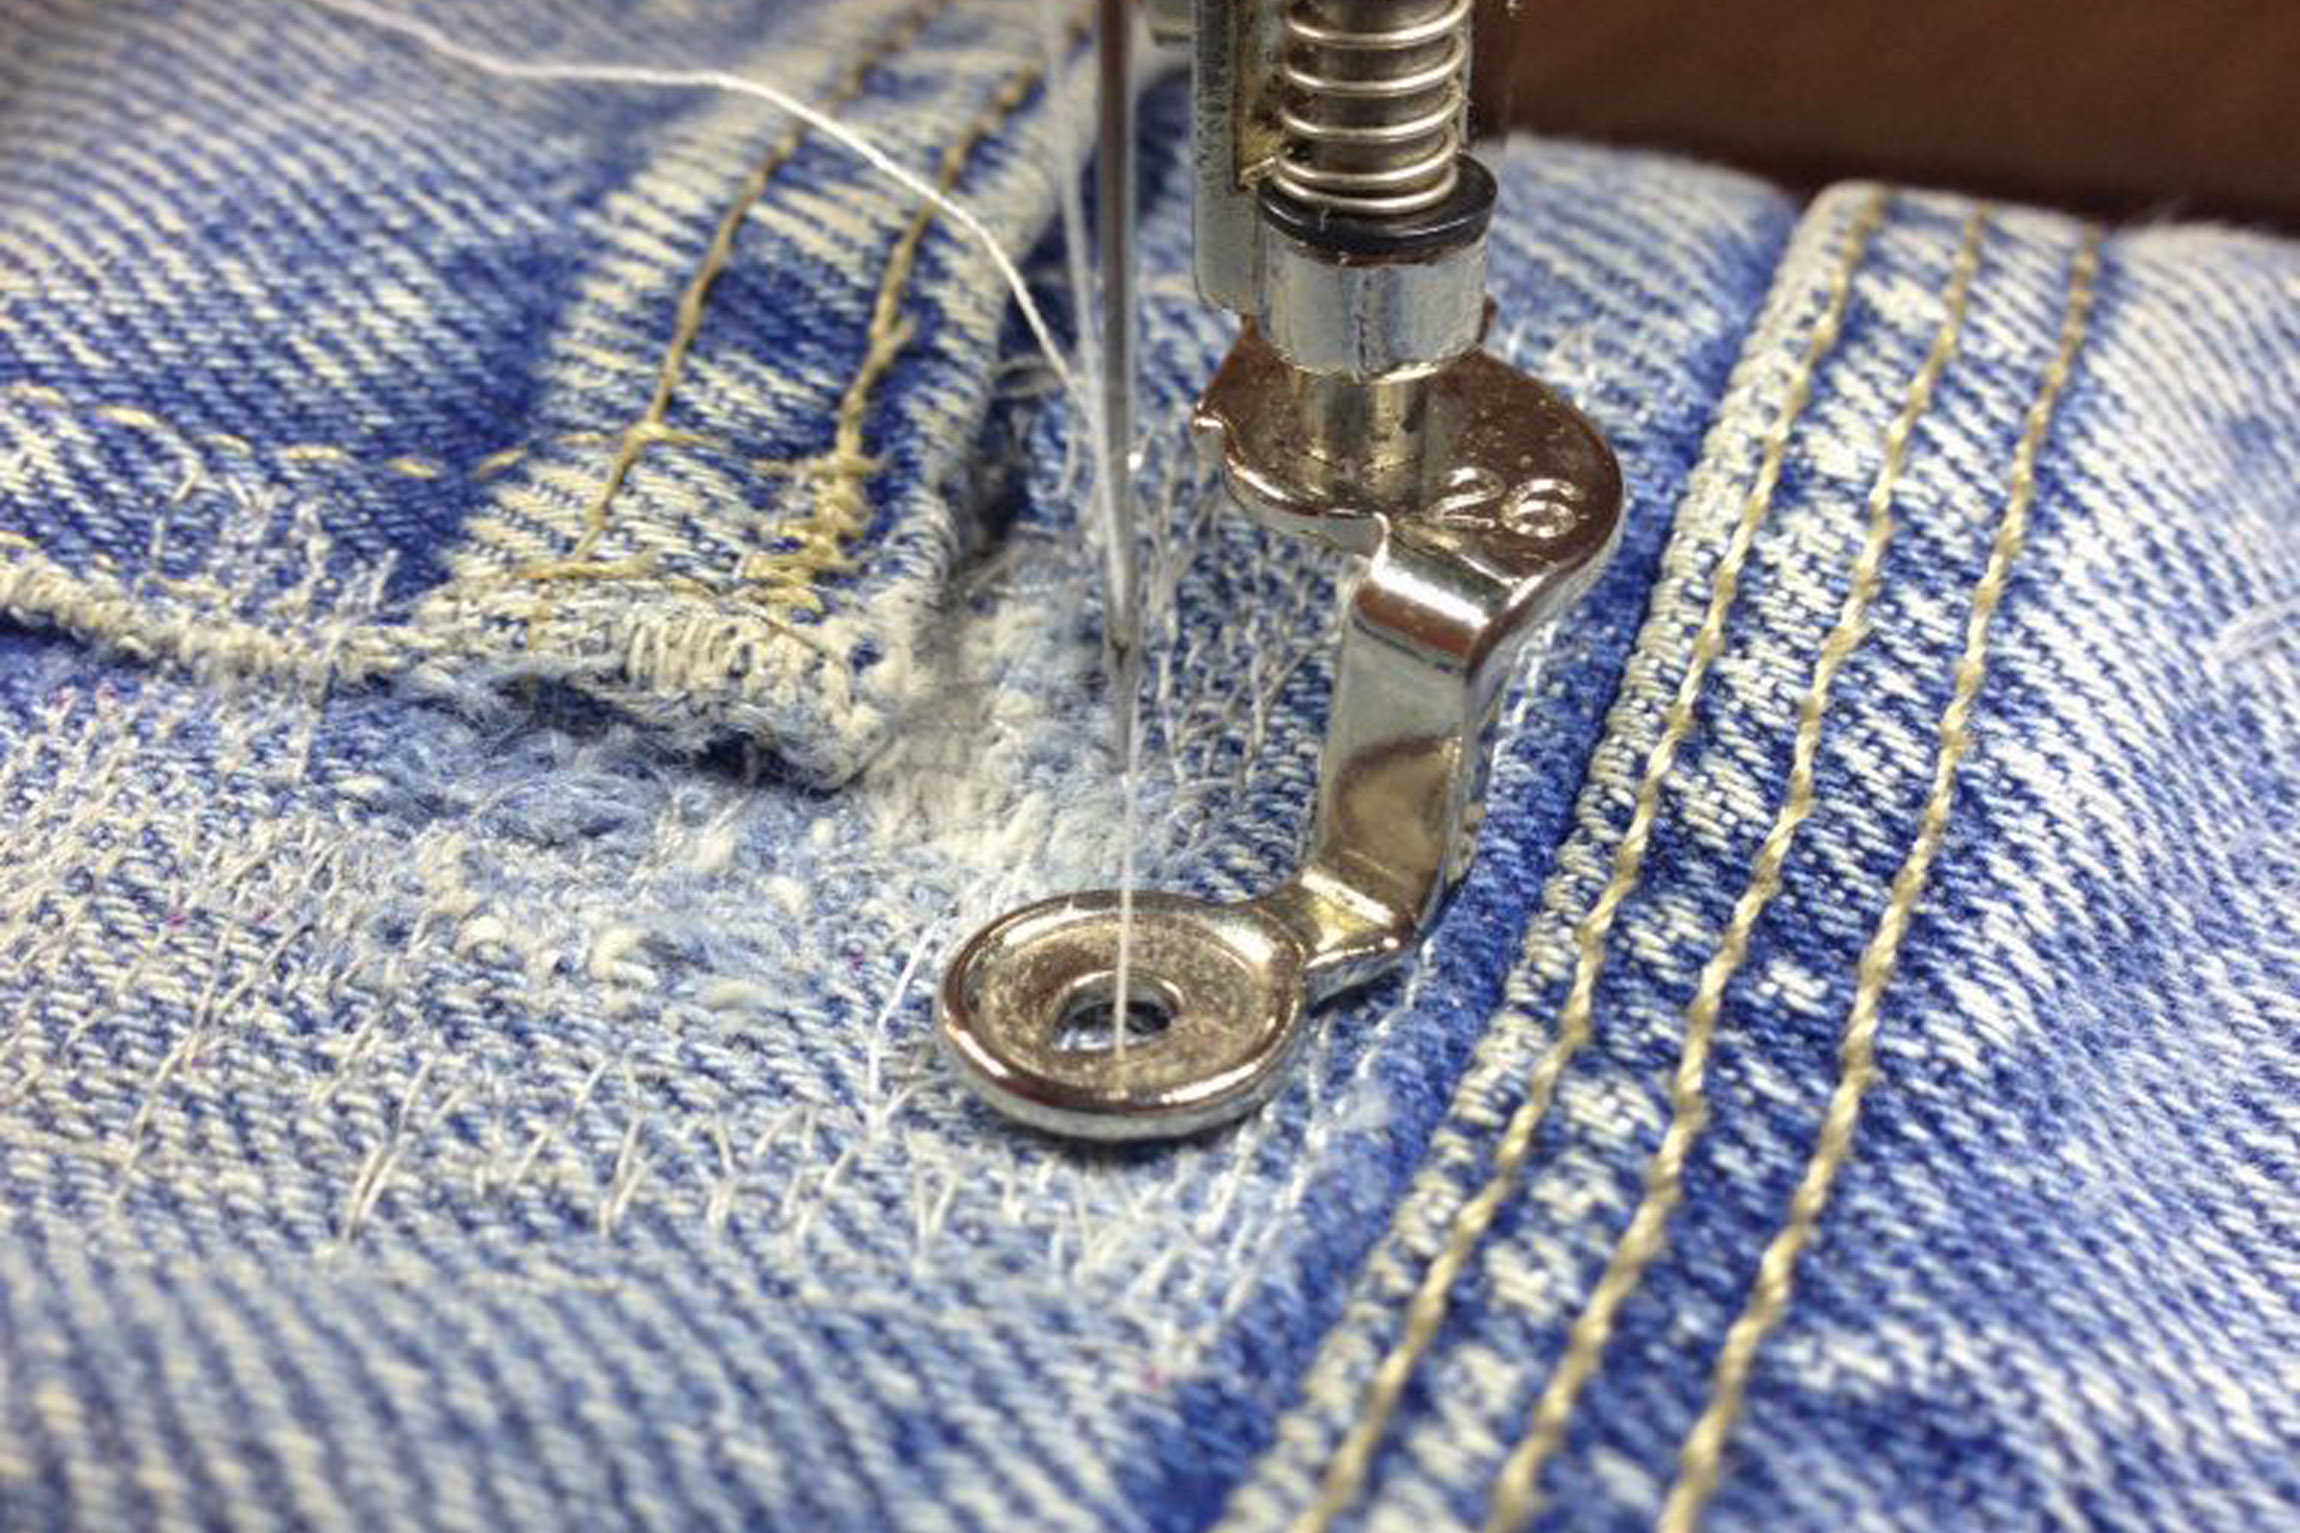
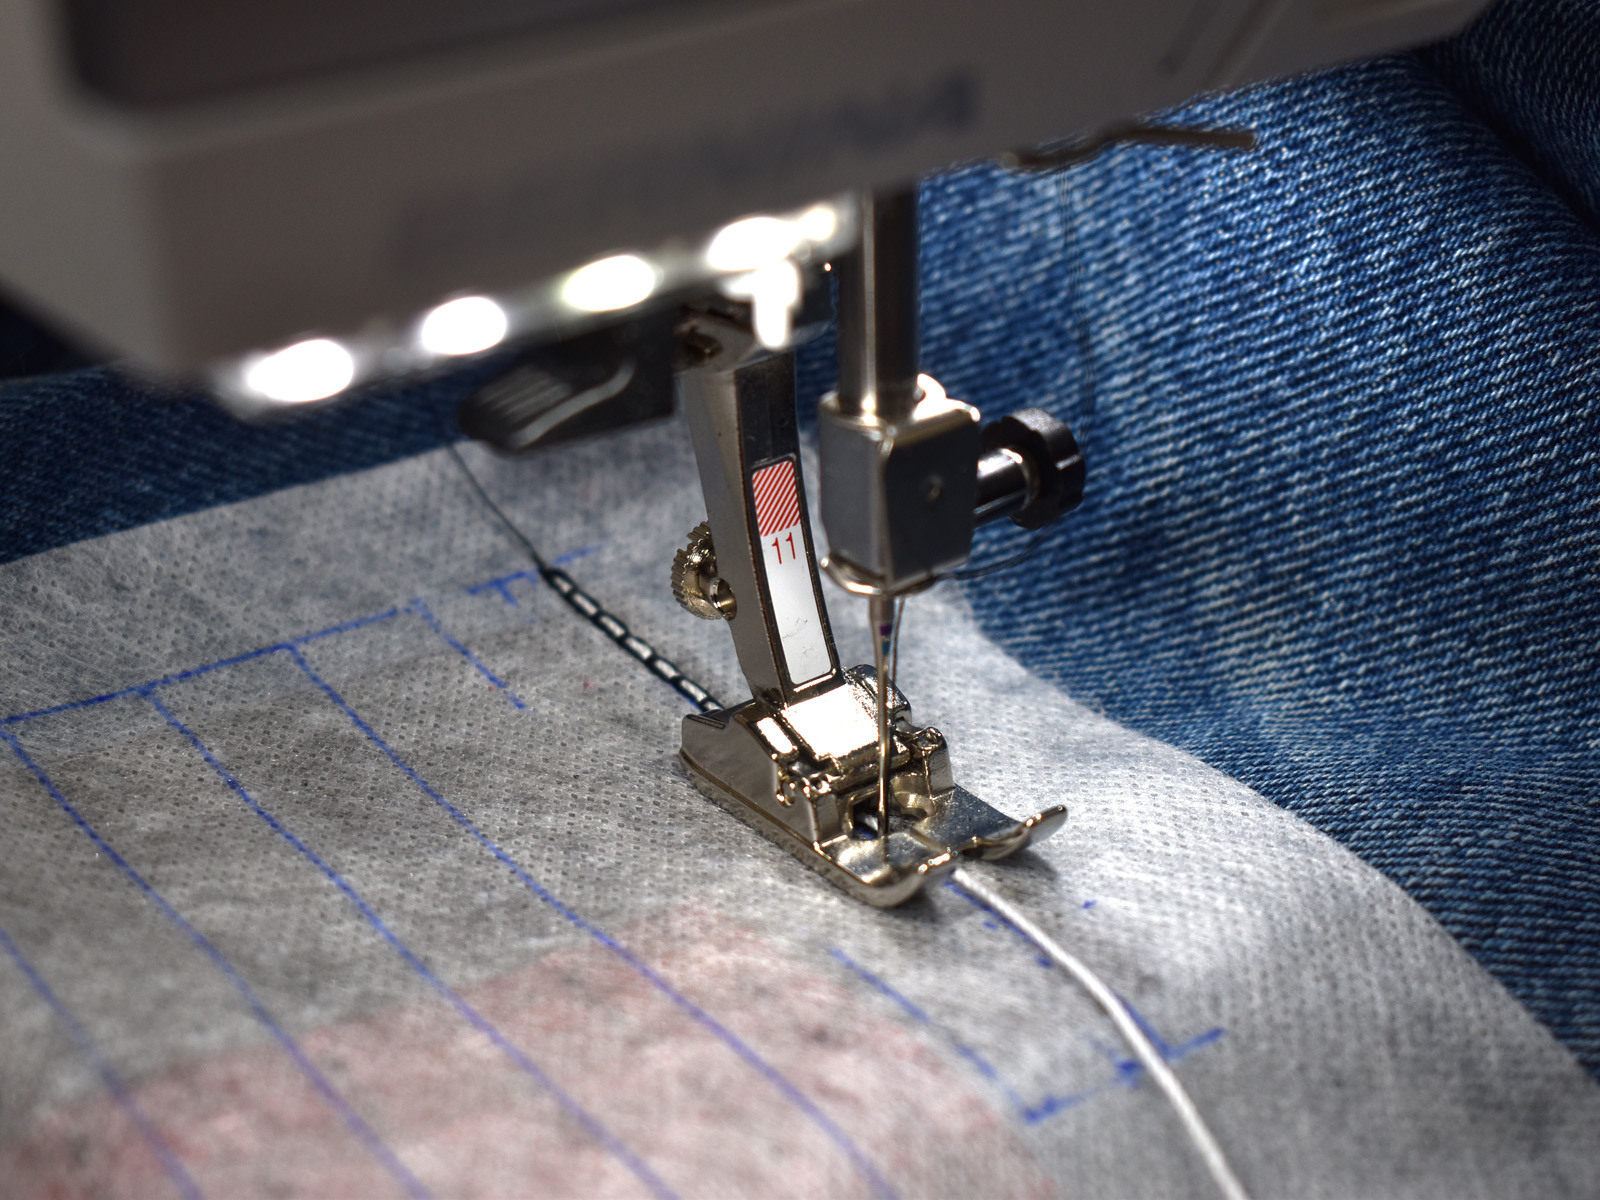
Set the needle directly into the cording to begin stitching, right where the two marked lines cross. You can push the front toes of the Cordonnet Foot #11 up at the front to help you get a better view of the needle and the cording.
Lower the presser foot. Take a few stitches on top of the cording with the super-short straight stitch, and reverse stitch until you are back at the starting point. Lift the needle out of the fabric, but leave the presser foot down while you switch stitches. Next, select hemstitch #702 and make these adjustments.
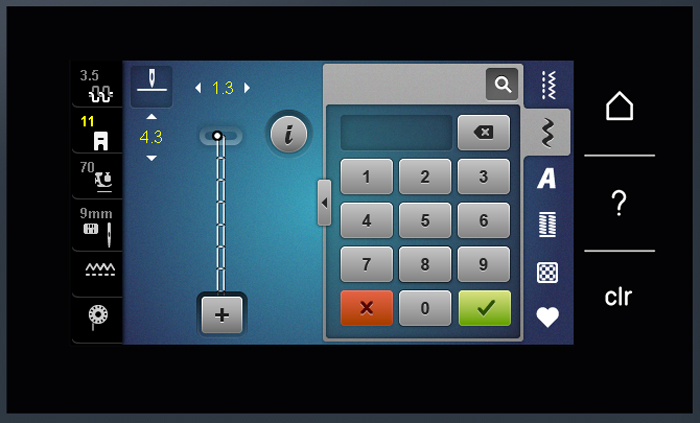
Set the stitch width to 1.3mm, and the stitch length to 4.3mm. Adjust the stitch settings if needed. If the stitch is too narrow, sewing over the cord instead of next to it, slightly increase the stitch width.
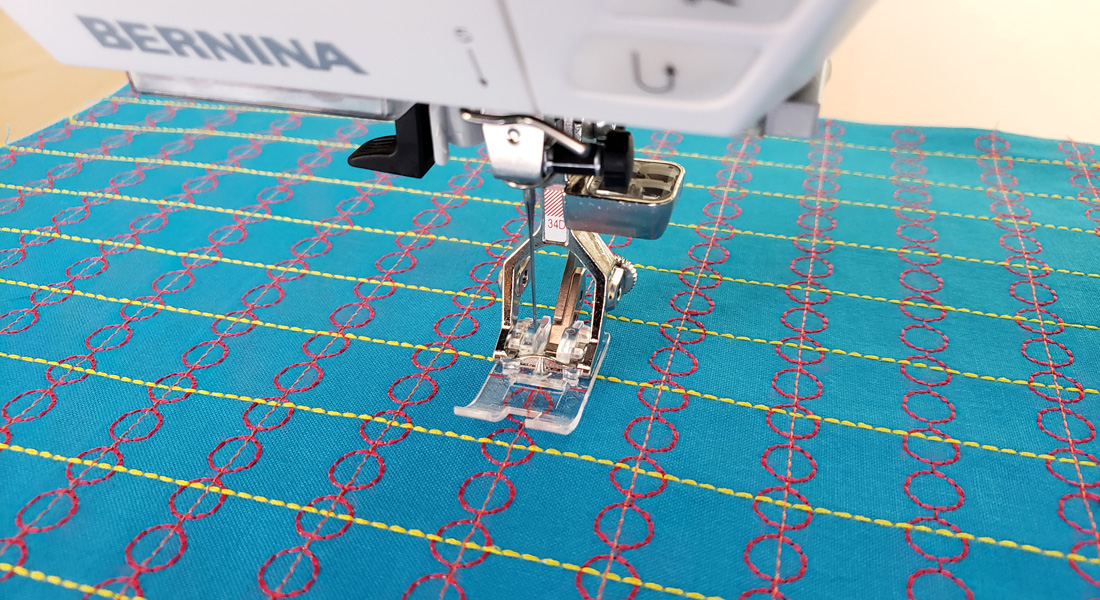
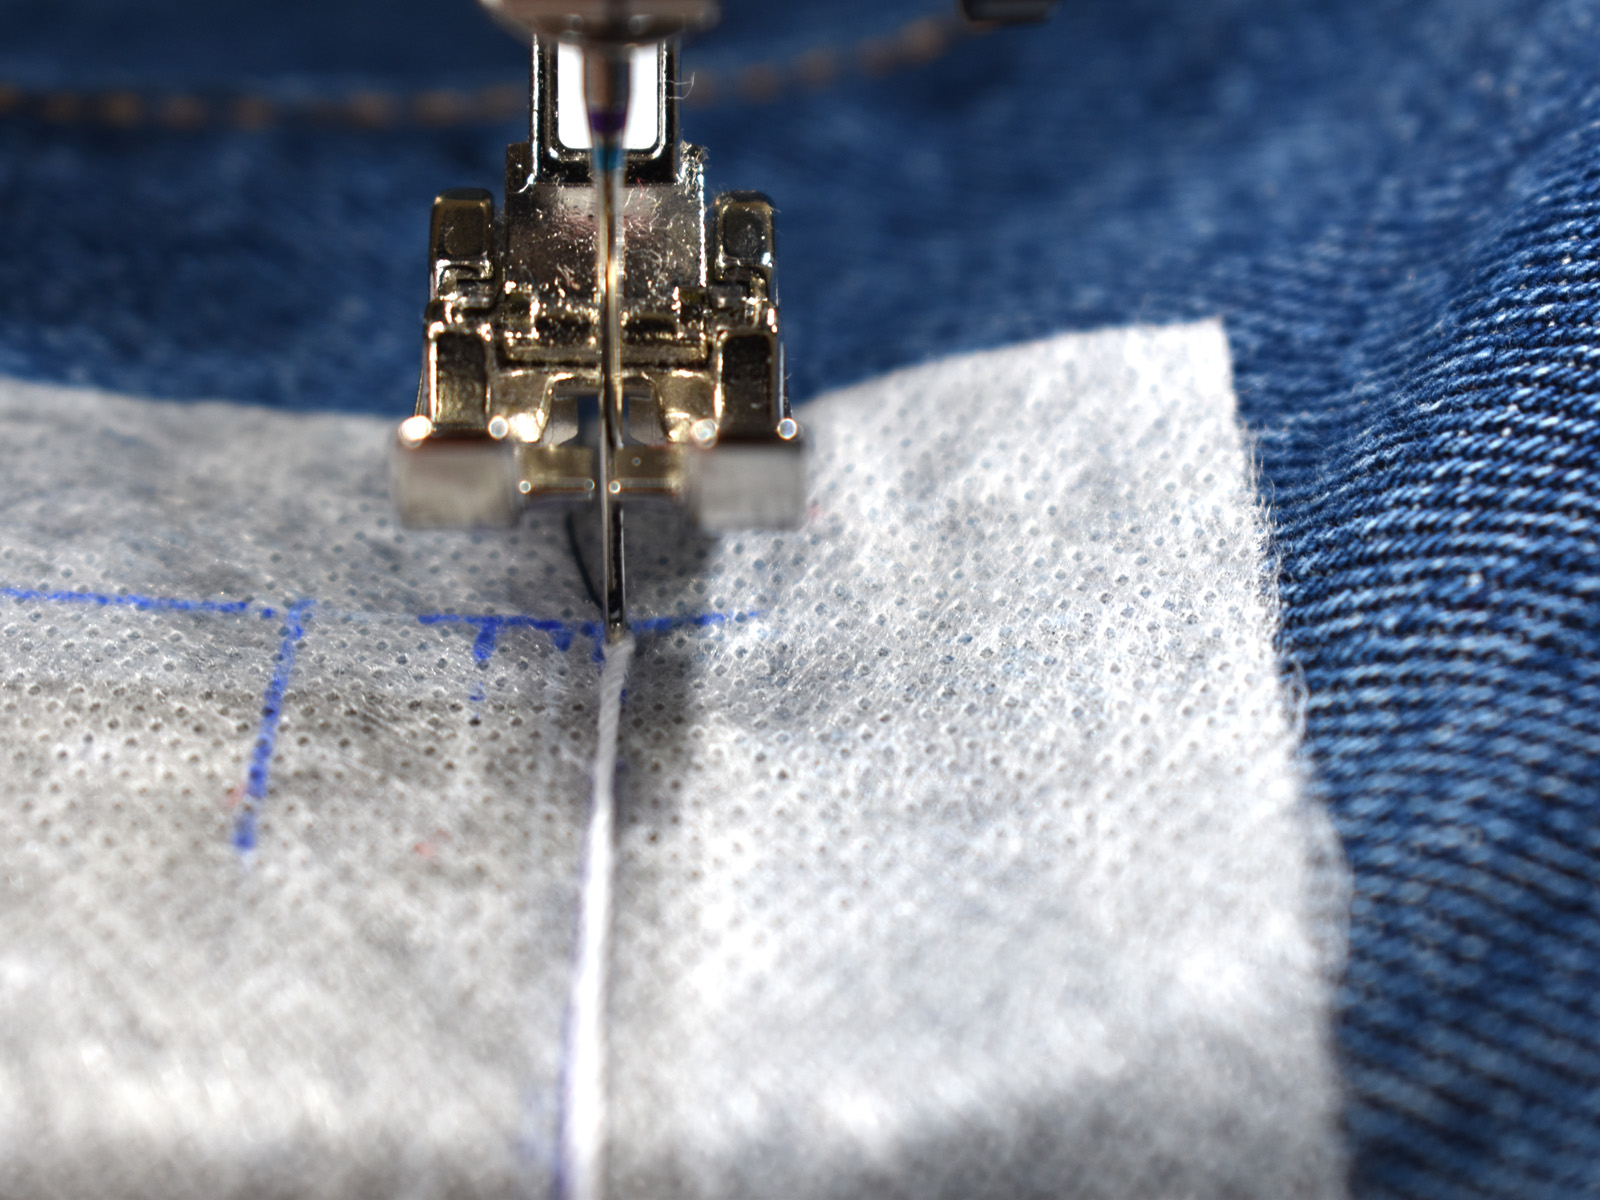
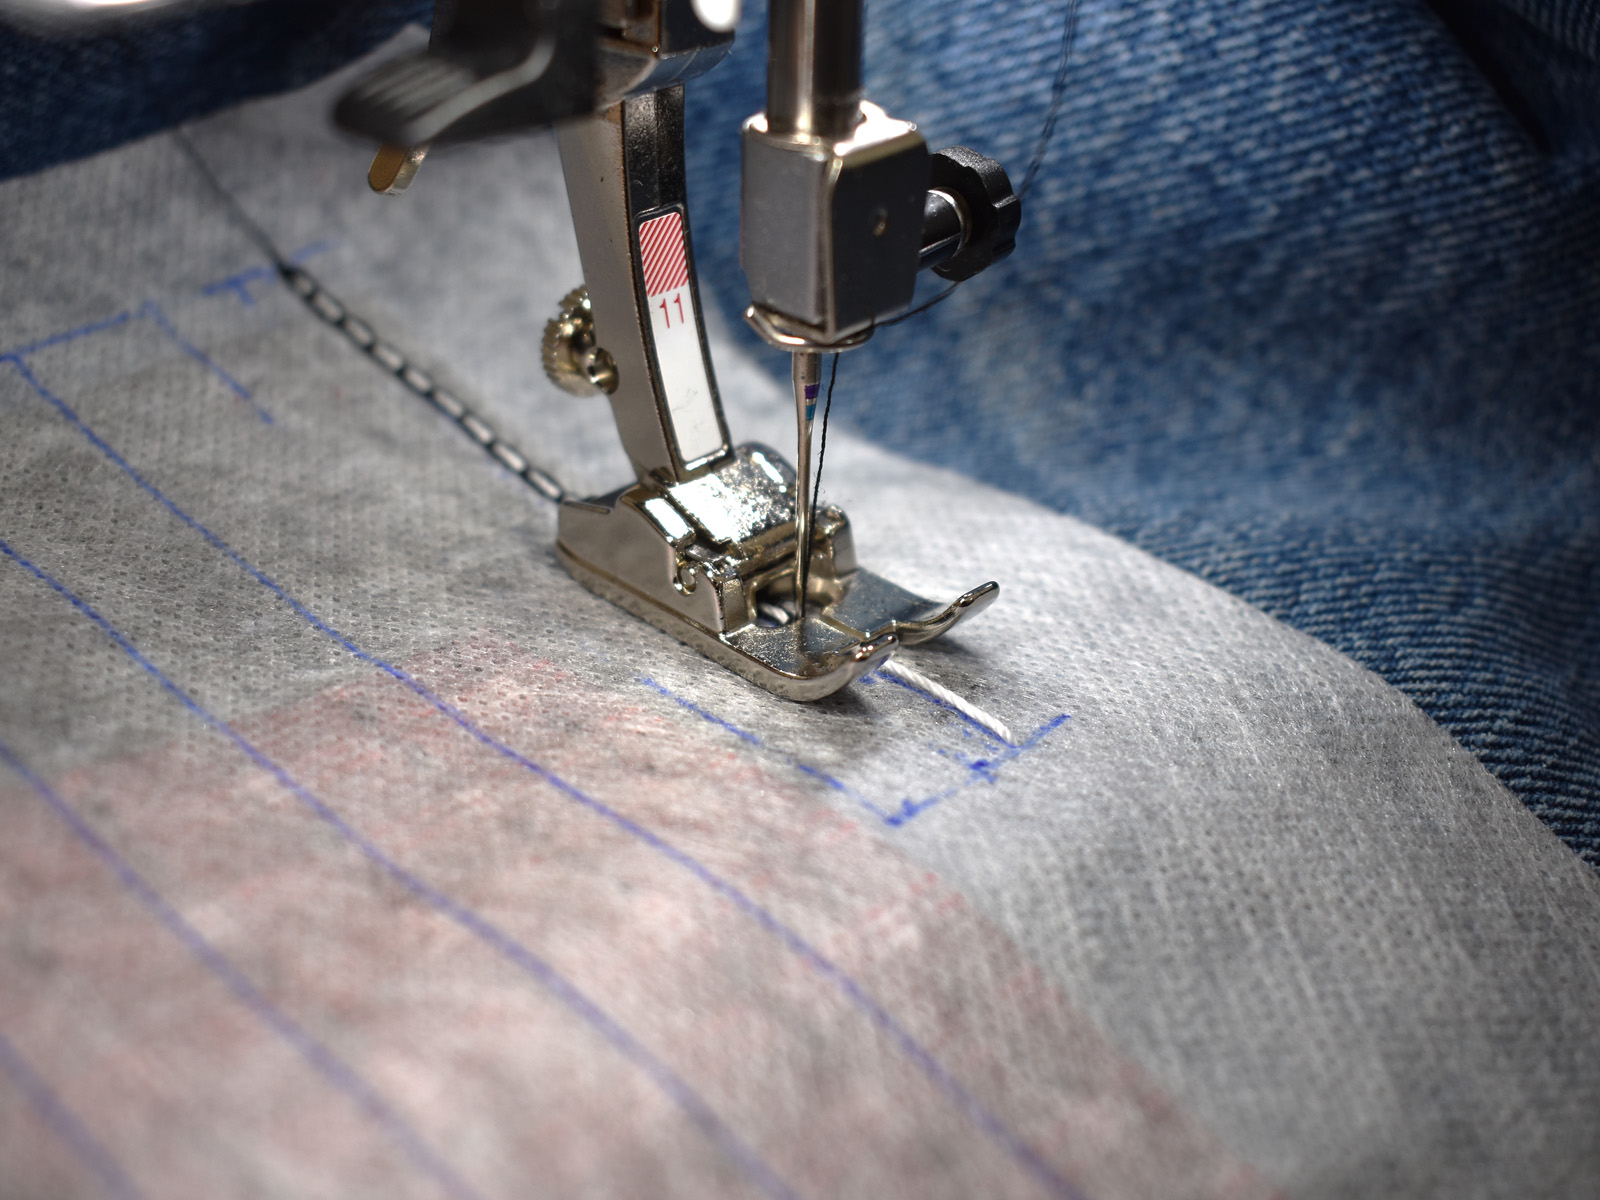
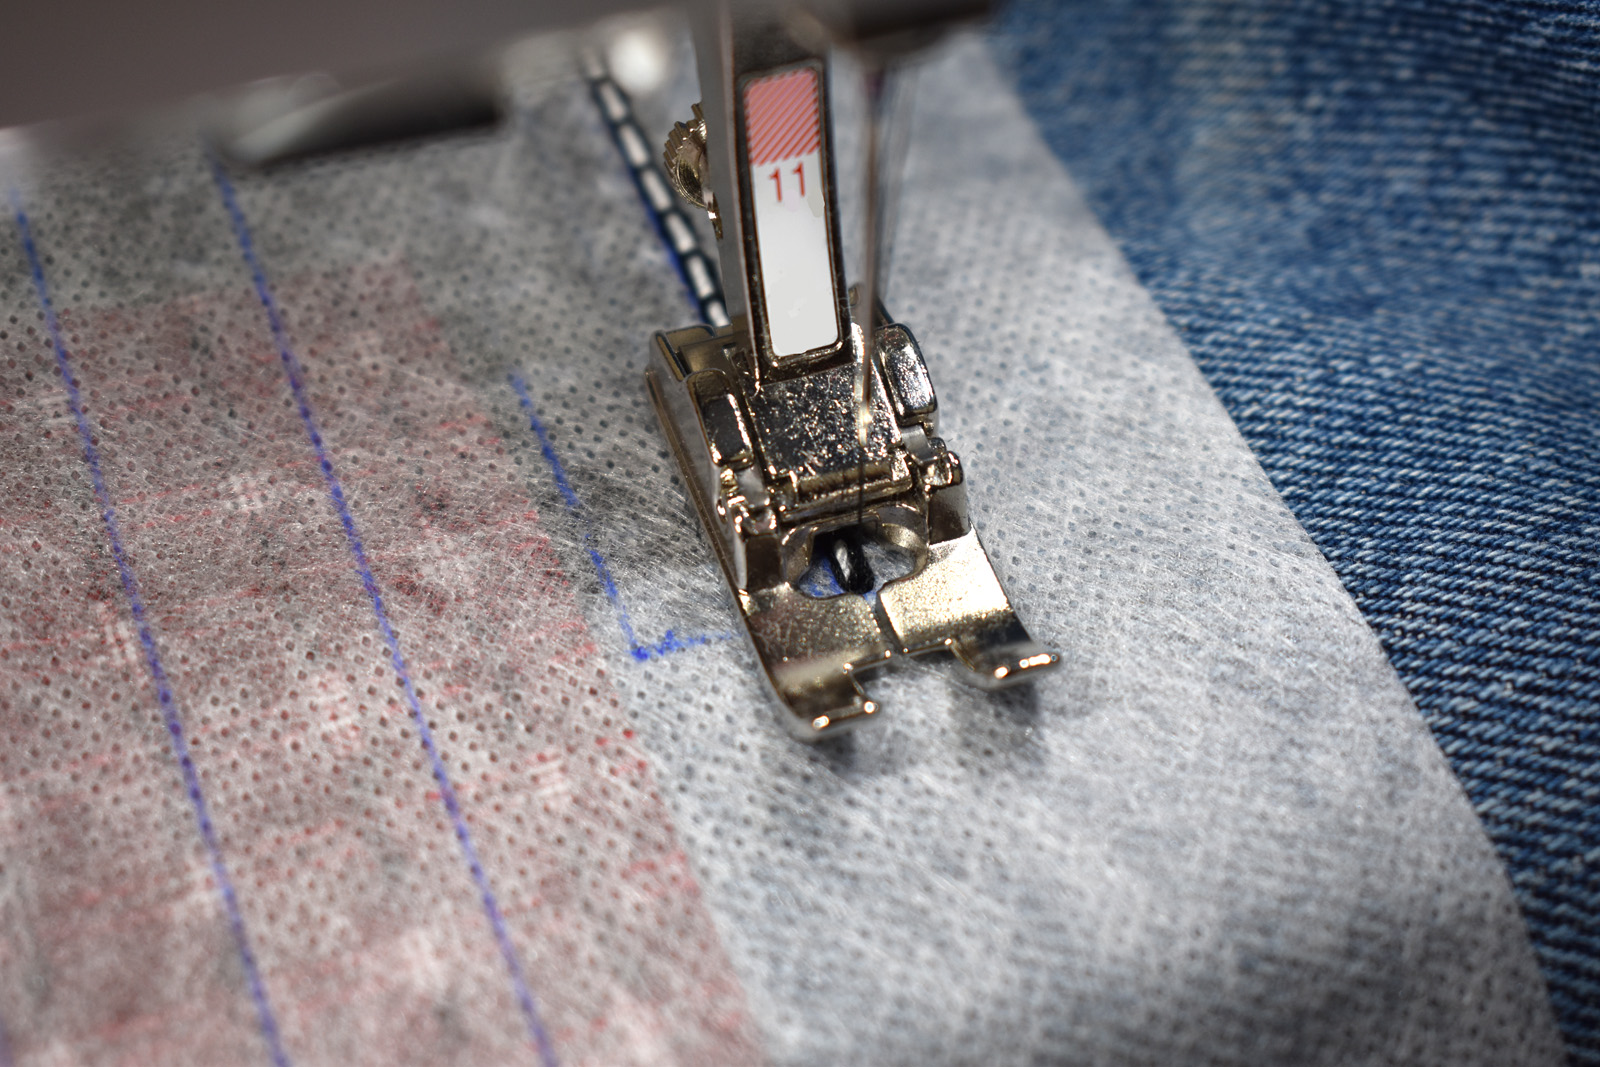
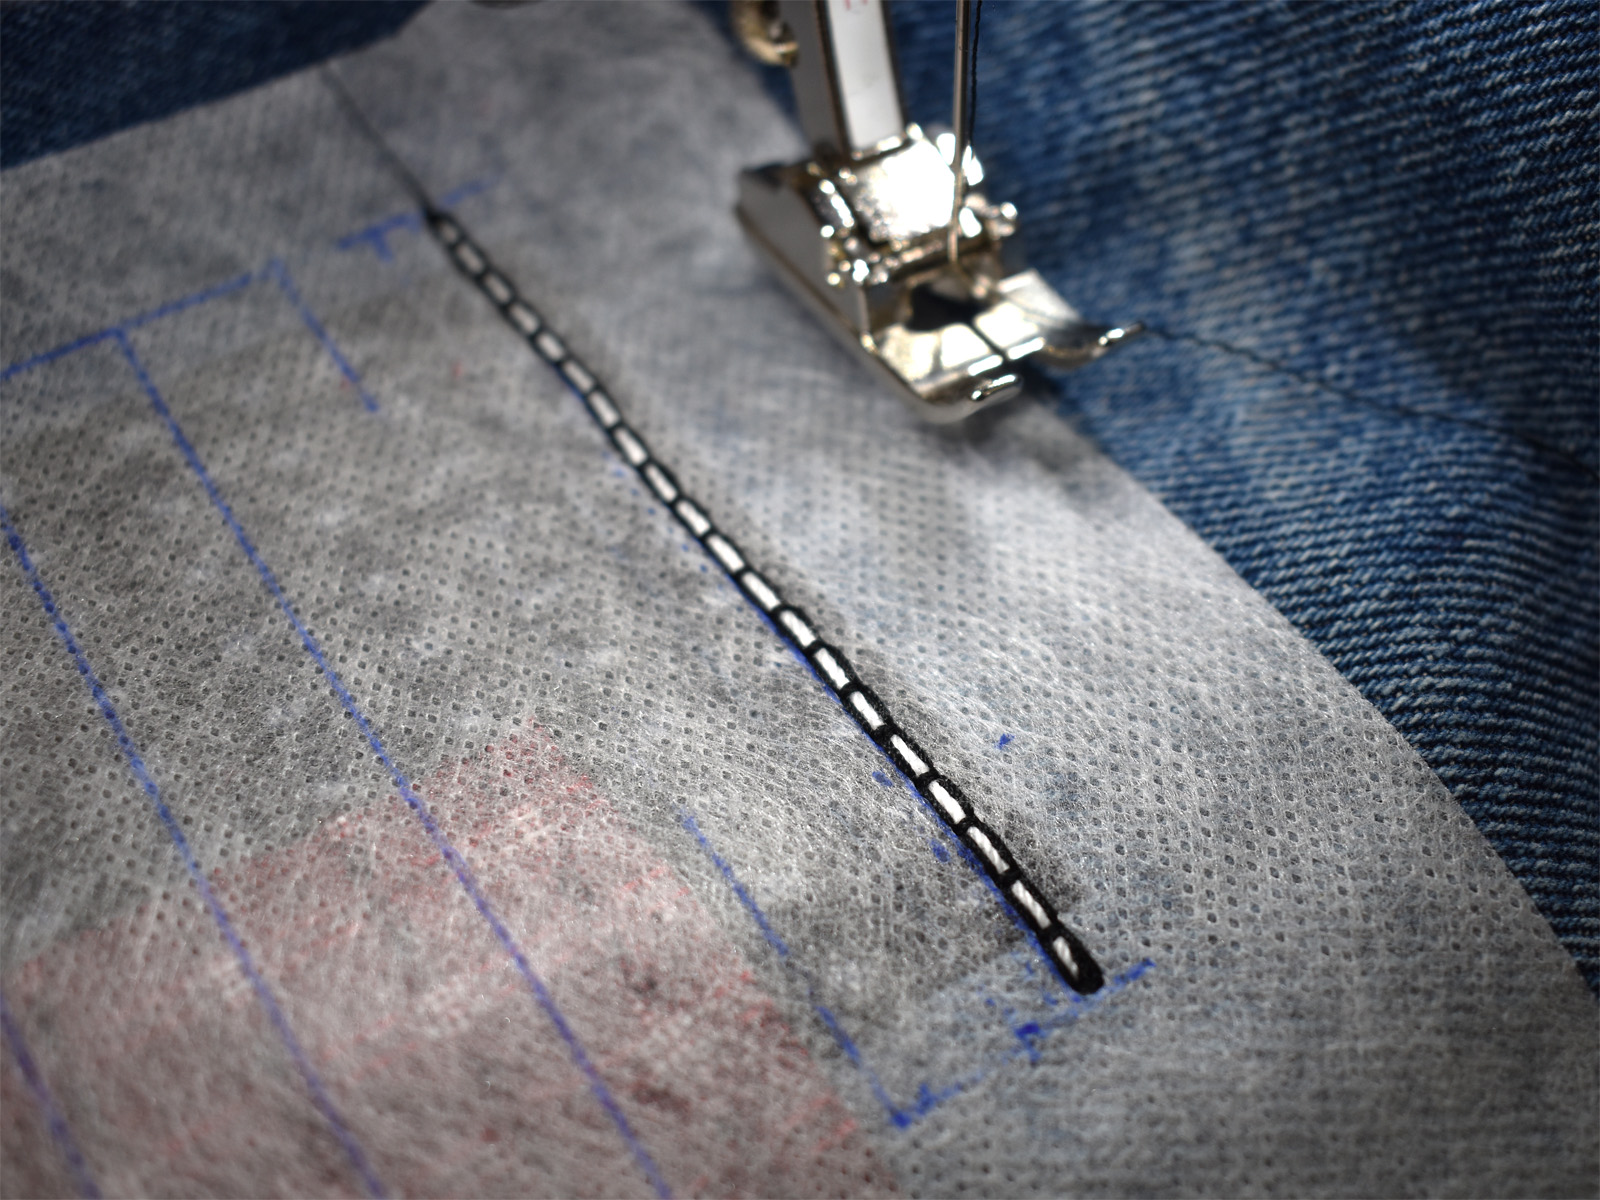
Hold the cording in front of the foot so that it slides into the opening between the two toes of Cordonnet Foot #11 and is aligned with your marked stitch line. Begin stitching slowly and keep your hands on the fabric to gently guide it as the machine sews. This stitch has lots of back-and-forth motion as it stitches along and across the cording; get a feel for how this stitch works before you attempt to sew at a faster pace.
Make sure that the cording is staying in position and that you are following the marked stitch line as you sew. When you come close to the end of the stitch line, use the needle to bring the cording through the fabric to the back side.

Set the needle where the stitch line meets the end line, and pull the cording to the back side of the fabric. Leave the needle threaded with the cording; I set the needle in a small pincushion to the side of the sewing machine.
Continue stitching to the end of the cording. Watch the stitch formation as the machine sews closer to the end of the stitch line. You will need to determine where the machine will take the stitch across the cording closest to this line, and stop sewing with the needle up at this point. Do not remove the fabric from the machine yet.
With the needle up and the presser foot still on the fabric, change back to the super-short straight stitch, and use it to stitch a little back-and-forth on the very end of the cording to anchor it in place.
Cut threads close to stitching on the top of the fabric.
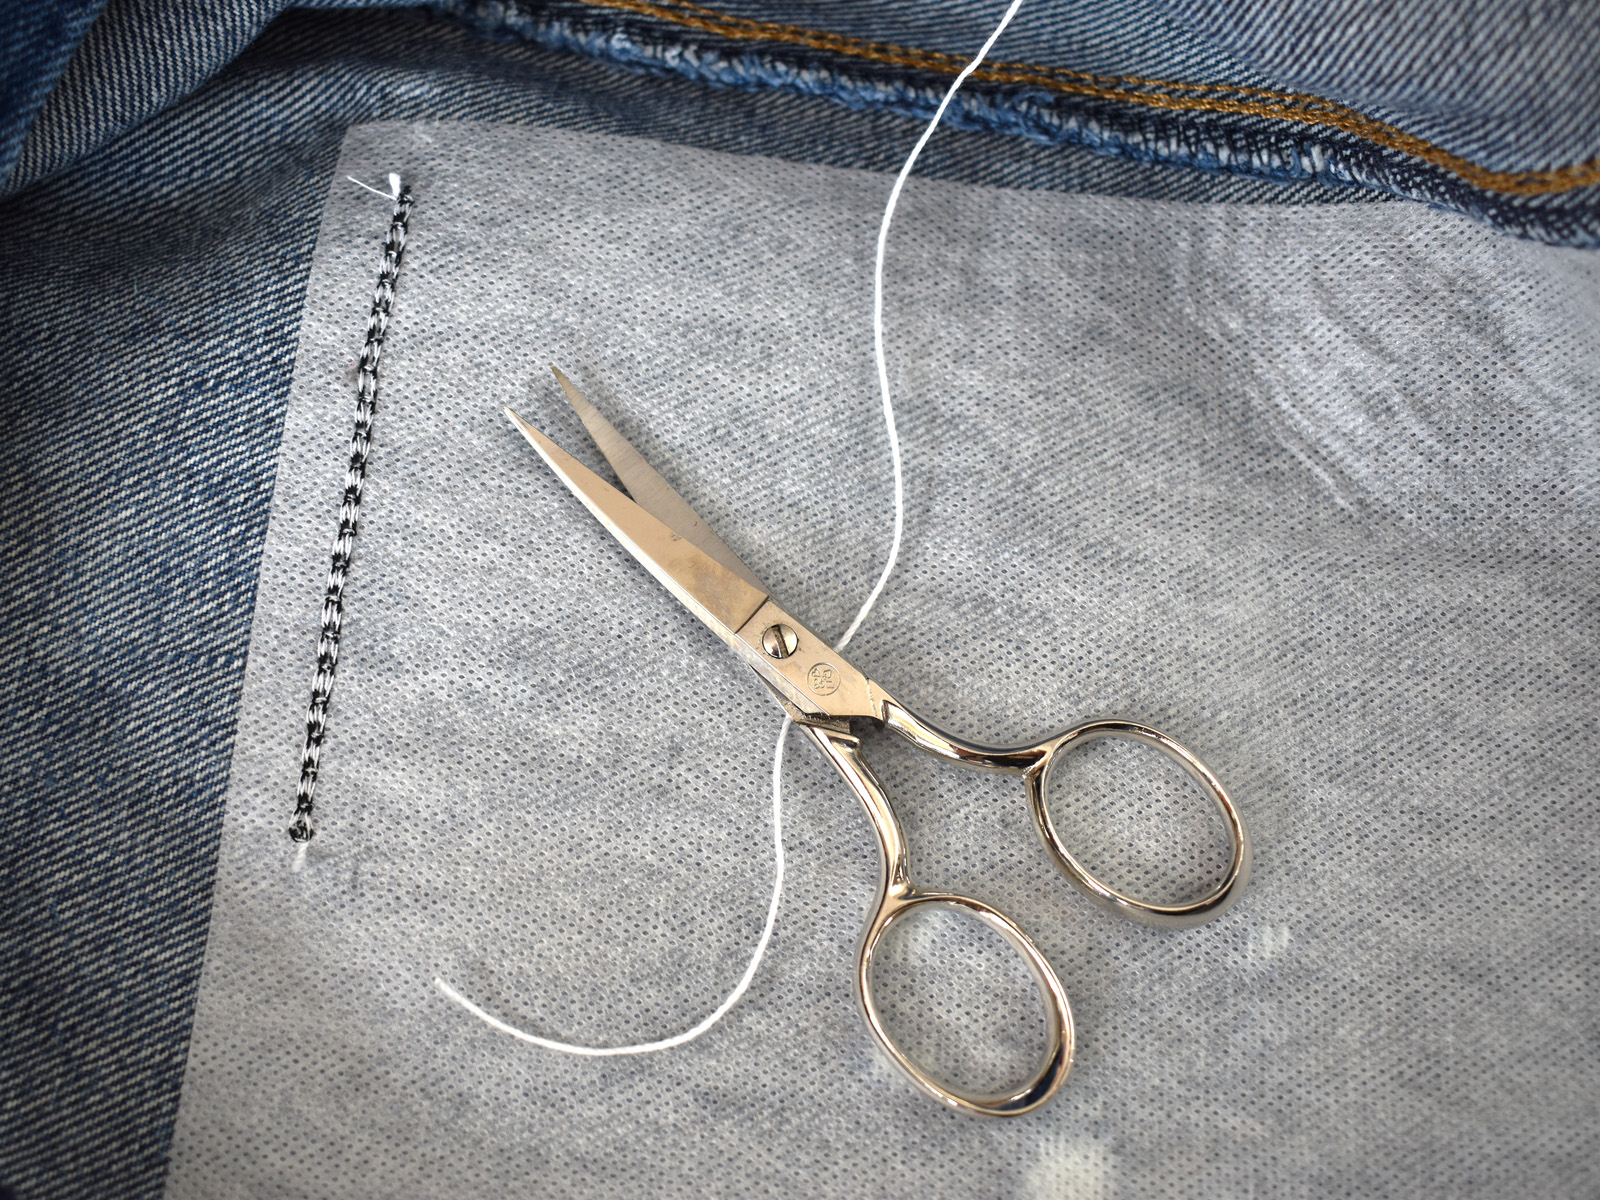
On the back of the fabric, trim cording close to the stitching.
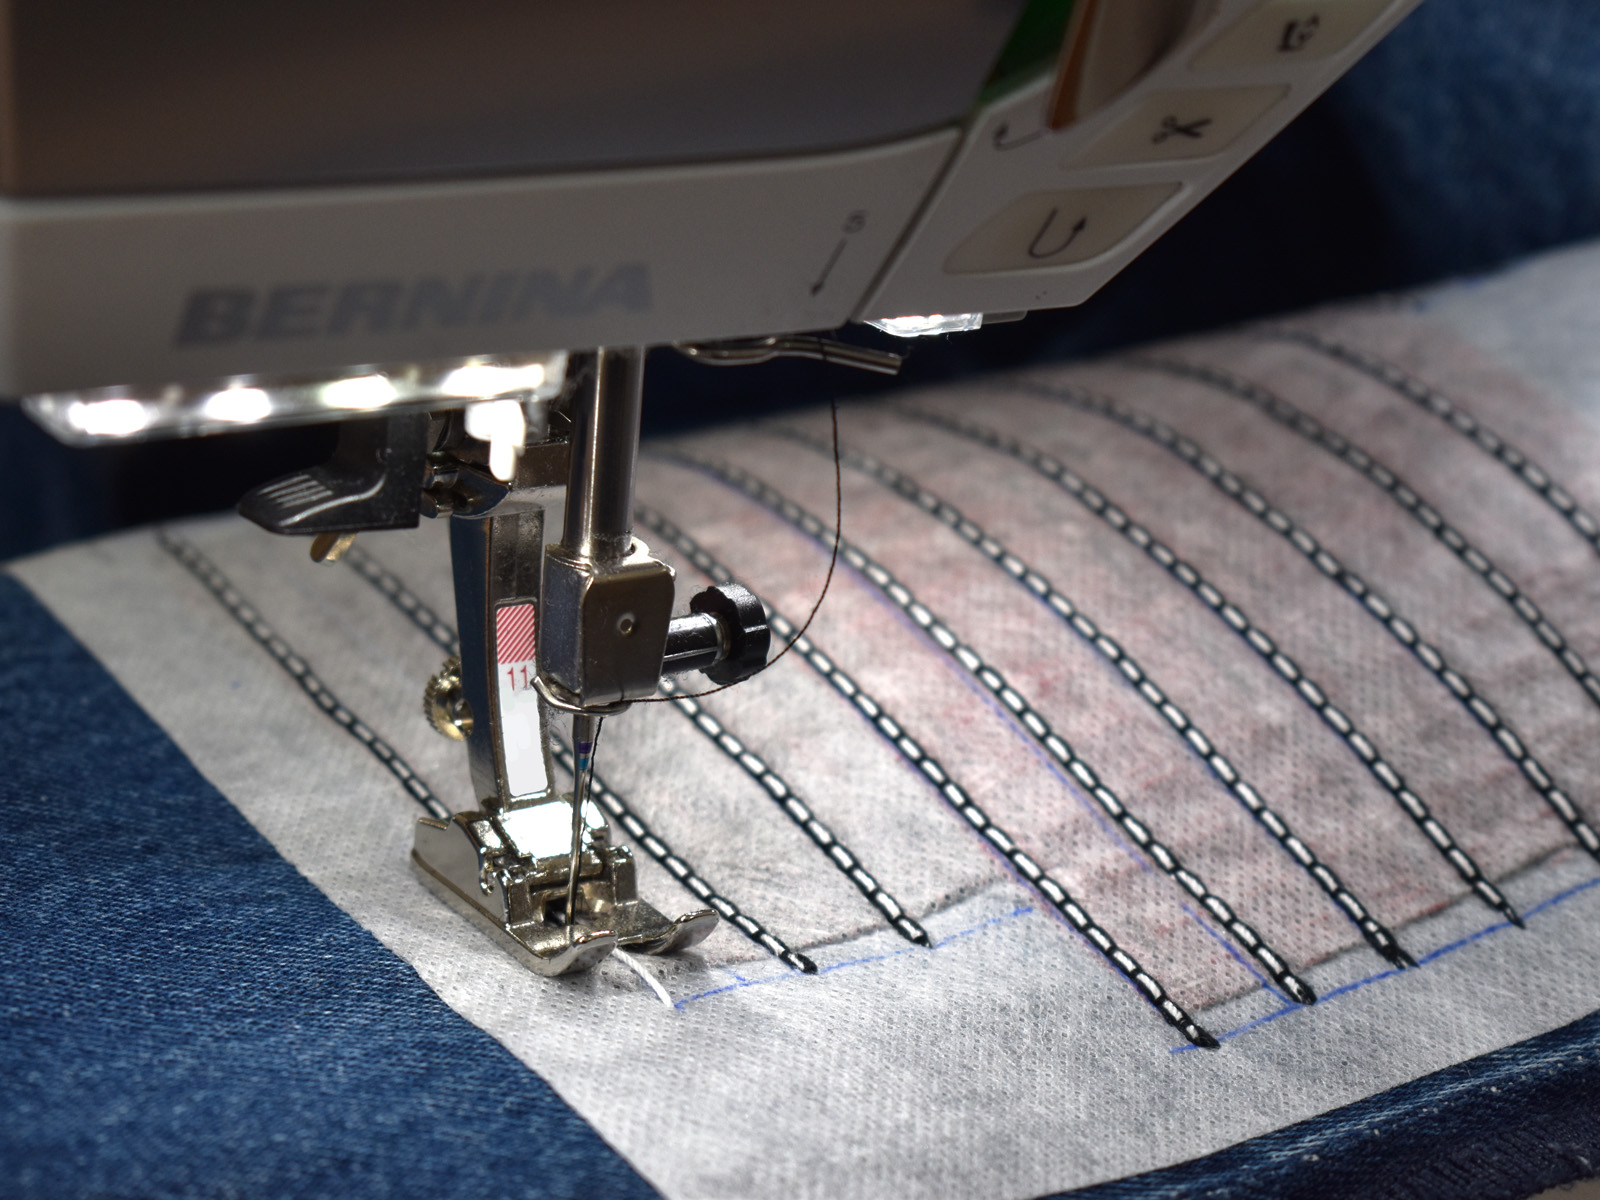
Stitch the next line following the steps above, and keep going until all the lines are stitched.
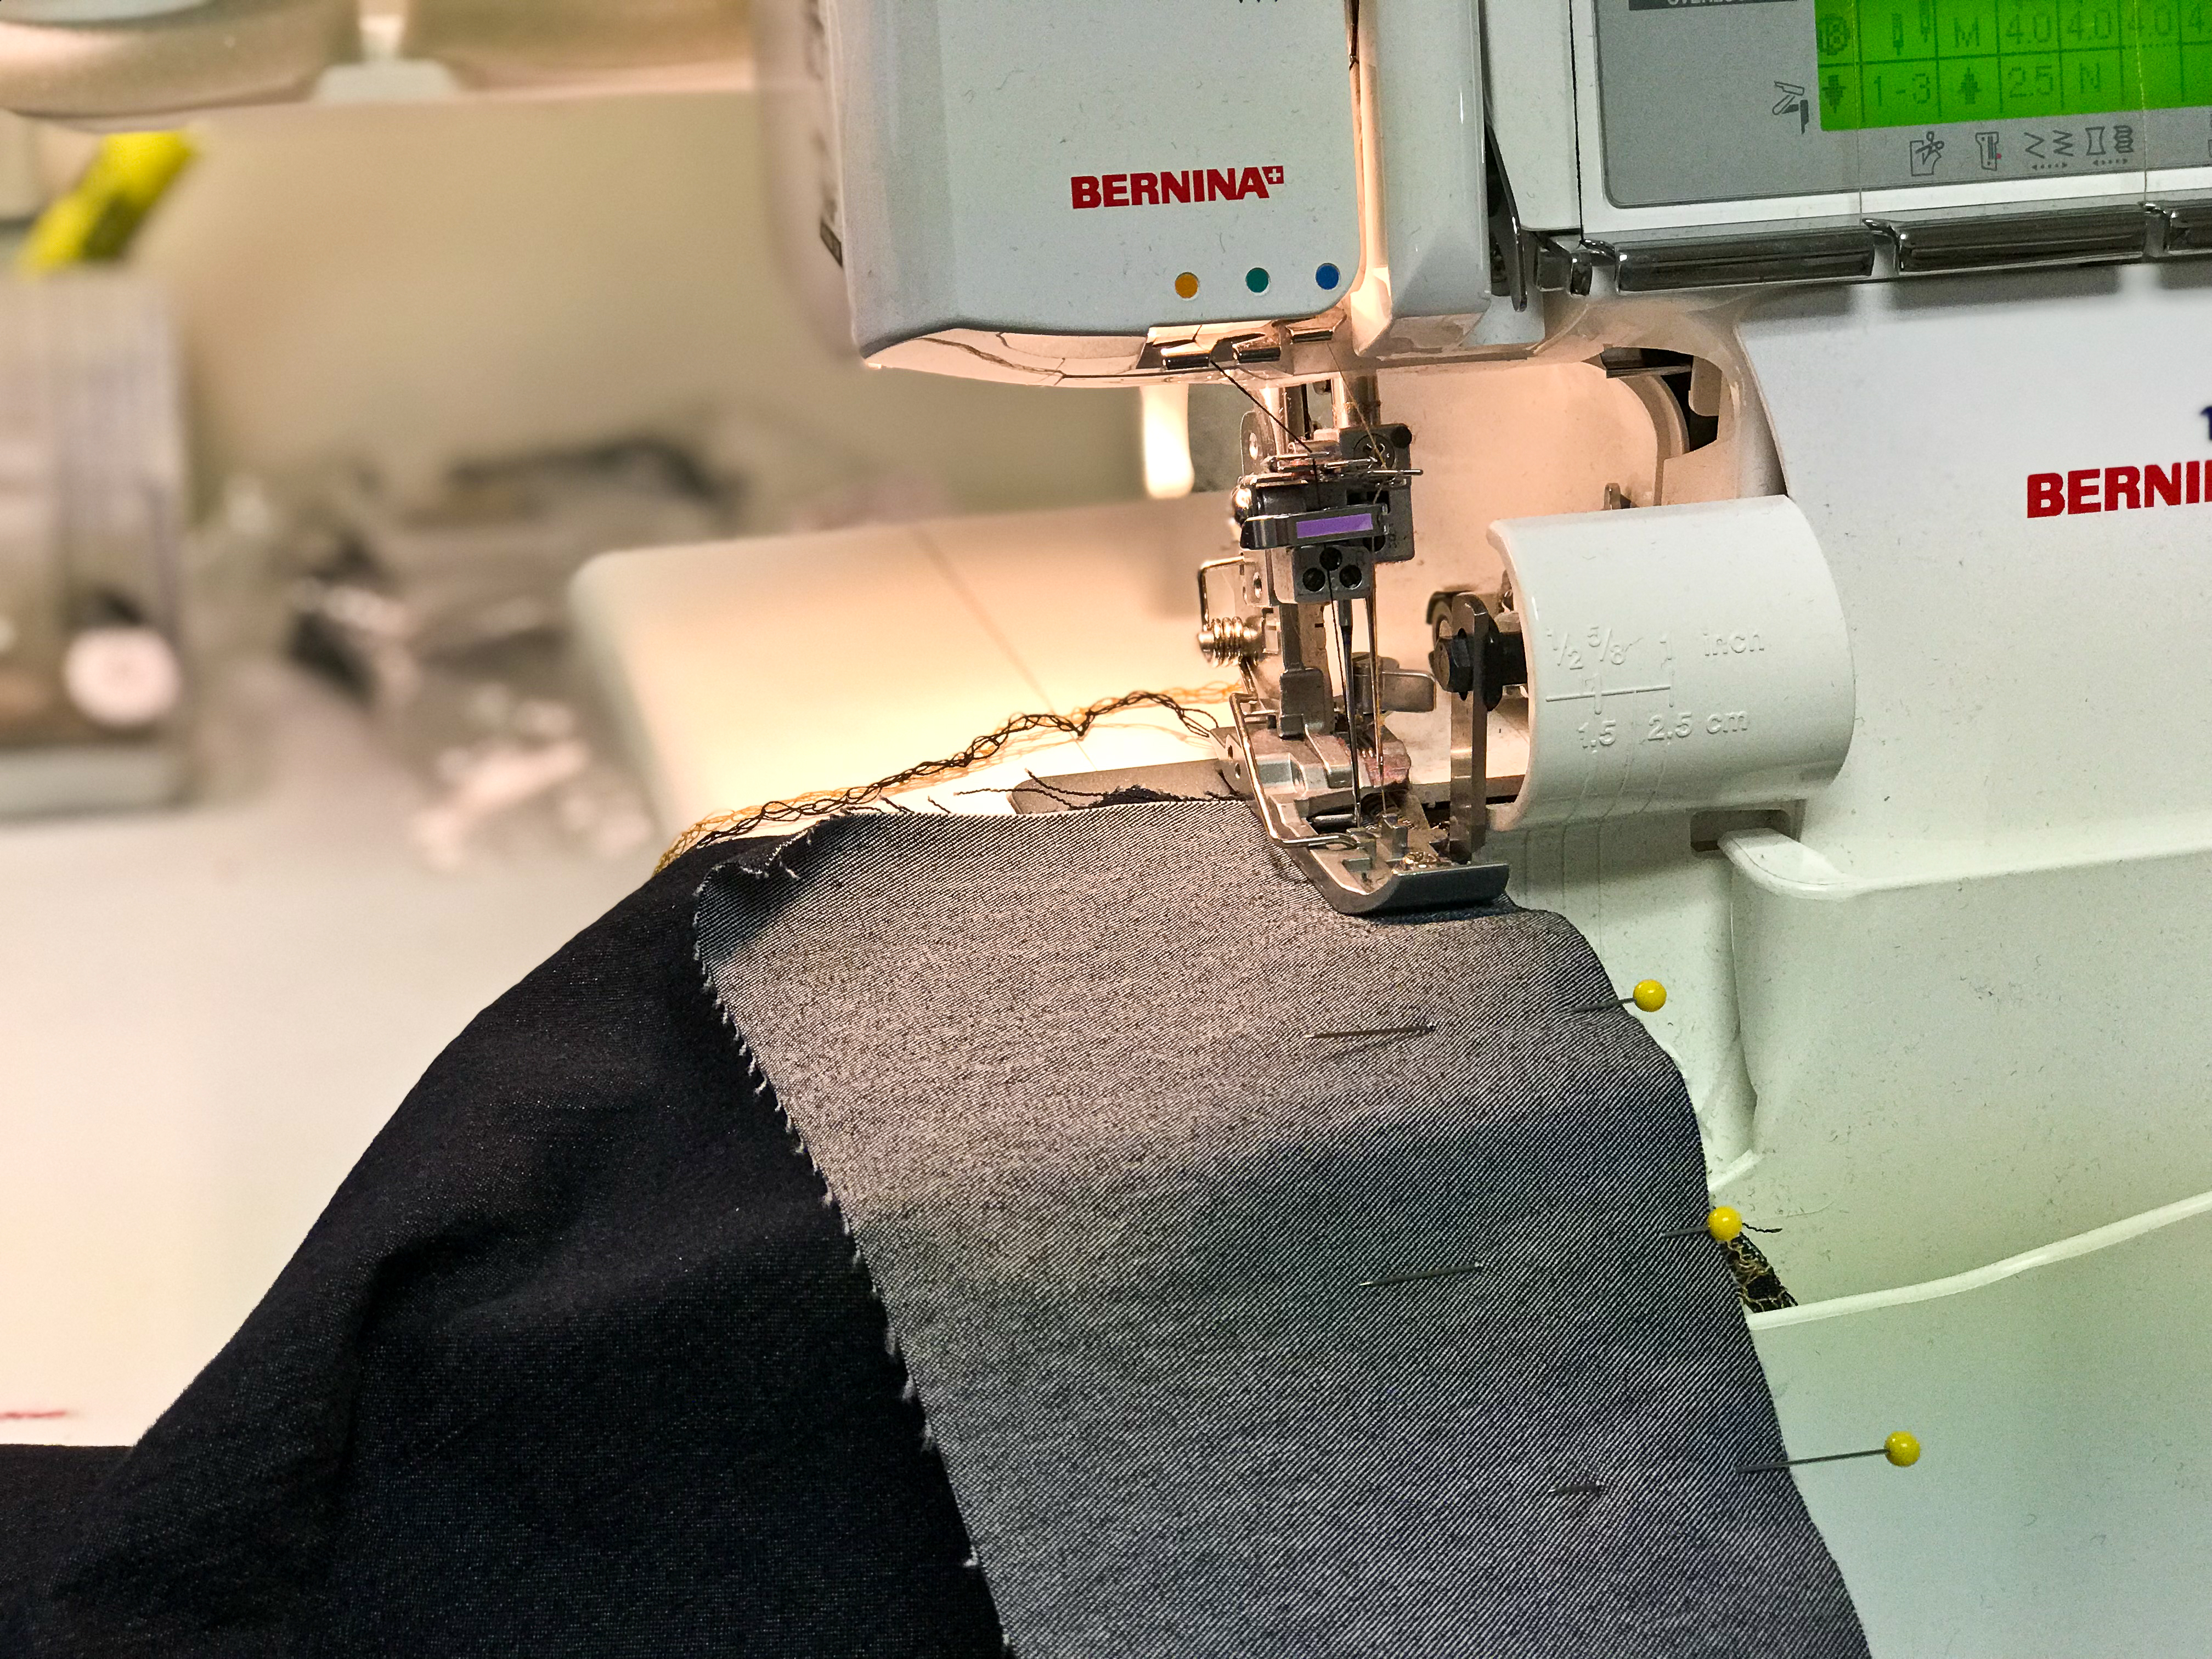
Step 5: Sew the side seam closed.
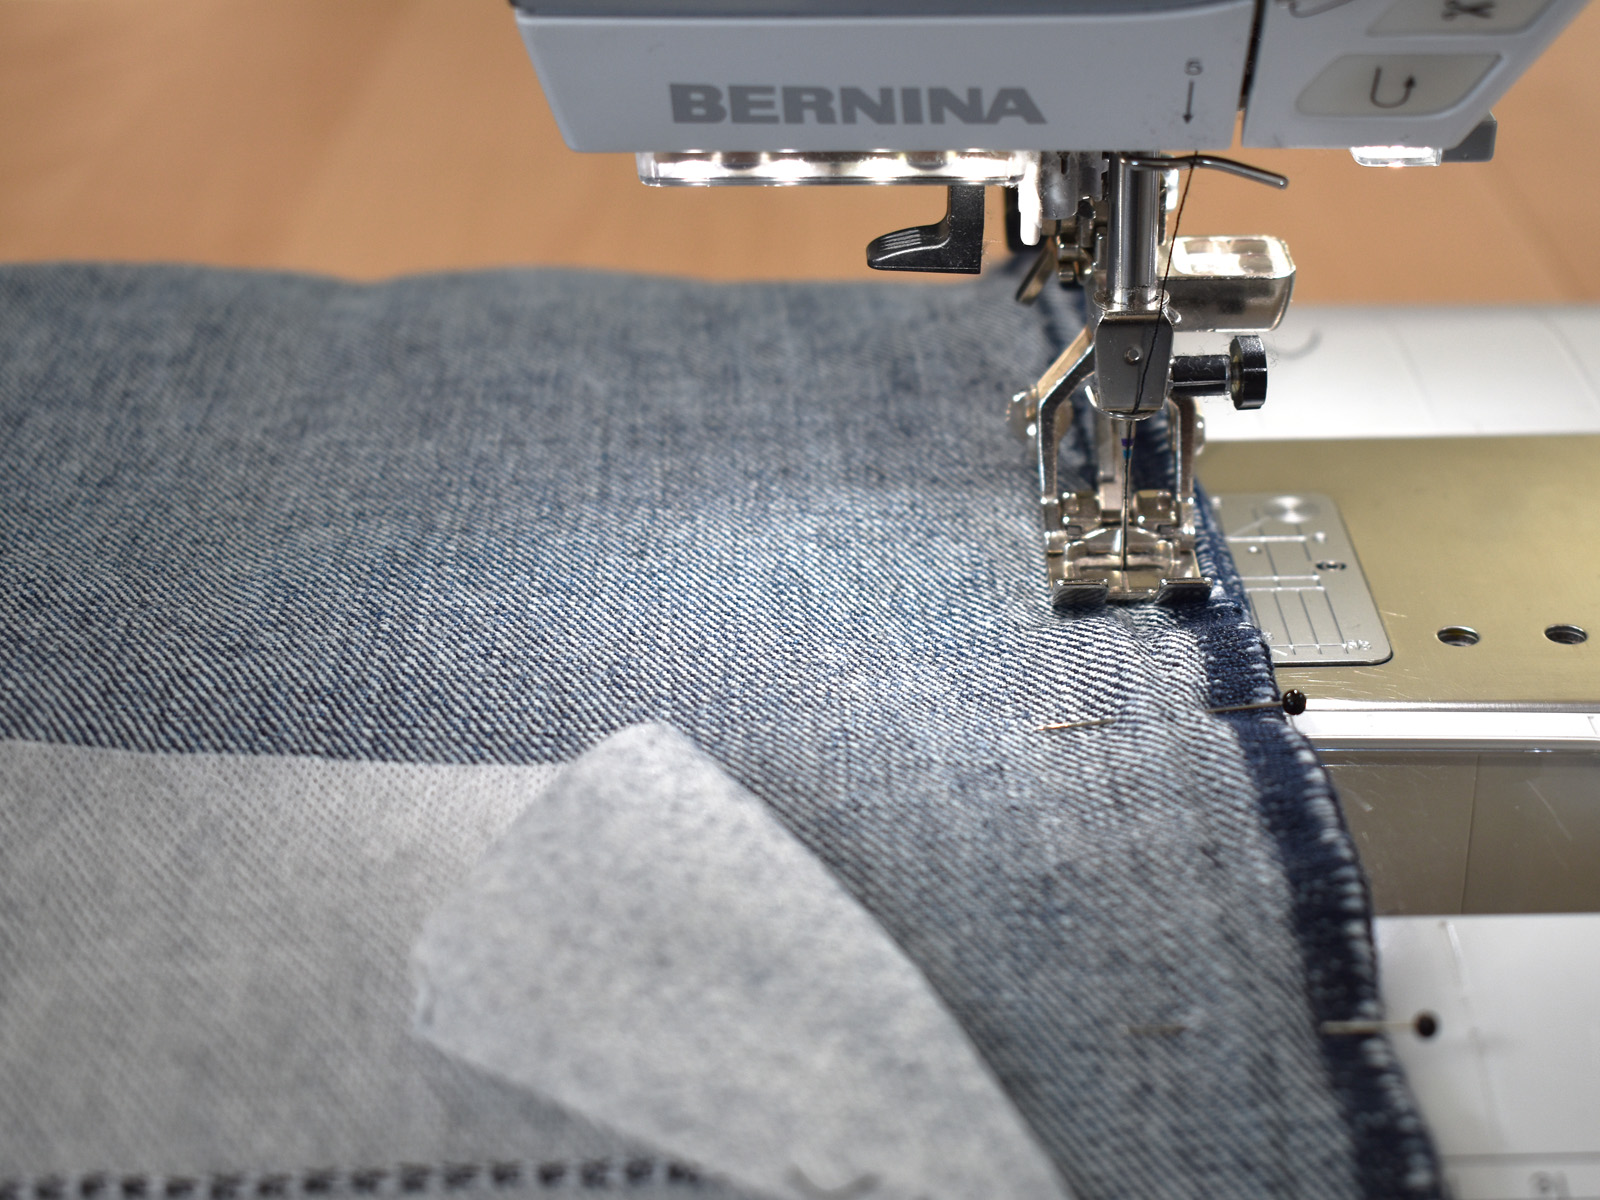
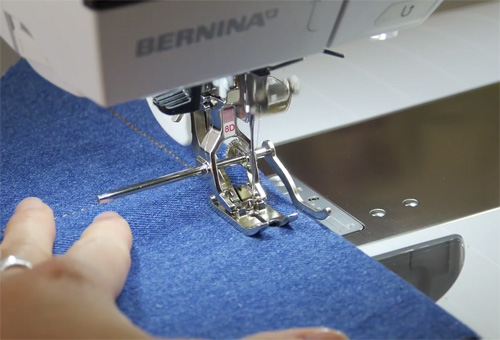
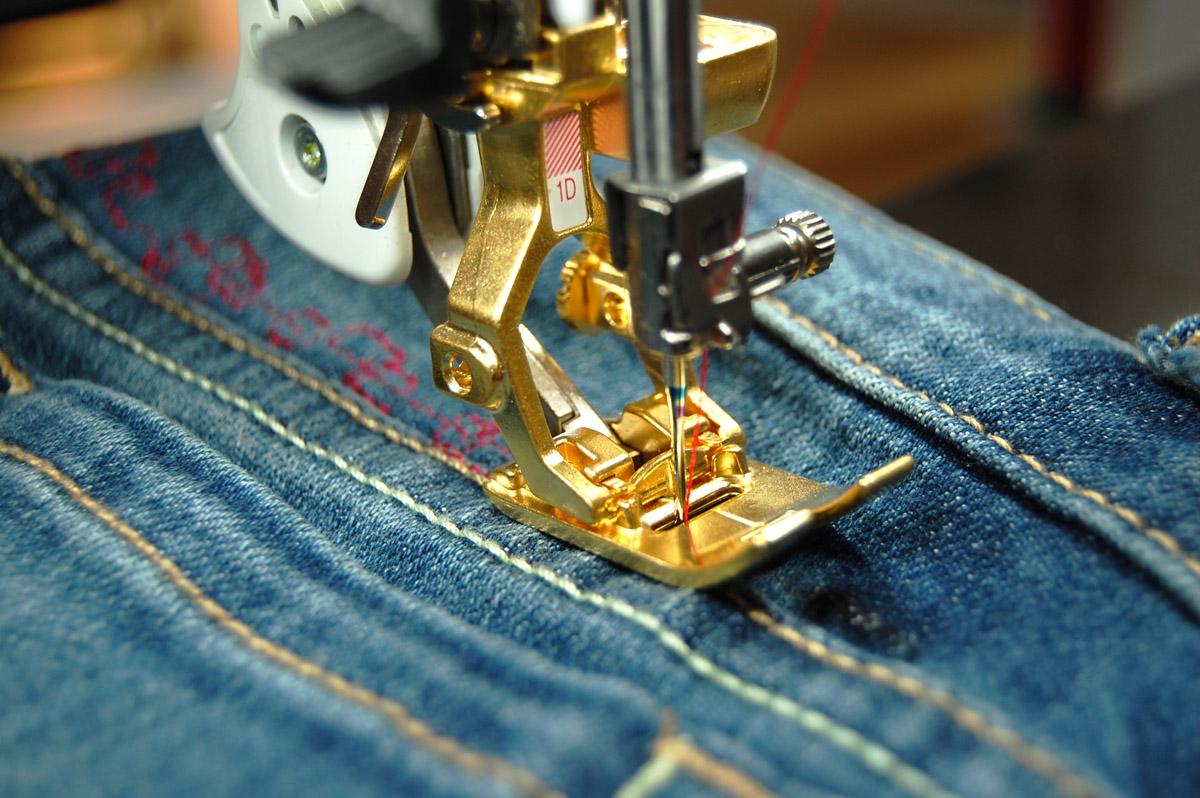
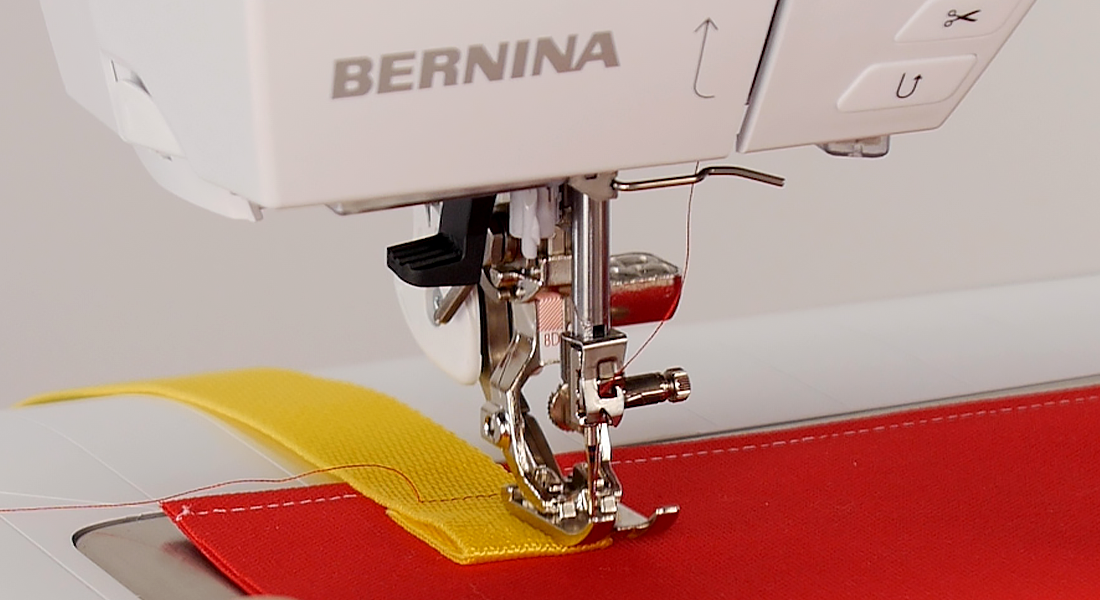
Turn the pant leg inside out to close the side seam. Install Reverse Pattern Foot #1/#1D to the machine, and use a standard straight stitch with thread matching the fabric to re-sew the side seam.
Turn the pant leg right side out, as pictured. The last step is to send the denim jeans through the wash to remove the stabilizer.
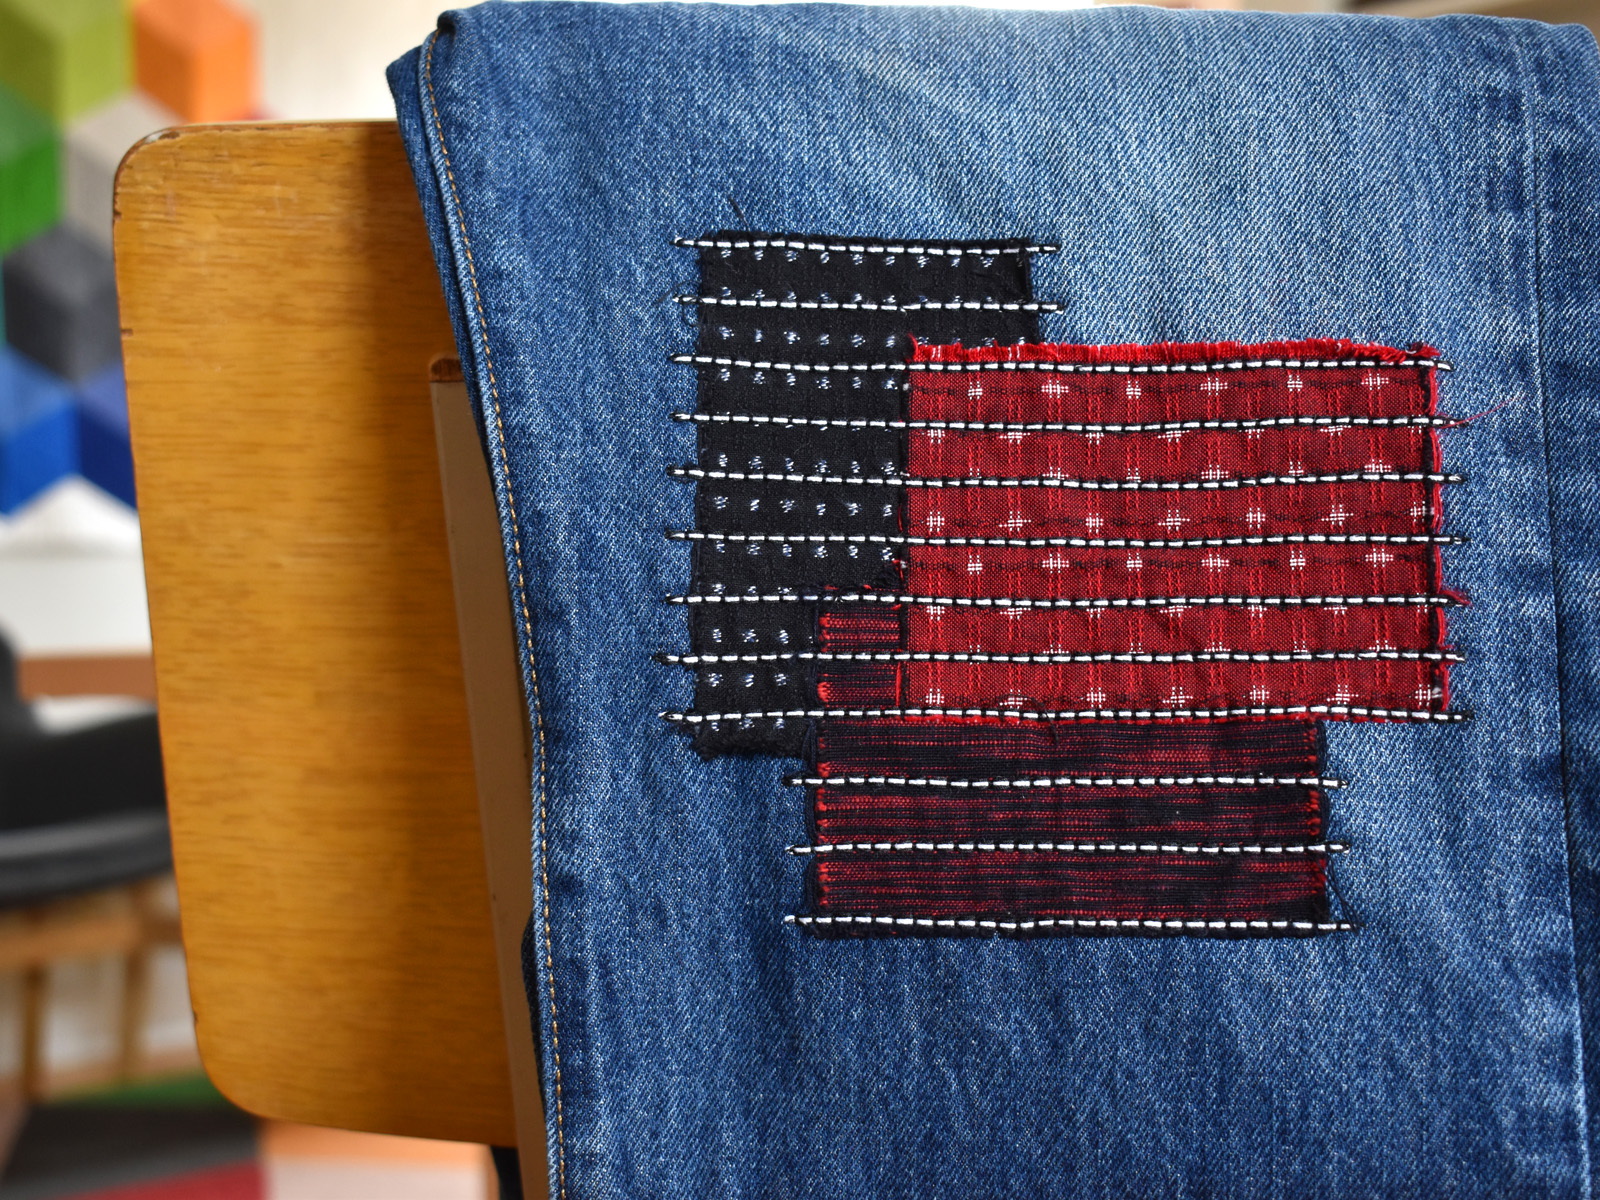
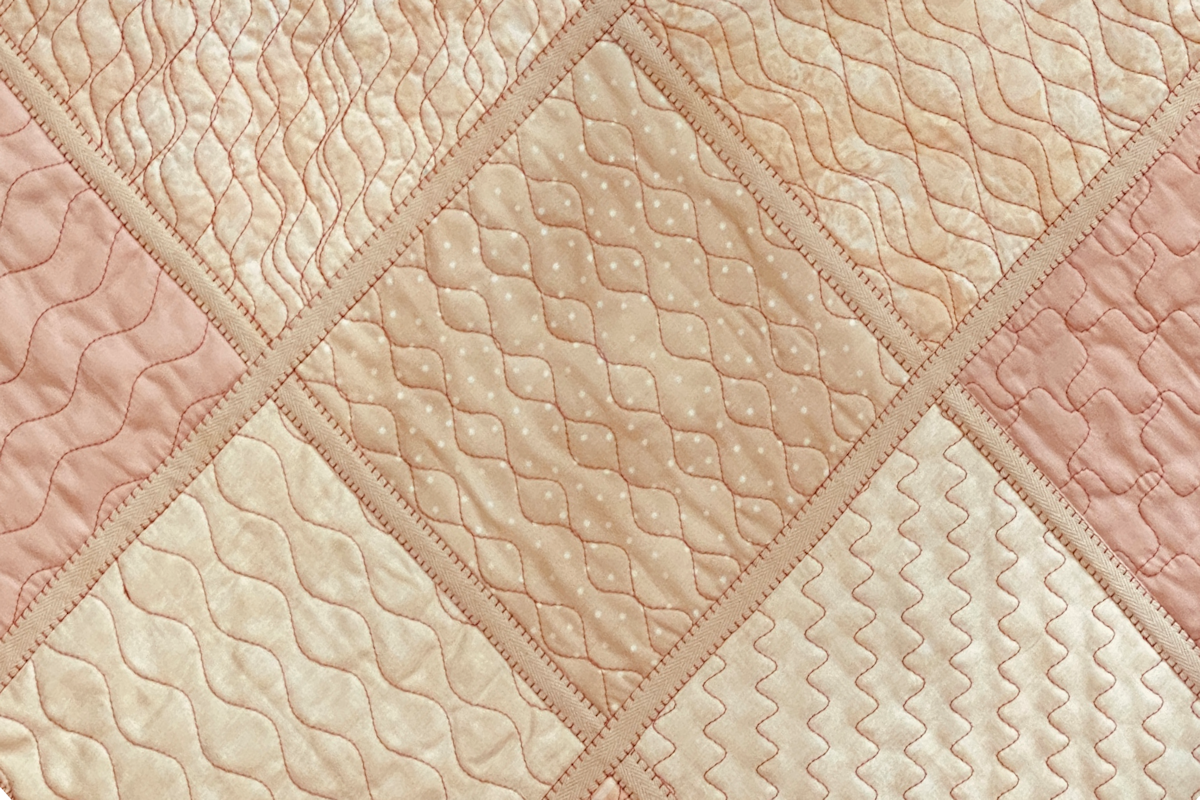
As you wash and wear the pants, the small edges of the patches will fray slightly and take on a well-worn look.
This is an example of cargo pants I patched with this technique that have been washed and worn multiple times. This stitch is surprisingly strong due to the number of times the machine is sewing each stitch with that back-and-forth motion. This stitch has lots of possibilities with changing the stitch settings or the type of cording you use, have fun playing with this technique!