Q-matic Quilt Along, Part Five: Quilting Row Three
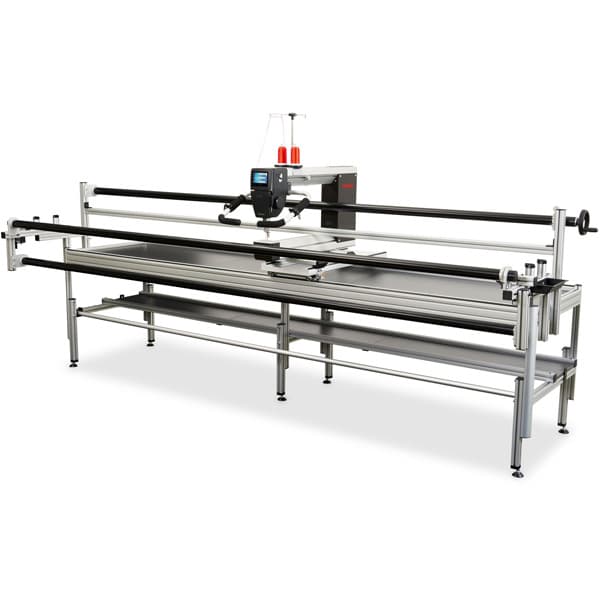
In the Q-matic Quilt Along, we are exploring the functions of the Q-matic while quilting this super fun quilt together. Today it’s time to quilt row three.
If you missed the first two parts of the Q-matic Quilt Along, you can read all about it here:
- Q-matic Quilt Along: Introduction
- Q-matic Quilt Along, Part One: Sewing the Quilt Top
- Q-matic Quilt Along, Part Two: Continuing to Sew the Quilt Top
- Q-matic Quilt Along, Part Three: Quilting Row One
- Q-Matic Quilt Along, Part Four: Quilting Row Two

Make sure to tag @BERNINAUSA and me, @Sugaridoo, when you’re working on this project. I would love to see what you’re making!
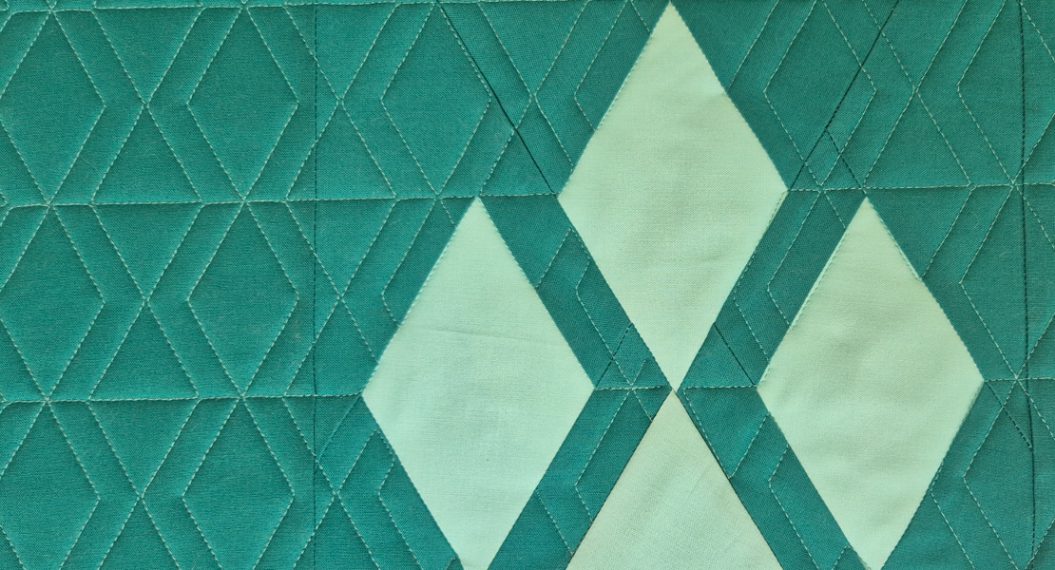
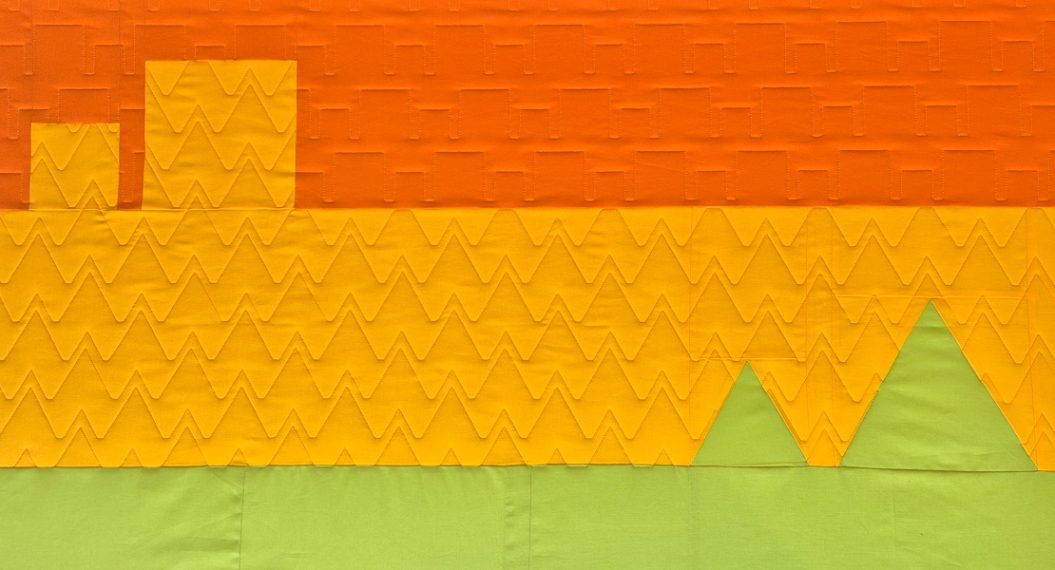
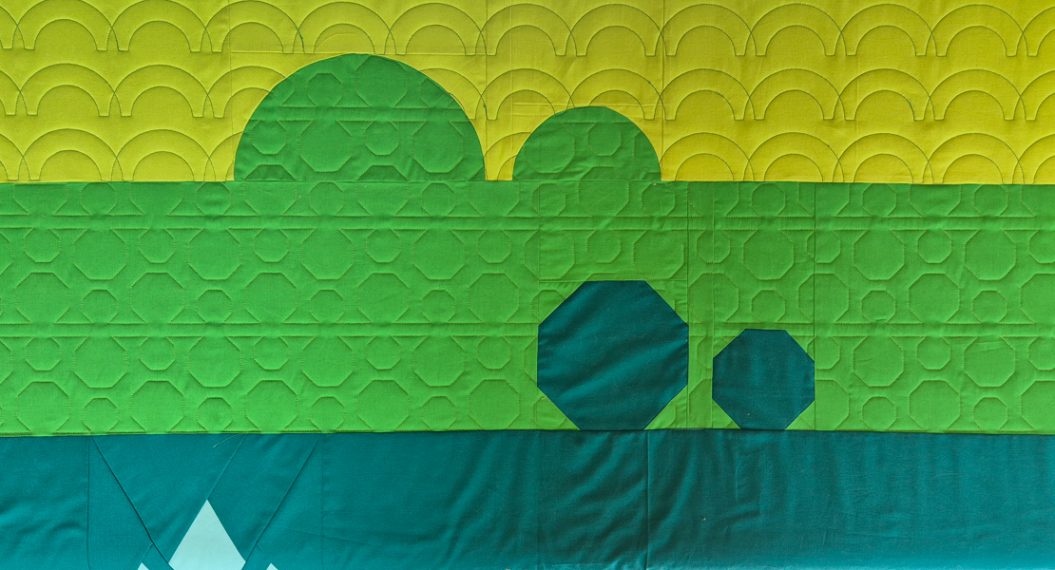
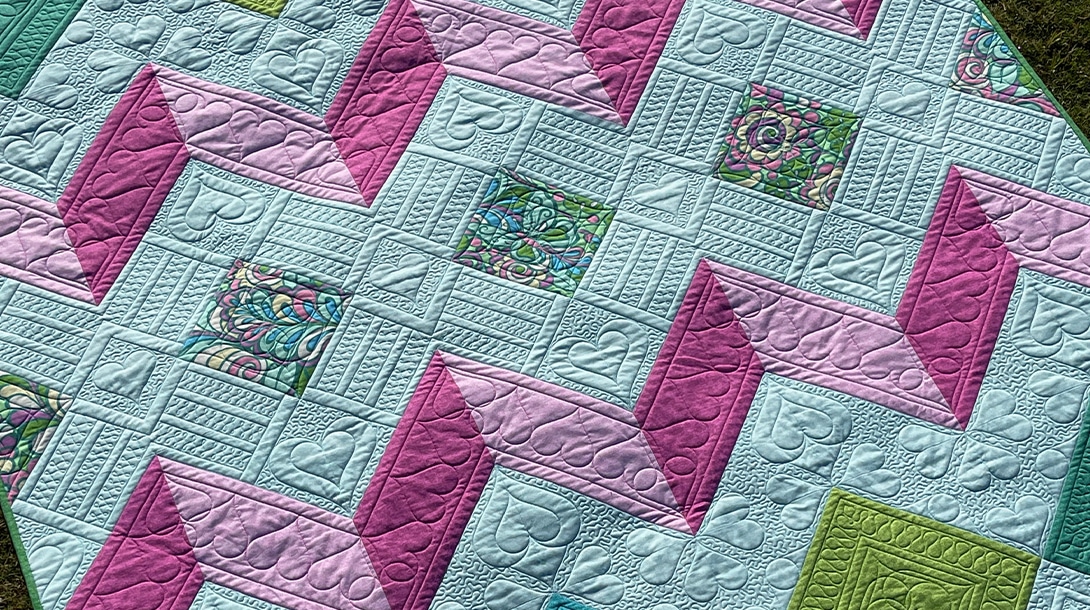
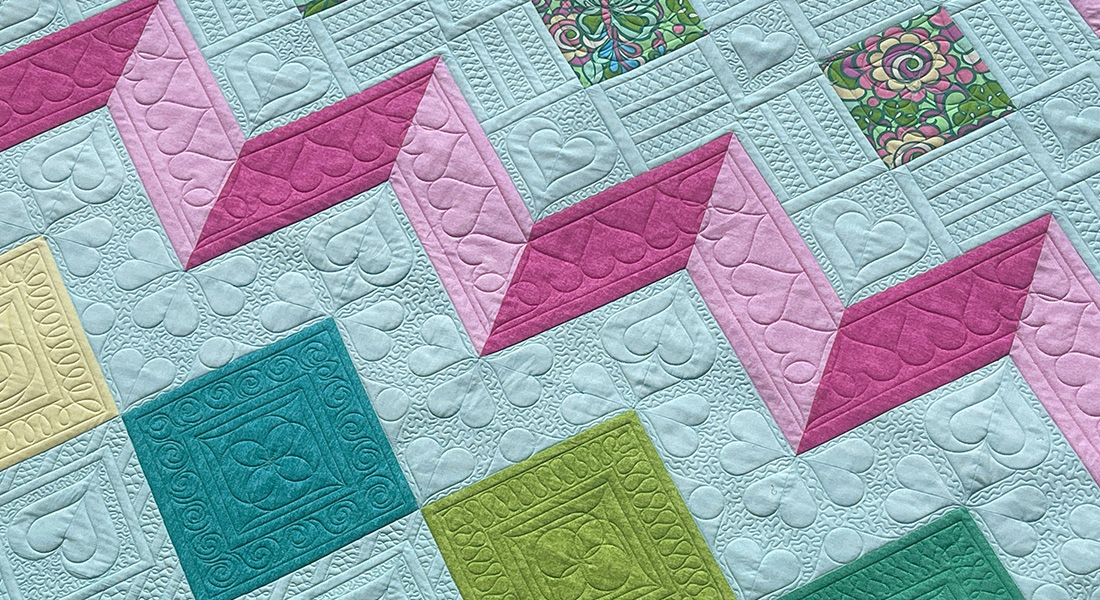
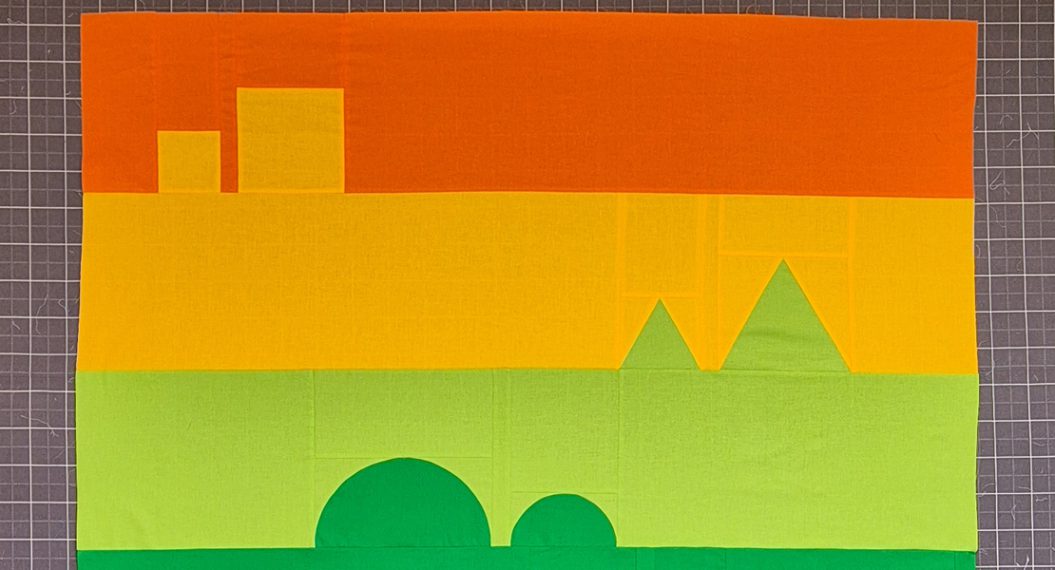
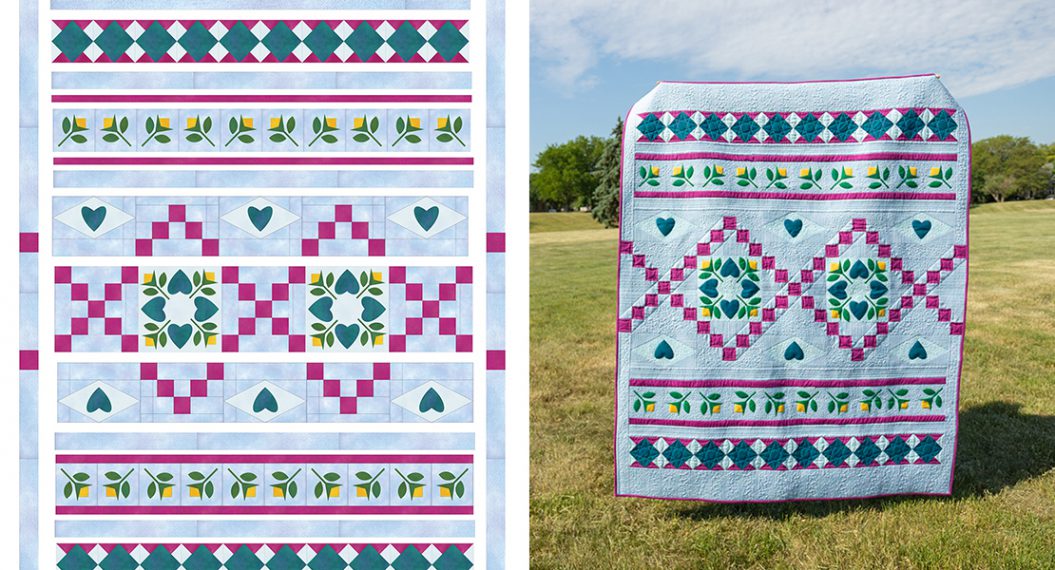
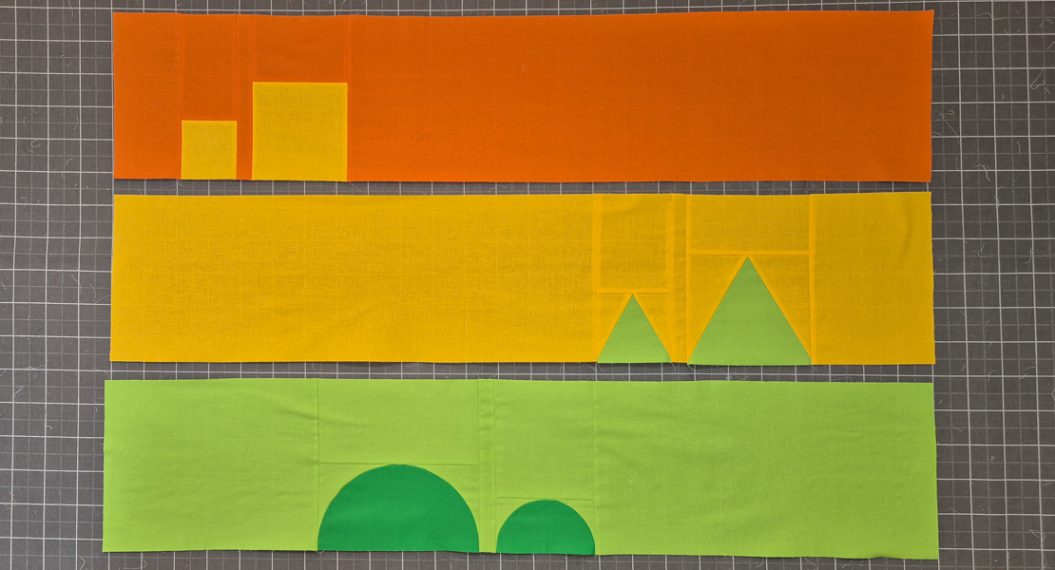
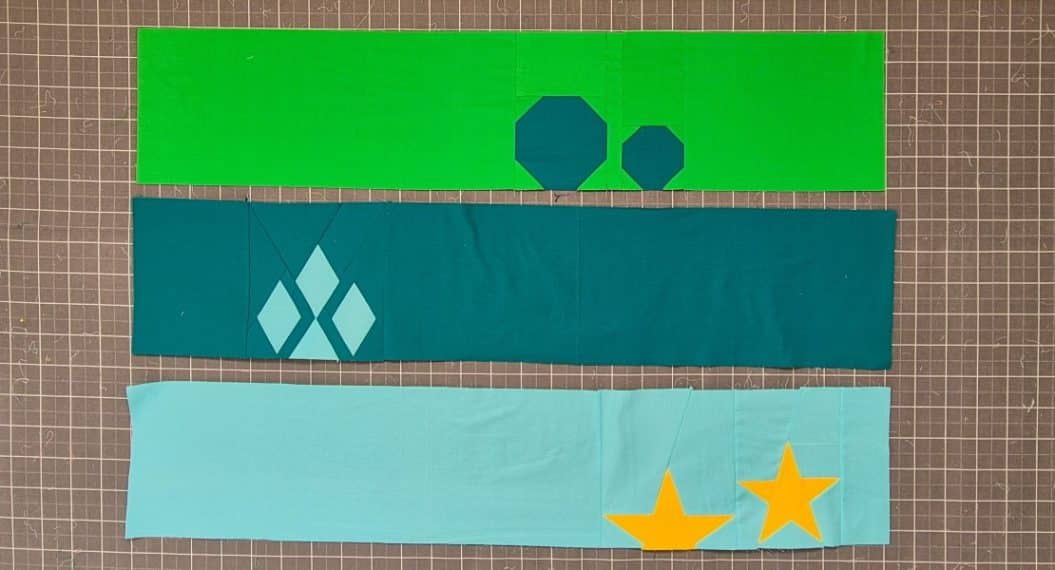
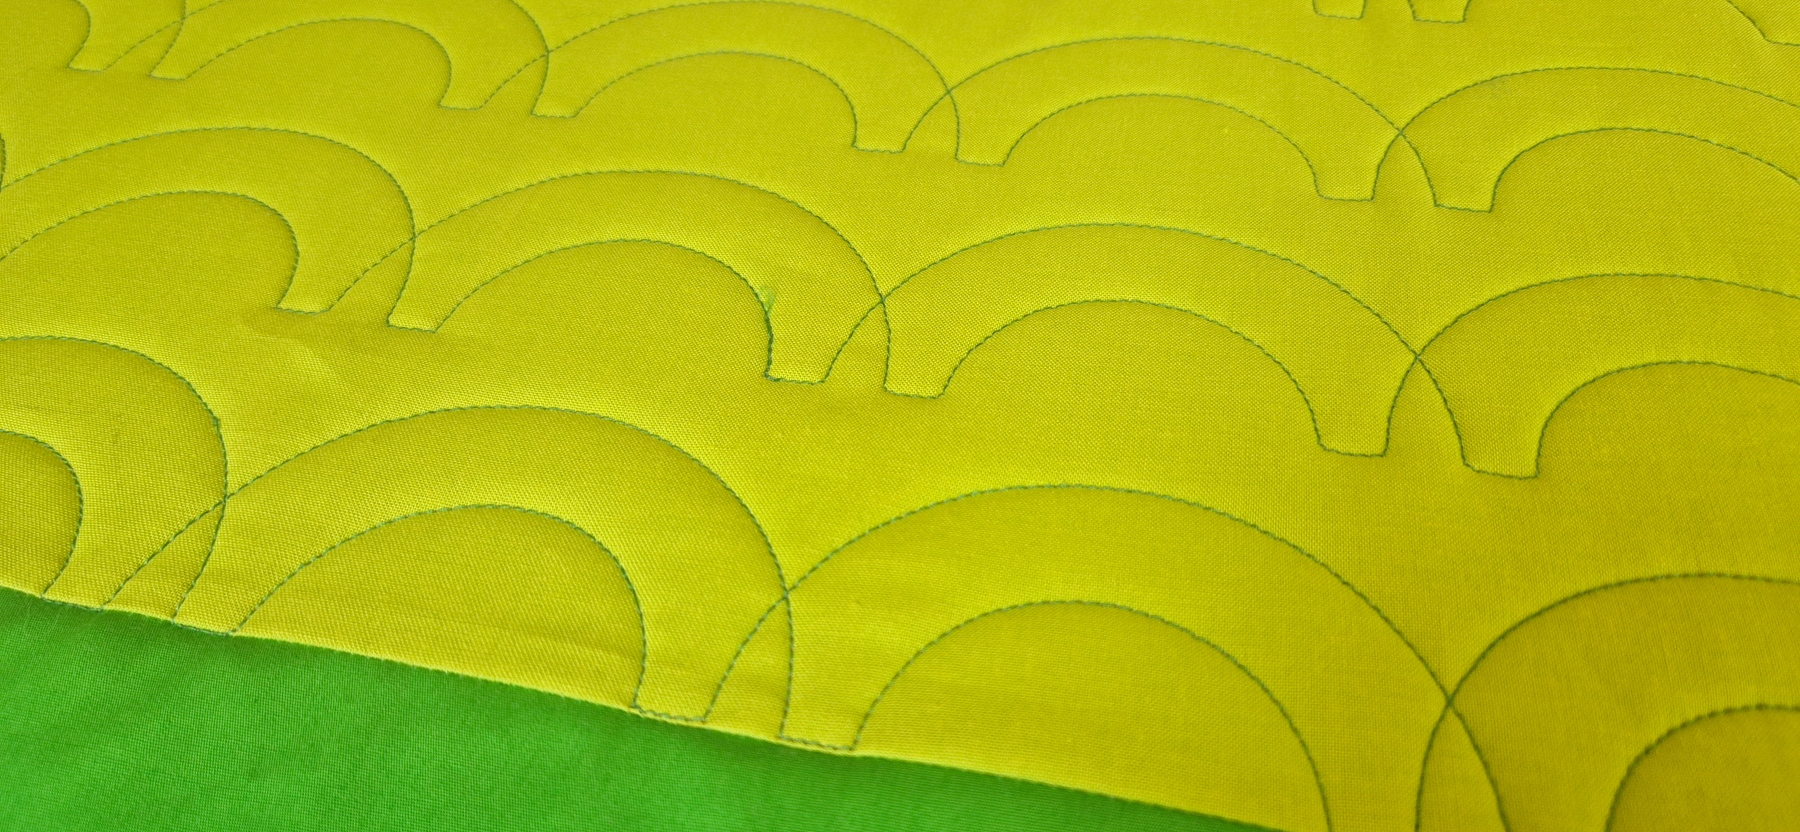
Row 3: Copy & Paste Half Circles
We pieced half circles in this row. So the pattern that we will be quilting in this row of the Q-matic Quilt Along will also be half circles.
We will repeat many steps from the second row. Here are the new tools we’ll focus on today:
- Copy & Paste a design
- Align two designs
- Move a design
Set Up the Q-matic
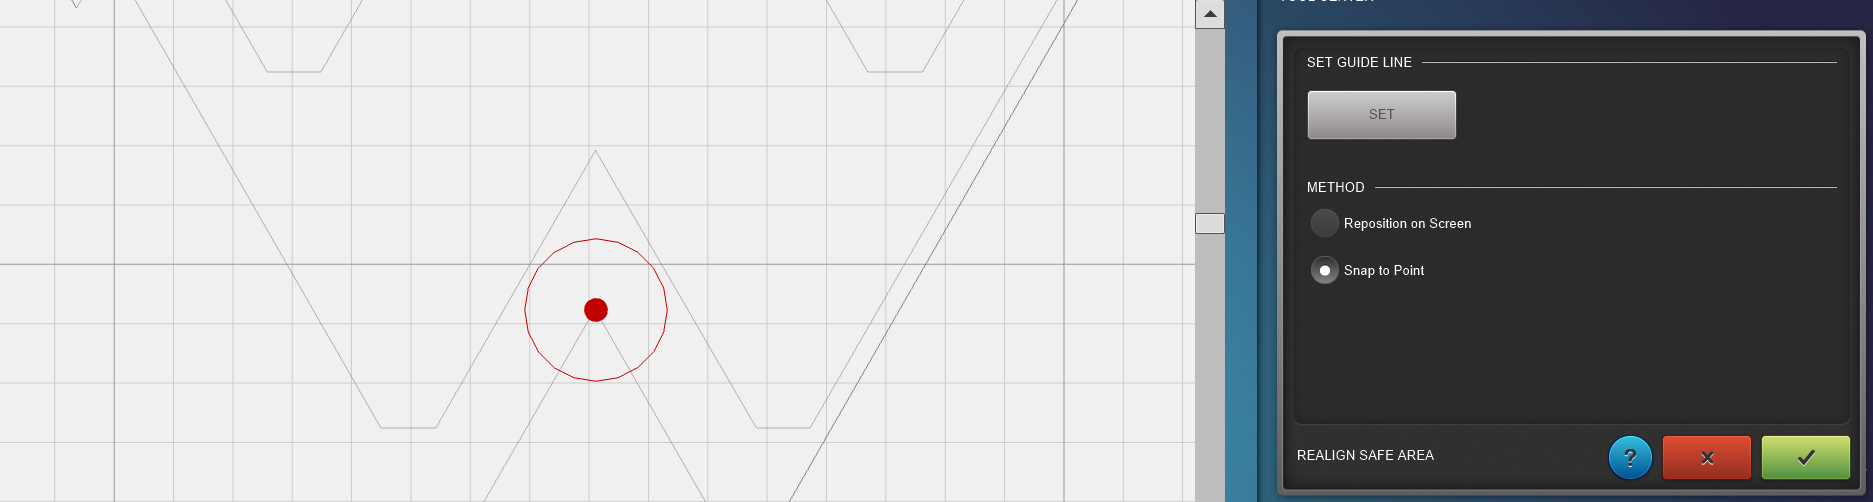
Open your project from last week. Set your safe area and realign the safe area. Just like we did last week, pick a point on the design and use the Realign Safe Area tool with Snap to Point.
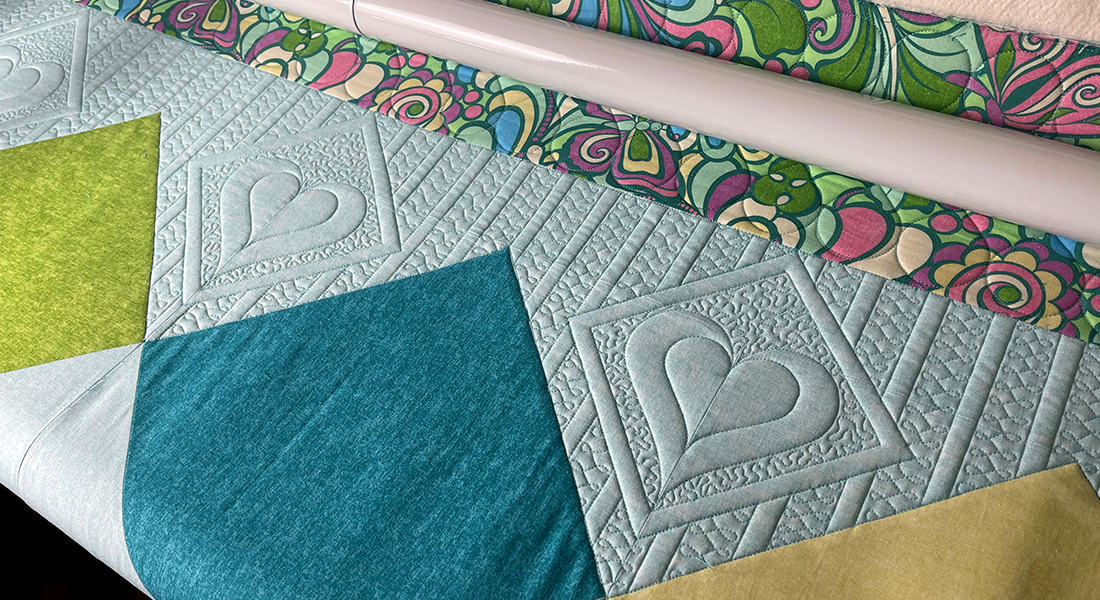
Place a line with markers on the seam between the 3rd and 4th row.
The Pattern
For every row in the Q-matic Quilt Along, you will find an edge-to-edge design to quilt on your row. You can go ahead and download it here:


Place the Design
Go ahead and download and import the .BMQ file for the third row.
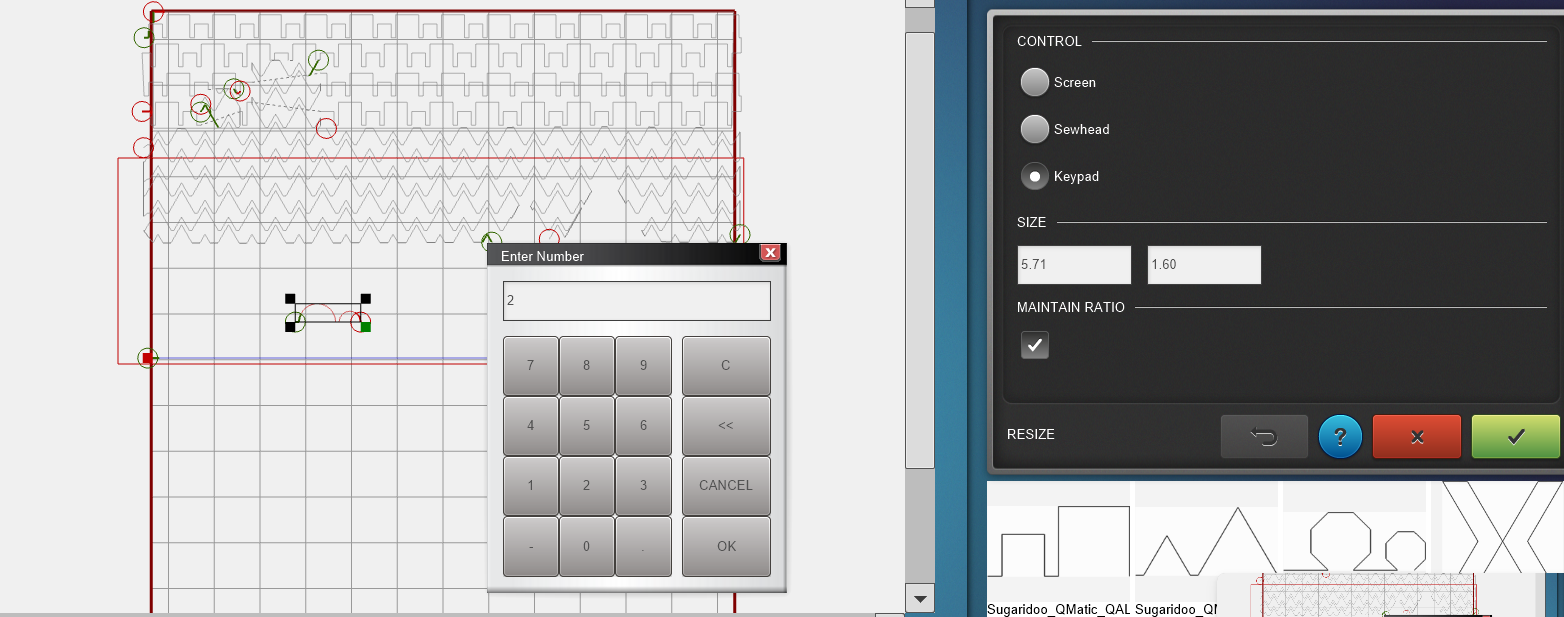
Place the design in your quilt project and scale it to 2 x 7.1 inch.
Creating Our Design
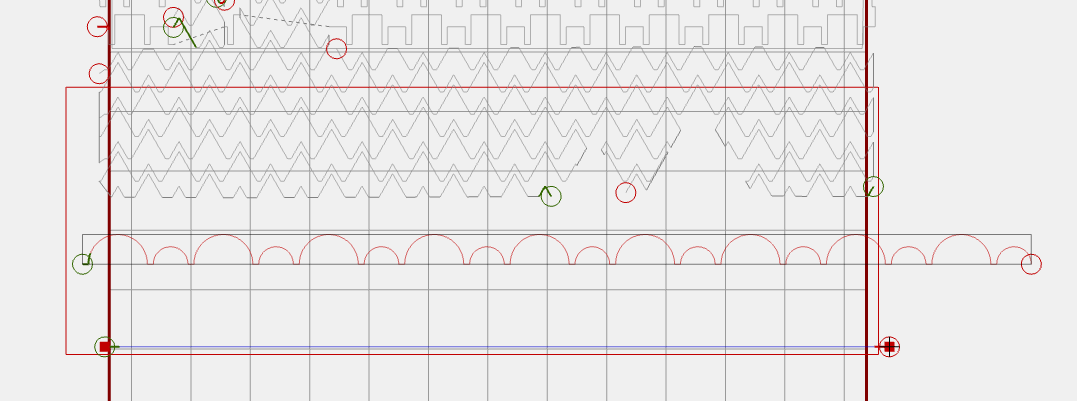
Repeat the design to fill the whole space.
Use the E2E+ function from the Tool Center to repeat the half circles until they extend slightly beyond the row.
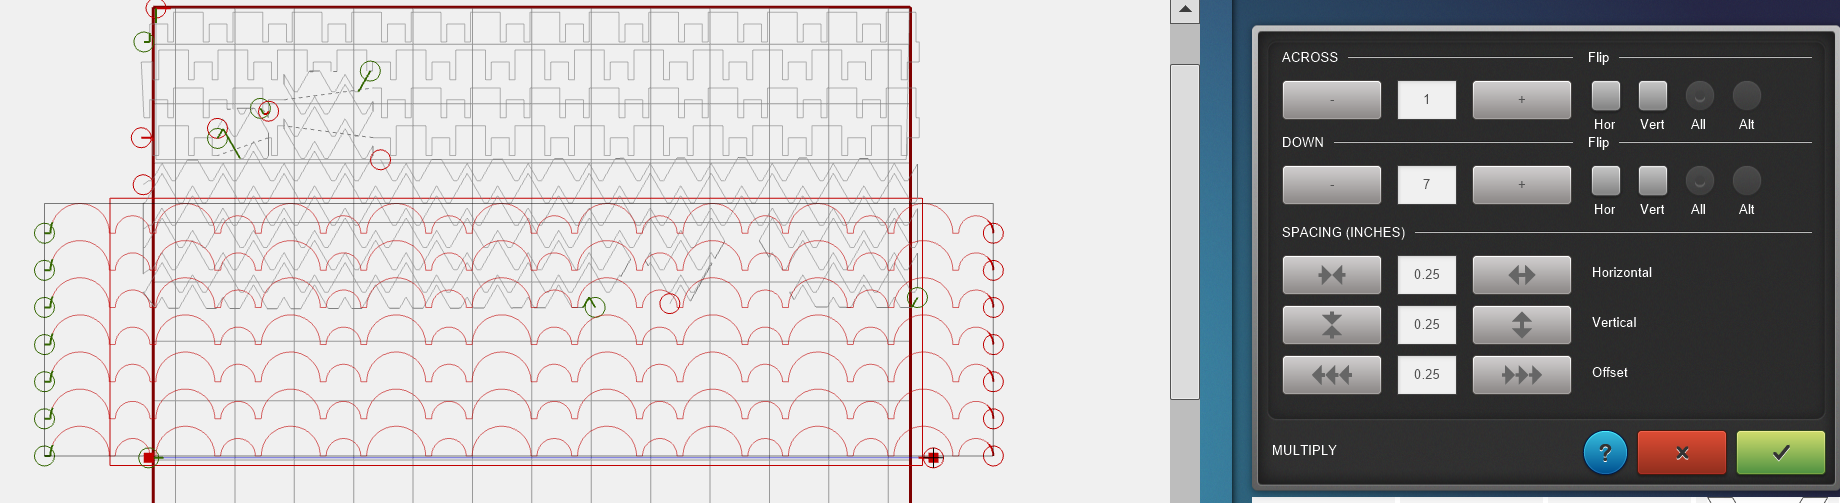
Now we will use the Multiply tool.
Repeat the design down a few times.
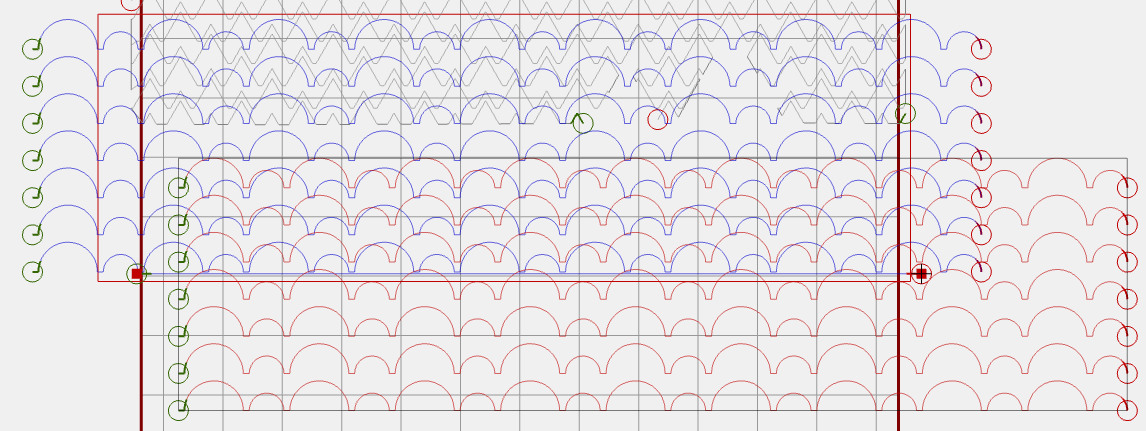
Copy and Paste
To copy and paste a design on the Q-matic, you will use the Copy button. This is a Copy and Paste function in one.
Select the row you just multiplied and click Copy.
Now a copy of the design will be placed at the location of the needle.
Align Two Designs
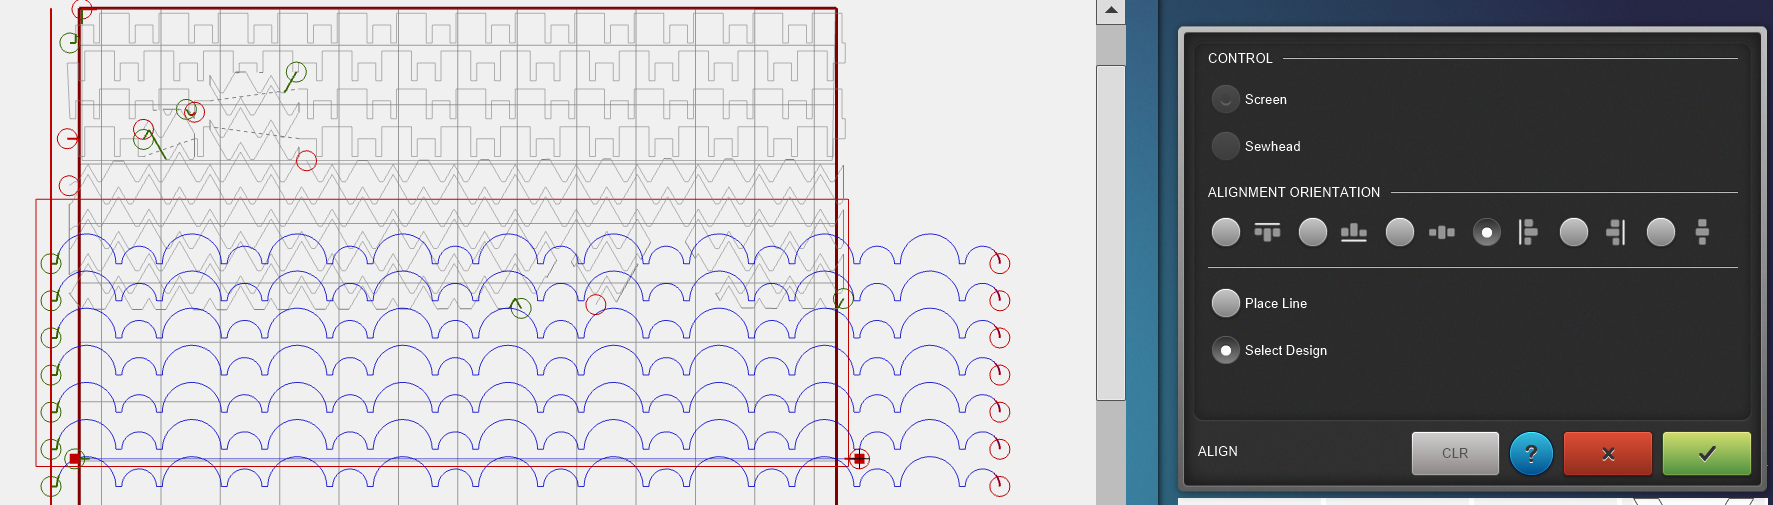
Now we want to align the two versions of the pattern. Click the Align tool in the Tool Center.
The settings are automatically set to Screen, exactly what we want. Now select the Alignment Direction. We will align our designs twice.
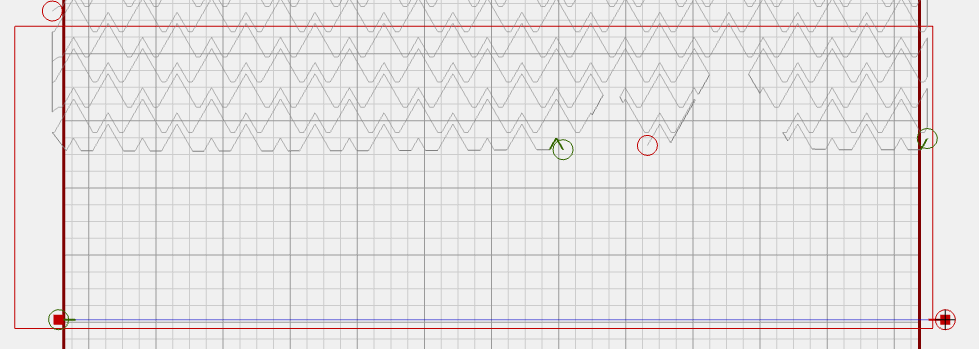
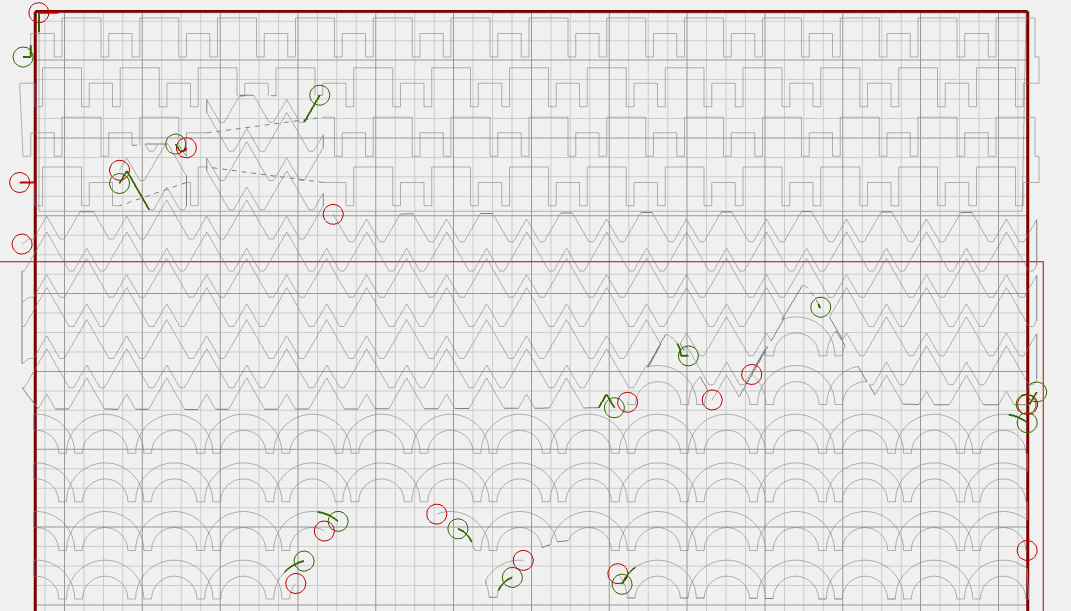
First, select the most left align orientation and Place Line.
Place the line near the top of the designs, see the red line in the image below.
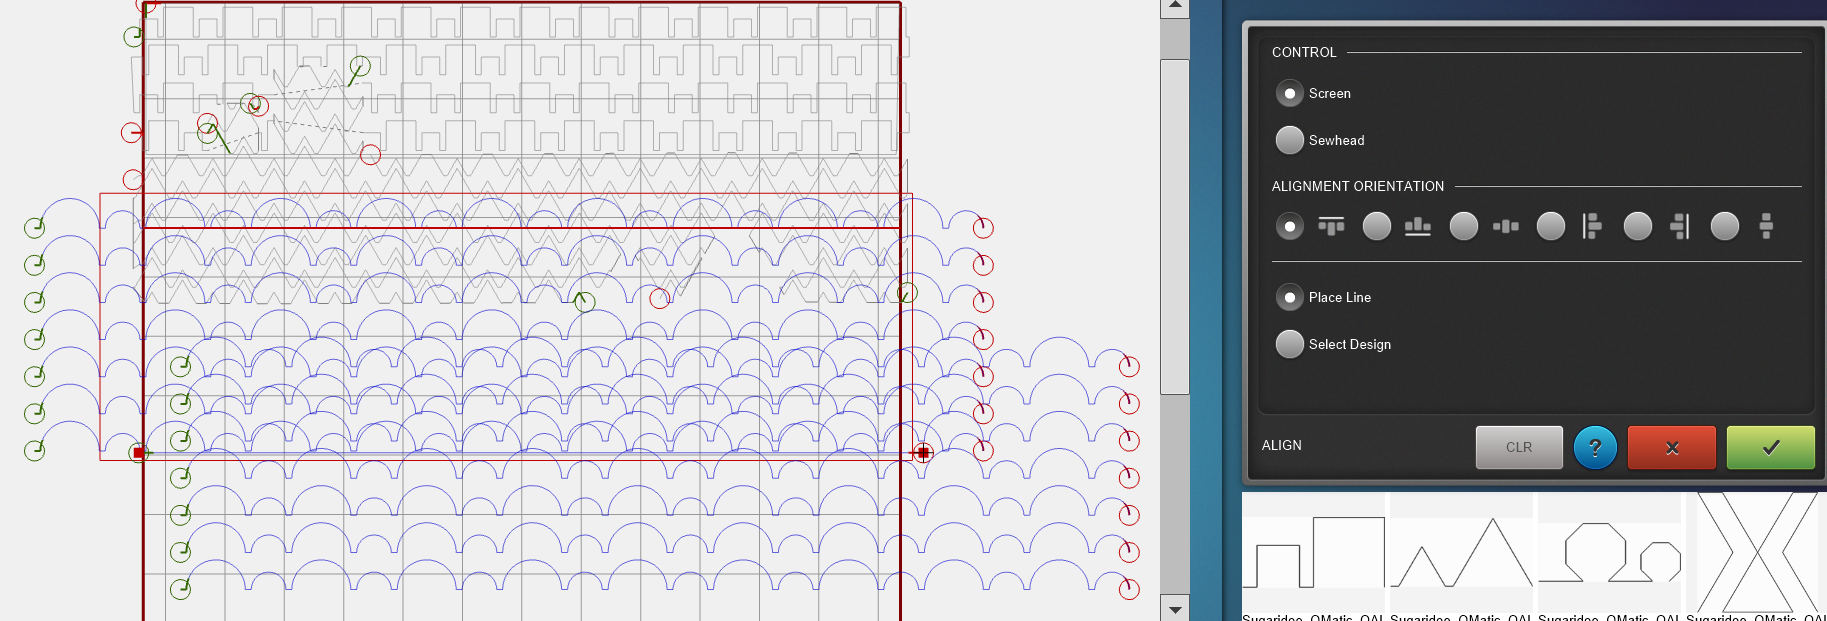
Now use the option Select Design and click on the designs that you want to align with the line.

Now we repeat these steps and align the designs with a vertical line.
Here is the BERNINA instruction video for the Align tool.
Move a Design
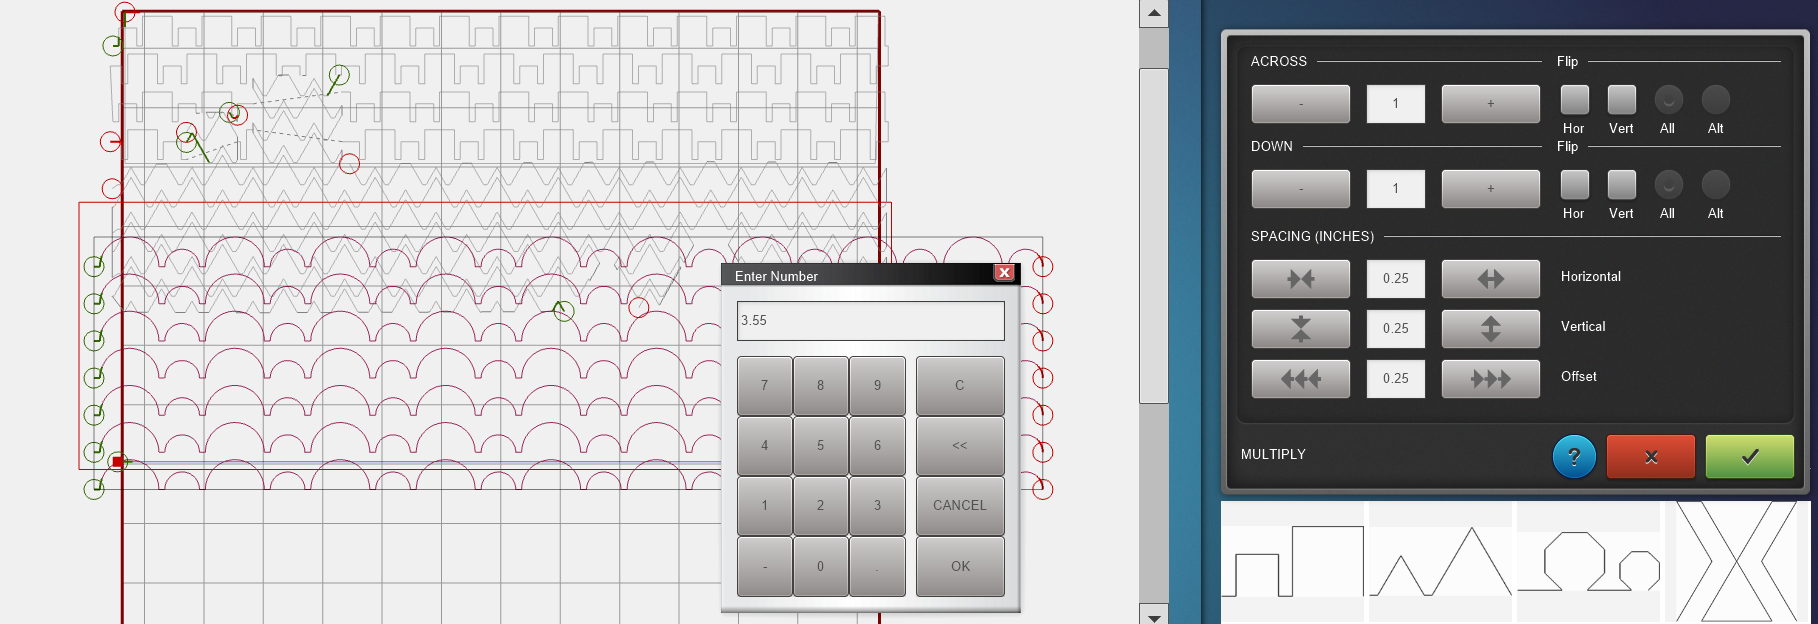
Now that the designs are aligned, we can move one of them. Use the Multiply tool, without multiplying the design.
We will only set the Offset spacing to 3.55 inch to get the design in the right spot.
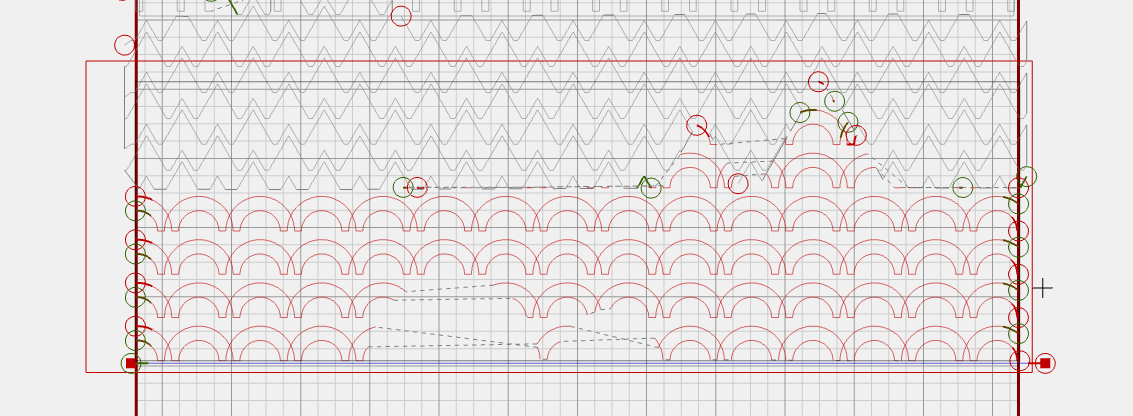
Click on one of the designs and use the Reverse Sew option.
Now you can use the Connect tool with the Group function to keep these designs together.
Once you have grouped the designs, you can move them together. Place the grouped design so that the bottom is aligned with the marked line of the seam between row 3 and 4 of the quilt.
Creating a Mask
Use the Mask function, which we explored last time, to eliminate everything outside the green fabric.
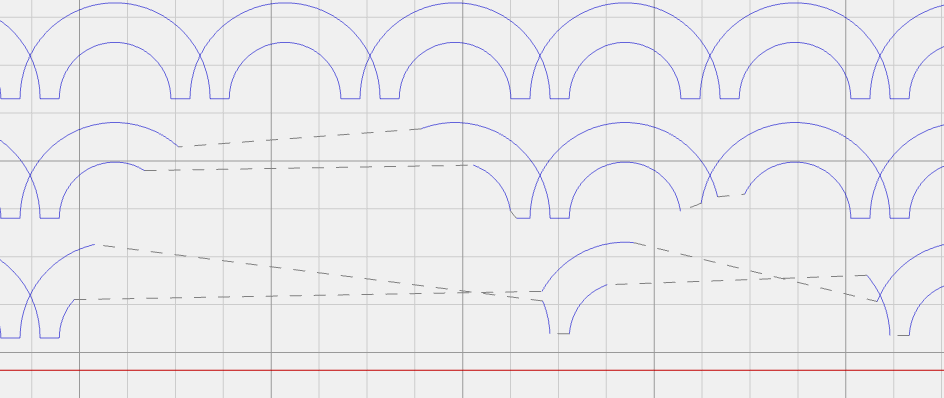
Due to the Reverse Sew option we used, you’ll see alternating start and stop points on both sides. That is perfect to reconnect the design.

Cleaning Up and Linking the Design
At this point, you could hit Start. But I prefer to first clean up and then link the design we created after using the mask function.
Select the design and click Unconnect.
Delete any tiny bits that you don’t want to quilt.
Use the Connect tool, the Link option, and join the design back together.


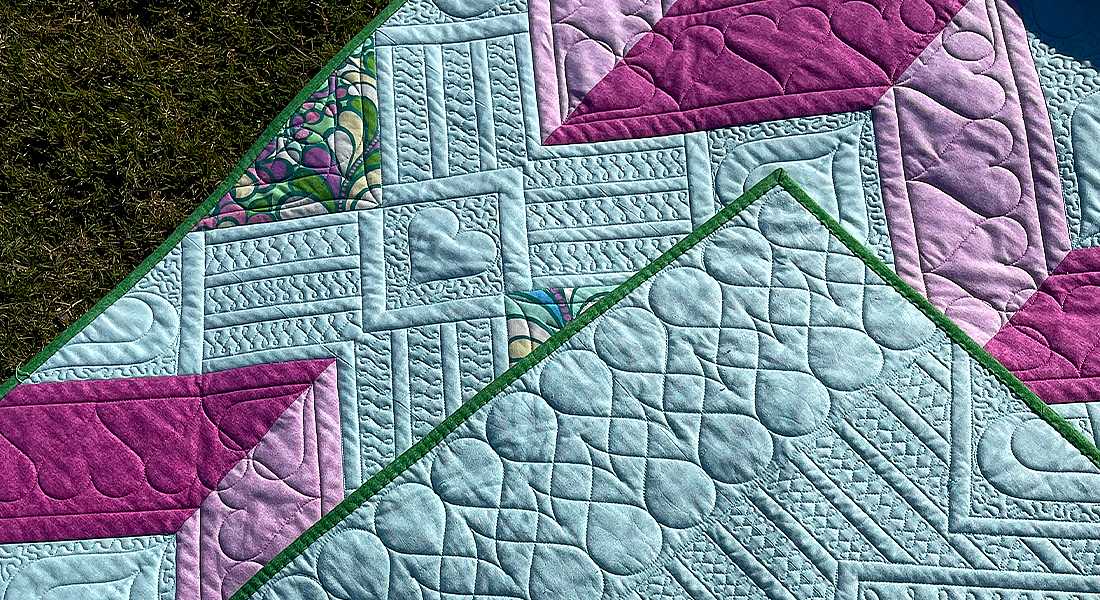
I didn’t link the design on the side of the half circles. I preferred the travel stitches over a quilted line that might not flow nicely across the curved seam in the quilt top.

Here is a screen recording of how I did this for my design.
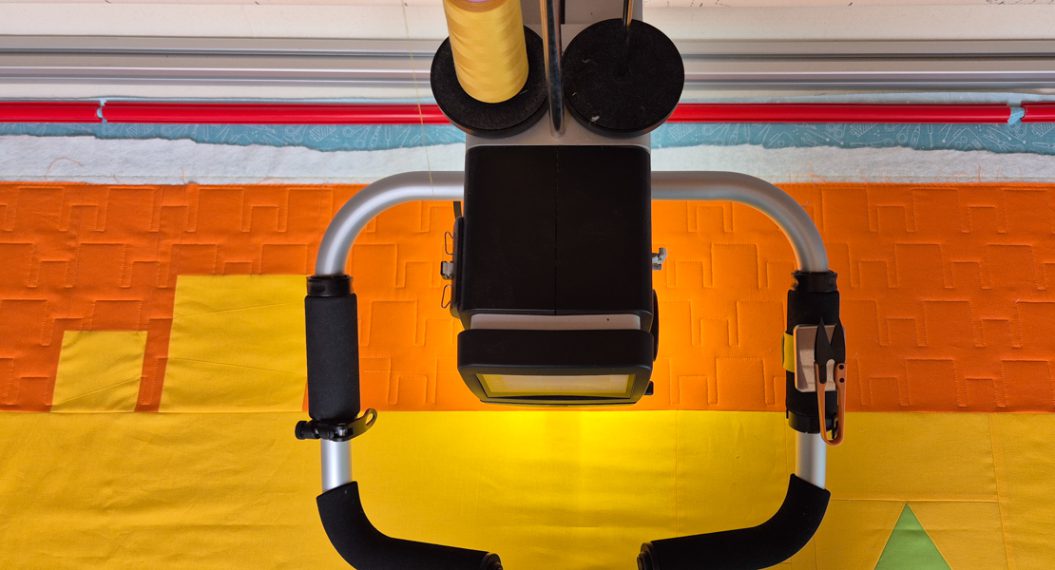
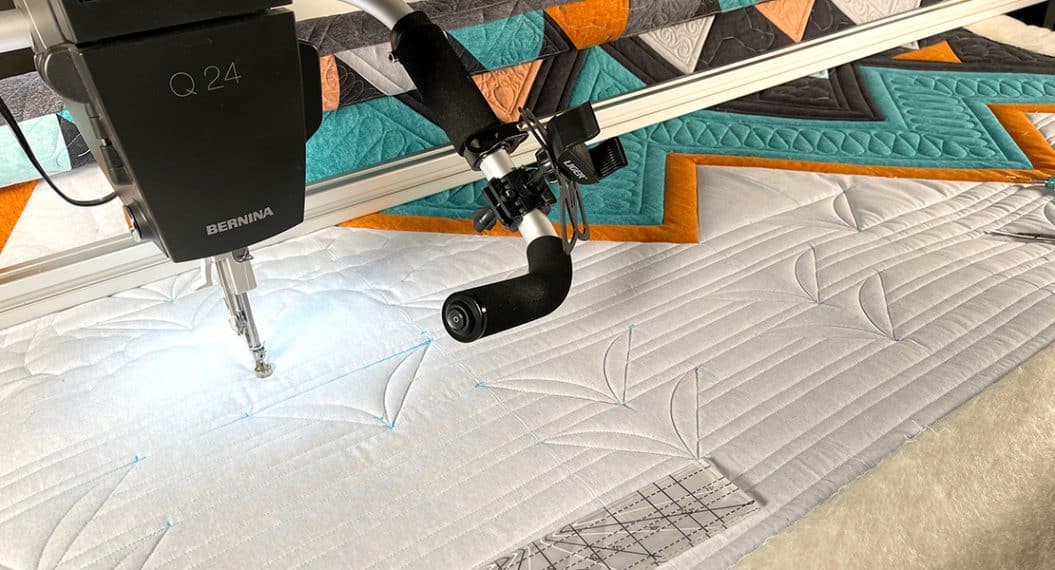
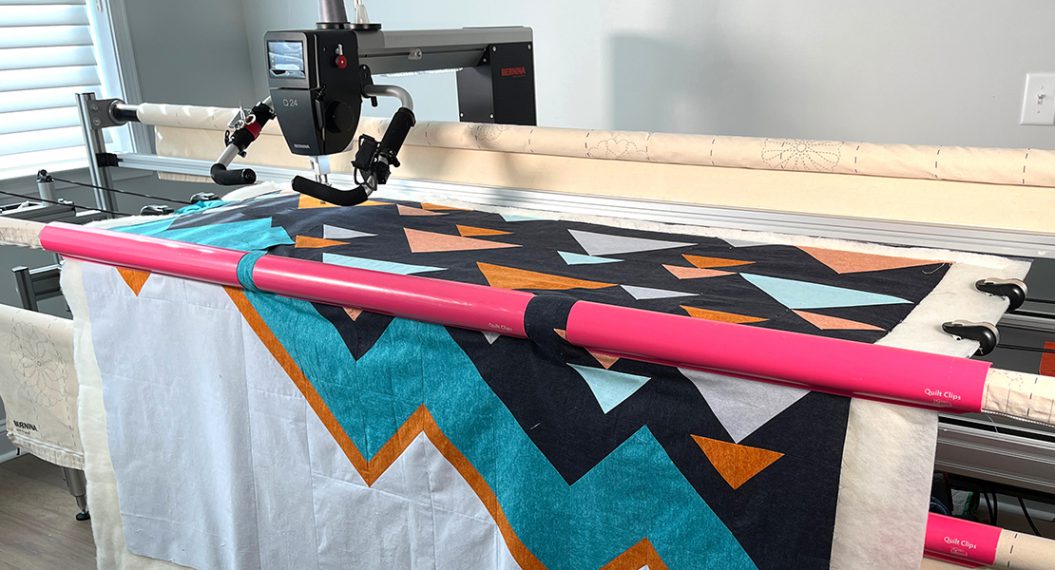
Go Time!
When you are happy with your design, it’s time to hit start and enjoy watching the Q-matic do its magic.
Till Next Time!
I’ll be back in two weeks to continue our quilting! If you have any questions in the meantime, please put them in the comments below.
Happy quilting, see you soon!