Q-matic Quilt Along, Part Four: Quilting Row Two
Are you ready to quilt the second row in our Q-matic Quilt Along? I’m so excited to go through all of the features that the Q-matic has to offer. It’s wonderful to get to practice using them together with all of you!
If you missed the first two parts of the Q-matic Quilt Along, you can read all about it here:
- Q-matic Quilt Along: Introduction
- Q-matic Quilt Along, Part One: Sewing the Quilt Top
- Q-matic Quilt Along, Part Two: Continuing to Sew the Quilt Top
- Q-matic Quilt Along, Part Three: Quilting Row One
Make sure to tag @BERNINAUSA and me, @Sugaridoo, when you’re working on this project. I would love to see what you’re making!
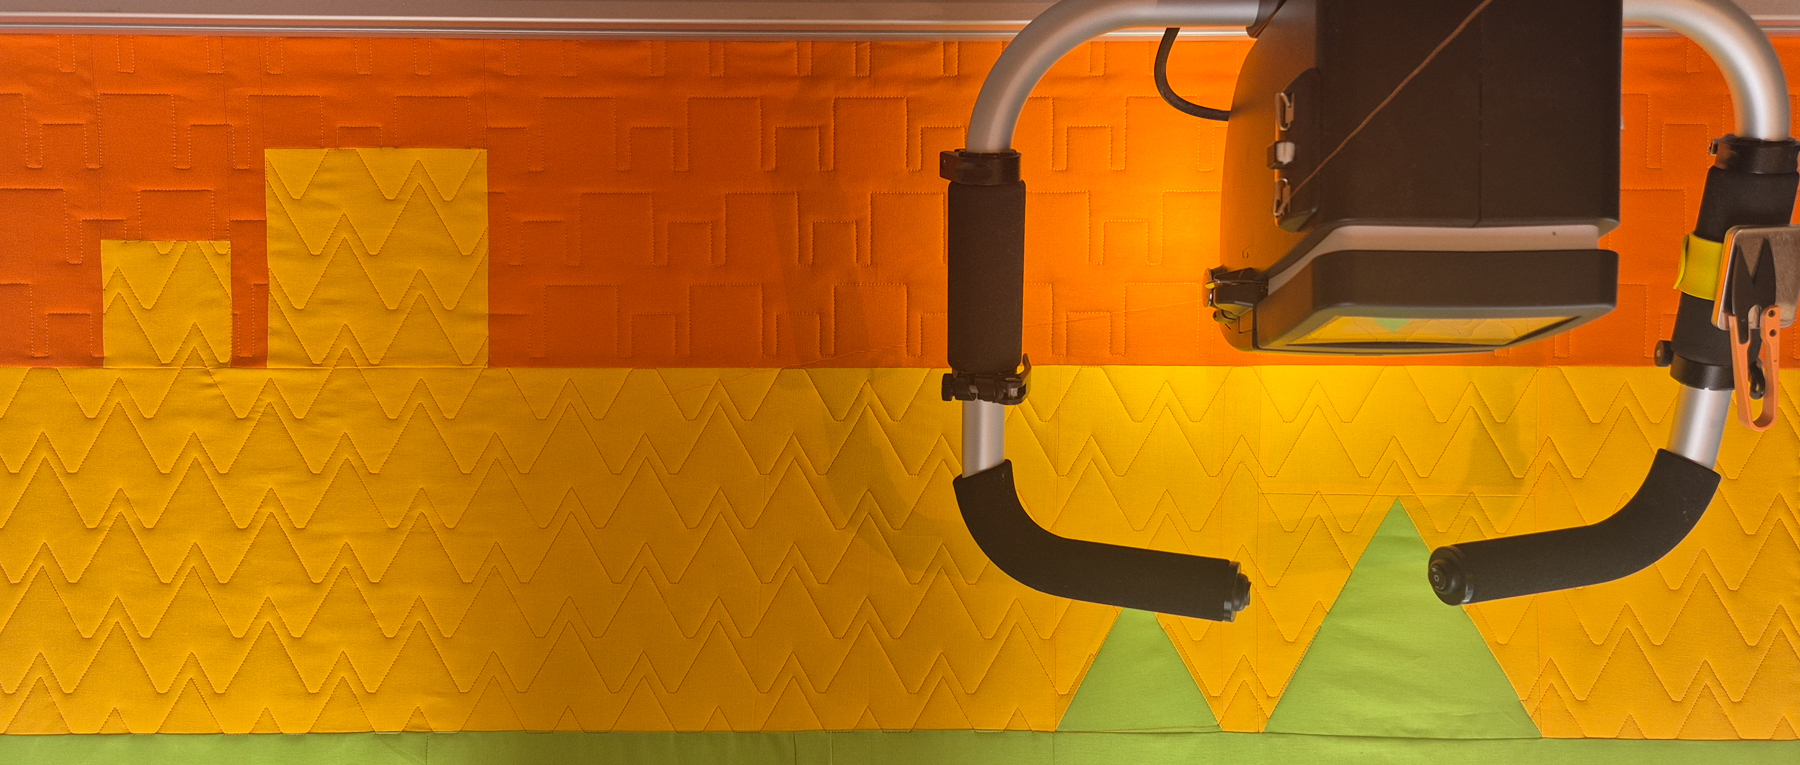
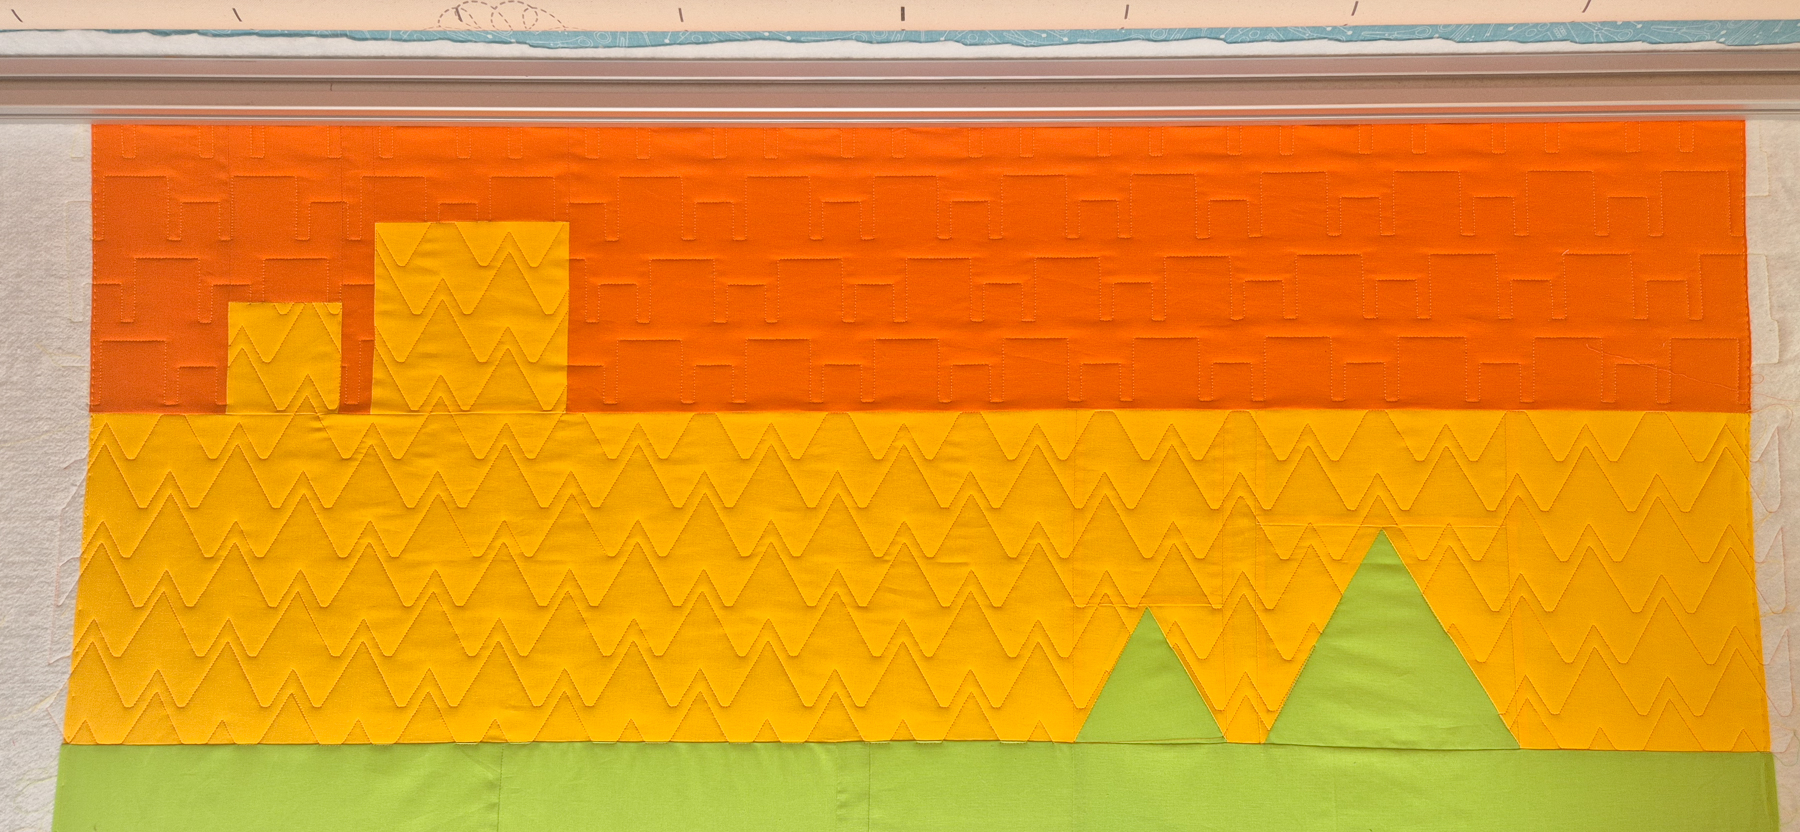
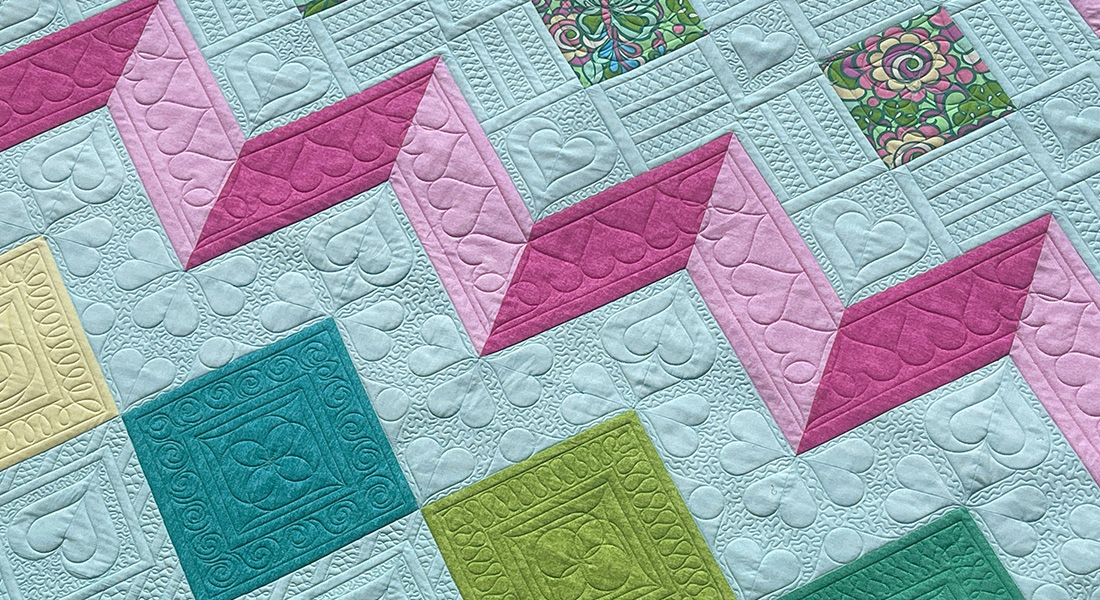
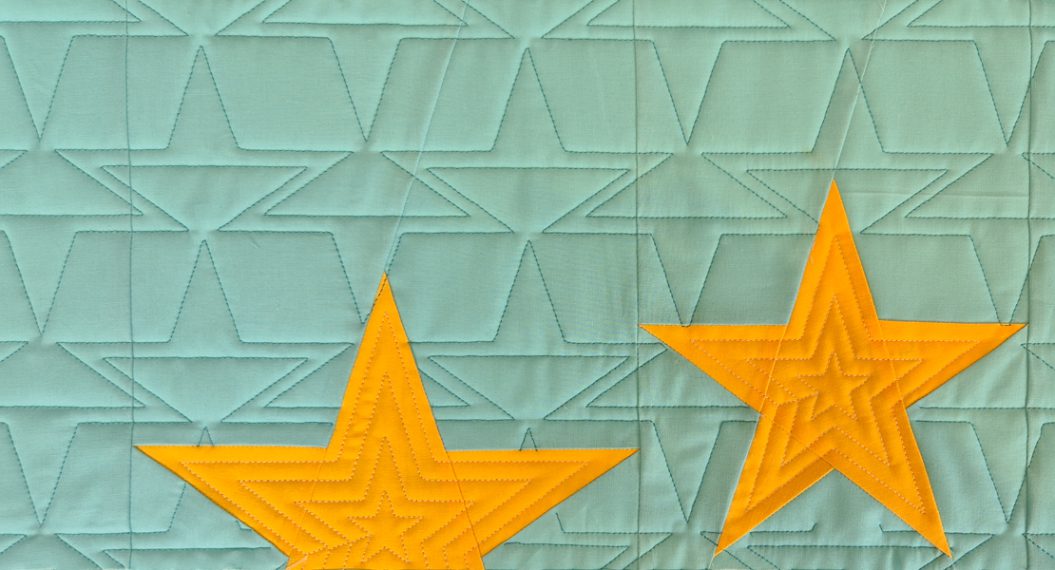
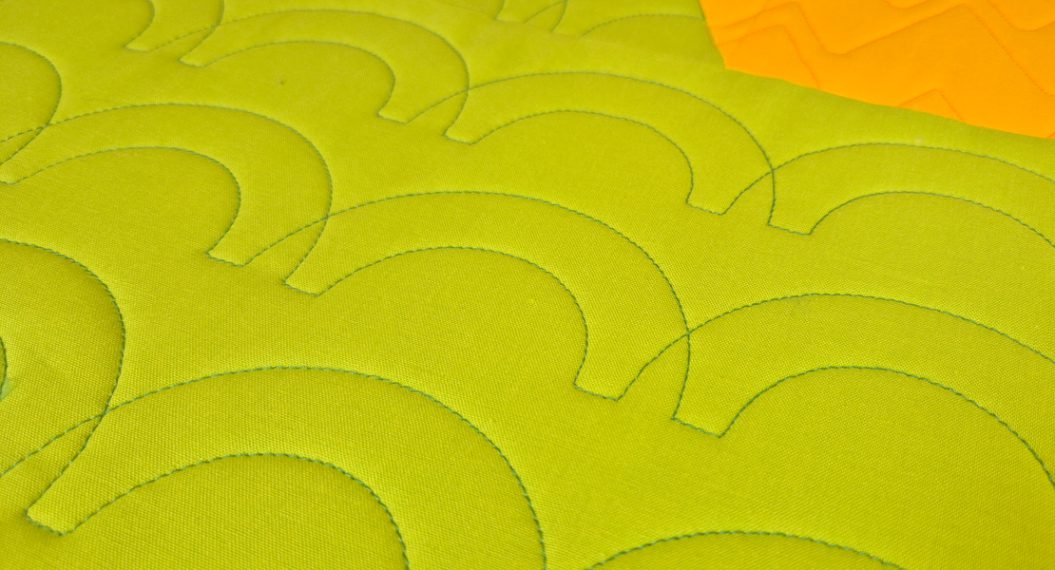
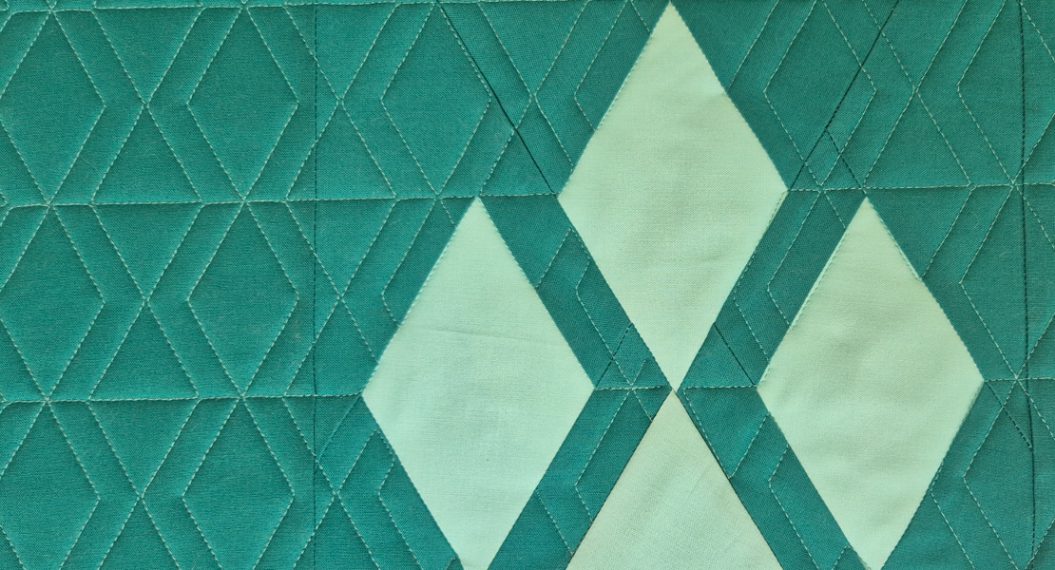
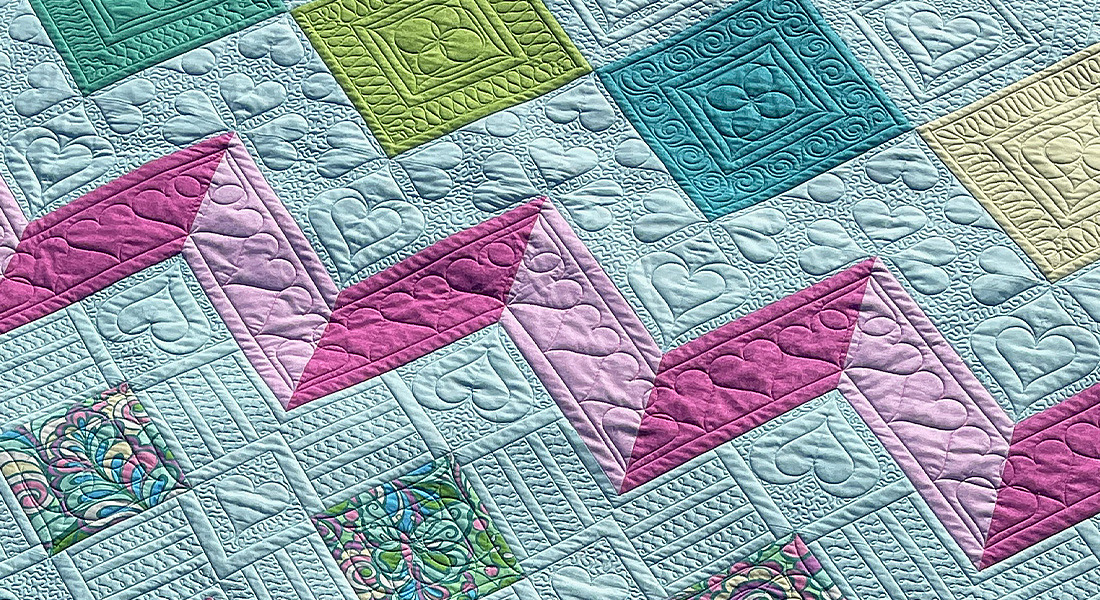
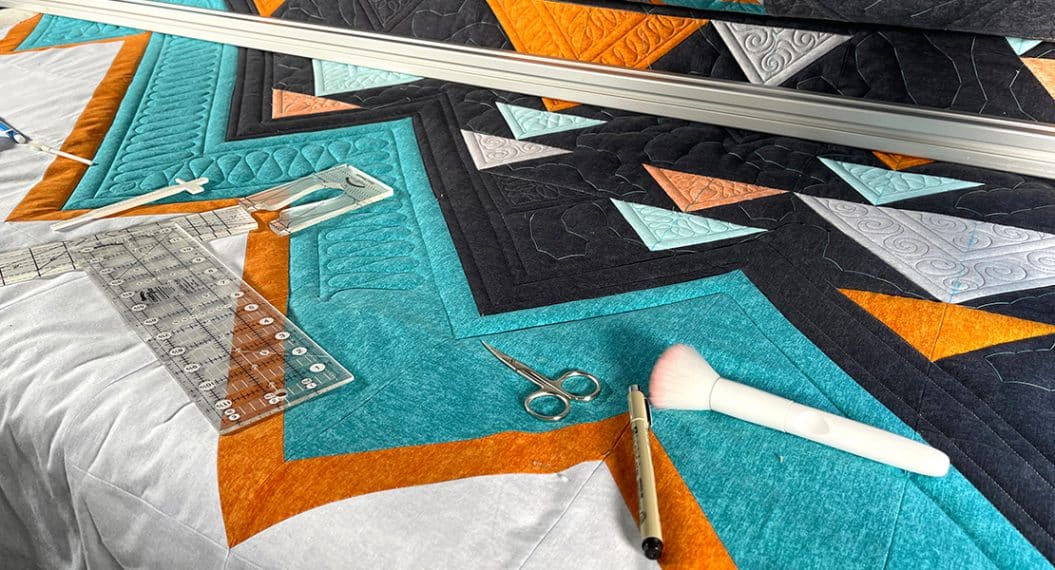
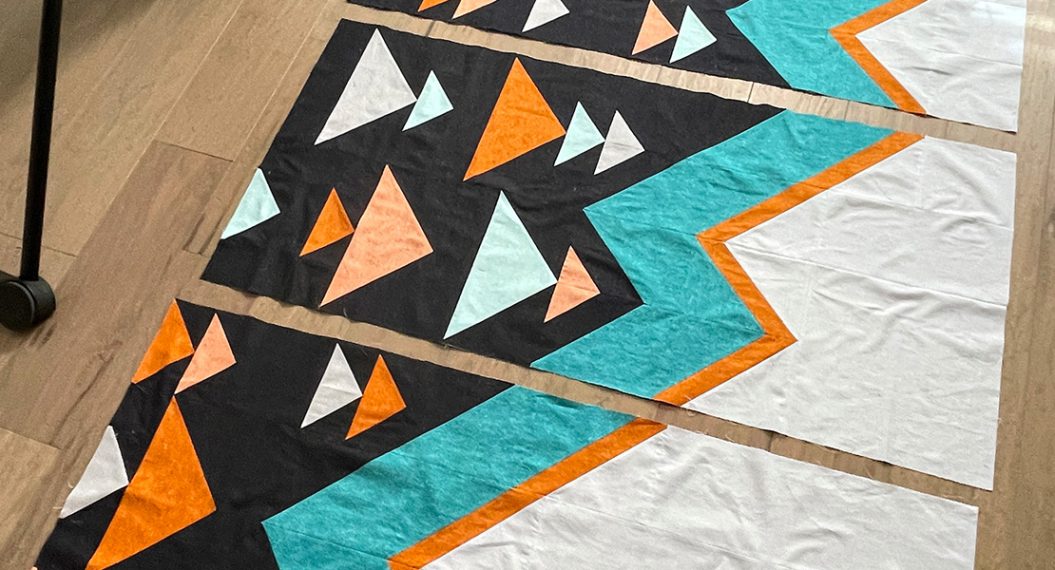
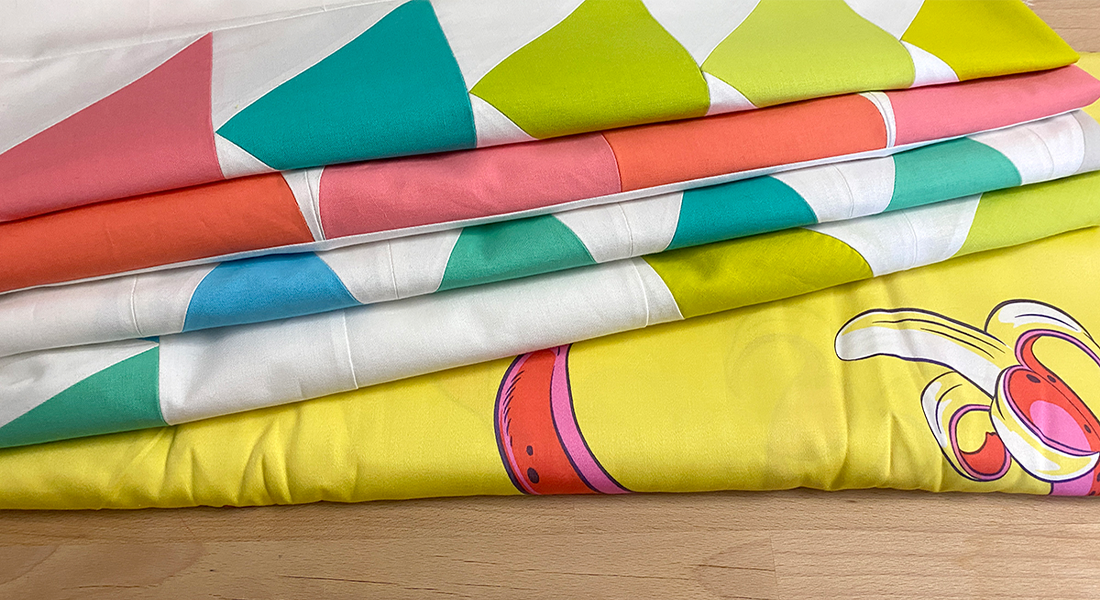
Row 2: Linking Triangles
A new row, a new shape. Today, we will work with triangles in the Q-matic Quilt Along. Here are the things we will practice today.
- Repositioning your safe area
- Shifting and aligning an edge to edge pattern
- Cleaning up after using the Mask function
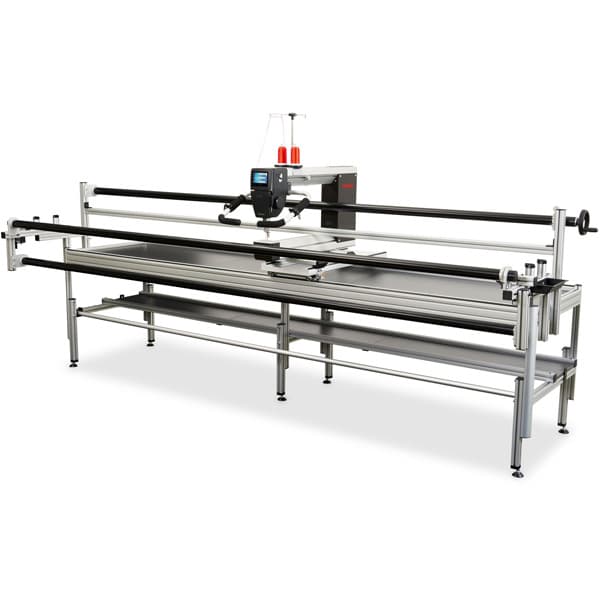
Set Up the Q-matic
For our first row, we had to set up our quilt. That is all done, so today’s setup is much easier.
Start up your Machine and the Q-matic software. Open the project you saved after finishing the first row.
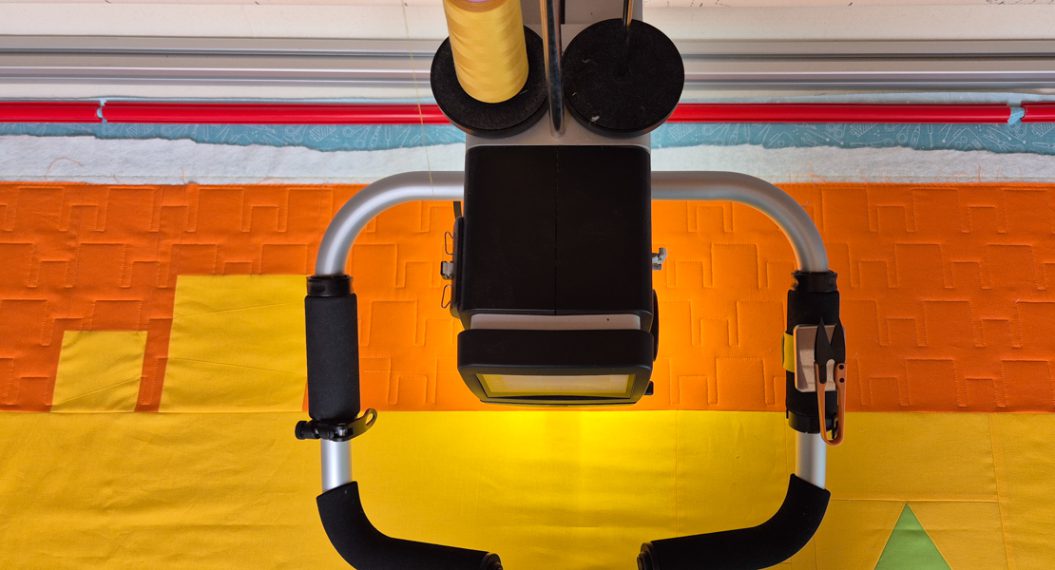
Realigning the Safe Area
The only thing left to do now is to realign the safe area. Start by setting the safe area like you always do.
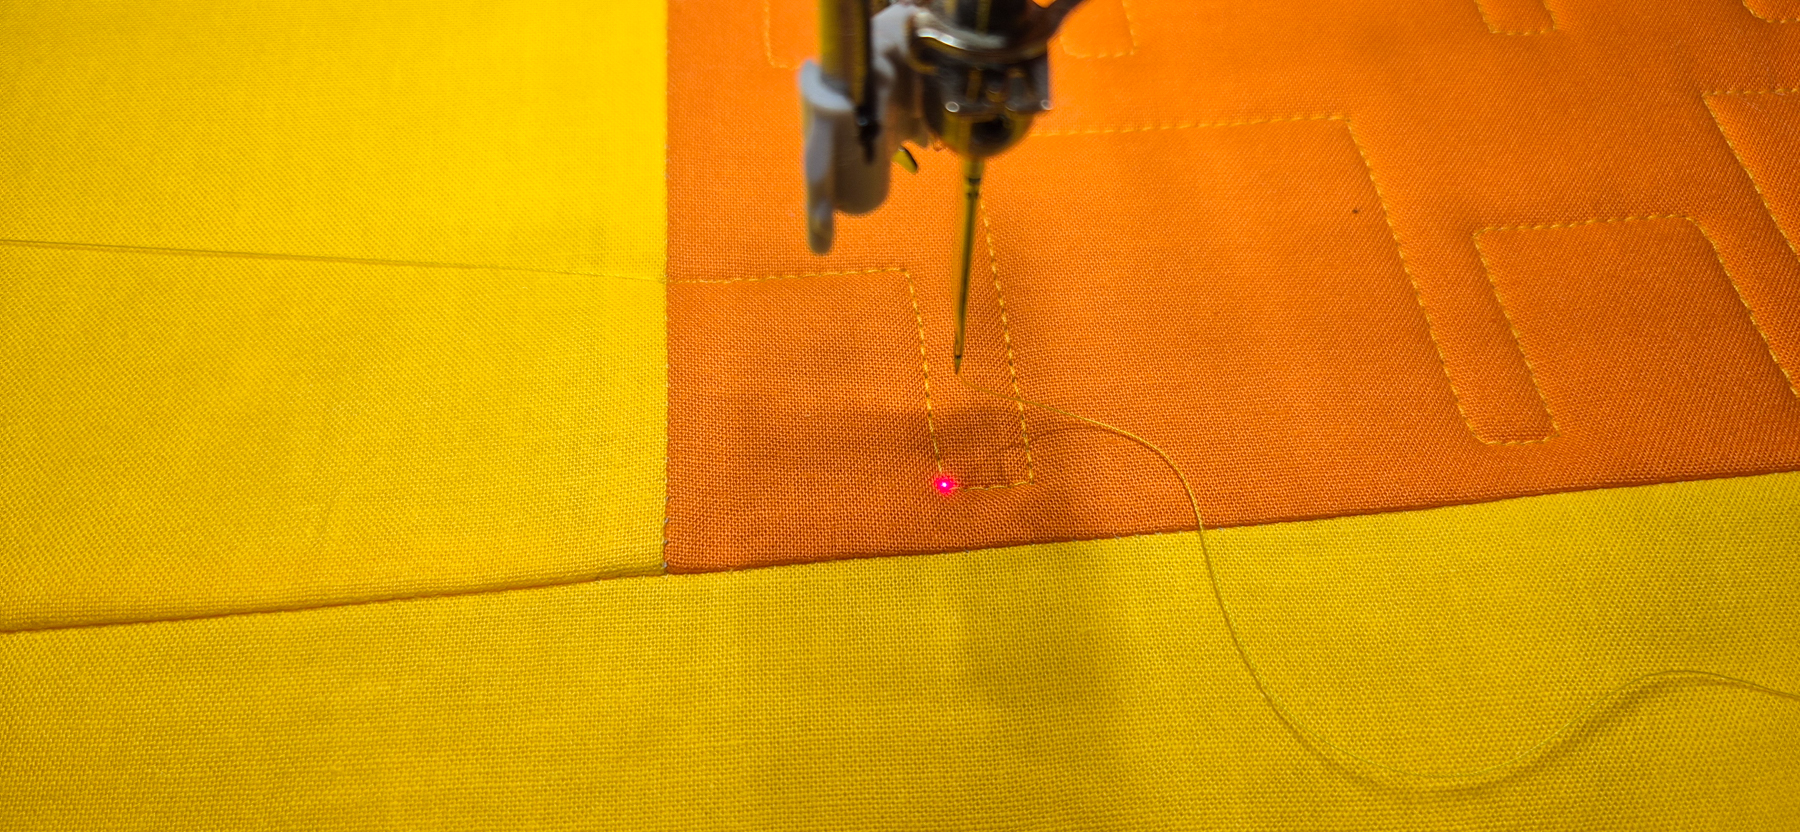
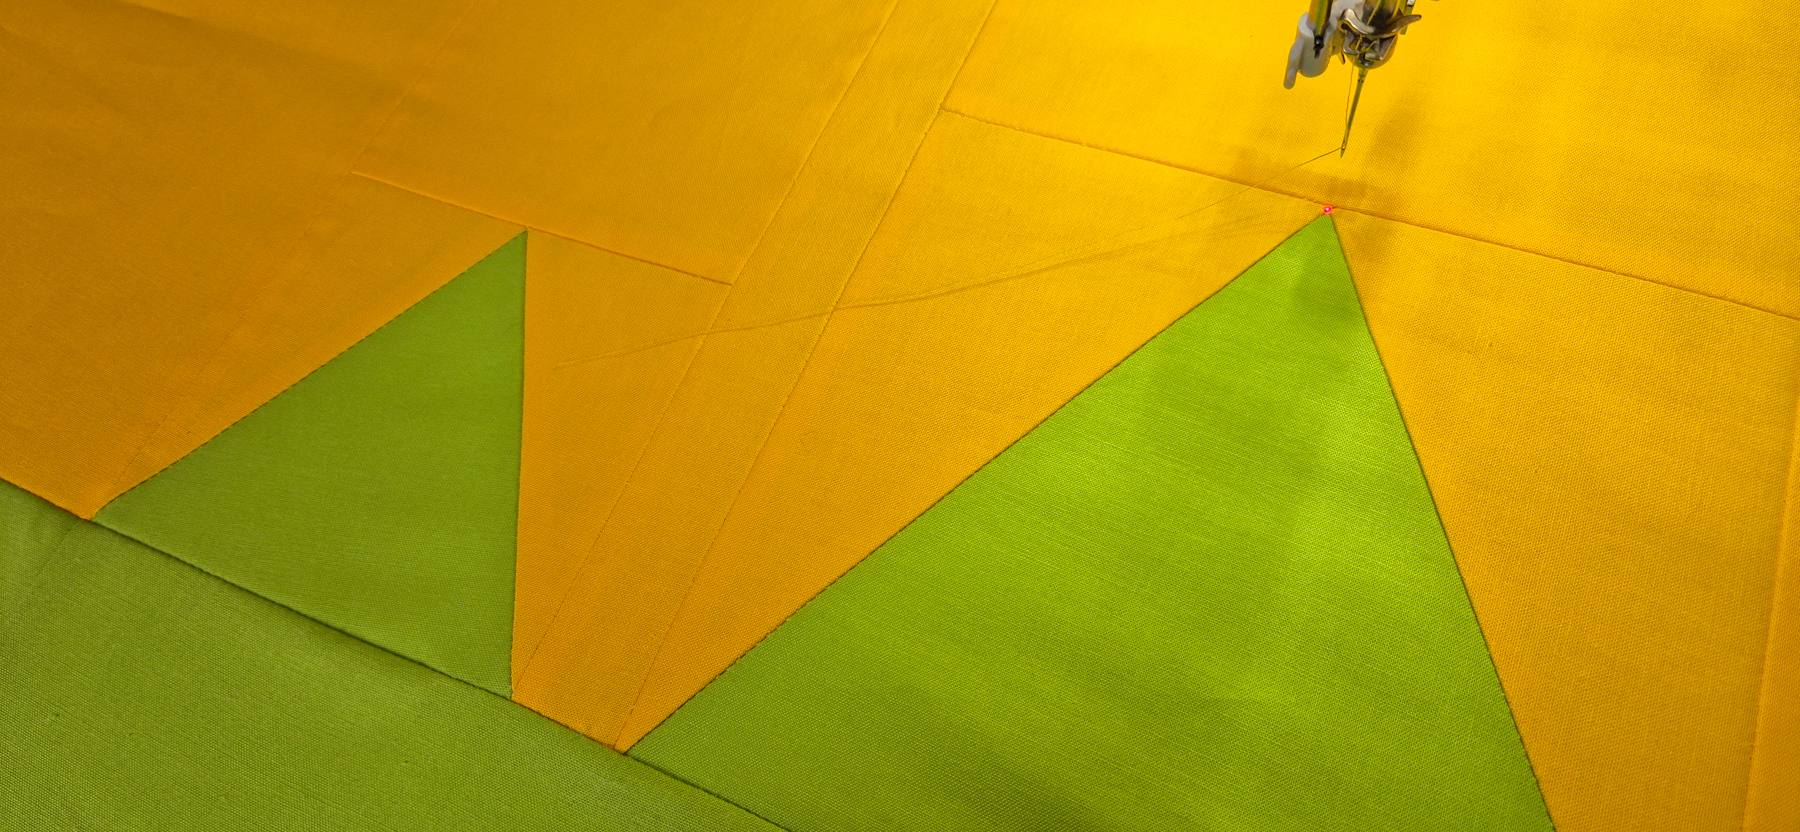
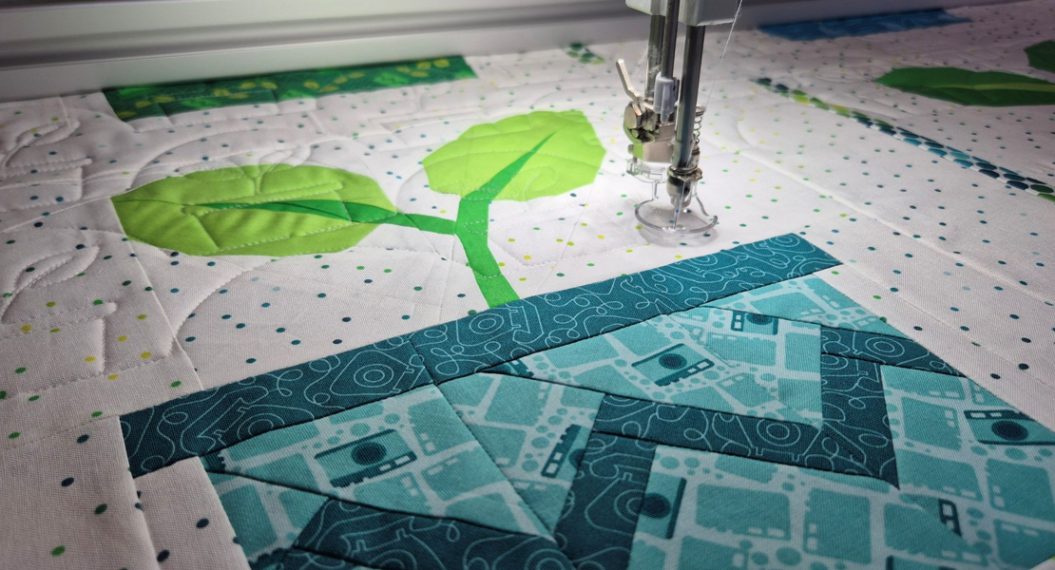
Move your quilt on the rollers so that your sew head can reach all the yellow fabric. Place the needle on a point on the design that you can recognize on the screen.
Zoom in on this point on your screen and select Realign Safe Area in the Tool Center.
With Snap to Point you can select where the needle is supposed to be on the screen.
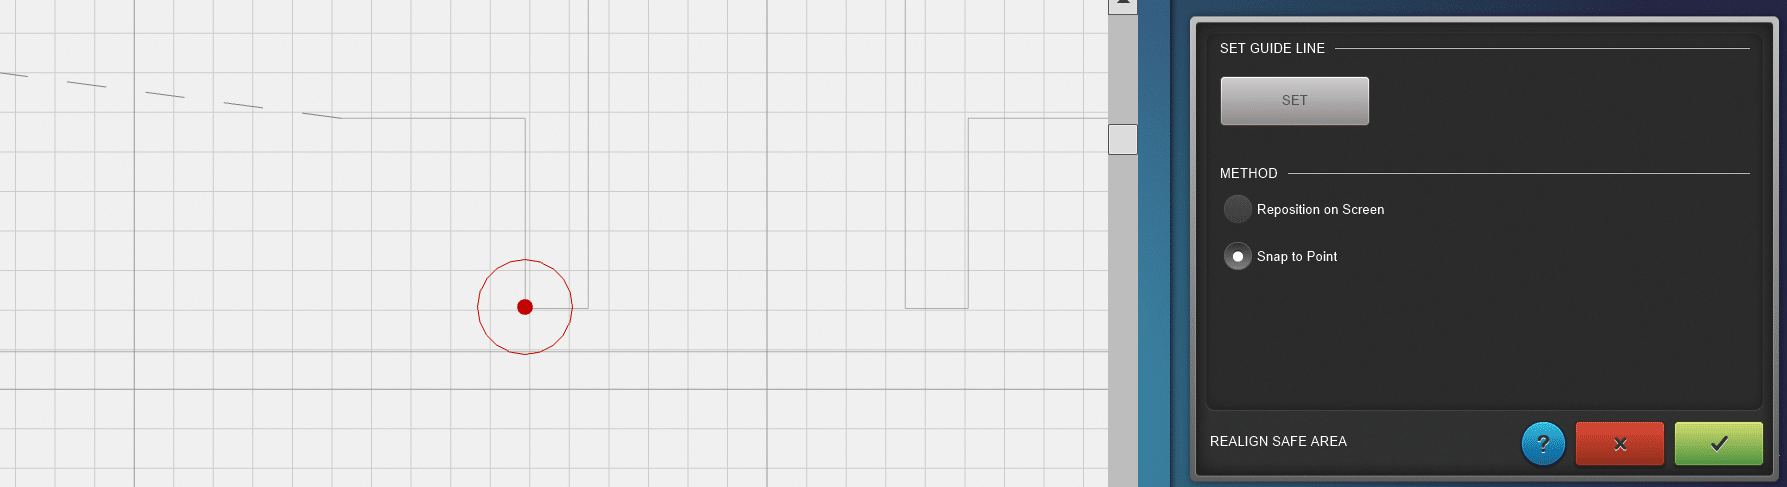
Now the red box, your safe area will be in the correct position.
This video also shows how to realign your safe area.
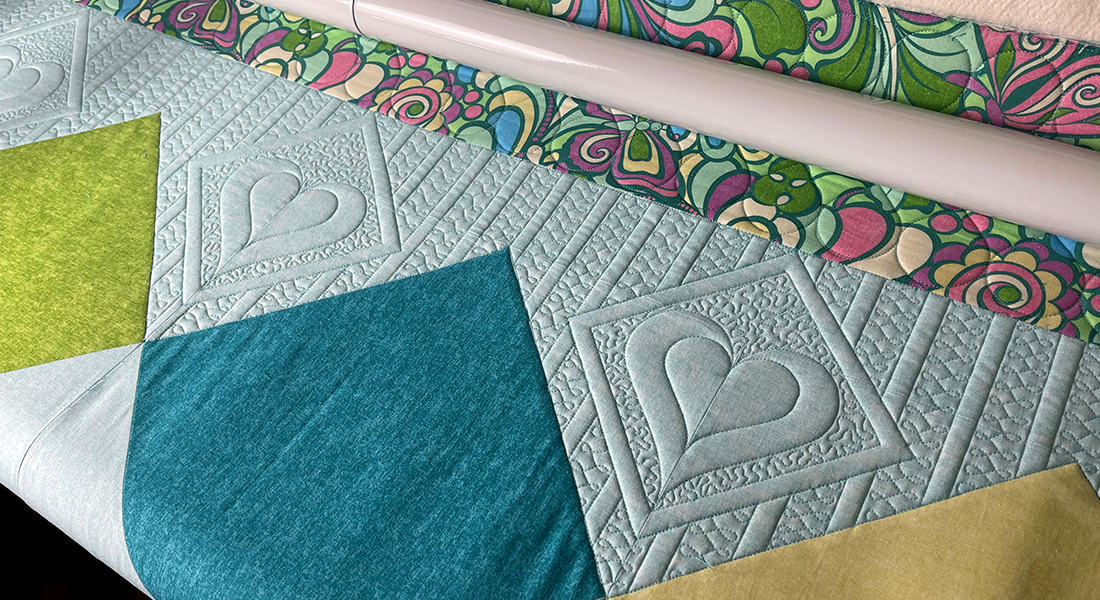
Markers
Place a Line with Markers on the edge of the second row. This will help us when creating our design.
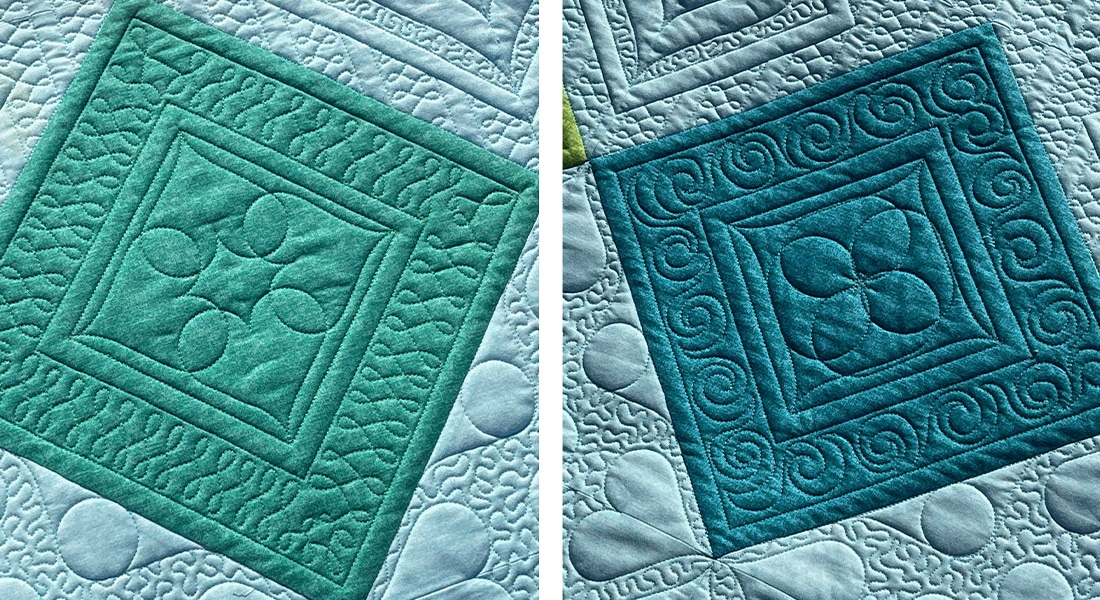
The Pattern
For every row in the Q-matic Quilt Along, you will find an edge-to-edge design to quilt on your row. You can go ahead and download it for free.

Place the Design
Go ahead and download and import the .BMQ file for the second row.
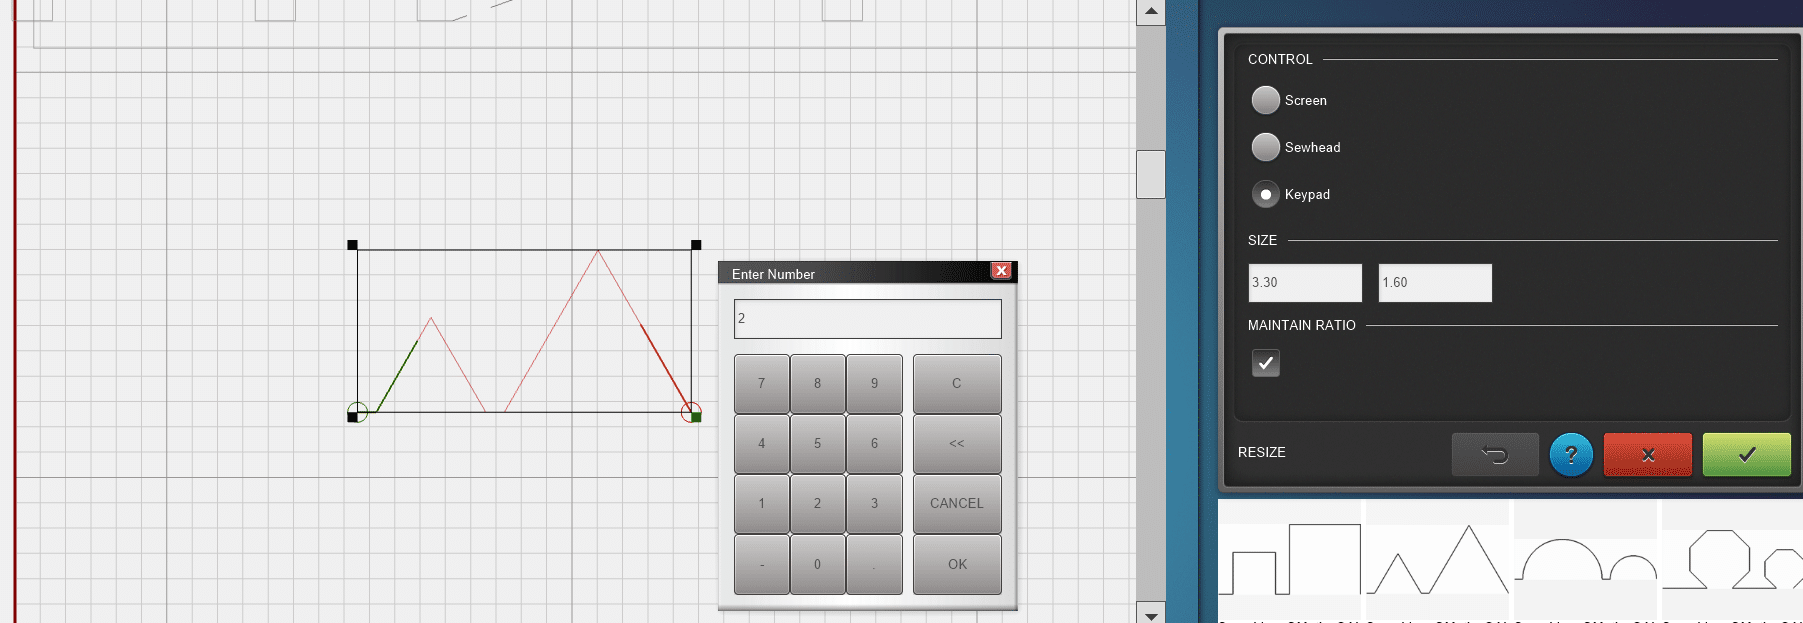
Place the design in your quilt project and scale it to 2 x 4.1 inch.
Creating Our Design
Now we will repeat the design and fill the whole space with it. Use the E2E+ function from the Tool Center to repeat the triangles until it is a bit wider than the row.
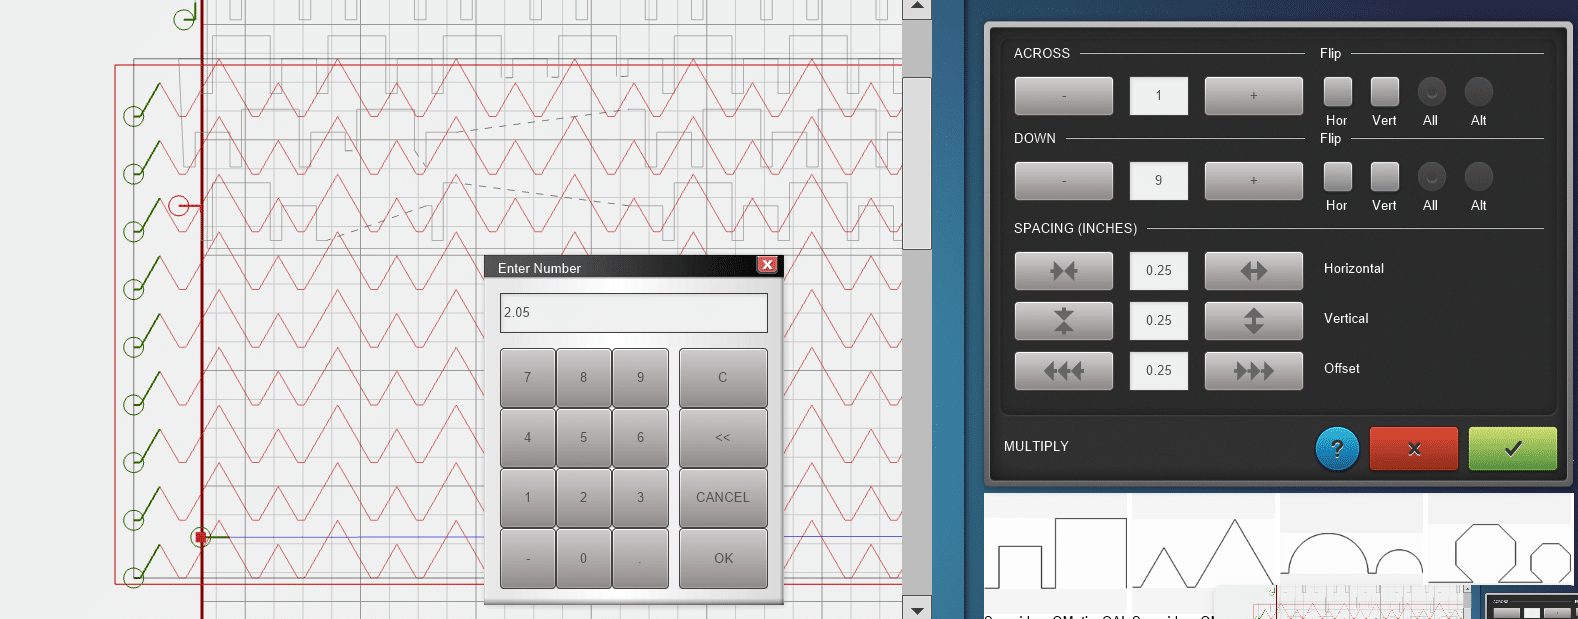
Now we will use the Multiply tool.
Repeat the design down a few times.
Now set the Spacing Offset to 2.05 inch. This is half of the width of the design. This will shift every other row.
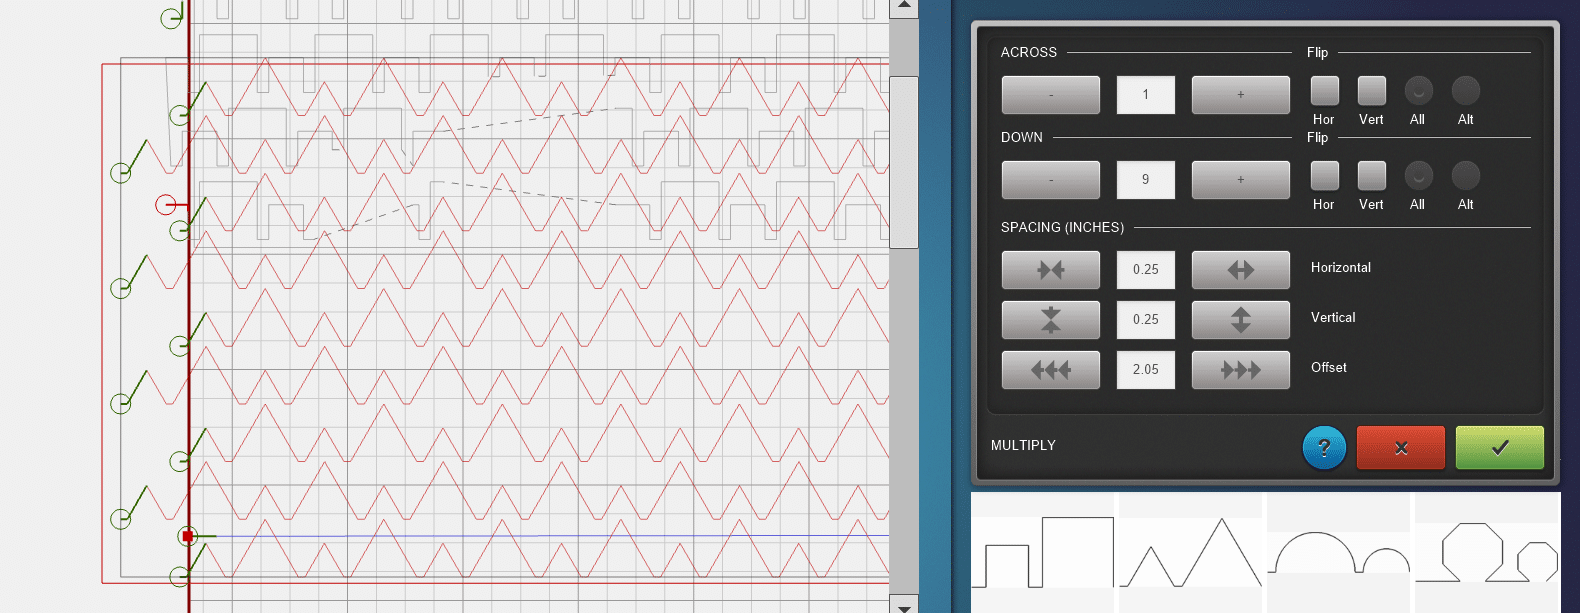
Now decrease the Spacing Vertical until you’re happy with how it looks.
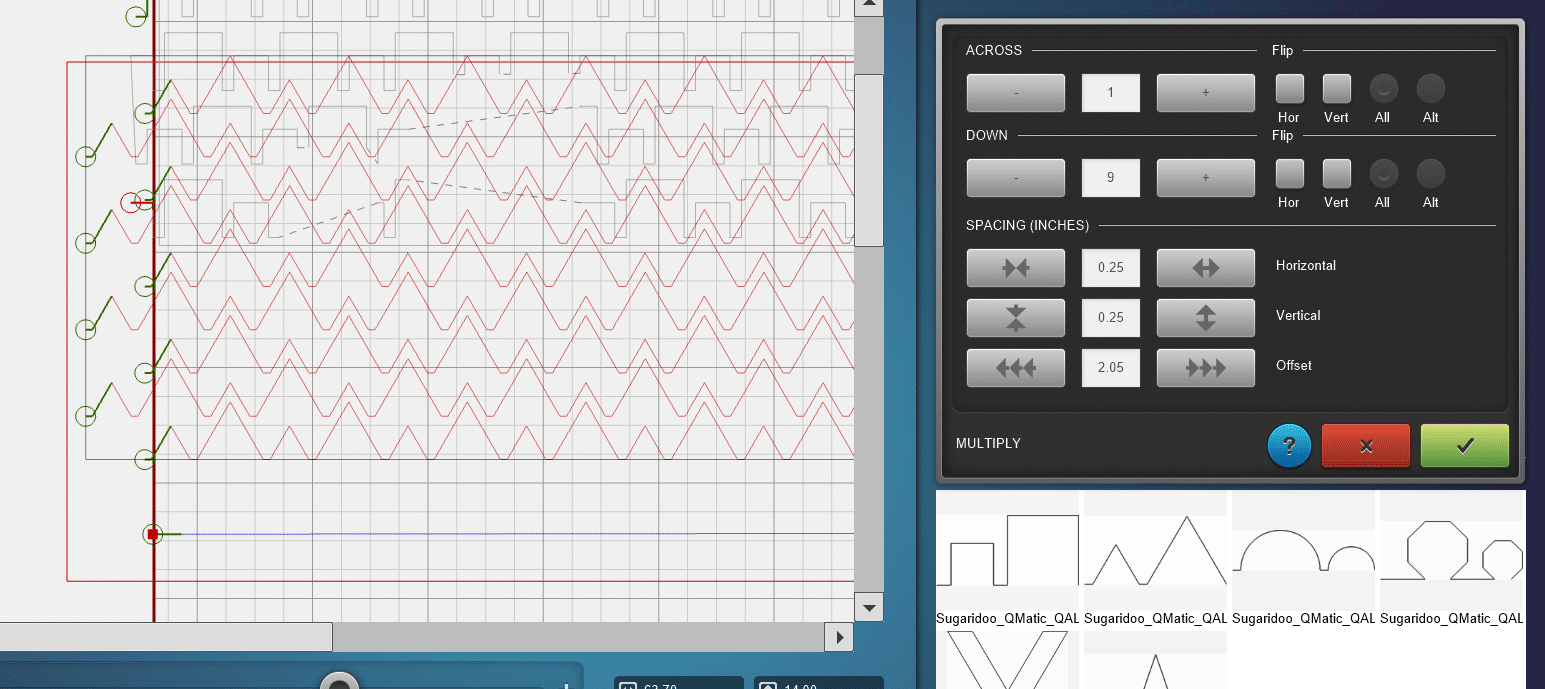
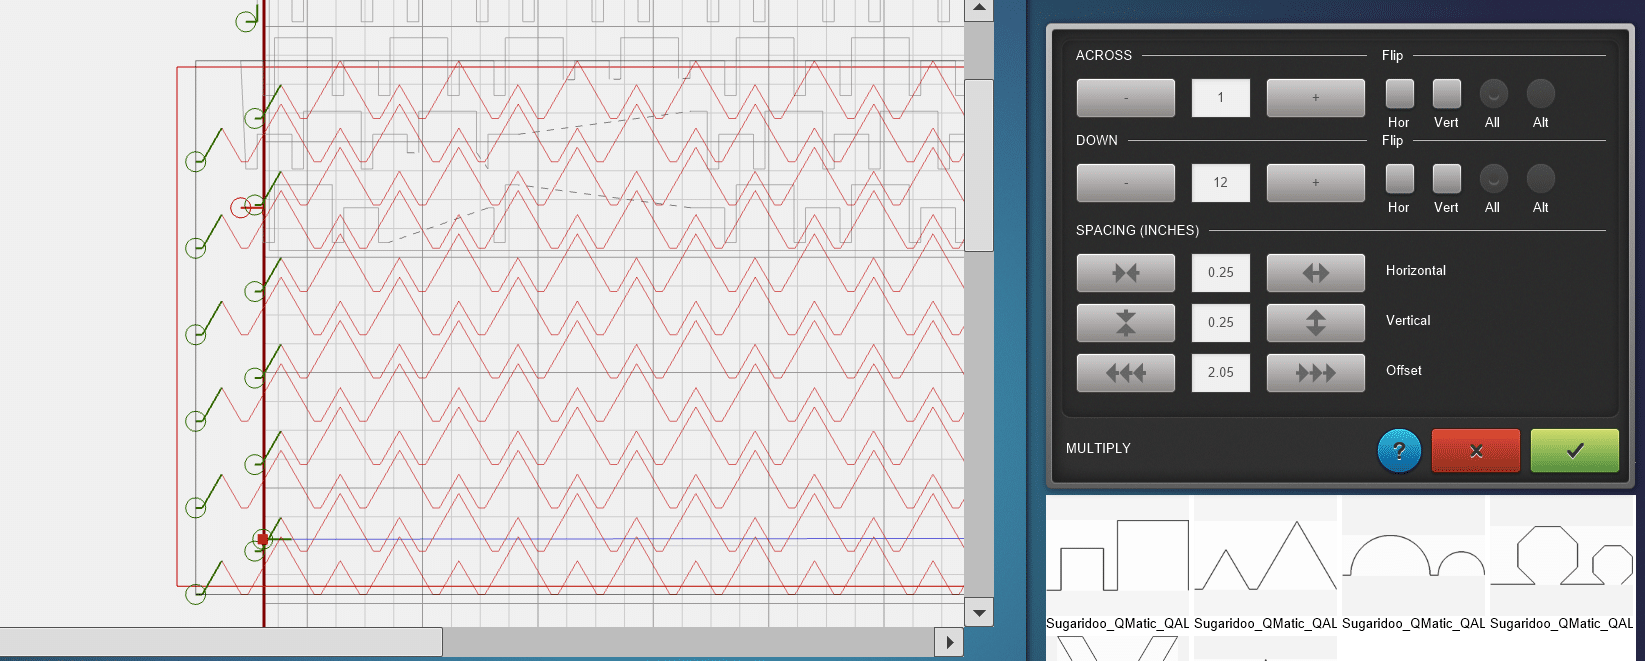
I noticed that the design did not fill the complete row. This is why we use the marked line. So make sure to increase the number at DOWN so the whole row is filled.
Creating a Mask
Use the Mask function, which we explored last time, to eliminate everything outside the yellow fabric.
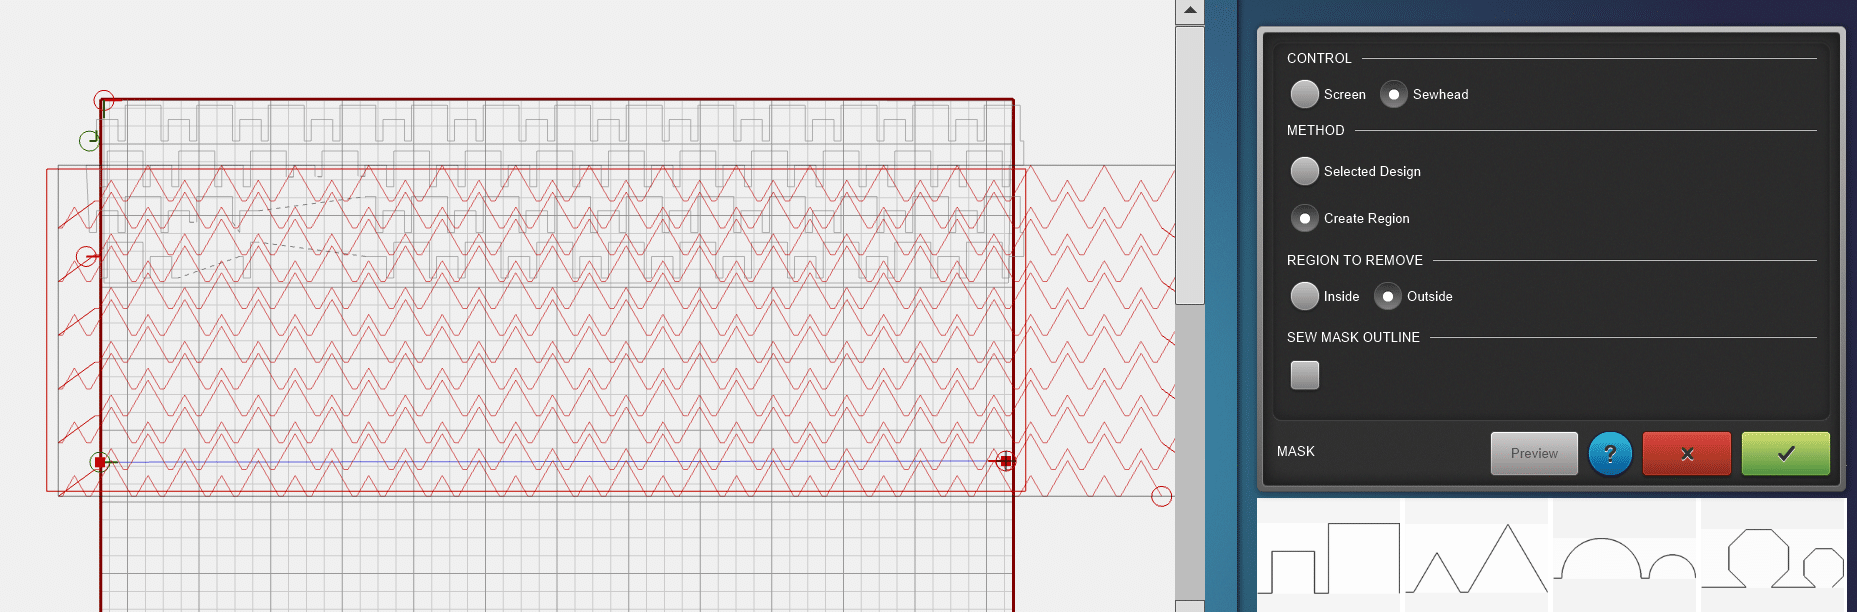
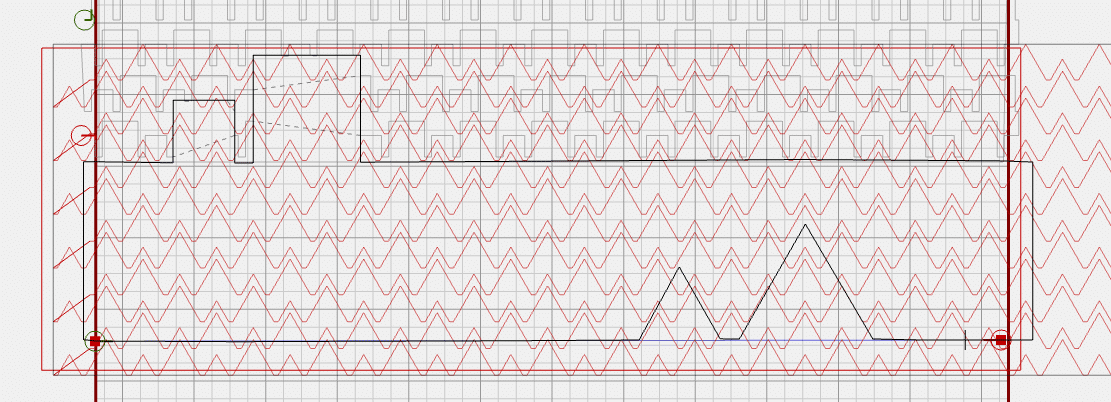
Move the sew head all around the second row to get the outlines. Going around the squares and the triangles. The image below shows how this should turn out.
 Cleaning up the Design
You could hit start at this point. But I prefer to first clean up the design we created after using the mask function. There are a lot of tiny points that don’t really need to be quilted.
Select the design and click Unconnect.
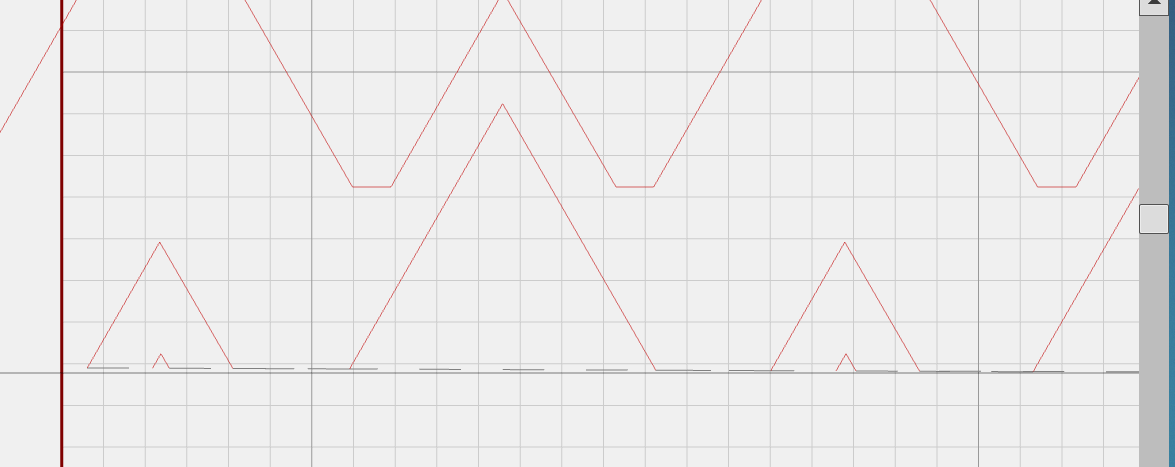
This will cut up your design in many small pieces. In the image below, you see tiny triangles. If you see similar tiny design pieces on your screen, you can go ahead and select and delete those.
That looks better, right?
Check all around the design to see if you see more tiny parts that can be removed.
Linking the Design Parts
After cleaning up unnecessary tiny design parts, we can put the design back together.
This is also not strictly necessary; you can hit start if you want.
However, linking the design parts will allow the Q-matic to quilt everything in one go.
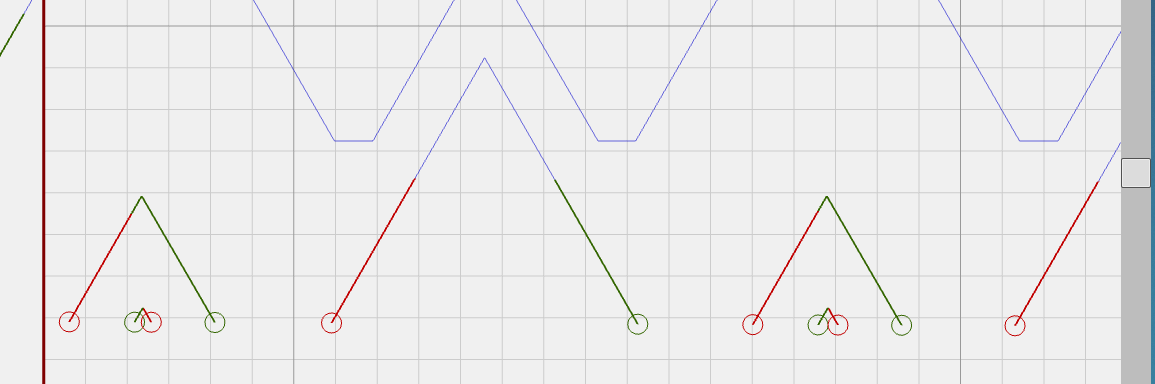
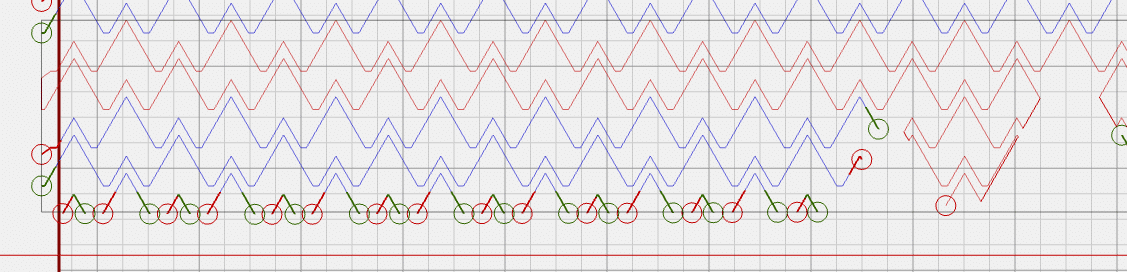
Go ahead and select a part of the design. I started in the bottom right corner.
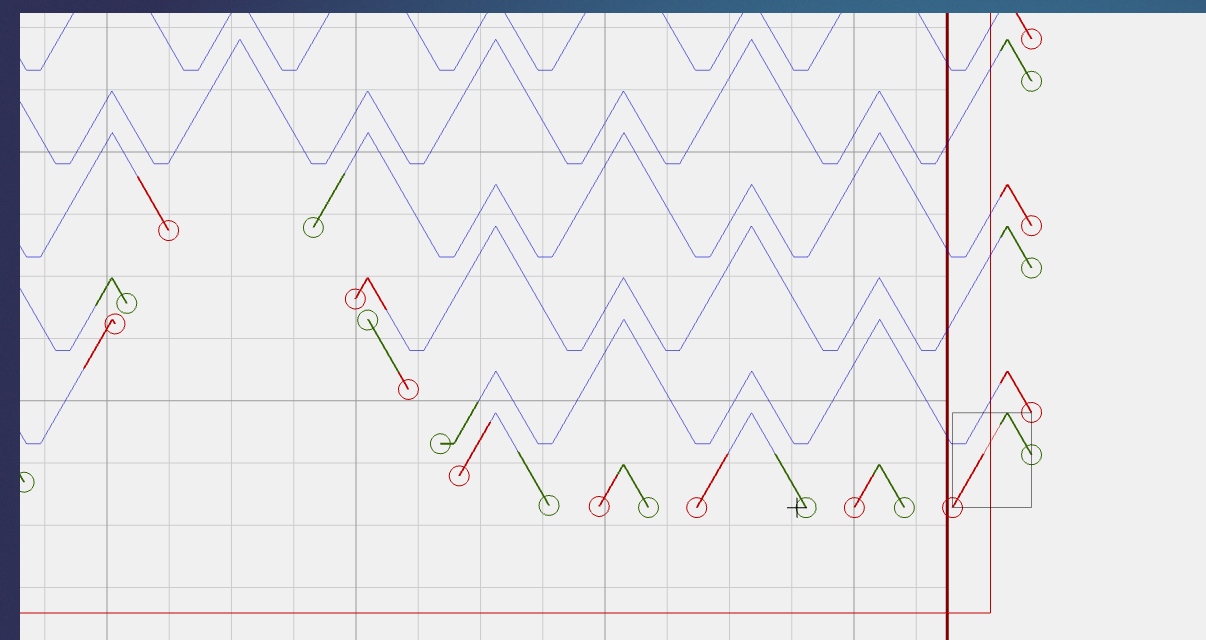
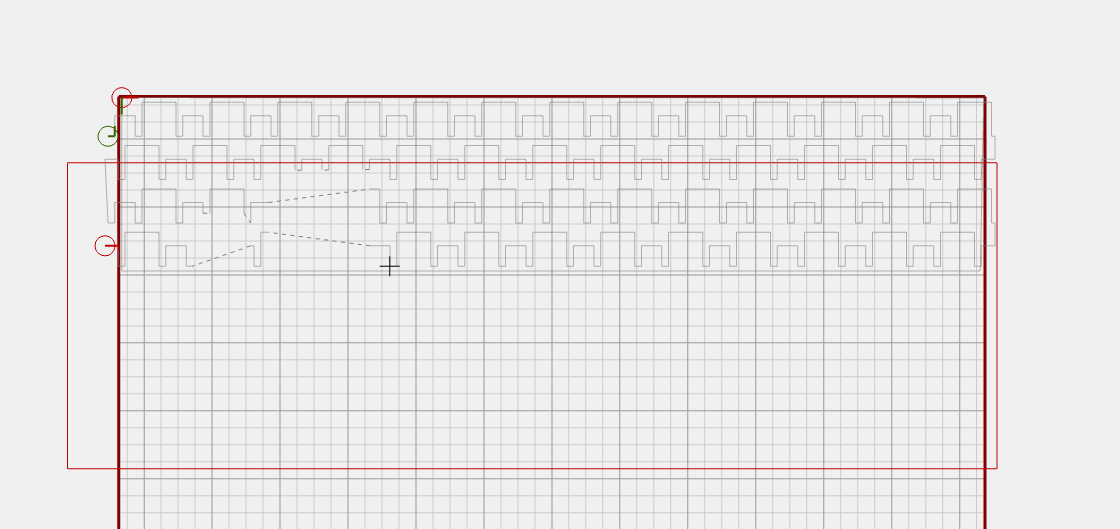
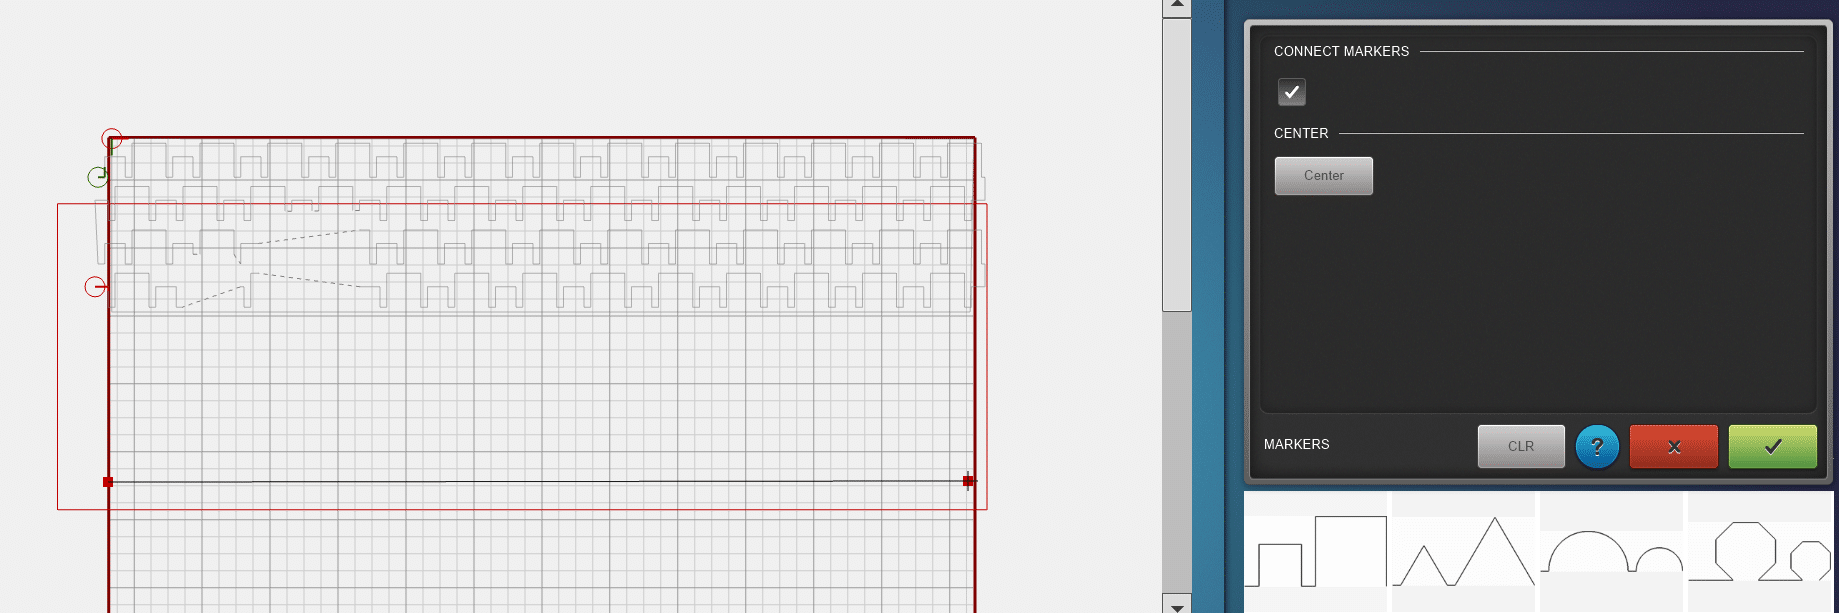
Select Connect, and then Link in the Tool Center. Now you can click on all the parts of the design that you would like to connect.
Note the red and green circles. Green is the start point of a design, red is the end point. You only want to connect parts that have a logical path from the red to the green circle.
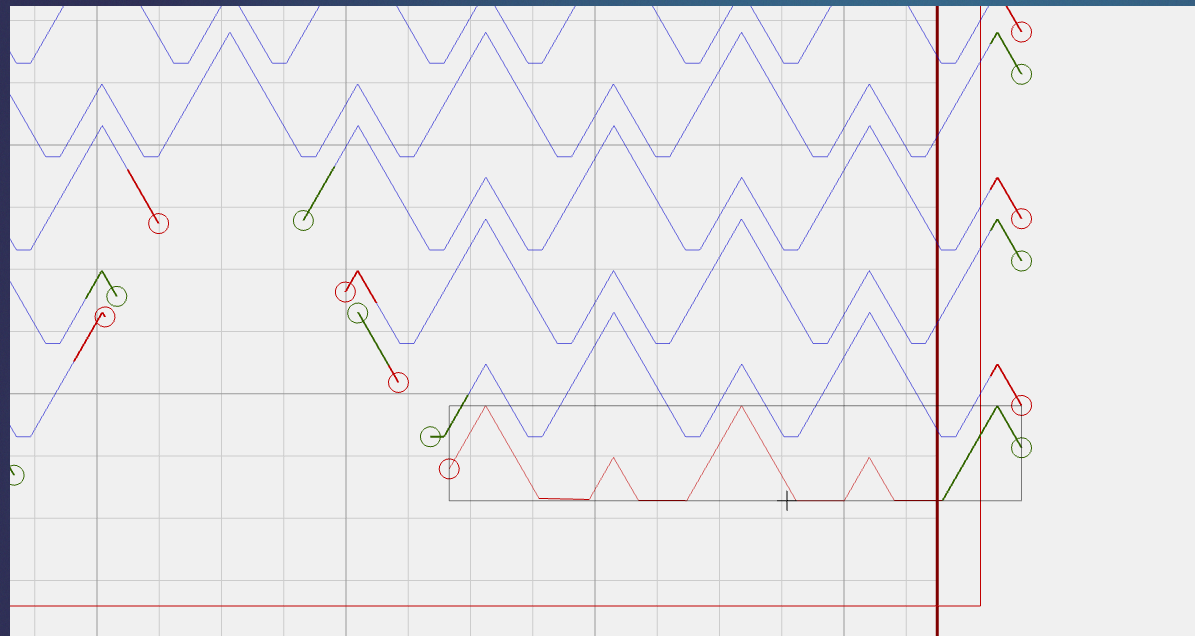
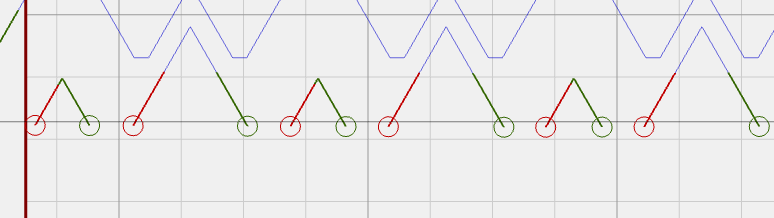
After connecting the elements on that bottom row, I connected the second row. A little line formed between those rows, which will be quilted on the edge of the triangle.
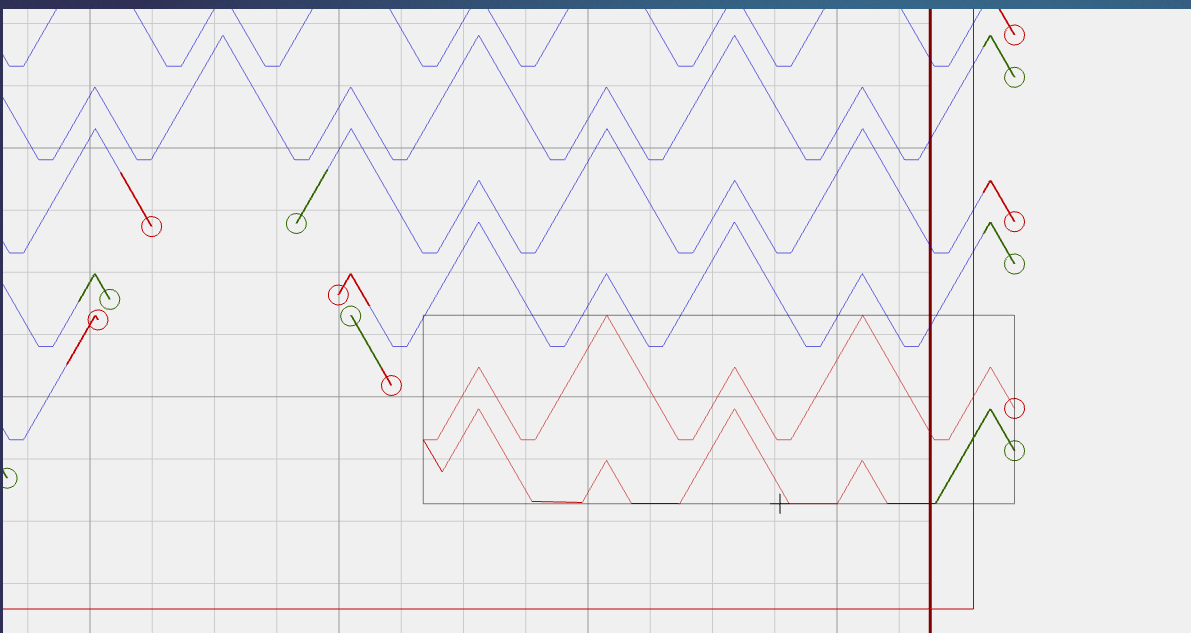
Continue connecting parts of the design.
For this first ‘path’, I ended in the space between the two triangles.
As you can see in the image below, I did not connect everything completely. But I was happy with what I could puzzle back together.
Go Time!
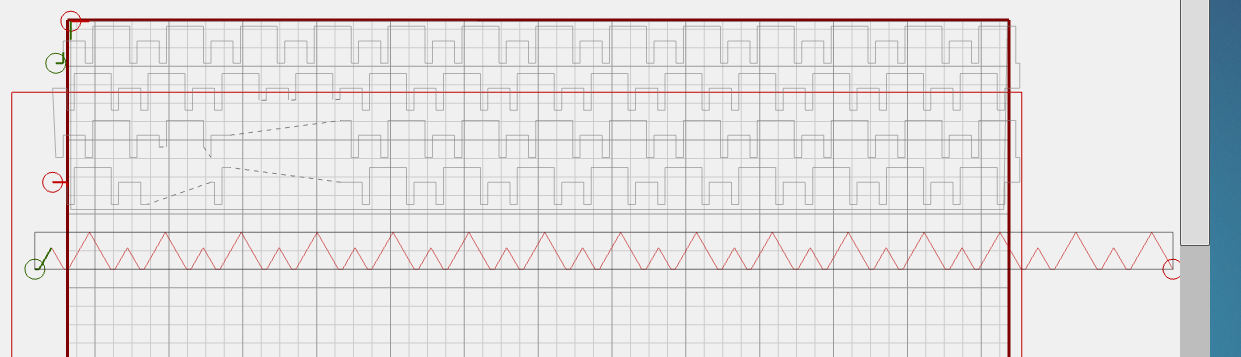
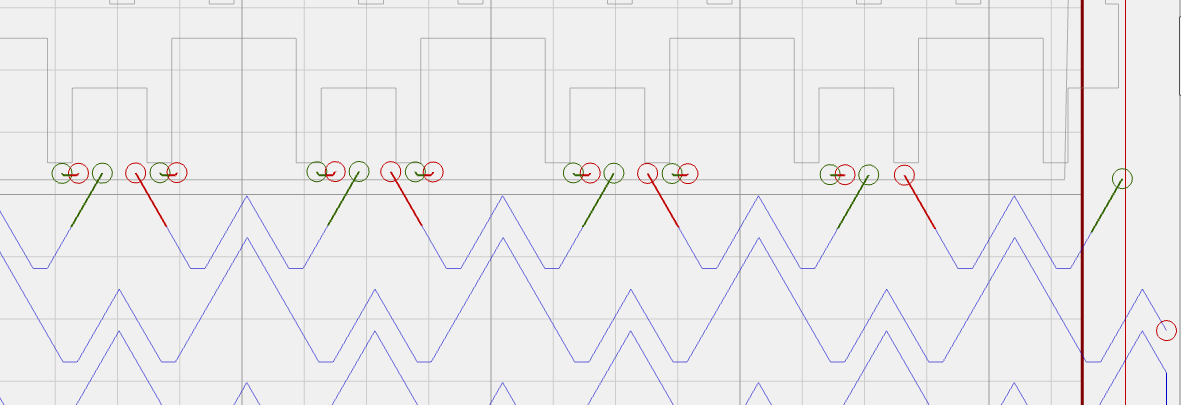
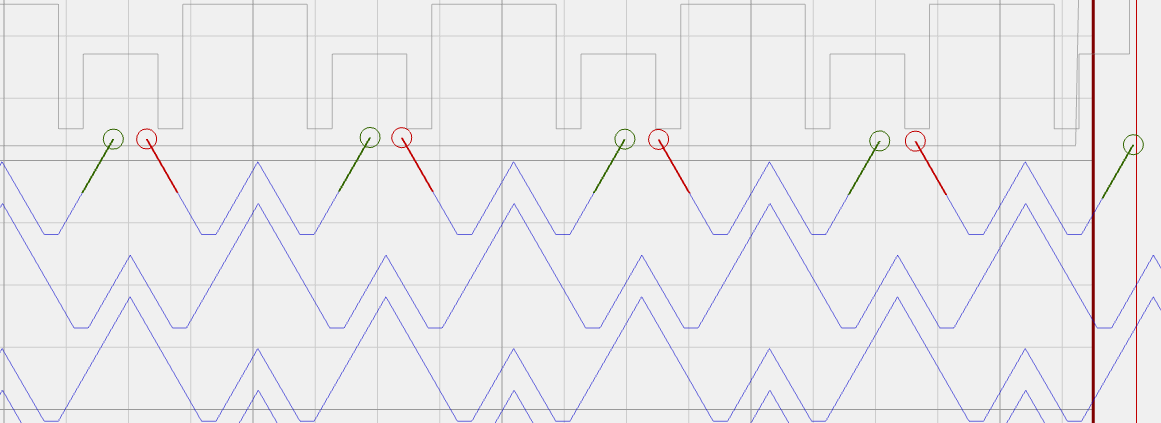
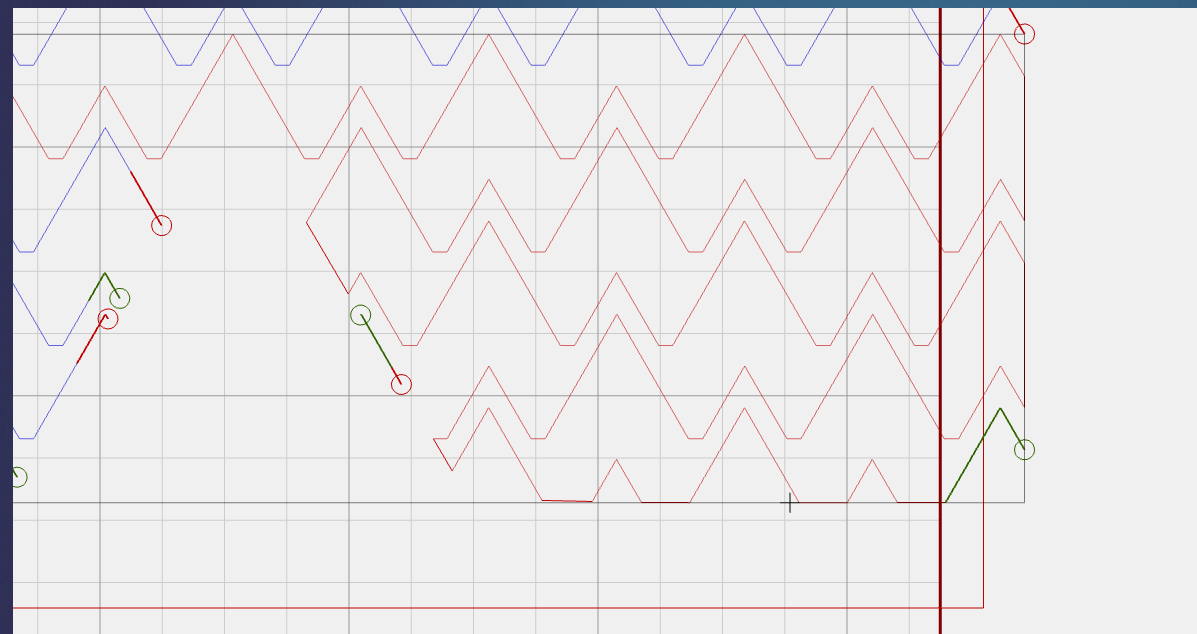
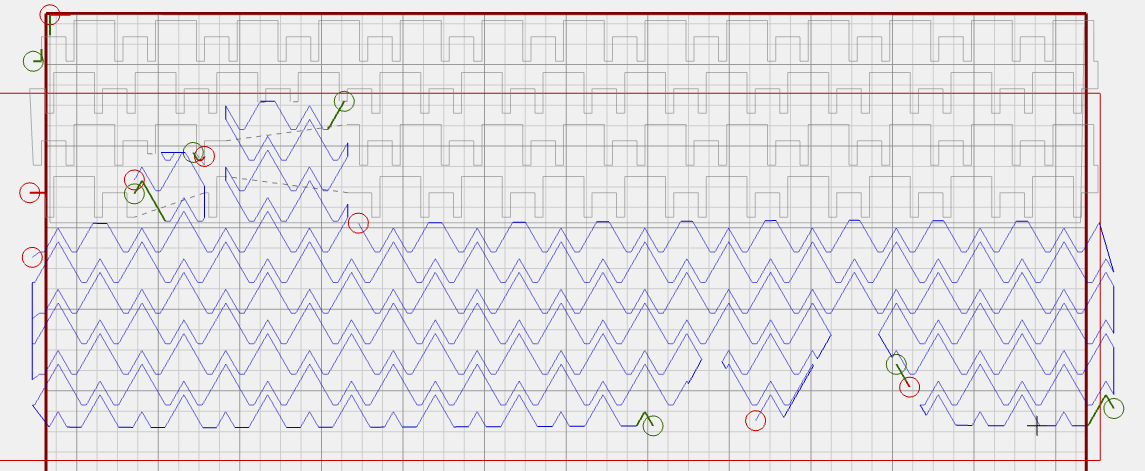
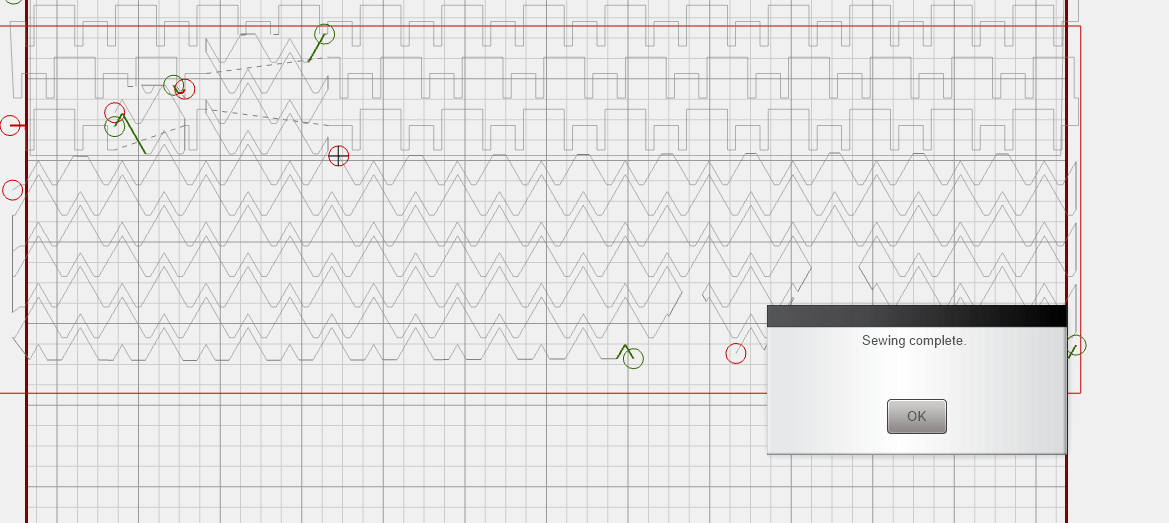
When you are happy with your design, it’s time to hit start. In the image below, you can see the dotted green lines. Those will not be quilted; they represent the travel path of the sew head to connect the different parts of the design.

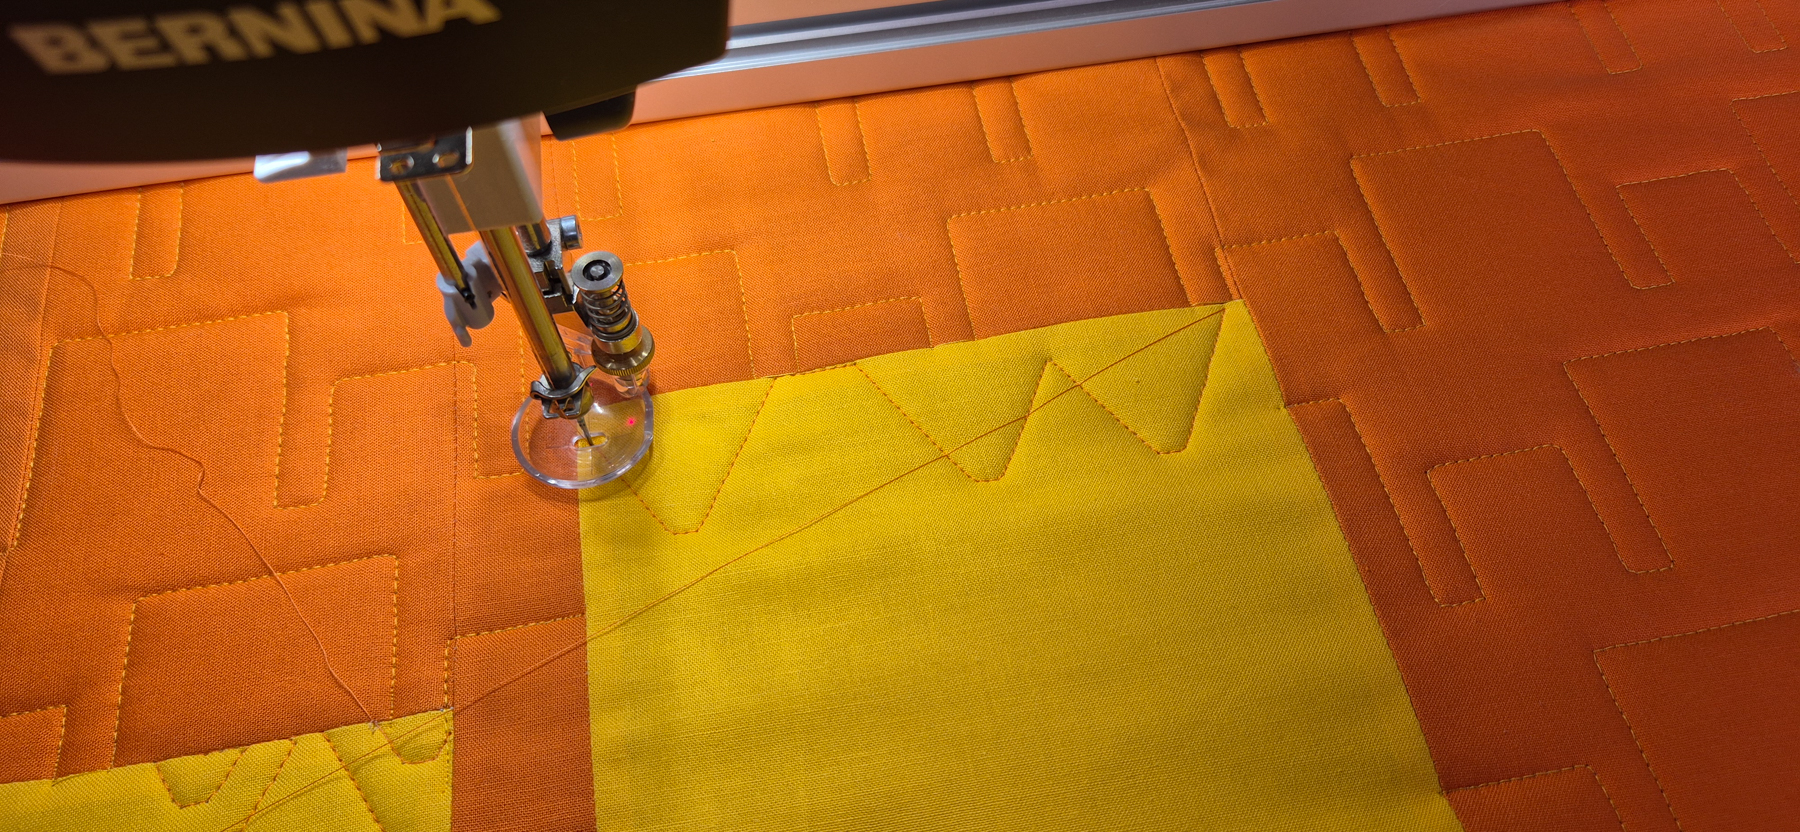
For the shorter travel paths, I just leave the thread. For the longer travel paths, I cut the threads before the Q-matic starts quilting again.
When you leave these threads in place, the Q-matic will quilt over them, which sometimes makes it a bit harder to remove them afterwards.
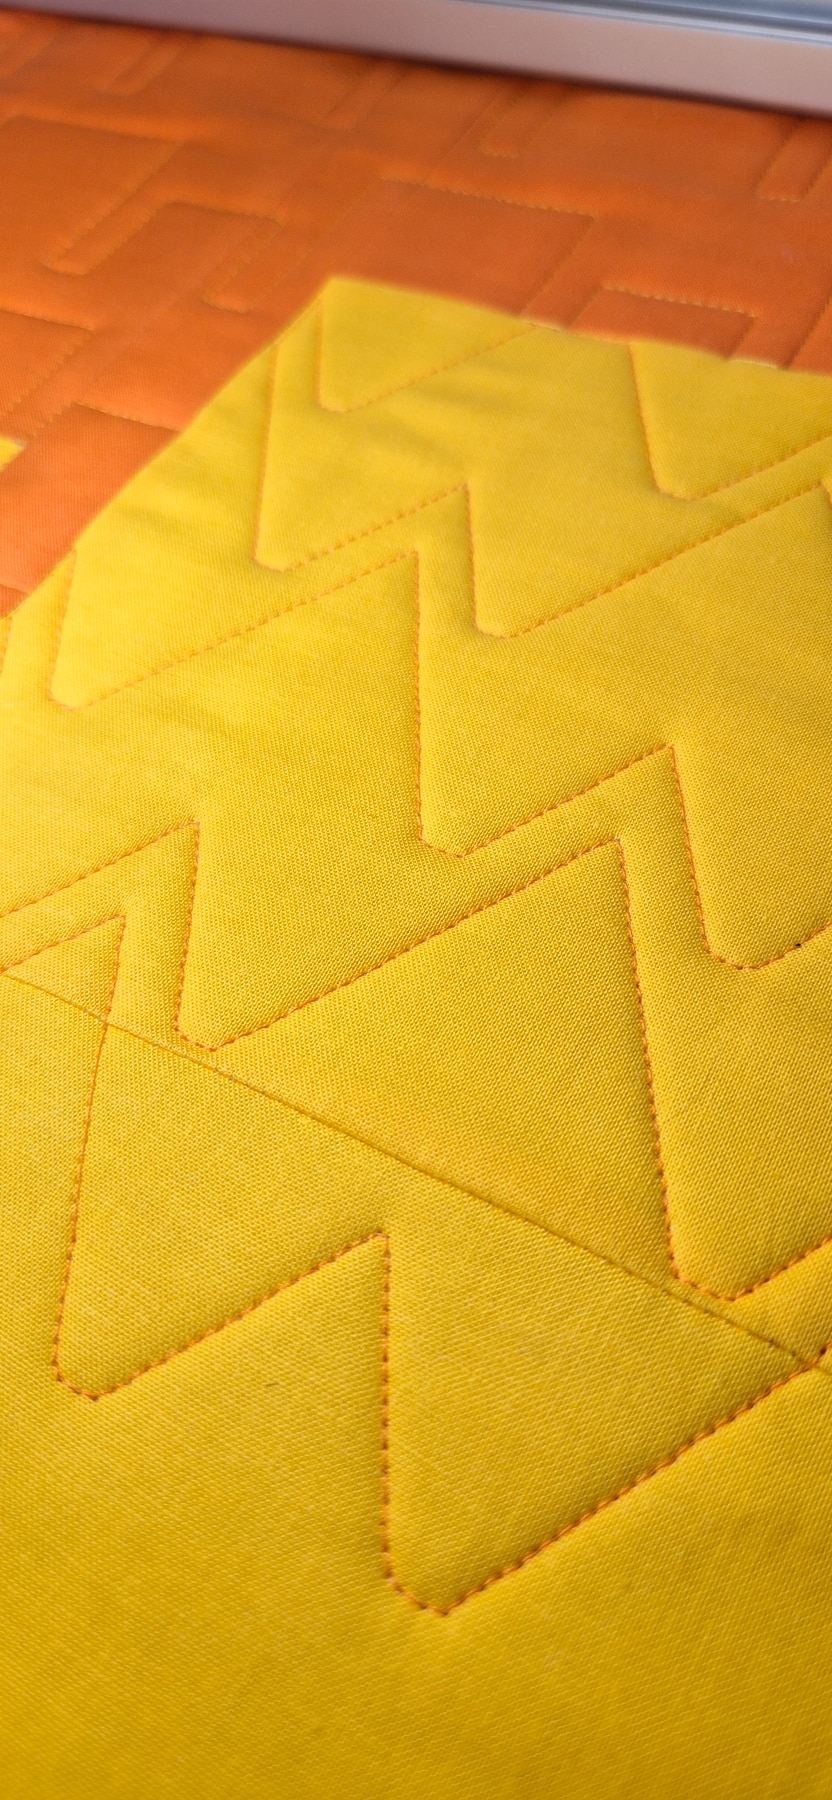
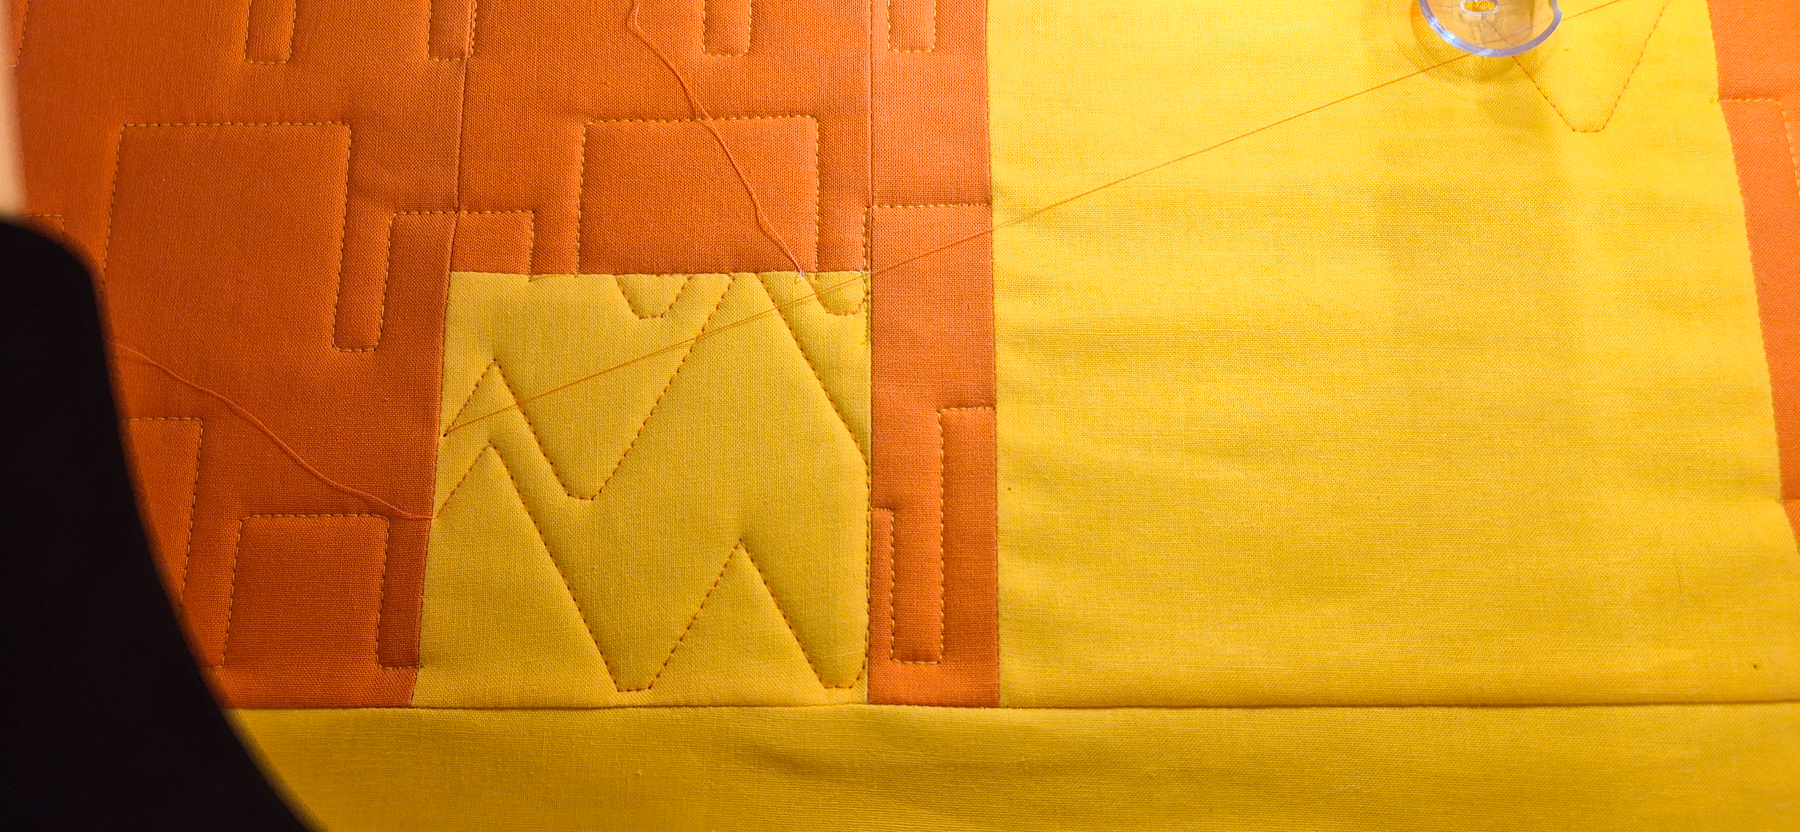
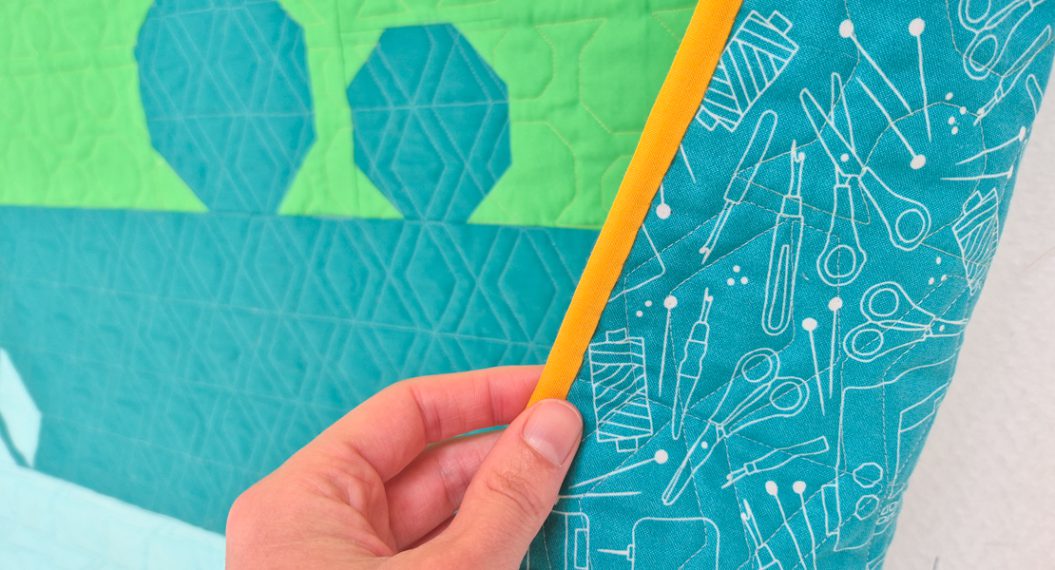
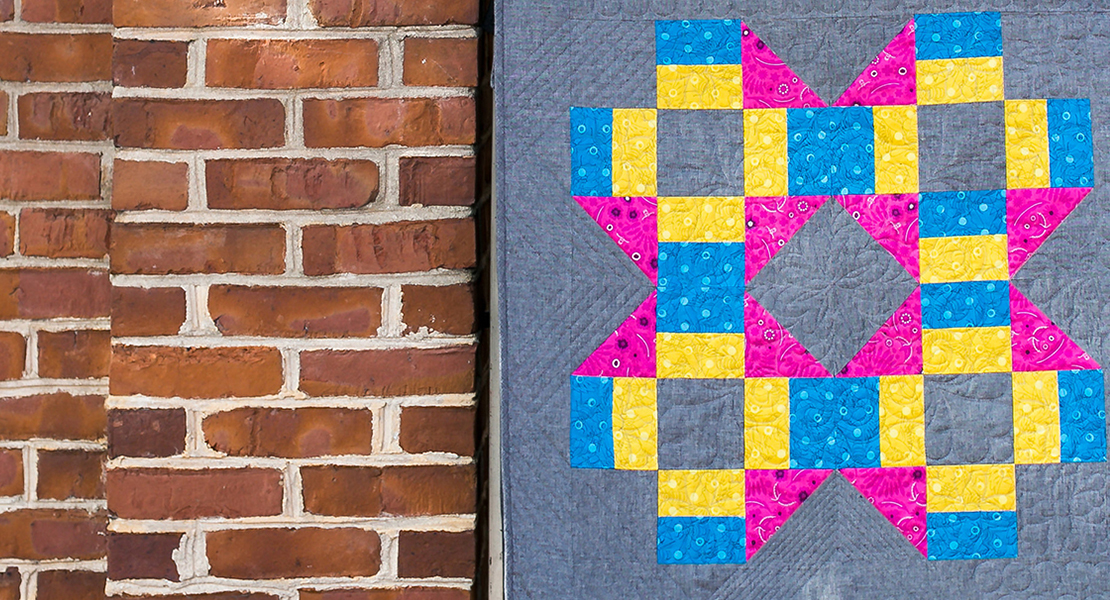
And when everything runs smoothly, you will soon have your second row of the Q-matic Quilt Along finished. Yay!
Till Next Time!
I’ll be back in two weeks for quilting part three. If you have any questions in the meantime, please put them in the comments below.
Happy quilting, see you soon!
Used Products
What you might also like
2 comments on “Q-matic Quilt Along, Part Four: Quilting Row Two”
-
-
Hi there! Thanks for letting us know. We apologize for the oversight—Row 2 has now been added and is ready to download. Happy Stitching!
-
Leave a Reply
You must be logged in to post a comment.
The download for Q-matic row 2 is missing. Only row 1 is available. Please fix this