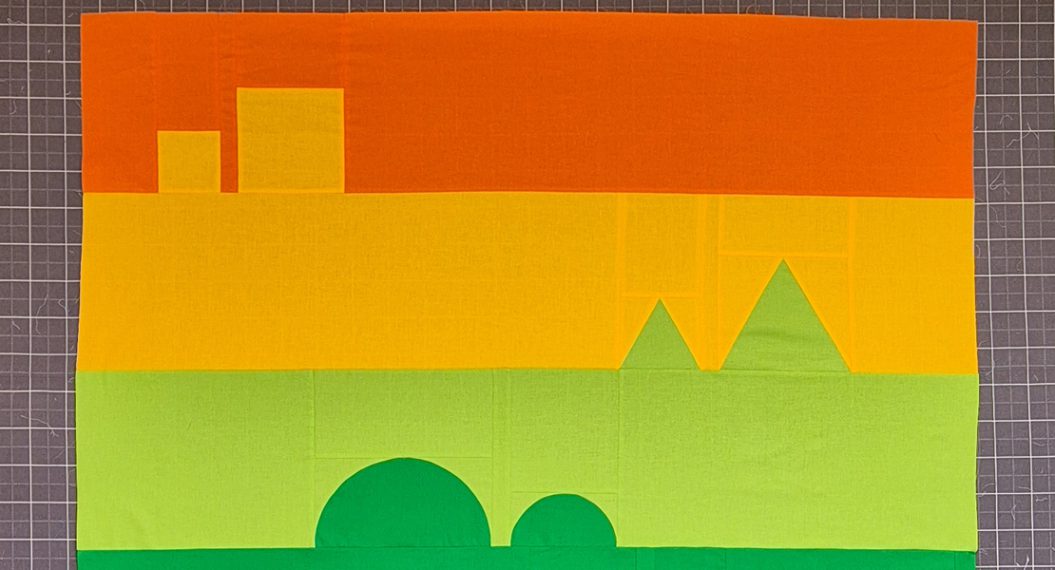
Q-matic Quilt Along, Part Nine: Finishing the Quilt
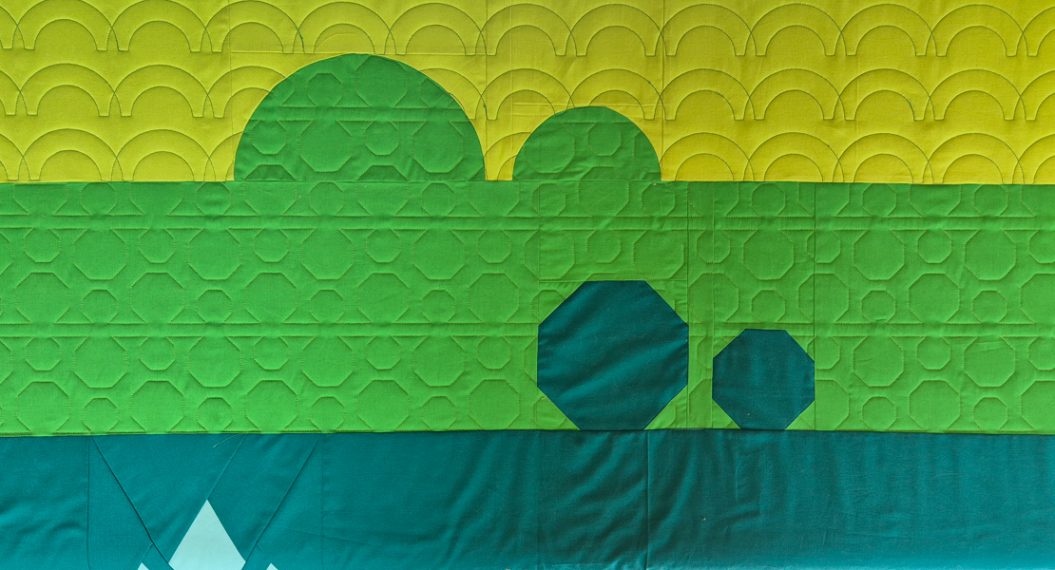
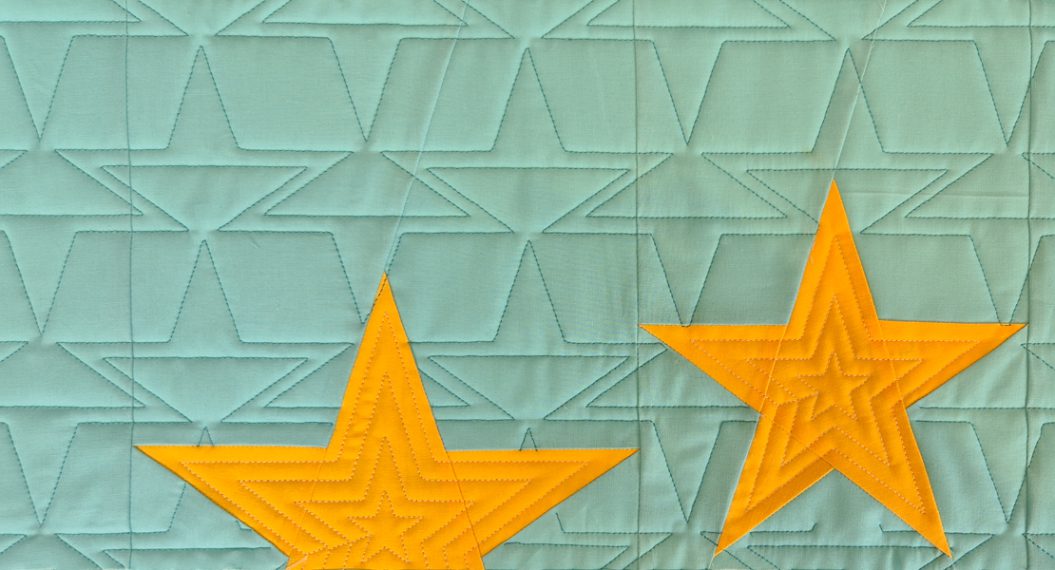
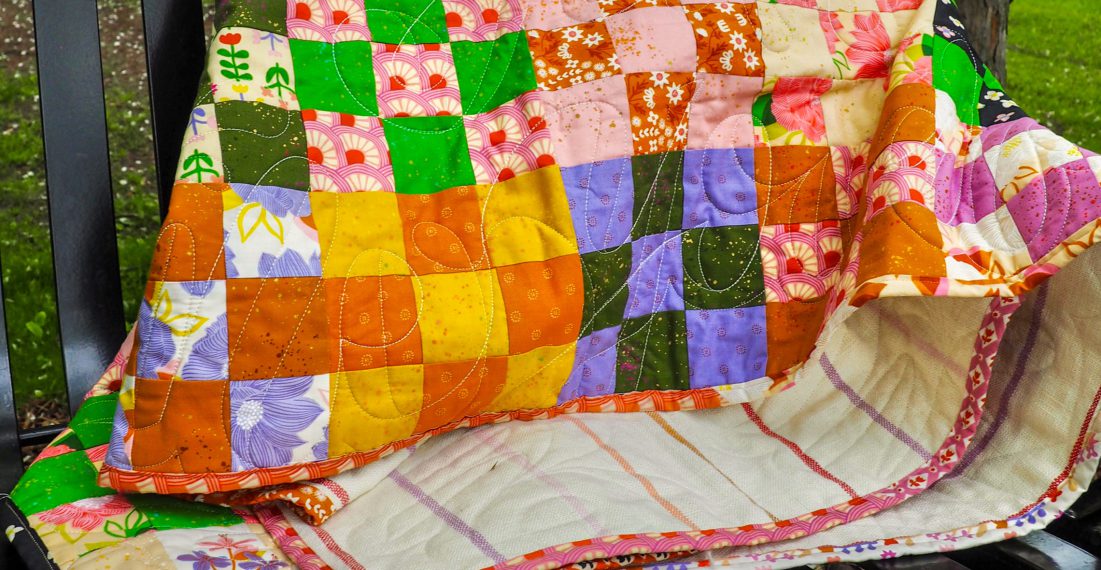
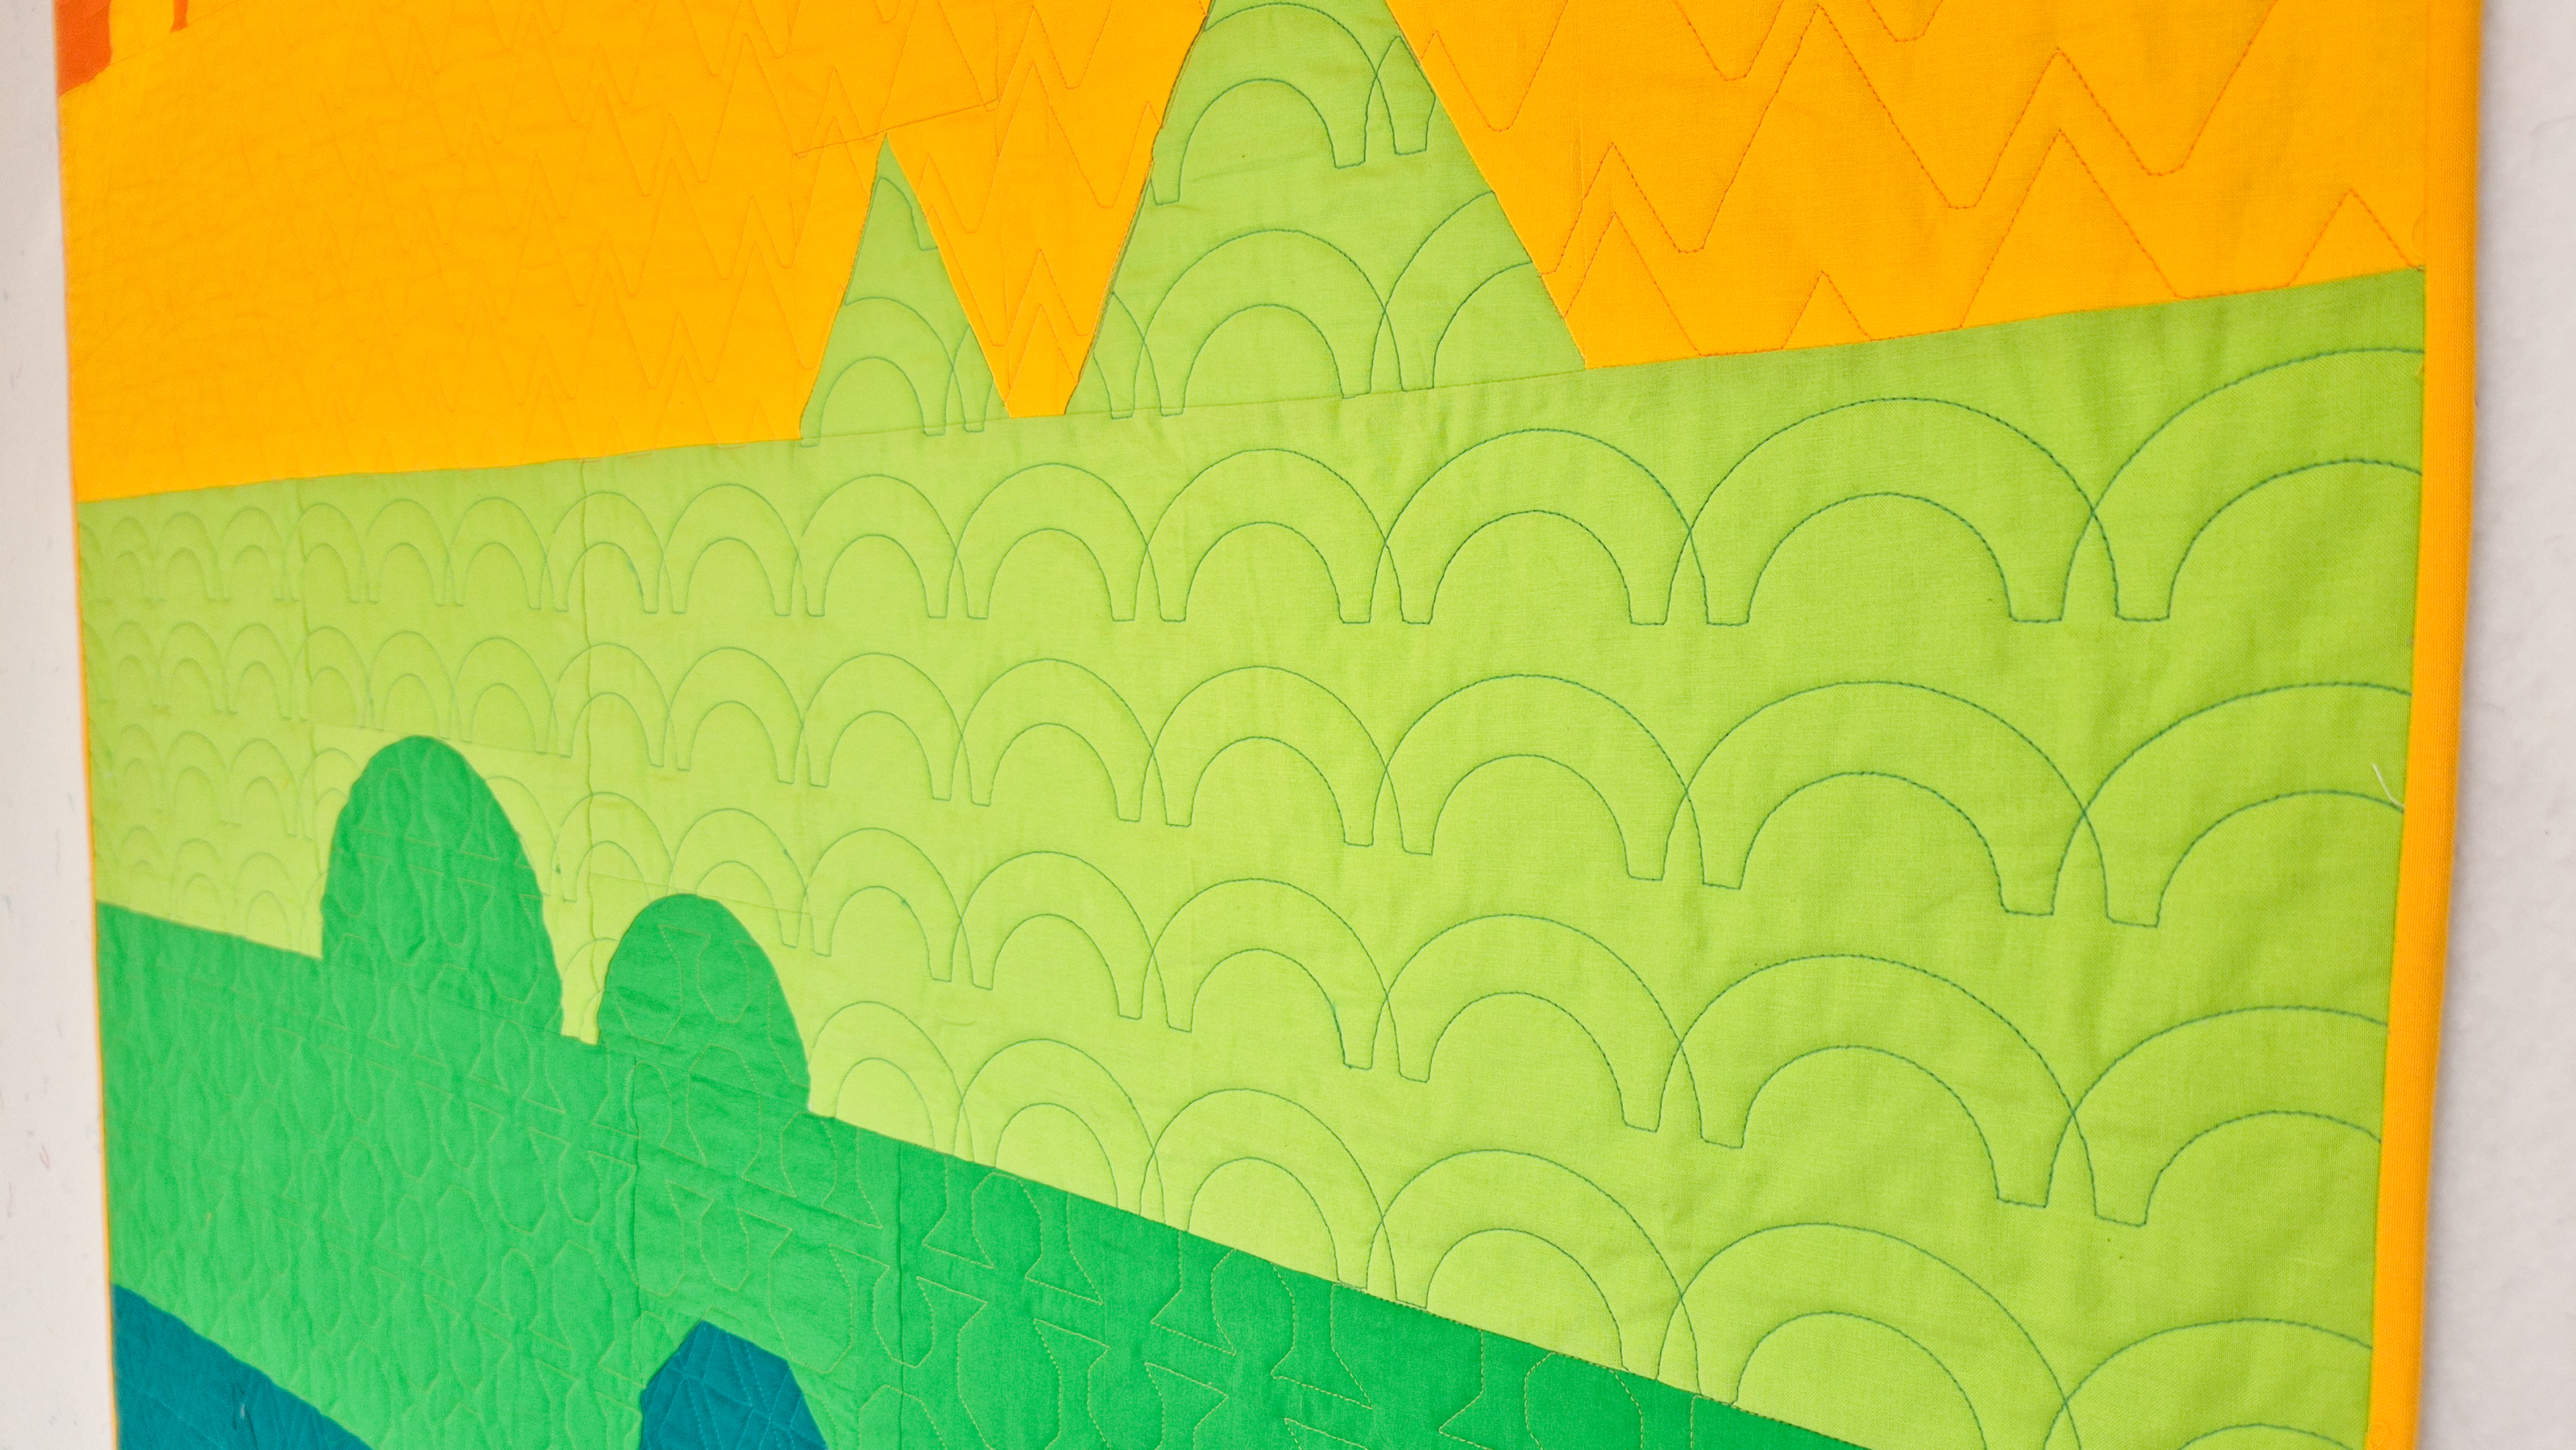
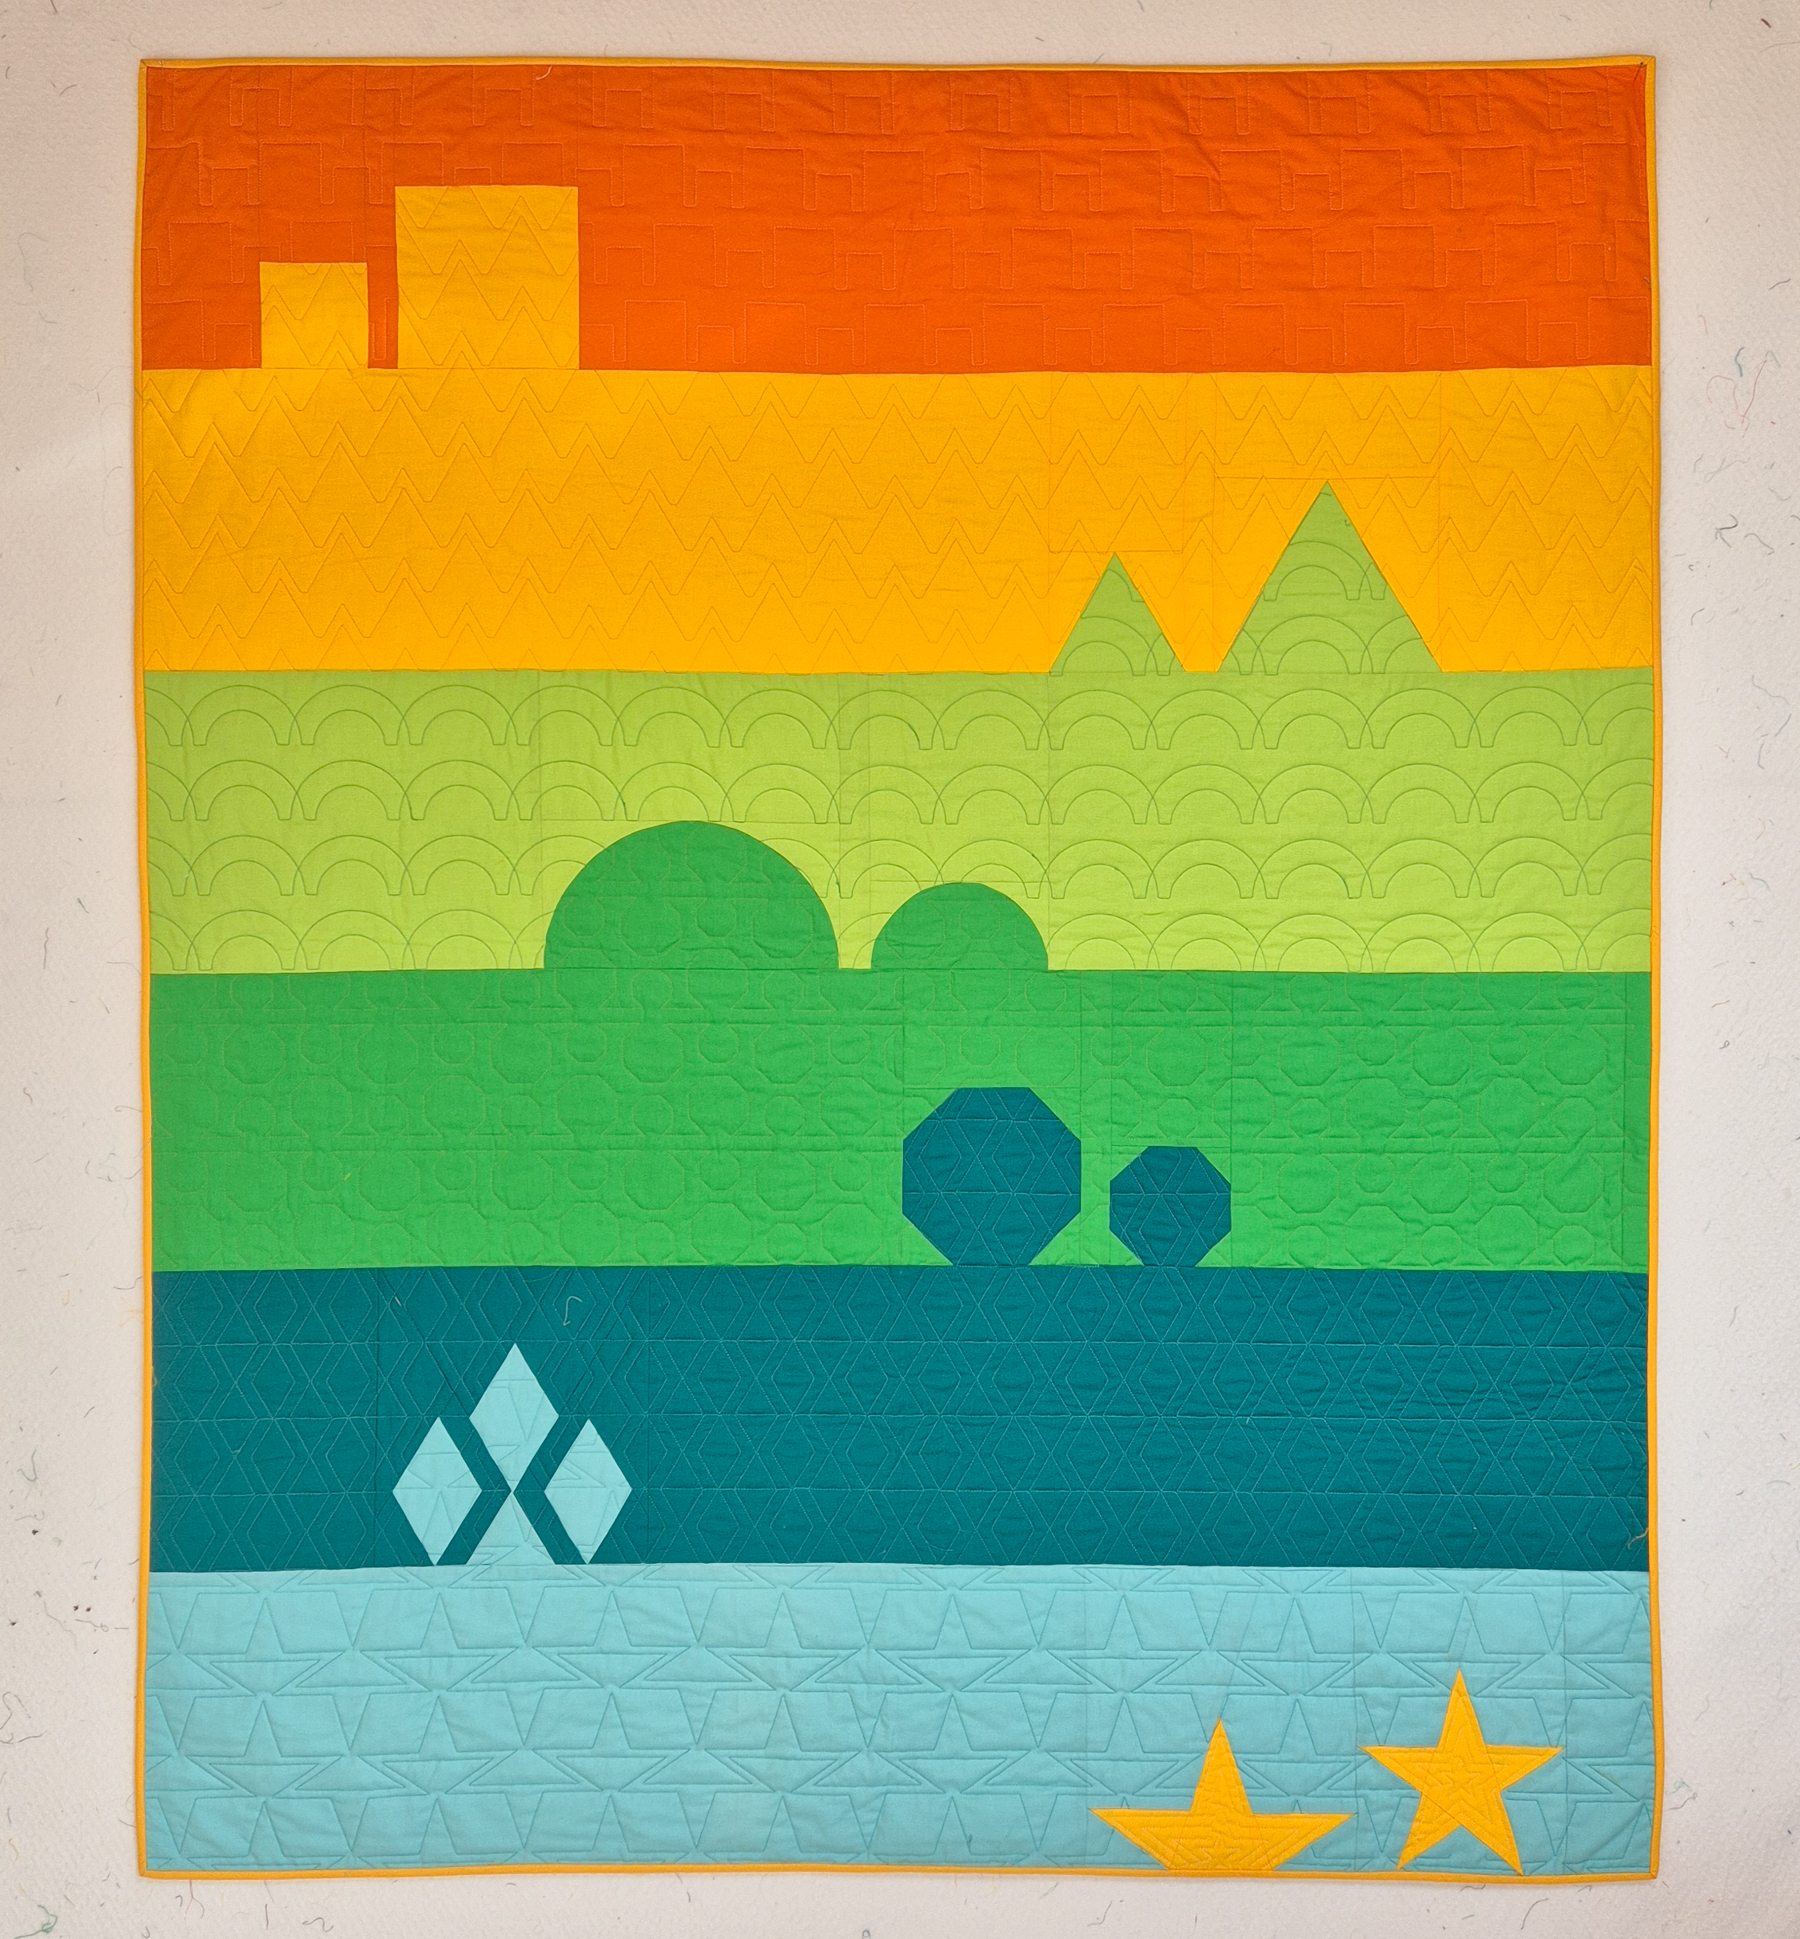
All rows of the Q-matic Quilt Along have been quilted! Now it’s time for the final steps to finish the quilt completely.
Today we’ll talk about trimming the edges of the quilt and attaching the binding.
If you missed the first parts of the Q-matic Quilt Along, you can read all about it here:
- Q-matic Quilt Along: Introduction
- Q-matic Quilt Along, Part One: Sewing the Quilt Top
- Q-matic Quilt Along, Part Two: Continuing to Sew the Quilt Top
- Q-matic Quilt Along, Part Three: Quilting Row One
- Q-matic Quilt Along, Part Four: Quilting Row Two
- Q-matic Quilt Along, Part Five: Quilting Row Three
- Q-matic Quilt Along, Part Six: Quilting Row Four
- Q-matic Quilt Along, Part Seven: Quilting Row Five
- Q-matic Quilt Along, Part Eight: Quilting Row Six
Make sure to tag @BERNINAUSA and me, @Sugaridoo, when you’re working on this project. I would love to see what you’re making!
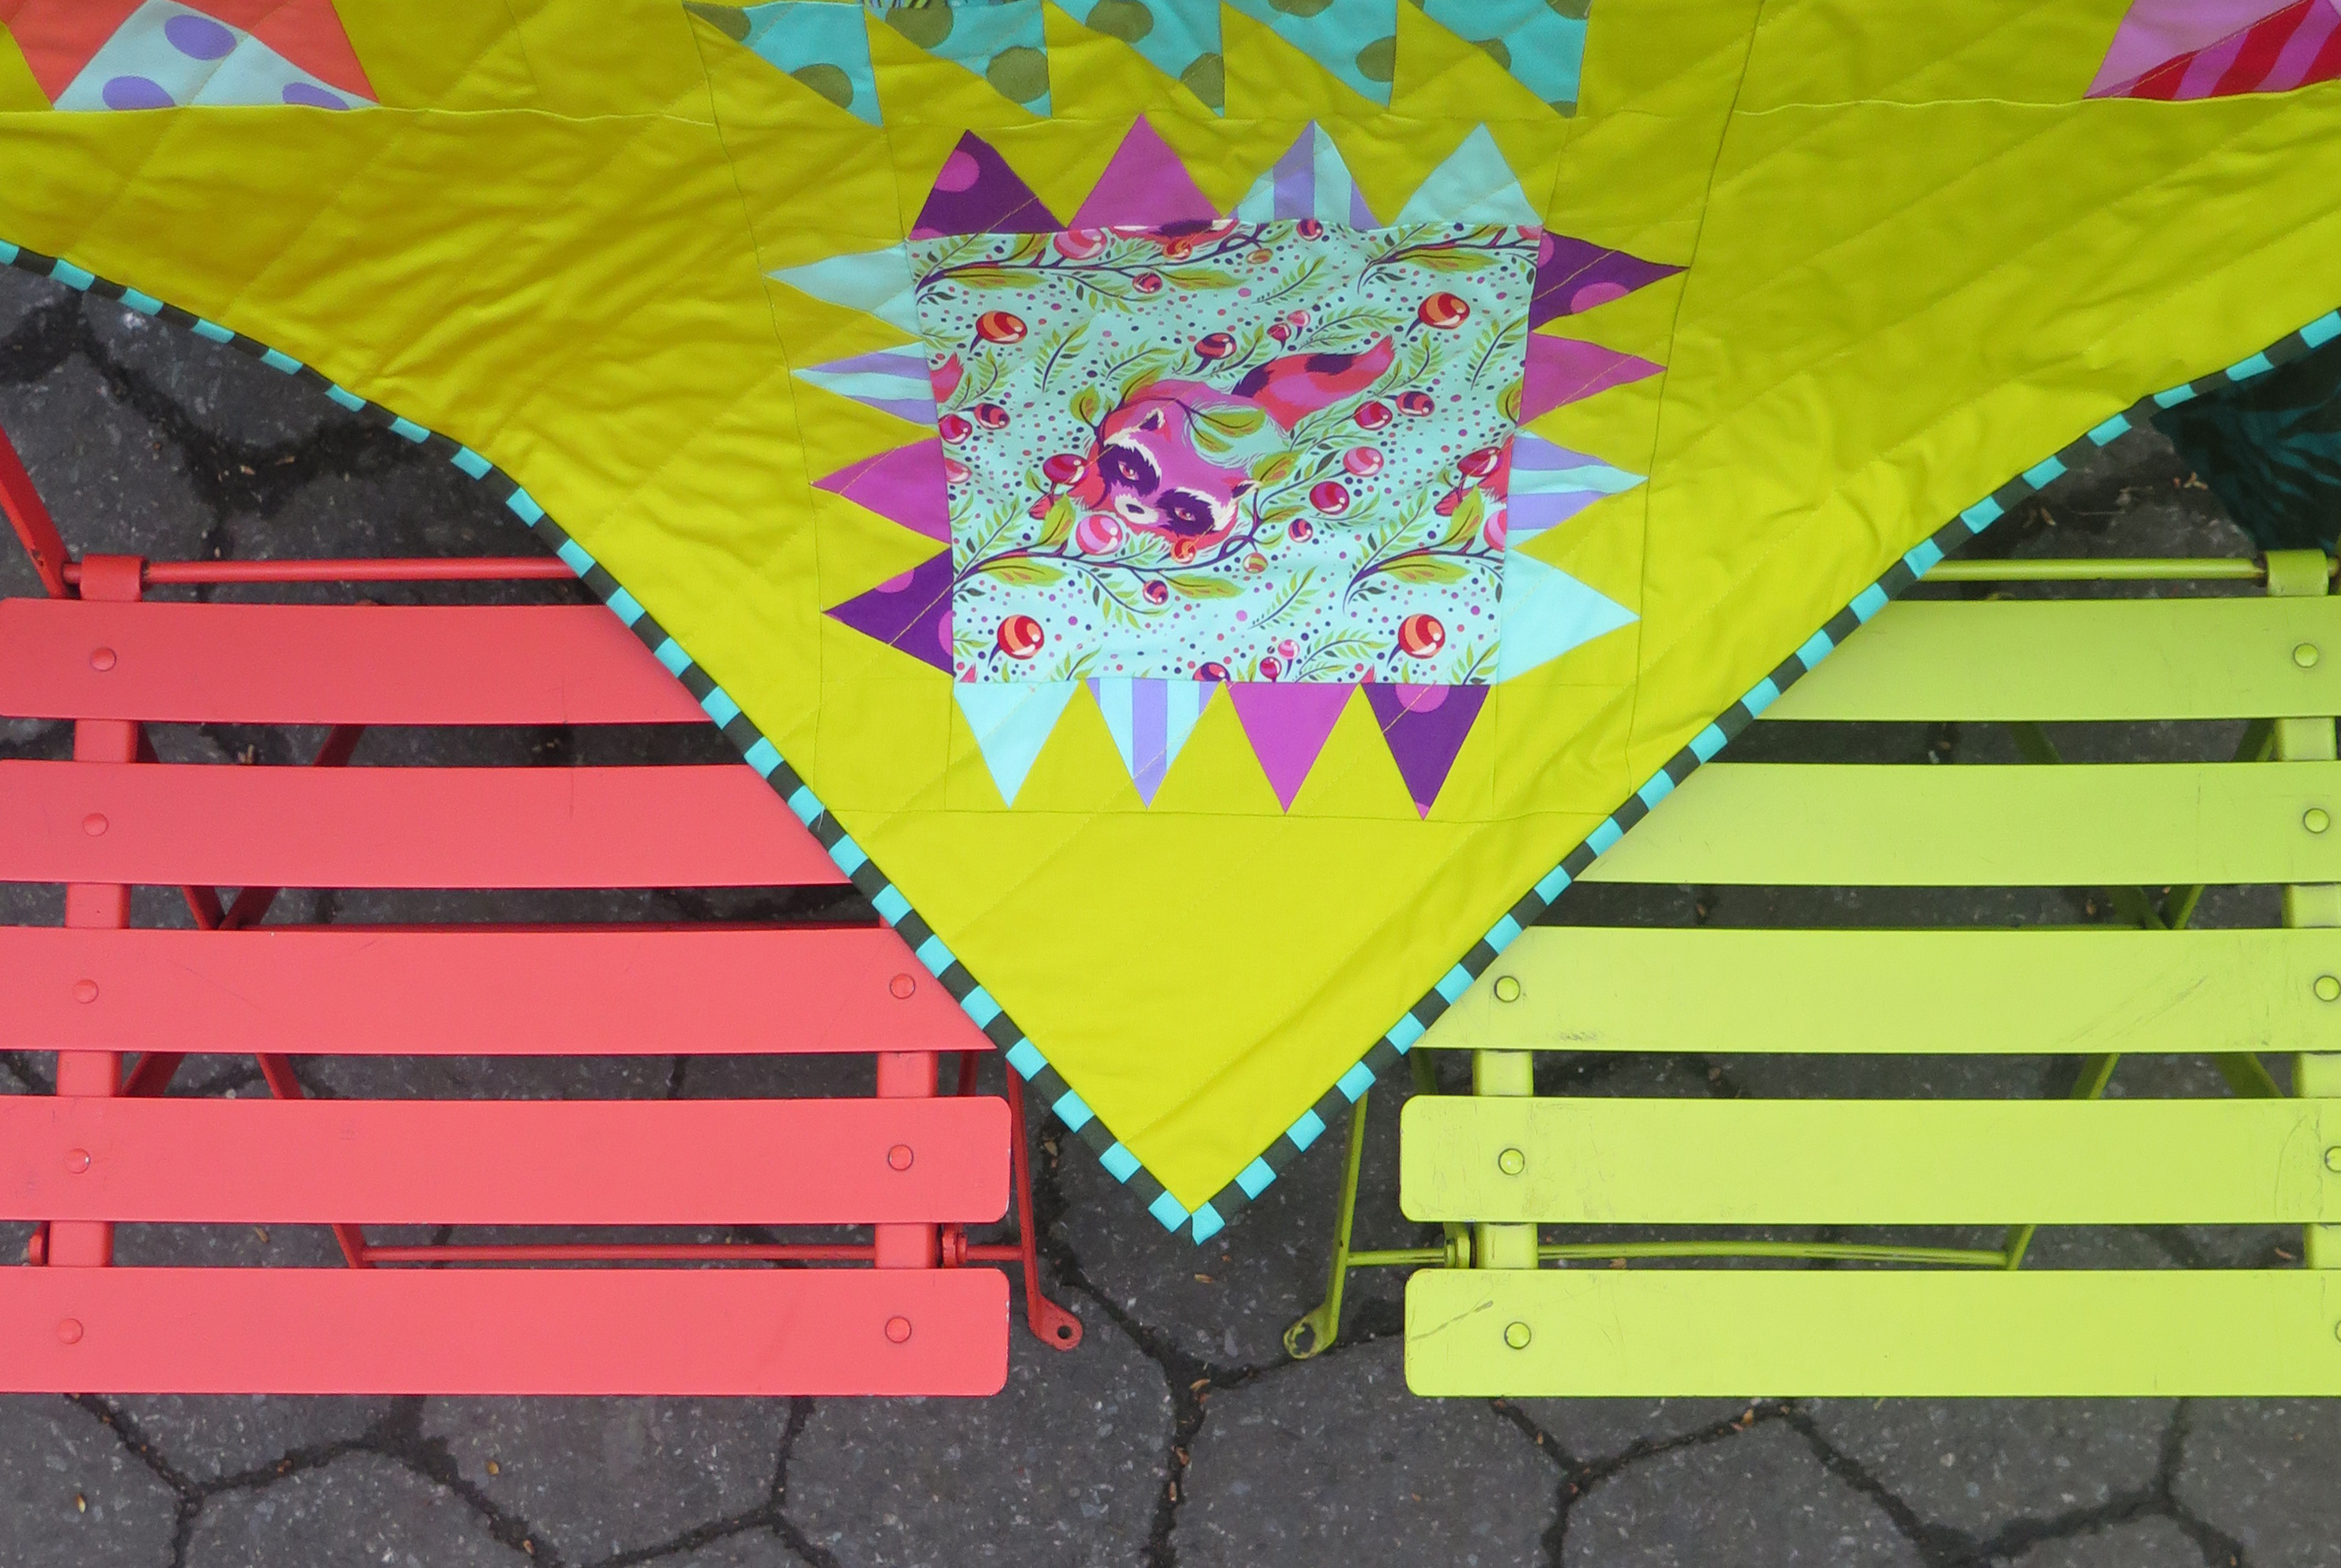
The binding
For the first quilt along I hosted with BERNINA, I made a video showing the entire process of attaching a quilt binding. I still use this method today!
Materials
Here’s what you’ll need to add a binding to your quilt:
- Ruler (I use a large square ruler and a long one)
- Cutting mat
- Rotary cutter
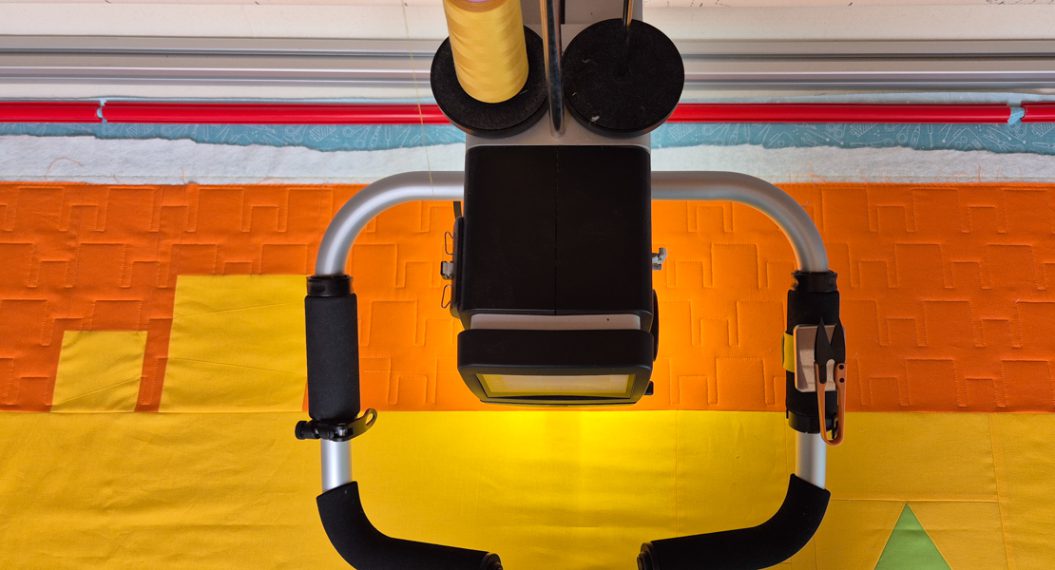
- Sewing machine with a ¼ inch foot
- Strips of fabric, 2 inches wide (or slightly wider if you prefer)
- Needle and thread for hand stitching (in the color of your quilt backing)
- Quilt clips / Wonder Clips (optional)
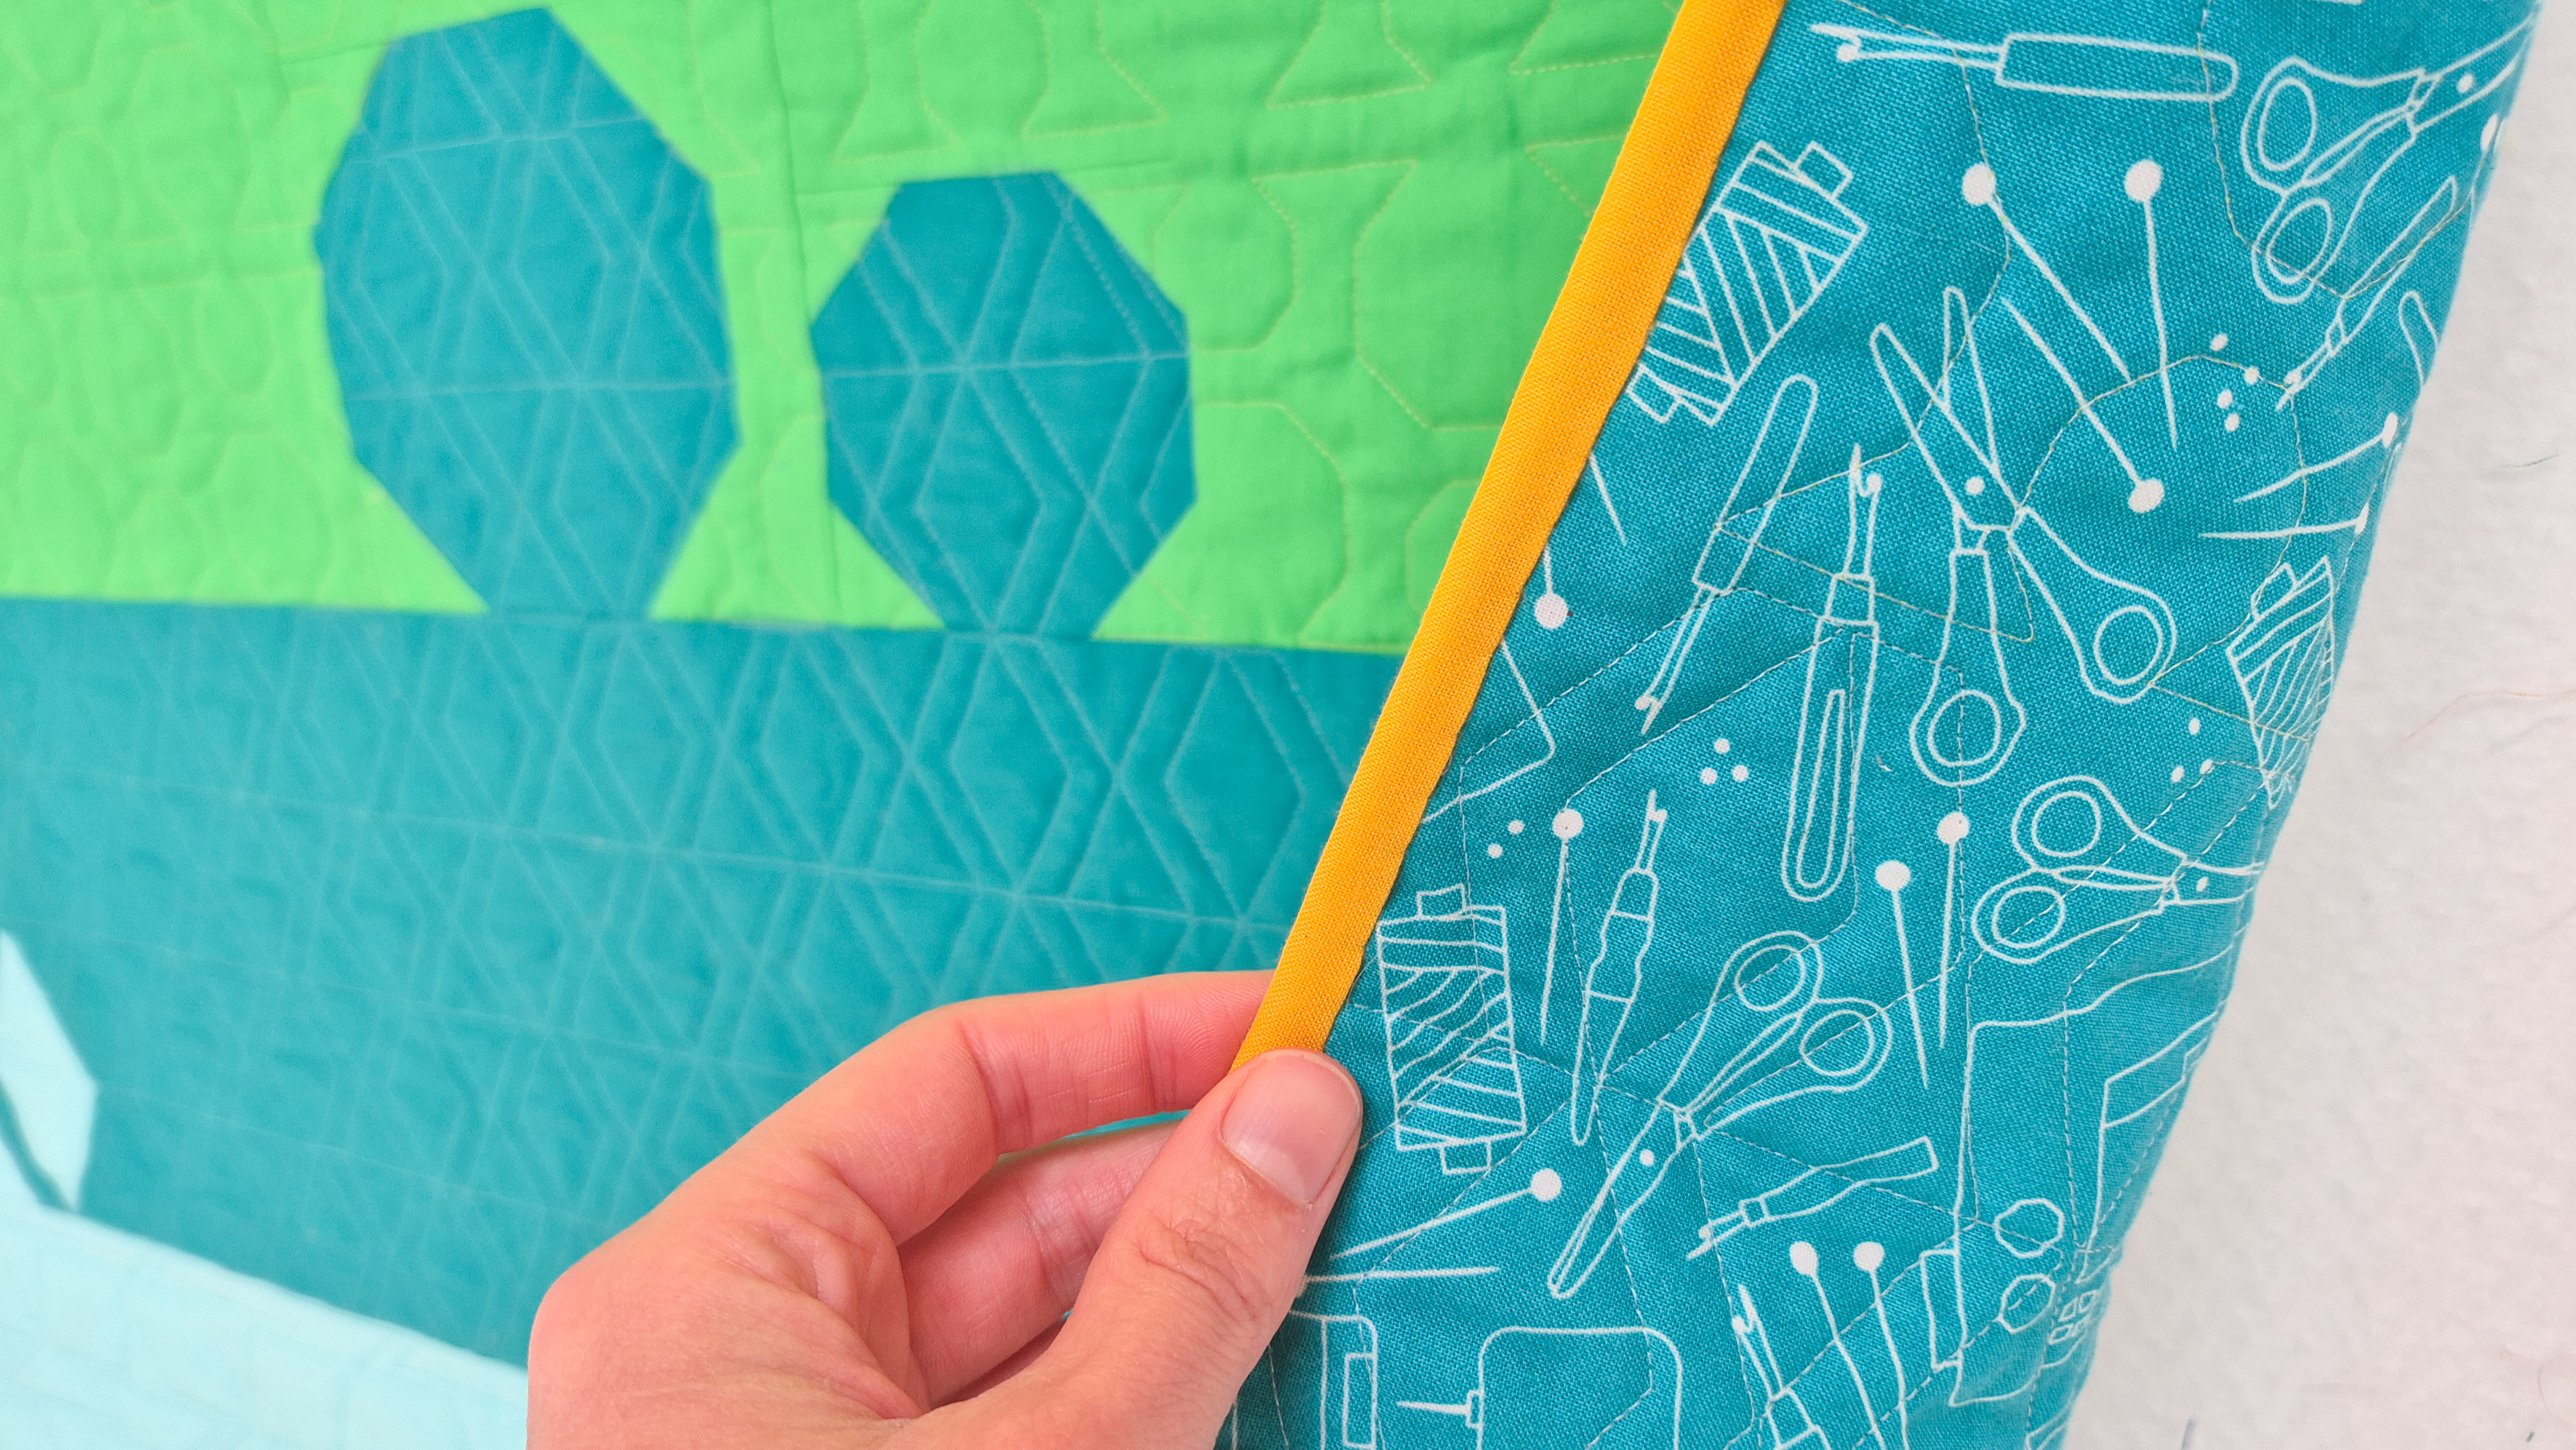
Trimming the edges
First, you’ll need to square up the edges of your quilt. That means trimming away the extra batting and backing fabric.
Start in one corner. Place your ruler in the corner and trim along both sides of the ruler to create a 90-degree angle.


Then continue trimming along the edge of the quilt until you reach the next corner.

Work your way around until all sides and corners are straight. You should only be trimming off very small slivers of fabric, just enough to straighten things up if your quilt has shifted slightly during quilting.

Making the Binding
Take your 2-inch-wide strips (cut across the width of fabric) and sew them together to create one long strip, long enough to go all the way around your quilt.
Fold the strip in half lengthwise and press it flat.

Attaching the Binding
Sew the binding to the front of the quilt with the raw edges facing outward.
Start along one side of the quilt, leaving about 6 inches of binding loose at the beginning. We’ll use that later to join the ends together.

In the video at the top of this blog post, you can see exactly how I sew the corners and join the ends of the binding.

Fold the binding over to the back of the quilt. You can hold it in place with quilt clips (Wonder Clips). I prefer to hand stitch my binding to the back of the quilt. You can do this by machine if you like, but I personally find the hand-sewn finish to look much nicer.

Hand-stitching the binding is a lovely task to do in the evening, curled up on the couch with a nice cup of tea and some Netflix.
See you soon!
Thank you so much for joining and following along with the Q-matic Quilt Along. It was such a joy to have you with us!
In the new year, I’ll be back with more projects to create with the Q-matic and the BERNINA Q 24.
See you next year!
Warm hugs,
Irene