Quilting for Beginners: How to Sew a 16-Patch Quilt Block
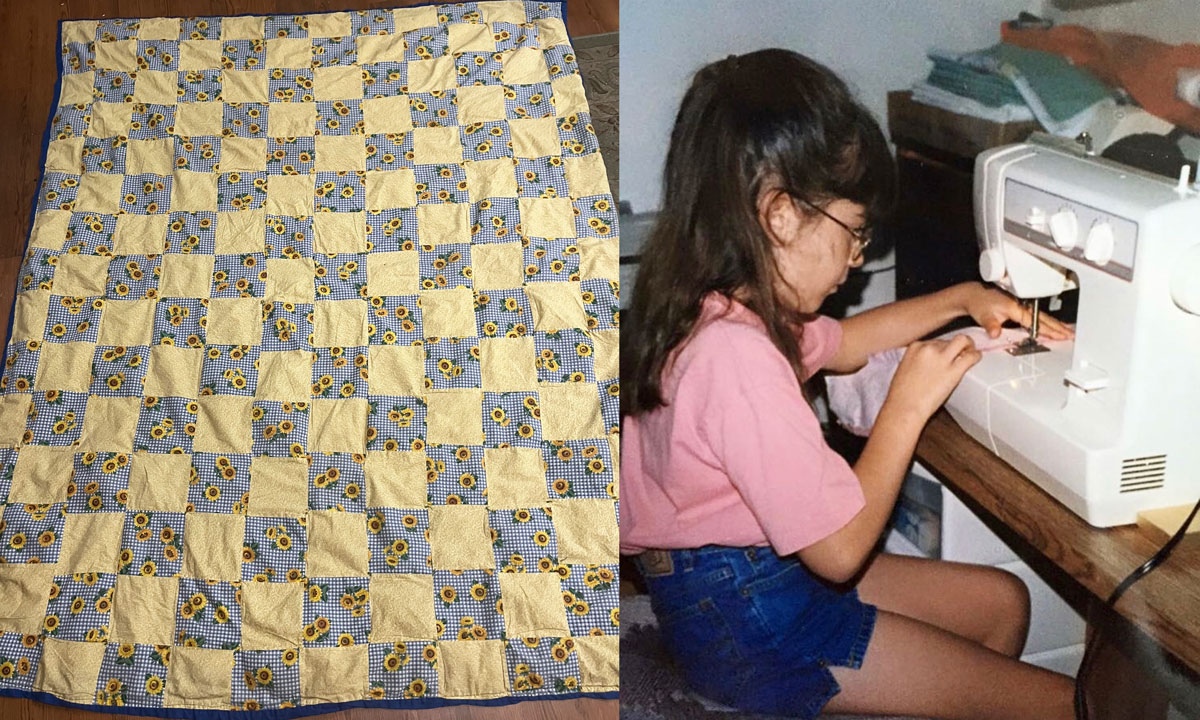
For most of my adult life, I would say that my sewing has focused on garment sewing. However, in the past year, I have really returned to my sewing roots: quilt projects! Quilting is part of my crafting origin story. My Mamaw was a quilter, and that’s how she taught me to sew when I was 7. After a few simple practice projects, my first project was a patchwork quilt (in all of its 90’s sunflowers glory). To this day, my parents still have it and use it. Later in my sewing journey, my interests shifted heavily to garments with an occasional quilt from time to time. However, last year I really fell back in love with quilts again. As I’ve re-integrated them into my crafting rotation, they’ve generated a lot of interest from my mostly-garment-sewing audience. The question that fills my DMs: How can I get started?! And to that, I say: a 16-patch block!
Why a 16-patch block? The goal of this post is twofold. I want to: 1) share a requested beginner quilting project, but also 2) share an idea that all skill levels can add to their crafty arsenals by making the most of more intricate work using 16-patch blocks.
This year, three of my close friends are pregnant, and therefore some baby quilt projects have jumped to the front of my crafting queue. With three quilts on the docket, I need to be judicious with my time. I want them to be special, but they also can’t take several months to piece together. So enter: the humble 16-patch block! The 16-patch is very beginner-friendly, but is also a fabulous tool for making the most of more complex projects. Let’s dive in!
16-Patch Quilt Block Tutorial
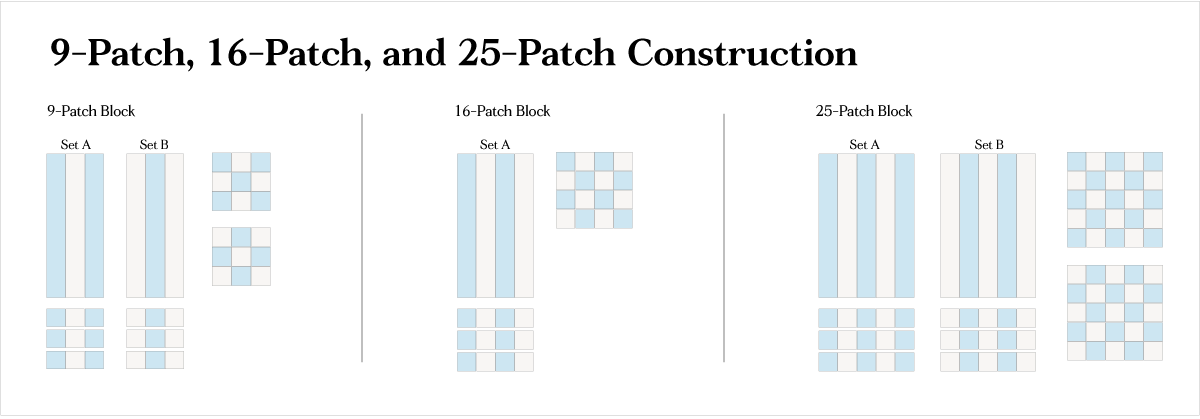
What is a 16-patch? A 16-patch block is a 4×4 square quilt block that can be formed by a technique called strip piecing. Strip piecing is a time-saving method of making patchwork blocks by sewing multiple long strips of fabric together to form long, strip-pieced sections of fabric. From there, you cut those down to form the segments of your block to sew together. It’s a faster, more efficient way of sewing patchwork blocks than if you were to sew individual squares together. Since a 16-patch is 4×4 squares, each set of strip piecing needs to include 4 strips. Many looks can be achieved based on how you decide to lay out your fabric, as well as how many different fabrics you include.
The strip-piecing technique can easily be scaled up or down—i.e., a 9-patch (3×3), 25-patch (5×5)—the general method is the same. But the advantage of the 16-patch is that you only have to strip pieces once for each block (and then rotate 2 of the 4 strips) to produce a single block. There are certainly opportunities to use multiple sets of strip piecing for a single 16-patch block (for example, maybe you want really scrappy blocks and prefer each square to be a different fabric), but having the ability to construct a single block using one set of strip piecing definitely has a time advantage. Blocks with odd numbers of squares (3×3 and 5×5) require two sets of strip piecing to produce a single block. What you sew will depend on your design goals—and whether you’re mixing these patch blocks alongside others in the quilt to match a certain size.
Preparation: Deciding on Fabric Combinations & Layout
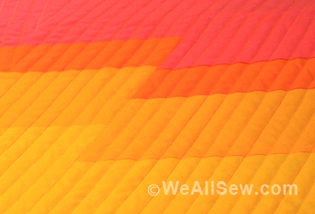
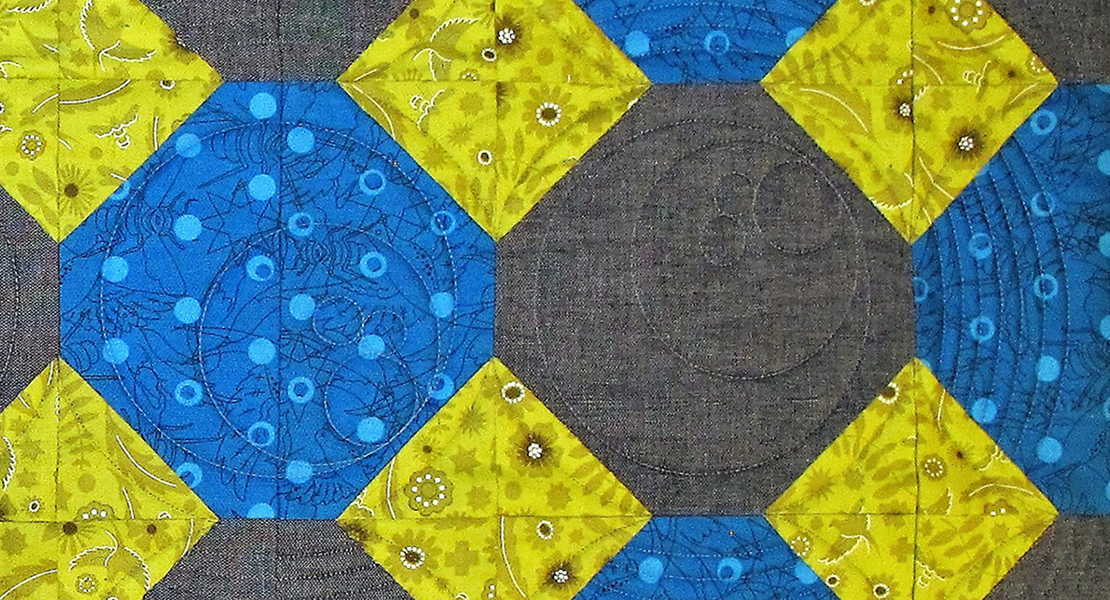
This is one of my favorite parts of quilt projects: playing with fabric combinations, color interactions, and layouts. SWOON! There are so many options. How scrappy do you want the individual 16-patch blocks to be? How much contrast do you want each block and the overall quilt to have?
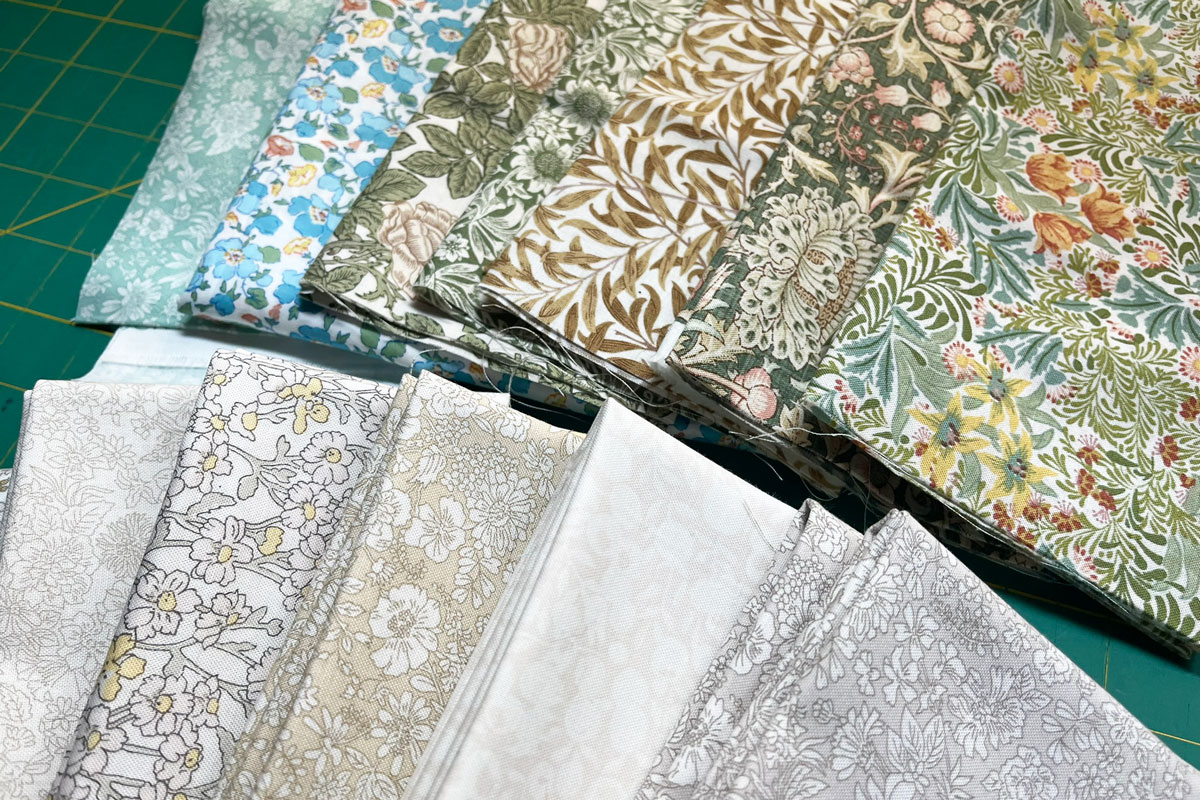
If you’re new to this process or not as confident with color combining, fat quarter bundles are GREAT for ensuring your project has cohesion. For my project, I bought two fat quarter bundles—one in shades of greens/blues and a second in neutral hues. For each 16-patch block, I wanted to use one green/blue fabric and one neutral. Within an individual block, this means there will be some contrast, but the palette of soft greens/blues plus neutrals keeps the quilt’s overall appearance cohesive and soft. This scheme suits the goals I had for this project, but there are so many roads you could take. Don’t forget to consider how individual 16-patch blocks will interact next to one another. I personally love using Adobe Illustrator for visualizing tasks like this. It’s a program I’m familiar with, so I can quickly mock up different looks until I arrive at something I’m happy with. Good ole grid paper and coloring pencils work too!
How Much Fabric?
Another important consideration at this stage is how much fabric to buy if you’re aiming for a specific size. There are helpful fabric calculators out there for these kinds of tasks, but generally, I estimate with percentage math. My general process is: 1) look up the standard dimensions of the size I’m aiming for. Convert that size to fabric yardage—factoring in that quilting fabric is typically 45″ wide. 2) Mock up my desired quilt design in Illustrator or on grid paper. 3) Visually guesstimate a percentage of how much a certain fabric is taking up in that mockup. 4) Use that guesstimated percentage for each fabric in my mockup against the yard dimensions of my desired final size to calculate an approximate amount of each fabric to buy. I add a little extra to each calculation for seam allowances.
For the beginners out there— if you found your eyes glazing over at that last paragraph, try not to be daunted by this. Fabric estimation comes more easily as you sew more projects. Use an online fabric calculator or don’t be too tied to a particular size. If you need a recommendation to get going for a 16-patch project, start with 6 or 7 fat quarters (because fat quarters are fun to use!) and 2–3 yards of a coordinating quilting cotton to mix with those fat quarters for each block. This will get you a finished quilt top somewhere in the twin-size arena. If you’re a beginner, I recommend sticking exclusively with quilting cottons to start. You can use other fabric types in quilts (fellow BERNINA ambassador @sewingthroughfog uses reclaimed denim!) but different fabrics stretch and shrink at different rates, making it more challenging to get nicely aligned seams when you combine them into the same quilt block.
Visual Overview
Below is a visual overview of the tutorial. I’ll go into more details to clarify each step.

Step 1: Cut and Piece Strips
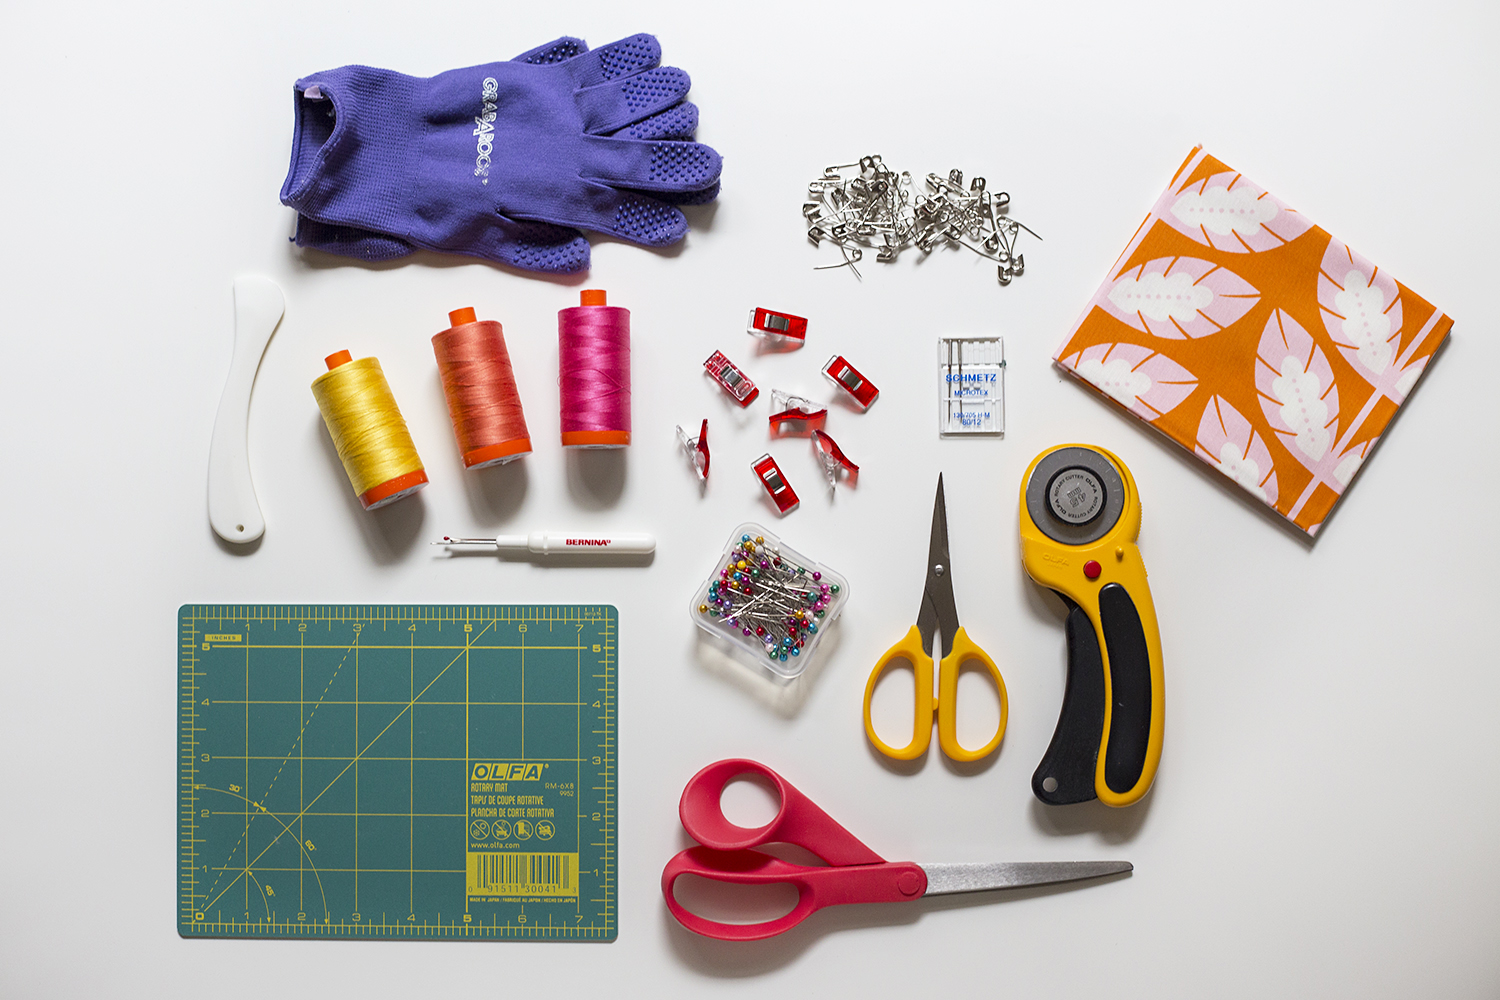
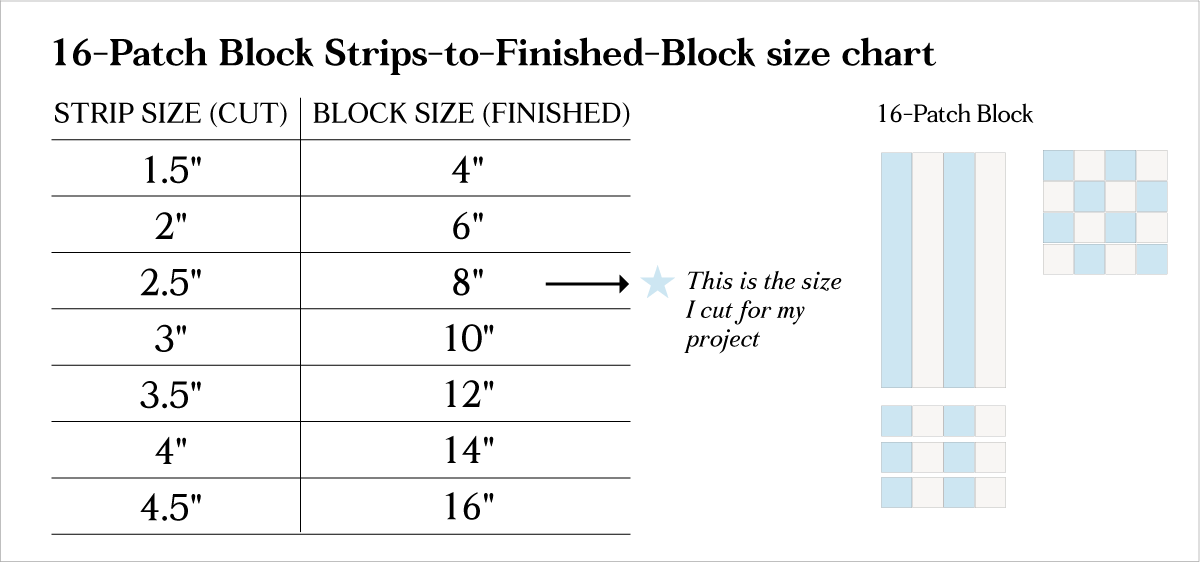
Cut your fabric into strips using a clear fabric ruler and rotary cutter. (I love my Stripology ruler for cutting strip-pieced quilts, but it’s not an essential.) Lengthwise, cut the strips the full width of the fabric (perpendicular to the selvedge). How wide should you cut your strips? That depends on what you want the final size of your block to be. The standard seam allowance for quilting projects is 1/4″, so when cutting out quilt projects, be sure to factor that in to your decision. For many of my quilting projects, I personally gravitate to 2″ final size squares. Aesthetically, I like the look of these smaller squares, but the 2.5″ cuts (2″ + 1/4″ on either side for seam allowance = 2.5″) aren’t so small that they are too fiddly to work with.
For my project, I cut 2.5″ strips, which translates to an 8″ finished size block once sewn. Below, I’ve created a reference chart that shows various strip widths and how that corresponds size-wise to finished 16-patch blocks.
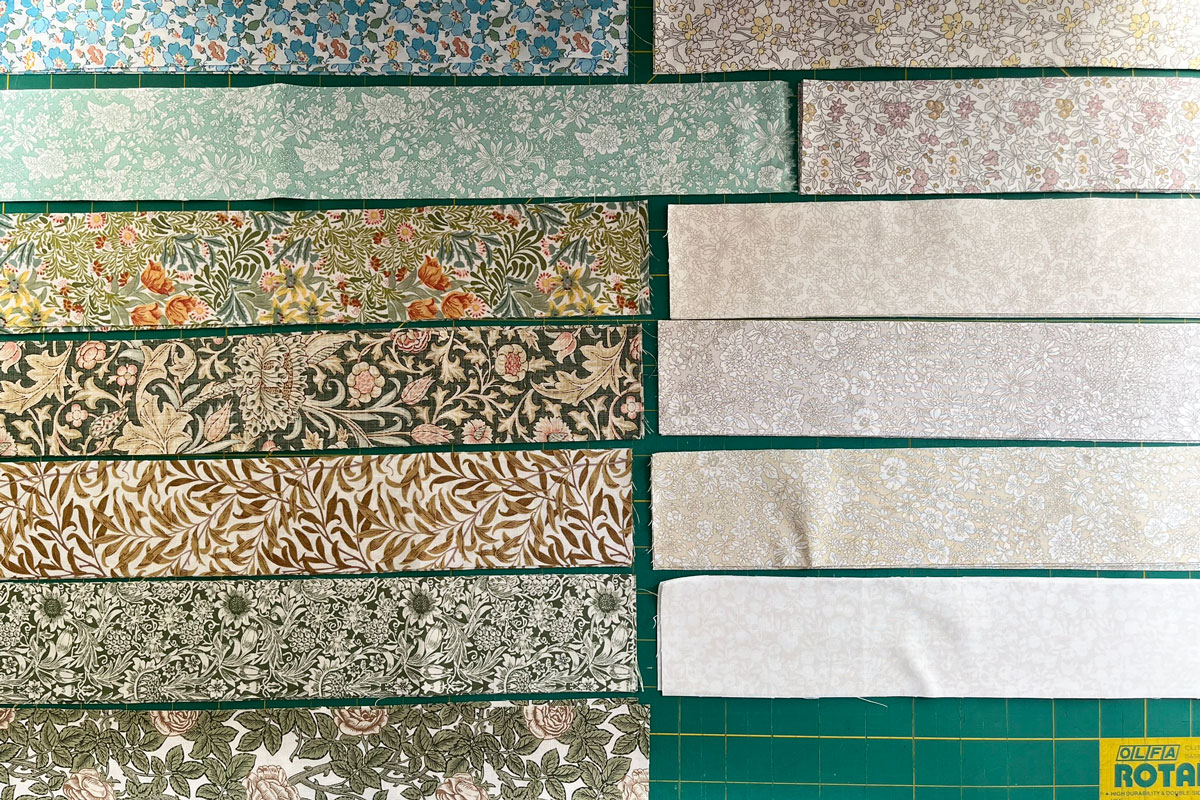
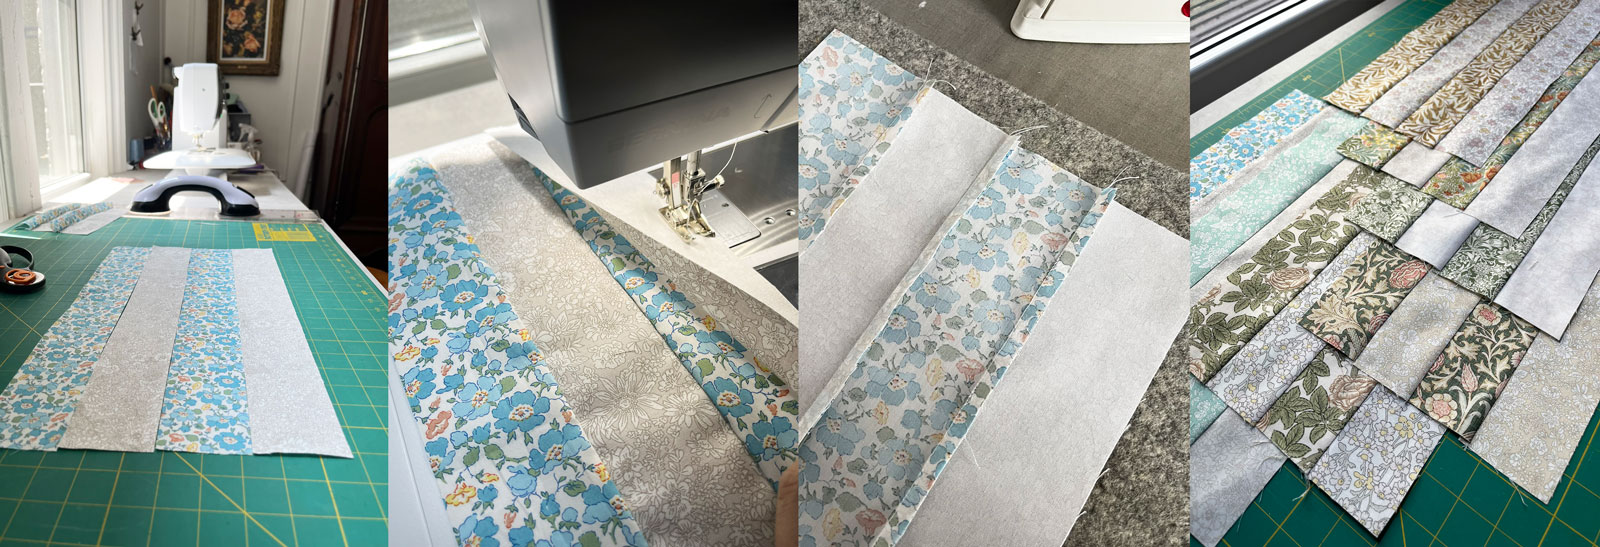
Once the fabric has been cut into strips, arrange 4 strips according to your pre-determined layout from the Preparation Task detailed above. Before sewing, I like to lay out several sets of strip piecing into stacks to help me stay organized. For each 16-patch in my project, I alternated strips of one blue/green fabric with strips of one neutral, so I organized my strips as follows:
Strip Set 1: blue strip 1 + neutral strip 1 + blue strip 1 + neutral strip 1
Strip Set 2: blue strip 2 + neutral strip 2 + blue strip 2 + neutral strip 2
and so on!
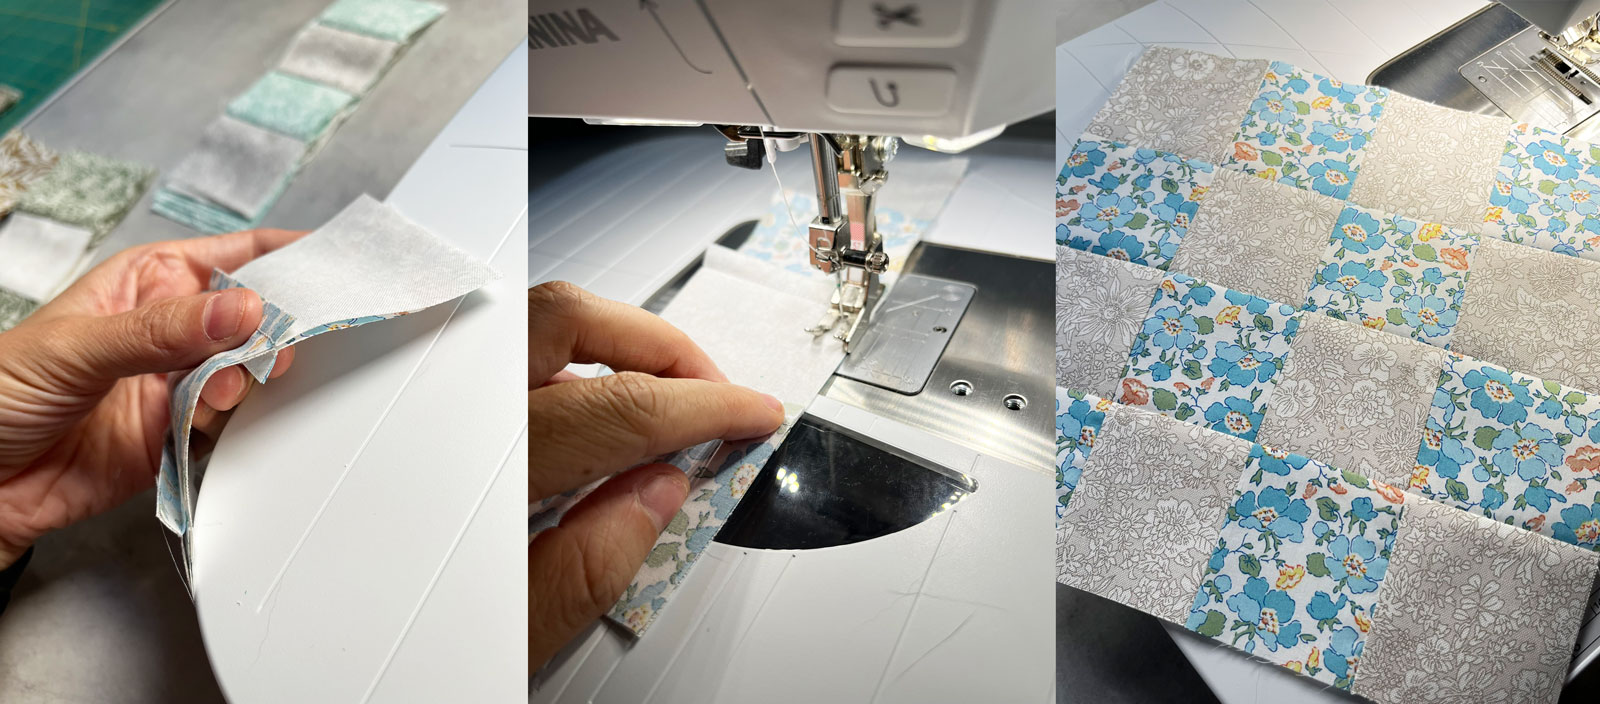
Sewing settings: Sew with a 1/4″ seam allowance at a 2.0–2.5 stitch length.
Once a 4-strip set is sewn, press all seams with an iron in the same direction.

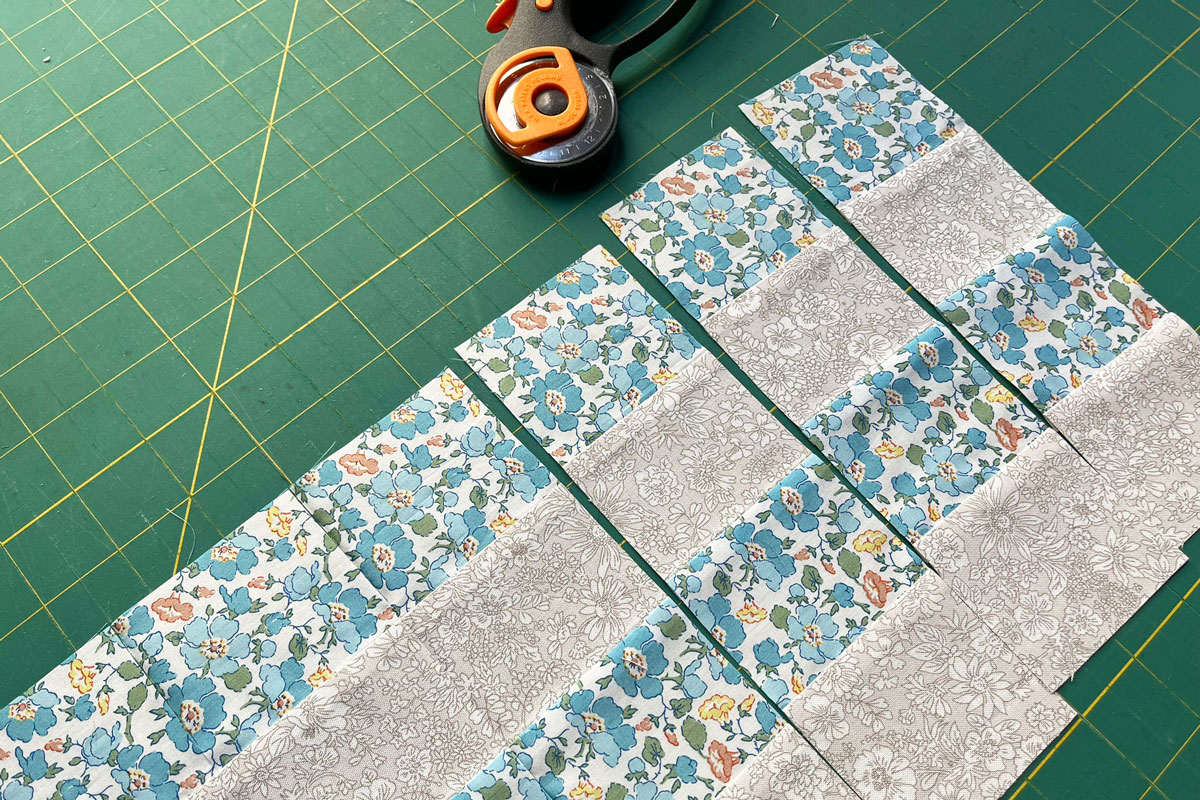
Step 2: Trim Strip-Piecing Into the Block’s Rows
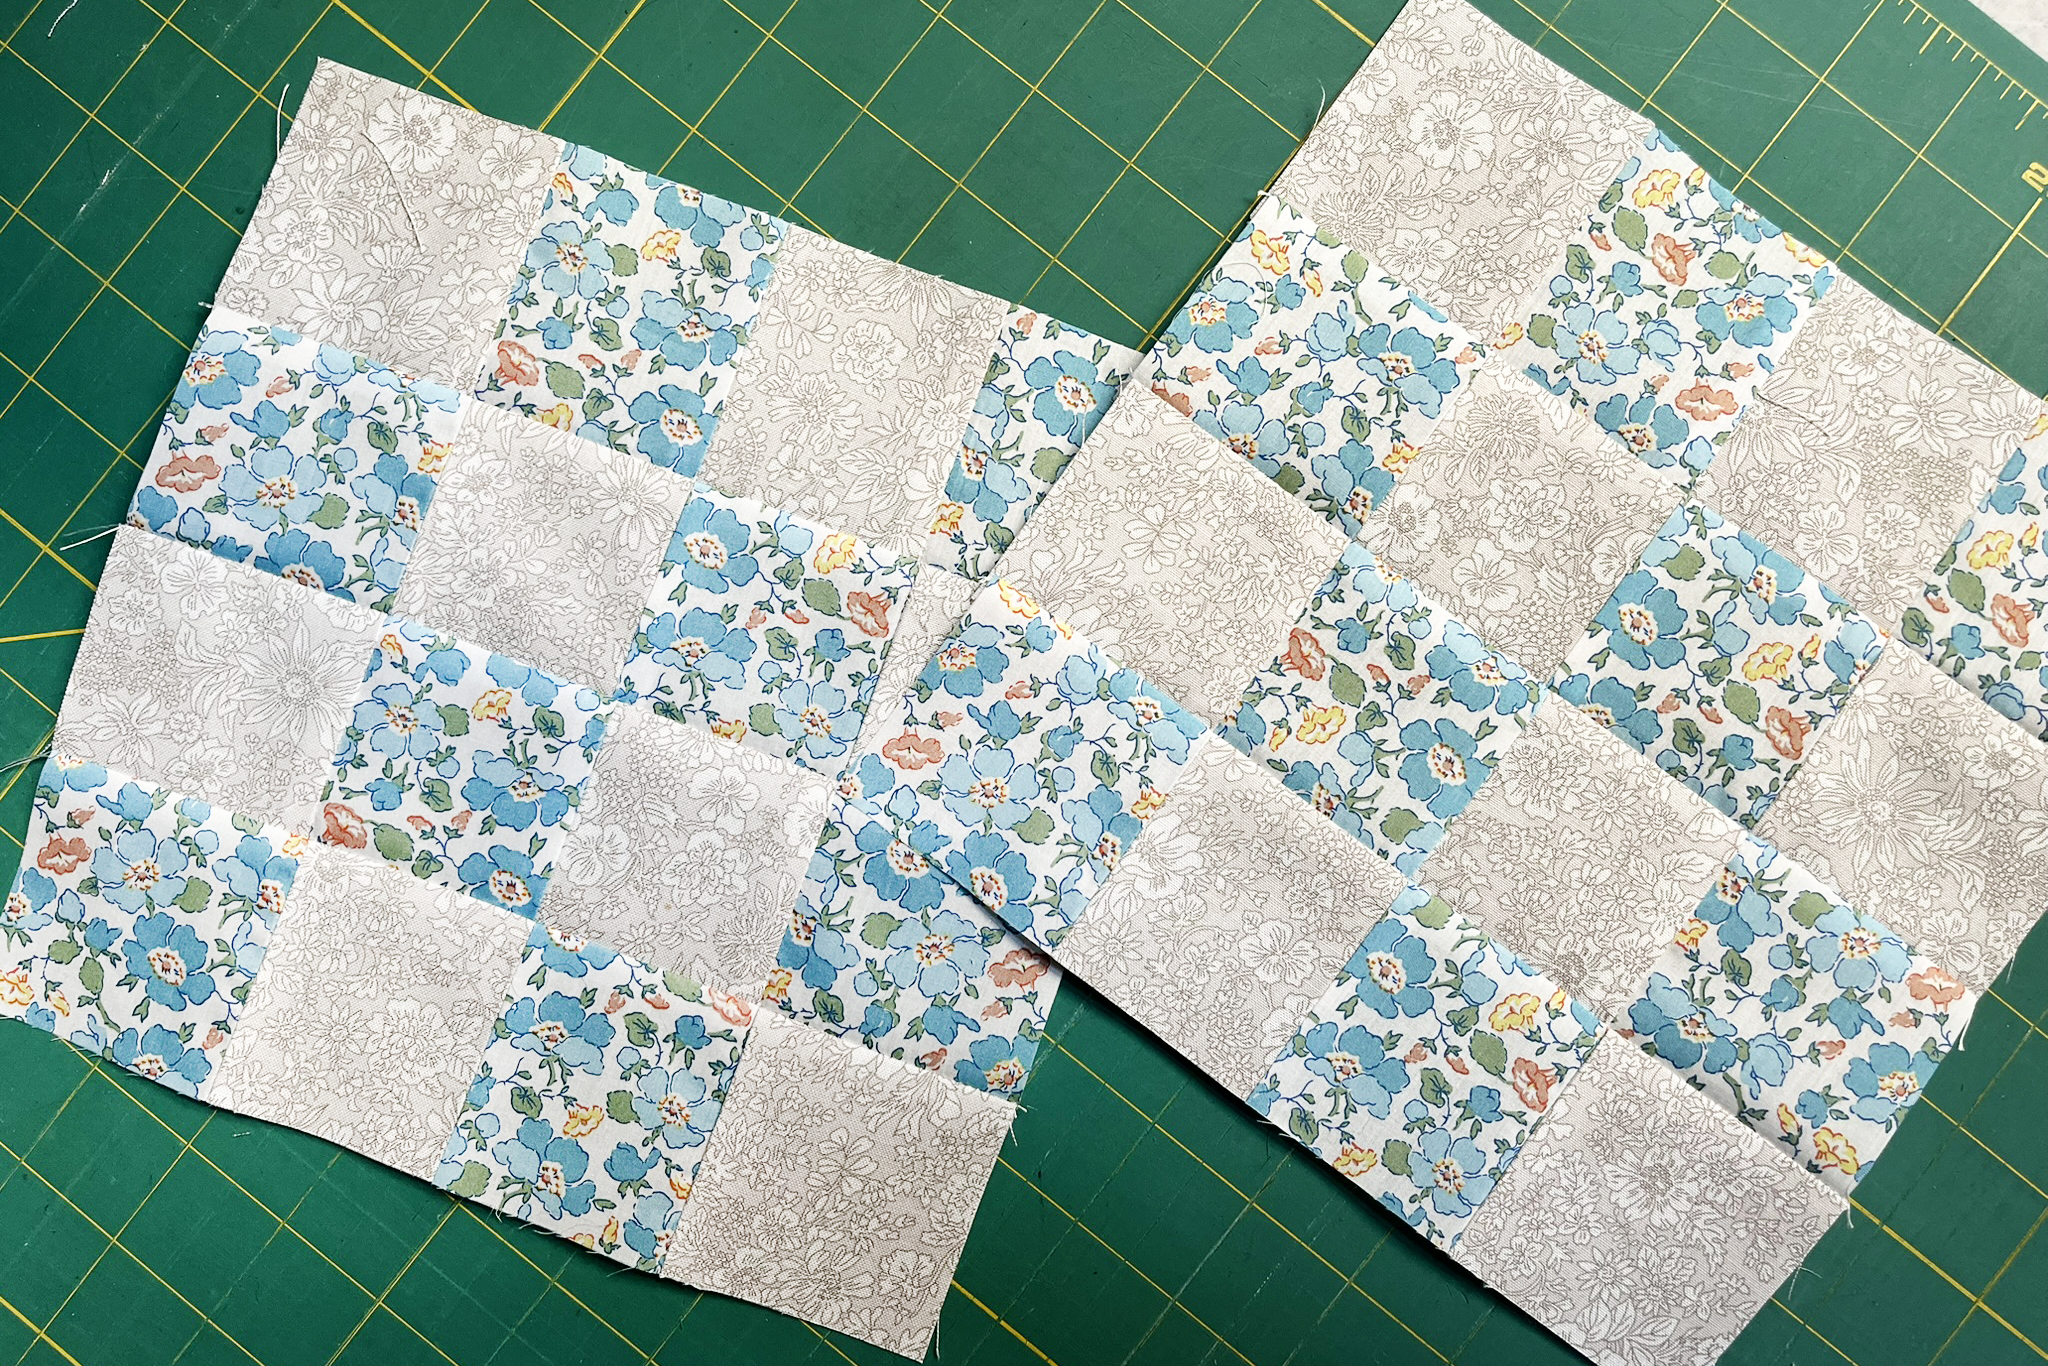
Place the 4-strip pieced set horizontally on a cutting mat (strips are running left to right). Before you begin cutting the columns, neaten/square off the short sides of the strip piecing with a clean cut to remove any uneven excesses at the ends of the strip piecing. Using a rotary cutter and a ruler, cut the strip piecing into vertical columns. How wide do you cut the columns? The width of the columns should match the width used to cut the original strips in the strip-piecing. For example, the strips I cut to construct my strip piecing were 2.5″ wide, so I cut my strip-pieced sets into 2.5″ columns. These 4-squares columns are going to be the rows used to construct the 16-patch block.
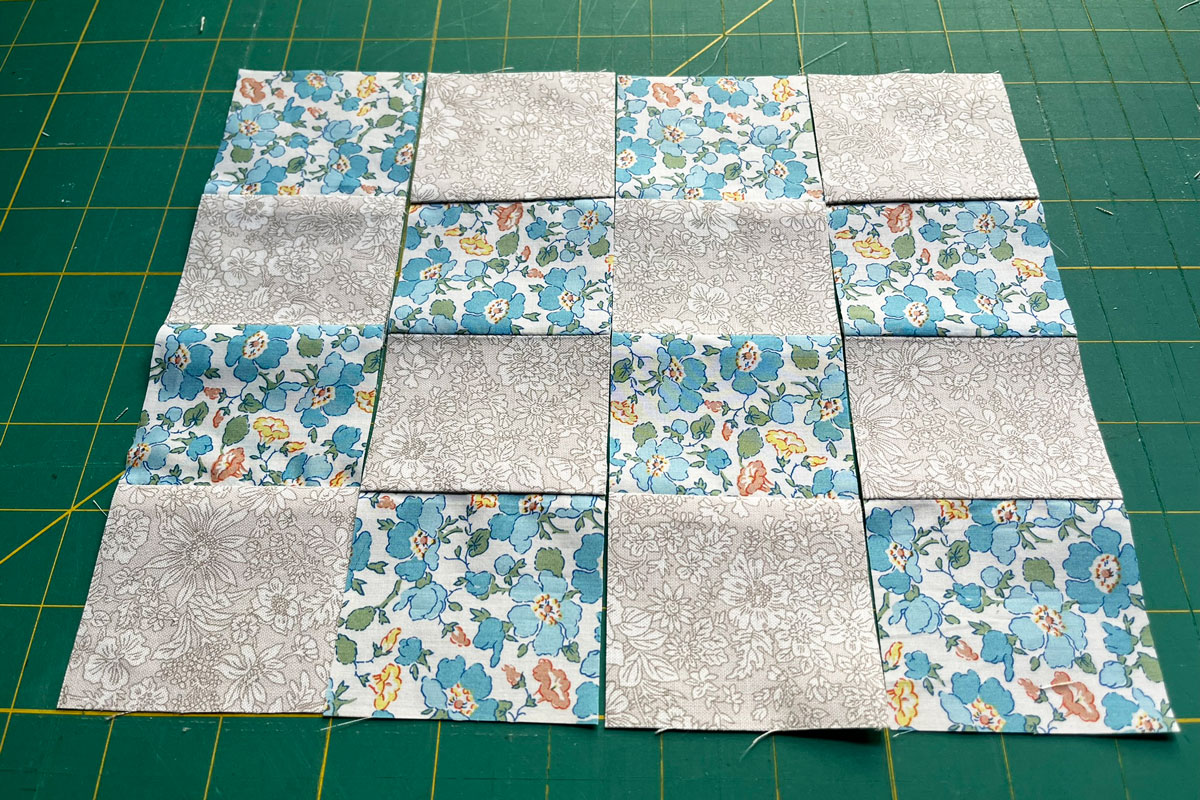
Step 3: Arrange & Sew the Rows Into 16-Patch Blocks
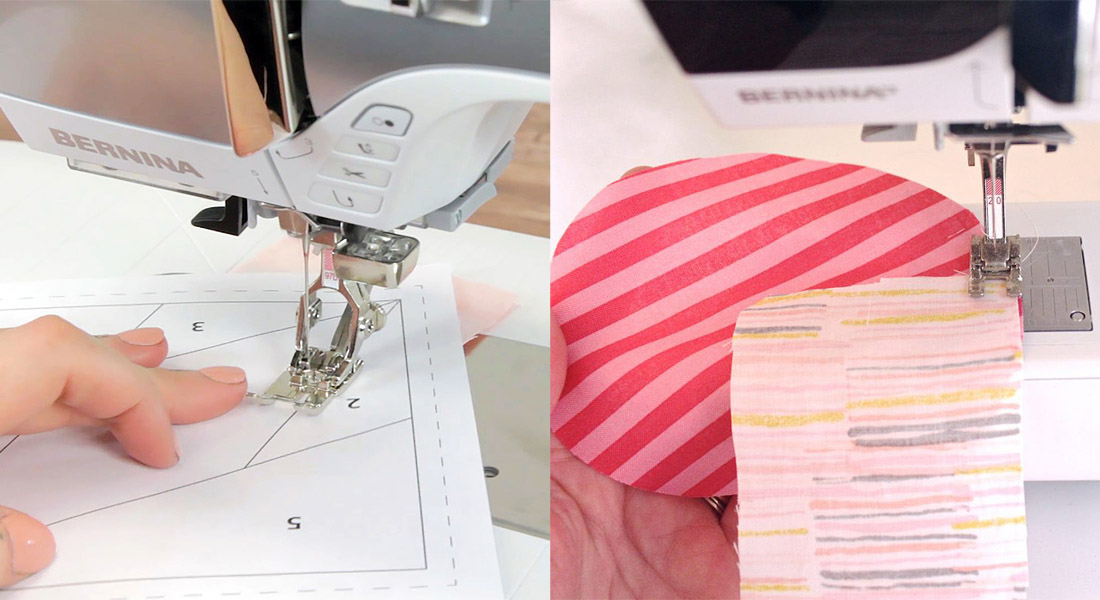
Now it’s time to arrange the four-squares columns into the rows of the 16-patch block. Grab four of the columns cut from the strip piecing, and arrange them into a 4×4 block. If you’re using one set of the strip piecing to construct a block like I am (as opposed to mixing and matching a bunch of columns from various strip pieced sets), you’ll use four columns from the same set, and then rotate every other strip so that the colors alternate in the block. Sew the rows together with a 1/4″ seam allowance.
If the seam allowances of the strip piecing sets were all pressed in the same direction (as specified at the end of Step 1), then the seams where the block corners meet from row to row should “nest”/interlock—making it easier to sew with more precision. If they aren’t matching up, gently tug them into alignment from corner to corner, holding them in place as you sew. You can also pin if you prefer. Once you sew the four rows together, you have your final 16-patch block. Press the seams of the block.
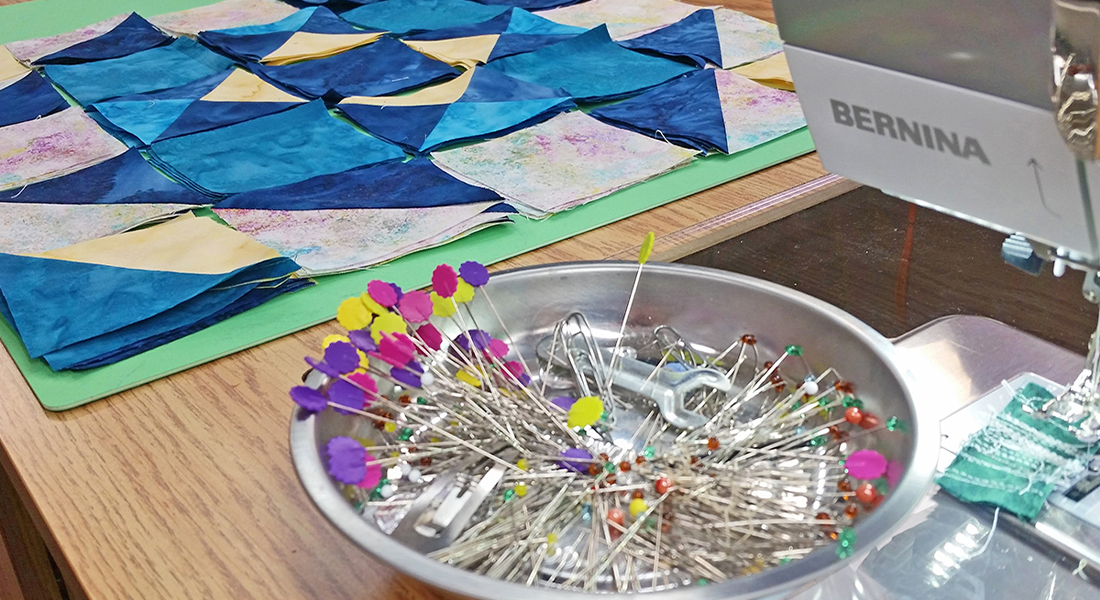
Repeat this process until you have as many blocks as you want for your project.
And there you have it— you now know how to make a 16-patch block. Once I finish the 16-patch blocks, I have an arranging session where I lay everything out on the floor and keep arranging until I arrive at a layout and a fabric/color distribution I’m pleased with. From there, I: 1) sew the blocks into rows and then 2) sew the rows to one another to form the quilt top—pressing the row seams in alternating directions.
BERNINA Accessories & Machine Features That I Love for Quilting Projects
It is here that I absolutely must sing the praises of a few BERNINA accessories and settings that I love. All have drastically improved both my quilting experience and the quality of my sewing.
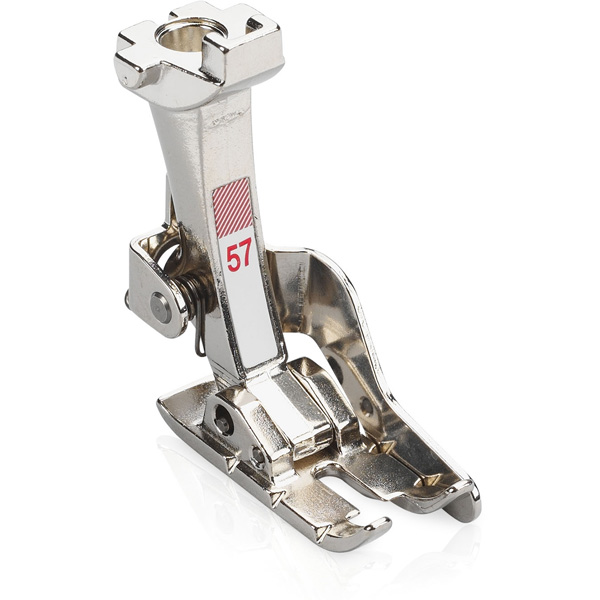
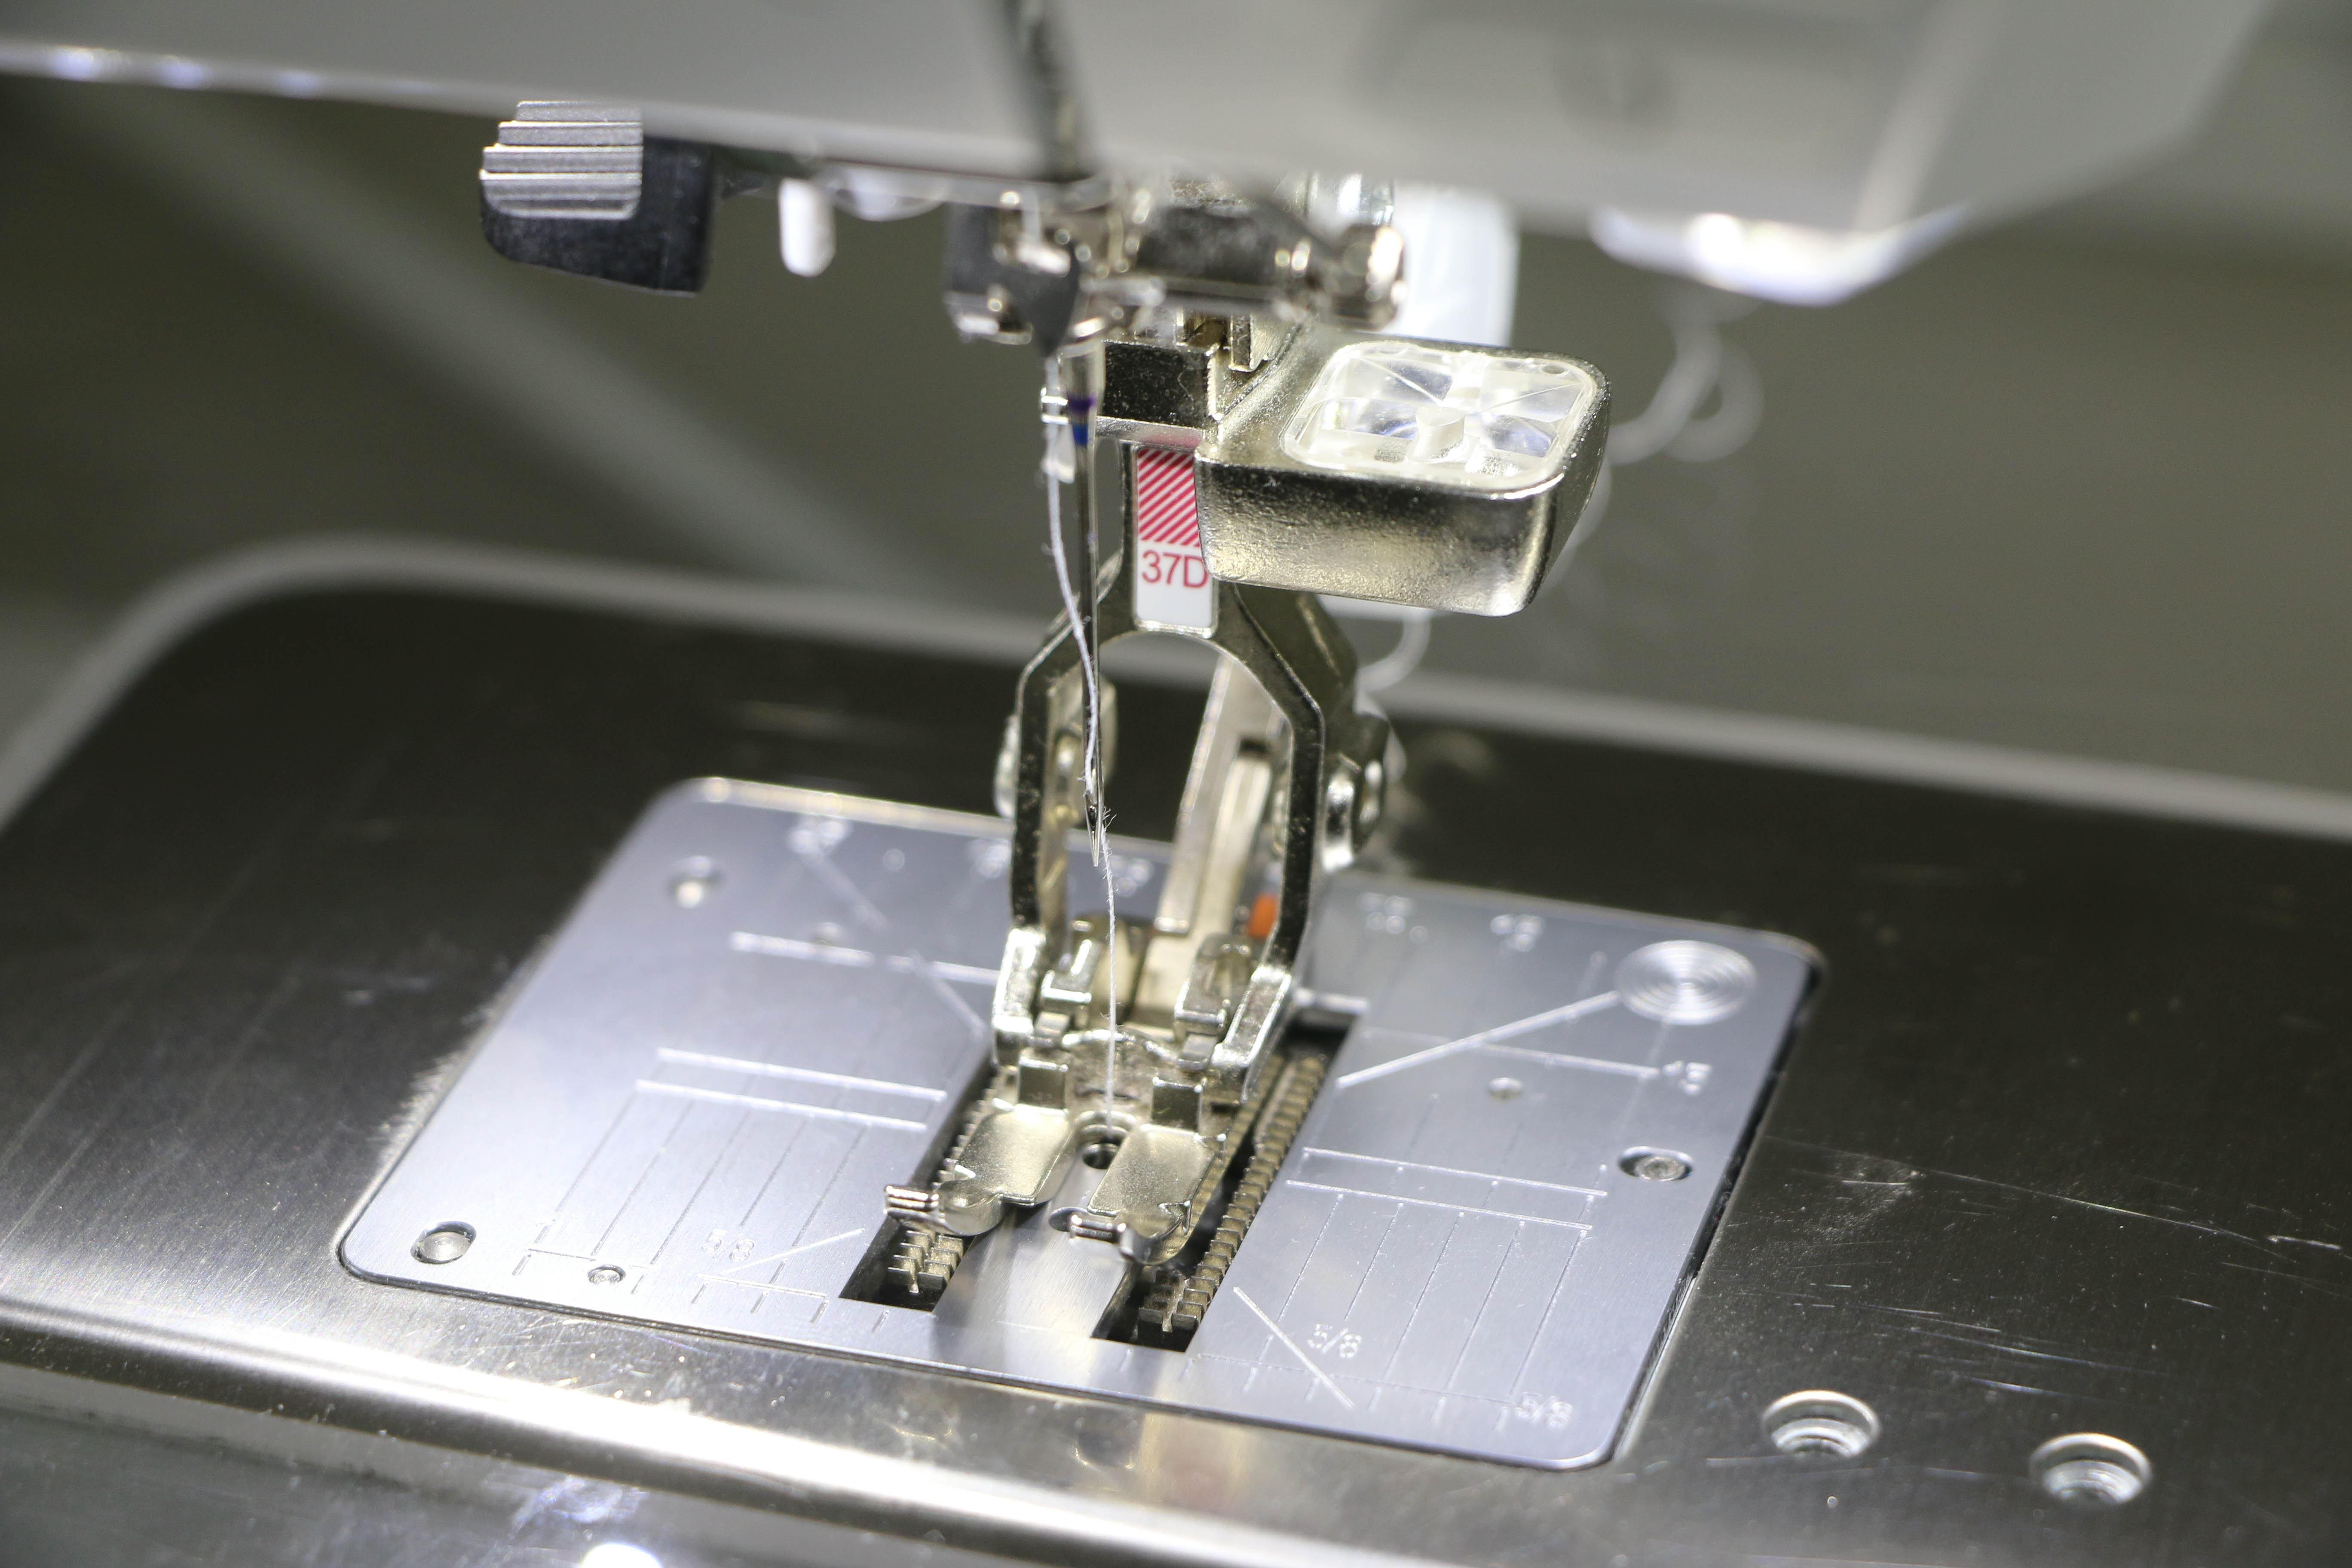
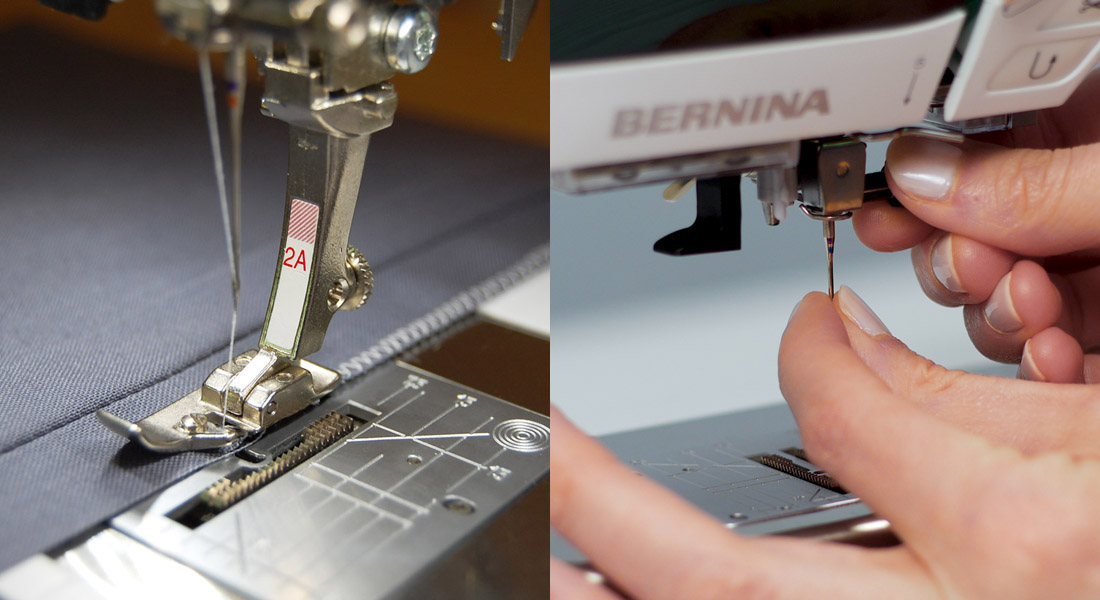
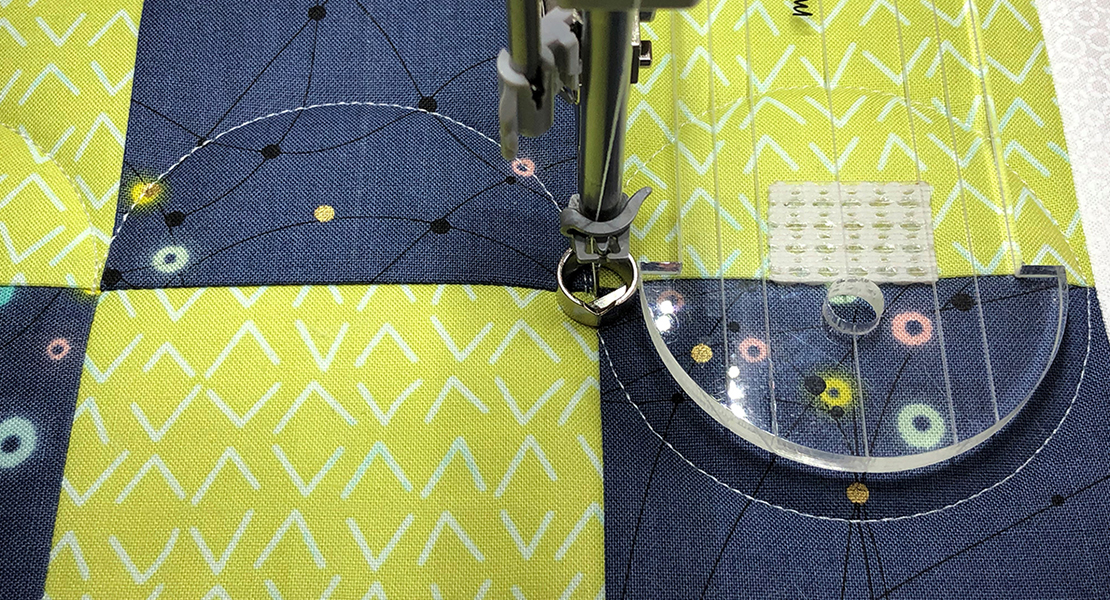
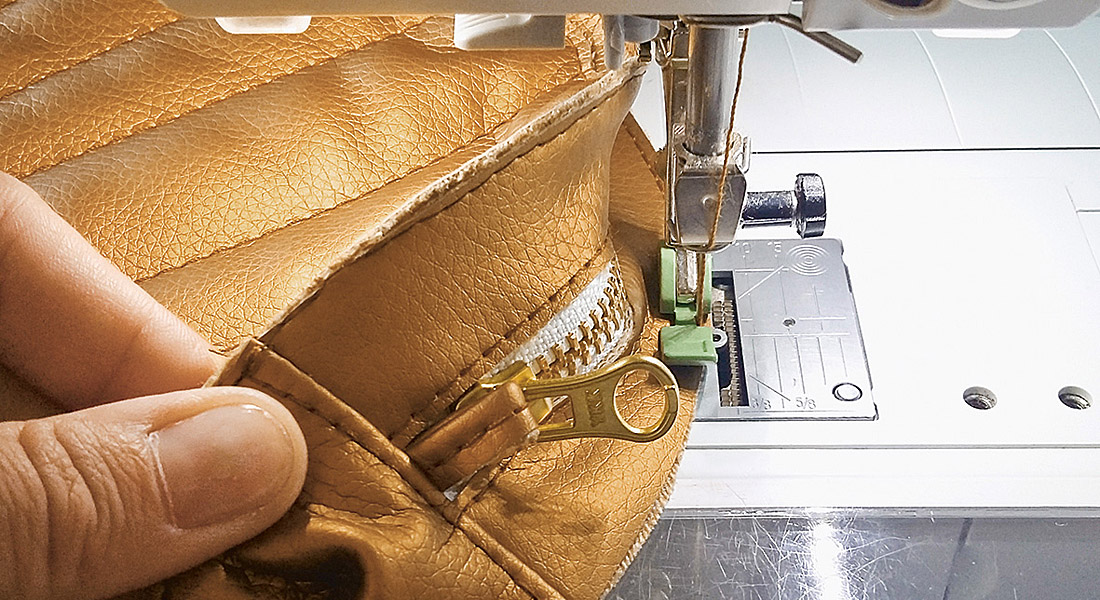
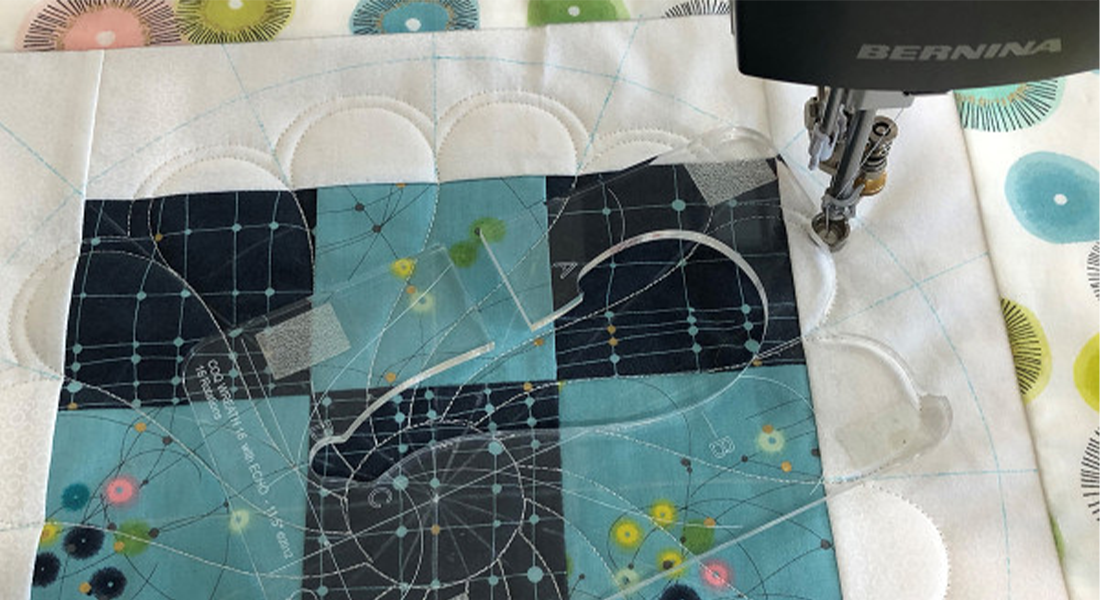
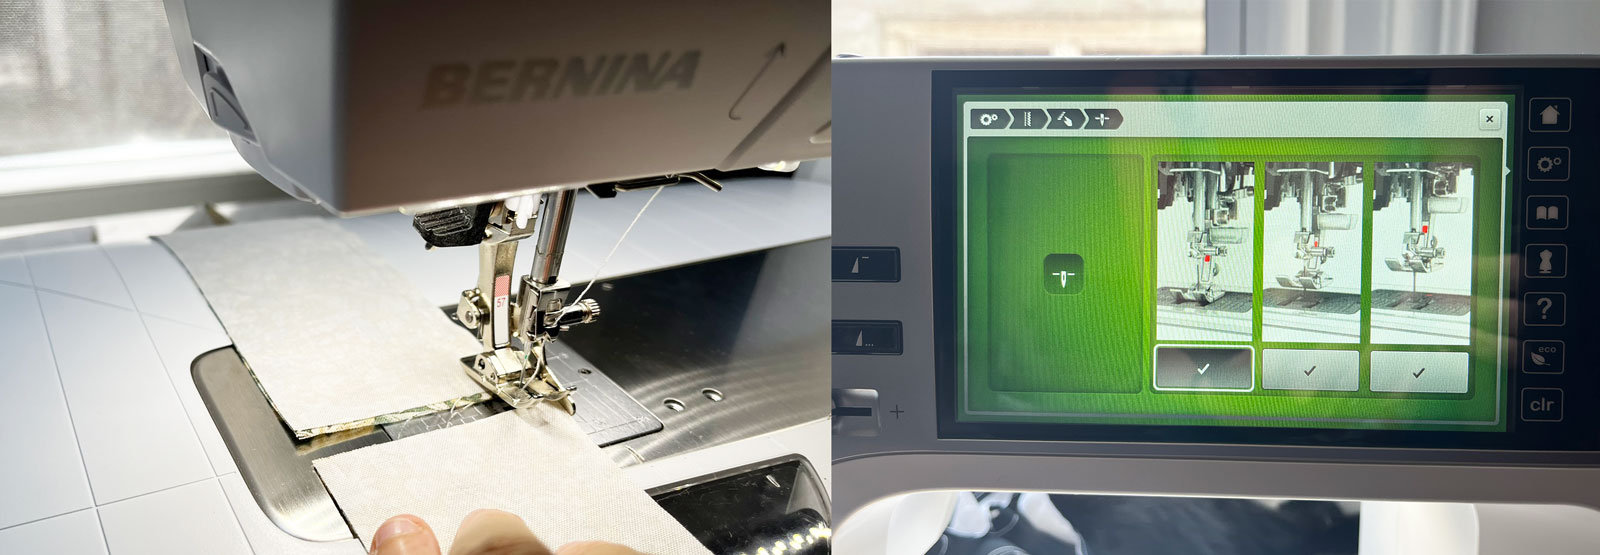
1. BERNINA Patchwork Foot with Guide #57
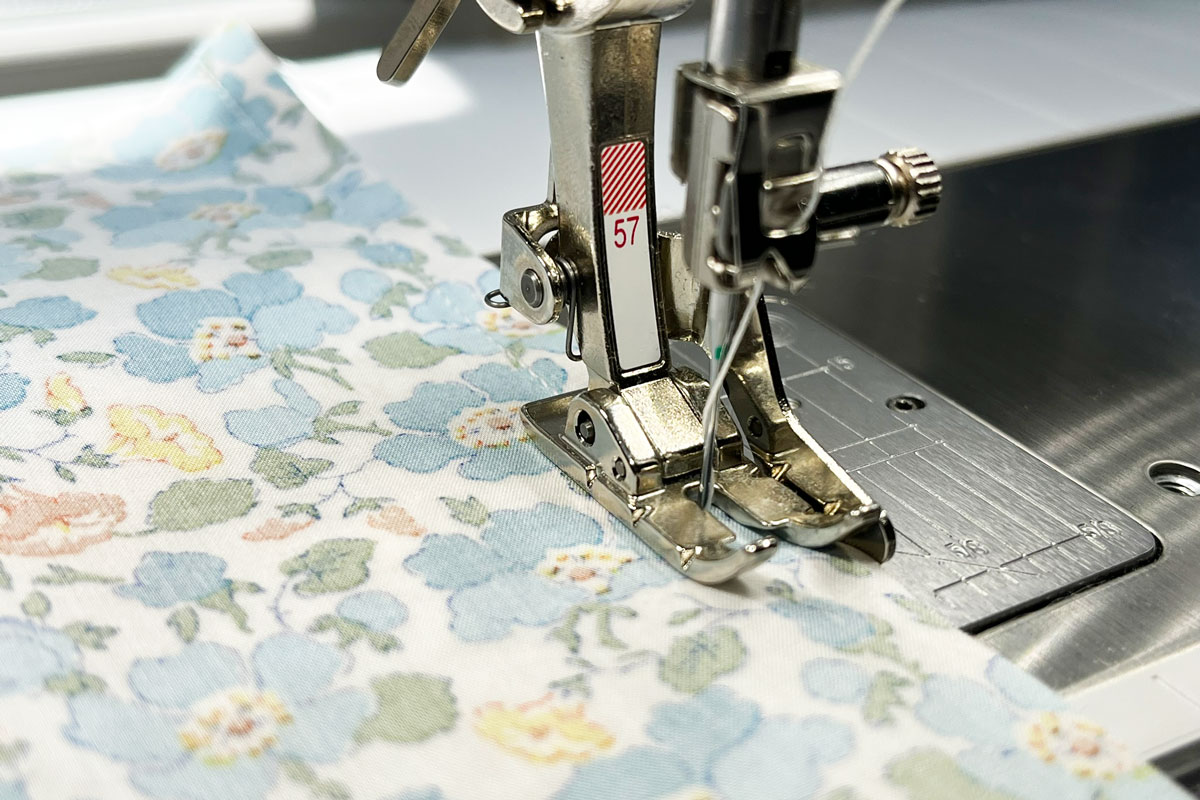
Outside of my general sewing foot, this is easily the most-used presser foot in my collection. If I’m working on a quilt project, this foot is on my machine. #57 is perfect for executing super consistent 1/4″ seams. The edge guide on the foot makes sewing consistent seams a breeze. Quilts have lots of seams and pieces. Consistent seam allowance makes a huge difference in how your project comes together and aligns.
2. Knee lifter/Free-Hand System (FHS)
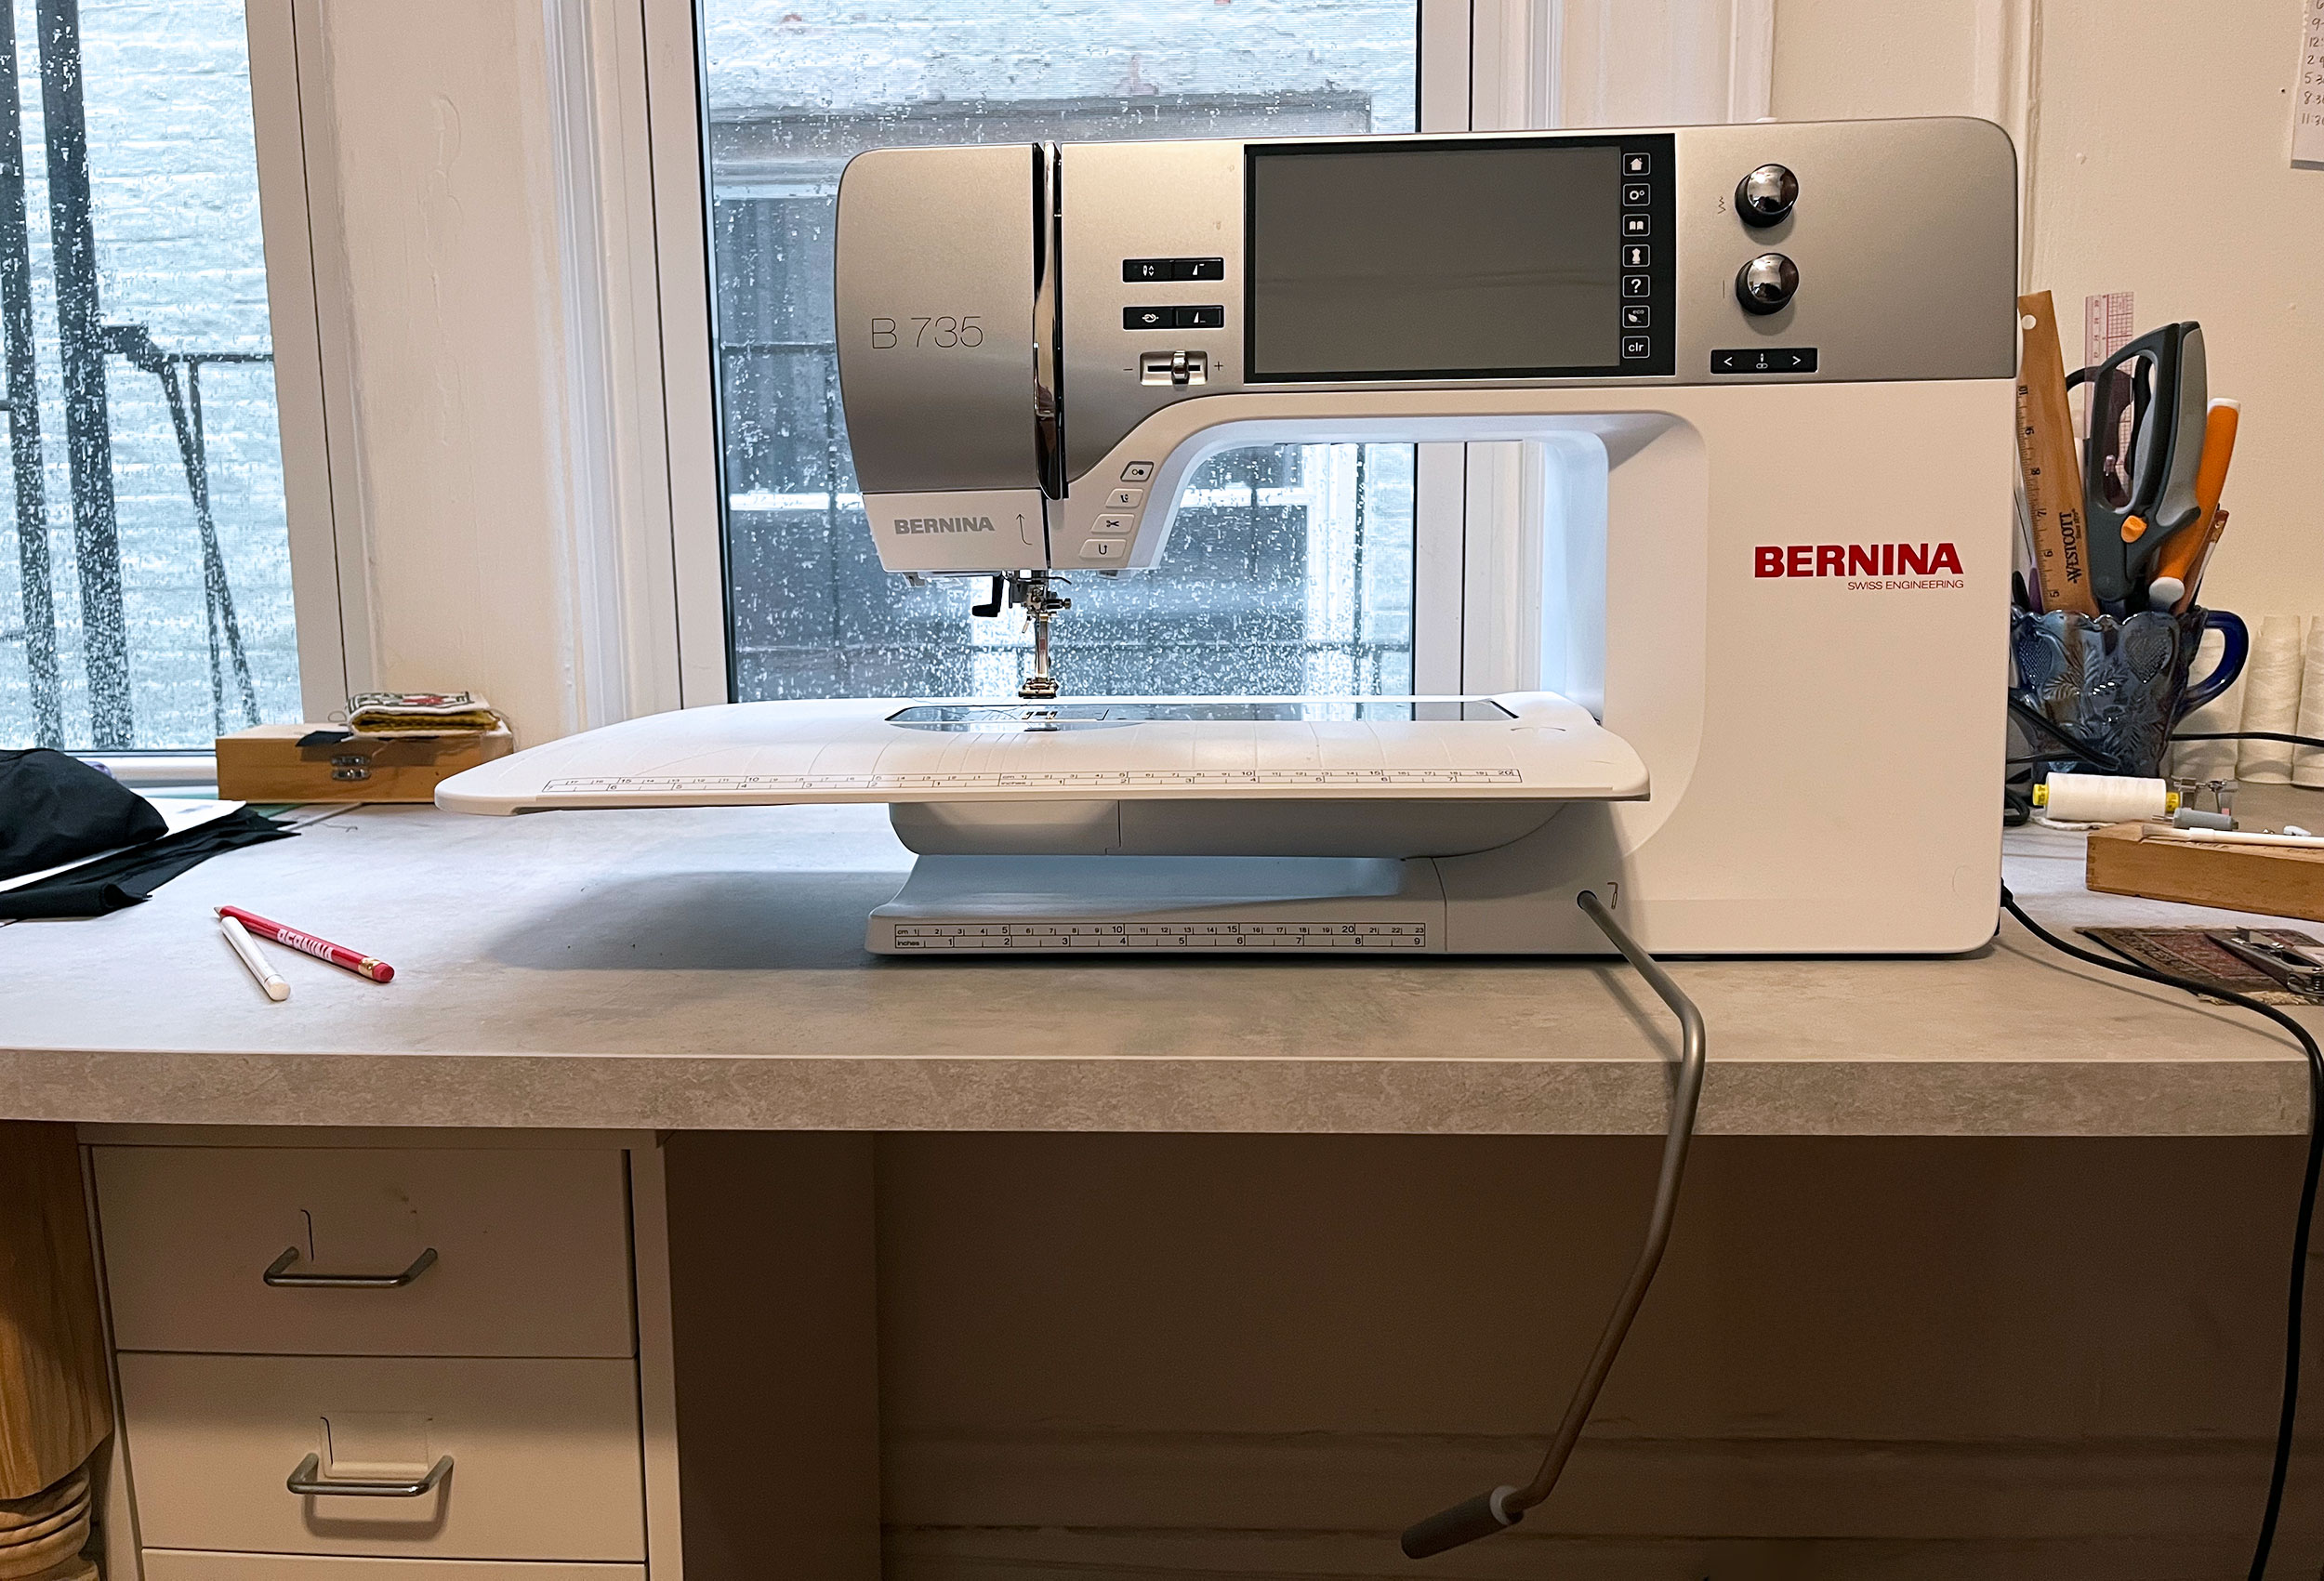
I sew on an incredible B 735. But even my previous machine (a BERNINA 1090, my vintage baby) had the FHS, and for some silly reason, I never started using it until I upgraded my machine. Don’t be like me. Use this as your PSA to use your knee lift if you have one. So much time is saved by using the FHS rather than constantly manually lowering and lifting the presser foot while chain piecing.
3. Auto-Hover on the B 735
I’ve chatted about this on my first-ever WeAllSew post, and the advice still holds. Especially if you’re making a large quilt (or maybe if you don’t love using a FHS), try out the auto-hover function if your machine has it. (If you’re not familiar, some BERNINAs can be set to automatically hover a few millimeters above the stitch plate whenever you stop stitching. I love this feature and frequently utilize it if I’m doing a lot of chain-piecing.)
If you have favorite BERNINA accessories or machine features that you love for quilting, could you please share them with me in the comments? I’m always looking to up my skills, and I’m sure there’s so much I could learn from all of you!
Making the Most of Special Quilt Blocks Using the 16-Patch
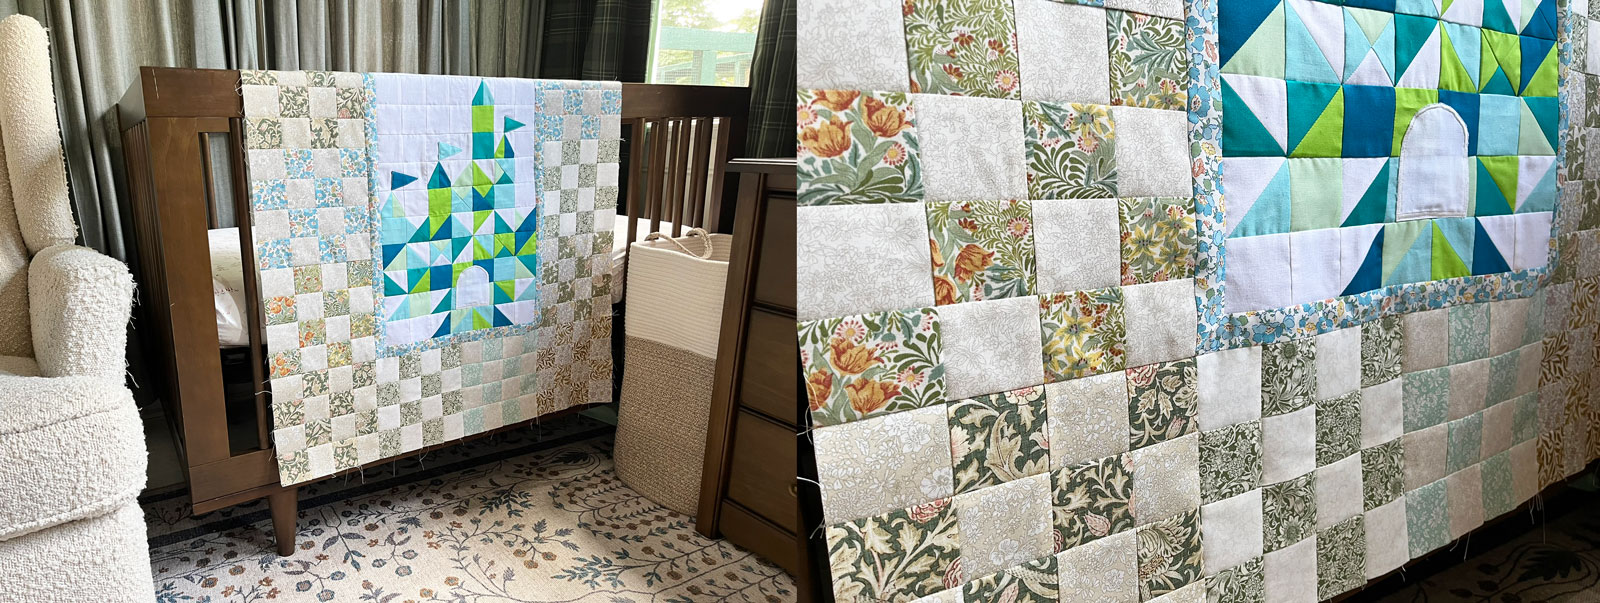
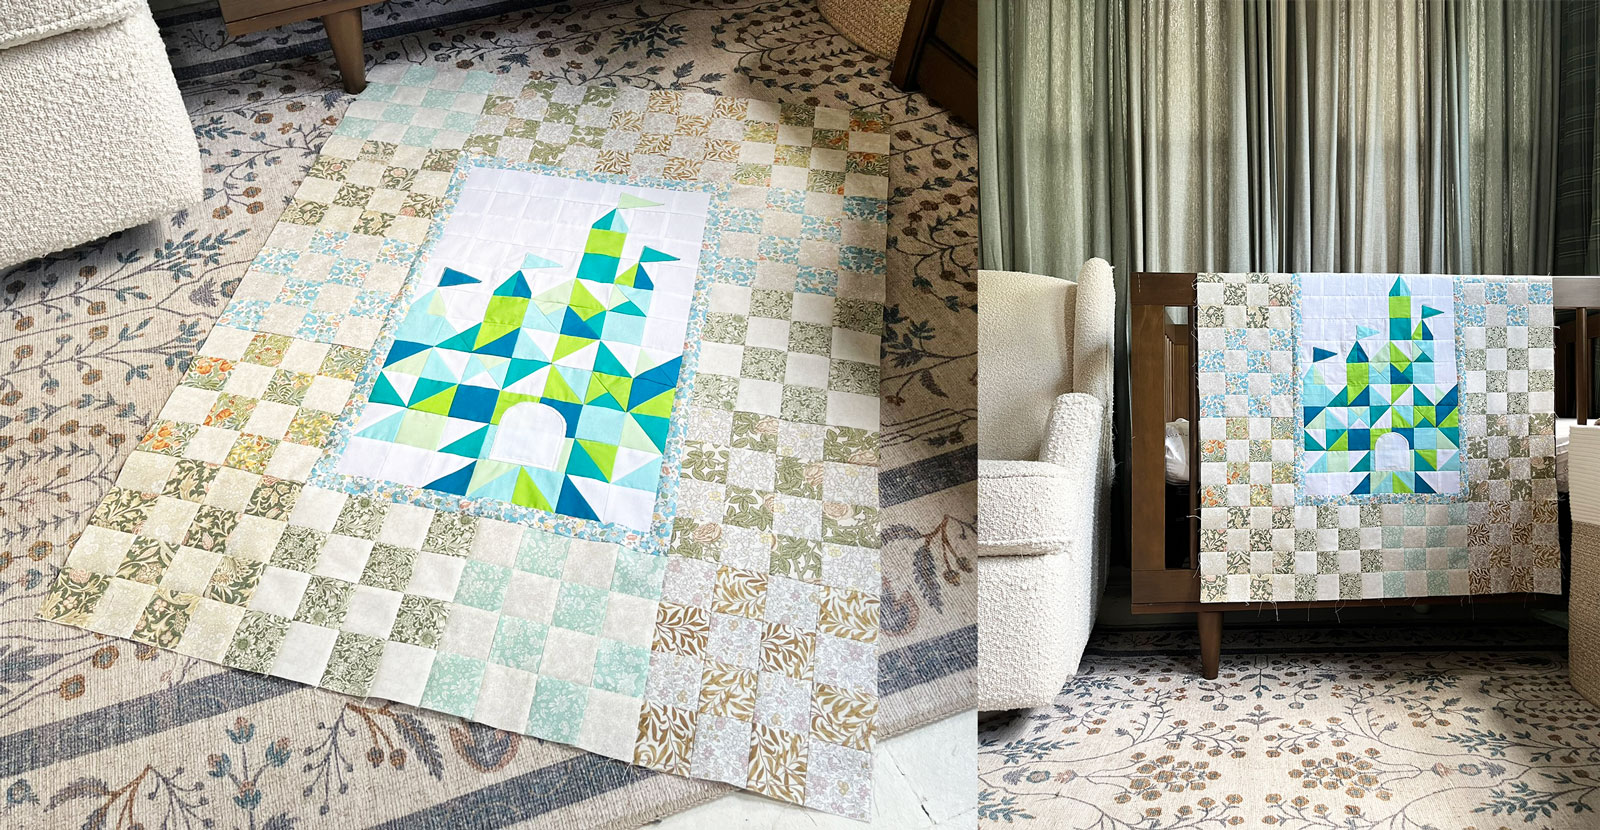
Finally, I also want to share a tidbit for a way you can get even more use out of a 16-patch quilt block. They’re lovely on their own, but they are also a great tool for extending the size of other pieces. For example, for my baby quilt gifts: in the spirit of special-yet-time-efficient, I thought: what if I sew a more intricate quilt block for the center of the quilt, but then frame it with 16-patch blocks? This way I can expand the size of the quilt with reasonable time investment. I’m guessing many of you have projects that this could apply to. I’m thinking along the lines of paper piecing, or just more intricate work that perhaps we don’t want to make multiples of, but need to get them to a larger size for other applications.
The 16-patch is a perfect complement to this kind of work. They can provide border and structure to a composition without overpowering it, yet also provide opportunities for flexibility and choice. 16-patches are very simple to make, but look more complex than they are. They have a magical ability to be the starring role or the supporting actor—it’s all in the fabric selection and layout.
And there you have it– the 16-patch quilt block tutorial. If you’re new to quilting and try out this technique, I would LOVE to see. Feel free to share your projects with me over on Instagram (I’m @jaclynsalem on there). Happy sewing!