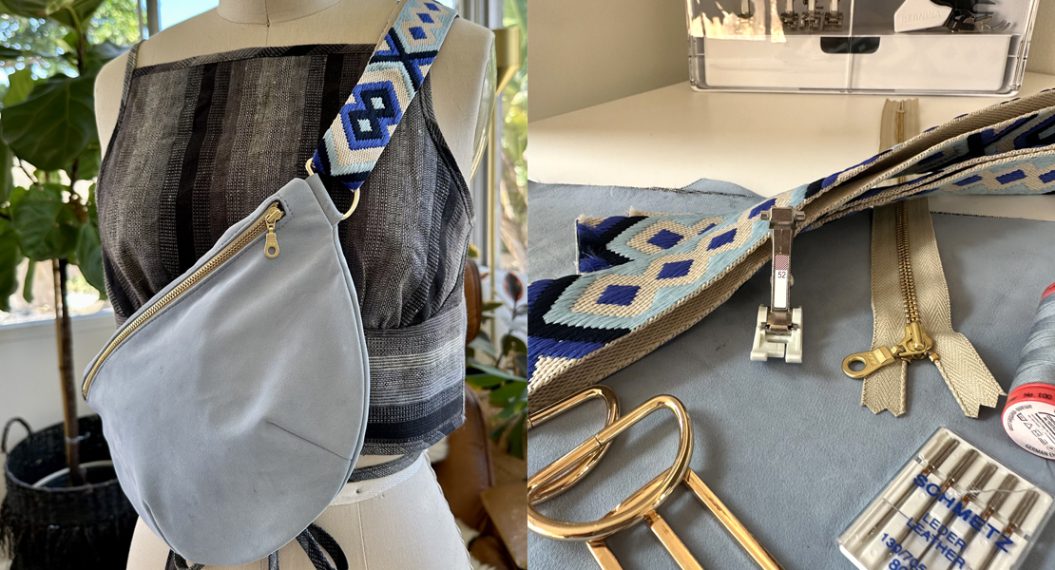
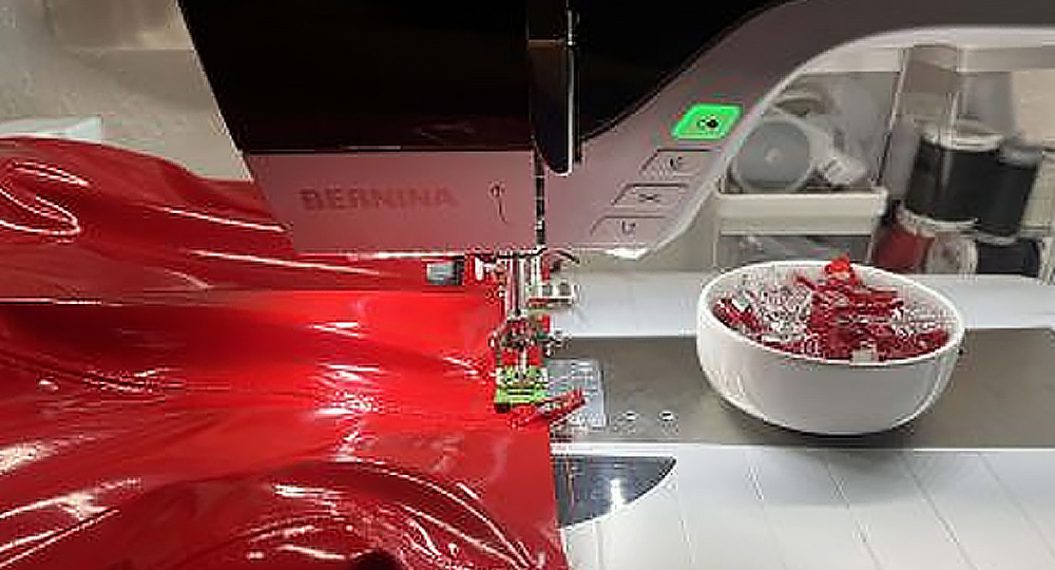
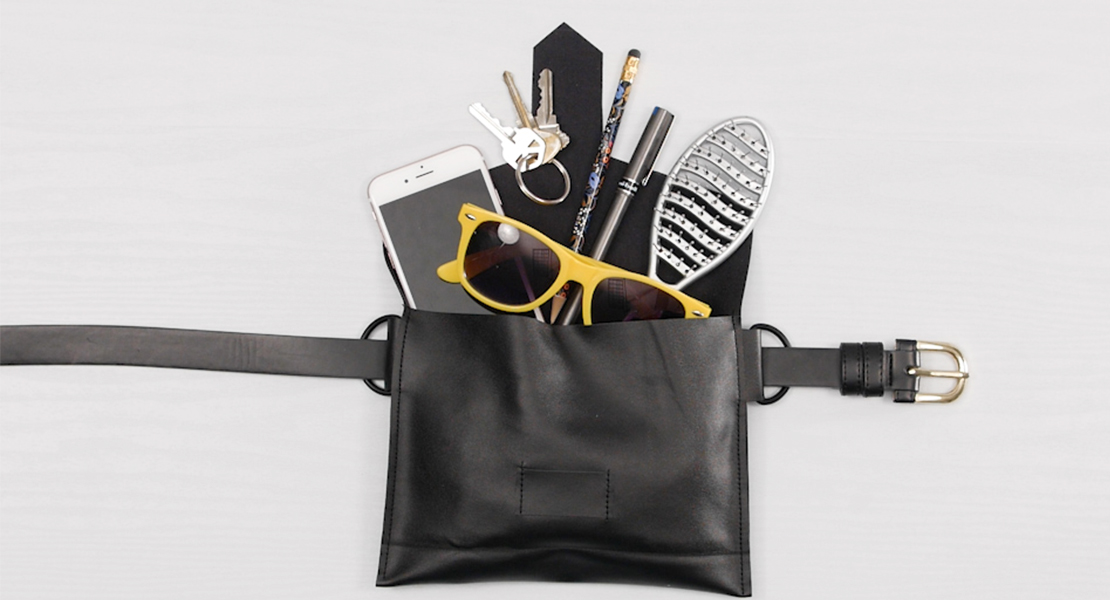
Sewing with Vinyl and Faux Leather
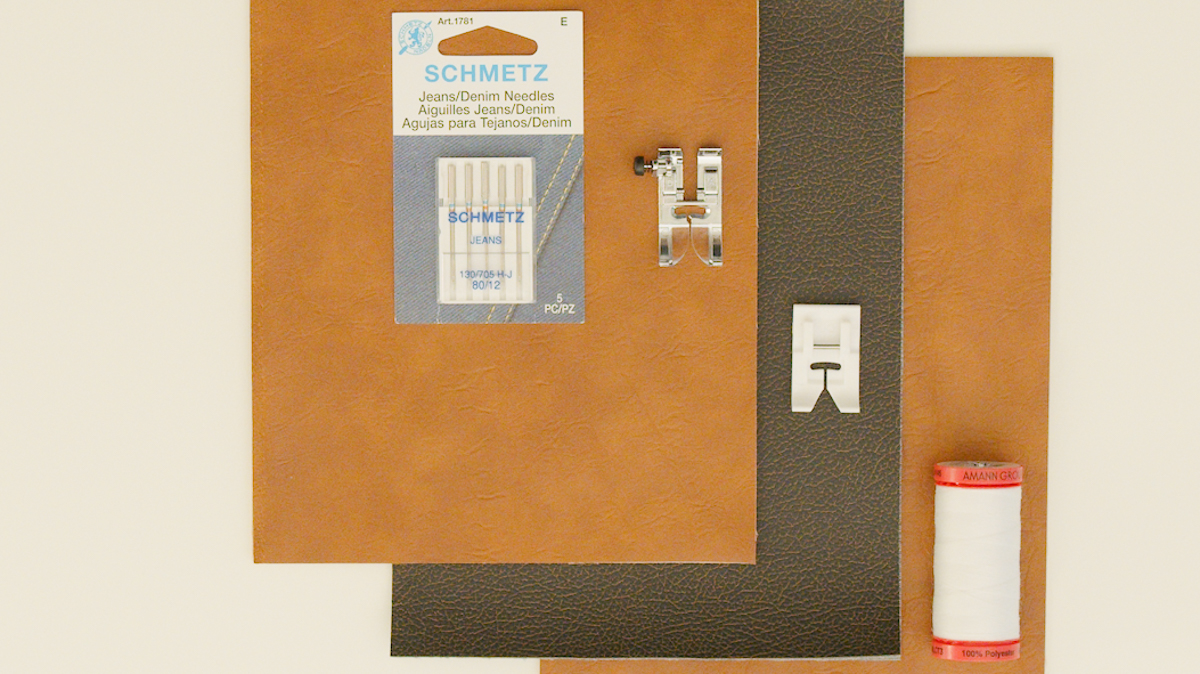
When sewing with vinyl type fabrics, such as faux leather, a few characteristics come to mind: they tend to cling to the bed of the machine or the sole of the presser foot, some have a stretch (often directional), and their thickness can vary. By taking each of these factors into consideration, it is relatively easy to achieve good seams by leveraging the features of your sewing machine. The following are a few seaming scenarios often used with faux leather, such as when making bags, and tips and guidelines for success.
A note about thread: faux leather often has a directional stretch. For that reason, a strong thread is recommended. Use polyester, nylon, etc., not cotton thread. For heavier top stitching, feel free to test with upholstery thread.
Lap (Flat Seam) on Faux Leather
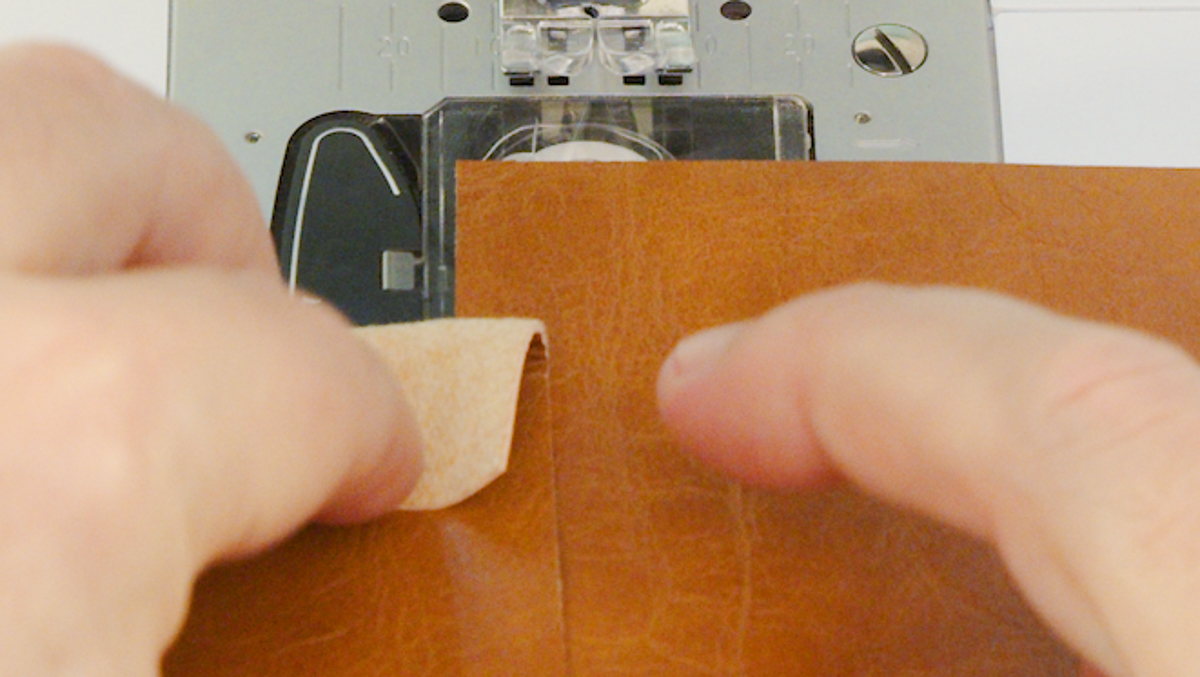
This type of seam is relatively simple. Simply overlap the two pieces of material by half an inch (1/2”) and stitch over in two separate passes. The advantage here is that it reduces the bulk at the join.
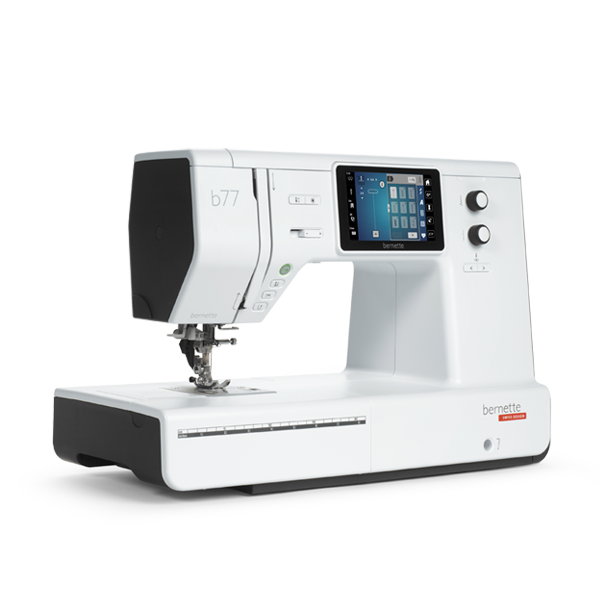
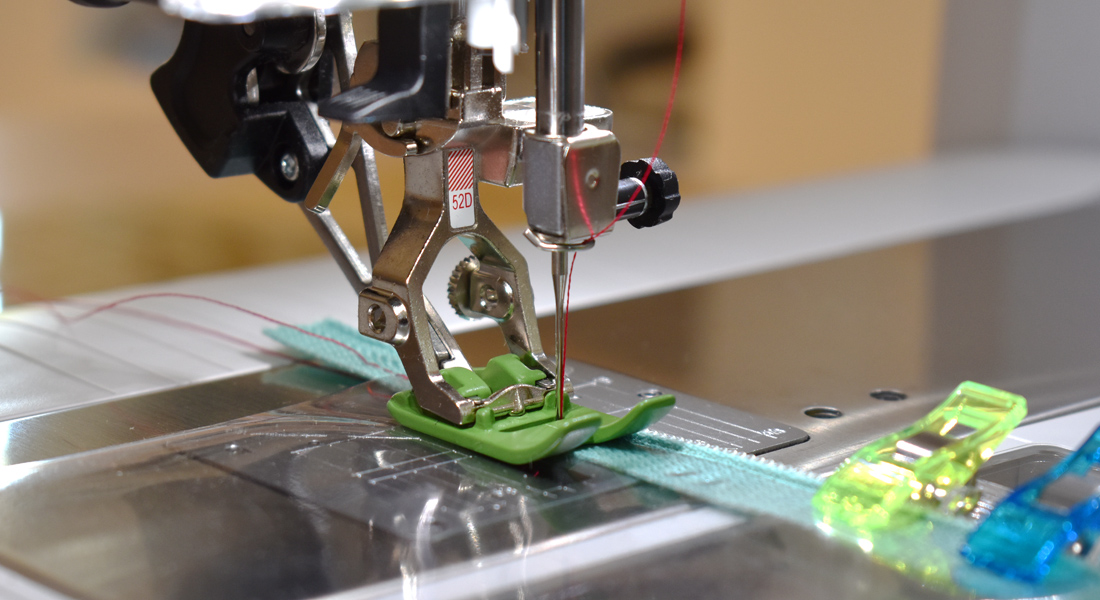
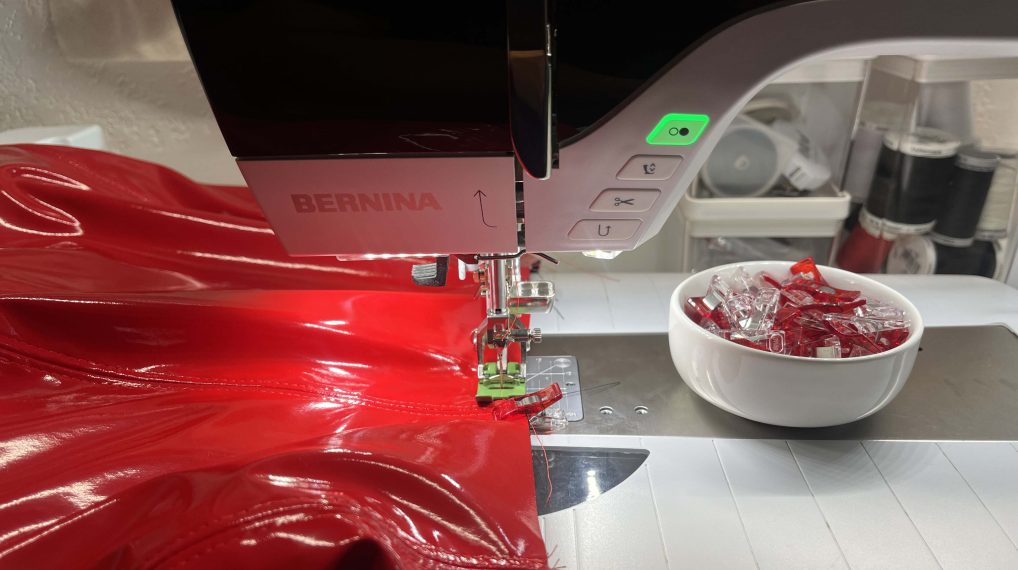
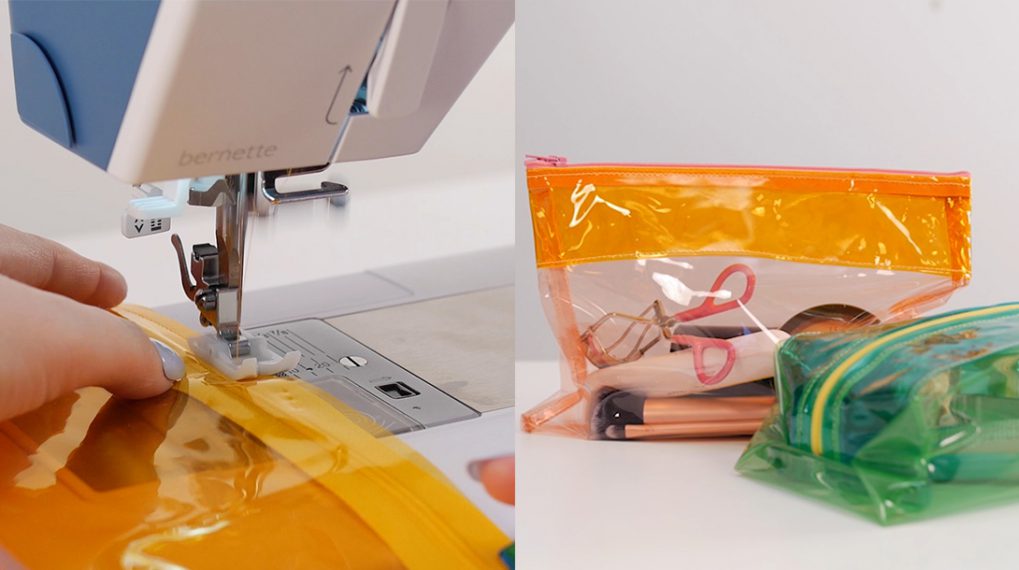
A bernette 77 was used for this sample. It has a few key features that make it a dream for sewing on vinyl faux leather:
- bernette Dual Feed ensures good fabric tracking along the seam line
- Adjustable Presser Foot Pressure to reduce the cling factor of the vinyl against the foot or the machine bed
- Movable needle position to align the seam where it’s convenient and easier for you
To stitch the lap seam, you will sew two seam lines.
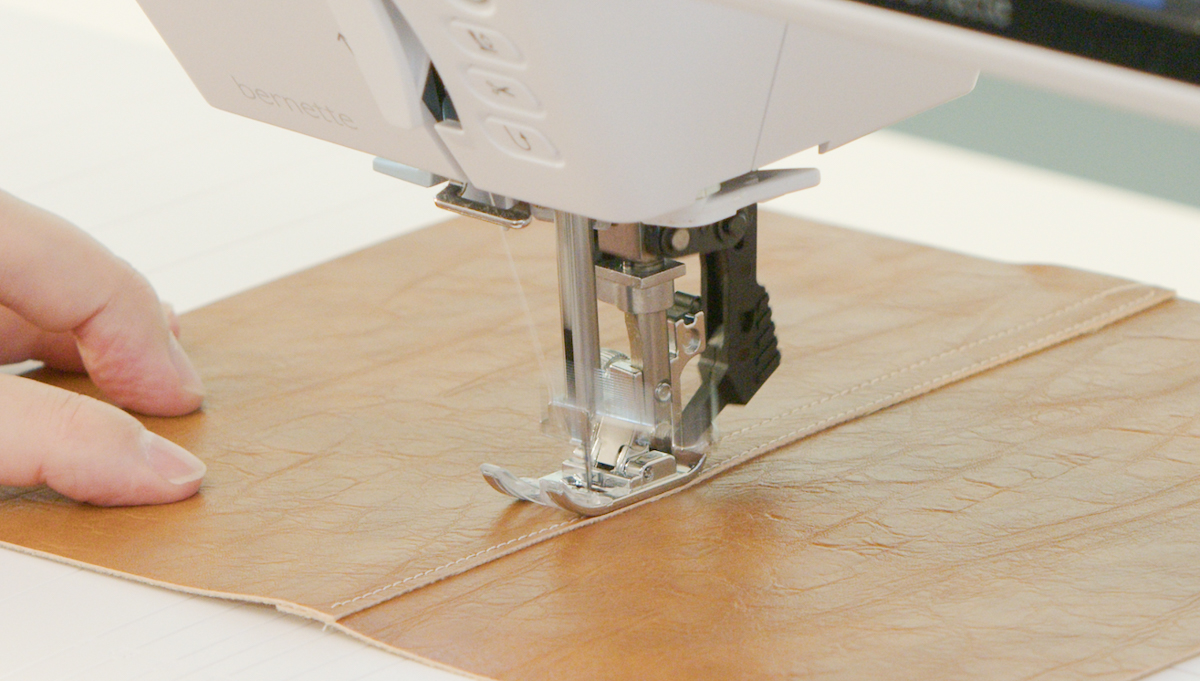
First Seam (Right)
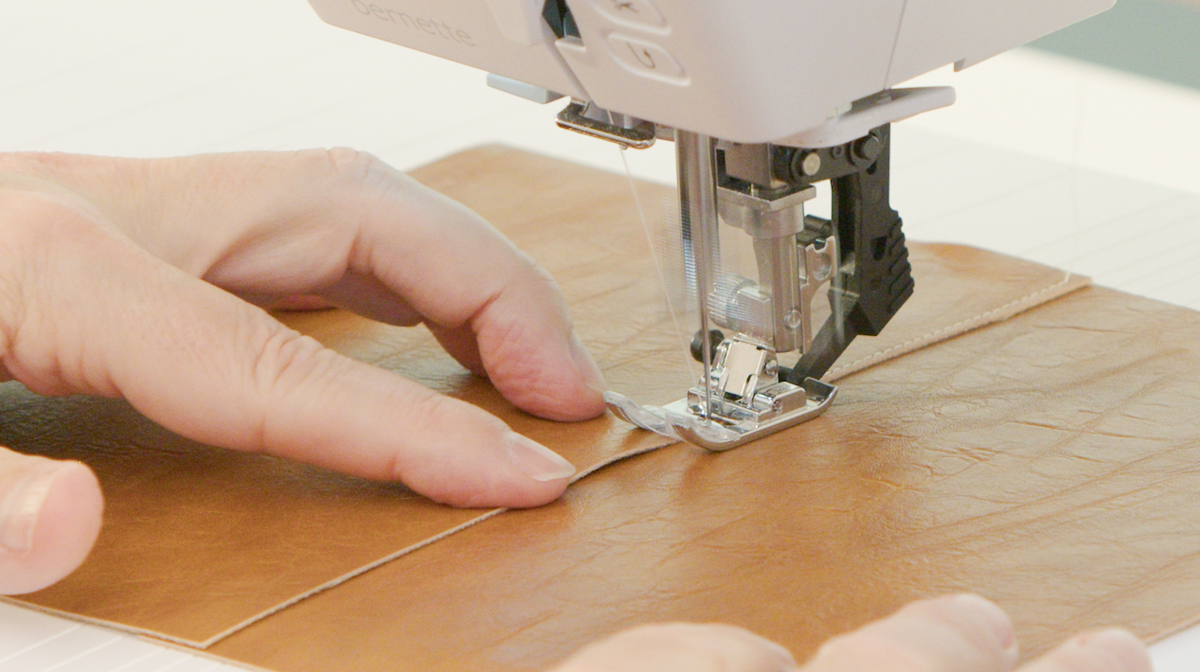
- Select a straight stitch (length ~ 2.5mm).
- Move the needle position to the left (here to position -3).
- Use the Zigzag Presser Foot and Engage Dual Feed.
- Overlap the material pieces with right sides facing up.
- Align the raw edge of the top layer (right edge) with the center of the presser foot.
- Sew the seam while keeping the edge of the material to the center of the presser foot.
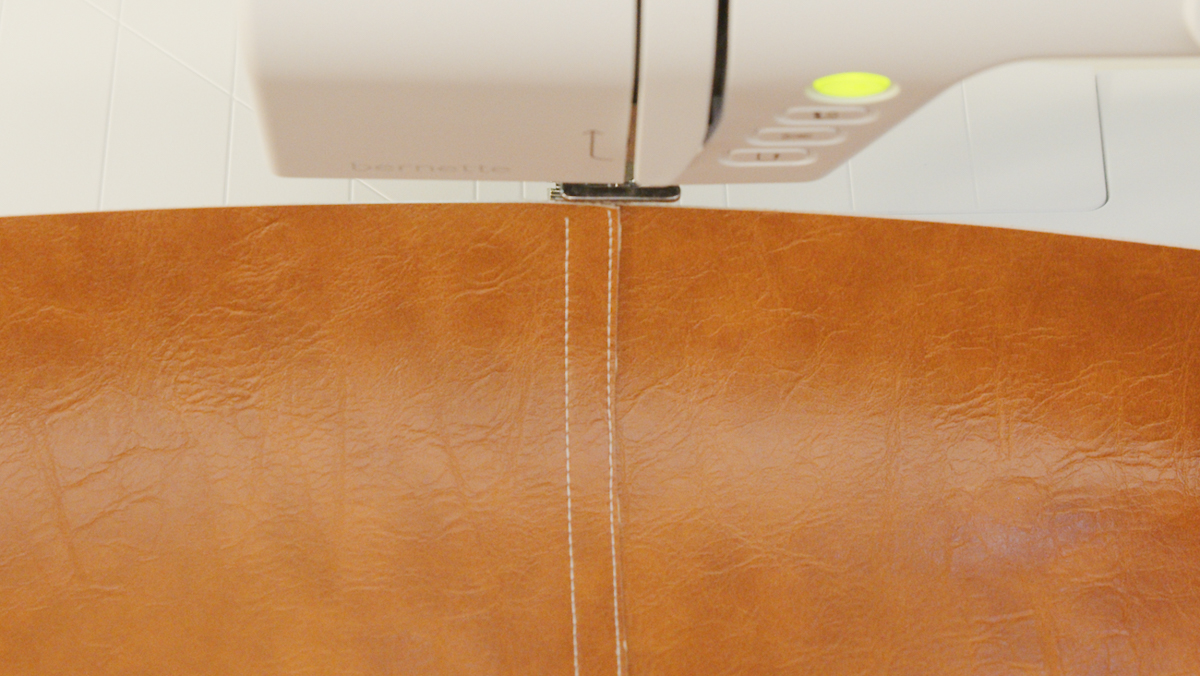
Second Seam (Left)
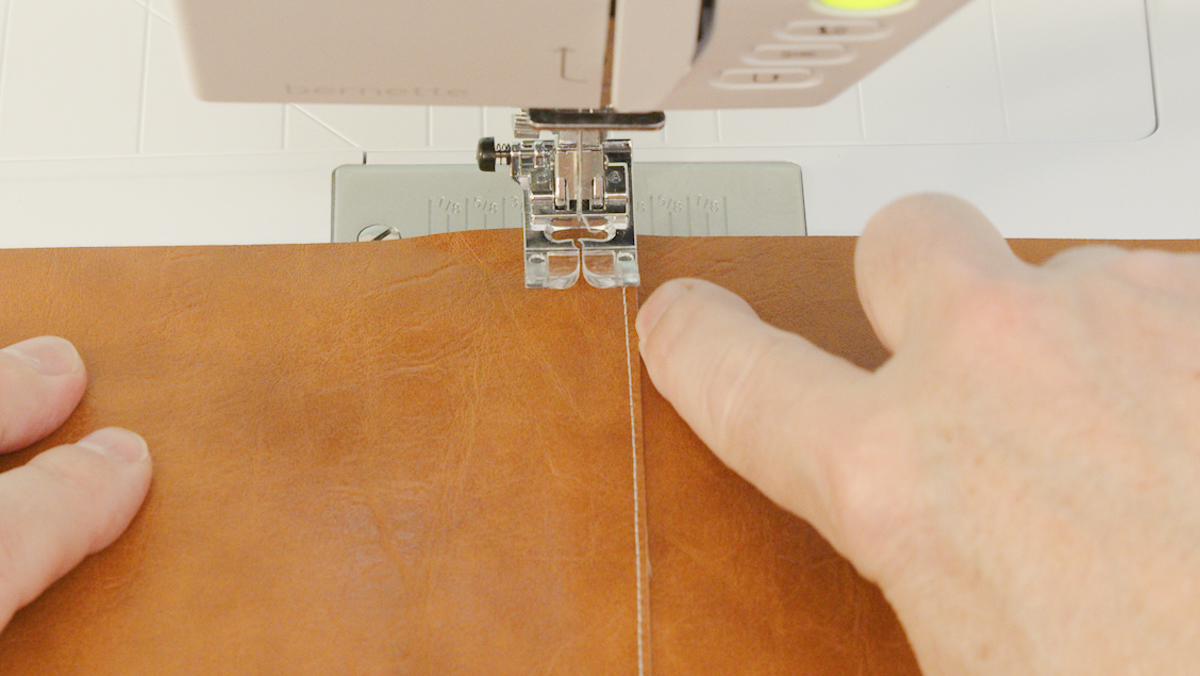
- Clear the machine settings (it will return the needle to center position).
- Align the raw edge of the top layer (right edge) with the right edge of the presser foot.
- Sew the seam while keeping the edge of the material to the right edge of the presser foot.
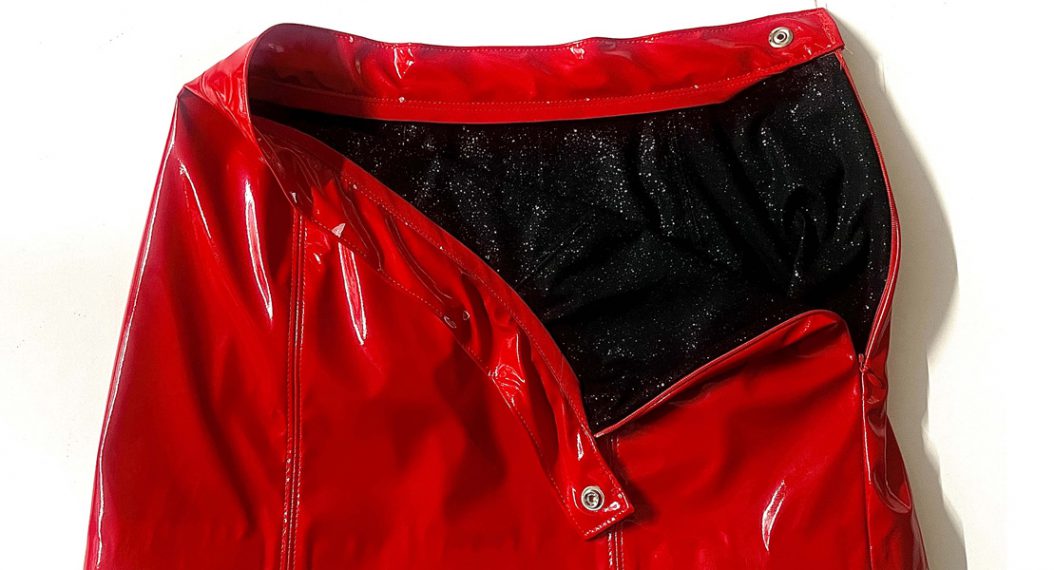
The result is a professional looking lap seam, without difficulty.
Notes to Consider
- A jeans needle (size 80) was sufficient to sew this lap seam on medium weight faux leather. The jeans needle has a reinforced shaft and a strong point, making it well suited for the task.
- After stitching lap seams, review the length of the seam for stray threads from the faux leather backing fabric. These can occasionally emerge as a result of the friction caused by the handling of the material.
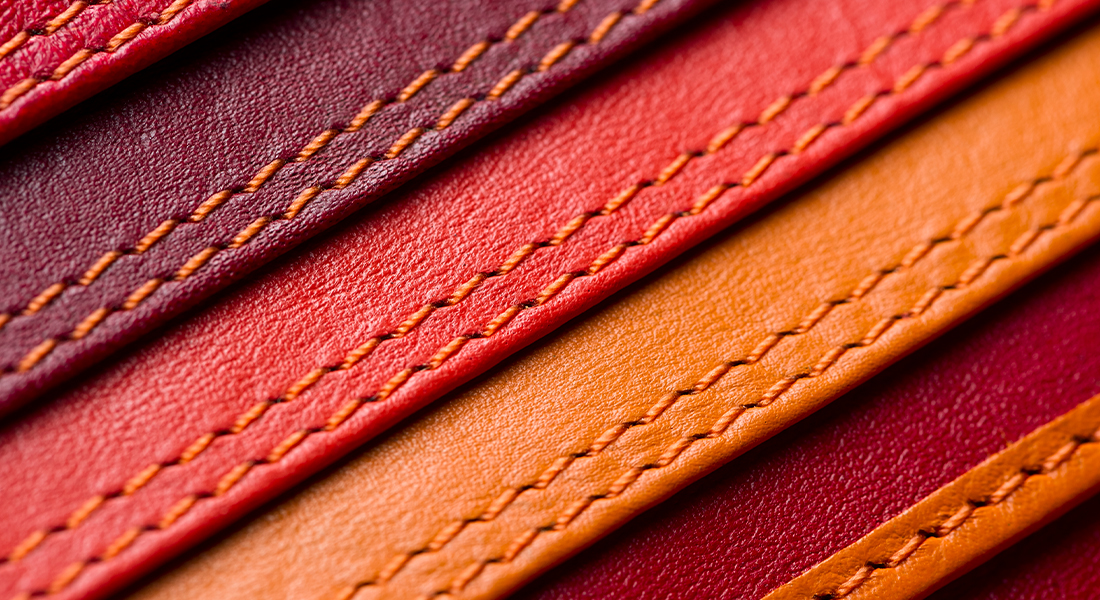
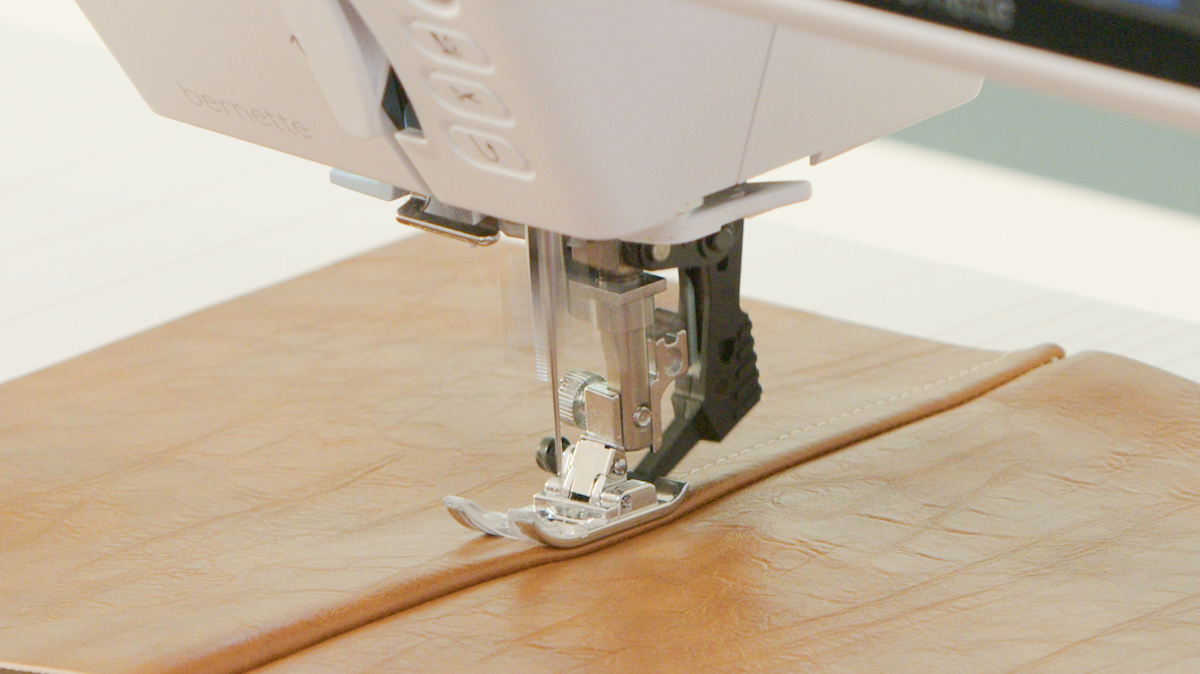
Topstitching on (Vinyl) Faux Leather
Topstitching introduces an additional dimension: bulk. This increases drag under the presser foot, compounding the tendency of vinyl surfaced faux leather to cling to the foot. At times, it means that the clingy side of the faux leather will be against both the sole of the foot AND the bed of the machine. It also calls for a stronger needle when the layers become too difficult to penetrate for the needle that was sufficient for only two layers.
Here are some pointers to make it easier to topstitch faux leather, taking the information above into consideration:
- Consider using a larger needle to match the increased number of layers and resulting bulk
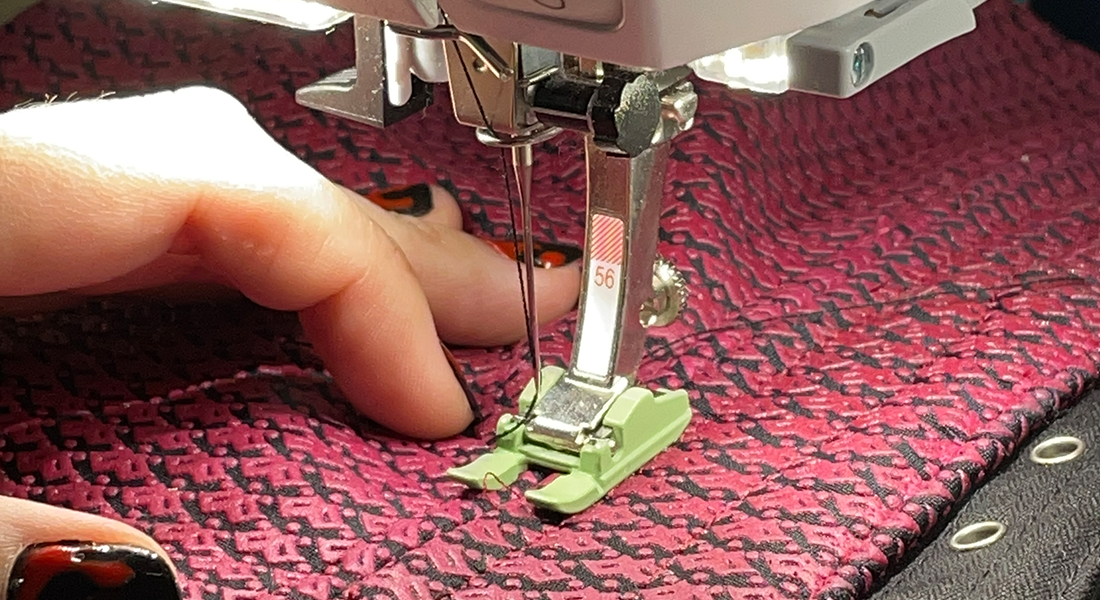
Tip: a topstitch needle usually will yield better results as it has a strong point, a much taller eye, and a deeper groove in the front, making it easier for the thread to pass back-and-forth through potentially clingy layers. - Use a non-stick presser foot: This will help reduce the drag under the foot.

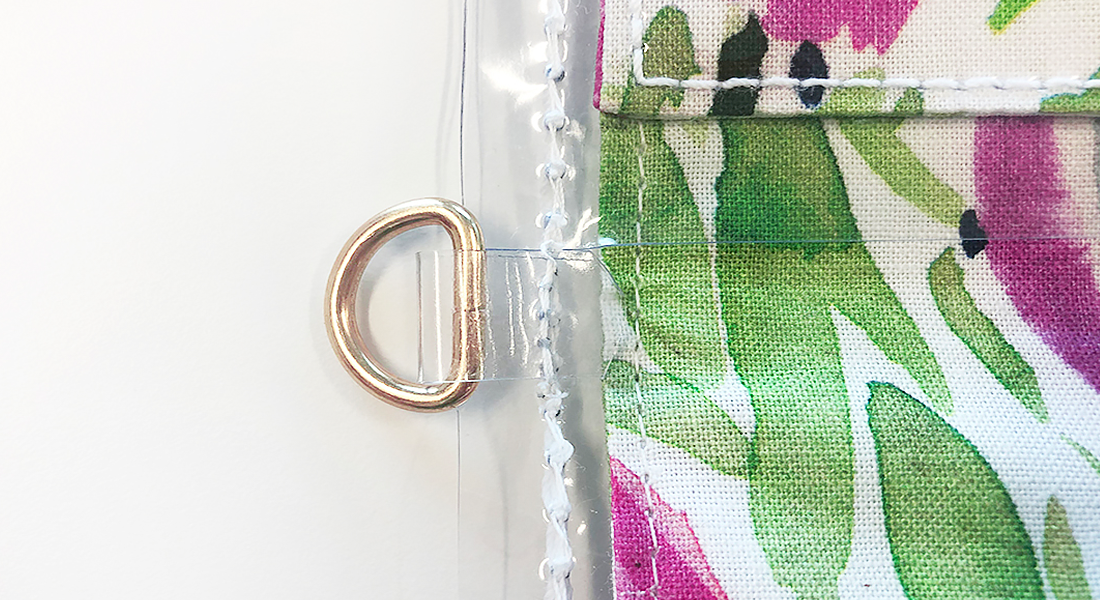
- Reduce Presser Foot Pressure on a domestic sewing machine, which often compounds the benefits of using a non-stick foot, further reducing the cling-induced drag under the foot. Try half the pressure for your first test. Note: On some machines, like the bernette 08 Straight Stitch machine, it is often recommended to increase Presser Foot Pressure when layers are multiplied and become extremely bulky, like when attaching straps to a bag made of vinyl faux leather. Such machines have a specialized feed dog that will work well with increased foot pressure. They also benefit from using the non-stick foot available for the machine.
- Use a longer stitch. As a basic rule of thumb, when the layers get thicker, the stitch needs to be longer.
Always Test Your Seams on the Material First…
Some faux leathers are less prone to clinging to the presser foot. In such cases, they can easily be topstitched with a regular presser foot. Better yet, a regular foot with Dual Feed.
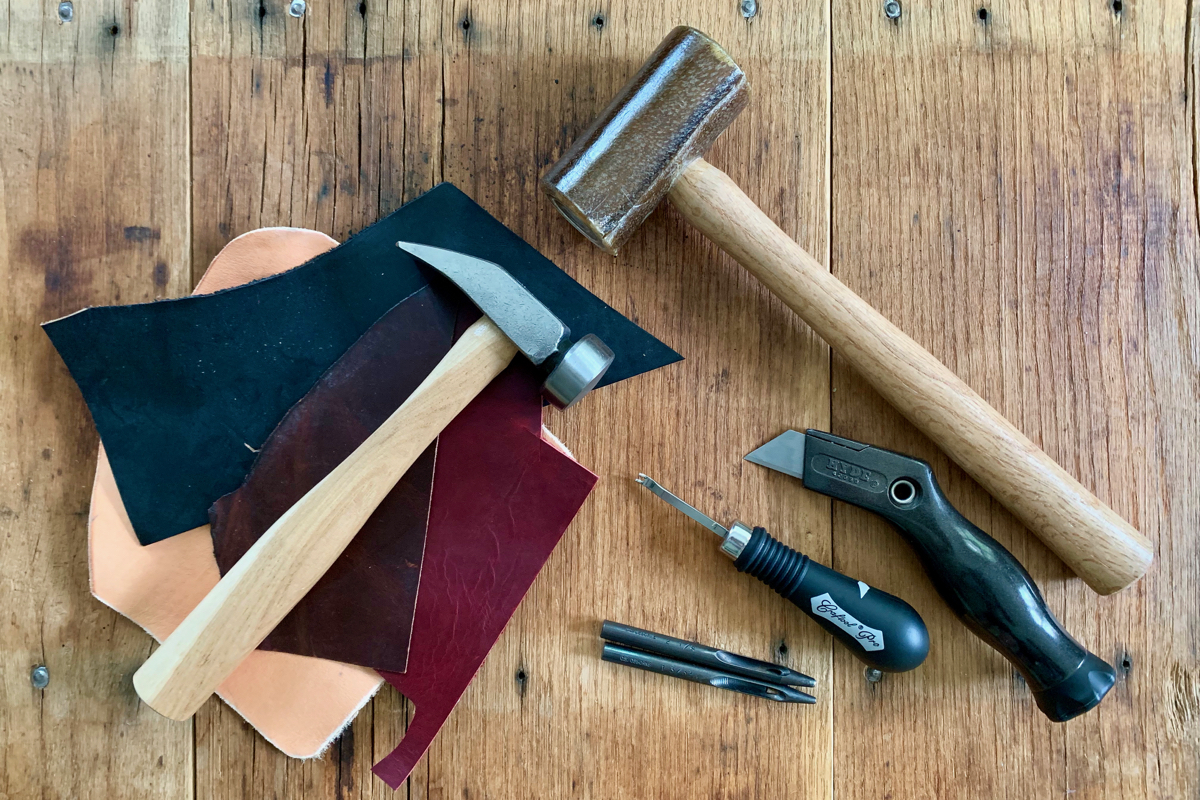
Faux leather, especially the vinyl type, can easily be sewn on a domestic sewing machine. Keep in mind these few properties and use the right tools (foot, needle):
- It tends to cling to the foot and machine bed: consider a non-stick foot
- The bulk adds up fast with layers: reduce Presser Foot Pressure and use a longer stitch
- Multiple layers: increase the needle size and upgrade the needle type as needed (e.g. from a Jeans 80 to a Topstitch 90 or 100)
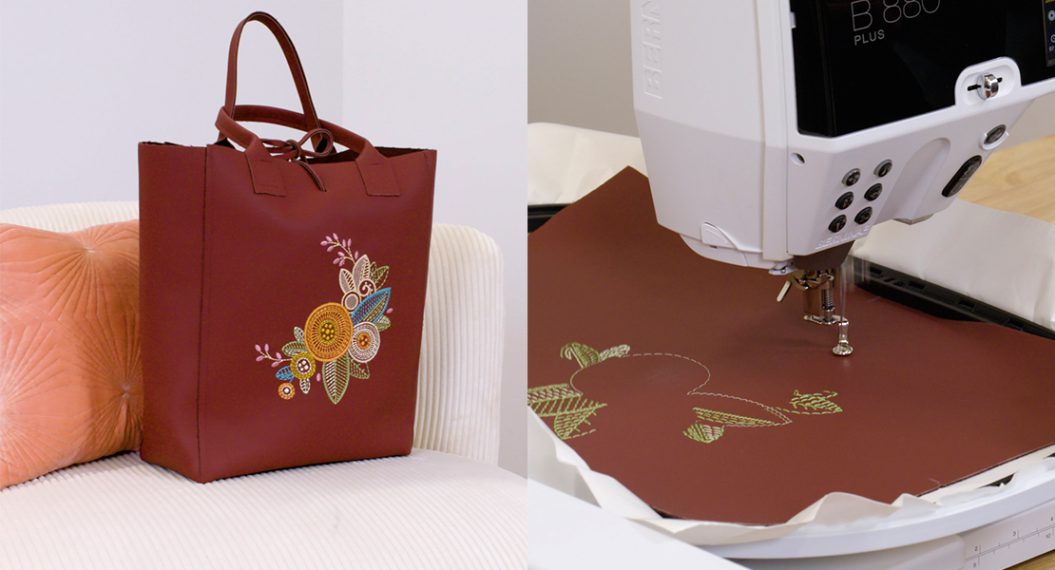
With that, enjoy sewing on faux leather. It’s a wonderful class of material that yields some of the most functional items you can sew.