Sounds of the Sewing Room: Finishing Seam Edges

If you are anything like me, then the sewing room is one of your happy places. It is where I go to be creative, to try something new, or to wind down after a long day (only to get excited again about a new pattern or fabric). One thing I love most about sewing spaces and studios is all the sounds. A machine stitching, an iron steaming, fabric being cut — these are just a few sounds happening at any given time. And do not even get me started about how good a freshly oiled machine sounds, with a new needle and full bobbin.
Many of these unique sounds occur at the beginning and end of seams, as threads are being cut and projects are being completed. A crucial step in finishing those projects is finishing the raw edges of the seam allowances. This blog will detail three ways to finish off your seam allowance edges to prevent the fabric from fraying. Now sit back, relax, and enjoy the sounds of the sewing room!
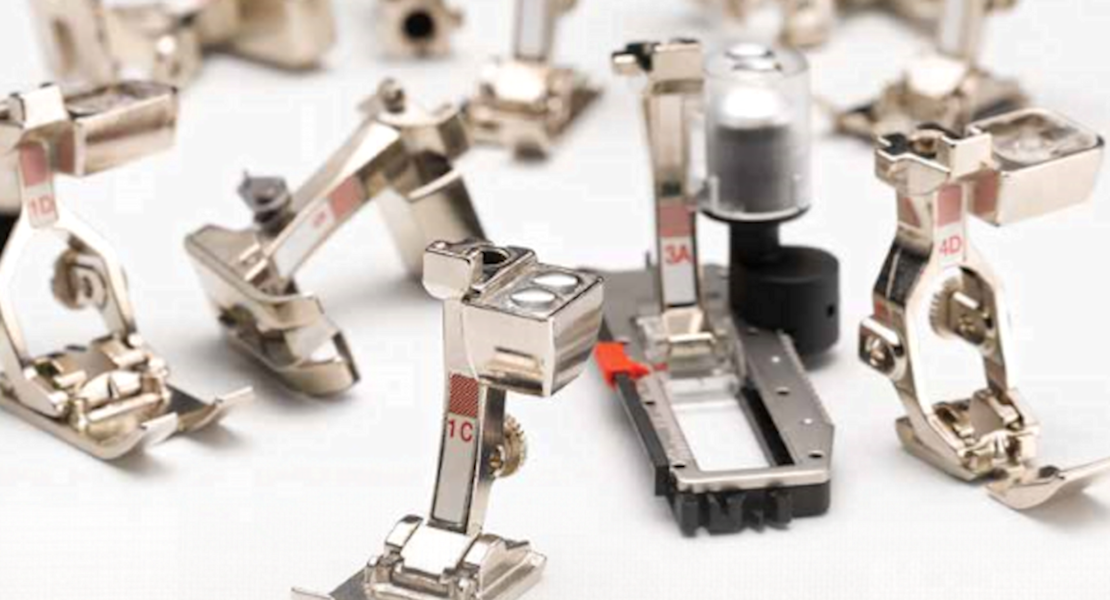
Featured Machines & Accessories to Finish Seam Edges
Technique 1: Pinking Shears
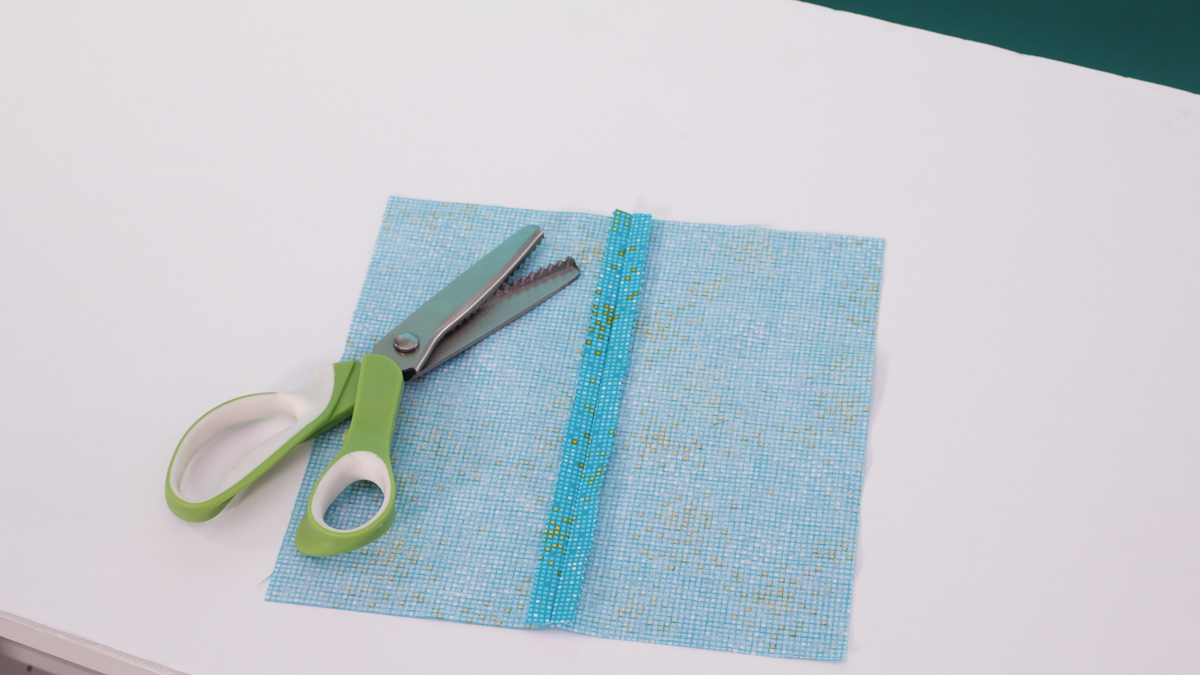
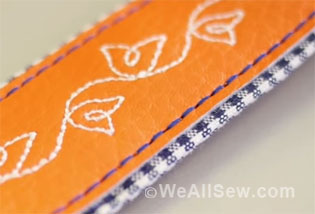
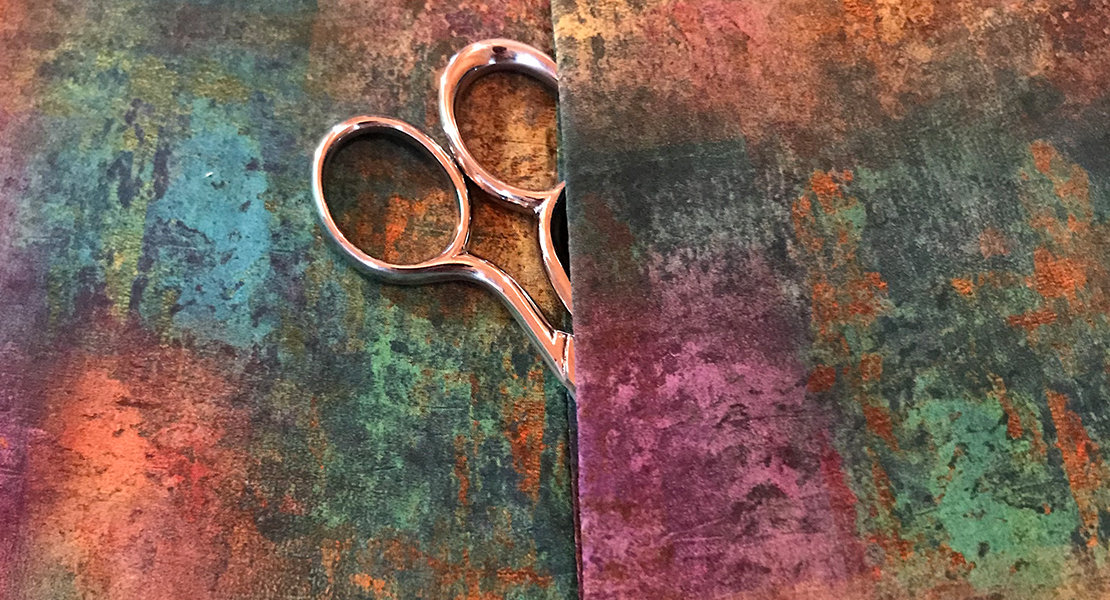
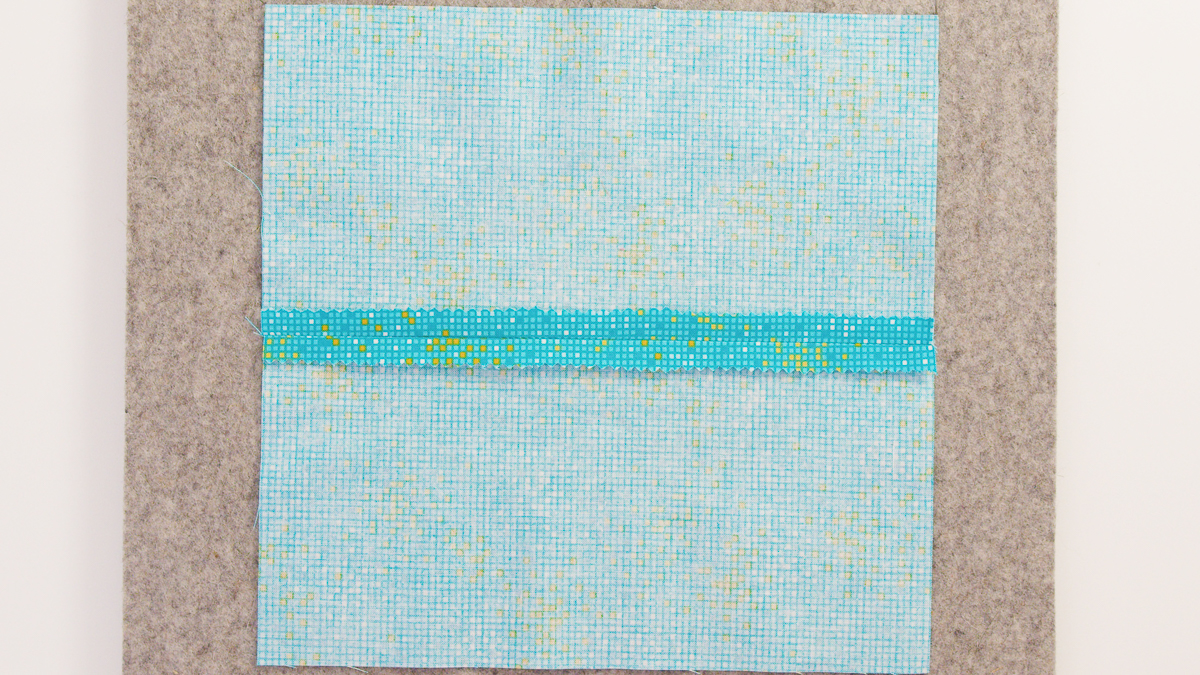
The first technique for finishing your raw edges is trimming the seam allowance with pinking shears. Pinking shears are a very practical and useful tool to have in the sewing room and are a quick way to prevent fabric edges from fraying. Instead of a straight cut, the pinking shears leave behind a series of triangles that prevent the fabric from unraveling.
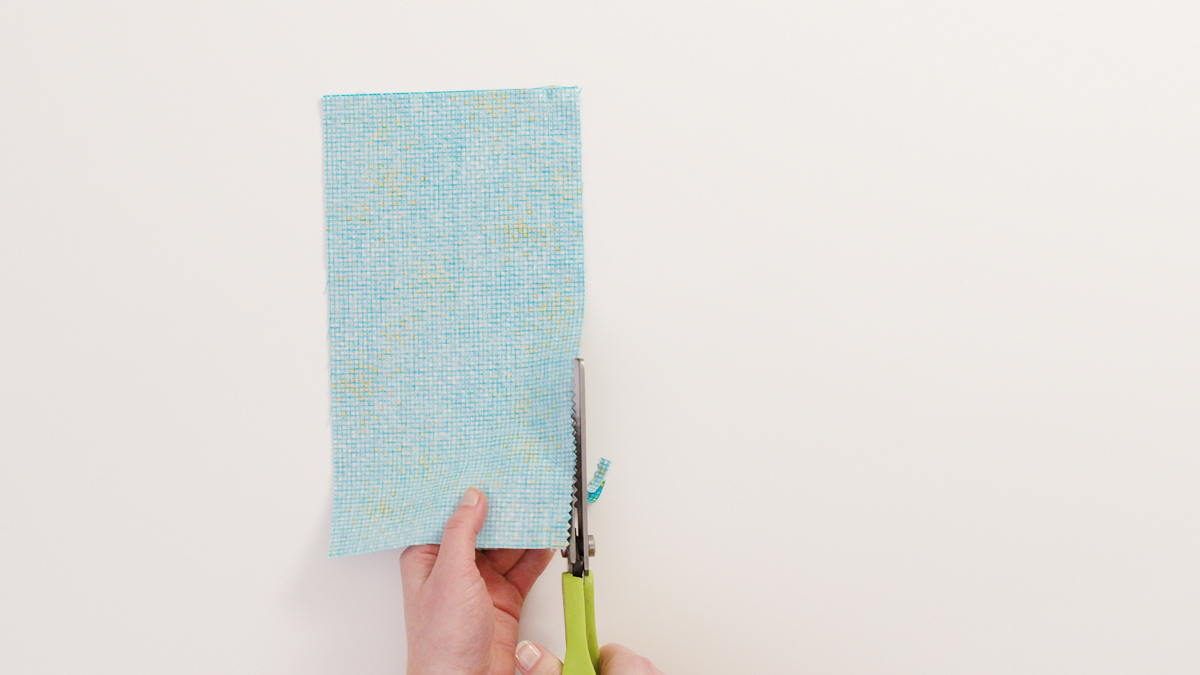
I primarily use this method for fast finishes where I am not worried about the seam allowances showing.
Another option, instead of handled scissors, is to use a pinking blade for a rotary cutter.
Technique 2: Vari Overlock Stitch on a Sewing Machine
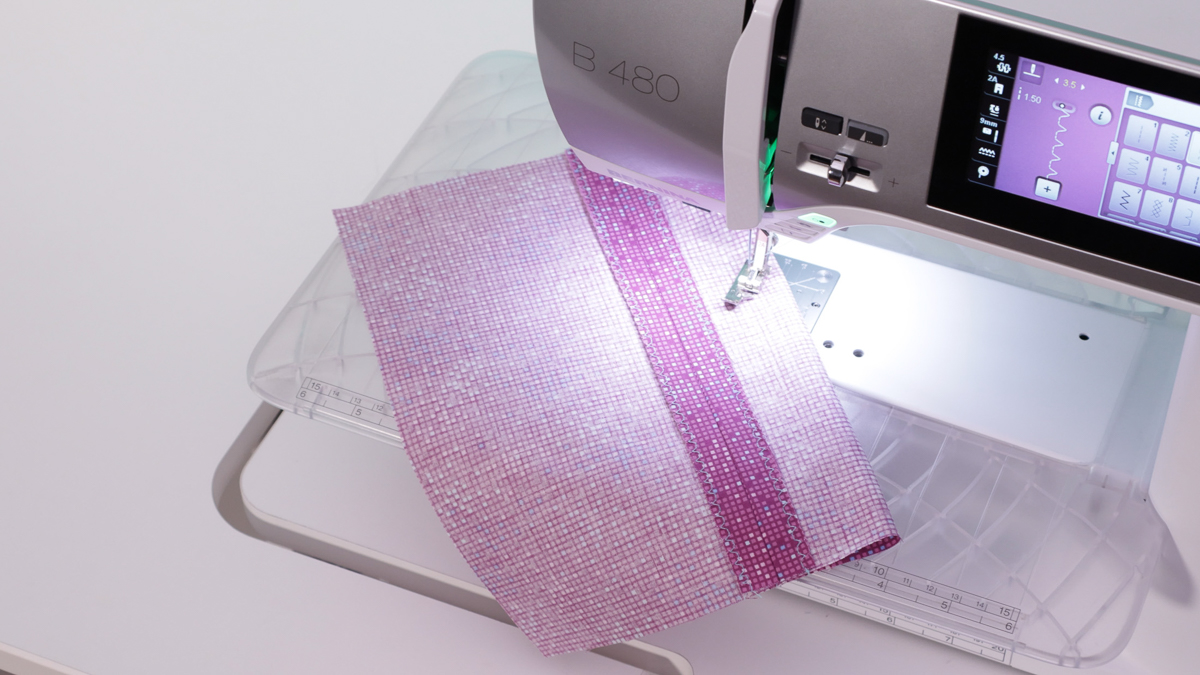
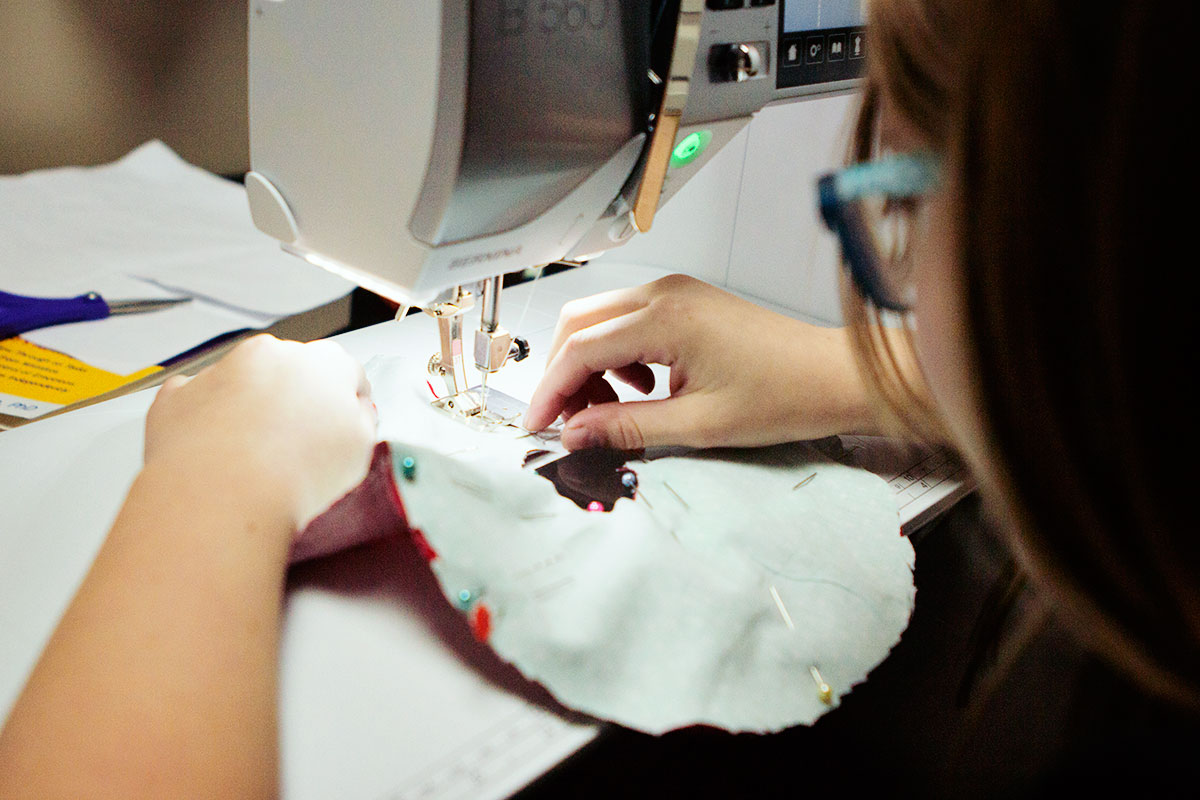
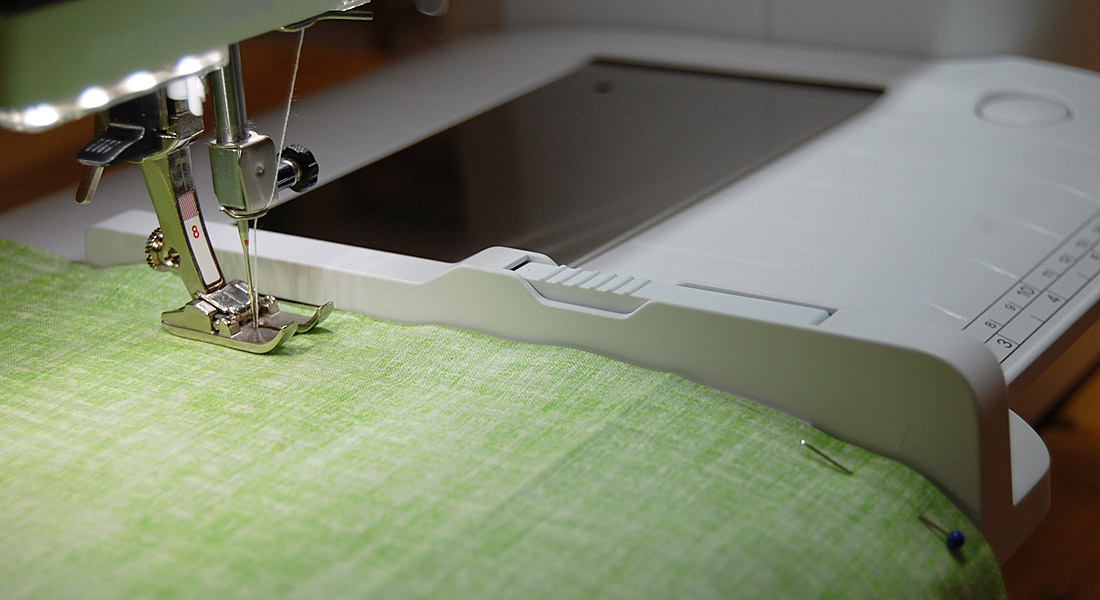
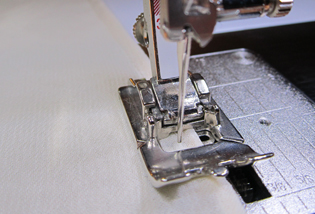
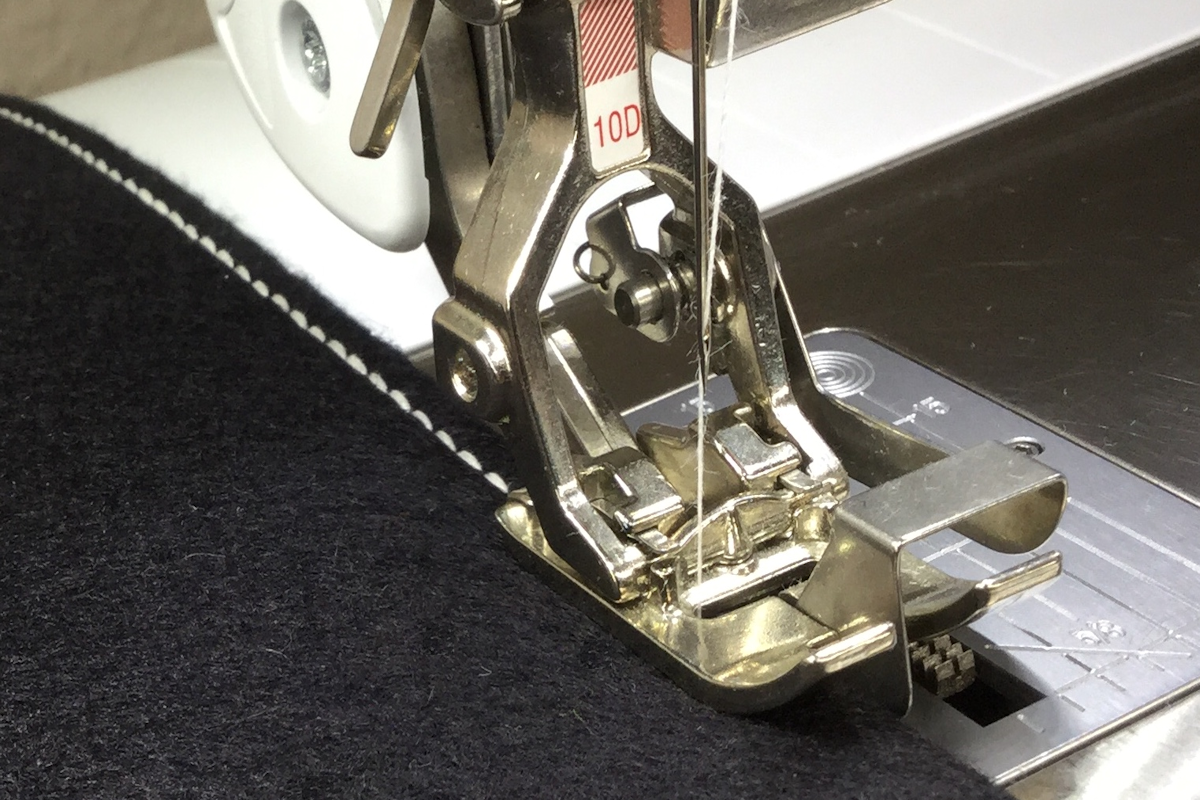
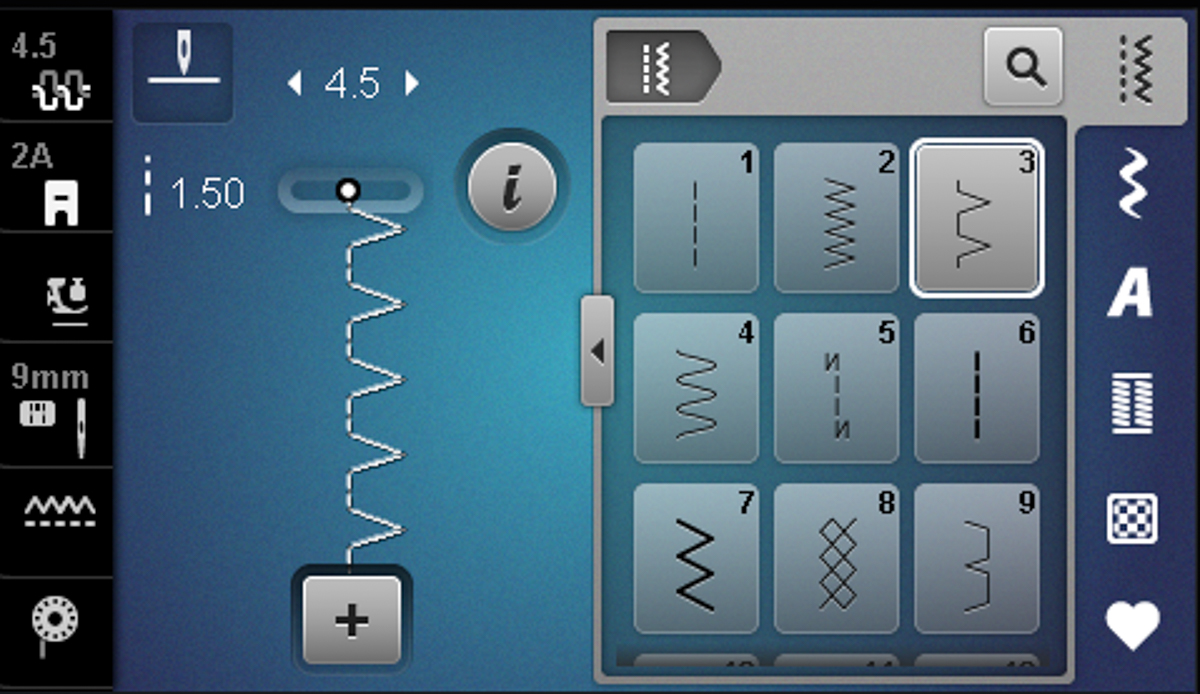
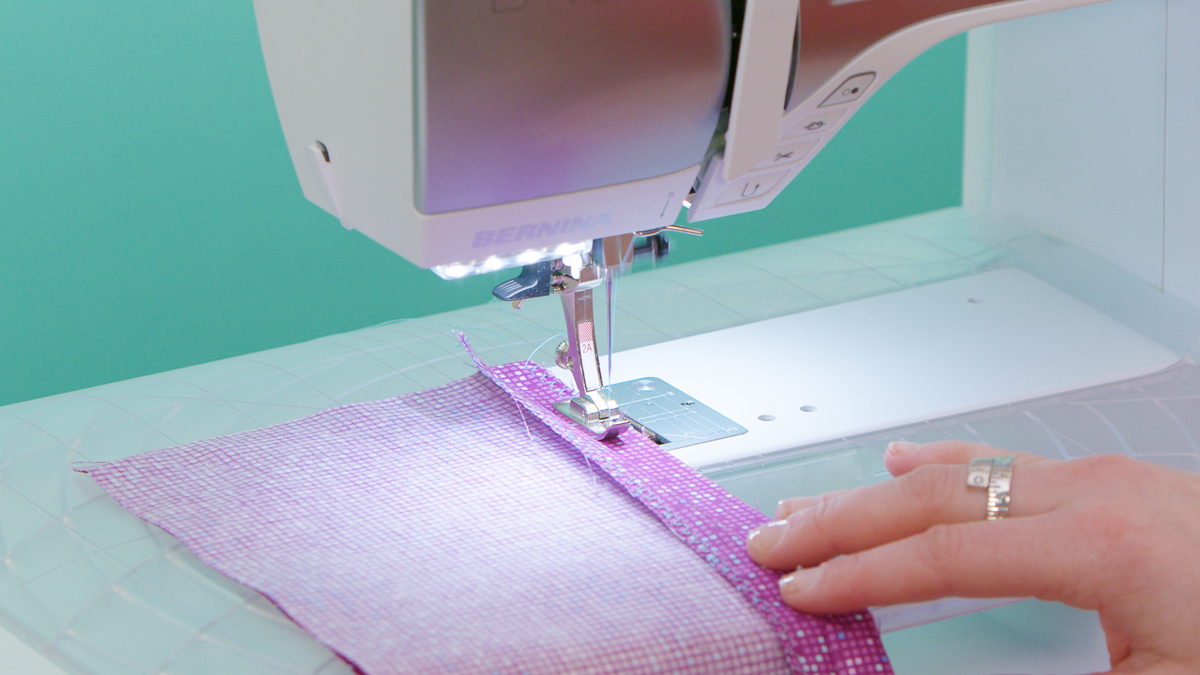
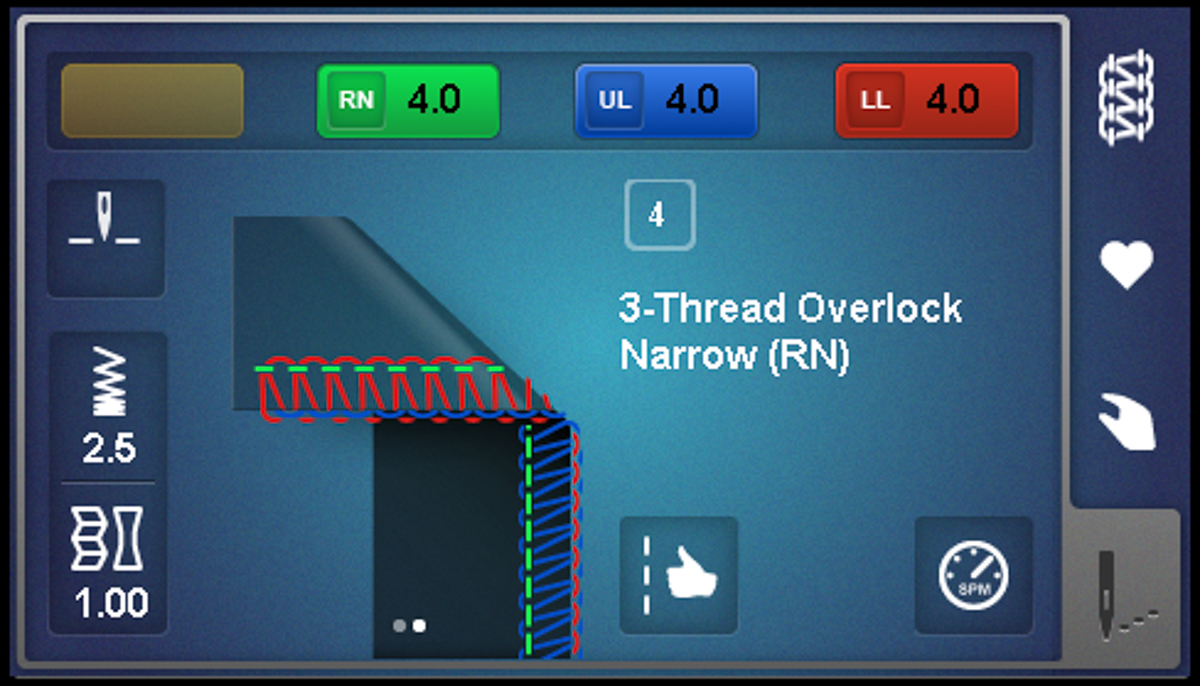
The second technique is using the sewing machine to add a zigzag-type stitch to overcast the raw edges to prevent fraying. On the B 480, this can be done with Vari Overlock Stitch #3.
This stitch can be used for several techniques. Not only is it designed to finish seam allowances, but it can also be used when seaming together knit fabrics as a two-for-one. It will seam and finish the edges in one pass. I prefer this method when working on a project that may go through a bit more wear-and-tear, or when a more finished look is desired for the seam allowances.
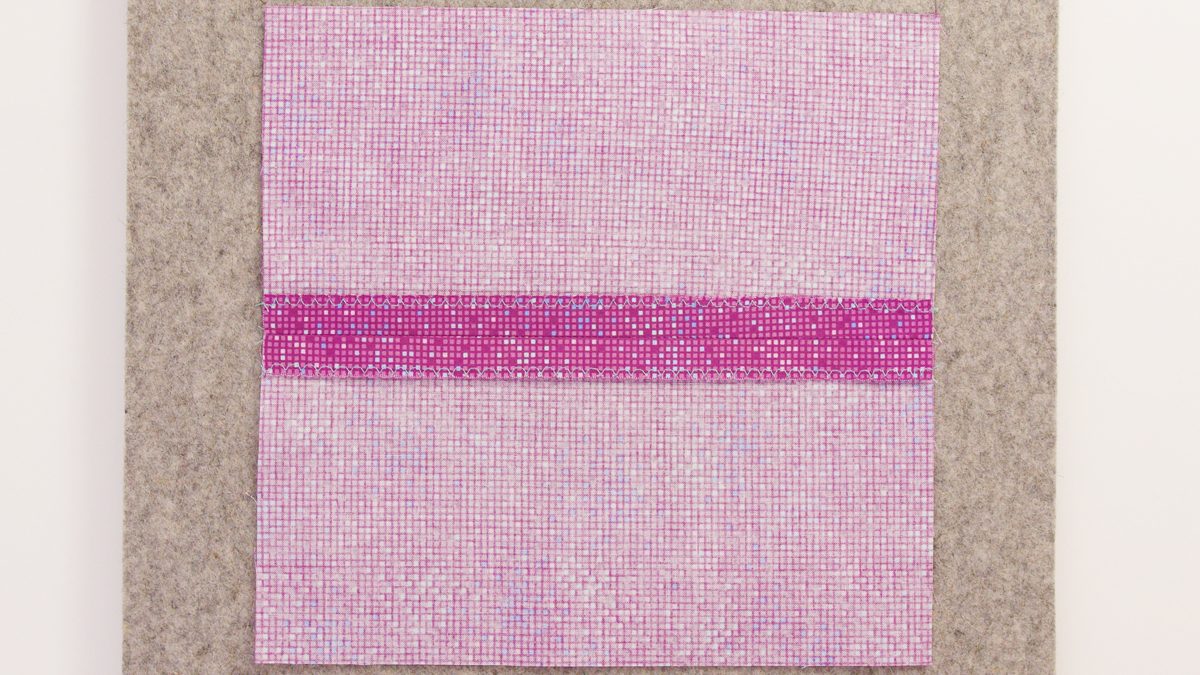
To finish the raw edges at the sewing machine, start by attaching Overlock Foot #2A. When sewing with this foot, the stitches form over the pin on the inside edge of the foot, which gives the stitching an additional amount of thread. This prevents the fabric from bunching up. To sew, align the raw edge of the seam allowance with the pin on the foot. The zigzag of the stitch should just reach the raw edge as you are sewing. Note that the raw edges can be finished individually or together, depending on the project.
Technique 3: Serging the Raw Edges
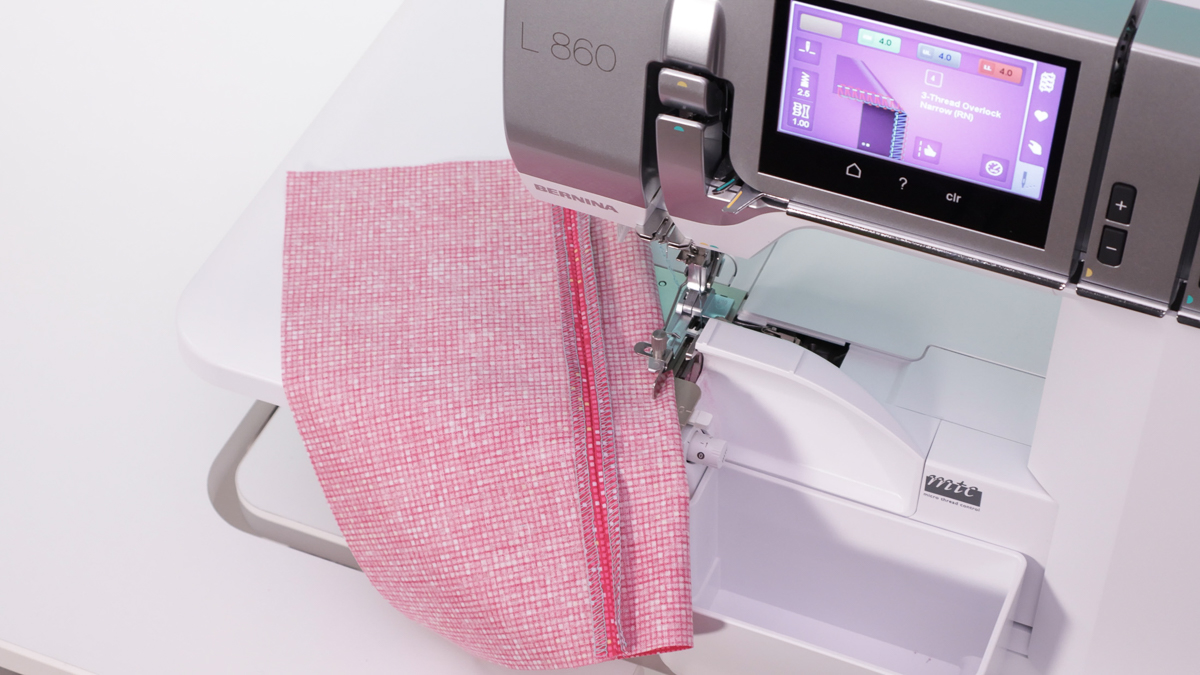
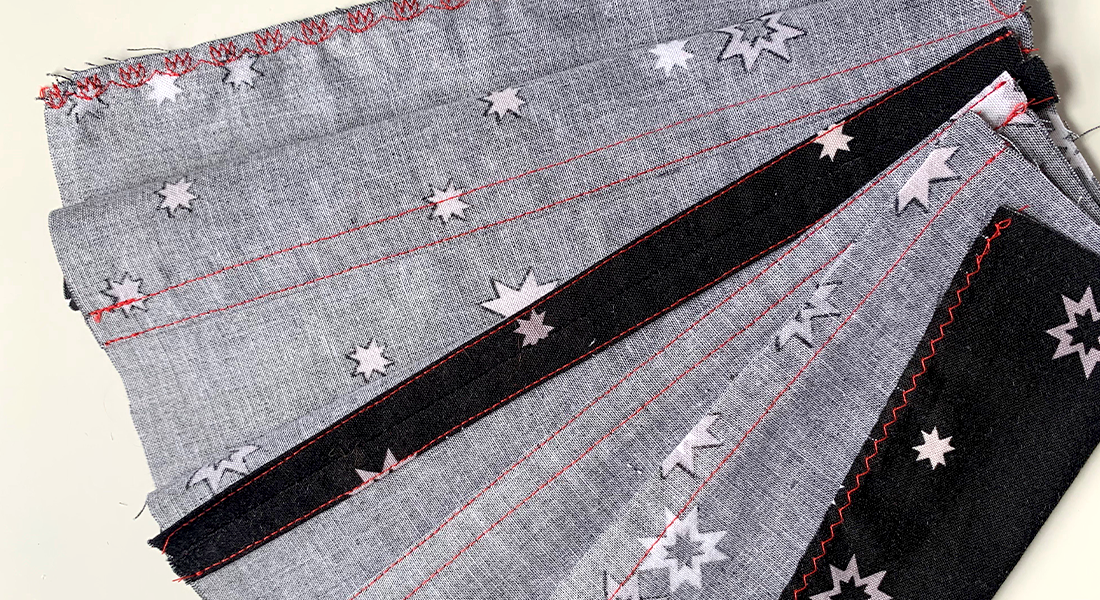
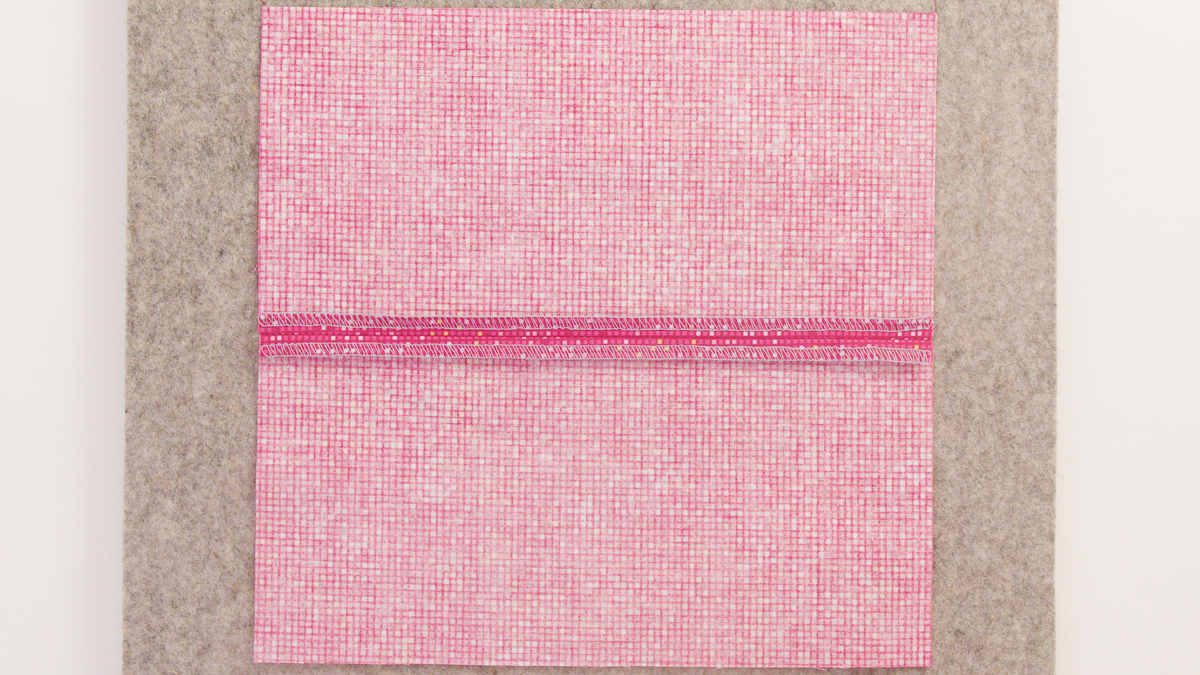
The third and final technique is my favorite — finishing the raw edges with a serger. The serger provides the most professional finish because it trims the edge of the fabric and then seals it with overlock stitching. I use my serger for garment construction, overlocking garment seam allowances, and even attaching binding to quilts before I hand sew them in place. The stitching is strong and sure to hold up for multiple wears and washes.
When using a serger (or overlocker) for seam finishing, the first step is to determine the type of stitch. For construction, I tend to use a 4-thread stitch for the most strength. On my sample, a cotton fabric, fewer threads are needed, so I used a 3-thread overlock stitch. Depending on the type and thickness of fabric, a wide or narrow overlock stitch can be used. For the seam allowances on a medium-weight cotton fabric, 3-thread Overlock Narrow (RN) #4 is a great stitch choice. Always do a test sew.
Check out this eBook for more info on serger stitches.
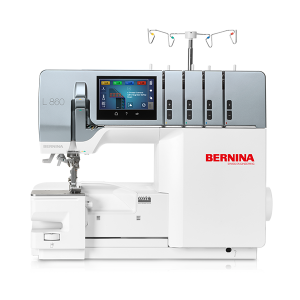
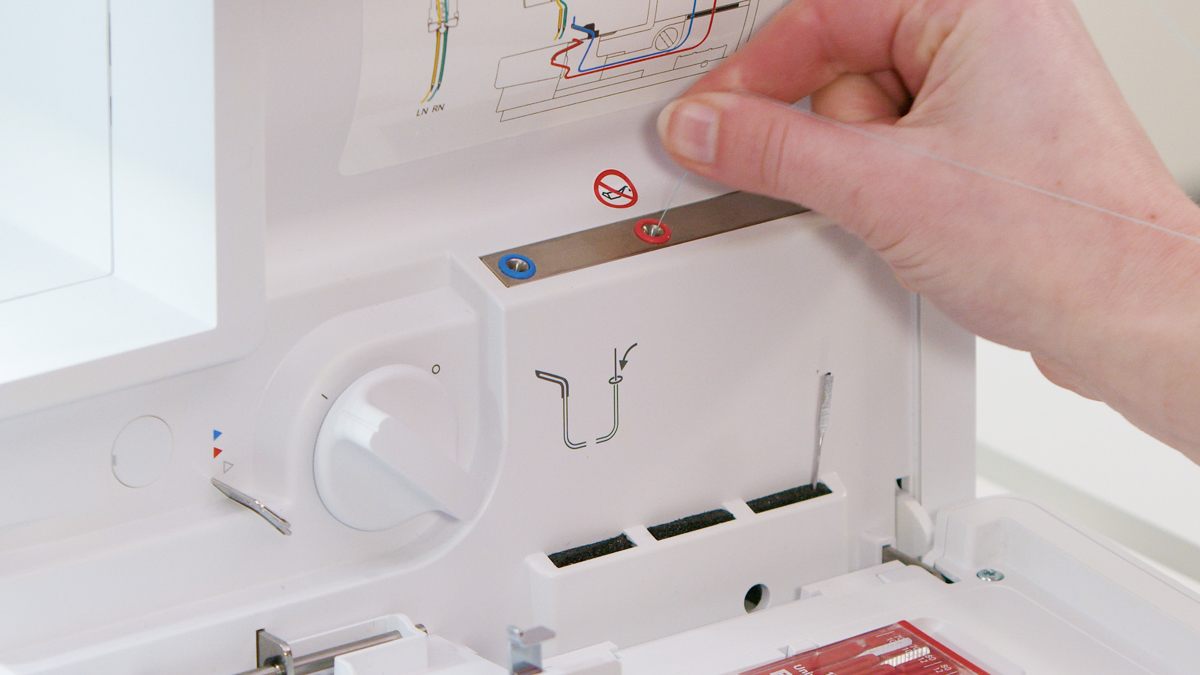
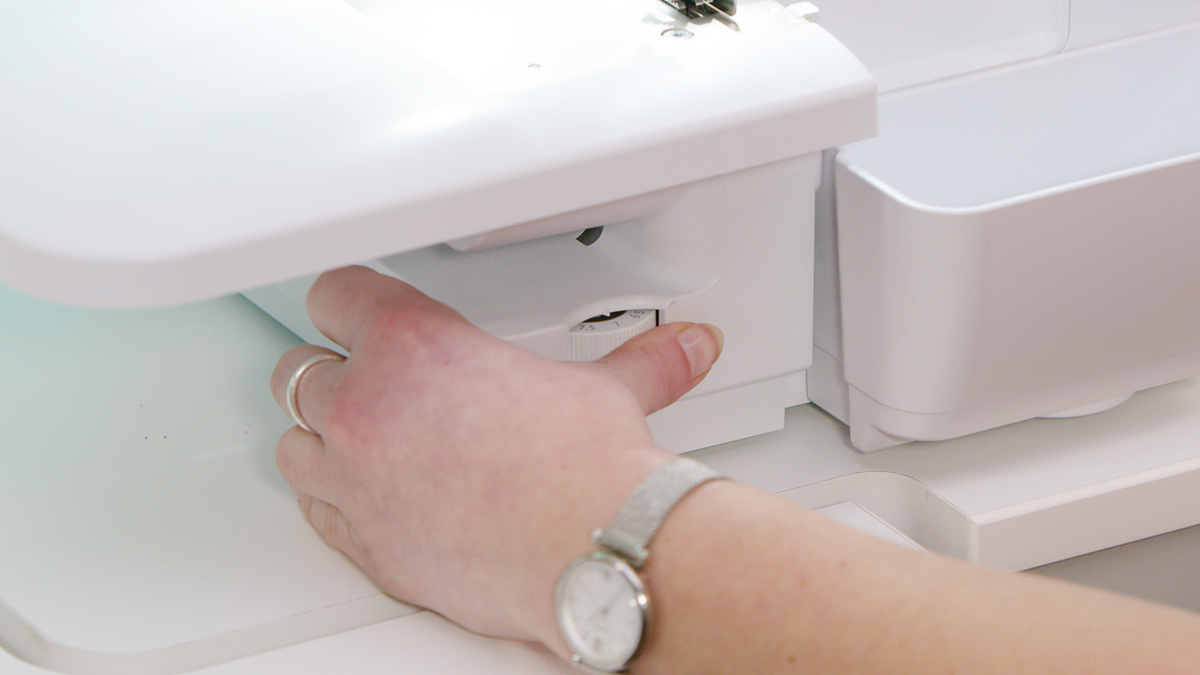
Threading the serger with matching threads is no problem with the BERNINA L 860. This machine features air threading of the loopers. Guided on-screen navigation will ensure the machine is set up properly for the stitch. From there, more adjustments can be made to the stitch. An easy change is adjusting the cutting width depending on how wide or narrow the desired stitching is.
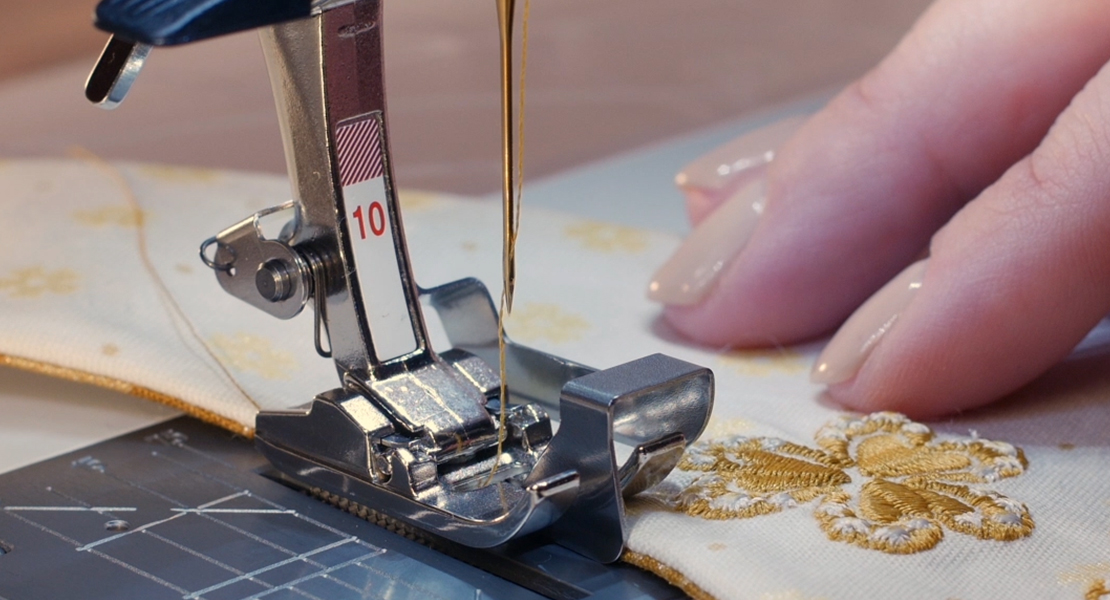
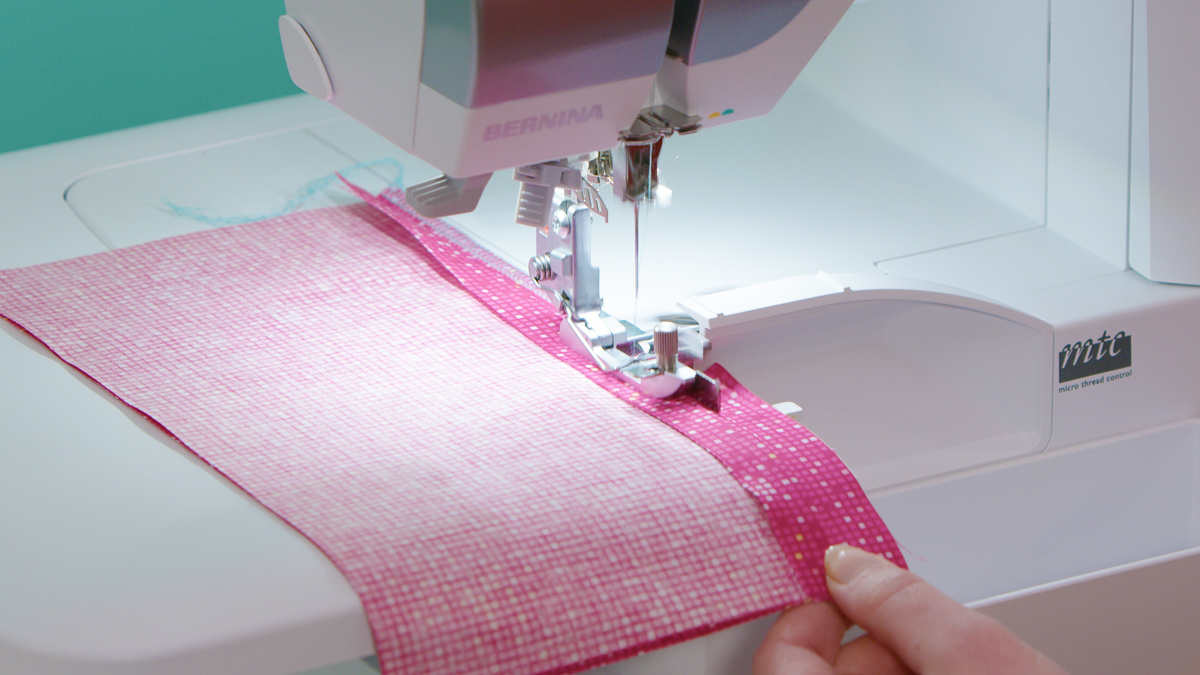
Using Blindstitch Foot #L19 makes serging a breeze. This foot features an adjustable metal guide. Position the guide so that it sits in the middle of the seam allowance. This ensures that the fabric is trimmed evenly and consistently.
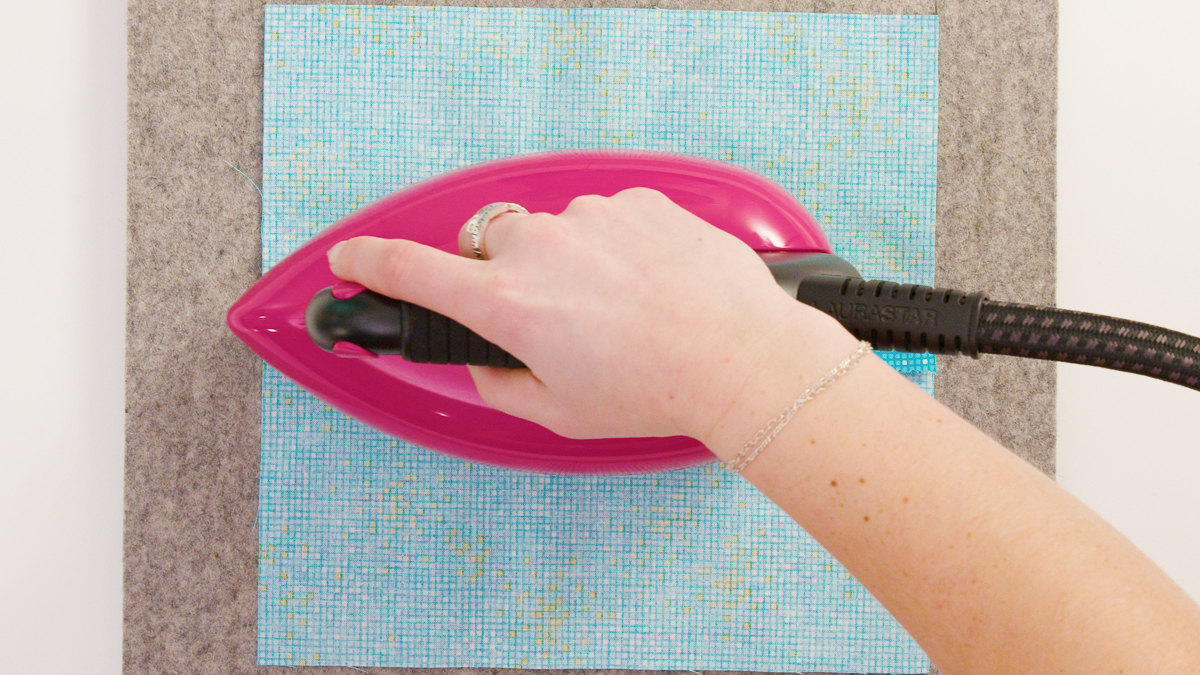
The final step is to press. I prefer to steam my seam allowances flat first, then open. Once pressed, add a tailor’s clapper to set each seam.
Did you catch all the sewing sounds in the video? At the beginning of the video, after each seam is sewn, the threads are cut in different ways. Some showcase the different thread cutters on the B 480. First is by using the Automatic Thread Cutter, which cuts both the top and bobbin threads. Second, is with the thread cutter on the side of the machine. This typically leaves longer thread tails. And lastly, using scissors — the noise is so crisp!
Next time you are sewing, do not forget to take in all the sounds of the sewing room. Happy sewing!