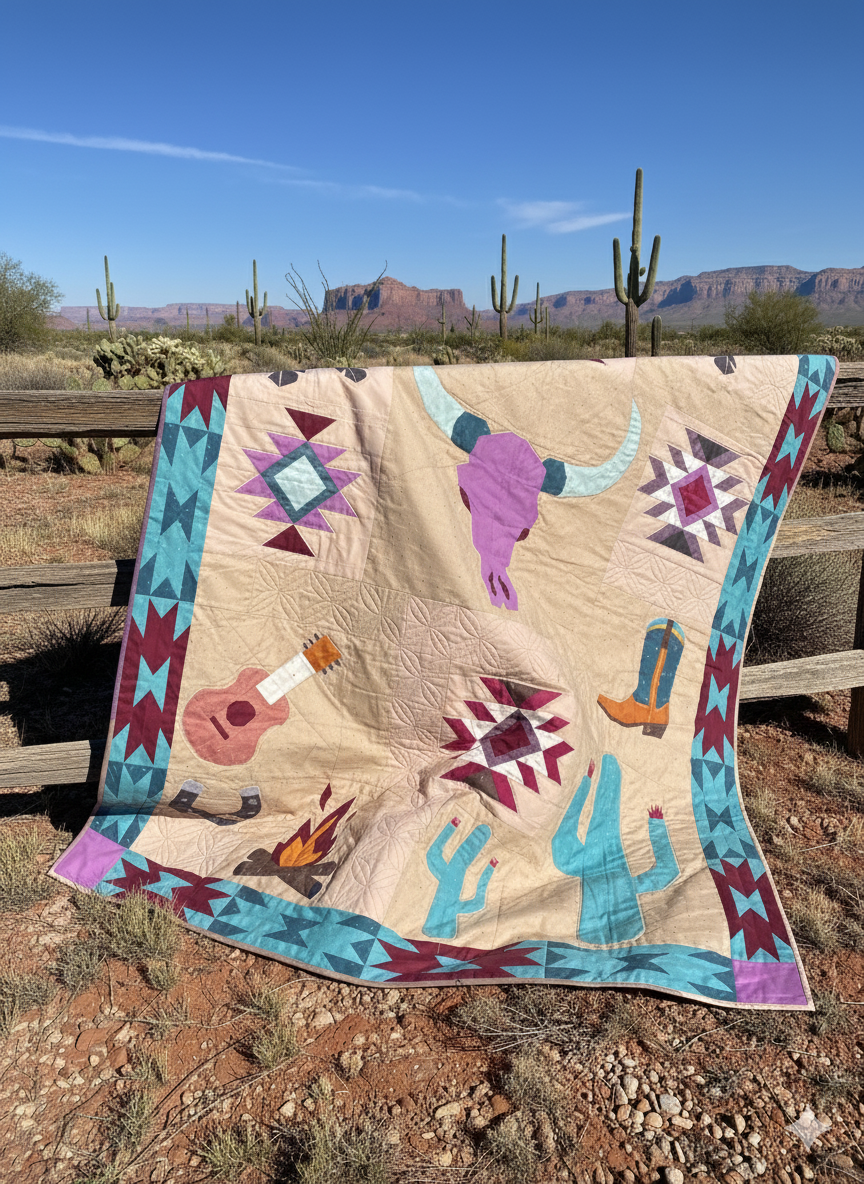
Stitching the Southwest, Part One: Desert Peaks
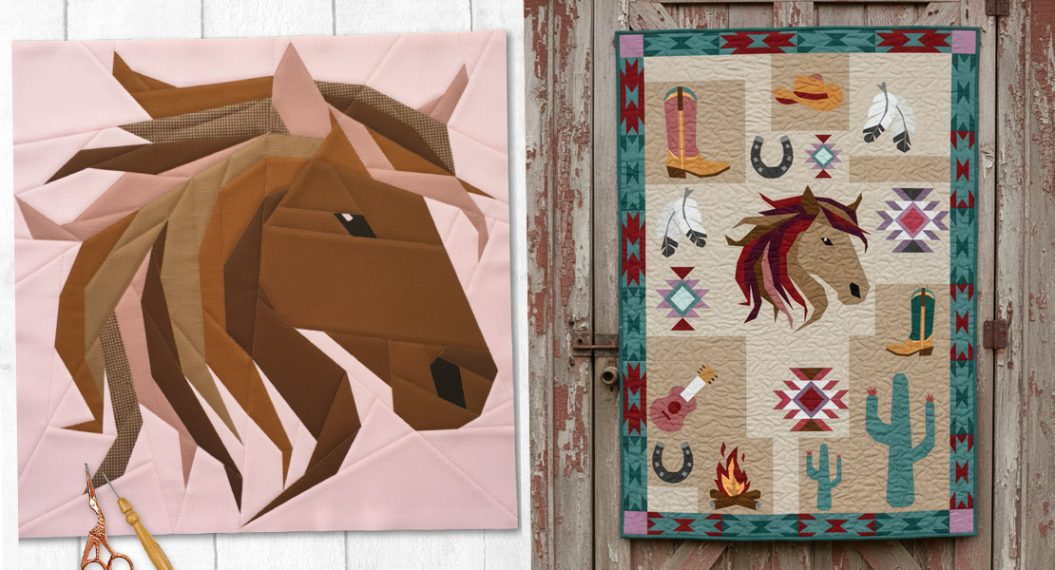
The Year of the Horse
The horse is now officially part of our quilt along–free, powerful, and full of movement, just like our shared journey through fabric, color, and pattern.
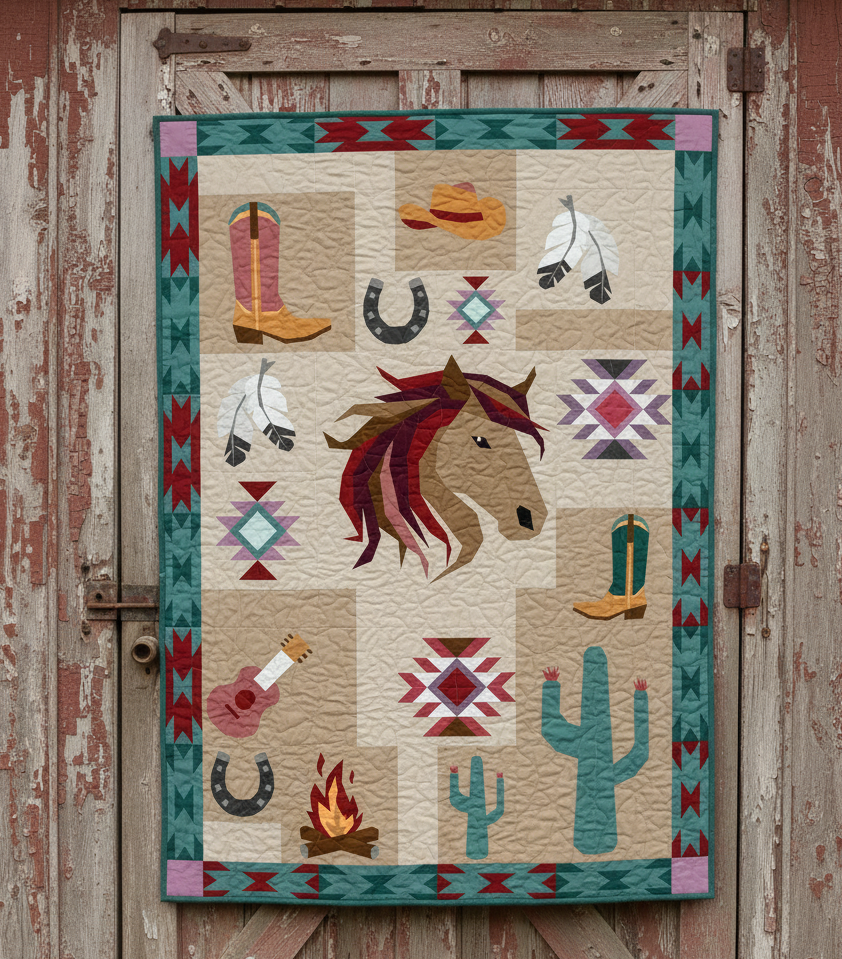
Welcoming the horse officially into the quilt along couldn’t be more fitting, because according to the Chinese lunar calendar, we are in the Year of the Horse, if that’s not a sign, I don’t know what else could be one?
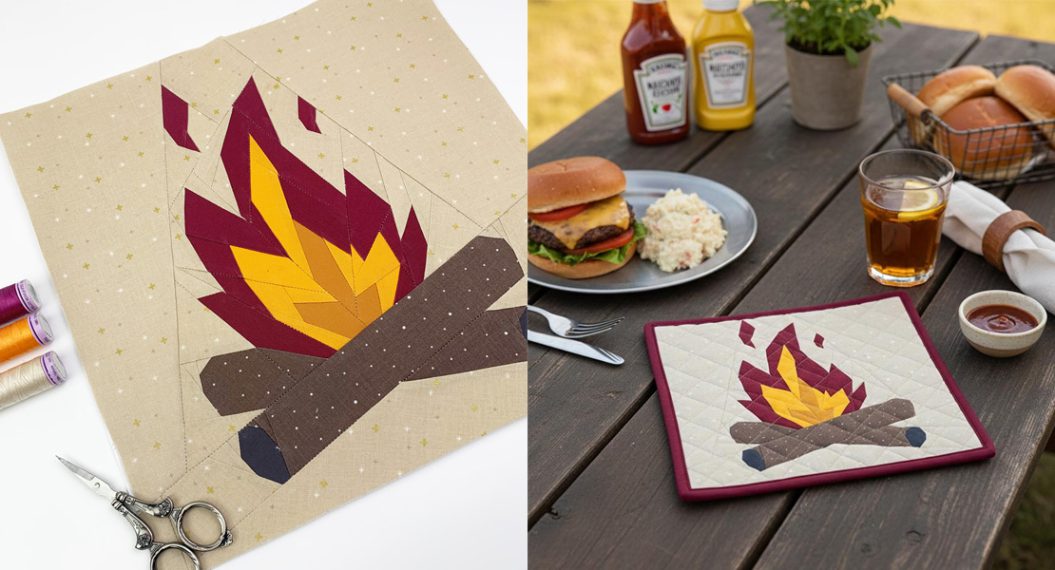
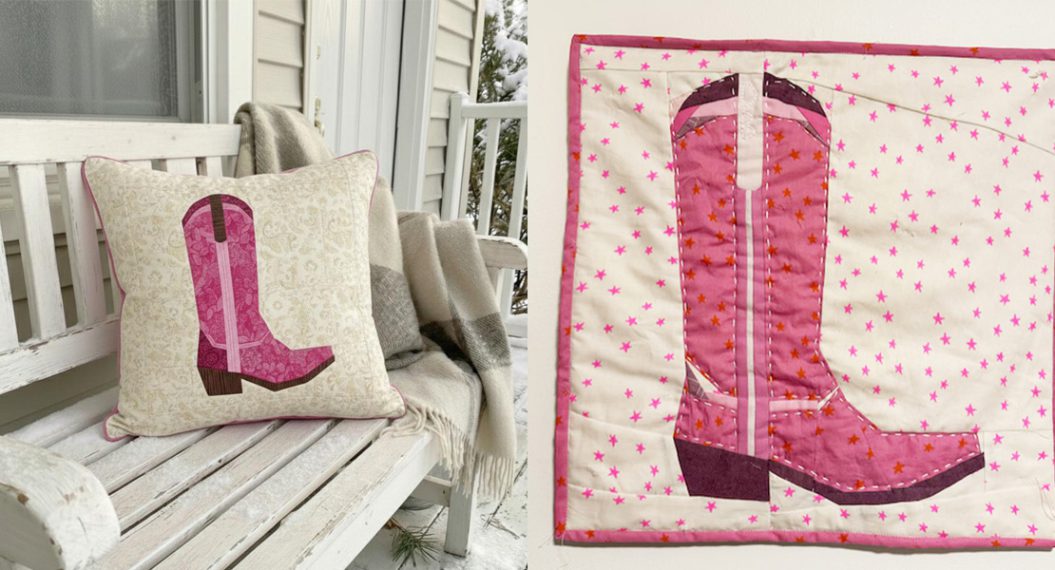
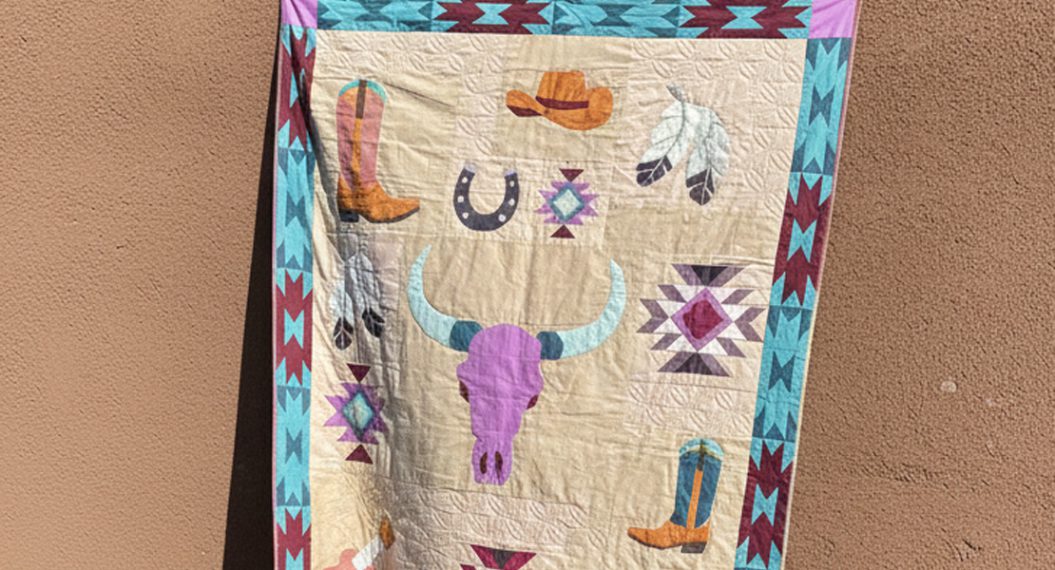
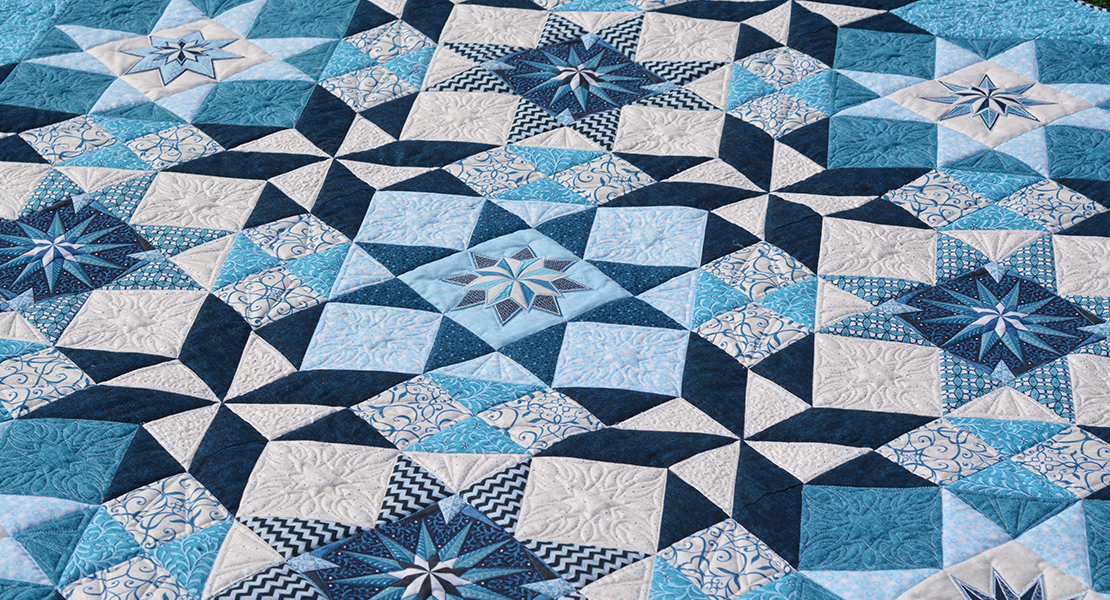
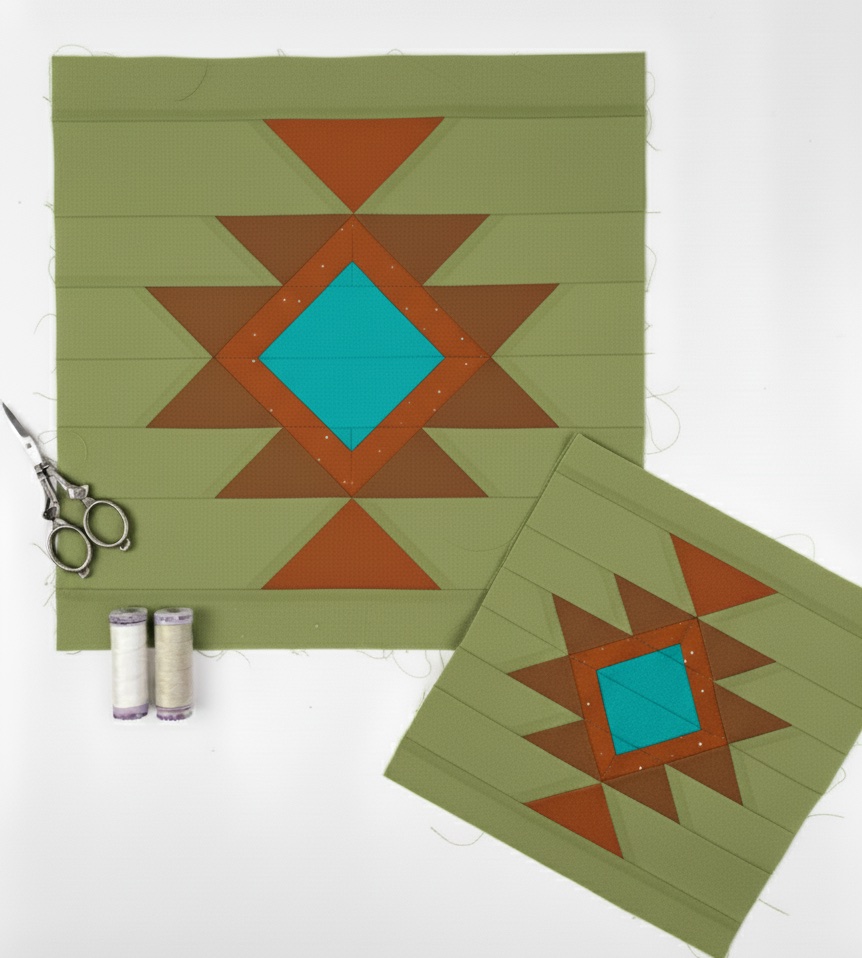
As you can see here, the quilt takes on a completely different feel depending on which colors you choose.

There are just as many color combinations as there are quilters, haha 😂! Over the course of the quilt along, you’ll see so many fantastic creations here, on social media, and in the WeAllSew Community Section.
According to the Chinese lunar calendar, the horse stands for freedom, movement, endurance, strength, and the courage to take new paths.
That’s exactly the energy we want to bring into “Stitching the Southwest”: combining boldly, experimenting with new color combinations, and finding our own unique path through stitching the quilt.
We’re Sewing the First Block: Desert Peaks
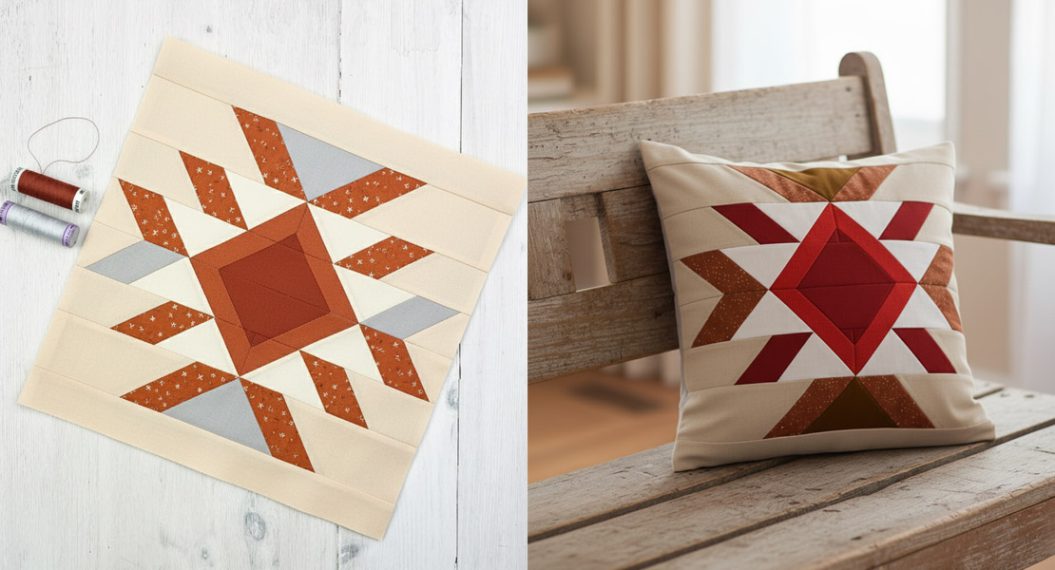
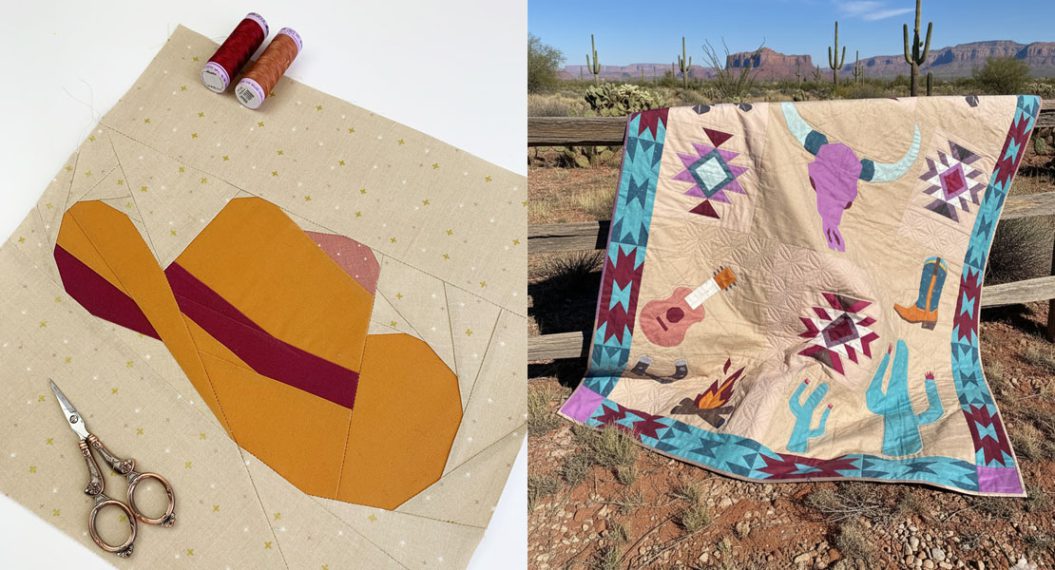
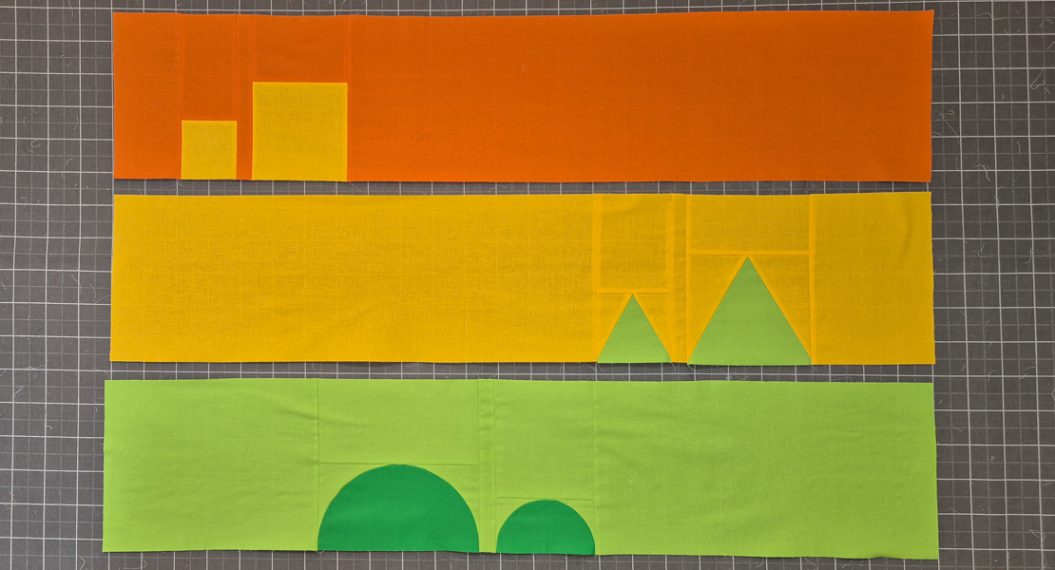
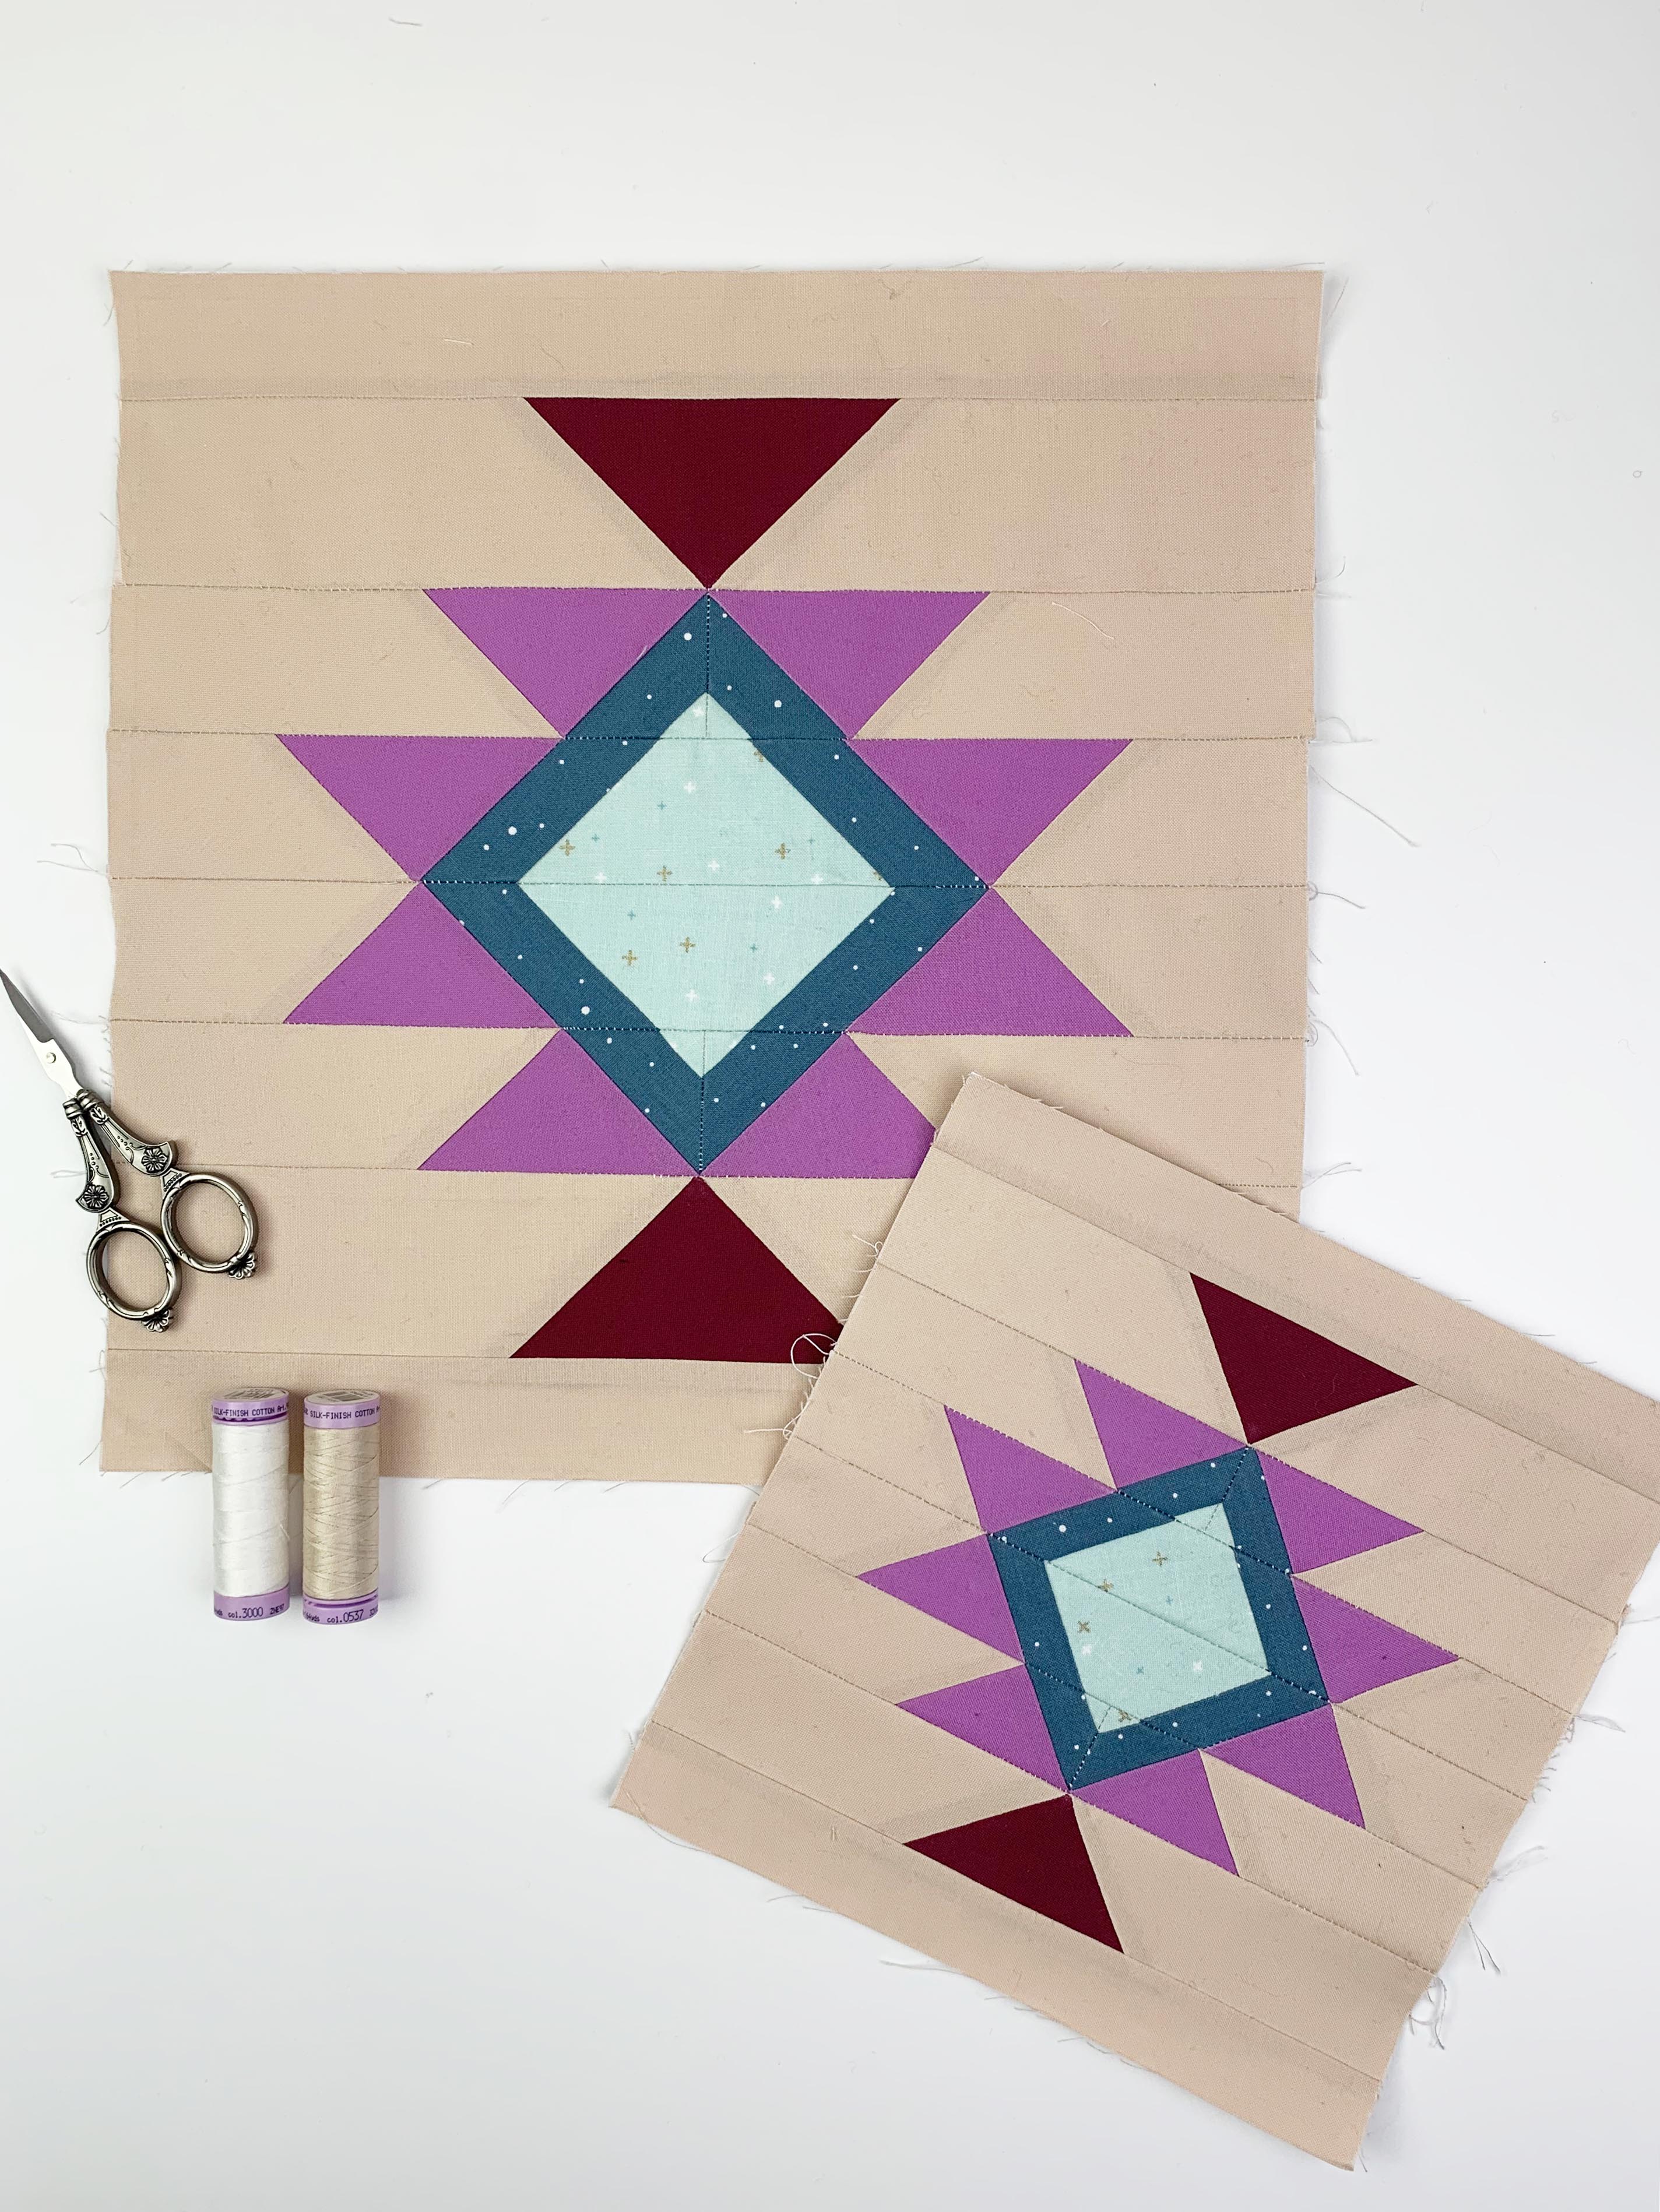
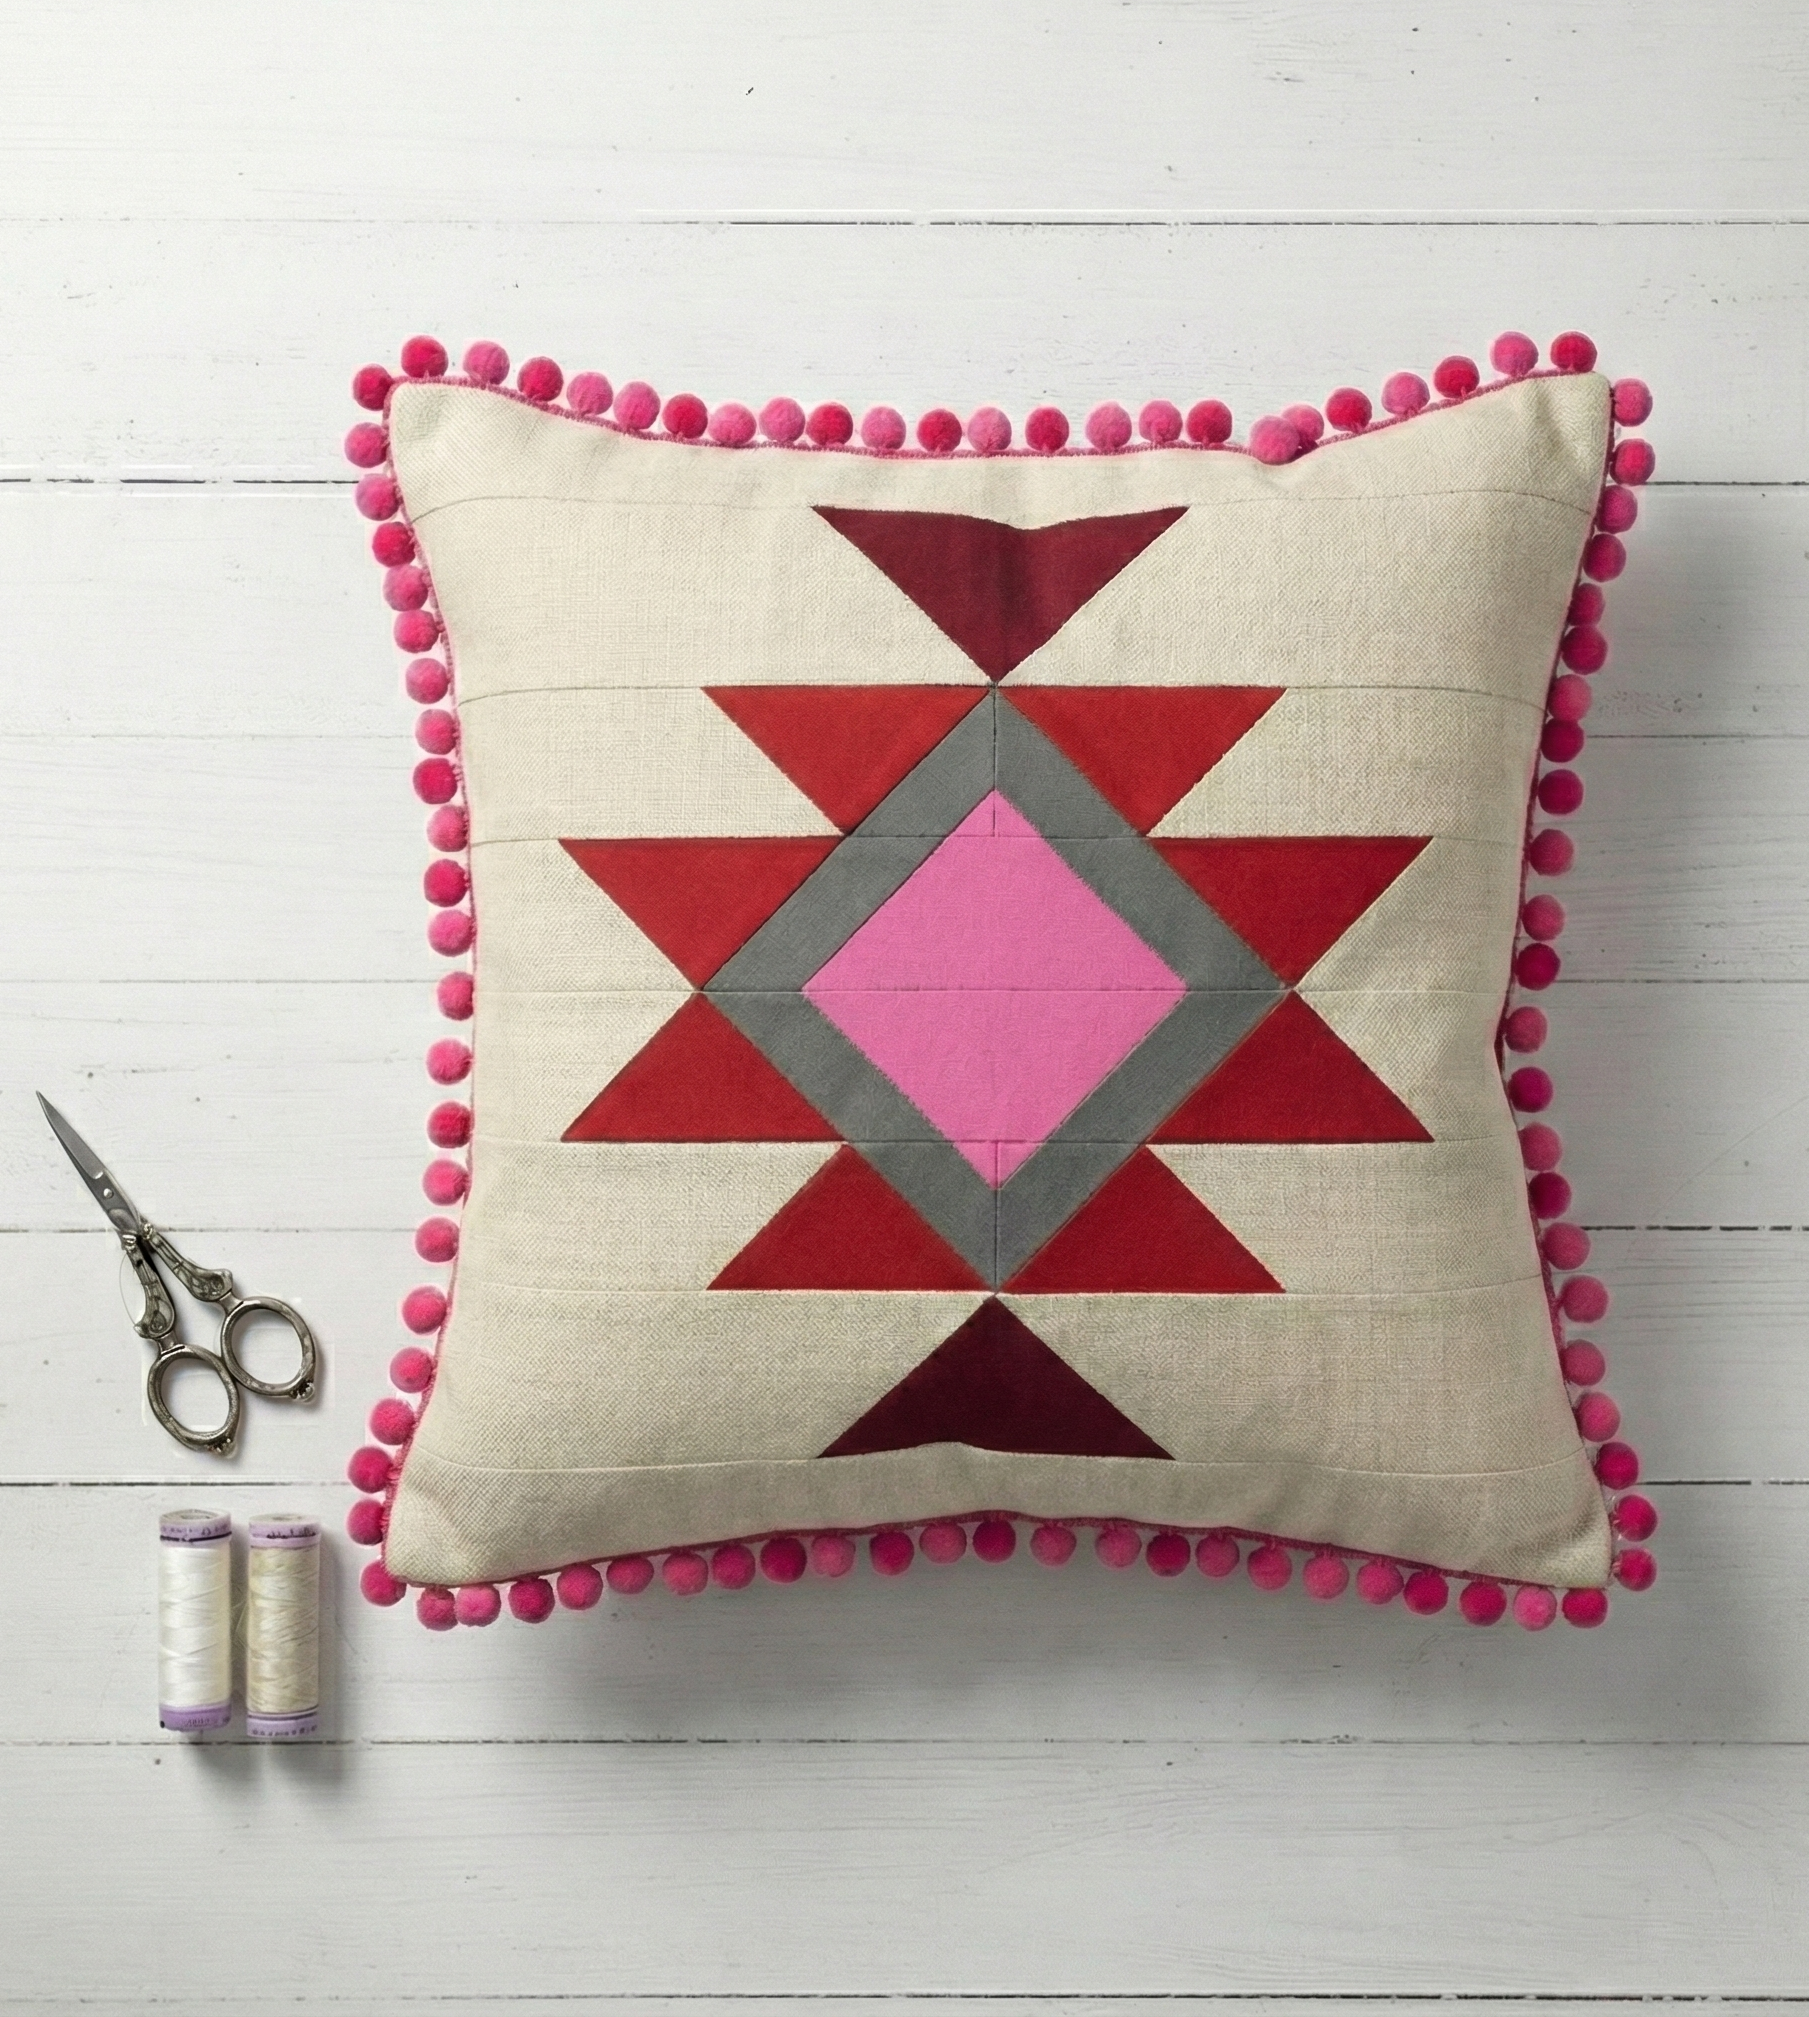
Desert Peaks is a graphic, Aztec-inspired block that reminds us of mountain ranges, desert paths, and the clean lines of the Southwestern landscape.
This type of geometric form is often associated with the Southwest or Aztec patterns, but these graphic designs can actually be found in almost every culture around the world:
- in Indigenous weavings of North and South America
- in African textiles
- in Islamic geometry
- in Scandinavian woven patterns
- and even in traditional Alpine and farmhouse quilts
Geometry is a universal design language, clear, powerful, and timeless. With ‘Desert Peaks’, we’re embracing exactly this culturally connecting element.
This block appears twice in our quilt, which means we’ll be sewing two blocks today.
Materials Needed
Choosing your fabrics is one of the most important parts of making a quilt. It’s essential to pick fabrics you truly love, because you’ll be spending a lot of time with them. You’ll find all the information about fabric selection right here on the blog.
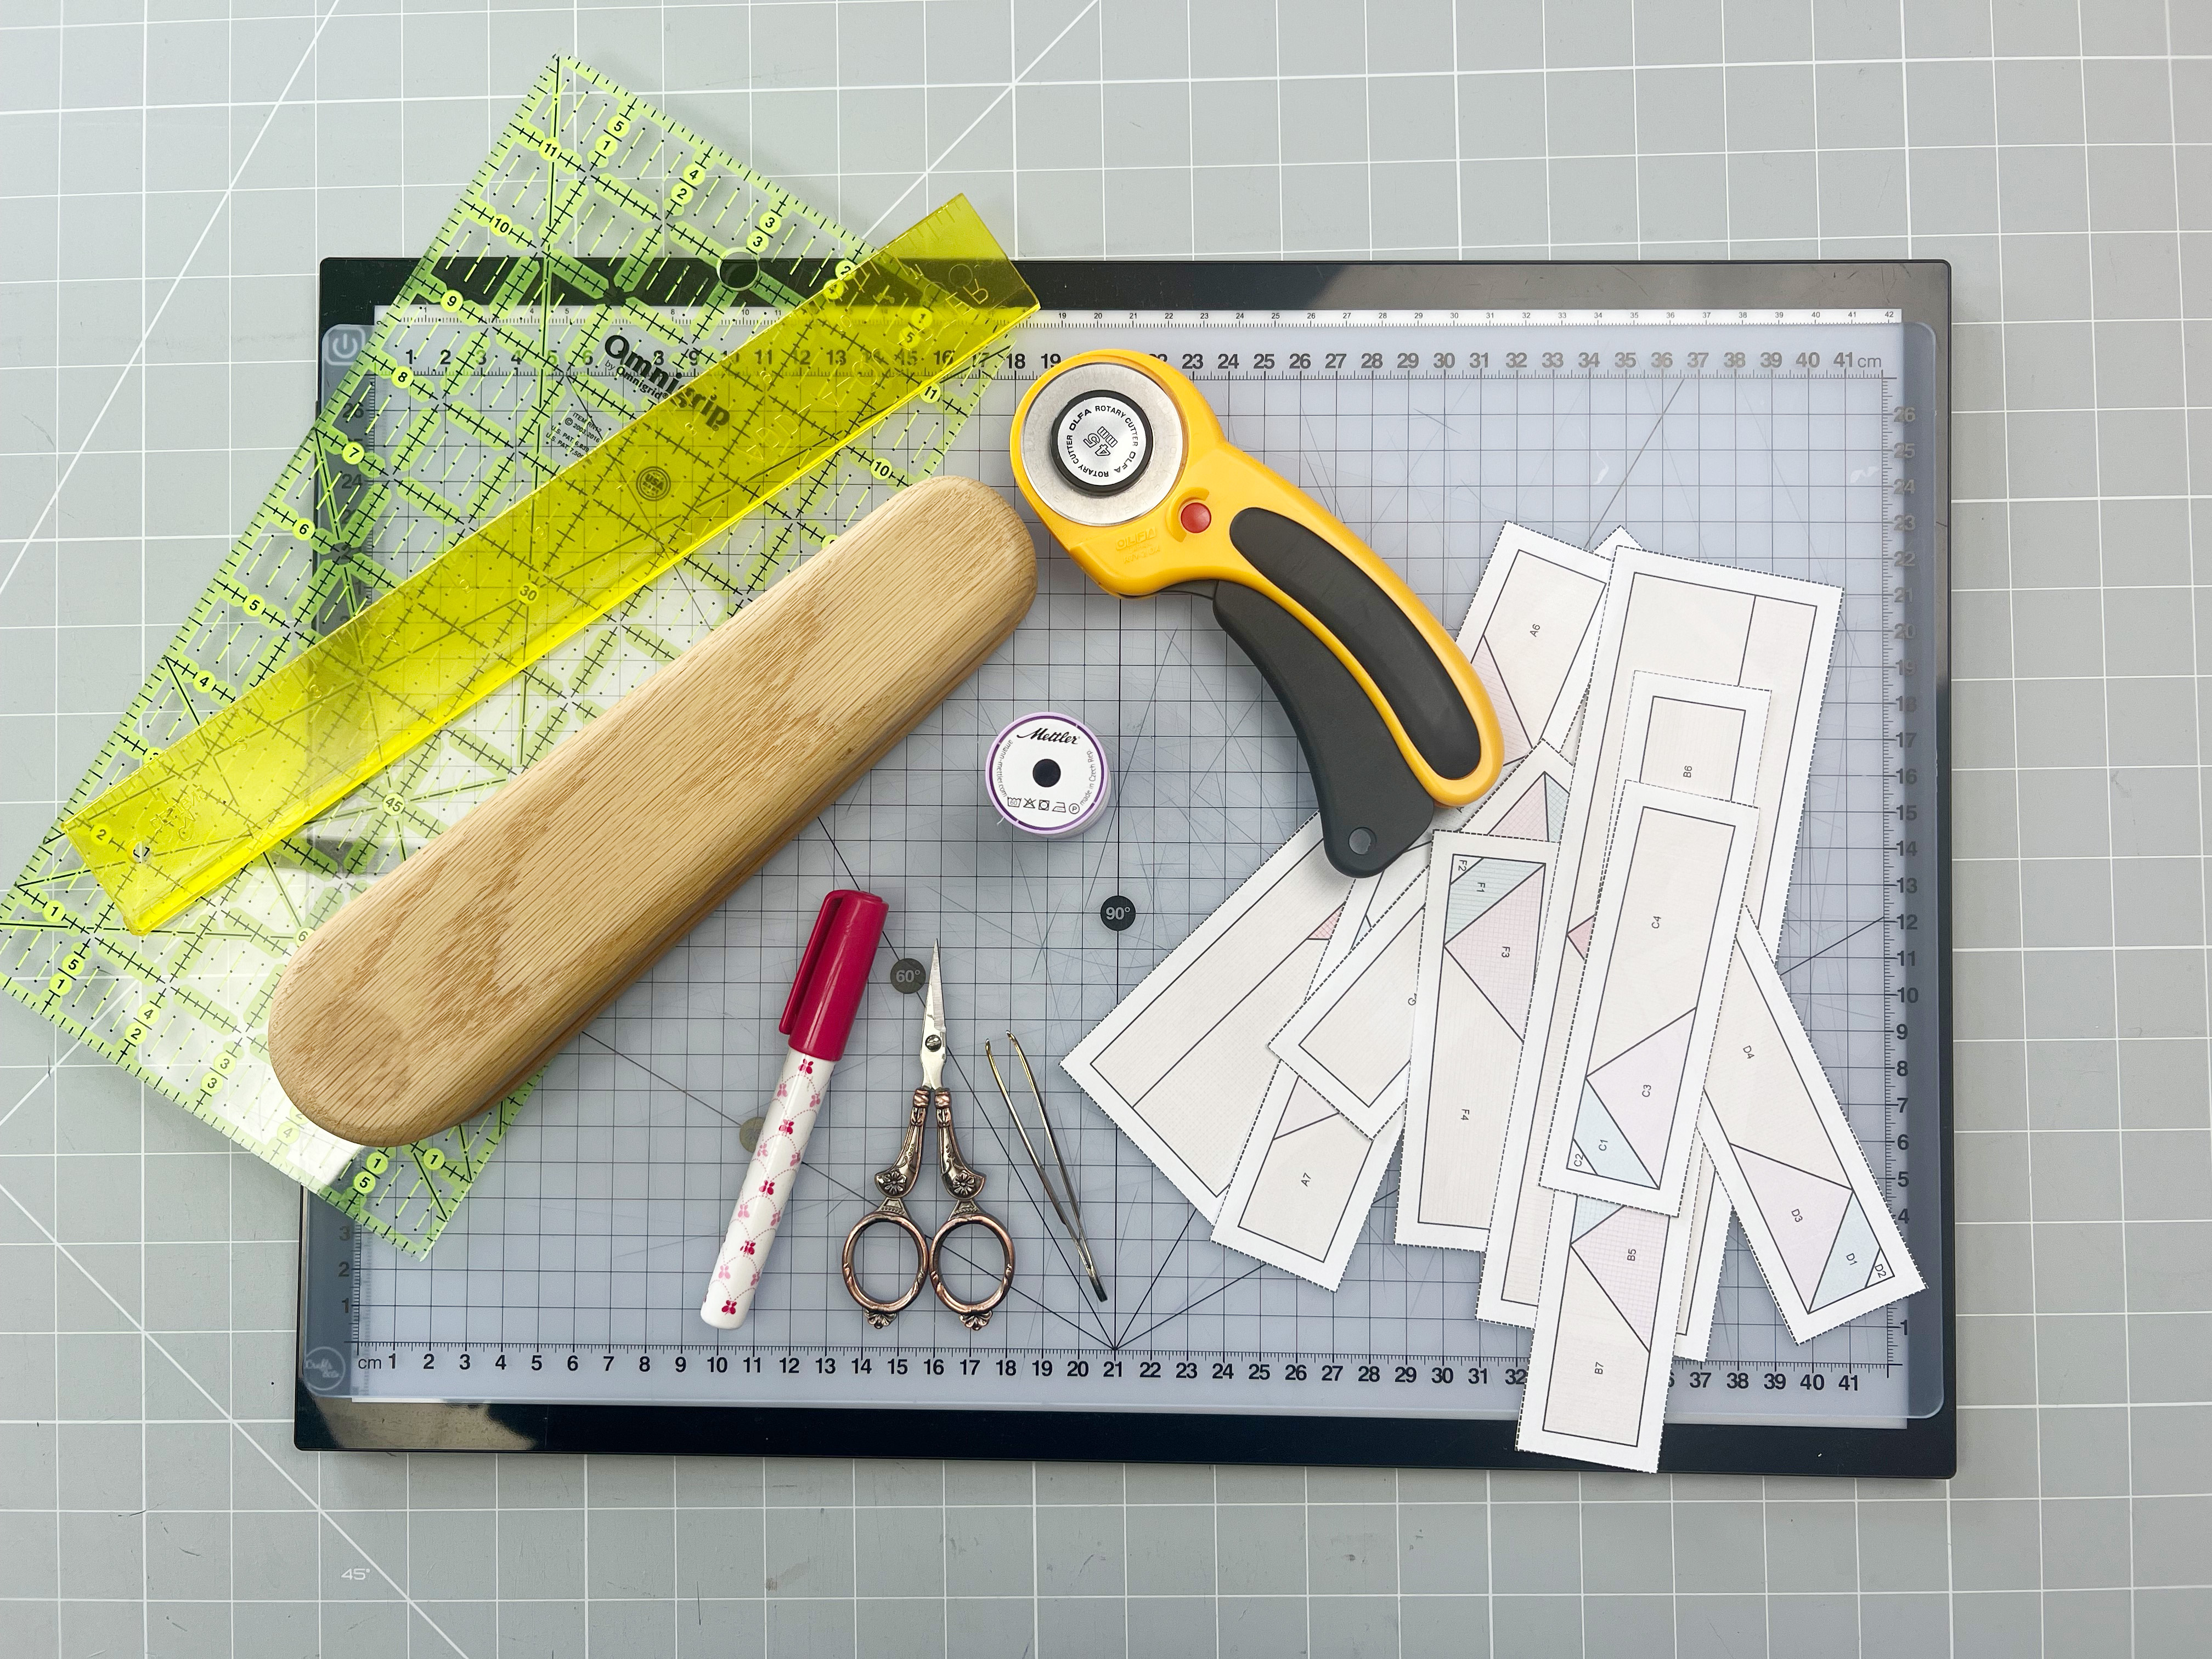
For Foundation Paper Piecing, you’ll also need the following 10 items:
Color inspiration for Desert Peaks
The Southwest quilt thrives on earthy, warm, high-contrast colors, but soft tones can look just as beautiful, as you can clearly see above. For my Desert Peaks block, I took inspiration from classic desert colors.
My Fabric Selection for Desert Peaks
Here is my fabric selection for my Desert Peaks blocks (I’m using the original English names of the Riley Blake fabrics I used):
- Wheat (background)
- Burgundy
- Violet
- Sparkler Songbird
- Sparkler Bear Lake
Classic Method or Freezer Paper Method?
Alright, now let’s get started! In today’s article, I’ll be showing you the classic method again. It’s the one I personally prefer and enjoy working with the most.
If you like, you can also use the freezer paper method, which I introduced in the last quilt along: Sewing FPP with Freezer Paper.
Here’s the YouTube video for the freezer paper version:
The Classic Foundation Paper Piecing Method
This is the classic version, where we sew directly through the paper.
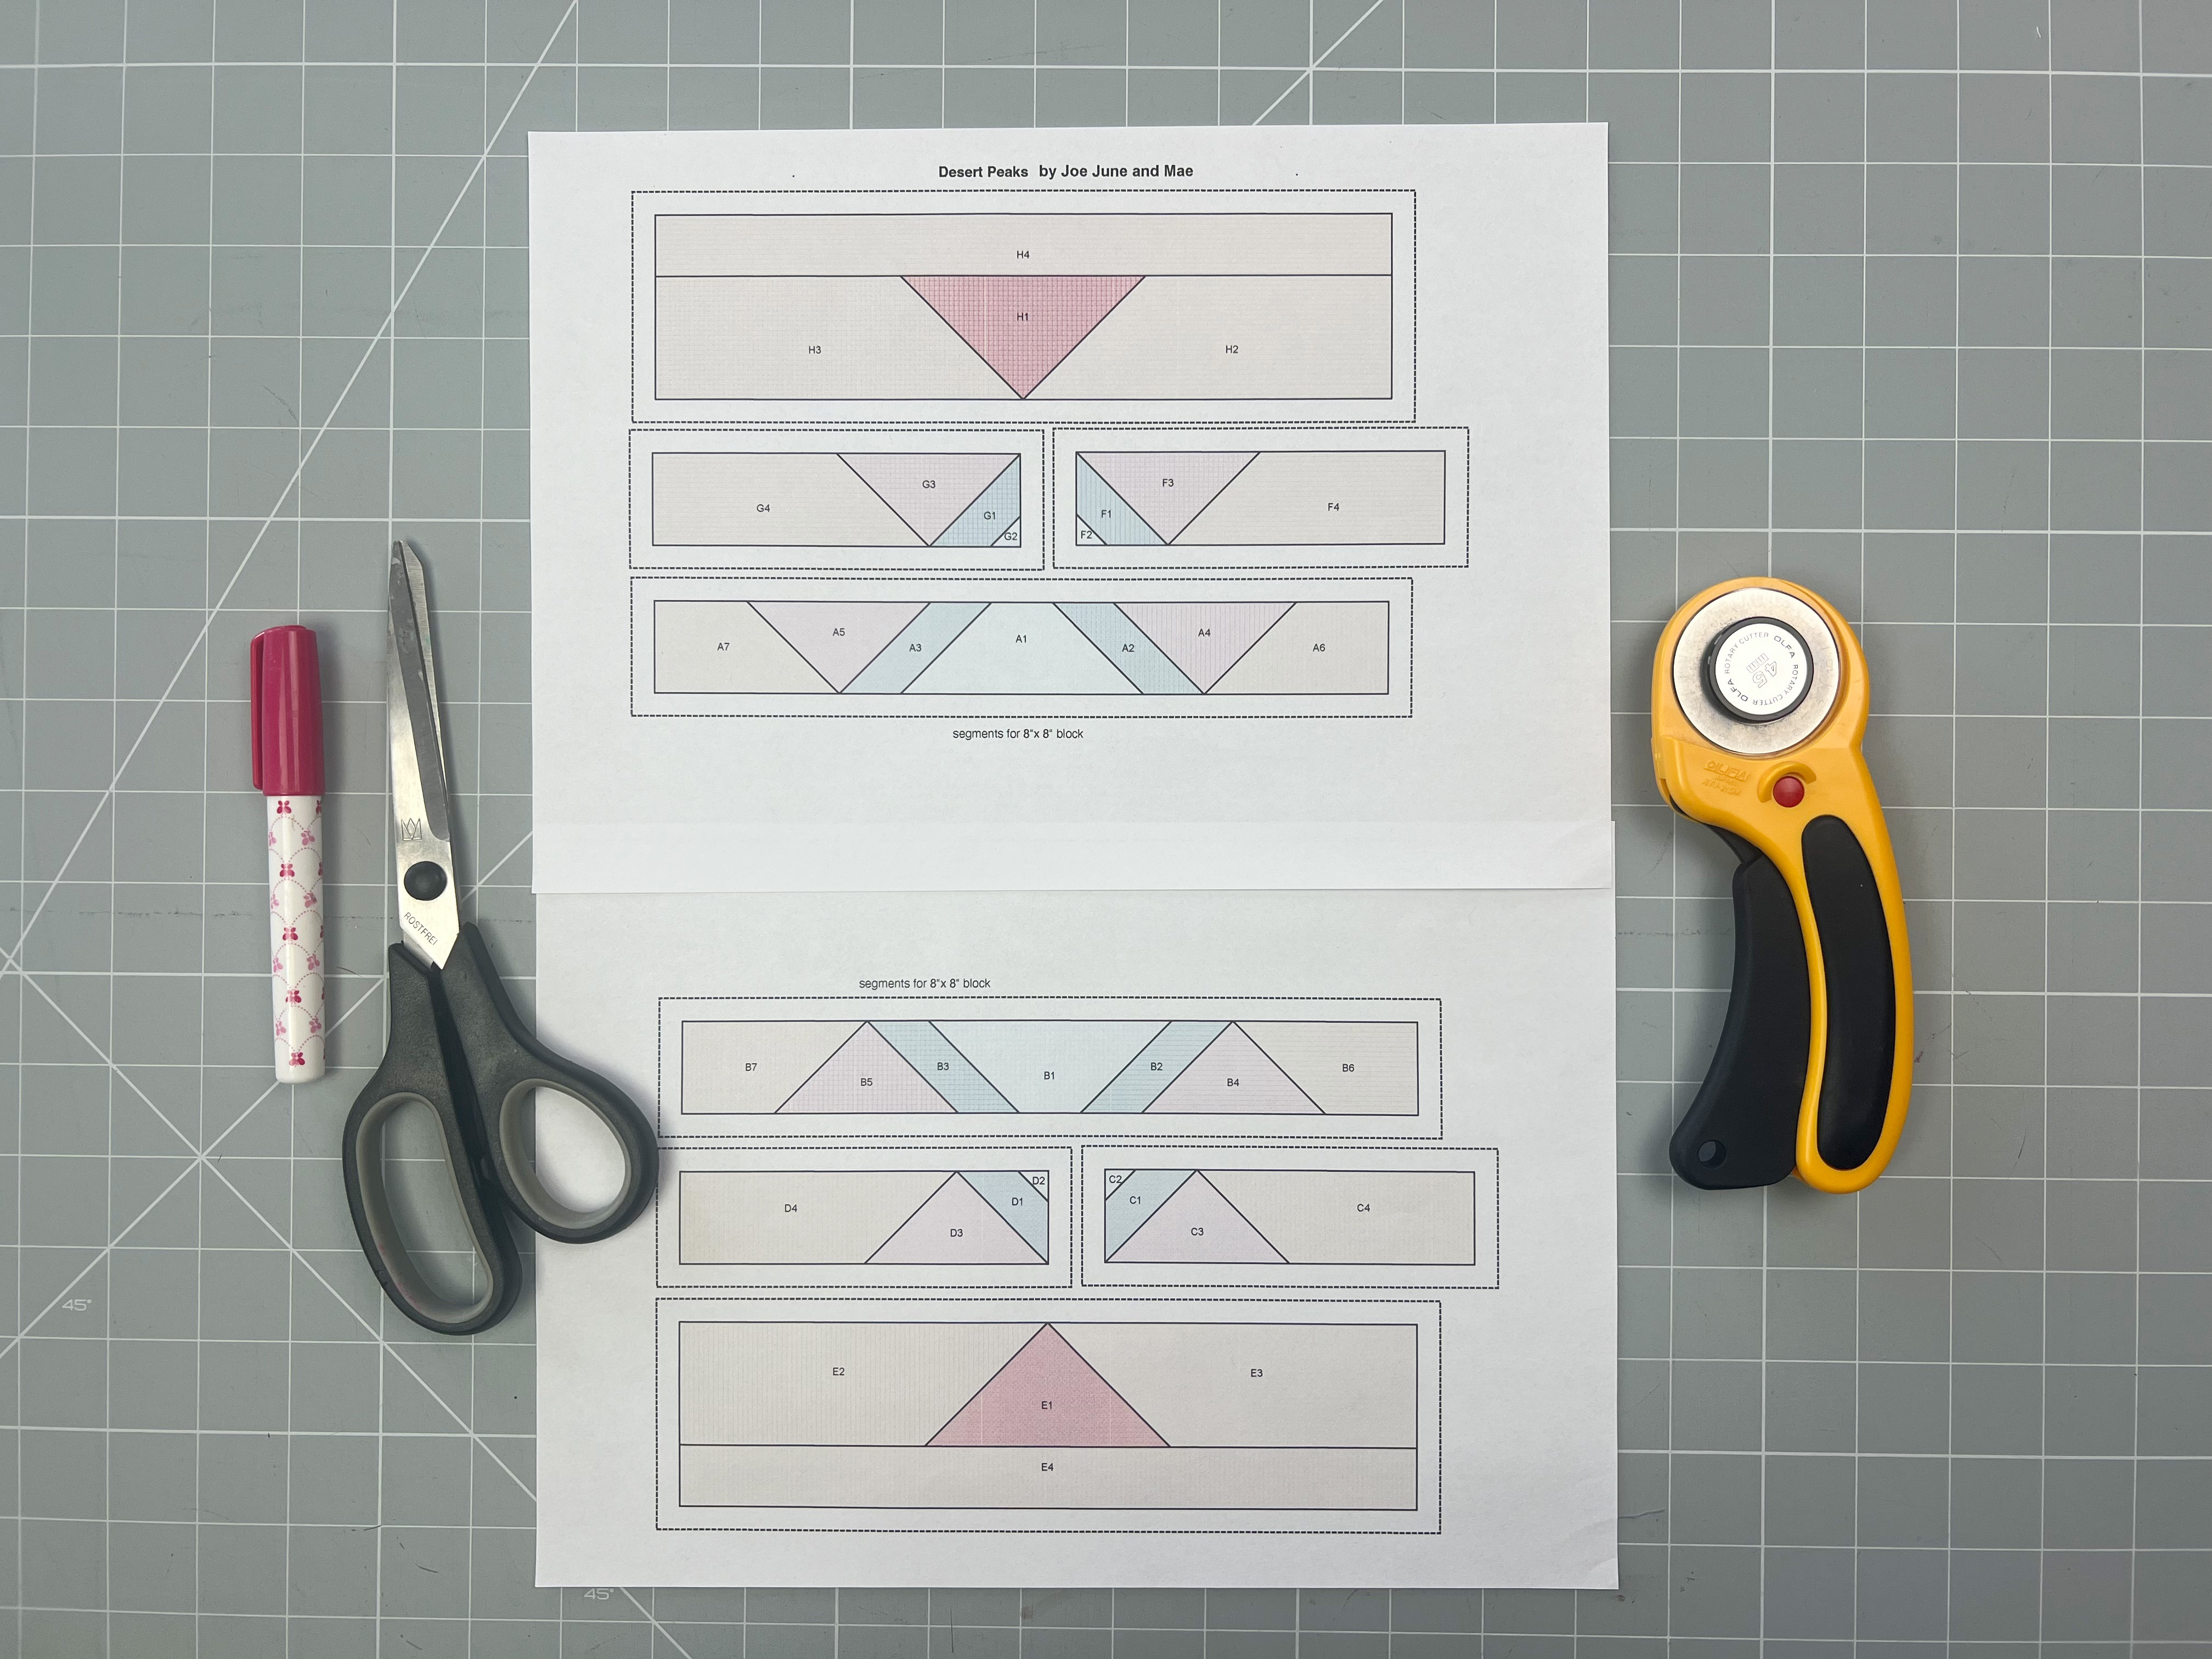
1. For the quilt, you’ll be sewing two Desert Peaks blocks. First, print all the pattern pieces labeled with letters and numbers. You don’t need to print the instructions or the overview pages, of course.
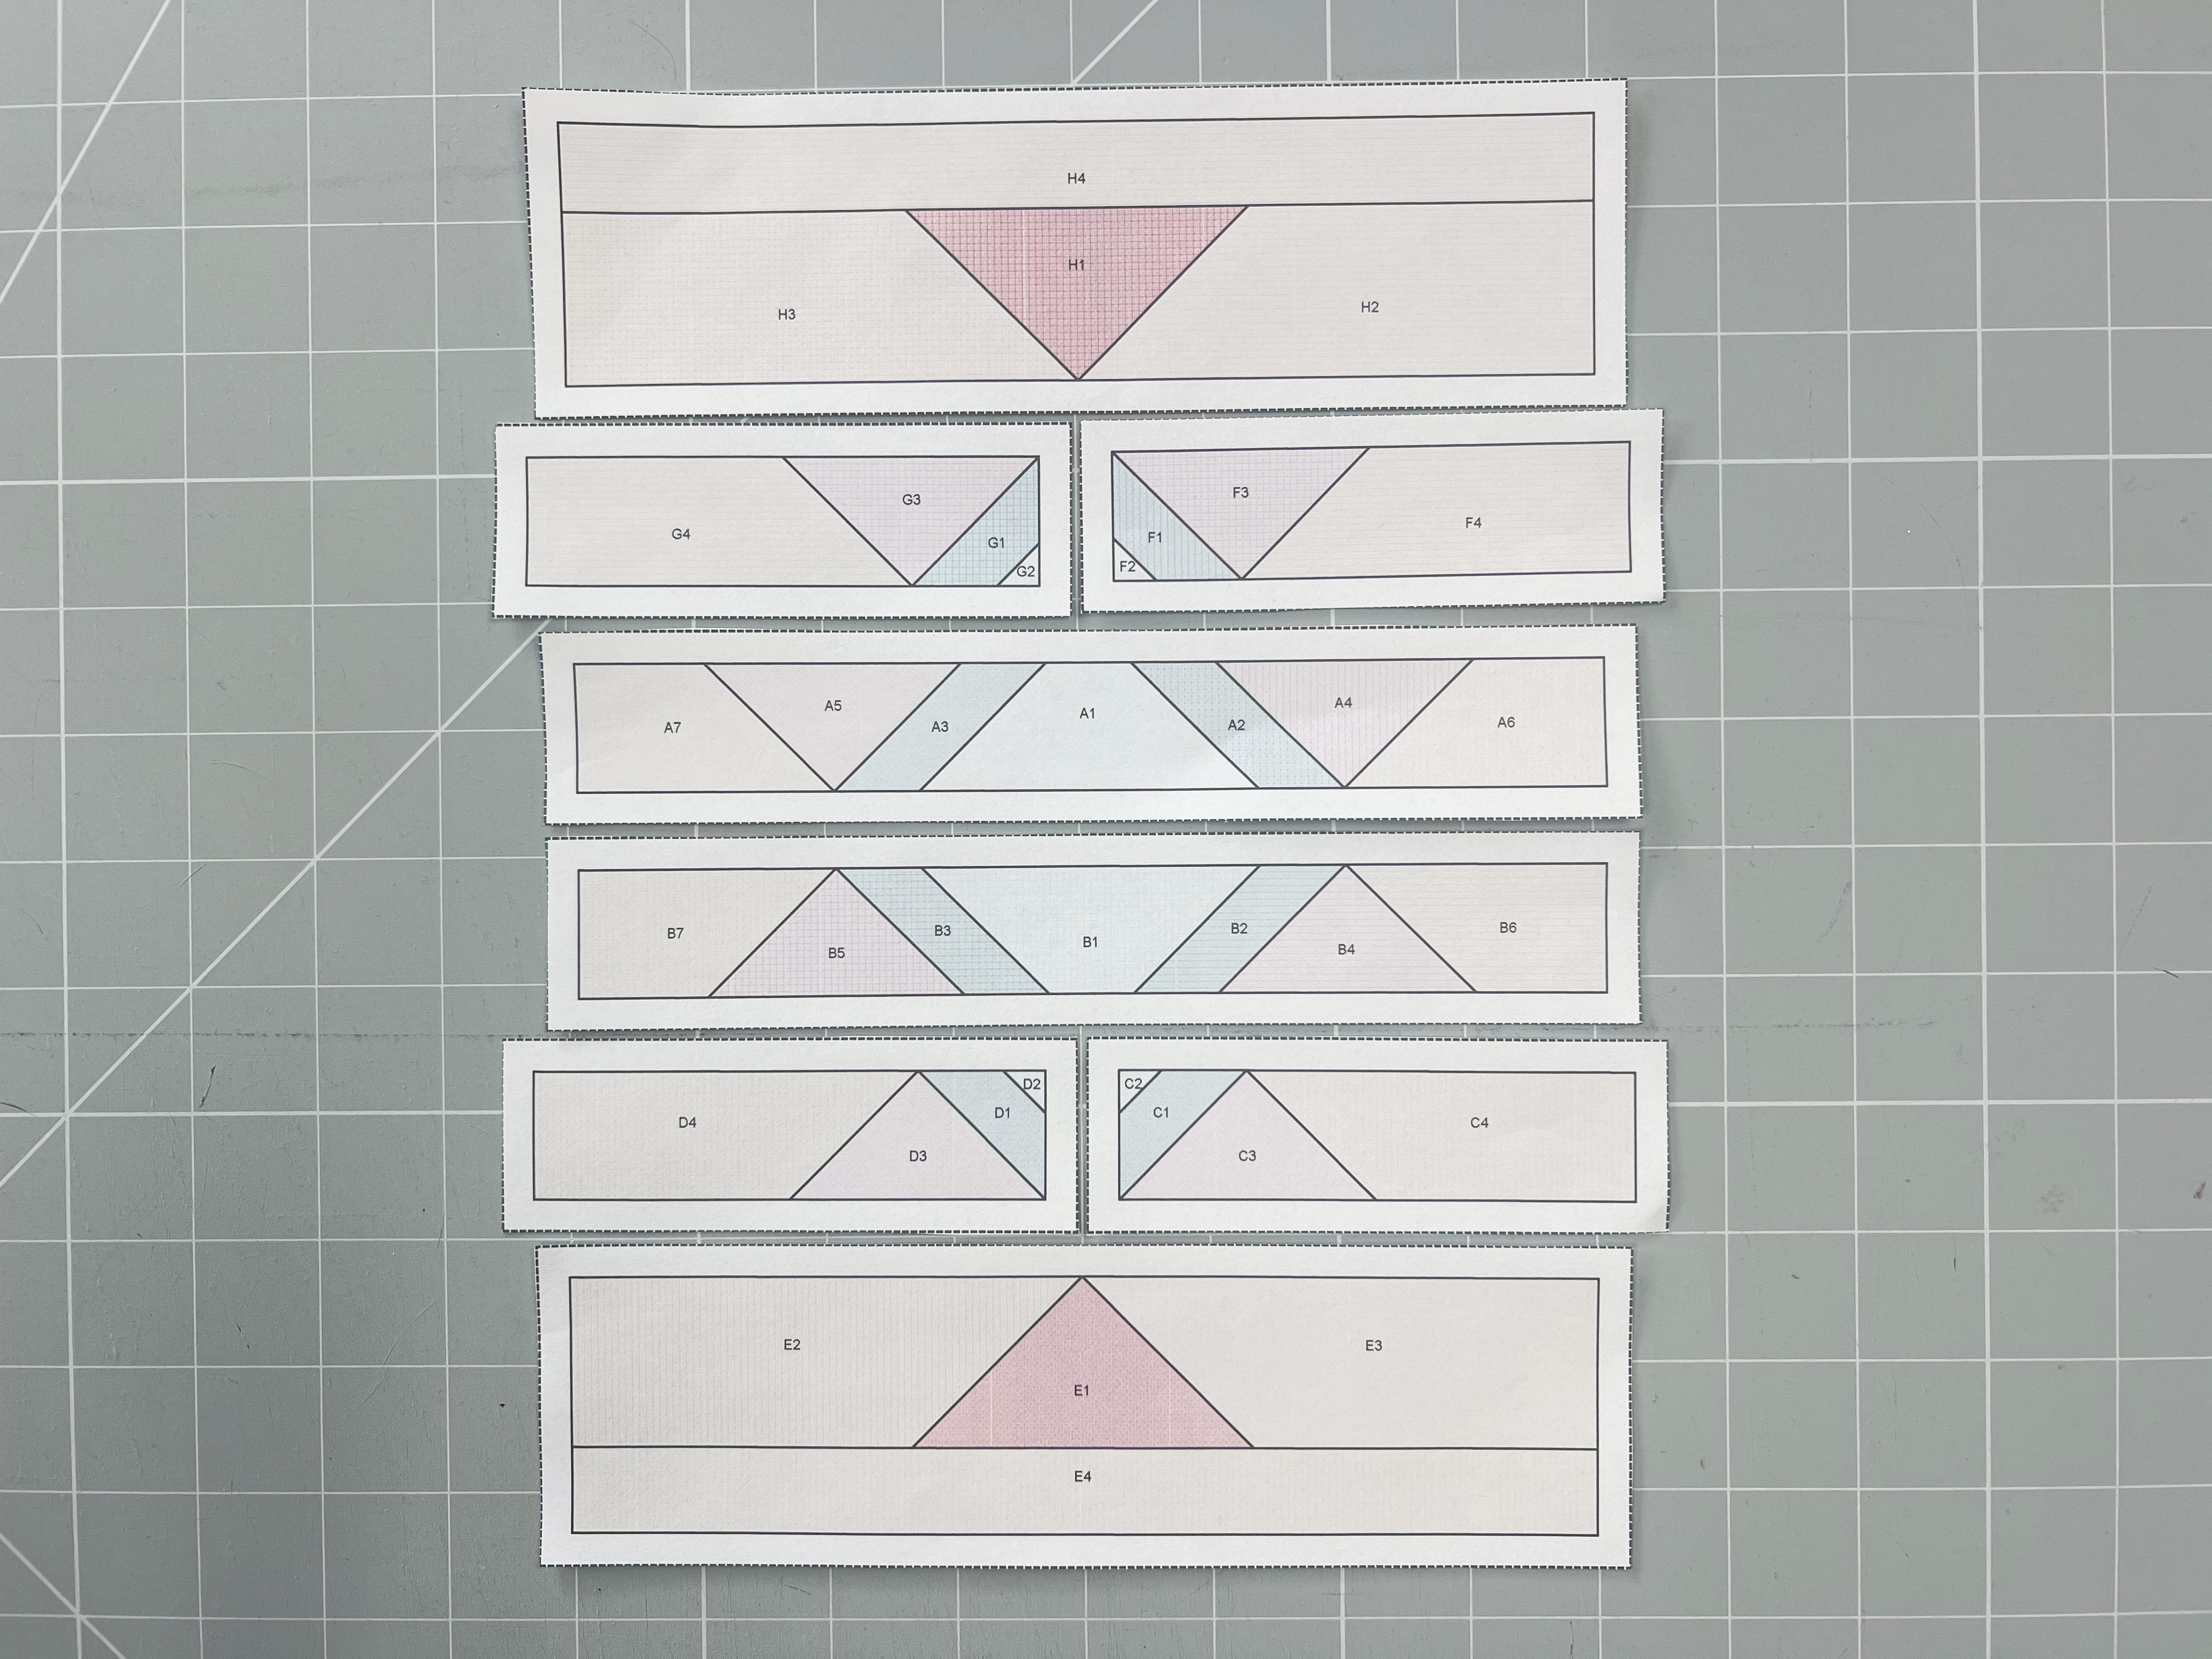
3. It’s very important to understand that the quilt block is created on the back of the pattern!
This point often causes confusion. The pattern is not placed on the fabric and then cut out. Instead, the pattern serves as the foundation you sew on, and the quilt block forms on the reverse side.
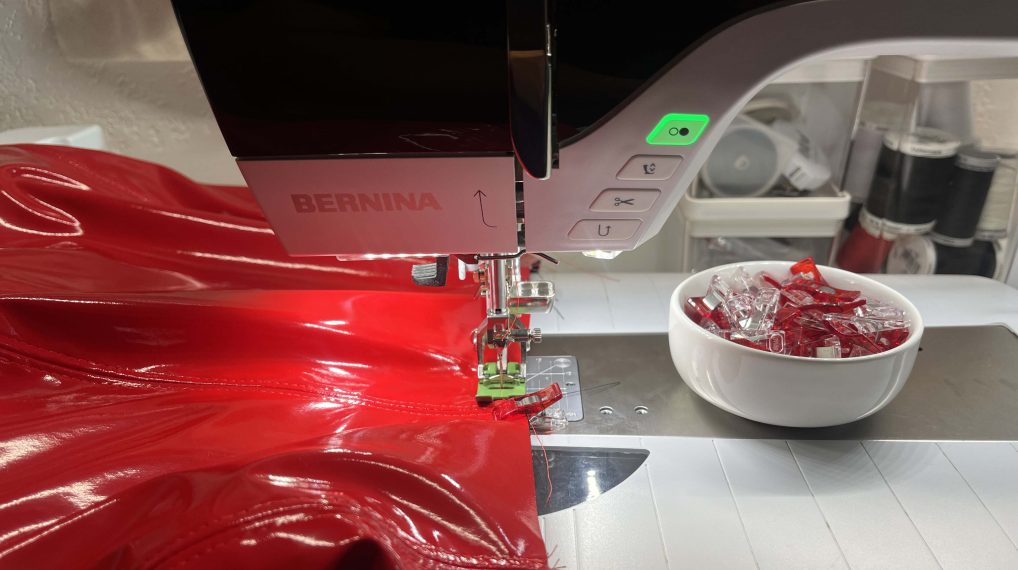
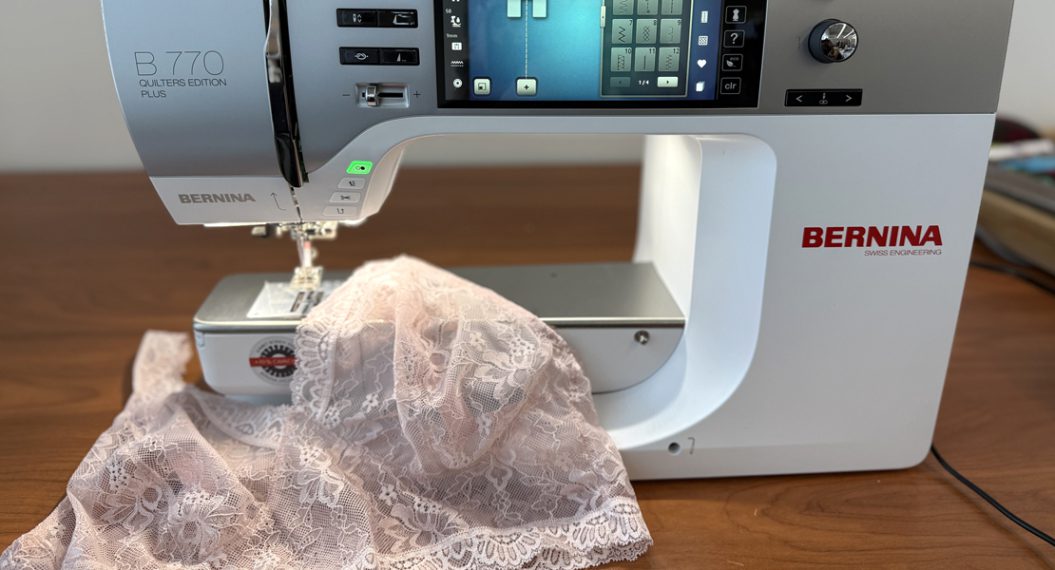
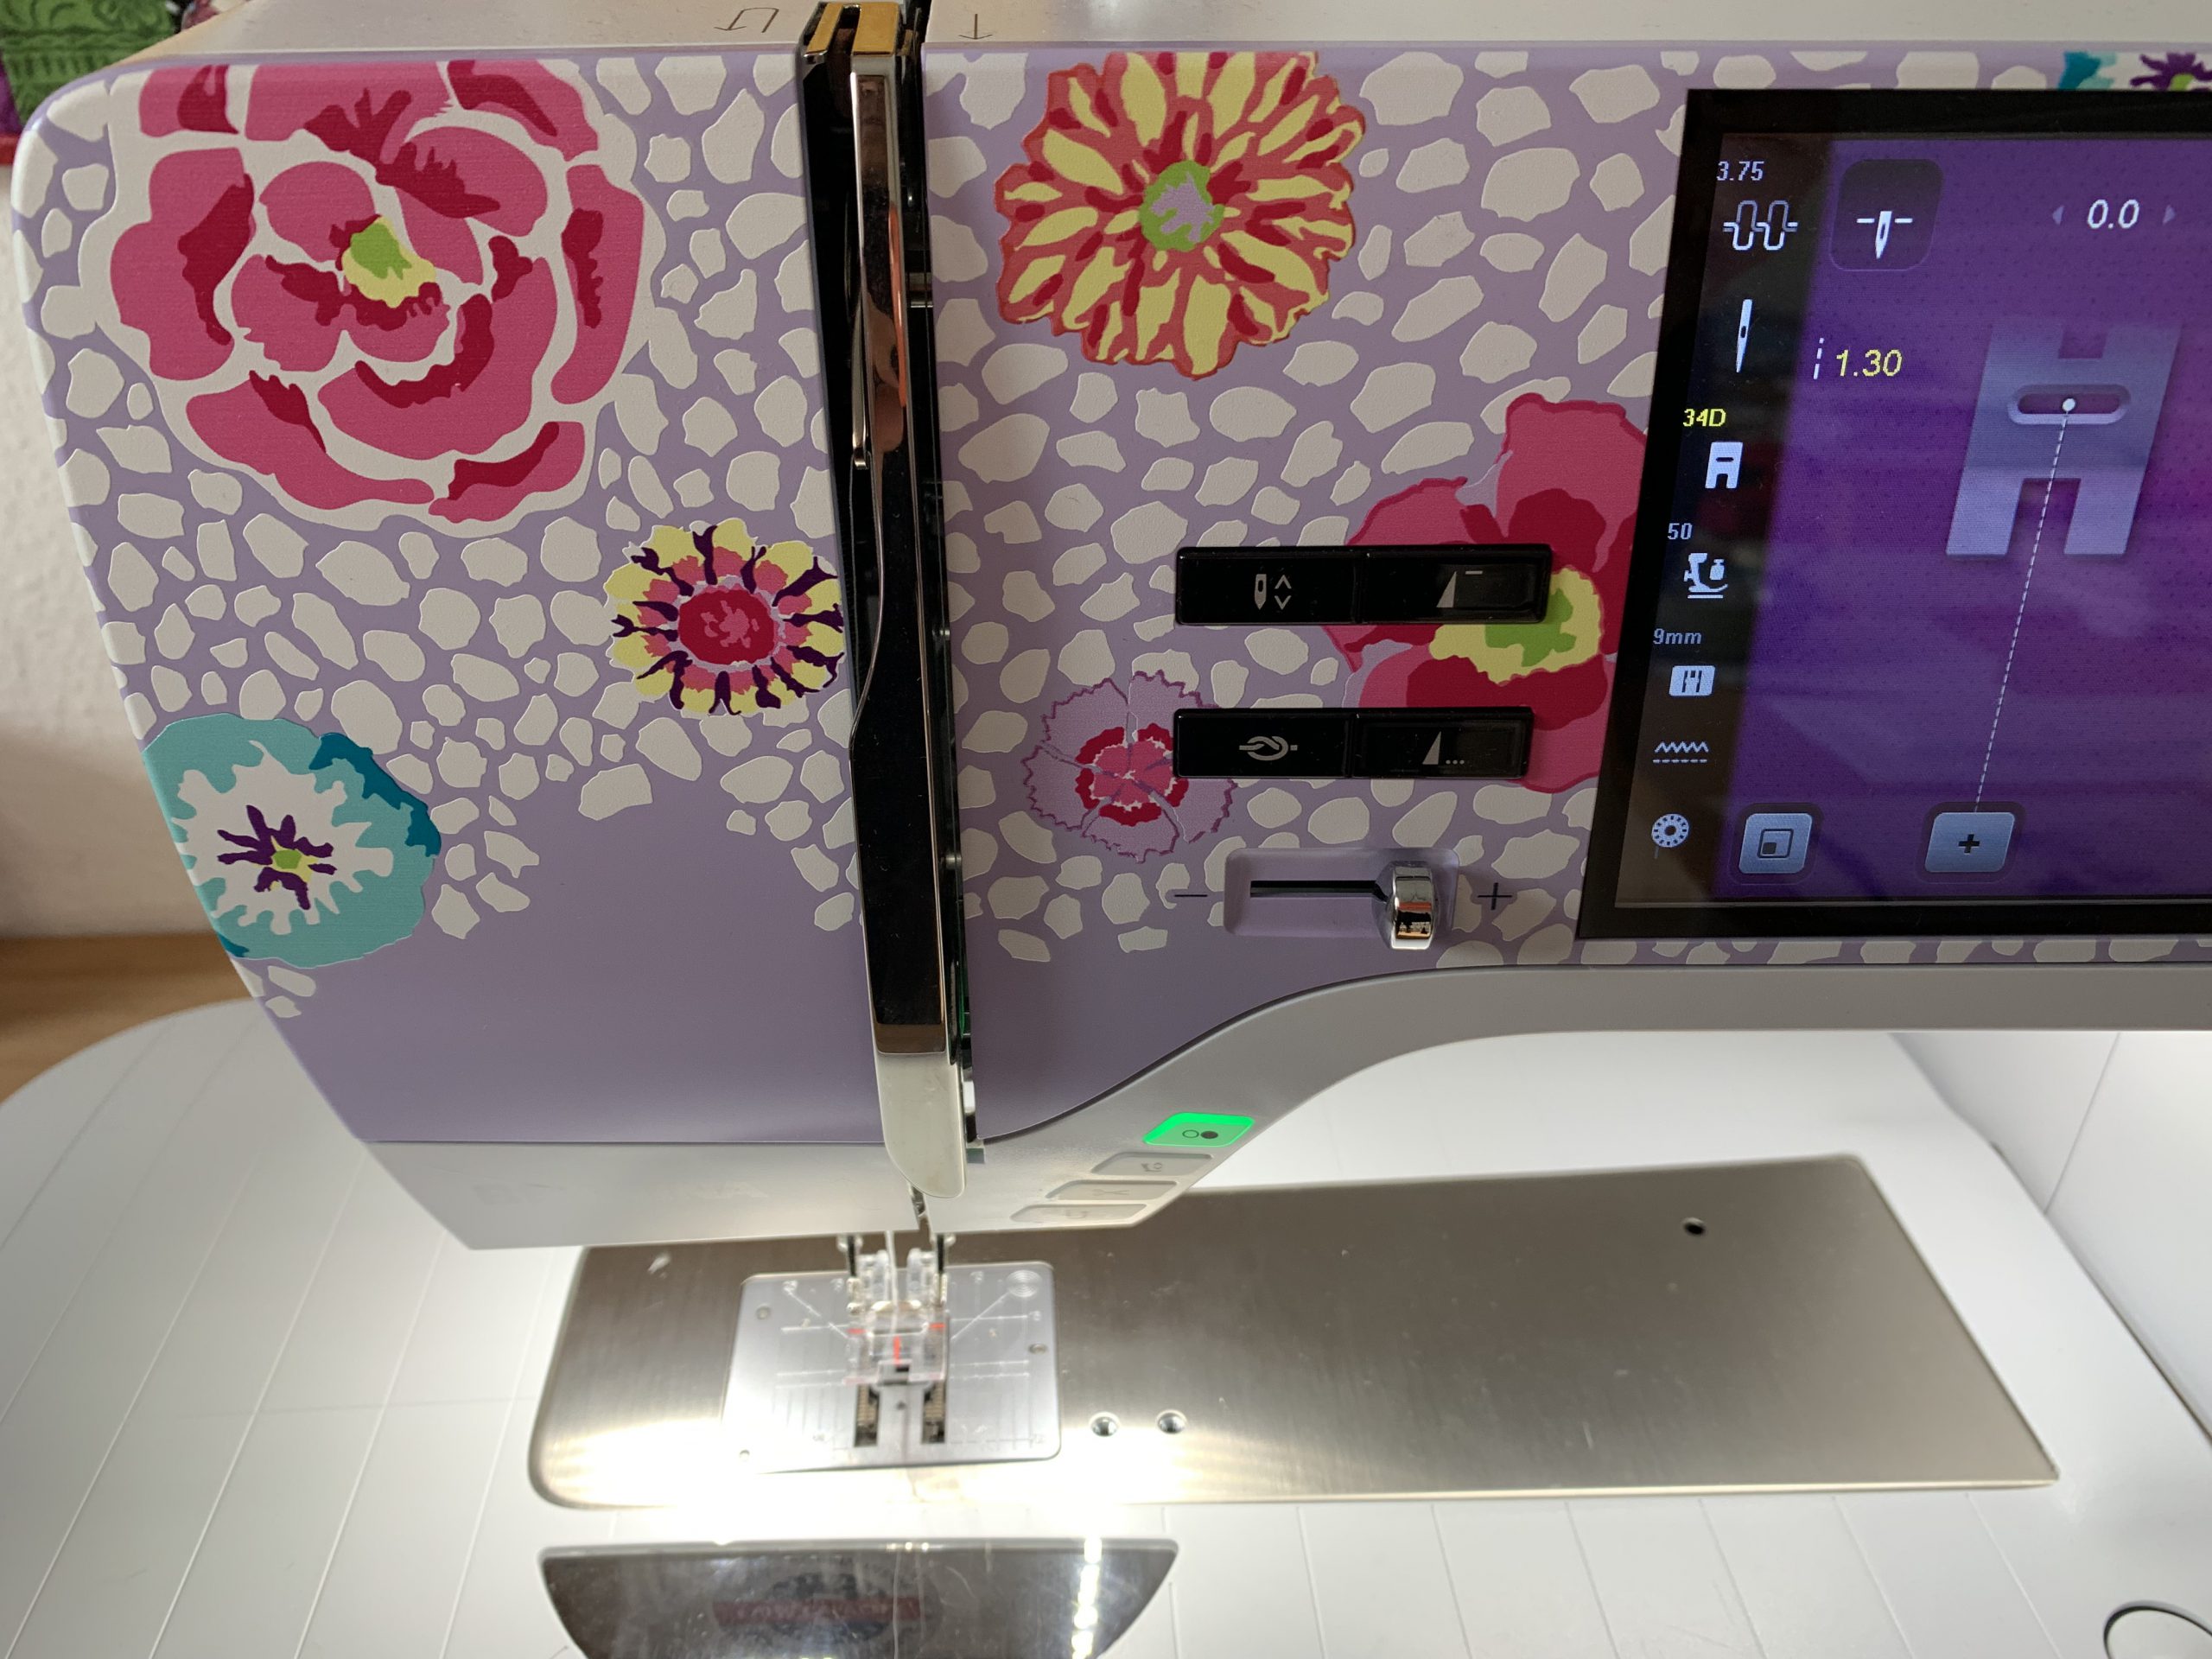
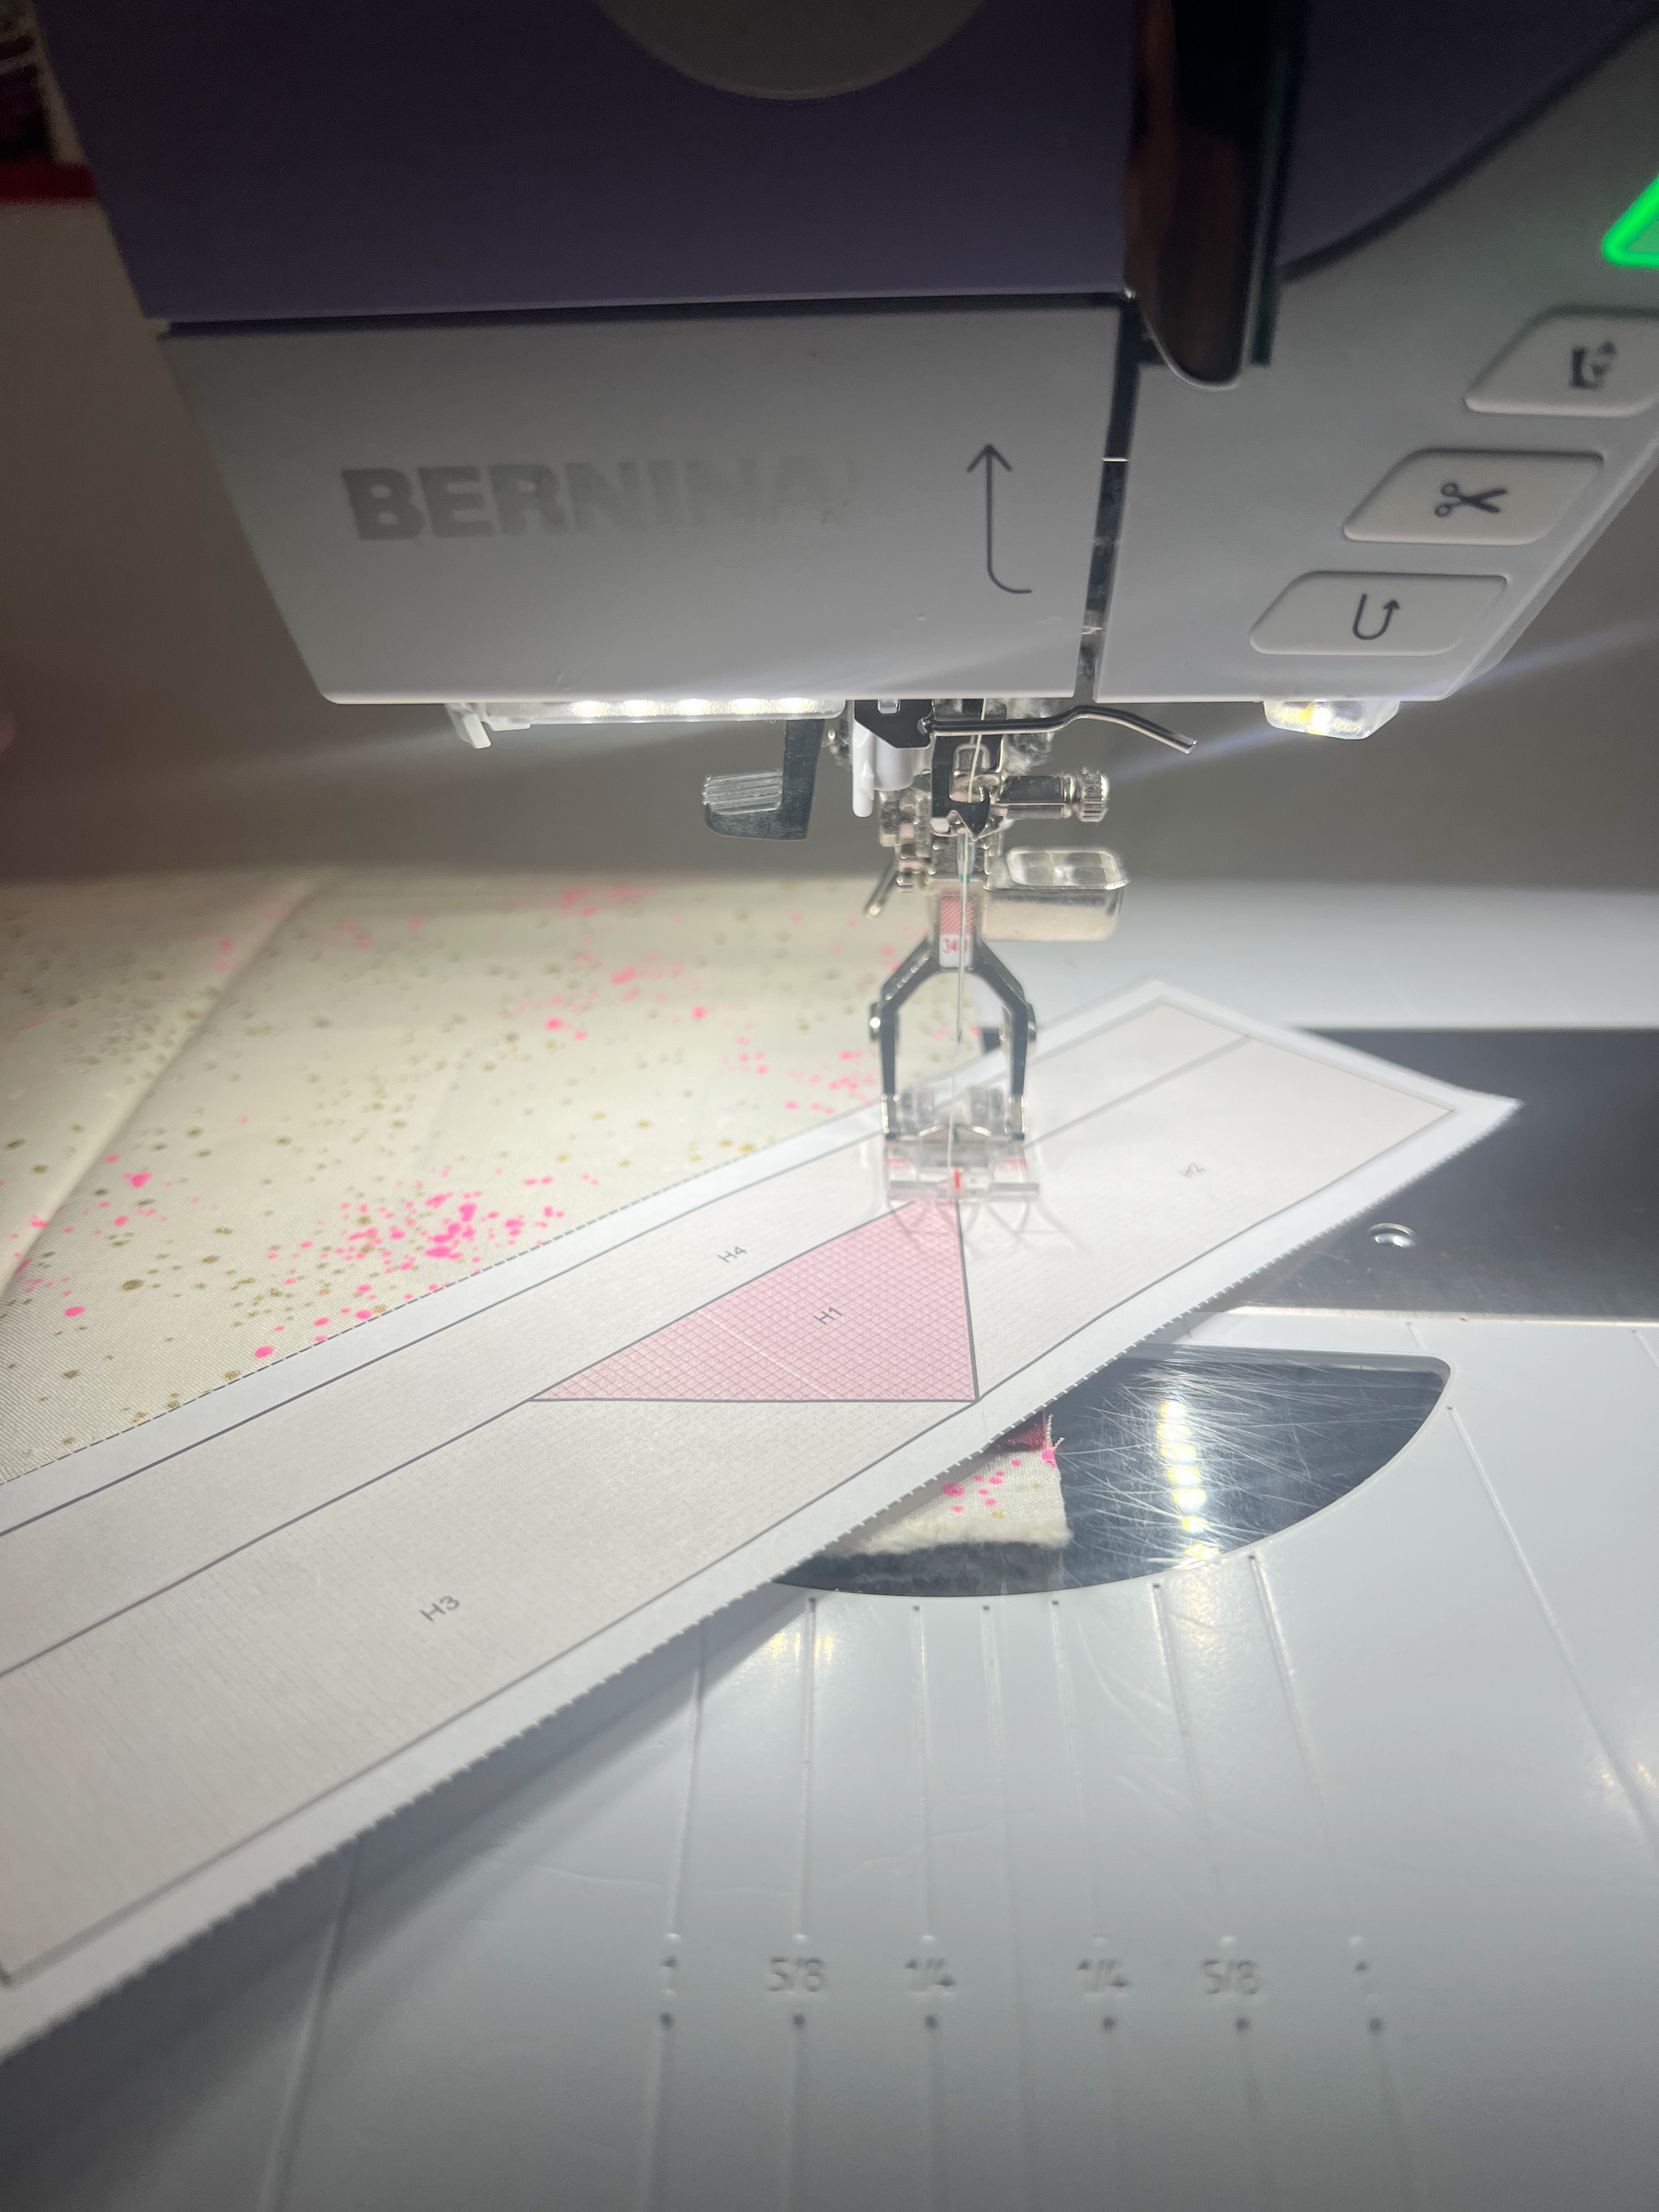
4. Set your sewing machine to a short stitch length. I like to use 1.2 mm to 1.5 mm. The small stitch length makes it easier to remove the paper once you’ve finished sewing. I also use the BERNINA Reverse-Pattern Foot with Clear Sole #34, which allows me to sew very precisely along the lines.
5. I start from top to bottom. The order doesn’t really matter, since you’ll need to sew all segments anyway. Here’s how it works:
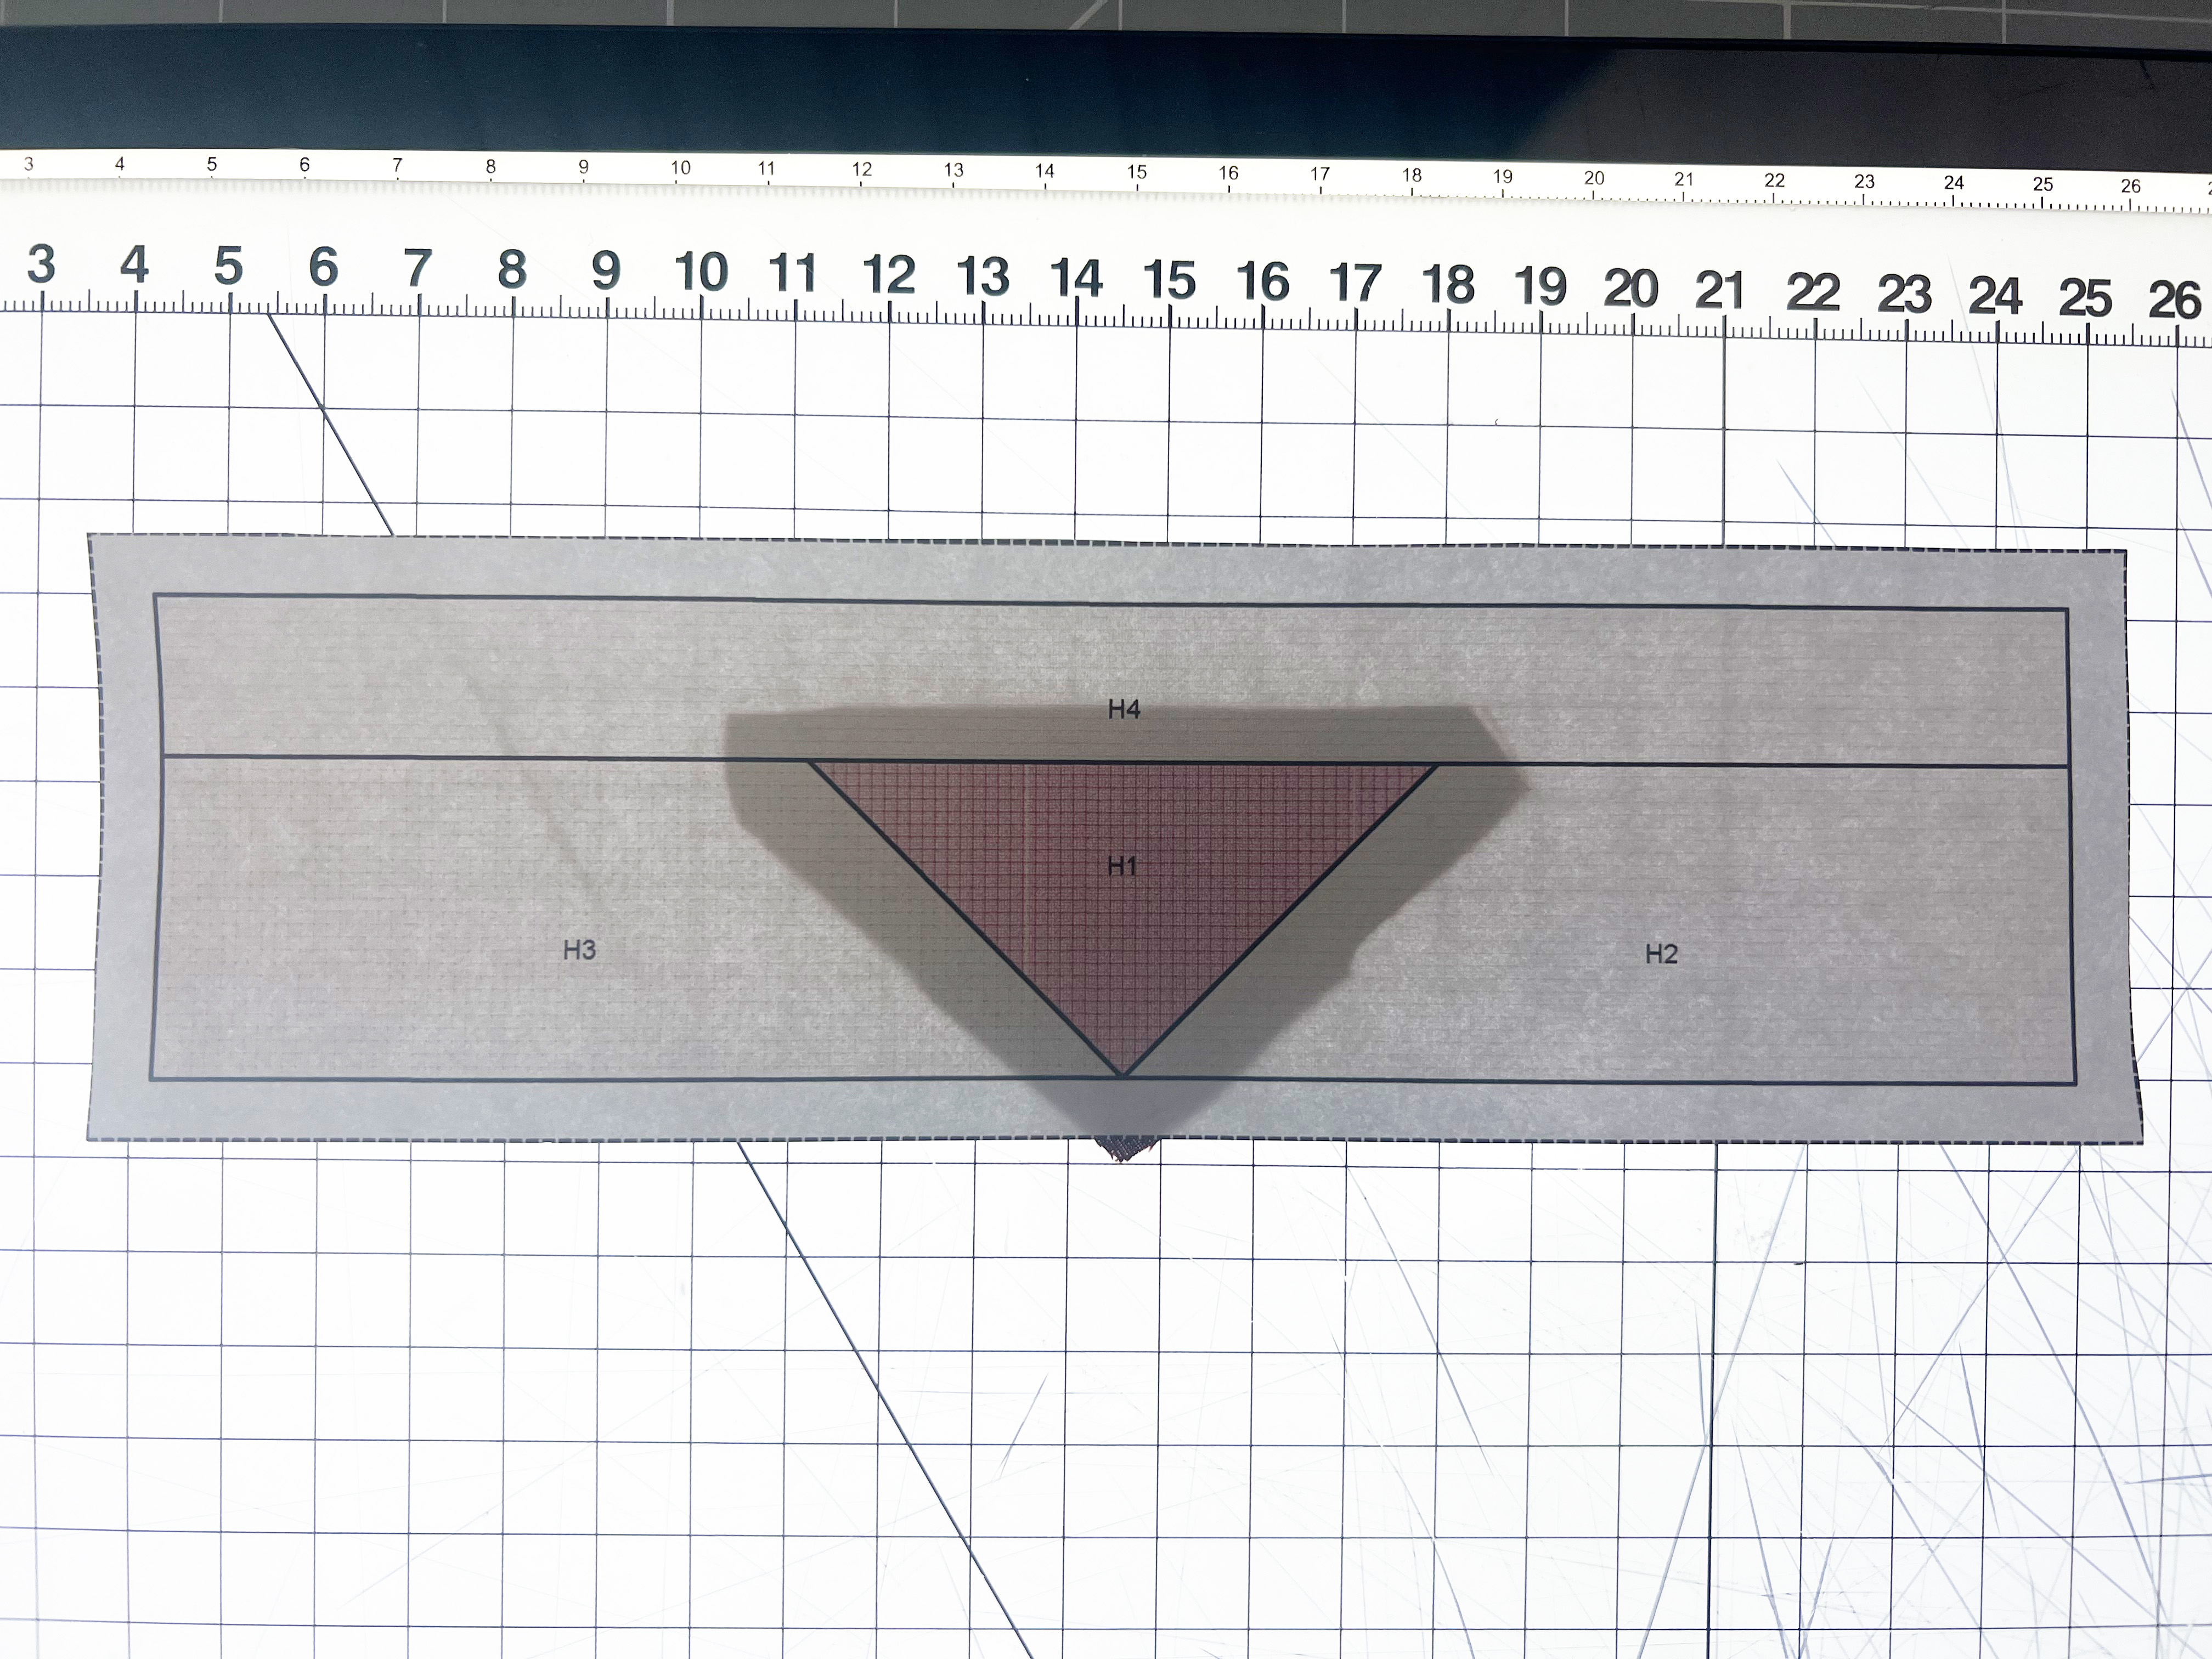
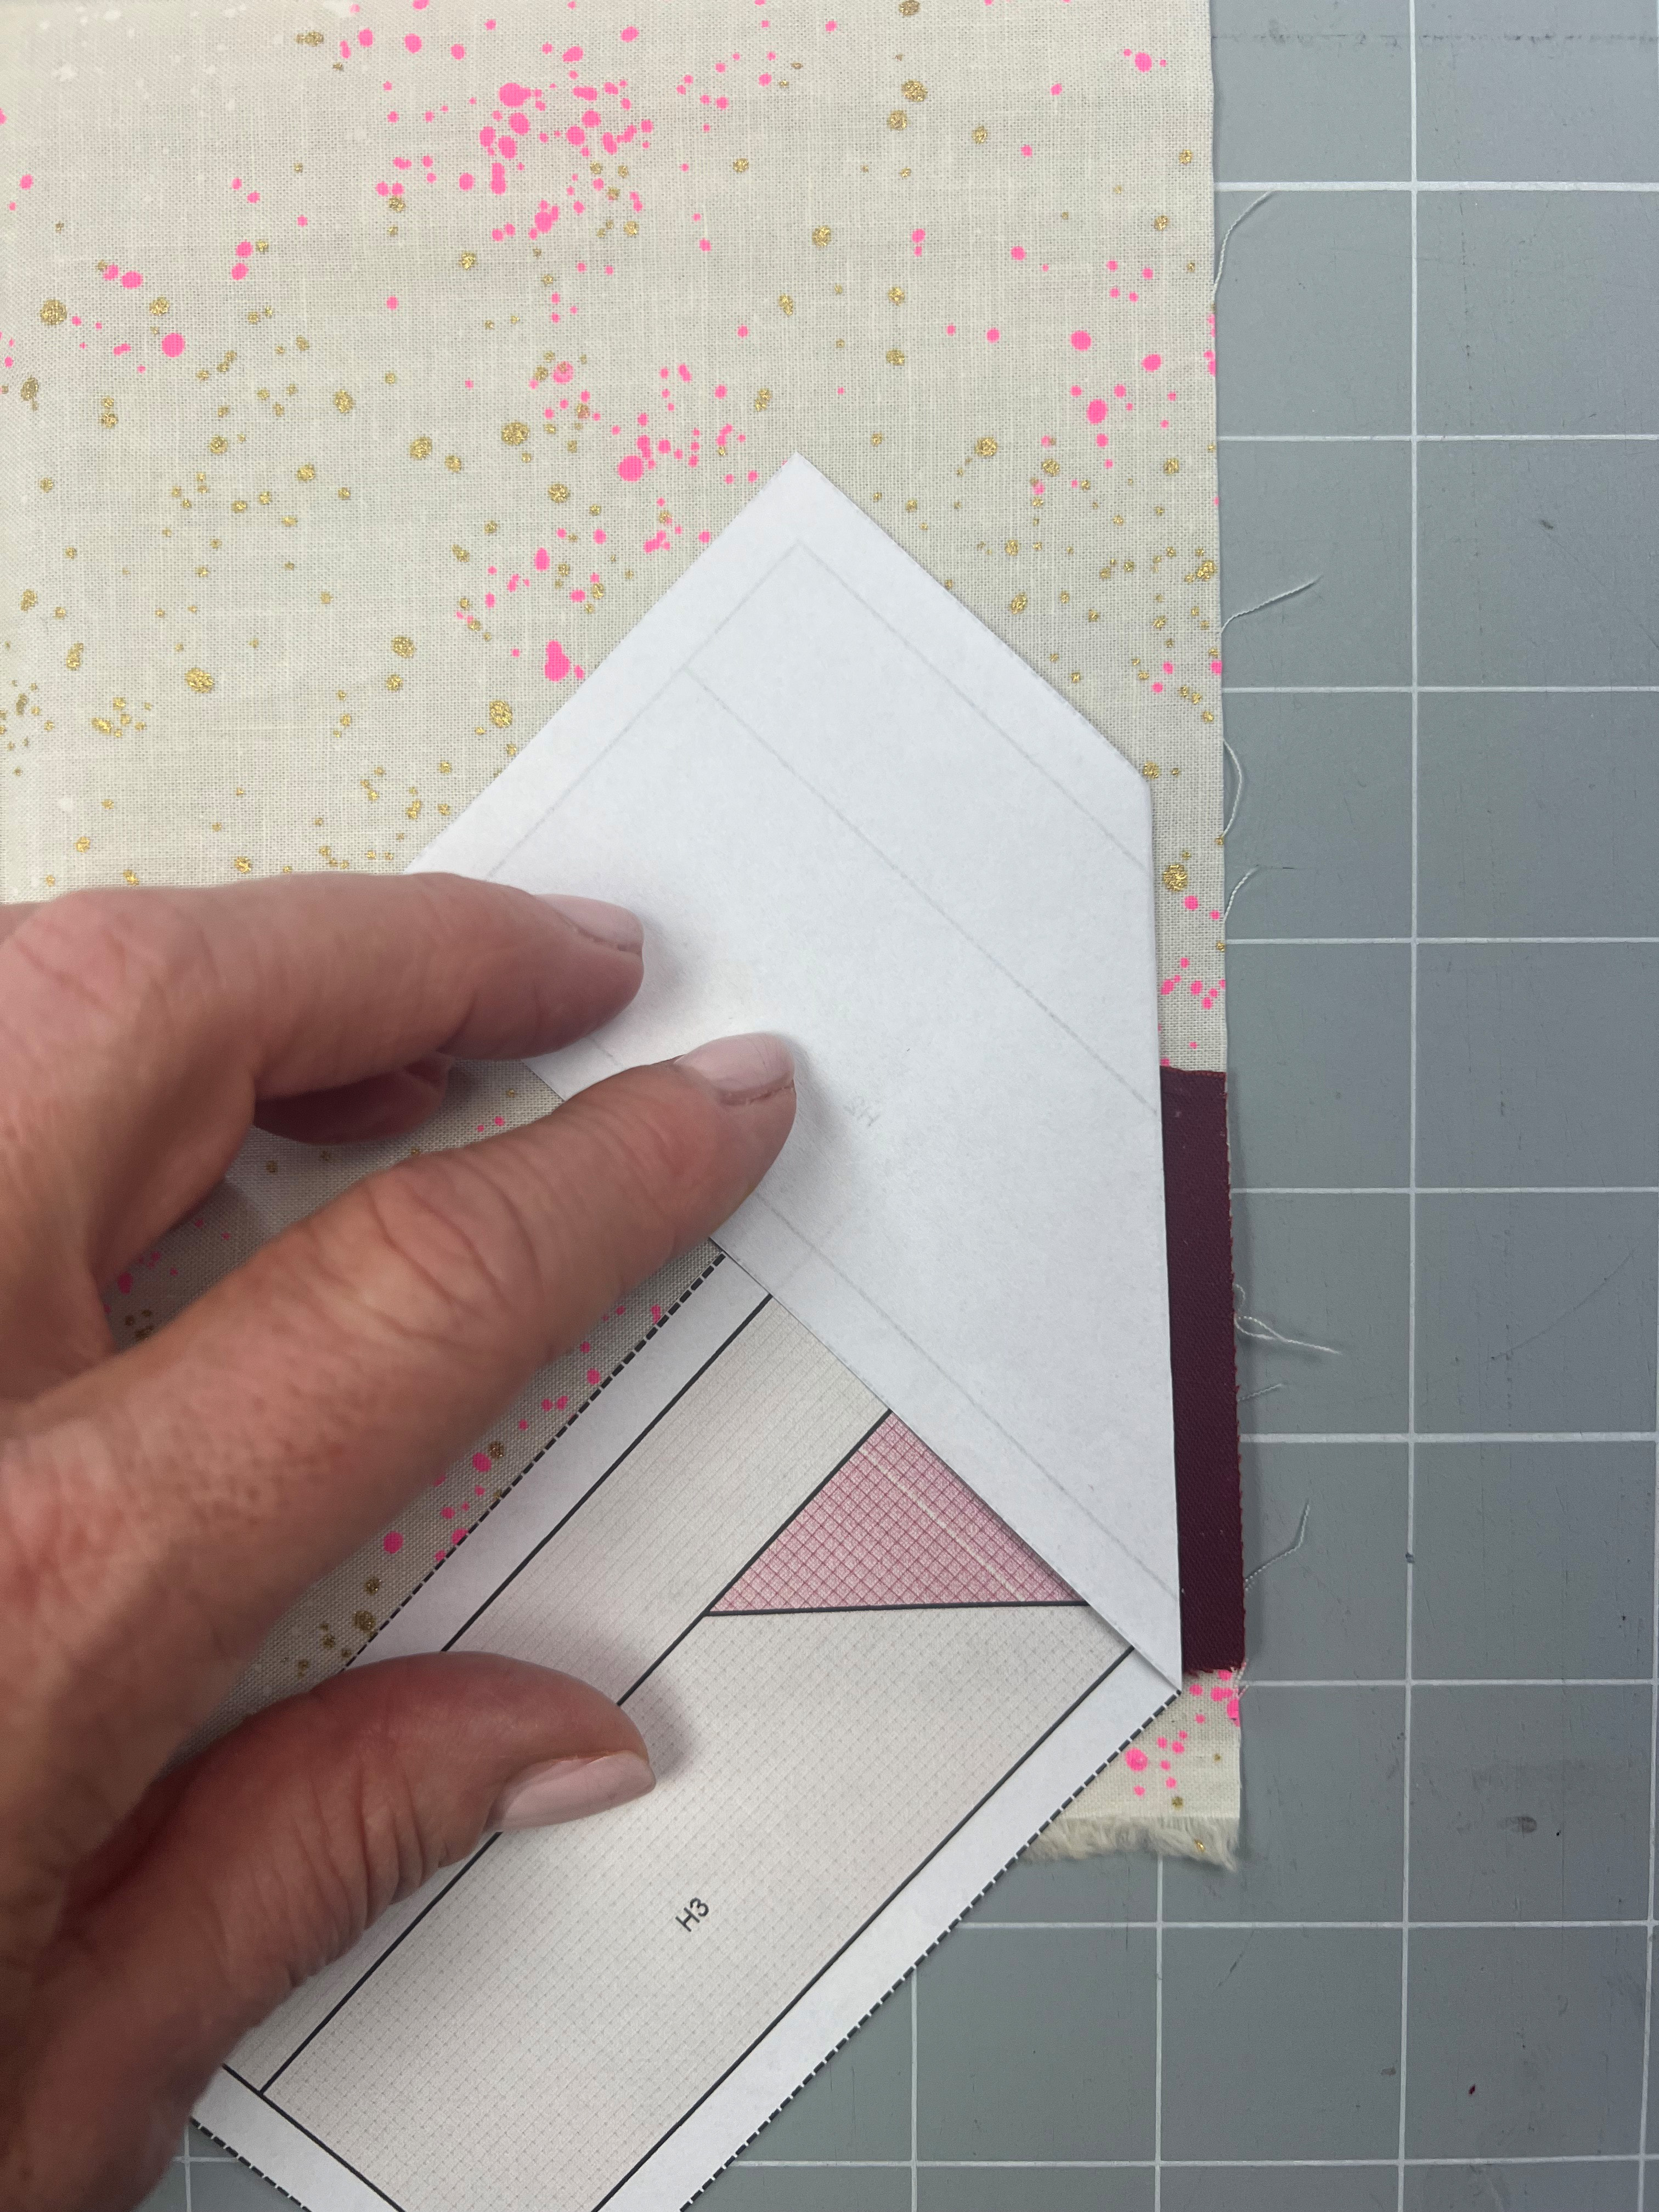
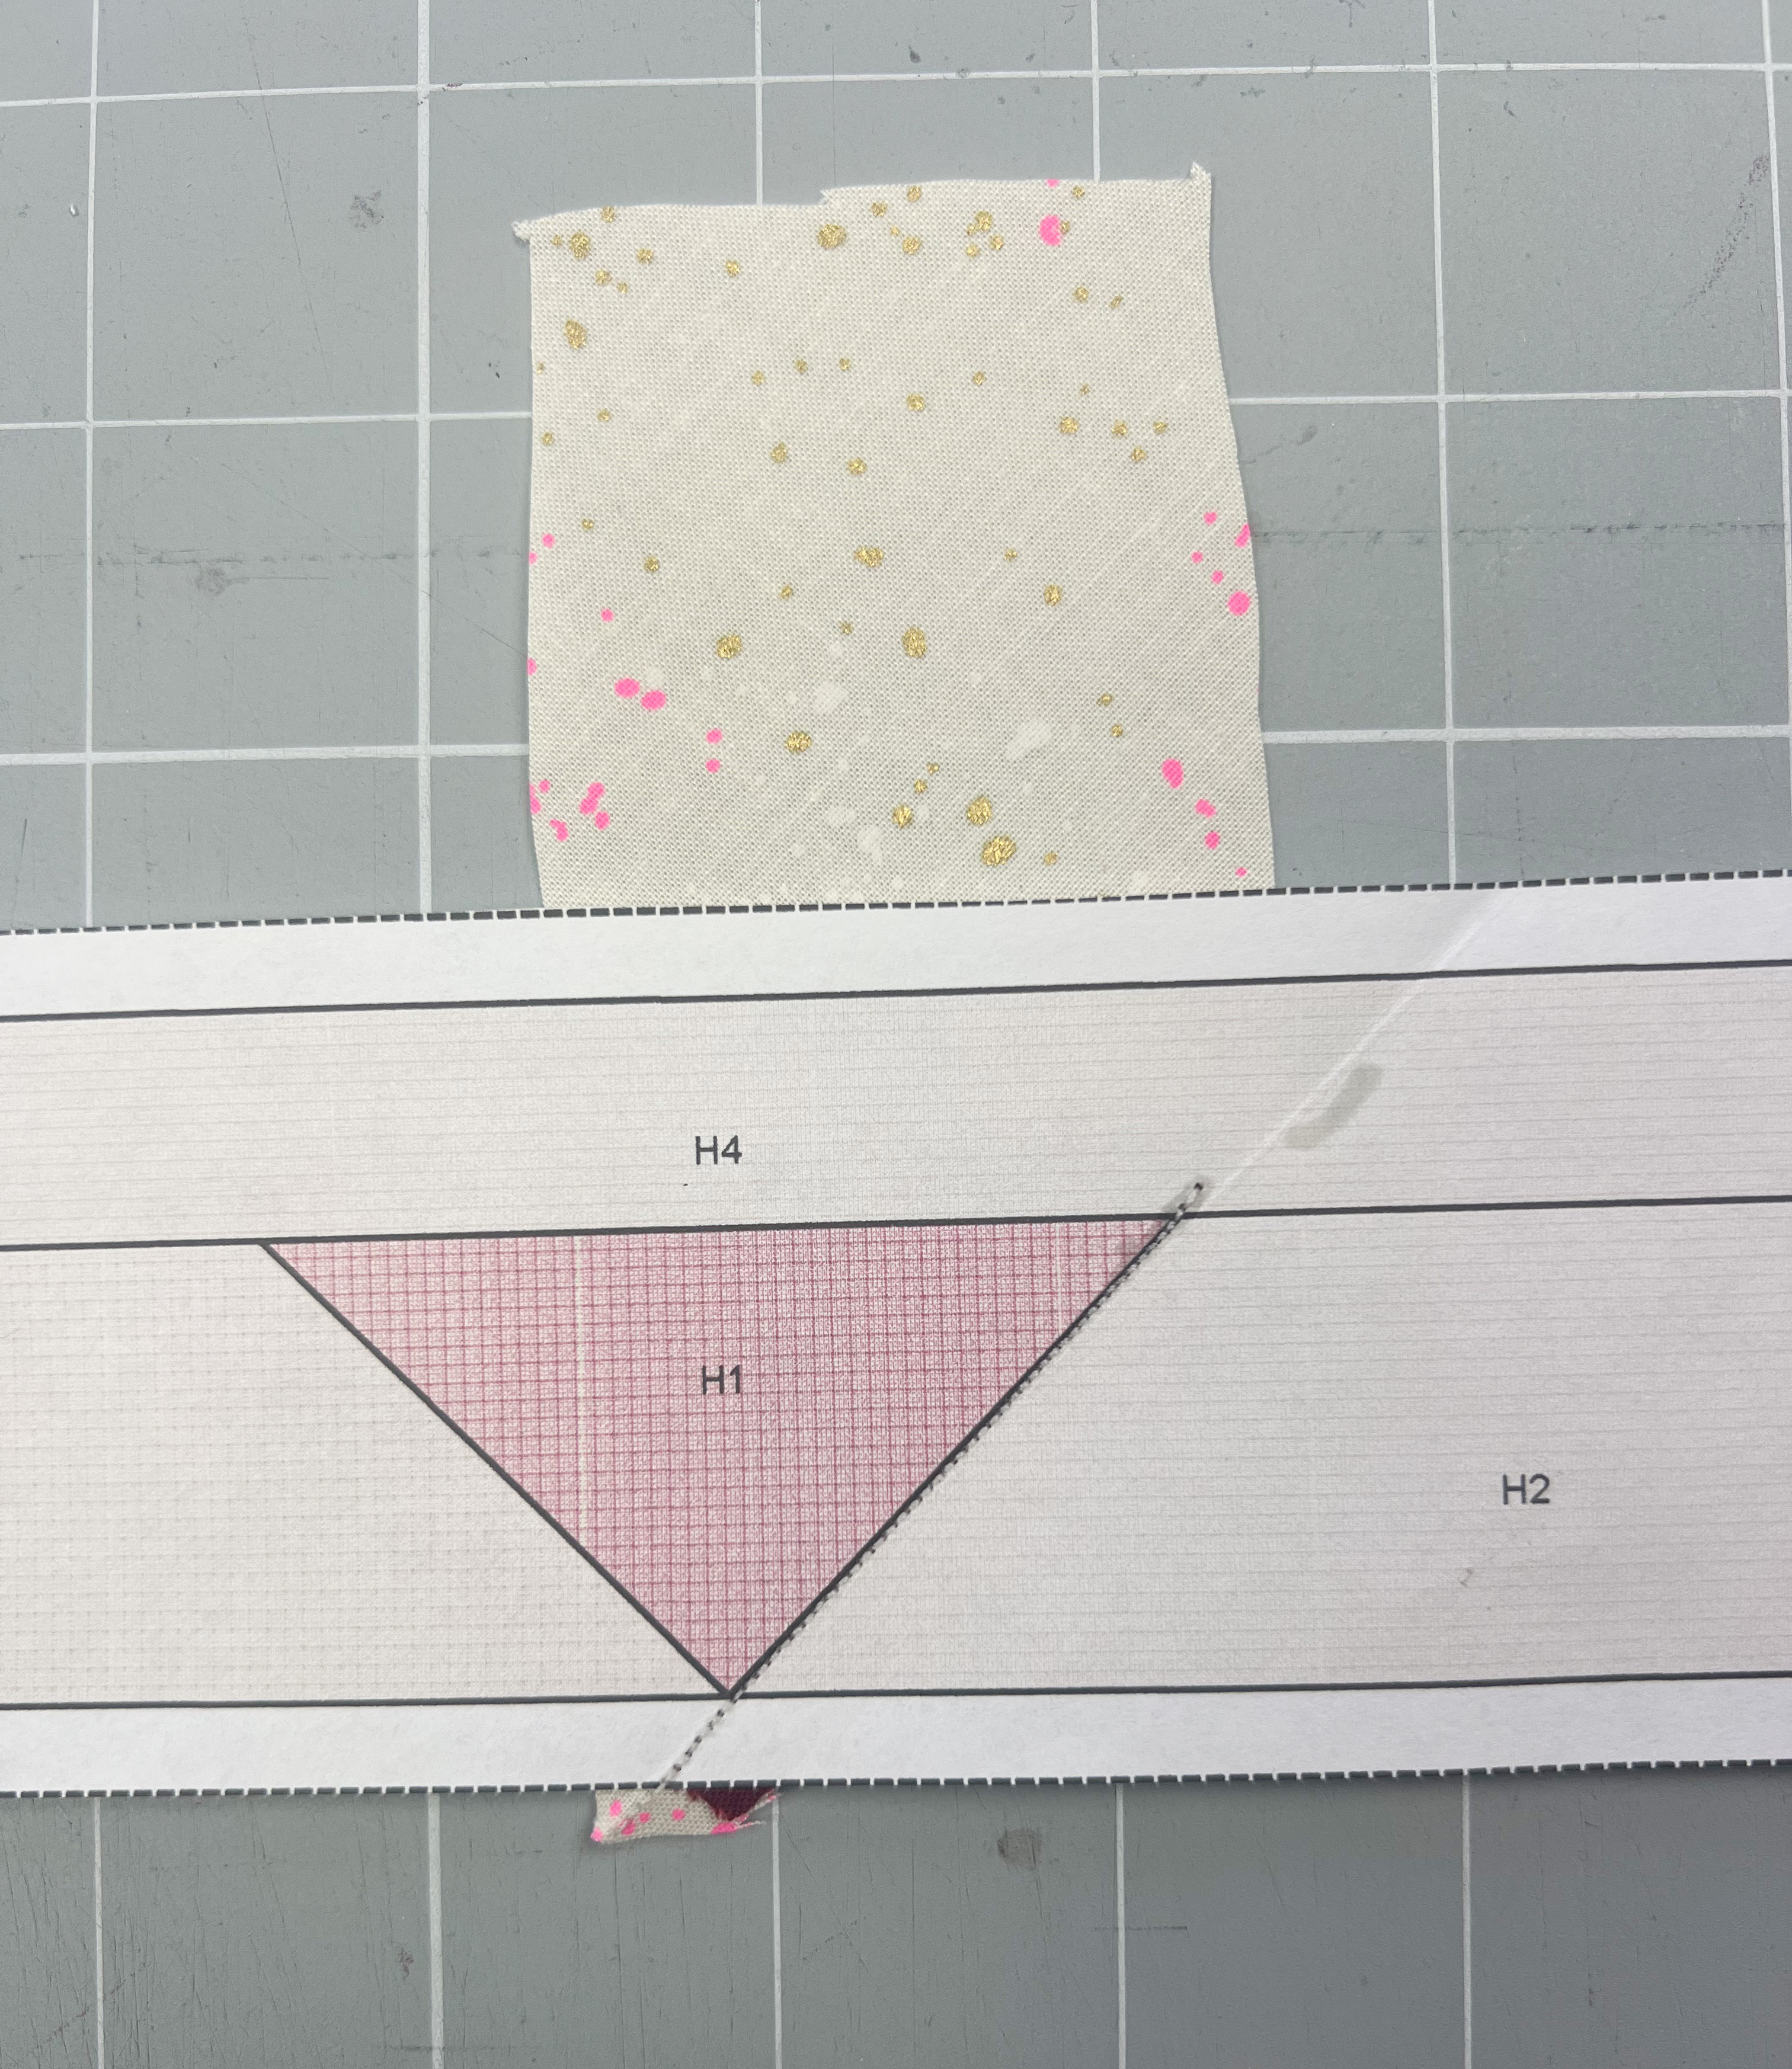
Turn the first segment (labeled with the letter H) to the wrong side, so the unprinted side is facing you. Place the fabric that will cover section 1 onto the pattern with the wrong side of the fabric facing the paper. So: wrong side of fabric against wrong side of the pattern.
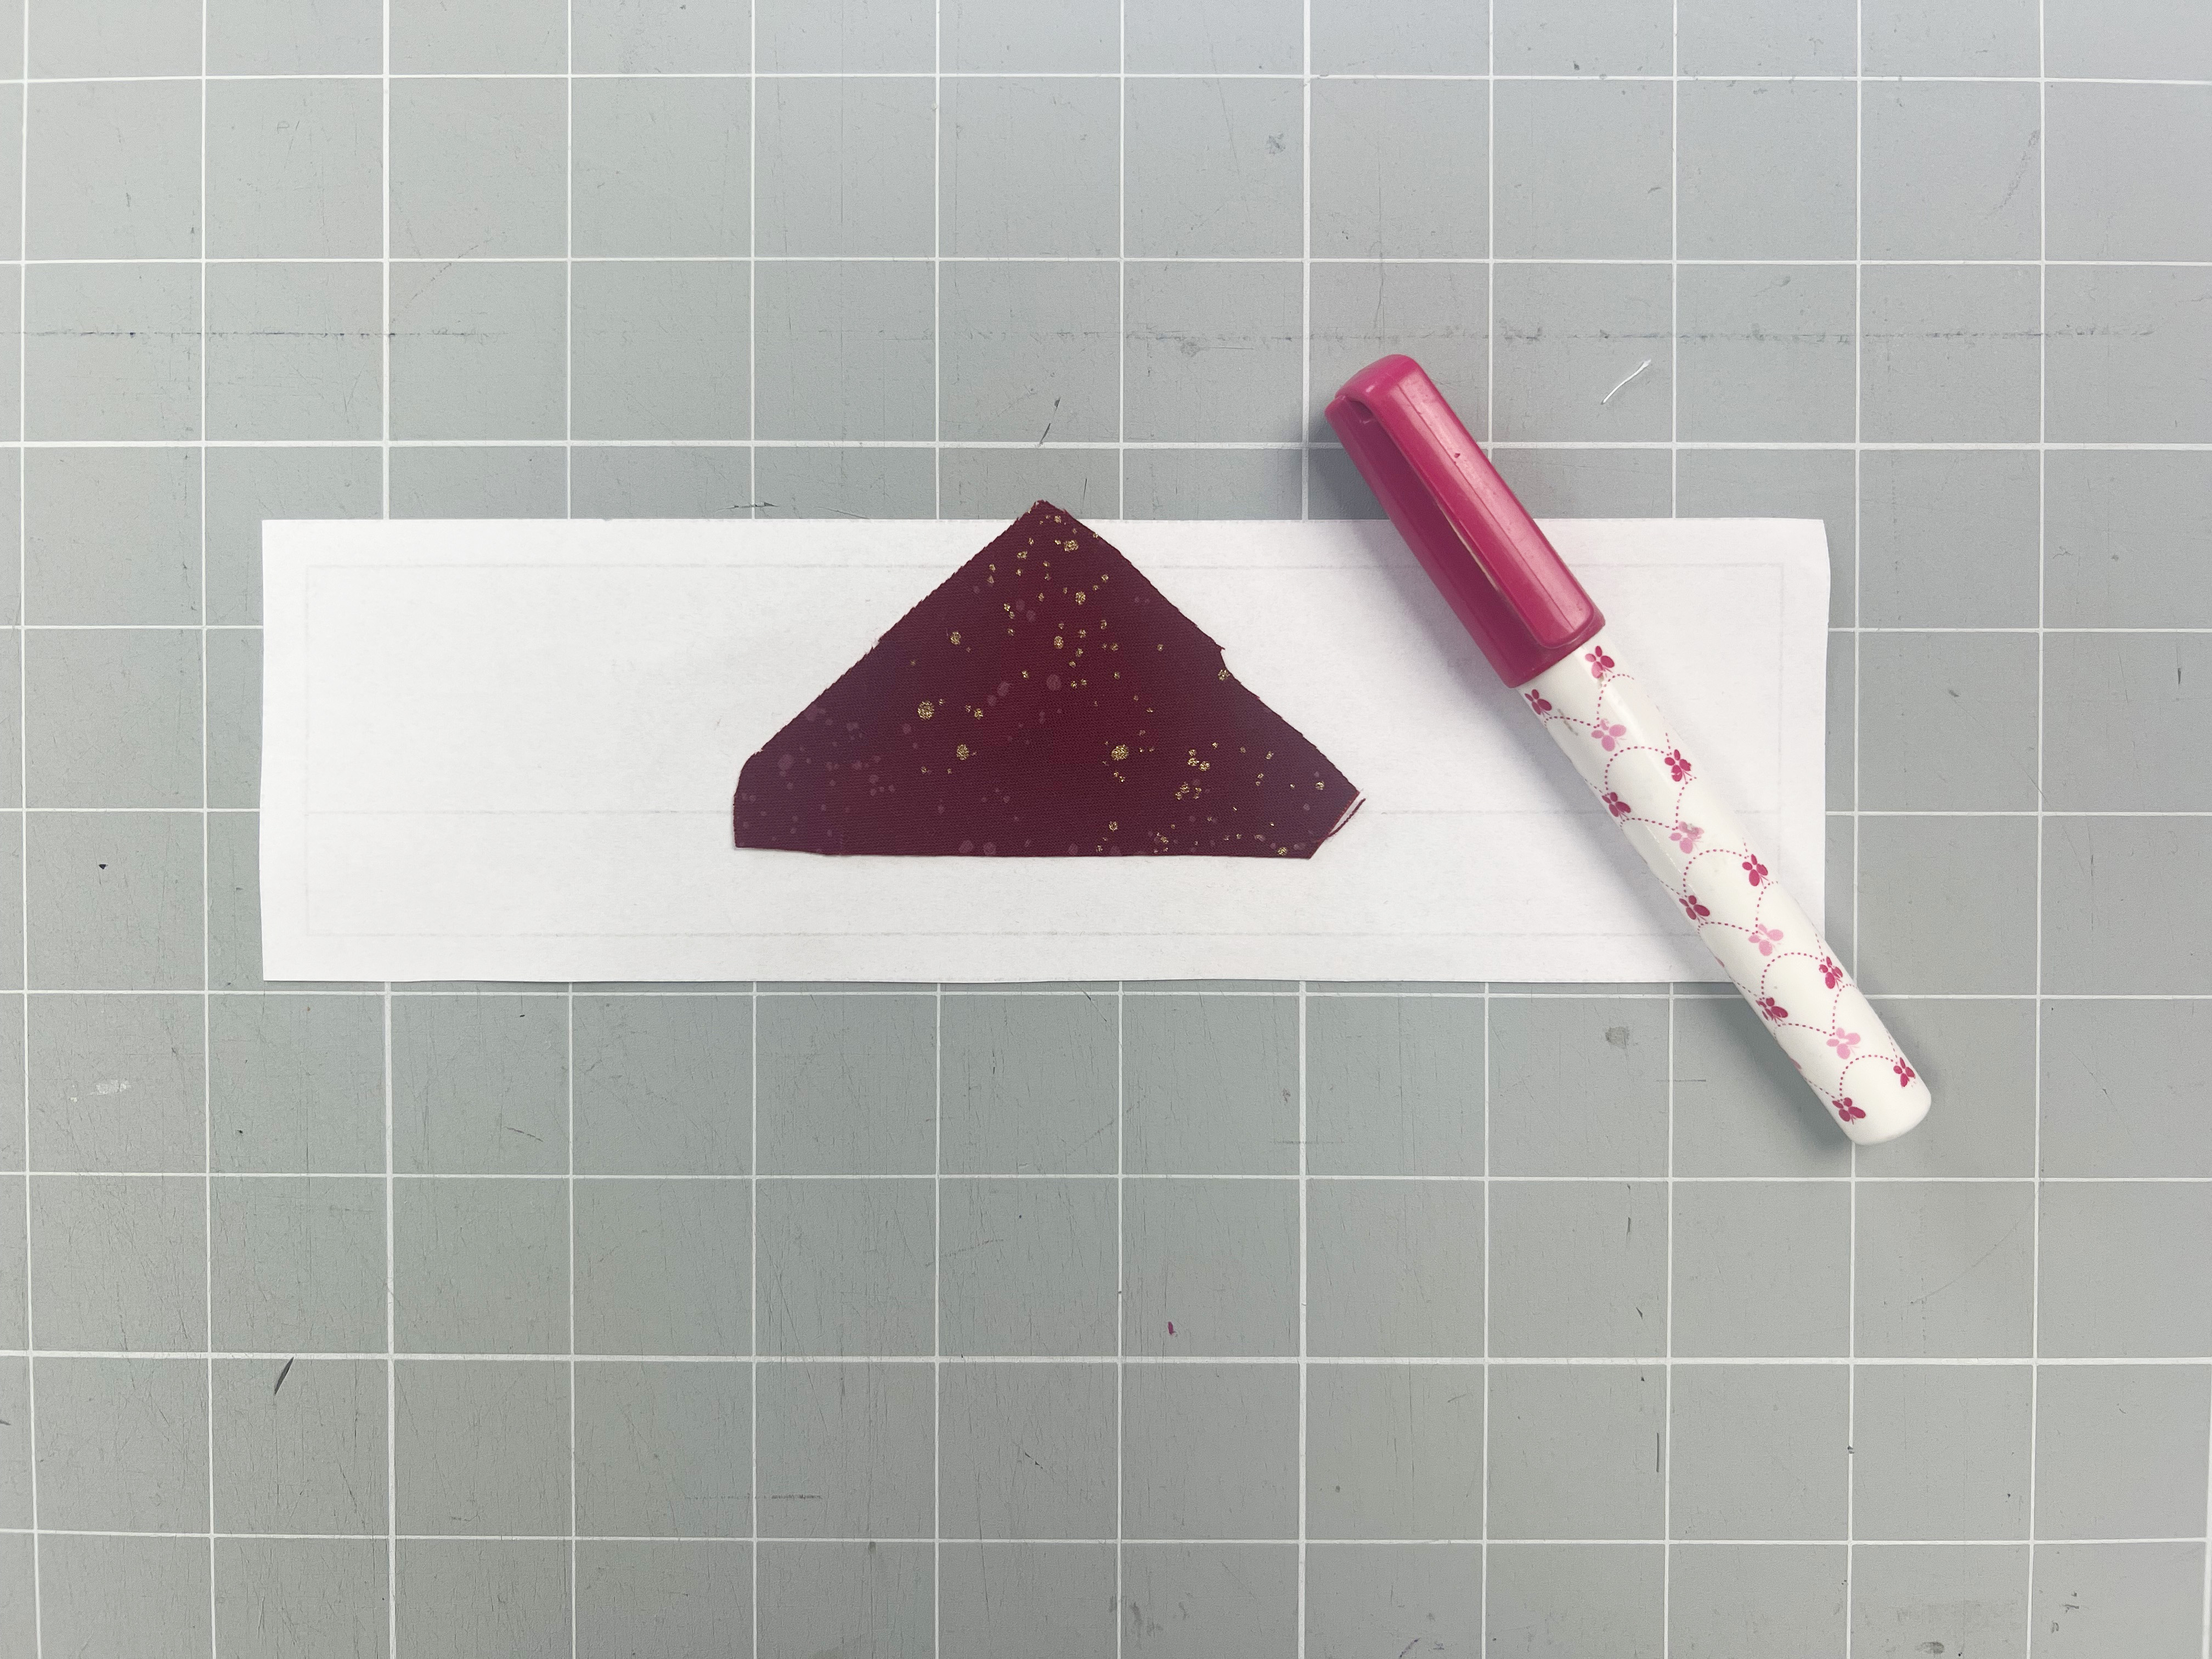
Remember: for section part number 1, it’s always wrong side of fabric against wrong side of the pattern!
Make sure the fabric completely covers area 1, plus an additional ¼″ to ½″ seam allowance. At this stage, you don’t need to worry about straight edges or grain direction. From both sides, it should look like in the photos.
Now secure this piece of fabric with a pin, or, like me, use a fabric glue stick. Pins always create a small bump, which I personally don’t like at all.
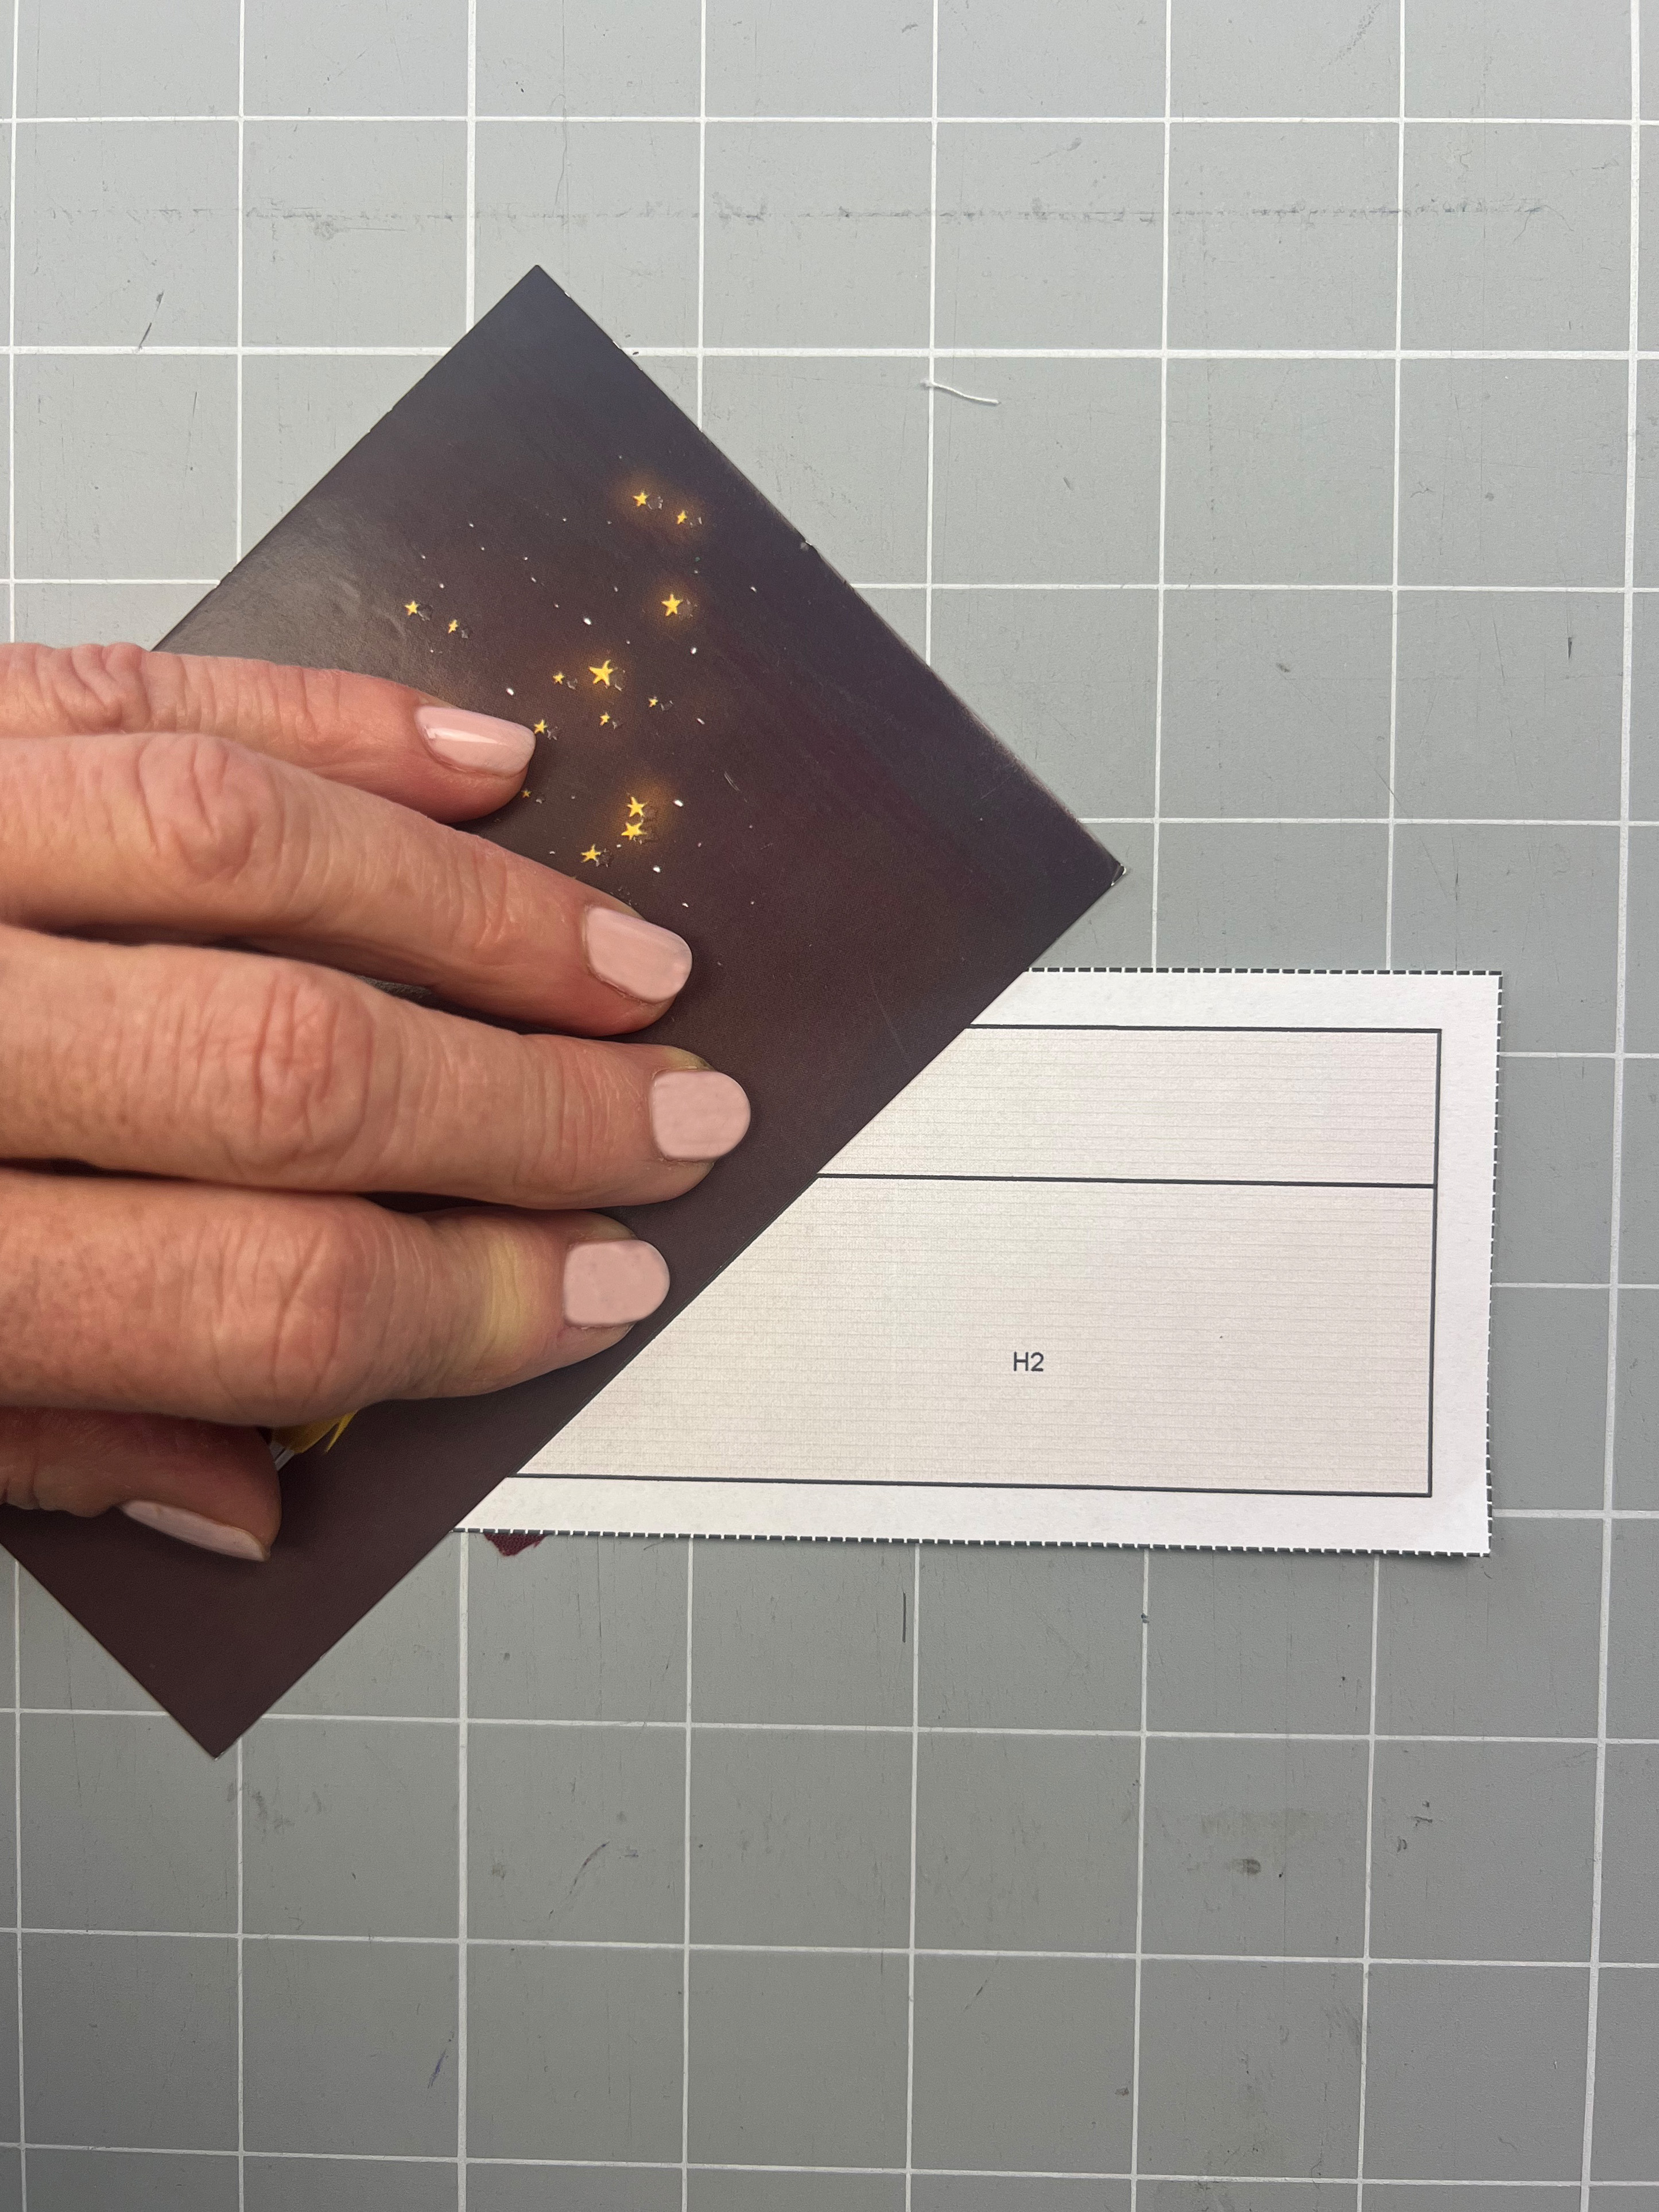
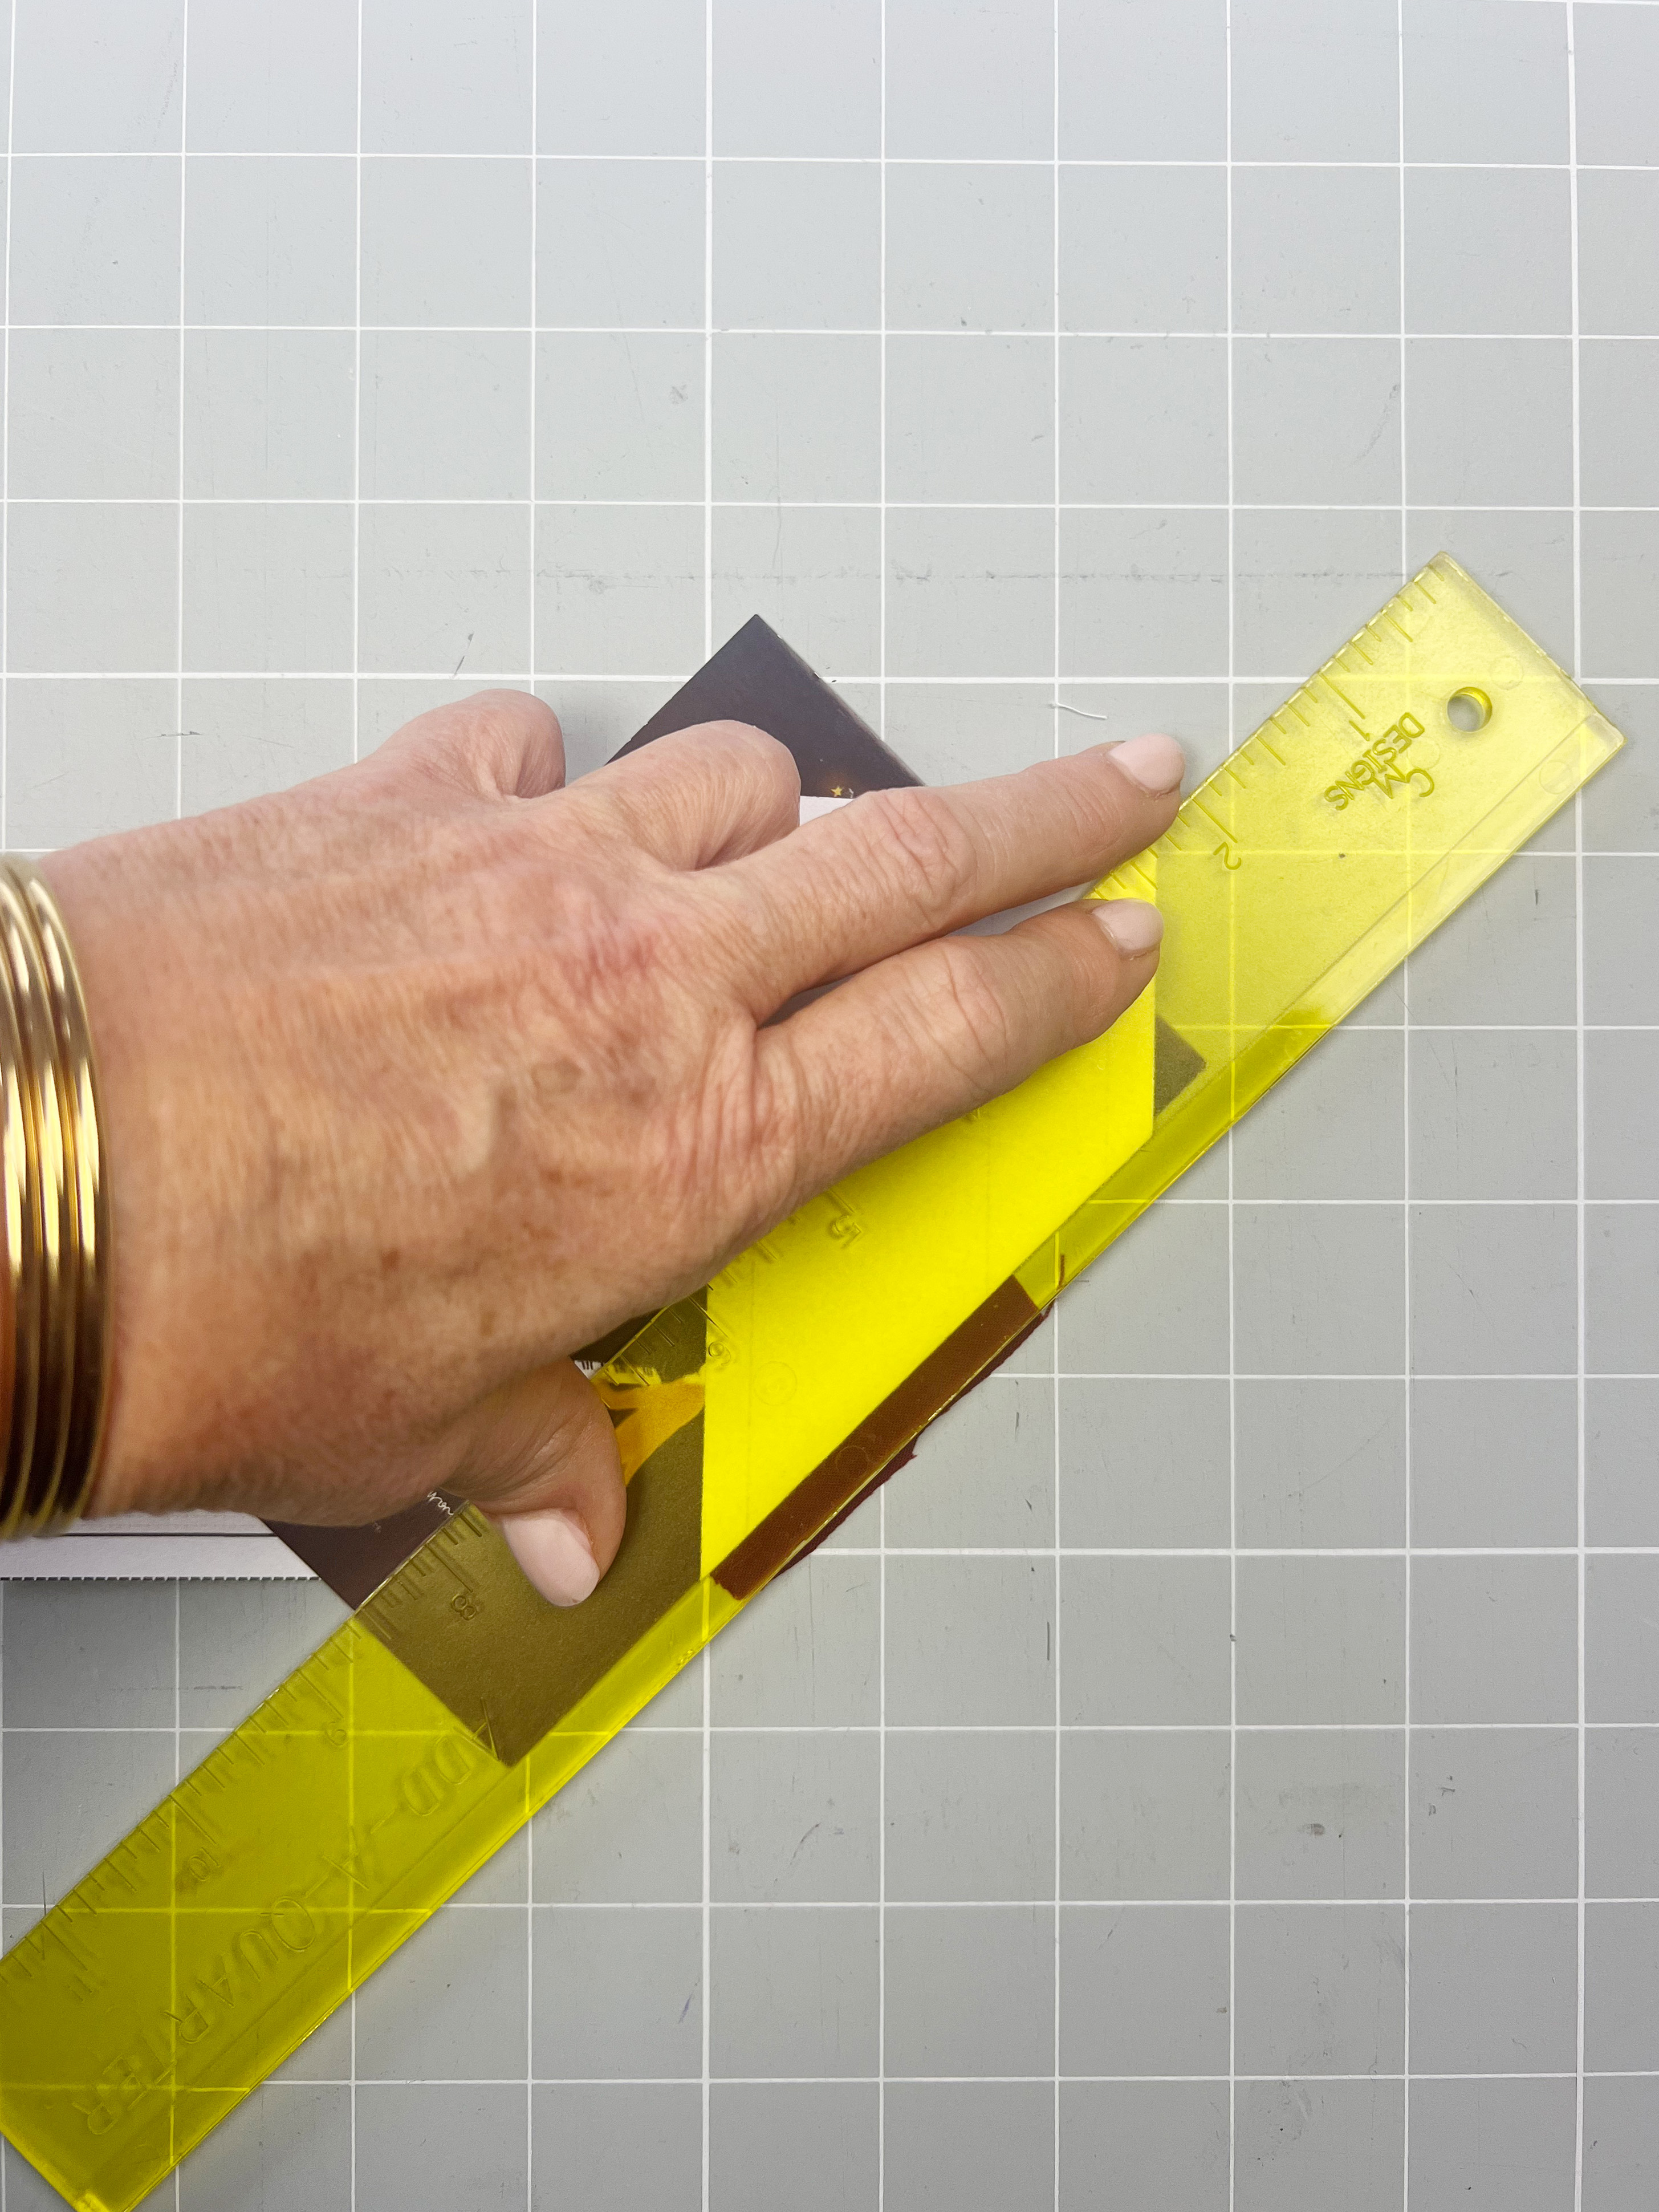
6. Turn the segment so the printed side is facing you. Fold the pattern along the line between sections 1 and 2. A postcard works especially well for this, as it helps you create a nice, crisp fold.
The line between sections 1 and 2 is also the first line you’ll be sewing.

Place the fabric for section 2 right sides together with the first fabric, aligning the edges of the seam allowances precisely:
9. Now sew exactly along the line between sections 1 and 2. It’s perfectly fine if you take a few stitches before and after the line.
The transparent sole of the reverse-pattern foot #34 and the patchwork foot #97 are especially practical here. I really enjoy using both of them for FPP.
12. Sew all segments of the Desert Peaks block in this way.
I’ve created a video in which I show the steps just described:
Please watch the video. It will still help you, especially if you’re new to FPP. Many things are simply easier to understand when you see them in motion.
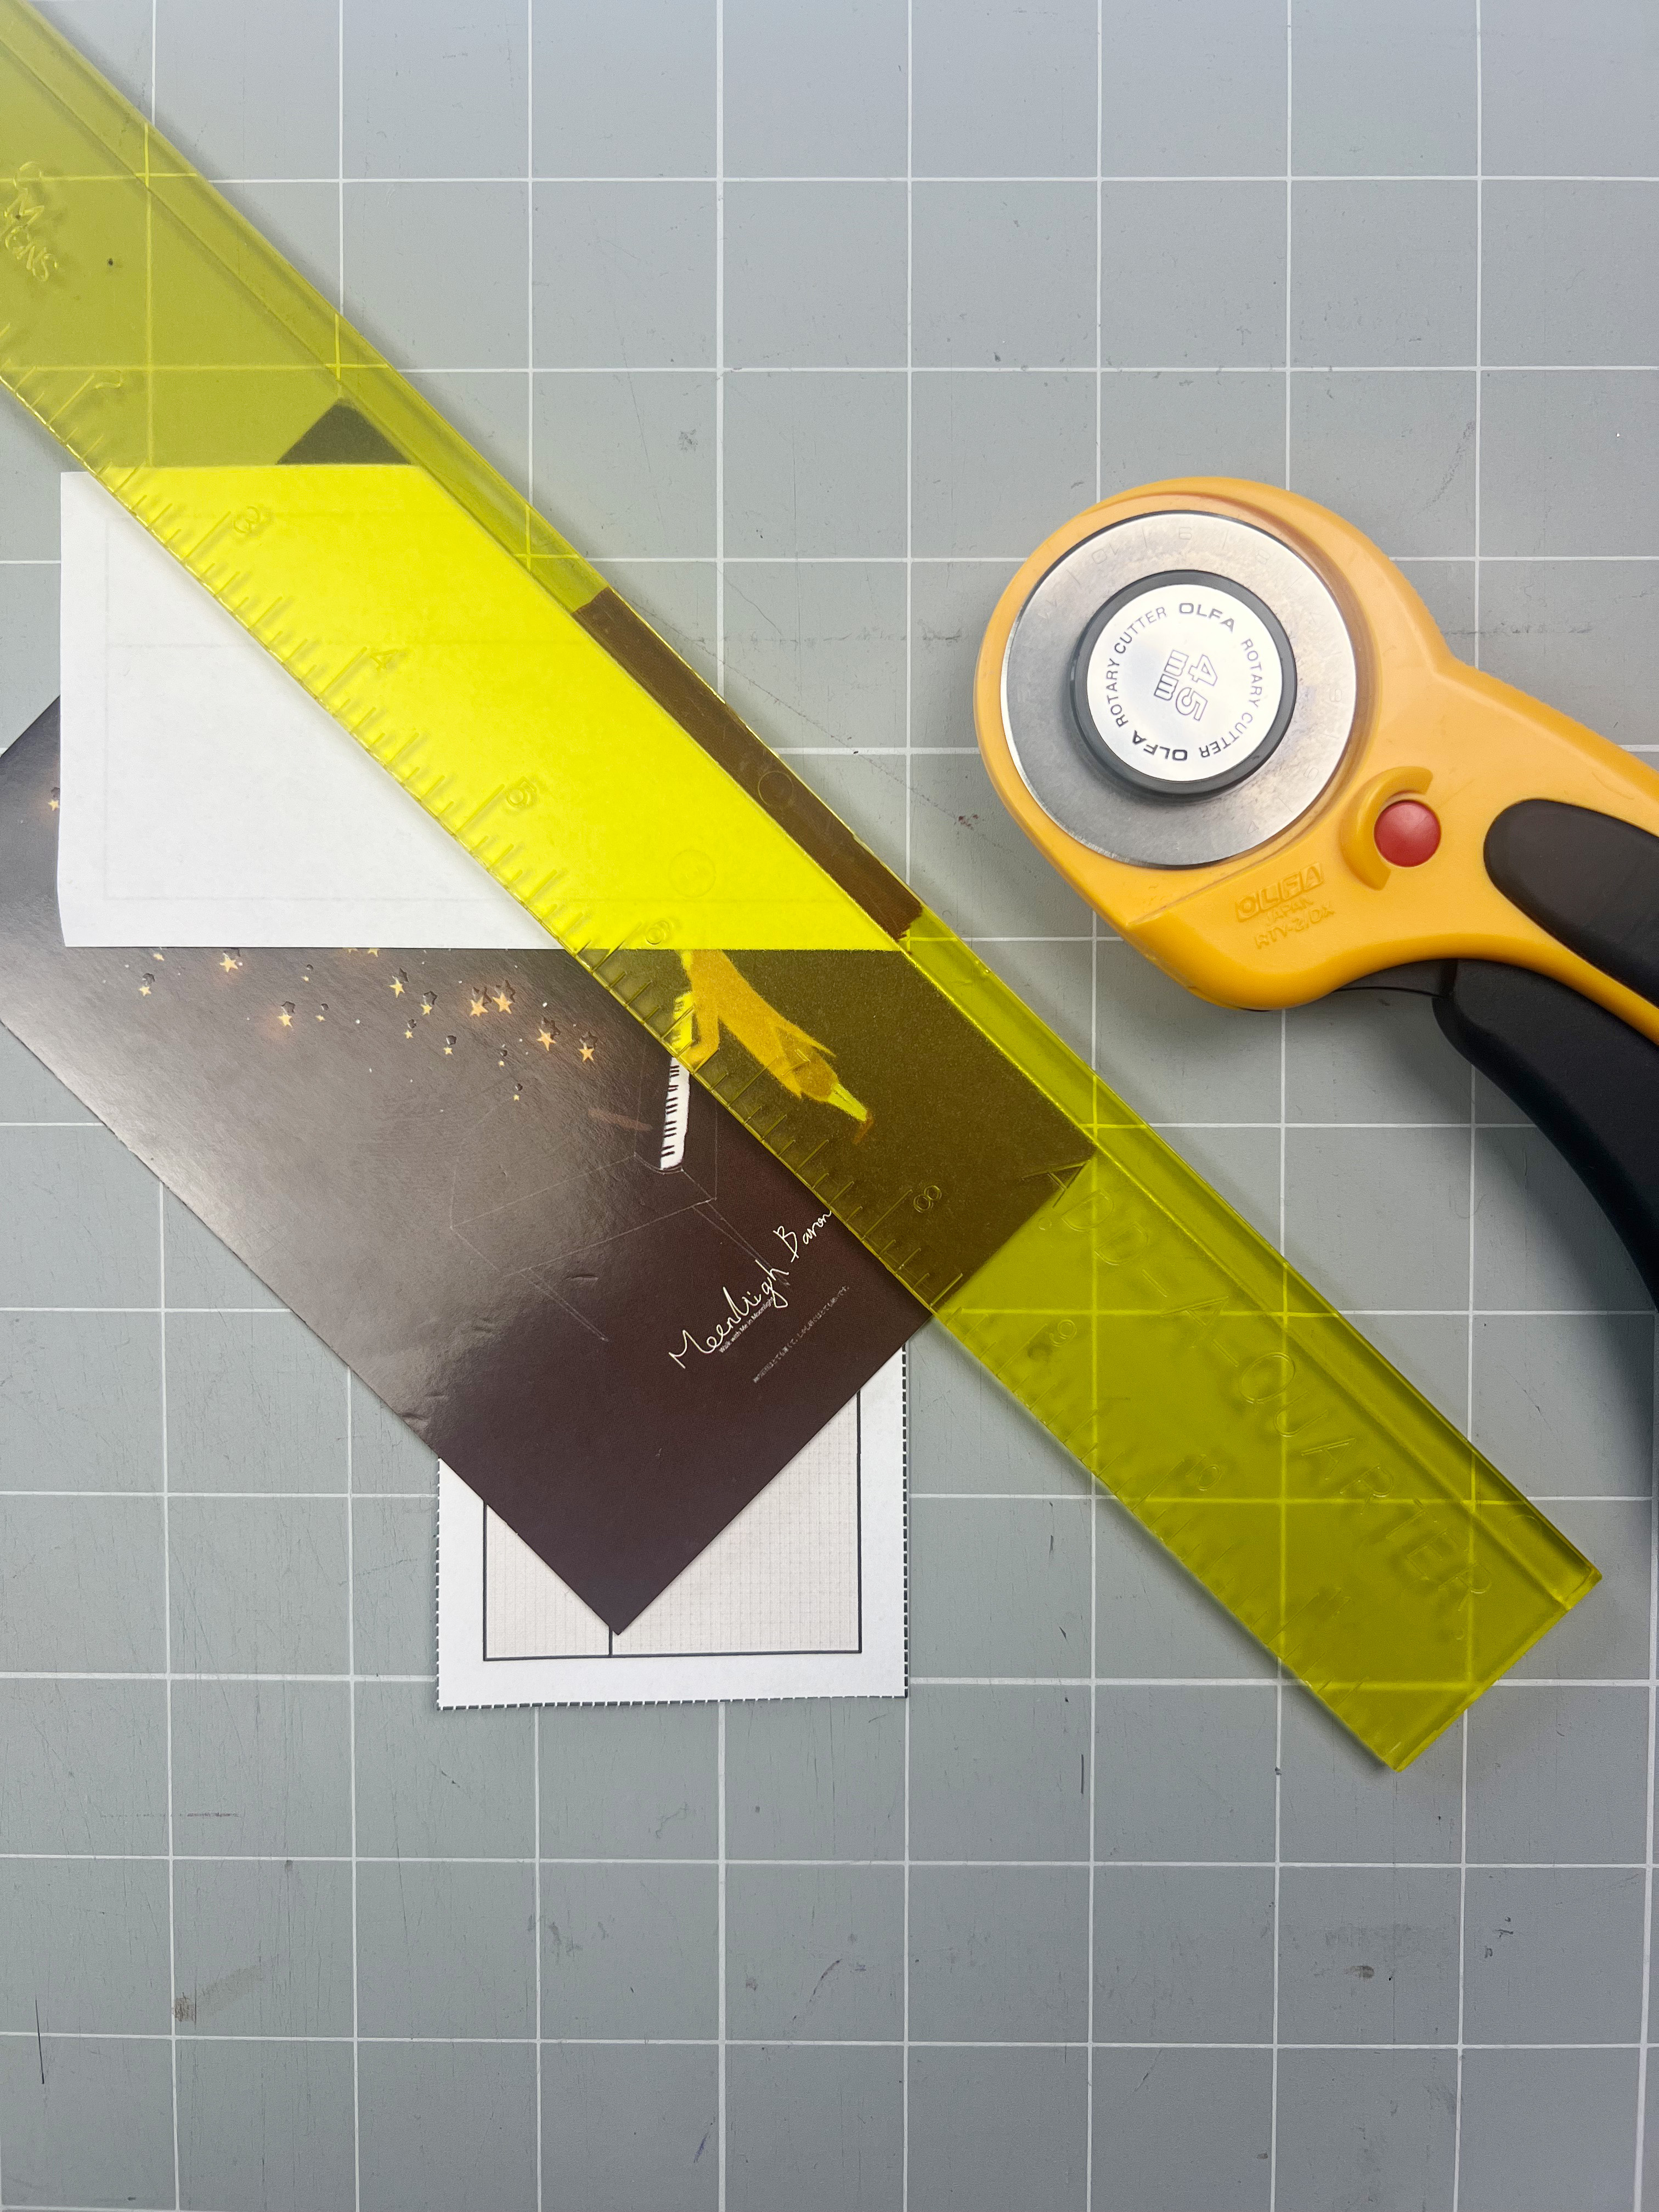
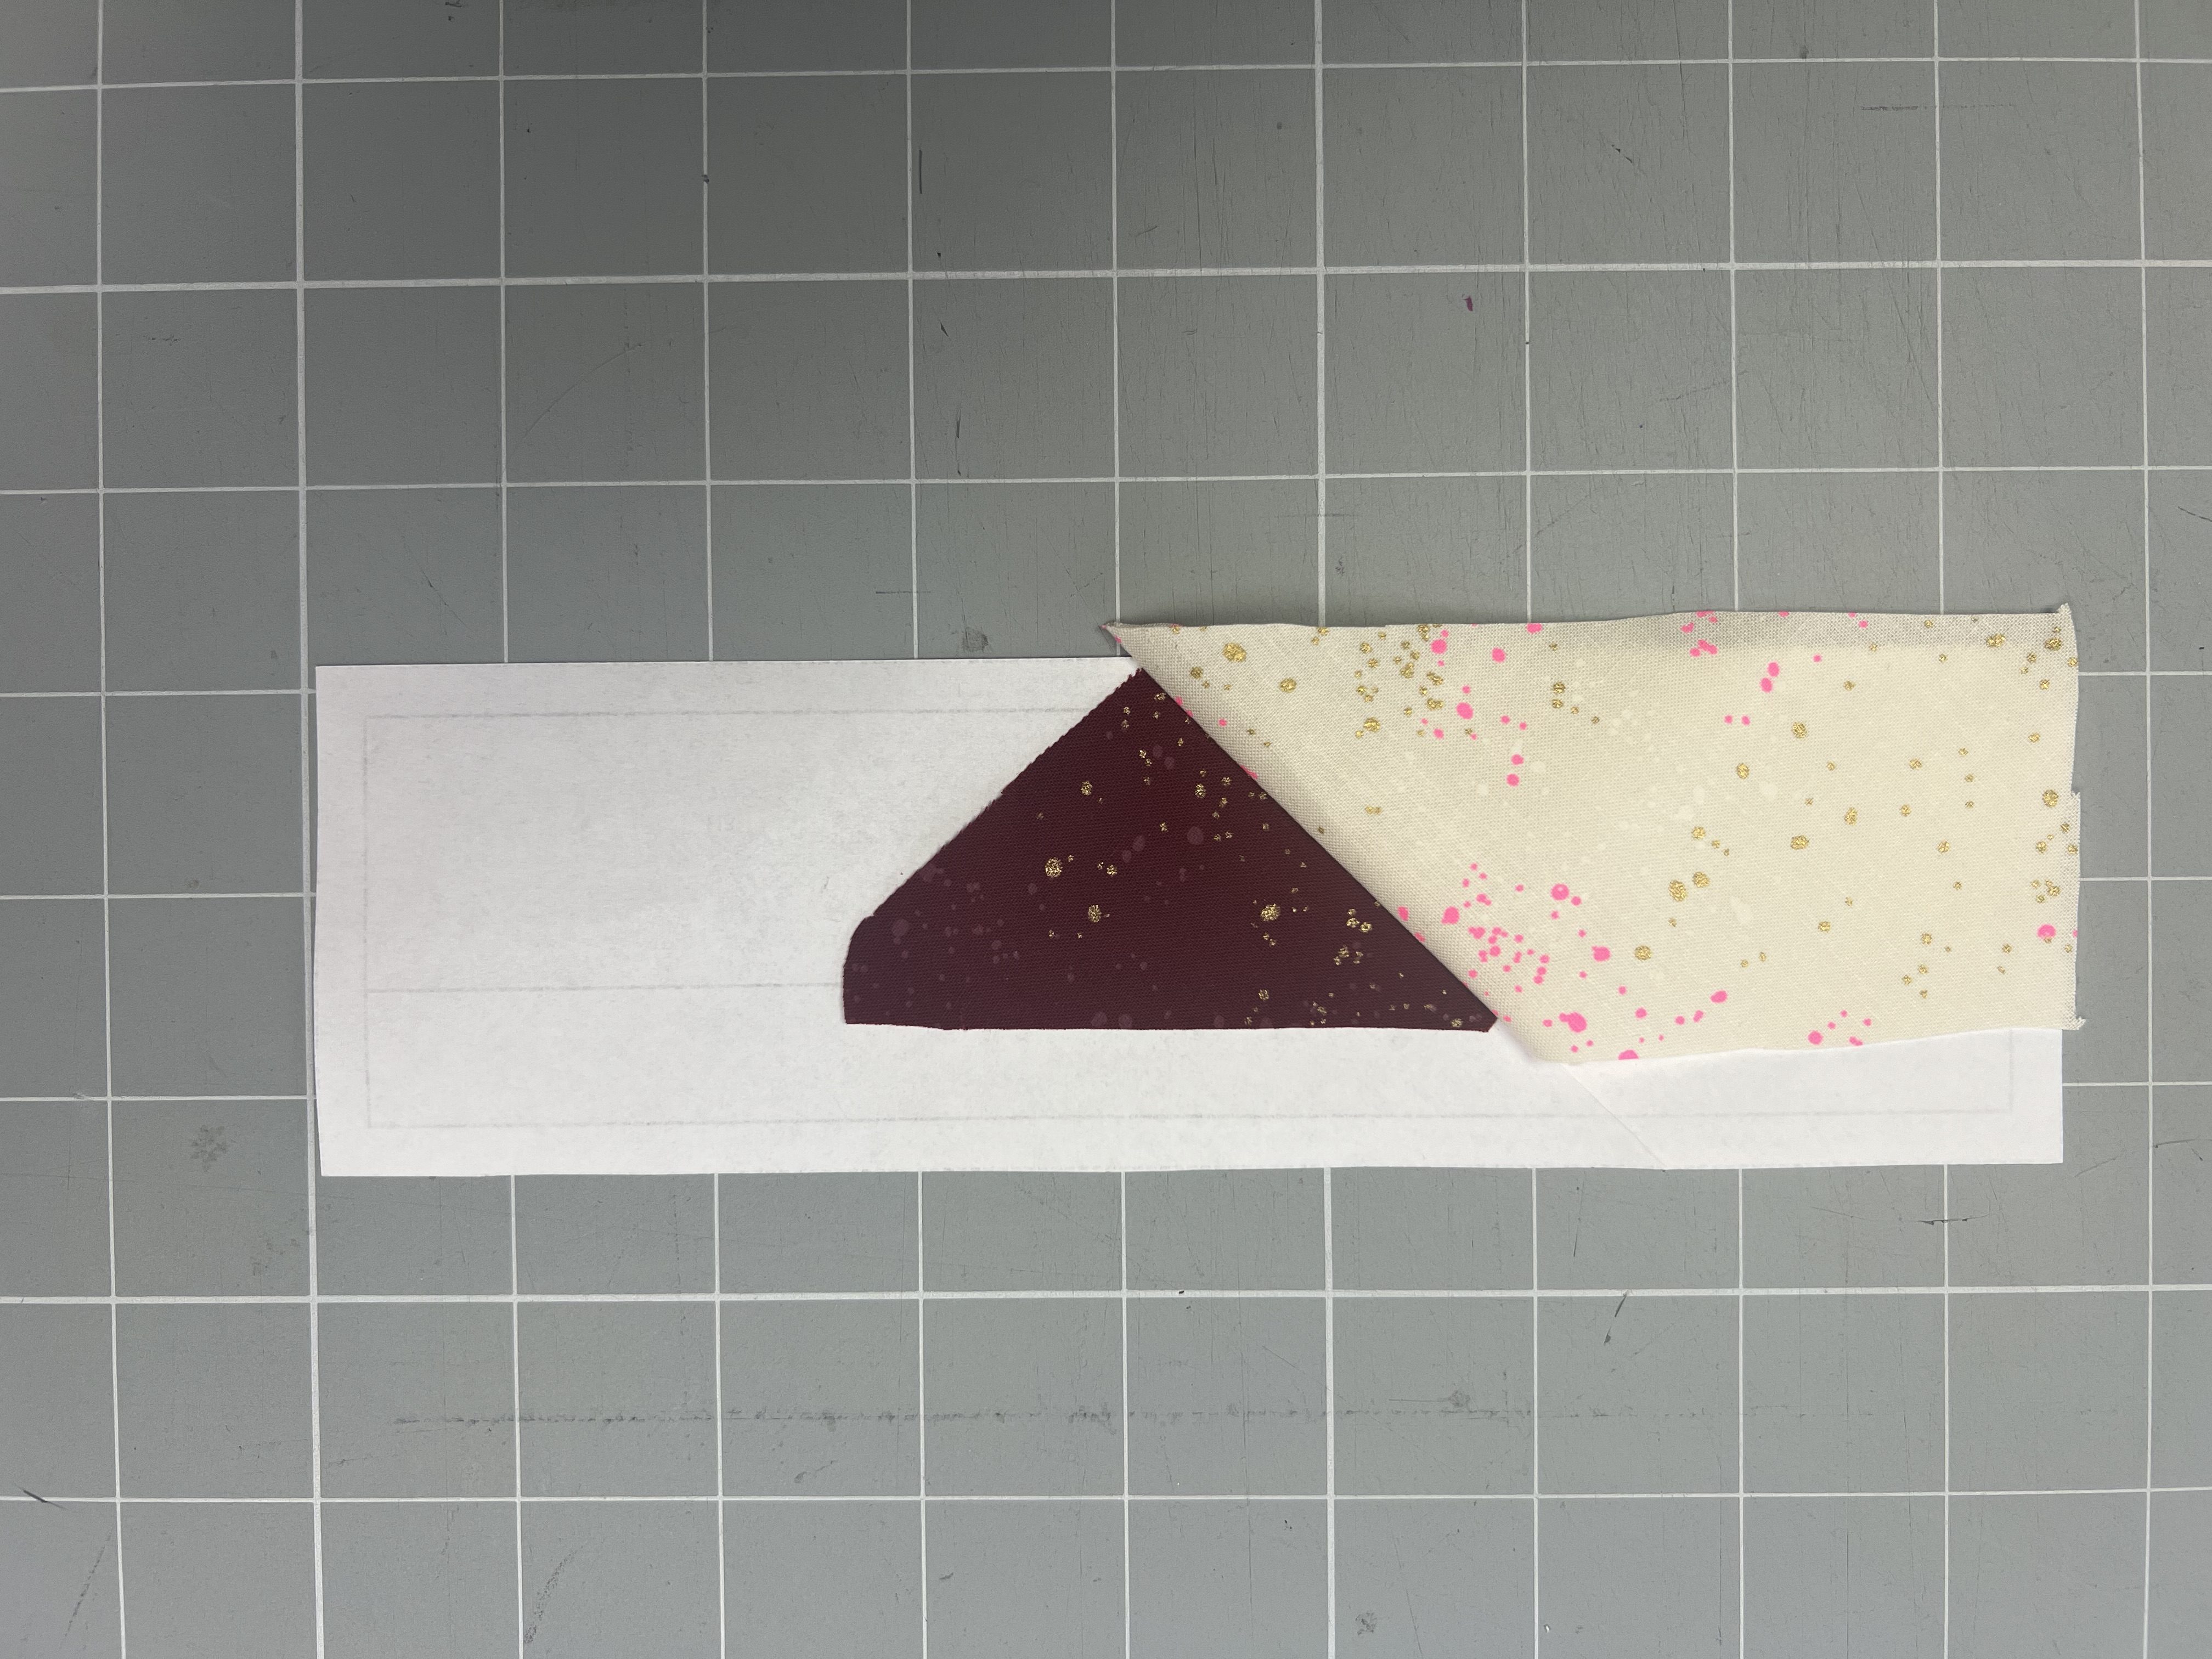
13. Now trim the fabric along the outer edges of each segment down to the seam allowance line. Lay out the individual pieces as shown in the overview.
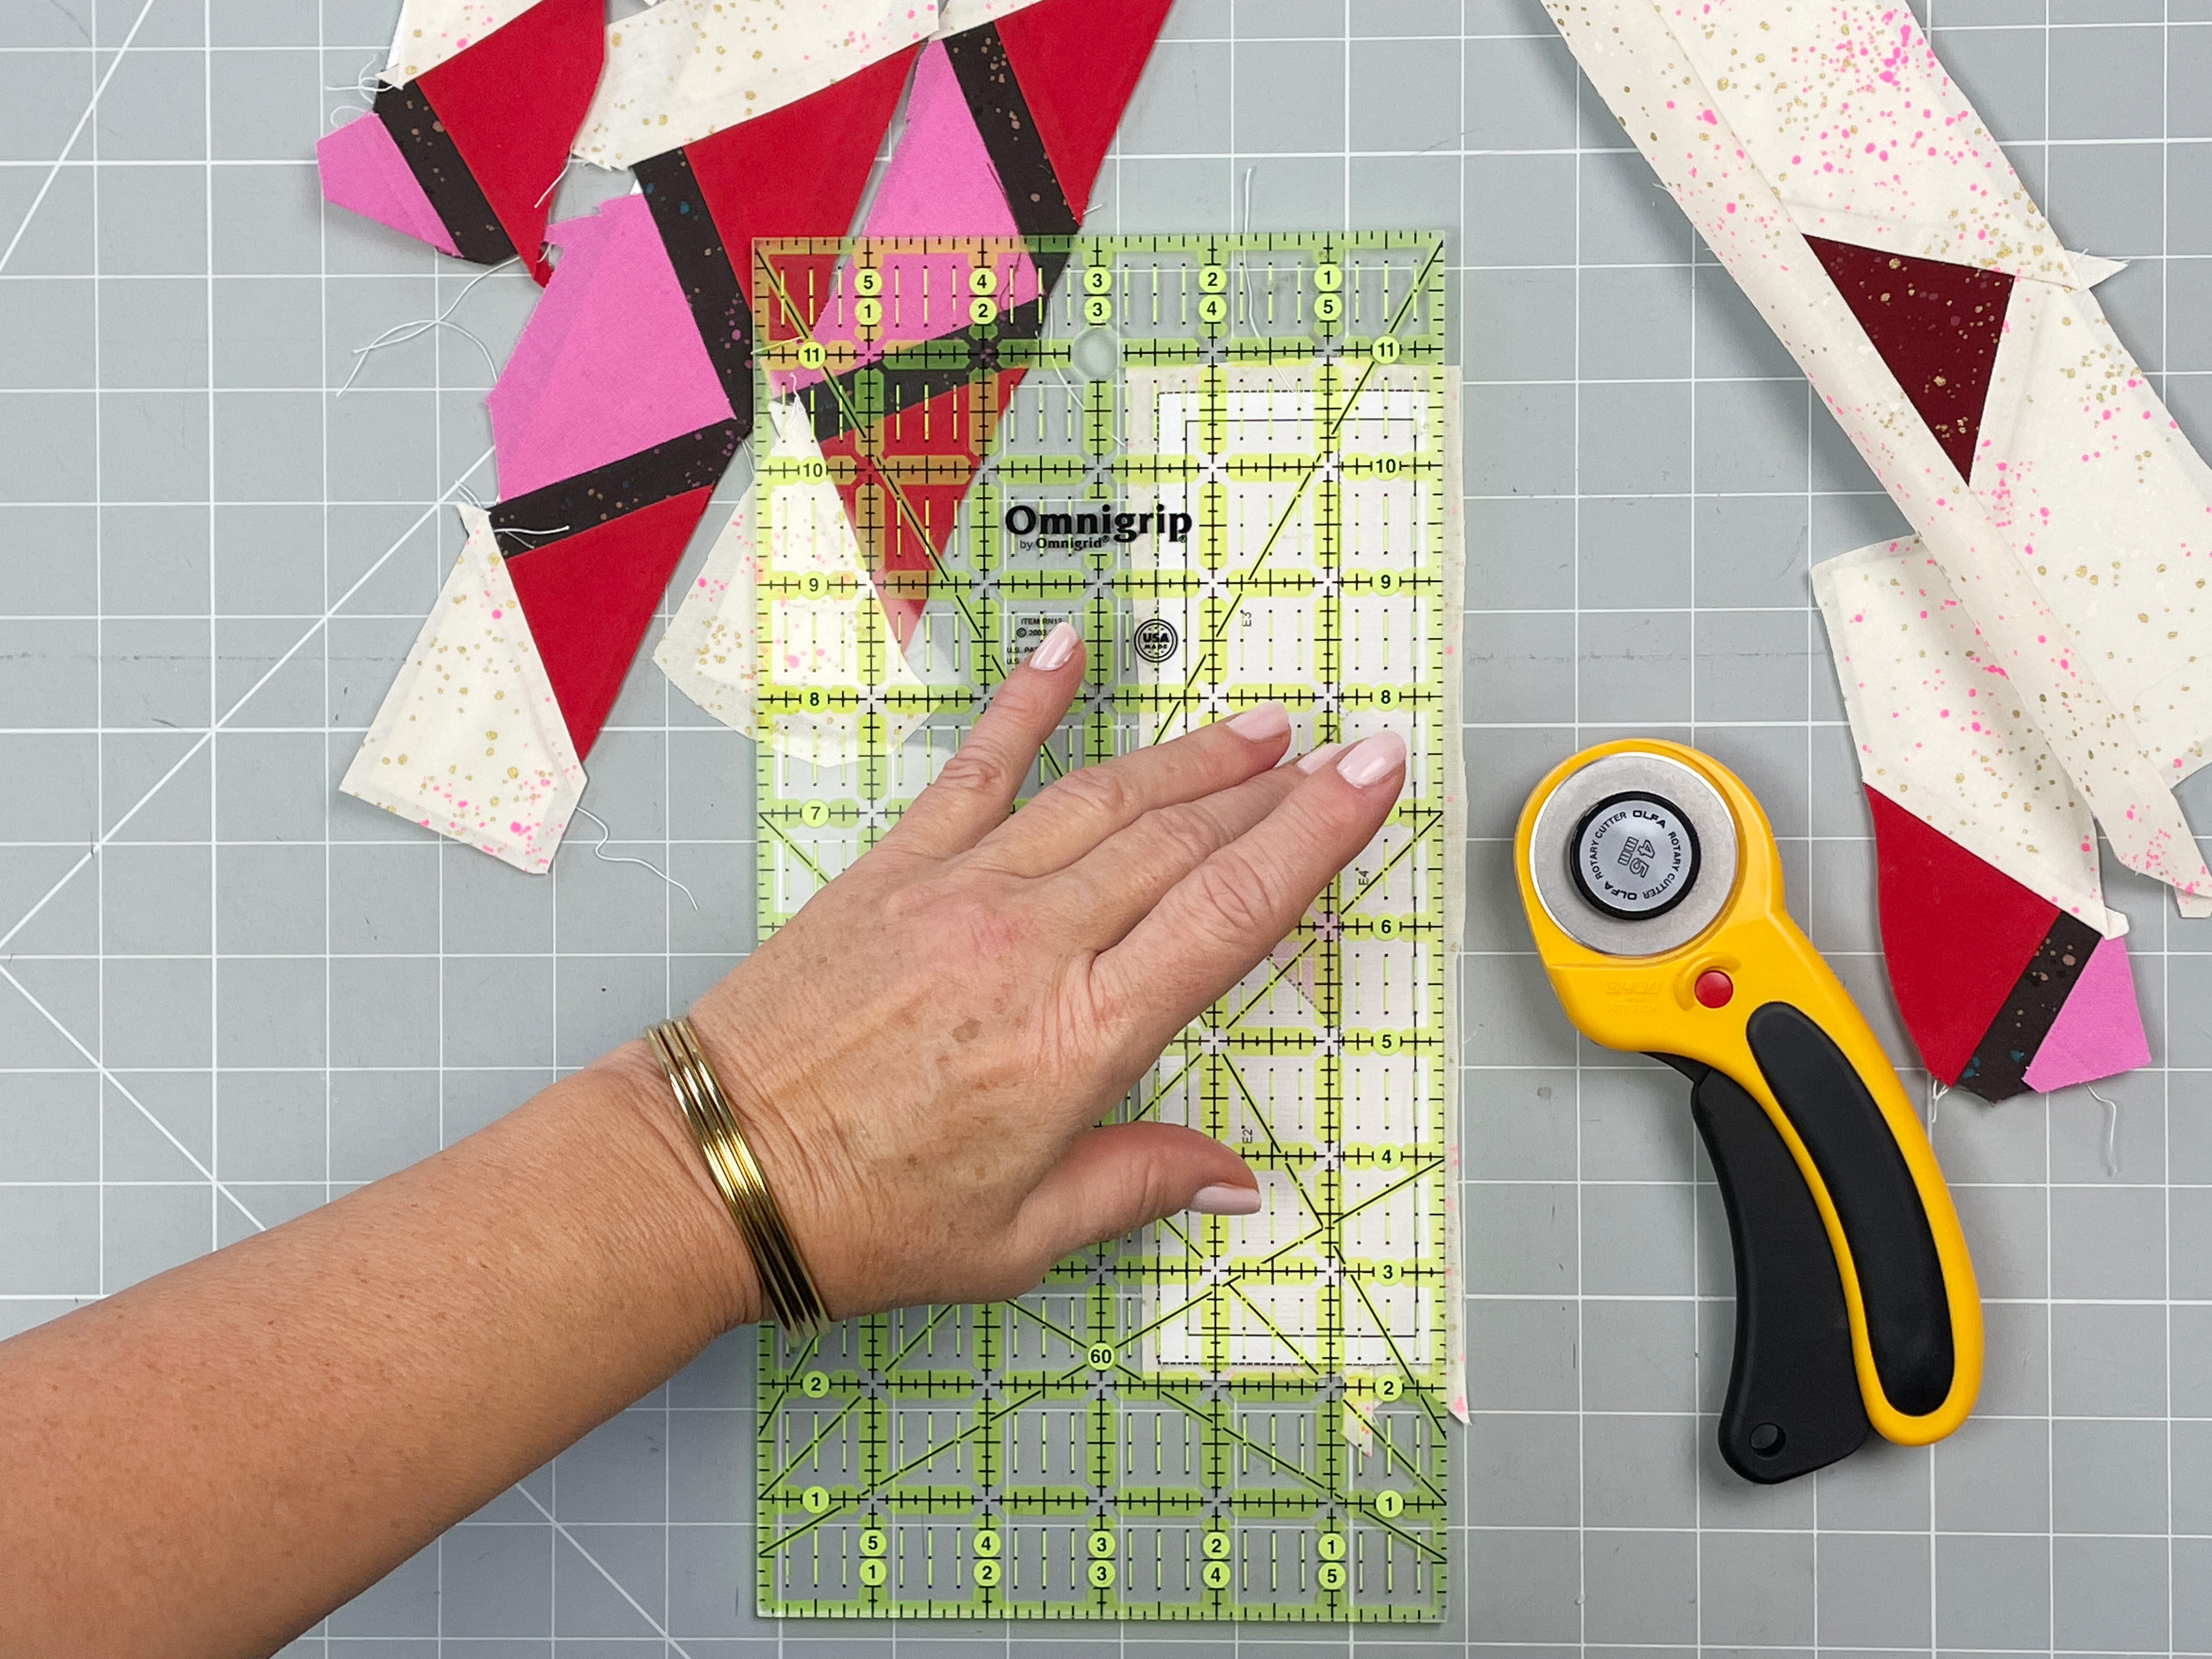
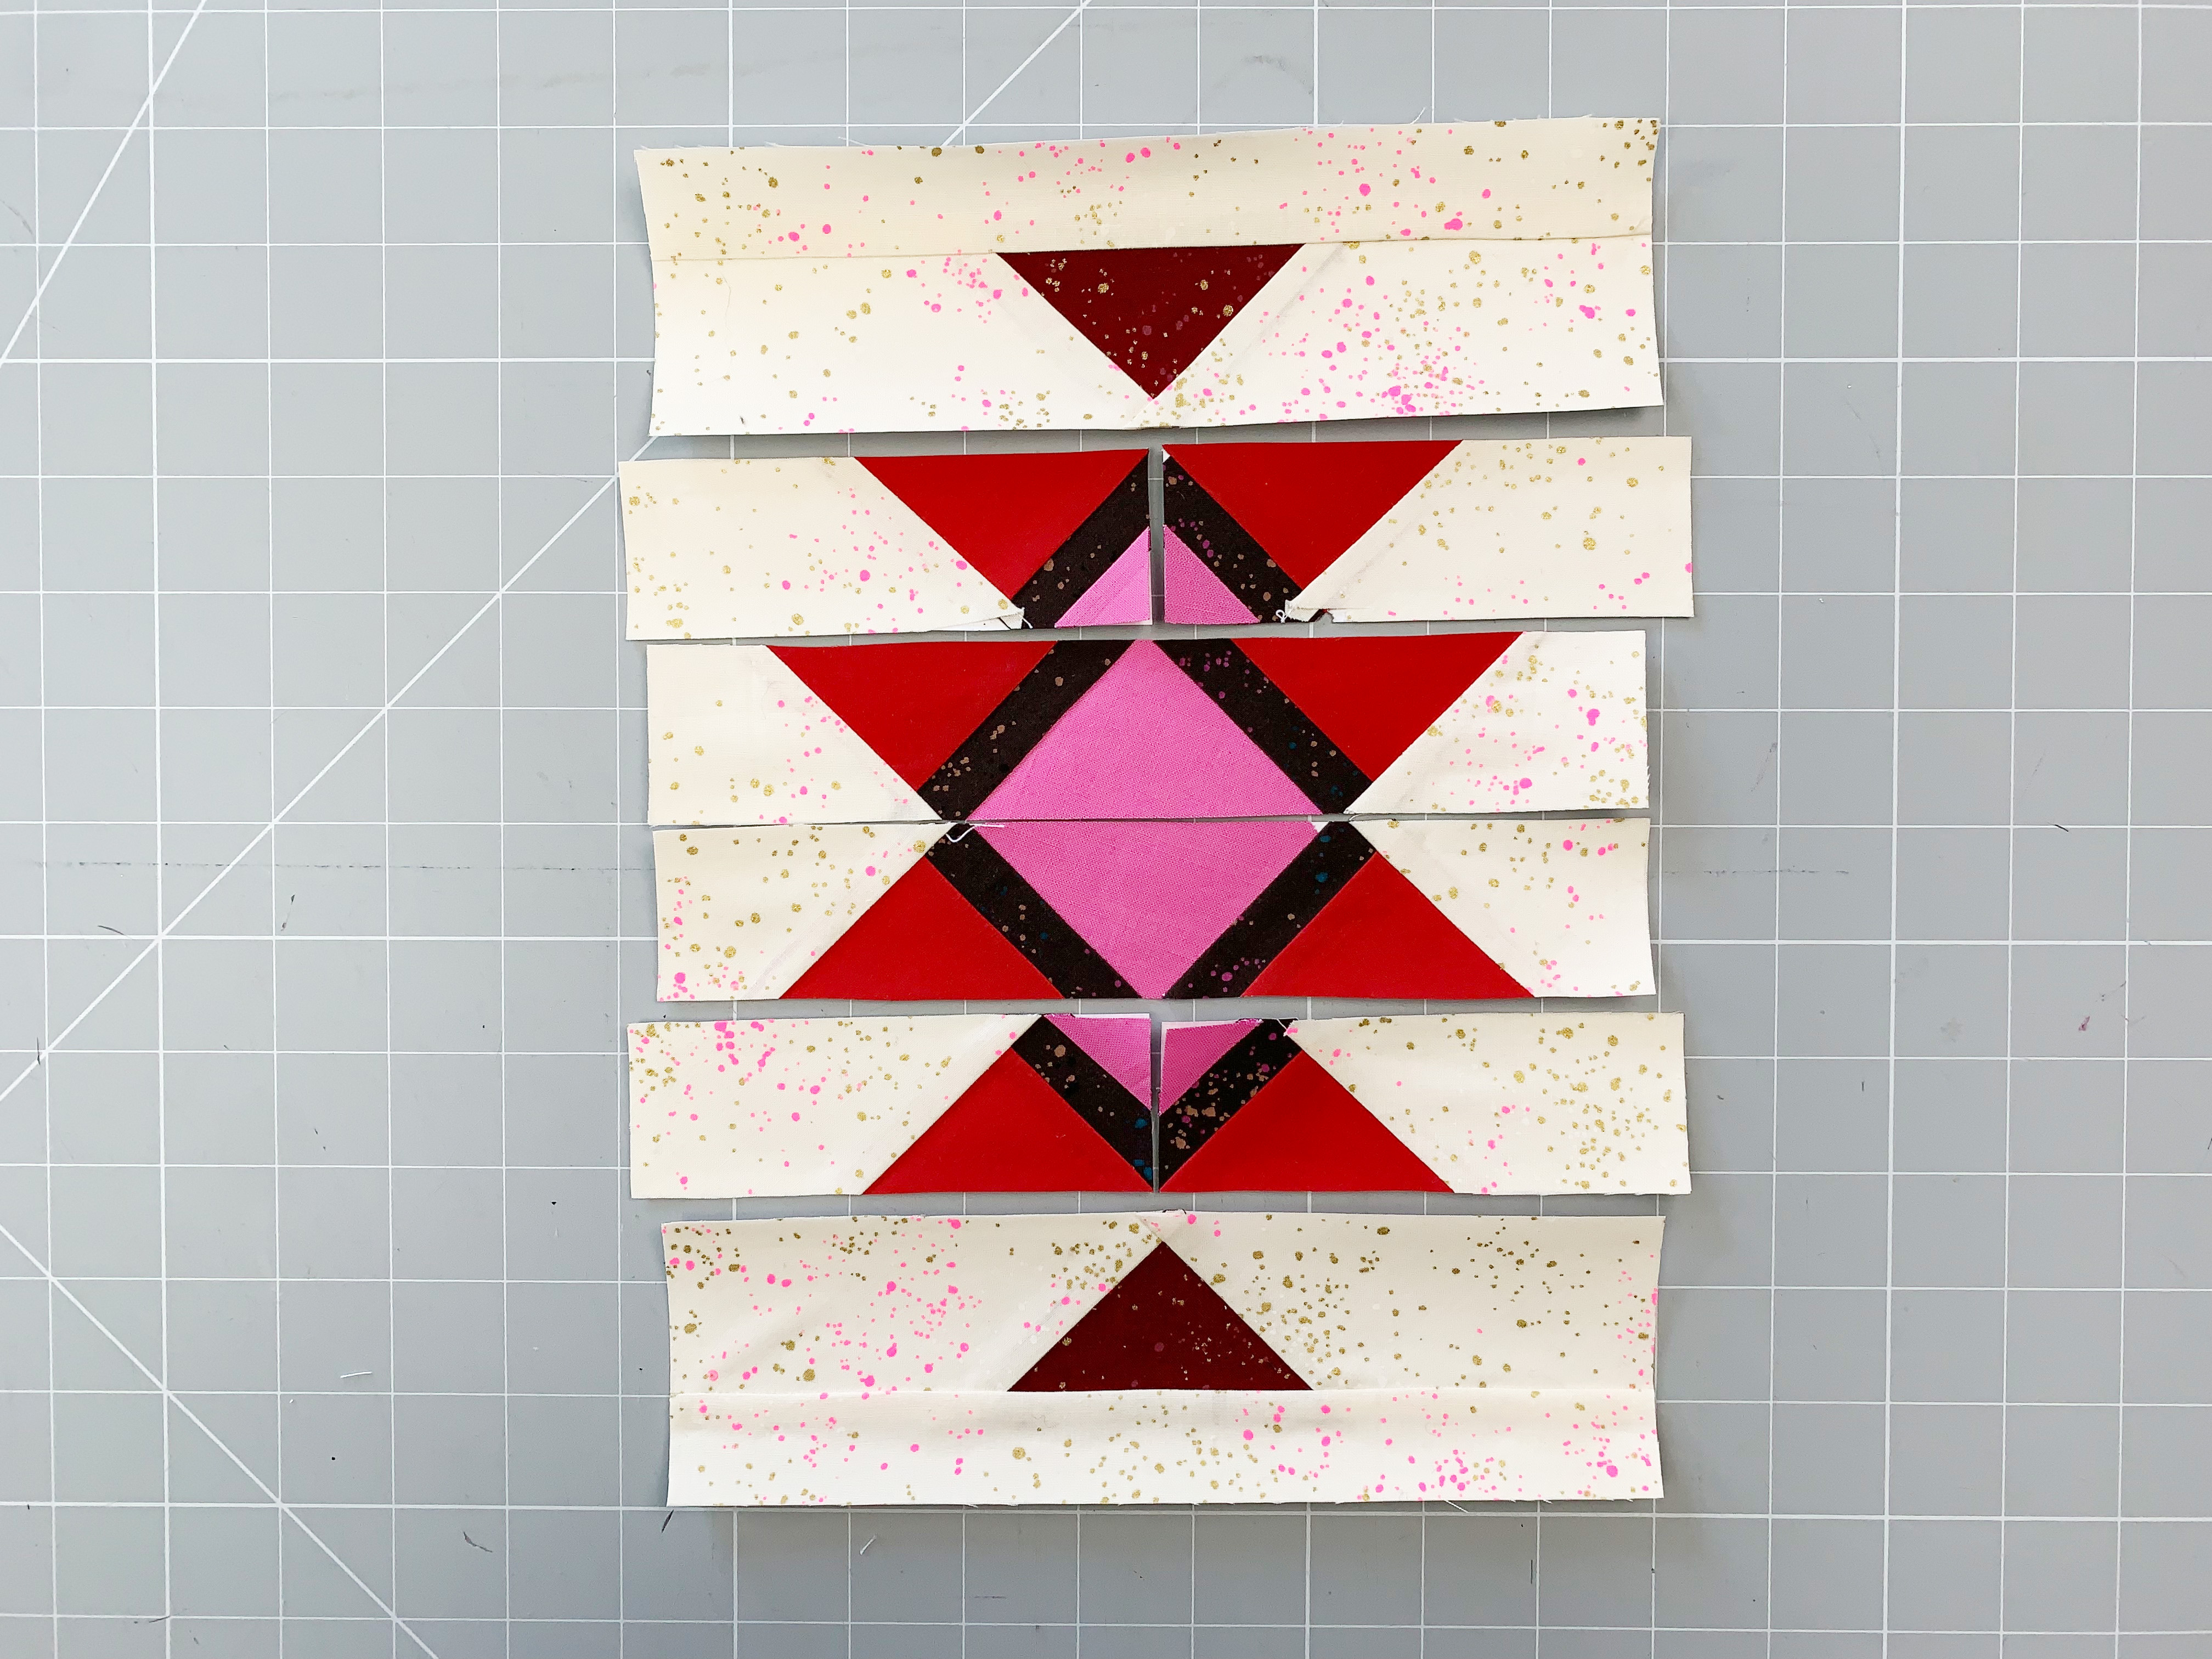
14. Now join the segments together in the order described in the pattern.
Once you’ve sewn two segments together, first remove the paper from the seam allowance and press the seams open. This is where the tailor’s clapper comes into play, it helps make the seams beautifully flat.
There’s another tutorial video for finishing the FPP pattern:

Show Me Your Desert Peaks Blocks!
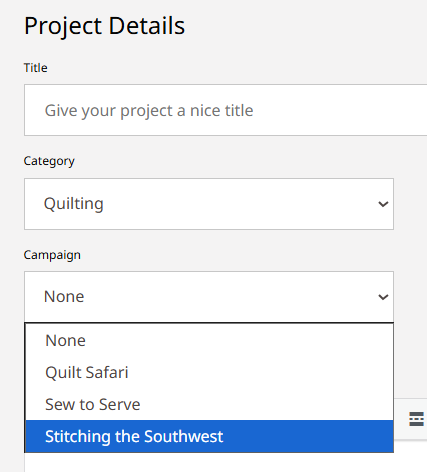
I can’t wait to see photos of your blocks. Share them with me on Instagram, use the hashtag #SouthwestQAL, or in the WeAllSew Community Section!
Don’t forget to select “Stitching the Southwest” in the drop-down list under “Participate” when uploading to the community area:
See you again very soon,
Yours,
Ingrid
P.S. Did you take part in the kickoff giveaway? Many thanks to all participants, and a big congratulations to the winners!
You can see who won here:
- A colorful thread case by Mettler: @julireuppert via Instagram
- The Ruler-Sets von BERNINA are going to @fritzicreativ via the BERNINA International Blog
- The fabric bundle from Riley Blake is for gritelisabeth
- The Shirts are for weggeline (https://blog.bernina.com/de/user-gallery/southwest-qal-2/), msa 2211 (https://blog.bernina.com/de/user-gallery/southwest-2/) and @daniela_maschenkunst
- The Goodie Bags for @eehamburg, Monika B (https://blog.bernina.com/de/user-gallery/southwest-qal-4/) and @stitchedbystarlight