The Magic of Fabric Weaving
Have you ever been given fabric that you like but just isn’t your style? Keep reading to see how fabric weaving is a creative way to turn any textile into a project that feels like you.
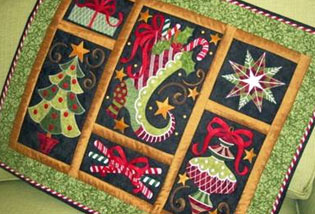
Back in January, at the BERNINA Creative Center in Chicago, all of us Ambassadors were given the cutest bundle of BERNINA quilting cotton and decided it would be a fun challenge to each make something that represented our style. The only problem? My style is quilting with upcycled denim! My name is Radha, and at @sewingthroughfog, I turn old jeans into modern makes and inspire quilters and sewists to use repurposed textiles.
At first, I was a bit stumped thinking how am I going to make this feel like me?
And then it hit me: weaving! When you work with reclaimed materials, weaving can be a secret weapon. Almost anything looks good woven. It’s forgiving, it’s versatile, and it transforms fabric scraps — or in this case, a fabric that felt unfamiliar — into something fresh. And you can weave anything with denim.
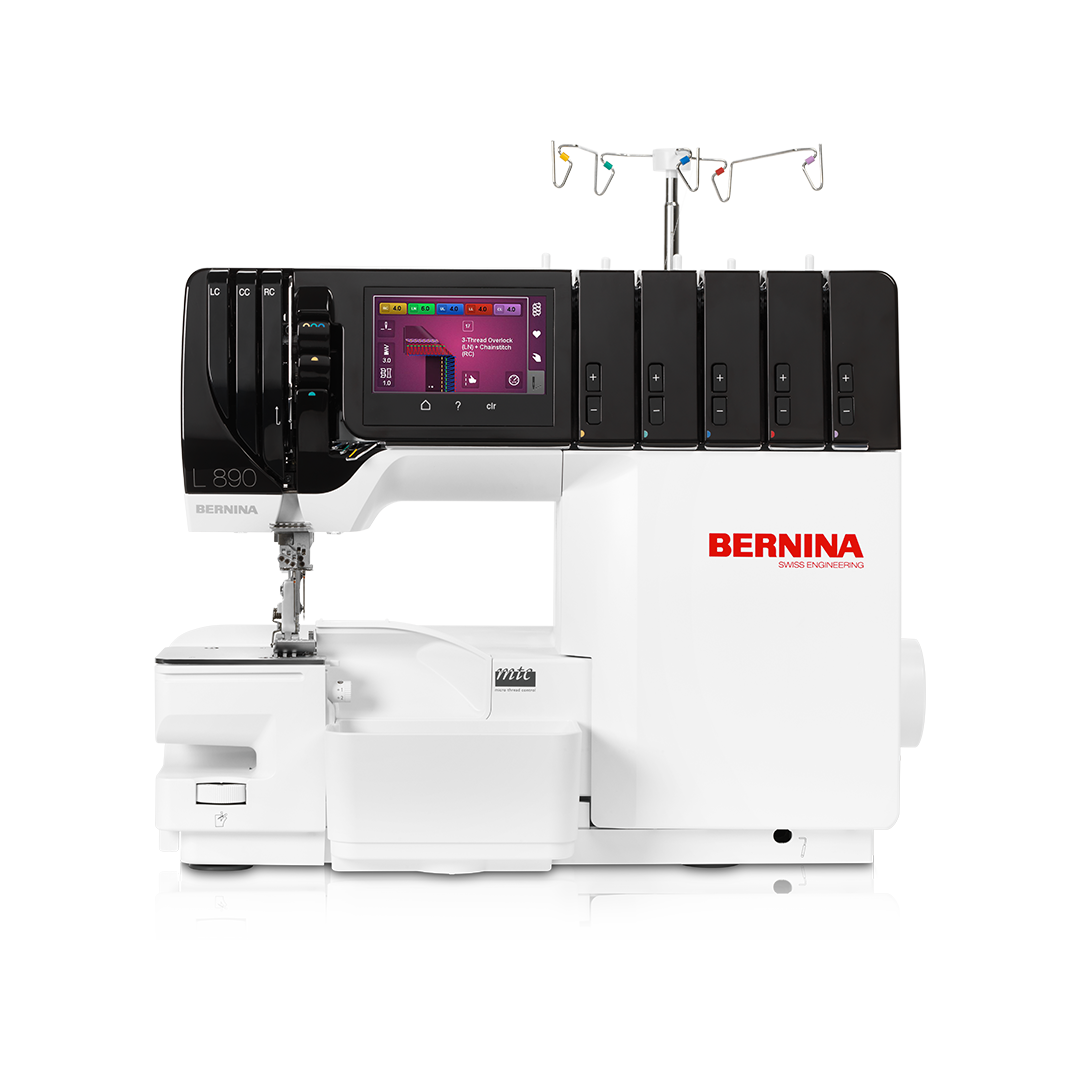
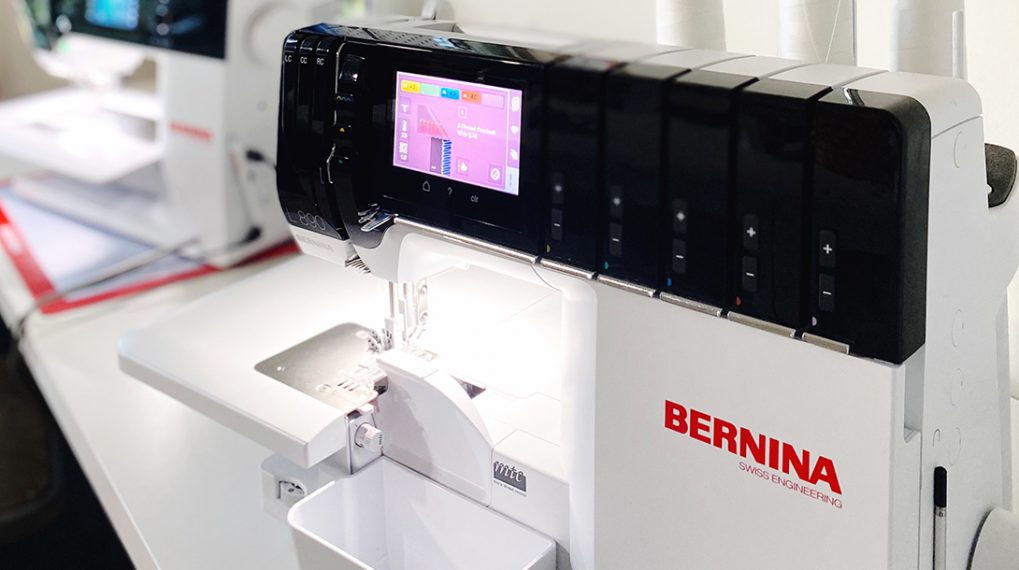
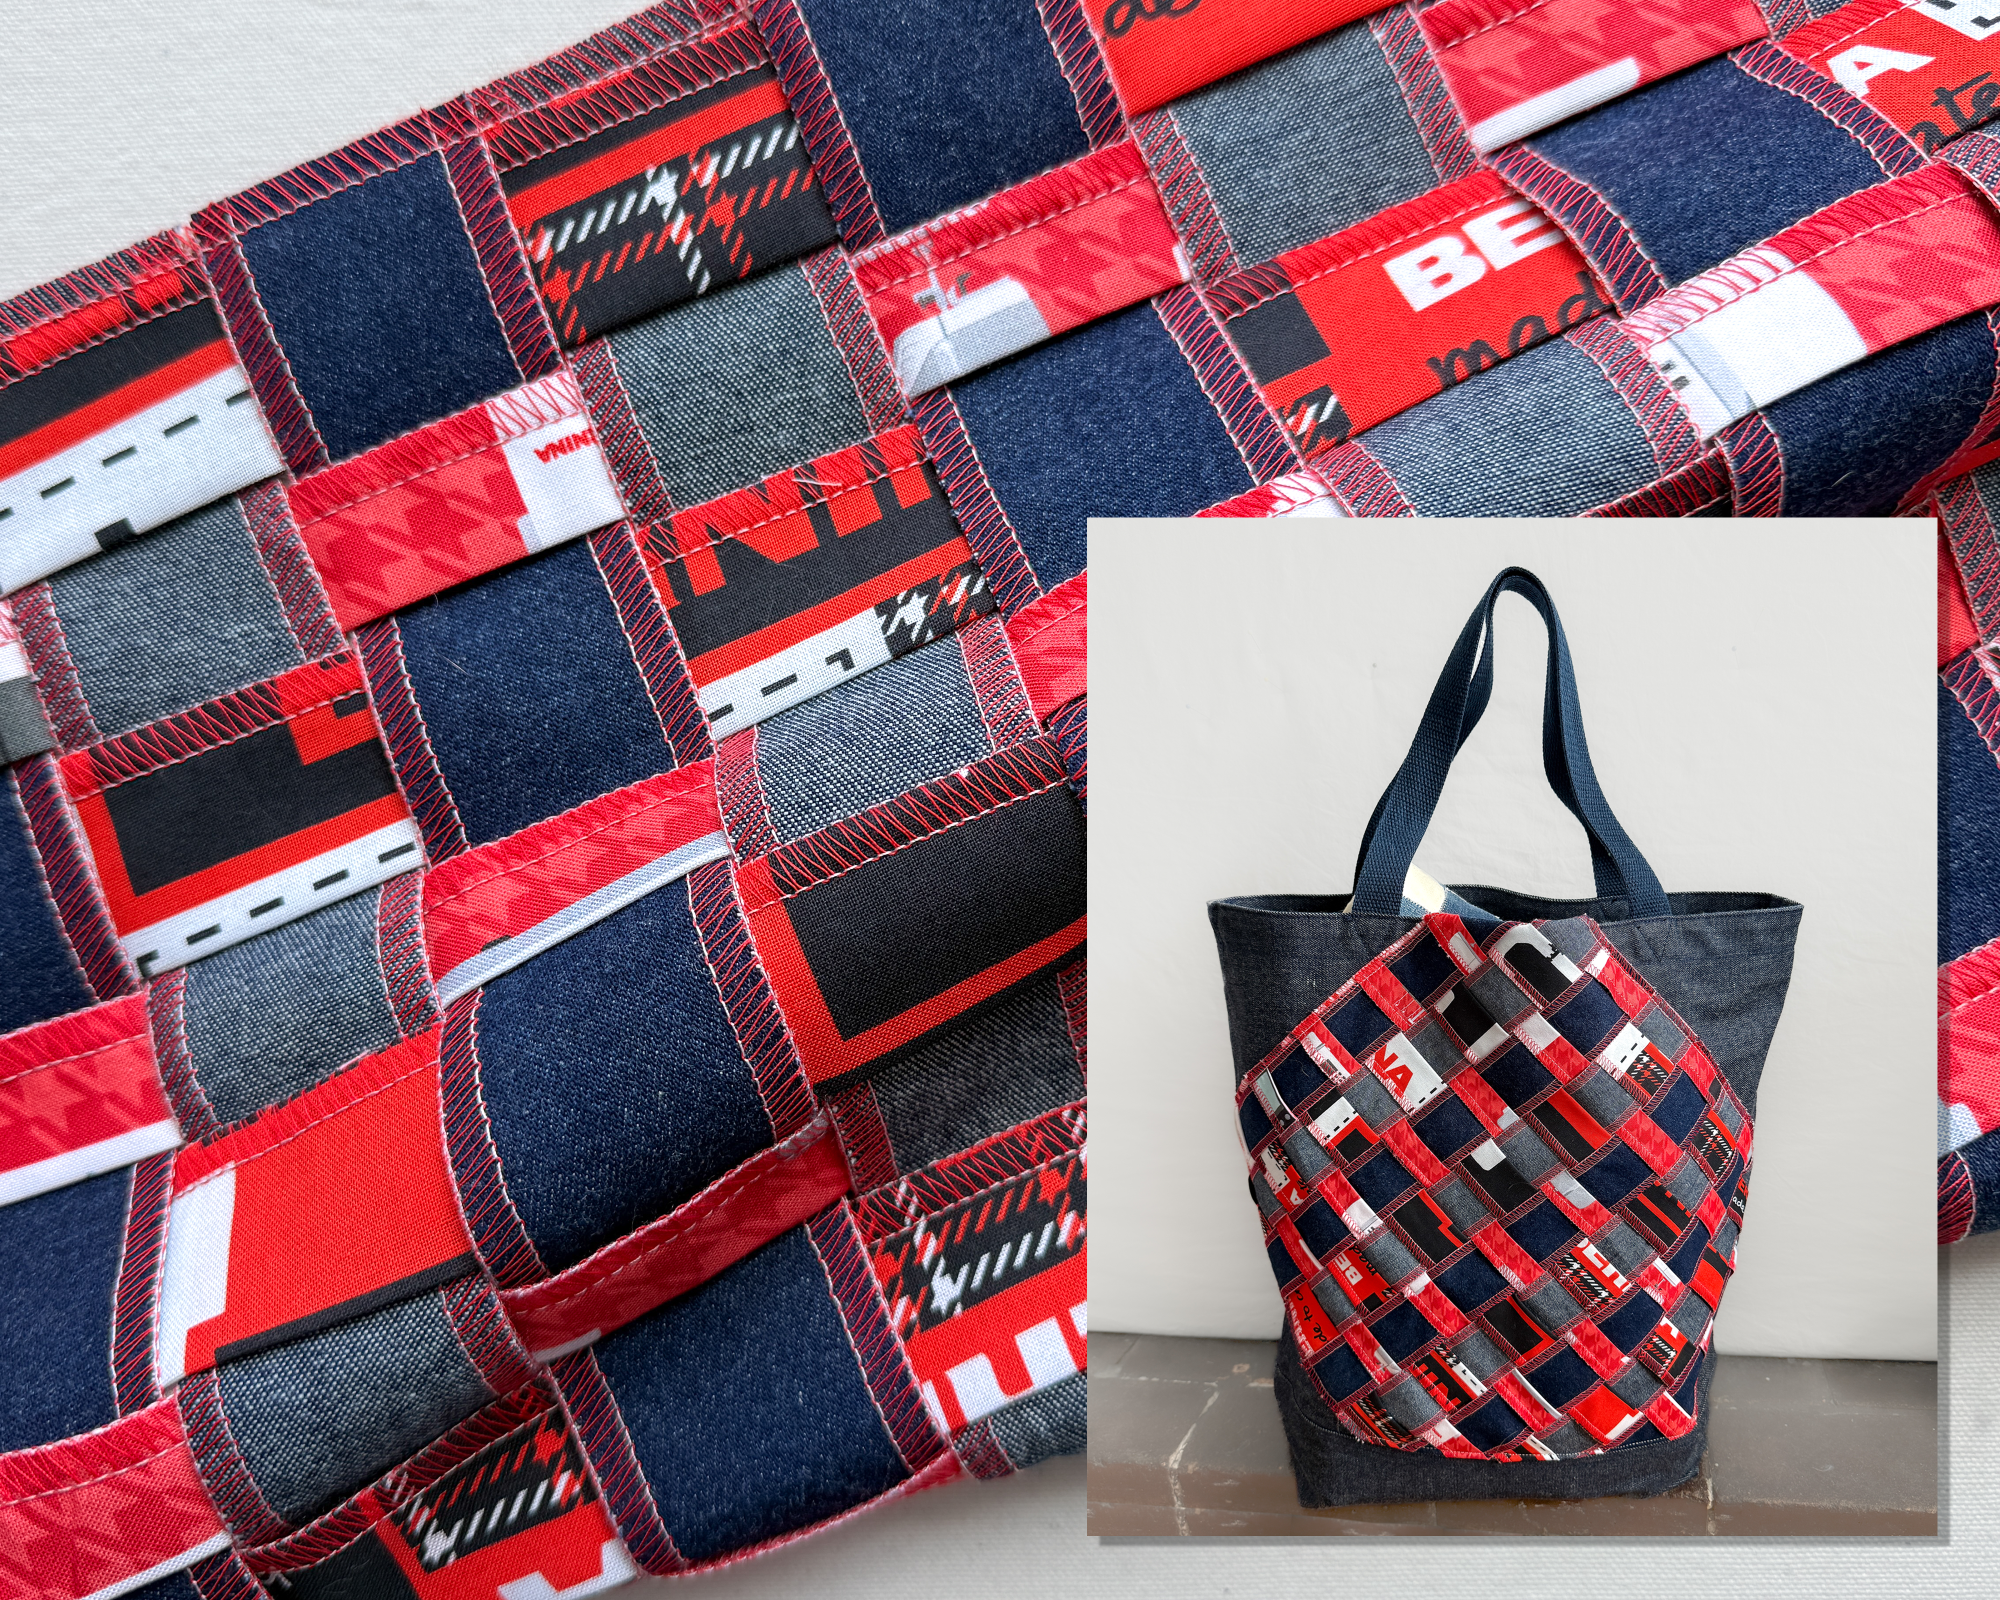
It was also a great opportunity to use the overlock function on my BERNINA L 890 as a design feature. Using red, white, and black thread, I overlocked all the edges of my strips, which was functional and added a pop of color.
Once I had my woven panel finished, I asked myself: What now?
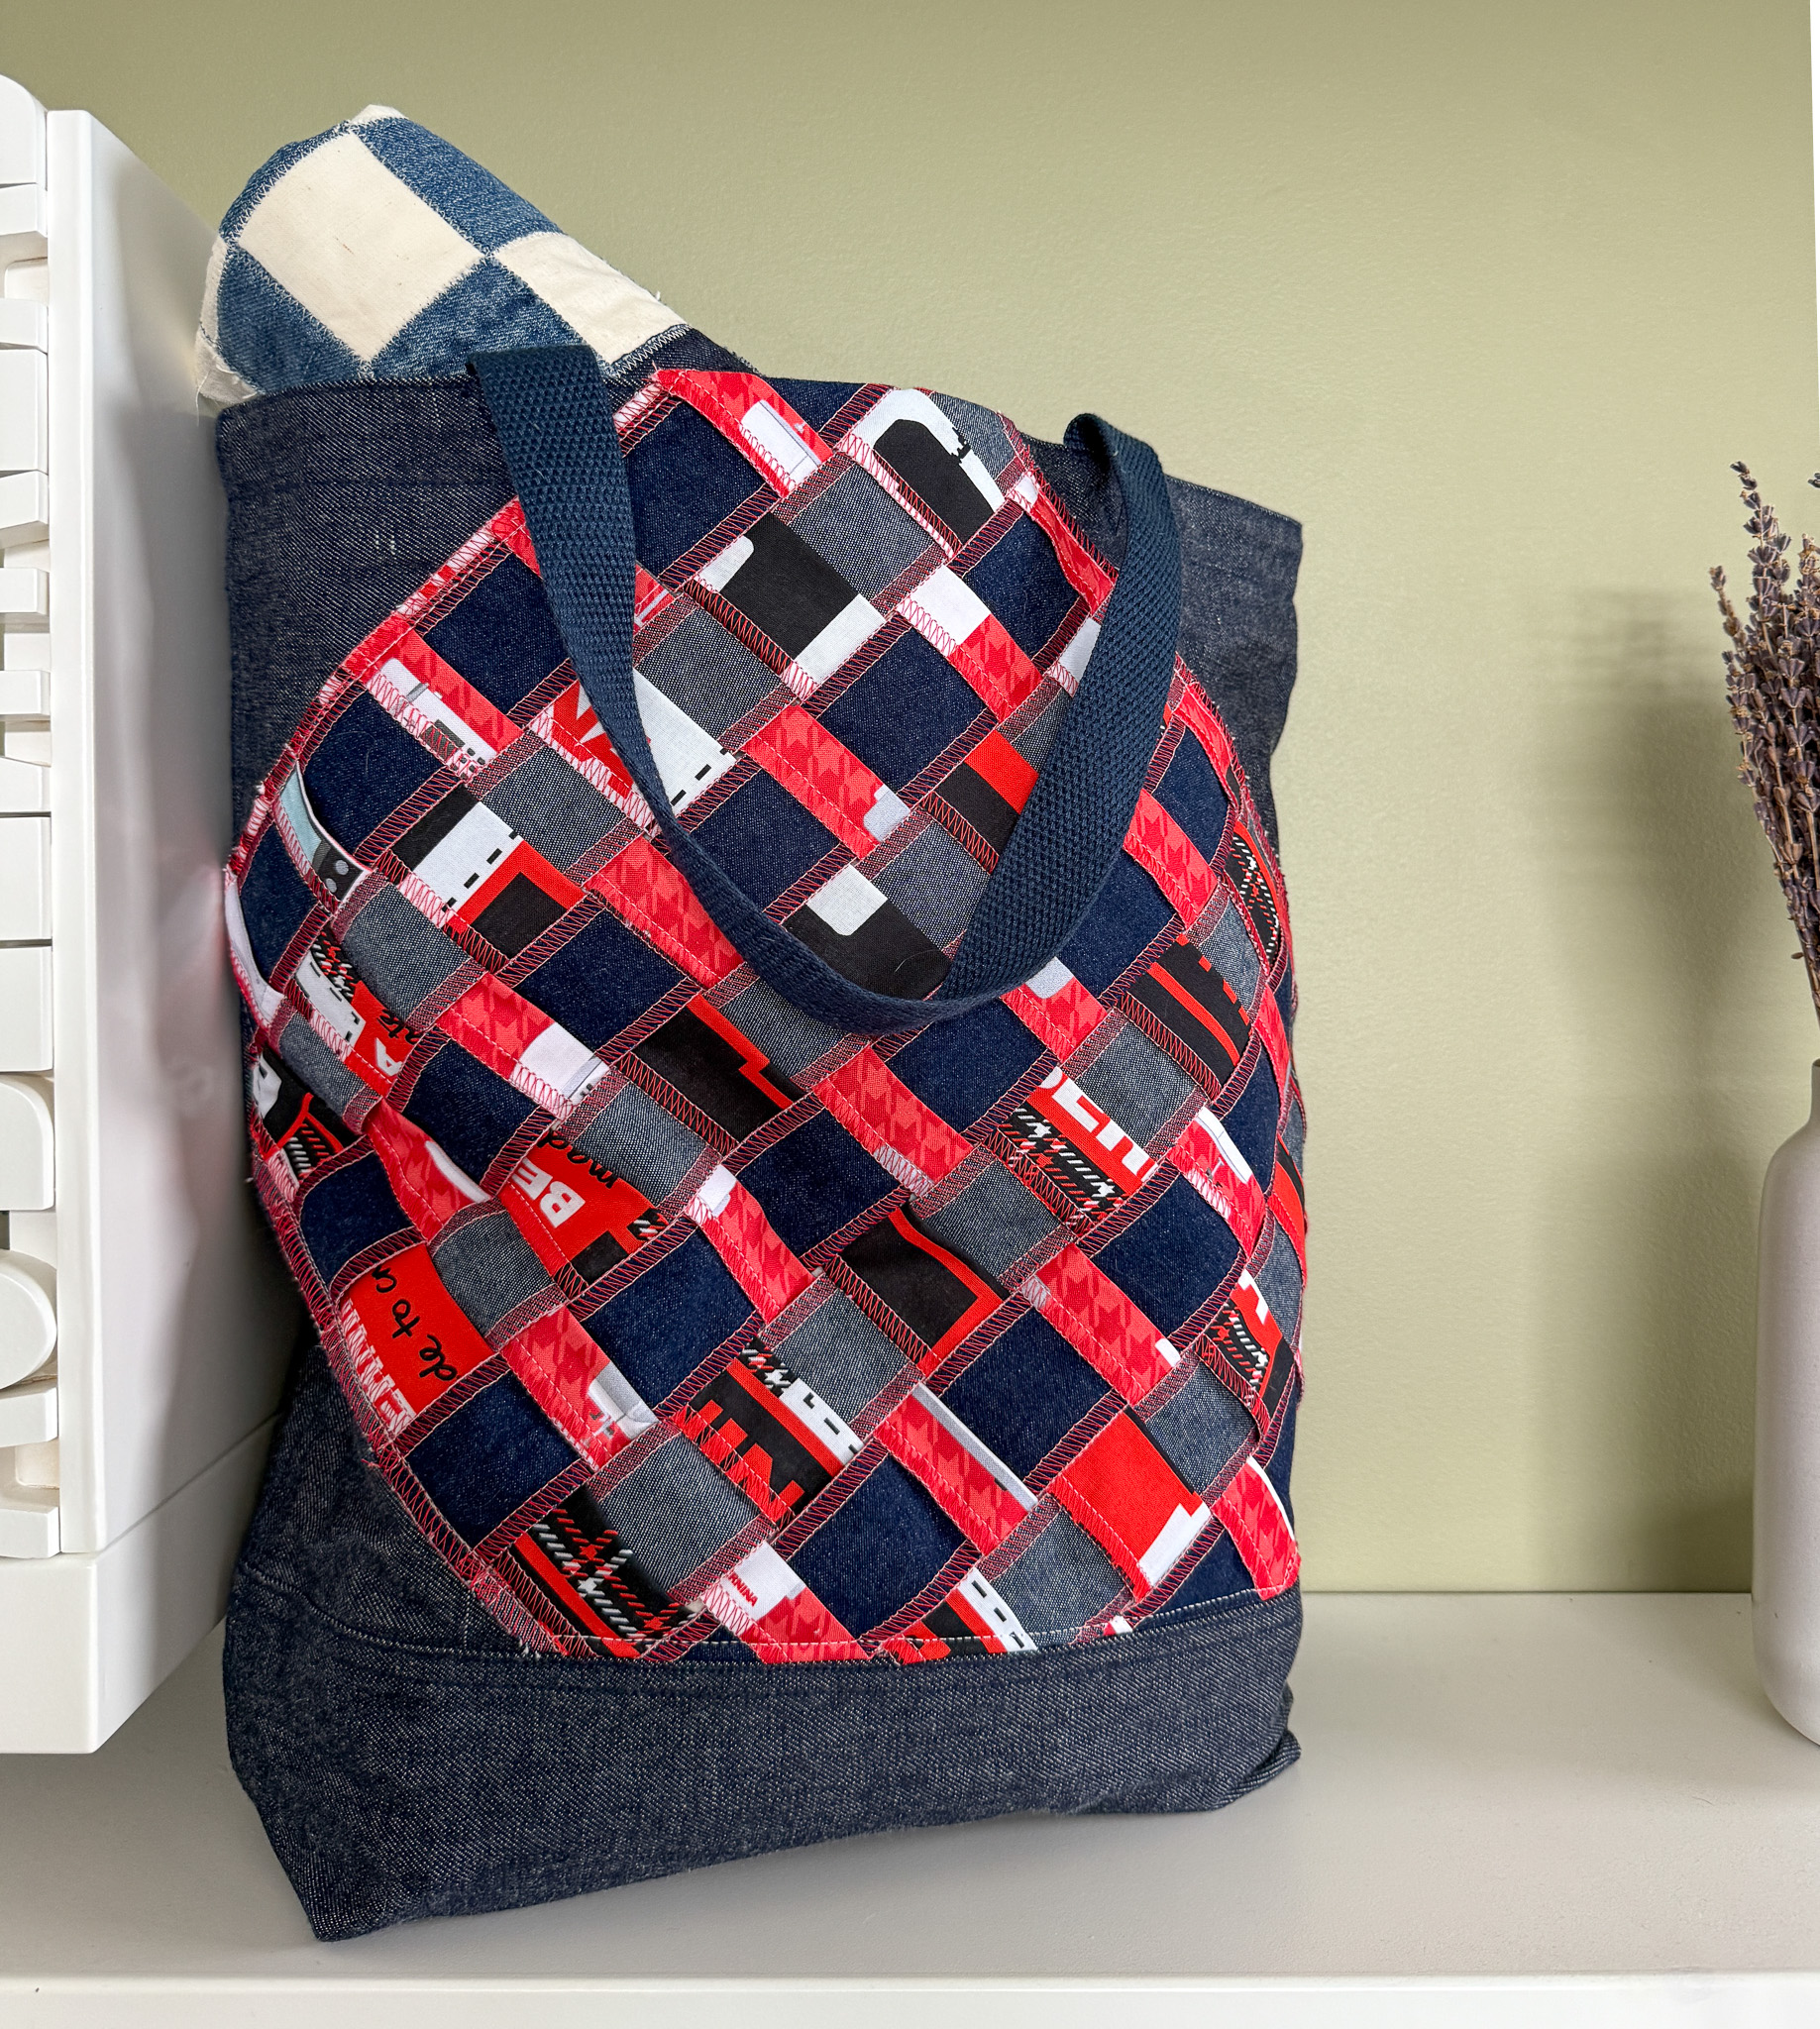
Since everything I make ties back to reuse and giving things new life, I decided to turn it into something useful. A friend of mine has a denim brand and had given me a couple of production seconds (totes with mistakes that made them unsellable). One of them had a messed-up pocket on the front, so I stitched my woven square right over it. Problem solved, and now I’ve got a one-of-a-kind tote that I’ll use all the time.
If you’ve got fabric you’re not sure how to use, follow my tutorial below and try weaving it. It really does transform yardage you don’t normally reach for into something exciting.
Materials Needed for Fabric Weaving
- Fabric strips to weave (denim + quilting cottons work well)
- Base fabric cut to your finished size + 1″ extra on each side
- Decorative thread for your overlocker (I used Mettler’s Seracore and Seracycle)
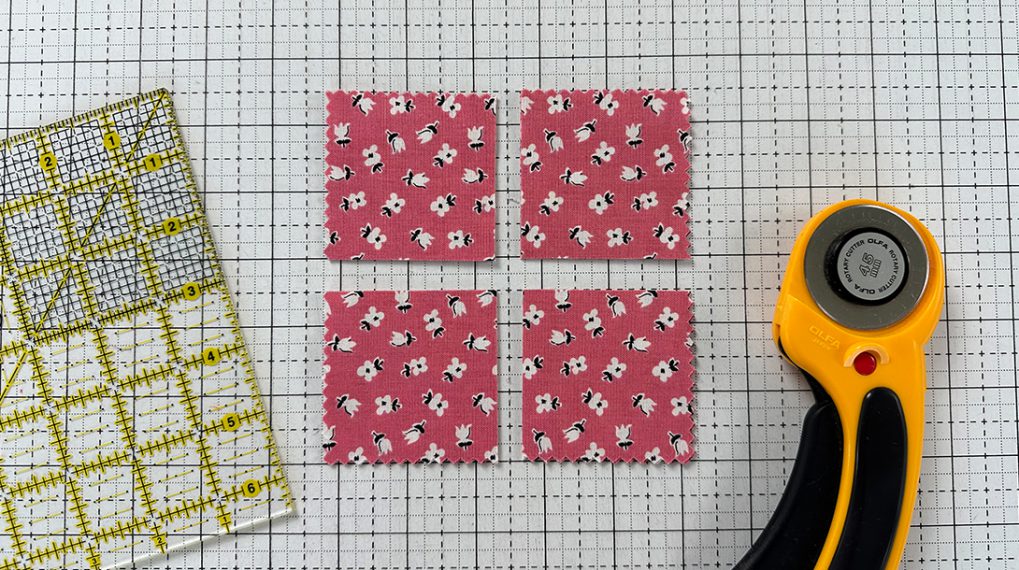
- Ruler and rotary cutter
- Clips or pins to hold edges
- Tote bag (optional, if you want to use the panel as a patch)
Tutorial
Step 1: Choose Your Weave Fabric & Base Fabric
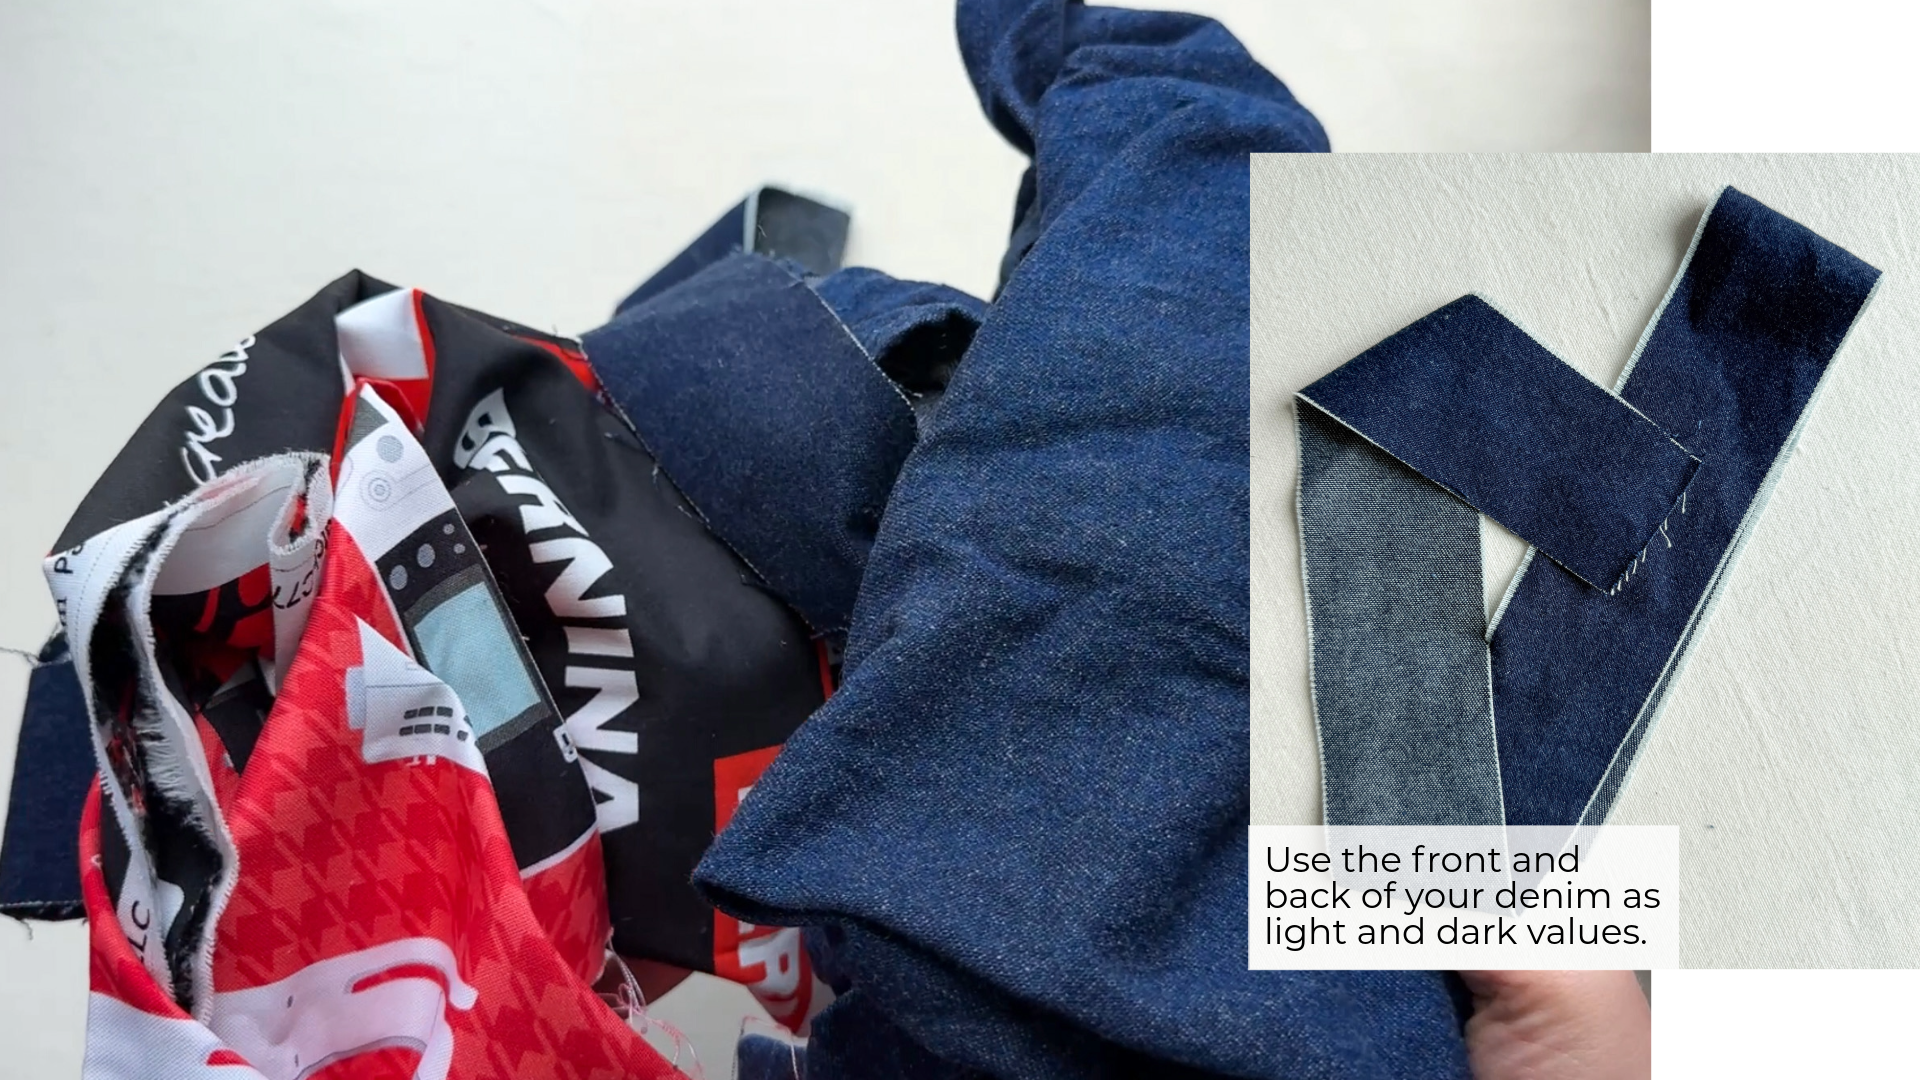
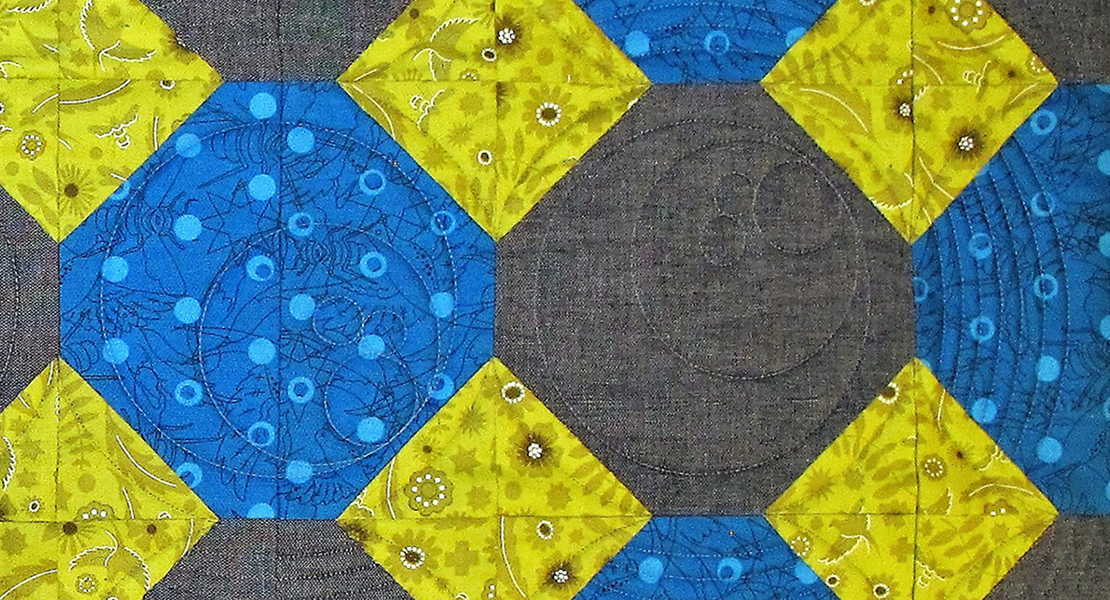
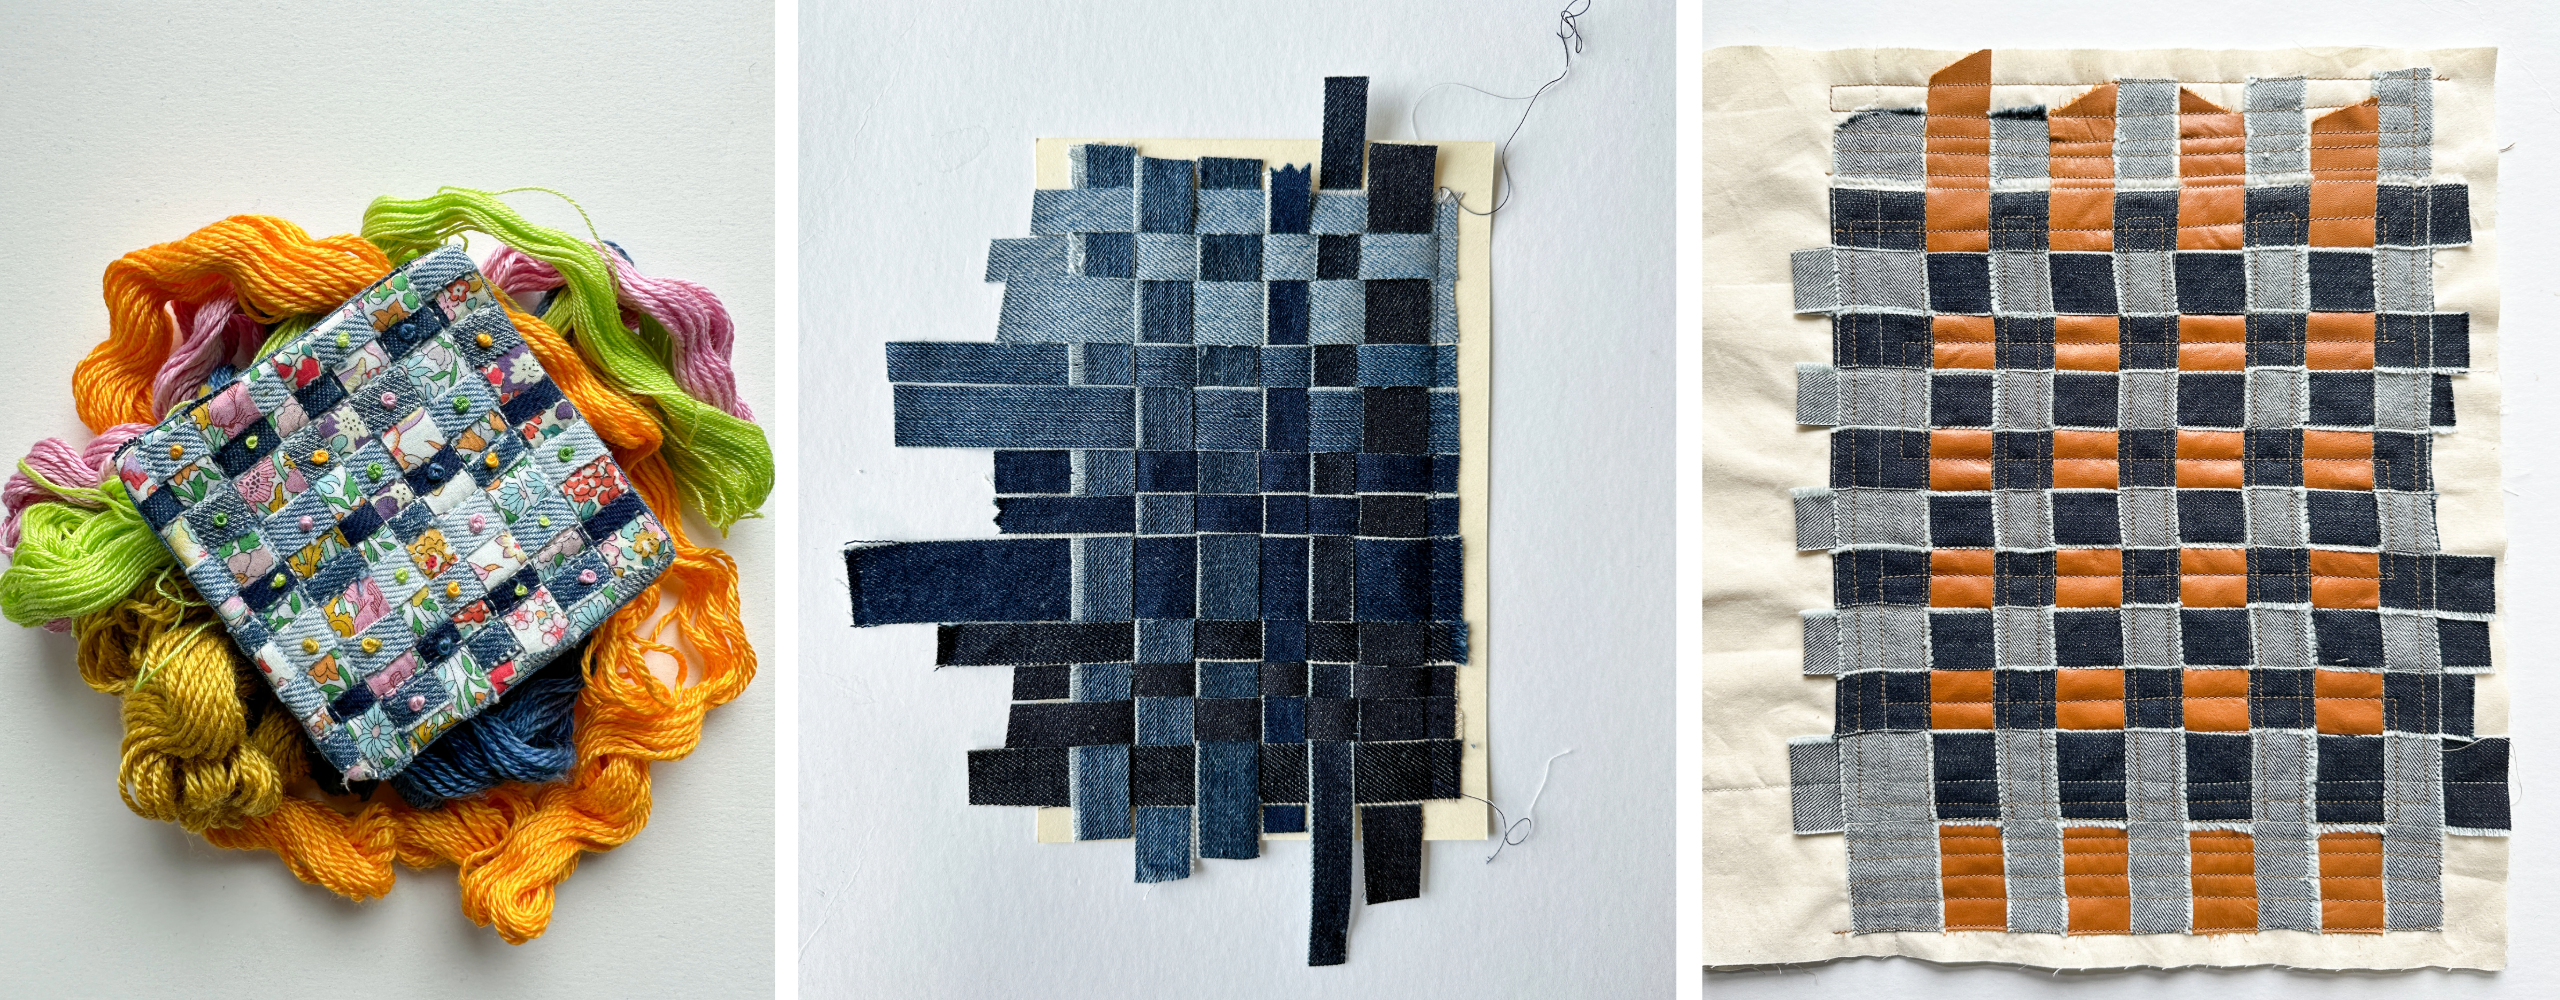
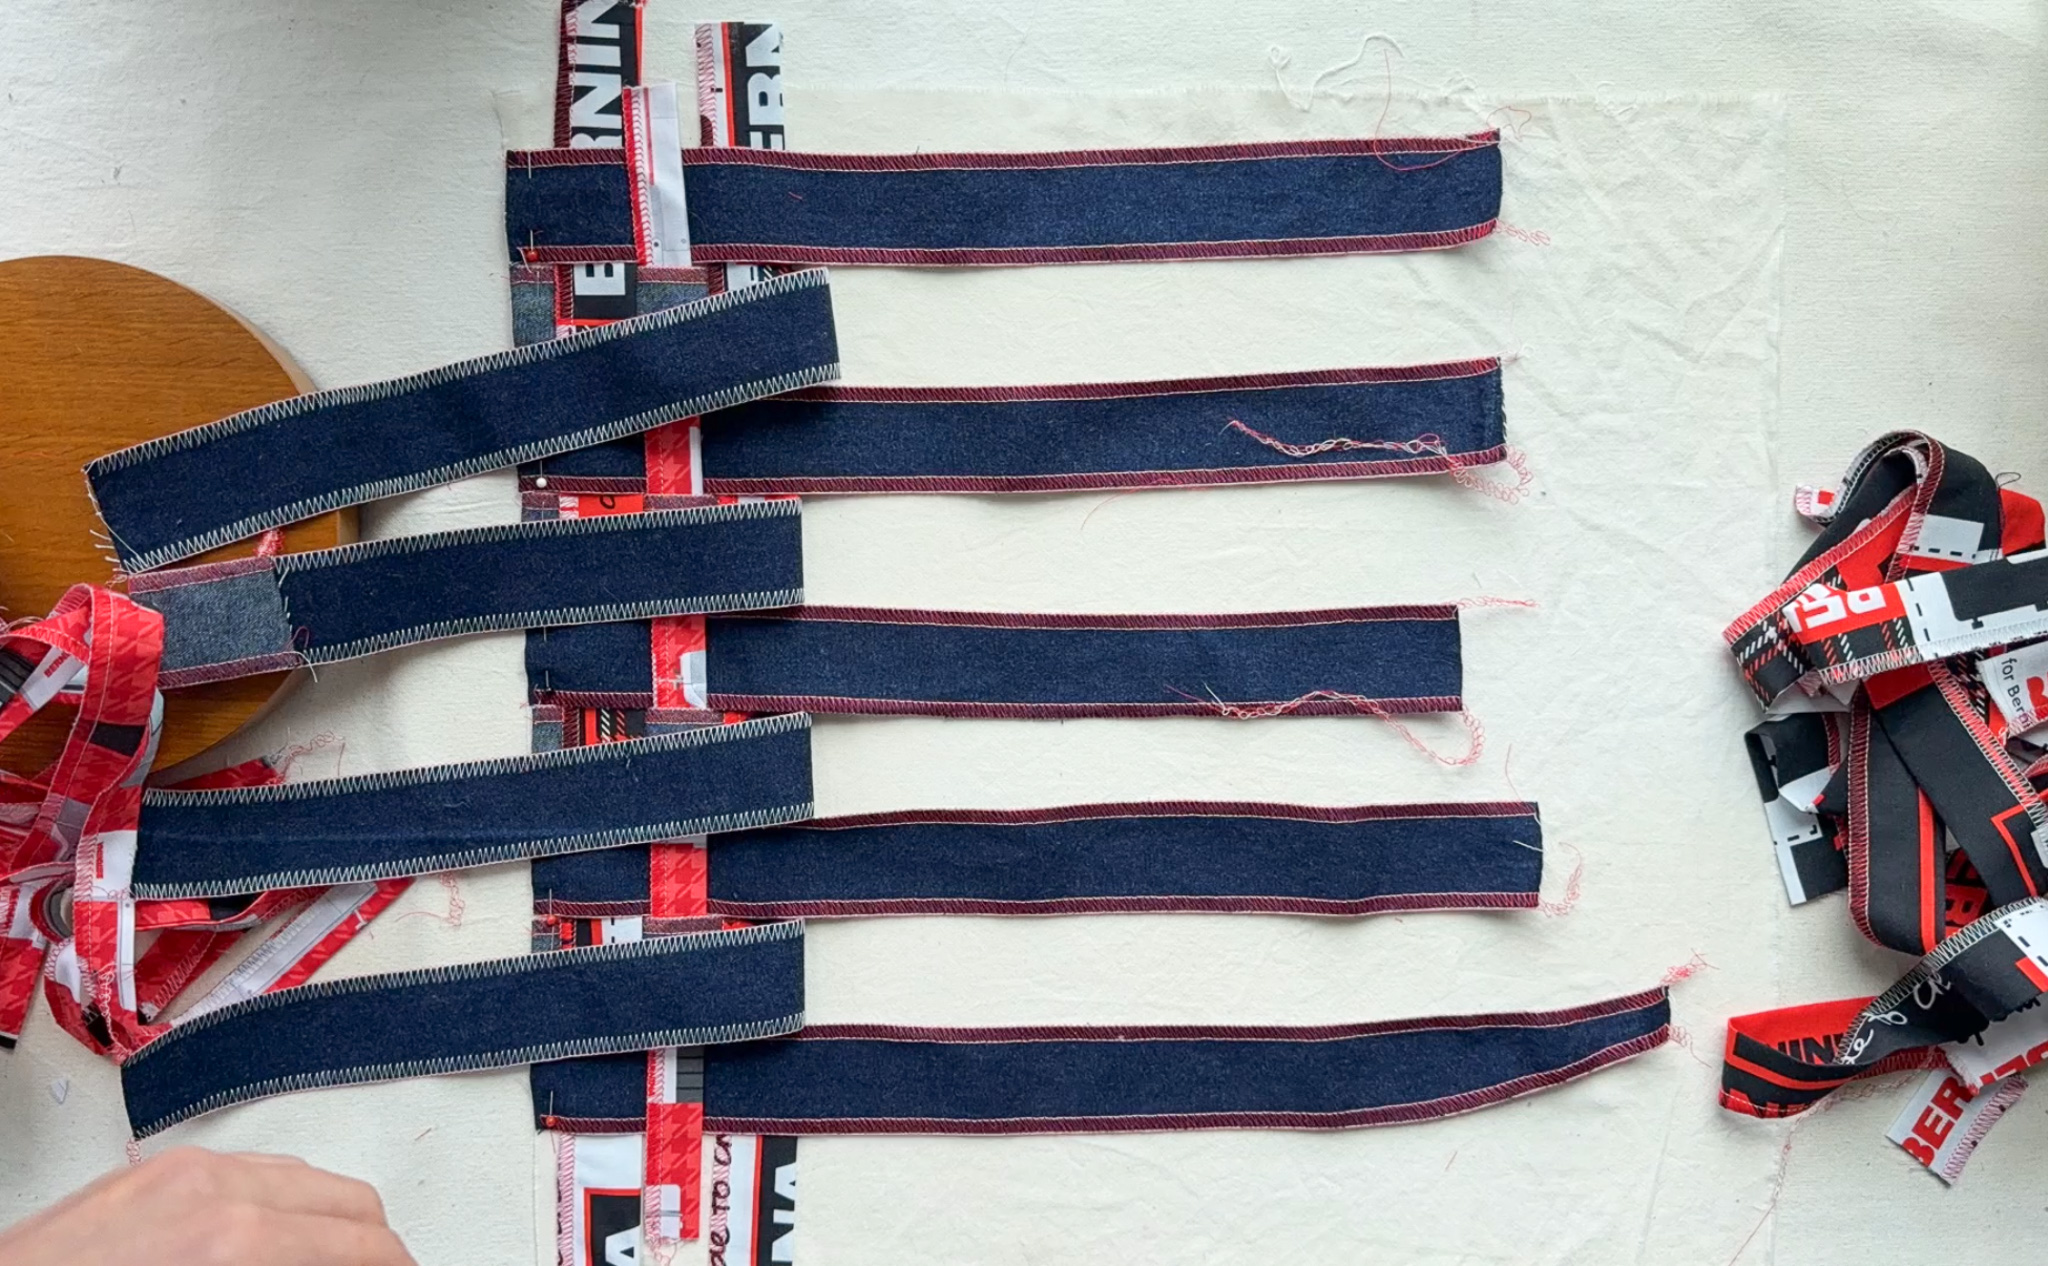
For the most impact, pick fabrics with contrast. Choose lights and darks (you can use the front and back of the same denim), different textures, or contrasting colors. I used the same denim running vertically, but flipped some strips to show light and dark sides. For the horizontal, I used the Bernina quilting cotton.
Choose a base fabric. This should be medium weight (nothing too heavy or it’ll add bulk), stable, and not stretchy. I used a piece of cotton muslin.
And remember, weaving uses more fabric than you expect because the strips overlap!
Step 2: Decide Your Finished Size & Cut Your Base Fabric
If you know what you want to cover, measure that, and you will get your finished size. If not, try starting with a 12″x12″ square. Cut your base fabric to be at least an inch bigger on each side. For a finished size of 12″ square, cut a 14″ square out of your base fabric.
Step 3: (Optional) Plan the Layout
I’m not a big planner; I prefer to sew first and measure later. But if planning is your thing, you are going to have to do a bit of simple math.
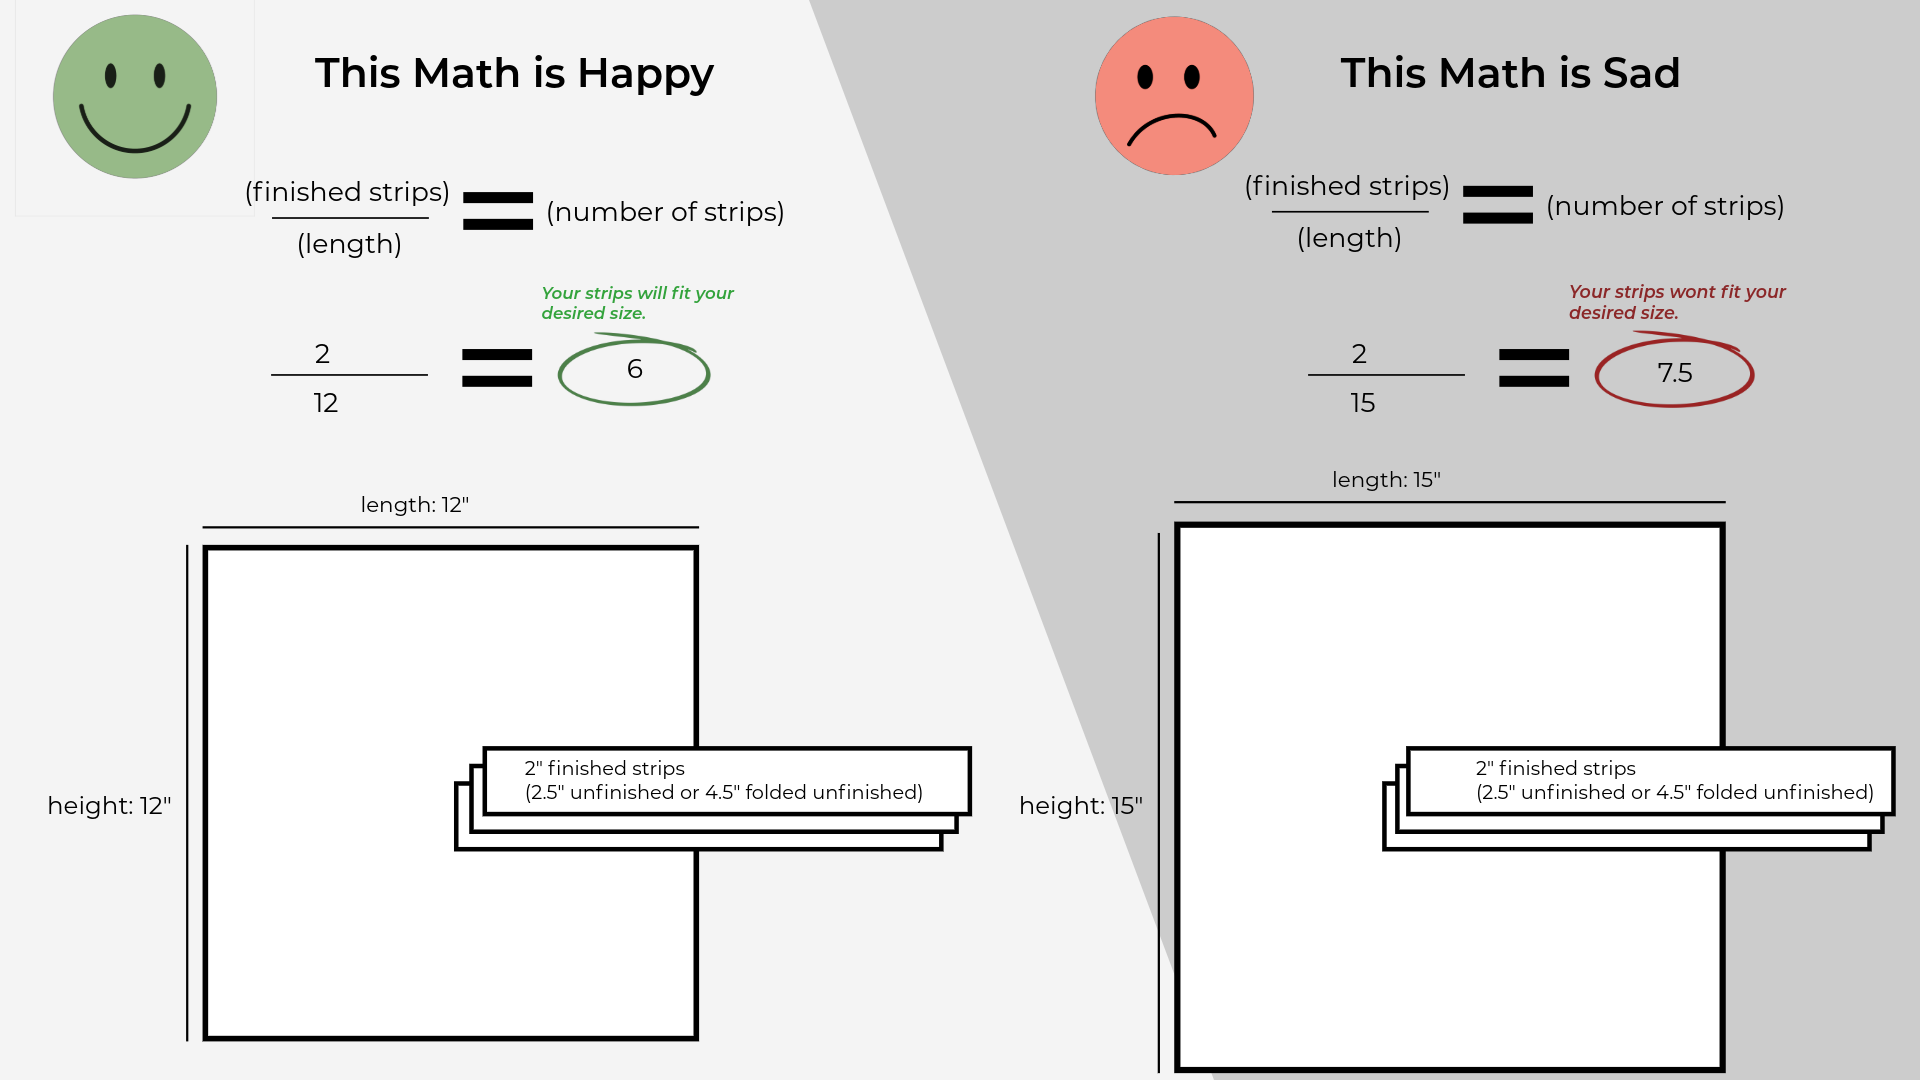
First, you will need to decide the width of your finished strips. Strips can be uniform or varied for a plaid-like effect. Then you will divide the finished length by your strip width to check if it divides evenly. If not, adjust so you don’t end up with an awkward half-strip at the edge. The formula gets more complicated when you use multiple widths, so you might just need to do a bit of trial and error with that one. I kept my denim strips all the same width, but then did two different widths for the quilting cotton.
Step 4: Cut and Overlock Your Strips
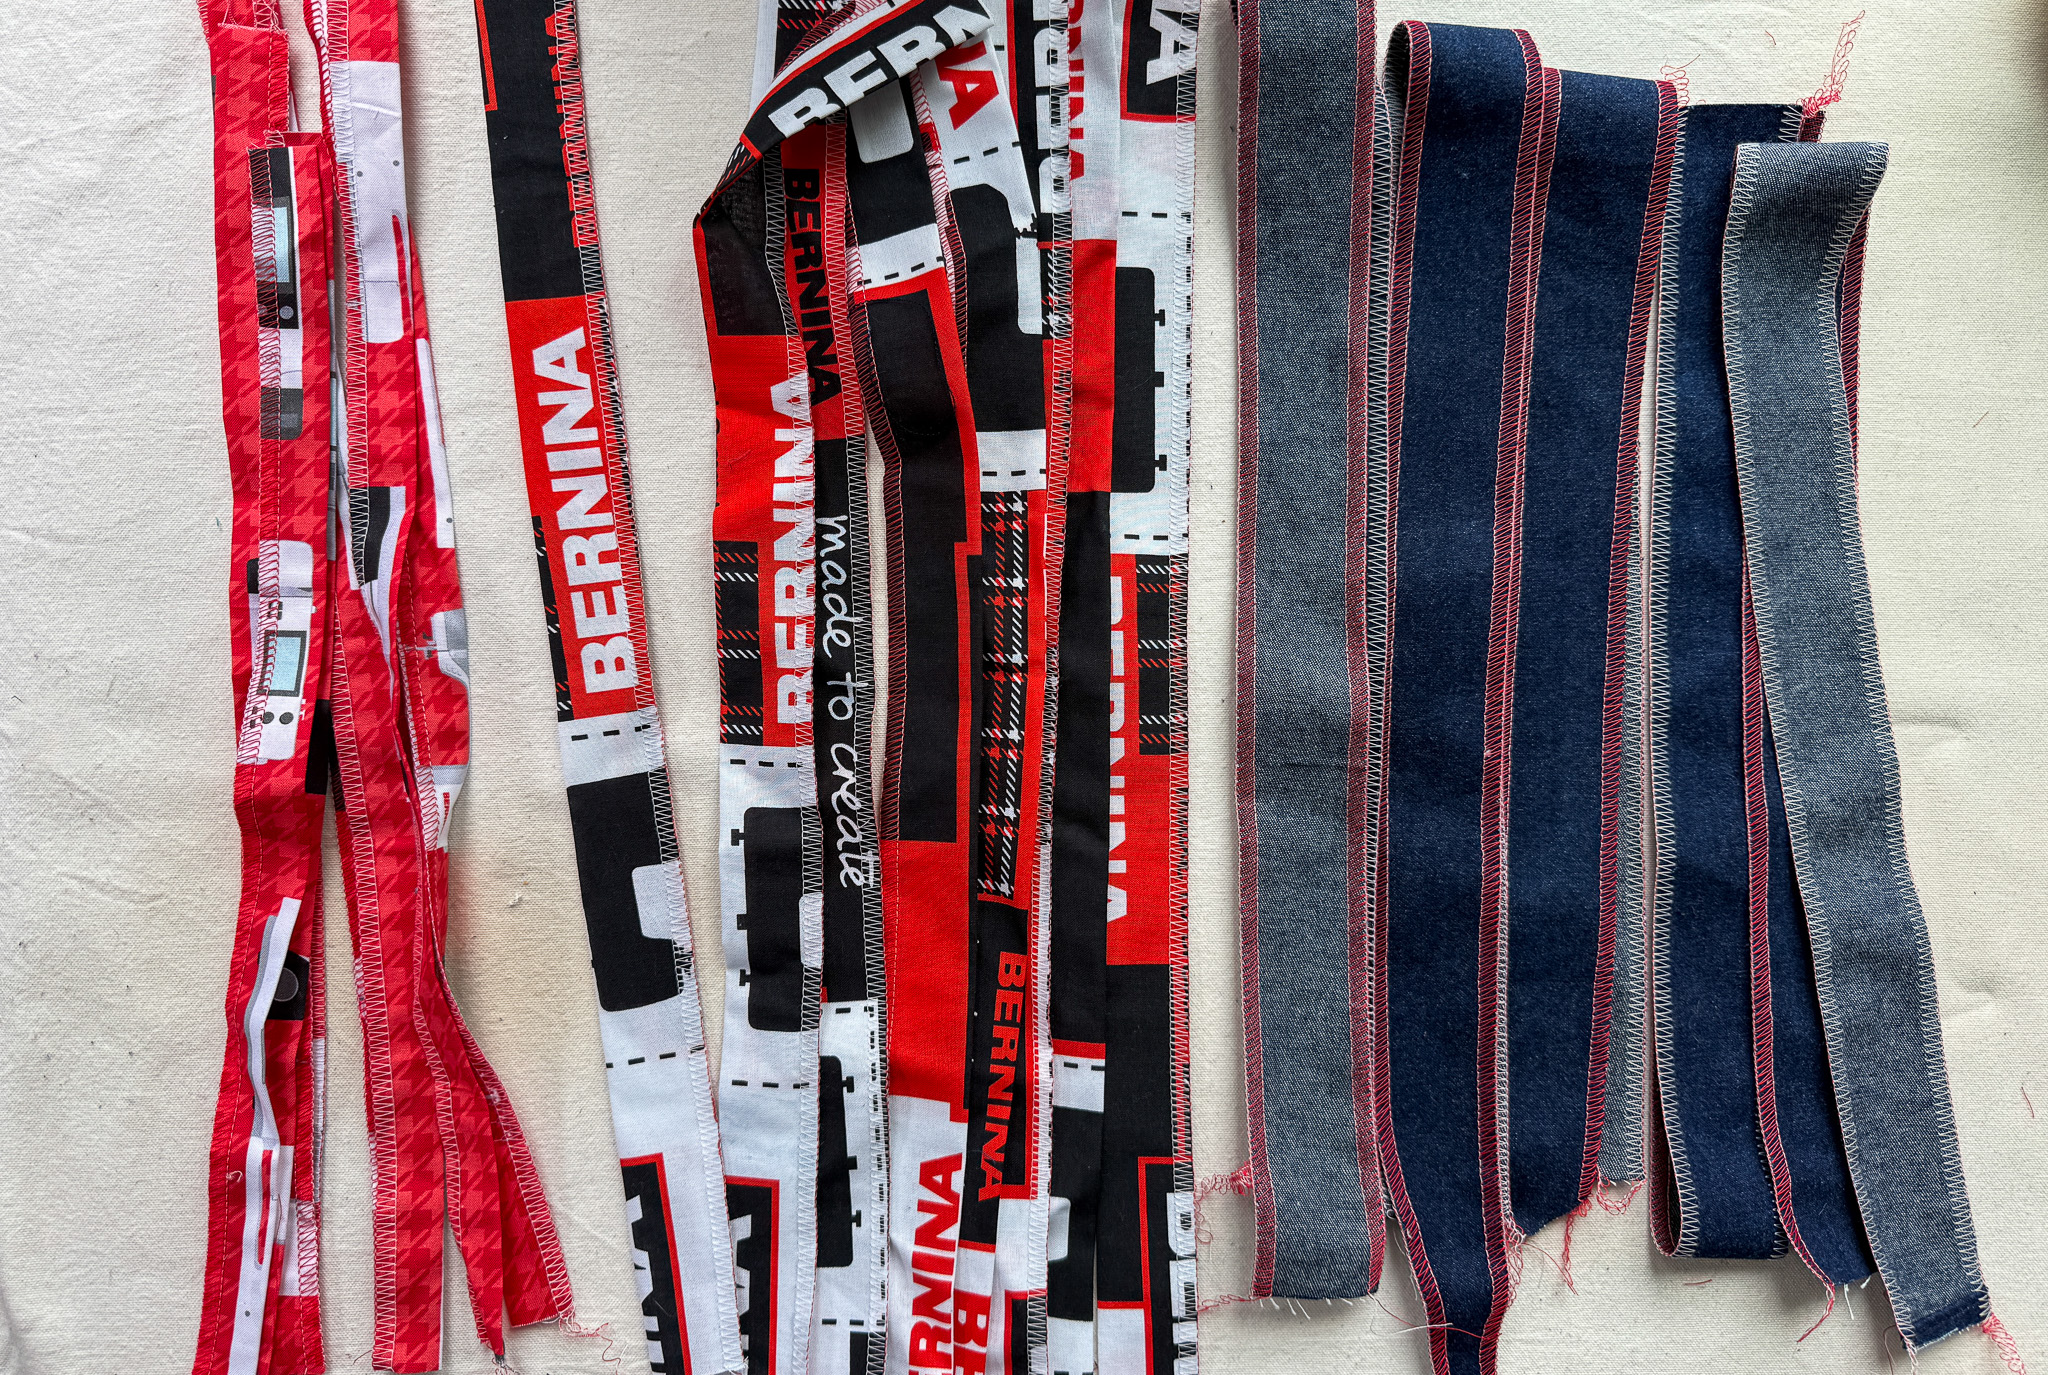
Before you cut your strips, you will need to determine if you want them flat or folded. If you’re mixing heavy denim with lighter cotton, you can fold the cotton strips in half before finishing them (like I did above) so the weights are more balanced.
Important: Add 1″ extra to the length and ¼”- ½” to the width of your strips so you have room to trim when you overlock them.
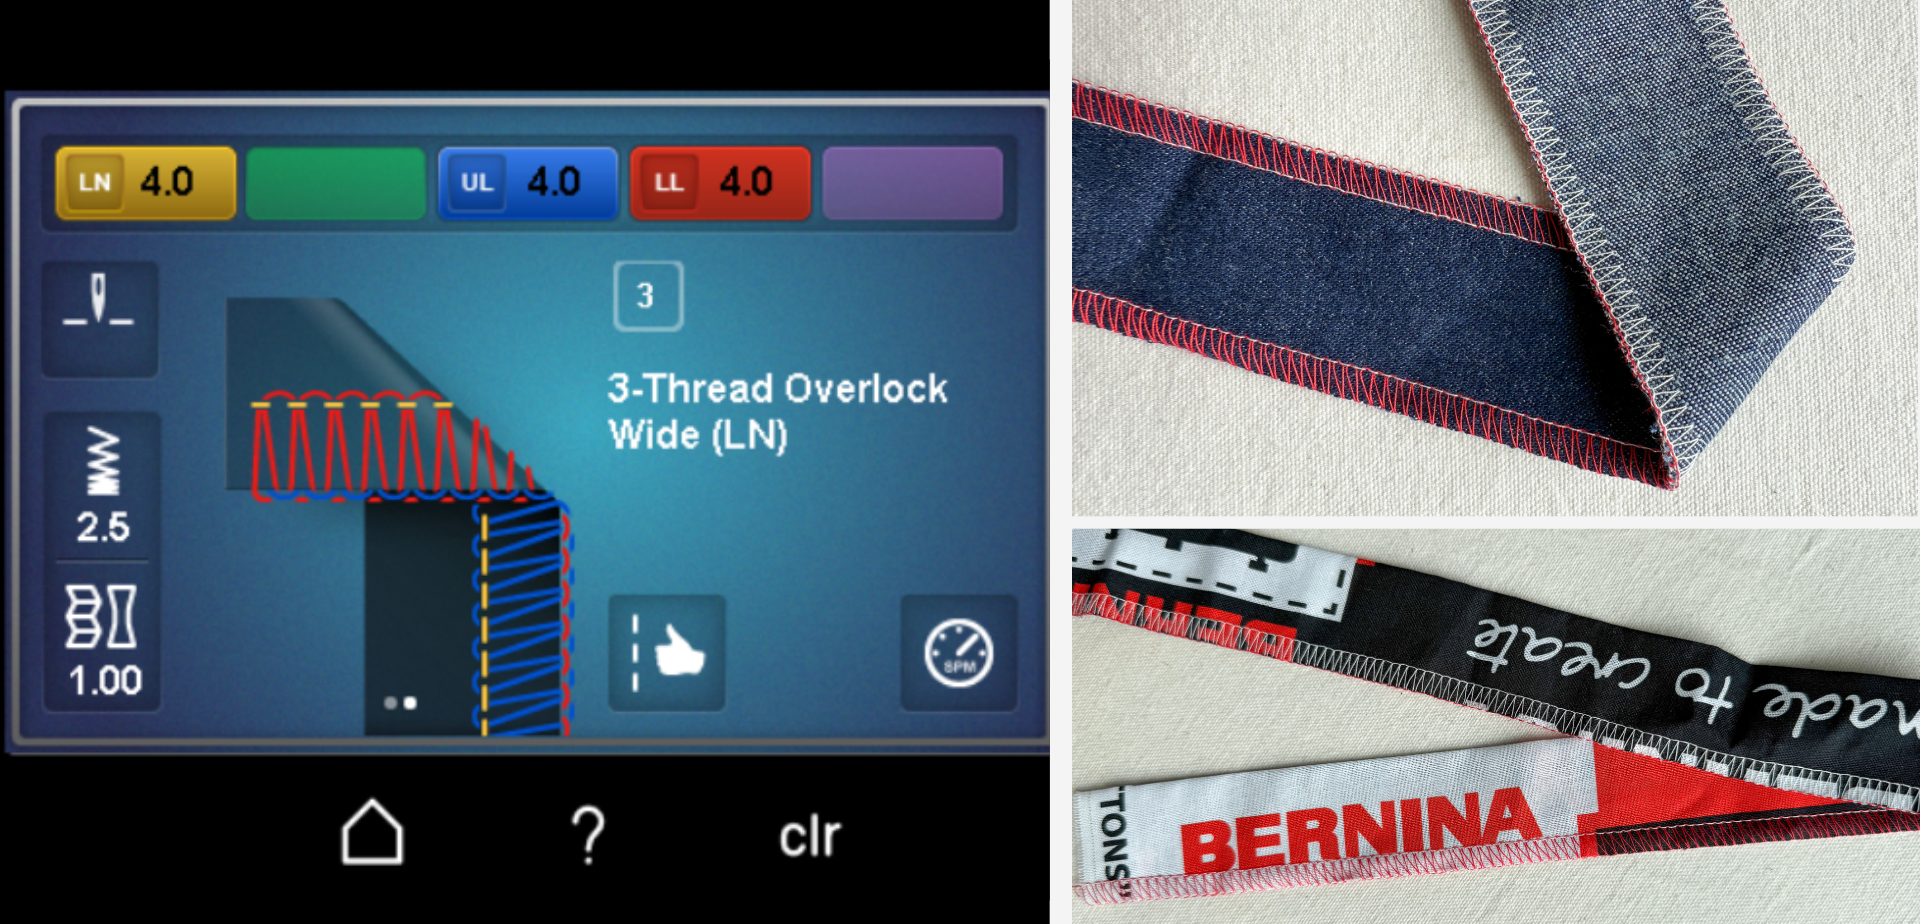
You can use any overlock stitch to secure the fraying edges and add a decorative touch to your strips. I used stitch “3” the 3-Thread Overlock Wide (LN) with a pop of red thread on both sides of my denim strips and the raw edge of my folded quilting cotton strips. If you want a more subtle look, you can use a narrow overlock stitch or use tonal thread colors.
Step 5: Anchor One Set of Strips
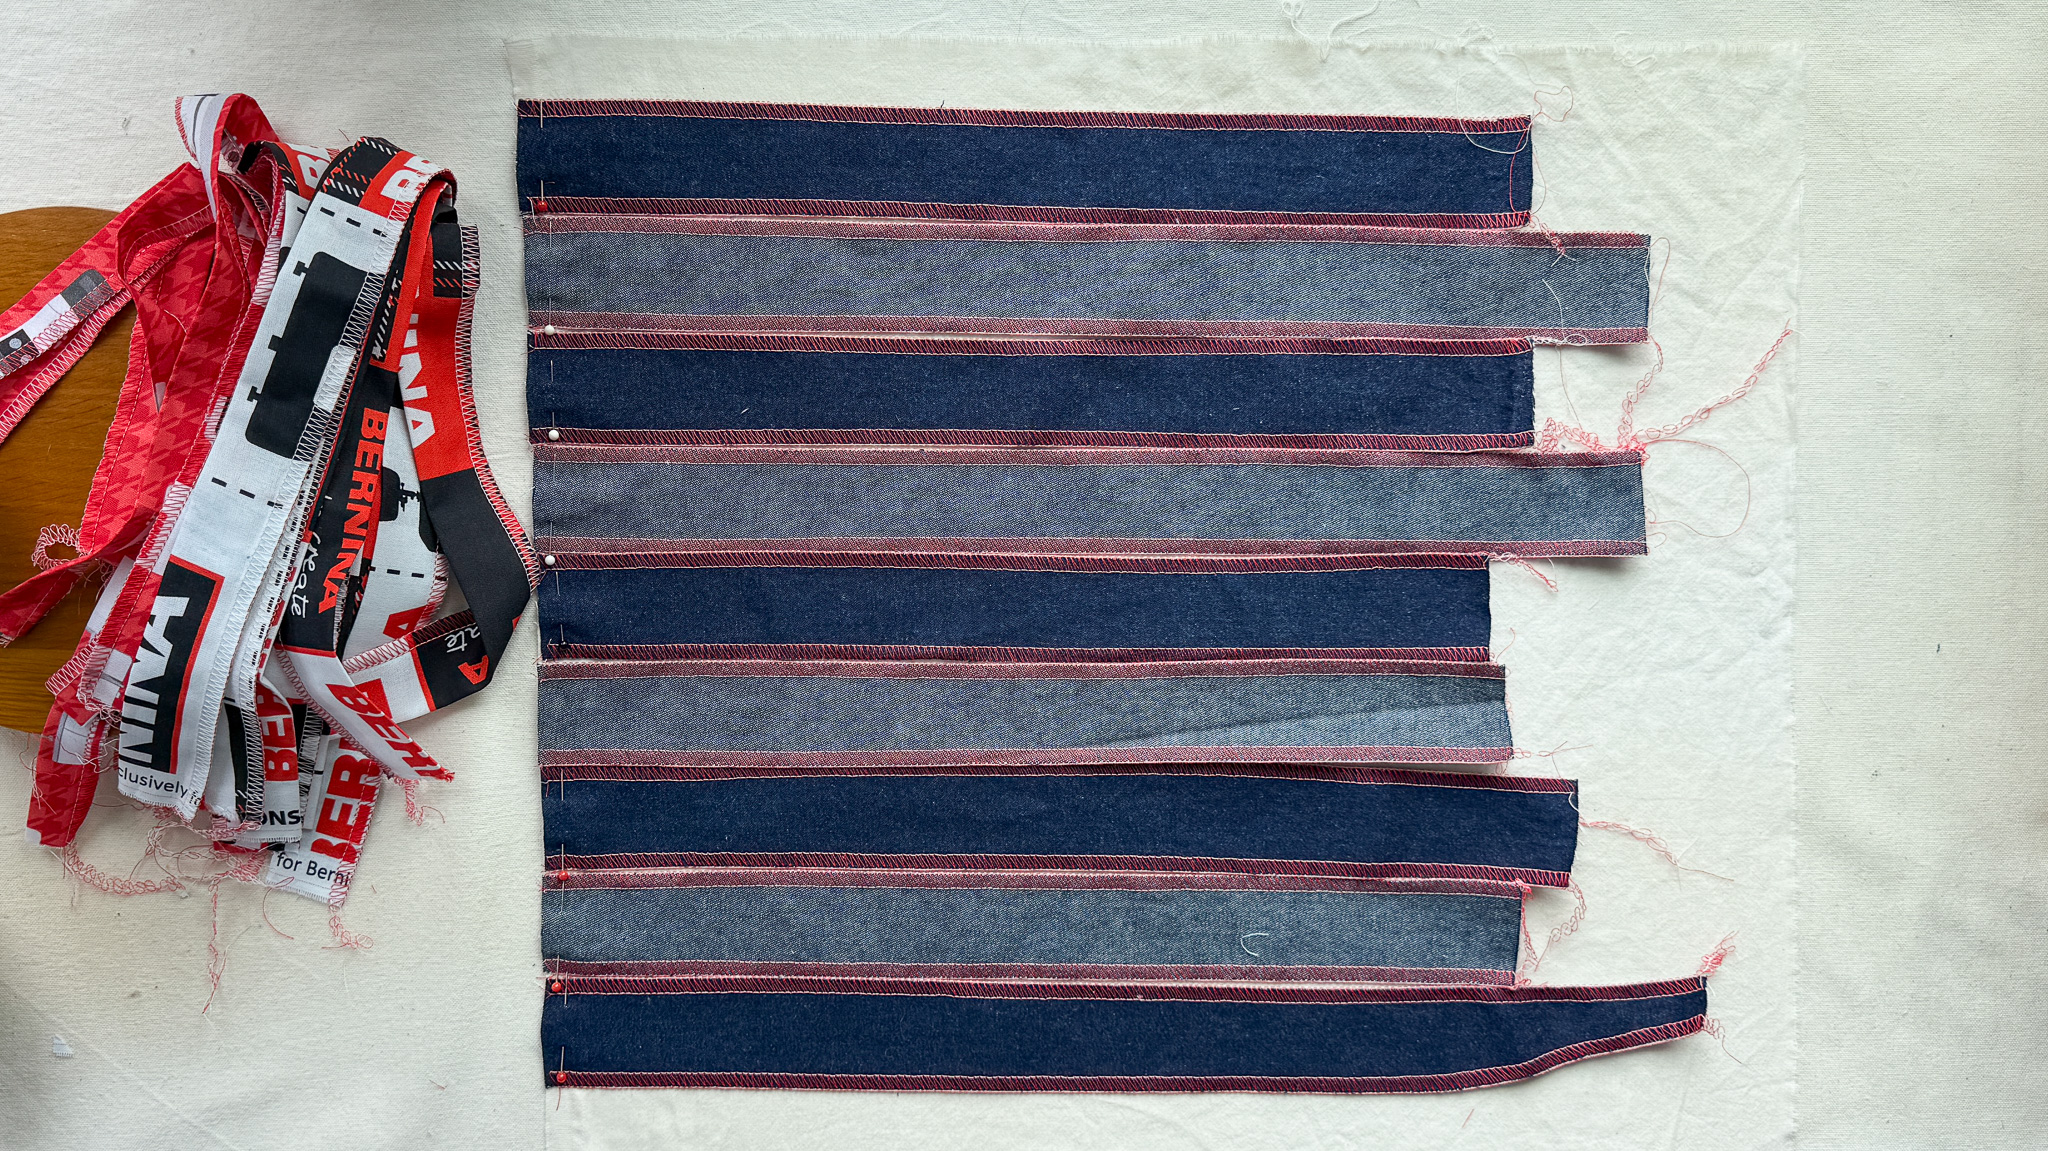
Lay your vertical strips side by side on top of your base fabric. First pin and then baste along one edge to secure them to the base before weaving.
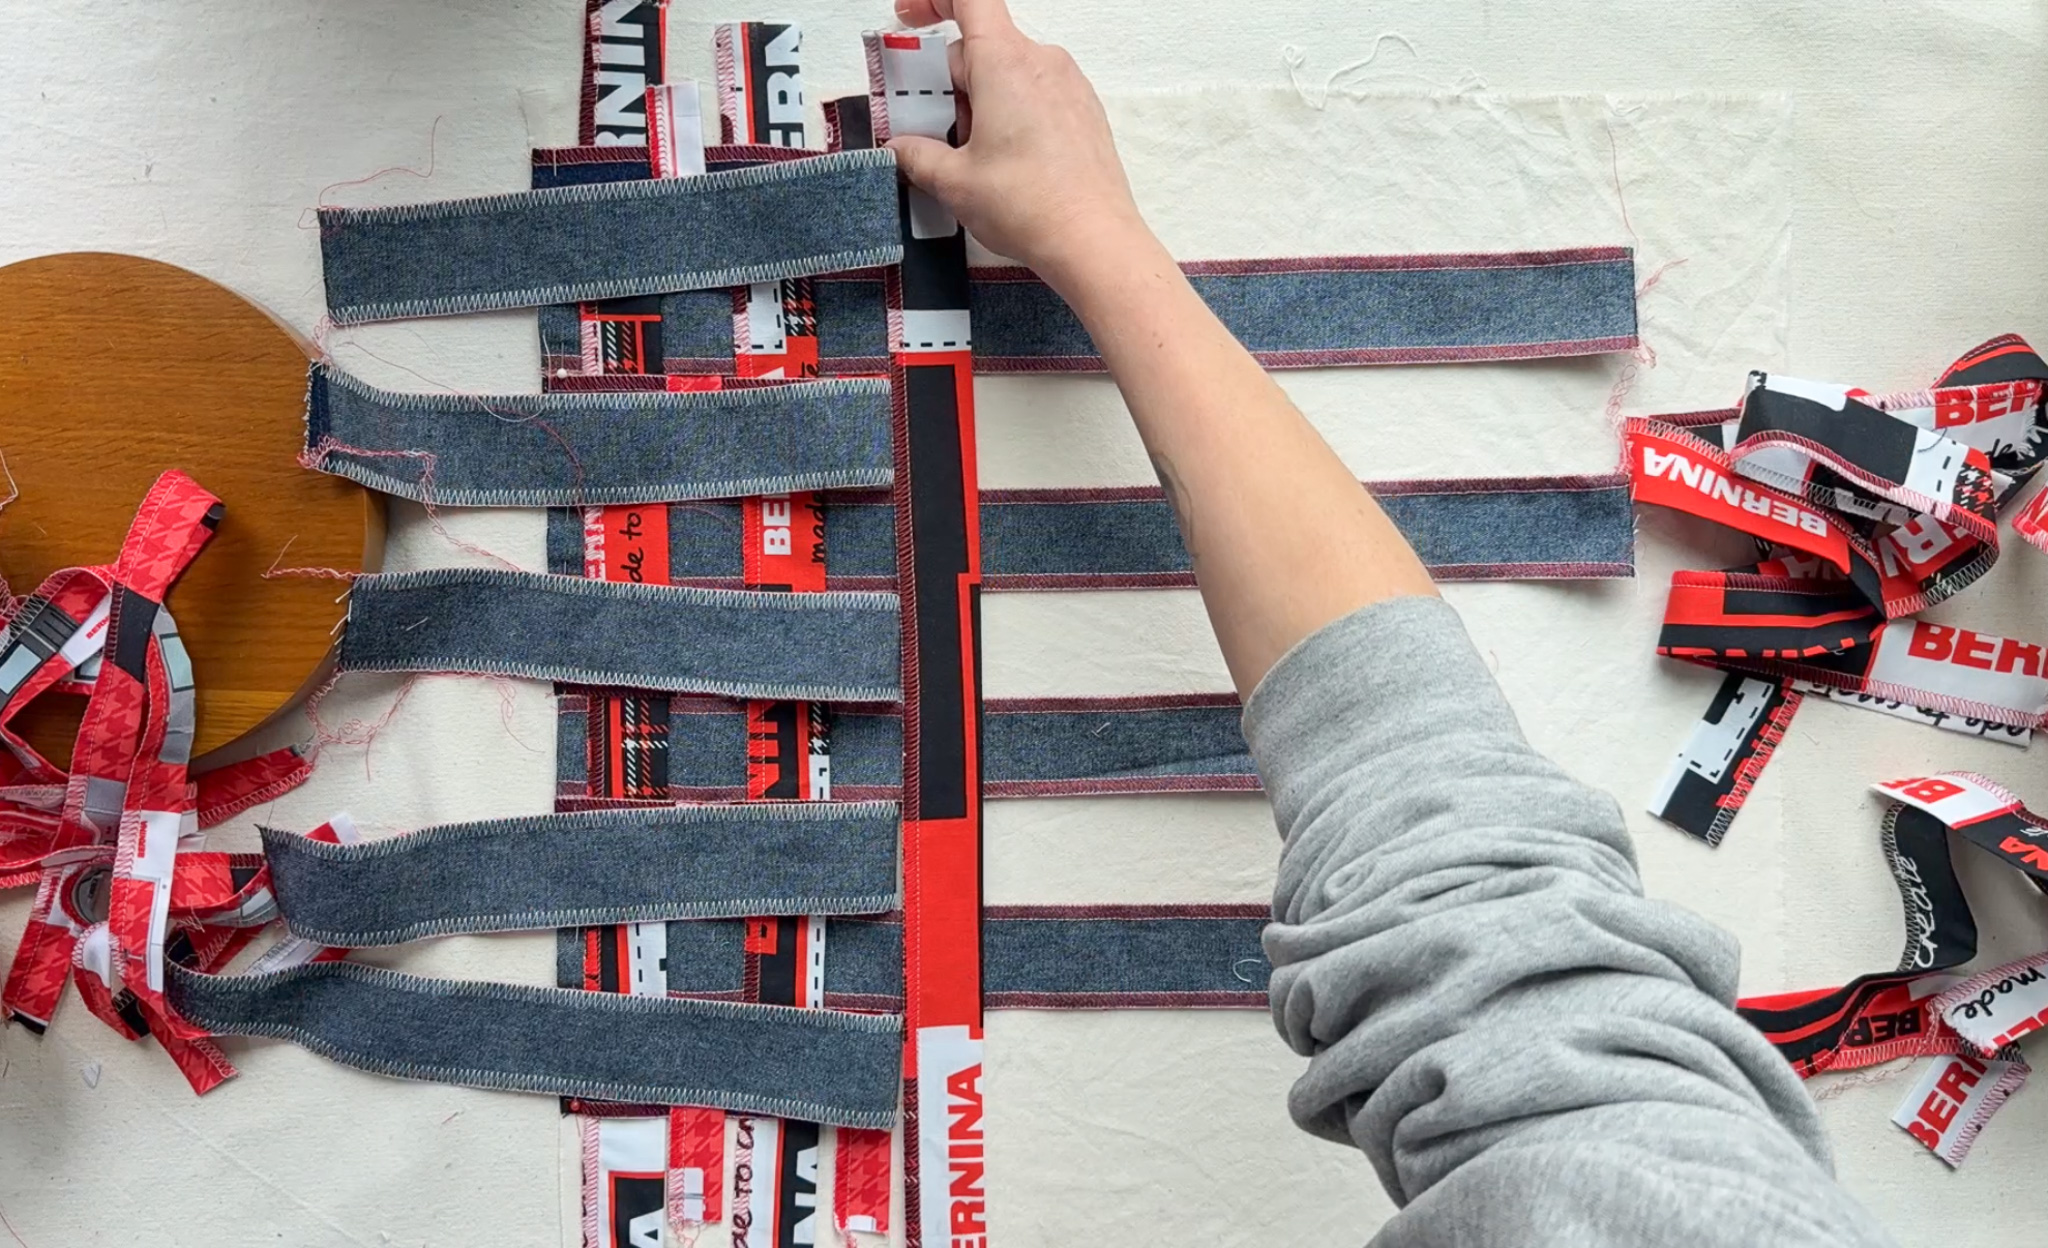
Take your horizontal strips and start weaving them over and under the verticals. Don’t worry about perfection yet — you can straighten as you go.
Step 7: Square It Up
Once woven, adjust so everything is lined up neatly. In this video, you can see that at the end, I start to shimmy everything to tighten it up, which makes room for one last strip. Clip or pin the sides to keep it stable.
Step 8: Secure the Edges
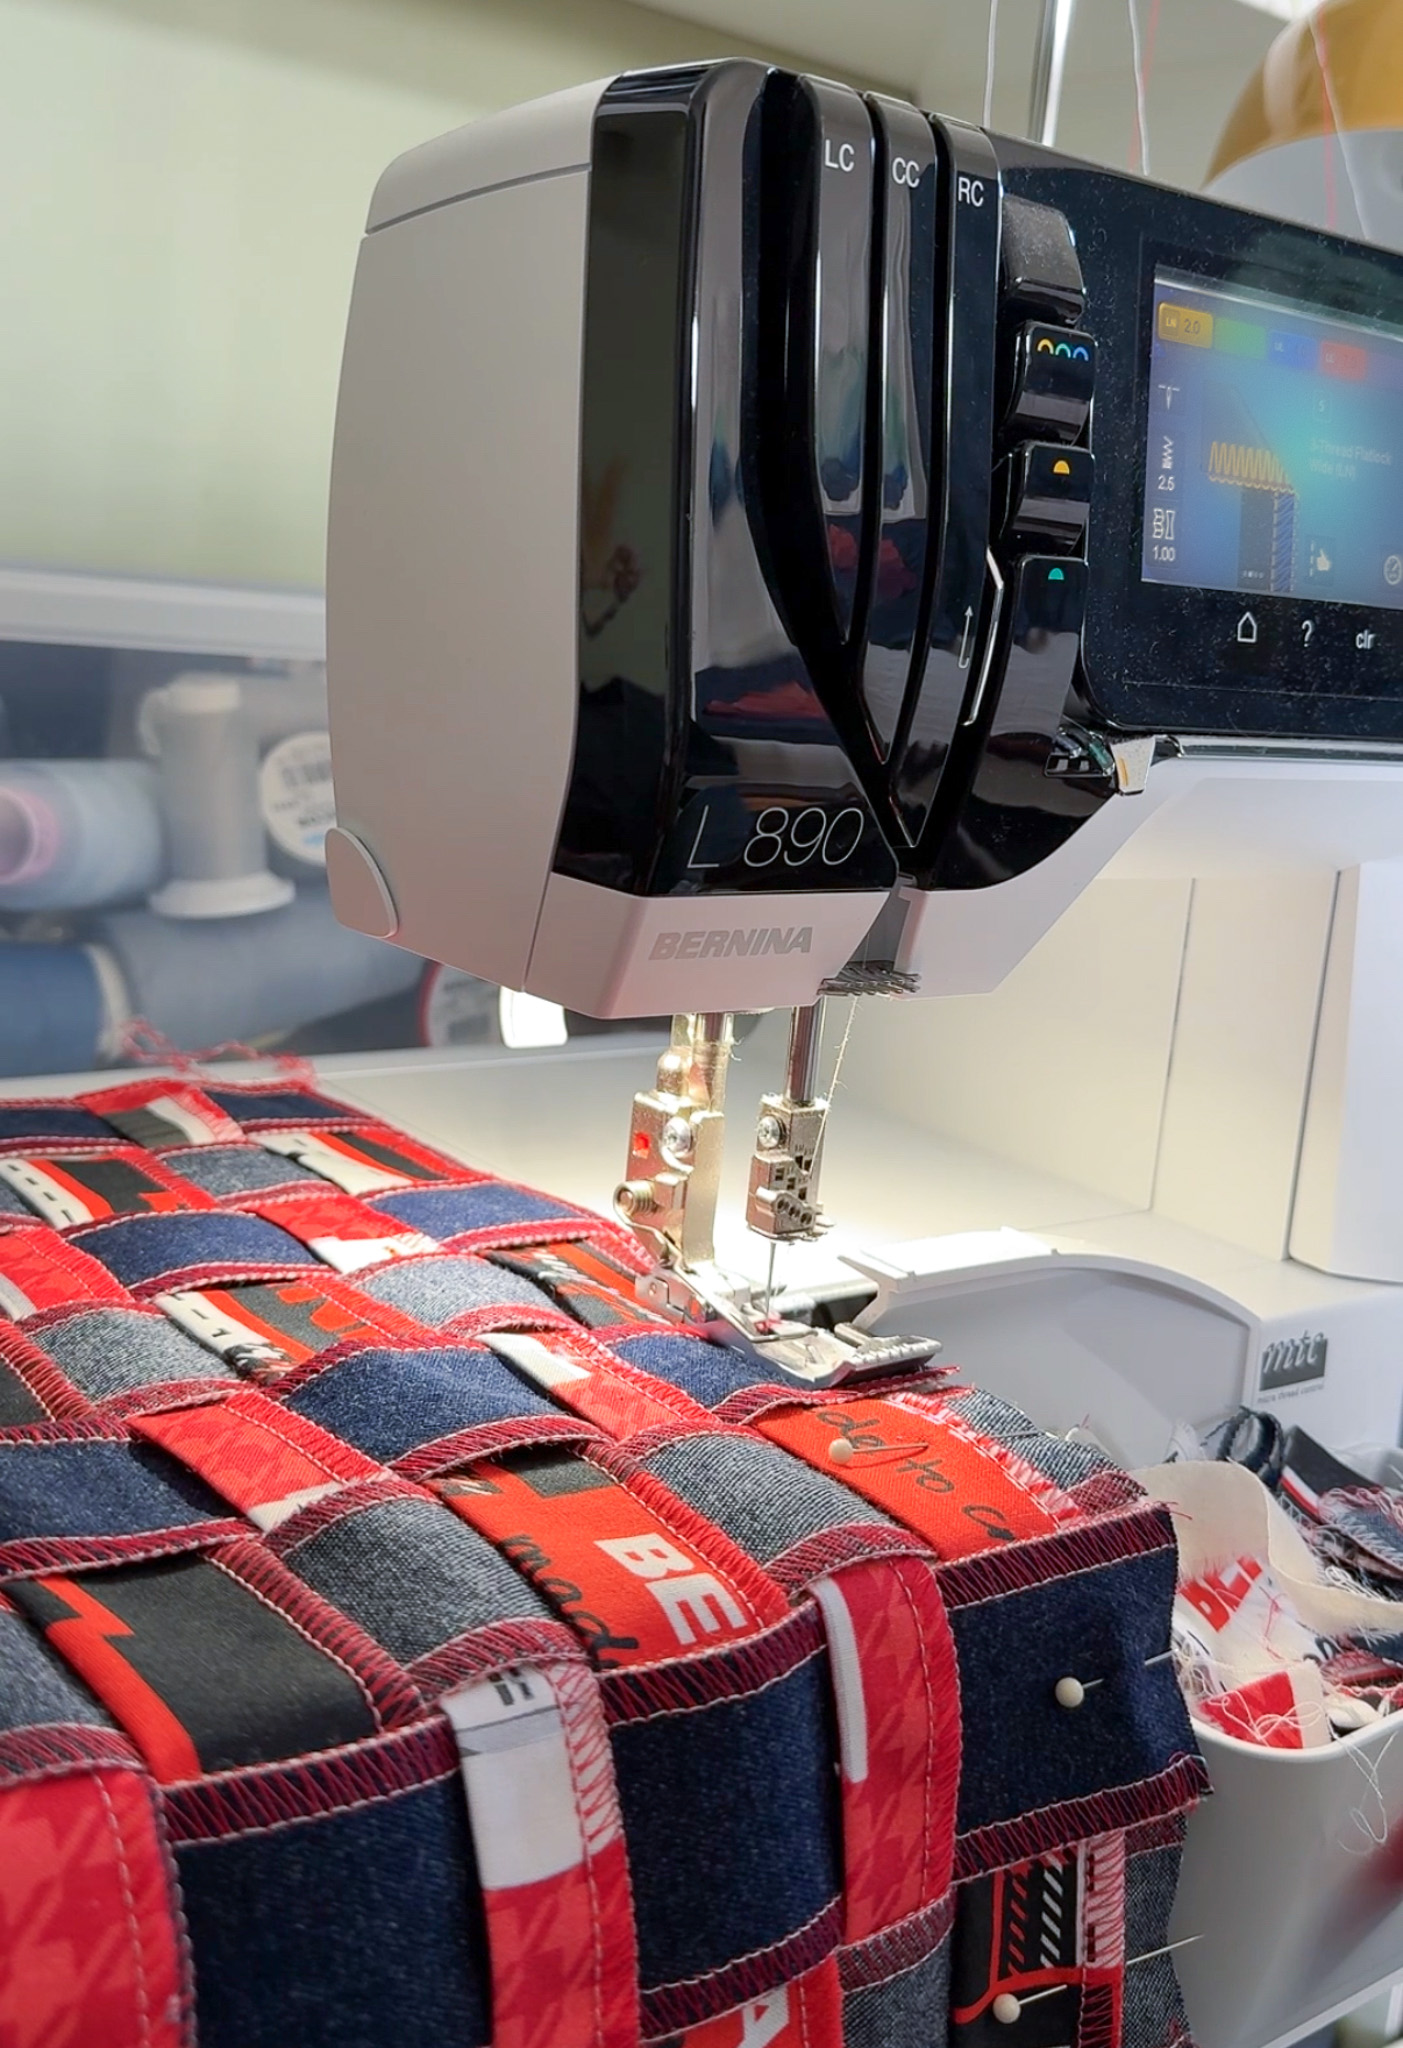
Overlock around the entire square to catch the strips and base fabric together. This locks everything in and gives a neat, finished edge. You can use the same overlock stitch you used for the strips or use one with a safety stitch if you feel like your weave needs some additional security.
Step 9: Add your Weave to Something!
Woven panels look amazing as pillow covers, pouches, or even panels on jackets. You can choose to add batting or keep it as is, adding decorative quilting or just a couple lines of stitching to keep it secure. For my tote, I simply straight-stitched around the edges of the woven block and added a couple of stitch lines through the middle to keep it flat and secure.

This project reminded me why I love weaving: it’s accessible, creative, and forgiving. Whether you’re using yardage, scraps, or old clothing, weaving gives fabric a second life — and lets you make something truly one-of-a-kind.
Tips & Variations
- Play with strip widths: Mix skinny and wide strips for a plaid-like effect.
- Mix textures: Denim + cotton, canvas + linen, even old shirts or sheets. Weaving works best when fabrics contrast.
- Use both sides of denim: The inside of denim often has a lighter color and weaving dark and light sides together adds dimension without using more fabric.
- Try mixing solids and prints: Use one solid color vertically and a mix of prints horizontally.
- Skip perfection: A slightly wonky weave can actually look more handmade and interesting.