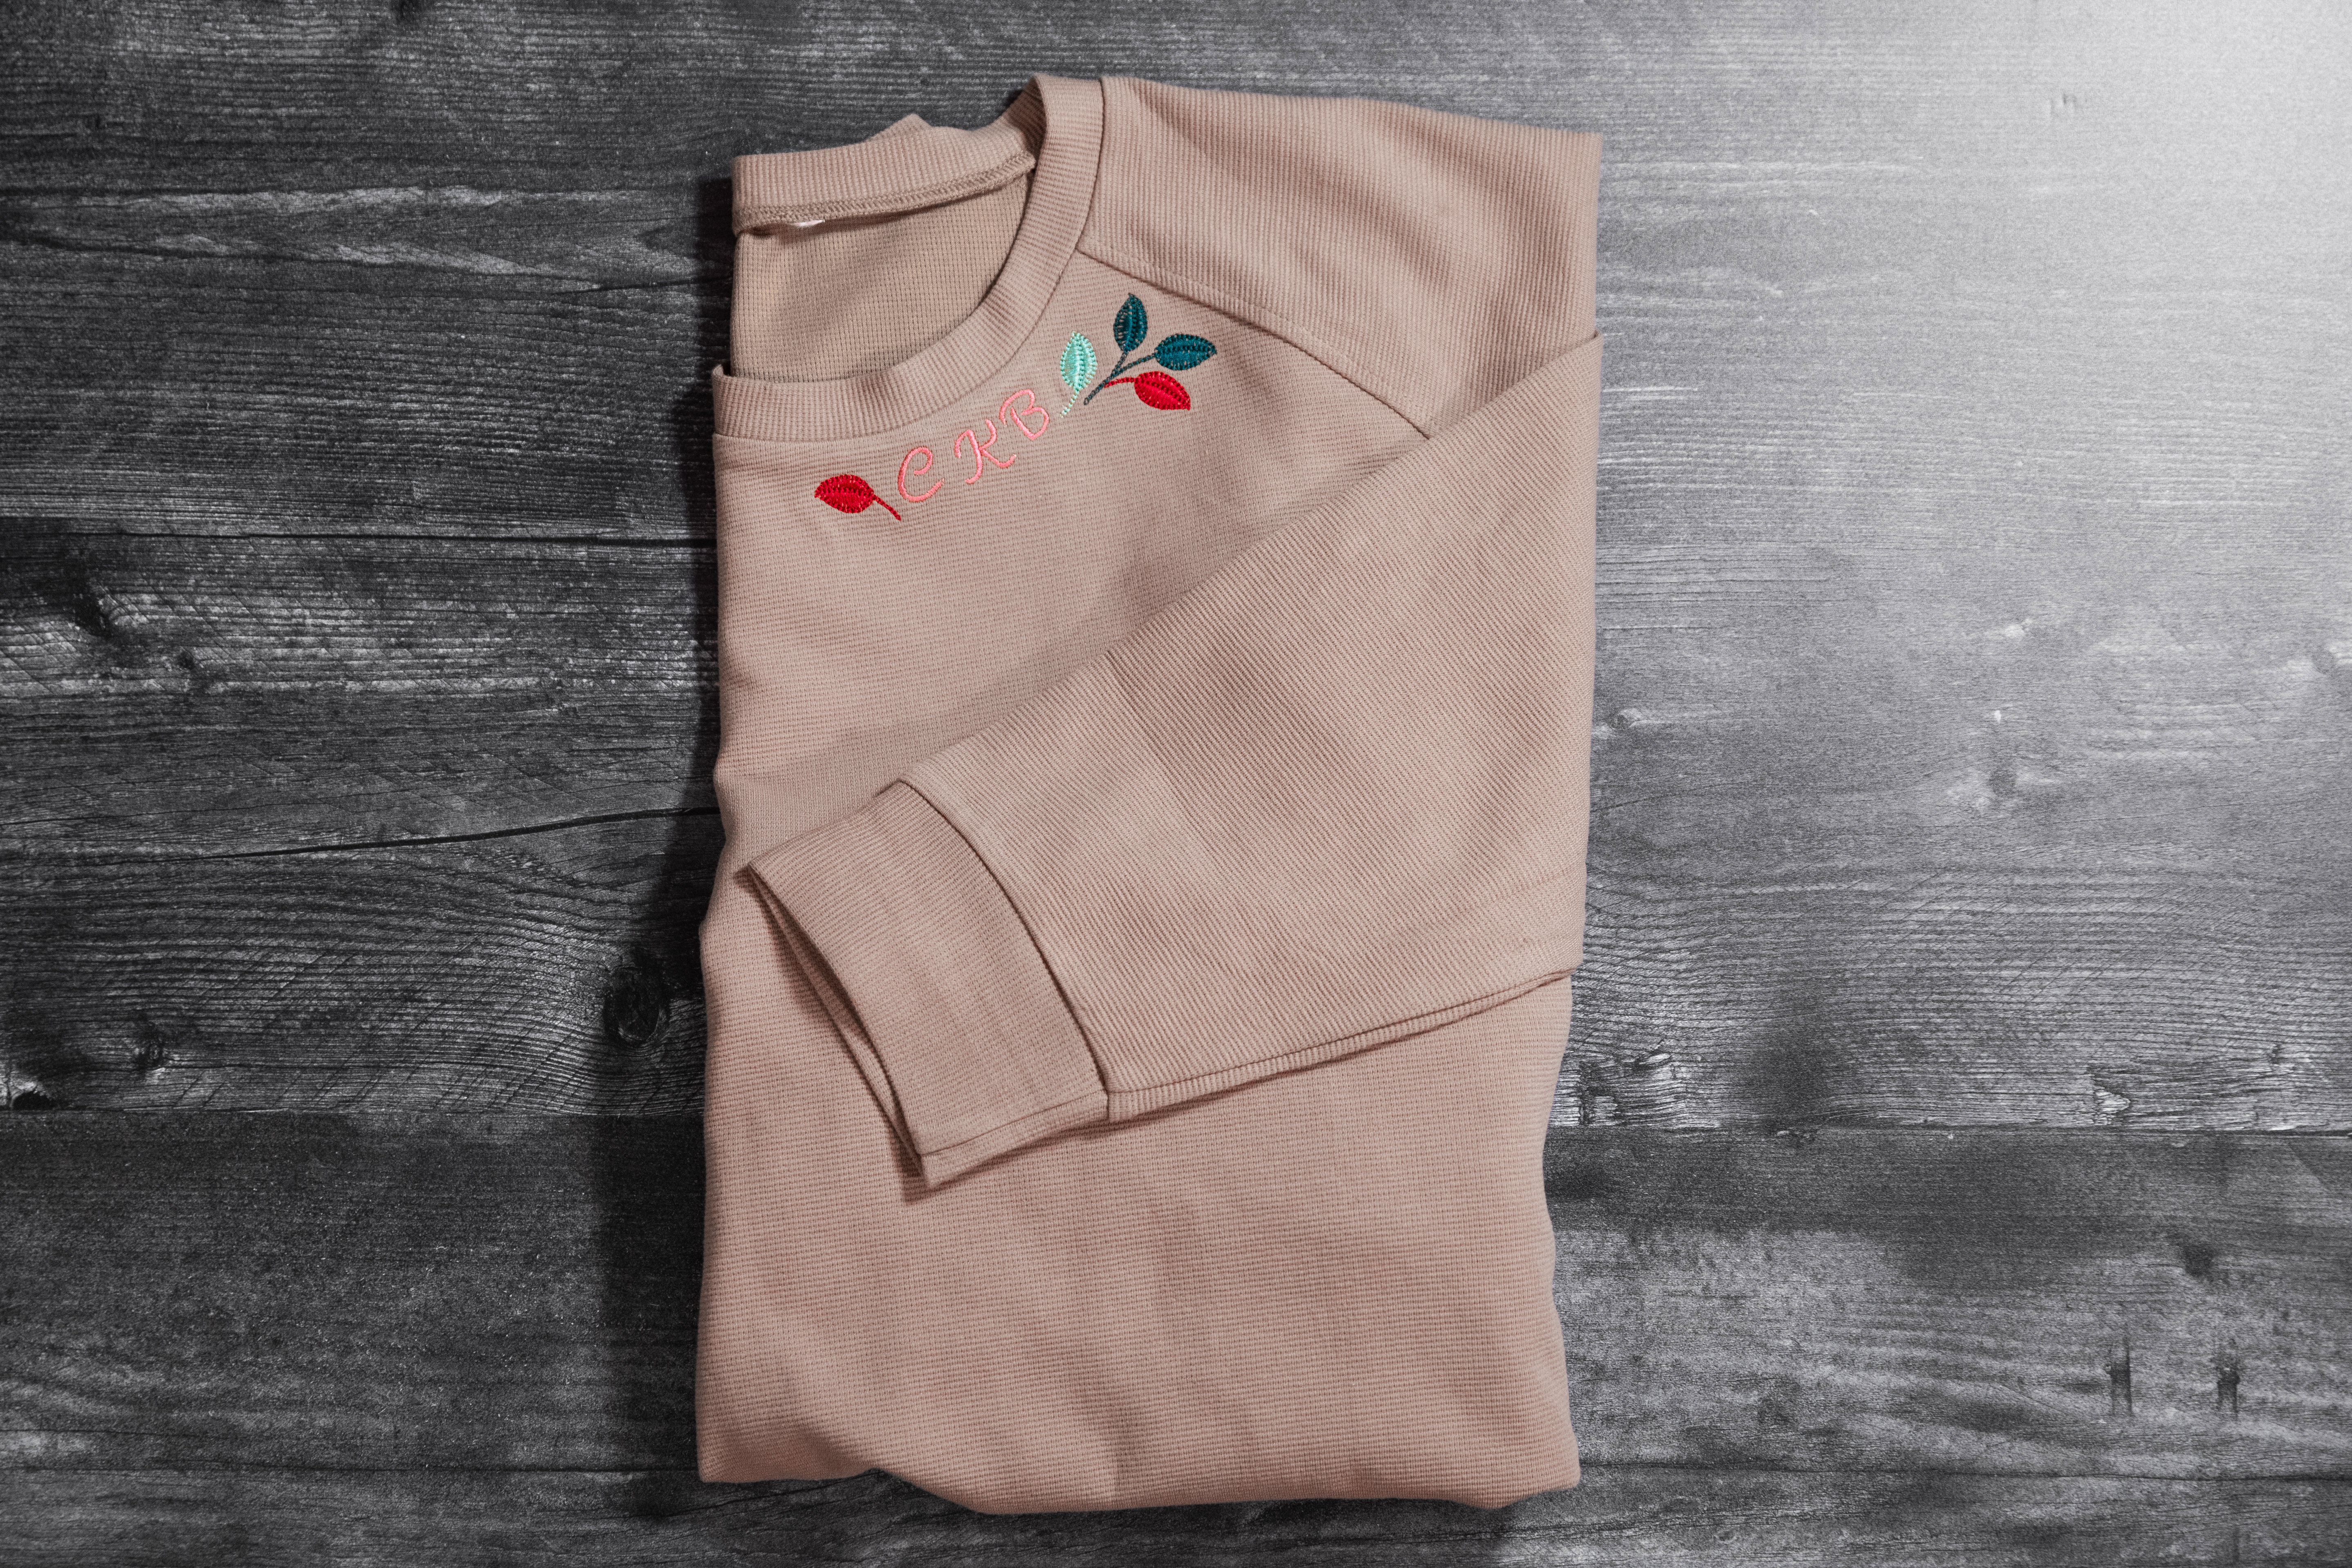
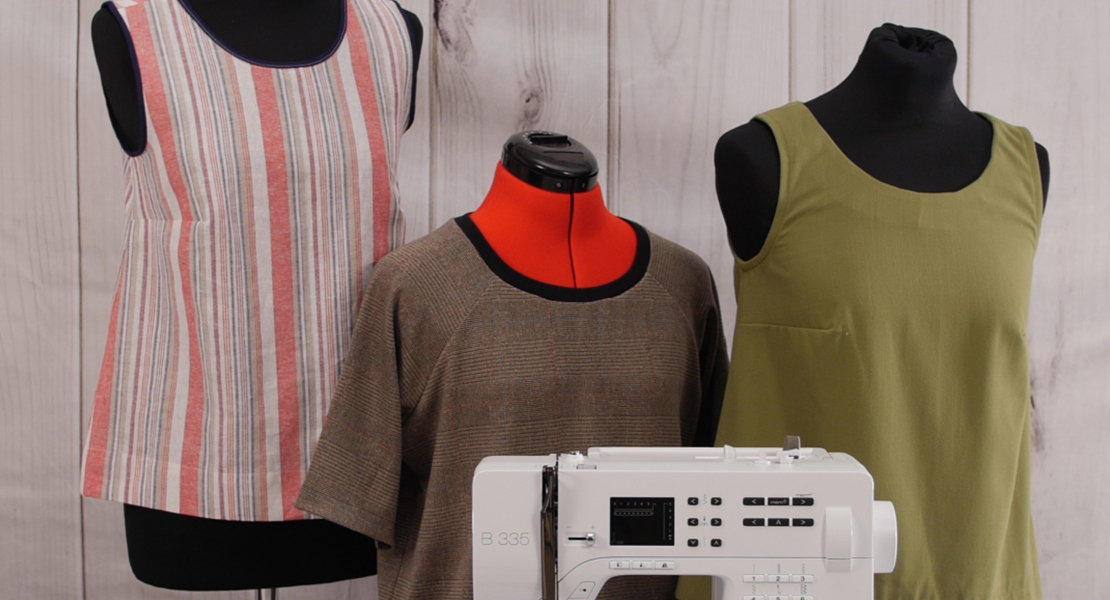
Two Ways to Perfectly Placed Embroidered Necklines
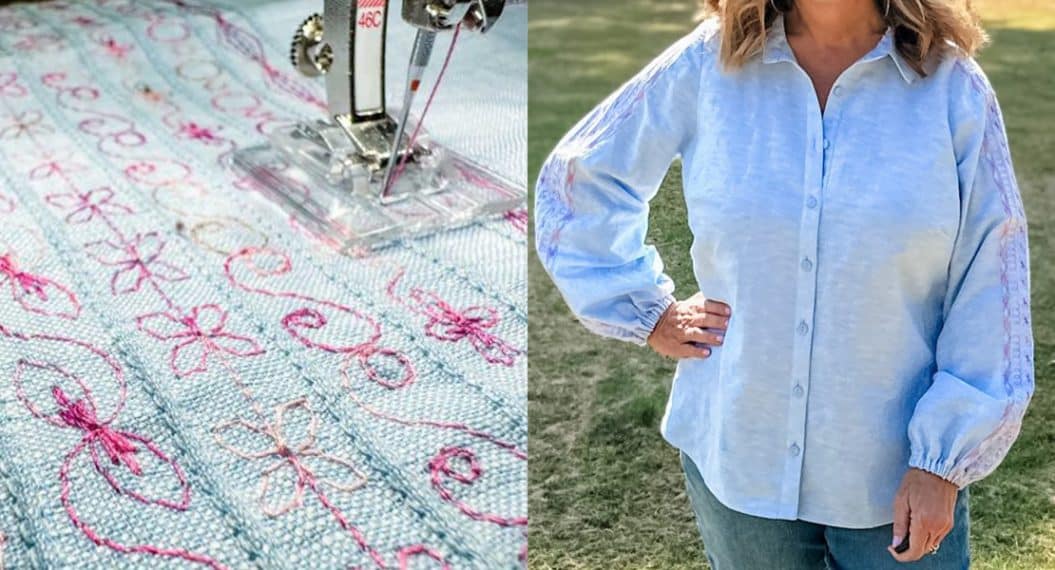
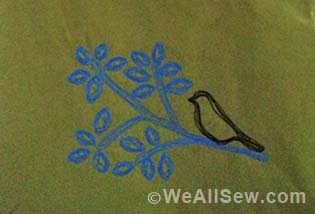
Lately, my Pinterest feed has been filled with cozy sweatshirts dressed up with delicate embroidery right along the neckline. The examples I saw were all hand embroidery, but I couldn’t wait to try it by machine.
The key that makes this trend so cute is the way the designs perfectly hug the neckline. That precise placement gives you a polished, intentional look. Getting the perfect placement isn’t as daunting as you might think.
Materials for Embroidered Necklines
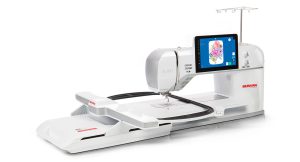
- BERNINA 990
- BERNINA Software 9
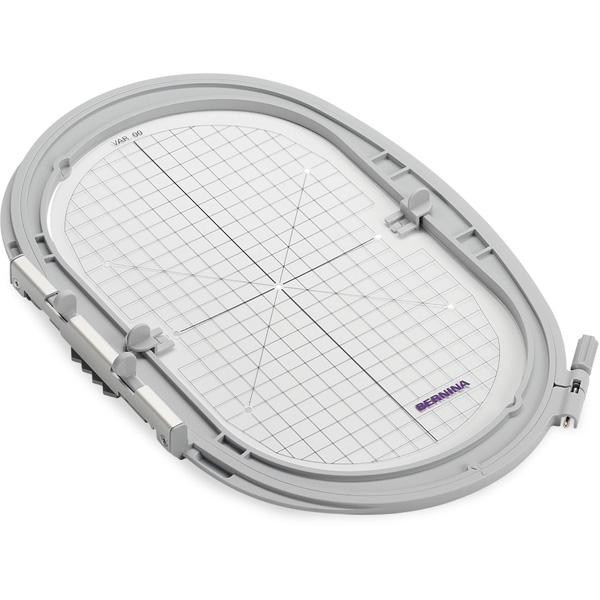
- Large Oval Hoop
- Sweatshirt
- Isacord Embroidery Thread
- OESD Target Paper
- StabilStick CutAway
- 80/12 Ballpoint Embroidery Needle
- Rotary Cutter
- Fabric Marking Pen
Option 1: Printed Templates
For this method, you can use any embroidery machine. You’ll need embroidery software to print a template. Most embroidery software programs on the market, like BERNINA Software 9, can print the design at actual size with markings through the center.
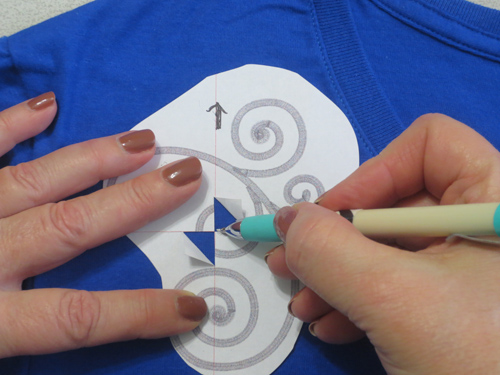
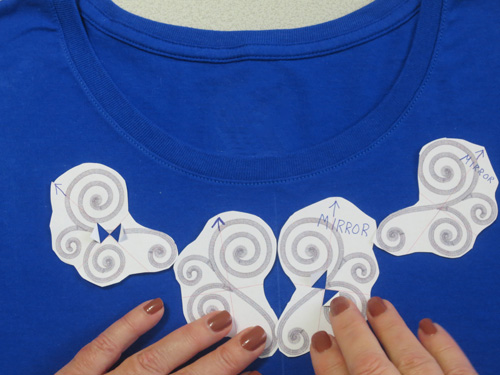
Once printed, cut a slice with a rotary cutter at the vertical and horizontal center of the template and fold back two corners. Depending on your design choice, you might have more than one template to print.
Next, you’ll position your design as desired. Mark the center of the design along the center (at the corners you folded back), using your preferred fabric marking pen.
Remove the templates and extend your marks to create long horizontal and vertical placement lines.
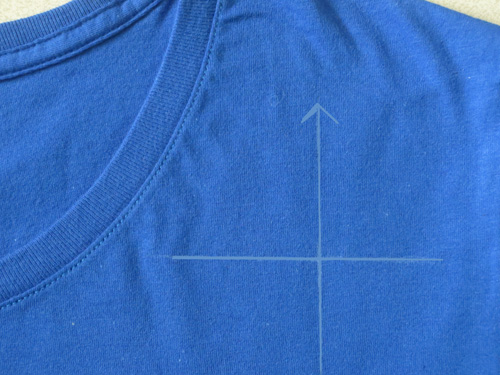
If you are using multiple designs, place all of your design templates before marking.
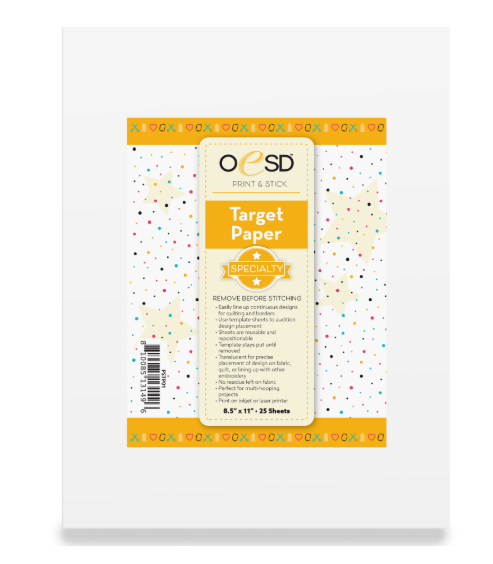
Tip: Instead of plain paper, you can also use printable template paper, such as the Target Paper from OESD. Because this paper has an adhesive backing, you can skip transferring the markings and just stick the template directly to your project.
Now, hoop your project as desired. In the next section, we will show how to “float” a shirt onto adhesive stabilizer.
Once you’ve hooped your project, place your designs over the templates or markings. There are various methods to do this, depending on your machine.
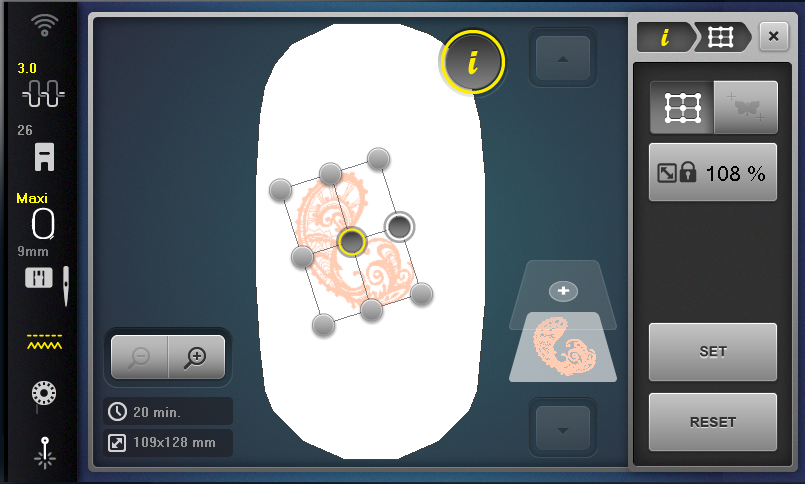
With a BERNINA that has the Pinpoint Placement function, use the “grid” option of Pinpoint Placement. Select the center dot on the grid, then use the Multi-Function Knobs to place the design at the center. Select Set.
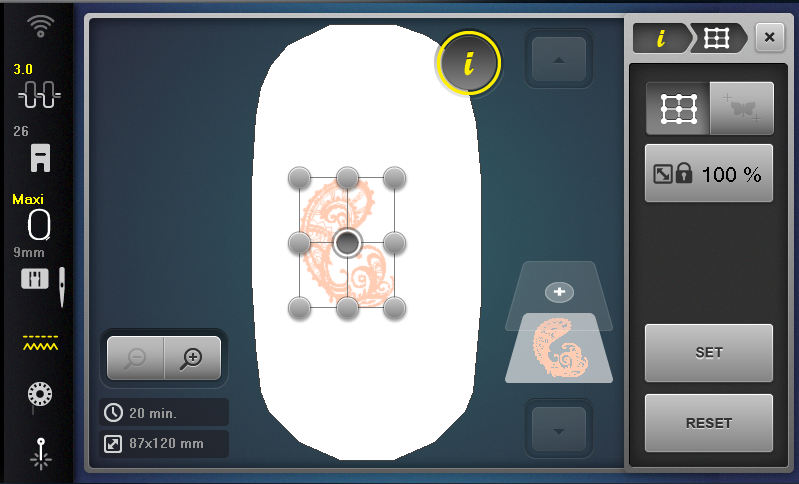
Next, you’ll set the rotation by selecting another point on the grid. Usually, I will use the center right dot, but you can choose any dot on the vertical or horizontal axis. Now use the knobs to rotate the design until your needle is perfectly positioned on either the horizontal or vertical axis on your template (depending on the dot you selected). If you have a Pinpoint laser on your machine, this process is even easier to do.
Repeat the process for any remaining designs. If using adhesive templates, REMOVE THE TEMPLATES before you stitch out your design.
Option 2: Using the BERNINA 990 Placement Scanner
Using the Placement Scanner on the B 990 lets you save the step of printing templates while also giving you a clear visual before you stitch.
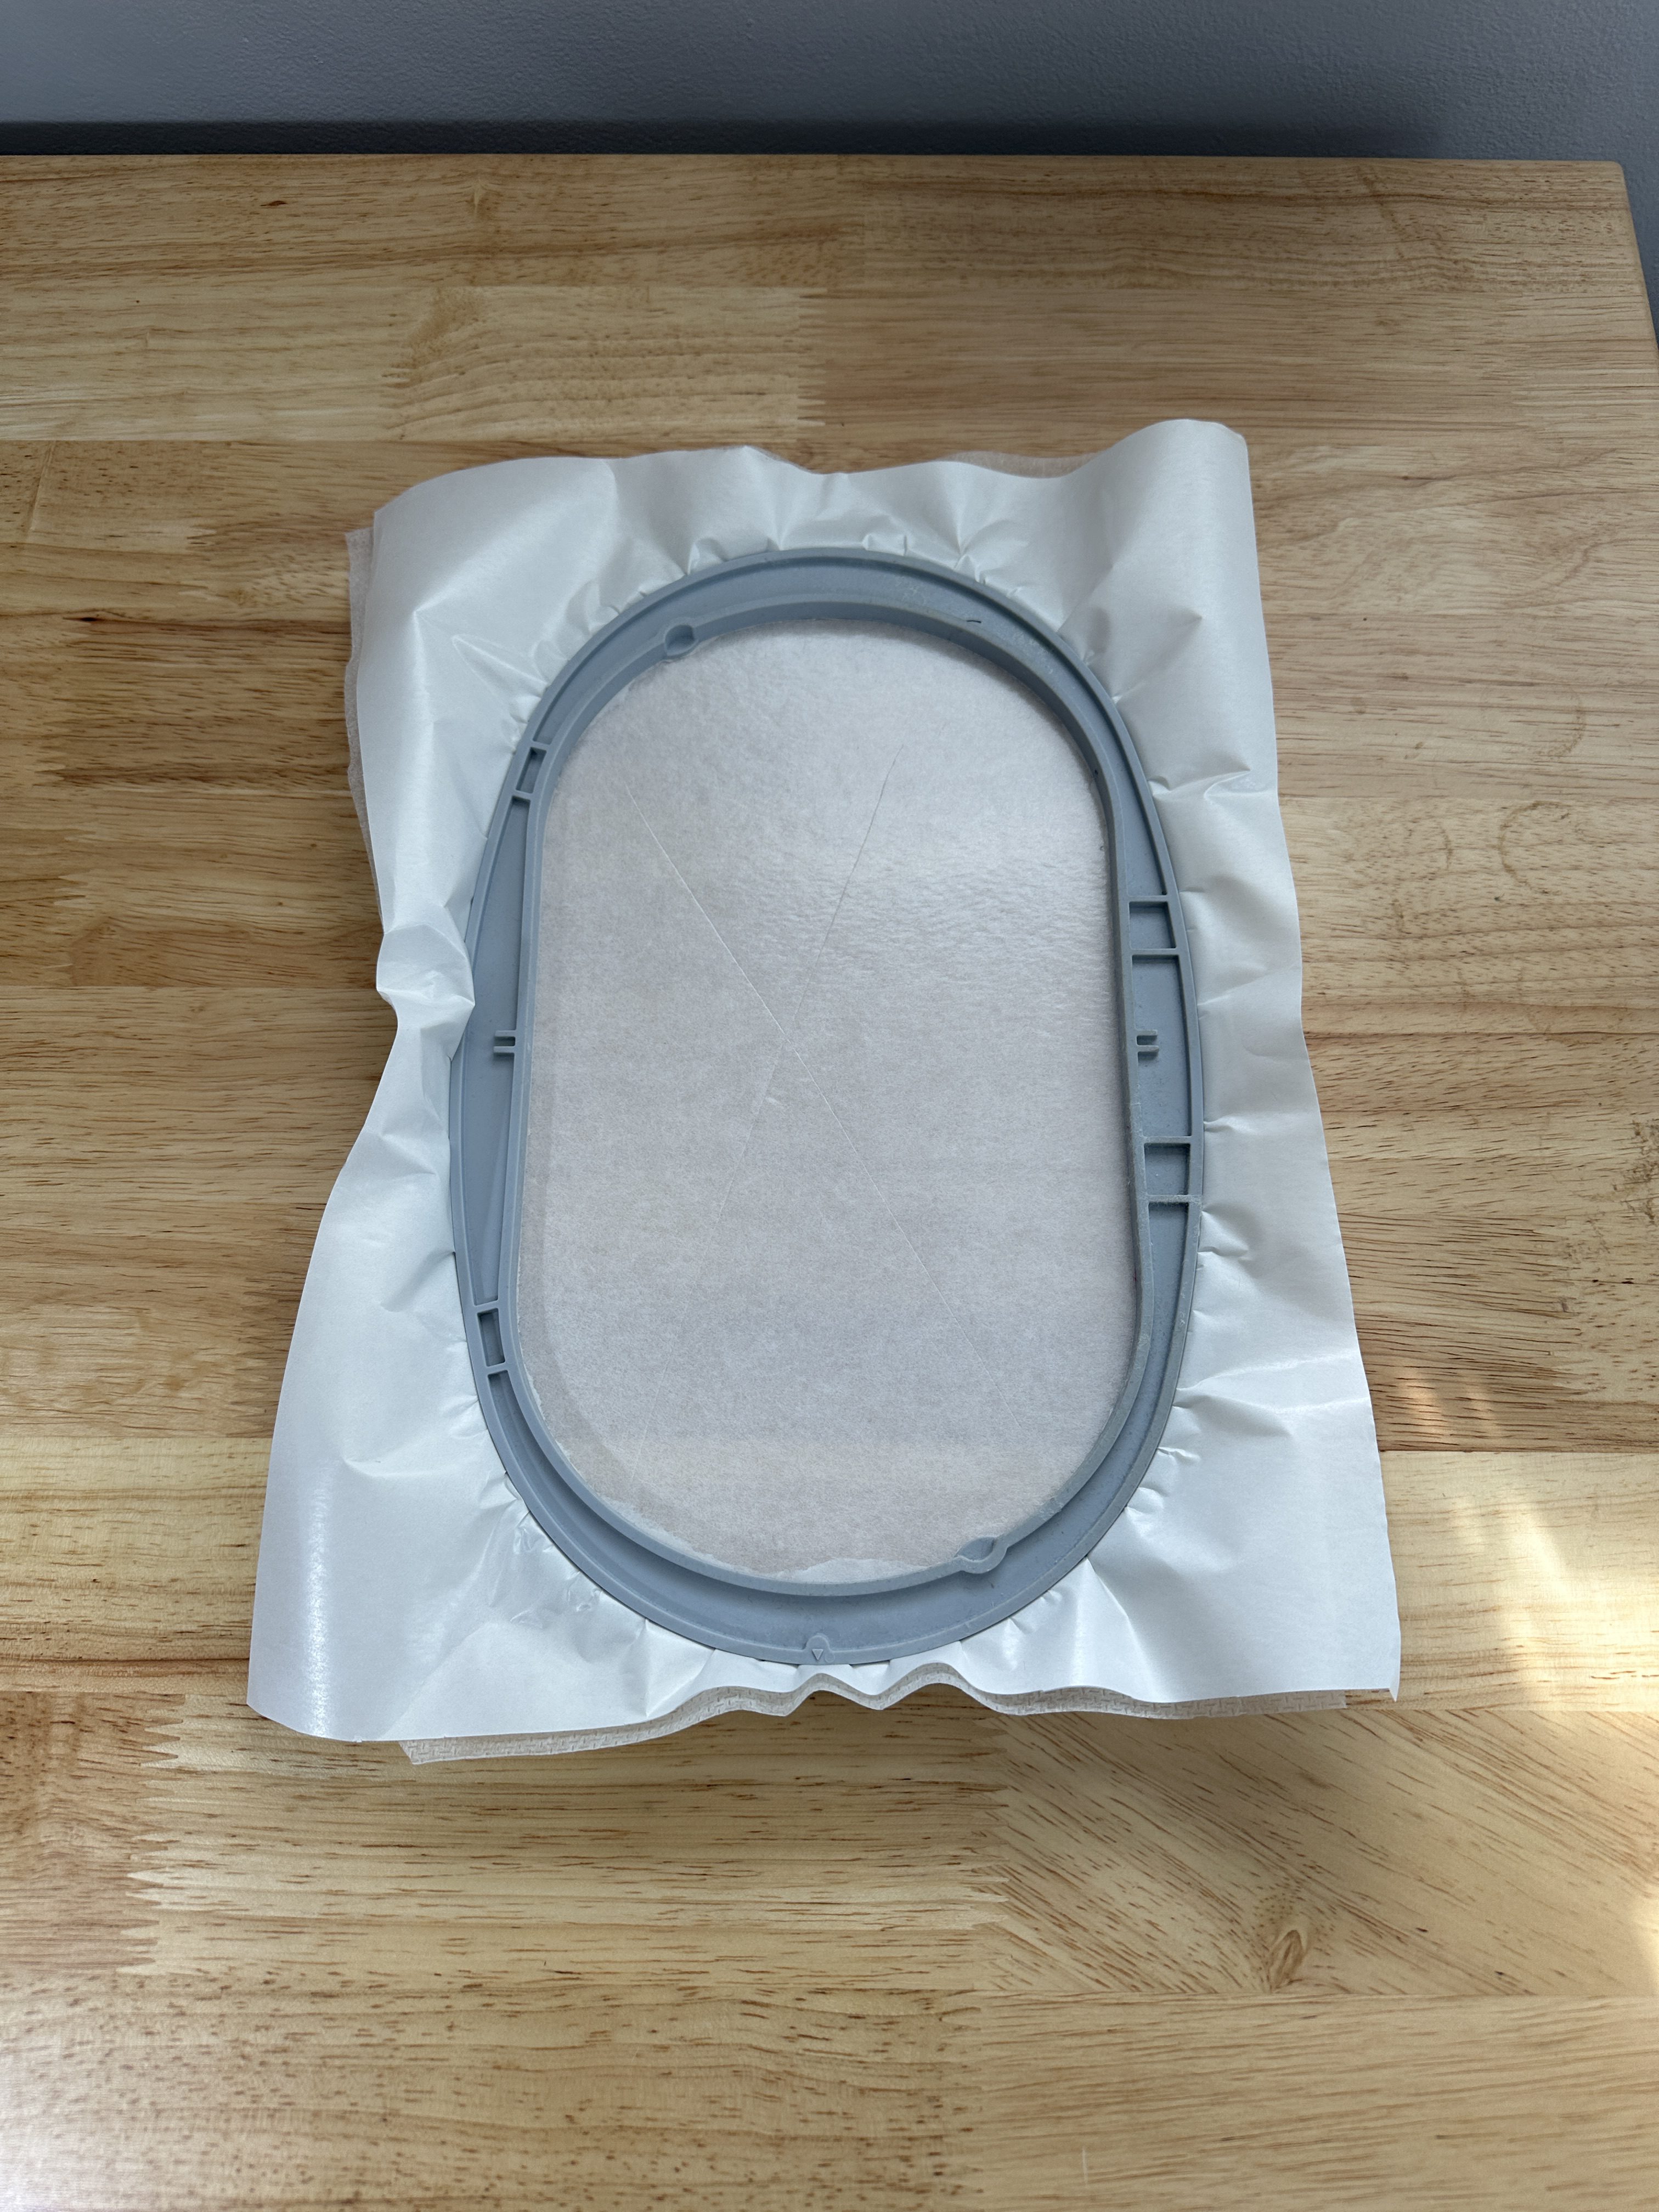
First, choose the hoop that best fits your desired design. Next, hoop a piece of StabilStick CutAway, paper side up. Score and remove the paper.
Position the sweatshirt onto the stabilizer, with the section you wish to be embroidered roughly centered on the hoop. This technique is sometimes called “floating”.
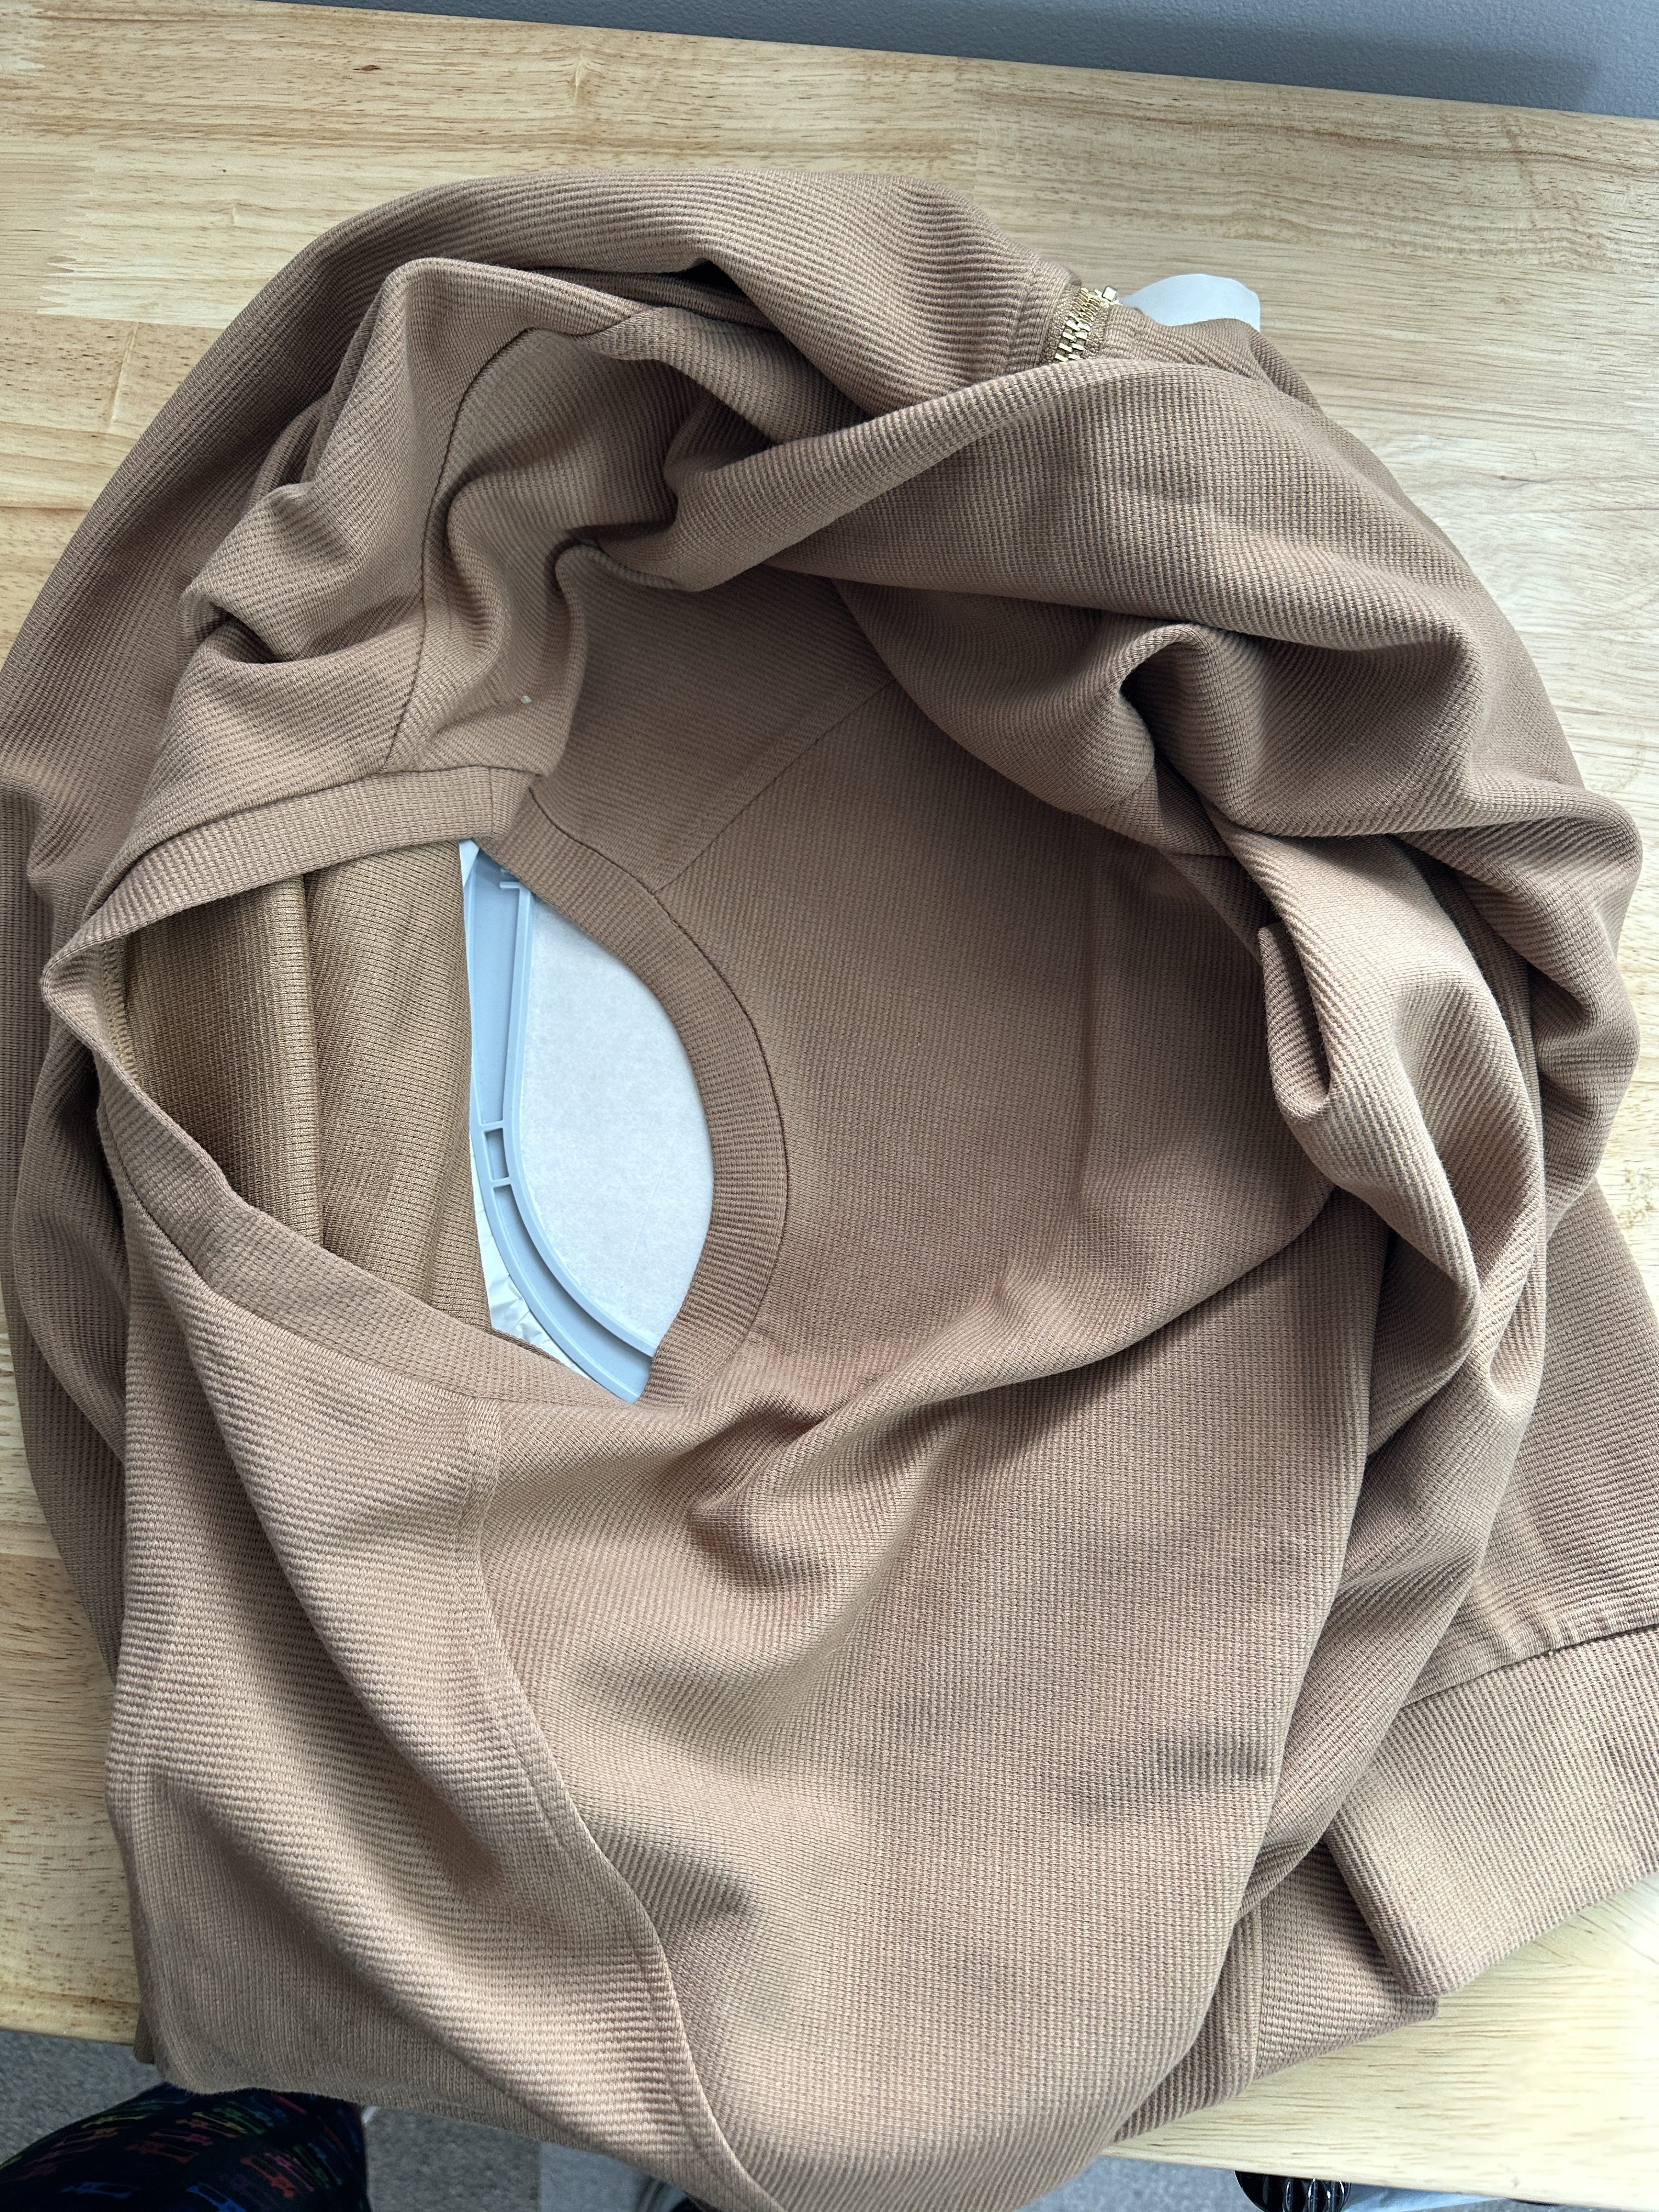
Gather the excess fabric around the outside of the hoop. You’ll need to manage this extra fabric while stitching, making sure it does not fall into the hoop during embroidery.
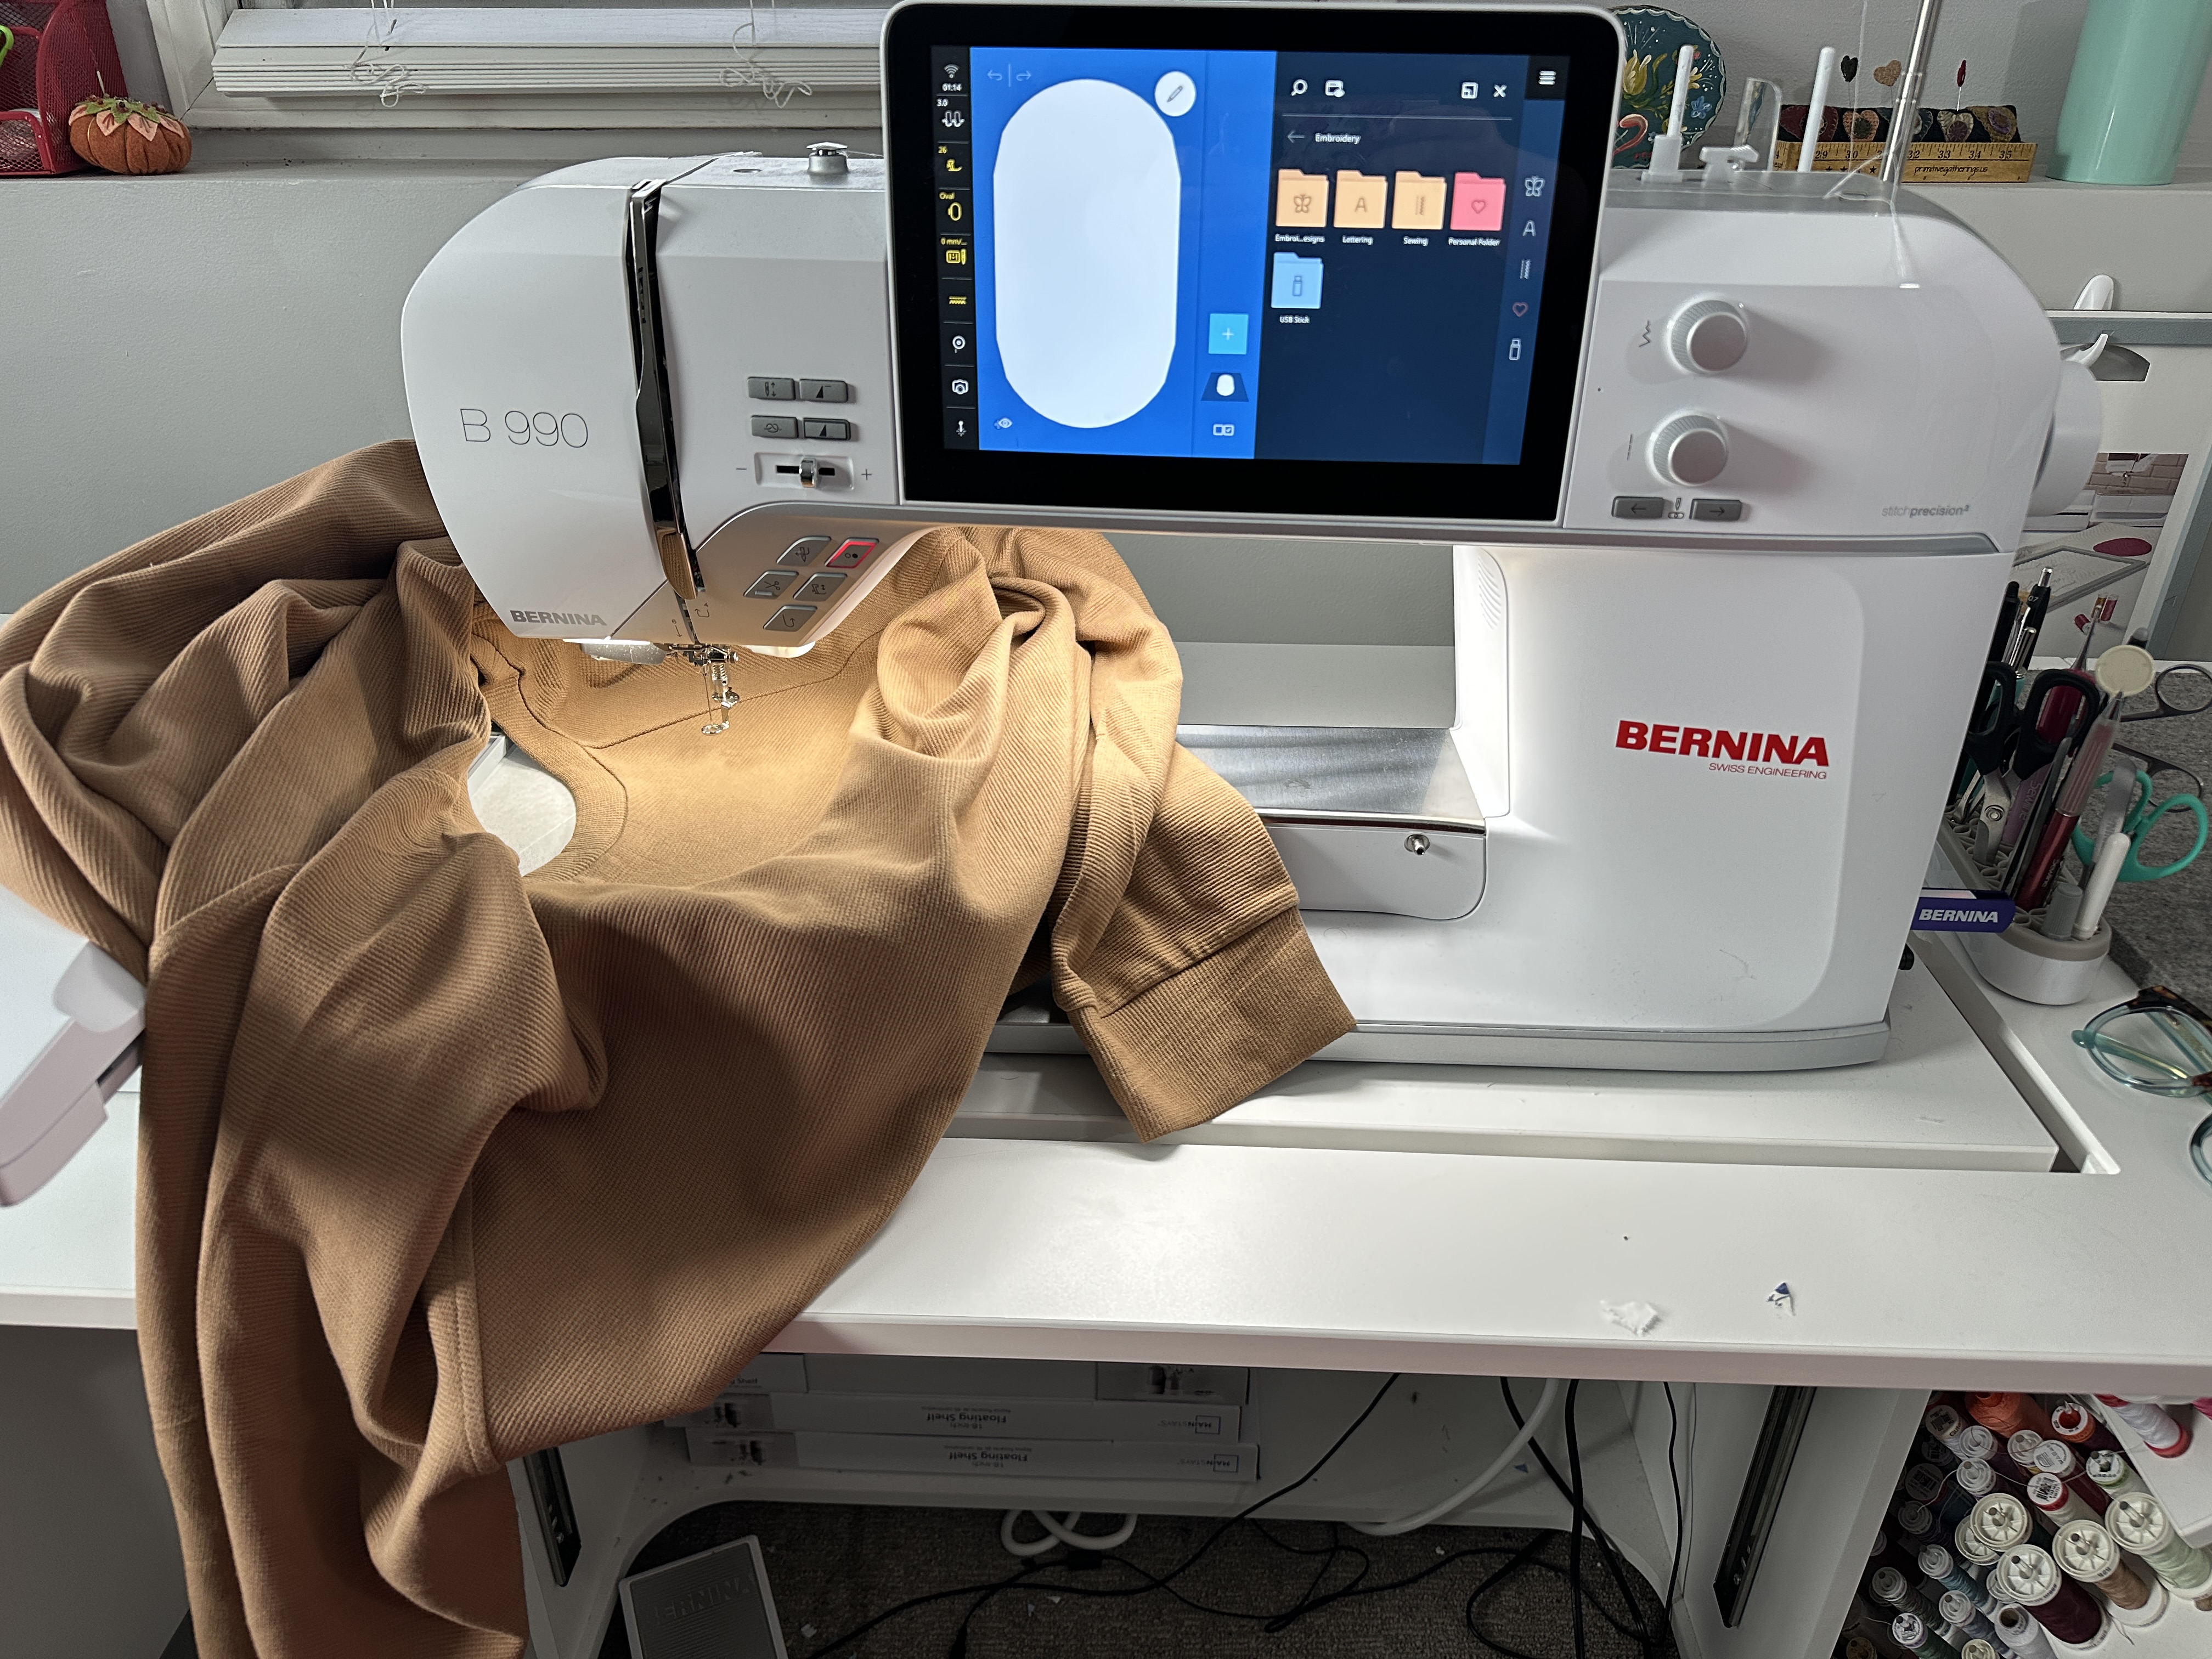
Now, from the View menu on the B 990, choose the Background option and the option to scan your hoop. Place the hoop on the machine when prompted and then watch as the machine scans. You’ll need to keep the excess fabric from falling into the hoop during the scan, but avoid the temptation to put your hands in the hoop or they’ll end up in the scan too!
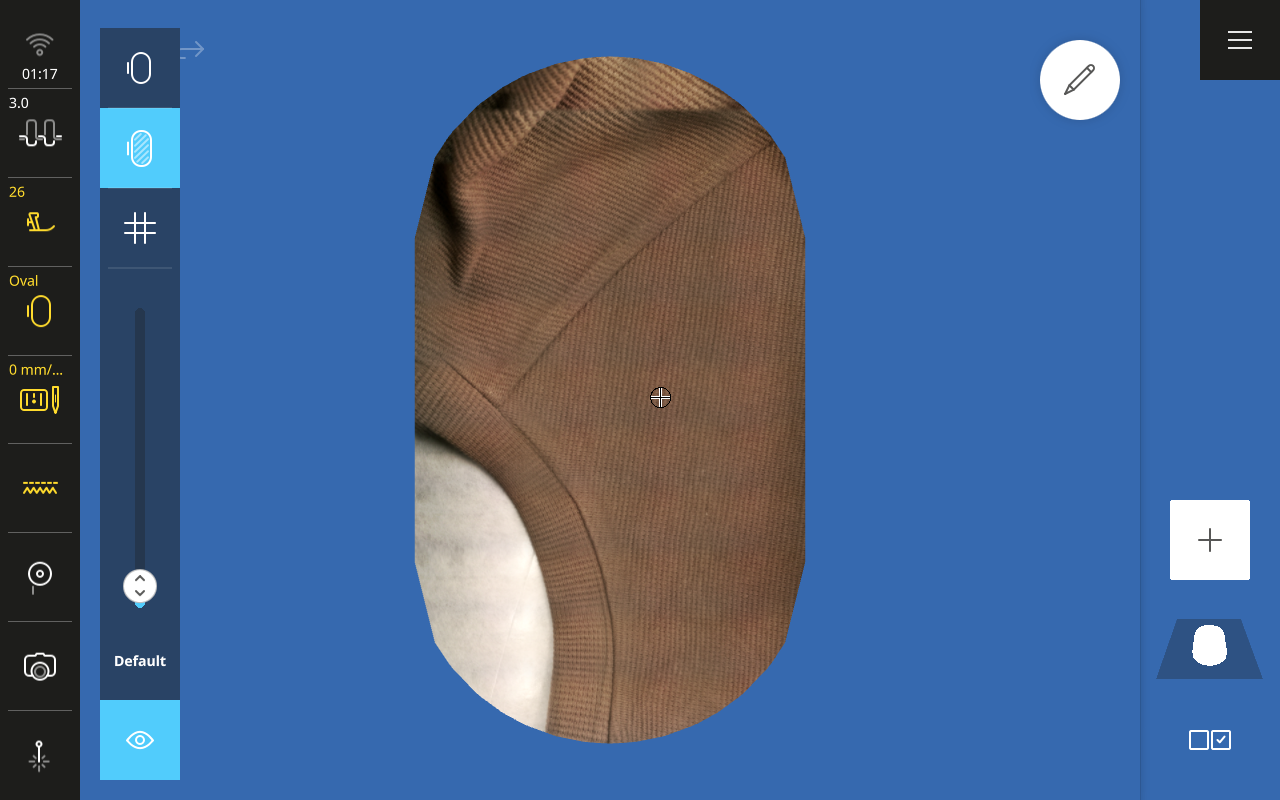
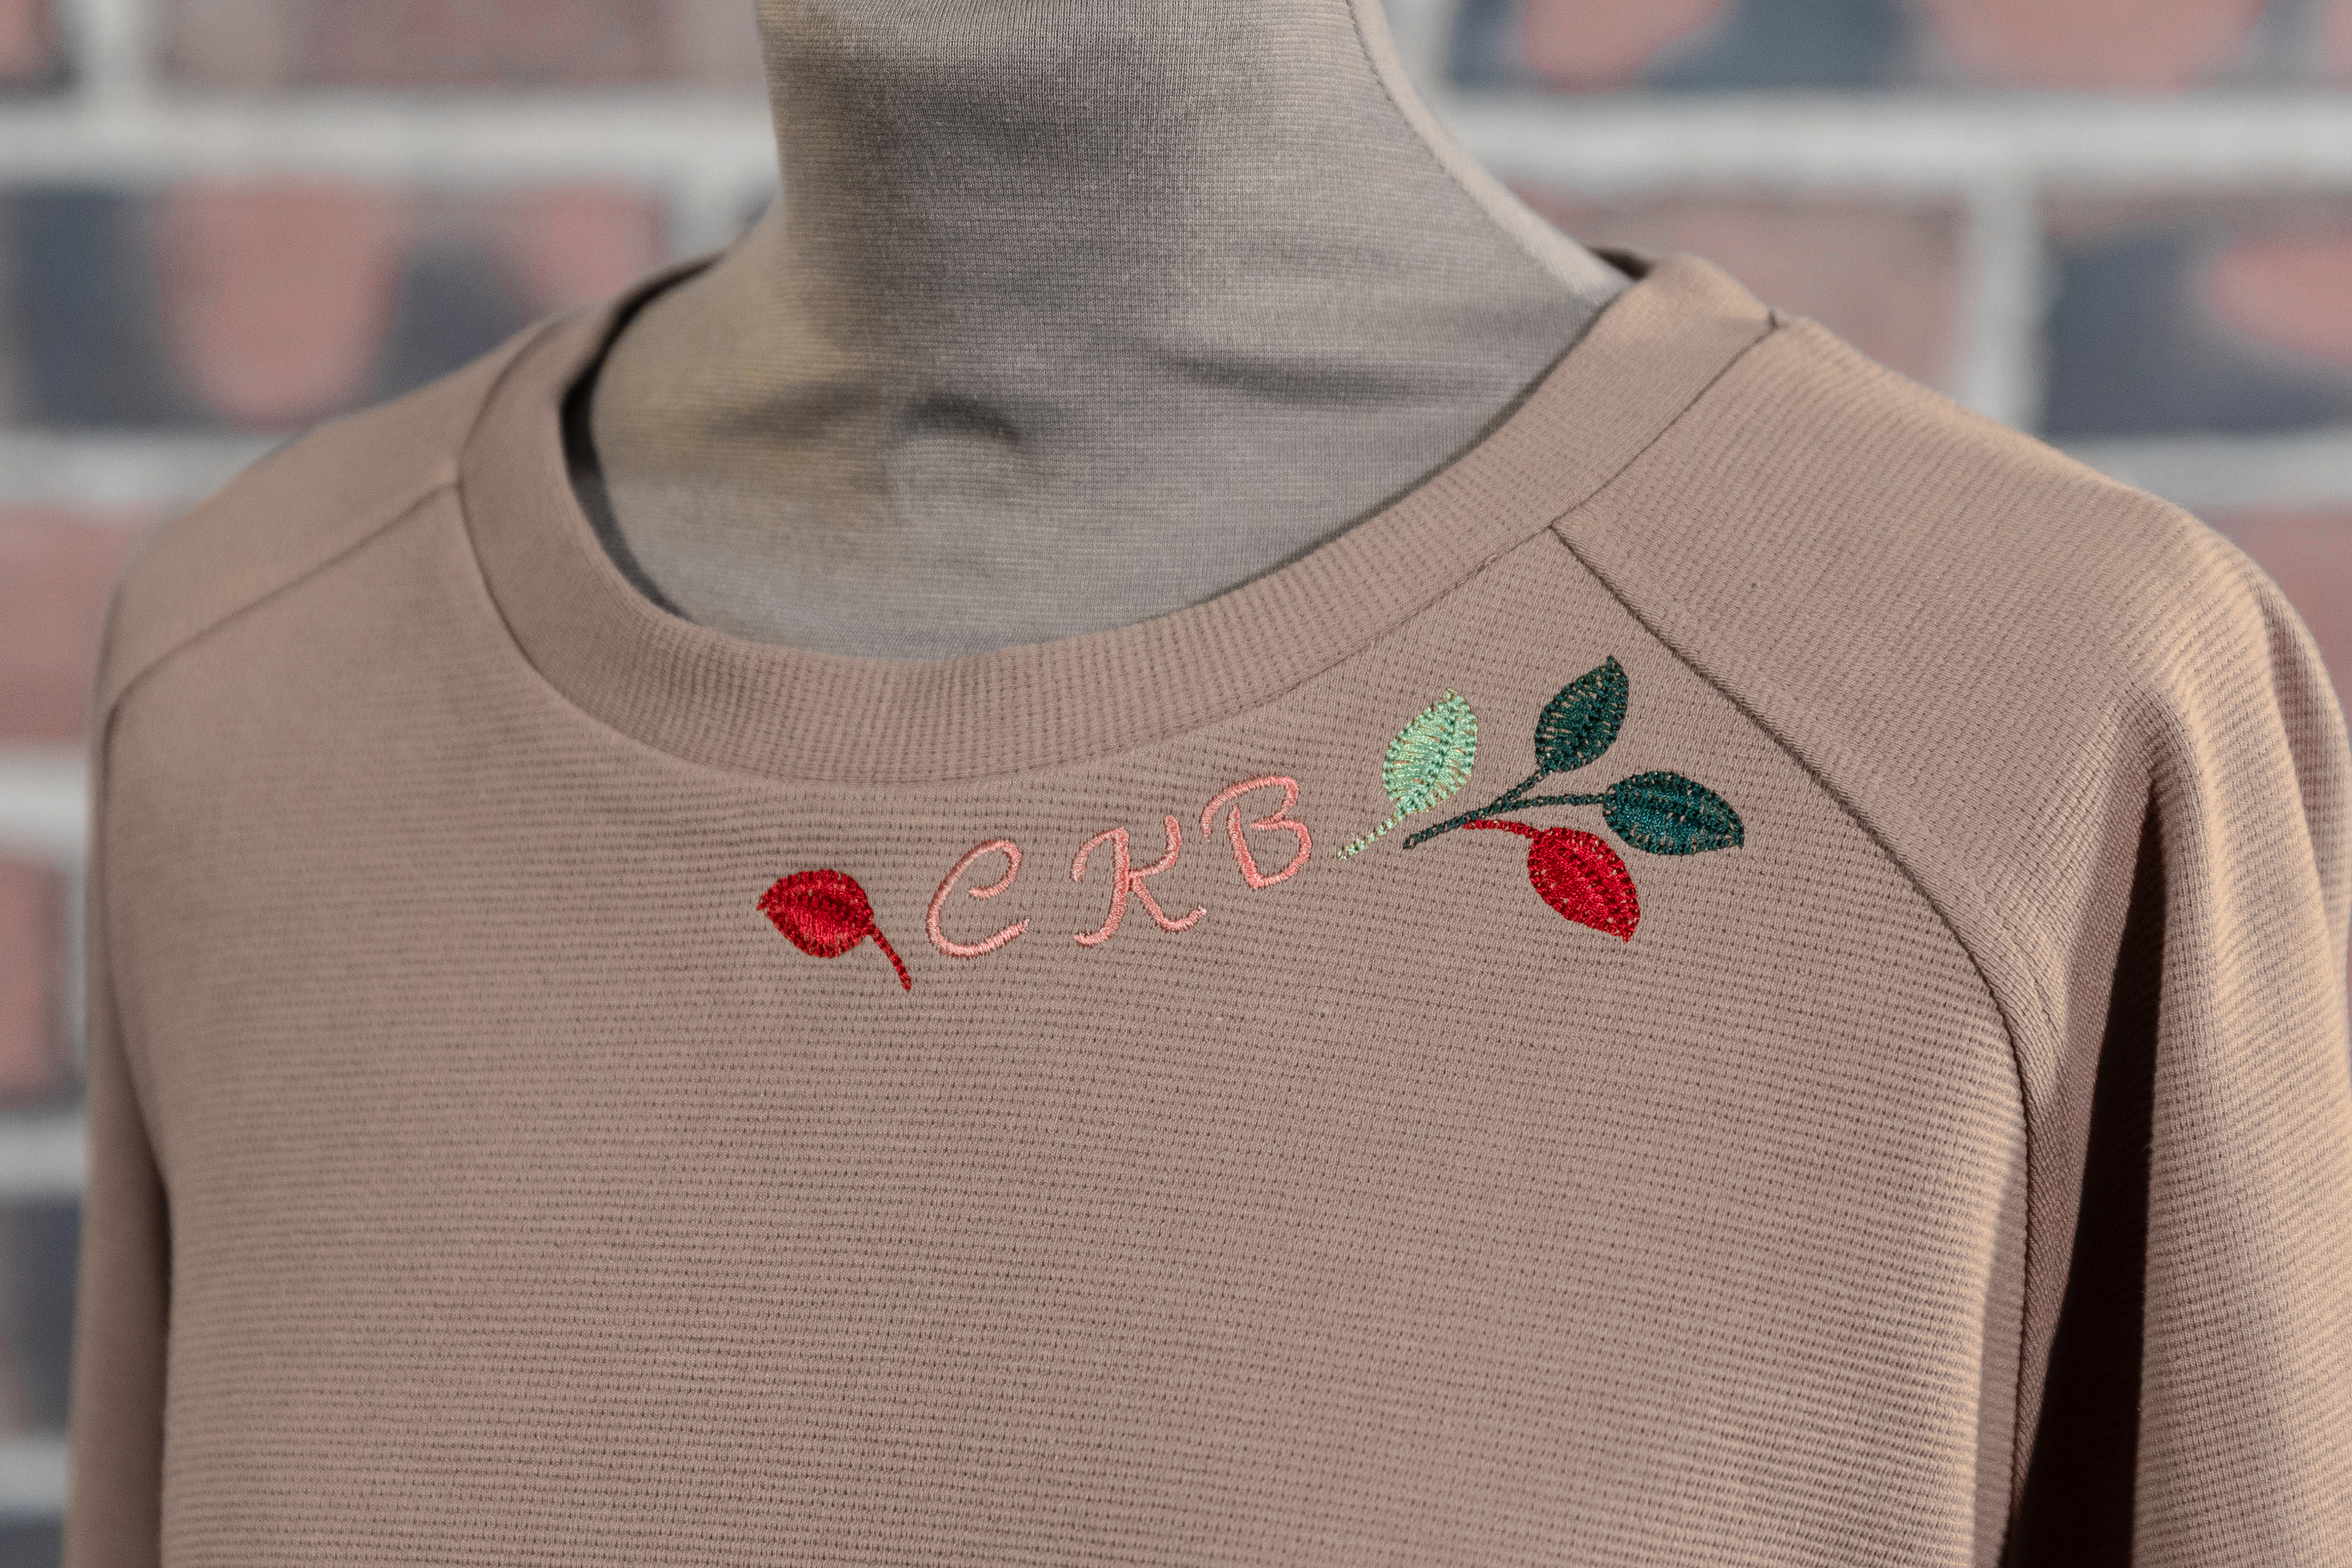
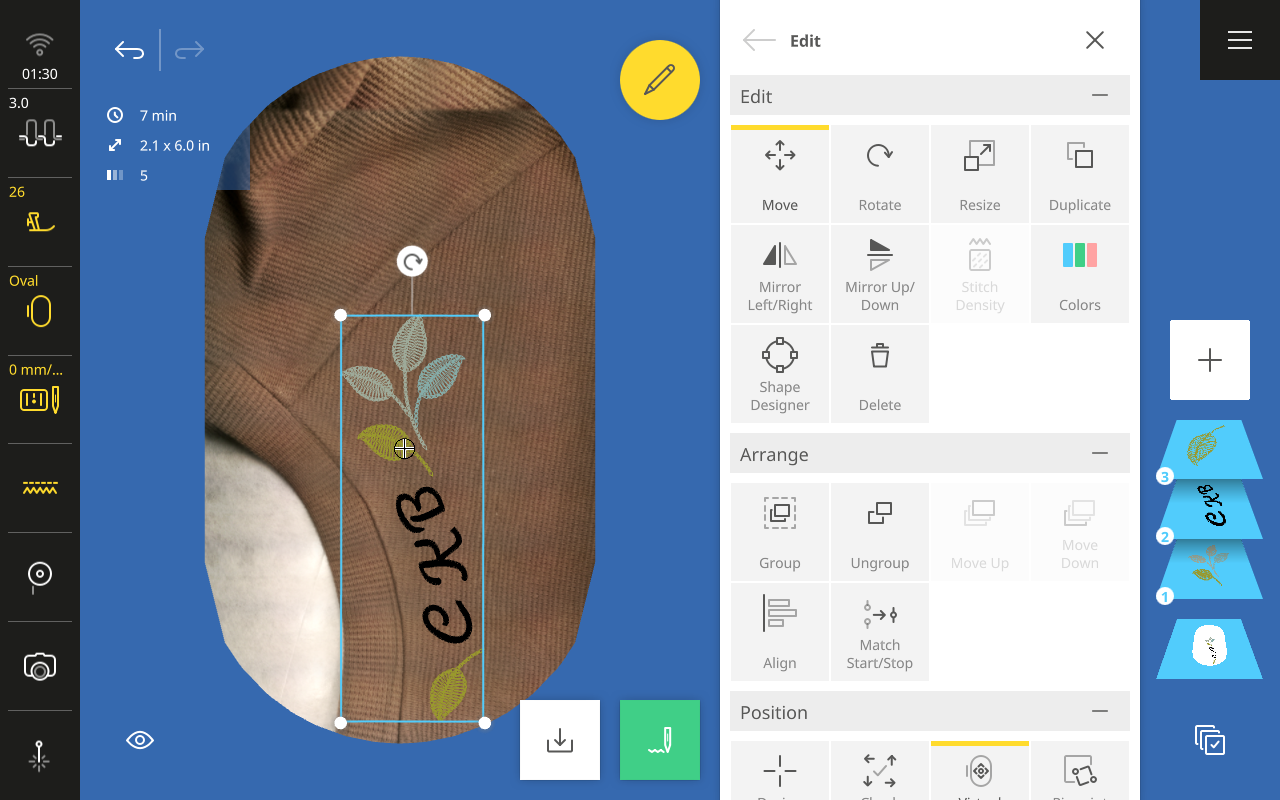
From here, you can add your designs and visually place and rotate them until you love the look. What you see is what you get! This is a great opportunity to add a monogram – use the “transform” function of your B 990 to curve the lettering gently and the “spacing” option to spread the letters apart slightly. Once placed, you’re ready to stitch!
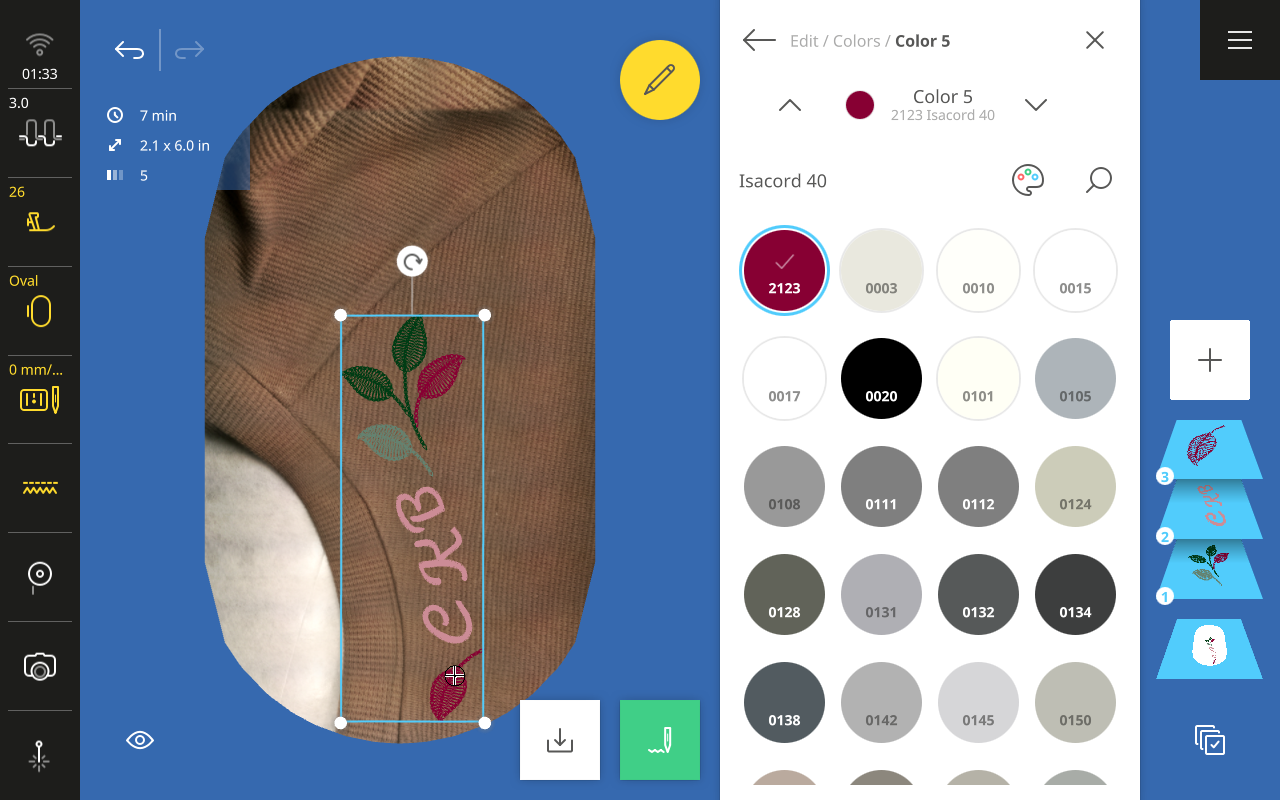
I love this method because seeing my design beforehand lets me tweak it to perfection. I can even play with thread colors and see exactly how they’ll look with the color of my shirt.
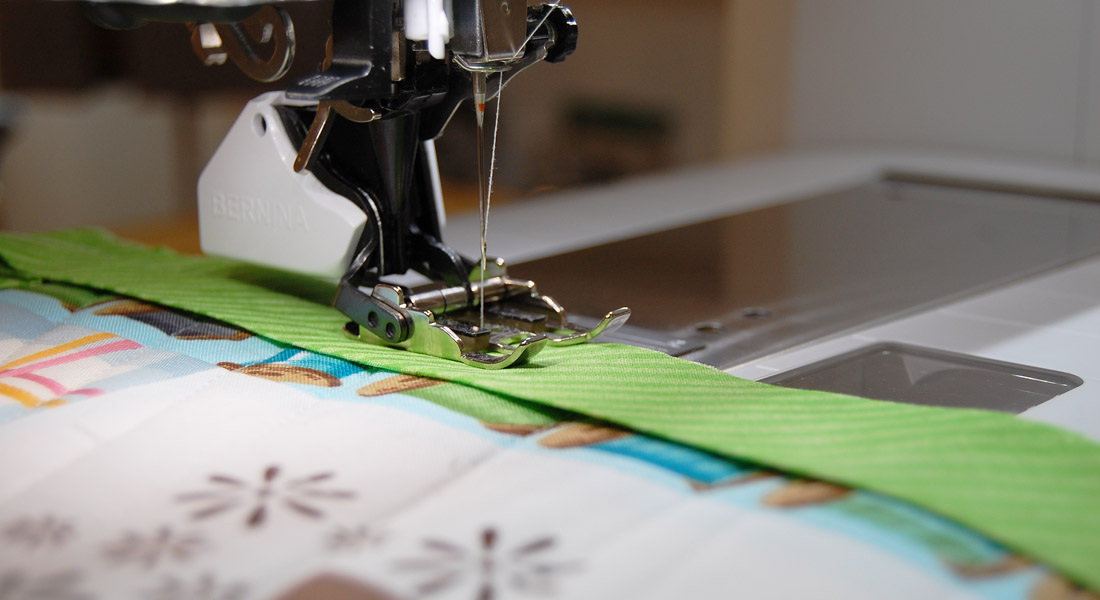
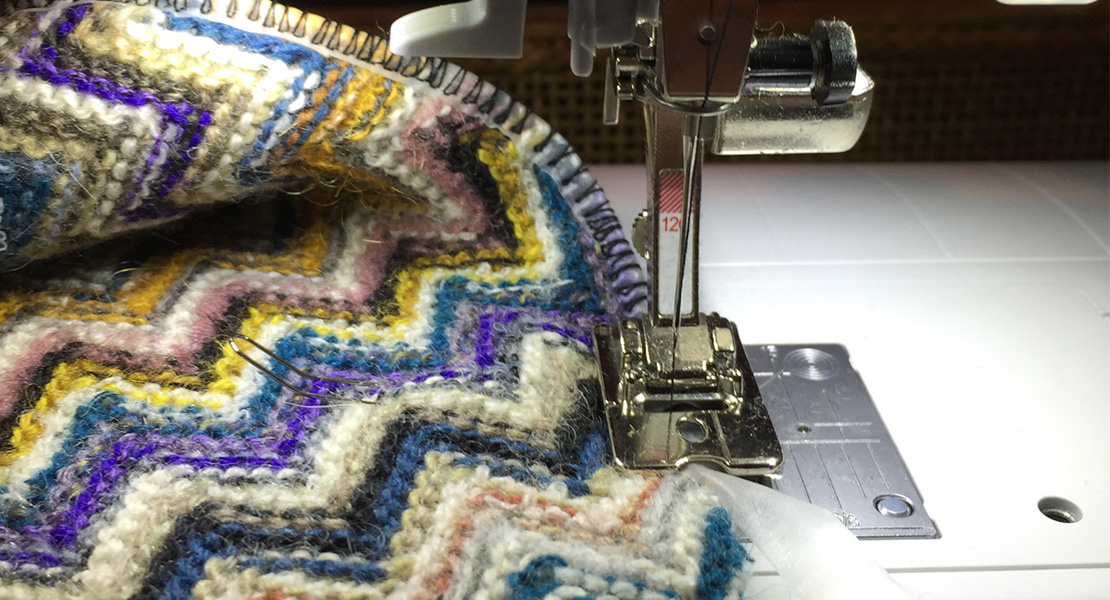
While stitching your project, you’ll need to “wrangle” the excess fabric of the shirt to keep it from falling into the hoop while stitching. Always use a tool, such as tweezers or a stiletto, rather than placing your fingers close to the needle.

I hope you’ll give this project a try! It’s a great way to dress up a sweatshirt already in your wardrobe or to make a quick gift from a ready-made shirt.