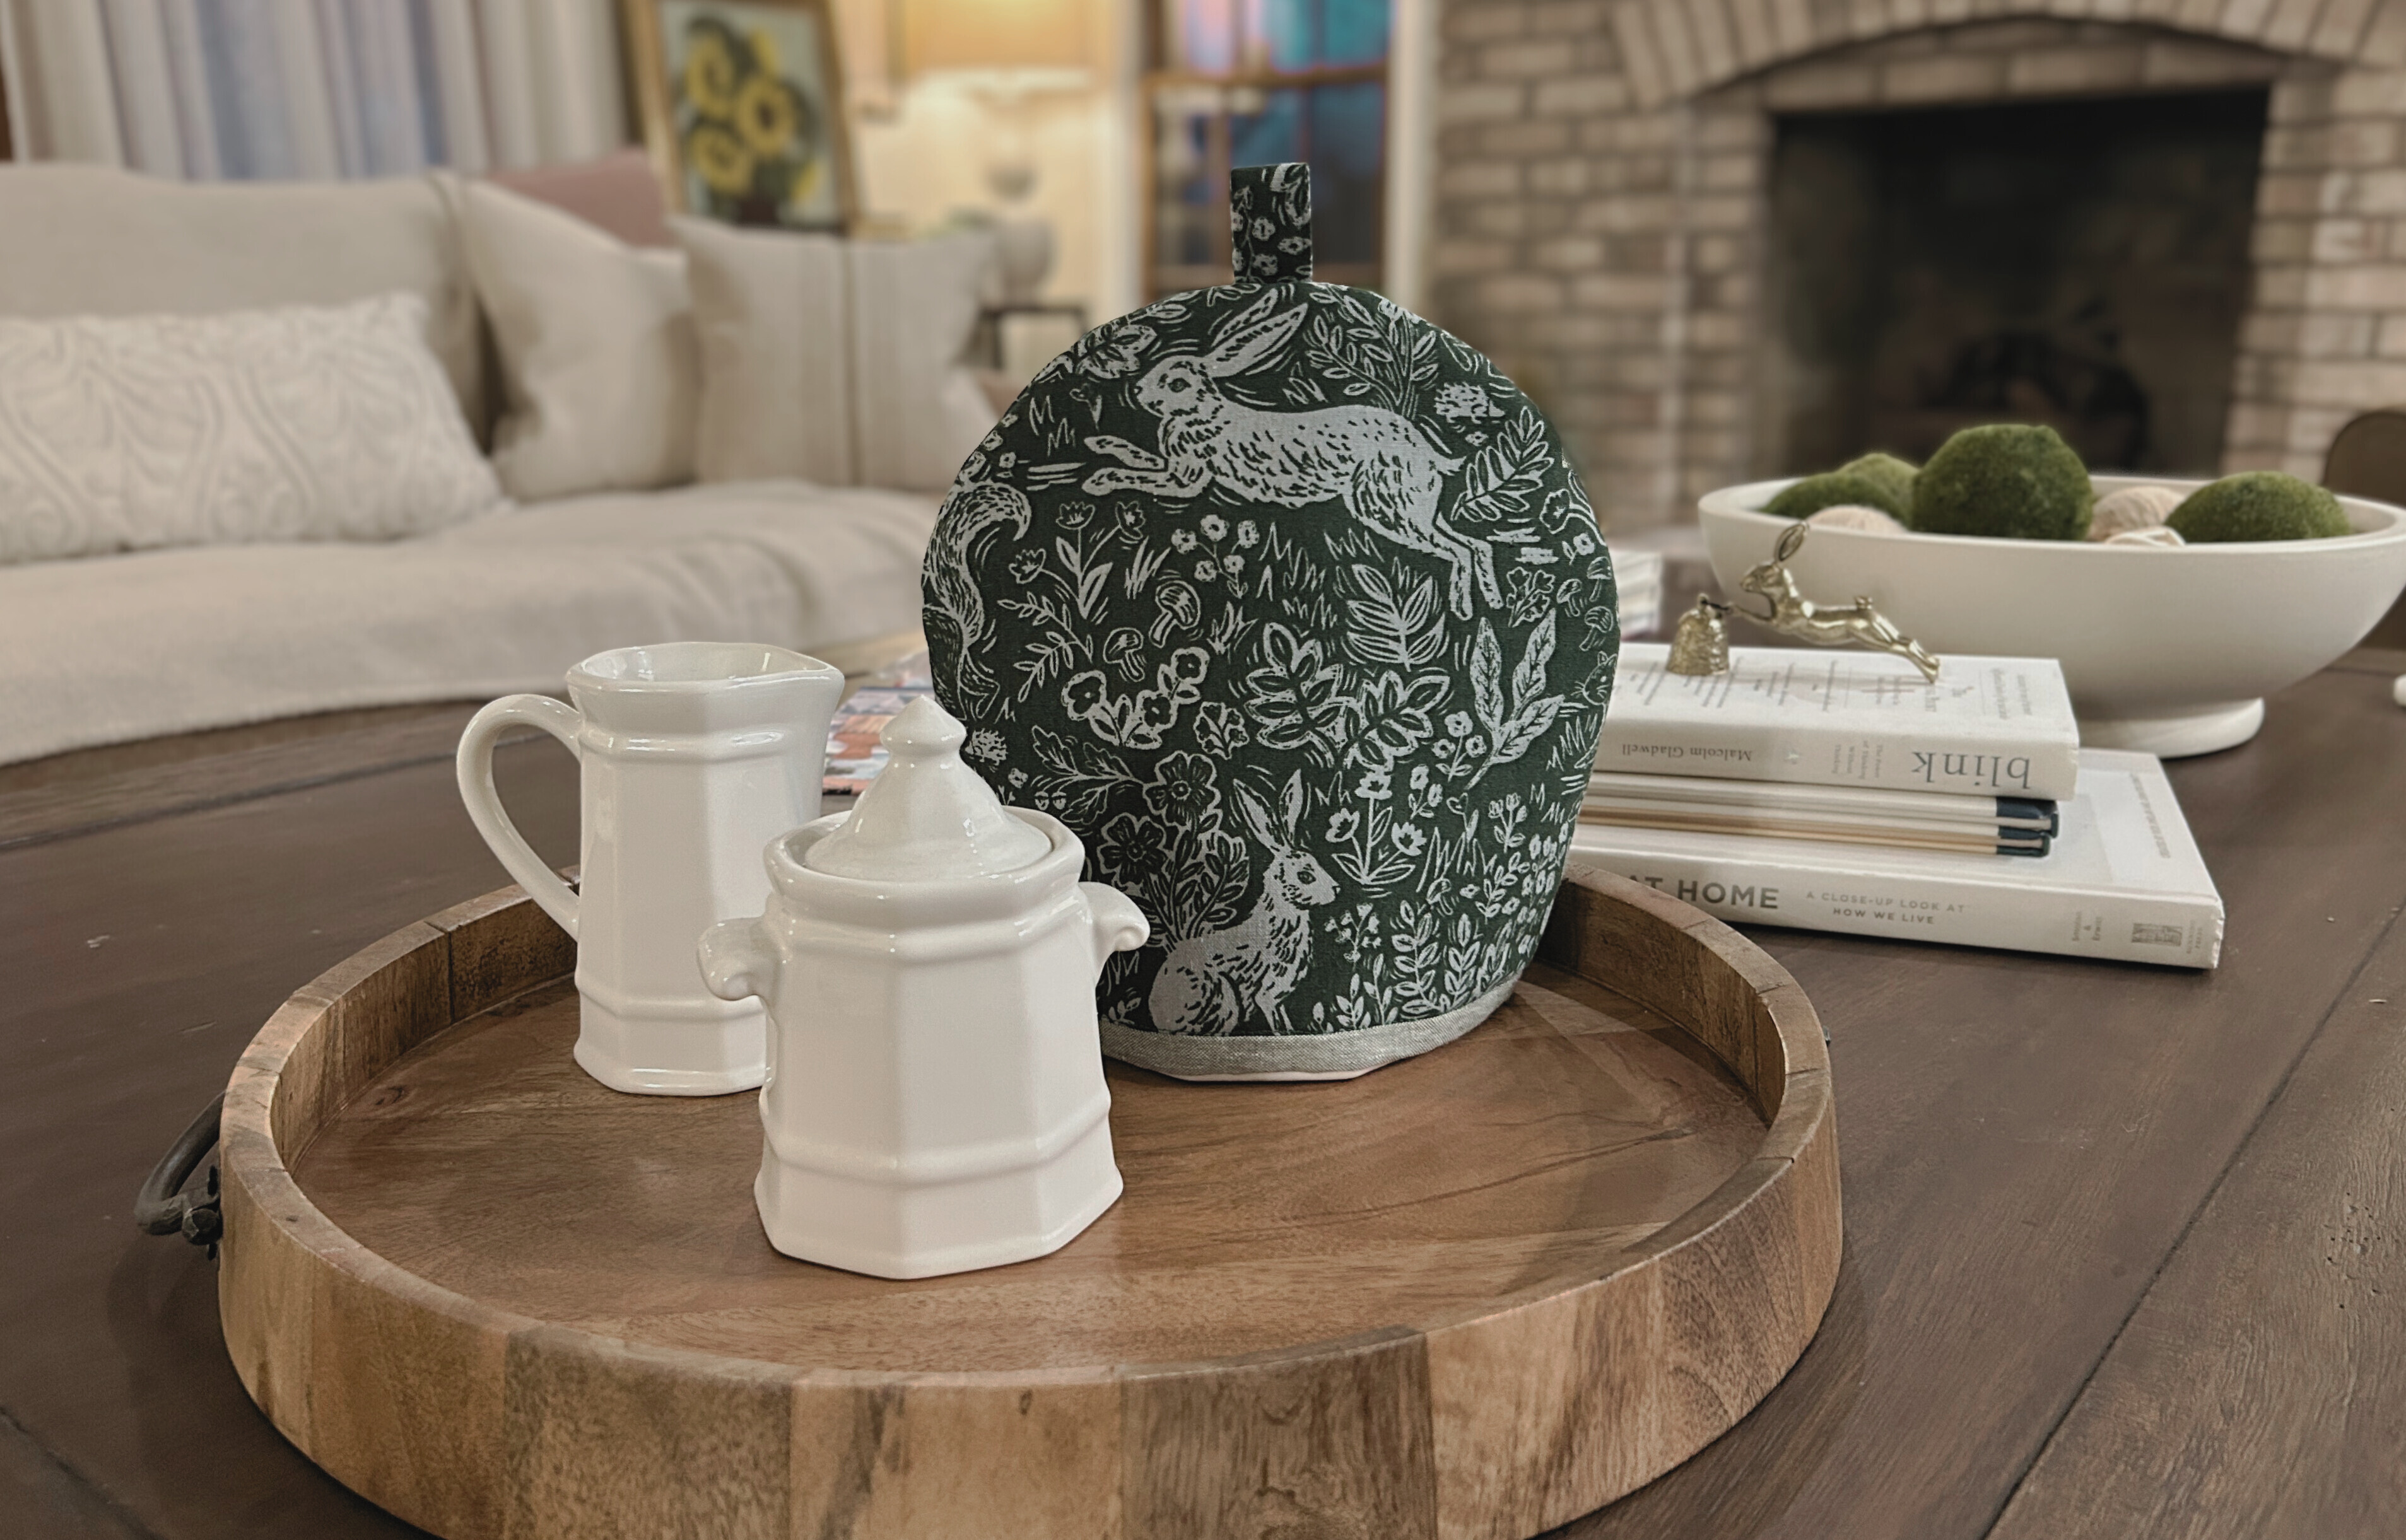
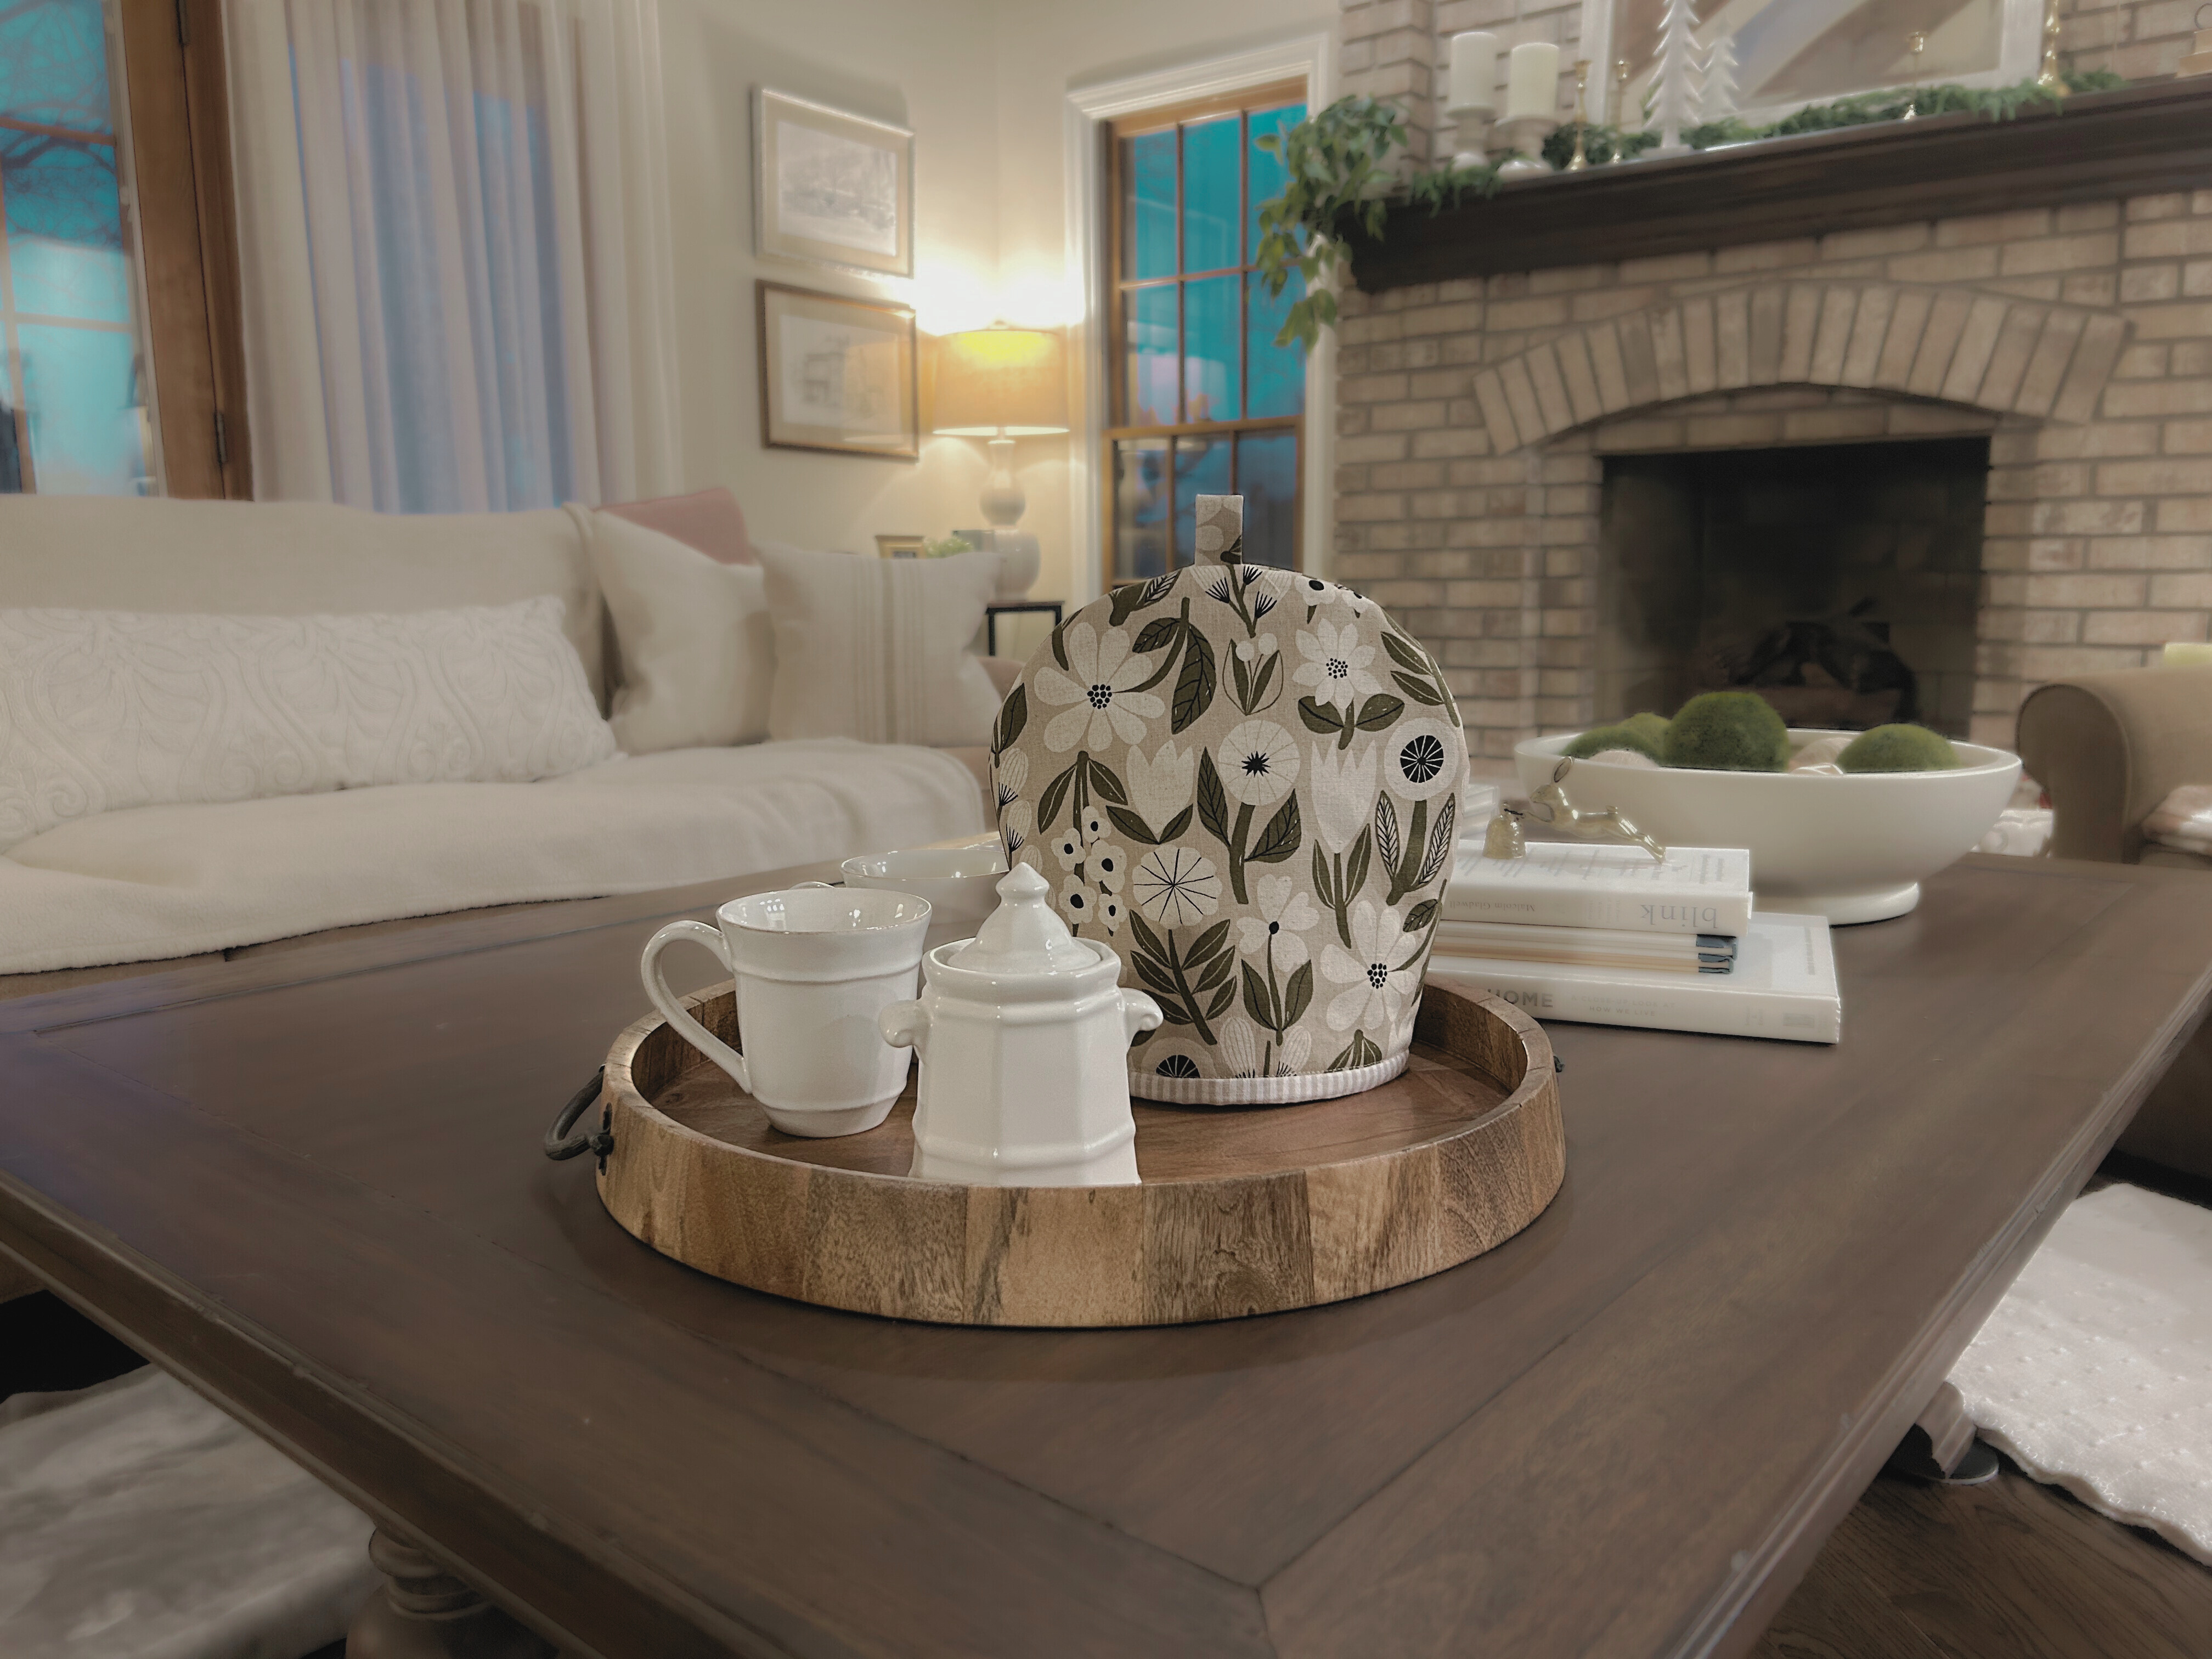
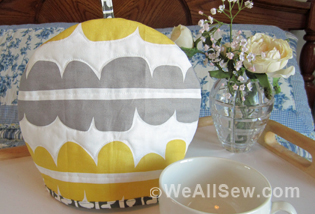
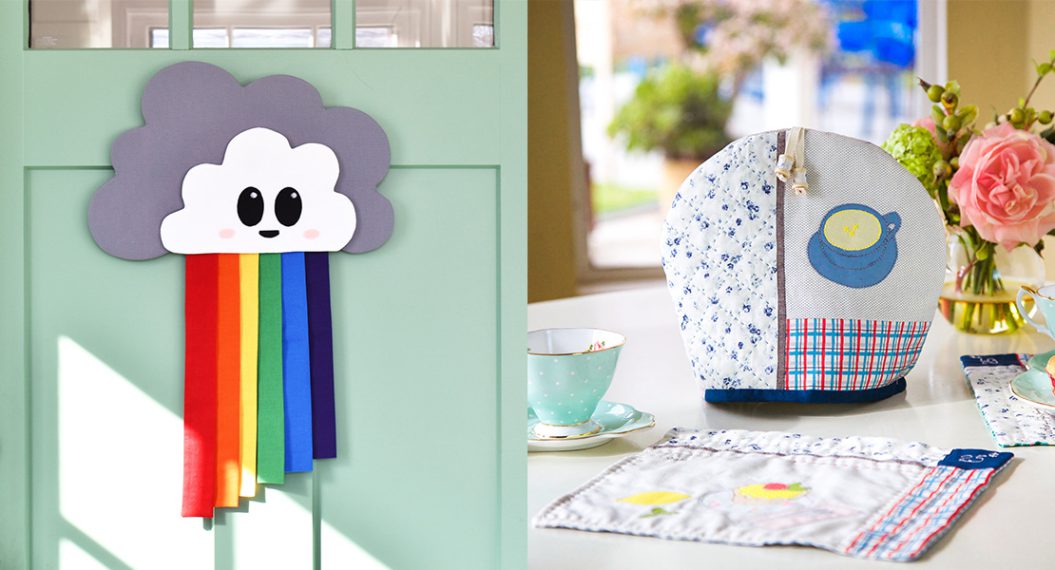
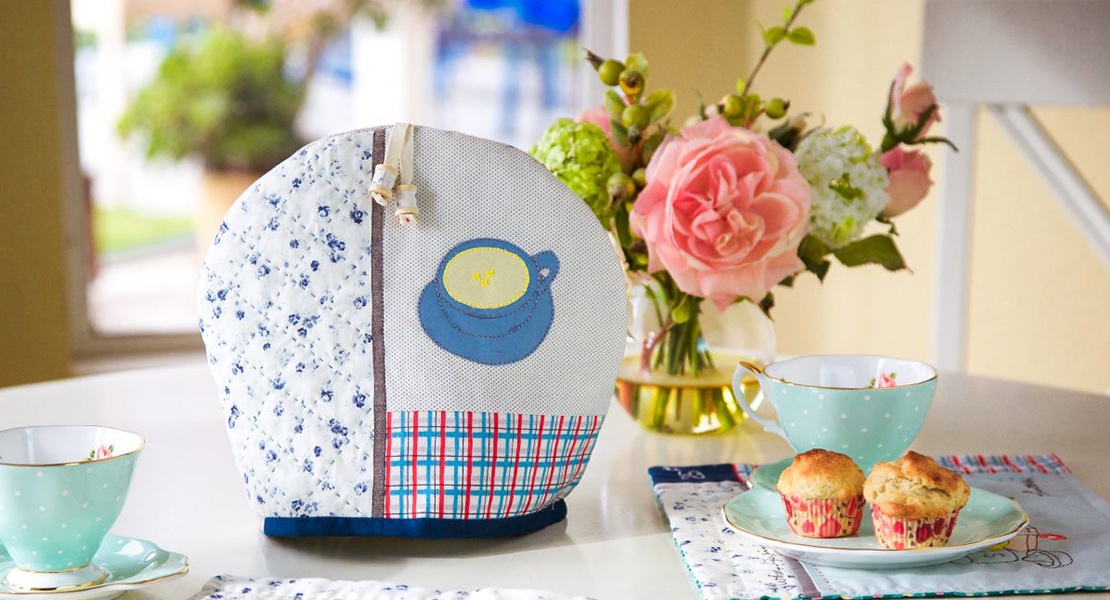
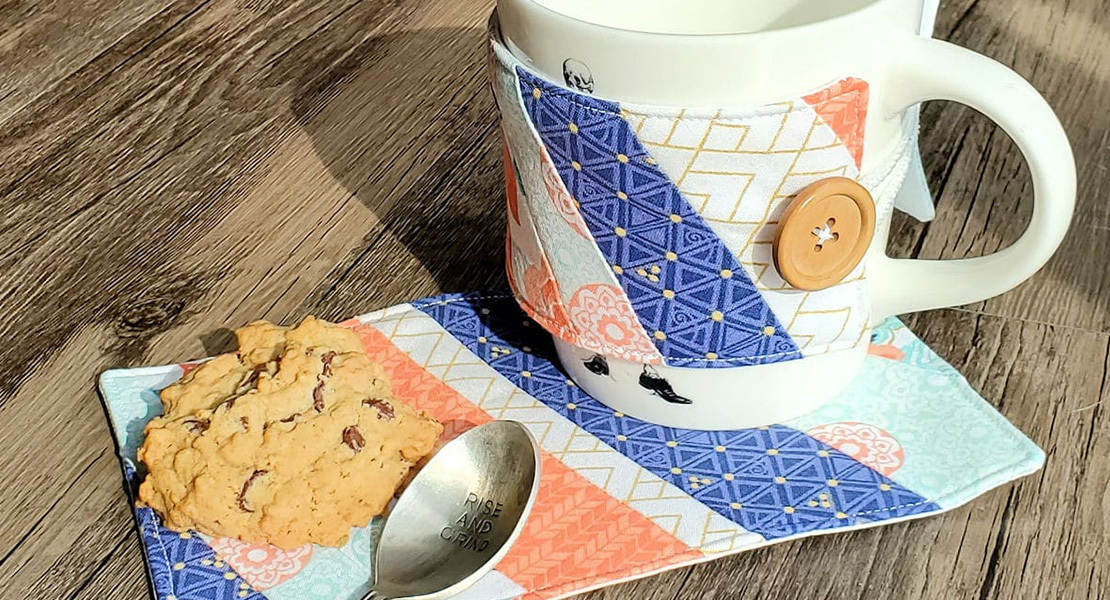
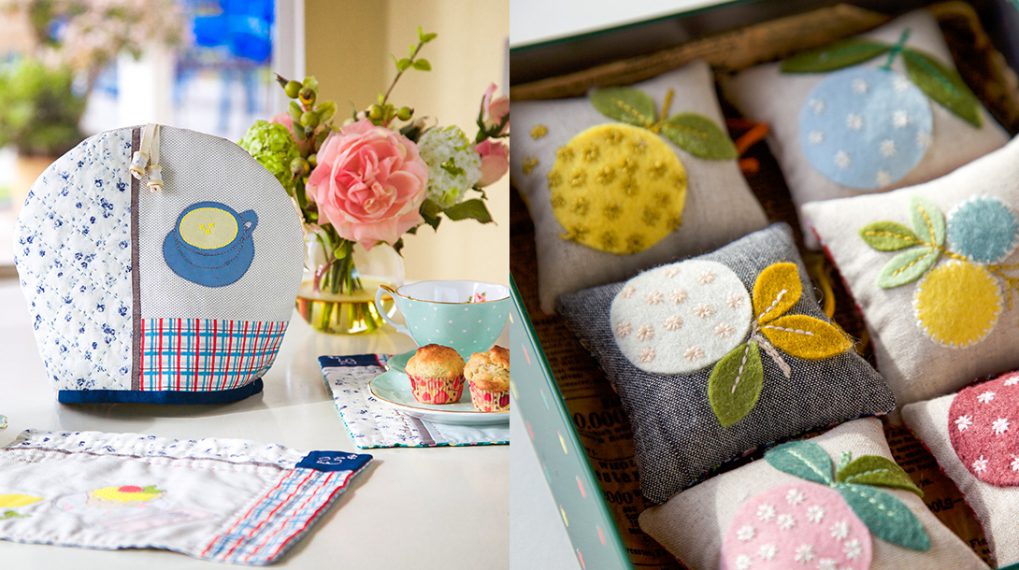
Make a Custom Tea Cozy
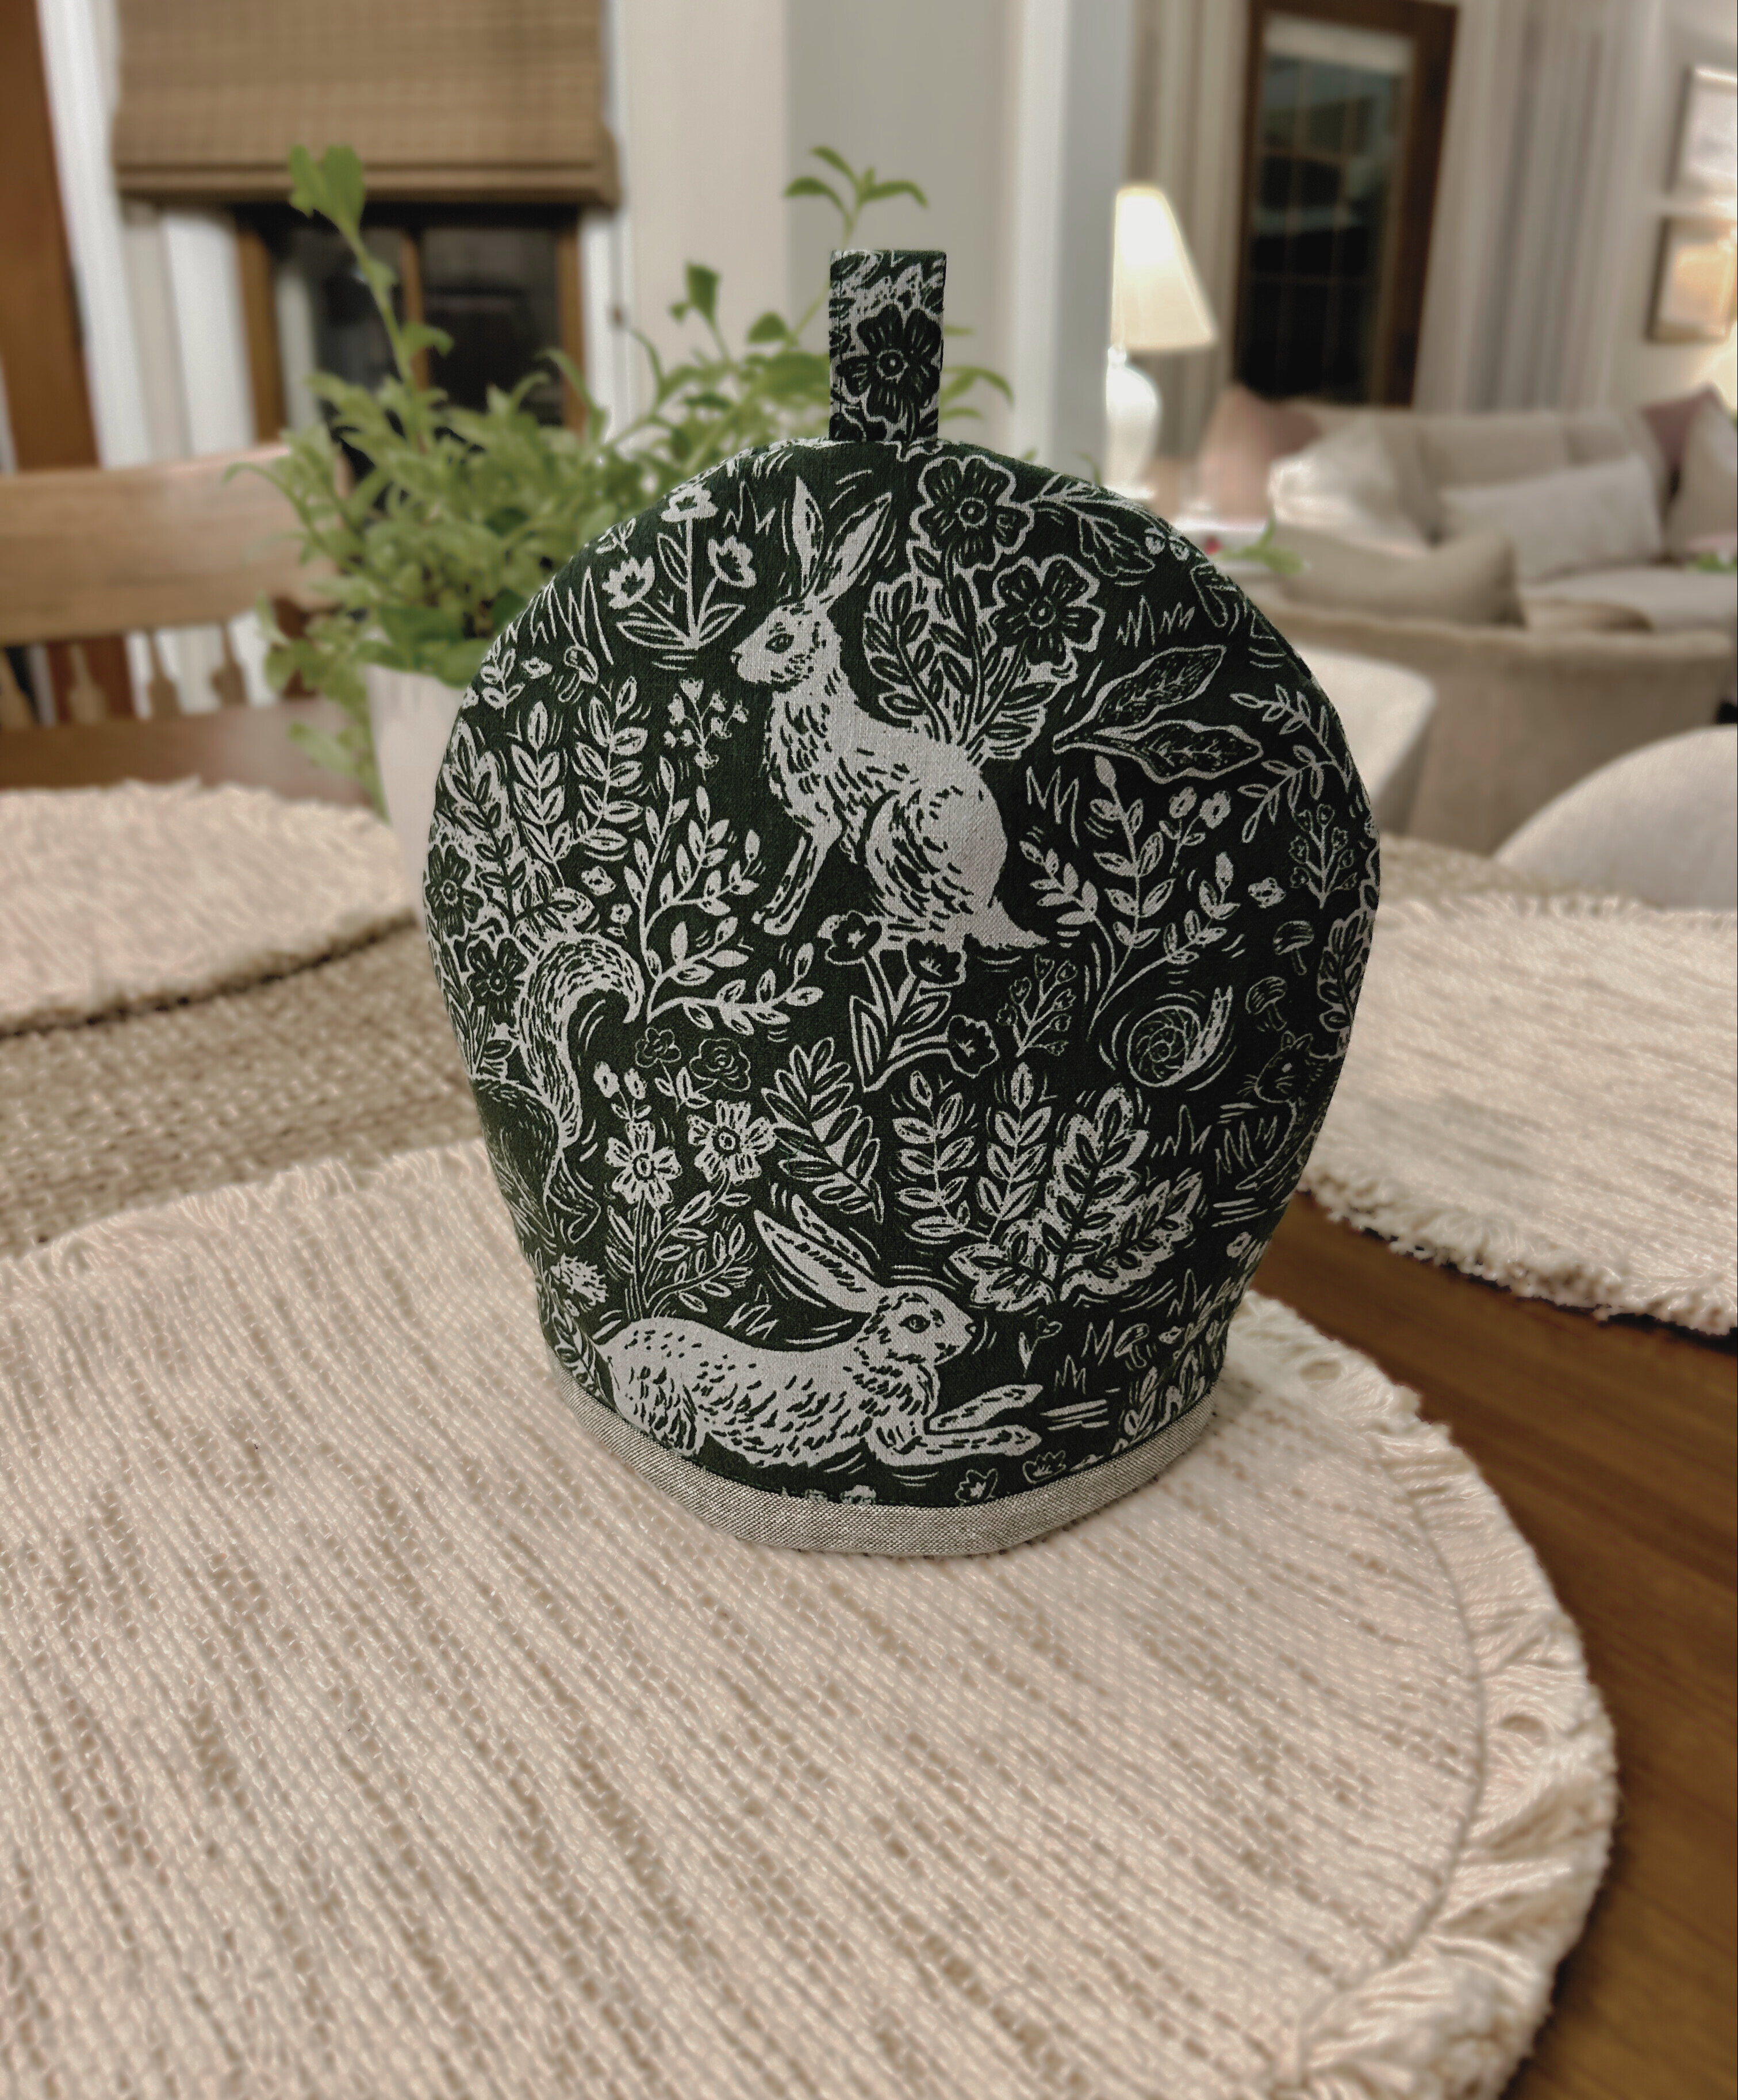
A tea cozy is a cover for a teapot, traditionally made of cloth or wool. The material traps heat inside, insulating the pot to keep the contents warm. There are tea cozy patterns available with standard sizes, but let’s make a custom tea cozy to fit that special teapot! Following is my pattern and formula for you to make a custom tea cozy. Whether small or large, get out your favorite fabric and make a tea cozy to keep your tea warm.
Materials for Making a Tea Cozy
- BERNINA 990
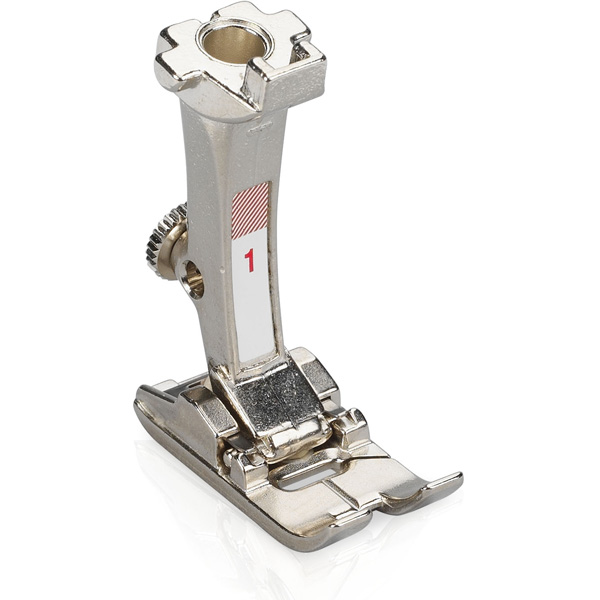
- Reverse Pattern Foot #1D
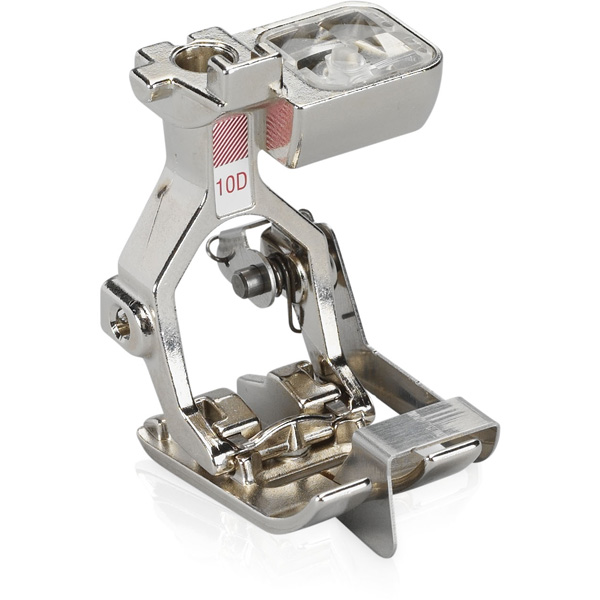
- Edgestitch Foot #10D
- Walking Foot #50
- Fabric:
- Main Fabric: 1/2 yd, linen or canvas fabric
- Lining Fabric: 1/2 yd, cotton fabric
- Batting: 1/2 yd Insul-Bright batting
- Schmetz Microtex Needle 80/12
- Mettler Silk Finish Cotton thread, 50 wt
- Freezer Paper
Step 1: Measure Your Teapot
Measure the circumference of your teapot at the widest point from the front of the spout to the back of the handle. Write it down.

Measure the height starting at the bottom, up and over the top, and down the opposite side. Write it down.
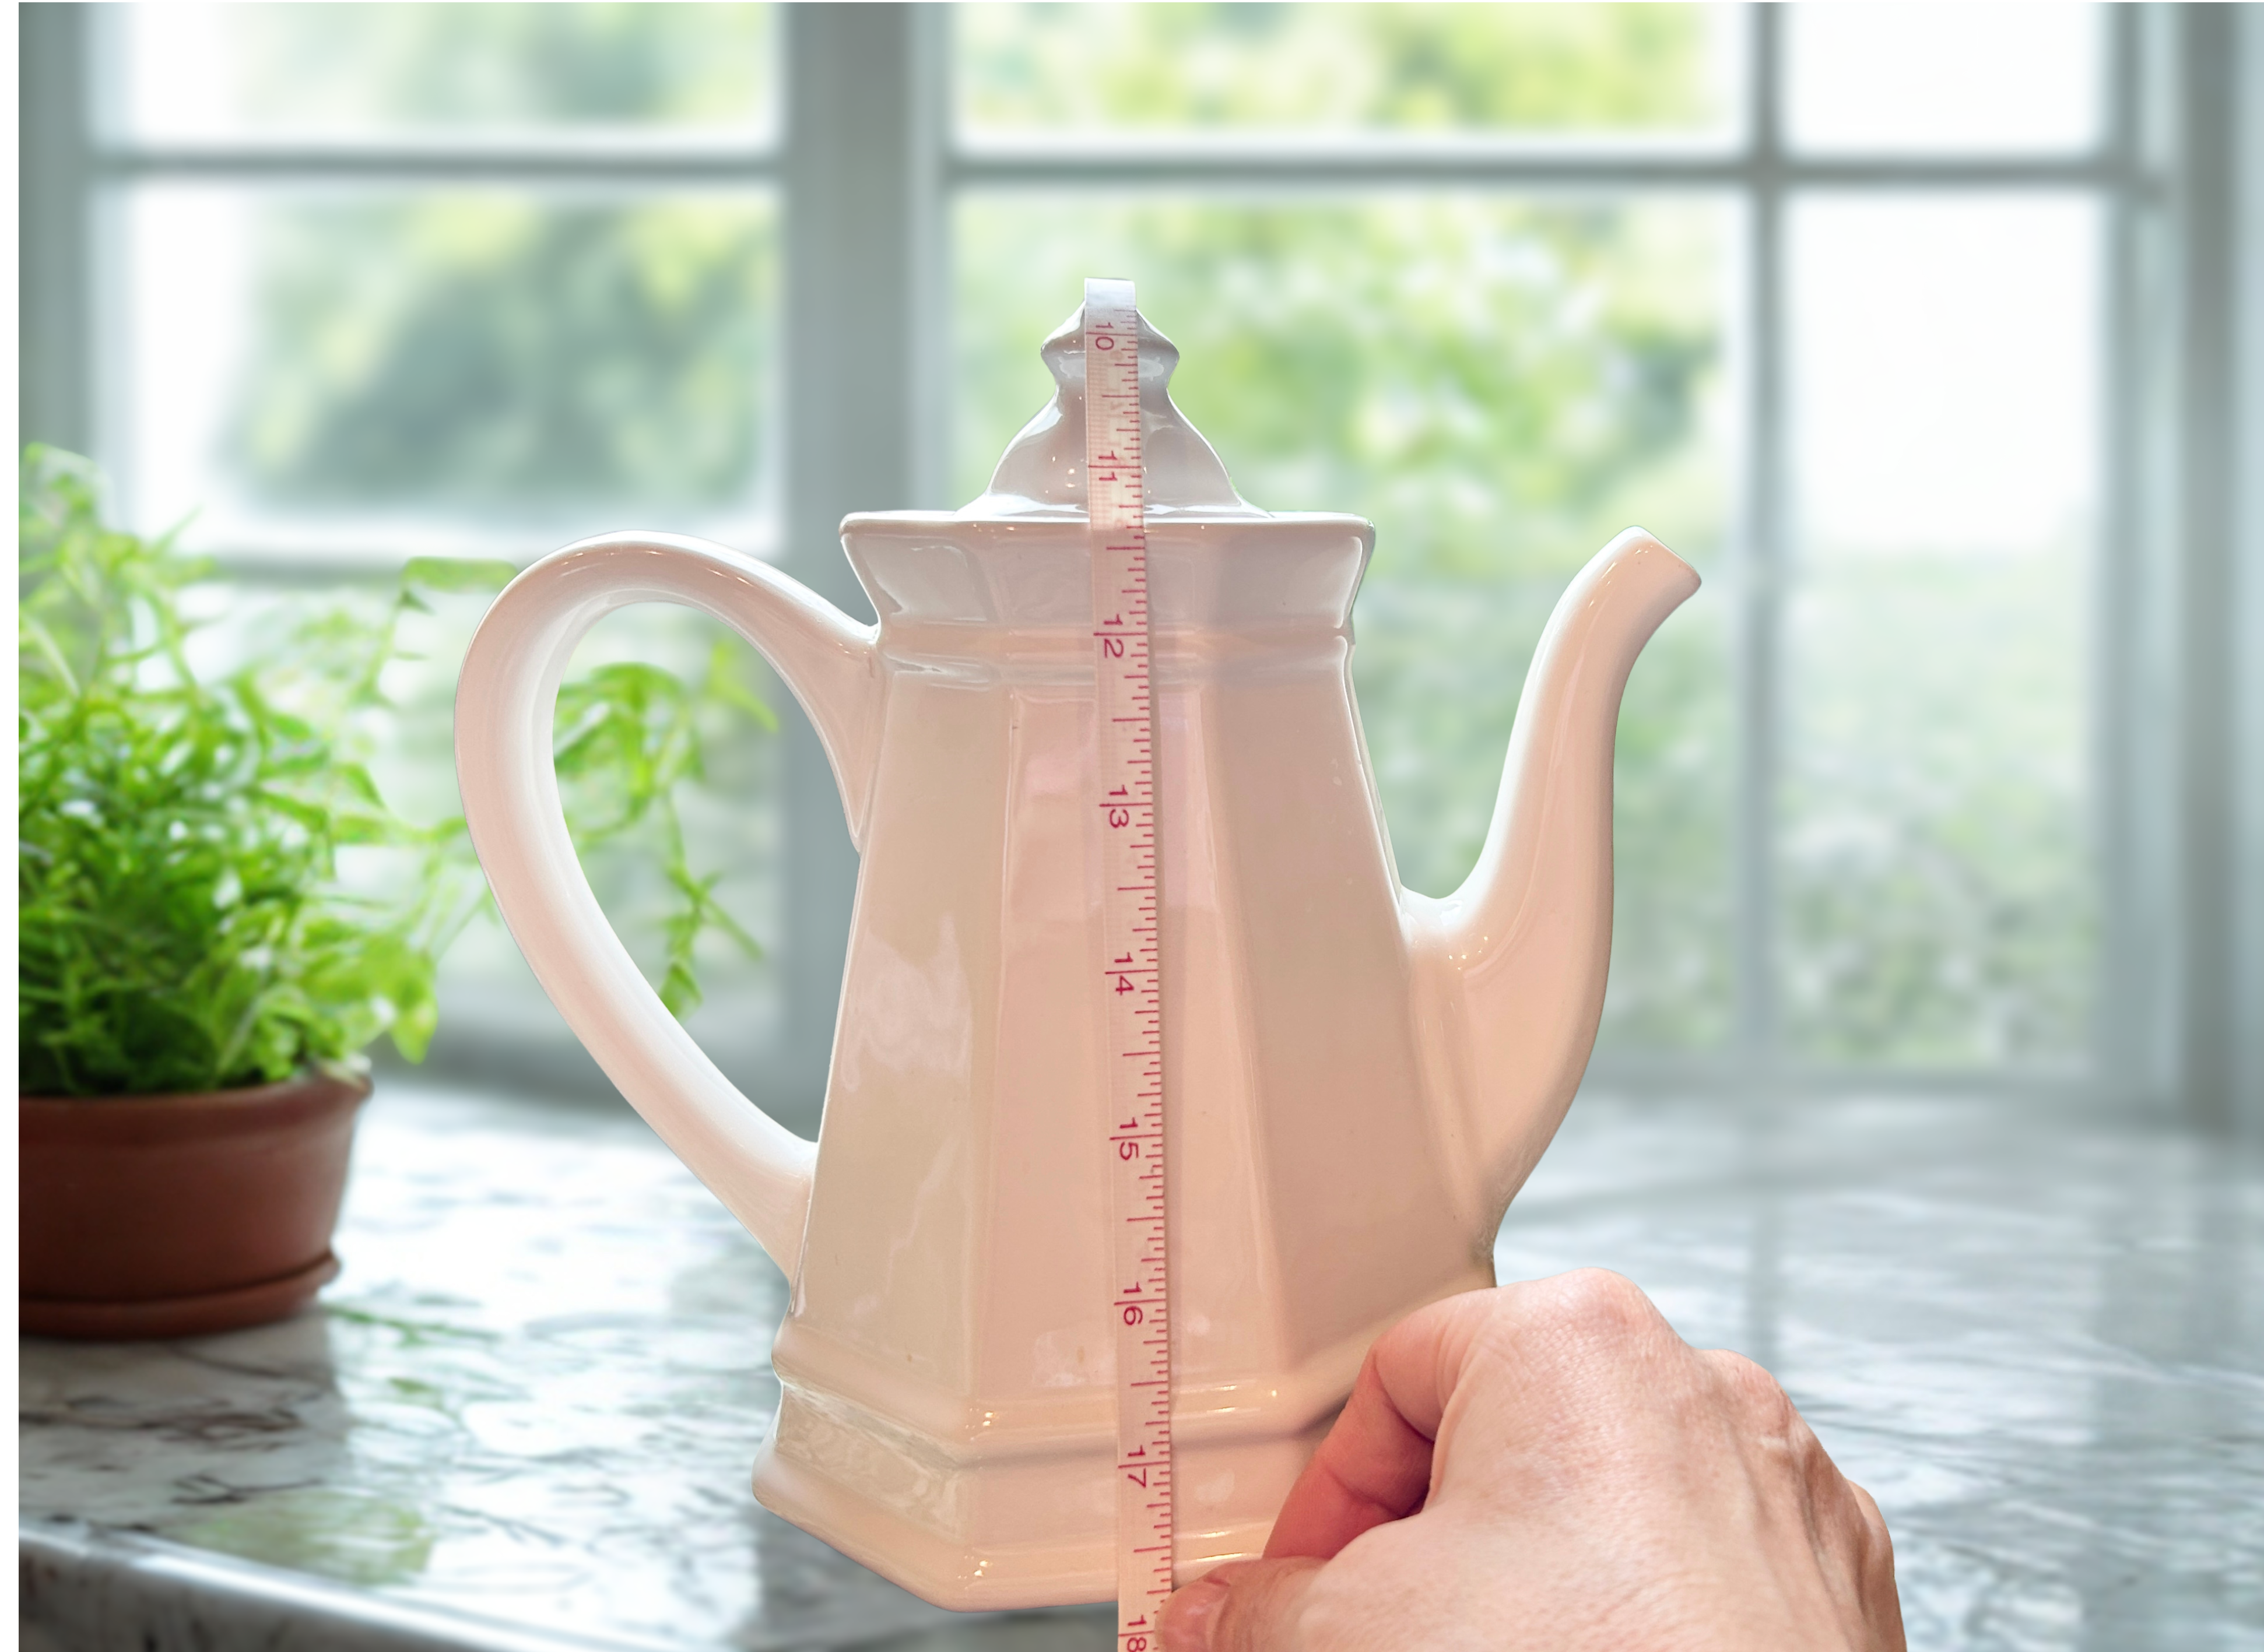
Divide each measurement by 2 and add 2” to get your template width and height.
(Width ÷ 2) + 2” = Template Width (18 1/2″ ÷ 2) + 2 = 11 1/4”
(Height ÷ 2) + 1 1/2” = Template Height (17 1/2” ÷ 2) + 1 1/2″ = 10 1/4”
Step 2: Make the Template
Cut a piece of freezer paper the length of the template width calculated in Step 1. Fold in half. On the fold, mark the template height calculated in Step 1.
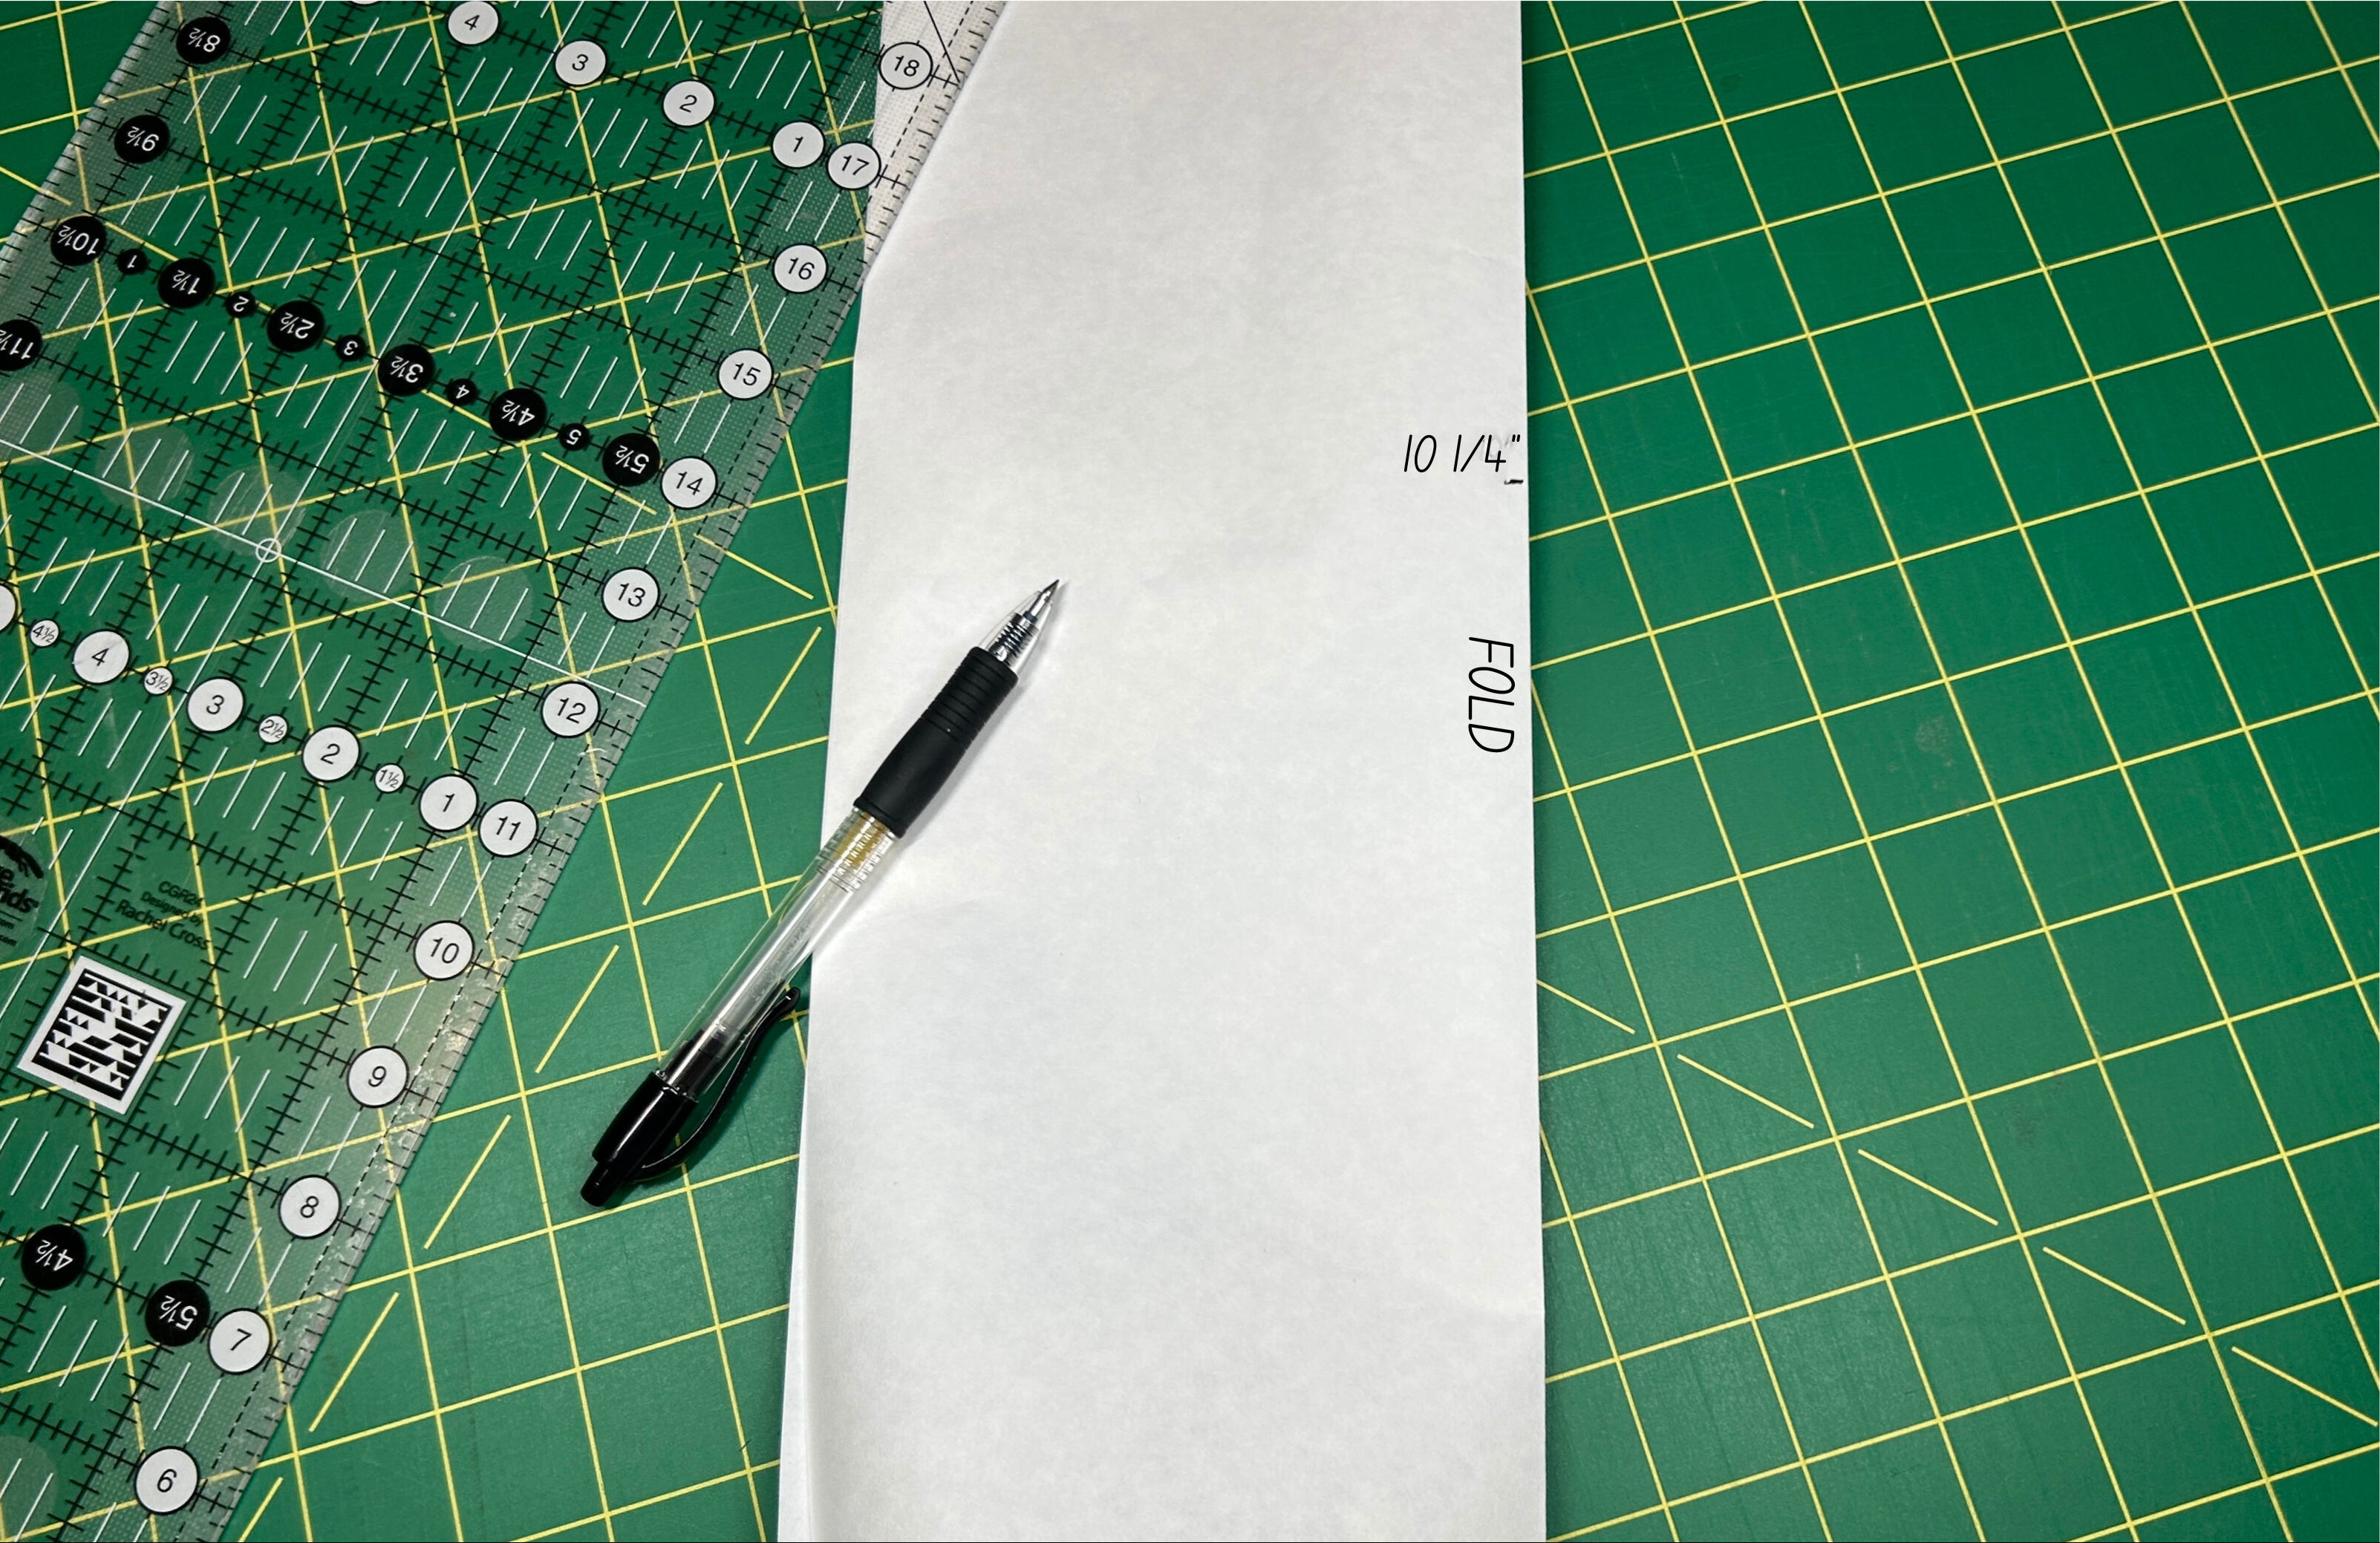
Draw a curved line from the mark to the outside edge using a dinner plate. Cut out the template.

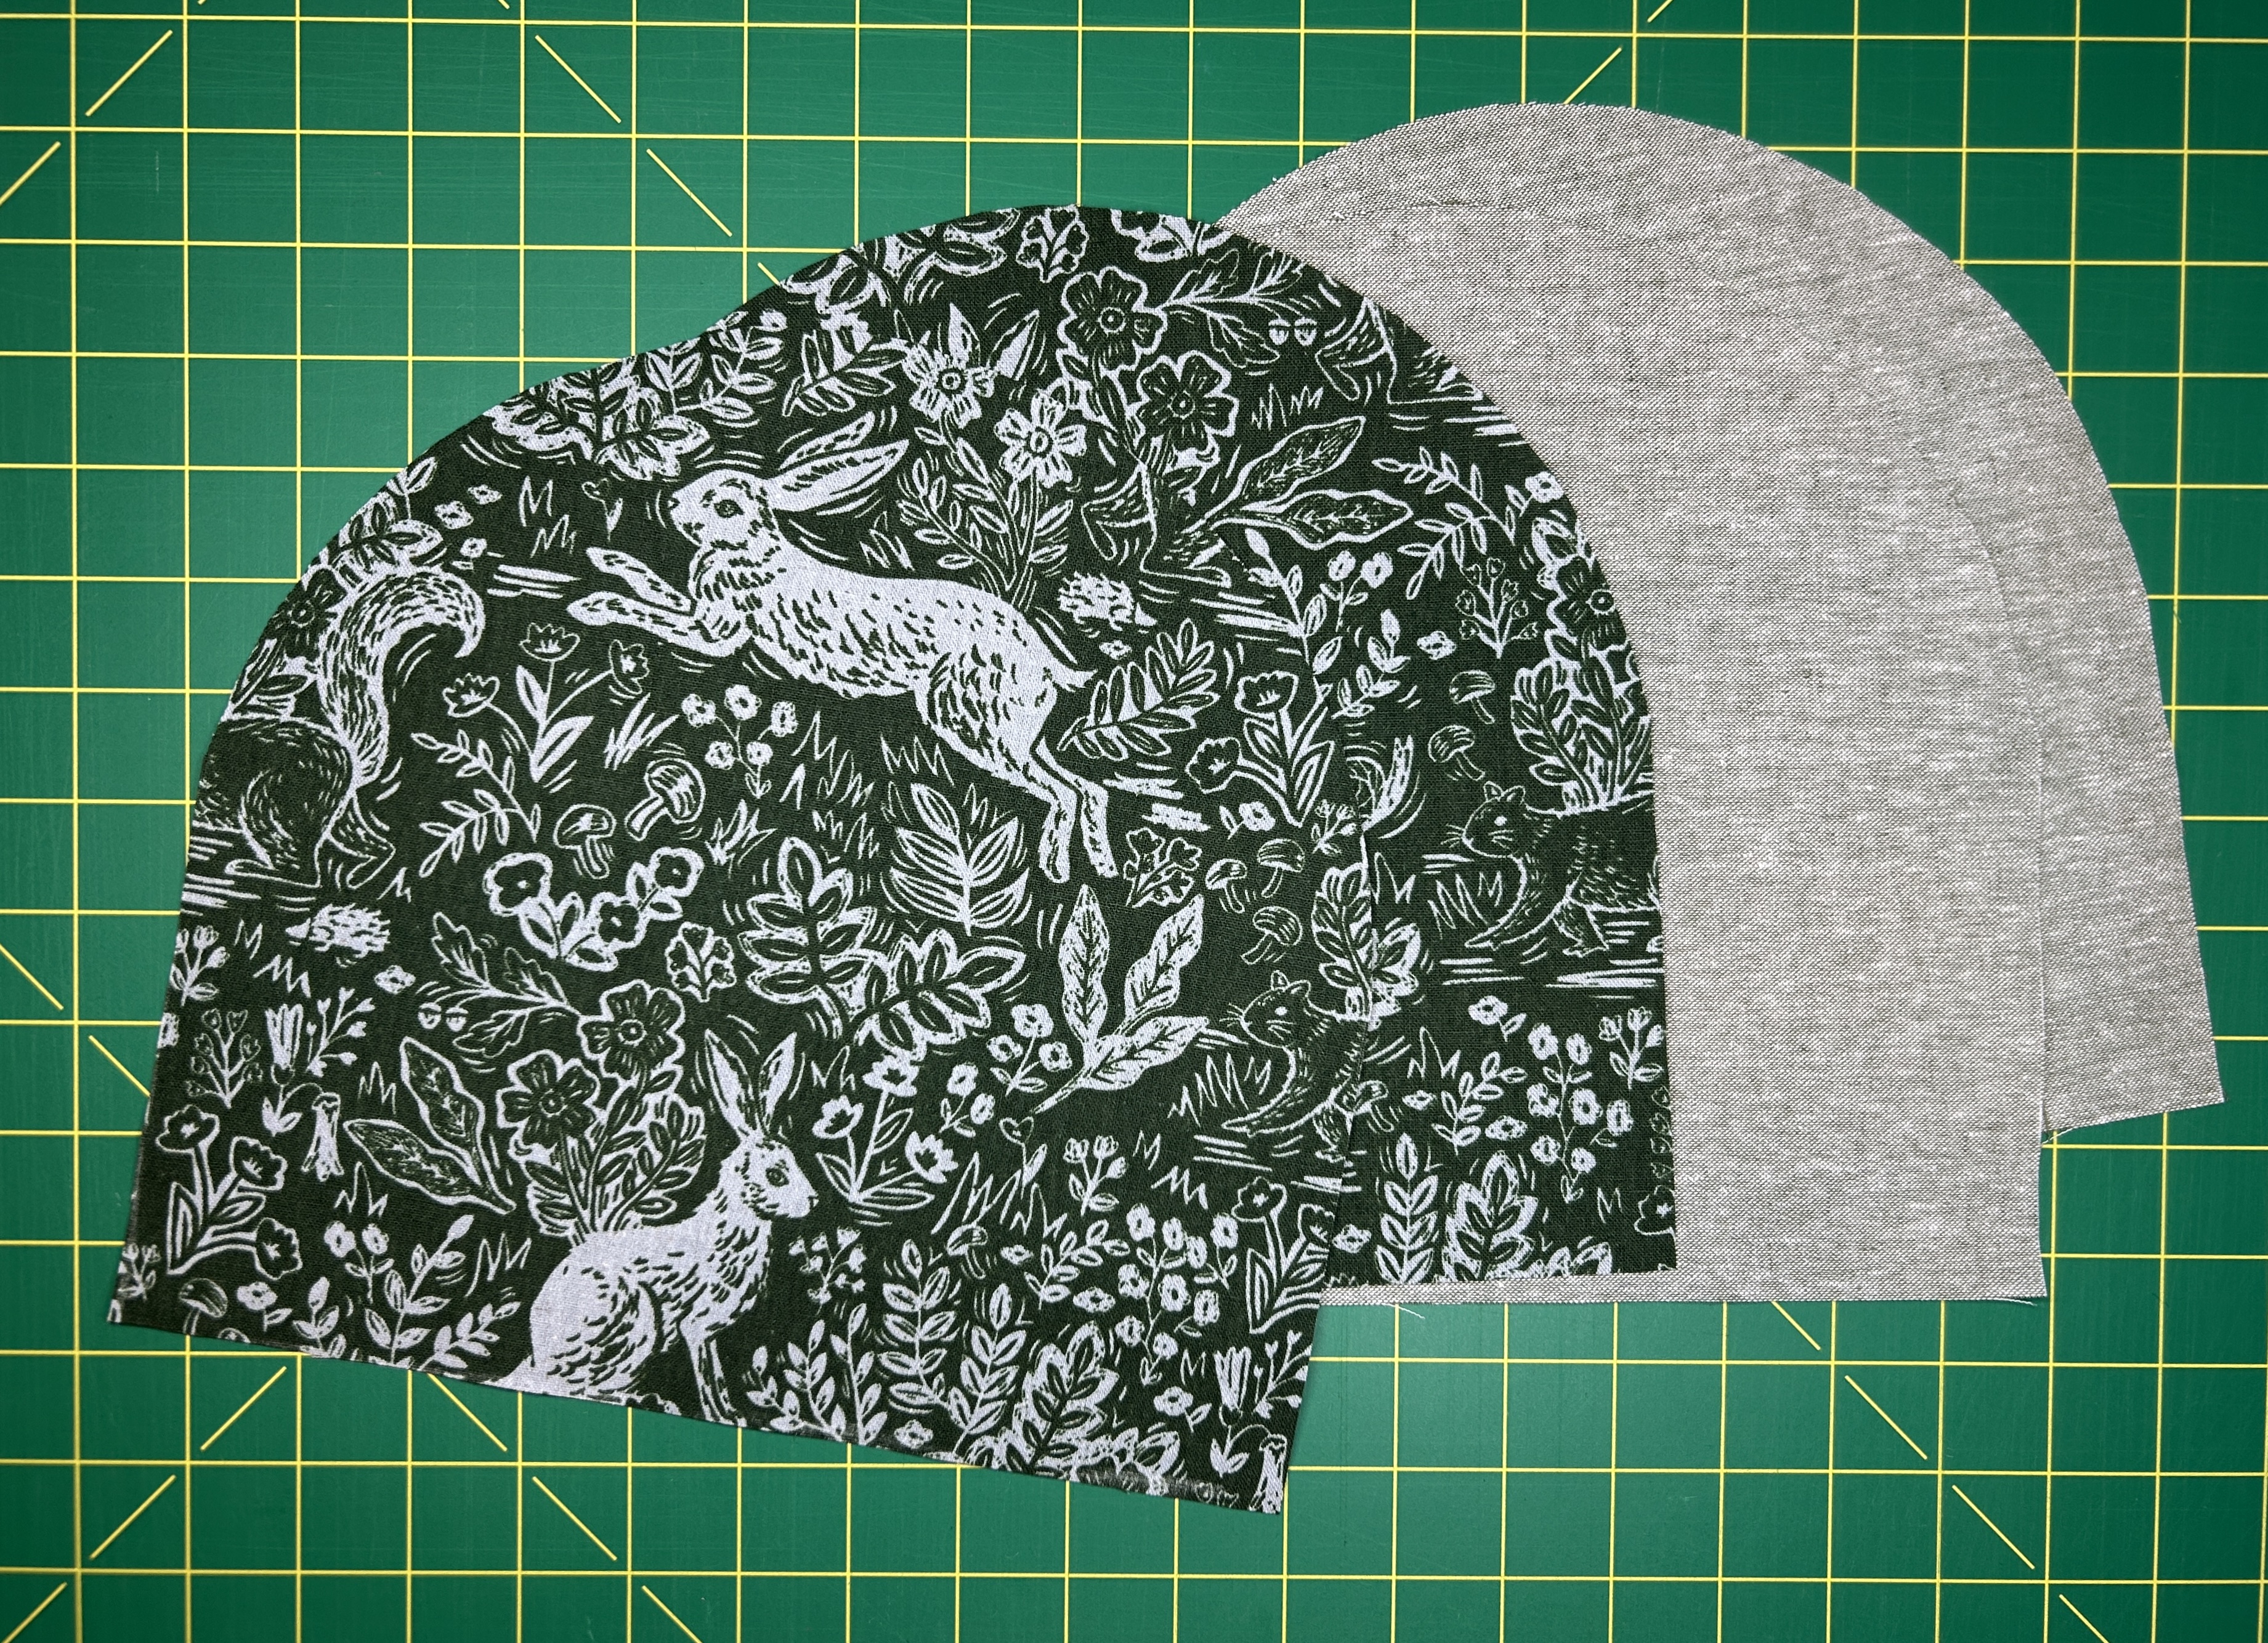
Step 3: Cut Out the Fabric
Place the template on the main fabric, shiny side down, and press on medium heat. Cut out the fabric around the template. Remove the template and repeat with the main fabric. Do the same with the lining fabric.
With the Insul-Bright batting, pin the freezer paper to secure or mark with a colored Clover Chaco Liner. Cut out two pieces.

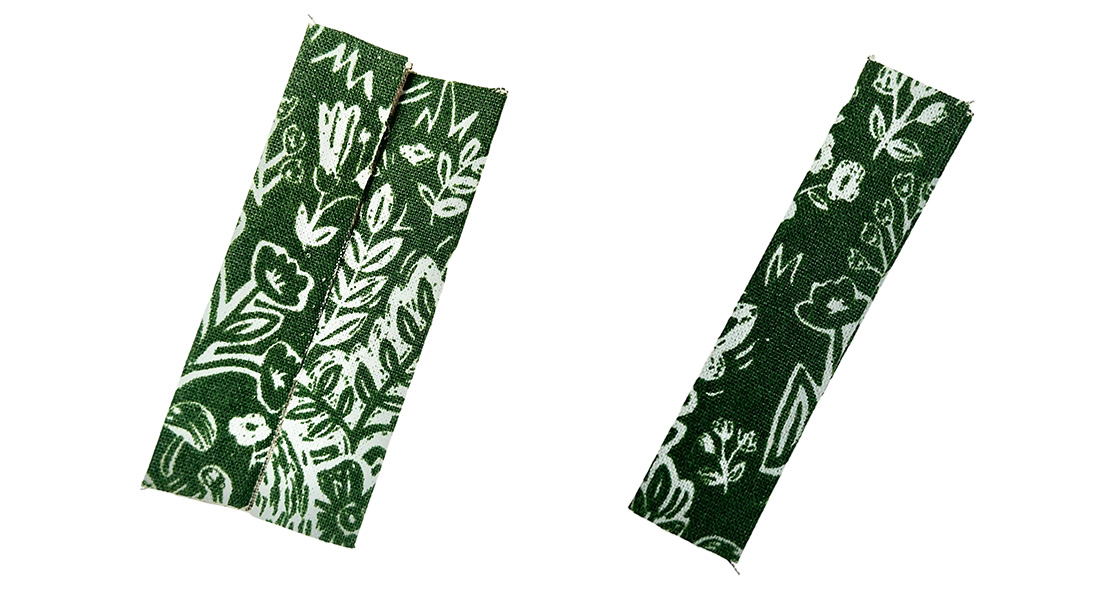
For the loop handle, cut a square 3 1/2” x 3 1/2″ with the main fabric. Fold in half and press. Open and fold the raw edges to meet in the center. Press. Fold in half again and press.
Step 4: Sew Together
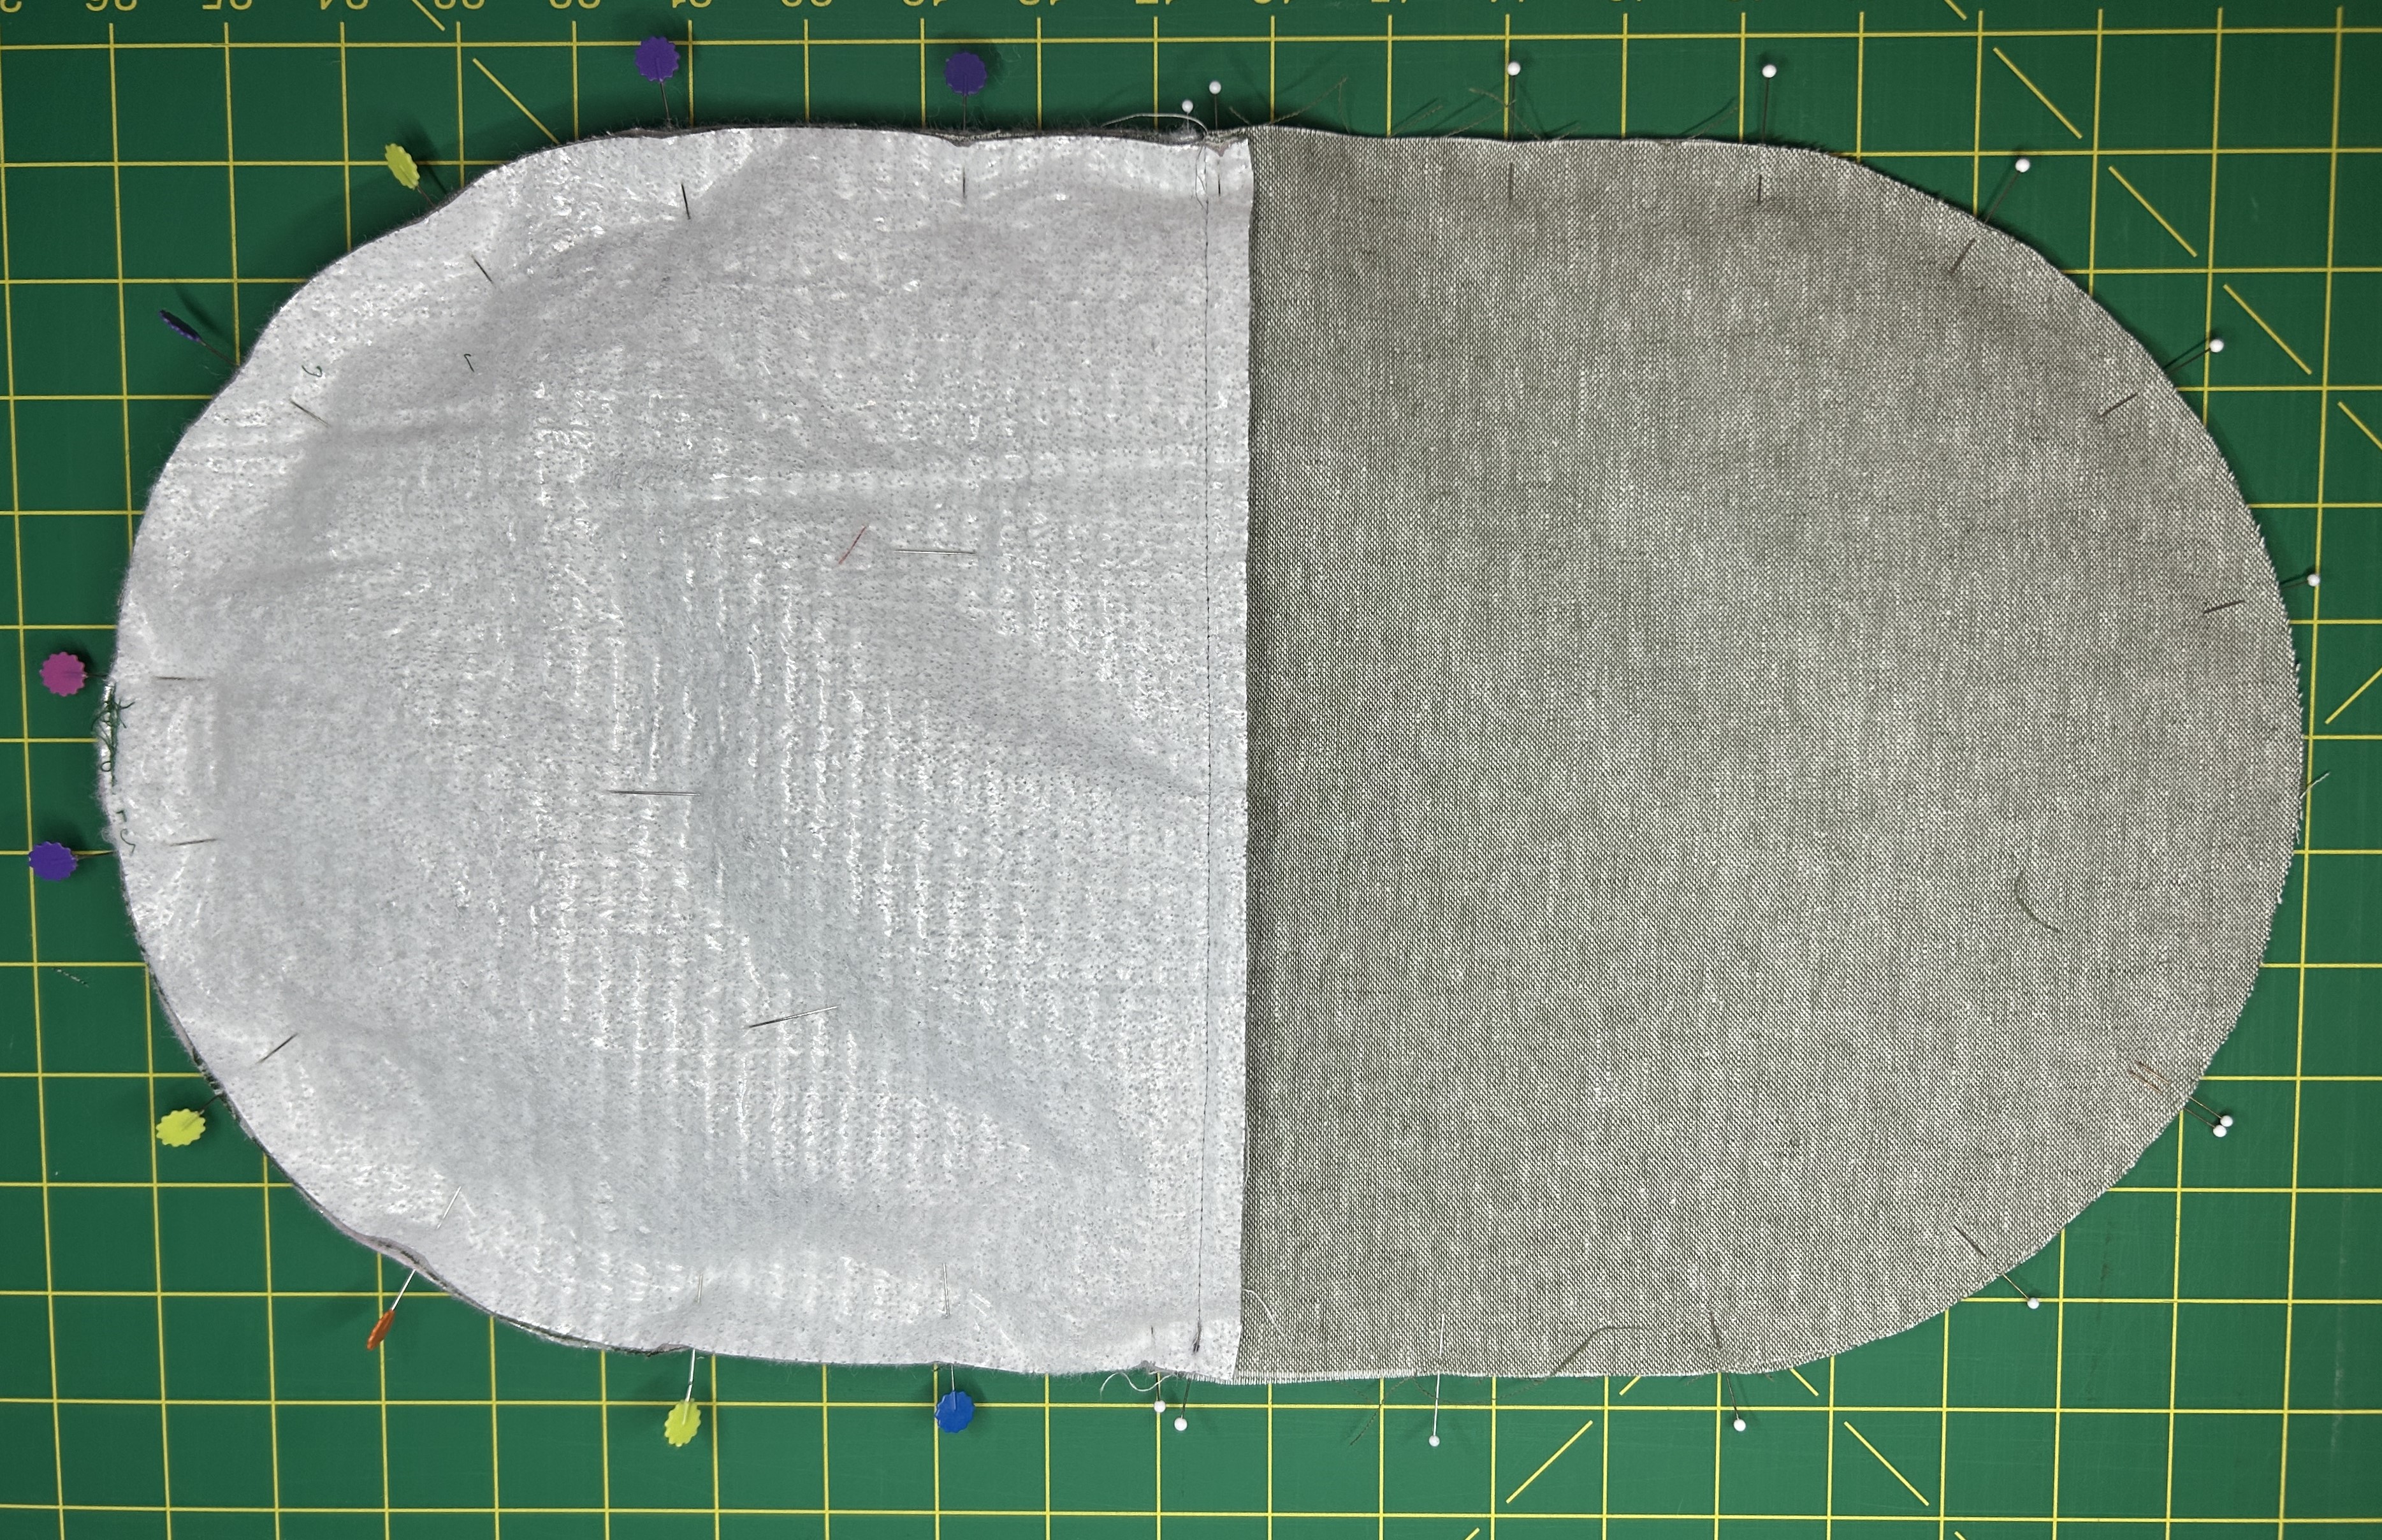
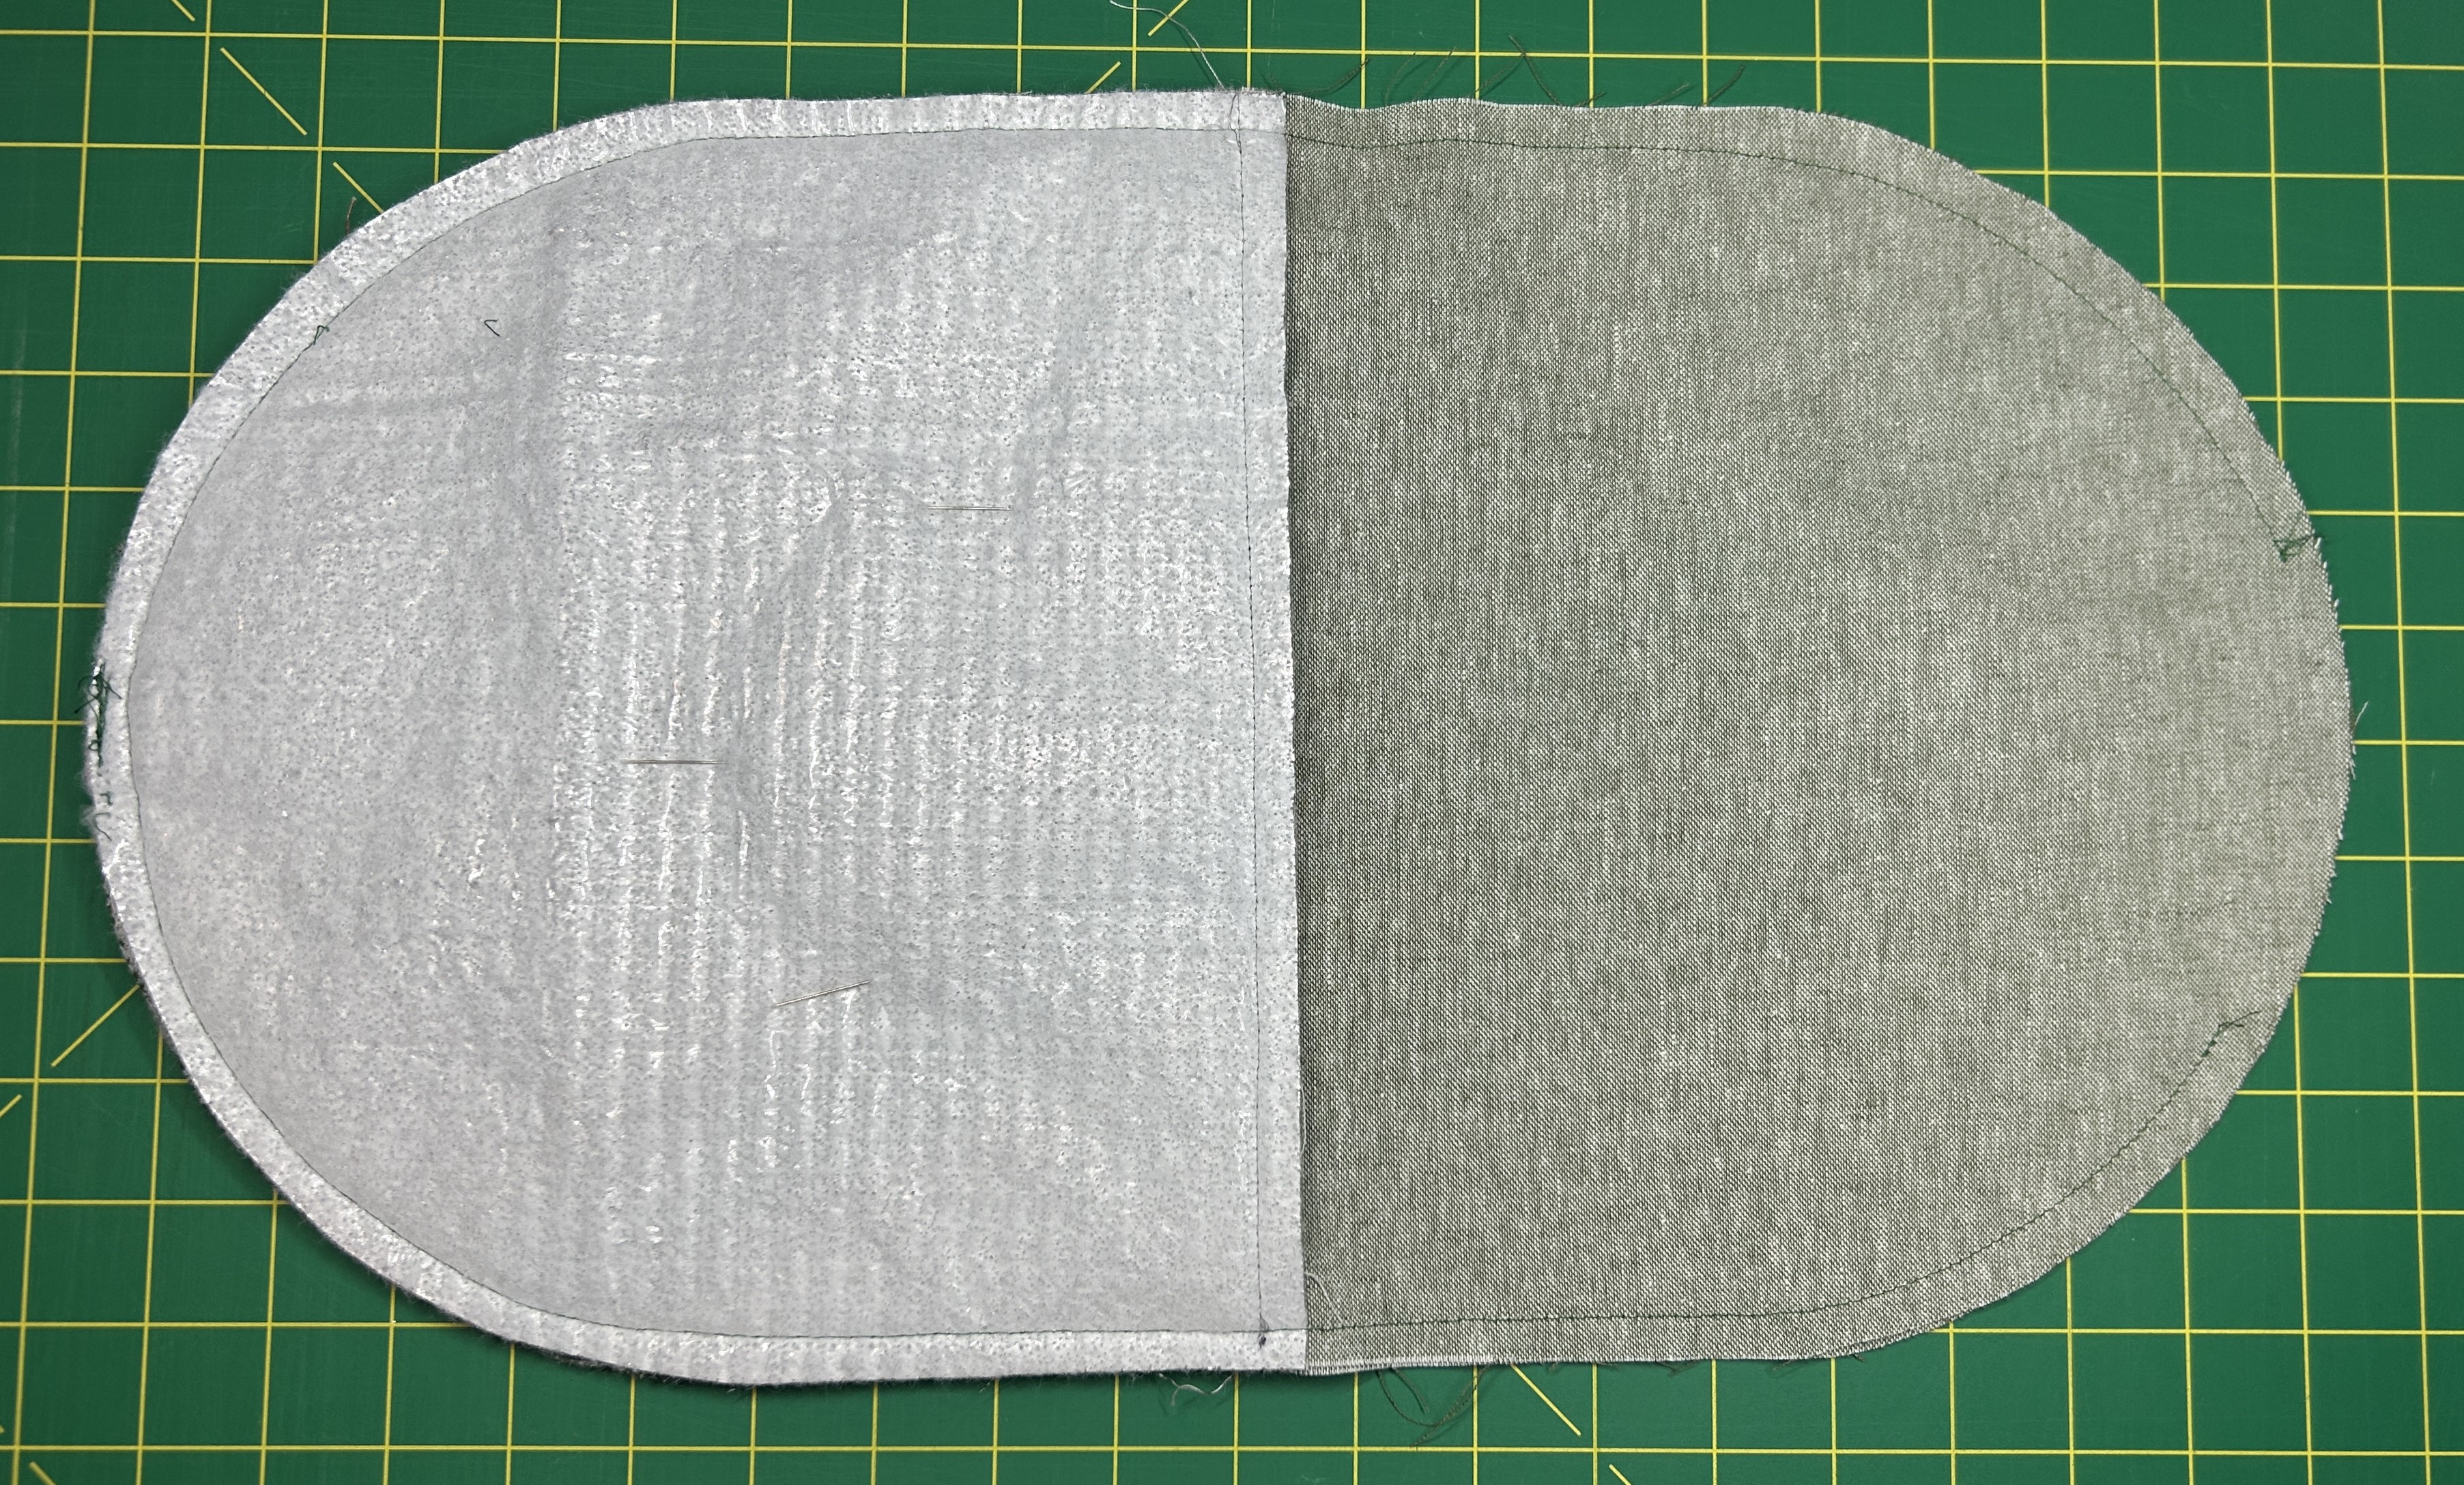
Position the main fabric over the batting, with the Insul-Bright shiny side down. Pin or spray baste to secure.
Position the lining fabric on top of the main fabric and pin along the bottom. Repeat for the second side.
Attach Reverse Pattern Foot #1D to the machine. Option to use Walking Foot #50 with Standard Sole. Select straight stitch #1 and increase the stitch length to 2.75 mm. Sew a 3/8” seam along the bottom of each piece. Open and press along the seam.
Attach Edgestitch Foot #10D. Option to use Walking Foot #50 with Center Guide Sole. Move the needle position to -3. Place the pressed loop handle under the foot with the open side against the center guide. Activate the Pinpoint Laser to see where the stitch will land. Topstitch down the side.
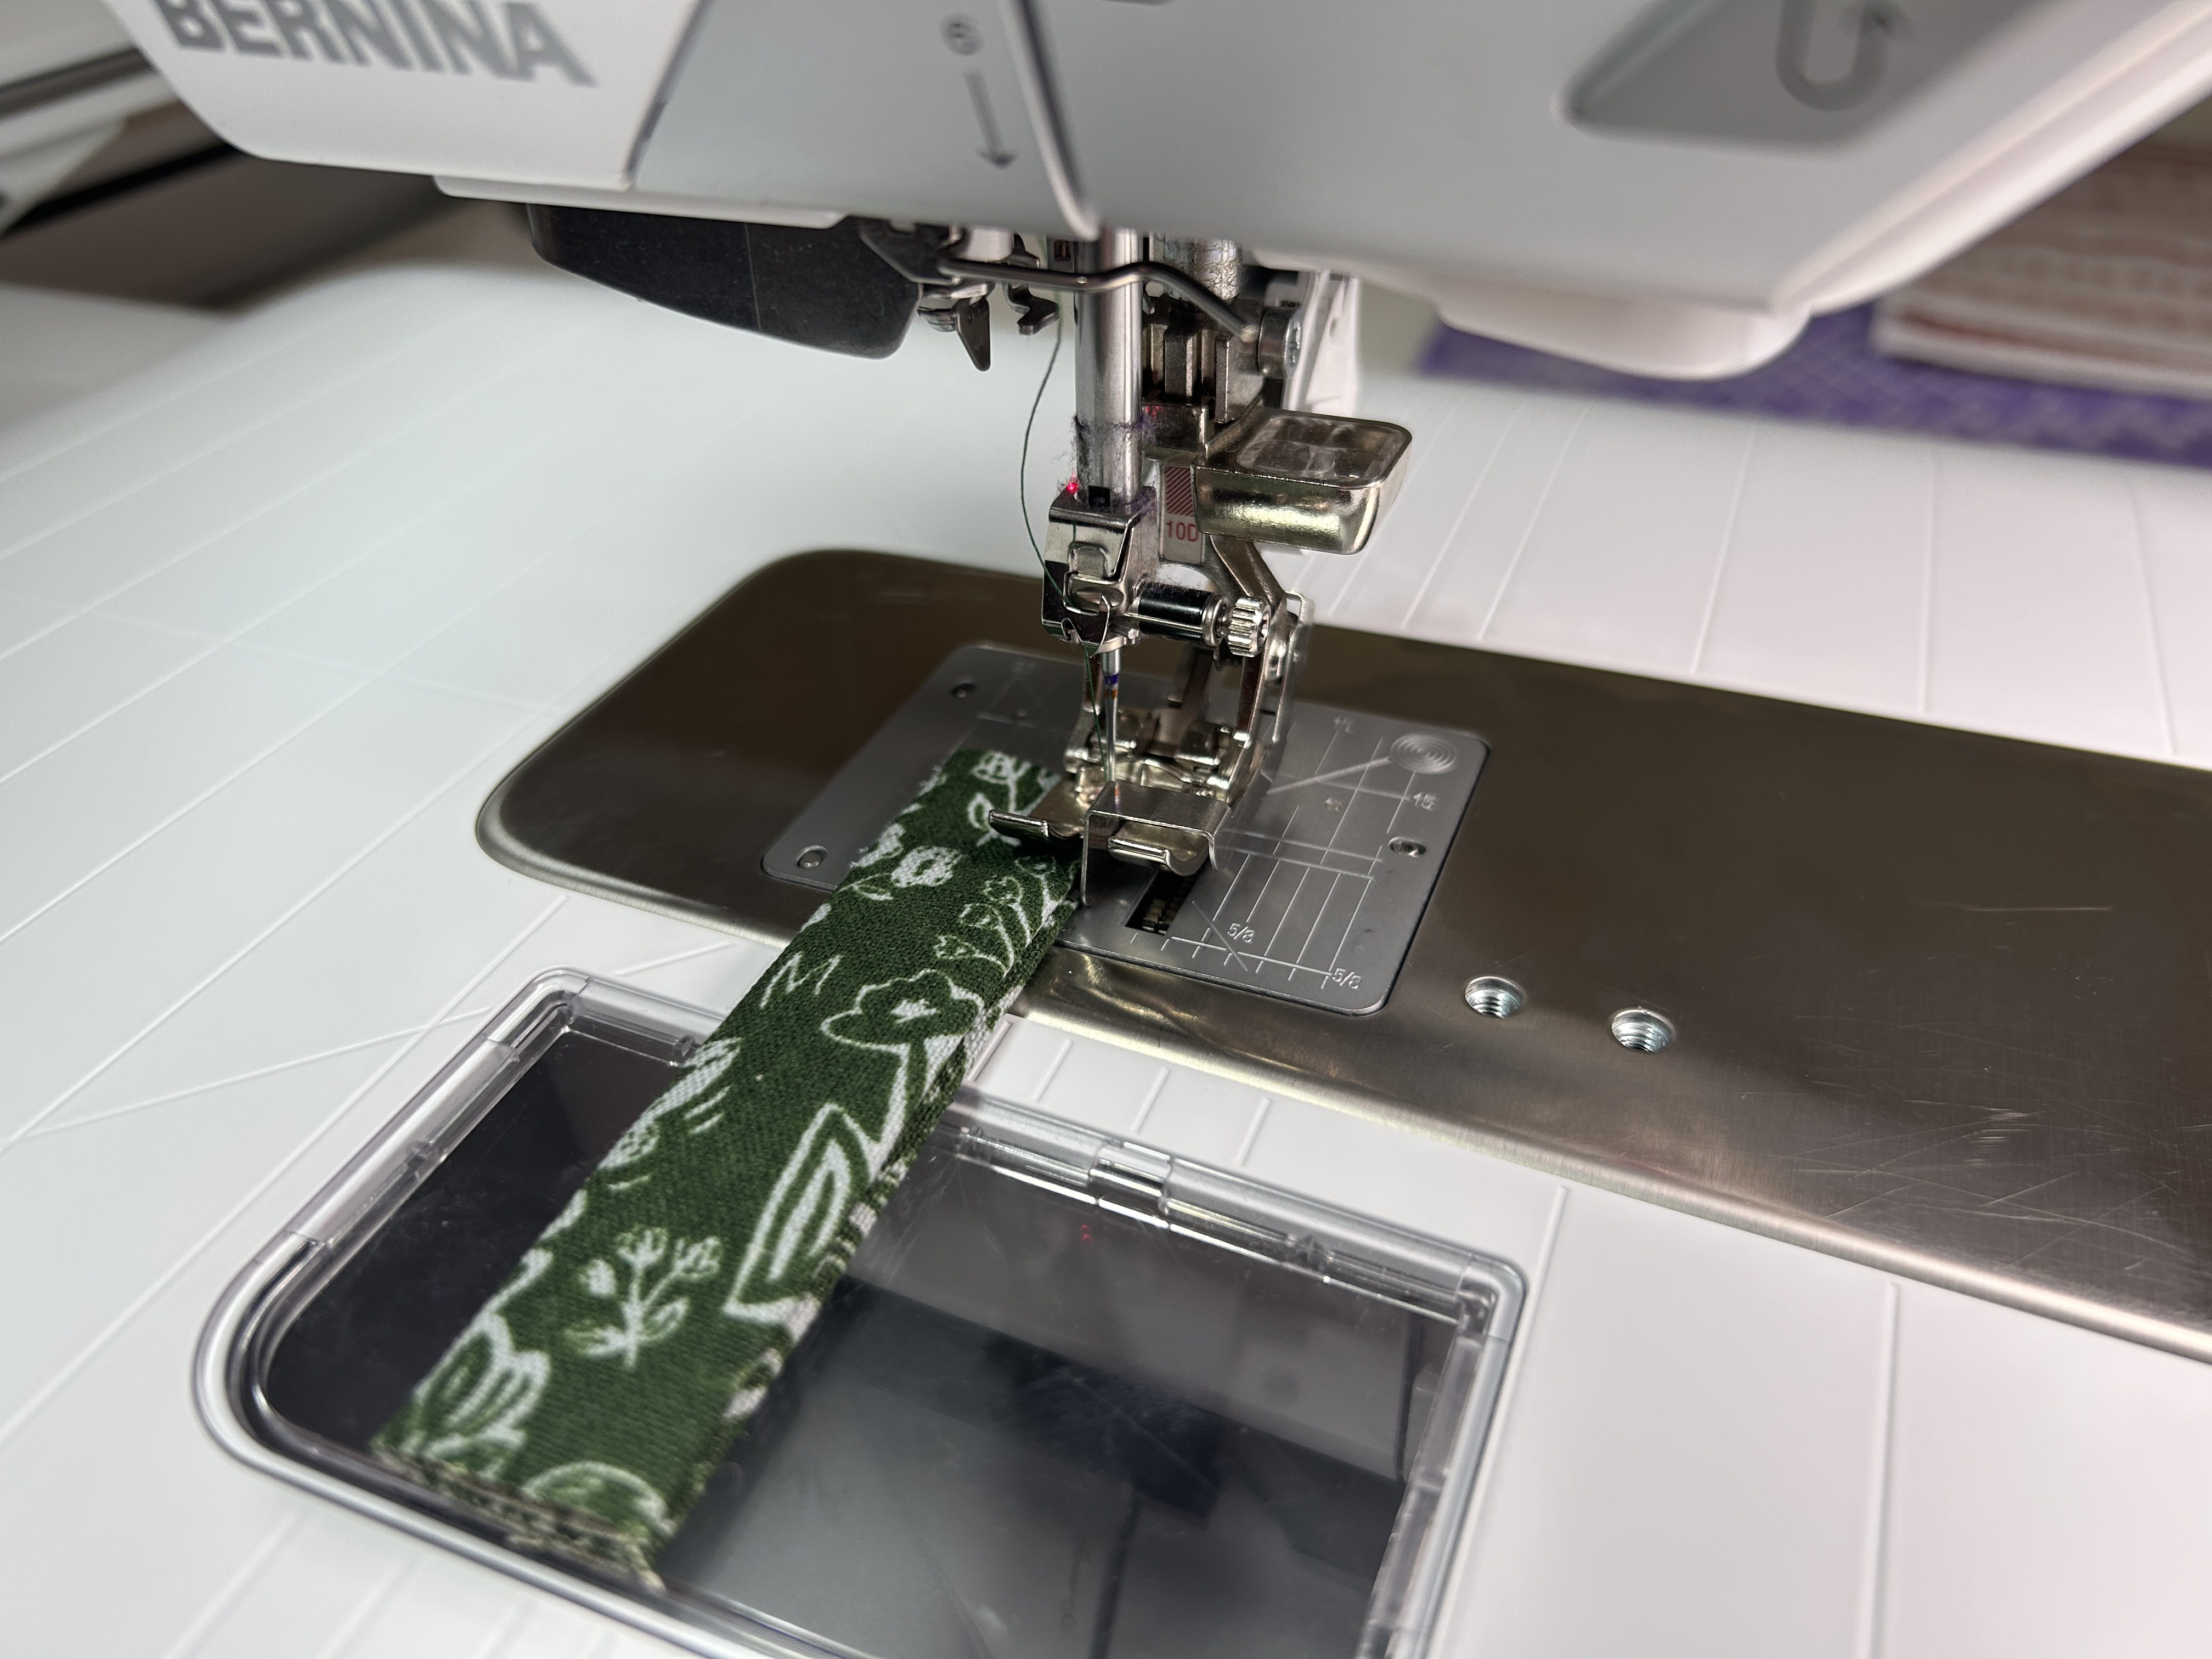
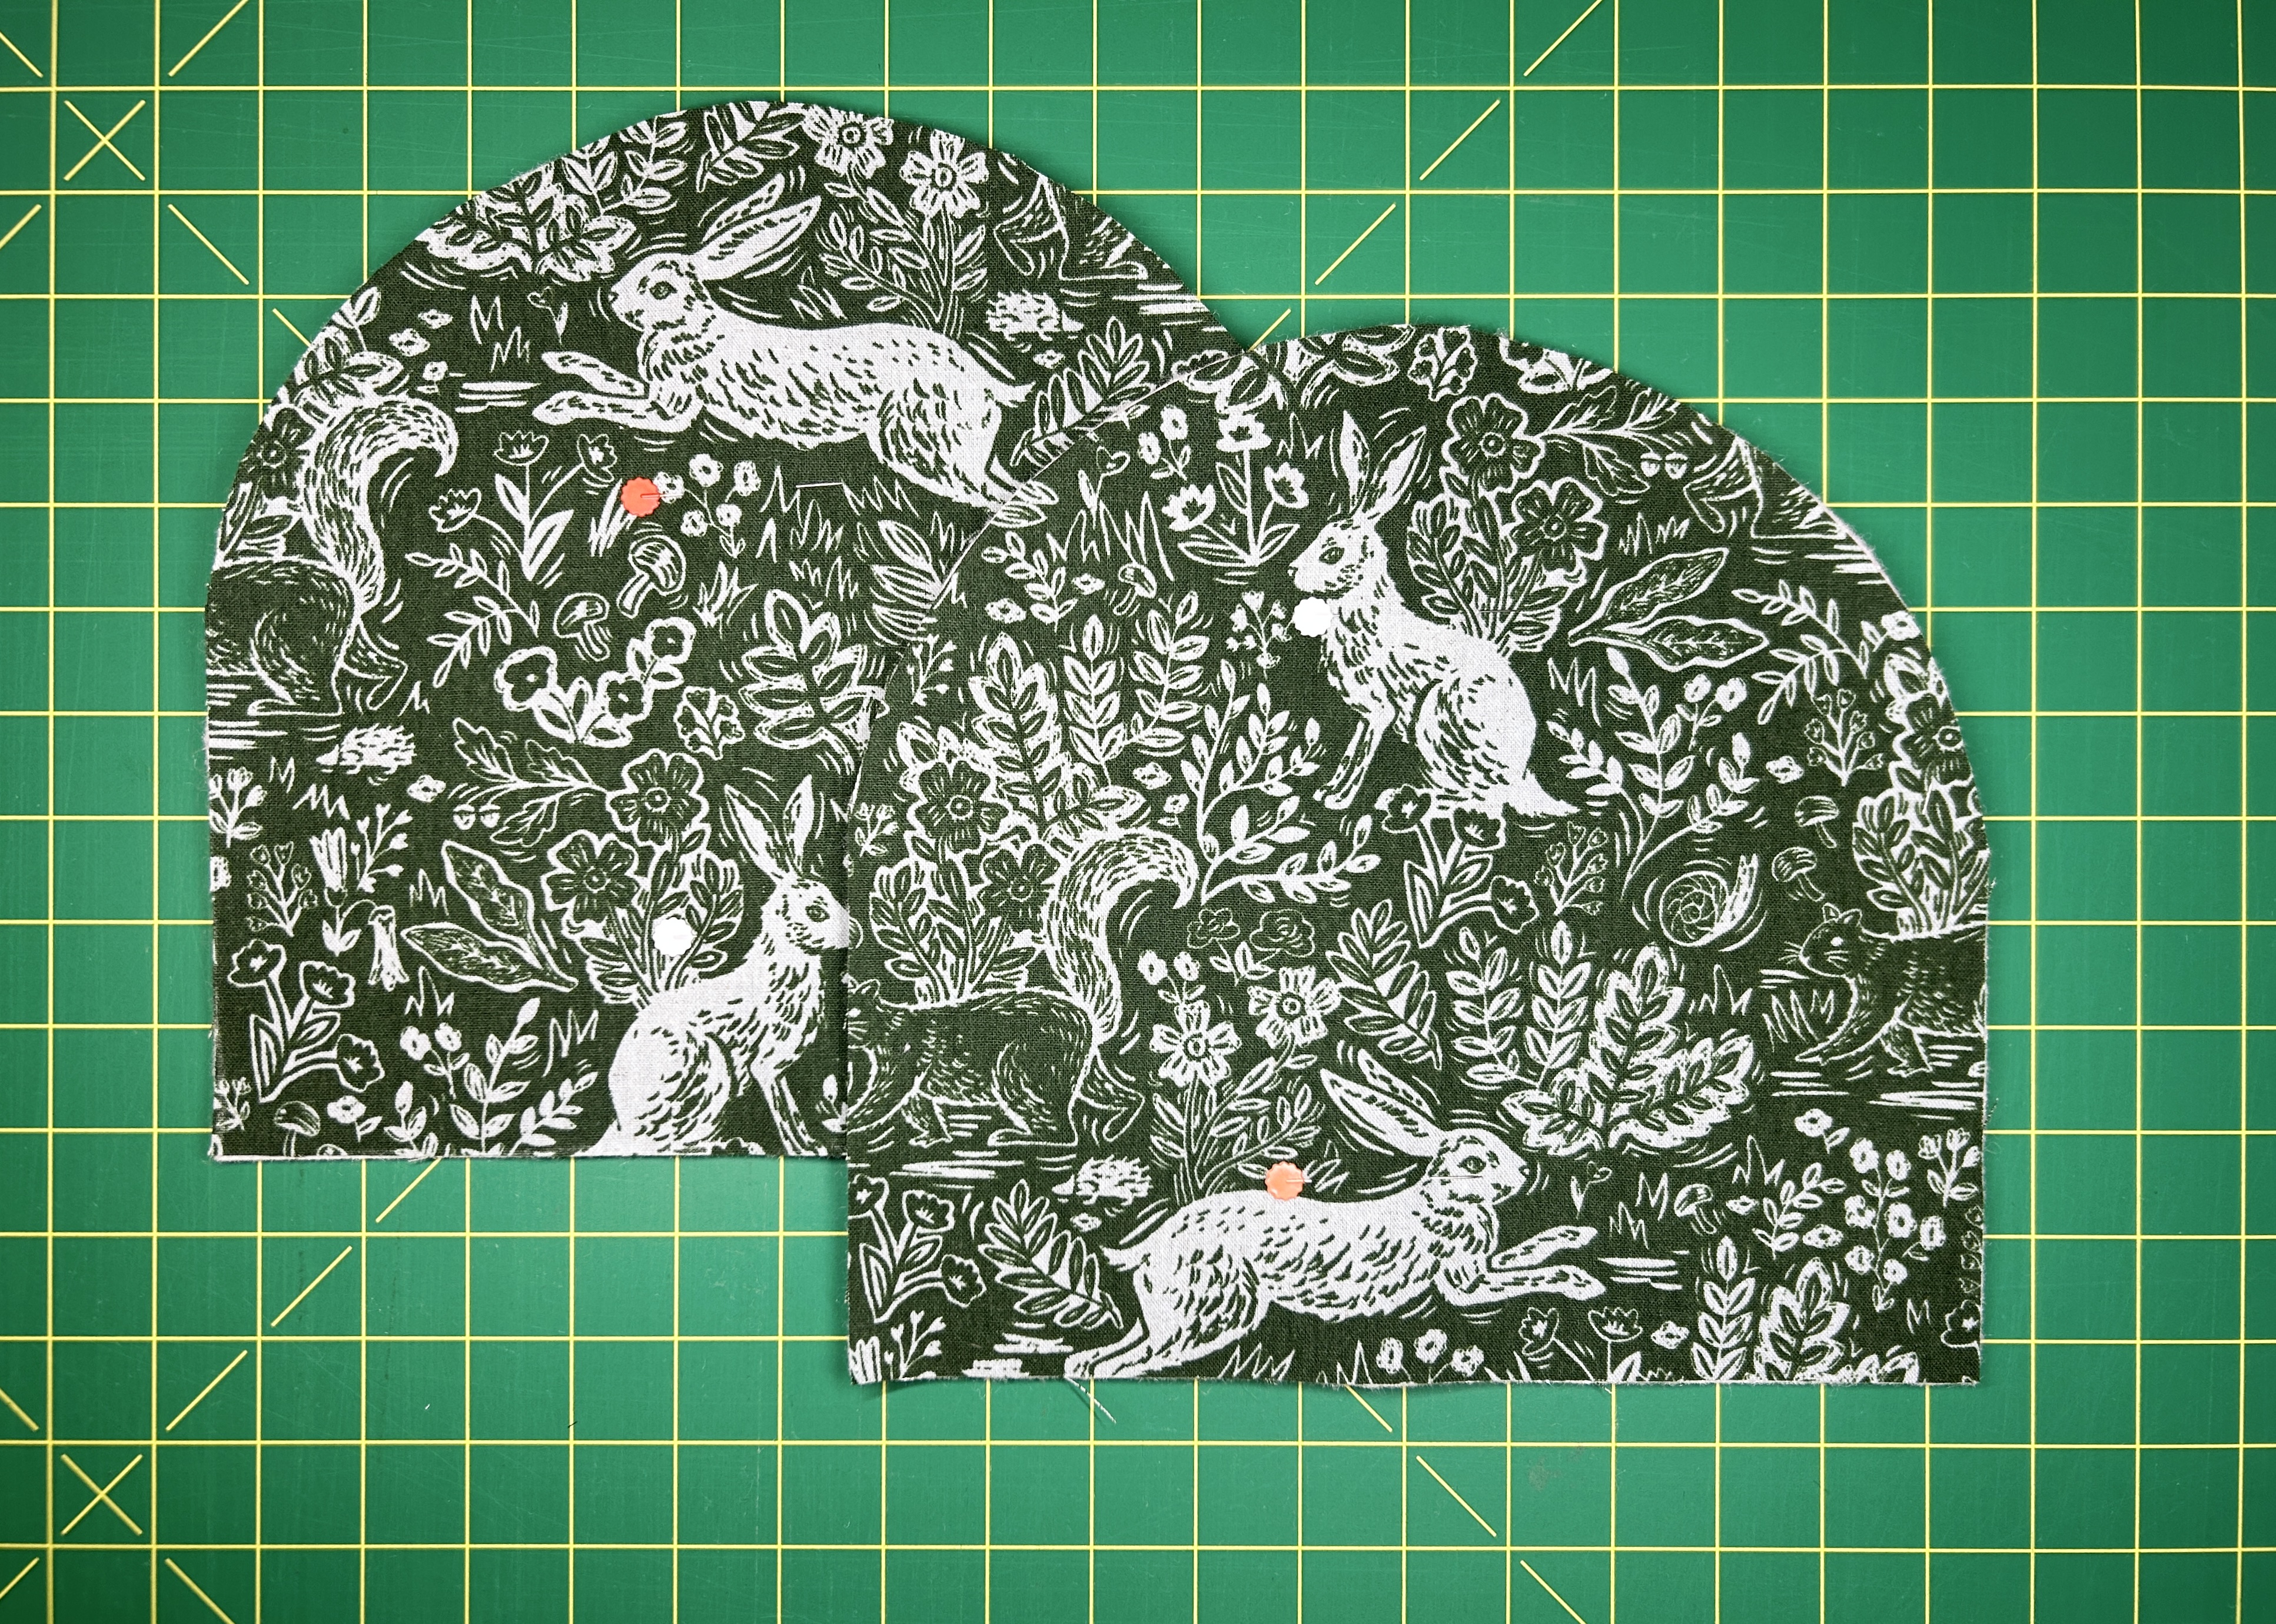
Mark the top center of the main fabric (it doesn’t matter which side). Fold the loop handle in half and pin or clip on the center mark, with raw edges aligned. Position under the foot with the raw edges against the center guide and stitch in place.
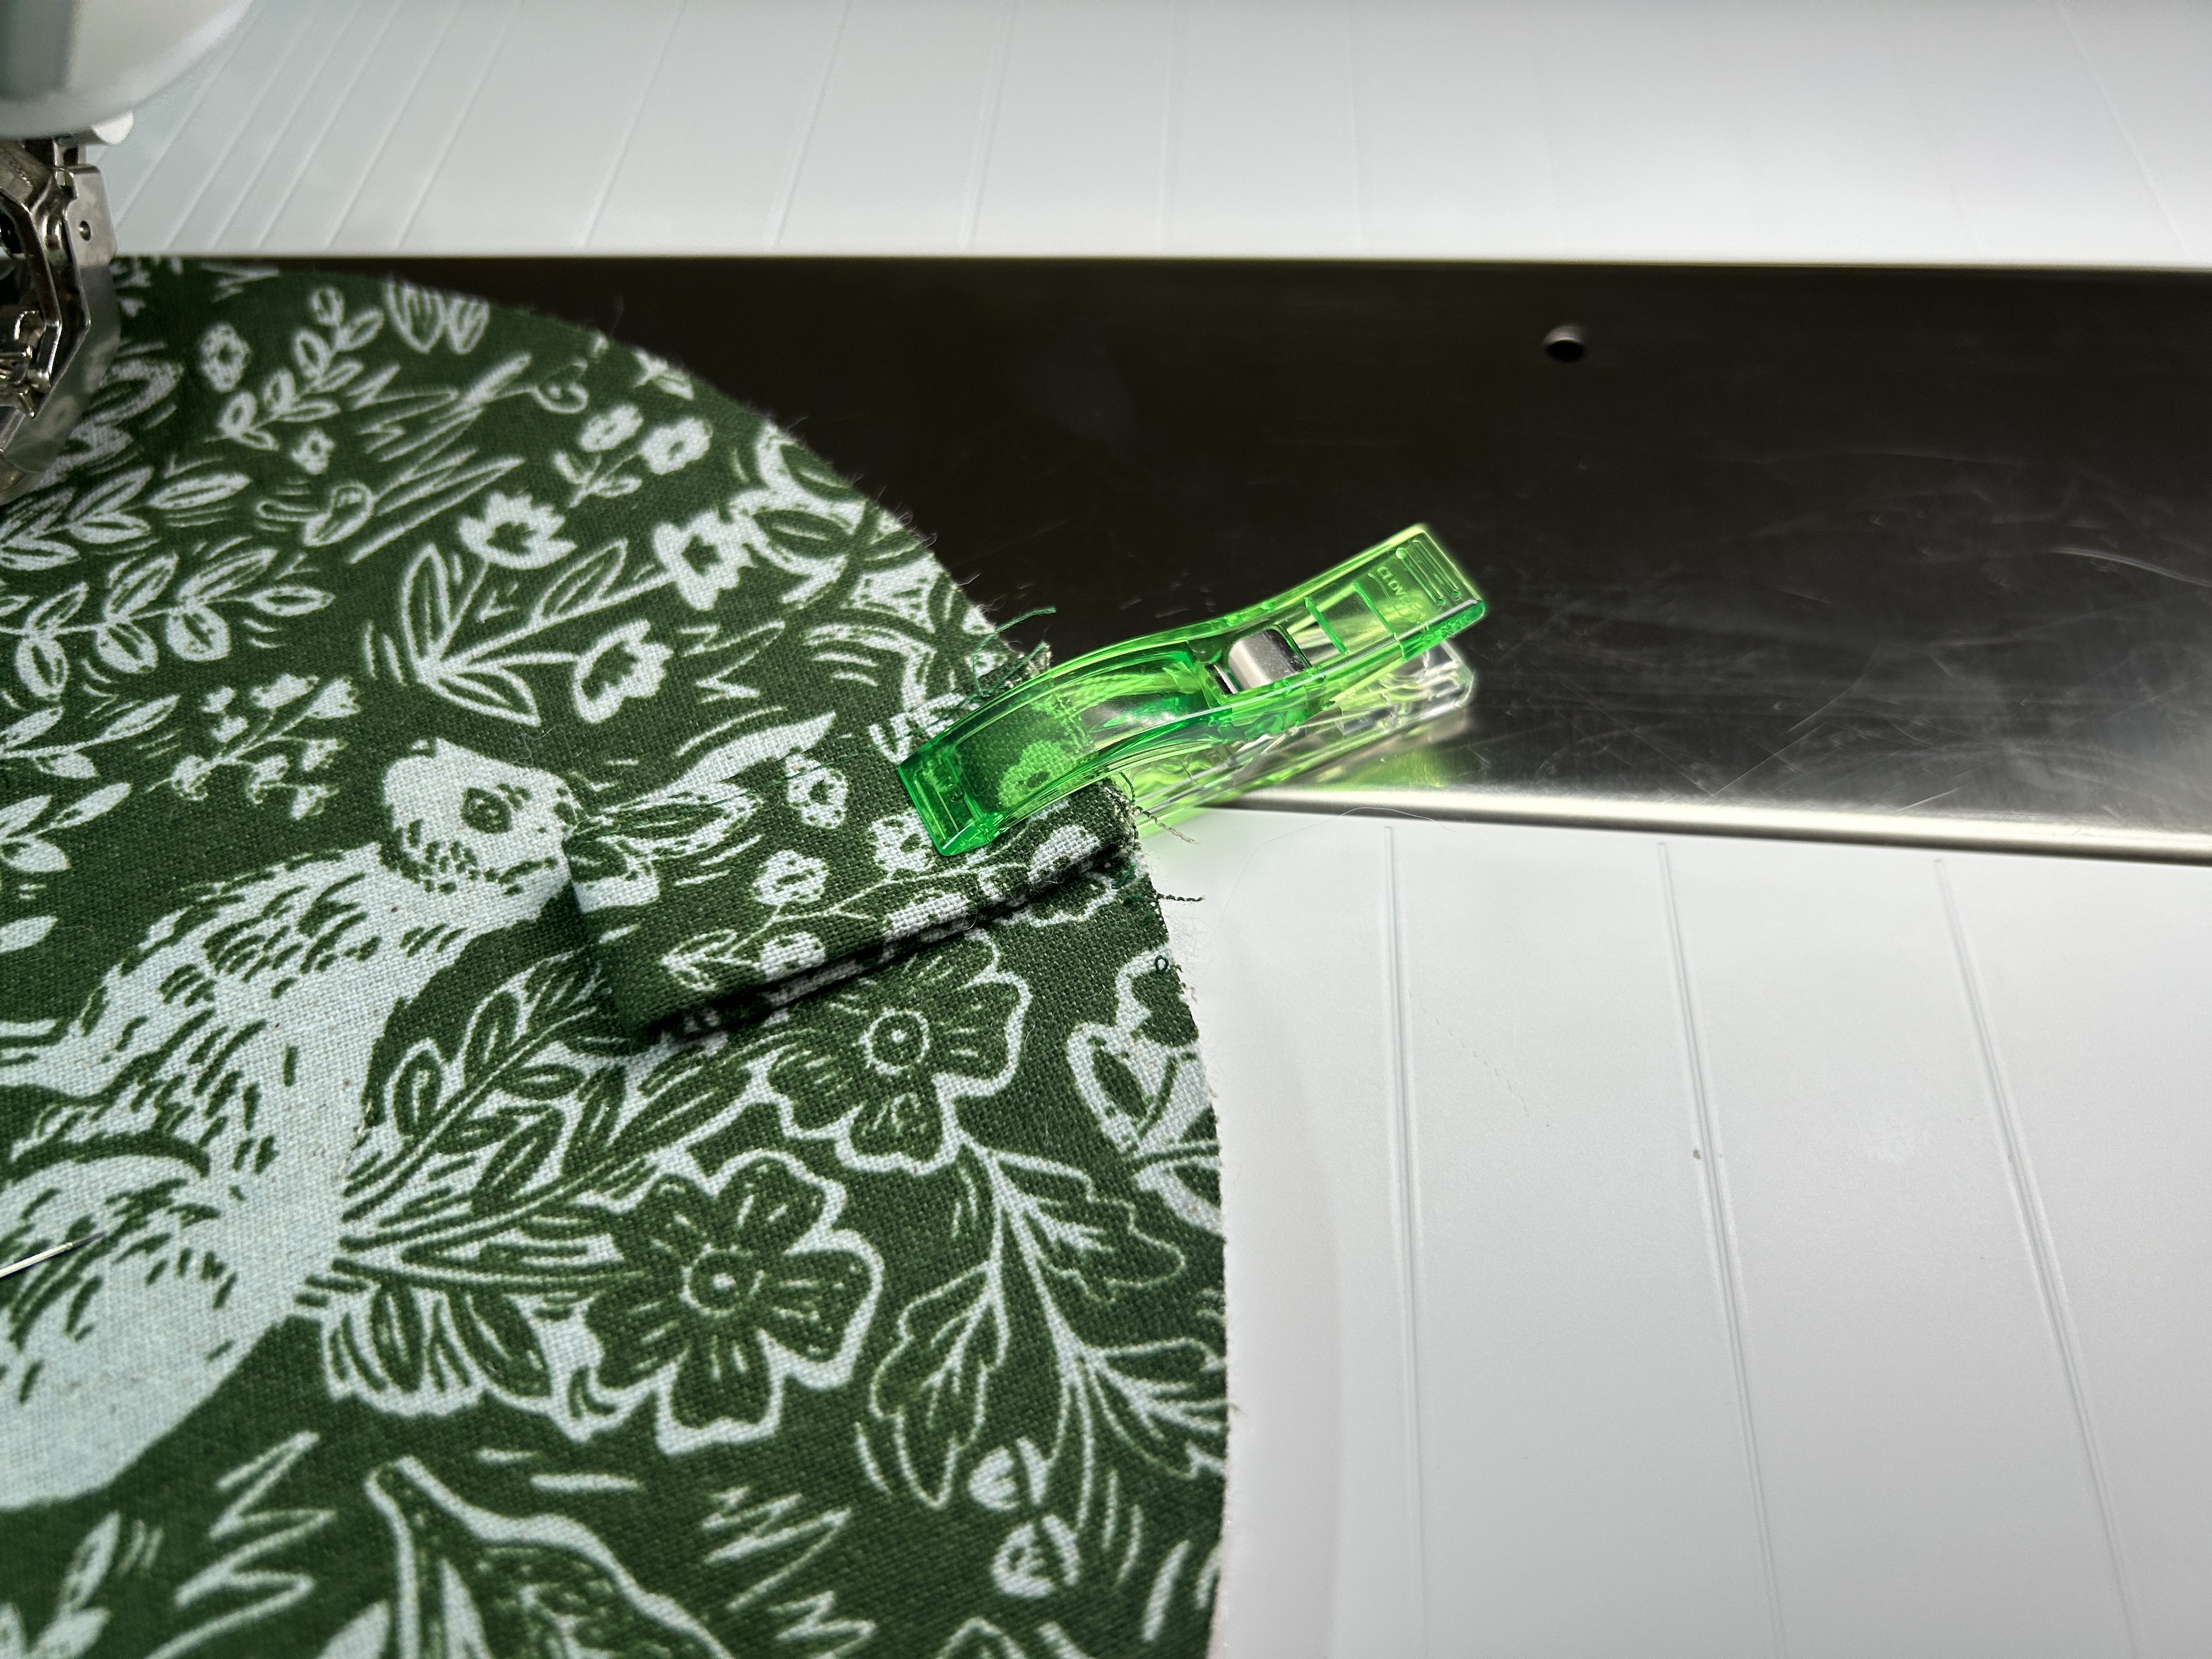
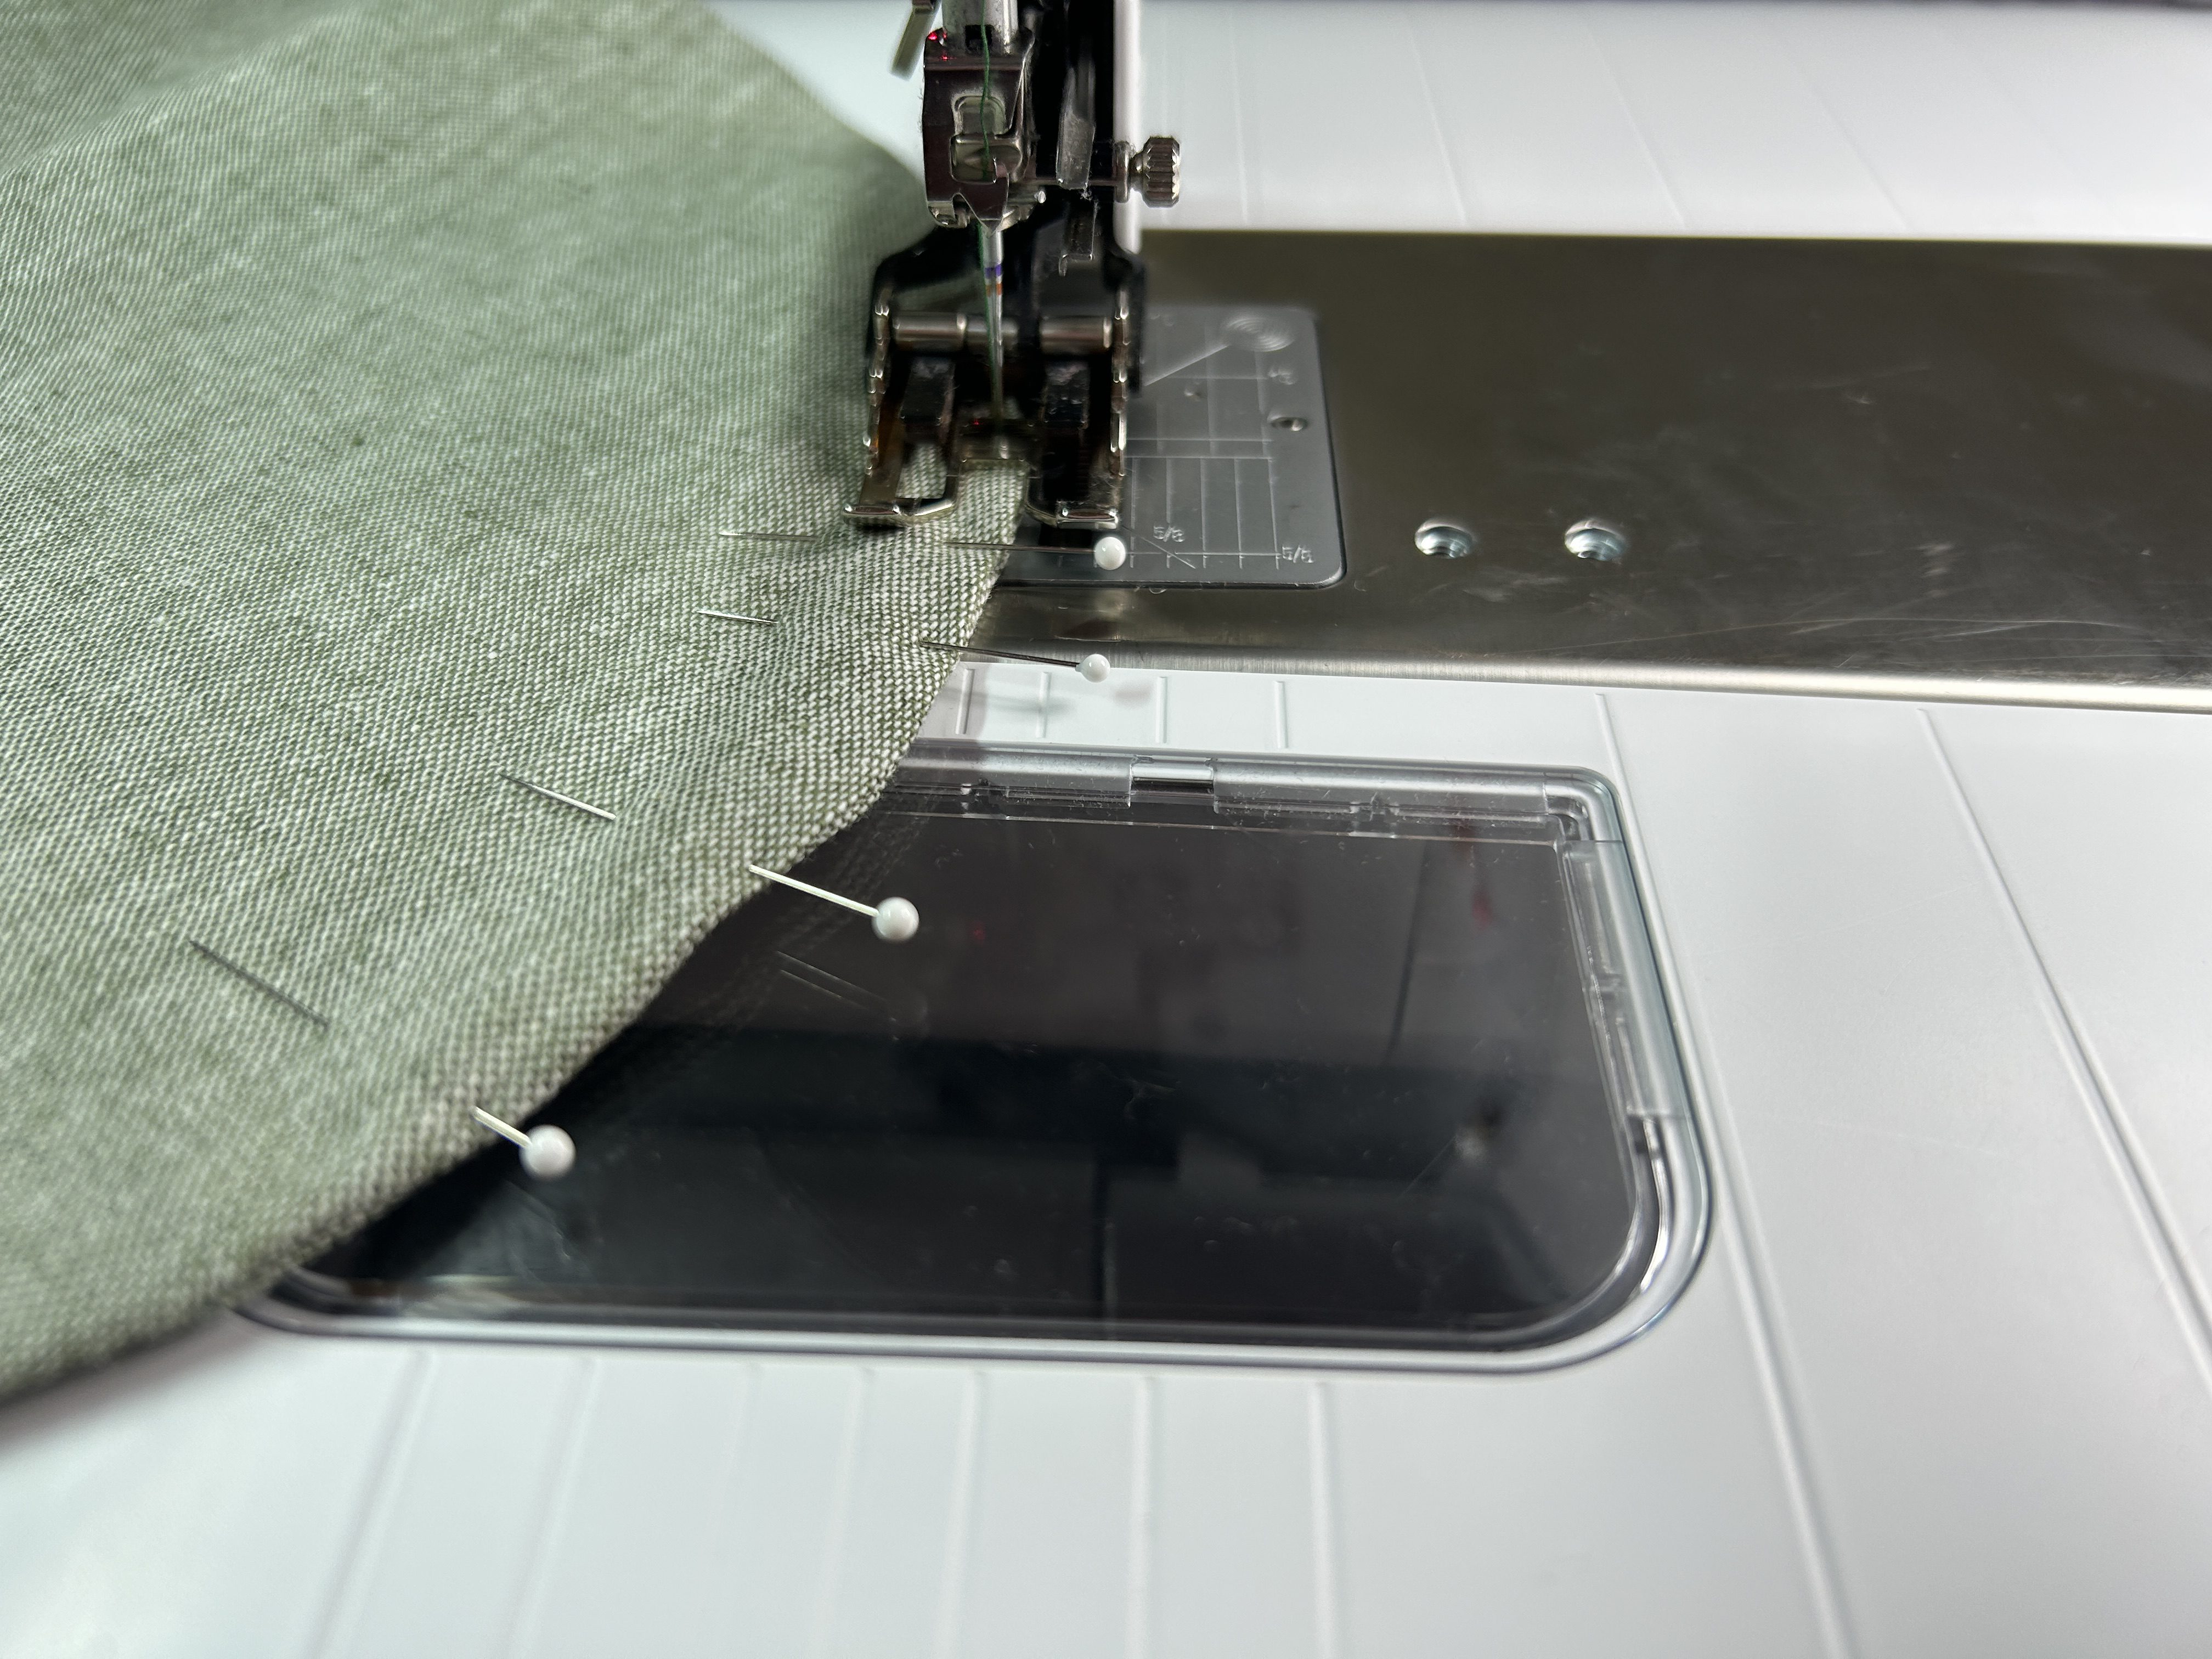
Position the two pieces right sides together with the main fabric facing each other and the lining facing each other. Pin to secure, matching the seams. Leave a 3” opening at the bottom of the lining.
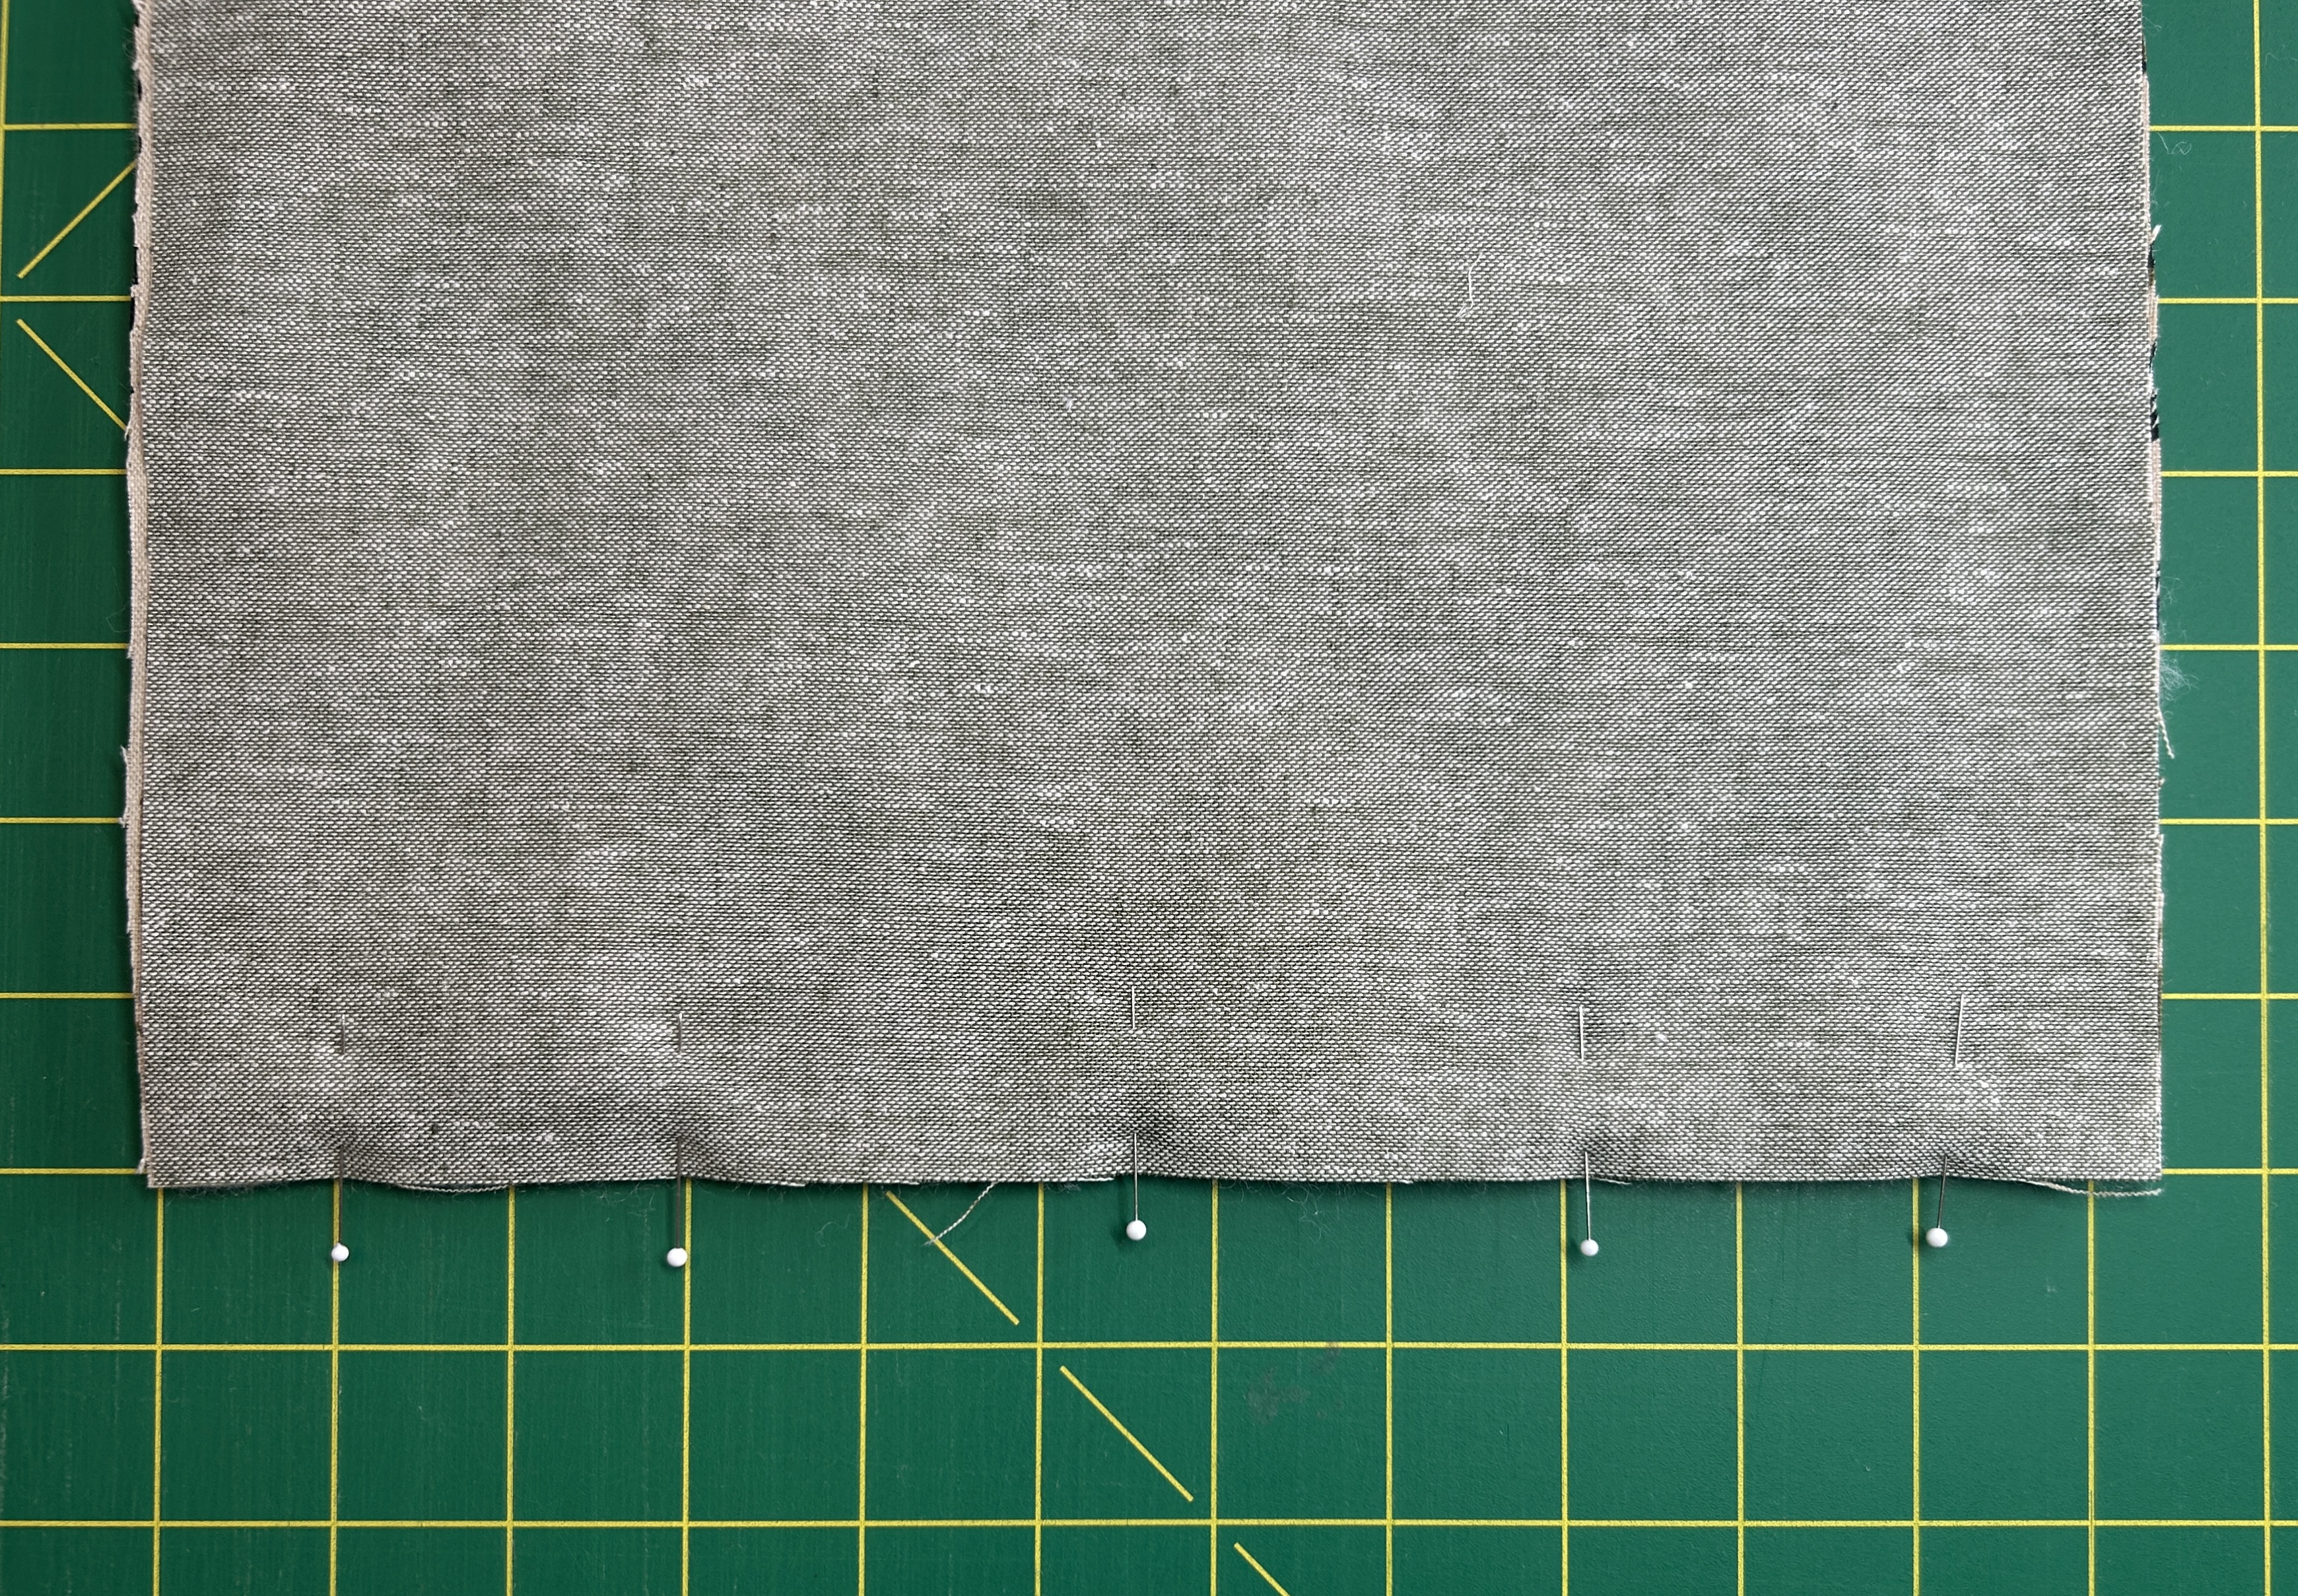
Attach Walking Foot #50 with Standard Sole. Move the needle position to center and change the stitch length to 2.5 mm. Position the lining under the foot and sew a 3/8” seam. When you reach the Insul-Bright, increase the stitch length to 3 mm. When you reach the lining again, change the stitch length back to 2.5 mm.
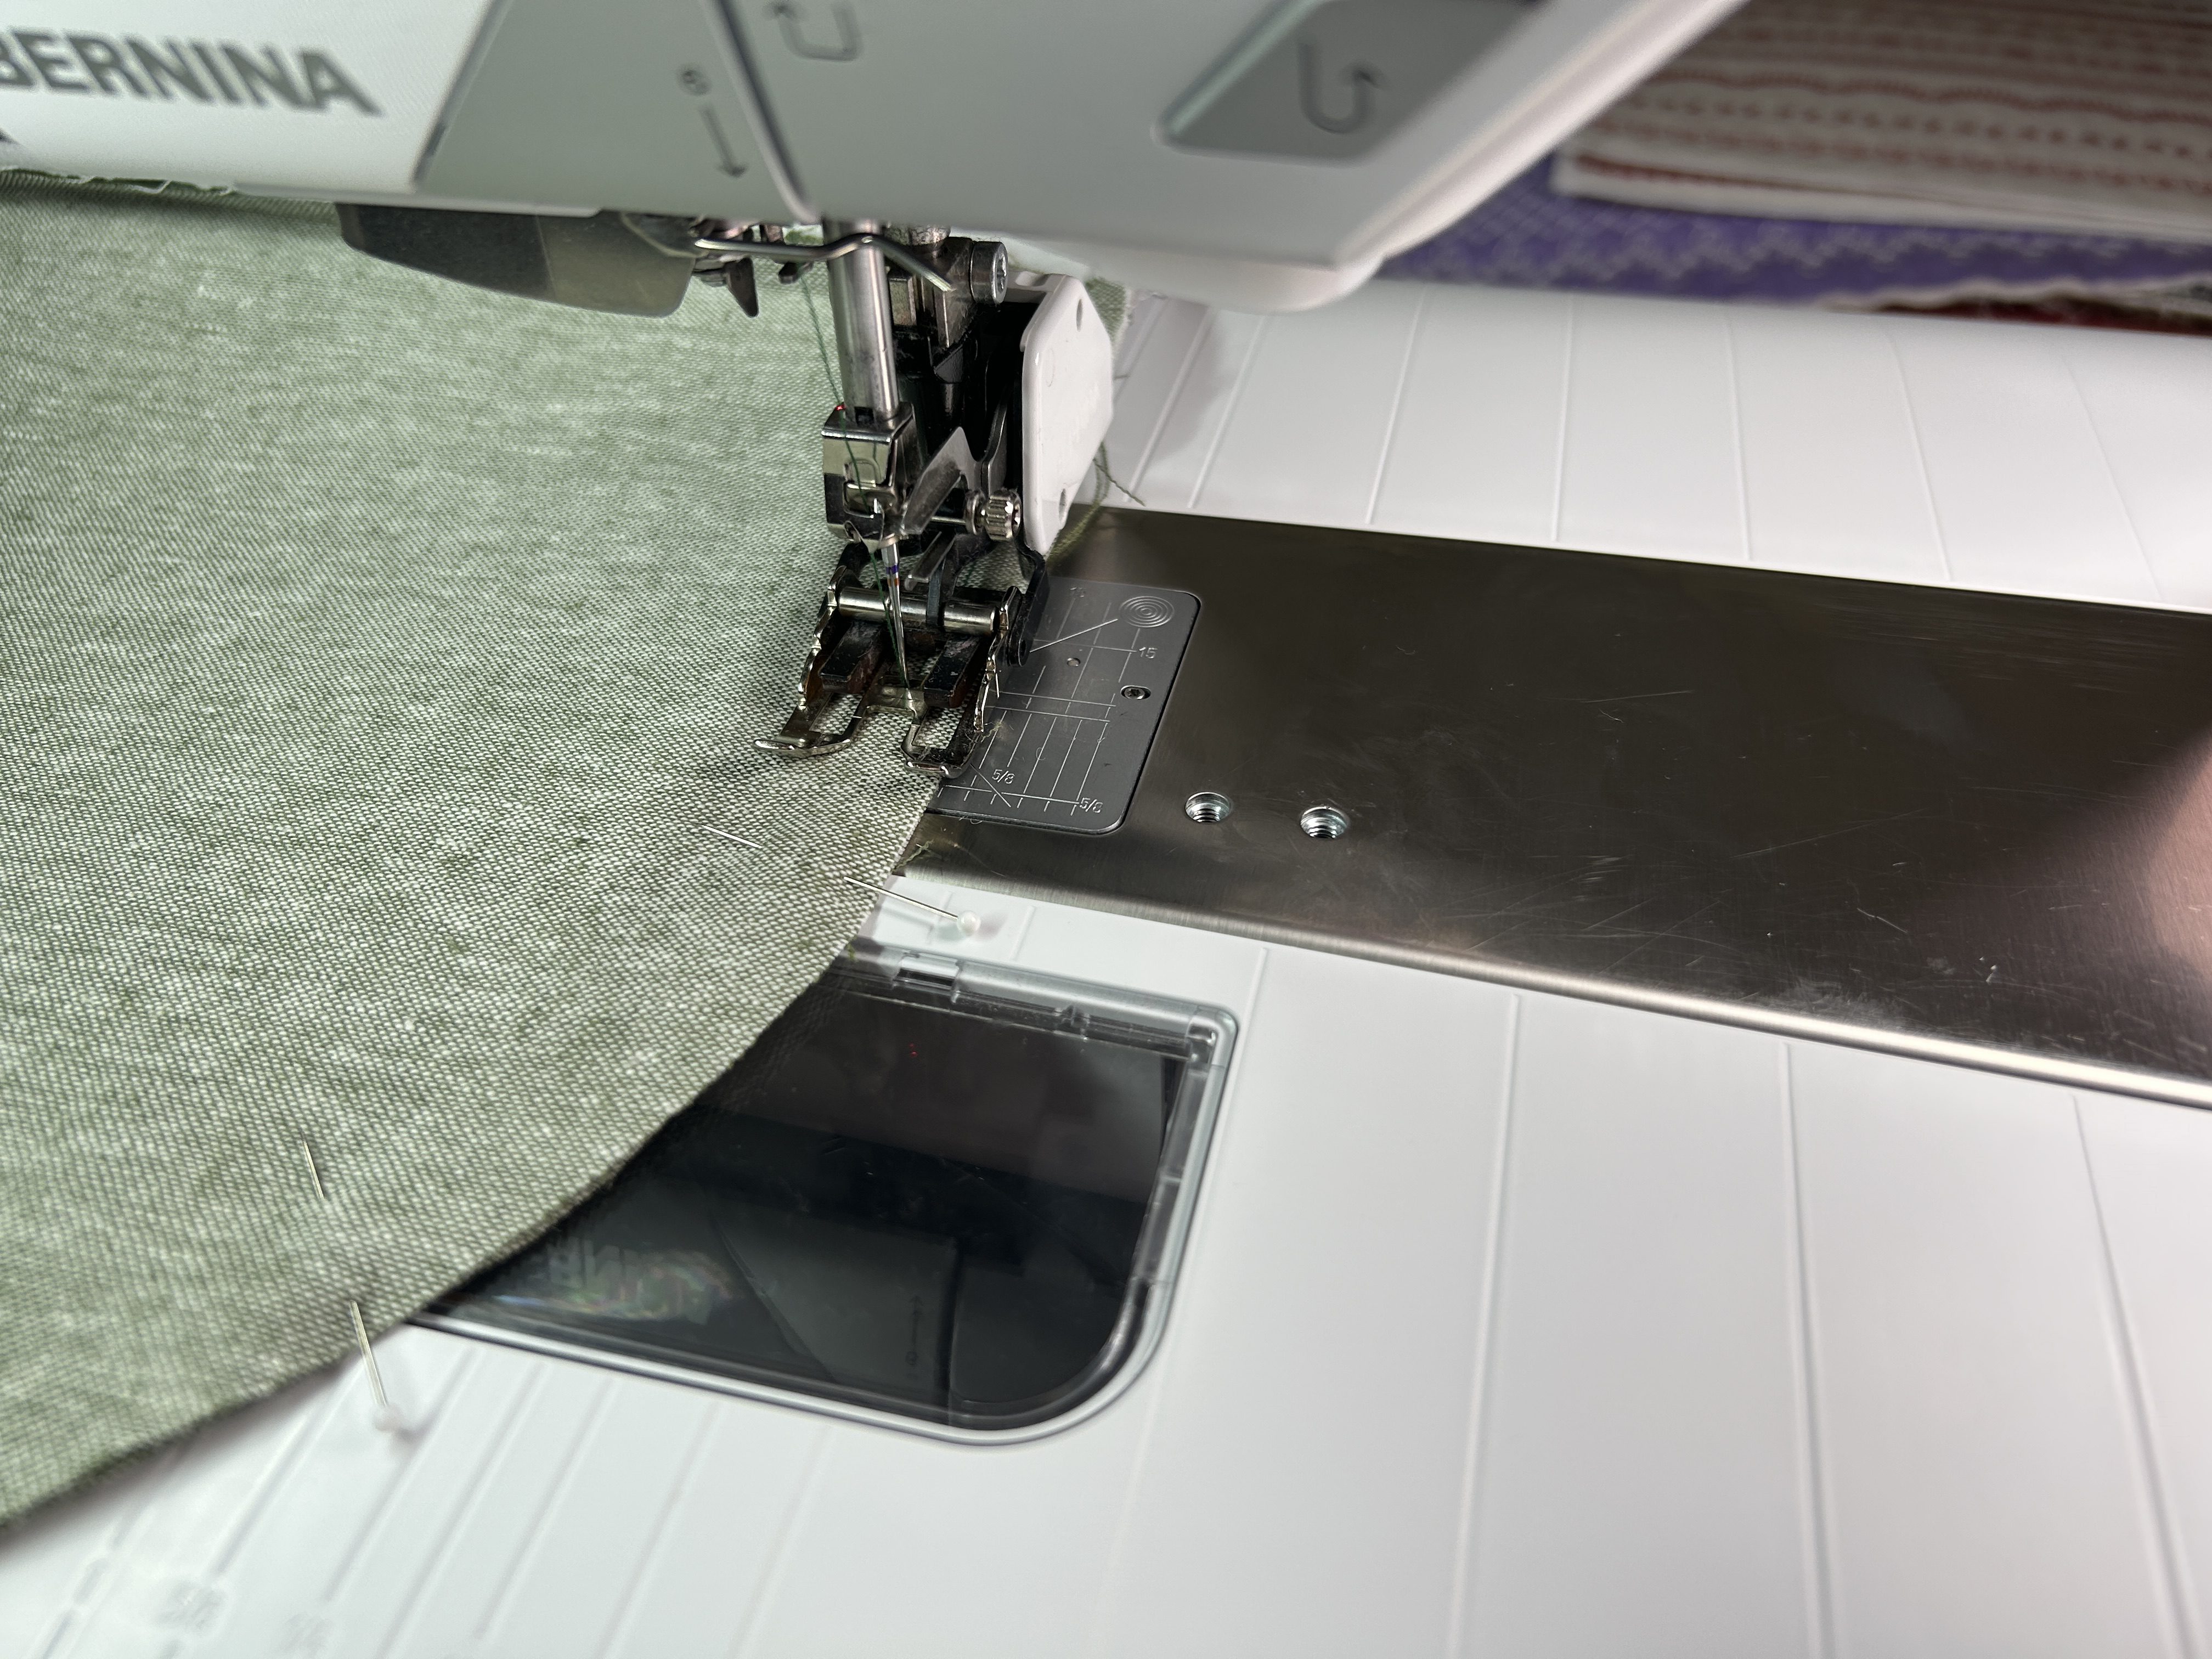
Sew around the edges, leaving a 3” opening to turn right side out.
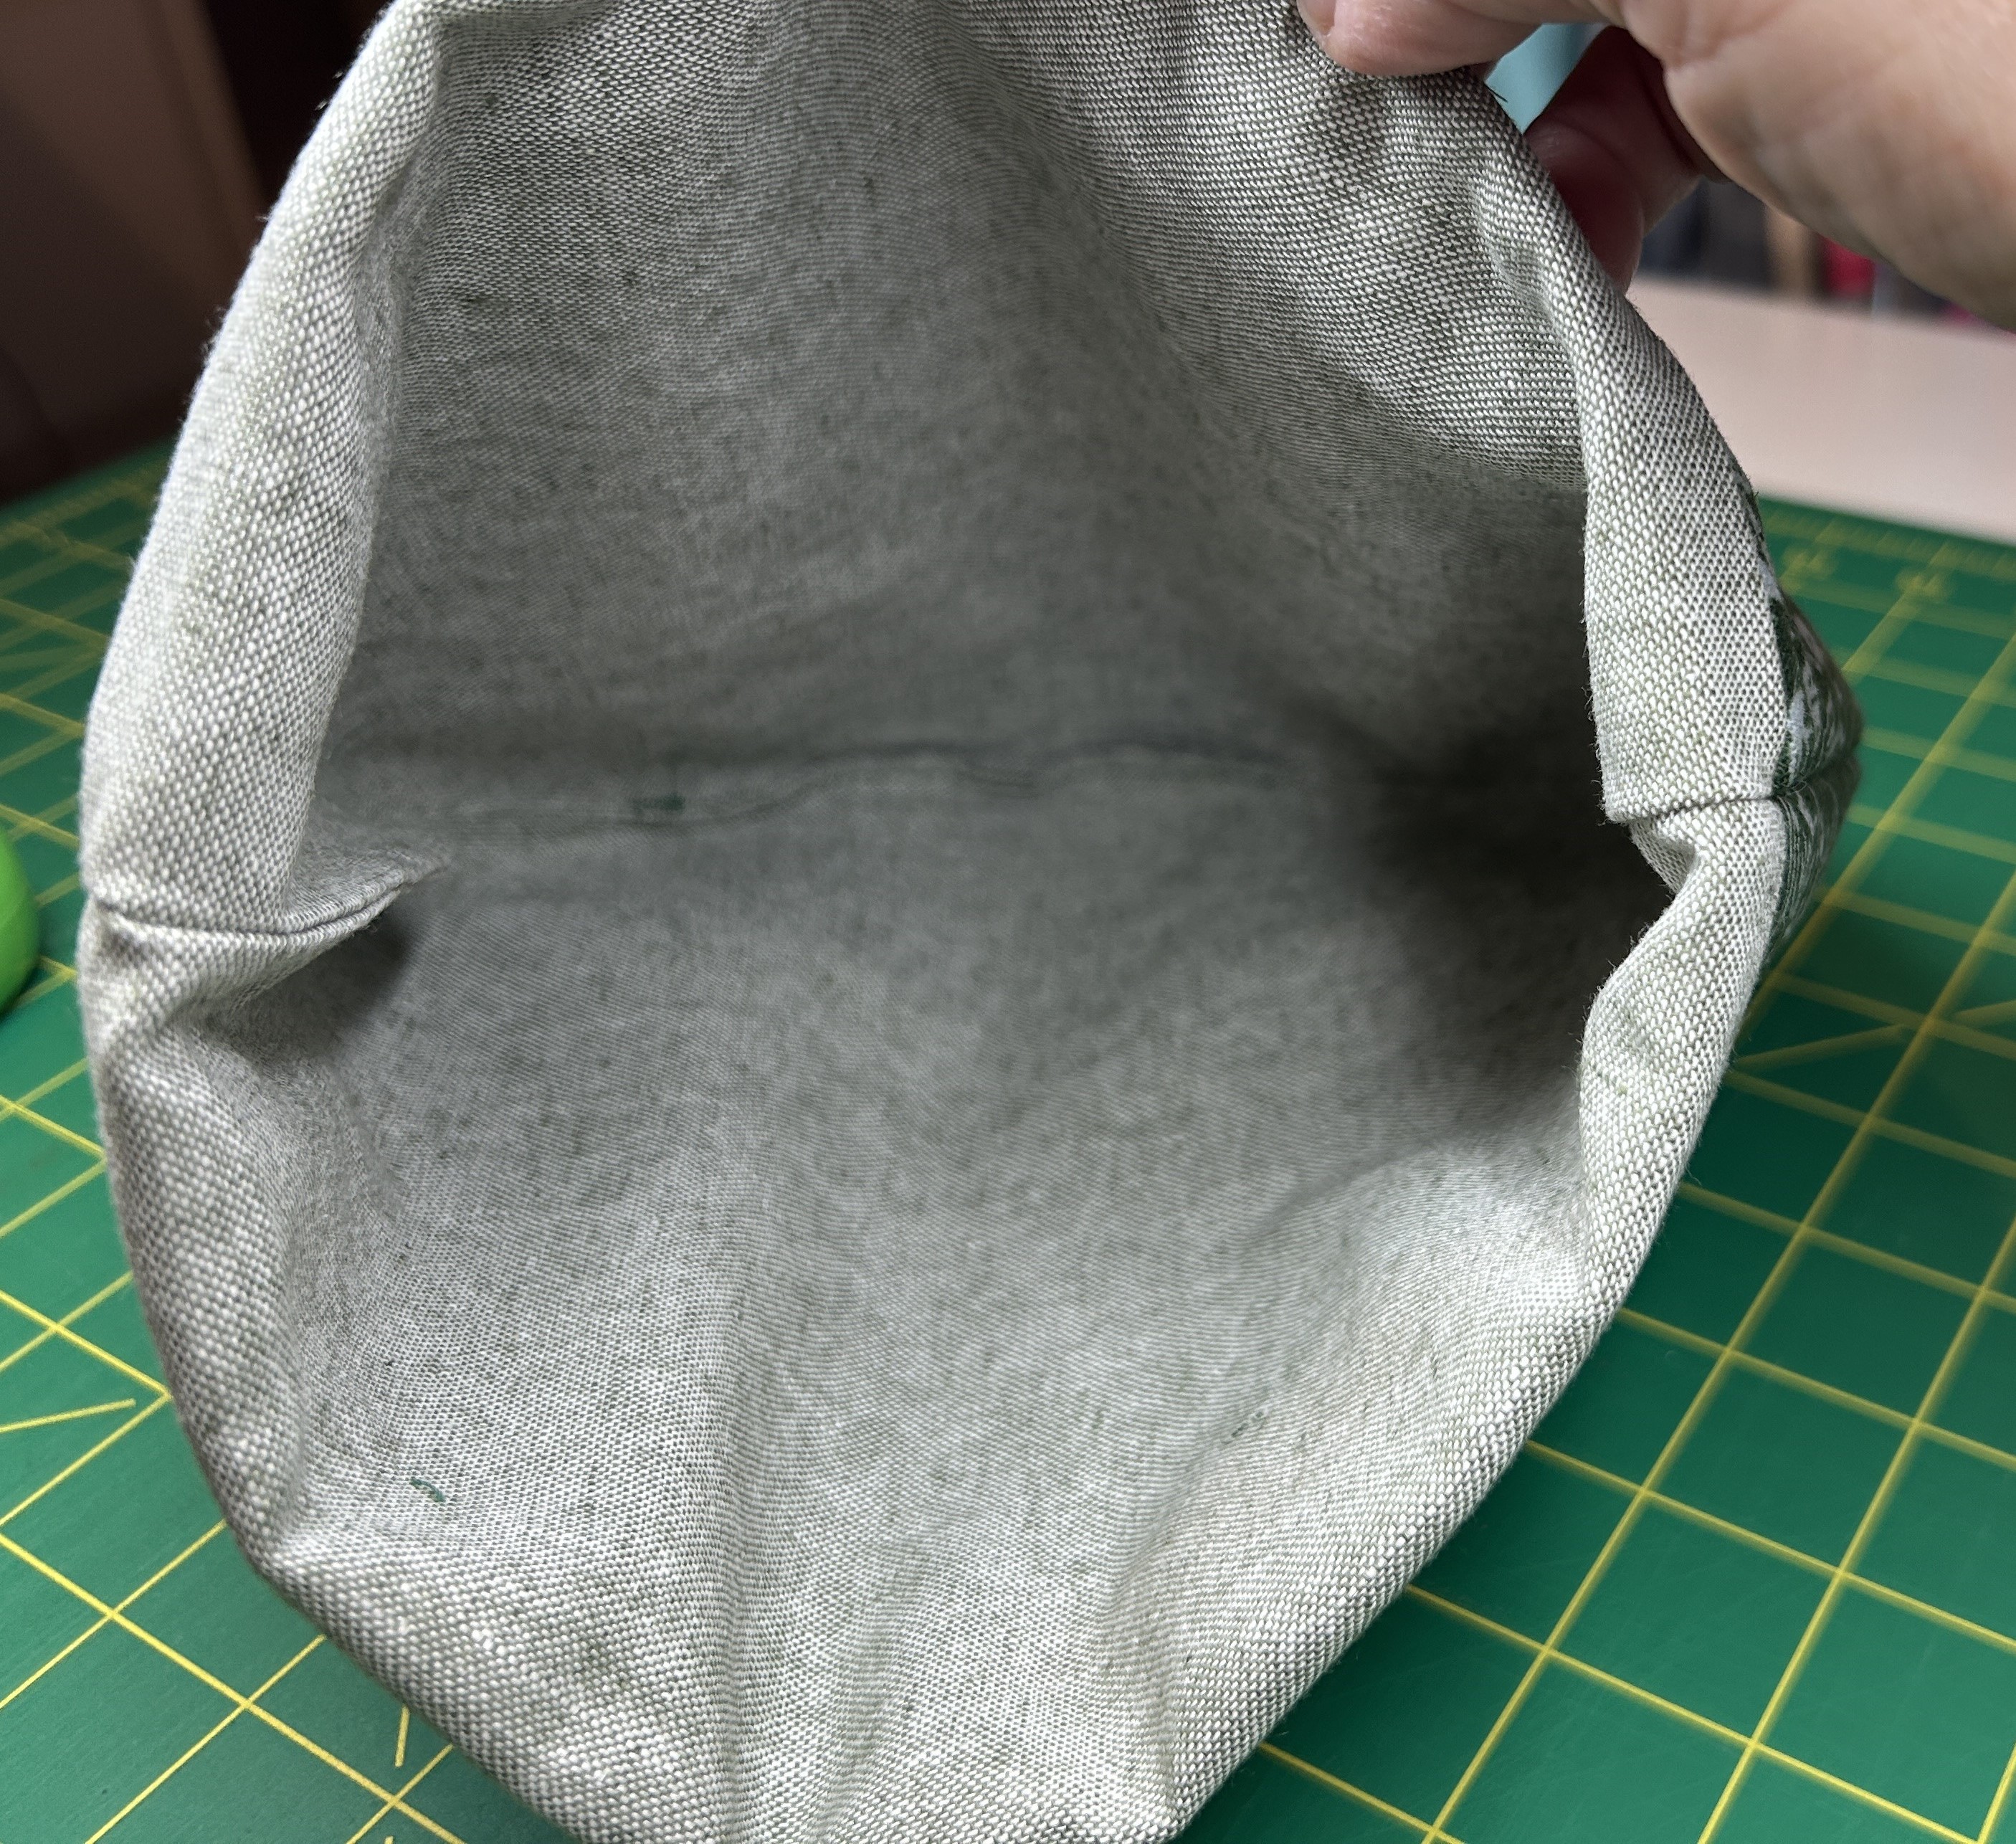
Clip the curves, turn right side out, and press. At the opening, fold the seam allowance to the inside following the curve and pin. Align under the foot just inside the right toe, which is your 1/8” mark. Sew the opening closed. You can hand stitch, but it will be inside the cozy, and no one will ever see it!
Push the lining to the inside of the tea cozy. The thickness of the Insul-Bright in the 3/8” seam allowance creates a perfect border with the lining along the bottom.
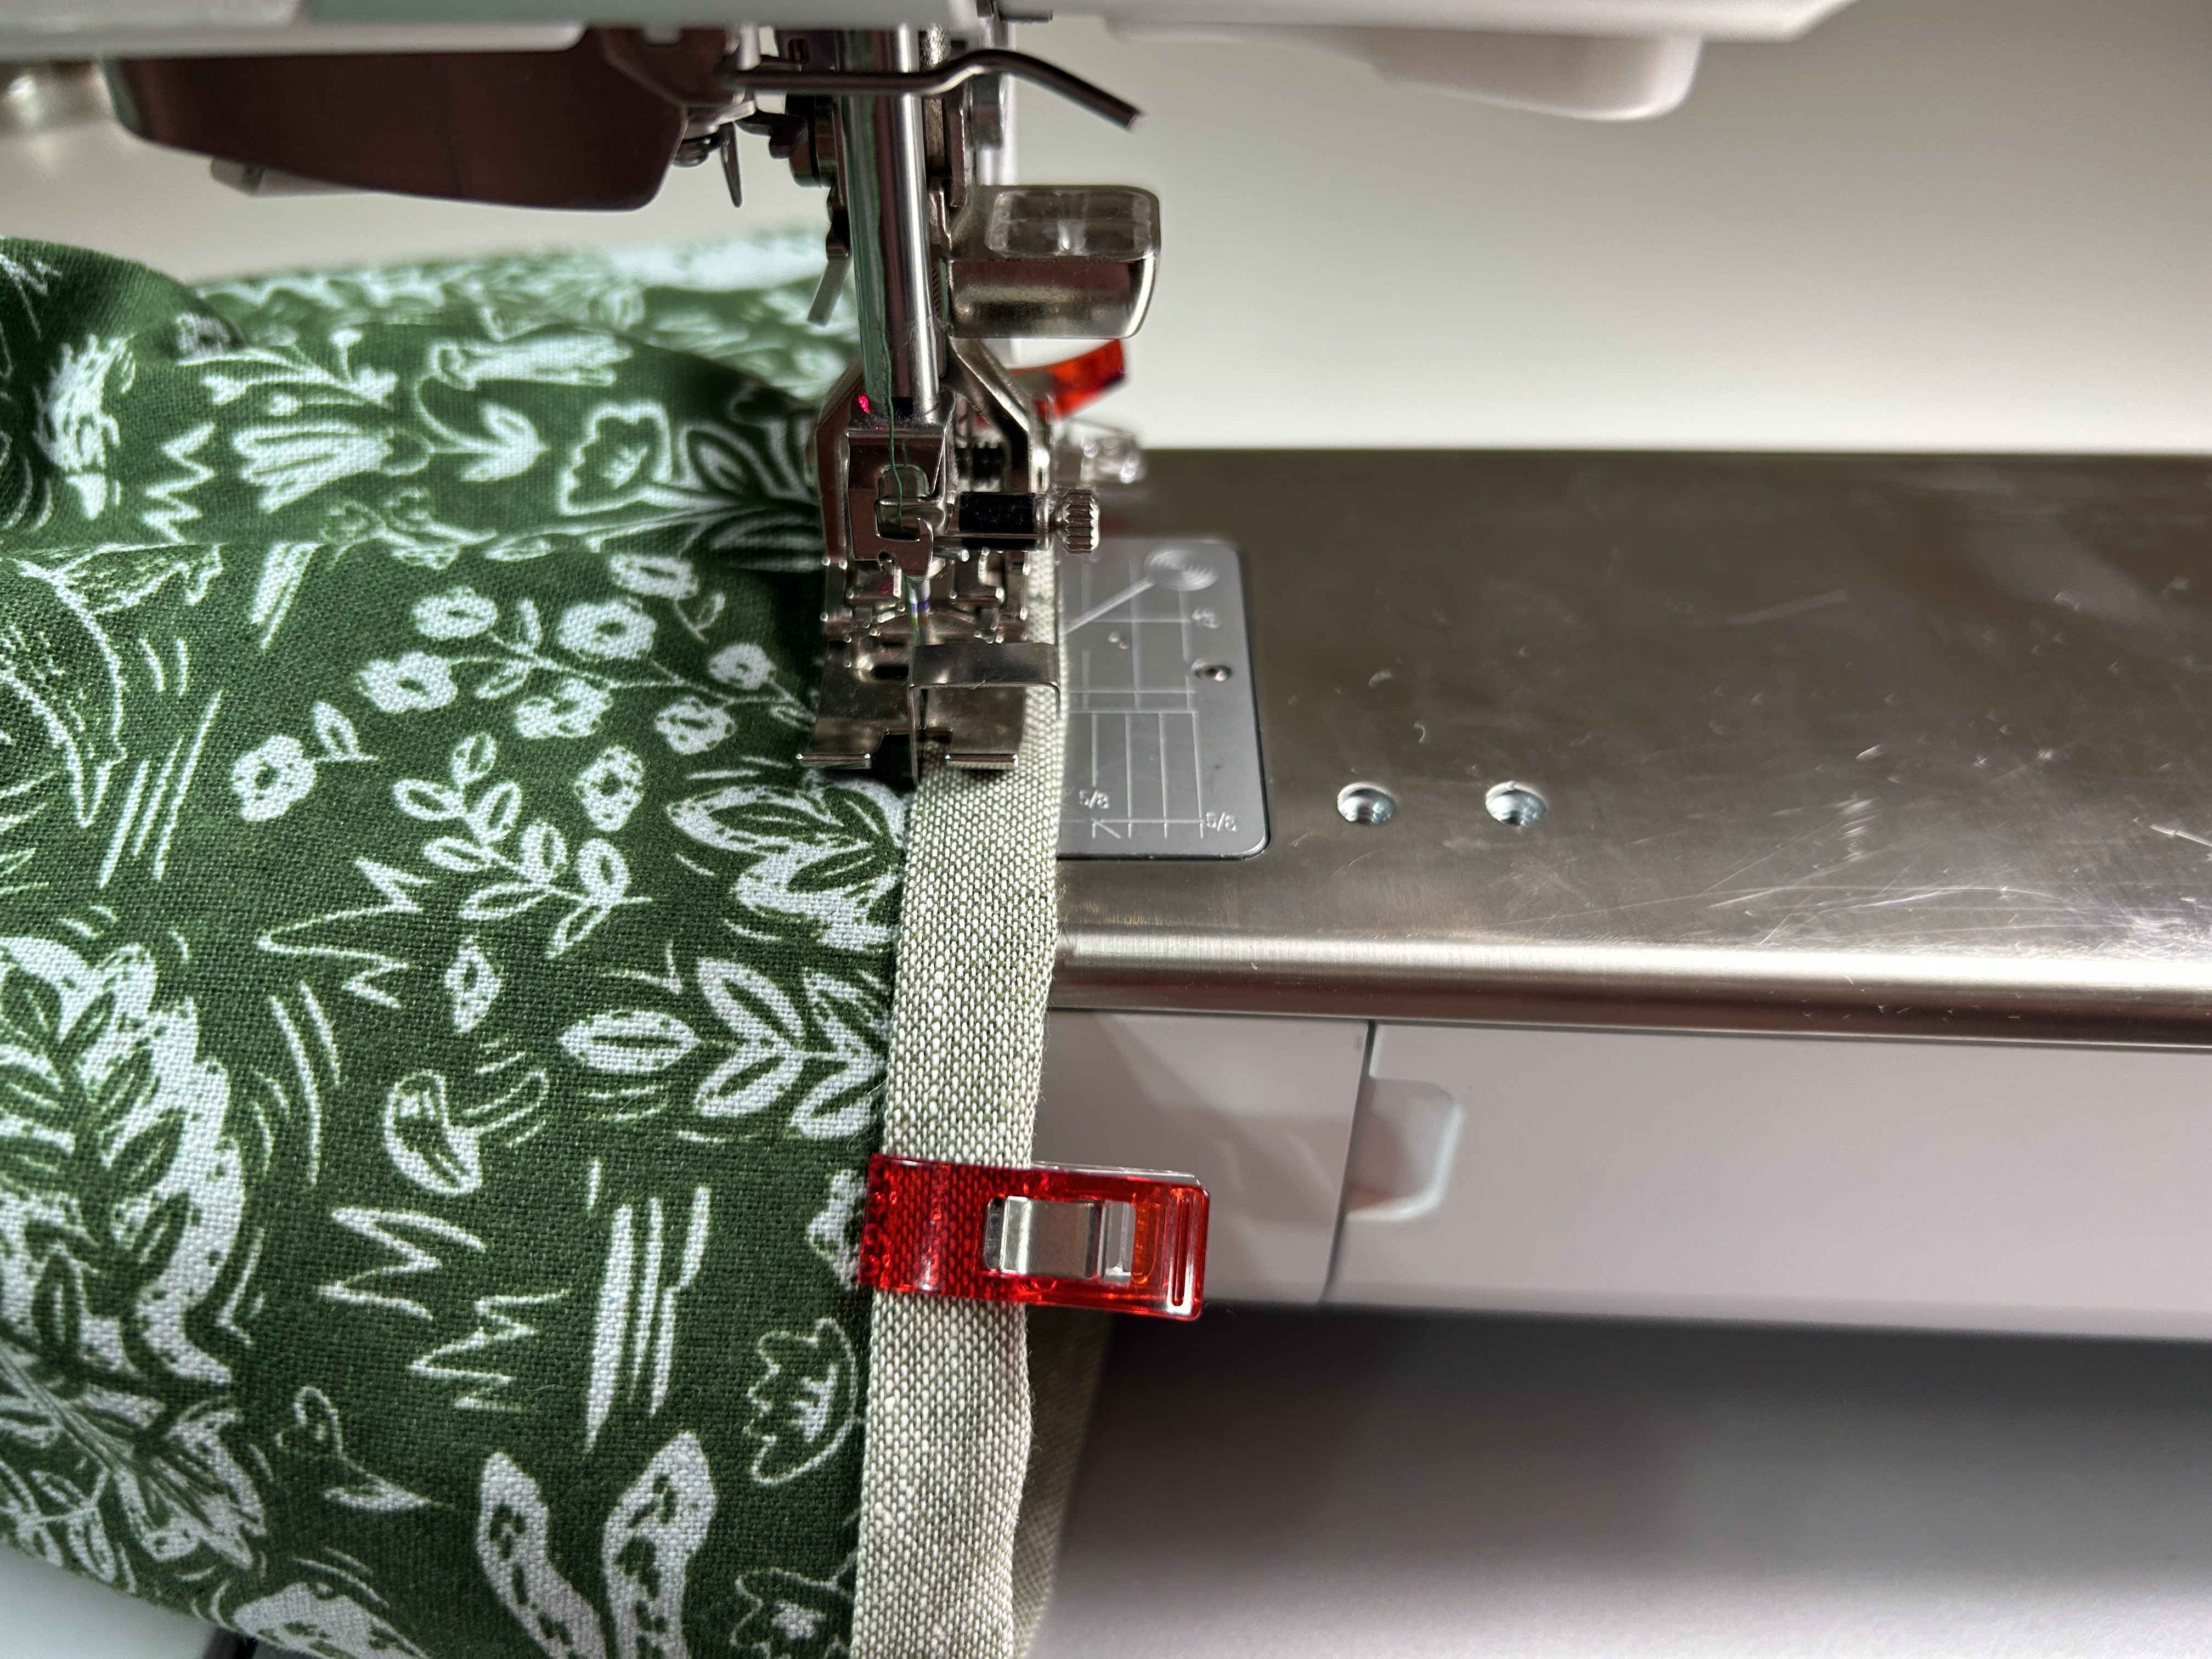
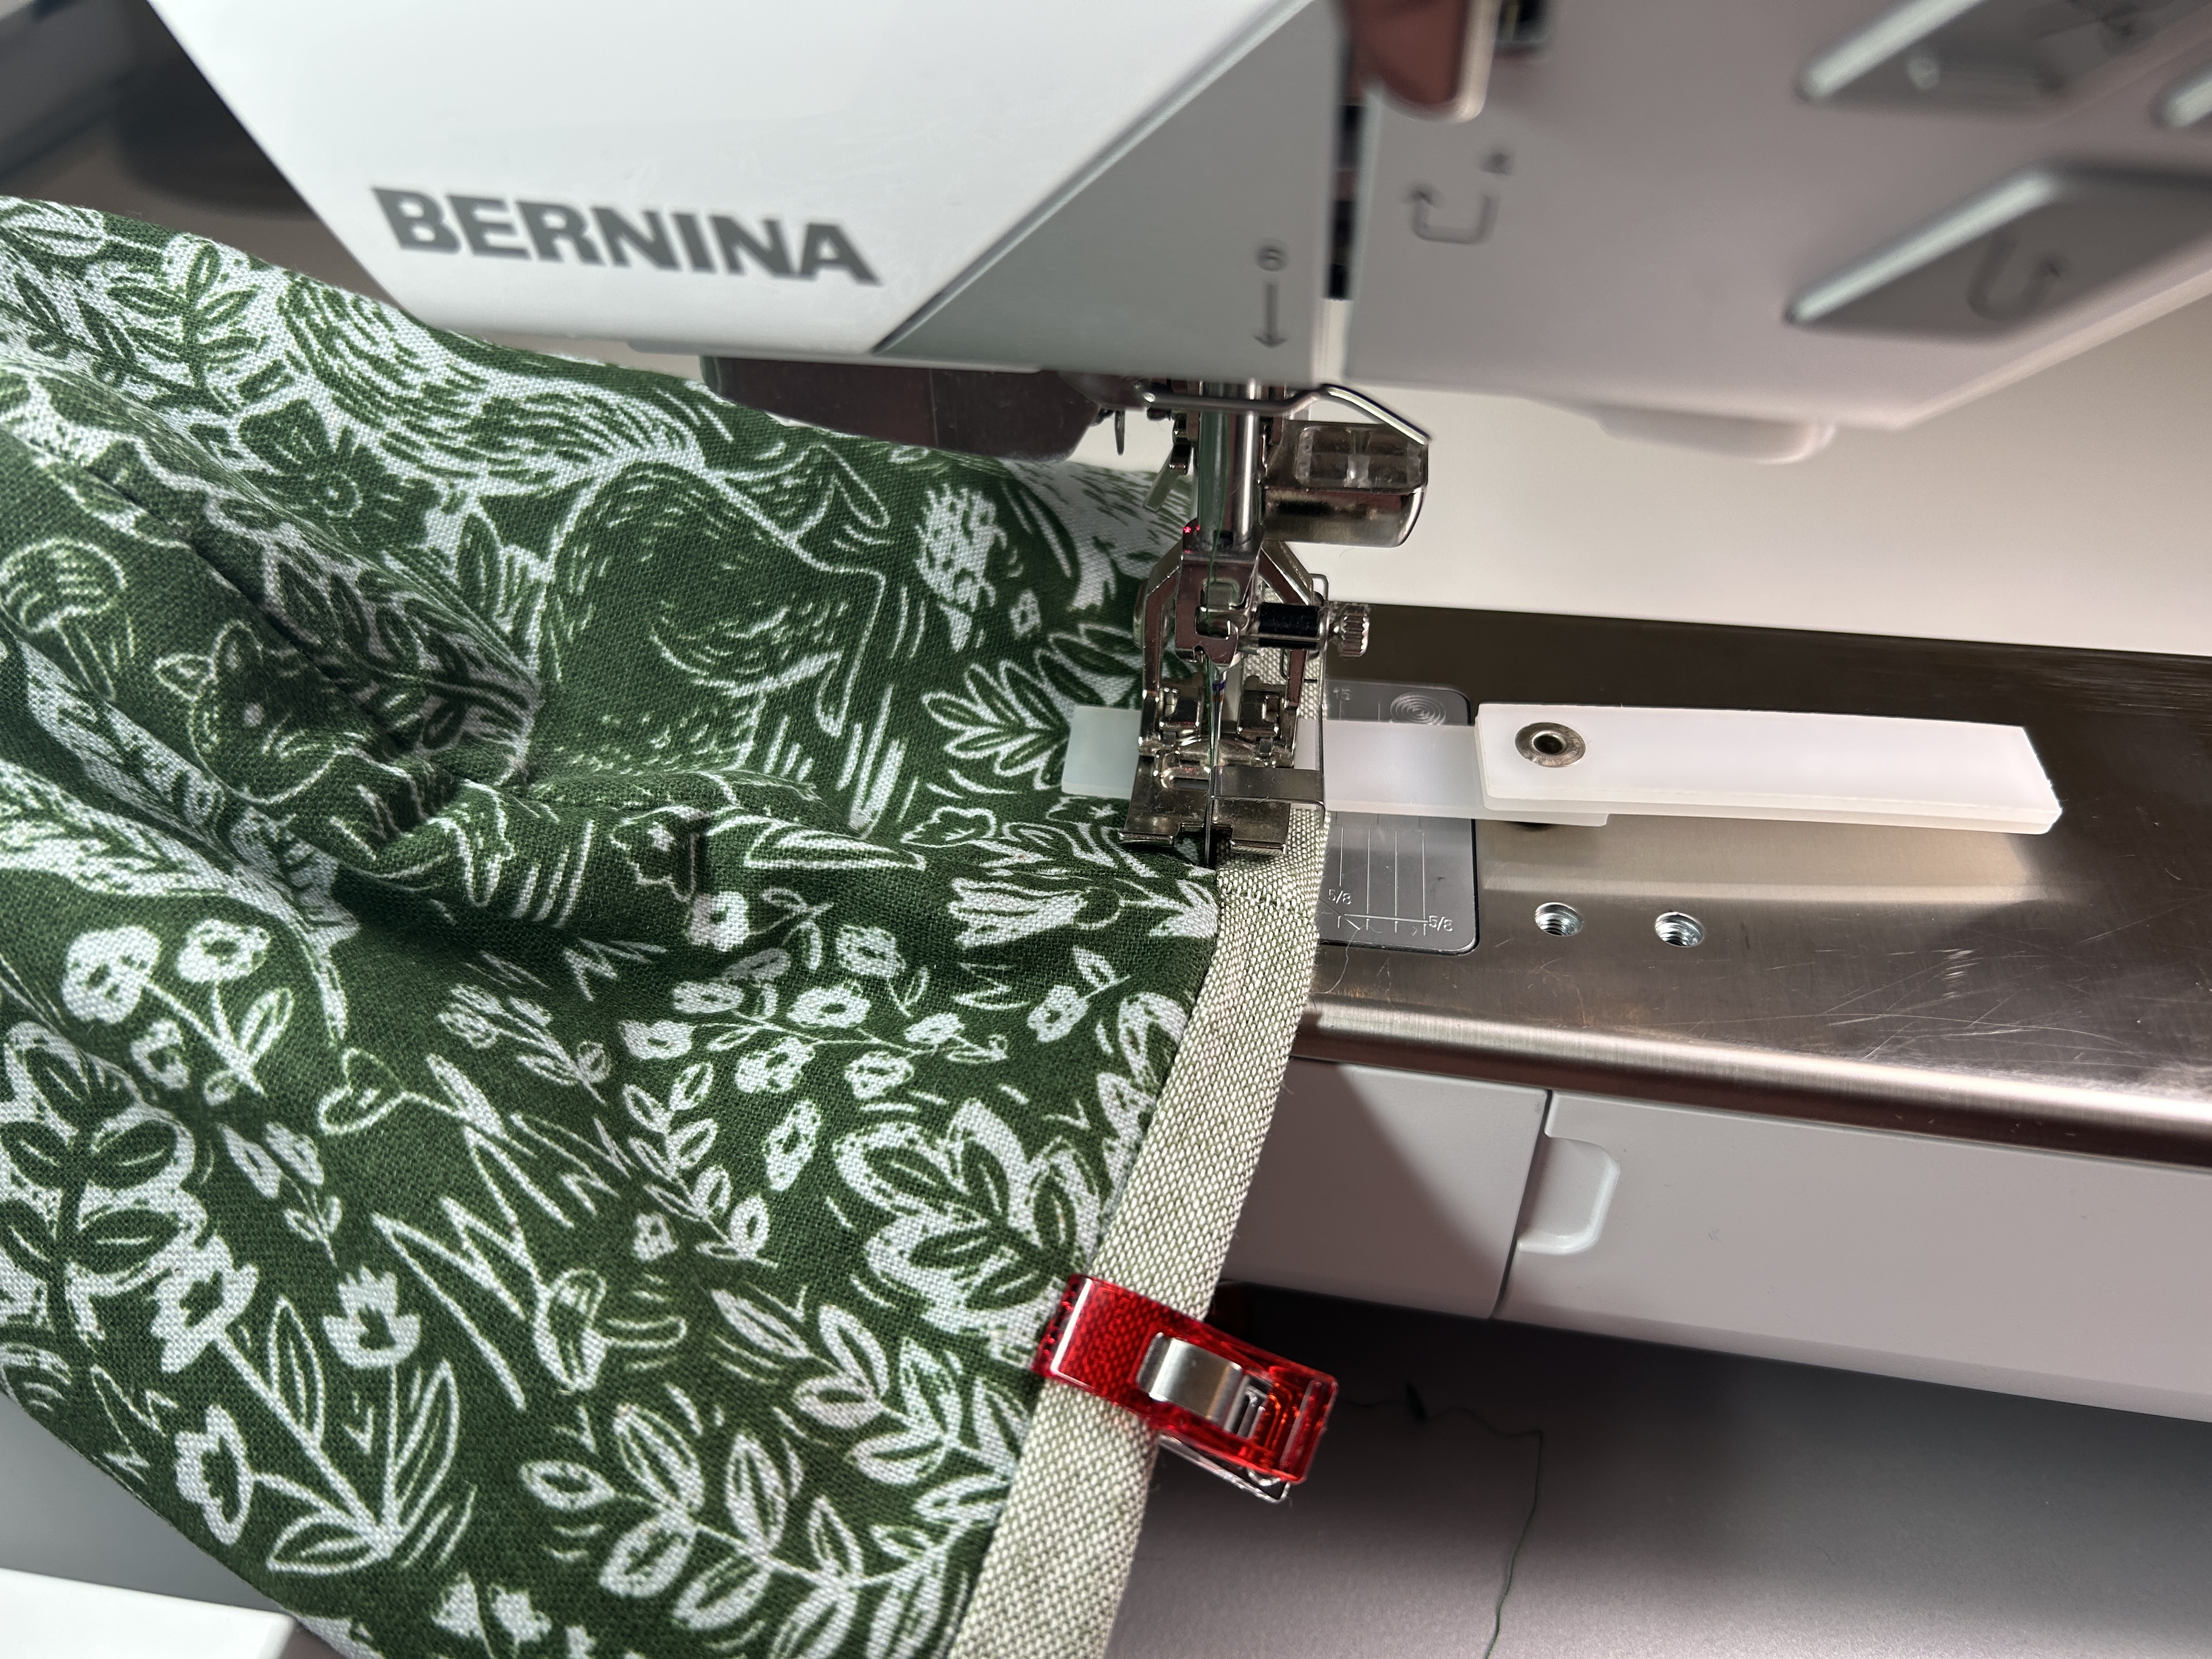
Press the border and add clips to secure. Attach Edgestitch Foot #10D. Option to use the Walking Foot with Center Guide Sole. Remove the Slide-on Table and position the center guide between the main fabric and border. Stitch-in-the-ditch all the way around, using the Height Compensation Tool on the thick side seams.
 Now that you’ve made one and have the template to reuse, think of the creative potential! Perhaps you can make one with an orphan quilt block, a charm pack, or scrap fabric. Maybe add ribbon, lace, or pretty trim. Or add a monogram for a special gift. Enjoy the possibilities!