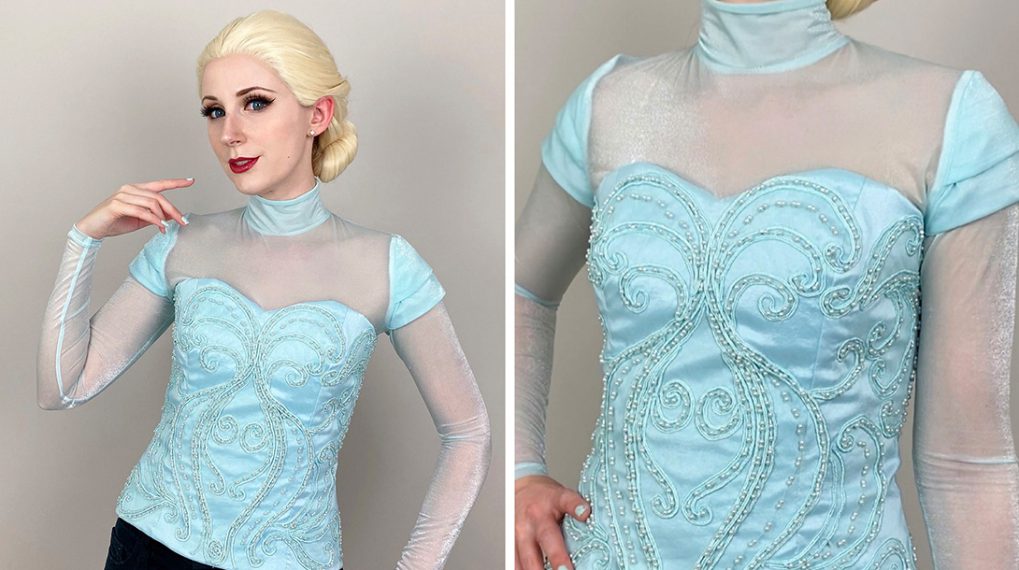
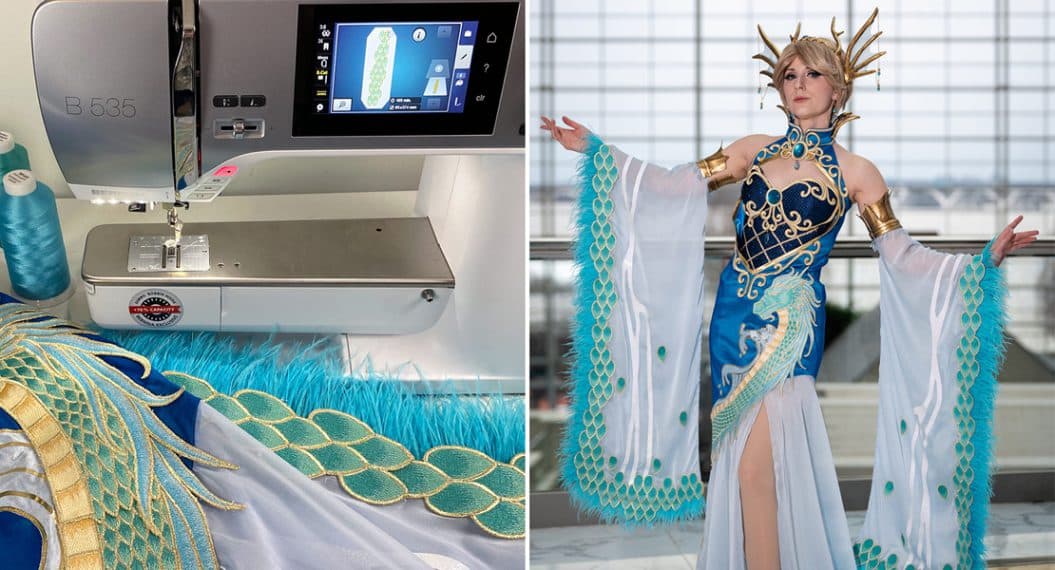
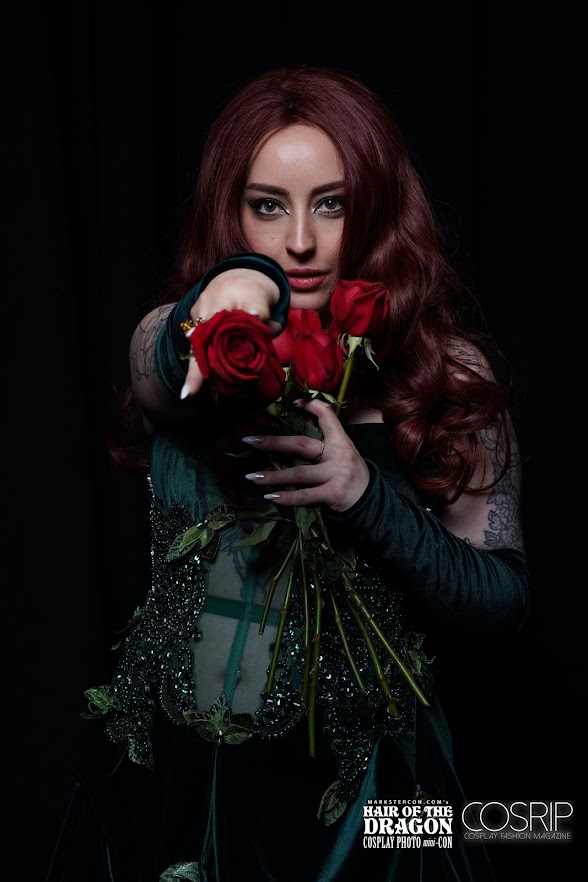
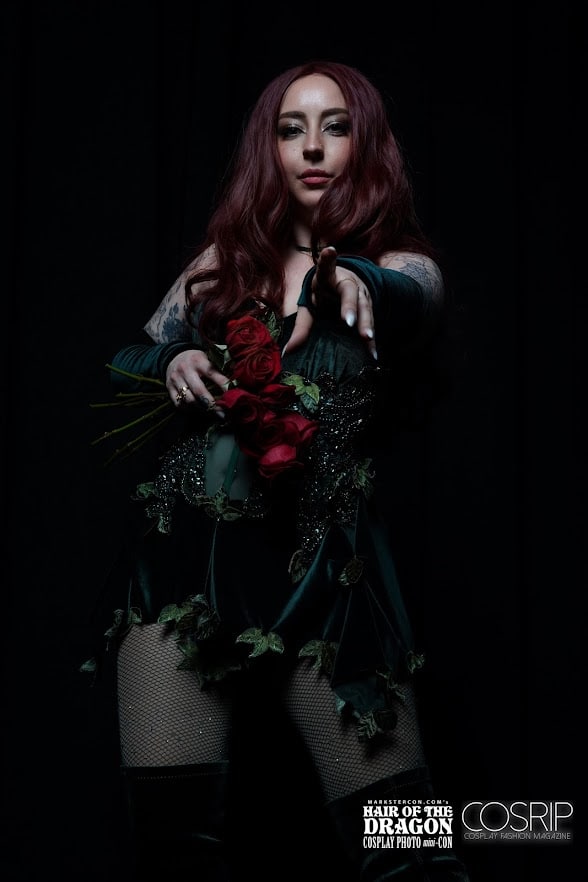
Custom Poison Ivy Cosplay with Embroidered Appliqué
Did you know that you can make appliqué on your embroidery machine? Today I’m going to show you how I made the leaf embroidery trim for my Poison Ivy Cosplay using the B 770 QE PLUS Kaffe Edition. You’ll never believe it, but it is easier than you think; you just need the right tools to start!
Materials Needed
- Organza
- This could be Silk or Polyester. I used ivory because that is what I had available, but next time I would use a green one; that is just personal preference.
- Water Soluable Stabilizer
- I used Fabri-Solvy Water Washaway Stabilizer, which is a non-woven stabilizer.
- Isacord Embroidery Thread & Bobbin Thread
- Using the right thread reduces thread breakage and just looks so much better because it has a lovely sheen and is quite fine, so the embroidery always turns out with a professional finish.
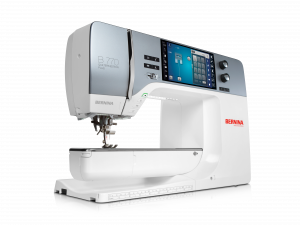
- Your Embroidery Machine
- I used my B770 QE Plus for this project, and it is the reason I got the machine – its embroidery capabilities. I love that I am able to adjust and change the embroidery right there on the screen. Making these custom edits and layering two or more embroideries is a really cool feature.
- Your Desired Embroidery Design
- For this project, I used the design Leaves Border from OESD, but I did change the thread colors to suit my project better. My dress was a lovely dark forest green, and the original leaf design is done in a more lime green base, so I switched the base, or the #1 color, to a darker green that better matched my dress.
.
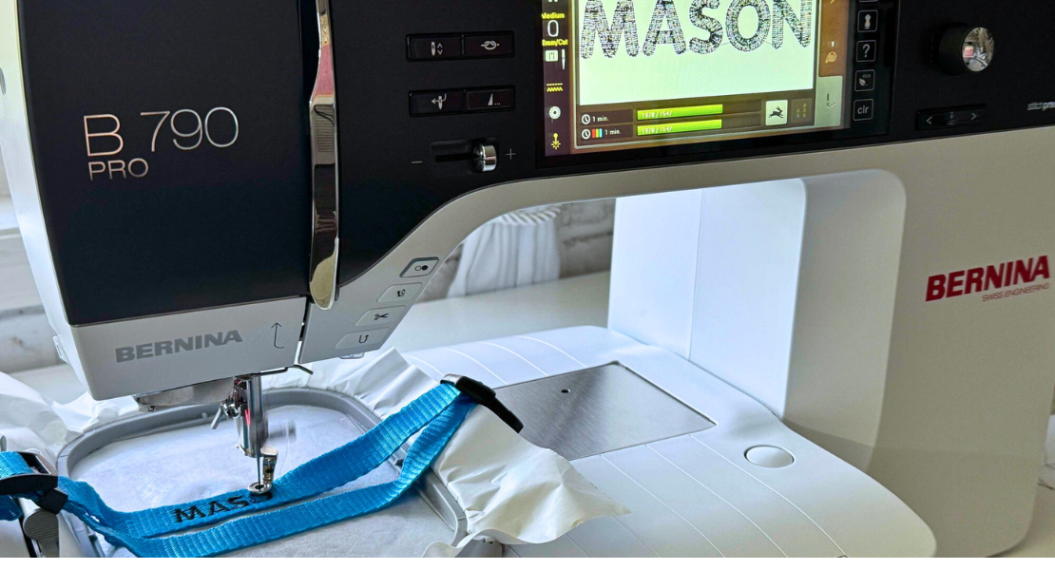
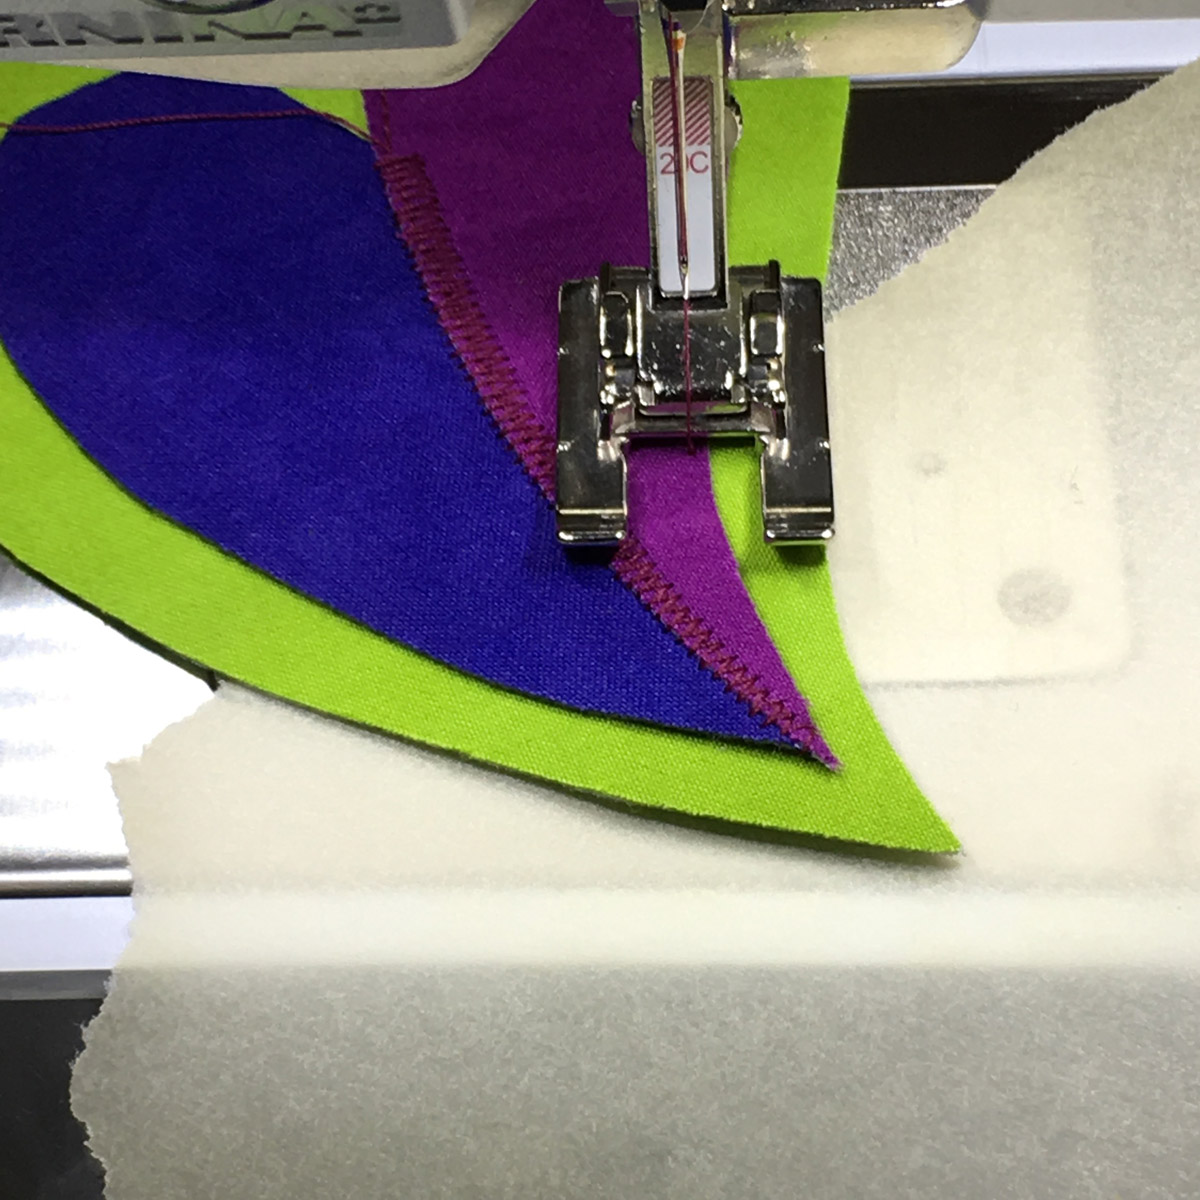
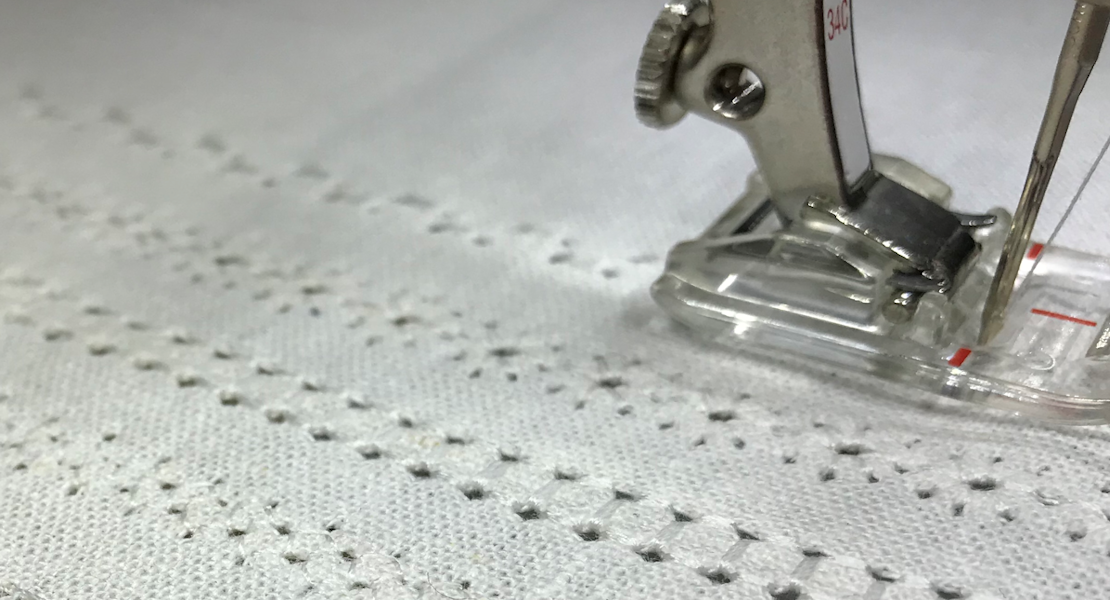
To achieve the appliqué, you will hoop your organza, which will serve as our base for the embroidery, along with the water soluable stabilizer. I did fabric on top and stabilizer underneath, and I set my machine up to embroider following the on-screen directions.
.
.
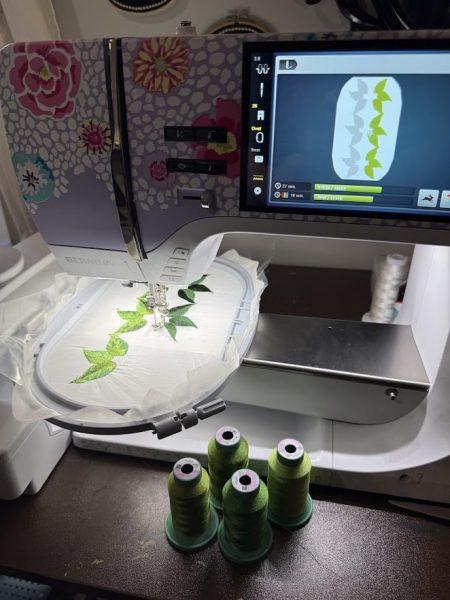
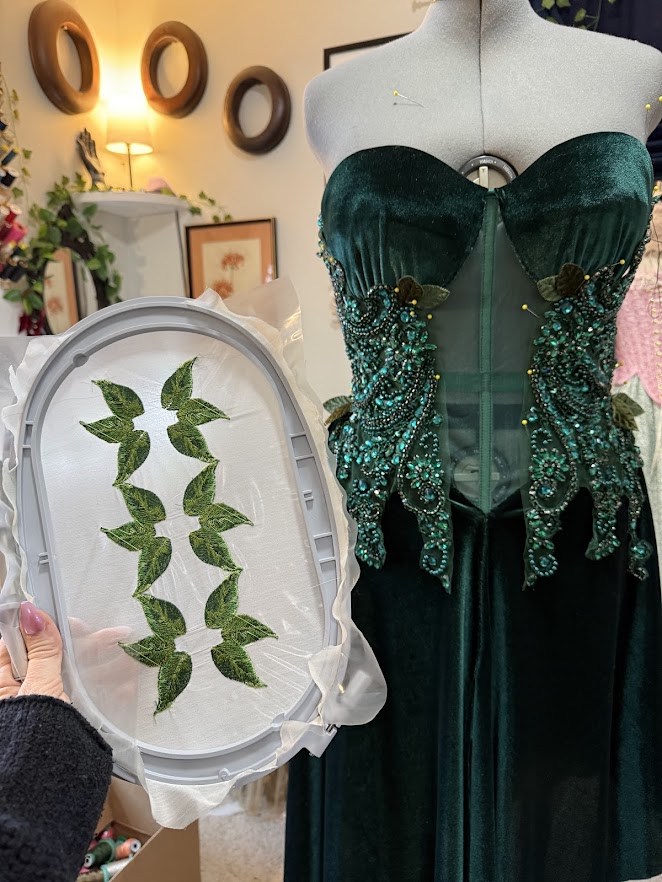
To capitalize on the hooping and on the fact that I would need MANY leaves, I doubled the embroidery by adding a layer. To do this, you will press your + button on the screen and this will allow you to add multiple designs to your hoop image – think of it as layering in photoshop or illustrator–you do just need to reposition and resize the design to make sure each have their own space to be embroidered out and you can do that by pressing the i button. I made two layers, so I had the embroidery doubled in parallel lines, and I reflected one so I could make them as big as possible in my hoop. Once I had the positioning done, I went ahead and threaded my machine and got started by hitting the green go button!
.
.
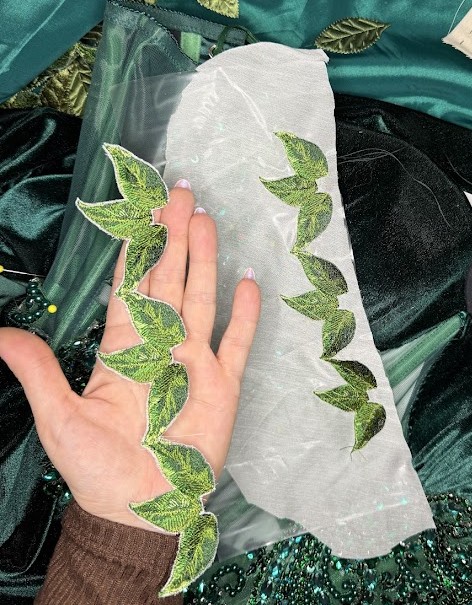
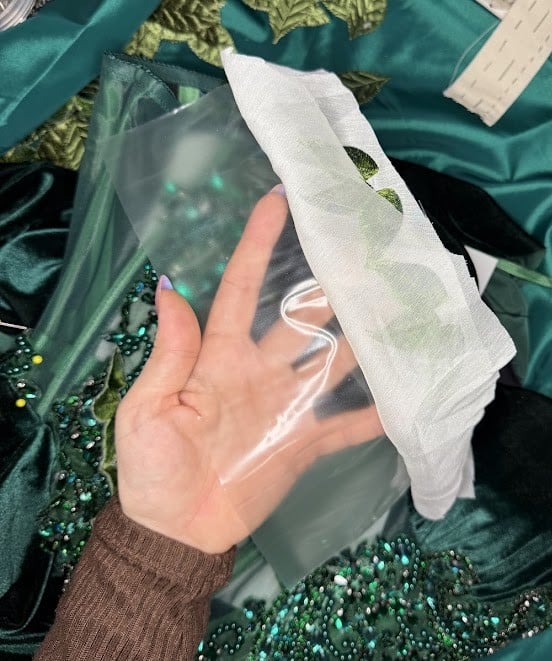
I like that when the design is done embroidering, it takes you right back to the beginning, so I could just rehoop and go right from there! This was especially lovely as I think I embroidered 9 panels in total for this project. Once they were done, I found it easiest to cut the excess stabilizer and organza away and then wash away the remaining stabilizer from the backing. Keeping the stabilizer on while trimming just helped when cutting the organza, as sometimes that can be an annoying, flimsy material to cut over and over again! Once the stabilizer was washed away and my embroidery dried, I ironed it flat, and behold! I had a beautiful, flexible custom embroidered applique for my cosplay!
.
.
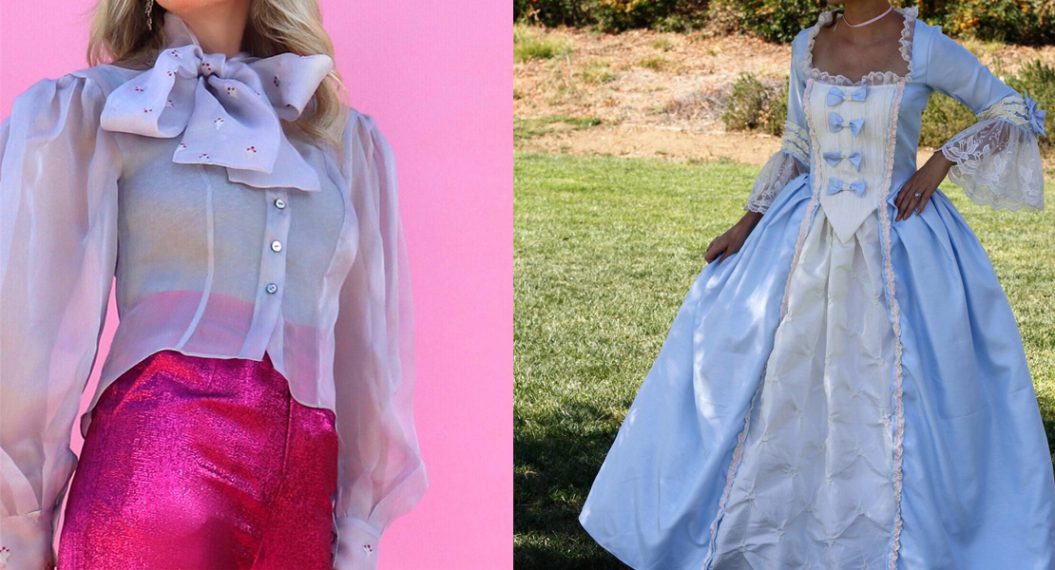
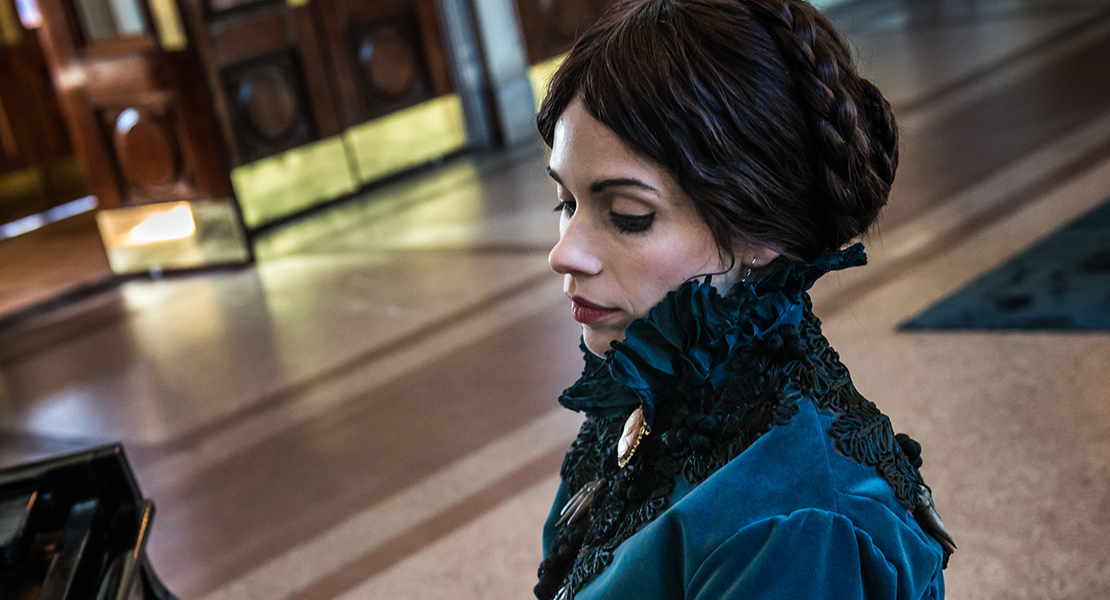
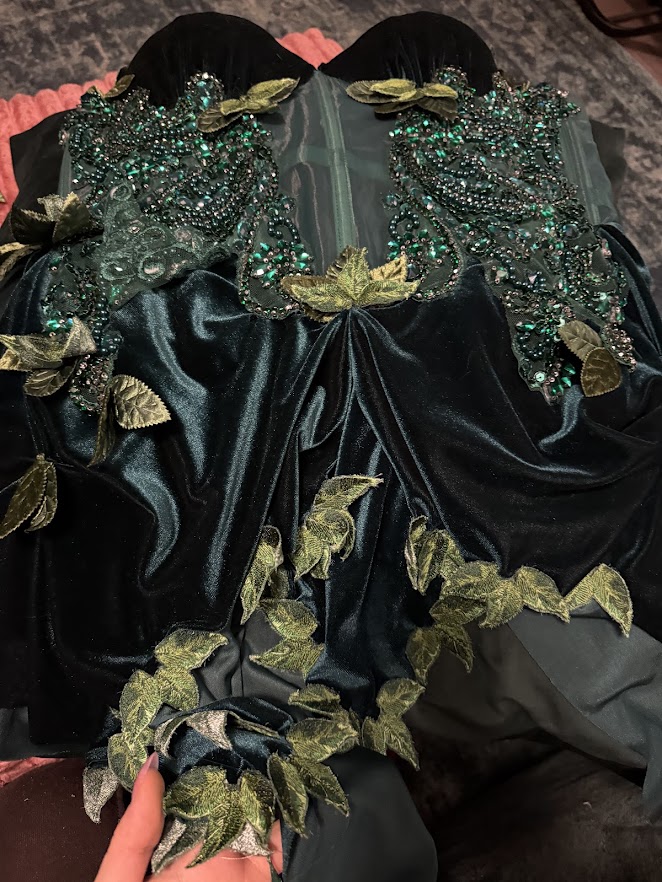
I then went ahead and hand-sewed each leaf cluster in front of the TV. I think the whole costume turned out beautifully, and I love that I was very easily and quickly able to make a trim that was unique to the concept in my head and something I didn’t need to shop online for! I highly recommend trying out your favorite embroidery as an appliqué! I know that this will be a technique I will use over and over again, especially as I make a lot of historical clothes, and having the ability to create my own unique embroidery just makes the costumes extra special!
.
.