How to Mend Your Jeans: Visible and Invisible Patching
At Sewing Through Fog, you’ll usually find me transforming old jeans into modern quilts… but sometimes I still need to wear them, and that’s where mending comes in. There’s no right or wrong way to mend as long as you’re giving the garment new life. That said, I have two favorite methods I keep coming back to: one subtle, one visible. Both are highly adaptable, and both are easier than you think, especially if you’re a quilter who already does free-motion or appliqué.
Invisible repair isn’t my default these days. Most of the time, I’m happy for a repair to show. A visible patch, a blanket stitch in contrasting thread, an embroidered detail over a worn spot, these things tell the story of a garment that’s been loved. But sometimes invisible makes more sense: maybe the jeans belong to someone who doesn’t want it to be obvious, maybe the hole is somewhere an outside patch isn’t practical, or maybe you’re dealing with a high-stress area where reinforcement matters more than appearance.
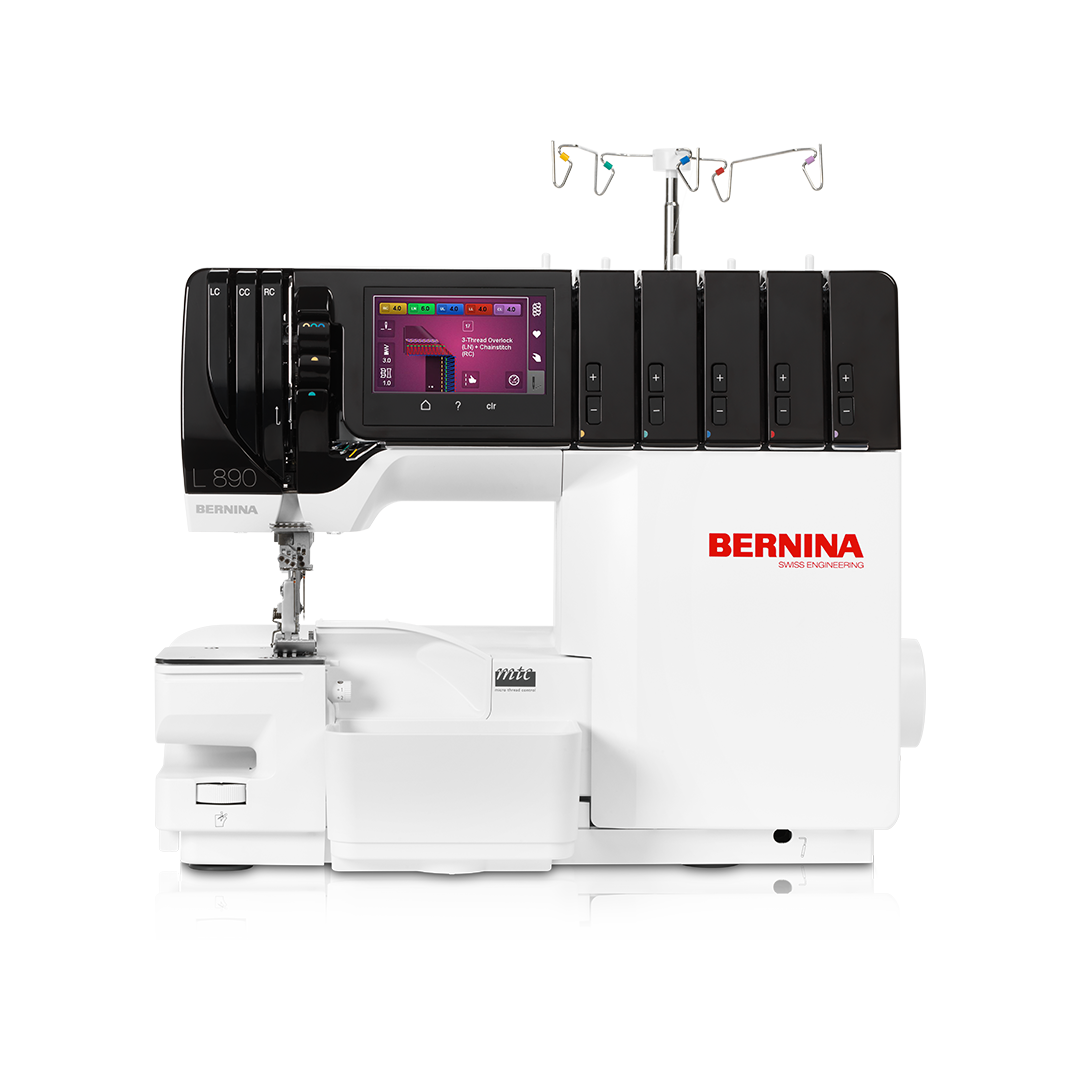
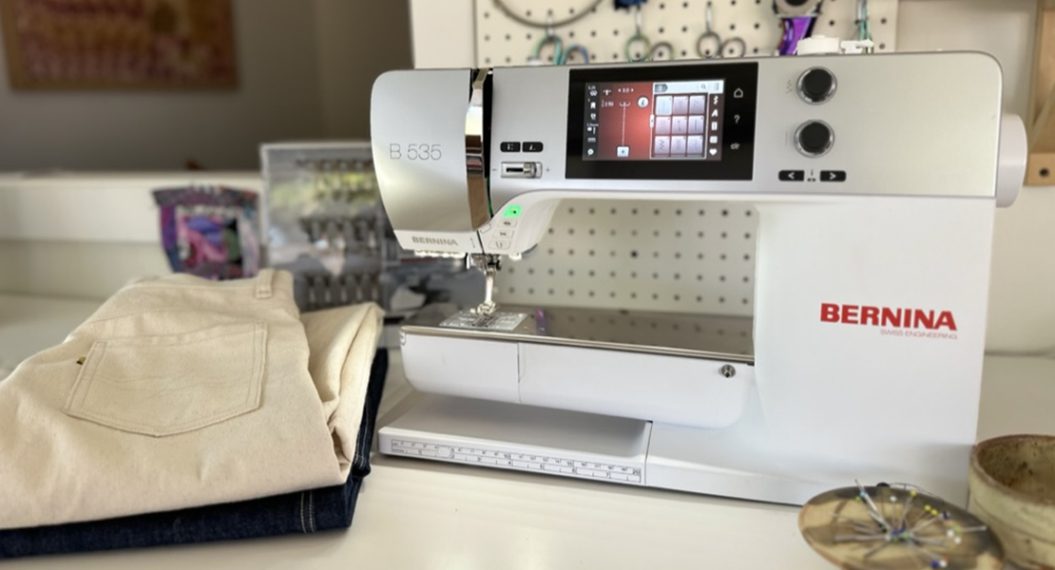
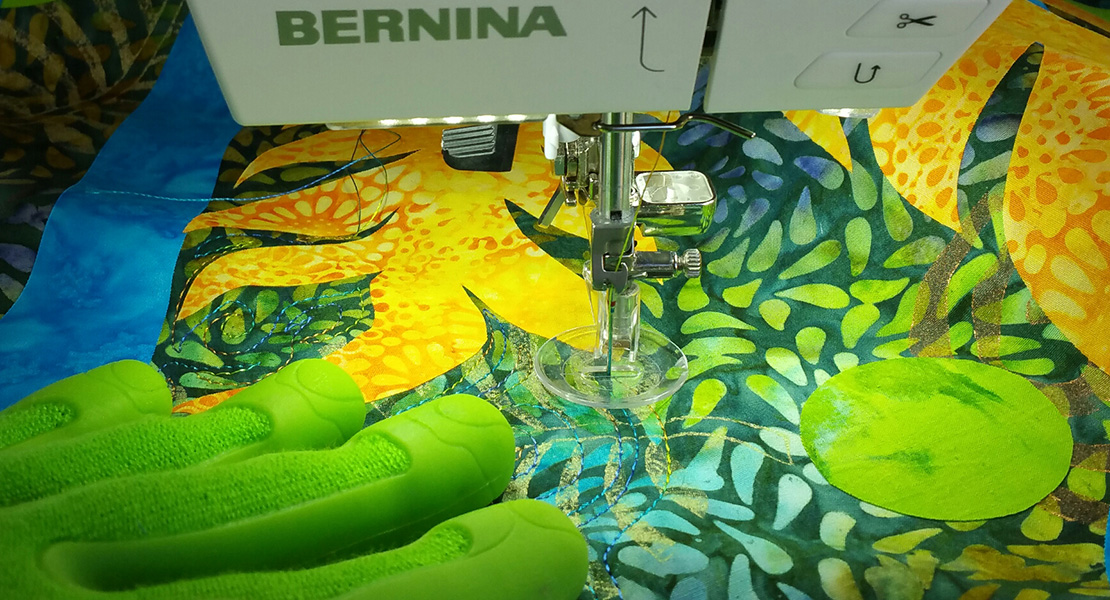
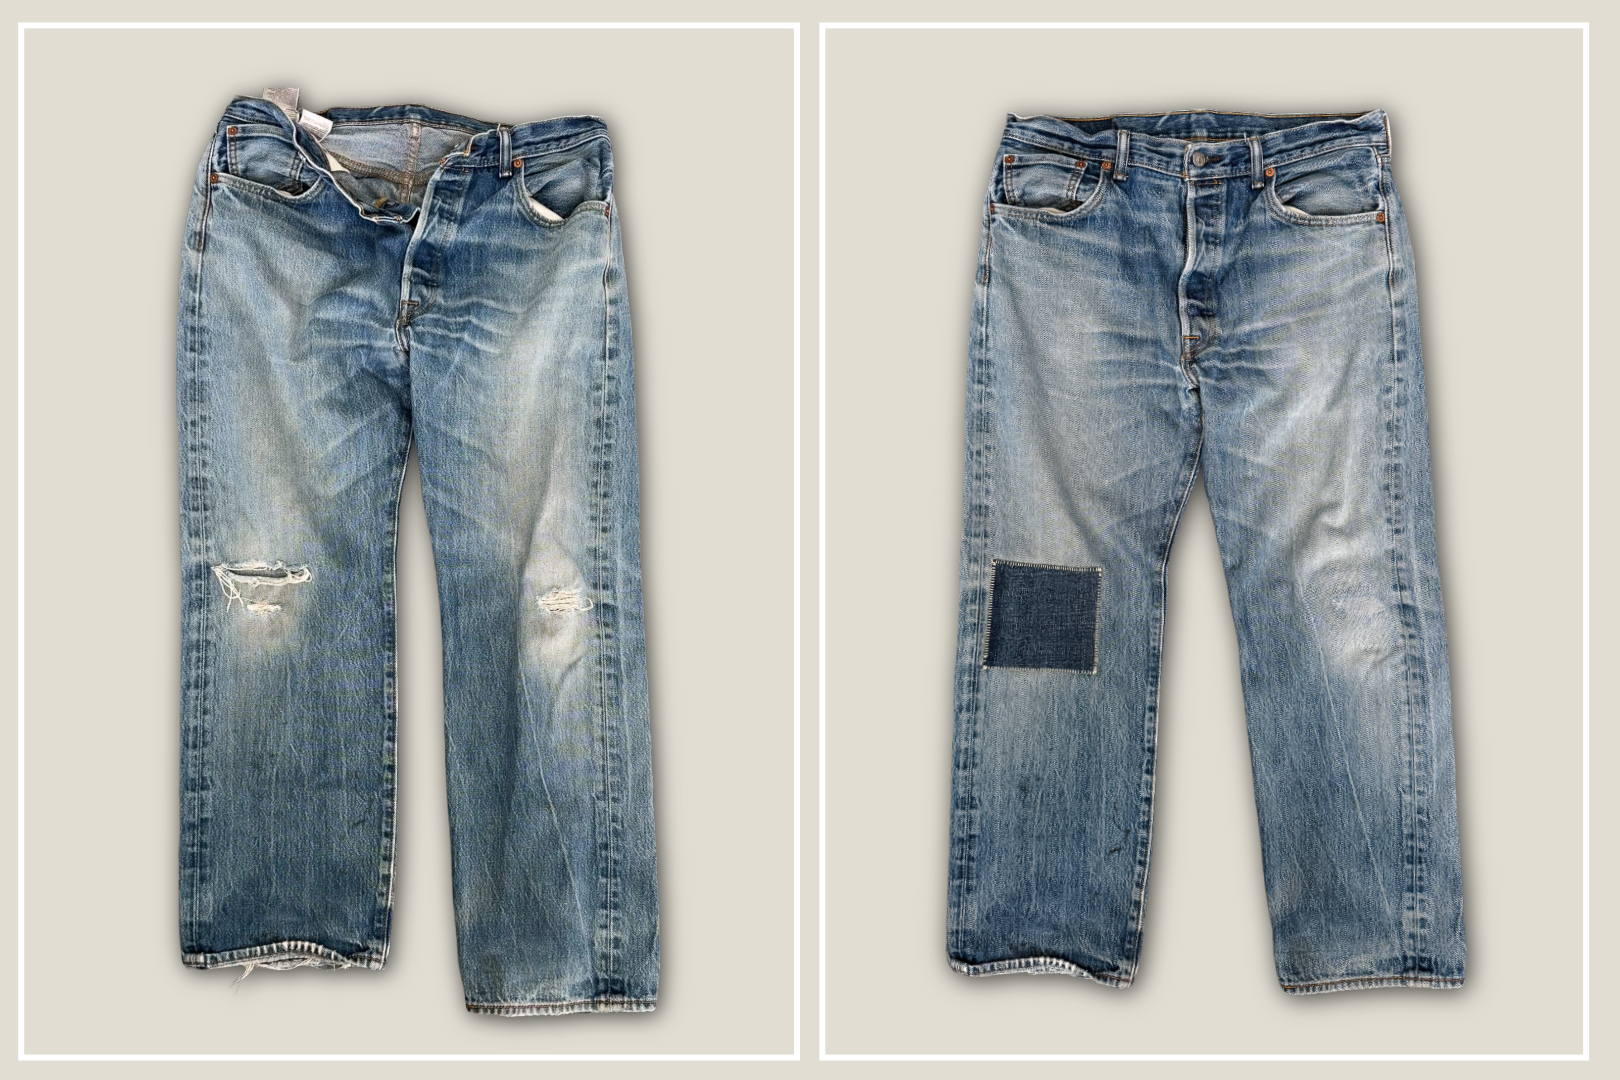
In this post, I’m walking through both approaches: an invisible (or subtle) repair with a patch on the inside, and a visible mend where the patch lives on the outside and becomes part of the design. Both use my BERNINA 770 QE for machine stitching and my BERNINA L 890 for patch prep. The process is the same either way; it’s just the finishing that differs.
The Setup: What Both Methods Share
Choosing Your Patch Fabric
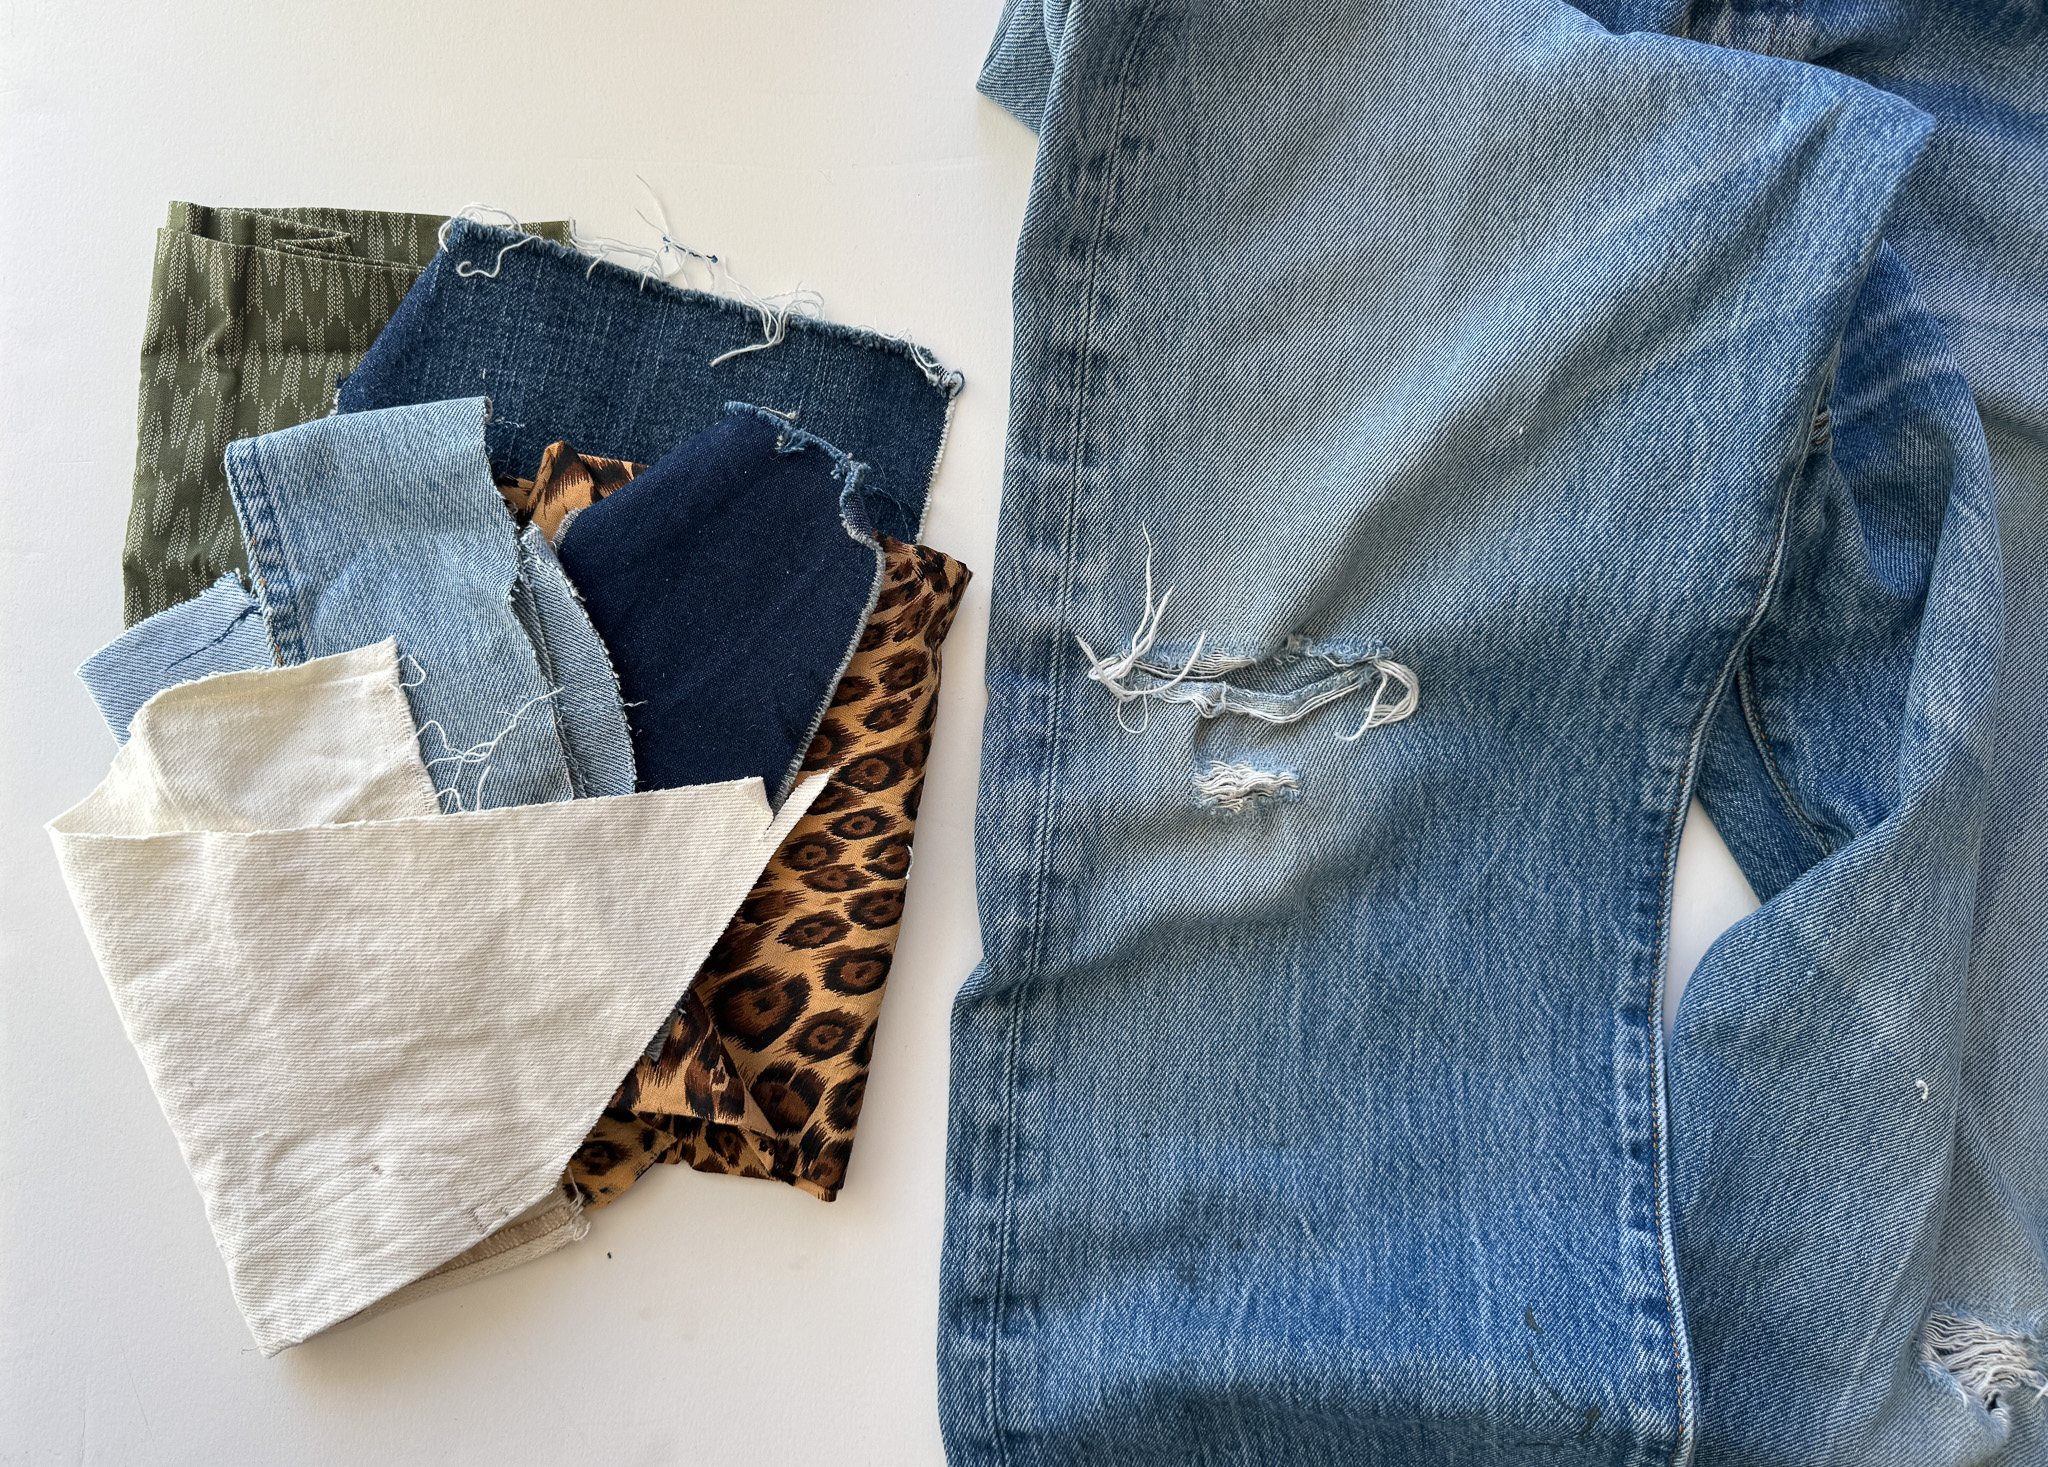
For an inside patch, I recommend either a midweight cotton in cream or blue or a matching denim scrap (if you have some), depending on how much of the patch might show. For an outside patch, you have a lot more freedom, and that’s part of what makes visible mending so fun. You can use almost any fabric that expresses your style, but a few rules apply:
- The patch should be the same weight as the denim or lighter. A heavier fabric will put stress on the surrounding area, and with the added weight of the stitching, the repair area will start to behave differently from the rest of the fabric.
- It needs enough structural integrity to actually hold. A loosely woven or very delicate fabric won’t survive the wear that jeans go through.
- Pre-wash your patch fabric before you cut it, especially if it’s new. You want any shrinkage to happen before the patch is sewn onto the jeans, not after.
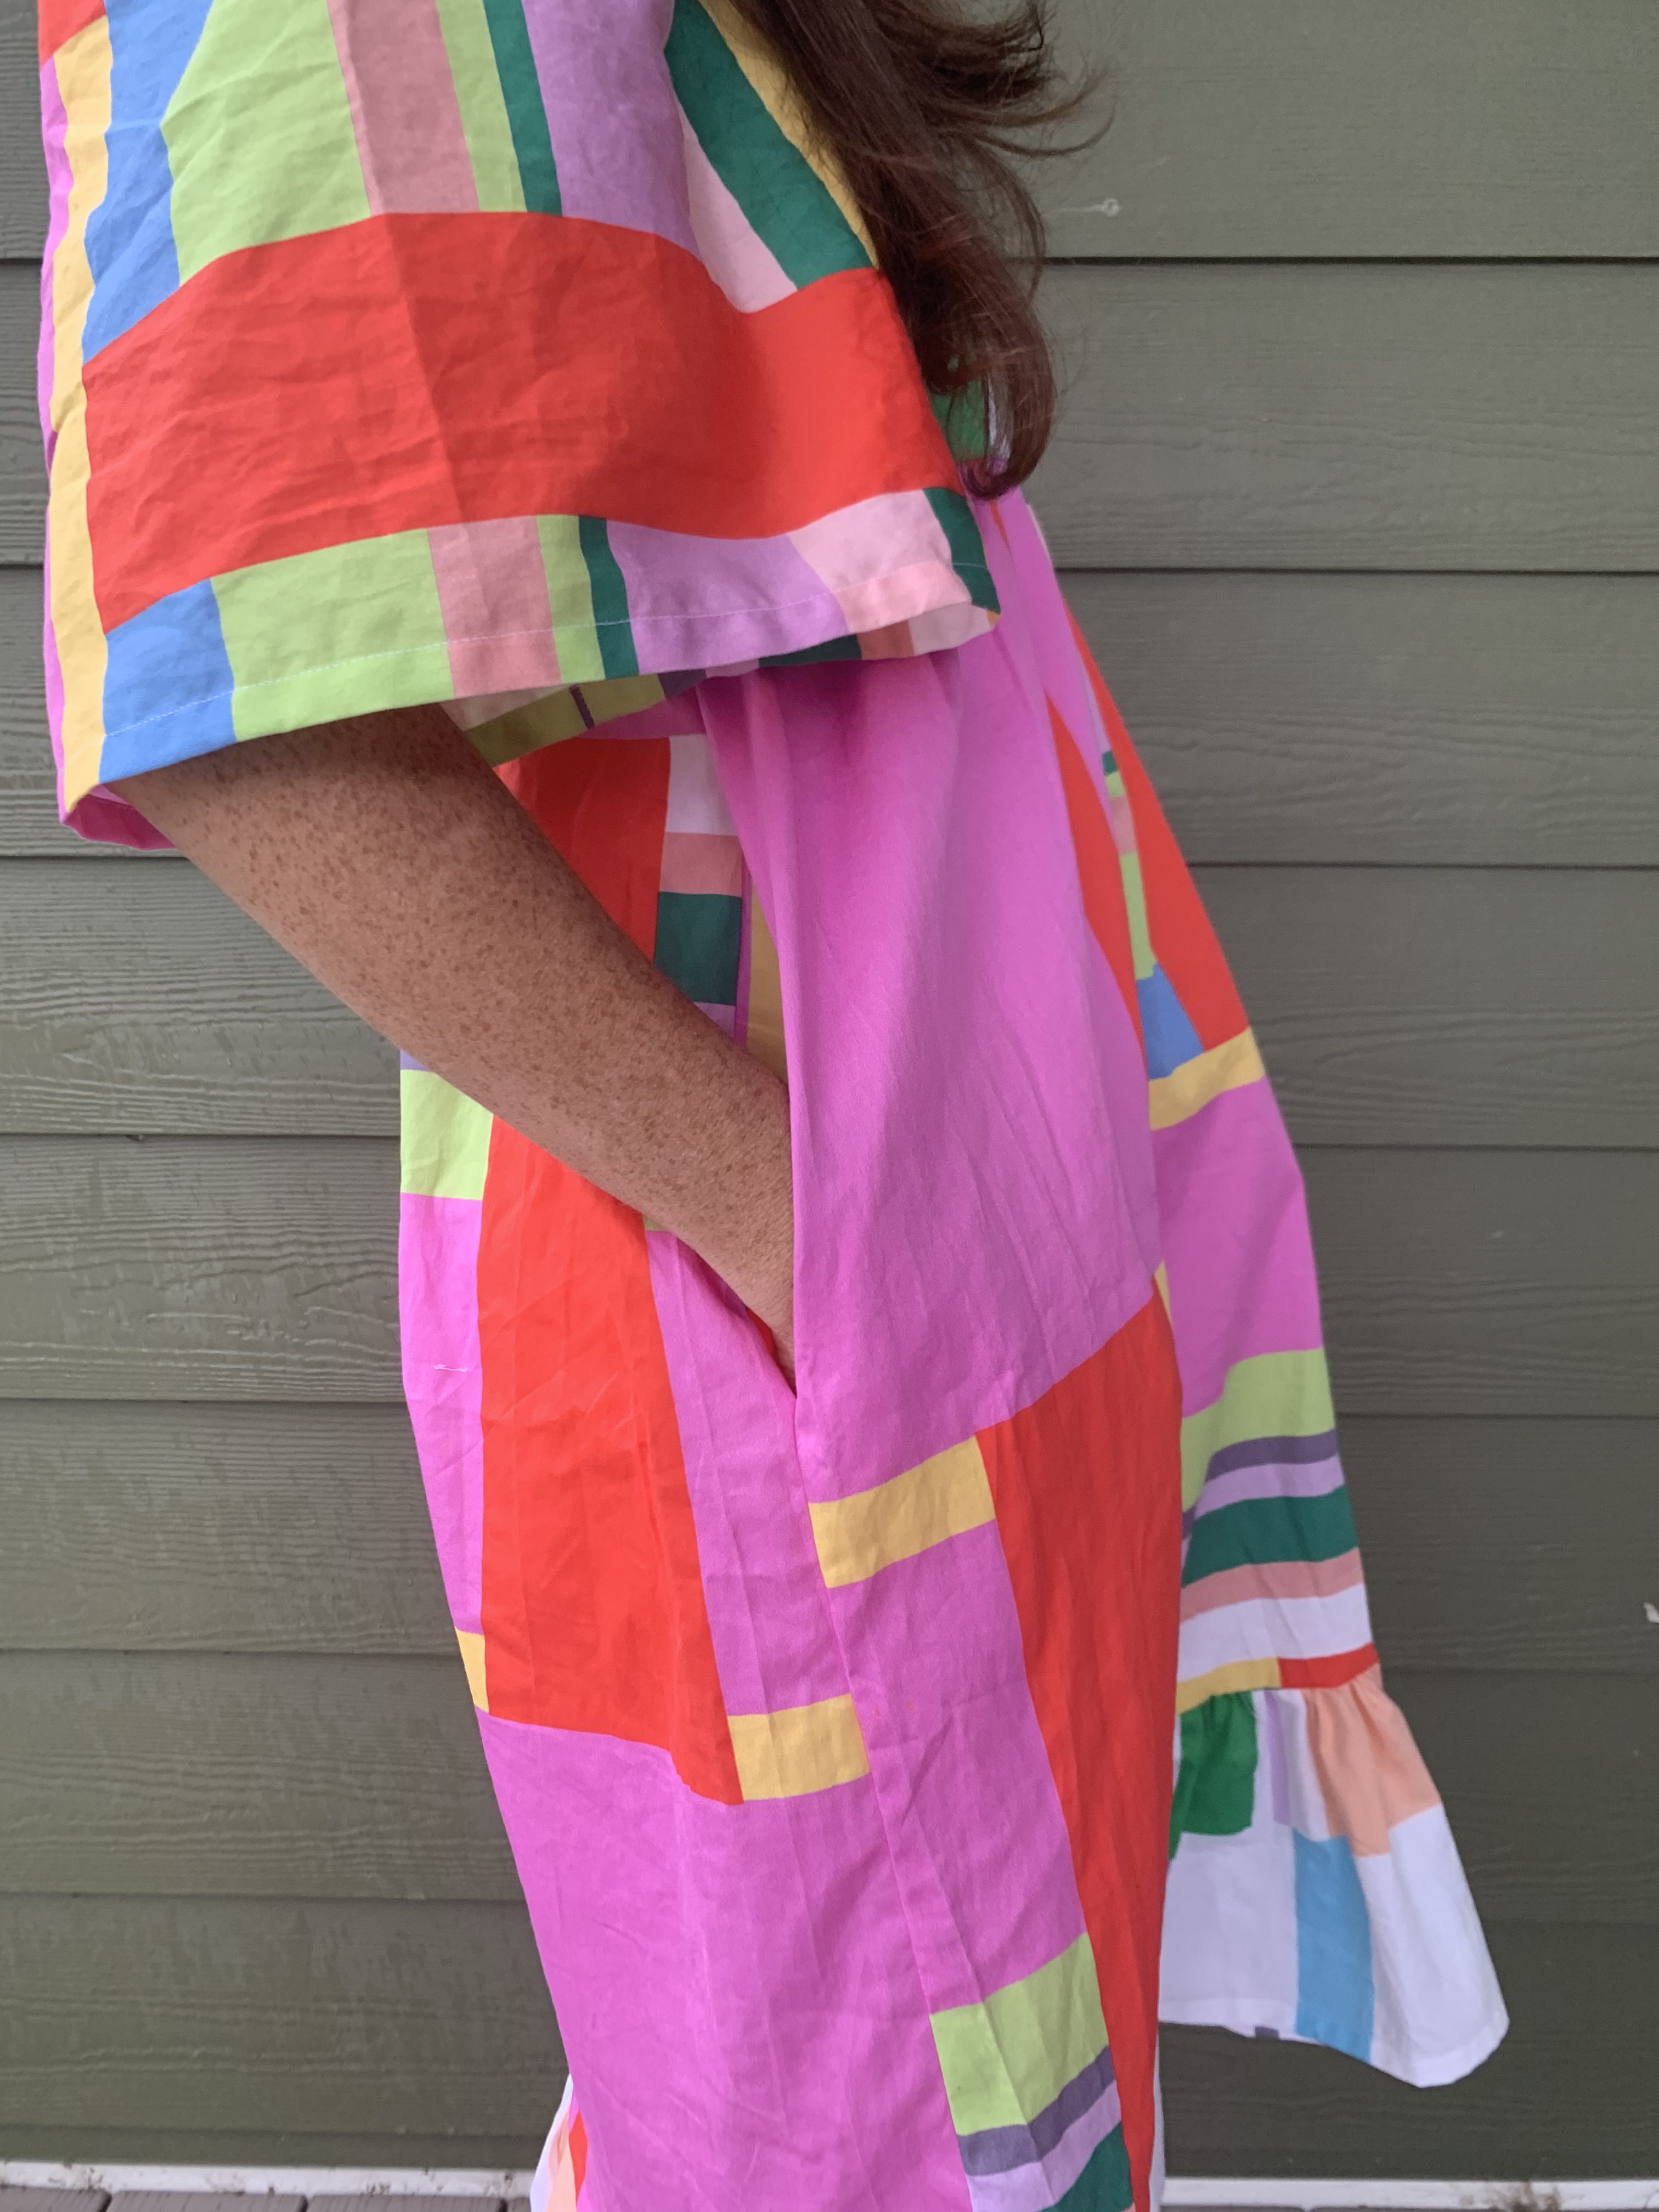
I’ll be demonstrating with denim for both methods, but I’ll include some inspiration photos of other fabrics that work beautifully as outside patches.
A Note on Fusible
I rarely use heavy fusible interfacing for jean repairs. Those thick, pre-made fusible patches you find at the grocery or drugstore contain a lot of plastic. Over time, repeated washing and drying causes the adhesive to degrade the surrounding denim and actually makes the problem worse. Lightweight fusible is fine as a temporary hold while you stitch or to add some reinforcement to your patch. Just don’t rely on it as the structural solution. The stitching is always the structure.
Patch Size
Your patch needs to be big enough to cover the hole plus extend out past the weakened area. If you sew a patch to an area that is too weak, it will likely tear. Your patch can be any shape, but I tend to stick to a simple rectangle or square.

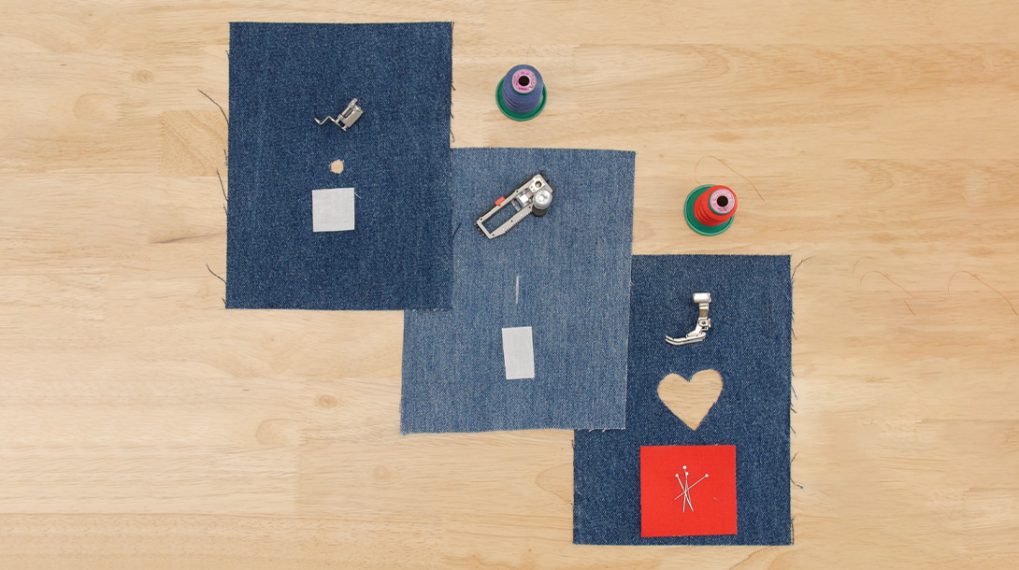
What You’ll Need
- Sewing Machine with free-motion foot (I’m using my BERNINA 770 QE)
- Overlock/Serger (I’m using my BERNINA L 890)
- Patch fabric: refer to Choosing Your Patch Fabric above
- Machine needle: A new, sharp 90 universal. A denim needle shouldn’t be necessary for sewing through two to three layers of denim. What matters most is that the needle is new and sharp.
- Thread for Method 1: For the invisible repair, any 50wt sewing or quilting thread will work. Just make sure to match the thread color to the worn, faded areas of the denim.
- Thread for Method 2: For the visible repair, I prefer a heavier weight thread, either a cotton 28wt or even 12wt, because the thread becomes part of the design.
- Pins or basting supplies: For holding the outside patch in place before stitching.
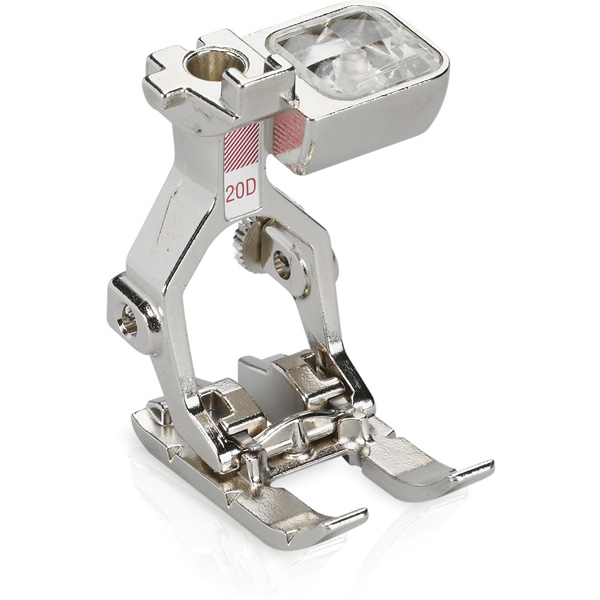
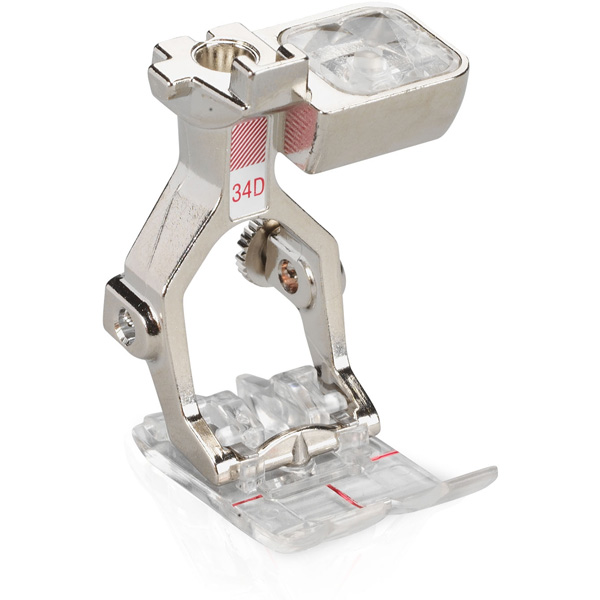
- For the machine blanket stitch in Method 2, it’s important that you can see what you are stitching. I use my Reverse-Pattern Foot with Clear Sole #34D or the Open Embroidery Foot #20/20C/20D
The Prep
Prepping the Patch on Your Overlock
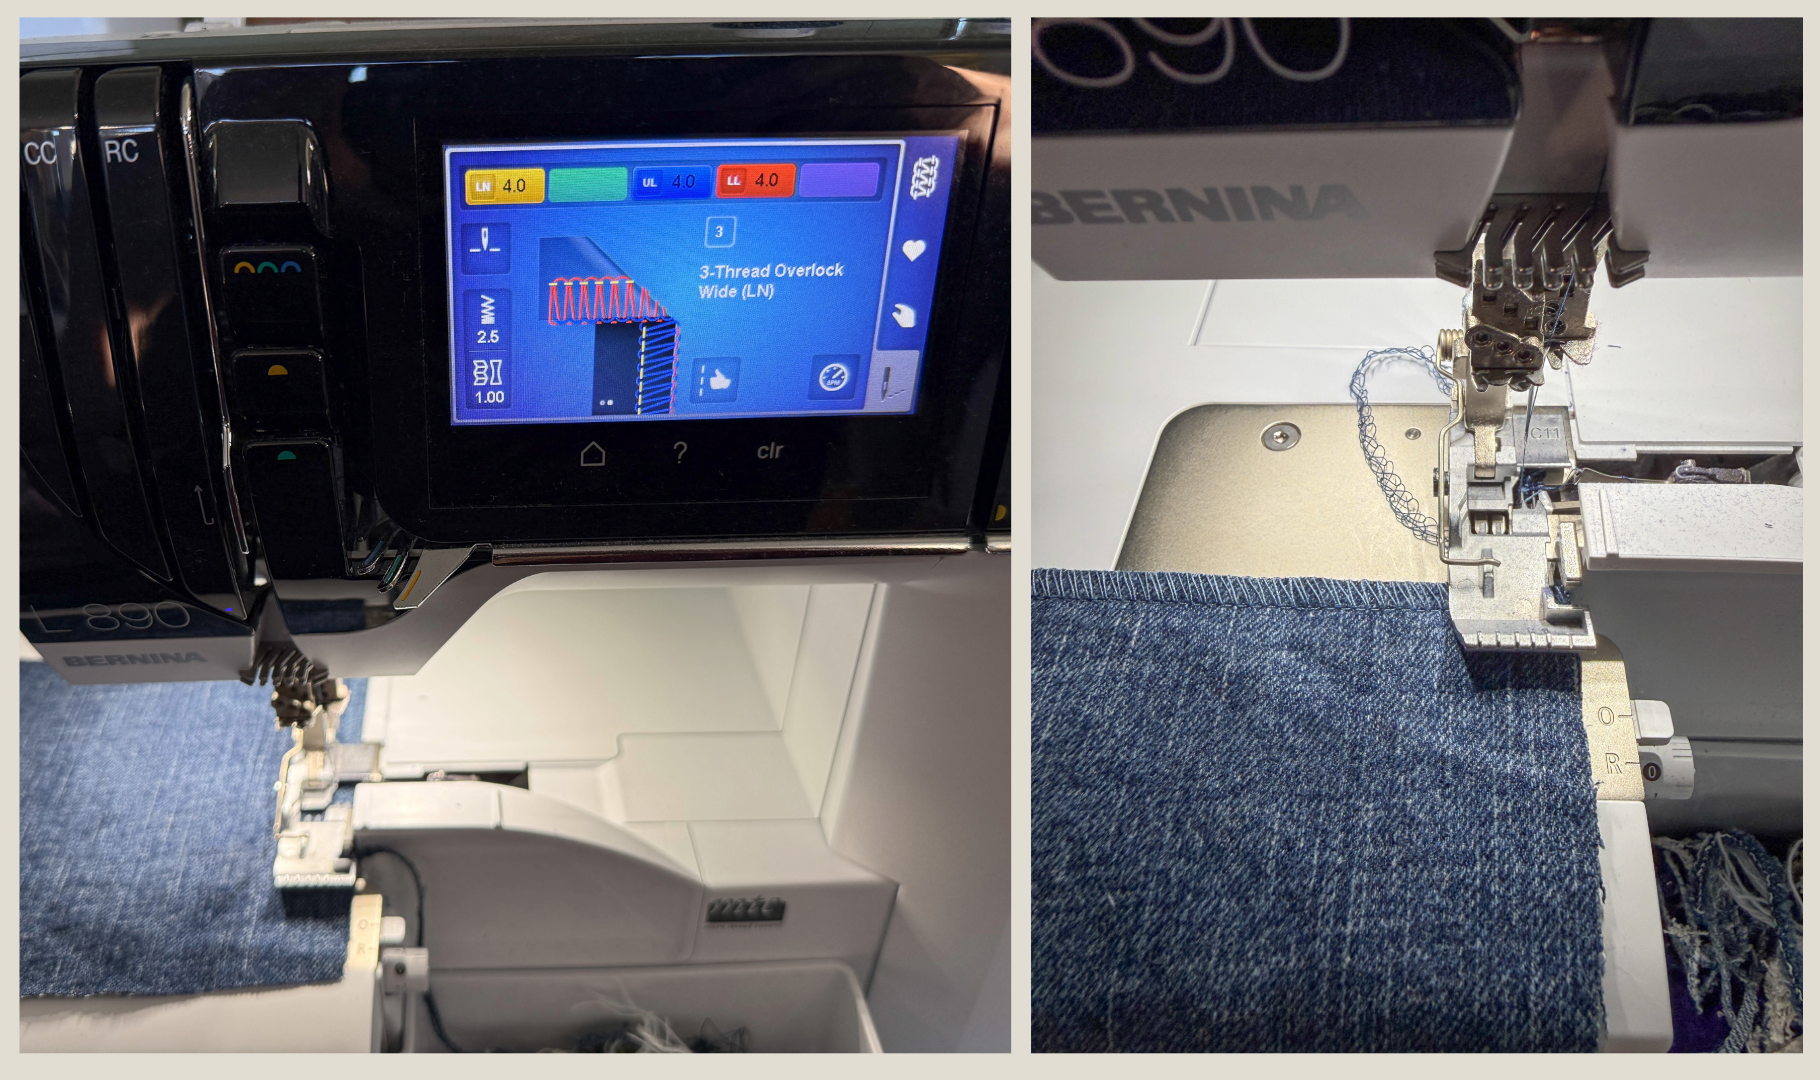
Before either patch goes anywhere near the jeans, I overlock all the raw edges on my BERNINA L 890. This is true for the inside patch and the outside patch. Overlocked edges keep the patch from fraying over time, especially in high-stress areas, and they make the edges much easier to work with. The L 890 doesn’t touch the jeans themselves (it’s entirely about patch prep), but it makes a real difference in how long the repair lasts.
I use the 3-Thread Overlock Wide (LN) stitch, but most overlock/serger stitches will work.
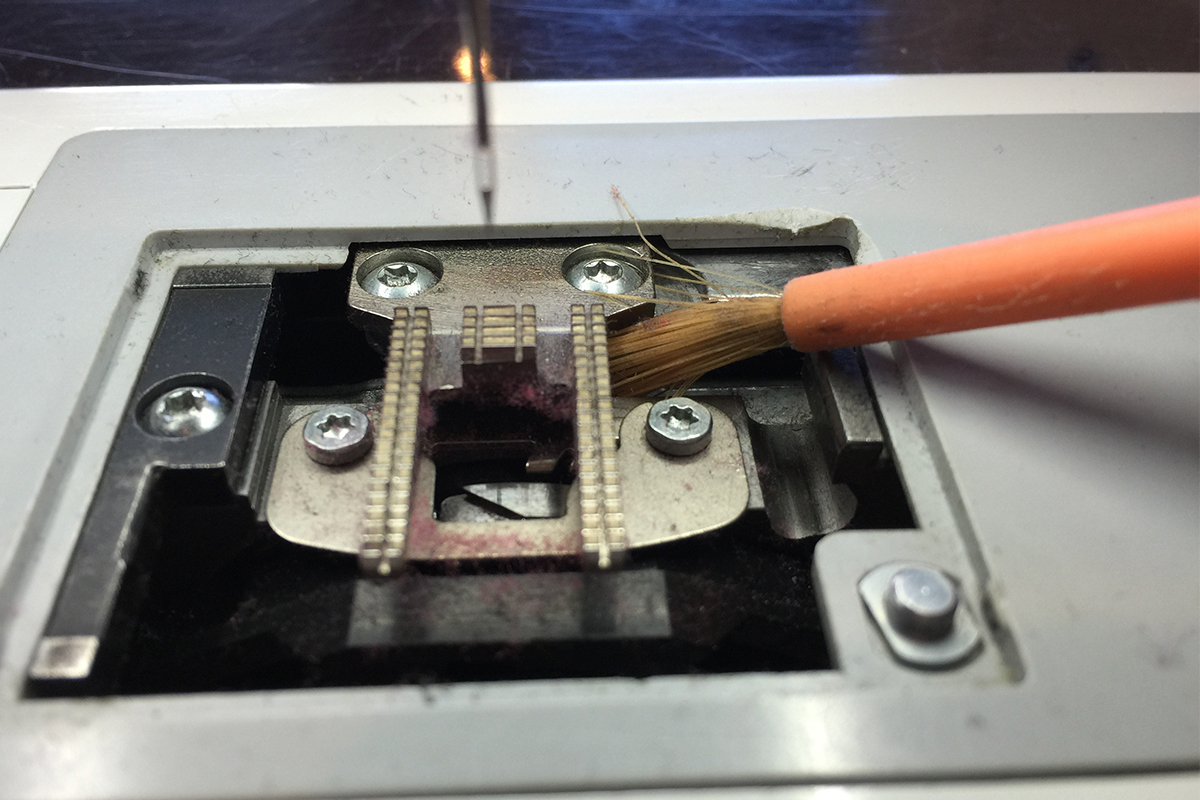
Prepping Your Jeans
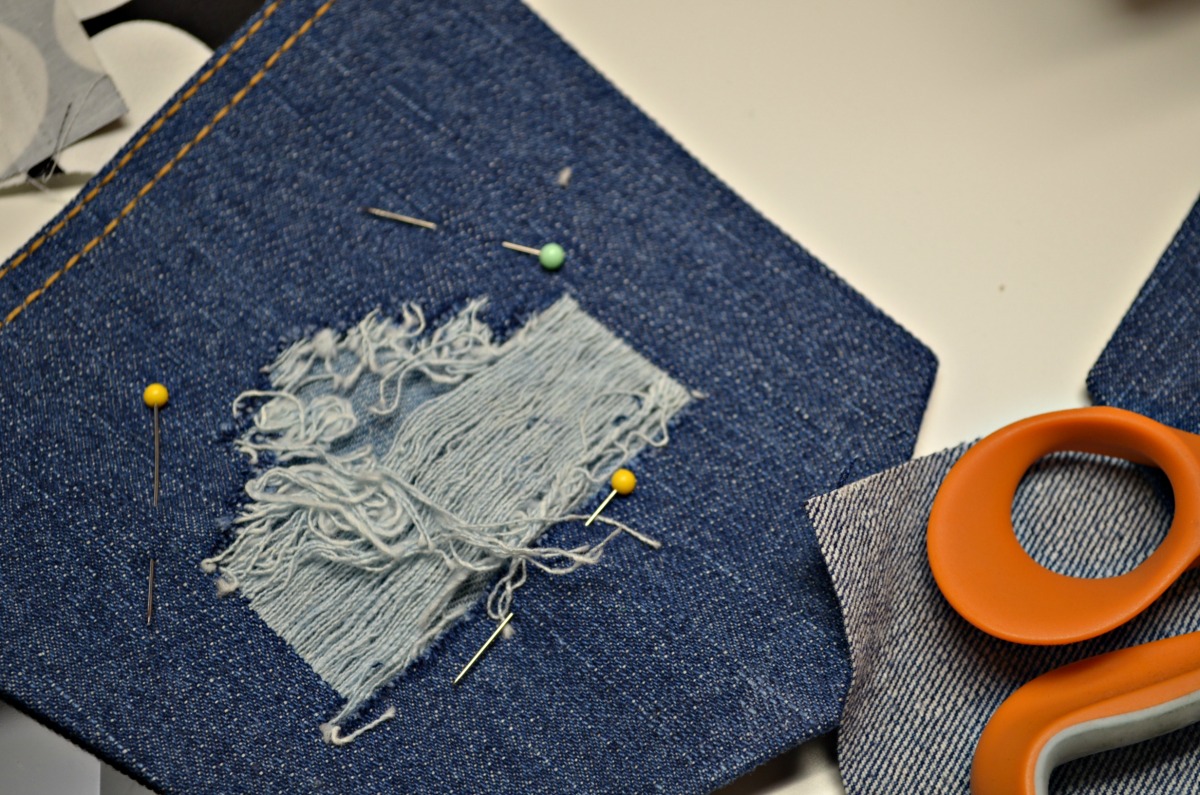
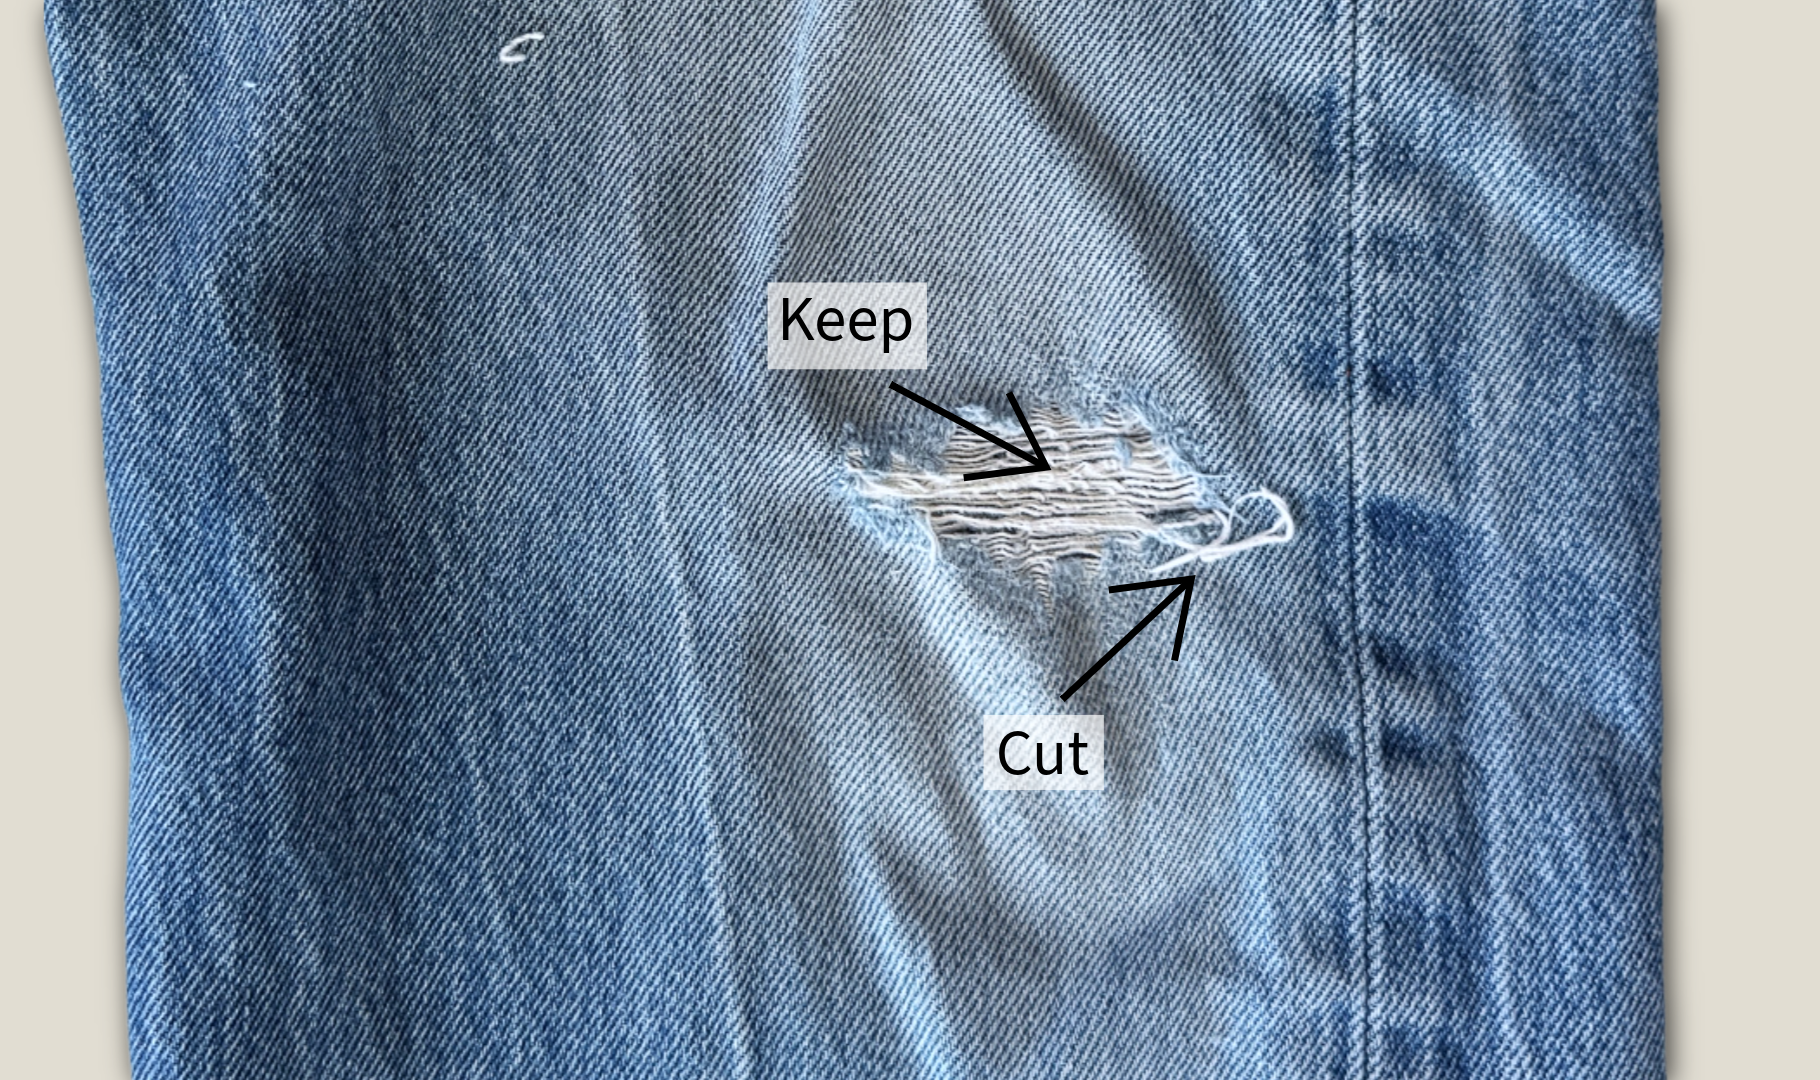
Before you begin, you want to wash your jeans and press the area that you are repairing so you have a flat surface to work with. My recommendation, especially if you haven’t mended before, is to cut off any of the white weft yarns that are already broken and leave any that are still connected. You will find a lot of different opinions and techniques on this, and even I do it differently depending on the specific repair. I’m recommending cutting the loose yarns here simply because they can get messy, and it’s just one more thing to think about.
Getting Your Machine in There: A Note on Seams
Depending on where the hole is, you may need to open a seam to get your machine inside. This is very doable, but you need to open the right seam and then once your repair is done, of course, re-stitch the seam closed.
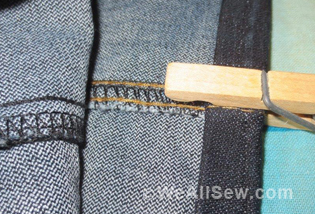
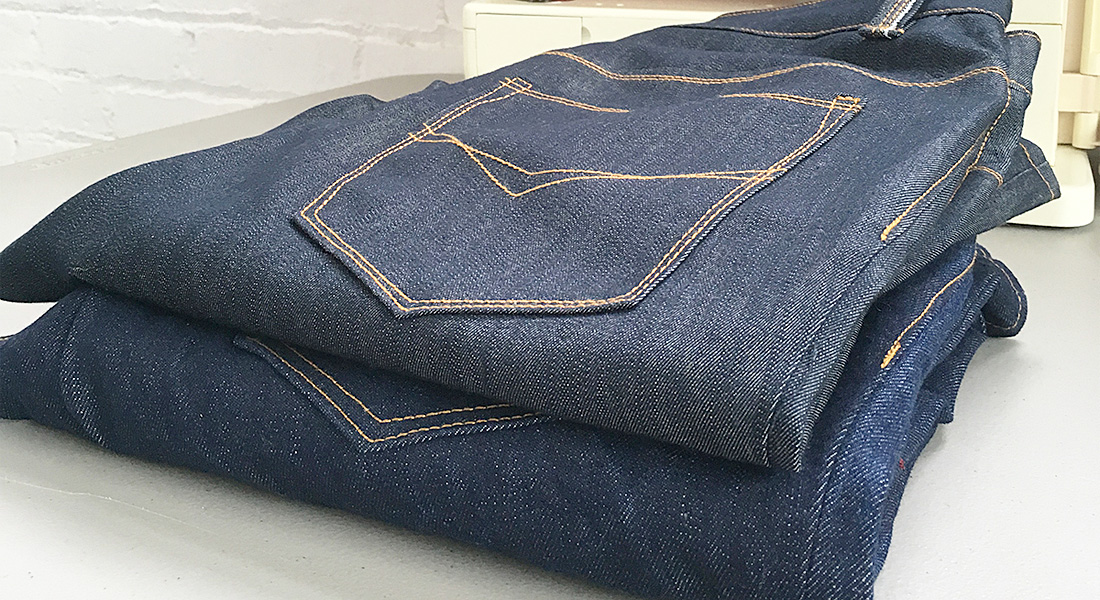
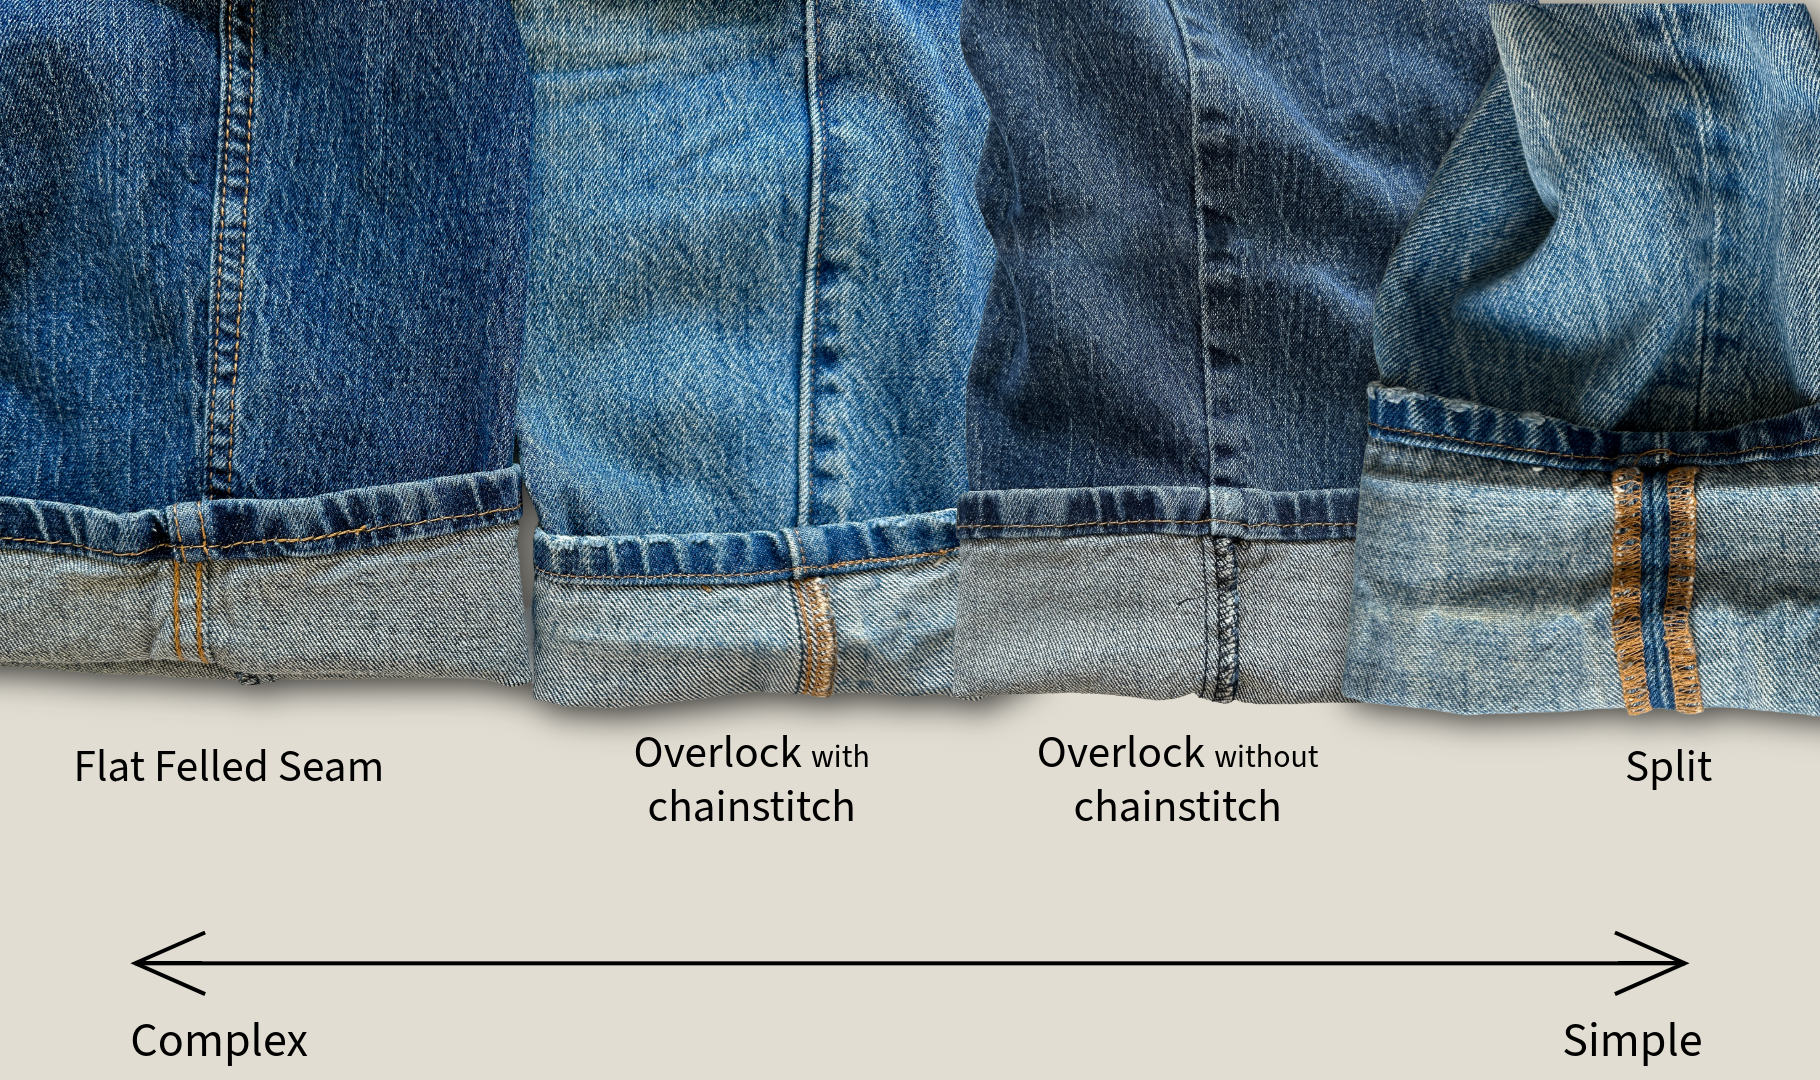
Below is a guide to the most likely seams you will find inside a pair of jeans, from complex to simple. Do not try to open a flat fell seam. Those are the seams that wrap around each other with two visible rows of chainstitching and are designed specifically for durability. Opening one means a lot of extra work to re-stitch and get it to lie flat again.
In the middle examples, the seam allowance is overlocked together, which adds additional seam ripping, but is still very doable. If you open up one of these seams, I recommend using your overlock/serger to close them up again. The addition of a chainstitch is even more seam ripping, but there is a trick to quickly removing a chainstitch (I have a little video tutorial here).
Method 1: Invisible Repair (Patch on the Inside)
The front thigh is one of the most common places for holes in jeans (that combination of friction and stress adds up fast), so that’s why I’m demonstrating here. It’s also a relatively flat, easy-to-access area, which makes it a great starting point if this is your first time mending.
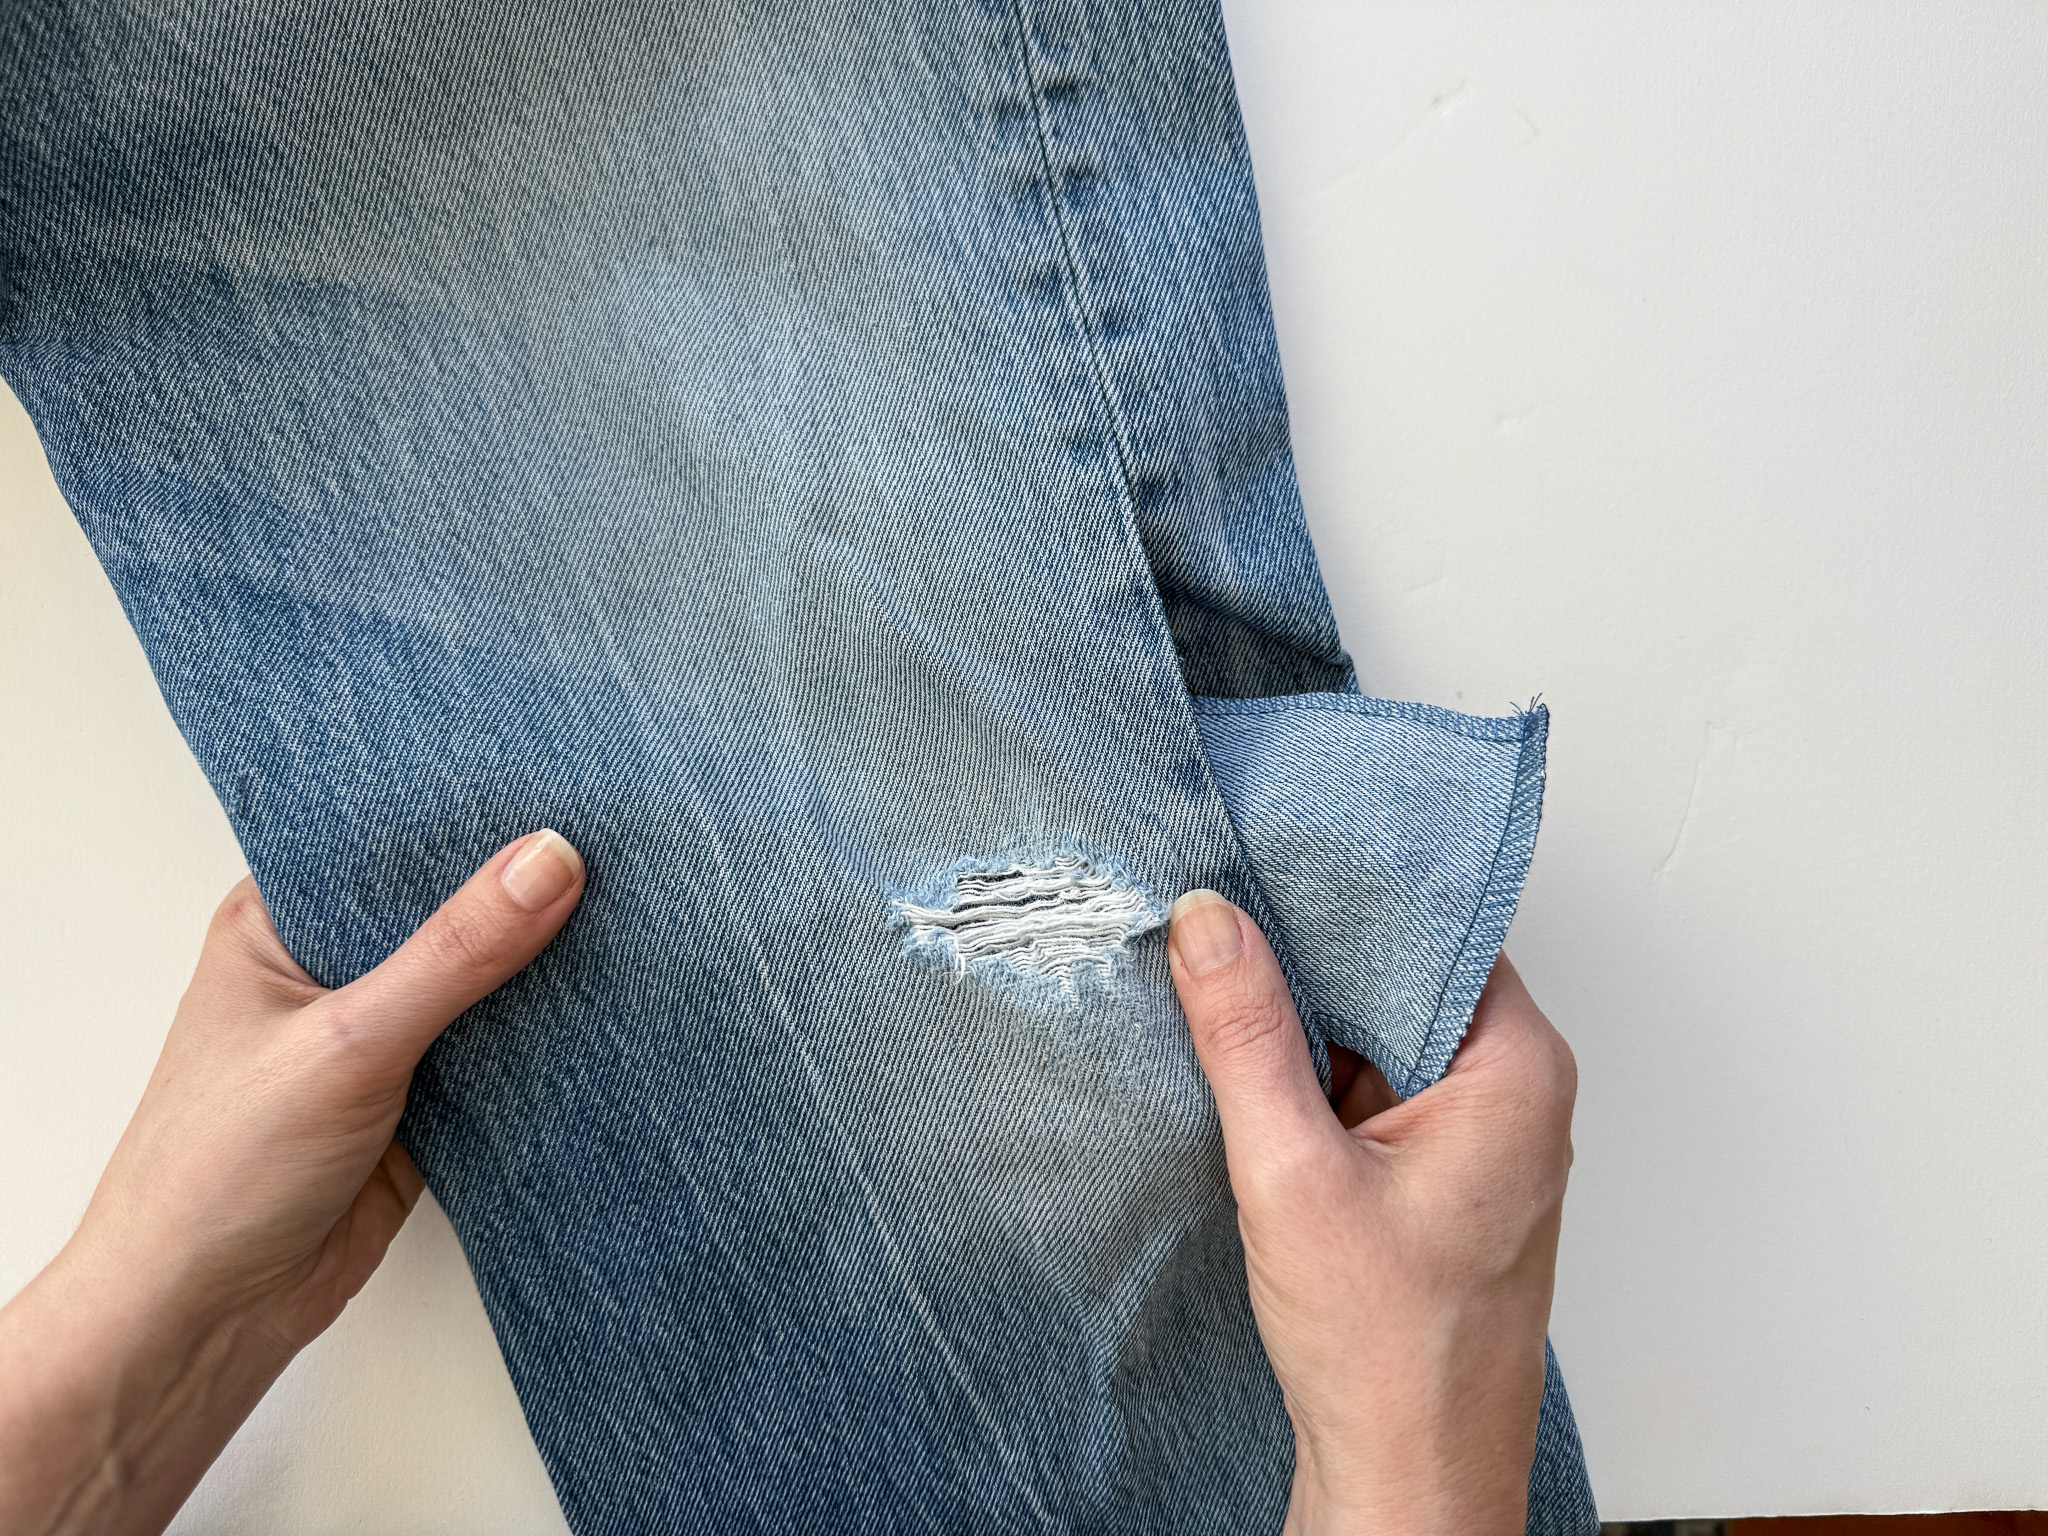
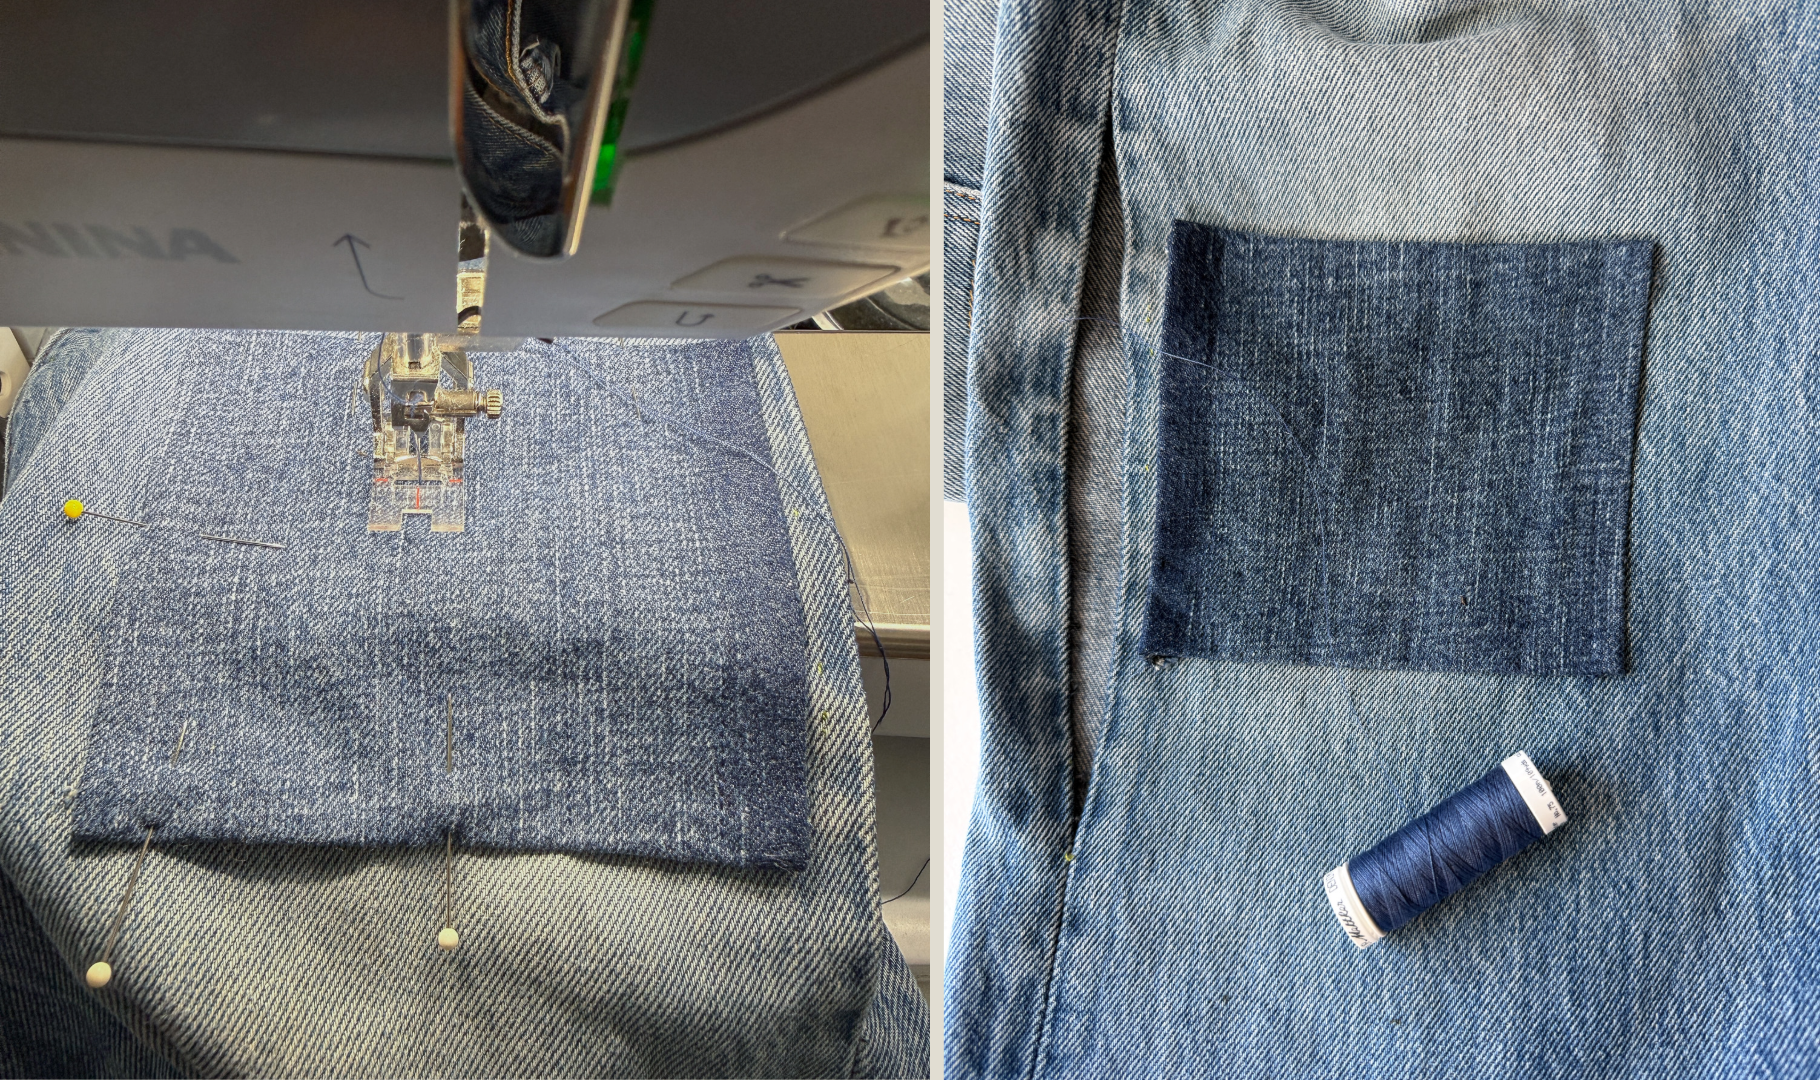
After overlocking the patch edges on the L 890, position the patch behind the damaged area on the inside of the jeans. If you need to open a seam to get the leg flat under the machine, do that now (see the seam note above).
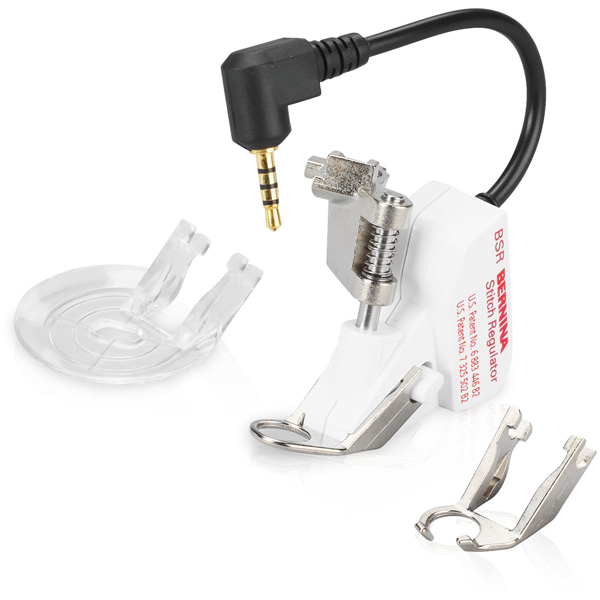
On the BERNINA 770 QE, drop the feed dogs, attach your free-motion foot, and engage the BSR (BERNINA Stitch Regulator). If you’ve done any free-motion quilting, this will feel immediately familiar. The motion is the same: you’re moving the fabric and letting the machine respond. Instead of filling a quilt block, you’re distributing stress across weakened denim.
A few things I pay attention to:
- I stitch on a diagonal to mirror the twill line of the denim. Some people prefer to stitch up and down following the grain, and both approaches are valid. Stitching on the diagonal works well for me because it visually blends with the weave structure of the fabric.
- Stitch density increases where the fabric is weakest and tapers off toward the edges.
- Thread color is matched to the worn, faded areas of the denim, not the original fabric color.
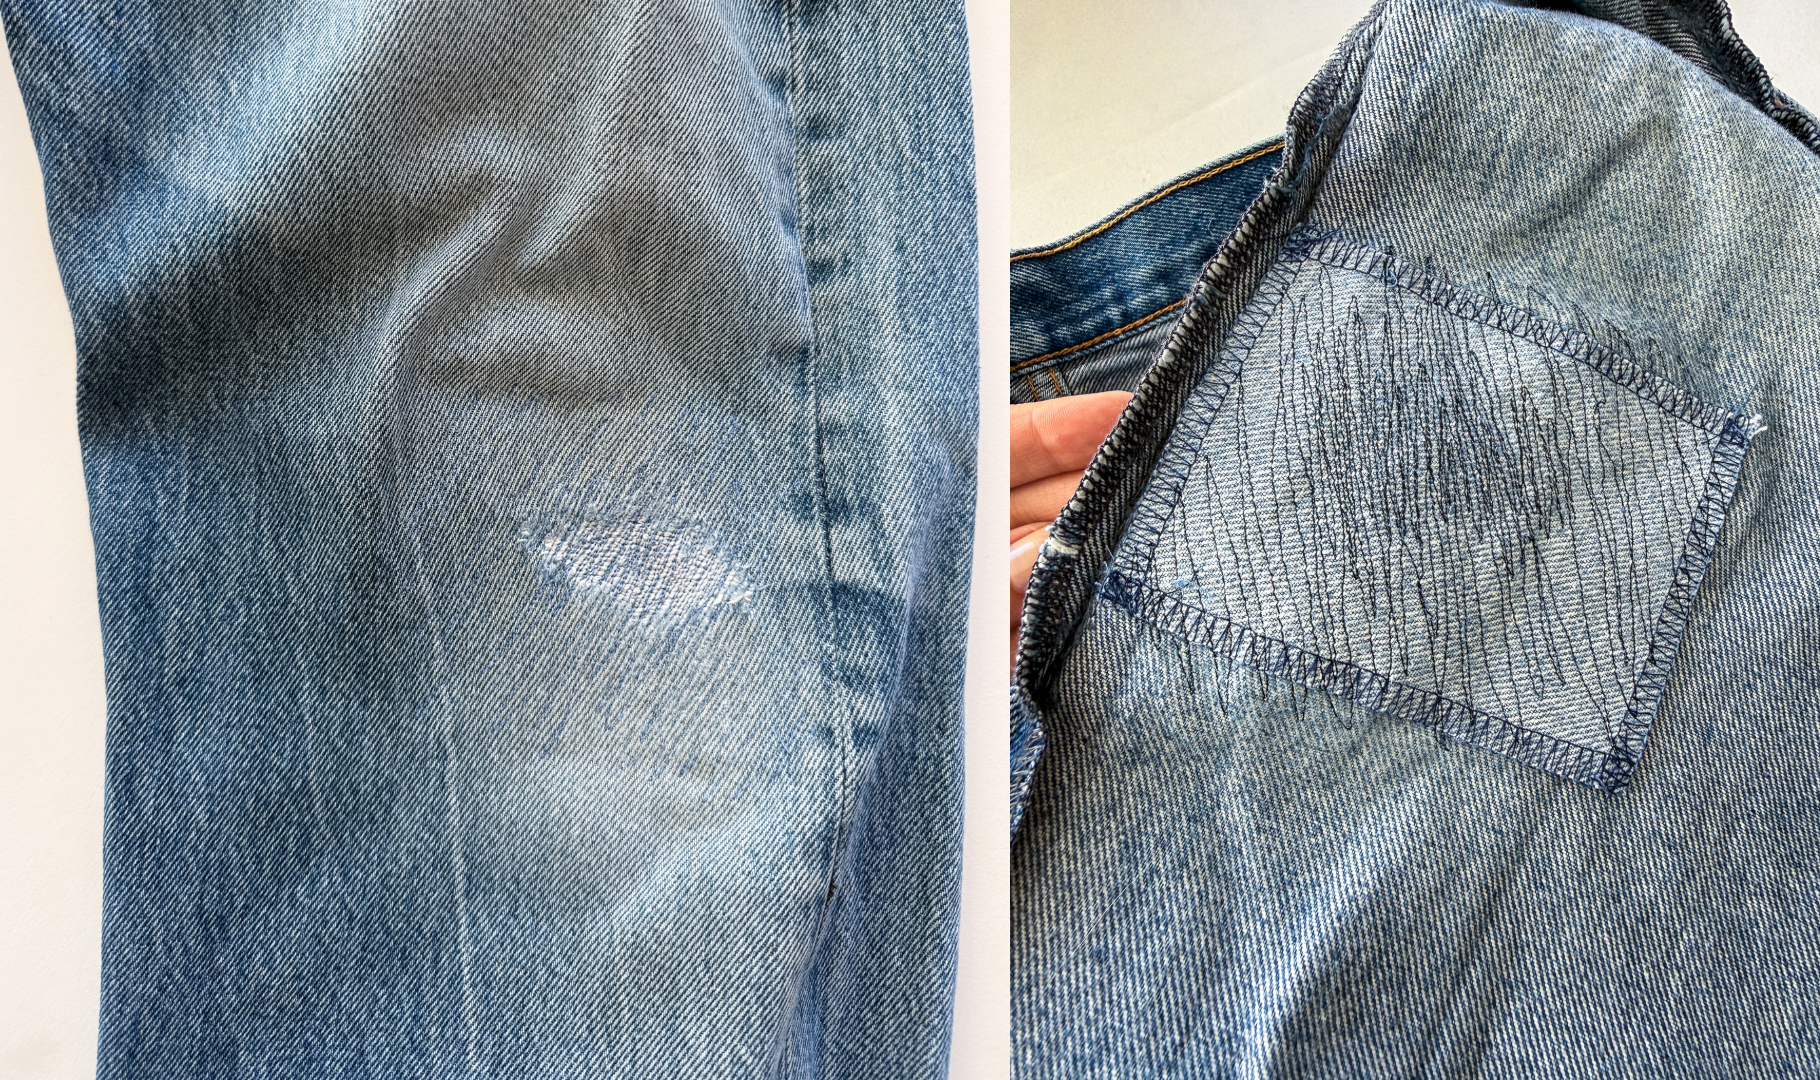
The goal is visual blending, not perfection. When the stitch direction and density respond to the wear that’s already there, the repair settles in rather than announcing itself. A successful invisible repair doesn’t make the jeans look new. It just lets them keep being worn.

Method 2: Visible Mending (Patch on the Outside)
This is where things get more interesting. The patch is on the outside, it’s meant to be seen, and the stitching around the edge is part of the design.
If you know how to do machine applique, you already know how to do this. A patch on the outside of jeans is basically appliqué: same technique, just on denim instead of a quilt block.
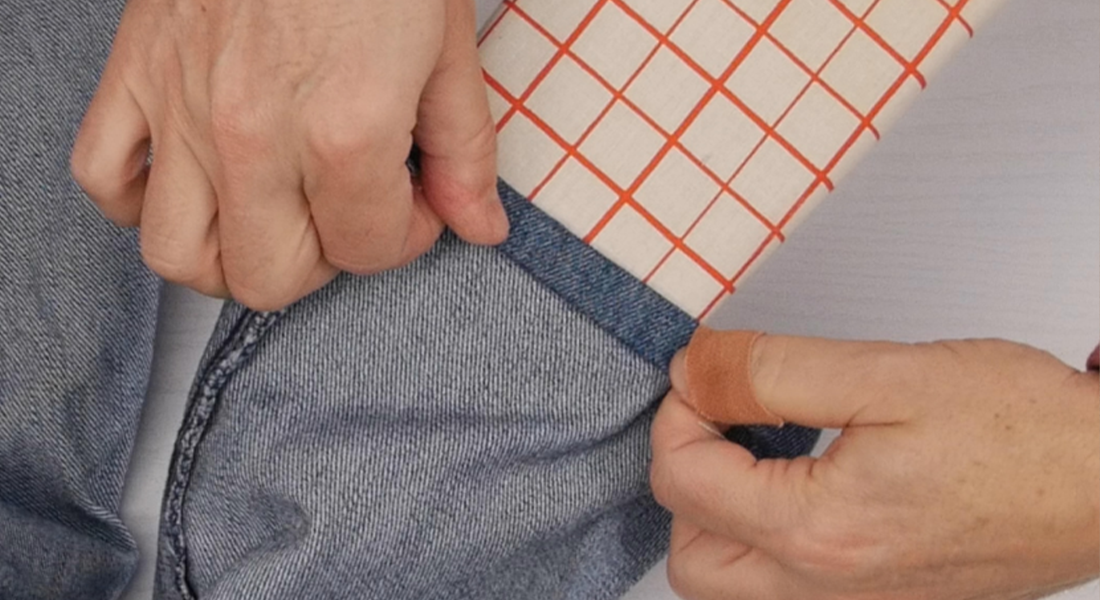
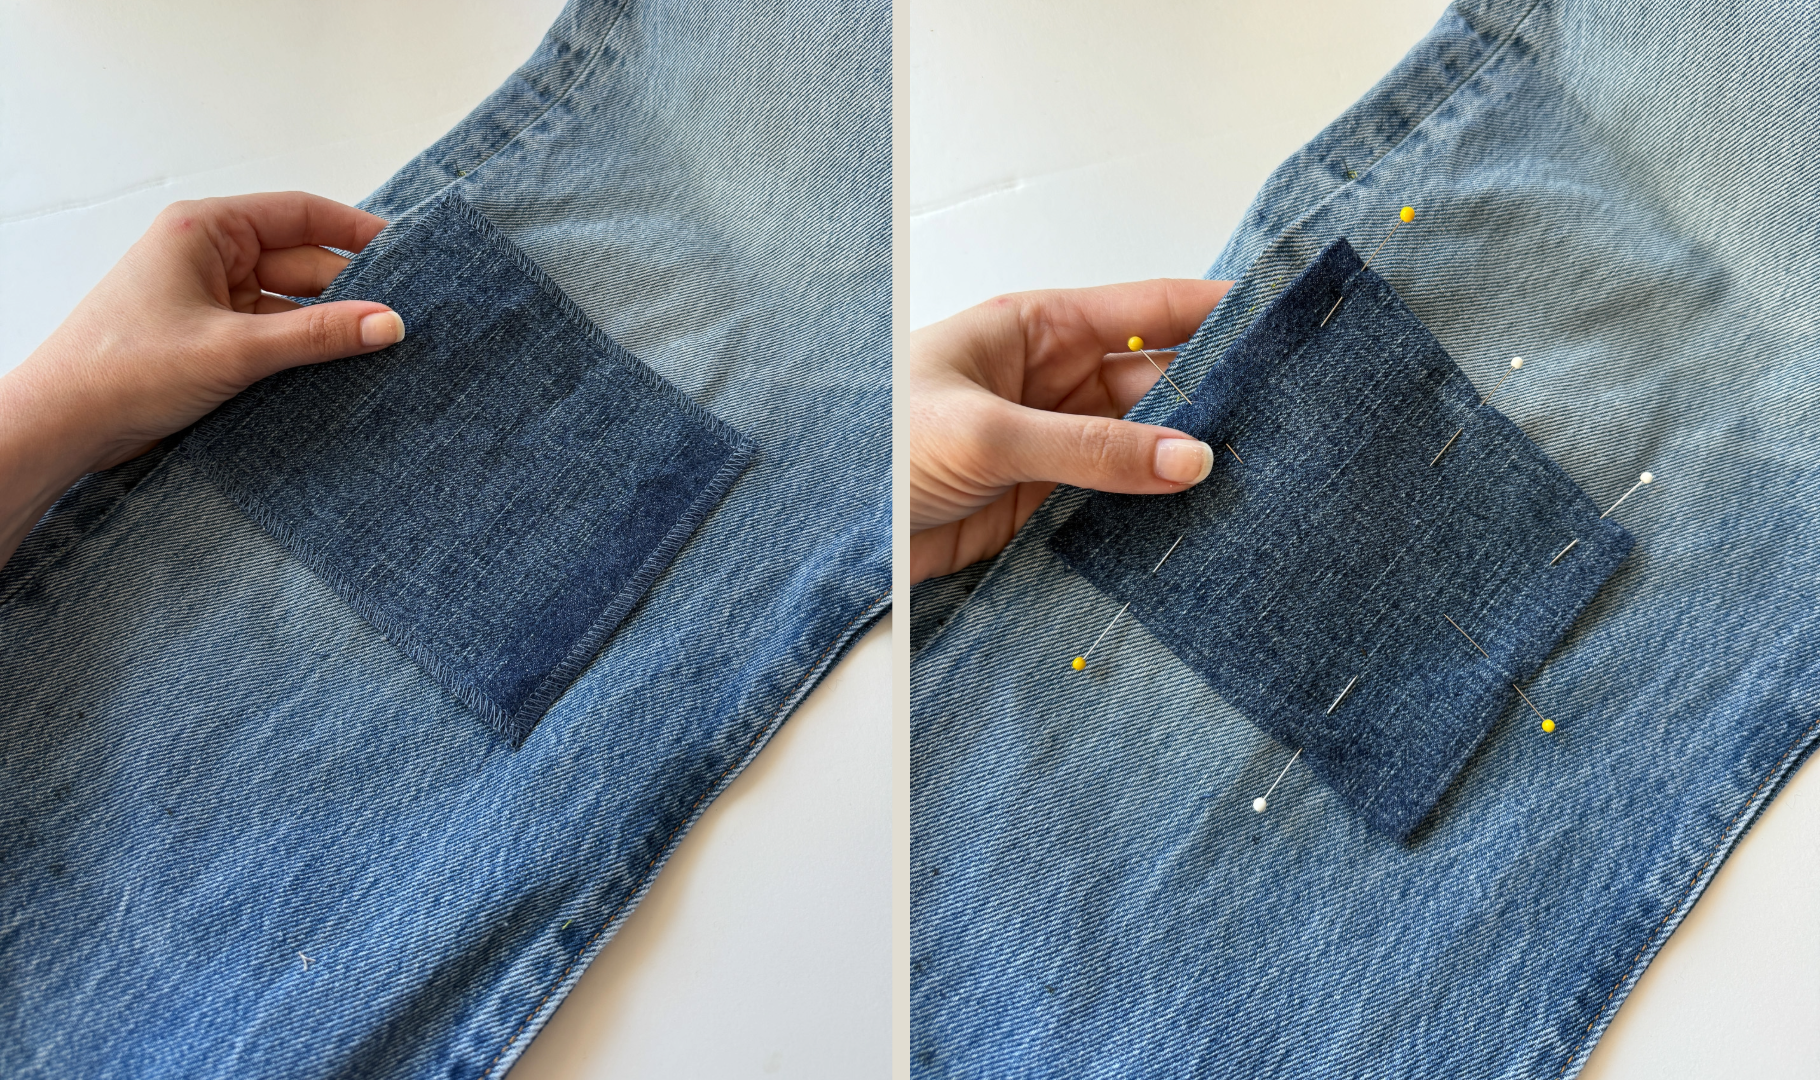
Start the same way: overlock the edges of your patch on the L 890. This step matters even more here, because those overlocked edges will fold under cleanly when you stitch around the perimeter, giving you a neat, finished edge without any fraying. Or you can even let the overlocked edges be seen and become part of the design. Before you pin the patch down, take a moment to press those overlocked edges under with an iron. It makes a big difference in getting the patch to lie flat and stay put.
To hold the patch in place before stitching, use pins or a quick basting stitch around the outside. Either works well; it’s just about keeping the patch from shifting while you sew.
On your machine, use a matching thread to sew a couple of vertical lines to attach the patch to your jeans. The next step will be attaching the patch around the outside; however, it will be more secure if you add this additional structure.
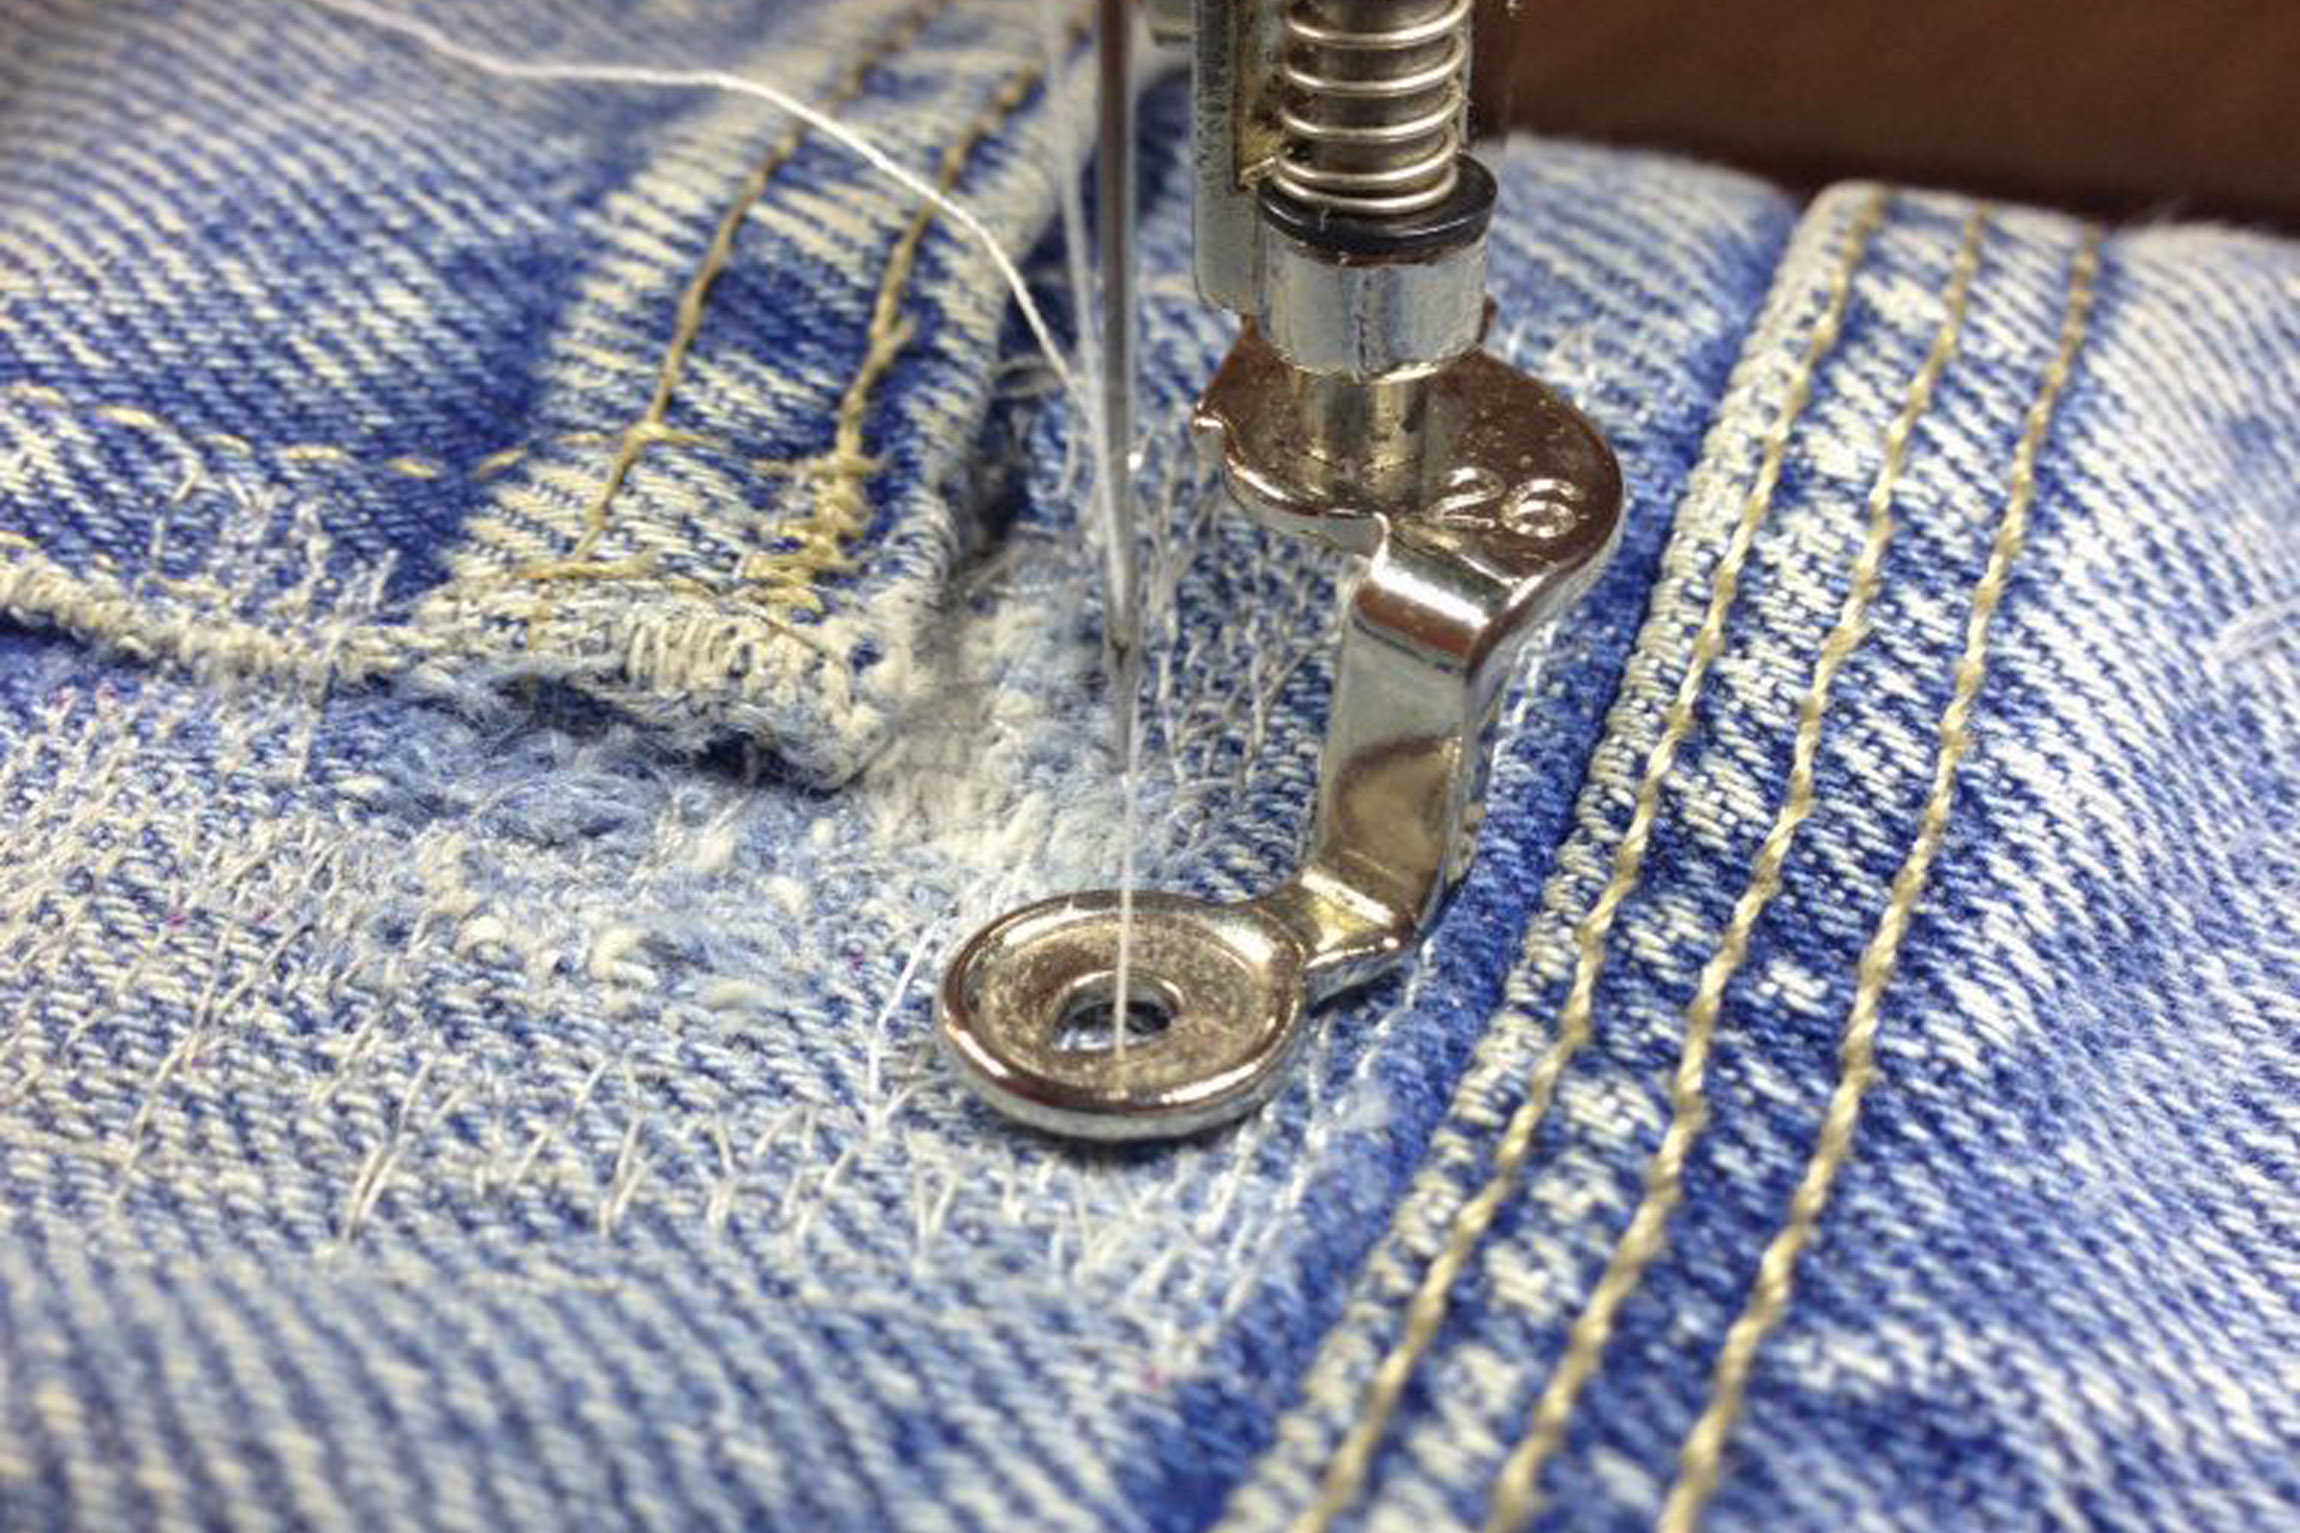
Machine Blanket Stitch
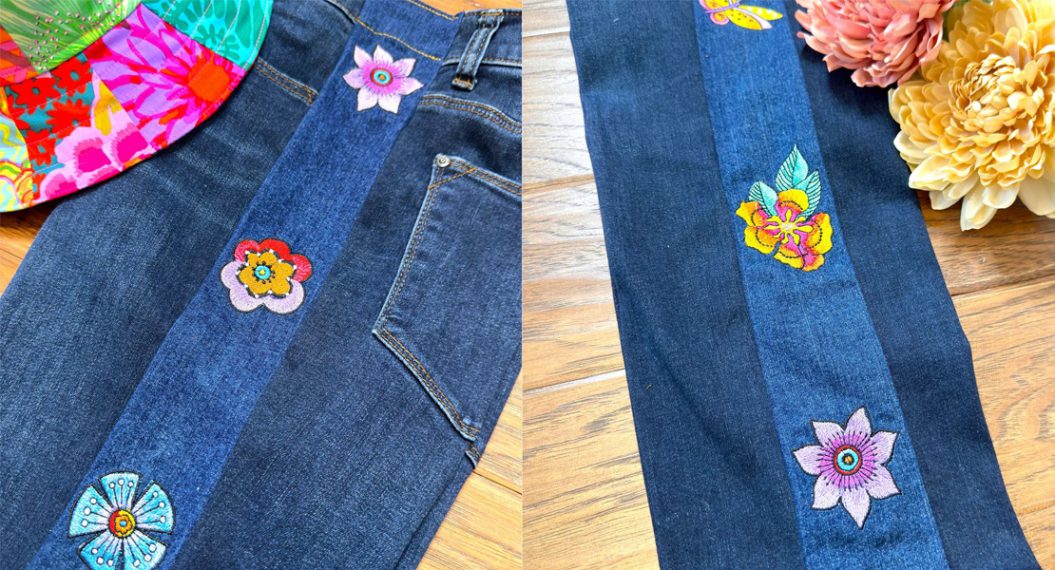
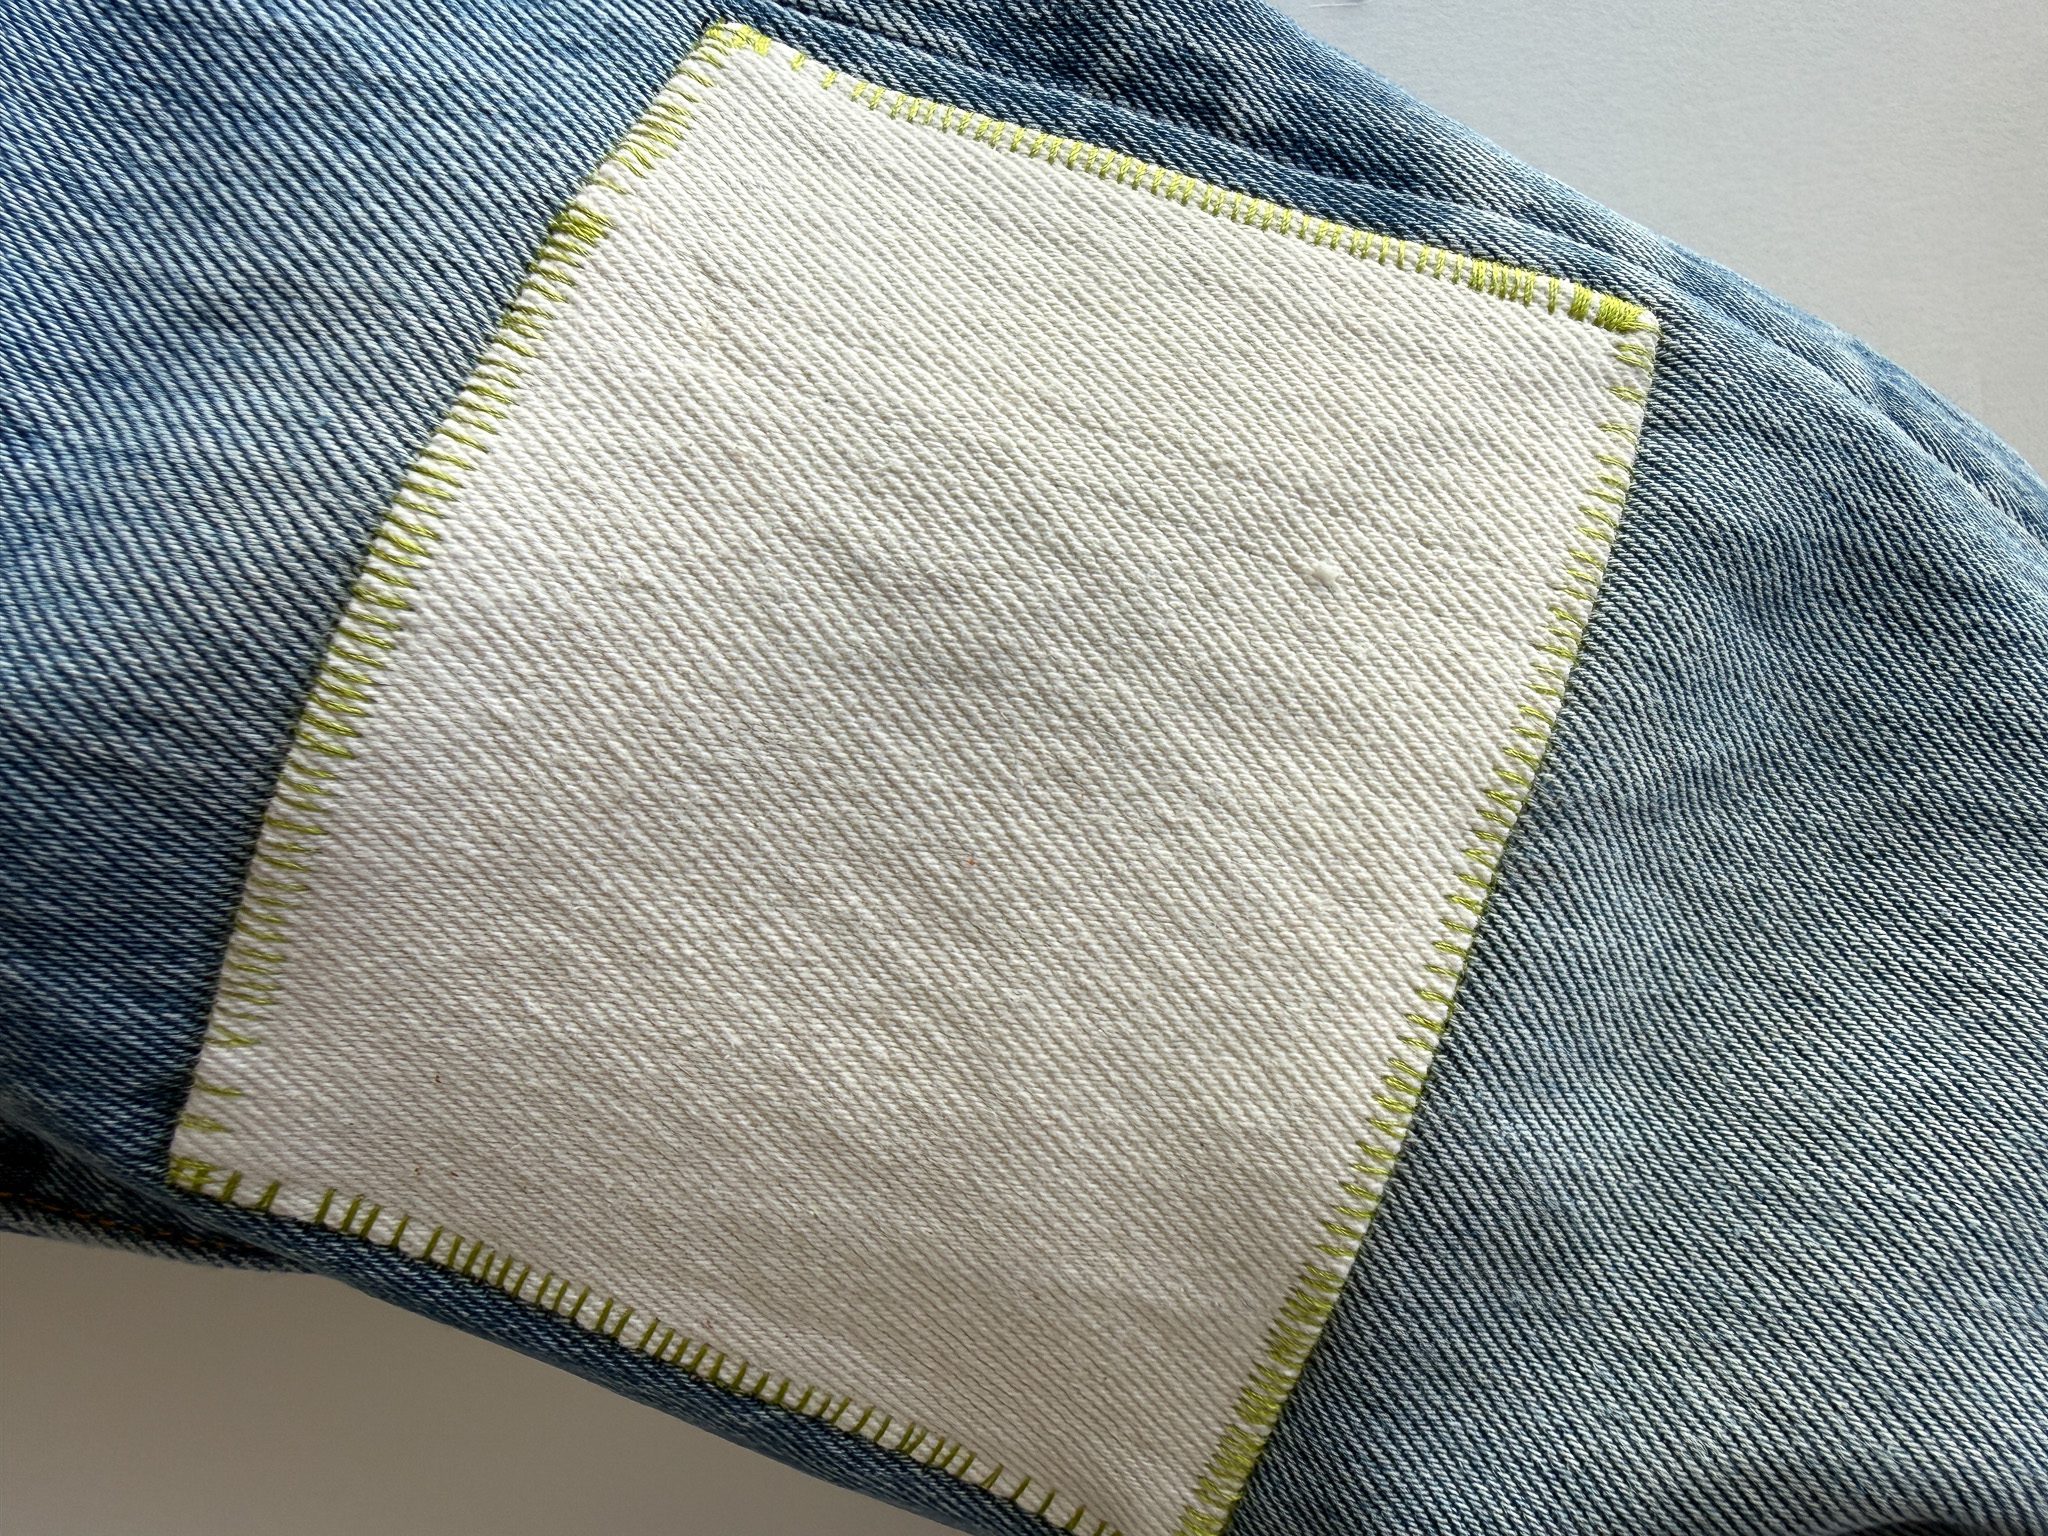
For a clean, finished edge with a hand-stitched look, the machine blanket stitch is my top recommendation. It’s fast, precise, and it works beautifully on the edge of a denim patch. Have fun with your thread! I like using a 28wt or 12wt cotton thread (yes, you can use a 12wt in your BERNINA 770!); I used a 12wt tan thread in this example, but you can also see a version below with a cream patch and chartreuse thread.
Tip: Securing your top and bobbin thread as you begin stitching becomes even more important when you are using thick or specialty threads. If you don’t hold your threads taught, you are likely to get thread nests on the back of the fabric.
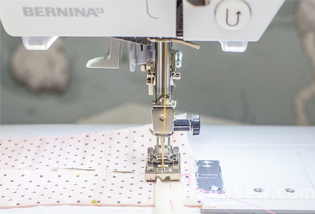
Machine setup: select the blanket stitch from the Quilting menu and engage the Needle Down feature. Do a couple of trial runs, experimenting with the width and length of the stitch. I ended up widening and lengthening mine to the settings below.
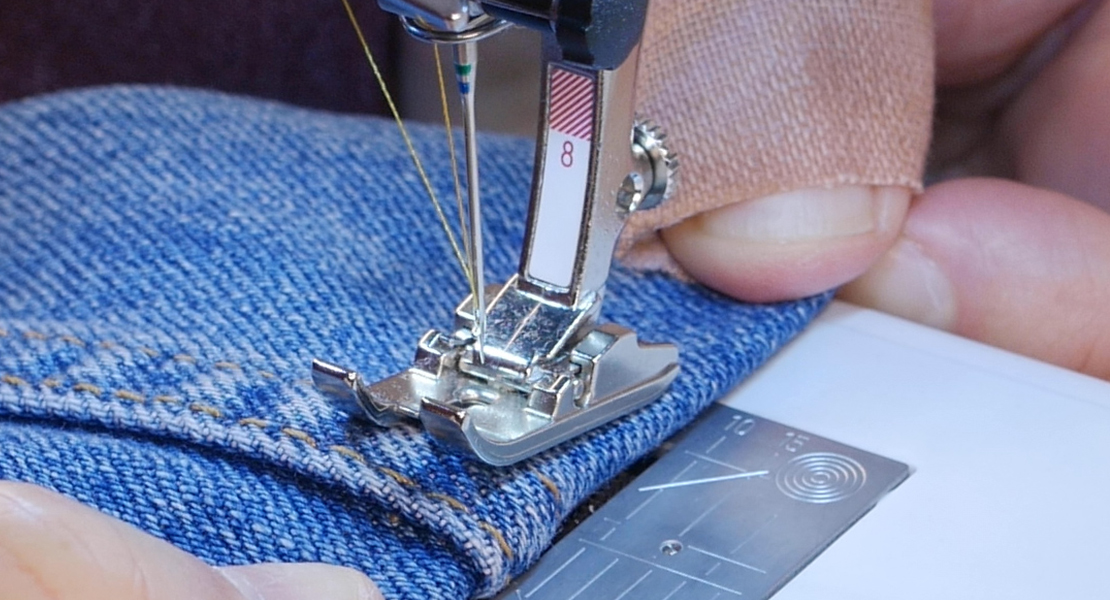
Tip: adjust your needle position: when the needle is moved to the right (for me it was on 3), the patch edge aligned perfectly along the inside of the right toe, which made it very easy to follow.
![]()
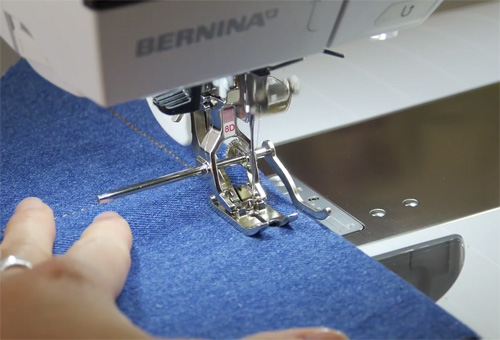
I usually use my#34D Reverse-Pattern Foot with Clear Sole, but I’ve also used the Embroidery Foot #20D. The open area between the toes lets you see exactly what the needle is doing, which matters when you’re placing the stitch right at the edge of the patch. When you reach a corner, stitching a 90-degree turn takes two pivots. Stop with the needle in the fabric at the corner, pivot 45 degrees, and sew a stitch, then pivot another 45 degrees and continue along the next edge.
![]()
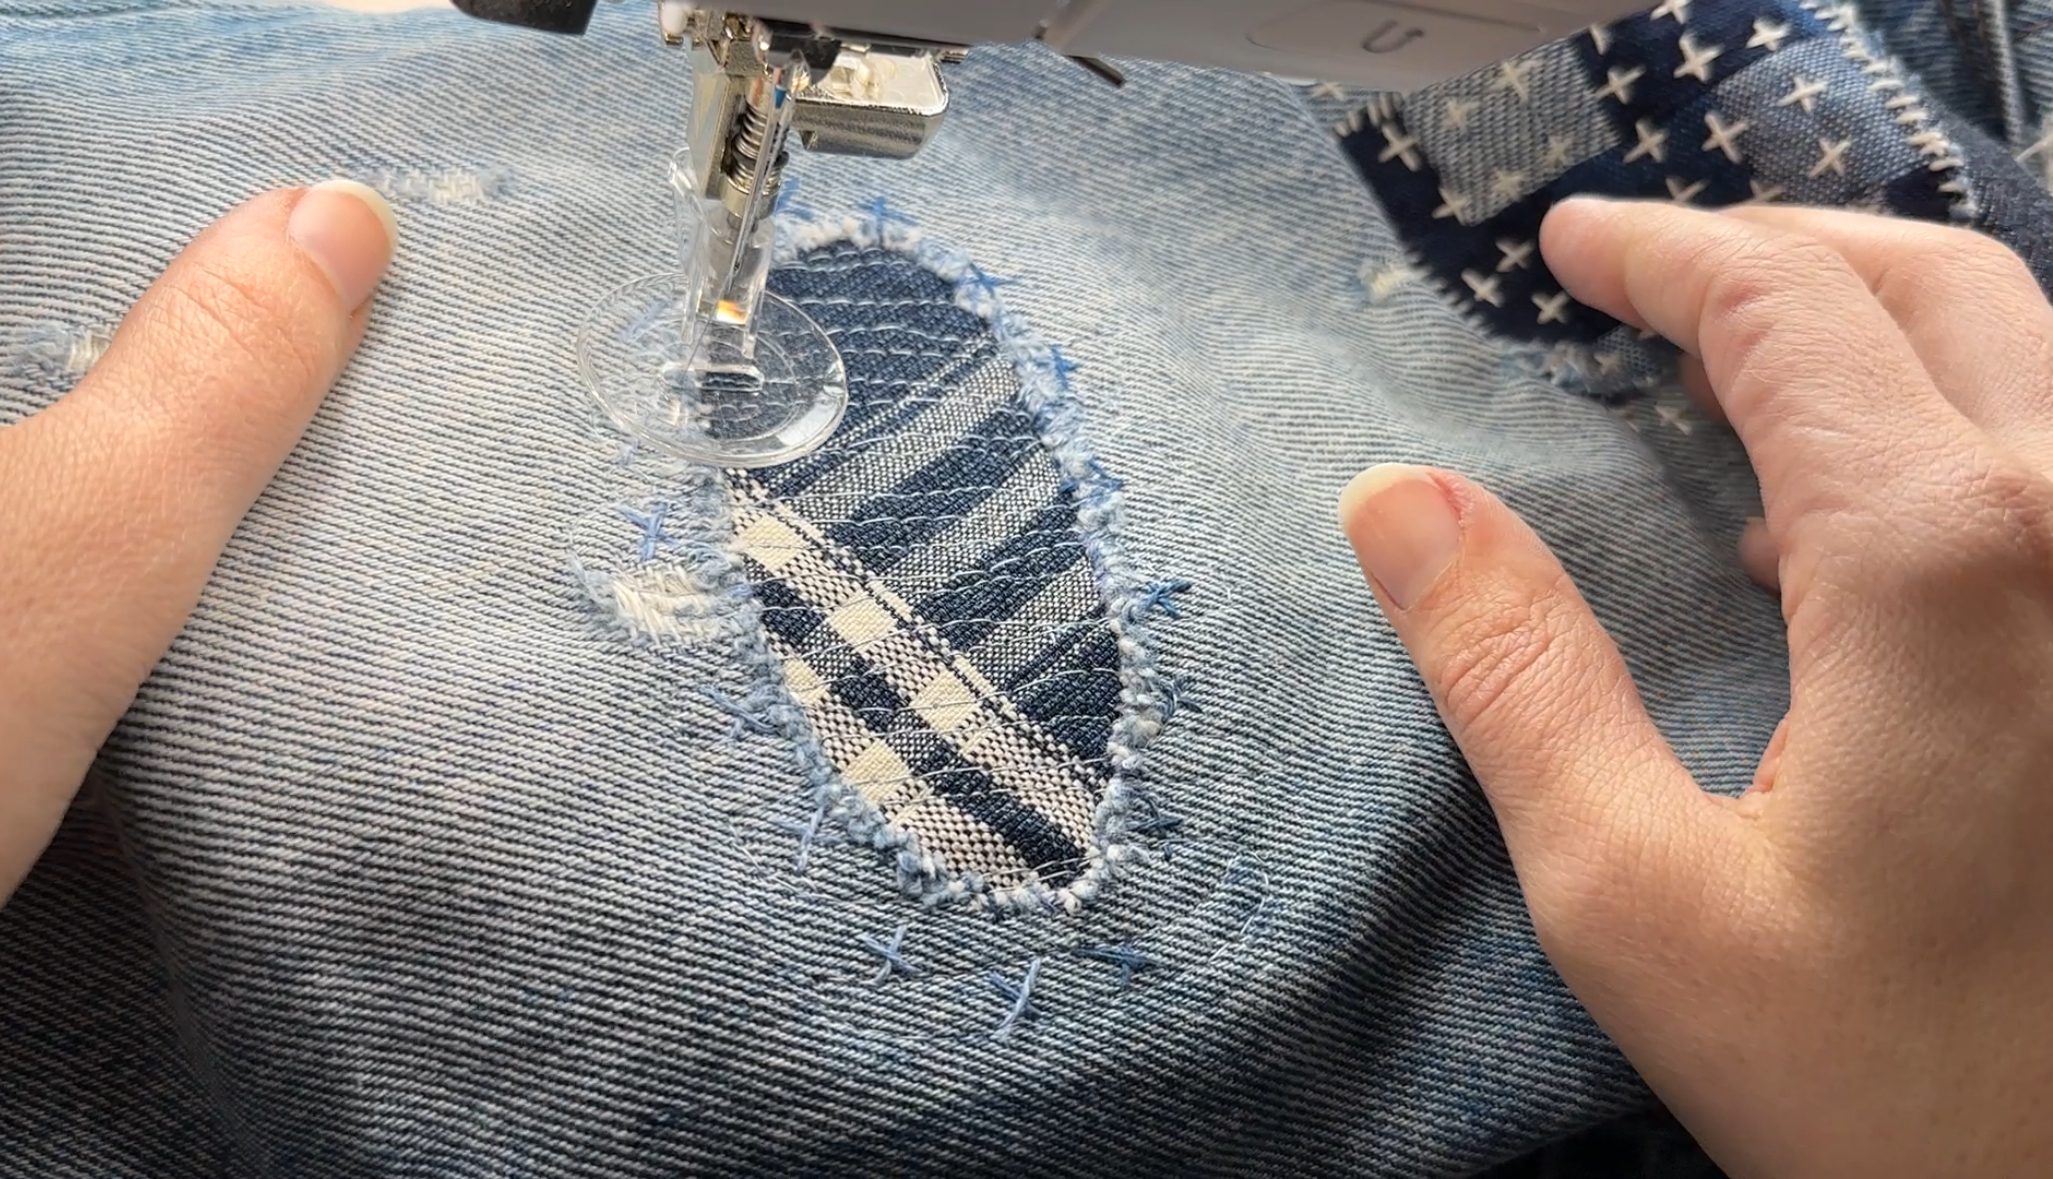
The vertical part of the blanket stitch should land just outside the patch edge, with the horizontal part falling on the patch itself. Work your way around the entire perimeter. And don’t worry too much about perfection. This is supposed to look like a human did it, and some irregularity here and there is what gives it character.
![]()
Whether you use the machine or sew by hand, visible mending is a choice. You’re deciding to acknowledge that the jeans have a history and to make that history part of how they look going forward. That’s not a consolation prize. That’s the whole point.
Variations
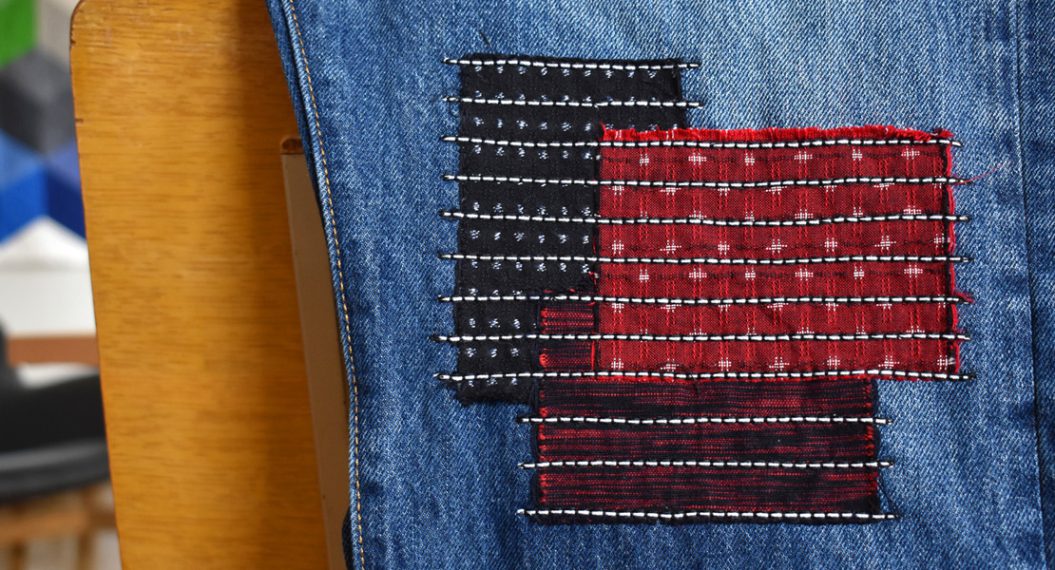
Hand Sewing
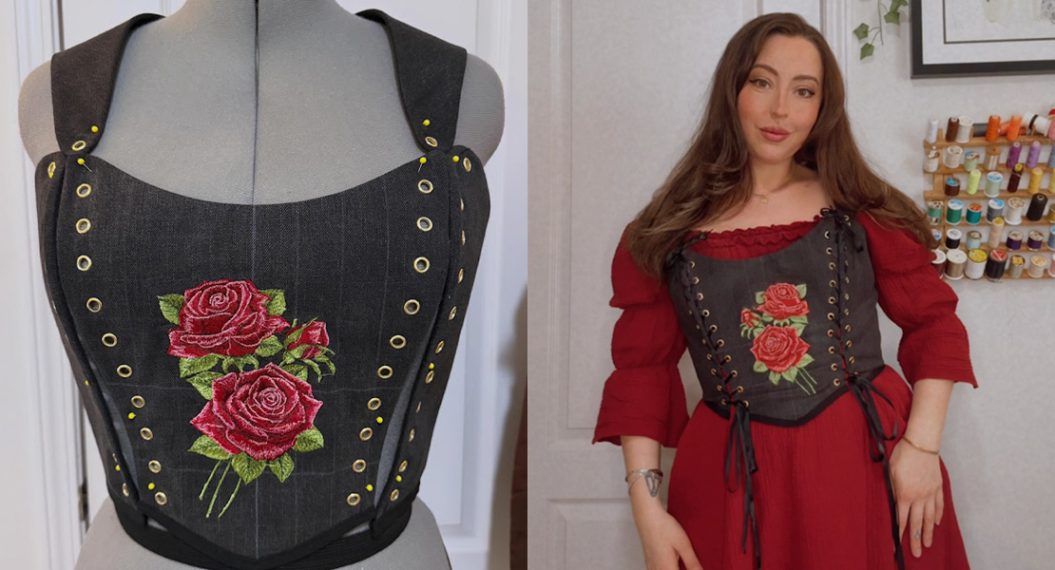
Of course, if you prefer to hand sew, that works great as well. I usually use Sashiko thread as I did in this jacket appliqué below, but any embroidery thread will work.

Visible Patch Underneath
You can follow all the steps in method #1 on a larger hole using a decorative fabric for another variation. In this version, I did my free-motion stitch lines up and down along the warp grain rather than at an angle.
Colors and Materials
This is an early version I did with an undyed denim patch and 28wt chartreuse thread; you can see the blanket stitch is tighter than the versions above.
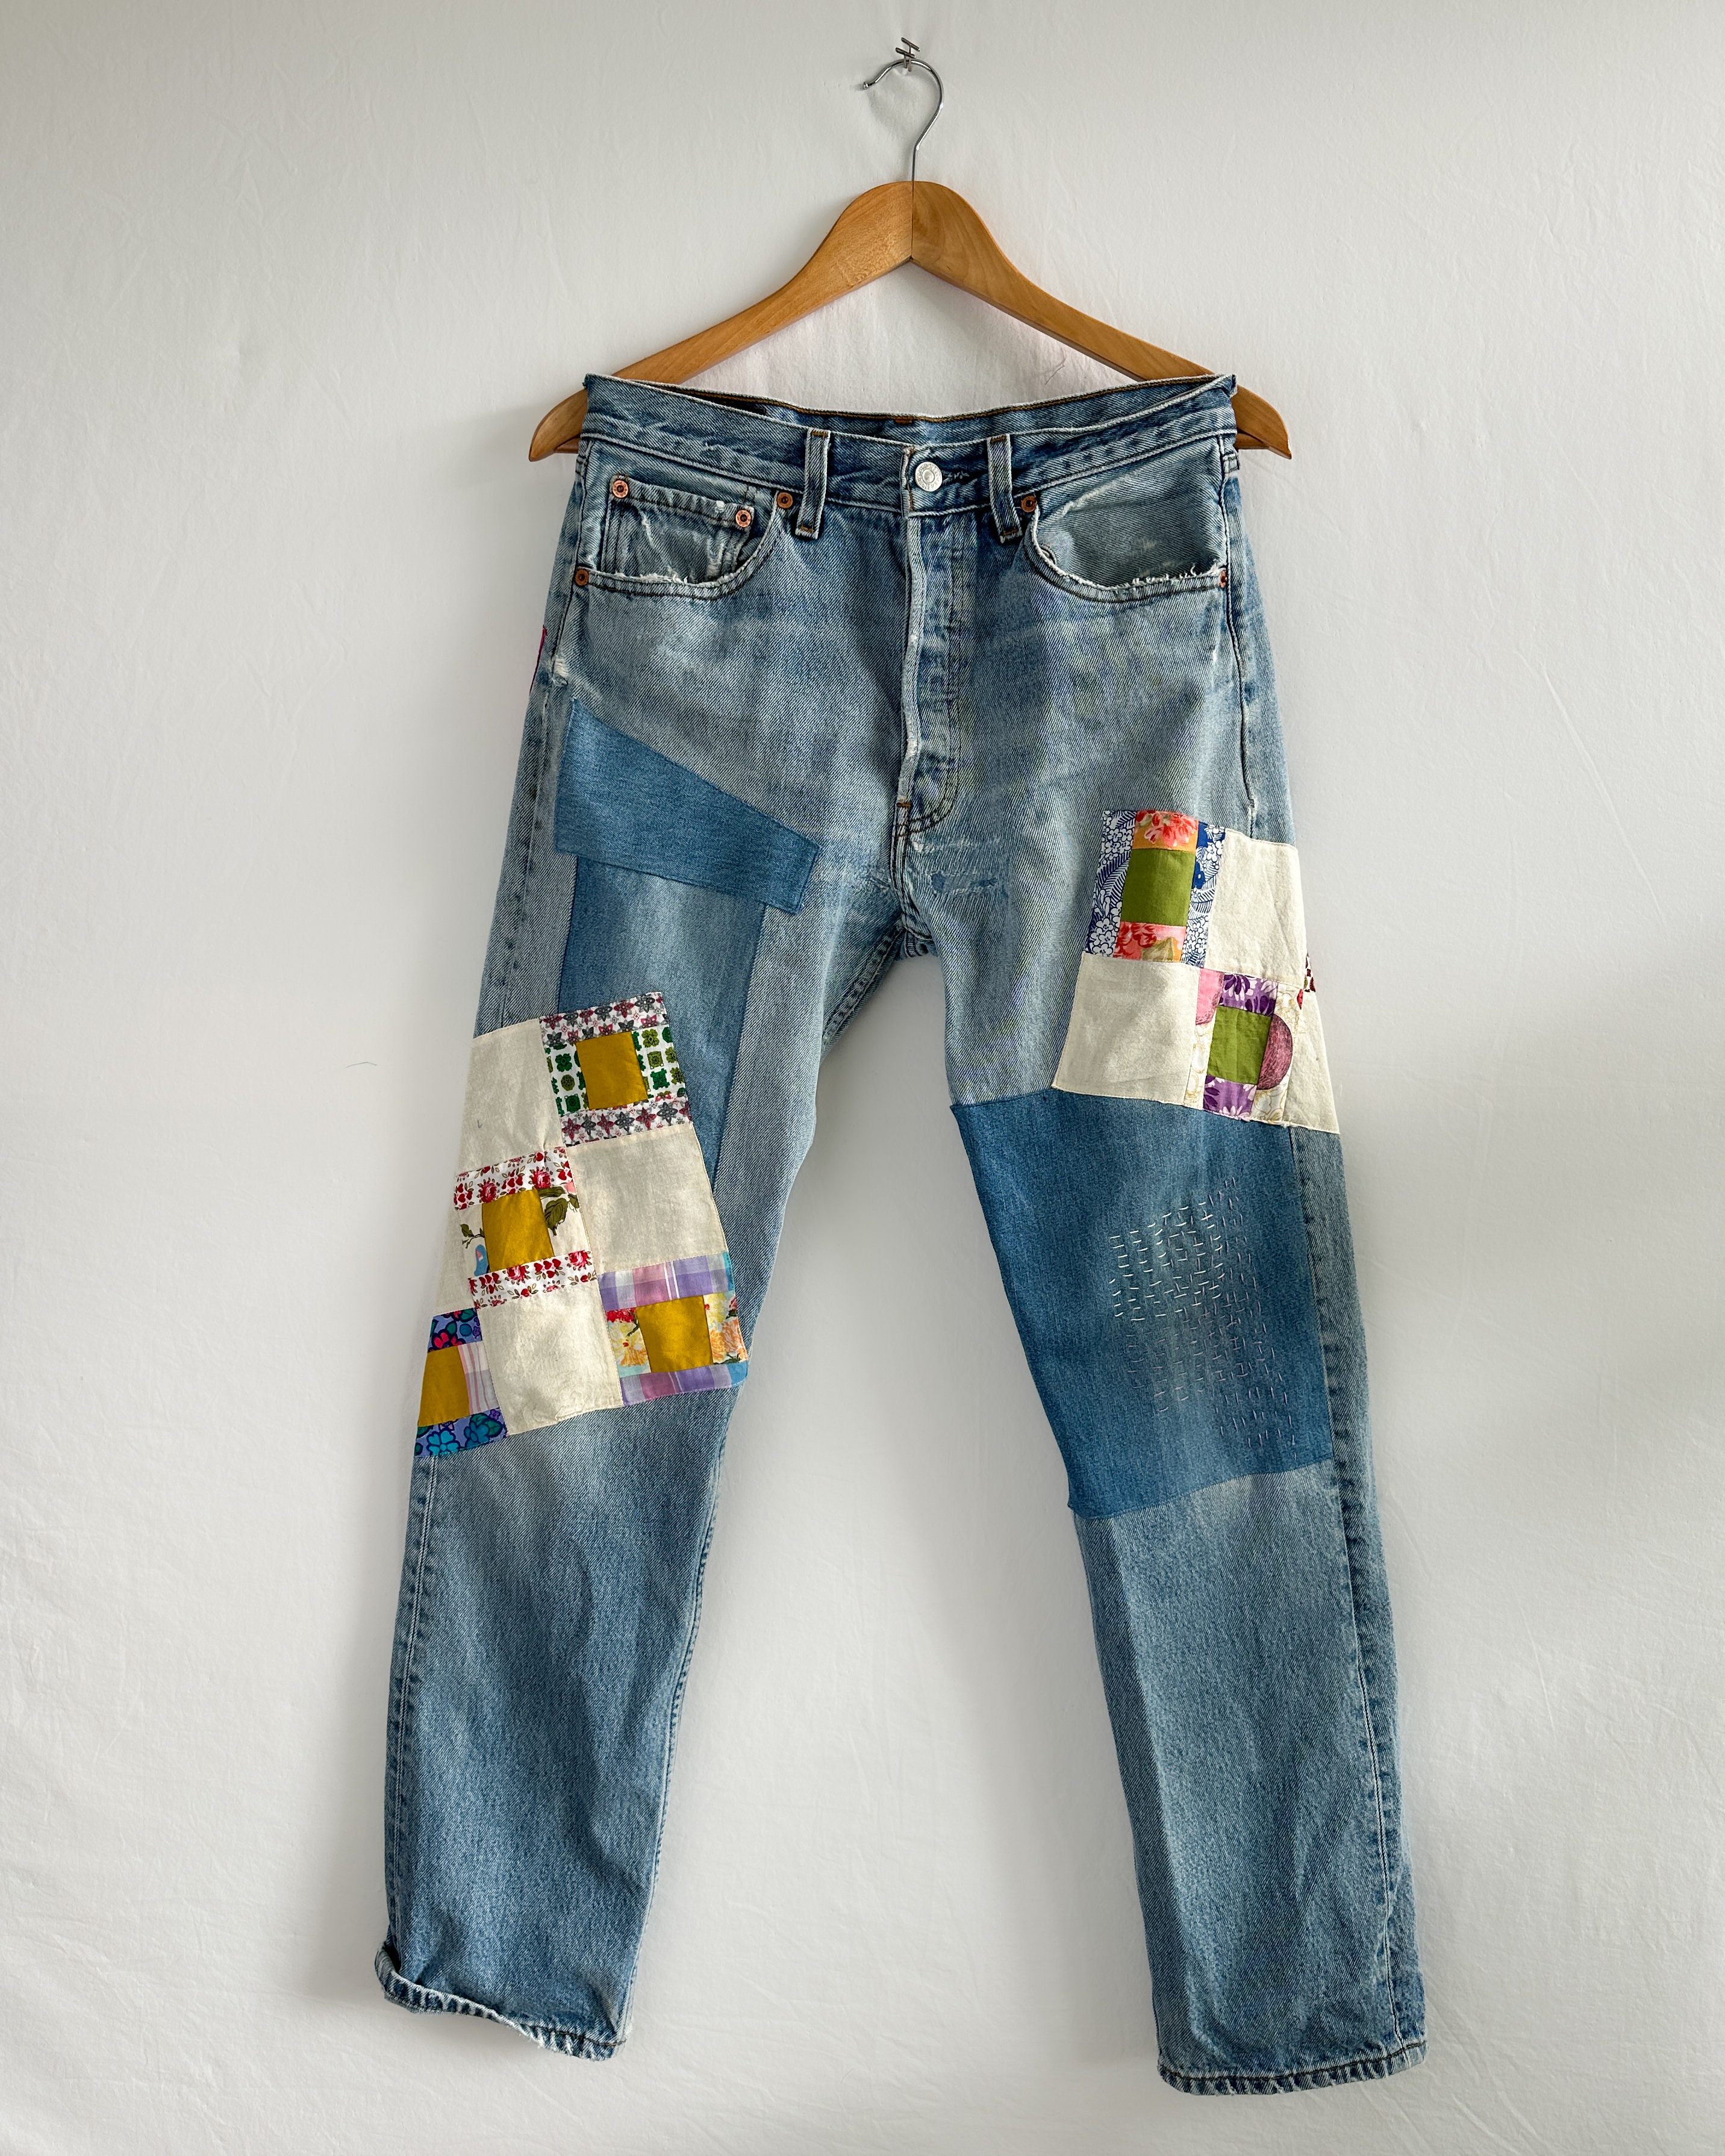
This mend used a combination of inside and outside patches in denim, and some vintage quilt blocks I found at SCRAP SF. You are only limited by your own imagination.
Why I Mend Jeans at All
Jeans use so many resources to create, and so many chemicals along the way (from the amount of water and pesticides used in the growing of cotton, to the finishing processes and synthetic indigo dyes). When a pair wears out in one spot but is otherwise perfectly fine, throwing them away feels like a waste I can actually do something about.
Every pair I mend goes back into rotation. That’s the goal: not jeans that look brand new, just jeans that can keep being worn. Whether that happens invisibly or with a patch that’s front and center is really just a matter of what the jeans need and what you want them to say.