Picture Perfect Quilt: a Q-matic Practice Project, Part One
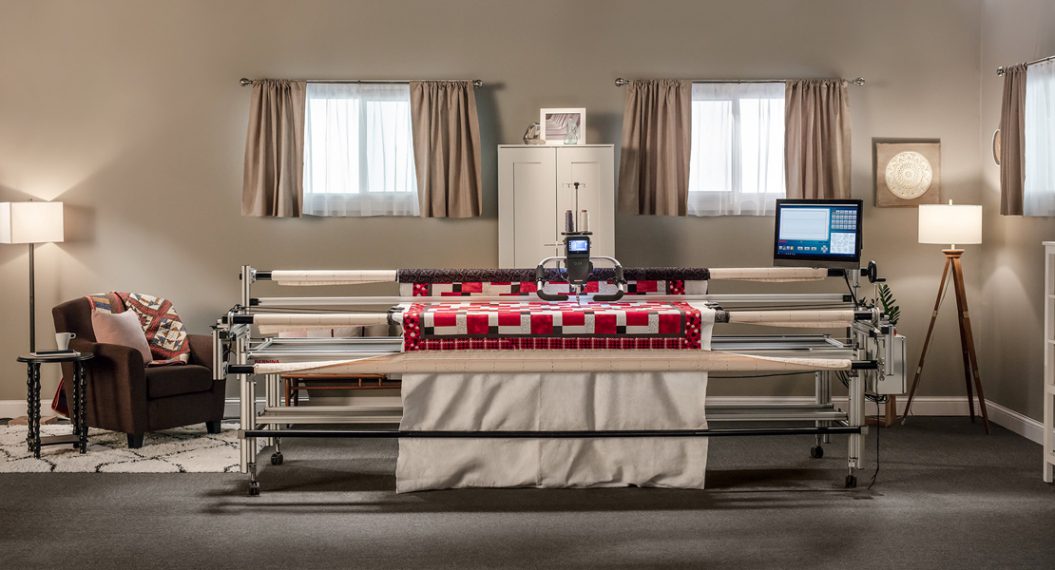
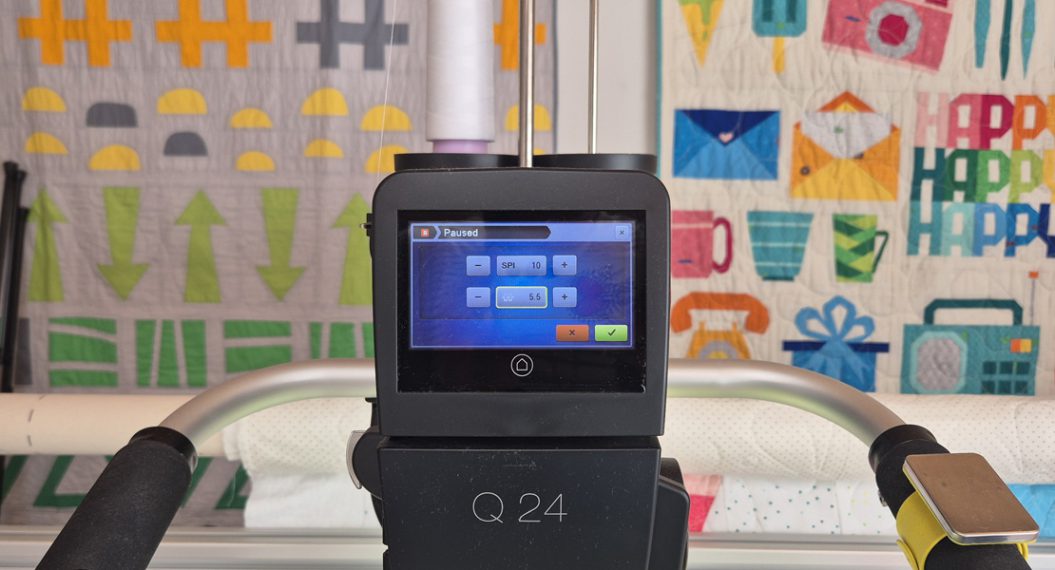
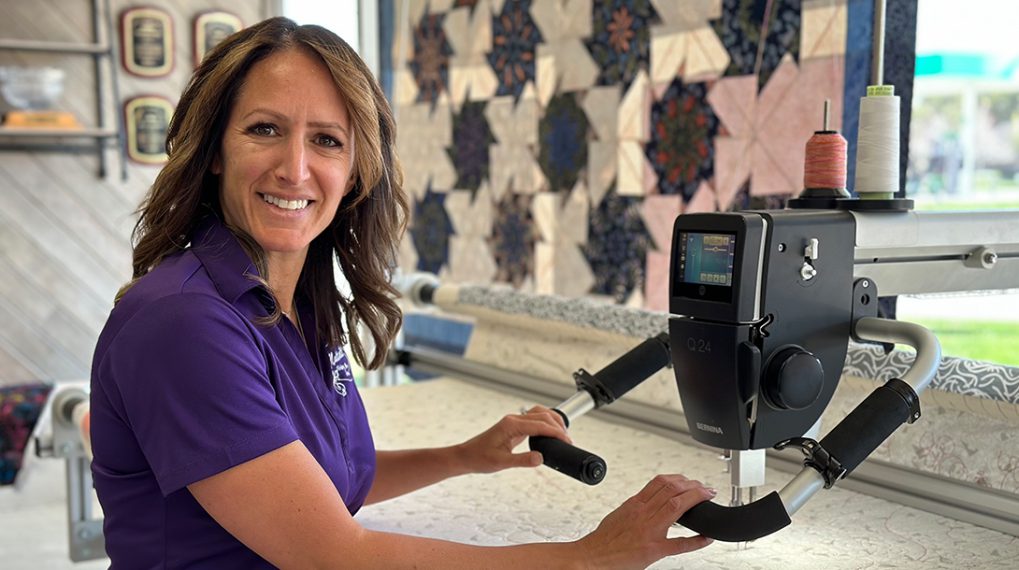
Quilting with the Q-matic is a lot of fun! It gives you so many possibilities and functions to use. So let’s go over some of those functions and get some practice.
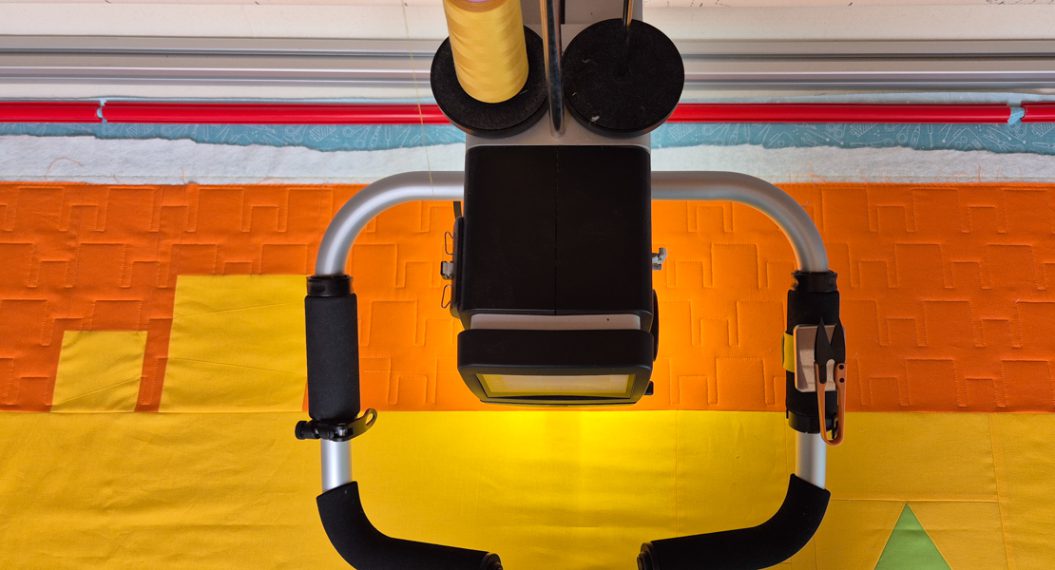
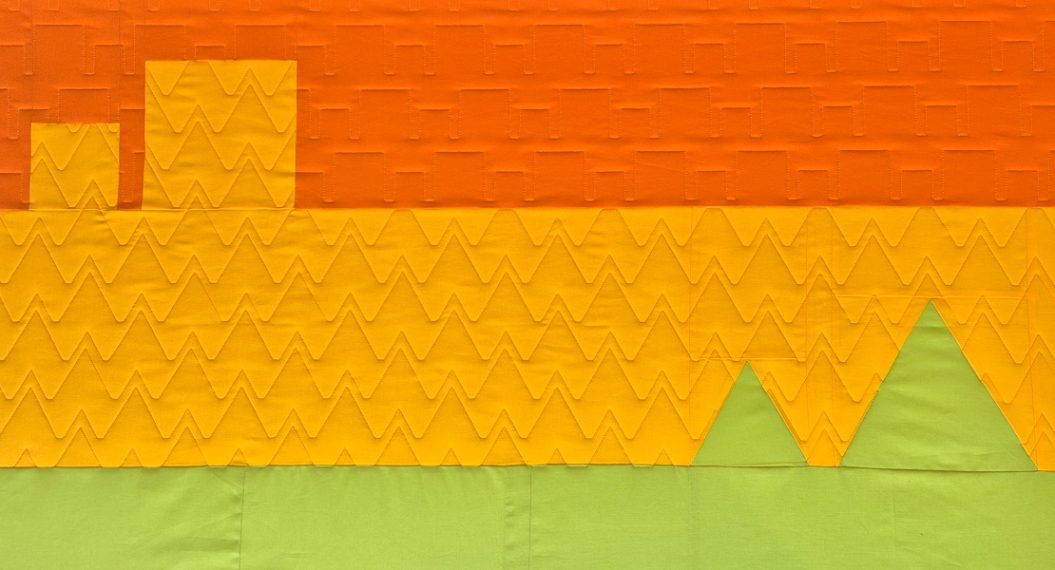
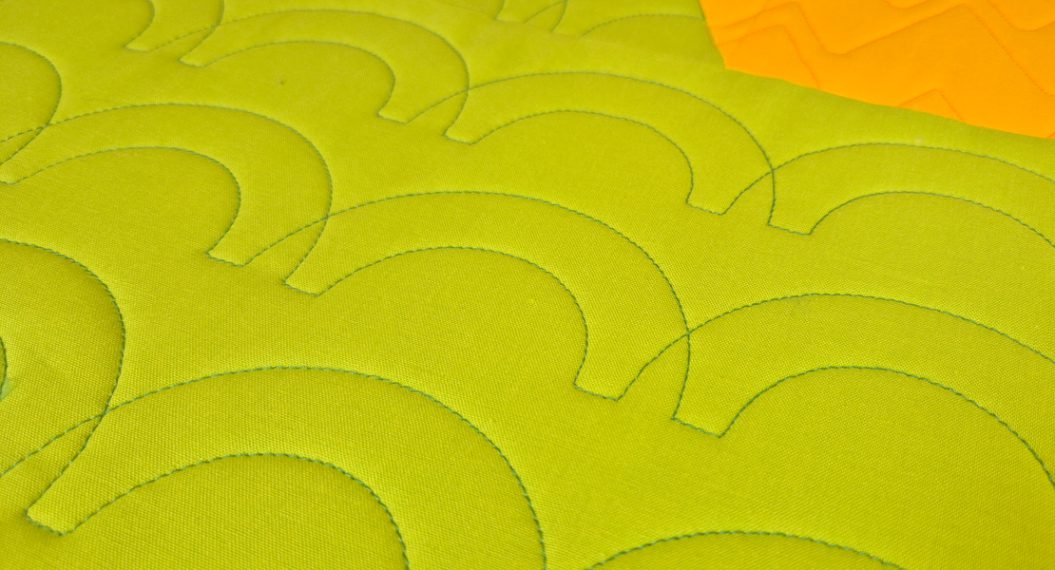
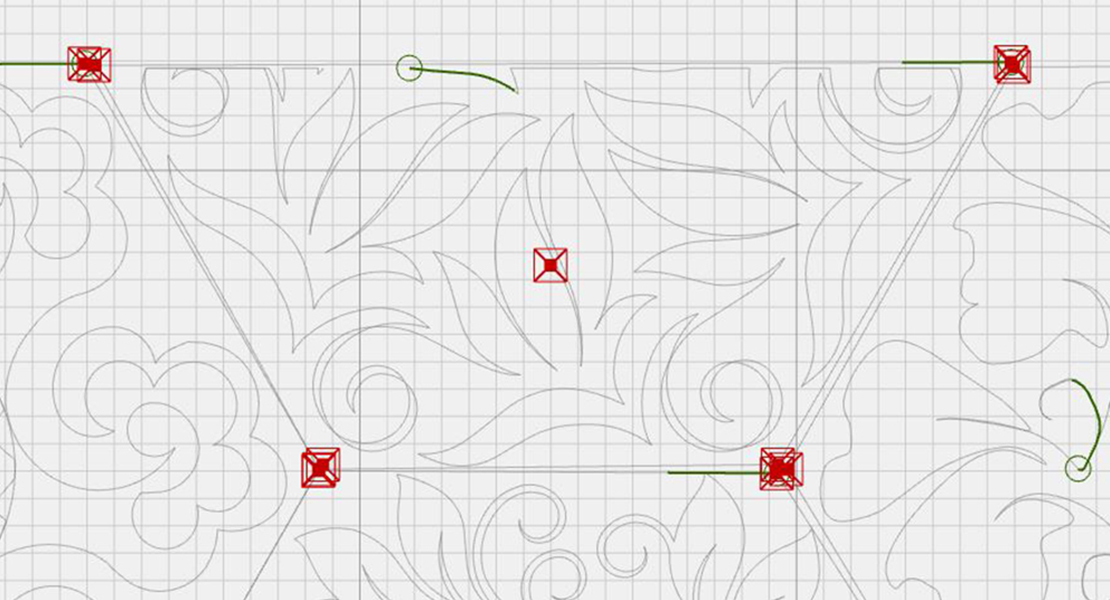
The Picture Perfect Quilt is a great project to test out some edge-to-edge designs, learn to use the Mask function, and combine ruler work with Q-matic quilting.
In this blog post, you will find the free pattern for the Picture Perfect Quilt. In part two, we will quilt it together!
Picture Perfect Quilt
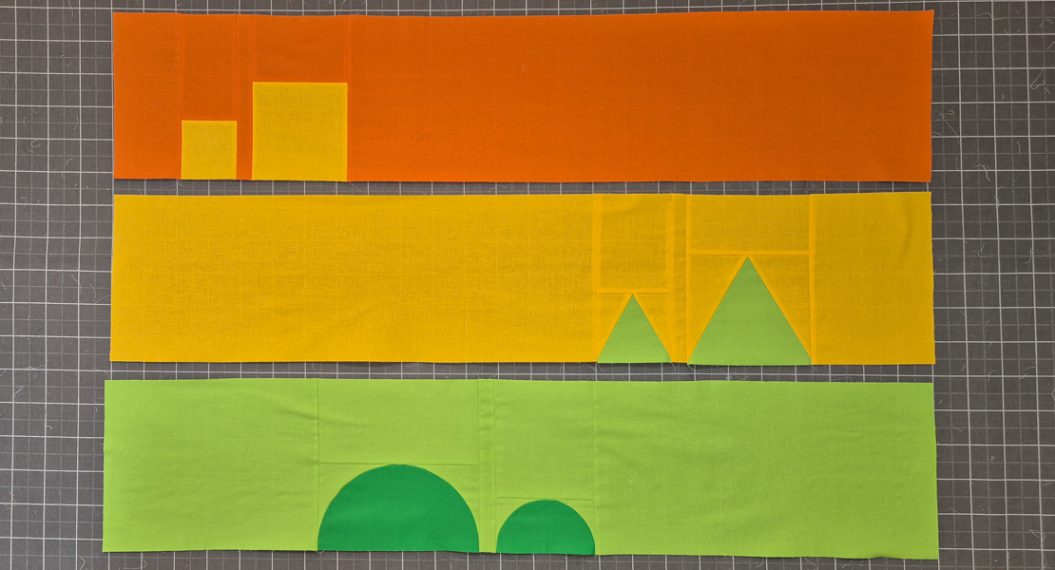
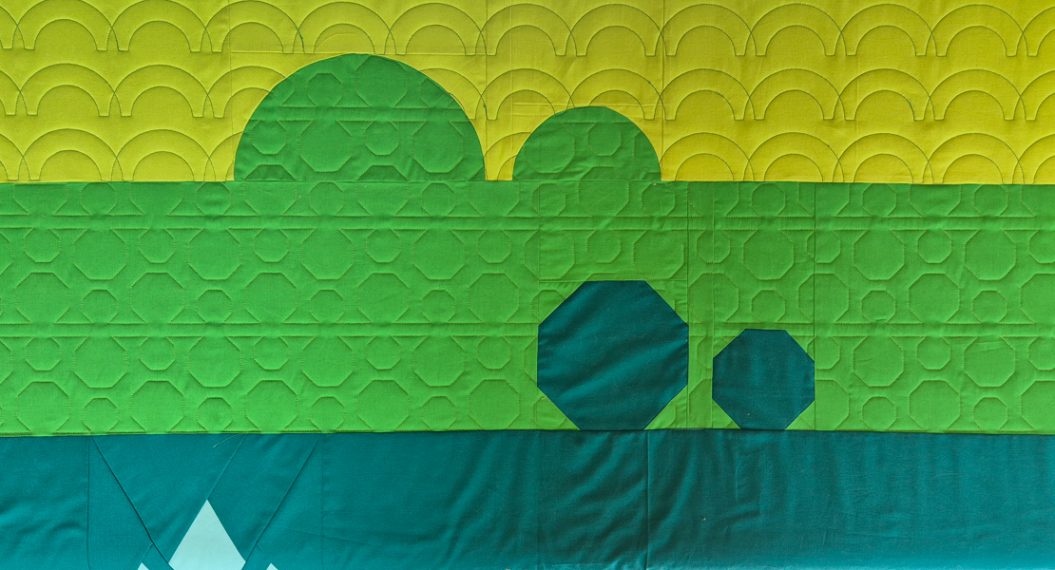
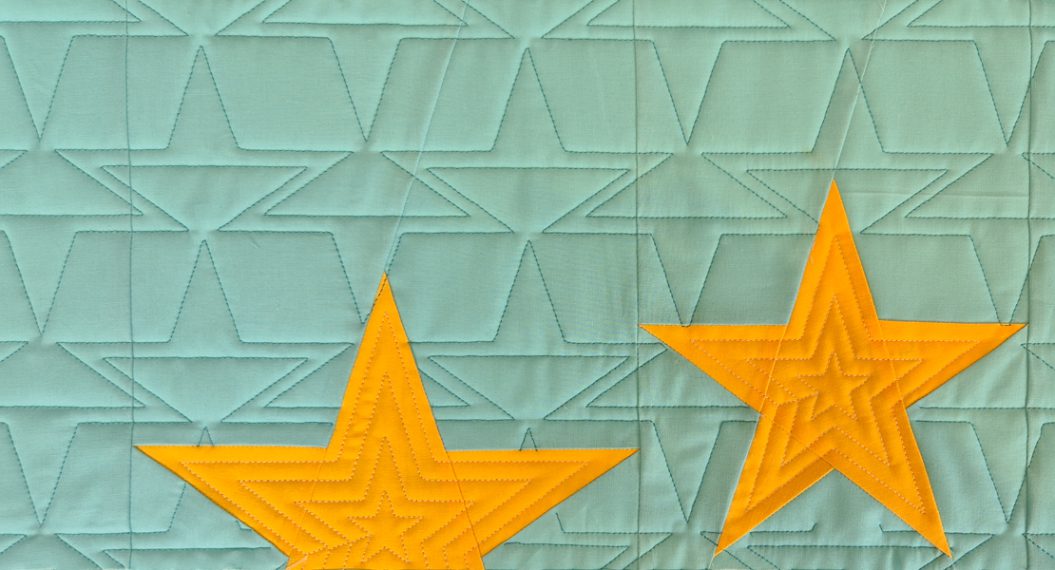
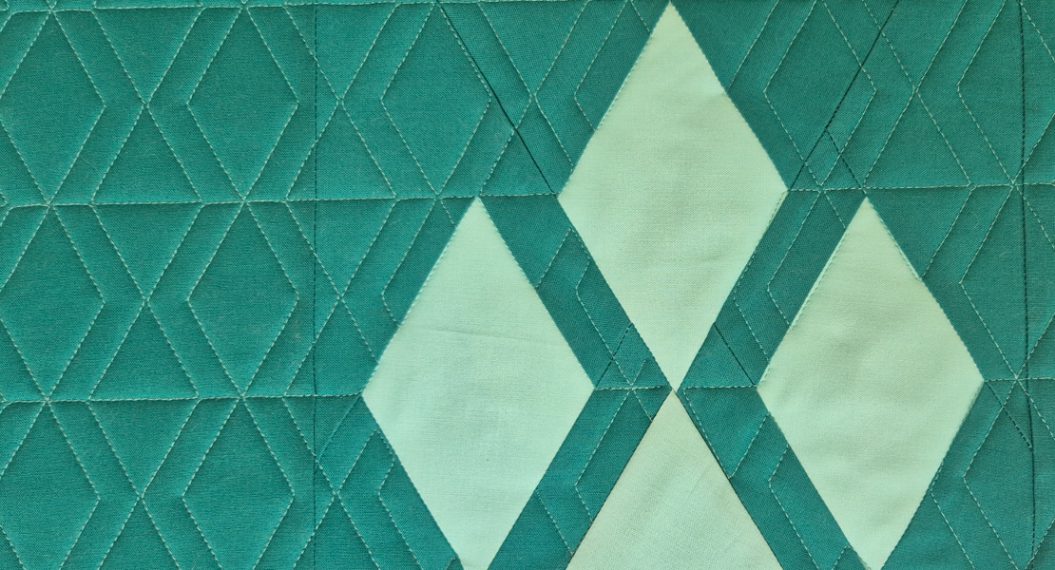
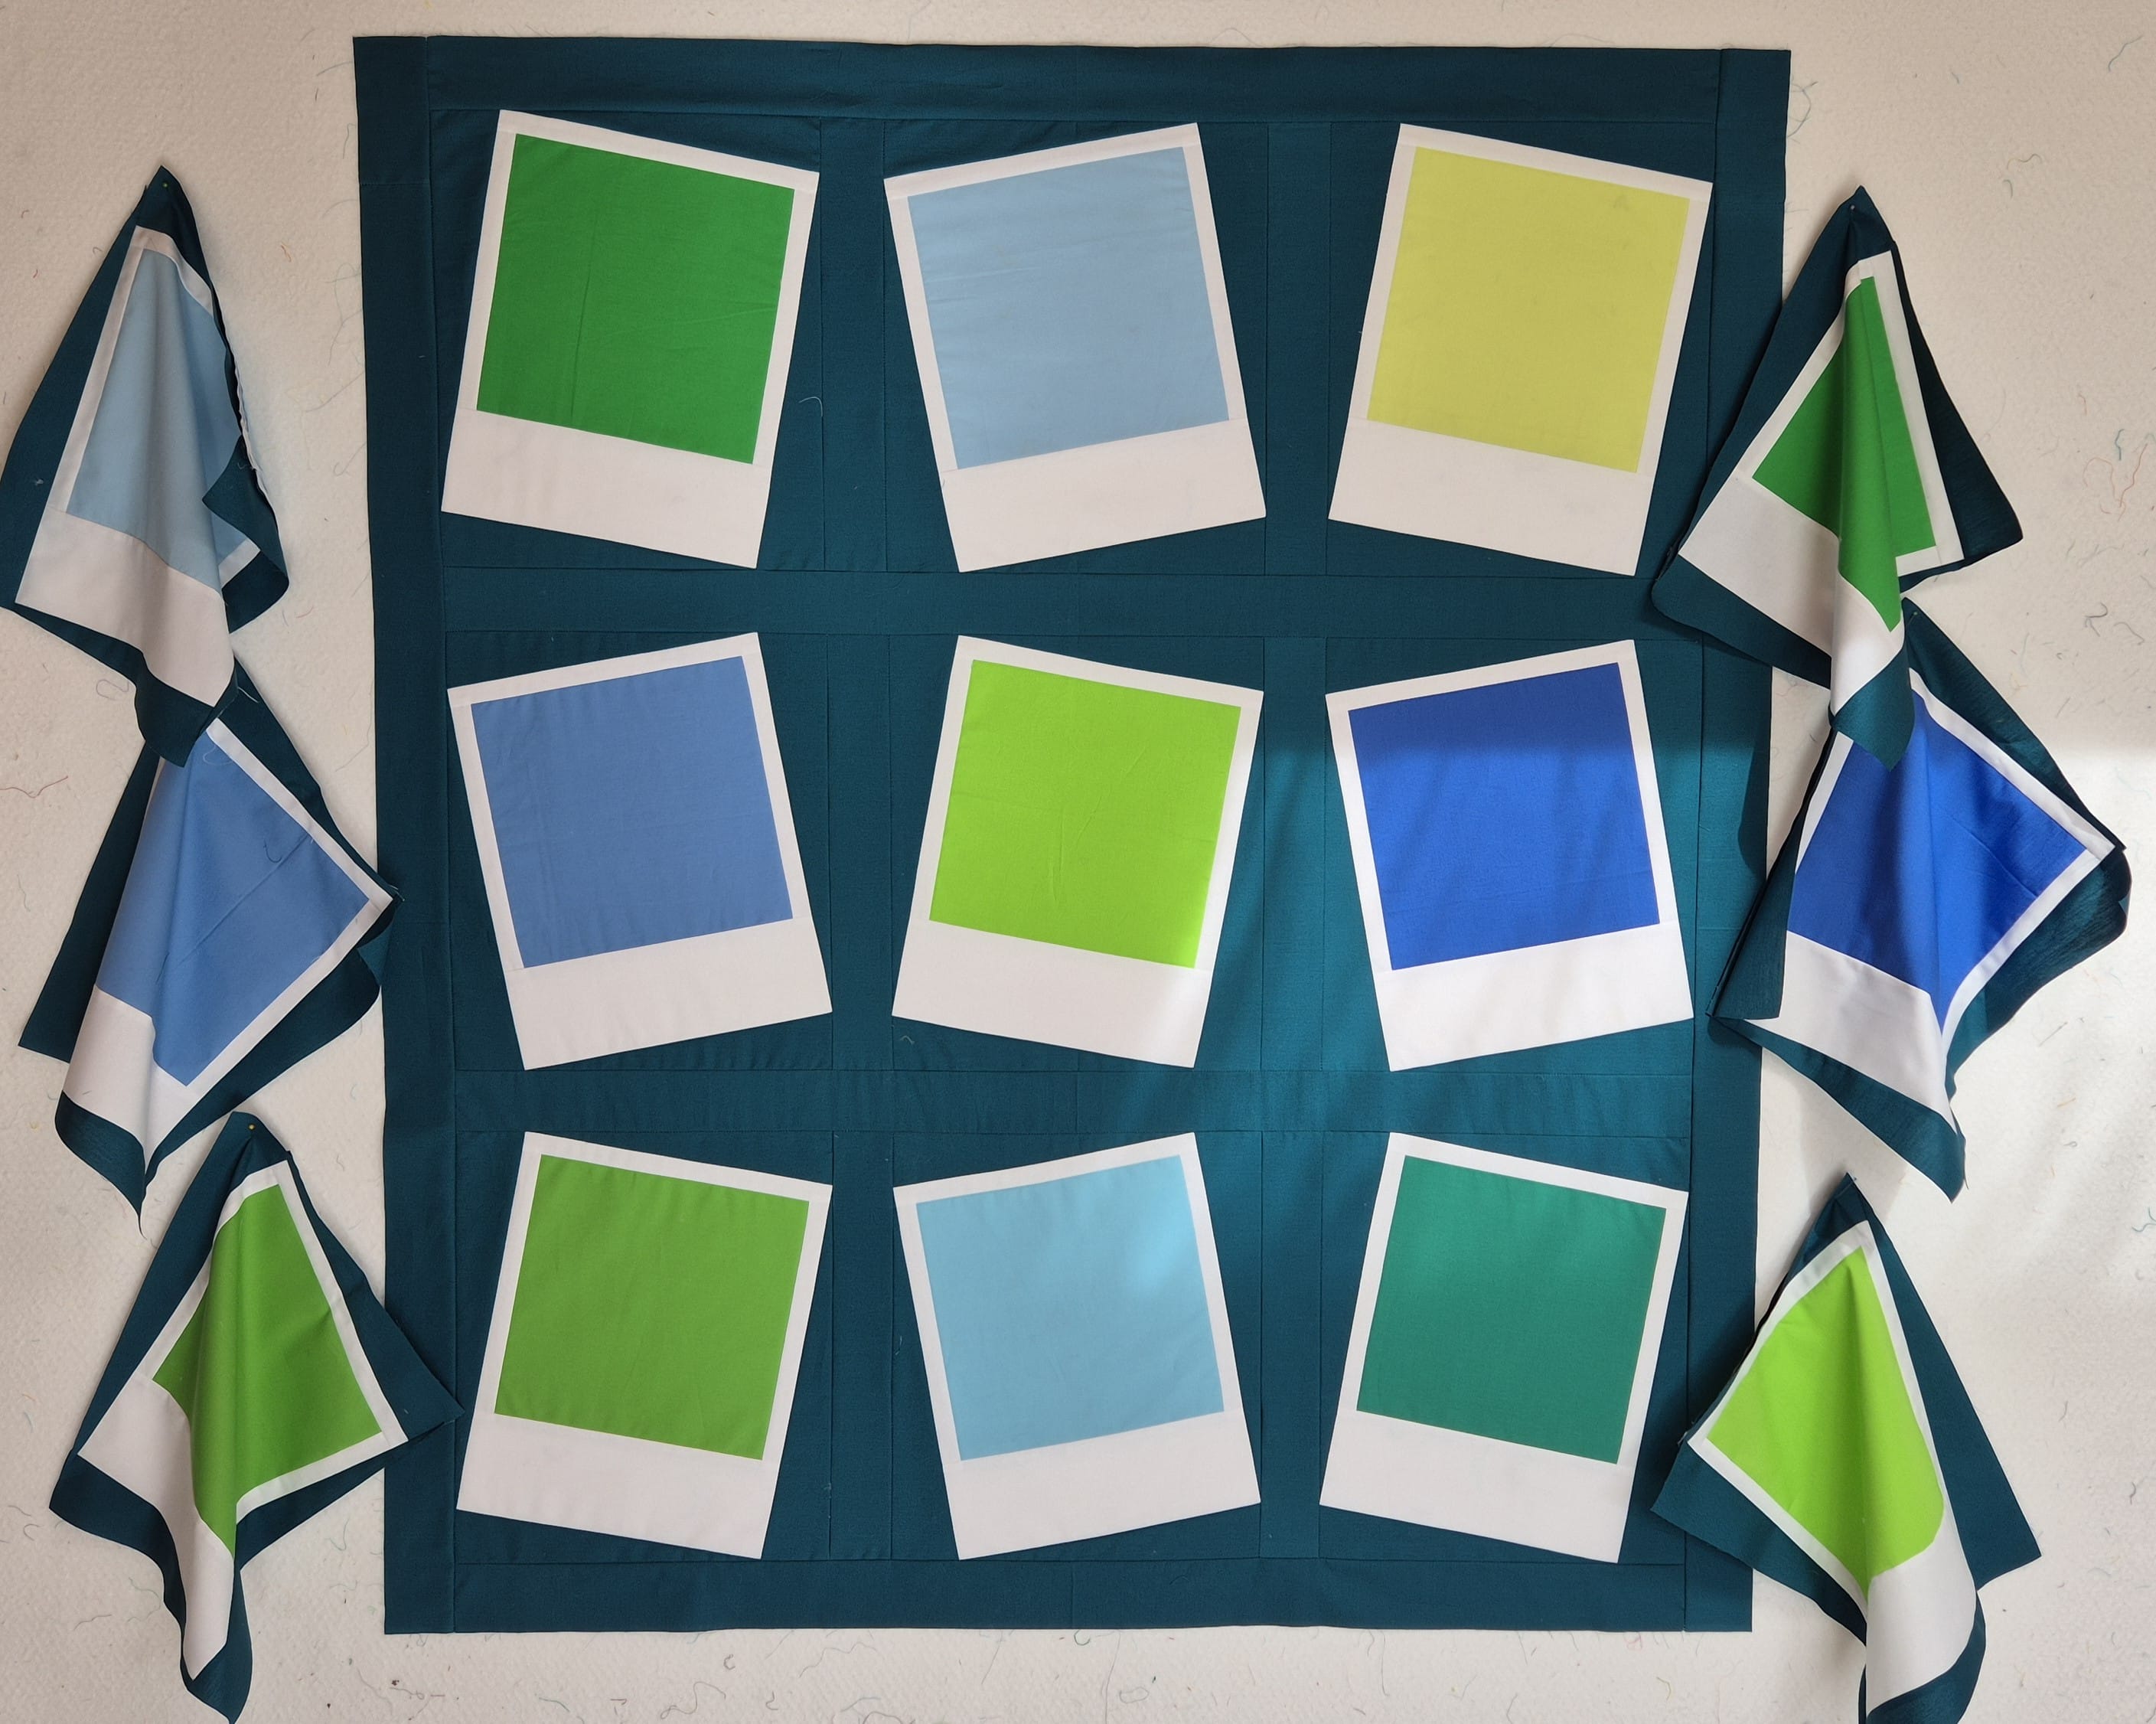
The Picture Perfect Quilt is made with nice Polaroid blocks, each measuring 12 x 14 inches. The quilt size is 44 x 55 inches. The quilt is made with solids, so we can really let the quilting stand out.
Fabric Requirements
For this quilt, you need 3 types of fabric: background fabric (teal), fabric for the photo frames (white), and colored fabric for the photos themselves. Here’s what you need:
- Background (teal): 60 inches
- Photo frames (white): 24 inches
- Photos (9 in total): 10 x 10 inch squares

Sashing
Seam allowance: All measurements in this blog post already include a 1/4 inch seam allowance.
From the background fabric, cut 5 strips 2.5 inches wide. These strips will be used for the horizontal sashing between the rows. Sew the strips together and cut 4 long strips of 44.5 x 2.5 inches from them.
Also, cut 12 short strips of 14.5 x 2.5 inches. These are the strips we’ll place vertically between the blocks.
Below you’ll find a cutting diagram showing how to cut all the pieces for the quilt from the background fabric.

Optional: Instead of sewing the long strips together, you can also cut them in one go from the length of the fabric, as shown in the diagram below.

The Pattern
The blocks for the Picture Perfect Quilt are made using Foundation Paper Piecing (FPP). For this quilt, I use FPP on freezer paper. See how that technique works in the video below:
FPP on Freezer Paper
You may have done FPP before, but not yet worked with freezer paper. Here’s the difference. With FPP on freezer paper, you press the fabric onto the paper. The smooth side of freezer paper sticks when it gets hot. Before sewing, you fold the paper back and sew along that fold. This means you don’t sew the paper into your block (as with regular FPP), so you can reuse the pattern multiple times!
I find FPP on freezer paper ideal for quilts where I need to make the same block multiple times, and especially for blocks with larger pieces of fabric. Because you press the fabric onto the paper, it’s much easier to keep everything in place.

Preparation
The pattern includes two versions of the block: Left and Right. We make 4 x Block Left and 5 x Block Right.
I made all the Right blocks with a green fabric and all the Left blocks with a blue fabric.
When printing, make sure to print at ‘100%’ or ‘actual size’, so the blocks measure exactly 12 x 14 inches (measured without seam allowance).


Quilt Top
Once you’ve sewn a total of nine quilt blocks using the Block Left and Block Right patterns, we can piece the quilt top together.
Short Sashing Strips
First, sew the short sashing strips of 14.5 x 2.5 inches between and beside the blocks.

This gives you 3 rows of blocks. Alternate the Left and Right blocks.

Long Sashing Strips
Now it’s time to sew the rows together using the long strips of 44.5 x 2.5 inches.

And there we have our quilt top of 44.5 x 55.5 inches.

What’s Next
In the next blog post, you’ll find the instructions to quilt the Picture Perfect Quilt on your longarm. I will give instructions for using the Q-matic, but of course, you can also quilt along on a long arm without the Q-matic, on a Sit-Down machine, or your regular sewing machine.