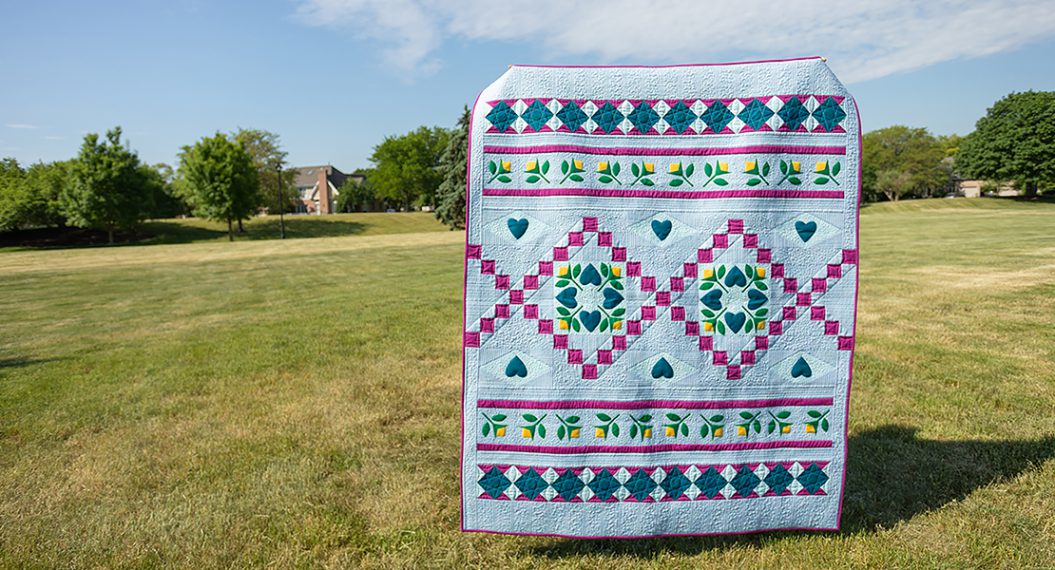
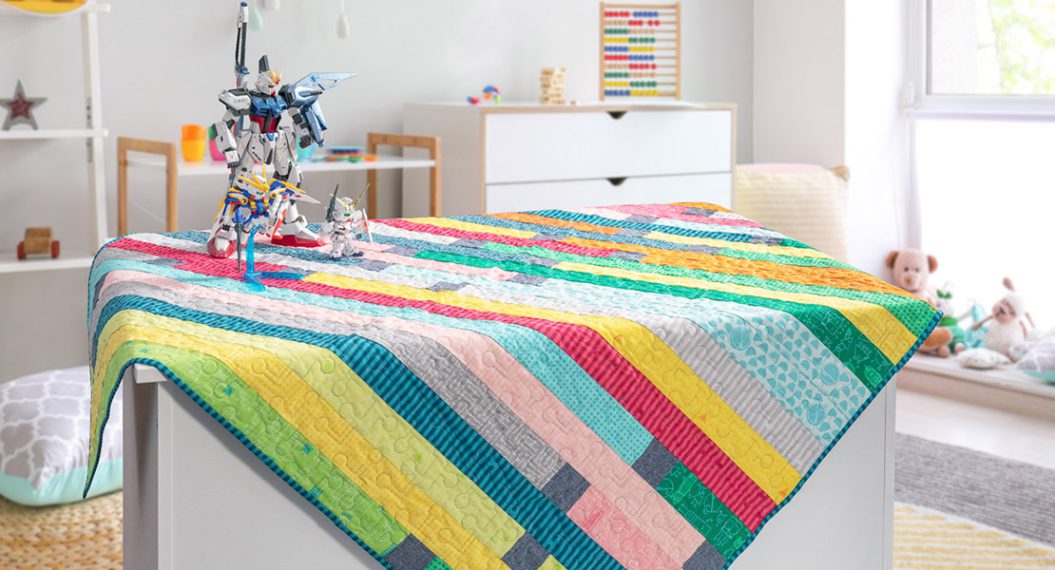
Pathways Quilt Along, Part One
With your fabric prepared and supplies at the ready, it is time to begin cutting and sewing. This week is all about settling in, getting comfortable at your machine, and watching the Pathways Quilt begin to take shape through the hourglass blocks.
If you haven’t already, be sure to download a copy of the Pathways Quilt Along pattern here:

Understanding WOF
One of the most common quilting terms you will see in patterns is WOF, which stands for Width of Fabric. Most quilting cottons measure close to 42 inches wide, and patterns are written with this measurement in mind.
When a pattern instructs you to cut strips WOF, it is letting you know which direction to cut the fabric. Cutting across the full width helps reduce waste and ensures your pieces are the correct size.
Cutting Your Fabric
If you are using pre-cut charm packs for your hourglass blocks, this step may already be complete. If you are cutting from yardage, you will begin by cutting your fabric into 5-inch strips, WOF.
I like to fold my fabric in half lengthwise before cutting. This allows me to cut two strips at once and helps keep everything aligned. A rotary cutter paired with a self-healing cutting mat will give you the most accurate results and make the process smoother and more enjoyable.
An Alternative Cutting Method
When I first started quilting, I did not have many specialized tools. I relied on scissors, a pencil, and an empty cereal box. If you do not have a rotary cutter or prefer a more traditional approach, this method still works beautifully.
Cut a 5-inch square from the back of a cereal box or similar sturdy cardboard. Use this as a template. Place your fabric with the wrong side facing up and trace the template with chalk or a pencil, keeping the shapes close together to avoid waste. Cut carefully along the lines with sharp scissors.
No matter which method you choose, remember the quilting rule of thumb: measure twice and cut once.
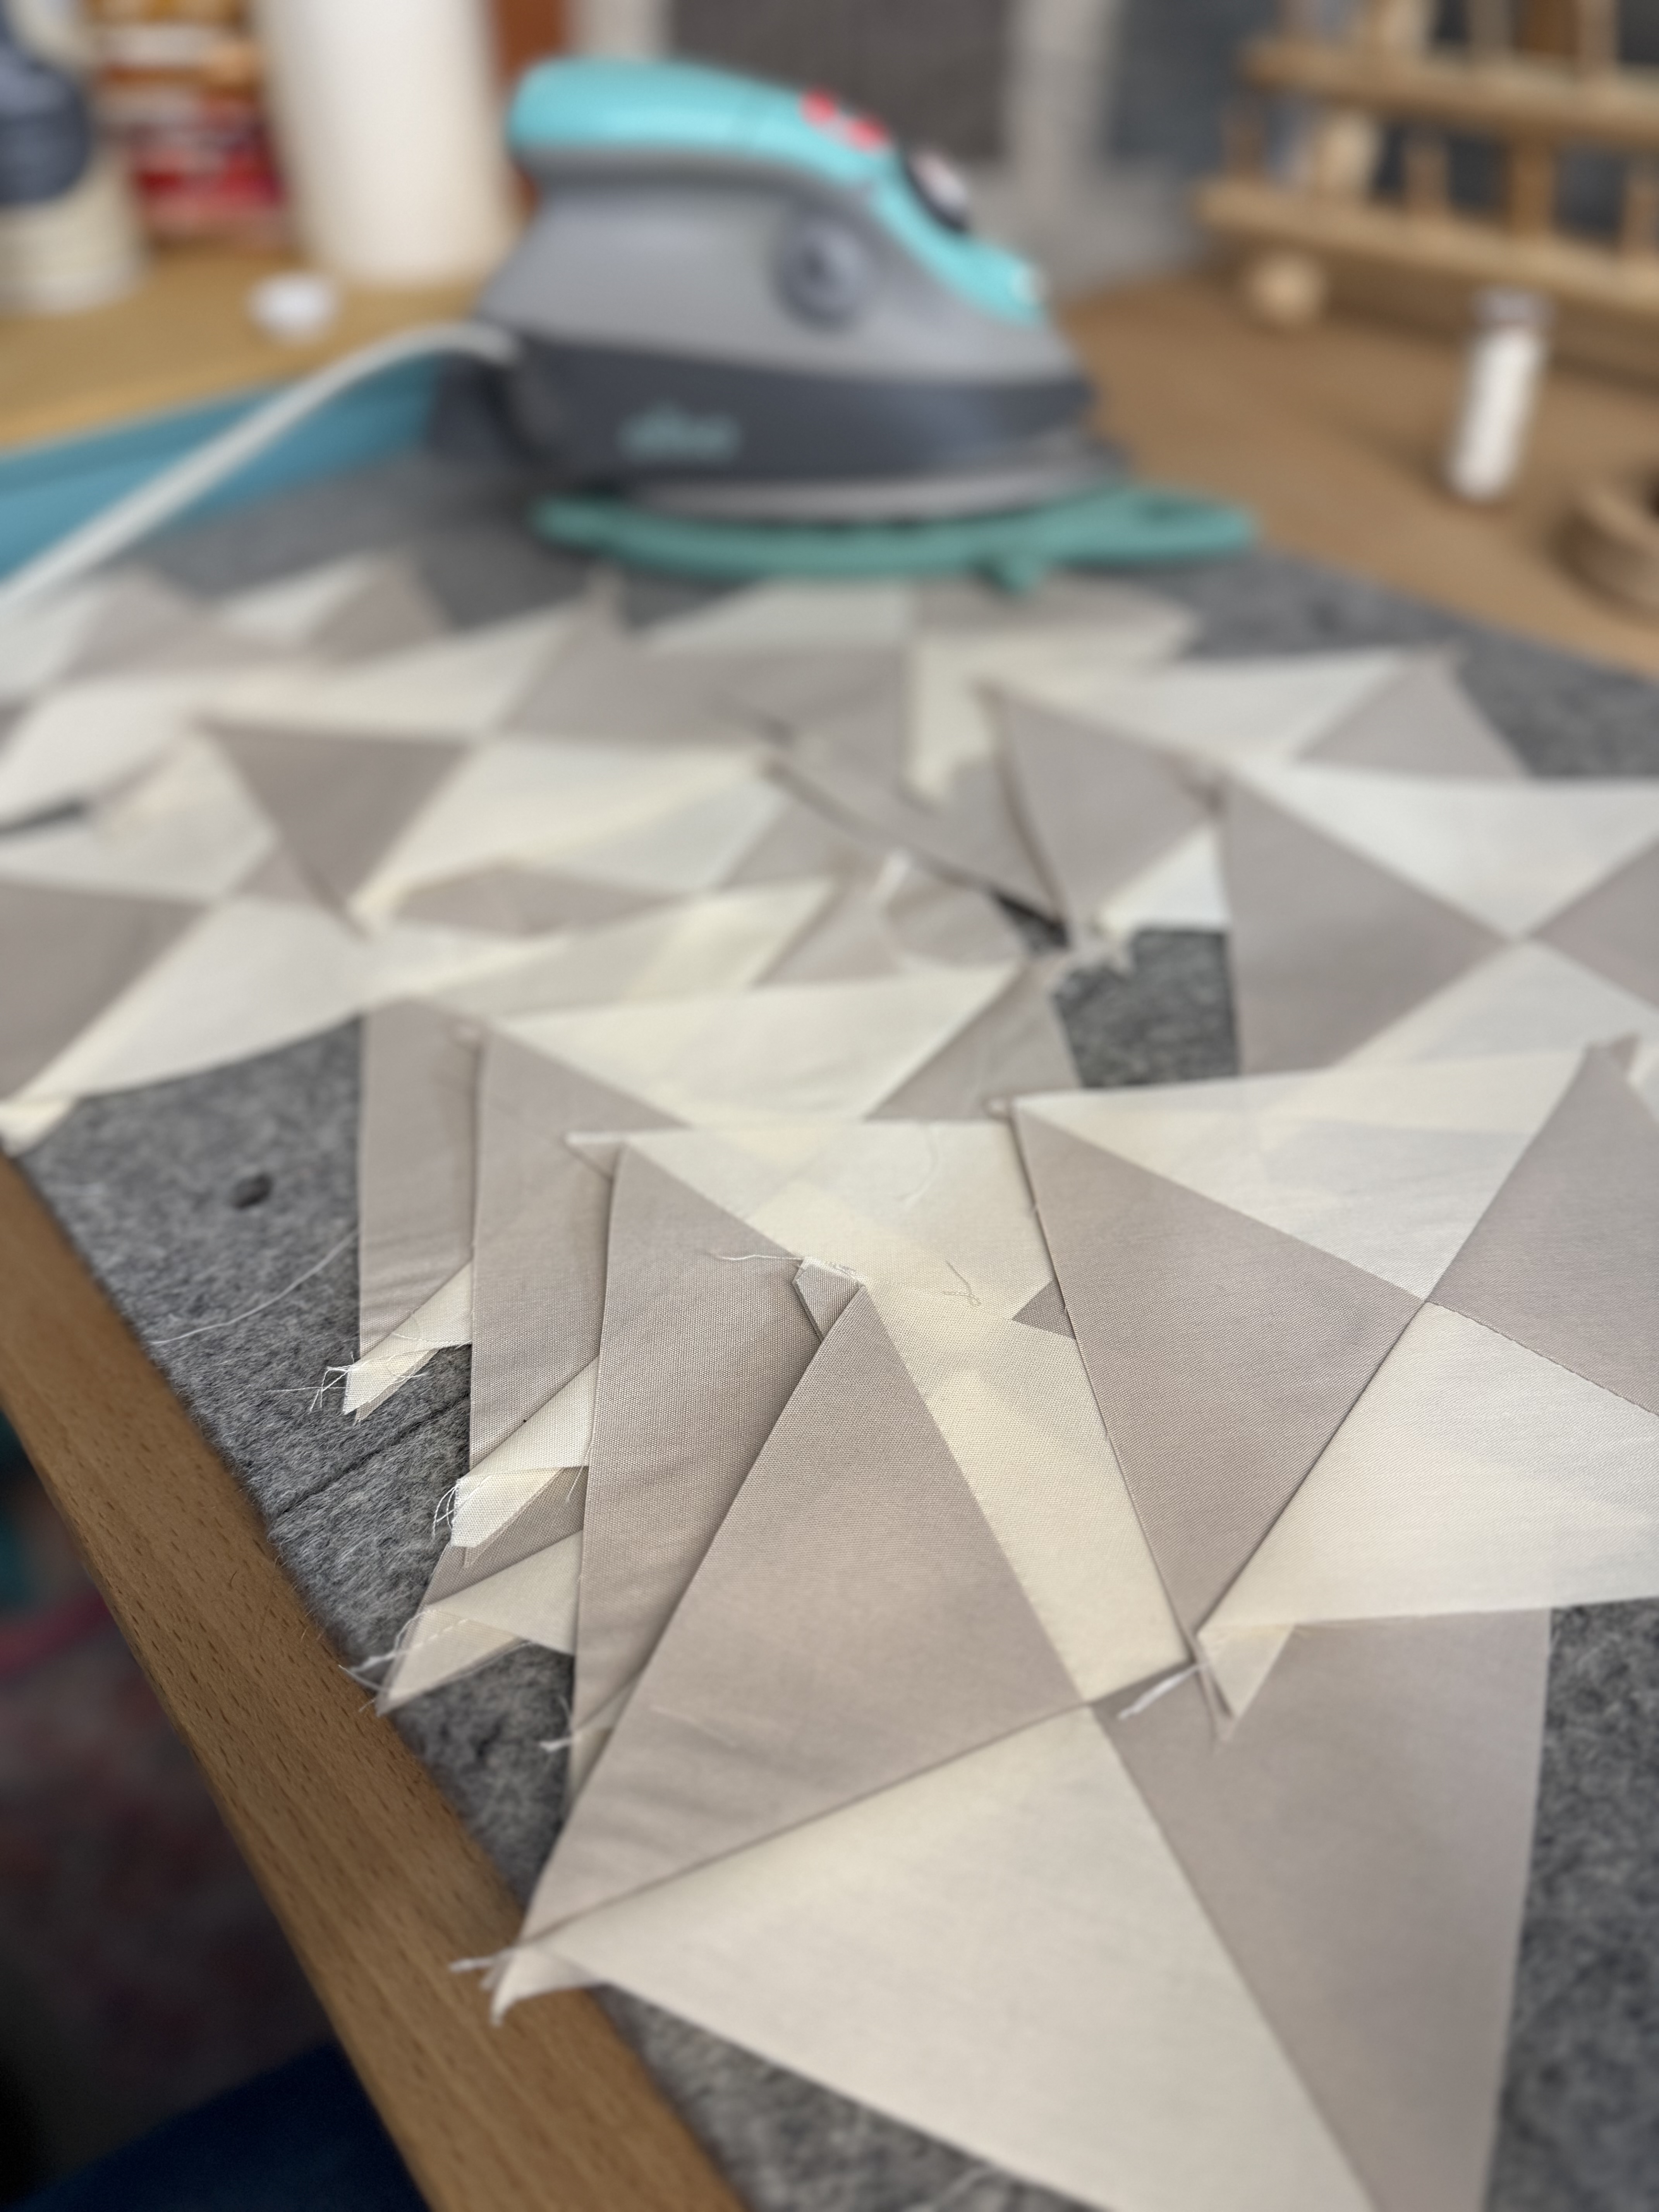
Sewing the Hourglass Blocks
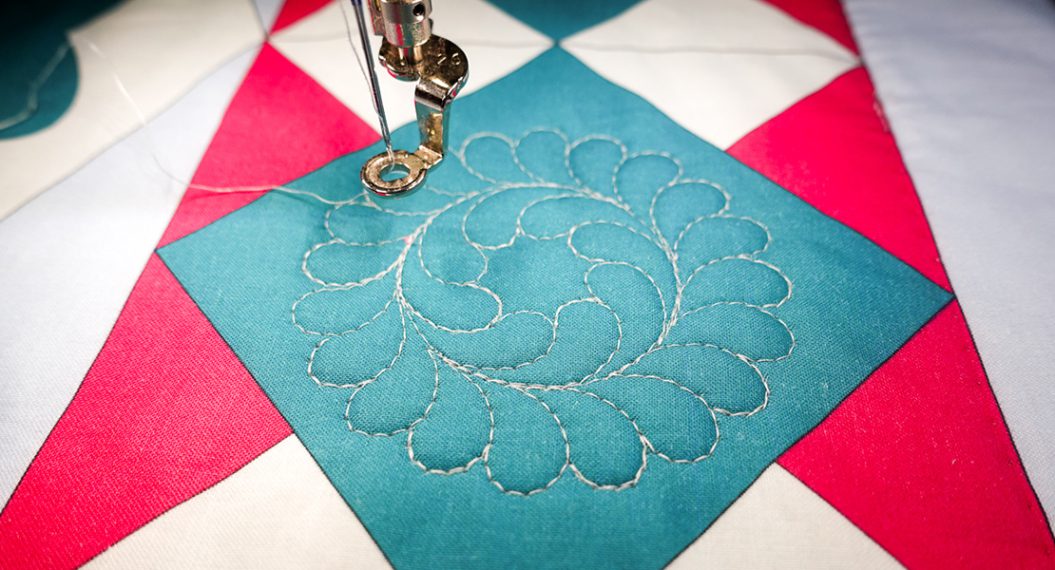
Once your pieces are cut, you are ready to begin sewing the hourglass blocks. This stage is wonderfully repetitive and a great opportunity to settle into a steady rhythm at the machine.
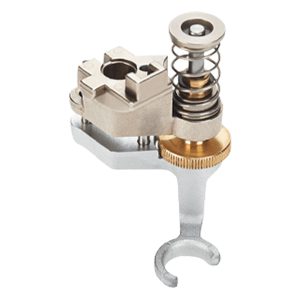
For this project, I used the BERNINA Patchwork Foot #97 to achieve accurate and consistent 1/4” seams. If you are new to quilting, the 1/4” seam allowance is one of the most important concepts to understand. It refers to the distance from the seam line to the raw edge of the fabric, and maintaining this consistency is key to ensuring your blocks finish at the correct size and fit together smoothly.
If you are using a new foot or are unsure of your seam allowance, I highly recommend taking a few minutes to test before sewing your blocks. Using a scrap strip of fabric, sew a straight line approximately 6 inches long with what you believe is a 1/4” seam. Then use a ruler to measure the distance from the seam to the edge of the fabric. Adjust as needed until it measures exactly 1/4”. This small step can save a lot of frustration and tears later in the process.
This is also a great time to put something on in the background. I love listening to the Sew & So podcast while sewing hourglass blocks. Audiobooks or music work just as well, especially during longer sewing sessions. Having something familiar playing can help maintain momentum and make the process feel relaxed and enjoyable.
The Pathways Quilt pattern includes step-by-step instructions and diagrams to guide you through block construction. Follow the pattern closely for accuracy. One of the wonderful things about quilting is that there is often more than one way to reach the same result, so if you already have a preferred method for assembling hourglass blocks, feel free to use it.
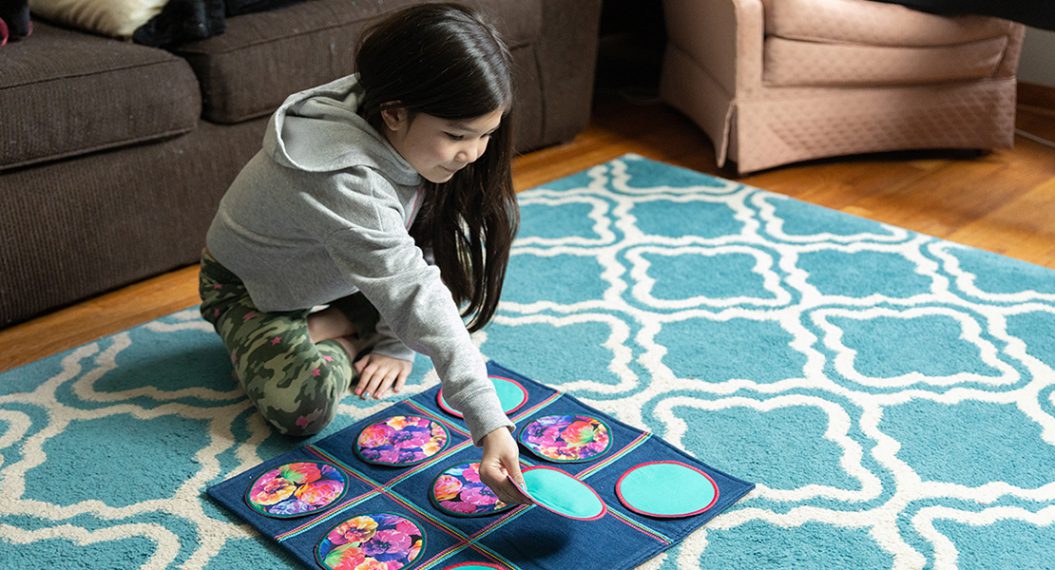
Share Your Progress
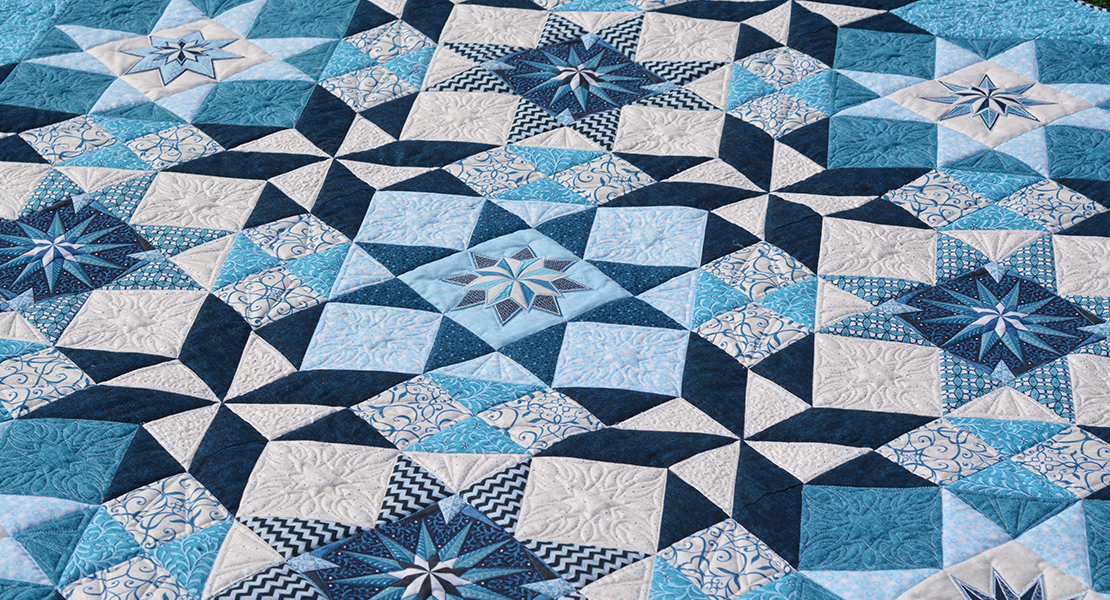
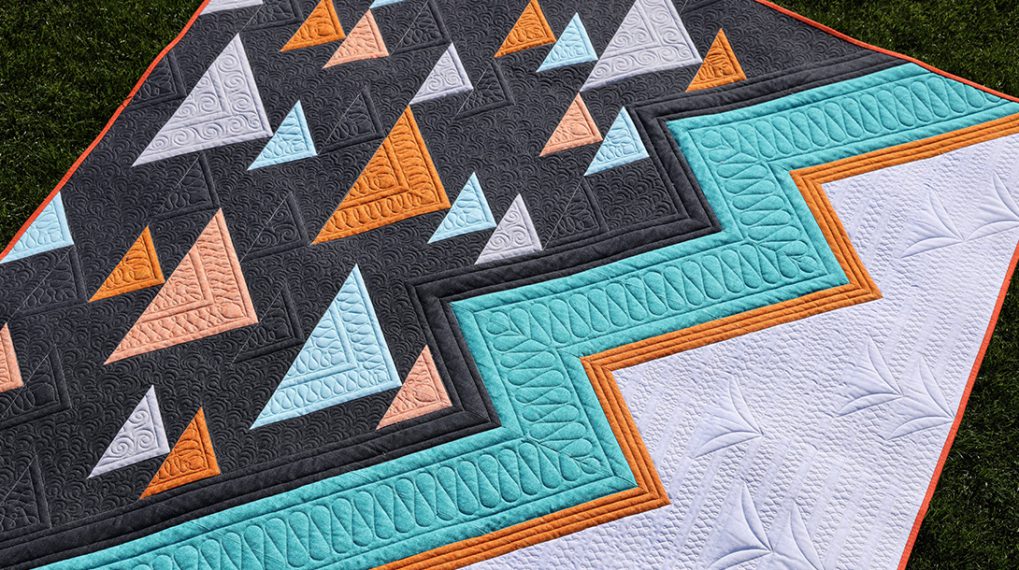
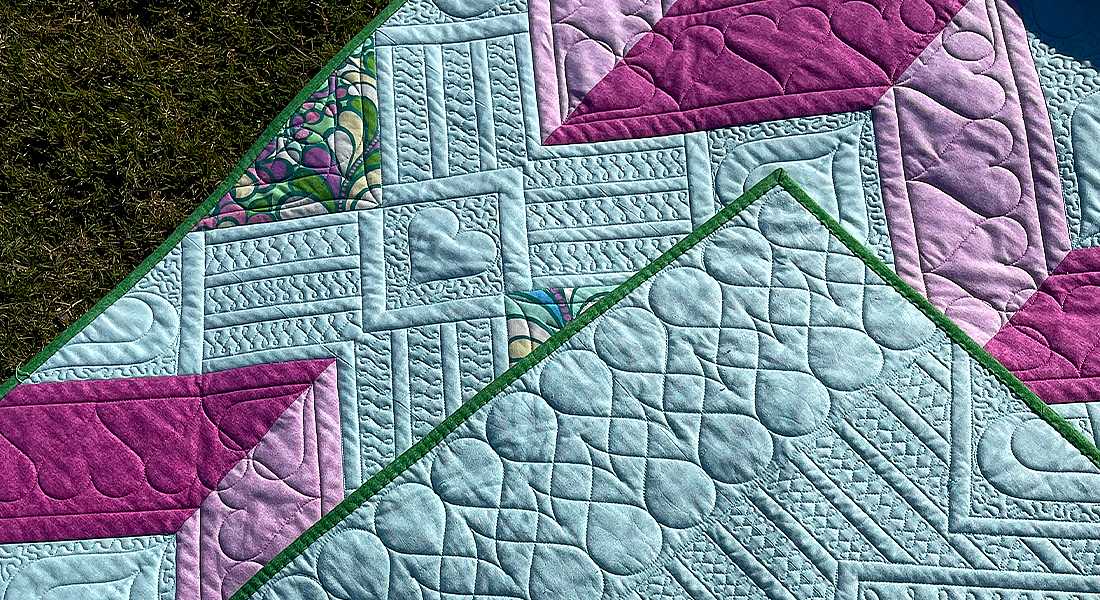
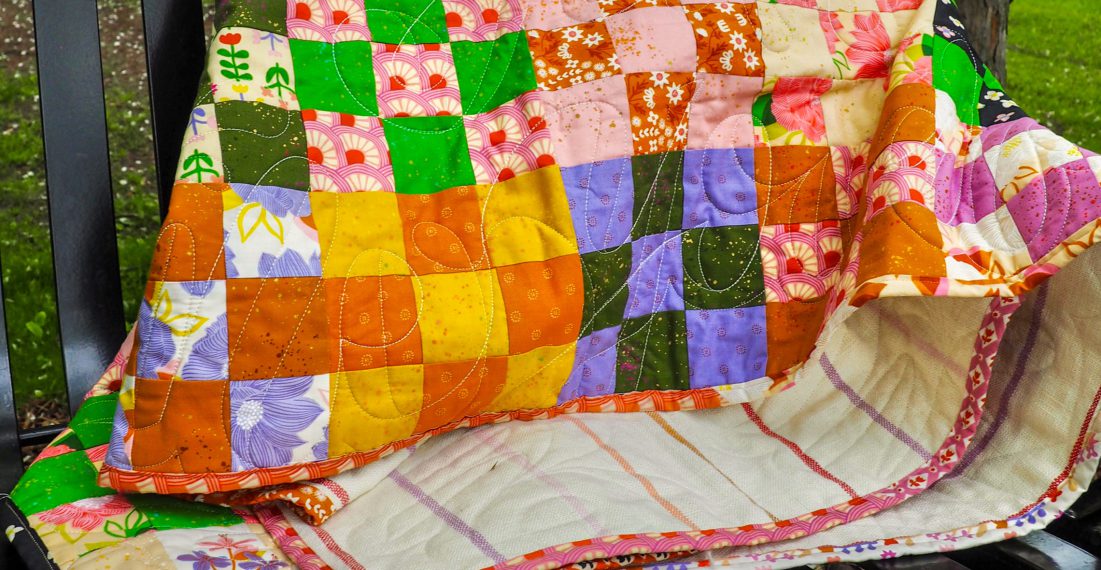
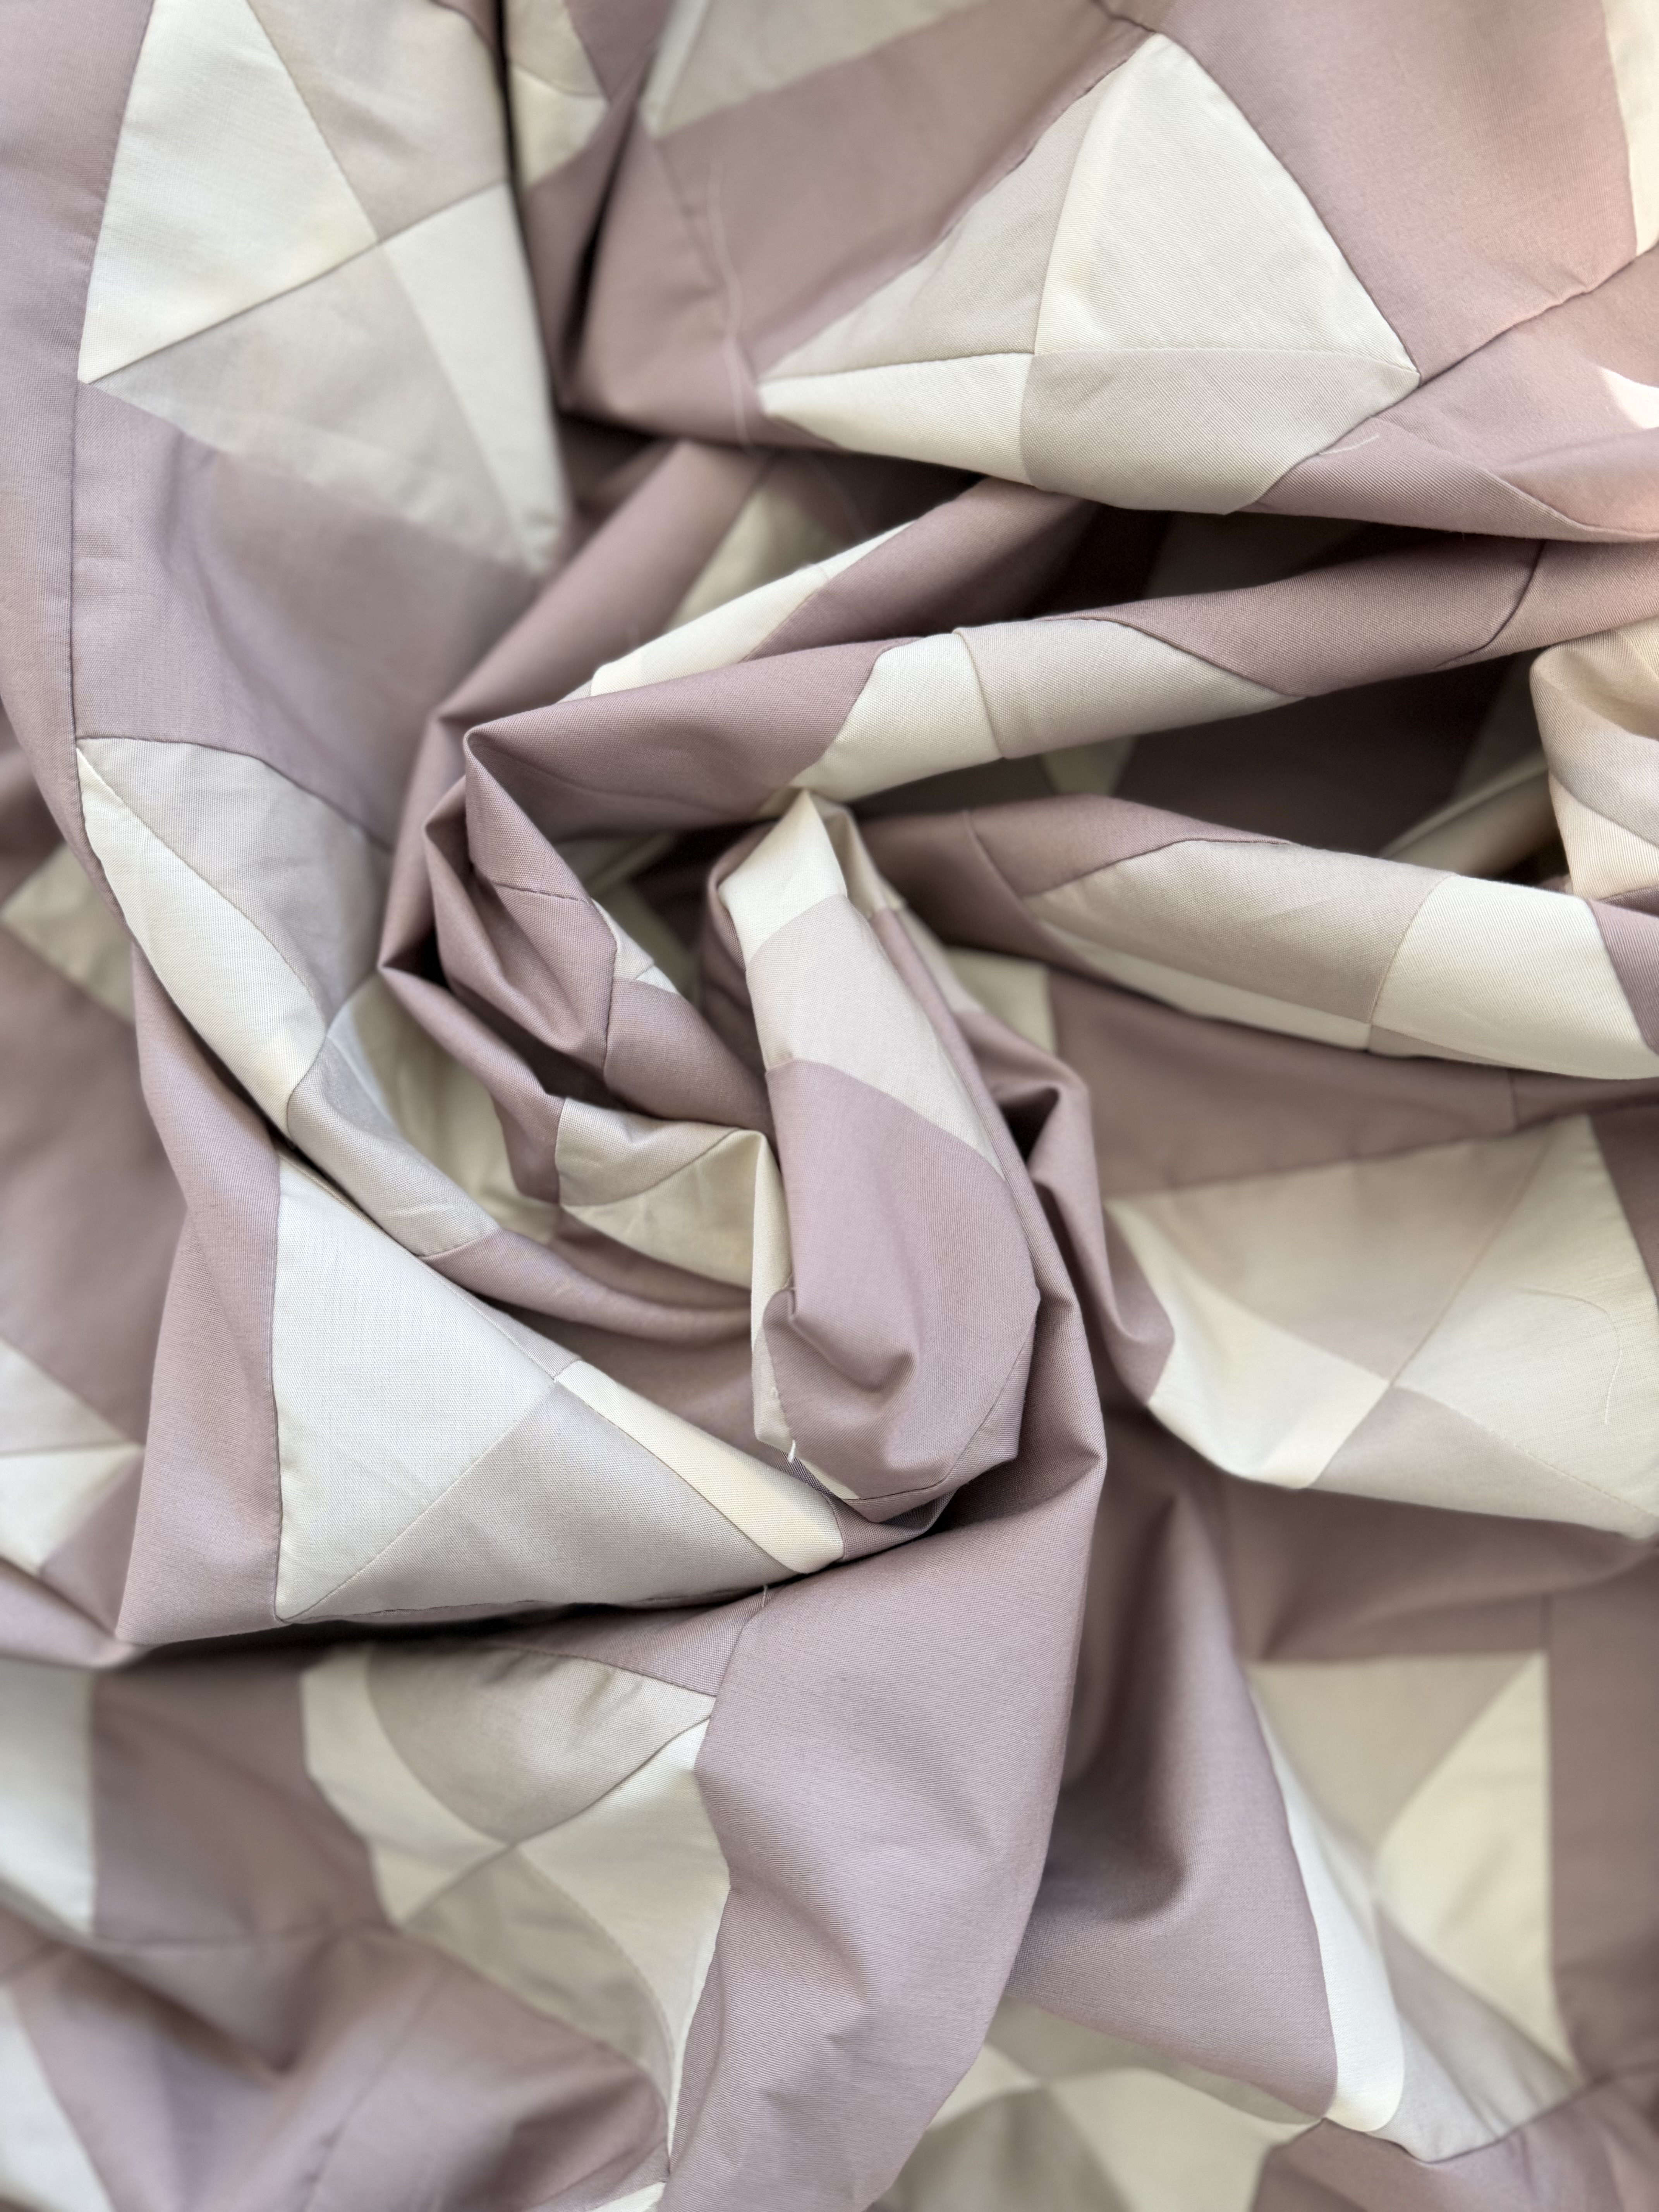
At this point, your fabric choices really begin to shine, and it is always exciting to see the blocks start to stack up. I encourage you to share photos of your hourglass blocks in the WeAllSew Community Section or on Instagram using the hashtag #BERNINApathwaysquilt and tag @mae.just.sew so I’m sure to see and share!
Seeing the same pattern interpreted through different fabrics is one of the best parts of a quilt along, and it is such a joy to watch everyone’s version come together.
See you next week for block assembly!
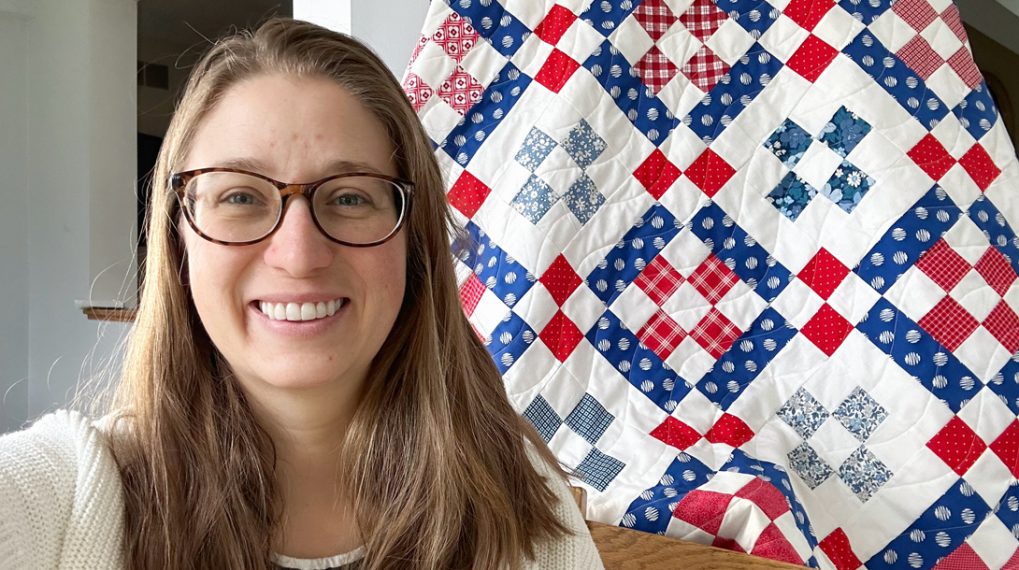
-Mae