Pathways Quilt Along, Part Two
At this stage, all of your careful preparation begins to pay off. This week focuses on sewing your blocks together and getting your quilt top ready for quilting. As the rows come together, the Pathways Quilt really starts to feel like a finished piece.
If you missed part one of the Pathways Quilt Along, you can read all about it here.
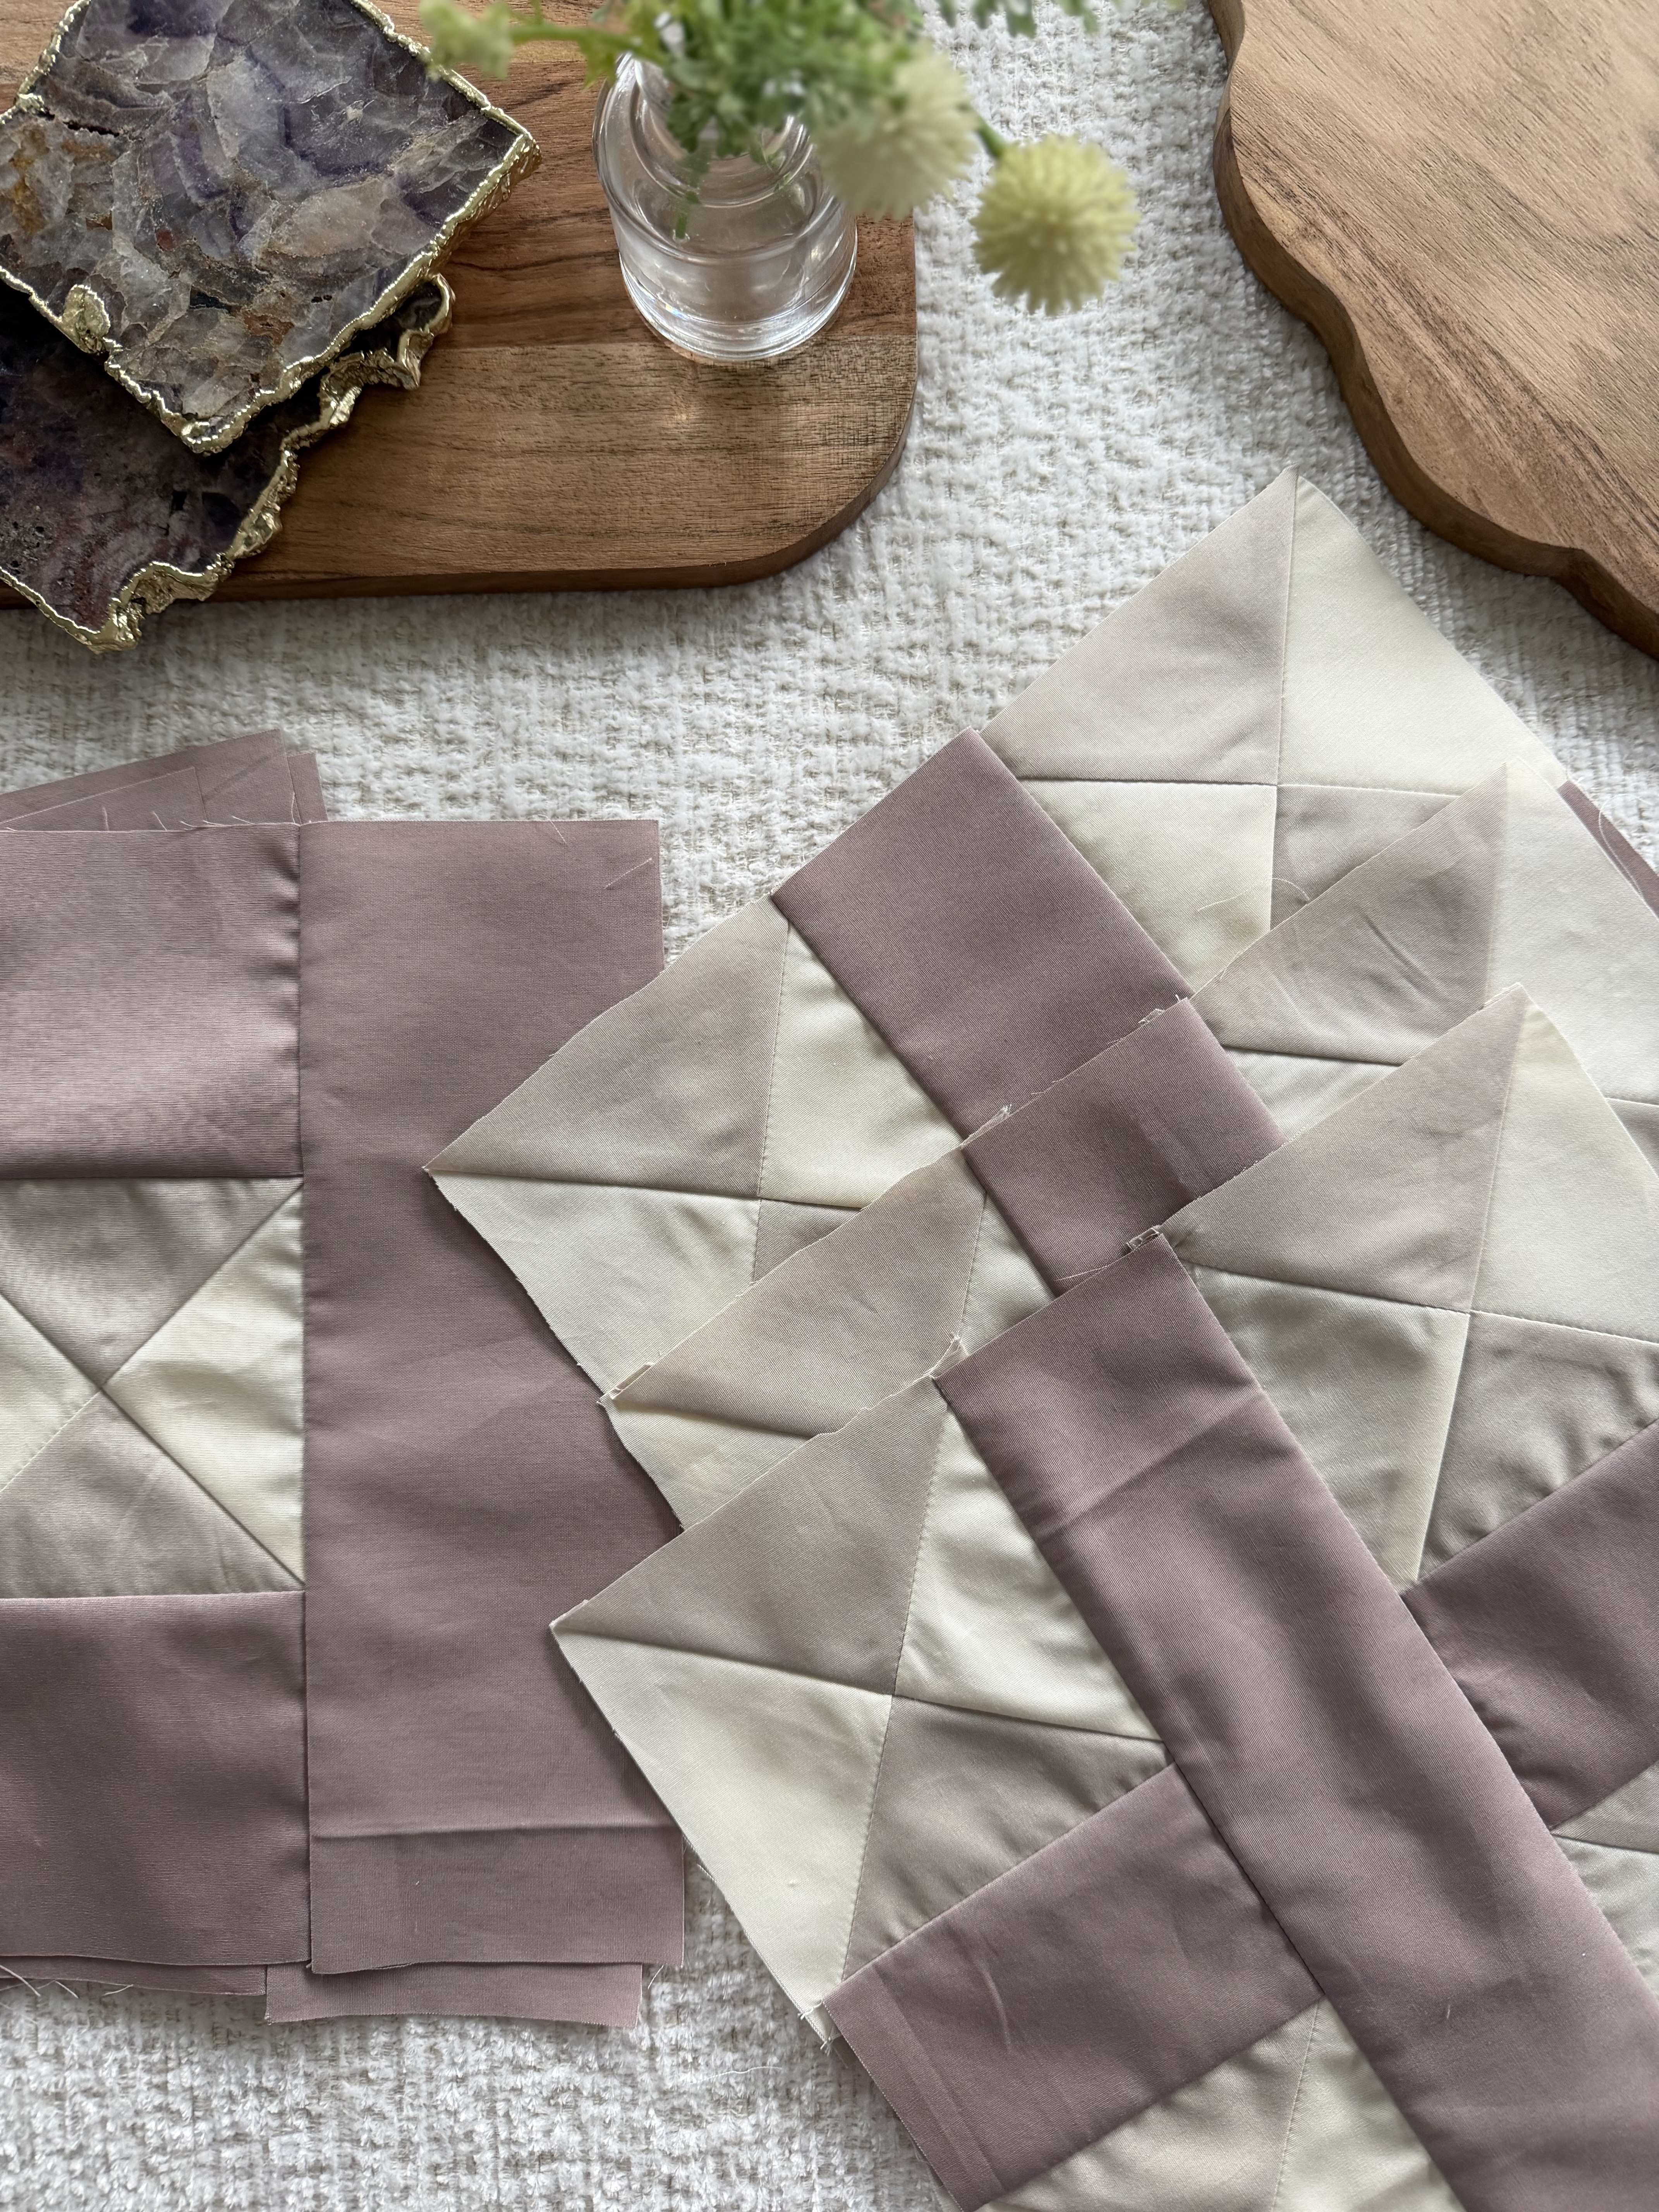
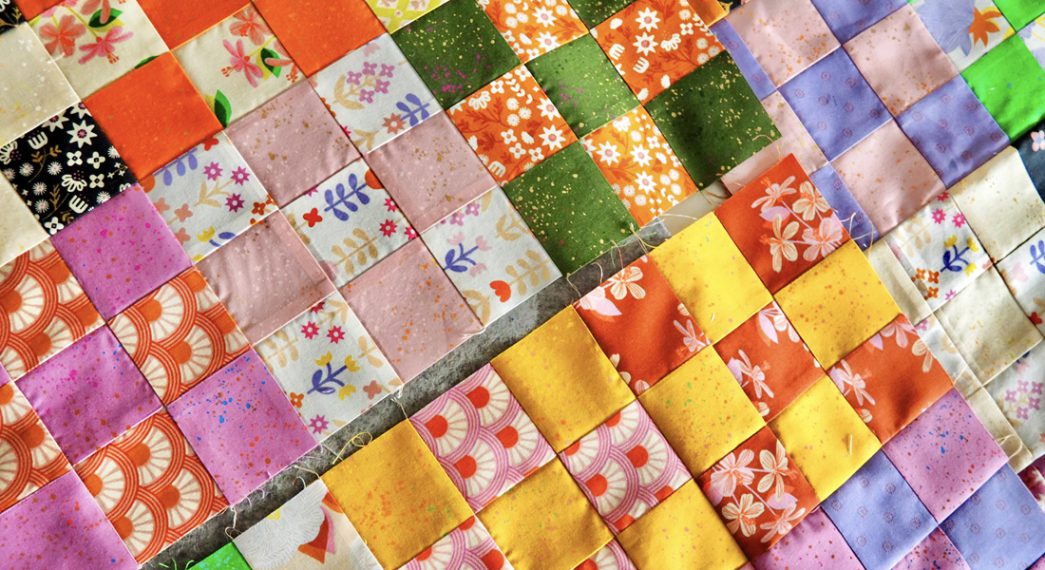
Sewing the Blocks Together
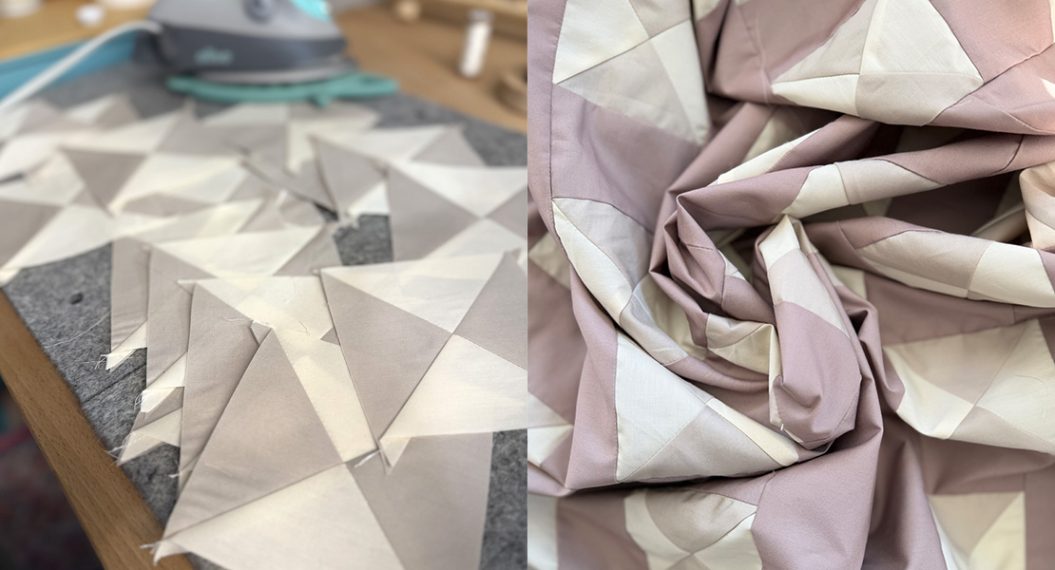
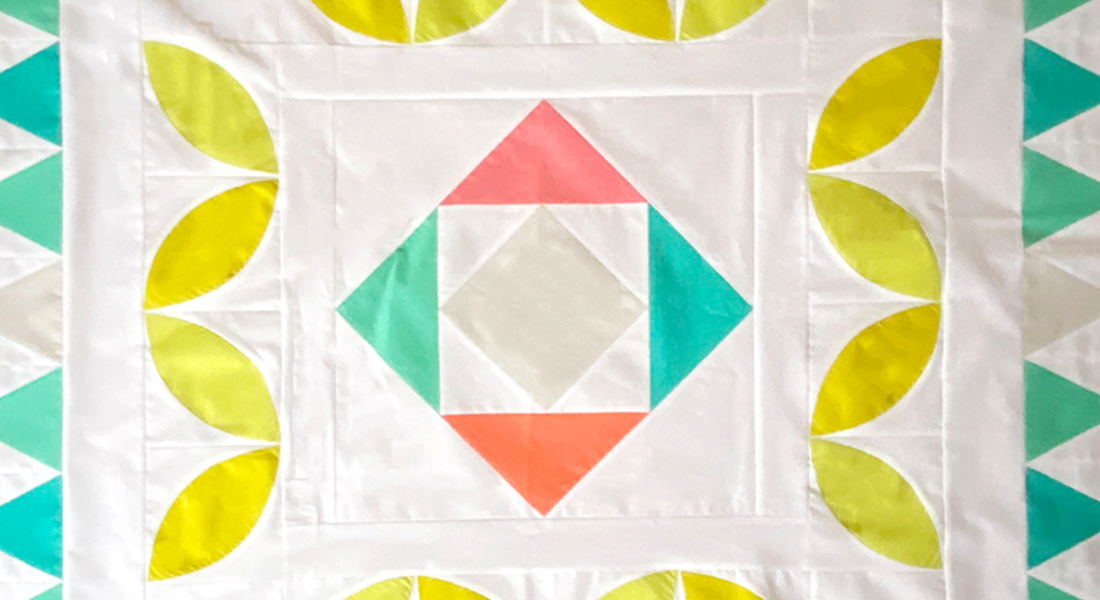
The pattern instructions guide you through sewing 28 Block A units and 28 Block B units before assembling them into rows. Some of the pieces in this pattern are very similar in size, so taking a few extra moments to stay organized will make this step much smoother. Keeping blocks separated by type or laying them out before sewing can help prevent confusion.
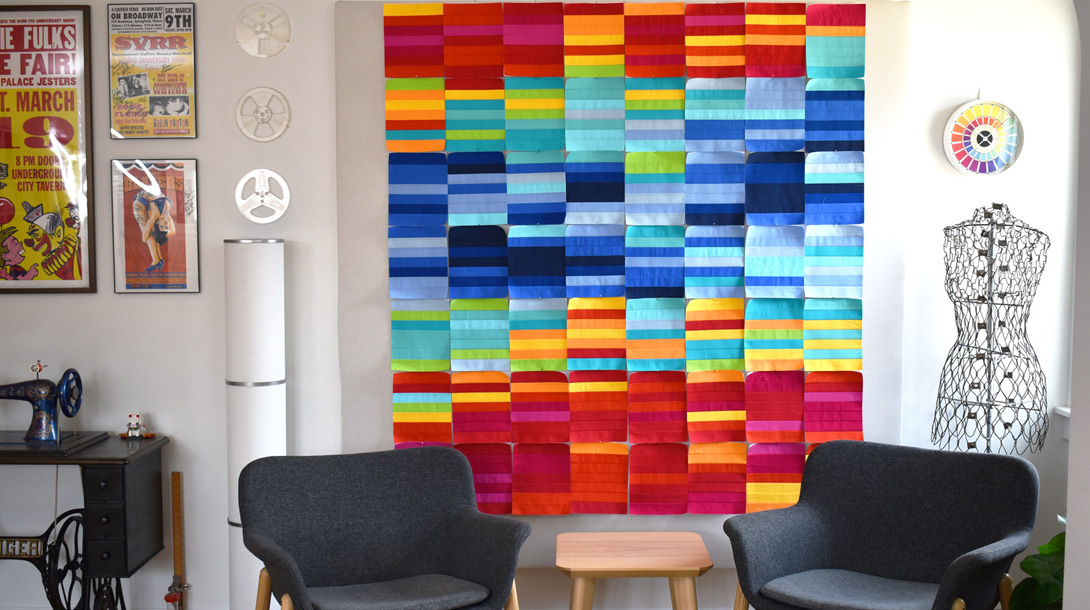
Follow the pattern directions for sewing the blocks into rows, and then joining the rows together to form the quilt top.
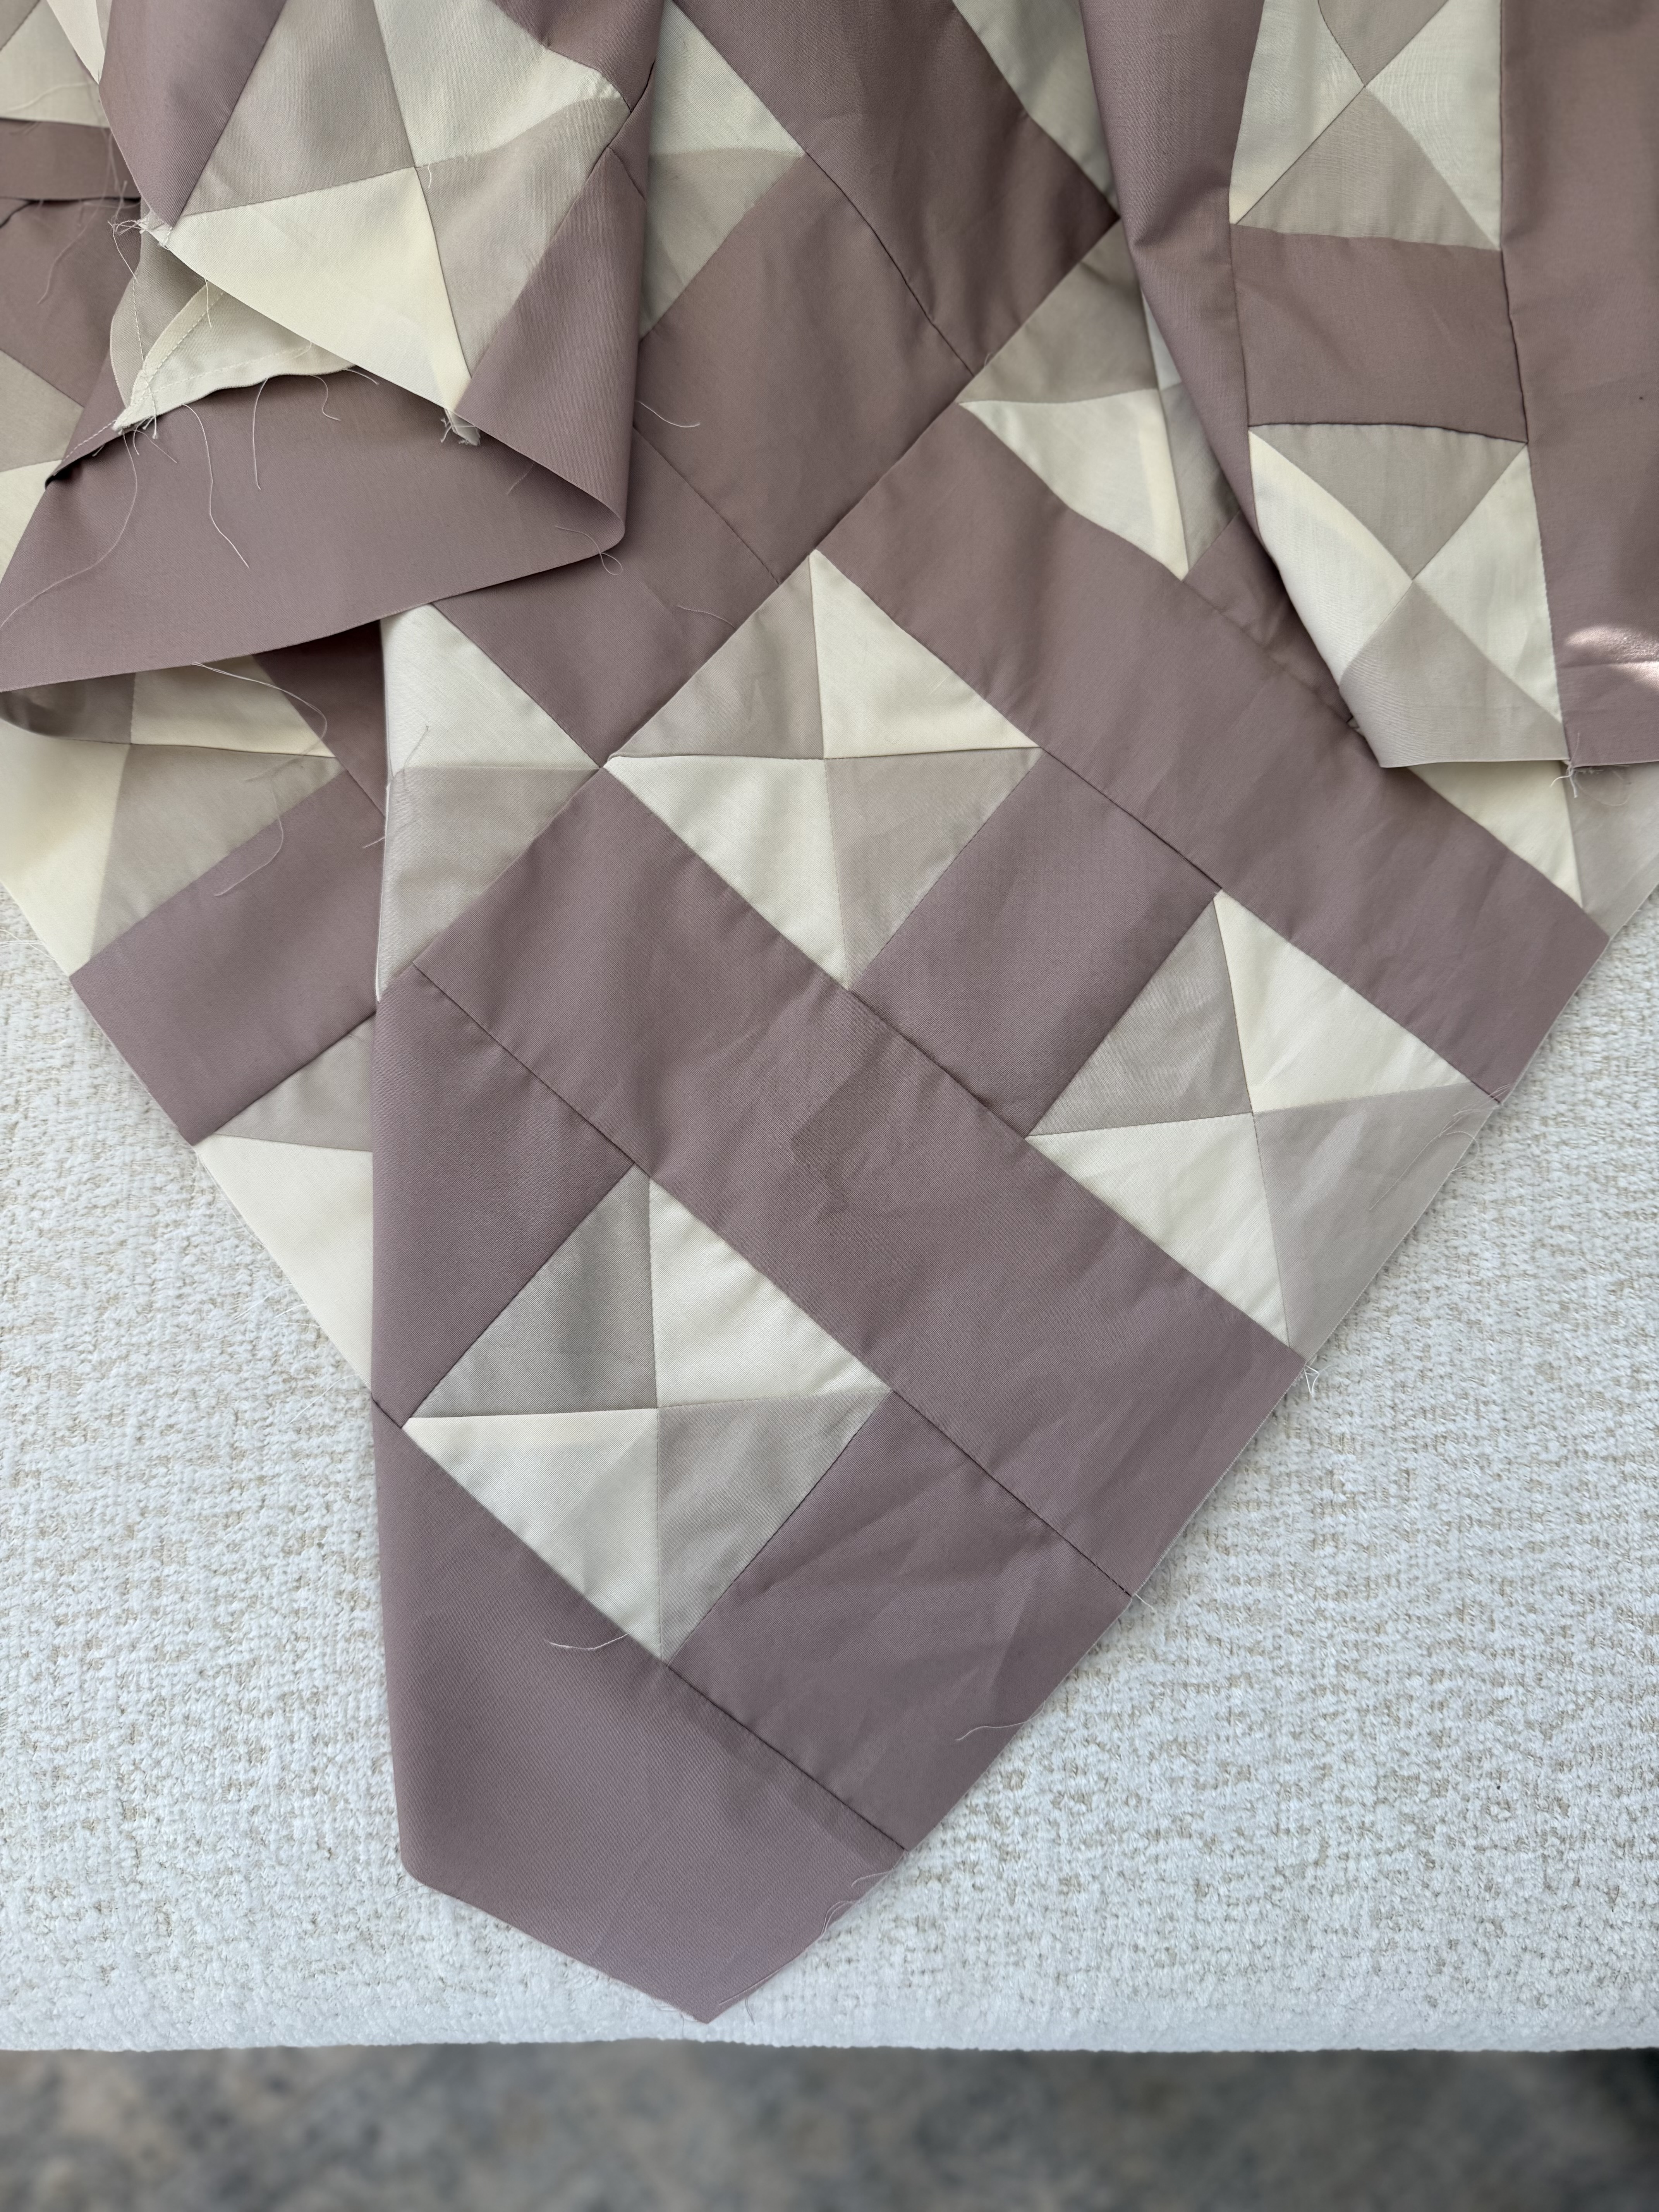
Why Sewing Rows in Sections Matters
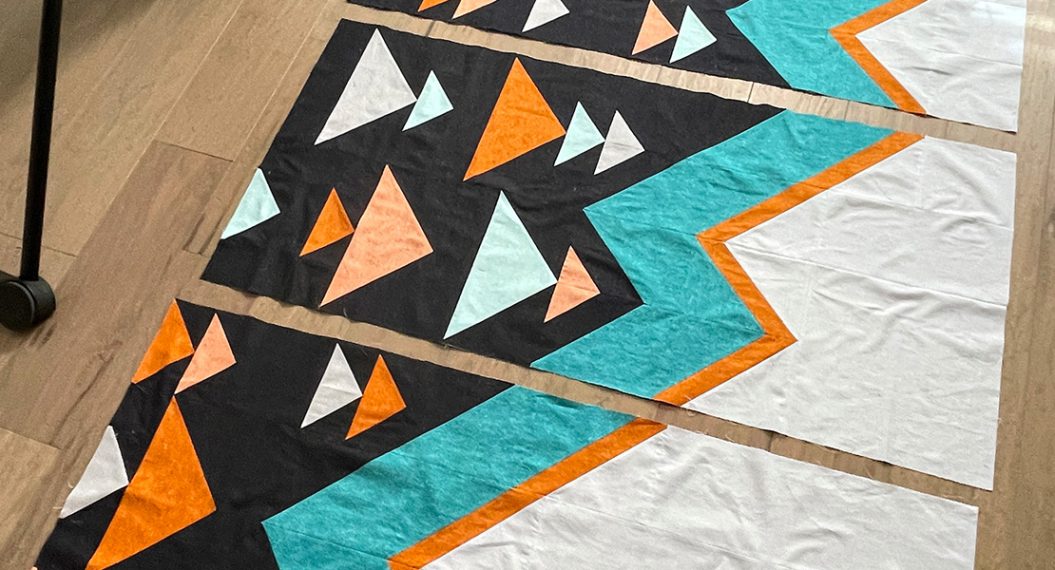
It can be tempting to sew rows together one at a time from top to bottom, but sewing in sections will give you better results. The reason comes down to the 1/4 inch seam allowance.
Even small variations in seam allowance can add up over multiple rows. If each row is slightly off, the difference becomes more noticeable as you move down the quilt top. By sewing two rows together at a time, then joining those sections, you reduce the chance of accumulated distortion and help keep the quilt top square and flat.
This approach takes a little more patience, but it can save frustration later and helps your quilt come together smoothly.
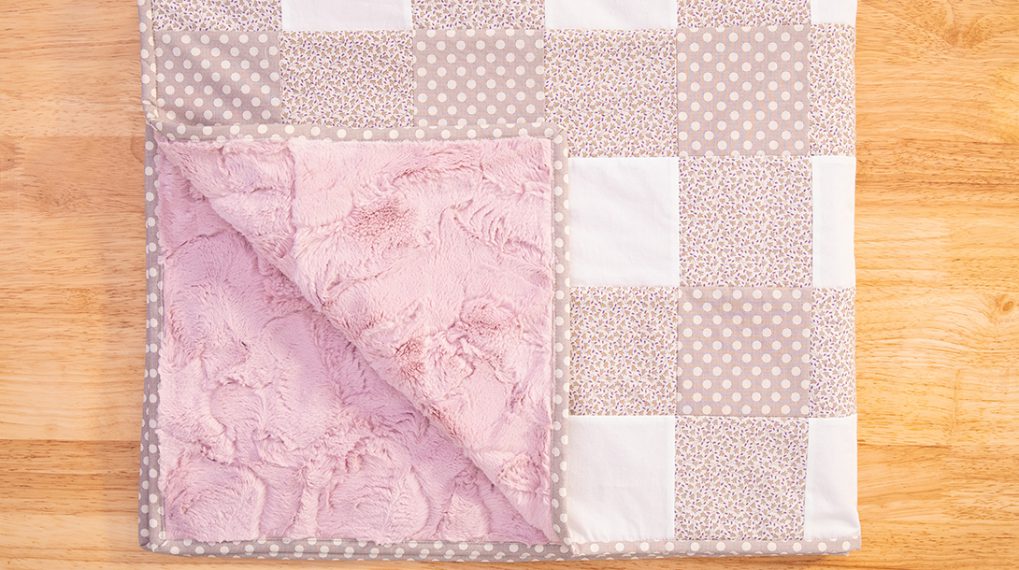
Preparing for Quilting
Once your quilt top is complete, it is time to begin preparing for quilting. If you plan to send your quilt to a longarm quilter, your backing fabric will need to be larger than the quilt top. Most longarm quilters request backing that is 4 to 6 inches wider and taller than the finished top so it can be secured properly to the machine.
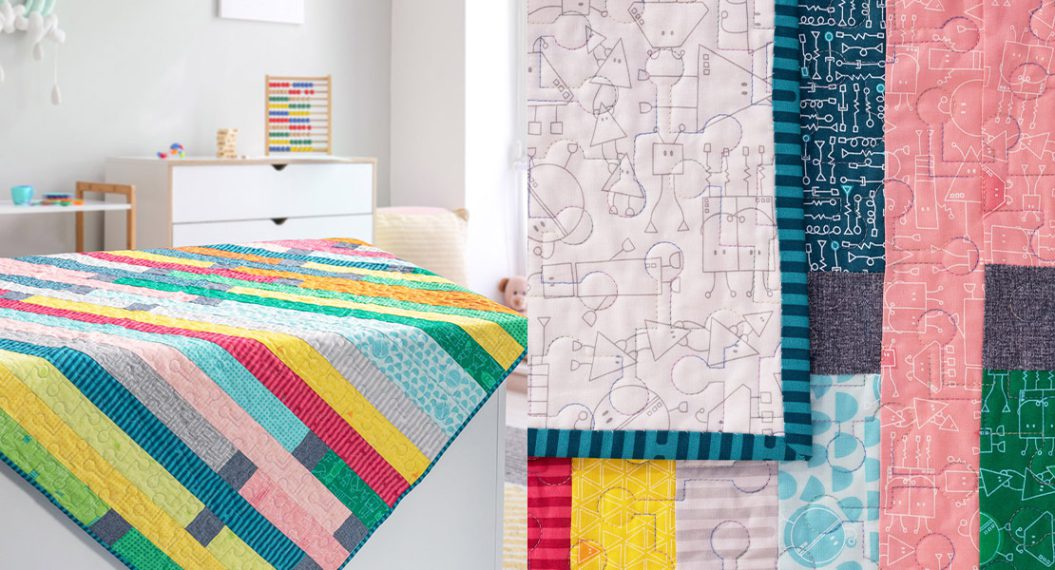
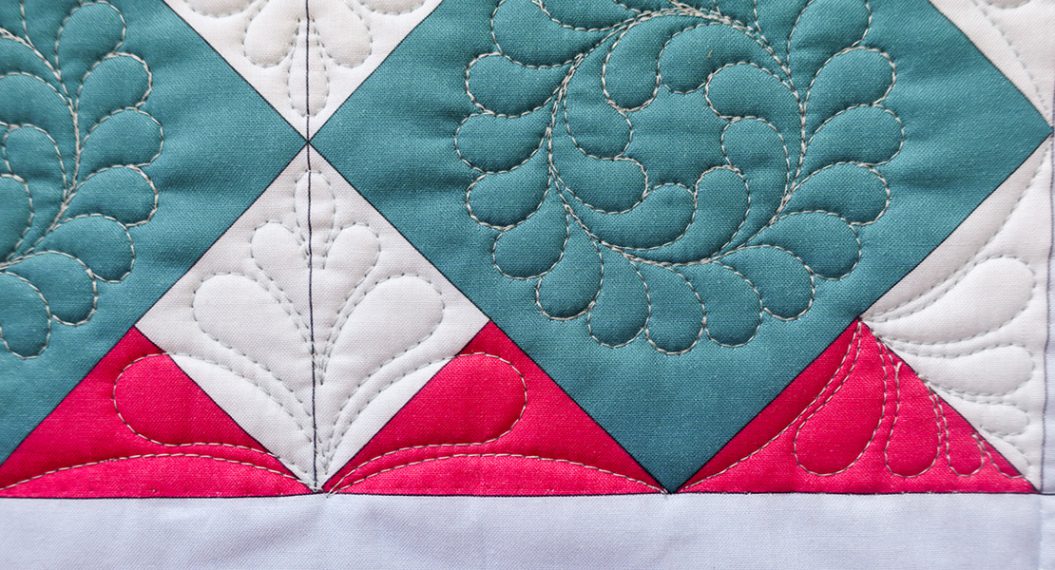
Choosing a Pantograph
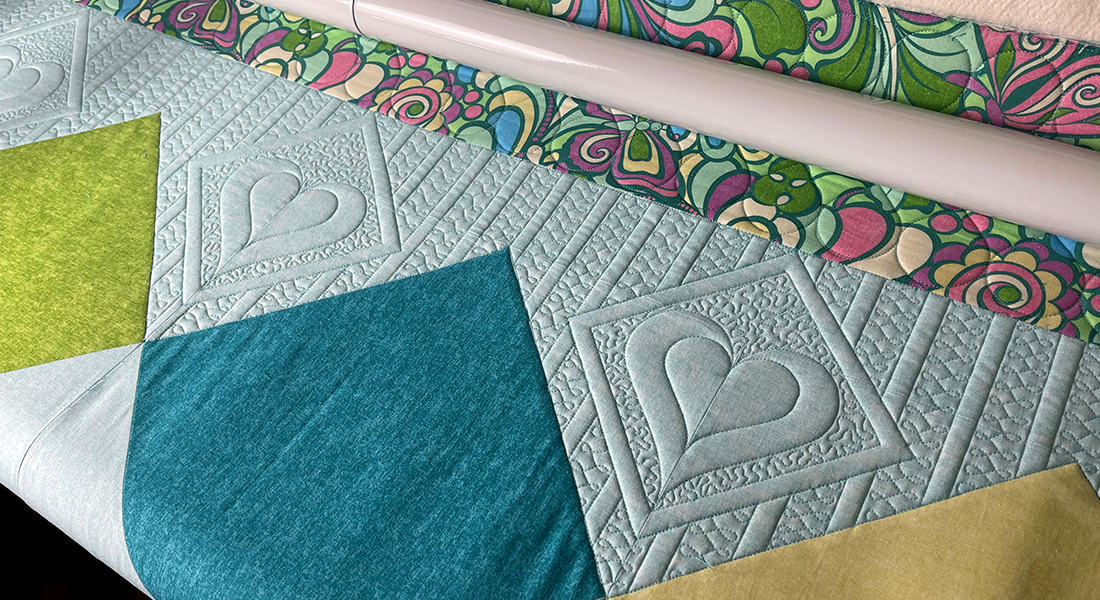
A pantograph is the stitched design that is quilted across the surface of the quilt. There are countless options available, including floral, geometric, traditional, modern, and seasonal designs.
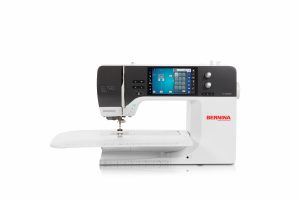
For the Pathways Quilt cover photo, I quilted the entire throw myself on my BERNINA 790 PRO. Quilting a larger throw on a home machine is absolutely possible with the right setup and a little patience.
I have an entire blog post coming soon that walks through how I quilted this very large throw on my home machine at my kitchen table. I will be sharing details about setup, pacing, and practical tips that made the process manageable and enjoyable.
Binding the Quilt
To prepare for binding, cut your binding strips 2.5 inches wide and sew them together lengthwise to create one continuous strip. Binding techniques can vary, but using a walking foot helps feed all layers evenly.
I recommend using the BERNINA Three-Sole Walking Foot with Seam Guide #50 for applying binding, as it provides excellent control and consistent results.
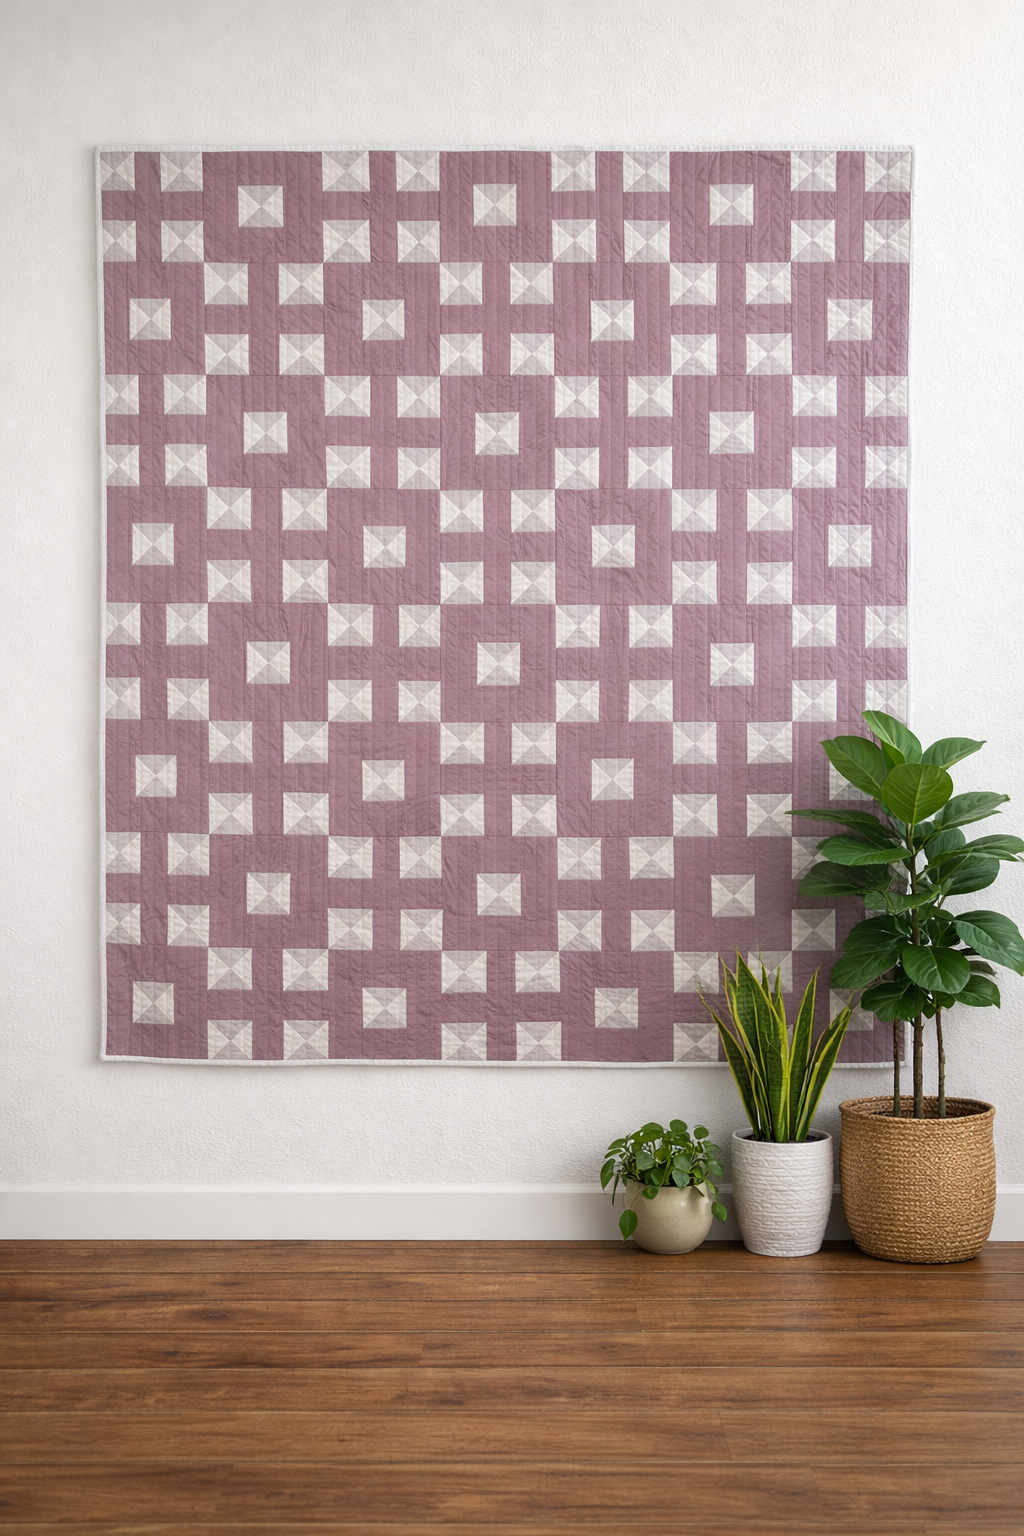
This was so much fun! For more patterns, check out the catalogue of patterns I have available on my website!
Chat soon!
– Mae