BERNINA Skillbuilder Sew Along: Blocks 1 & 2
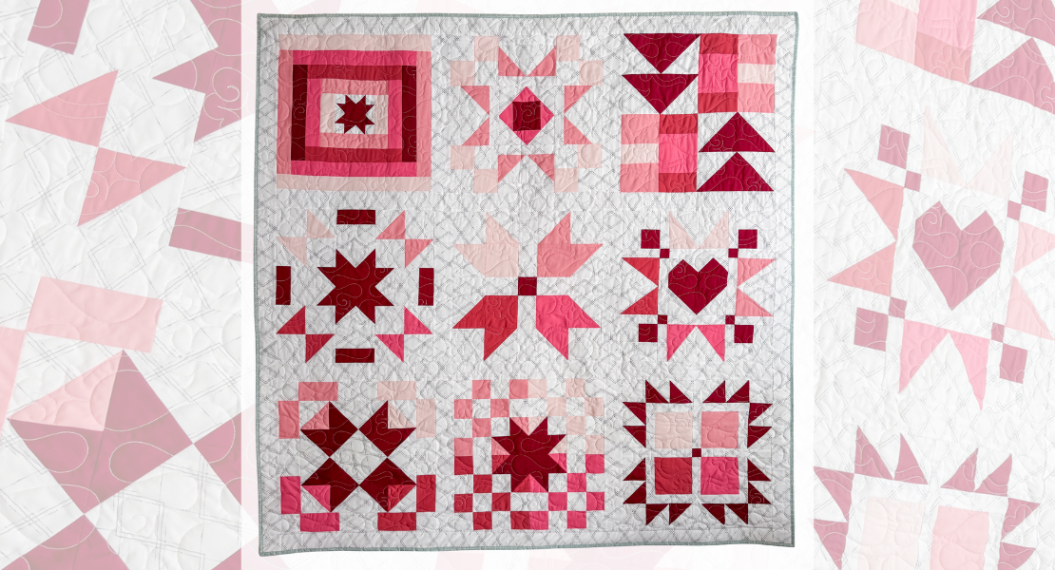
Welcome back to the BERNINA Skillbuilder Sew Along with Sweet Potato Quilts! I’m Christina, quilt pattern designer at Sweet Potato Quilts, and I’m so glad you’re sewing along with me. Each week, we’re building new quilting skills with free block patterns, step-by-step instructions, and video tutorials.
If you’re just joining, you can catch up HERE with all links to past blog posts and PDF patterns all in one place.
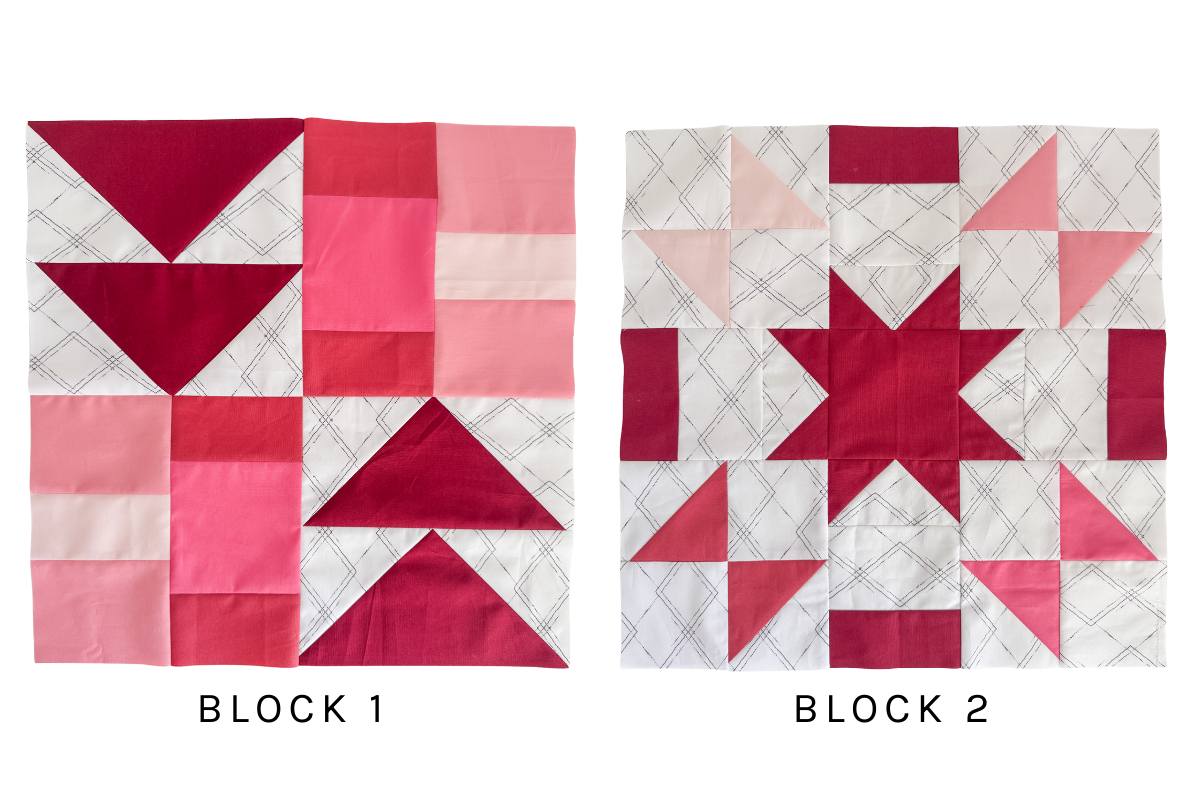
Today we’re working on Block 1 and Block 2, where we’ll practice two skills:
✨ Four-at-a-time flying geese (Block 1)
✨ Two-at-a-time half-square triangles (Block 2)
By the end, you’ll have two beautiful 16 ½” blocks and confidence in trimming, pressing, and piecing points so they look clean and sharp.
Download the PDF Pattern for Block 1 here:

Download the PDF Pattern for Block 2 here:
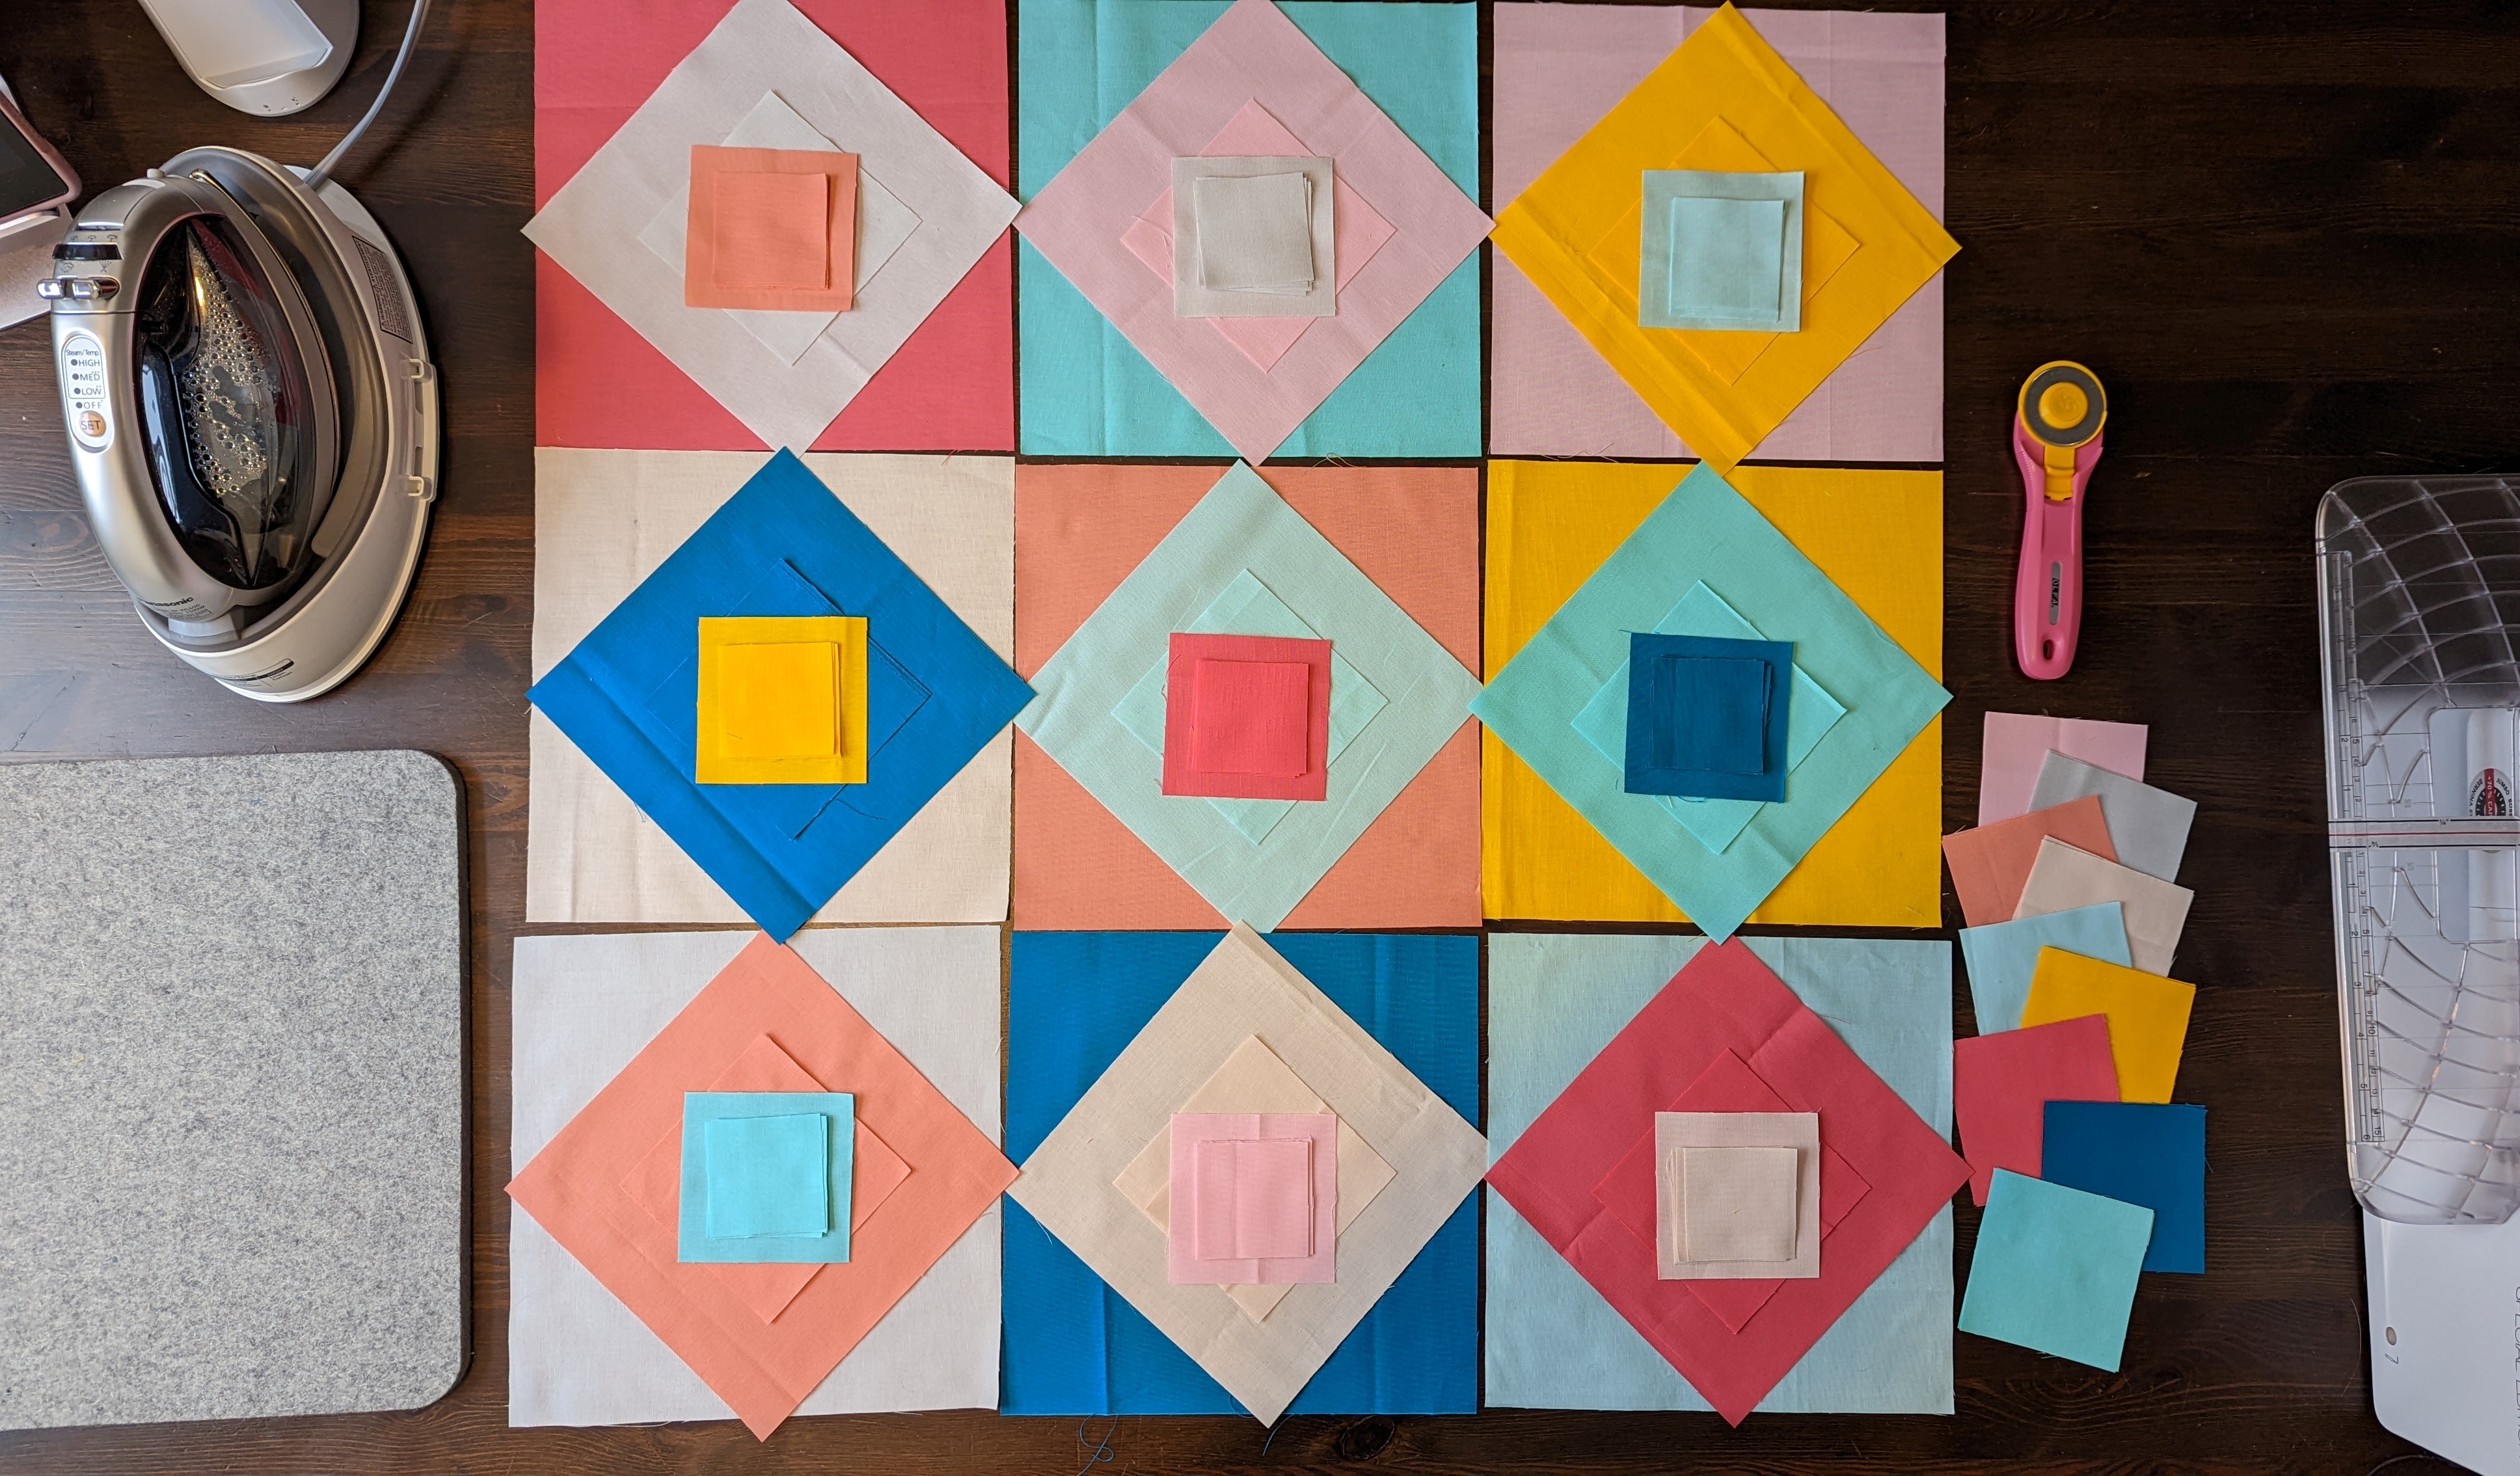
Materials to Sew Block 1 & Block 2
Here’s what you’ll need to complete these two blocks:
- Fabric 1–5 and background fabric pieces (yardage requirements and instructions provided in the Pattern Introduction PDF from Week 1)
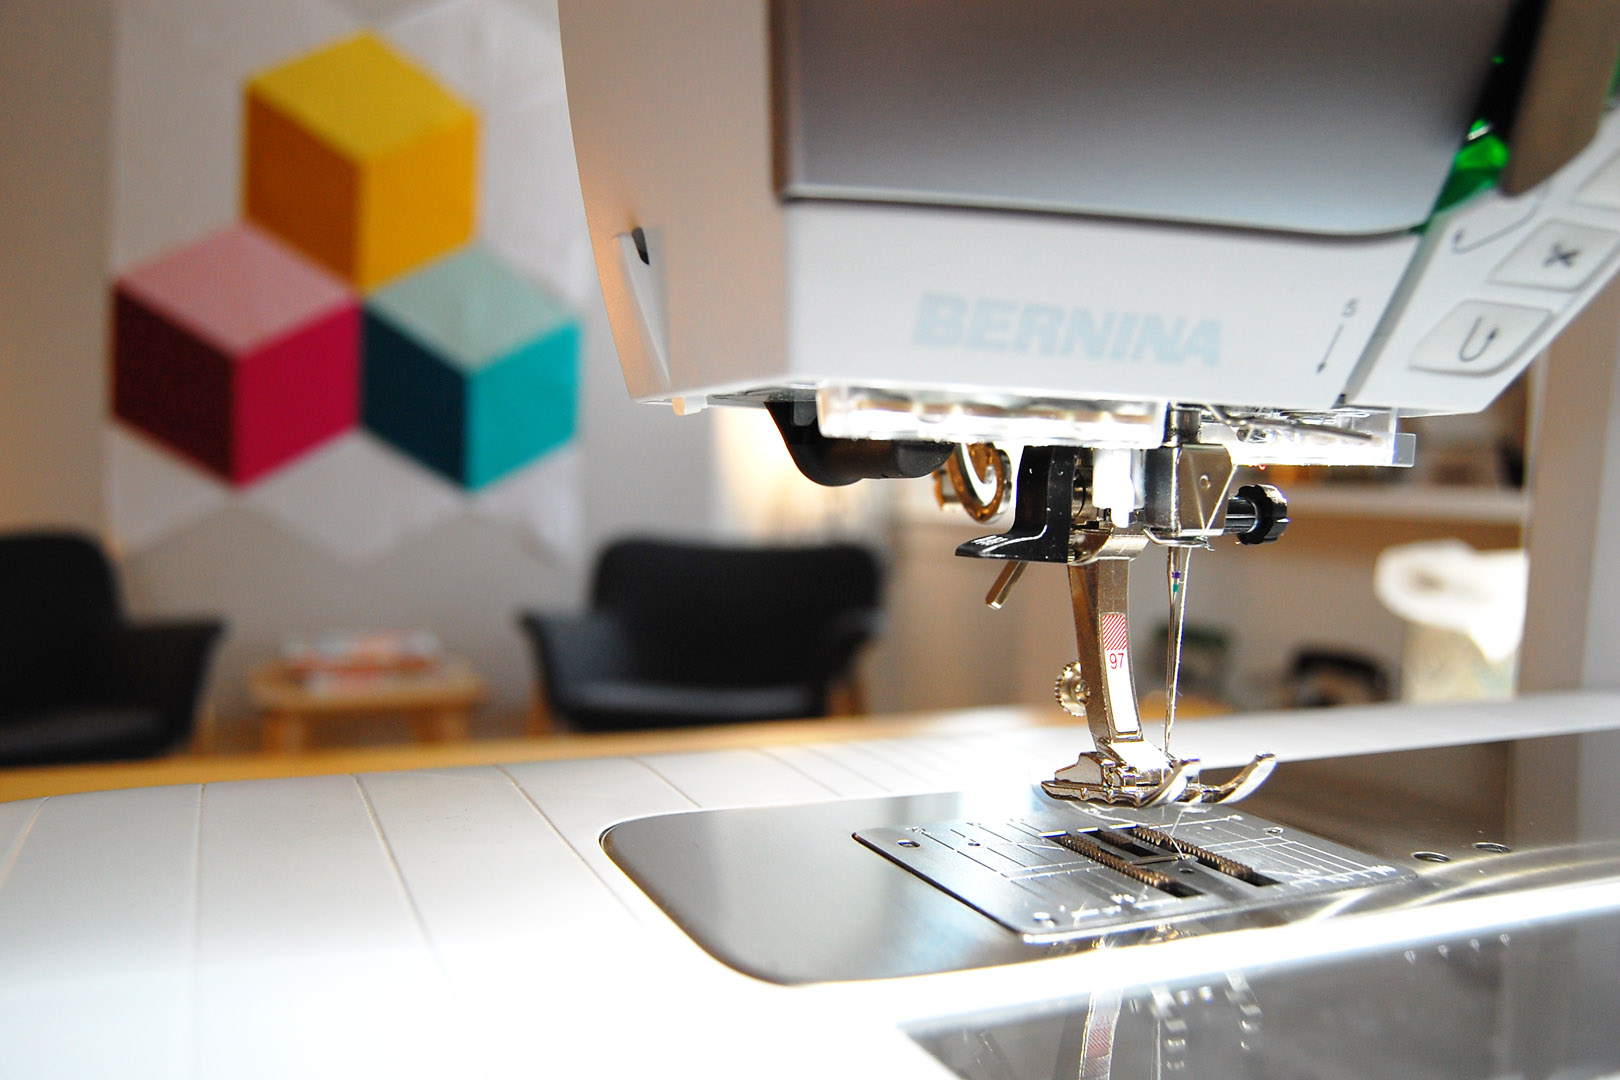
- BERNINA 770 QE PLUS
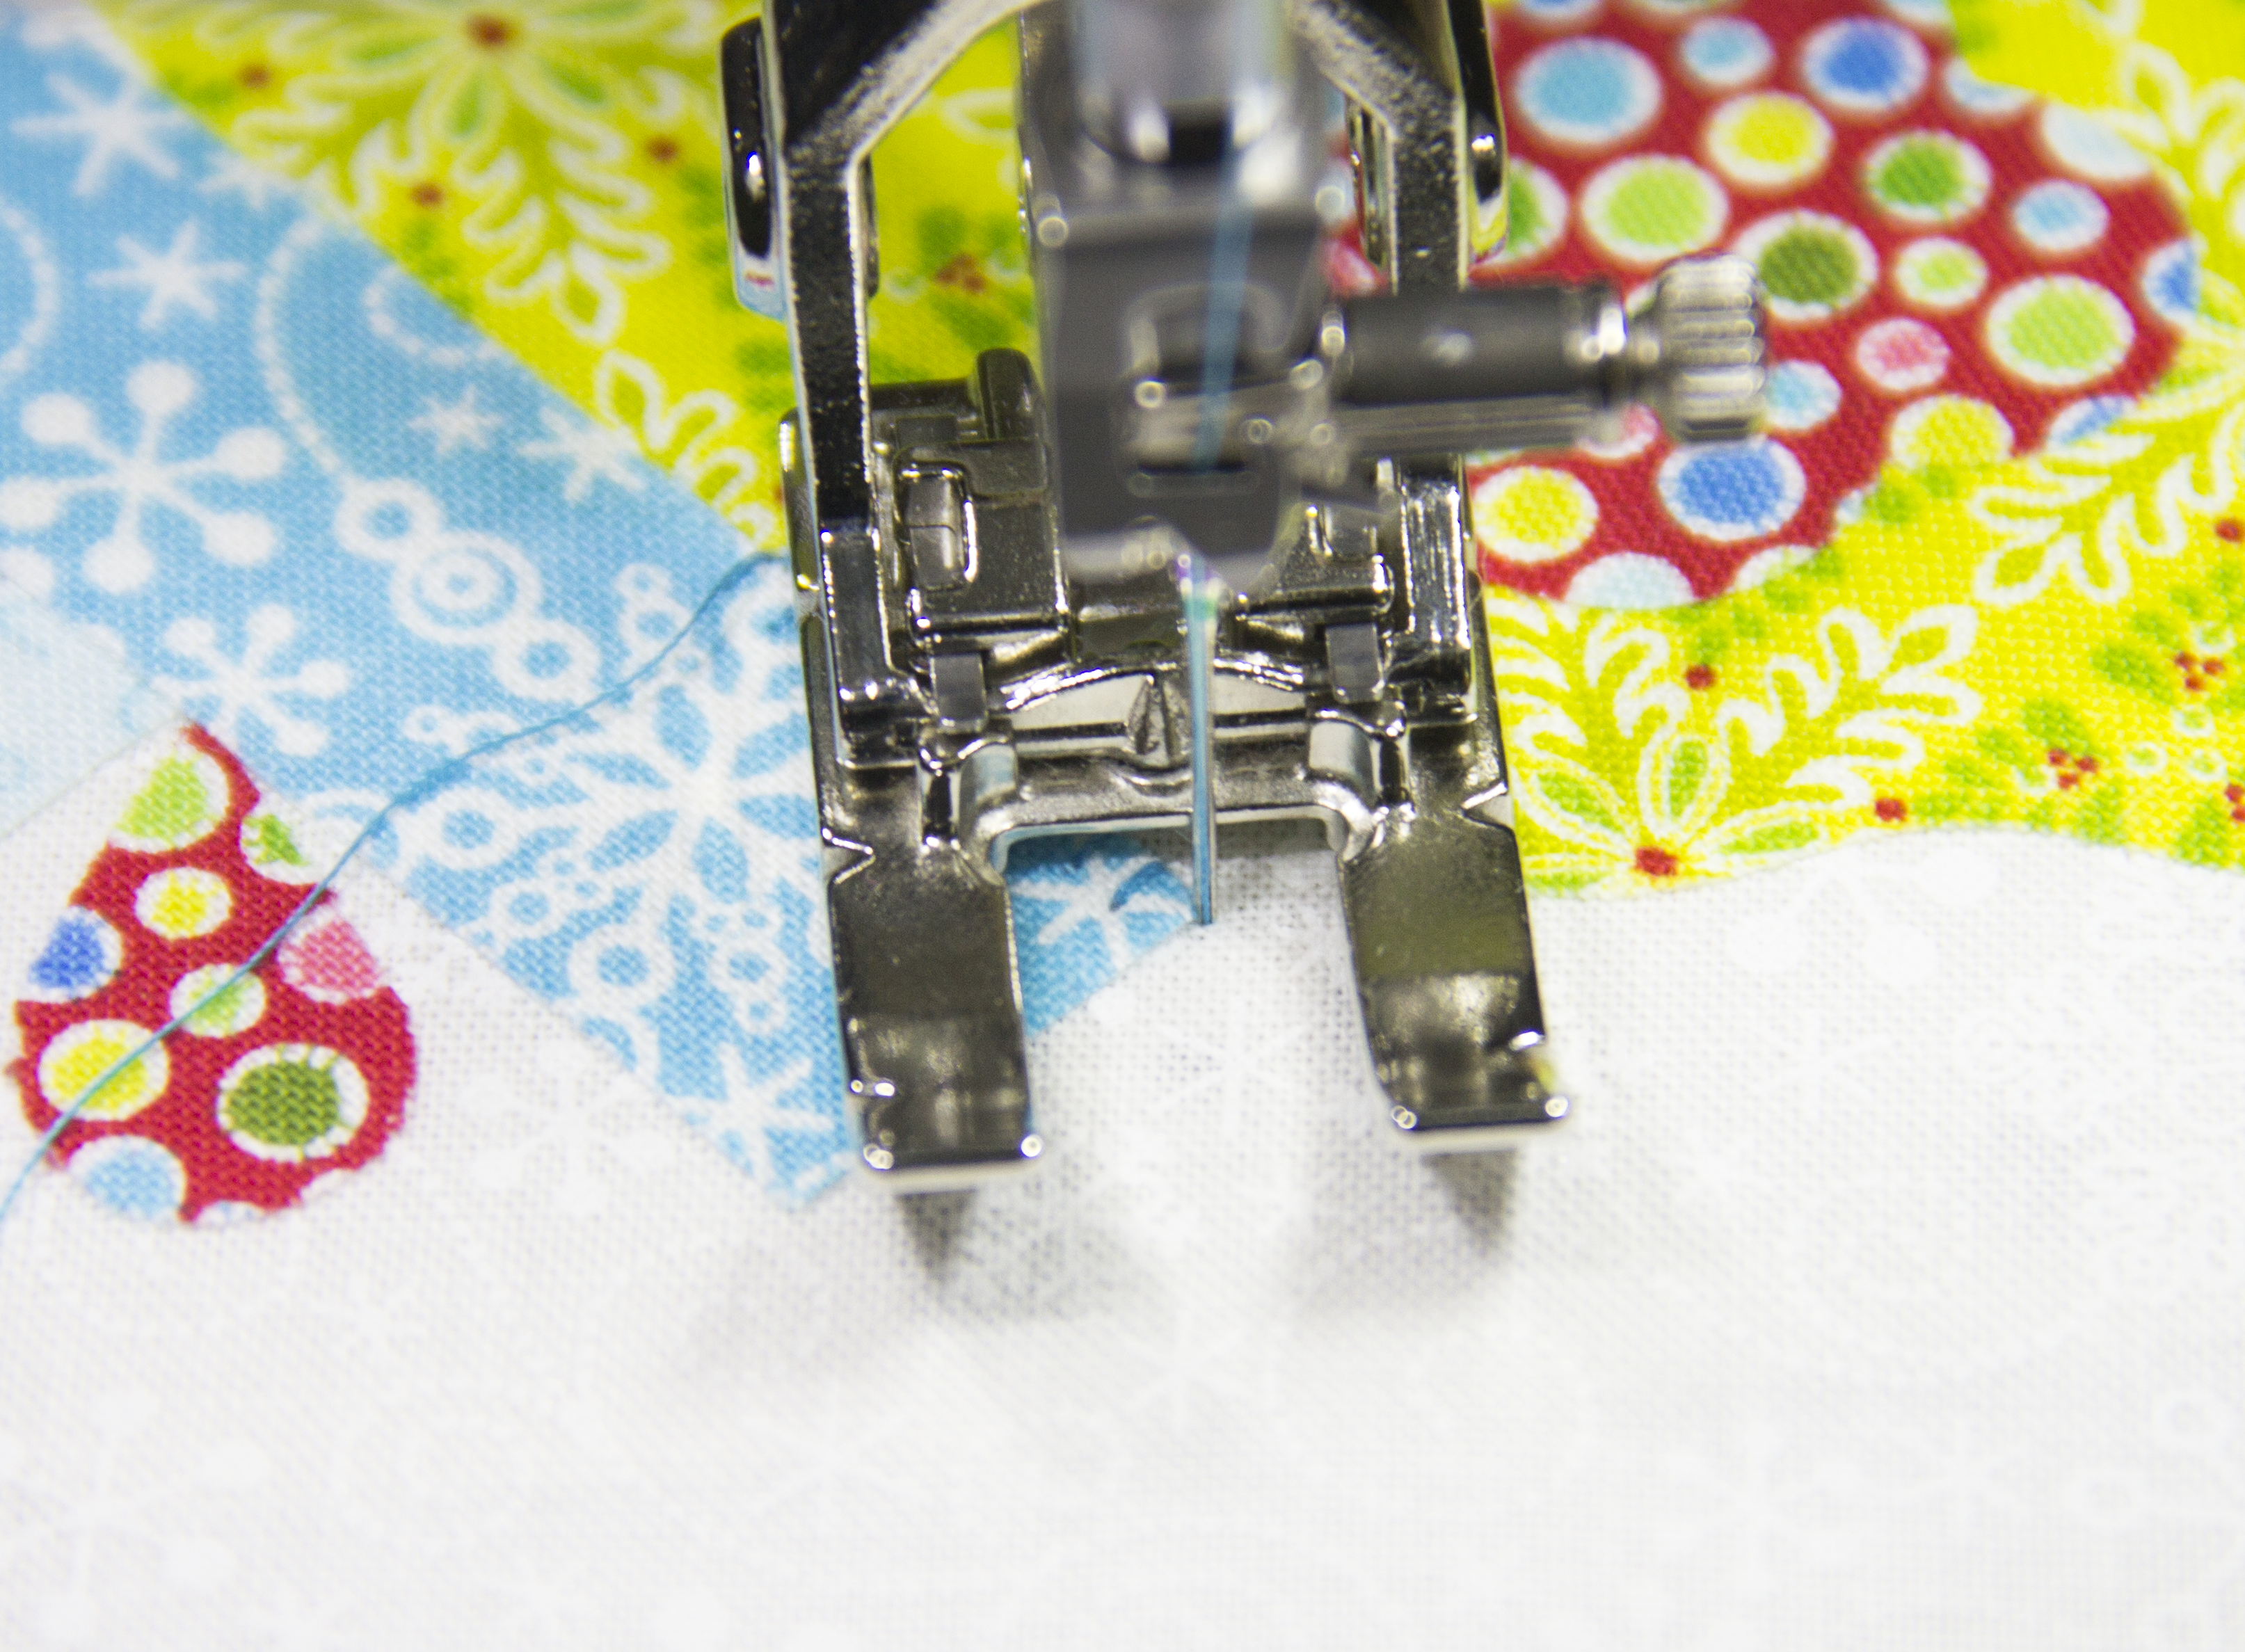
- Patchwork Foot #37D or Quarter-Inch Foot #97D
- Acrylic rulers (6½″ x 6½″ and 12½″ x 12½″ recommended)
- Rotary cutter and cutting mat
- Marking tool (fabric-safe pen or pencil)
- Iron and pressing mat
- Optional: Starch spray for crisp seams
Skill Highlights
In Blocks 1 and 2, you’ll practice two foundational techniques that you will use time and time again. First is the four-at-a-time flying geese method, which is a fast and efficient way to make multiple units at once while saving fabric. With a little trimming, you’ll achieve those crisp points that make quilt blocks shine.
Next are two-at-a-time half-square triangles, one of the most versatile blocks in quilting. Mastering accurate pressing and trimming here will set you up for success in countless future patterns.
Make sure to watch the video tutorials so that we end up trimming these units accurately to ensure our points end up looking sharp when pieced into the quilt.
Finally, we will cover pressing options and the fact that many people have different preferences when it comes to pressing their seams. Whether you prefer pressing seams open for a flat finish or to the dark side for durability, you’ll get to decide what works best for you. These block patterns and video tutorials are here to help you set strong foundations and discover the methods that feel right for you.
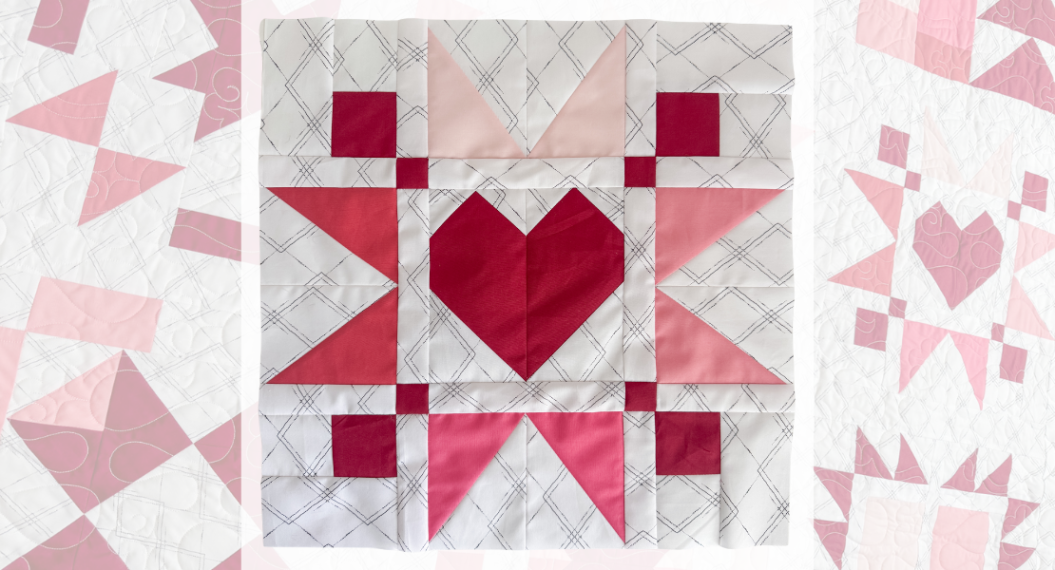
Instructions to Sew Block 1: Four-at-a-Time Flying Geese
Step 1. Prepare the Fabric
From your cut pieces, set aside the flying geese units (labeled FG1 and FG2 in the pattern). Draw a diagonal line across the back of the smaller squares.
Step 2. Sew the First Seams
Place two small squares right sides together on opposite corners of a large square, overlapping slightly at the center. Sew a seam ¼″ away from each side of the diagonal line.
Tip: Try the leader/ender method when piecing—use a scrap “leader” to start stitching so your threads connect smoothly before sewing your units.
Step 3. Cut and Press
Cut on the marked line, separating the unit into two pieces. Press the triangle flaps open to reveal heart-shaped units.
Step 4. Add the Second Seams
Place the remaining smaller squares on the open corners, draw the diagonal lines, and sew ¼″ seams on each side. Cut along the drawn line again to yield four flying geese units.
Step 5. Trim the Flying Geese
Trim each flying geese to 8½″ x 4½″. Ensure the point of the triangle is ¼″ from the edge and centered at 4¼″. Rotate and trim again for accuracy.
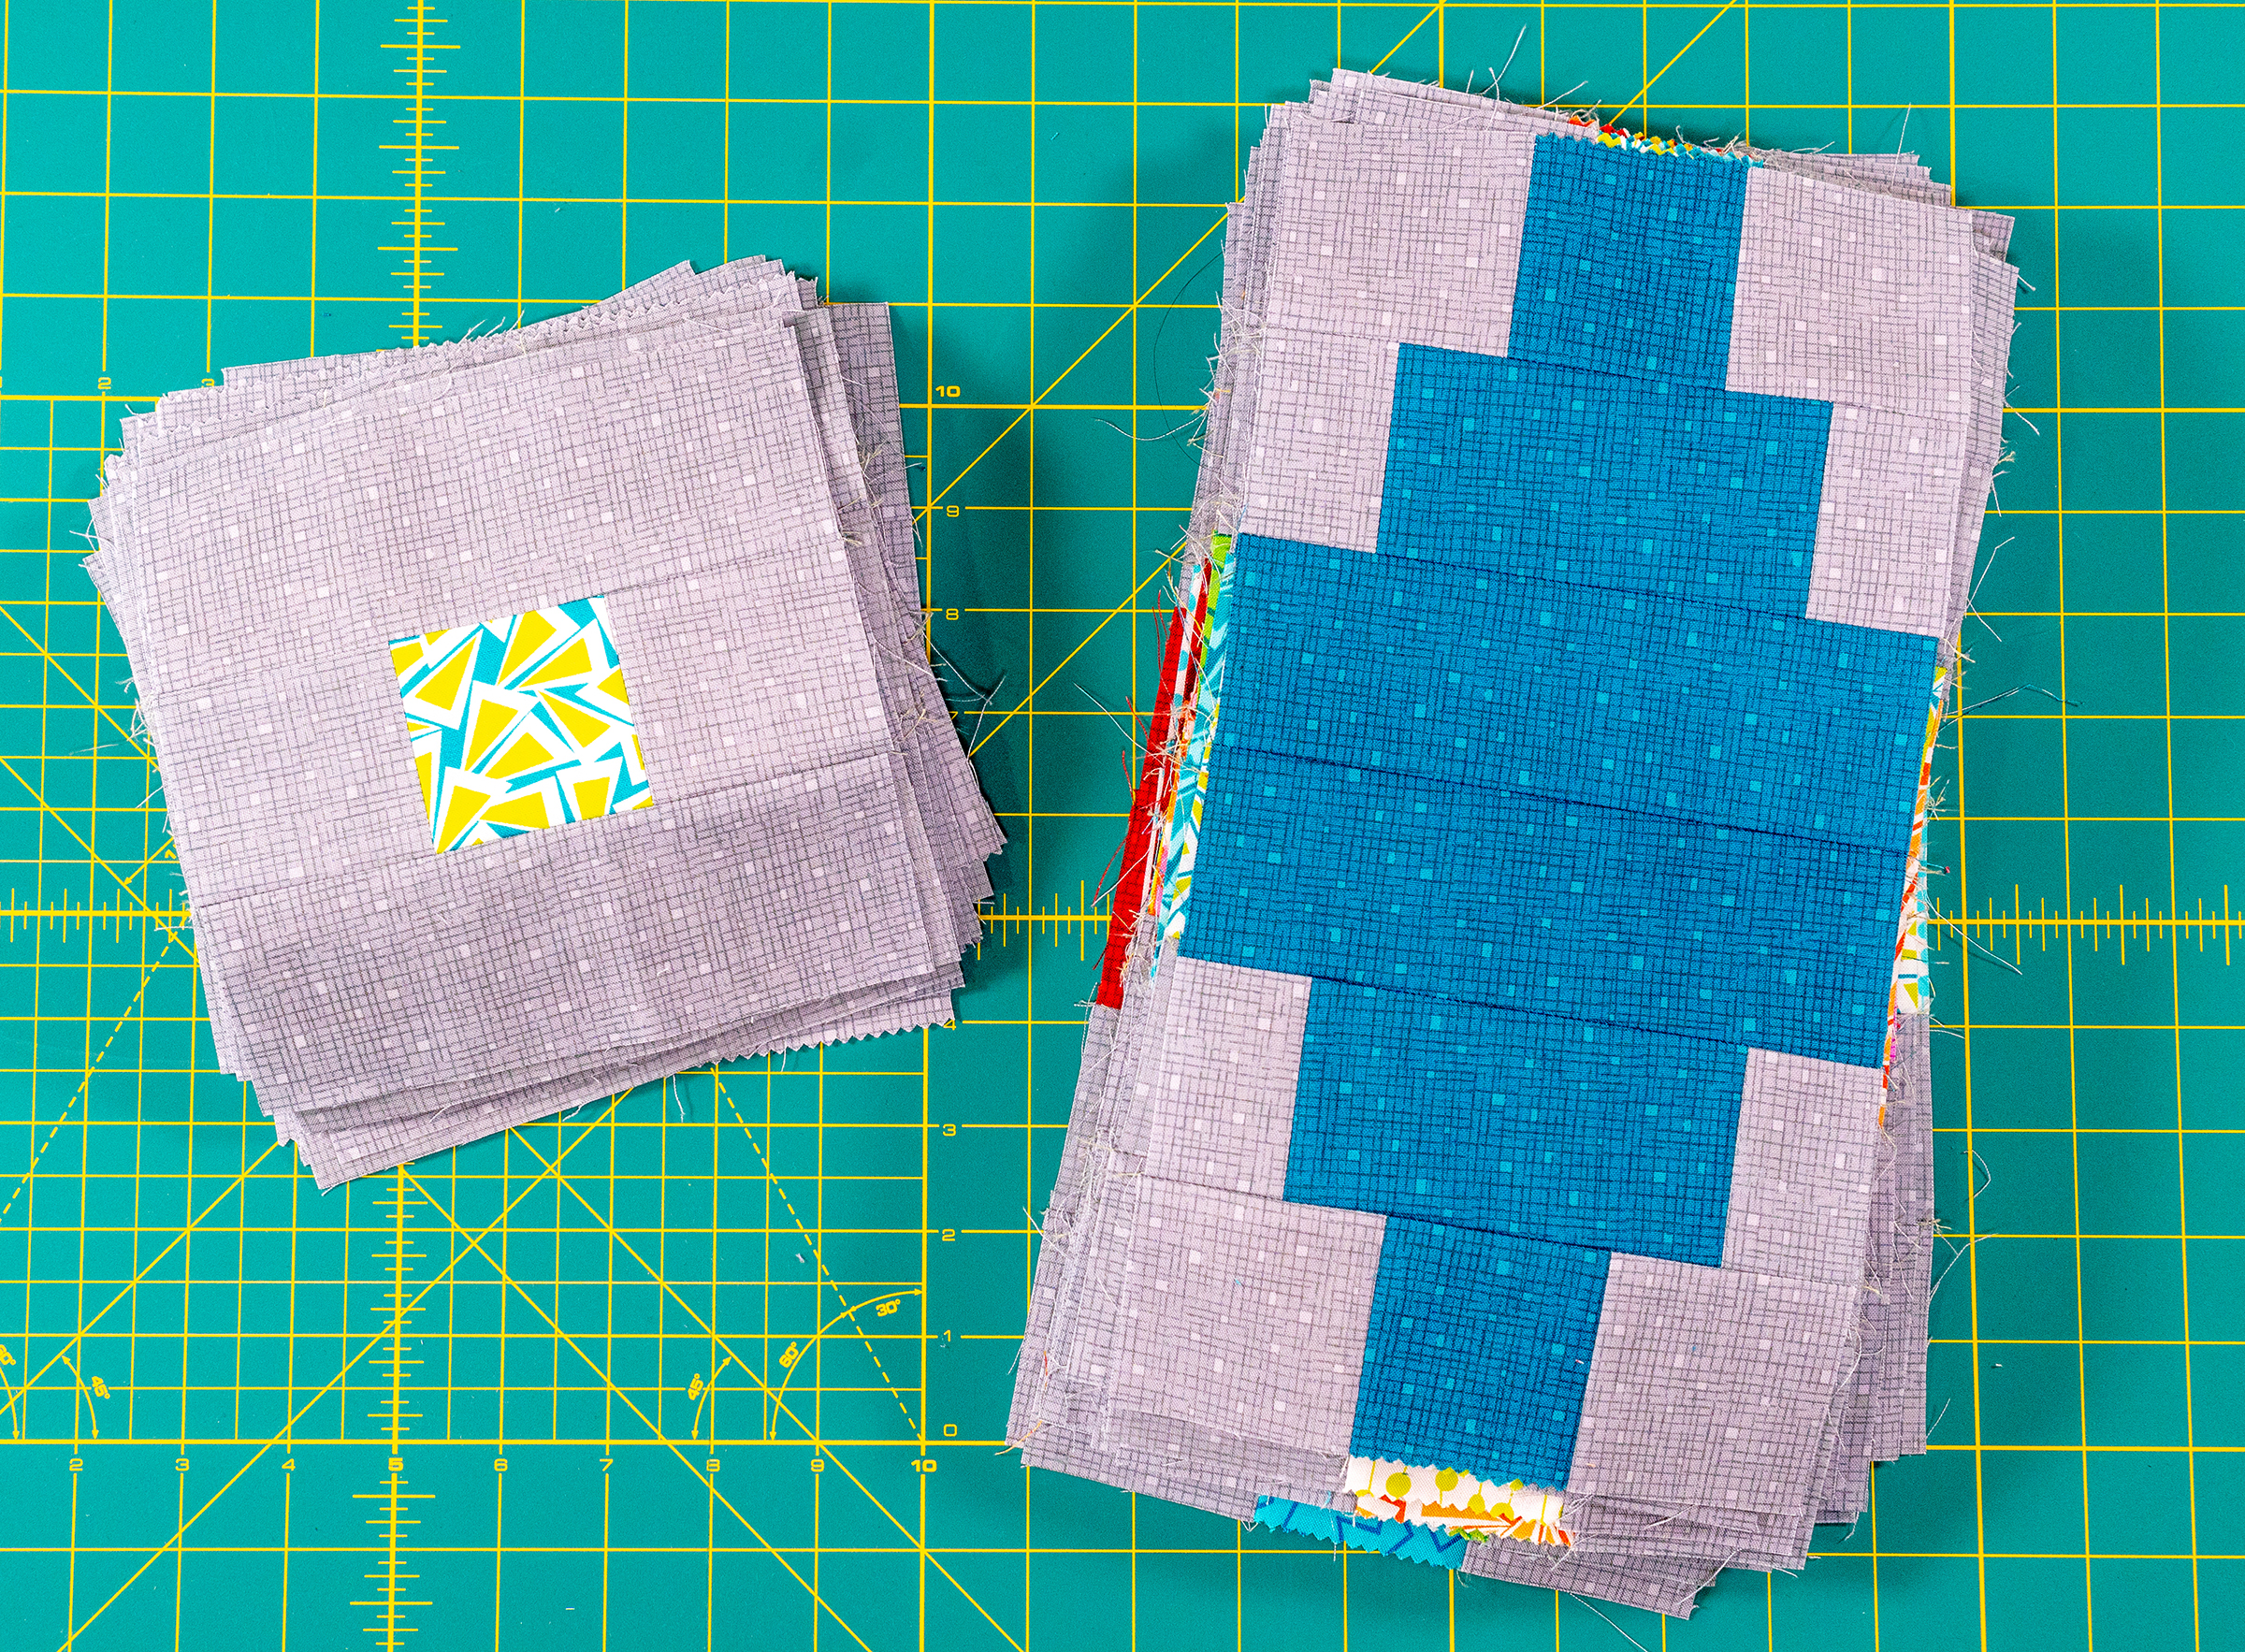
Step 6. Assemble Block 1
Sew the flying geese into rows, pressing seams open unless instructed otherwise for nesting. Finish piecing the block according to the pattern. Your block should measure 16½″ unfinished (16″ finished).
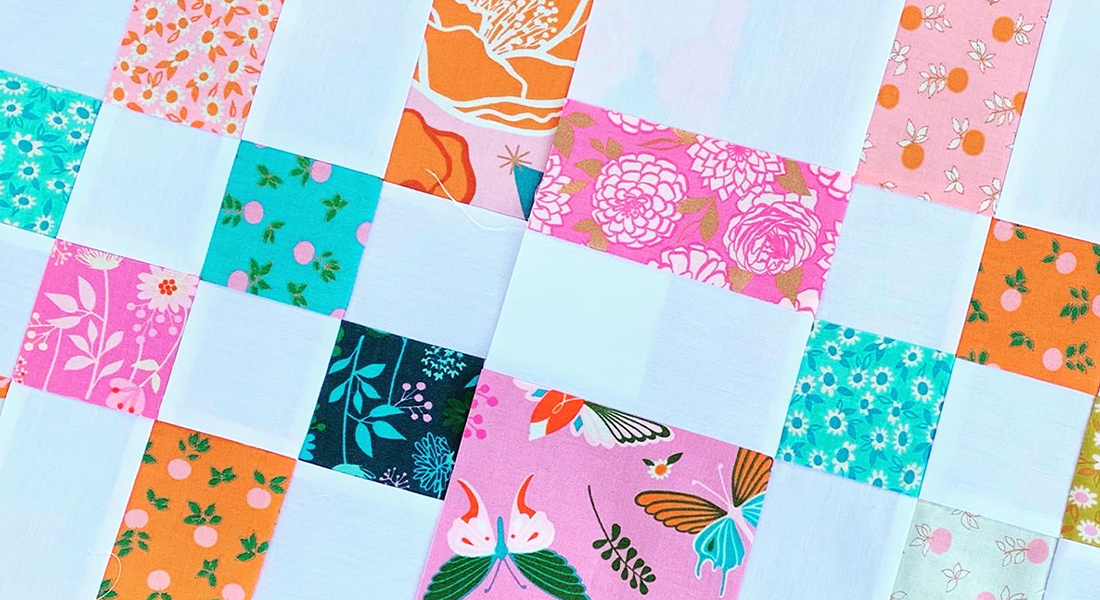
Instructions to Sew Block 2: Two-at-a-Time Half-Square Triangles
Step 1. Review Flying Geese
Before starting the main skill, use Fabric 5 and a background square to sew four-at-a-time flying geese (trimmed to 4½″ x 2½″) as directed in the pattern.
Step 2. Prepare for HSTs
Pair four background squares with Fabric 1–4 squares, right sides together. Draw a diagonal line across the back of each background square.
Step 3. Sew the Seams
On your BERNINA 770 QE Plus, sew ¼″ seams on both sides of each diagonal line. Chain piecing saves time here!
Step 4. Cut and Press
Cut along the drawn lines to separate each pair into two units. Press the seams—either open (for flatter blocks) or toward the darker fabric (to prevent show-through).
Step 5. Trim the HSTs
Trim each HST to 3½″ x 3½″, aligning the diagonal seam with the ruler’s 45° line. Rotate and trim again to square it up.
Step 6. Assemble Block 2
Sew the HSTs into rows as shown in the pattern. Follow the recommended pressing arrows for nested seams or choose to press open. The block finishes at 16½″ unfinished (16″ finished).
Ready to Sew?
Download the free patterns here:
➡️ Block 1 PDF Download
➡️ Block 2 PDF Download
Want More?
If you loved making flying geese in this week’s blocks, I’ve got something extra for you! ✨ Download my free Flying Geese Sizing Chart to make four-at-a-time flying geese in any size you need. This handy reference takes the guesswork out of cutting and trimming, so you can focus on the fun of piecing. It’s a great tool to keep by your sewing machine, and it will serve you well long after this sew along.
Follow along with the video tutorials for extra guidance, and share your progress with #BERNINASkillbuilderSAL on social media and in the WeAllSew Community section.
Whether this is your first time making flying geese or you’ve stitched hundreds of half-square triangles, these skills will strengthen your piecing and give you confidence for the rest of the sew along.
I can’t wait to see your blocks—let’s keep building those skills, one block at a time! 🧵❤️
Used Products

What you might also like


5 comments on “BERNINA Skillbuilder Sew Along: Blocks 1 & 2”
-
-
Thank you for letting us know! The link has been updated. You can find the PDF here: https://bit.ly/3KQAFbN
-
Thank you!
-
-
-
Trying to download free pattern for block 2 for skill builder sew along and it doesn’t open instructions
-
Thank you for letting us know! The link has been updated. You can find the PDF here: https://bit.ly/3KQAFbN
-
Leave a Reply
You must be logged in to post a comment.
download link for block 2 doesn’t work.- gives picture of 2 blocks